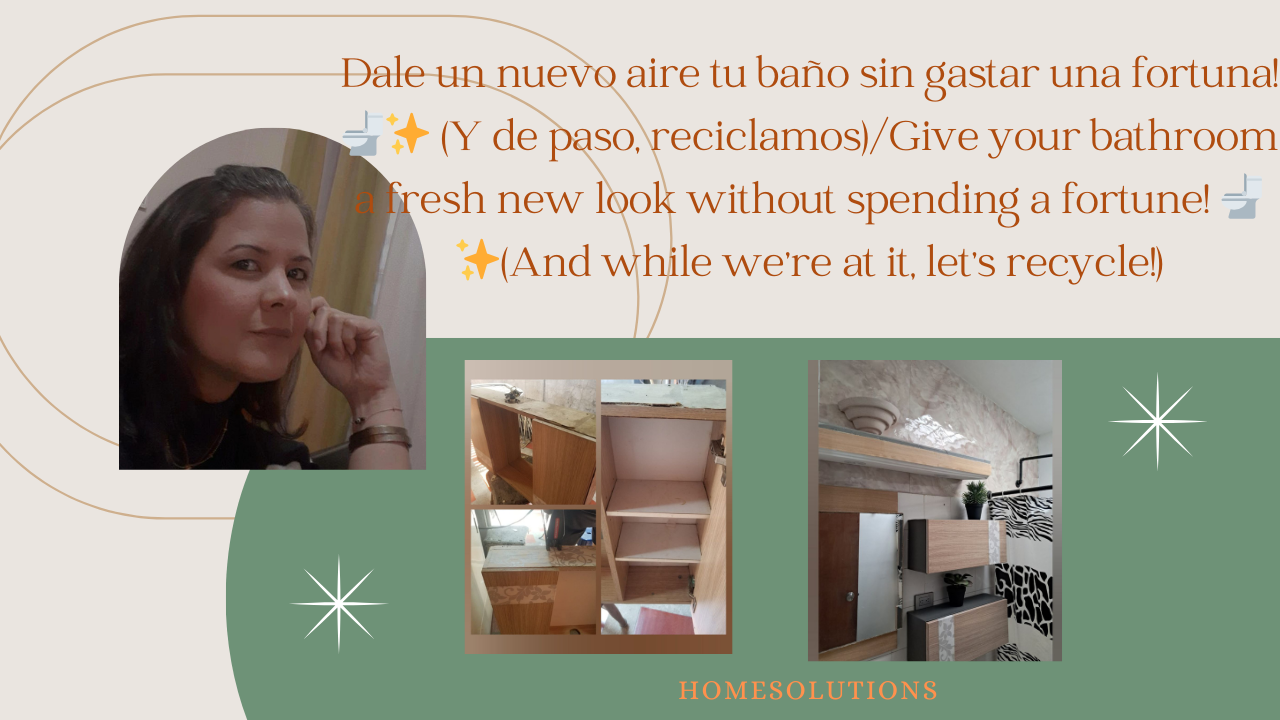
Hola amigos de HomeSolutions, hoy en nuestro Viernes de “Cuéntalo todo”, voy a compartirles como renové mi baño con tres sencillos trucos y lo mejor de todo sin gastar una fortuna para que puedas darle a tu baño un look totalmente renovado y como siempre reutilizando lo que ya tienes.
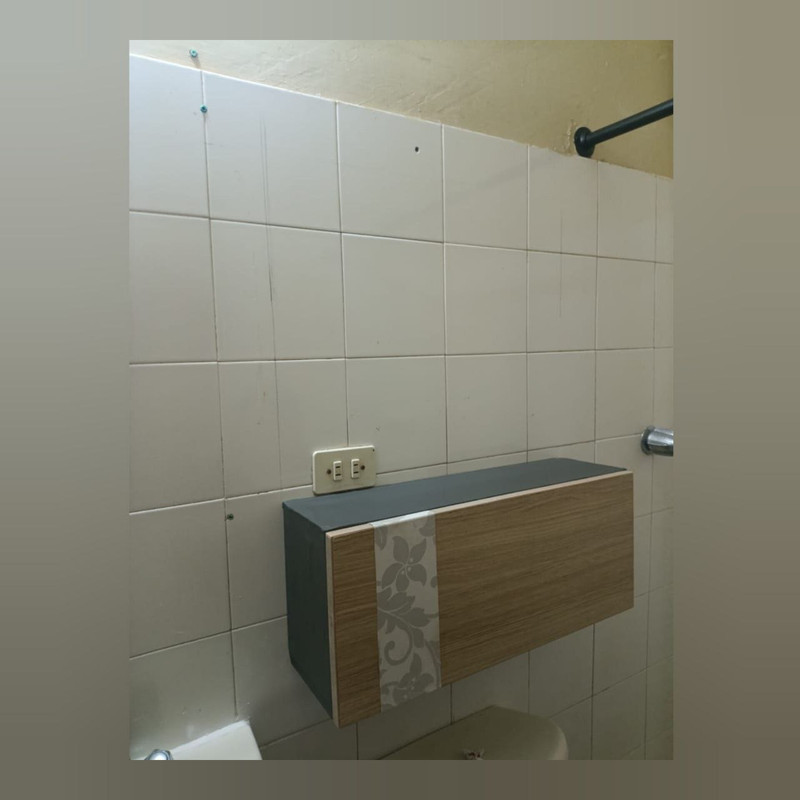
1. Un poco de Magia en tus Paredes: como les comenté en mi post sobre Renovar espacios de tu hogar con vinil (https://ecency.com/hive-108539/@maru2007/esp-eng-renueva-tus-espacios), si no tienes presupuesto para pintura el Vinil Adhesivo es tu mejor opción. En mi caso, el área superior estaba deteriorada y sin cerámica así que decidí colocar estas láminas de vinil adhesivo, el precio de 2.29$ cada una y se utilizaron 4 láminas para el área superior y algunos recortes para los detalles en el área superior de luces y espejo.

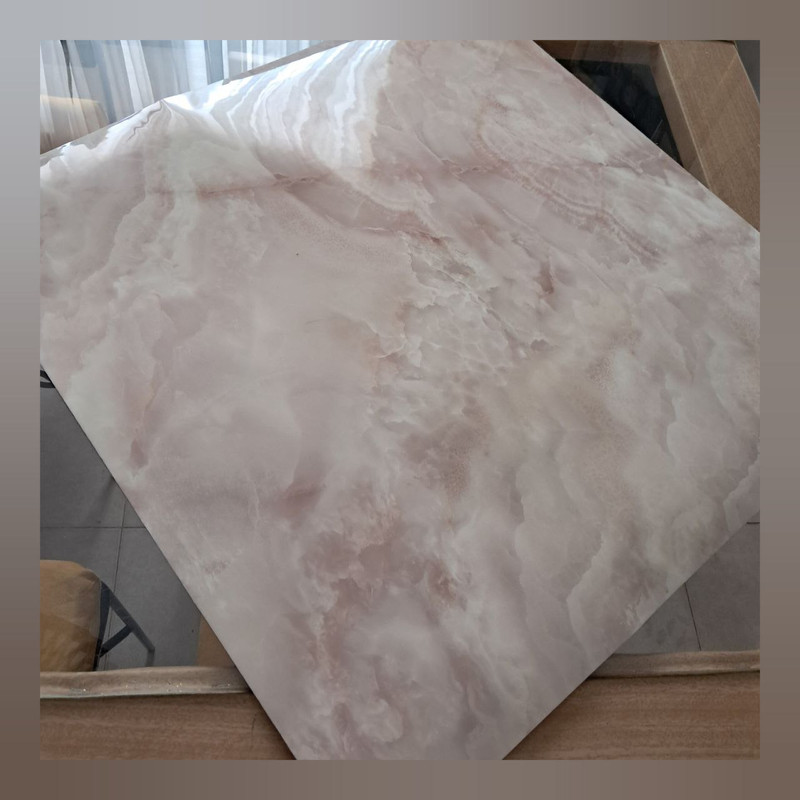
Así que, si tu cerámica o azulejos se ve viejo, deteriorado o simplemente quieres un estilo diferente, el vinil adhesivo es el ideal; solo tienes que escoger el diseño que más te agrade en mi caso utilice este que es como mármol.
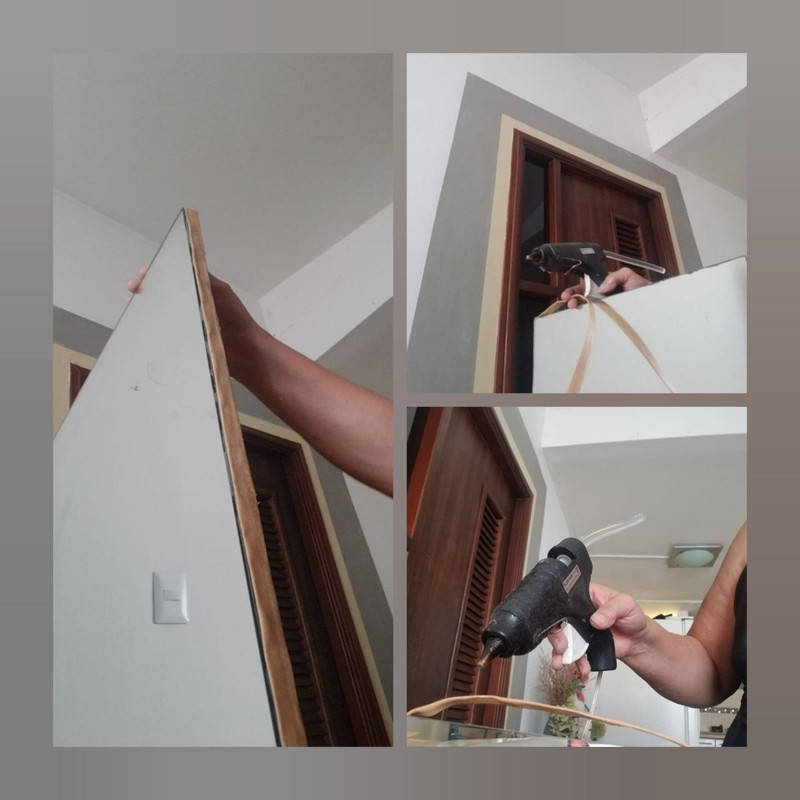
Recuerda que al momento de su instalación debes limpiar muy bien la superficie antes de pegarlo y tómate tu tiempo para medir el área donde lo vas a colocar antes de cortar y pegarlo.
2. Renueva tu mueble viejo
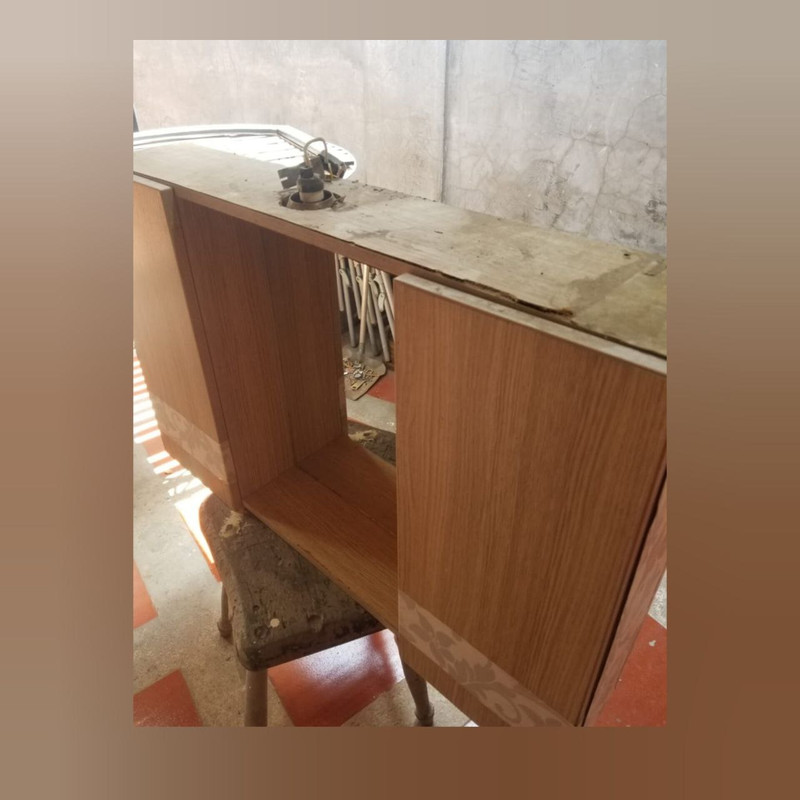
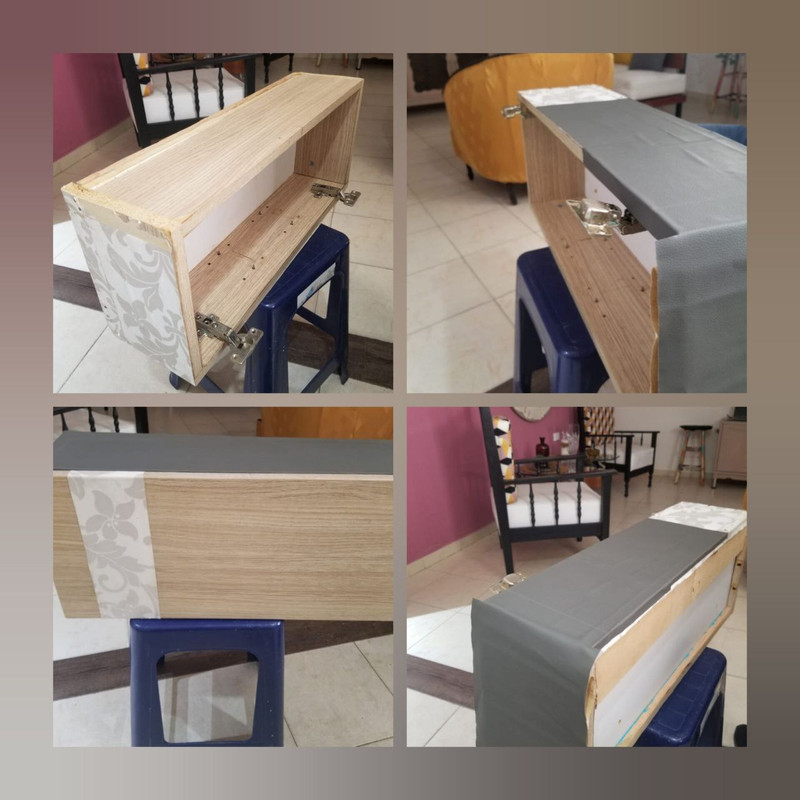
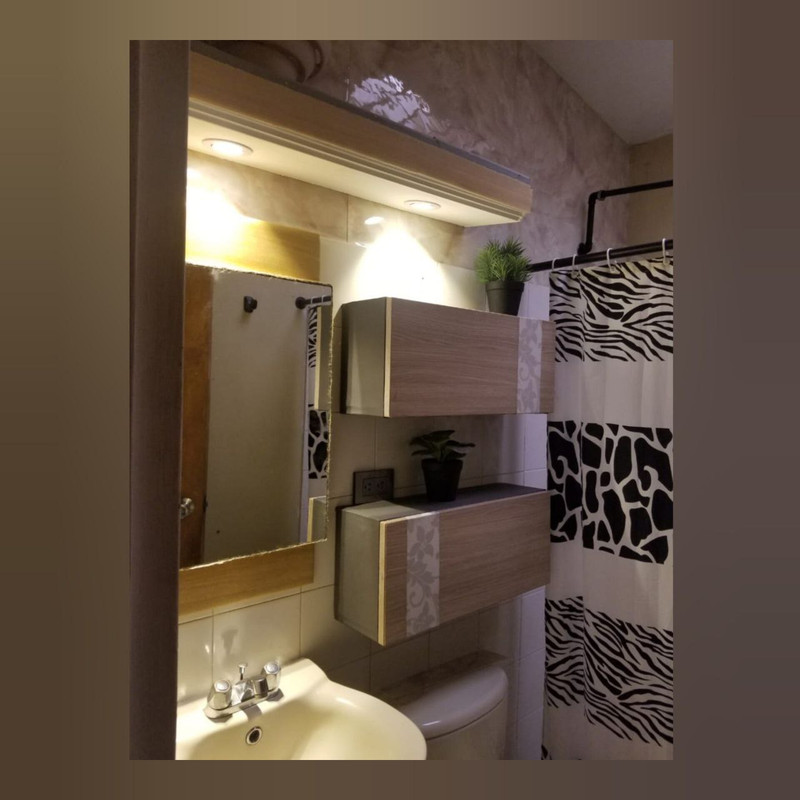
Este mueble llevaba años instalado pero ya no me gustaba como se veía a pesar de estar en muy buen estado, sé que muchos pensarían tirarlo pero ya saben que en mi casa lo pensamos dos y tres veces antes de tirar algo a la basura... así que: lo desmontamos, limpiamos y vimos como podíamos darle una darle una segunda vida.
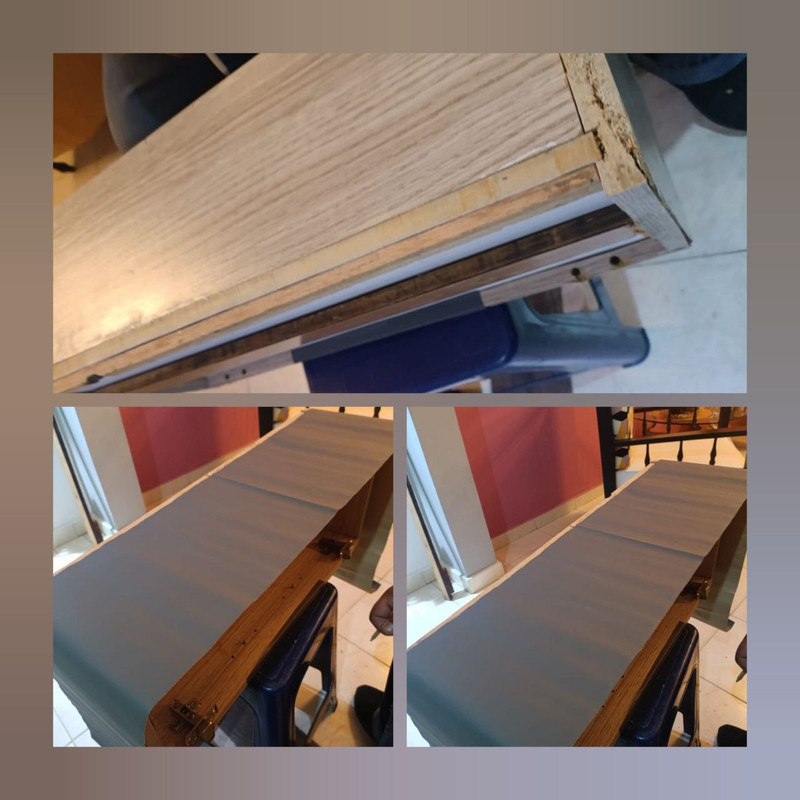
Cortamos el área del espejo y los dos extremos que son para guardar las cosas de baño (jabones, cremas, papel, etc), los lijamos, limpiamos, forramos alrededor con un semicuero en color gris y procedimos a las instalarlas en forma horizontal.
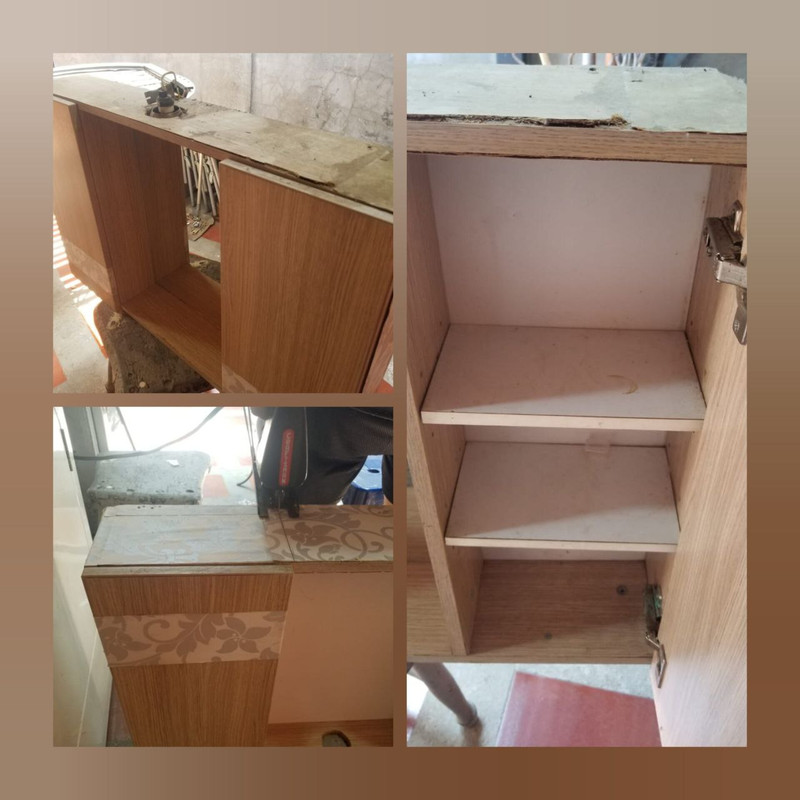
El área del espejo de igual forma se aprovechó toda la madera y se forro con una tela impermeable que teníamos de otro proyecto y le colocamos unas luces.

En caso de que tengas un mueble parecido, puedes forrarlo con vinil o pintarlo, esto le dará un toque diferente a tu baño. También puedes cambiarle los tiradores o manijas por unos más modernos y puedes hacer que el mueble parezca recién comprado.
3.Cambiar algunos detalles: En mi caso, pintamos la tubería de la ducha y el tubo de la cortina con pintura anticorrosiva mate color negro. Asegúrate de usar pintura para baños y cocinas, que están formuladas para resistir la humedad, oxido y evitar el moho.
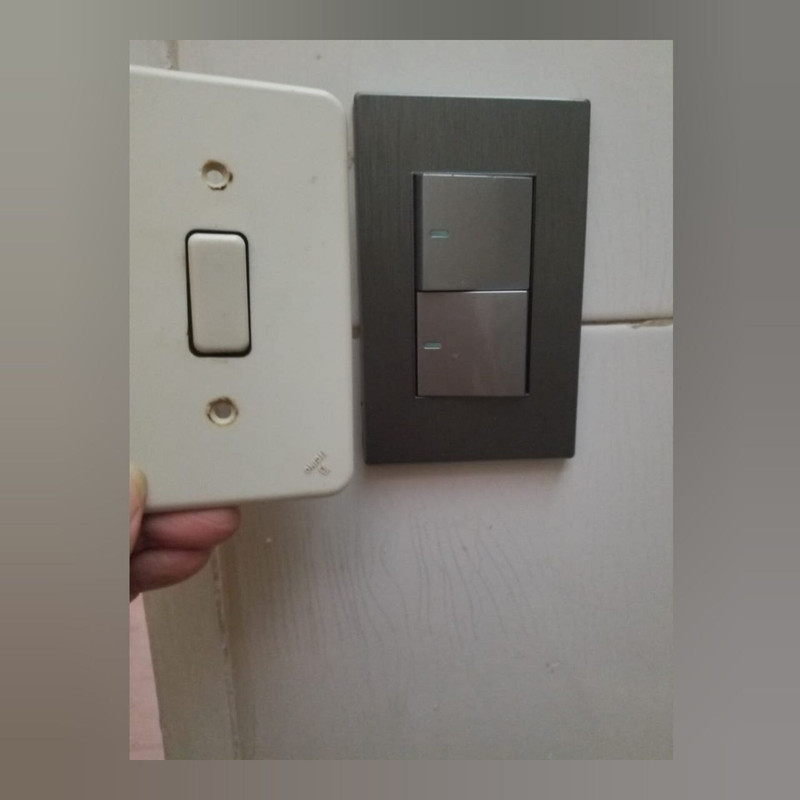
Además de pintar las tuberías , cambiamos el apagador por uno más moderno, el precio del apagador doble fue de 8.25$ ¡Colocamos sobre el mueble algunas plantas artificiales y listo!
Como ves, no hace falta ser millonario ni experto para tener un baño espectacular. En este proyecto no gastamos ni 50$, con un poco de creatividad, vinil adhesivo y pintura le darás una segunda oportunidad a tus muebles , renovaras tu baño y fomentarás el reciclaje y de paso cuidas tu bolsillo. ¡que esperas para renovar y presumir tu baño low-cost! Y si piensas renovar tu baño, ¡Cuéntame tu idea en los comentarios!
Las fotografías fueron tomadas por mi. Portada: Canva Collage: InShot
ENGLISH
Hello HomeSolutions friends, today on our “Tell All” Friday, I'm going to share with you how I renovated my bathroom with three simple tricks, and best of all, without spending a fortune, so you can give your bathroom a totally new look, and as always, reusing what you already have.
1.A little magic on your walls: as I mentioned in my post about renovating spaces in your home with vinyl (https://ecency.com/hive-108539/@maru2007/esp-eng-renueva-tus-espacios), if you don't have the budget for paint, adhesive vinyl is your best option. In my case, the upper area was damaged and had no ceramic tiles, so I decided to put up these adhesive vinyl sheets, which cost $2.29 each. I used four sheets for the upper area and some cutouts for the details in the upper area around the lights and mirror.
So, if your ceramic tiles look old or worn, or you simply want a different style, adhesive vinyl is ideal. Just choose the design you like best. In my case, I used this one, which looks like marble.
Remember that when installing it, you must clean the surface thoroughly before sticking it on, and take your time to measure the area where you are going to place it before cutting and sticking it on.
2. Renovate your old furniture: This piece of furniture had been in place for years, but I no longer liked the way it looked, even though it was in very good condition. I know that many people would think about throwing it away, but you know that in my house we think twice or three times before throwing anything away... so we took it apart, cleaned it, and saw how we could give it a second life.
We cut out the mirror area and the two ends that are for storing bathroom items (soaps, creams, paper, etc.), sanded them, cleaned them, covered them with gray semi-leather, and proceeded to install them horizontally.
All the wood in the mirror area was also used, and it was covered with waterproof fabric that we had from another project, and we added some lights.
If you have a similar piece of furniture, you can cover it with vinyl or paint it, which will give your bathroom a different look. You can also replace the knobs or handles with more modern ones to make the furniture look like it was just purchased.
3. Change some details: In my case, we painted the shower pipe and curtain rod with black matte anti-corrosive paint. Be sure to use paint for bathrooms and kitchens, which is formulated to resist moisture, rust, and prevent mold.
In addition to painting the pipes, we replaced the dimmer switch with a more modern one. The double dimmer switch cost $8.25. We placed some artificial plants on the cabinet, and that was it!
As you can see, you don't have to be a millionaire or an expert to have a spectacular bathroom. This project cost us less than $50. With a little creativity, adhesive vinyl, and paint, you can give your furniture a second chance, renovate your bathroom, promote recycling, and save money at the same time. What are you waiting for? Renovate and show off your low-cost bathroom! And if you're thinking of renovating your bathroom, tell me your idea in the comments!
The photographs were taken by me. Cover: Canva Collage: InShot