Español
Saludos amigos amantes de las manualidades.💁☀️
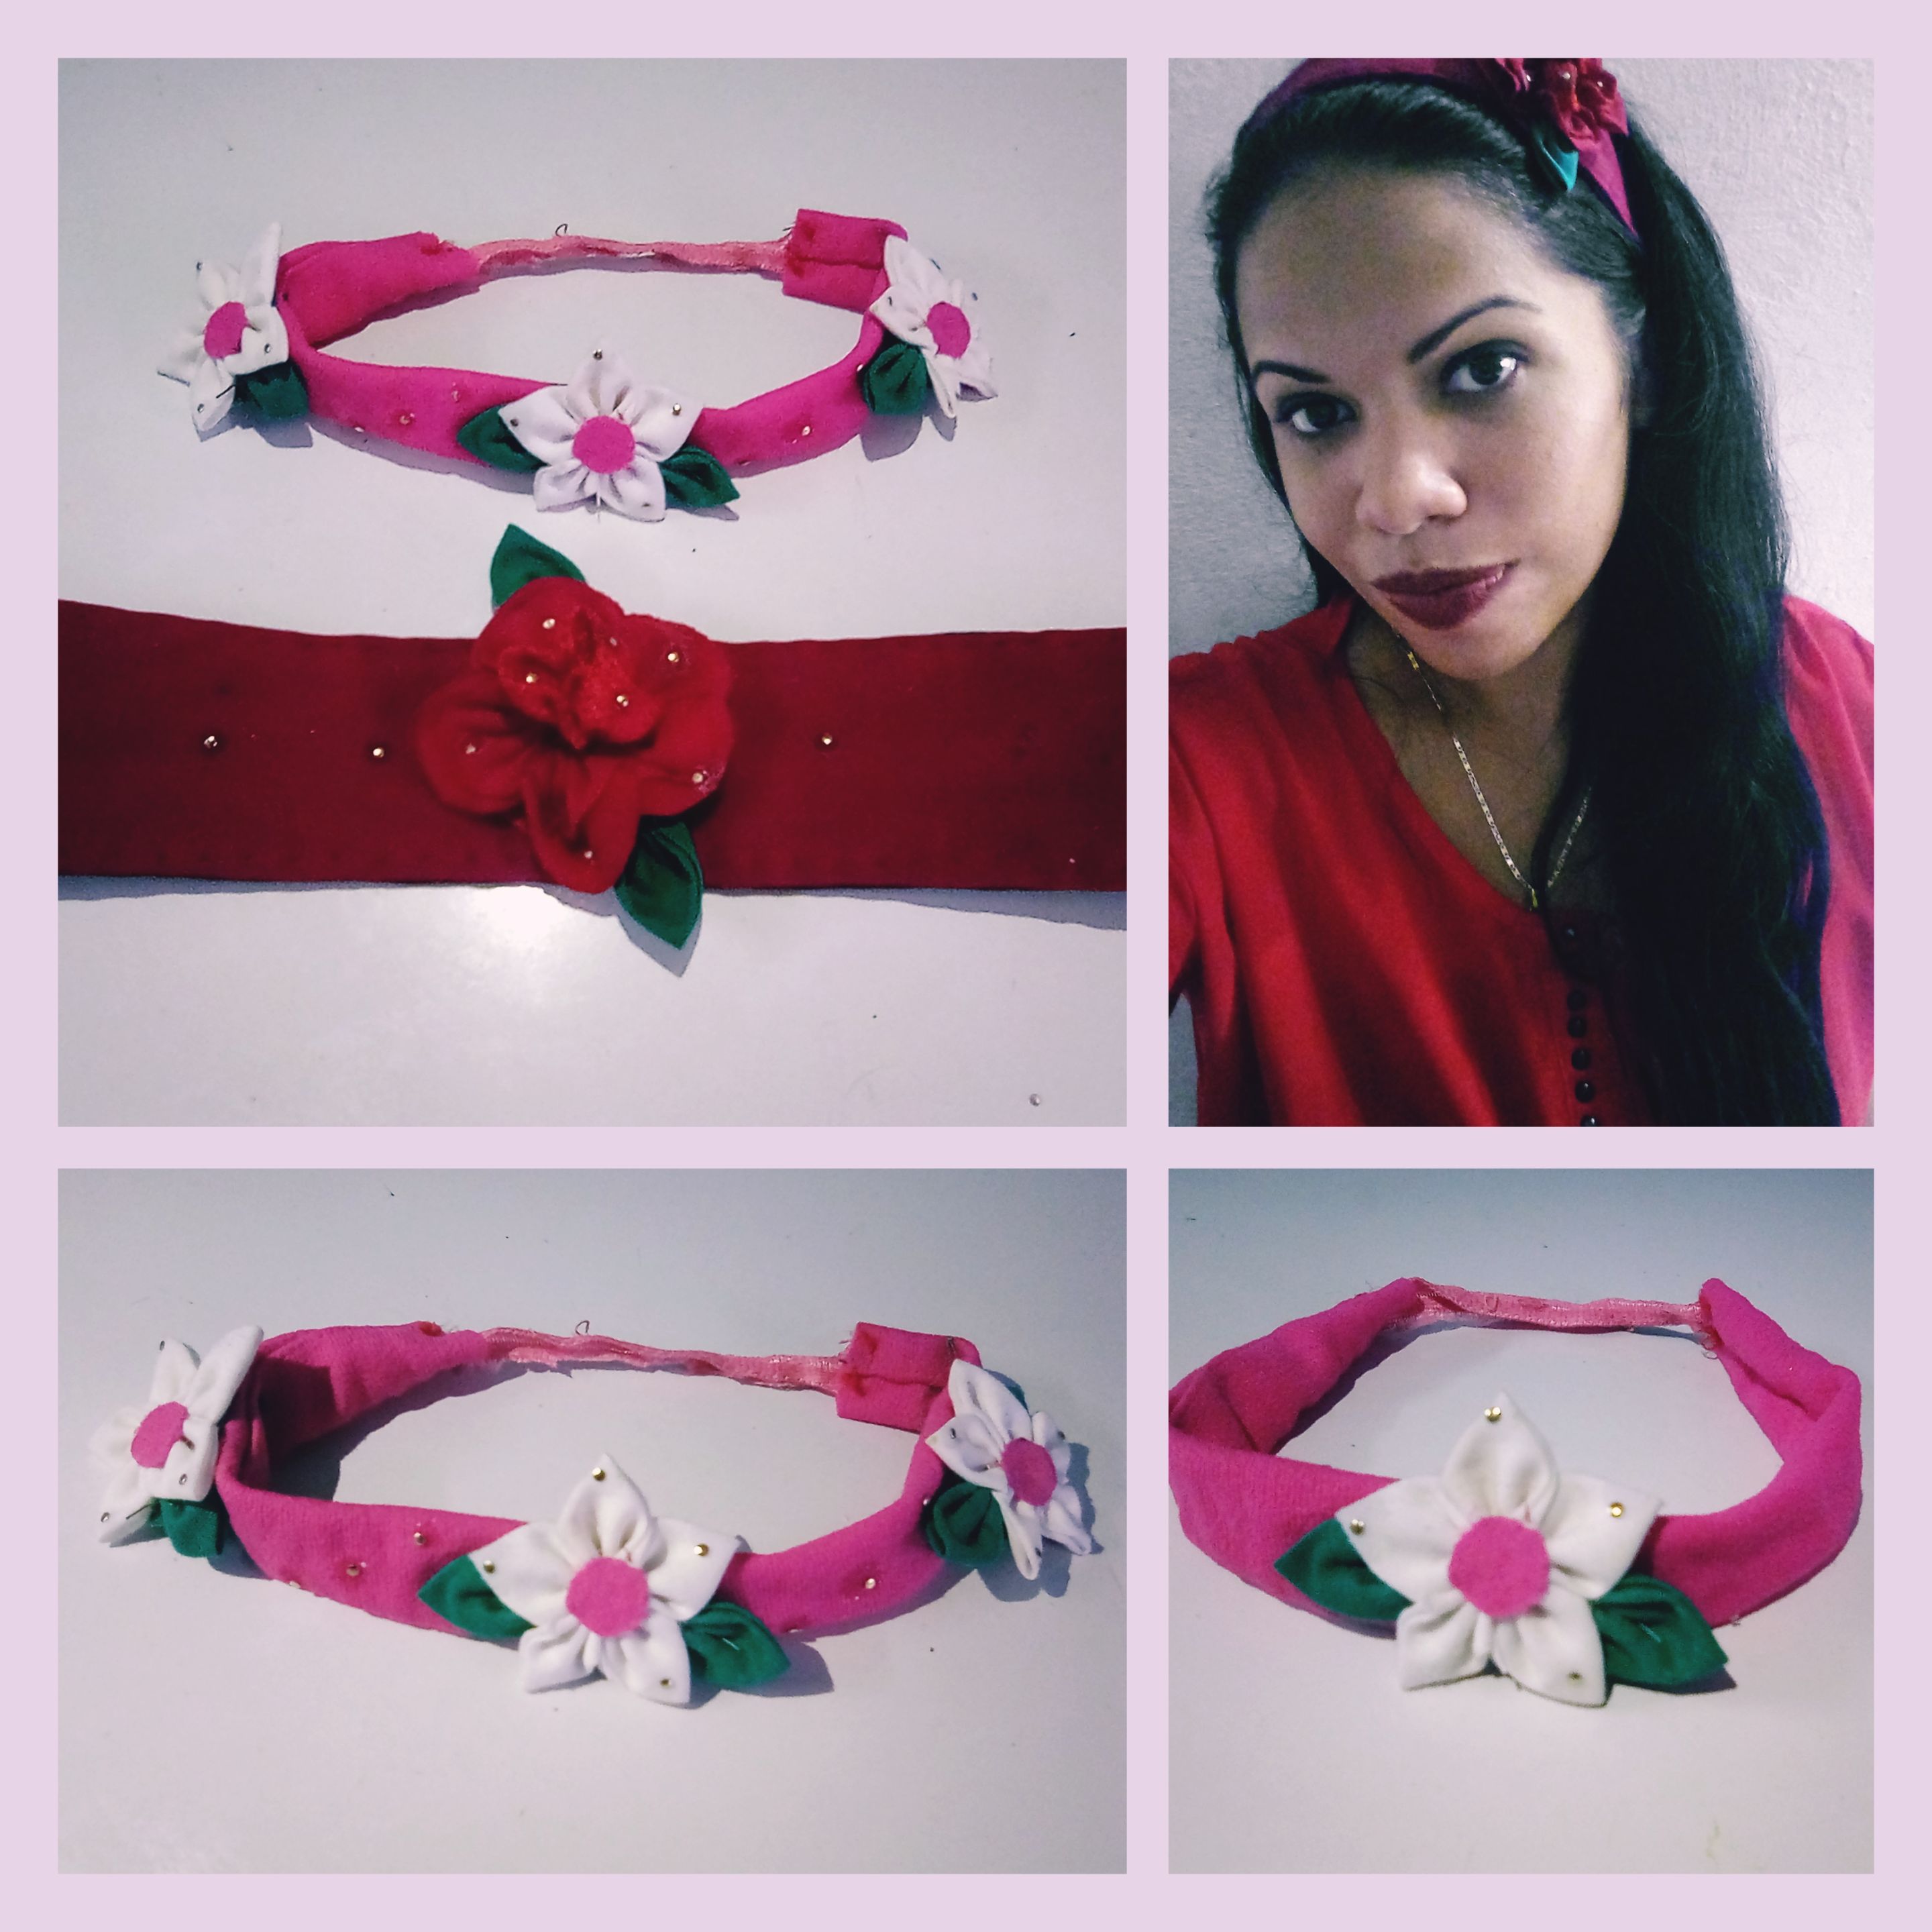
¡Un feliz y creativo día para todos! Hoy, amigos, les quiero compartir el método que empleé para la confección de bellos cintillos con flores para el cabello, mediante el reciclado de retazos de tela¡Comencemos!
✨ Cintillos con flores ✨
✨ Materiales✨
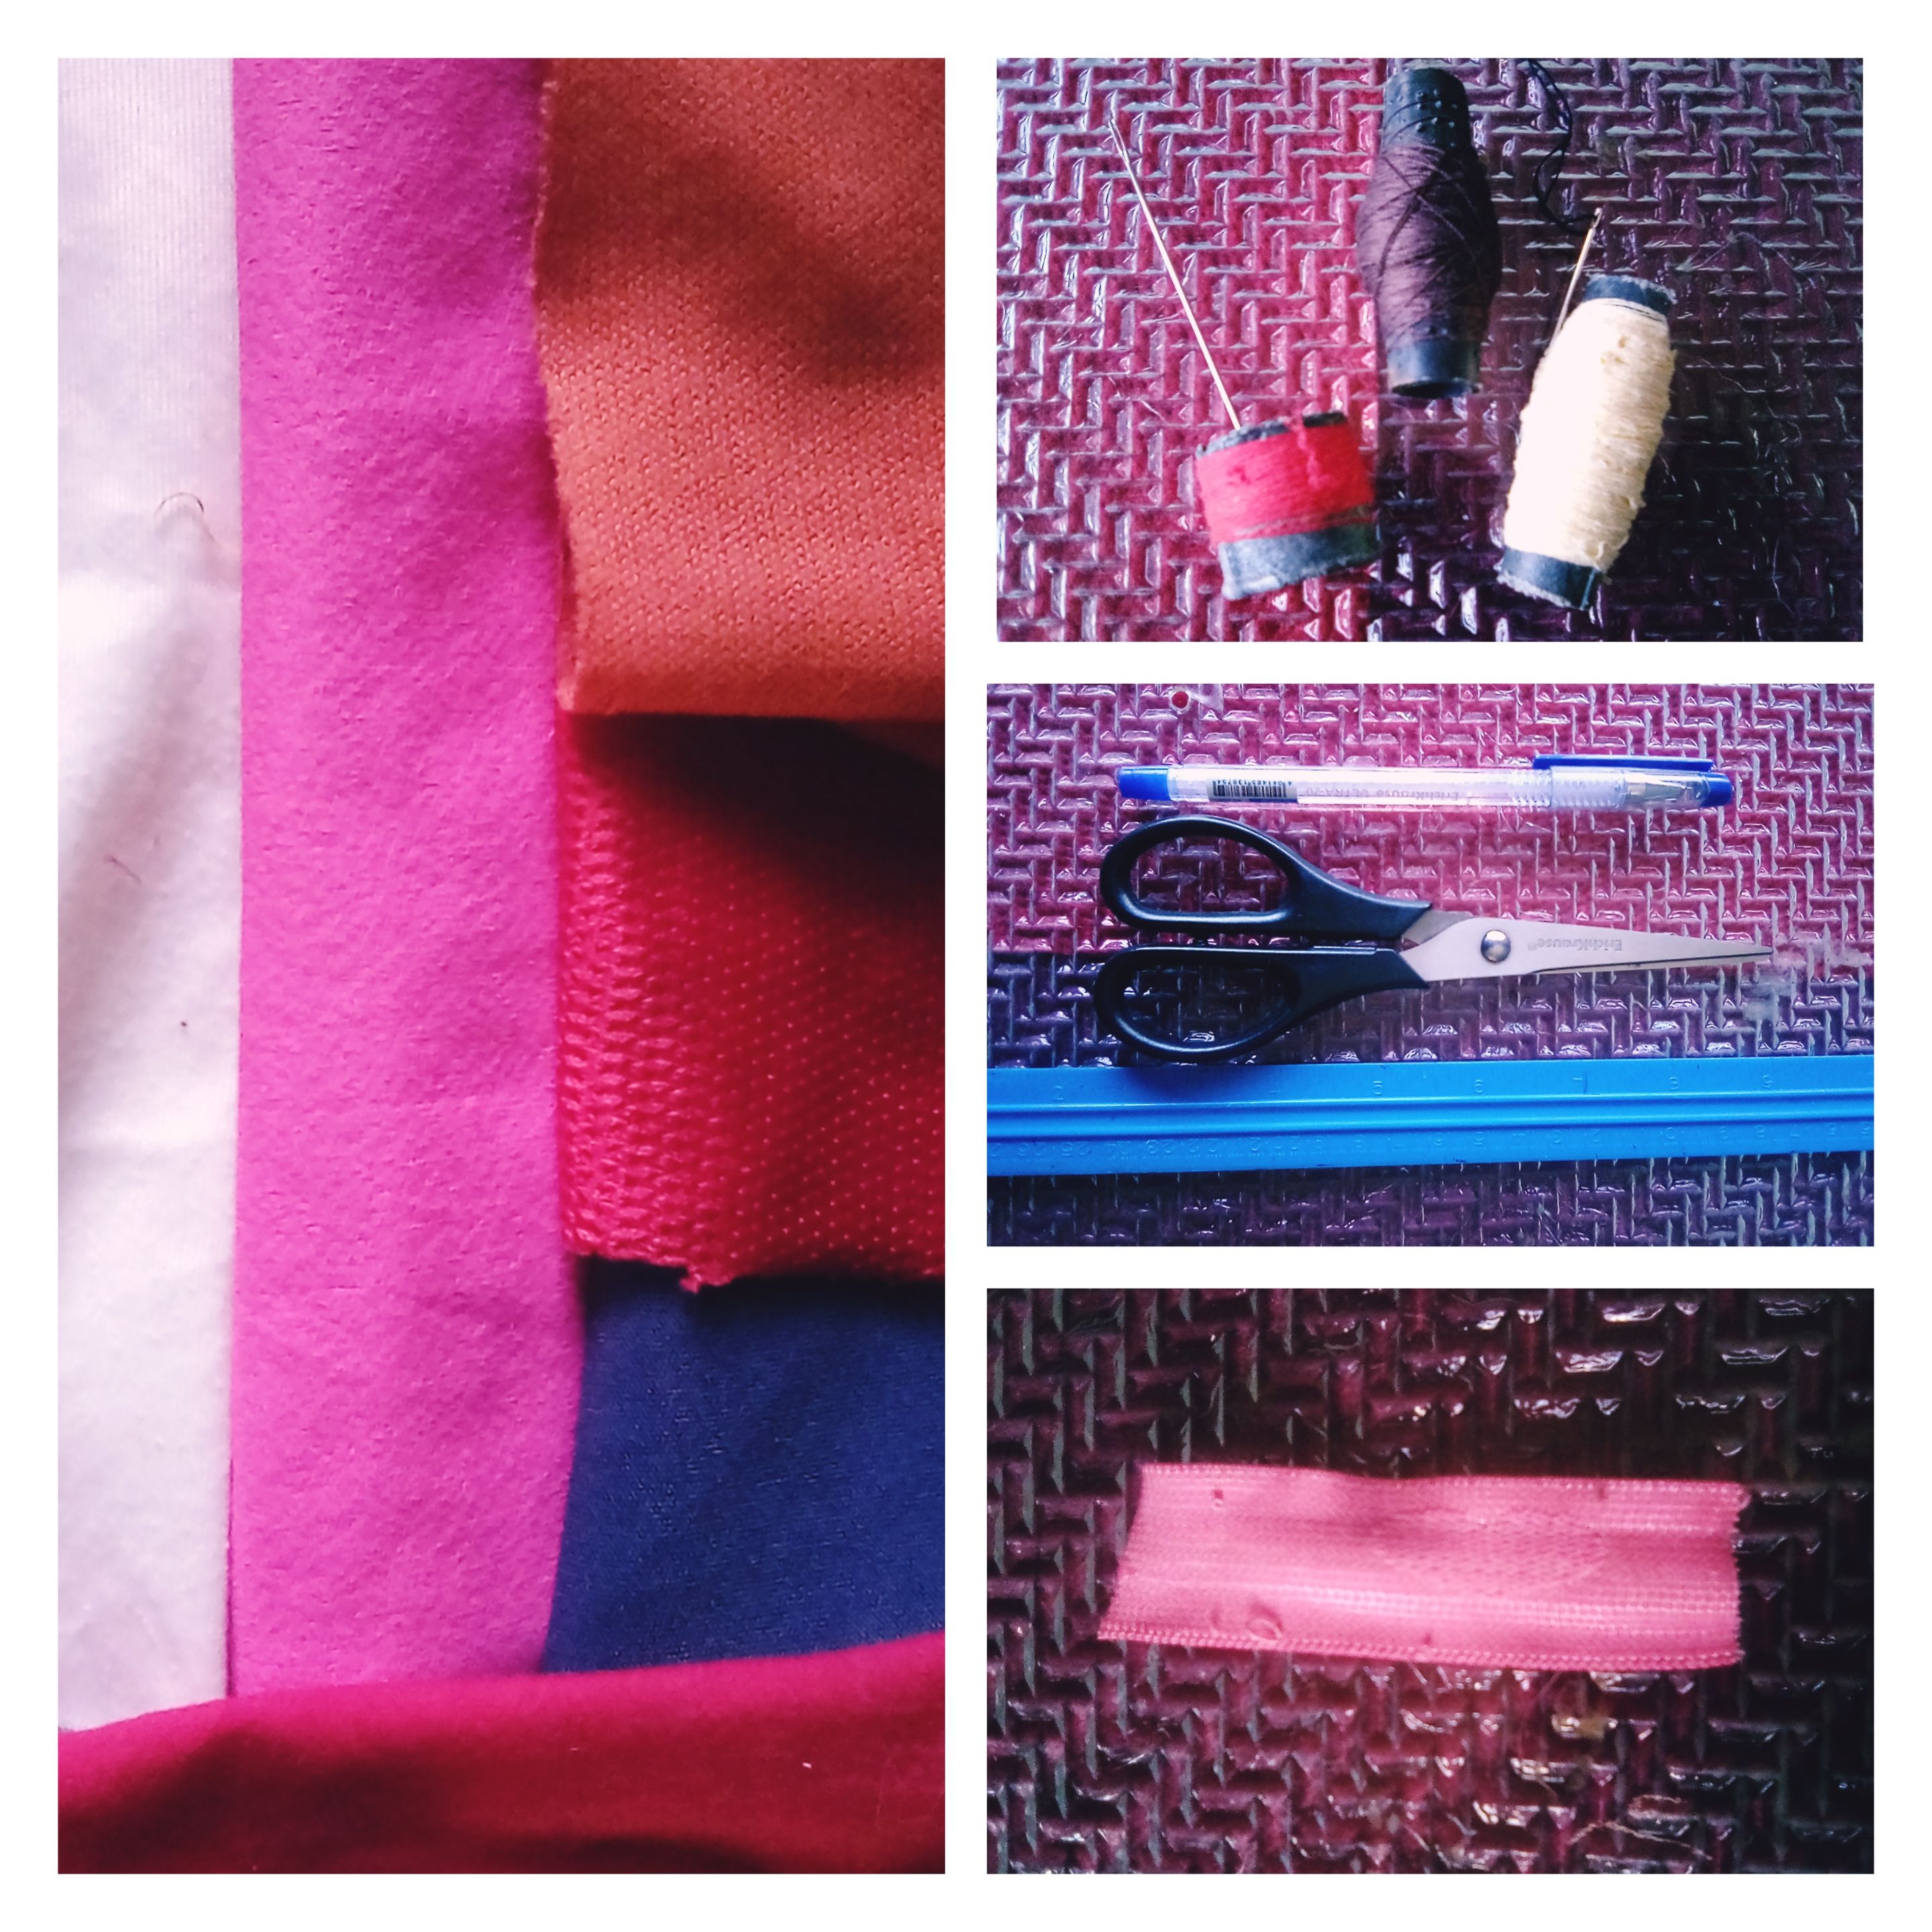
.Retazos de telas de colores variados .Tijera .Cartón .Lapicero .Regla .Hilo .Aguja .Pegamento .Piedras brillantes .Elástico
✨Modo de confección ✨
Para realizar estos cintillos con flores, vamos a dividir el proceso en : la creación de su base de tela, la confección de las flores decorativas, y en el logro de su cerrado.
# ✨Pasos para crear la base.
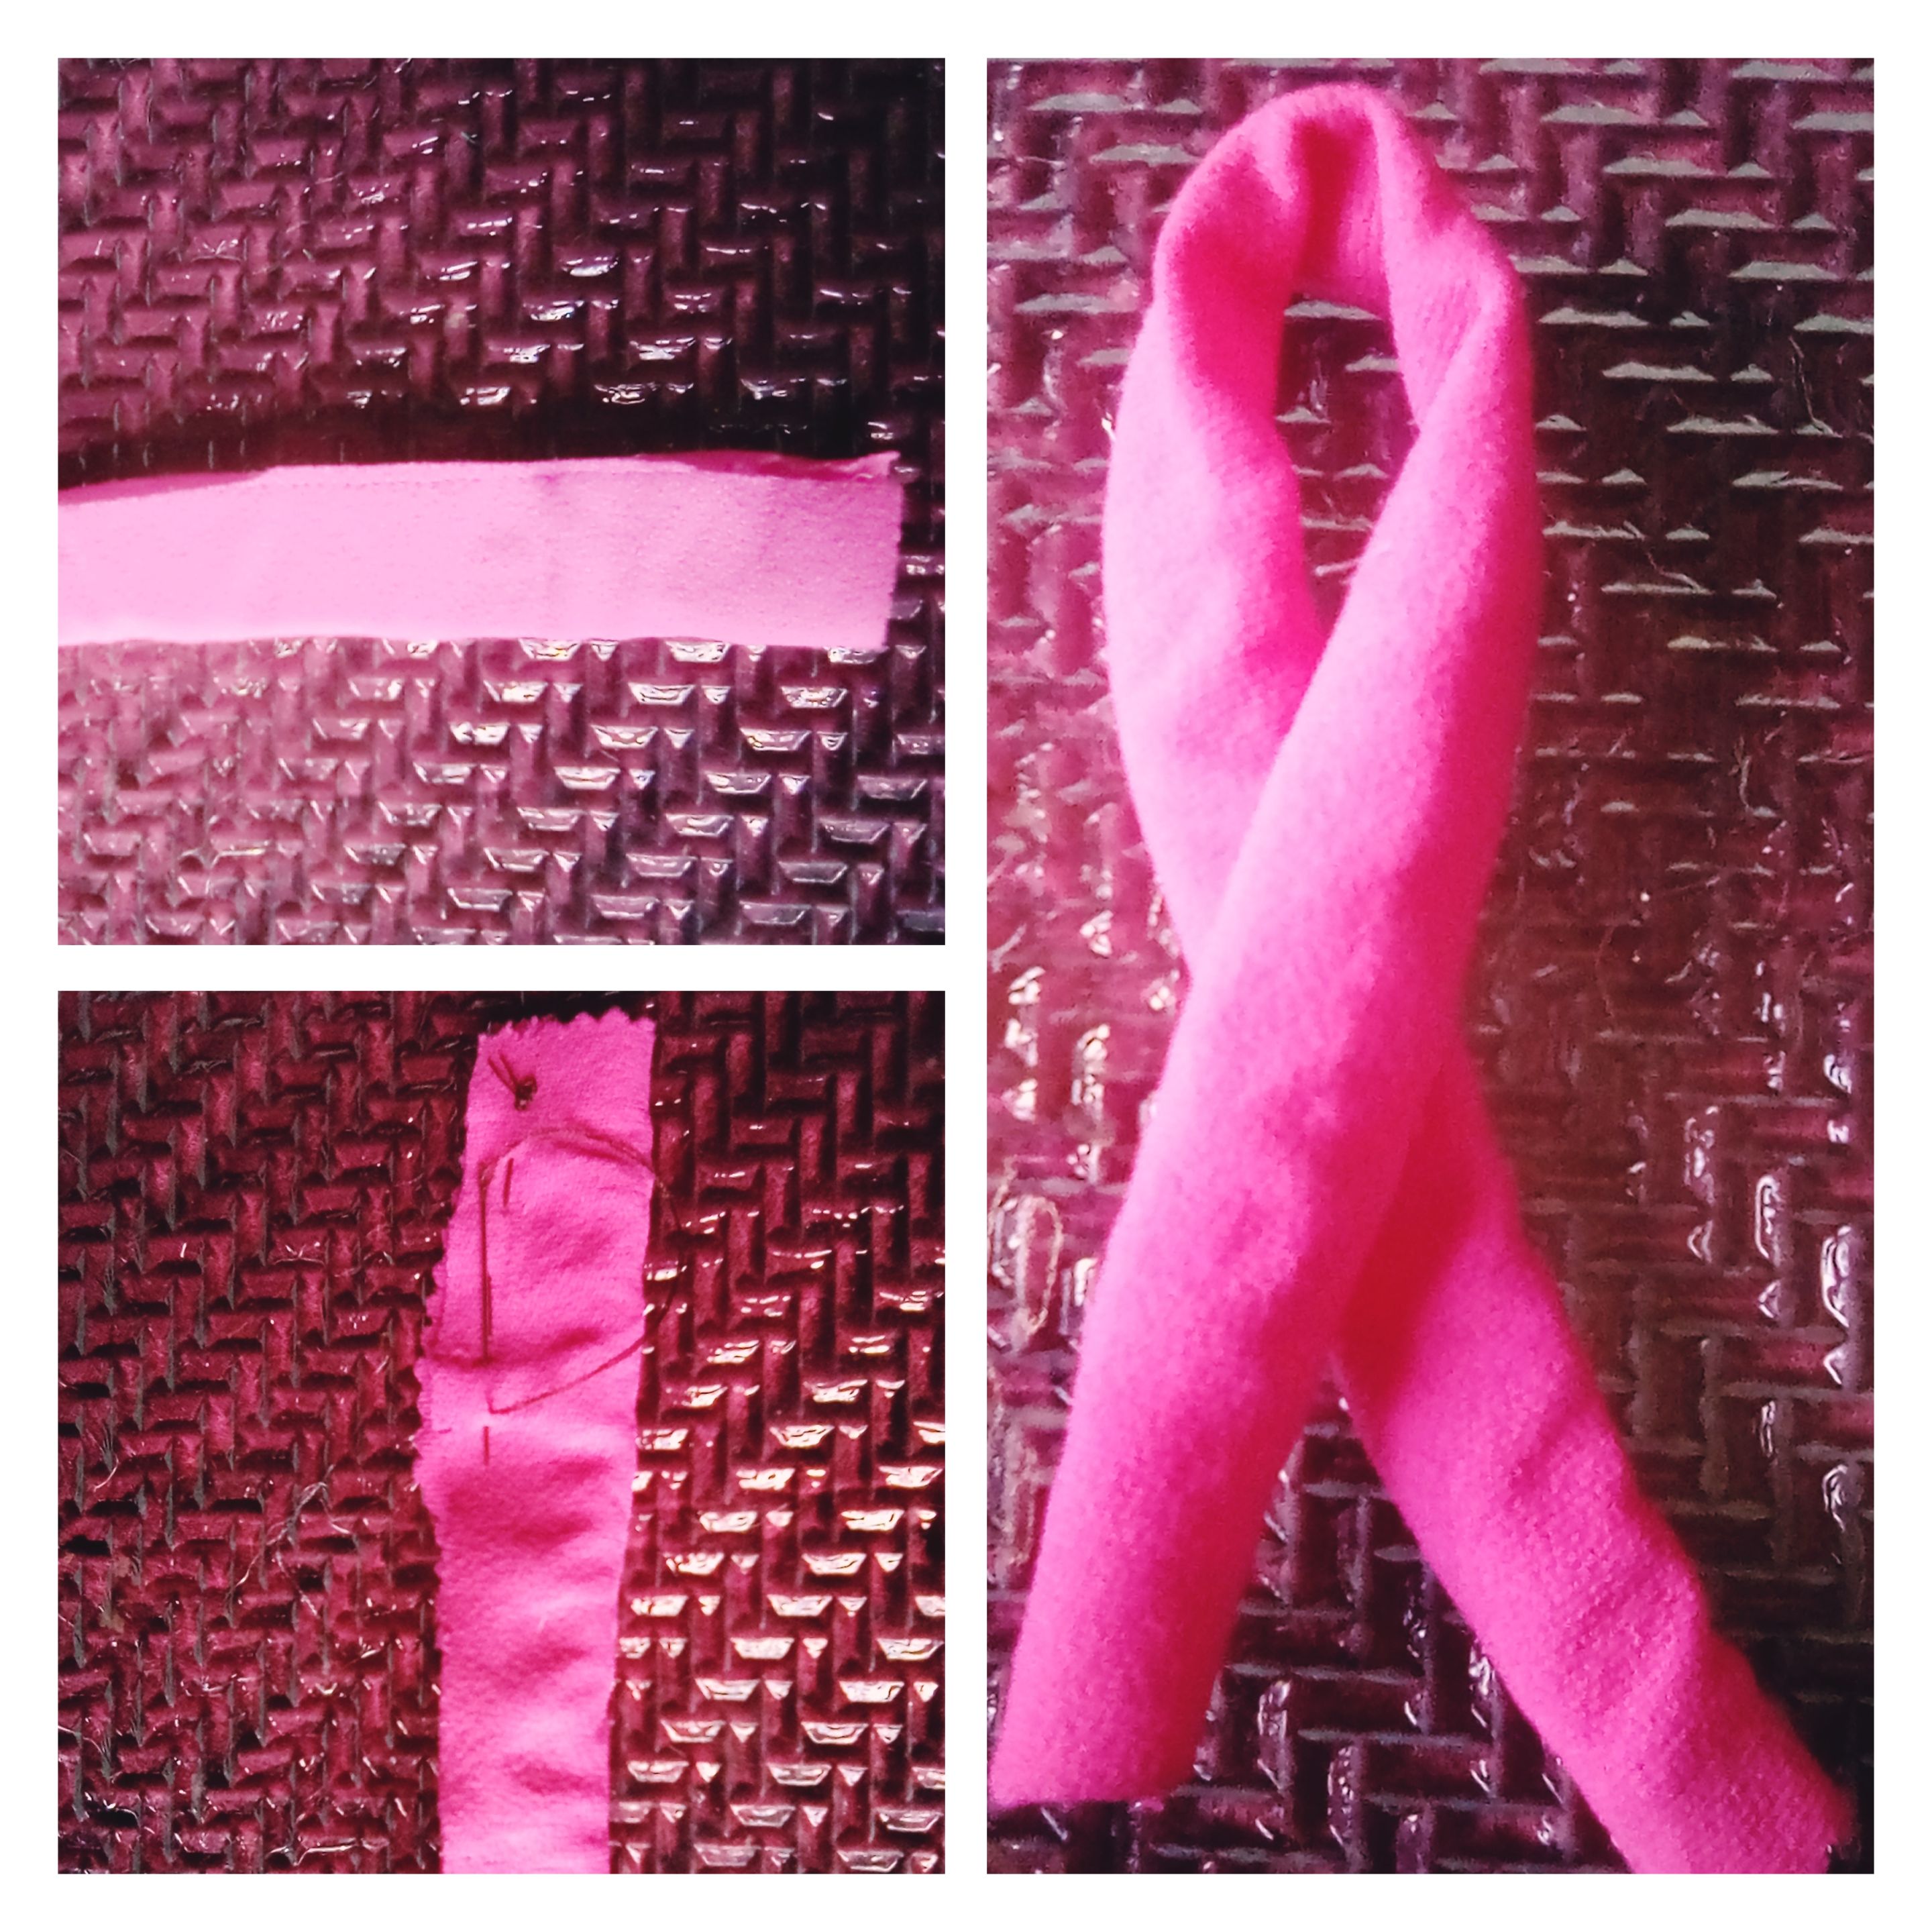
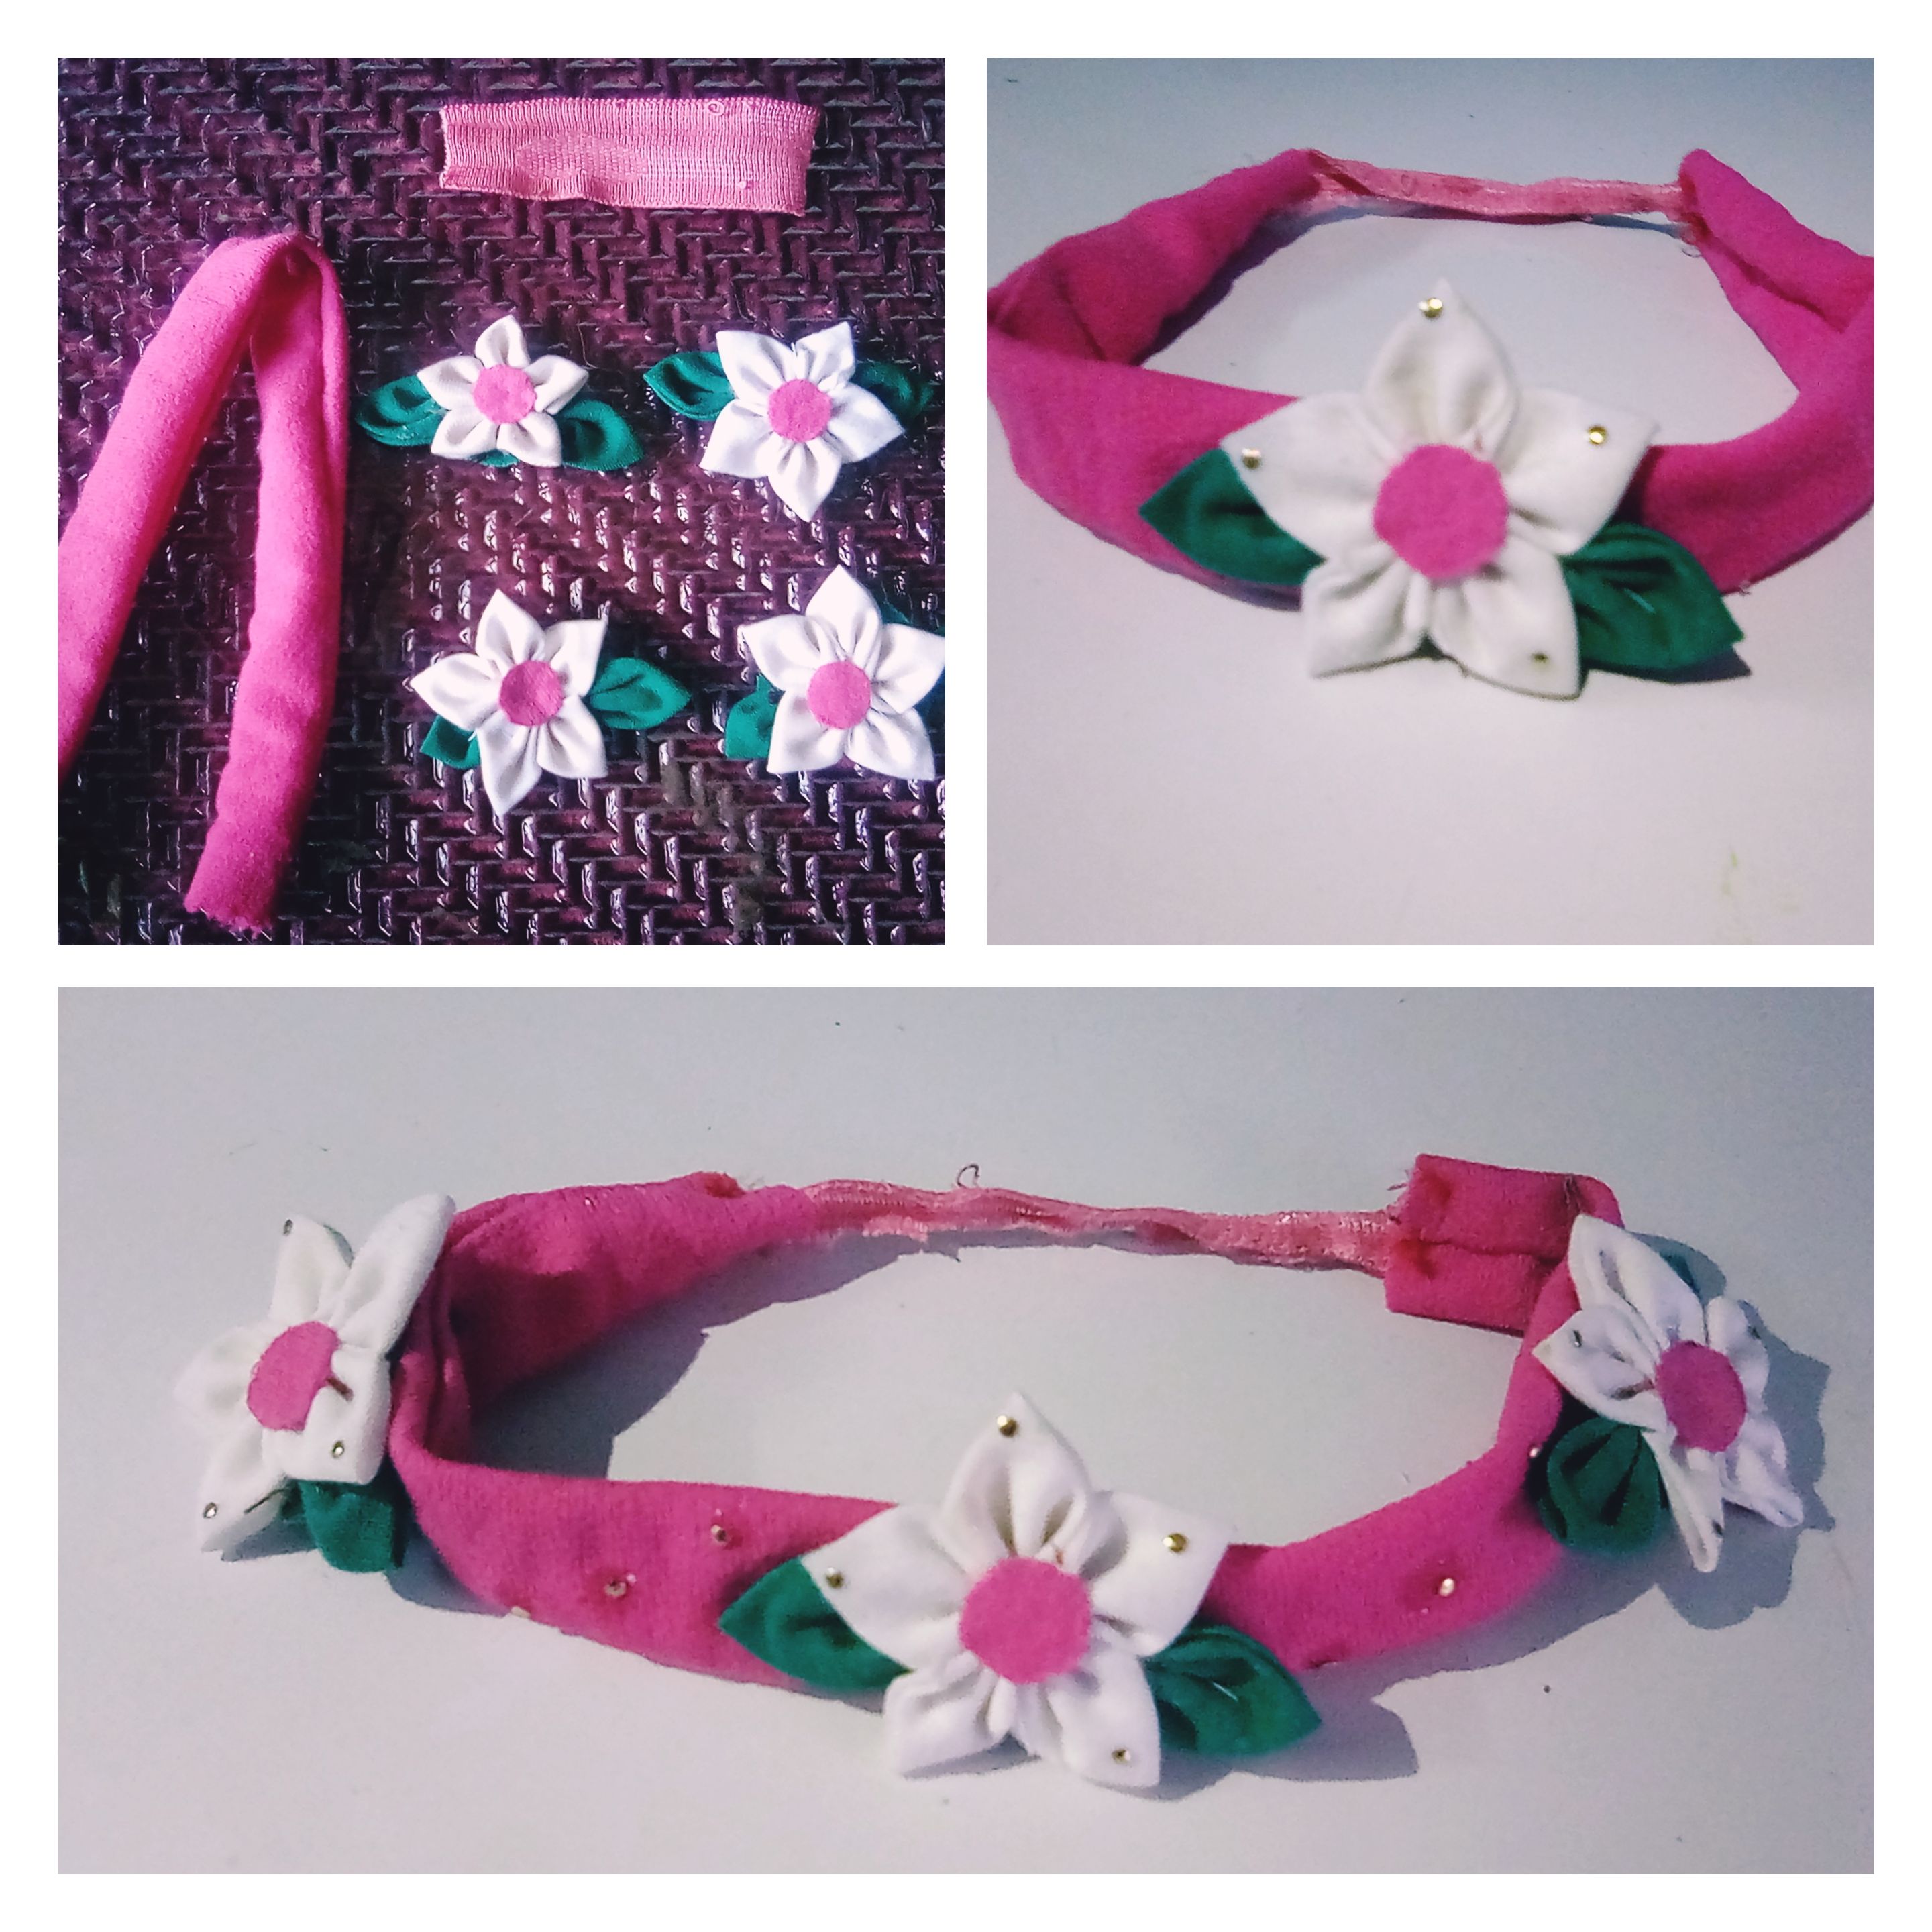
Comenzamos escogiendo un retazo de tela del color de nuestra preferencia, rosado, y marcando con ayuda del lapicero y regla un rectángulo con las dimensiones de largo y ancho deseadas. El ejemplar, que les muestro a continuación es para niñas y adolescentes de cabezas pequeñas, realizado con 25 cm de largo y 4 centímetros de ancho. Continuamos recortando por la guía trazada y doblando la tela, por el ancho. Luego, cosemos por todo su borde, obteniendo un listón de tela con orificios en sus laterales. Seguidamente, viramos la estructura completa por los orificios con ayuda de una aguja de tejer, y obtenemos nuestra base del cintillo bien conformada.
# ✨Pasos para crear las flores
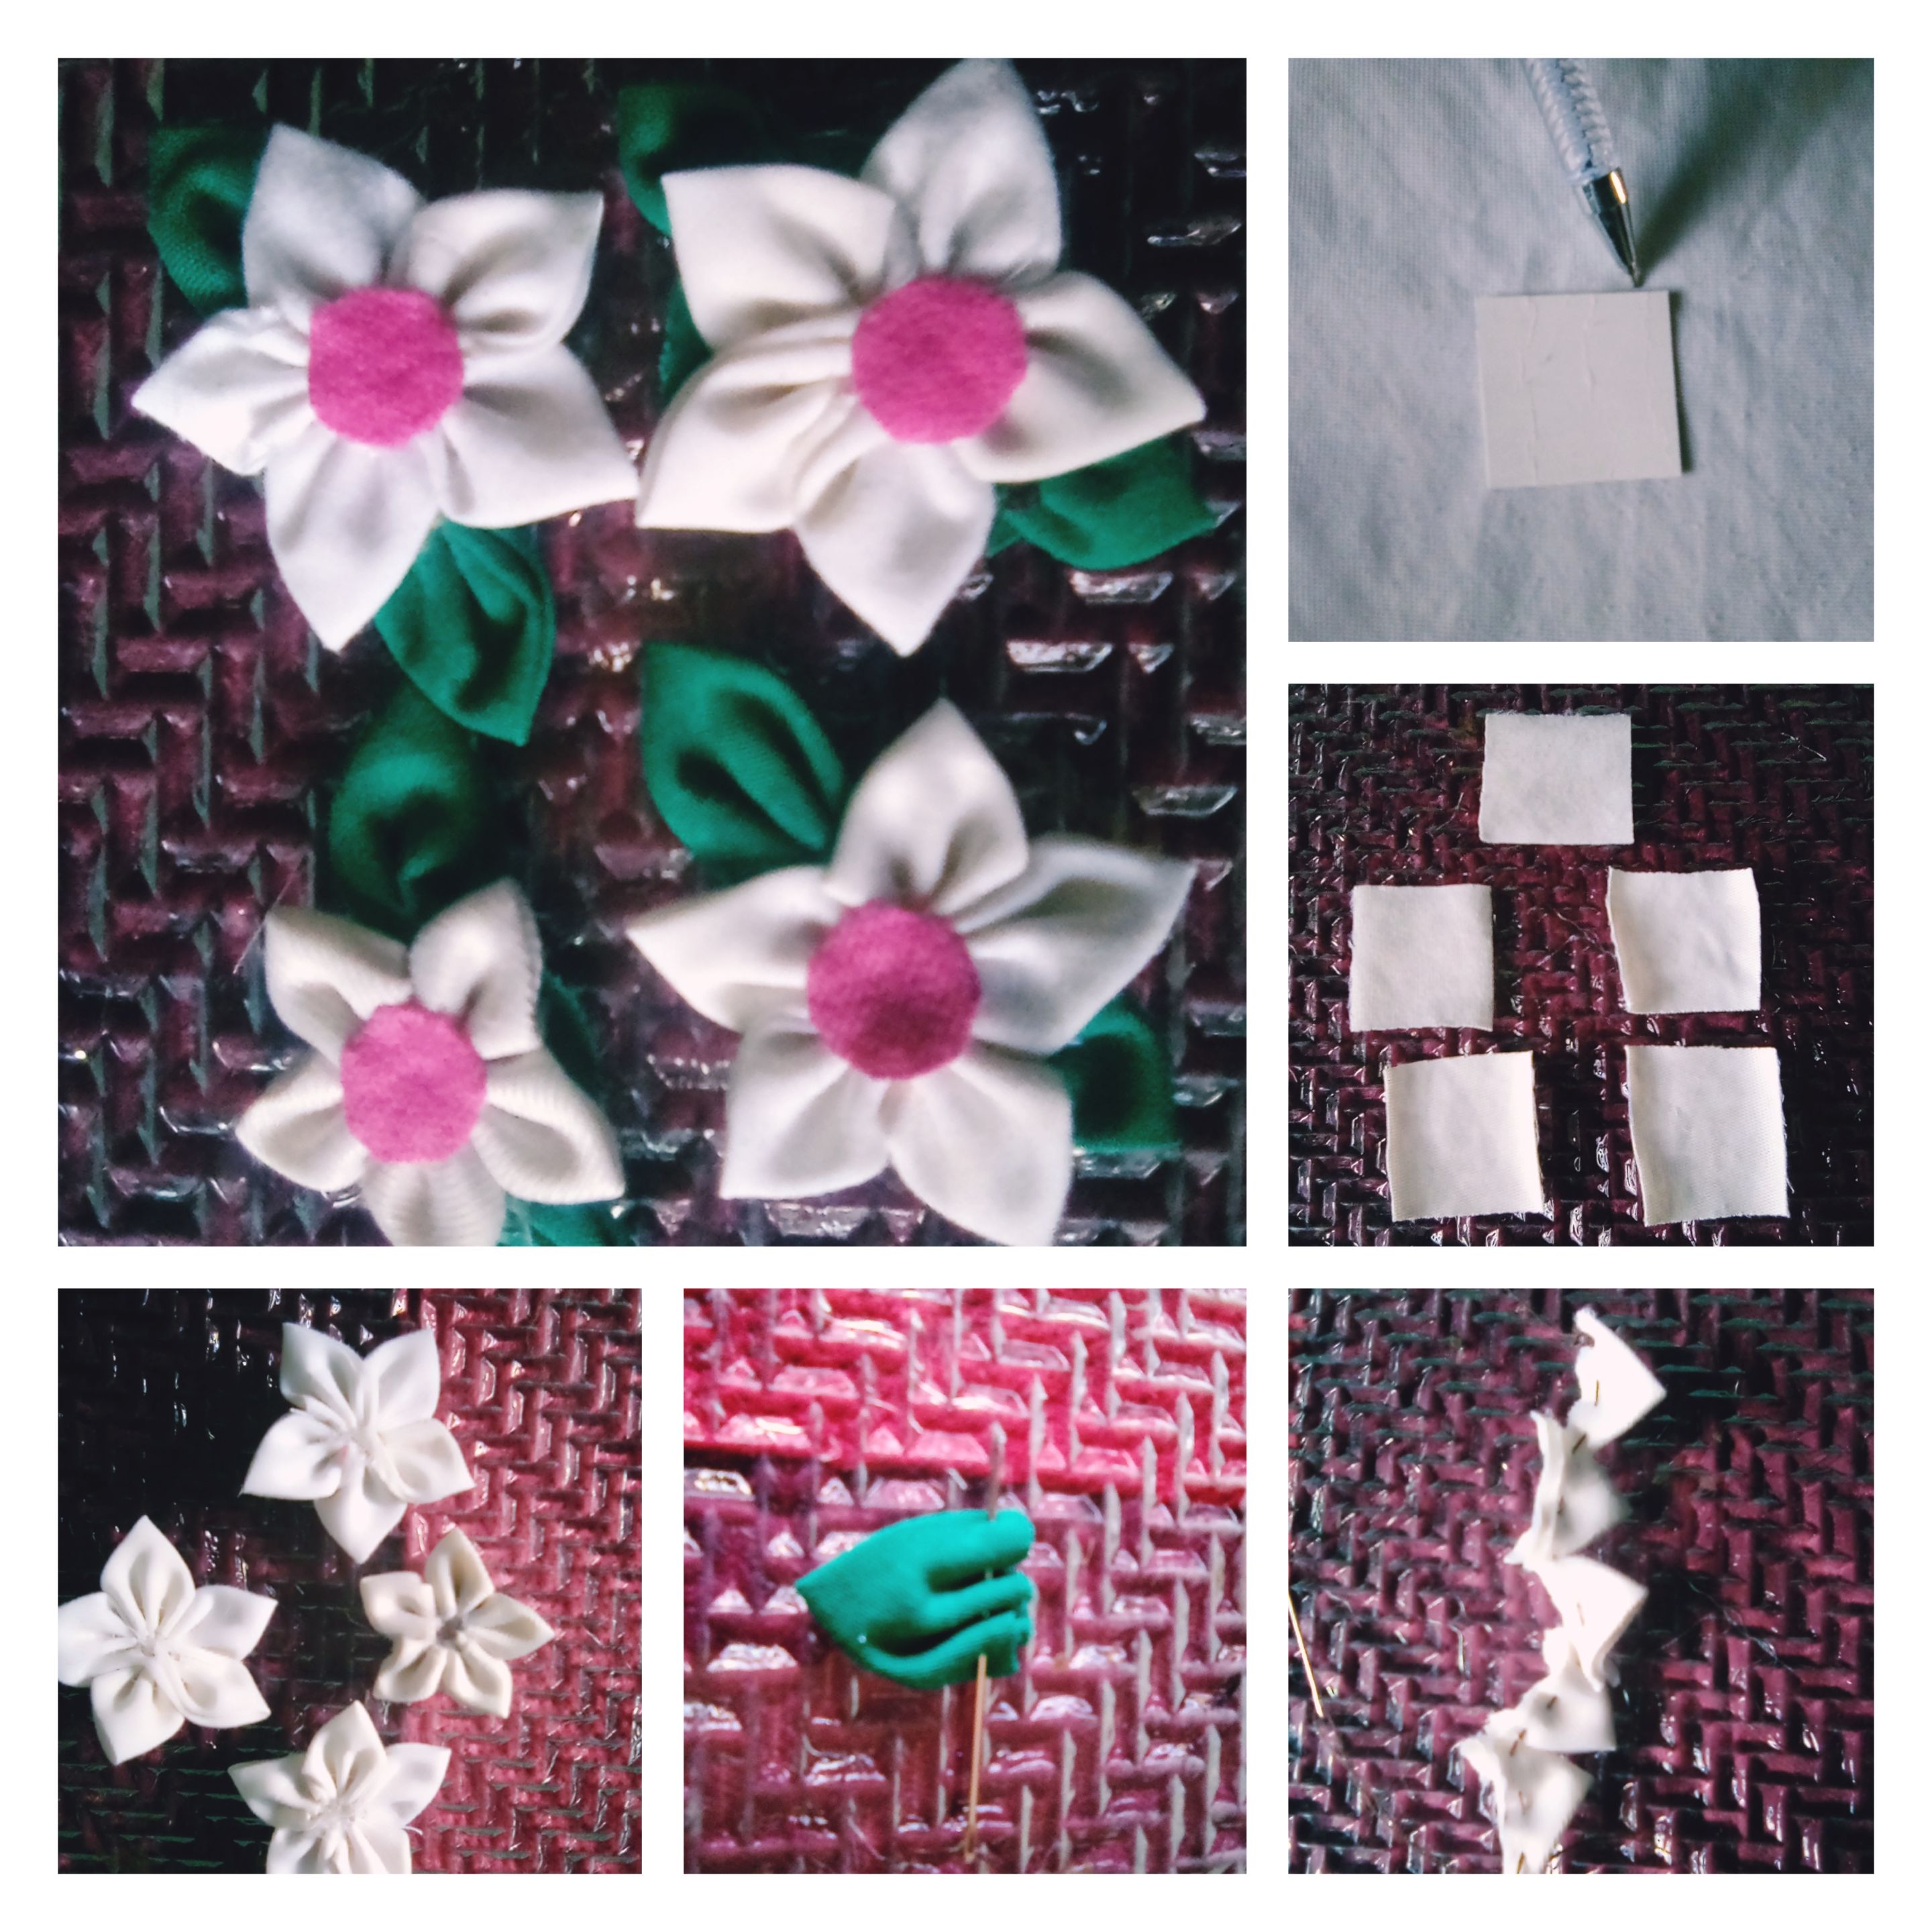
Diversos son los modelos de flores que podemos realizar, el que elegí para decorar el cintillo, es el de flores con pétalos y hojas puntiagudas. Para su creación , iniciamos el proceder marcando la tela, con un cuadrado de cartulina previamente confeccionado, y un lapicero. Marcaremos 5 cuadrados en la tela blanca, para los pétalos de la flor, y dos cuadrados en la tela verde, para las hojas. Luego, recortamos por la guía trazada, obteniendo nuestros cuadrados conformados. Continuamos realizándole a cada uno el siguiente proceder: Doblamos centralmente, conformando un triángulo equilátero y luego, doblamos nuevamente, creando uno, con dimensiones más pequeñas. Seguidamente, ensamblamos los triángulos de los pétalos con una hebra de hilo, alamos y anudamos, mientras que a los de las hojas, los constituiremos individualmente. Hasta aquí tenemos los pétalos y las hojas de nuestra flor, ahora, pasaremos a crear su centro: recortando pequeños círculos de tela rosados, para luego, estructurarla completamente con pegamento, y adherirlas a la base creada. ✨ Para el cierre del cintillo , coseremos en ambos extremos de la base, un pequeño elástico.
Amigos, ¡hermosos!, lucen estos cintillos en el cabello, que podemos crear para obsequiar a las pequeñas princesas de la familia, y con diferentes estilos y tamaño para nuestro uso diario.Espero que les hayan gustado, e invitarlos a su futura confección. ¡Bendiciones! Fotografías propias.
English
Greetings friends who love crafts.💁☀️
A happy and creative day to all! Today, friends, I want to share the method I used to make beautiful ribbons with flowers for hair, by recycling scraps of fabric Let's get started!
✨ Ribbons with flowers ✨
✨ Materials✨
.Scraps of fabrics of various colors .Scissor .Cardboard .Pen holder .Rule .Thread .Needle .Glue .Shiny stones .Elastic
✨Mode of preparation ✨
To make these ribbons with flowers, we will divide the process into: the creation of its fabric base, the making of the decorative flowers, and the achievement of its closure.
# ✨Steps to create the base.
We start by choosing a piece of fabric of the color of our preference, pink, and marking with the help of the pencil and ruler a rectangle with the desired length and width dimensions. The copy, which I show you below is for girls and teenagers with small heads, made with 25 cm long and 4 centimeters wide. We continue cutting along the traced guide and folding the fabric, by the width. Then, we sew along its entire edge, obtaining a ribbon of fabric with holes on its sides. Next, we turn the entire structure through the holes with the help of a knitting needle, and we get our well-shaped ribbon base.
# ✨Steps to create the flowers
There are different models of flowers that we can make, the one I chose to decorate the ribbon is the one with flowers with petals and pointed leaves. To create it, we start the process by marking the fabric, with a previously made cardboard square, and a pen. We will mark 5 squares on the white fabric, for the petals of the flower, and two squares on the green fabric, for the leaves. Then, we cut along the traced guide, obtaining our shaped squares. We continue to perform the following procedure to each one: We bend centrally, forming an equilateral triangle and then, we bend again, creating one, with smaller dimensions. Next, we assemble the triangles of the petals with a strand of thread, wing and knot, while those of the leaves, we will constitute them individually. So far we have the petals and leaves of our flower, now, we will move on to creating its center: cutting out small pink fabric circles, and then, structuring it completely with glue, and adhering them to the created base. ✨ For the closure of the ribbon, we will sew on both ends of the base, a small elastic.
Friends, beautiful!, wear these ribbons in the hair, which we can create to give to the little princesses of the family, and with different styles and sizes for our daily use.I hope you liked them, and invite them to your future confection. Blessings! Own photographs.