#
Baking cakes has always been a magical adventure for me, as well as a daily financial incentive. This time, I'm going to explain an easy and simple way to decorate a cake with Swiss meringue, the type of icing we're all familiar with, but which has caused headaches for more than one baker. Although its preparation may seem simple, if the technique is used incorrectly, the result will not be pleasant.
---

Ingredientes:
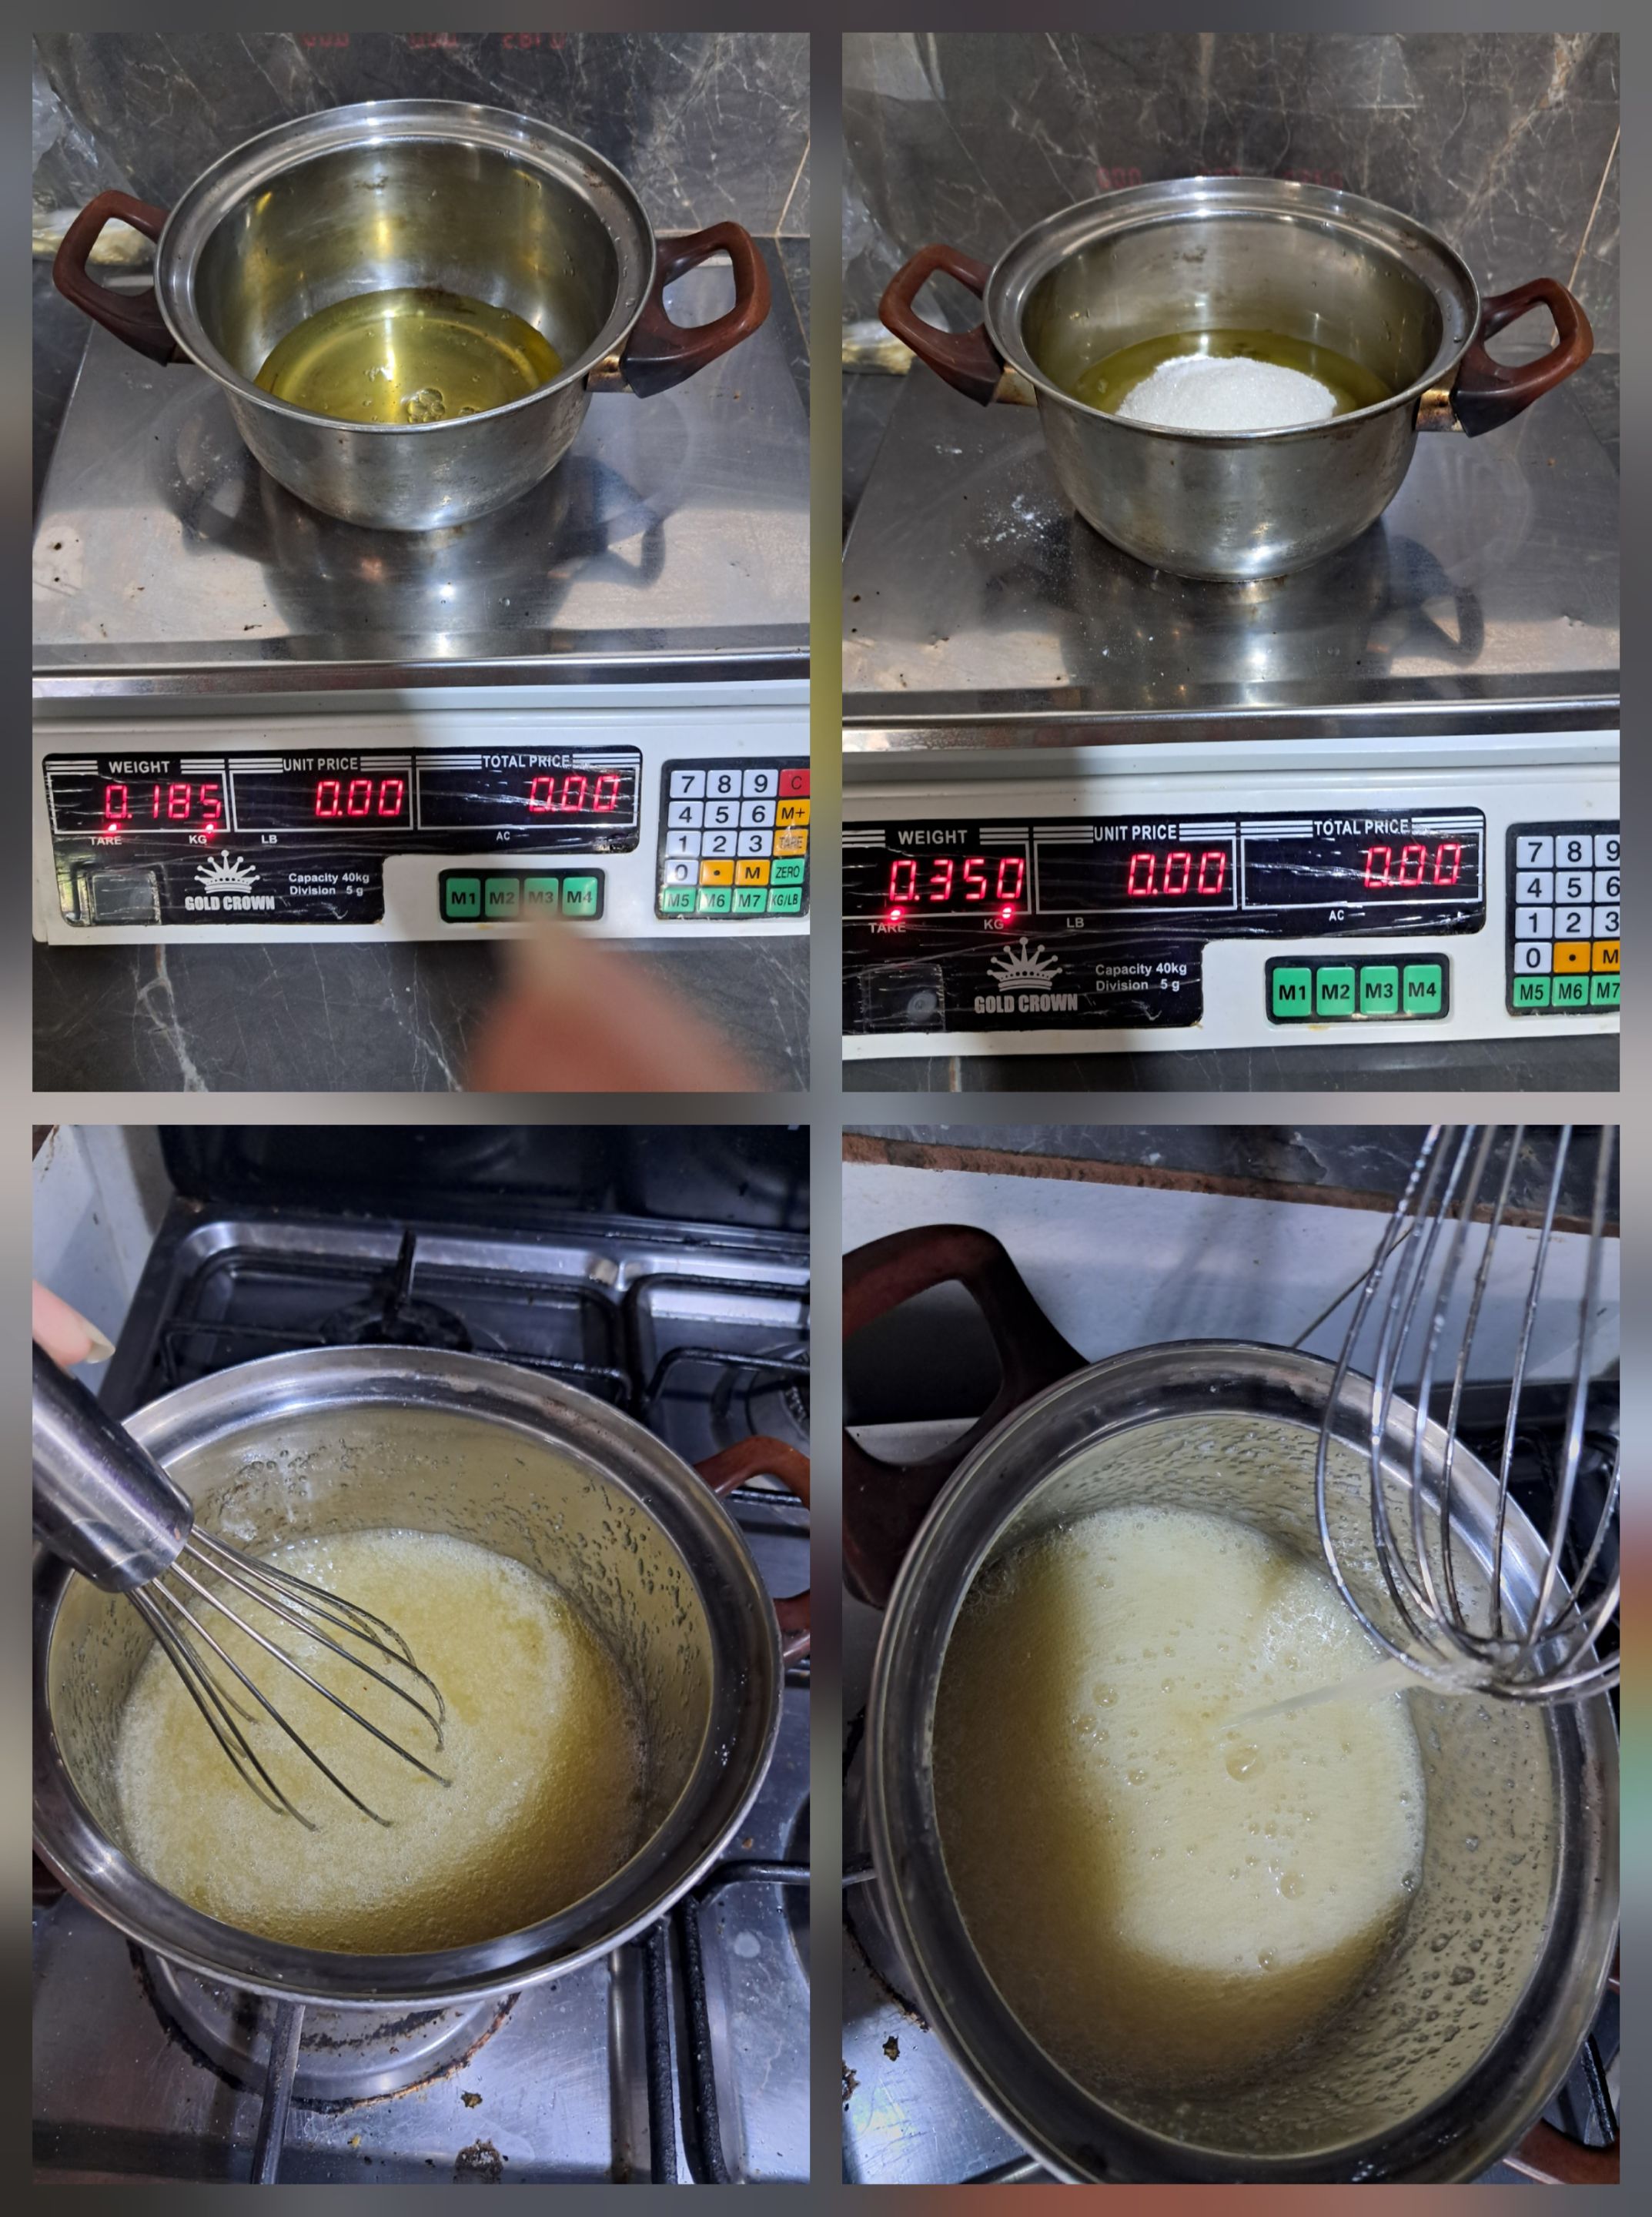
185 gr de claras de huevos
La cantidad de claras debe doblar la de azúcar
Esencia al gusto
Una cucharada de azúcar pulverizado
Relleno y pastel de elección
>Ingredients: 185g egg whites Double the amount of sugar Flavor to taste One tablespoon powdered sugar Filling and pastry of your choice

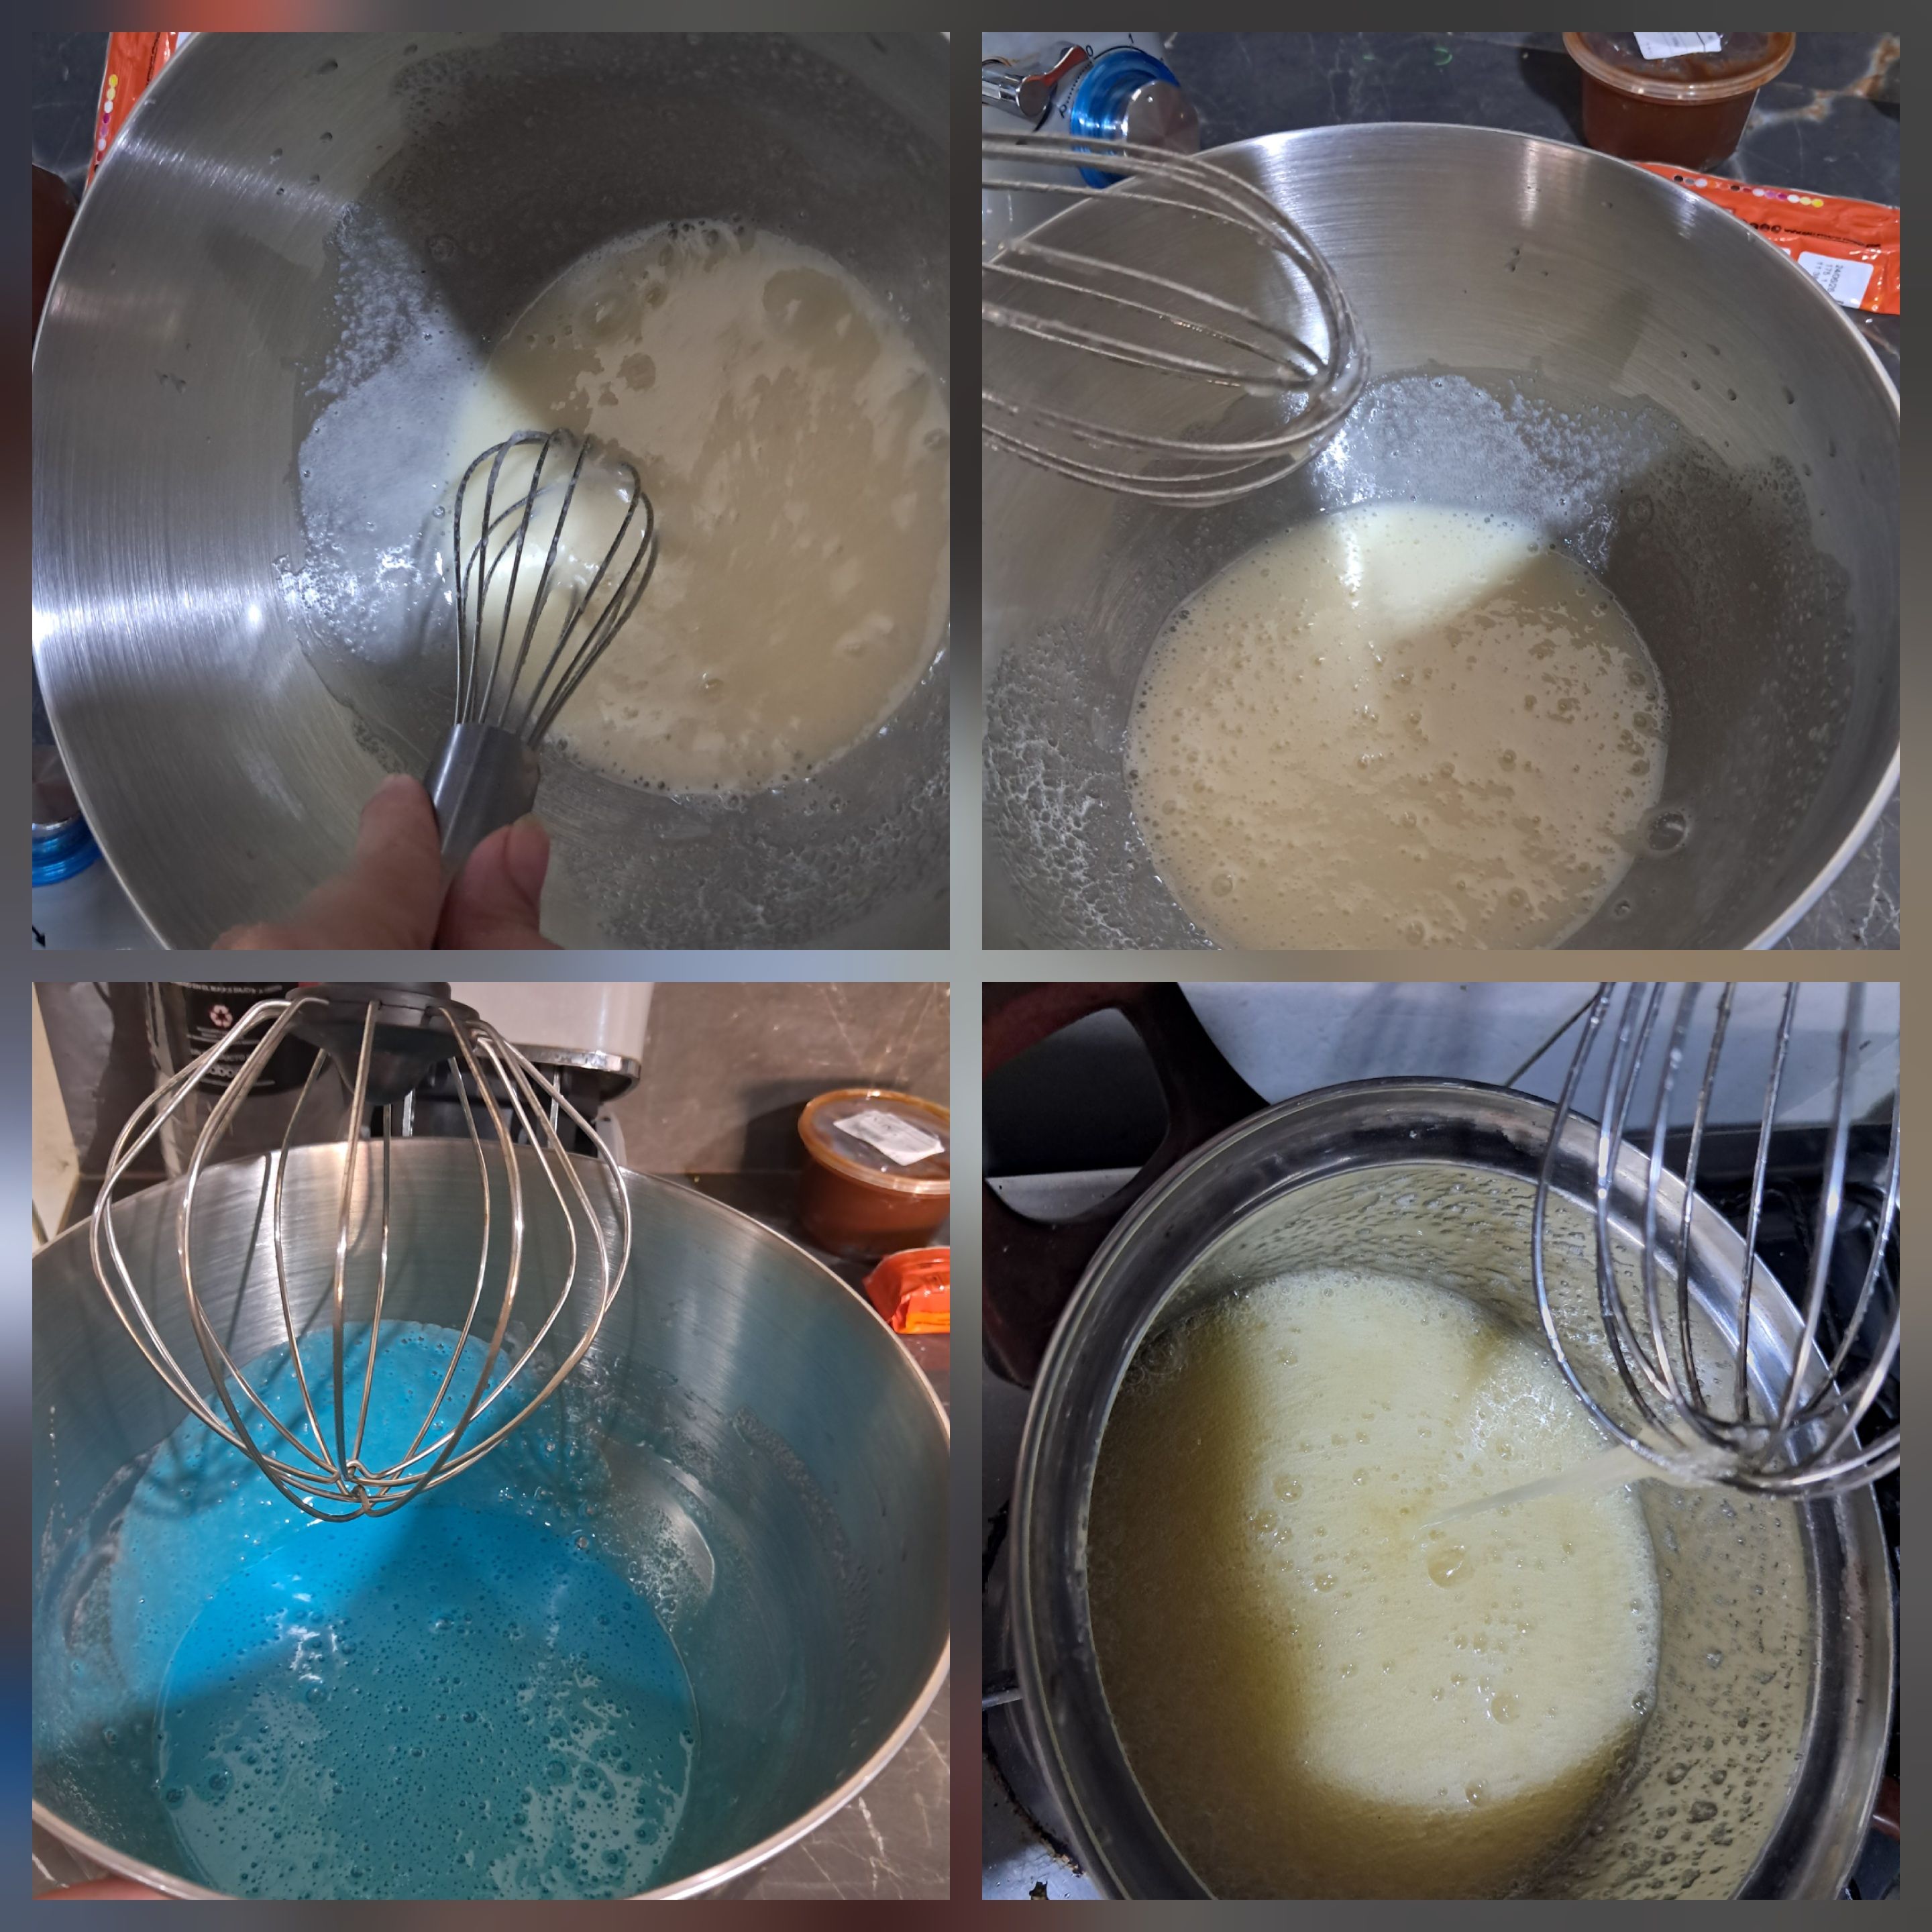
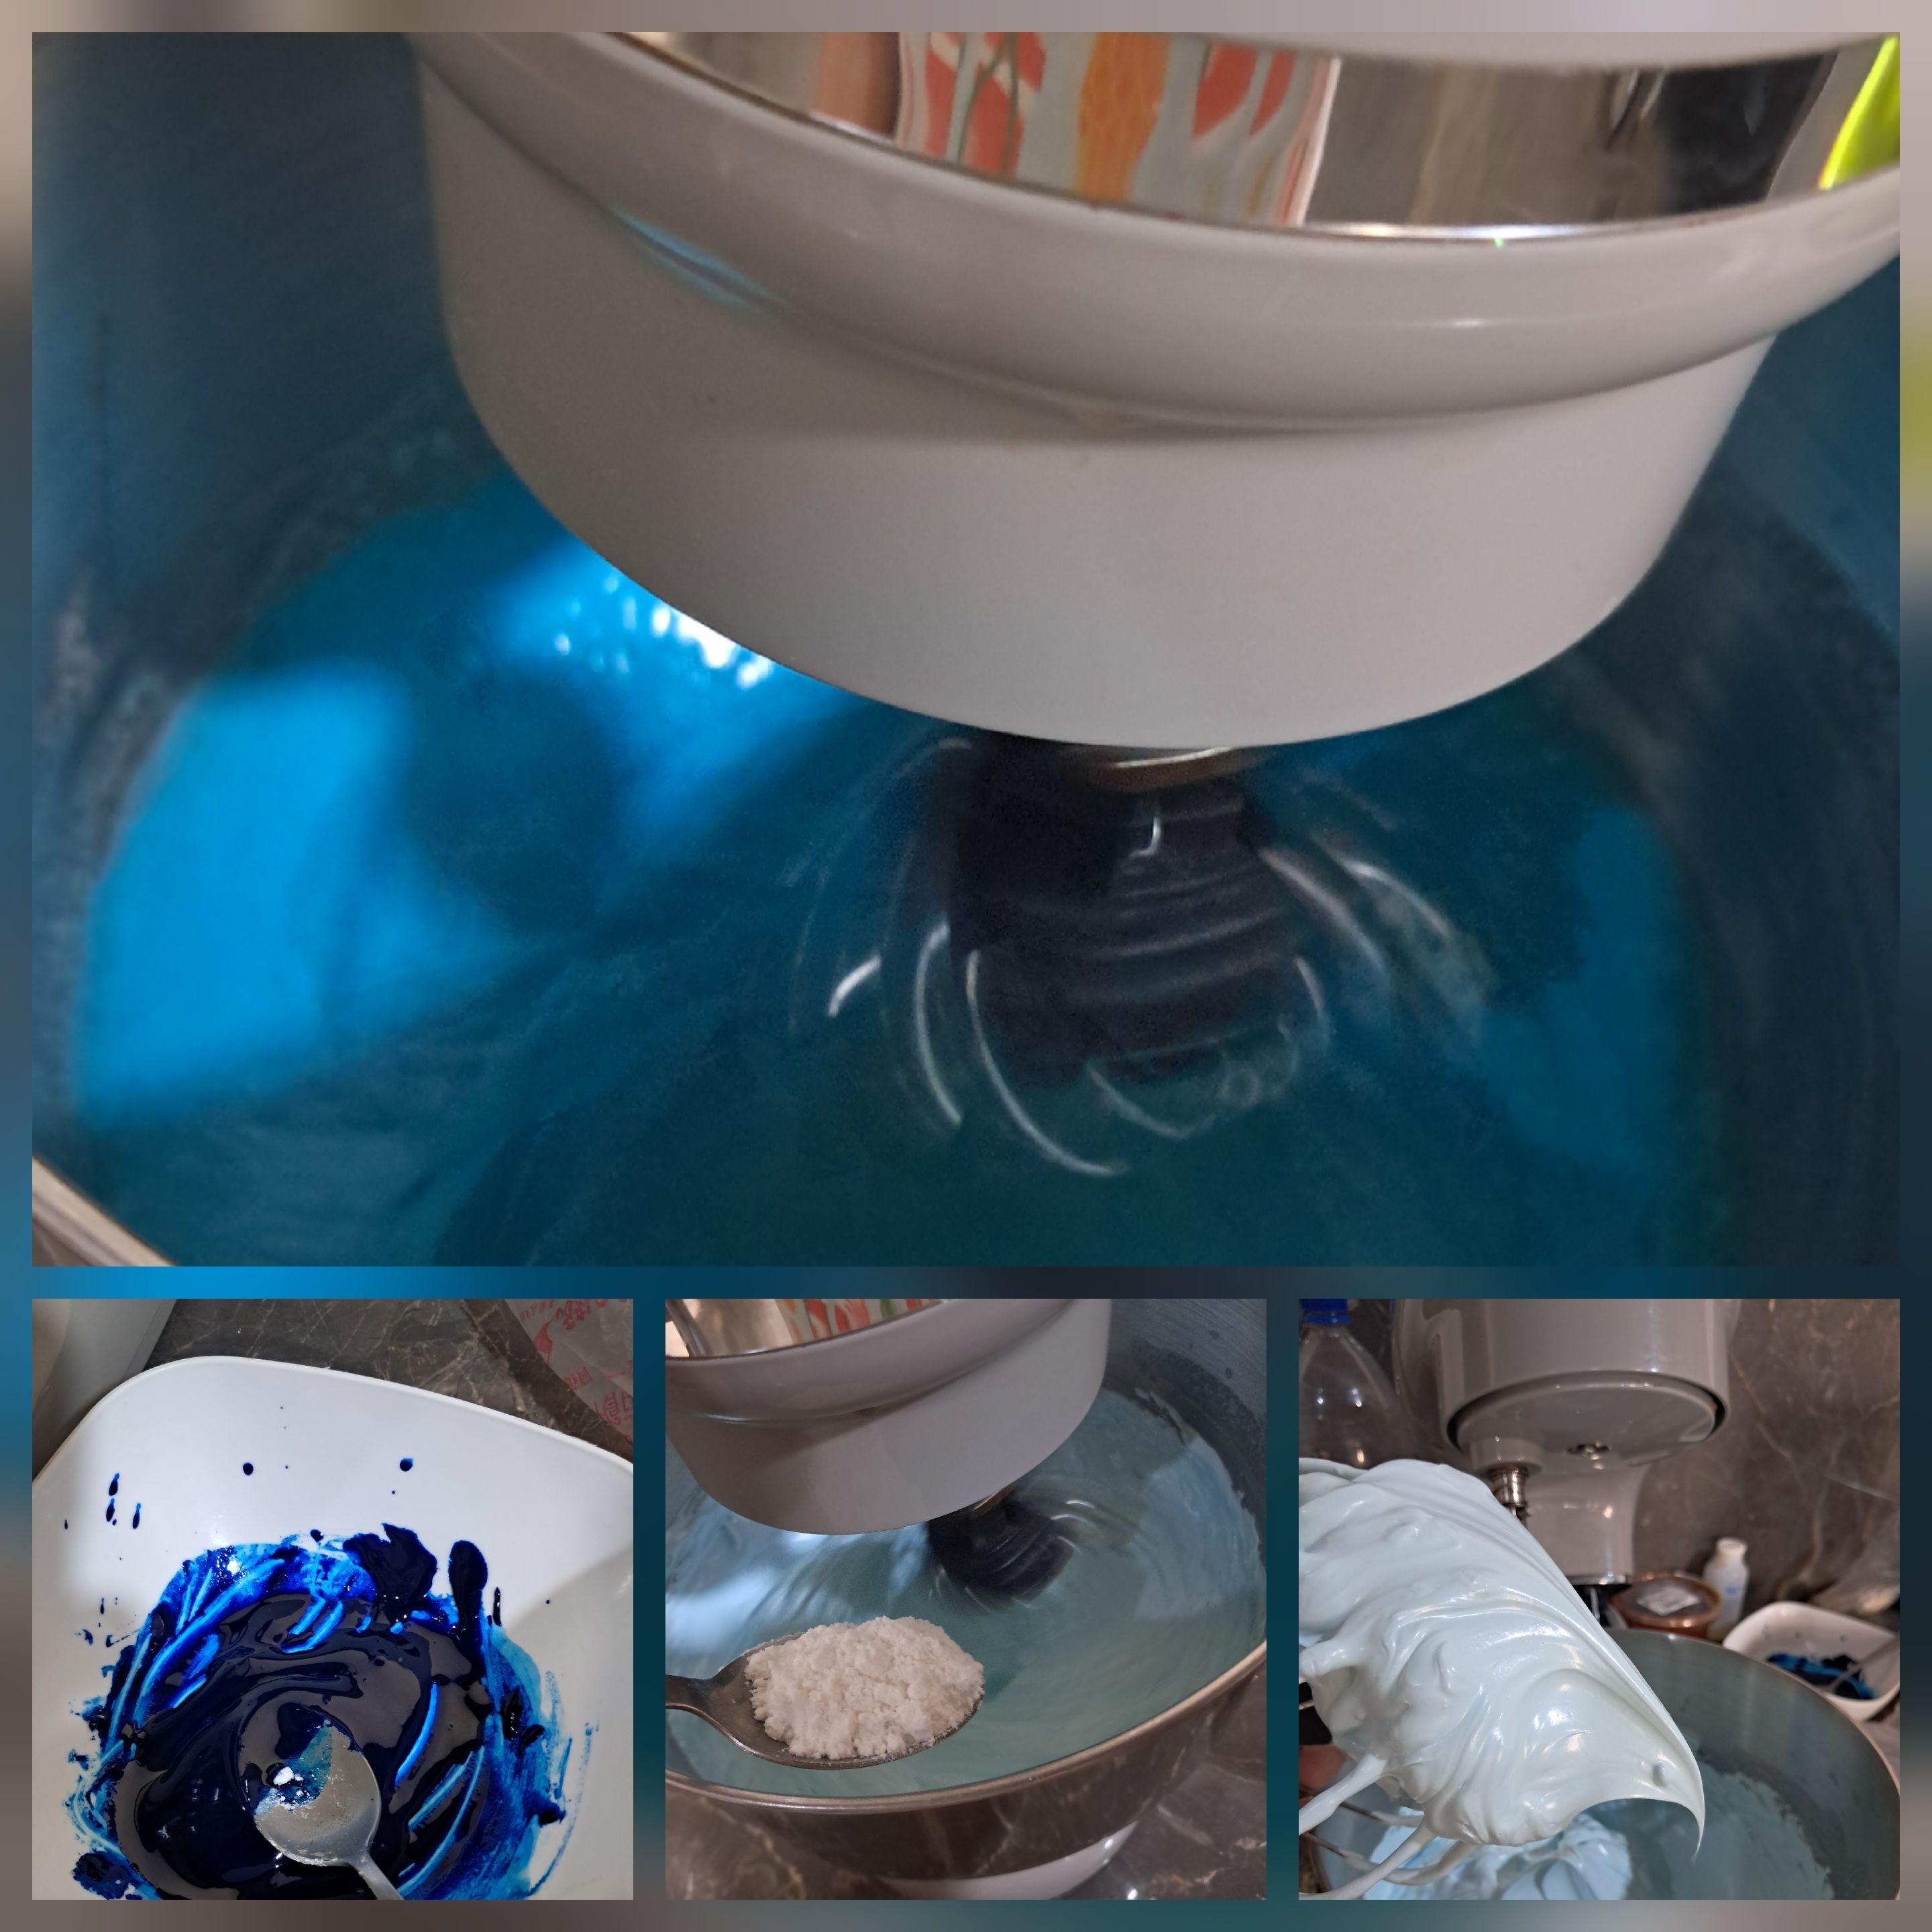
En esta primera parte, la elaboración del merengue suizo es muy sencilla. Debemos pesar las claras y duplicar la cantidad de azúcar. Llevamos todo a una olla limpia y lo colocamos al fuego. Por lo general, se recomienda hacerlo a baño maría, pero si ya tienes práctica en este paso, puedes hacerlo directamente, siempre teniendo el debido cuidado para que no se queme. A esta mezcla, debes agregar una pizca de sal que ayudará a resaltar los sabores. Una vez que el azúcar se haya cristalizado, es decir, que ya se haya derretido, llevamos la mezcla a la batidora. Batimos hasta que alcance picos firmes y es en este punto donde nos daremos cuenta de que el merengue está listo. A mitad del proceso, incorporamos esencia al gusto; en este caso, de nata, y una cucharada de azúcar pulverizado.
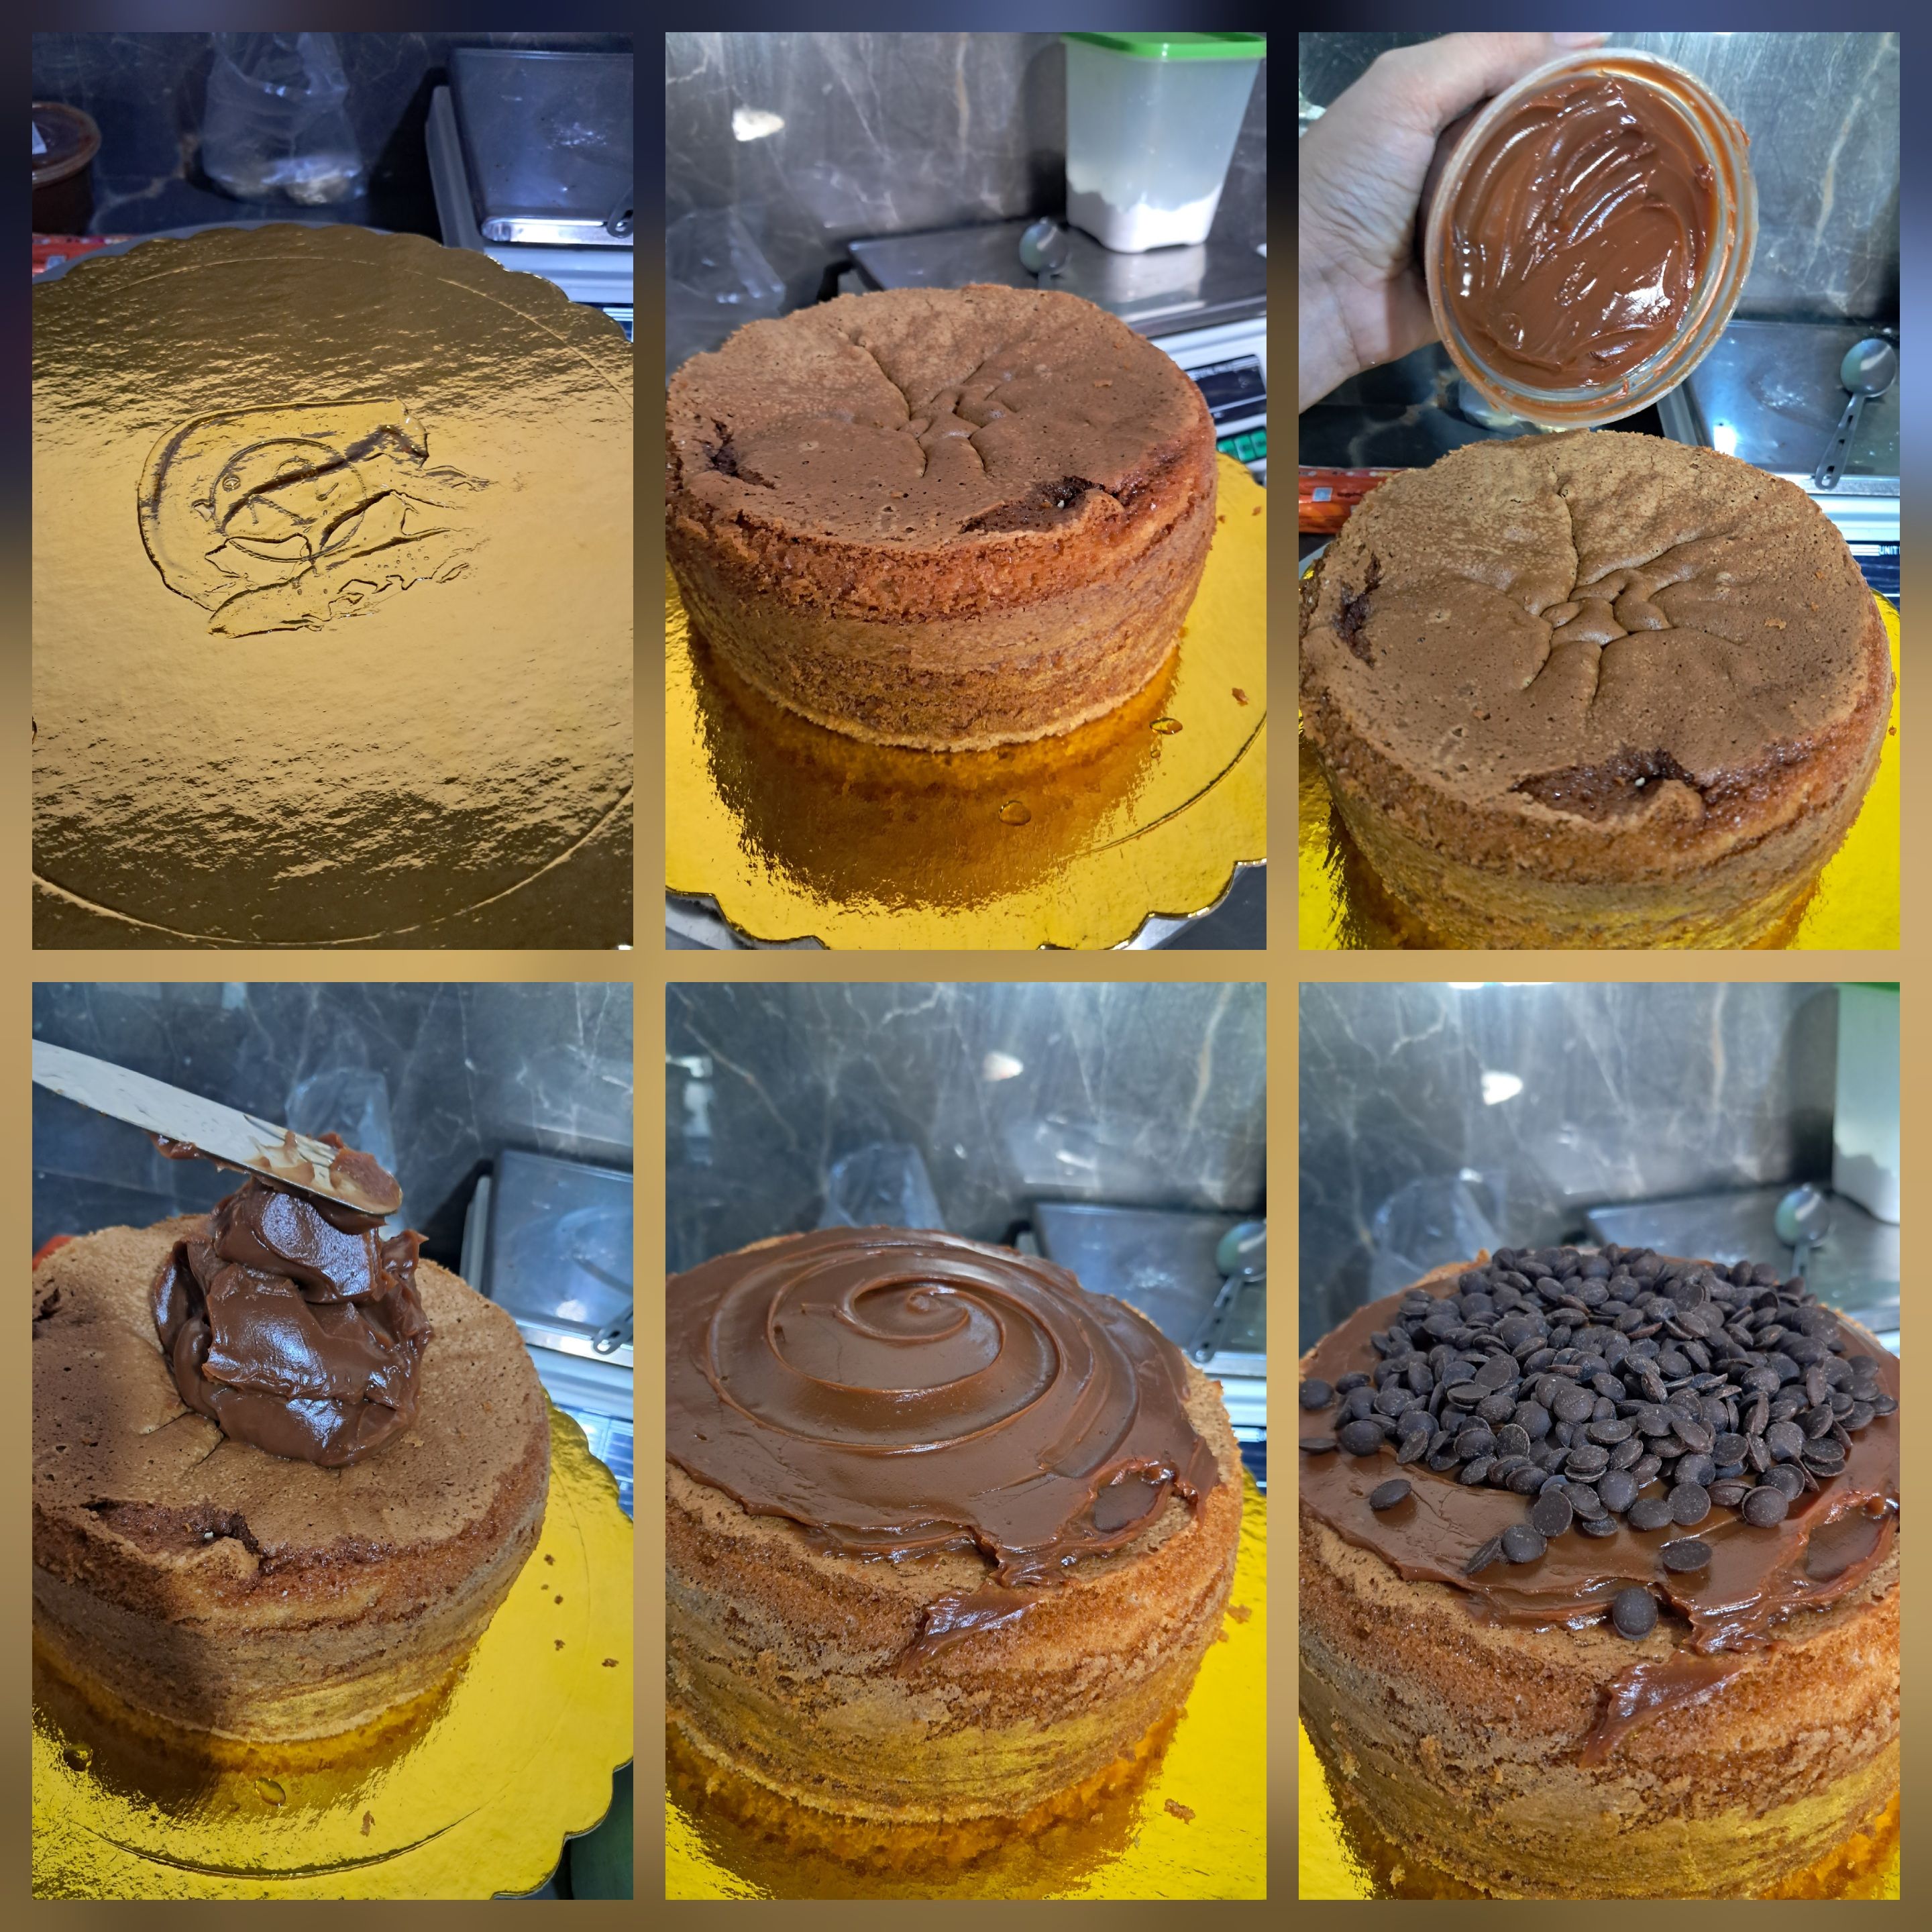
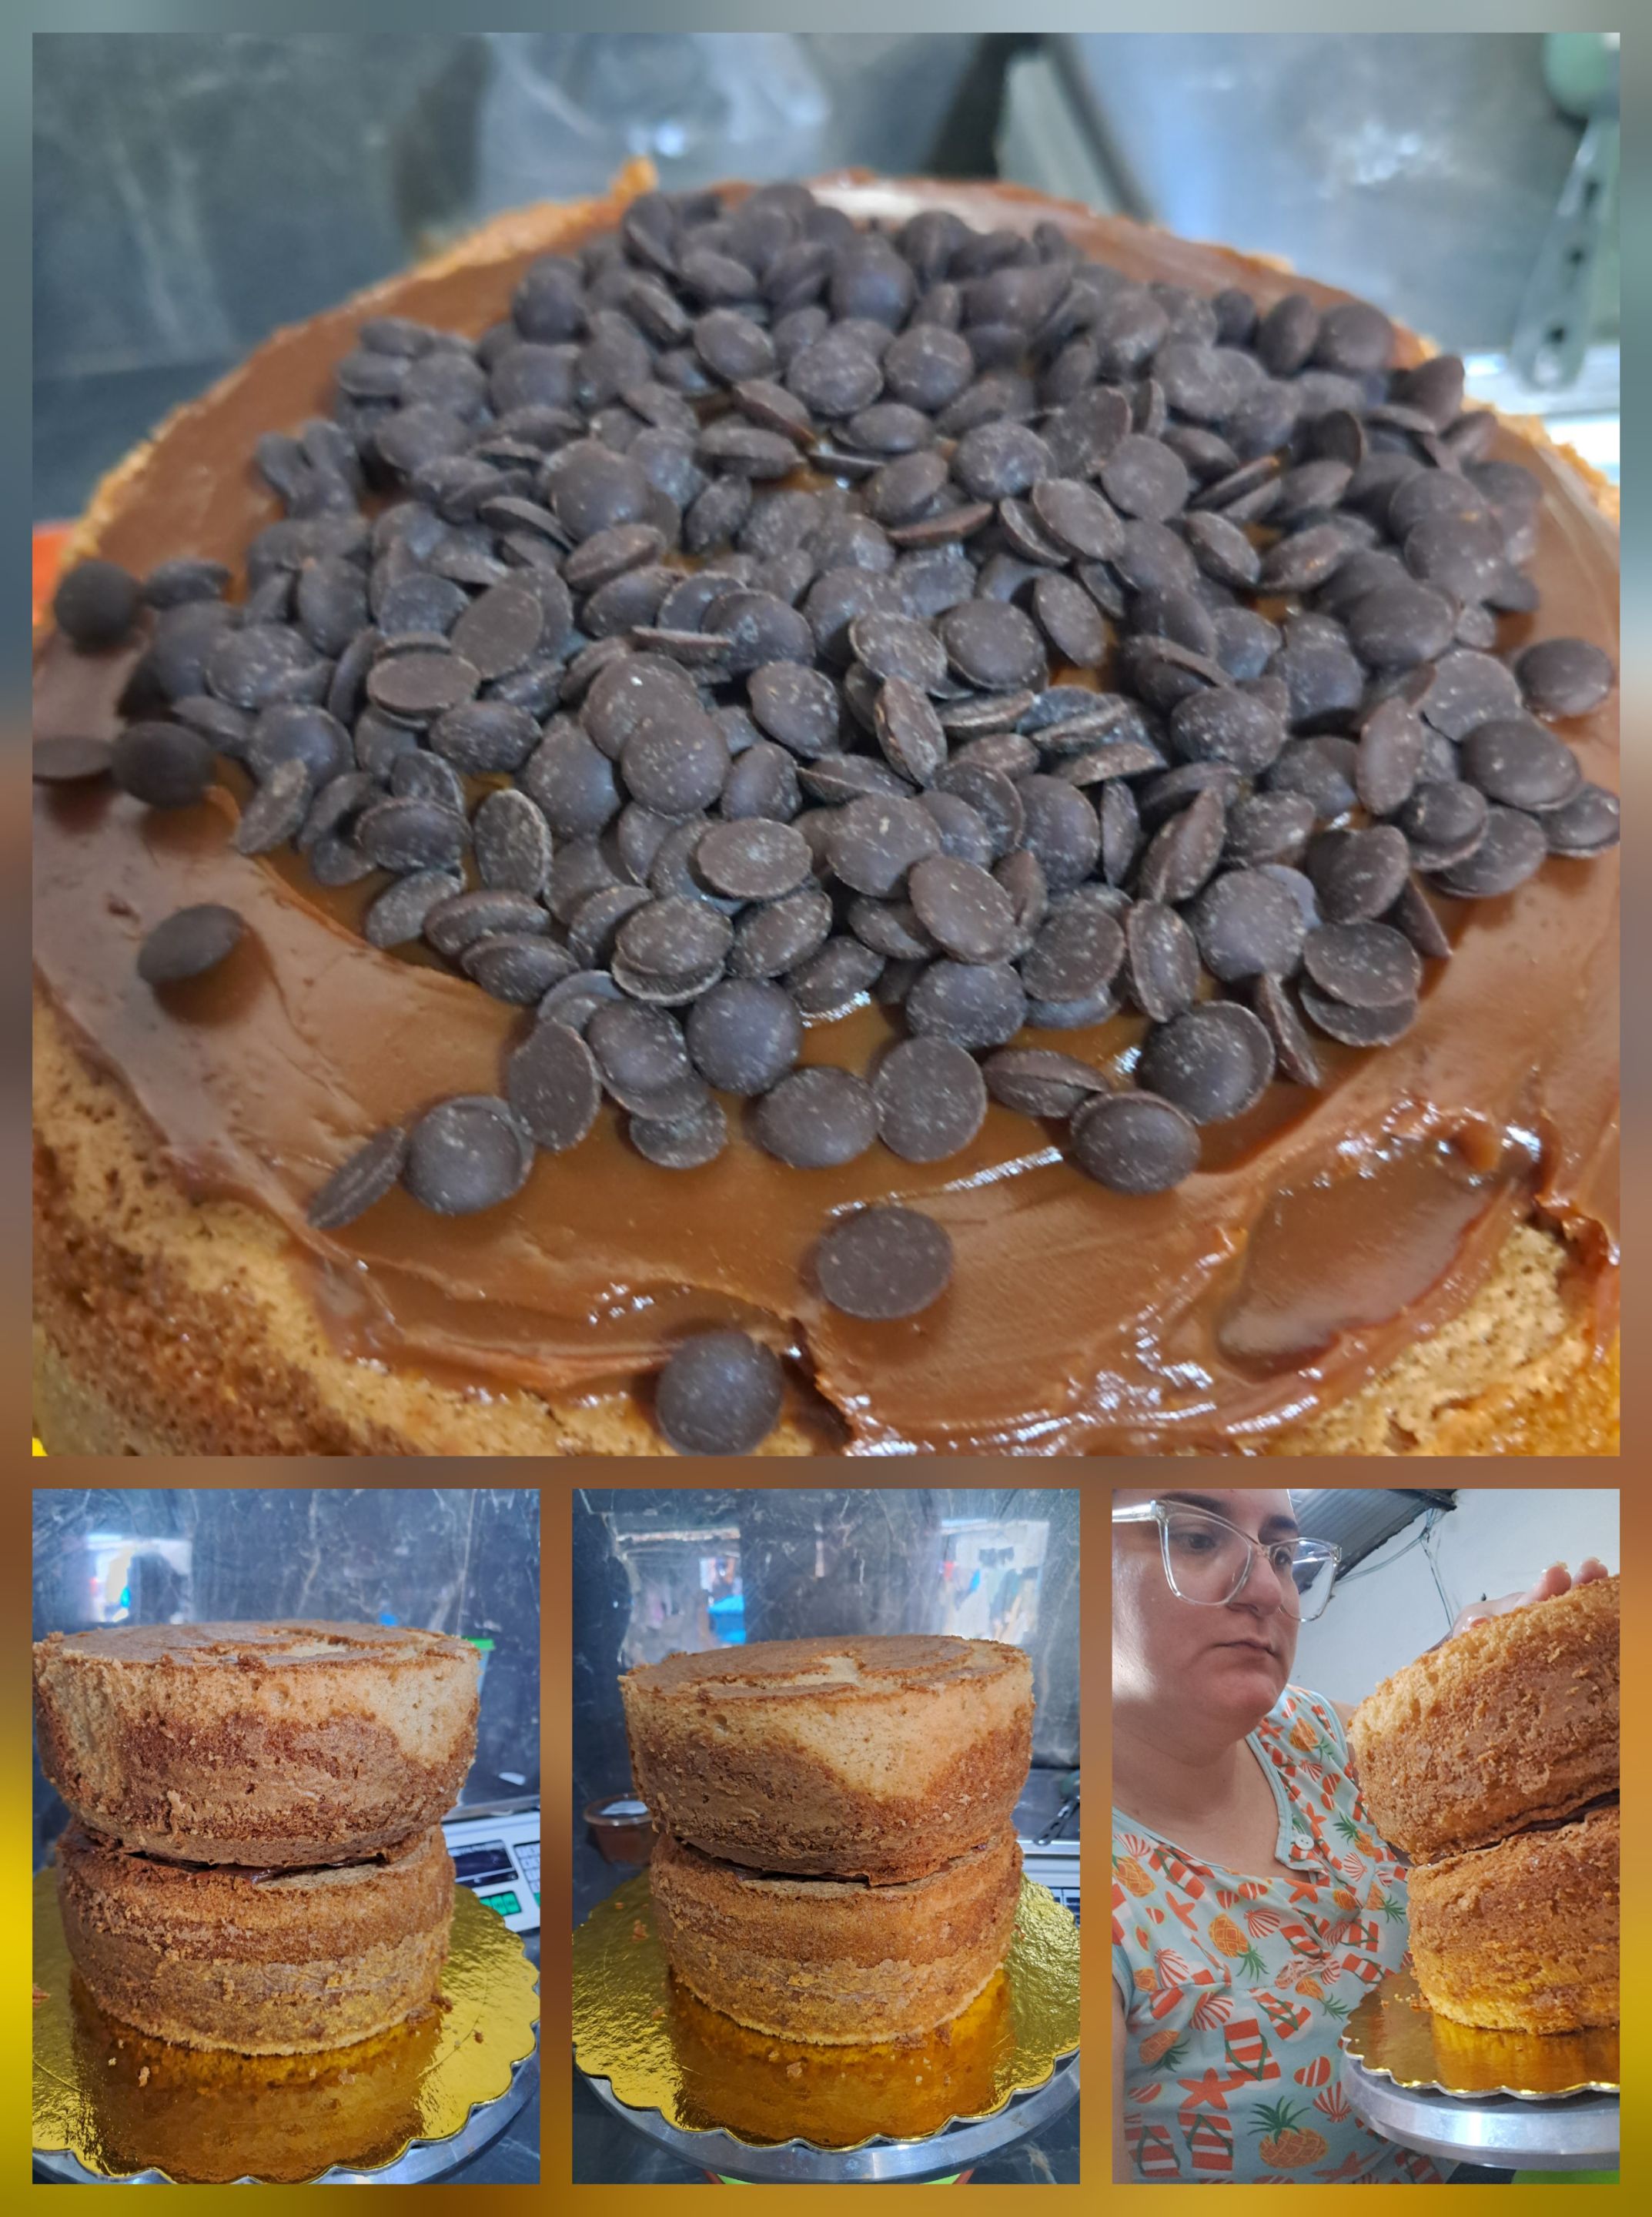
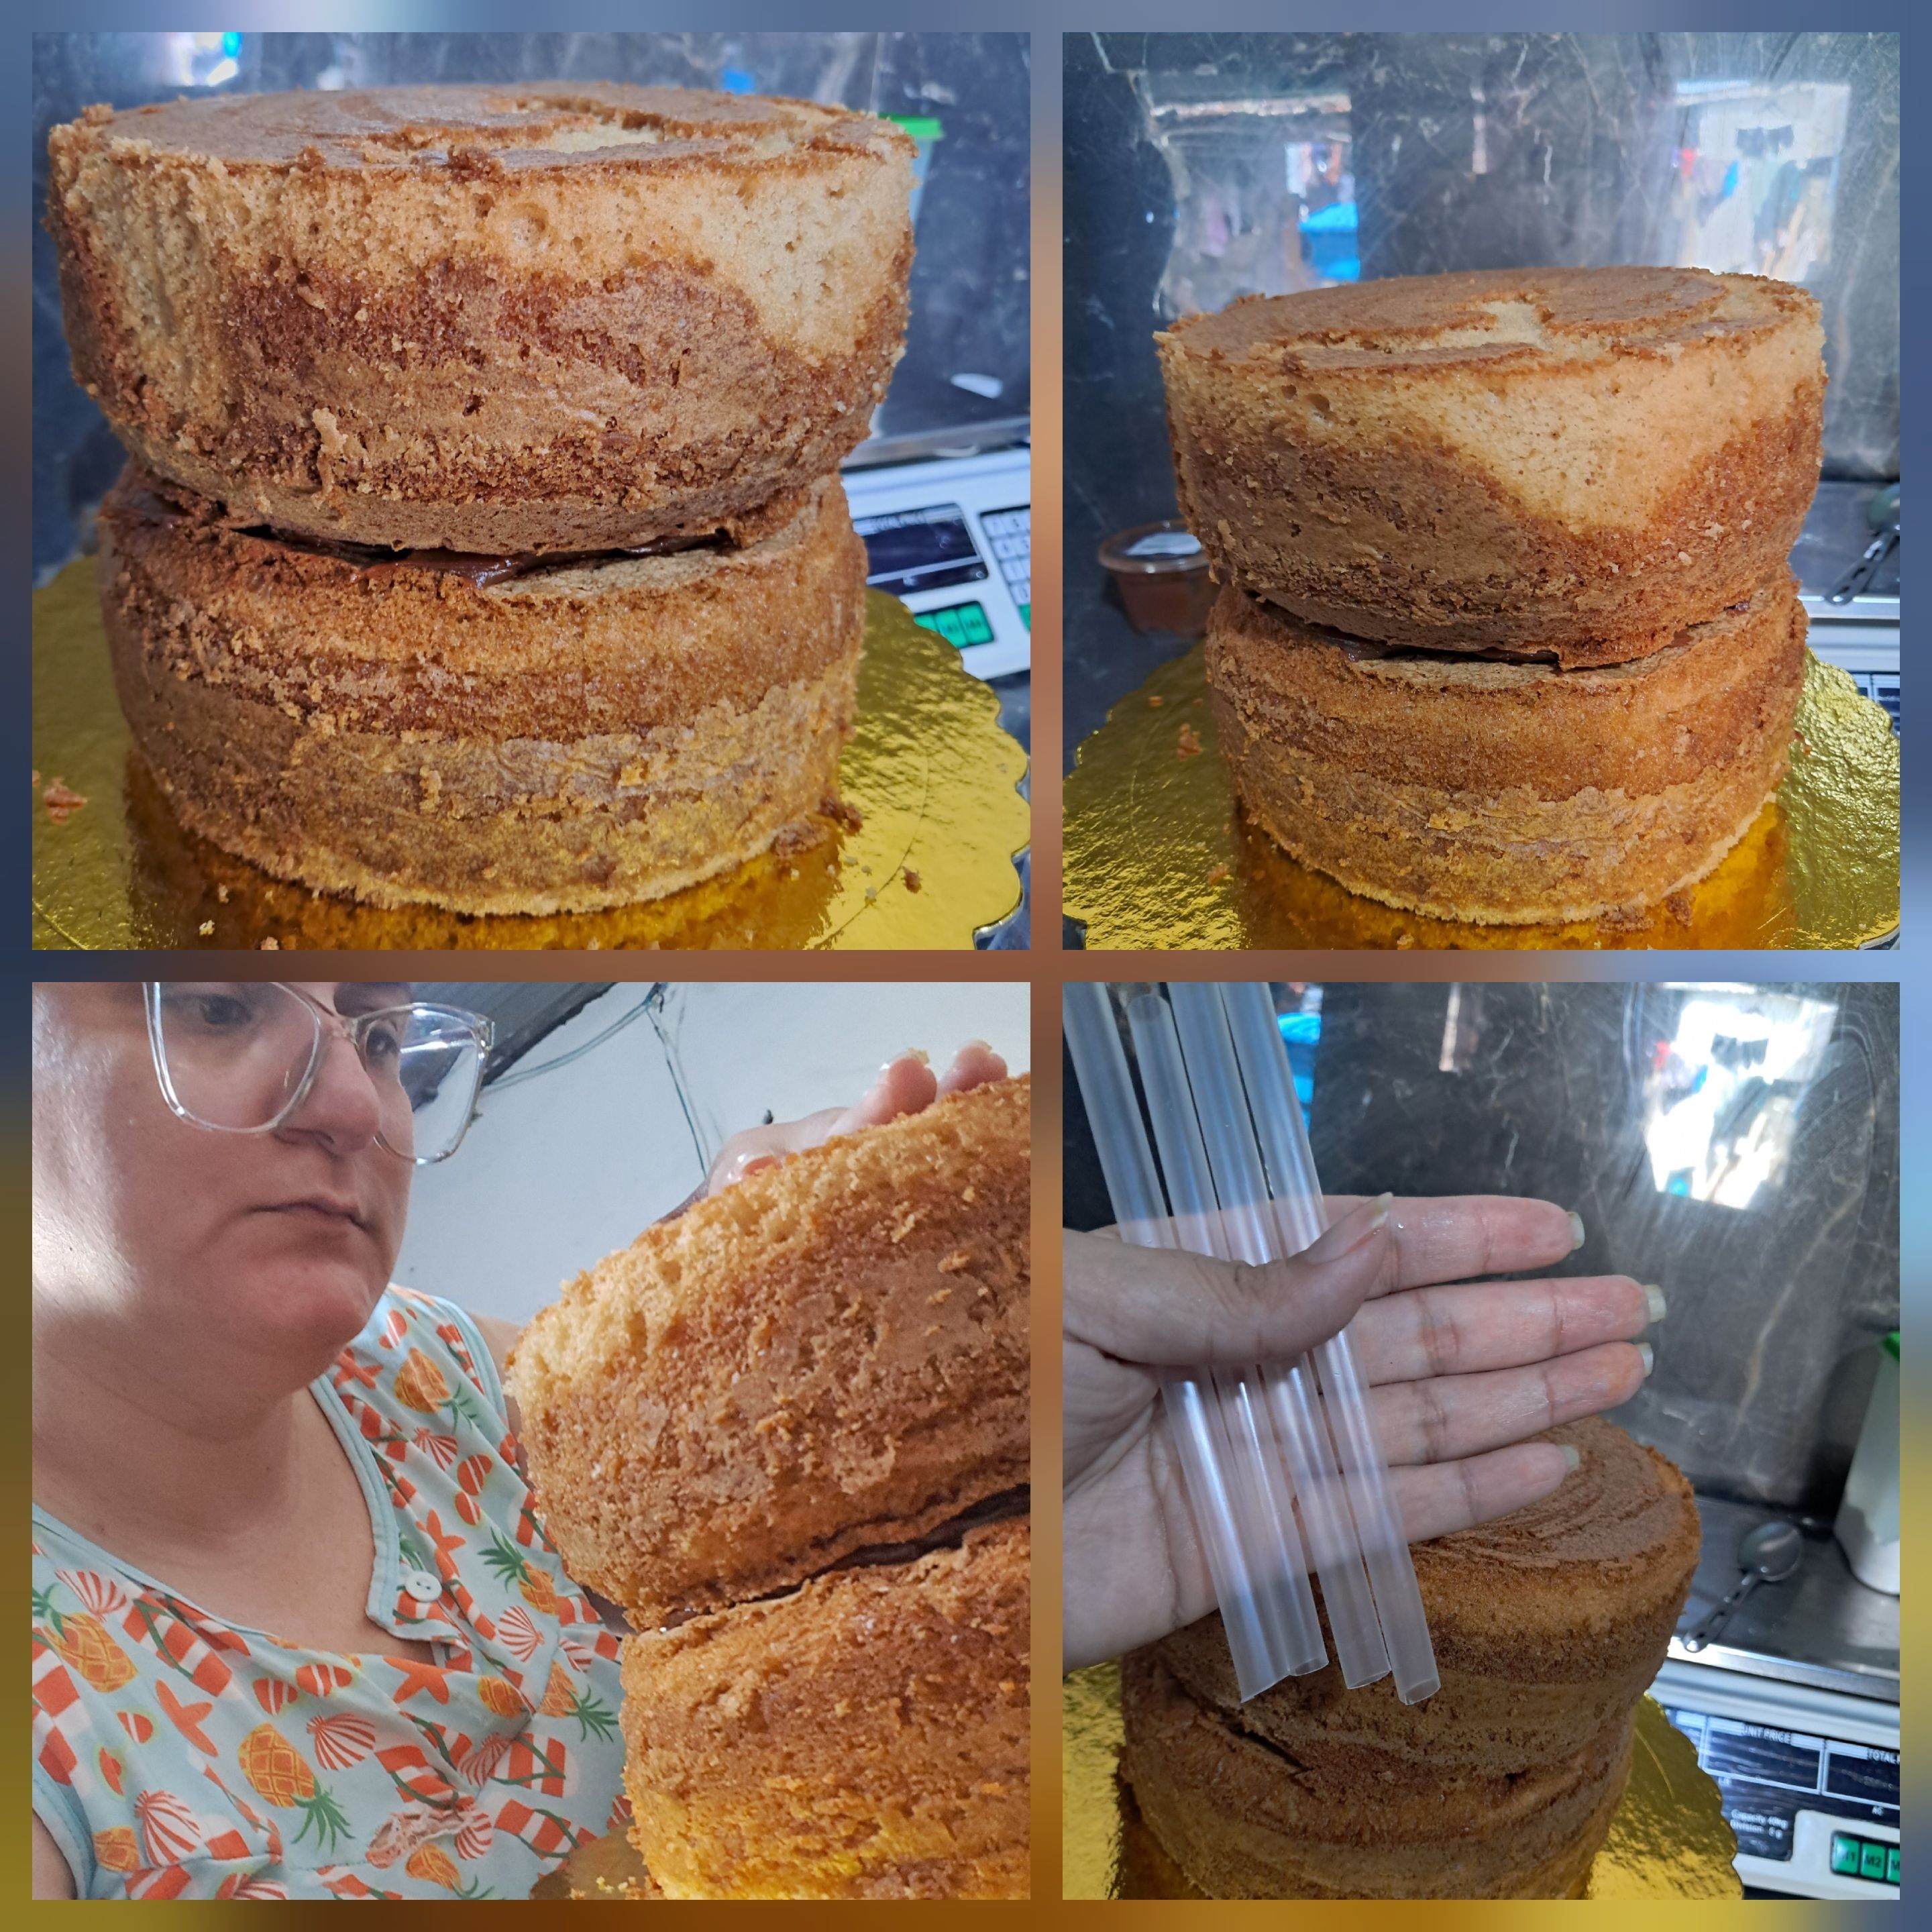
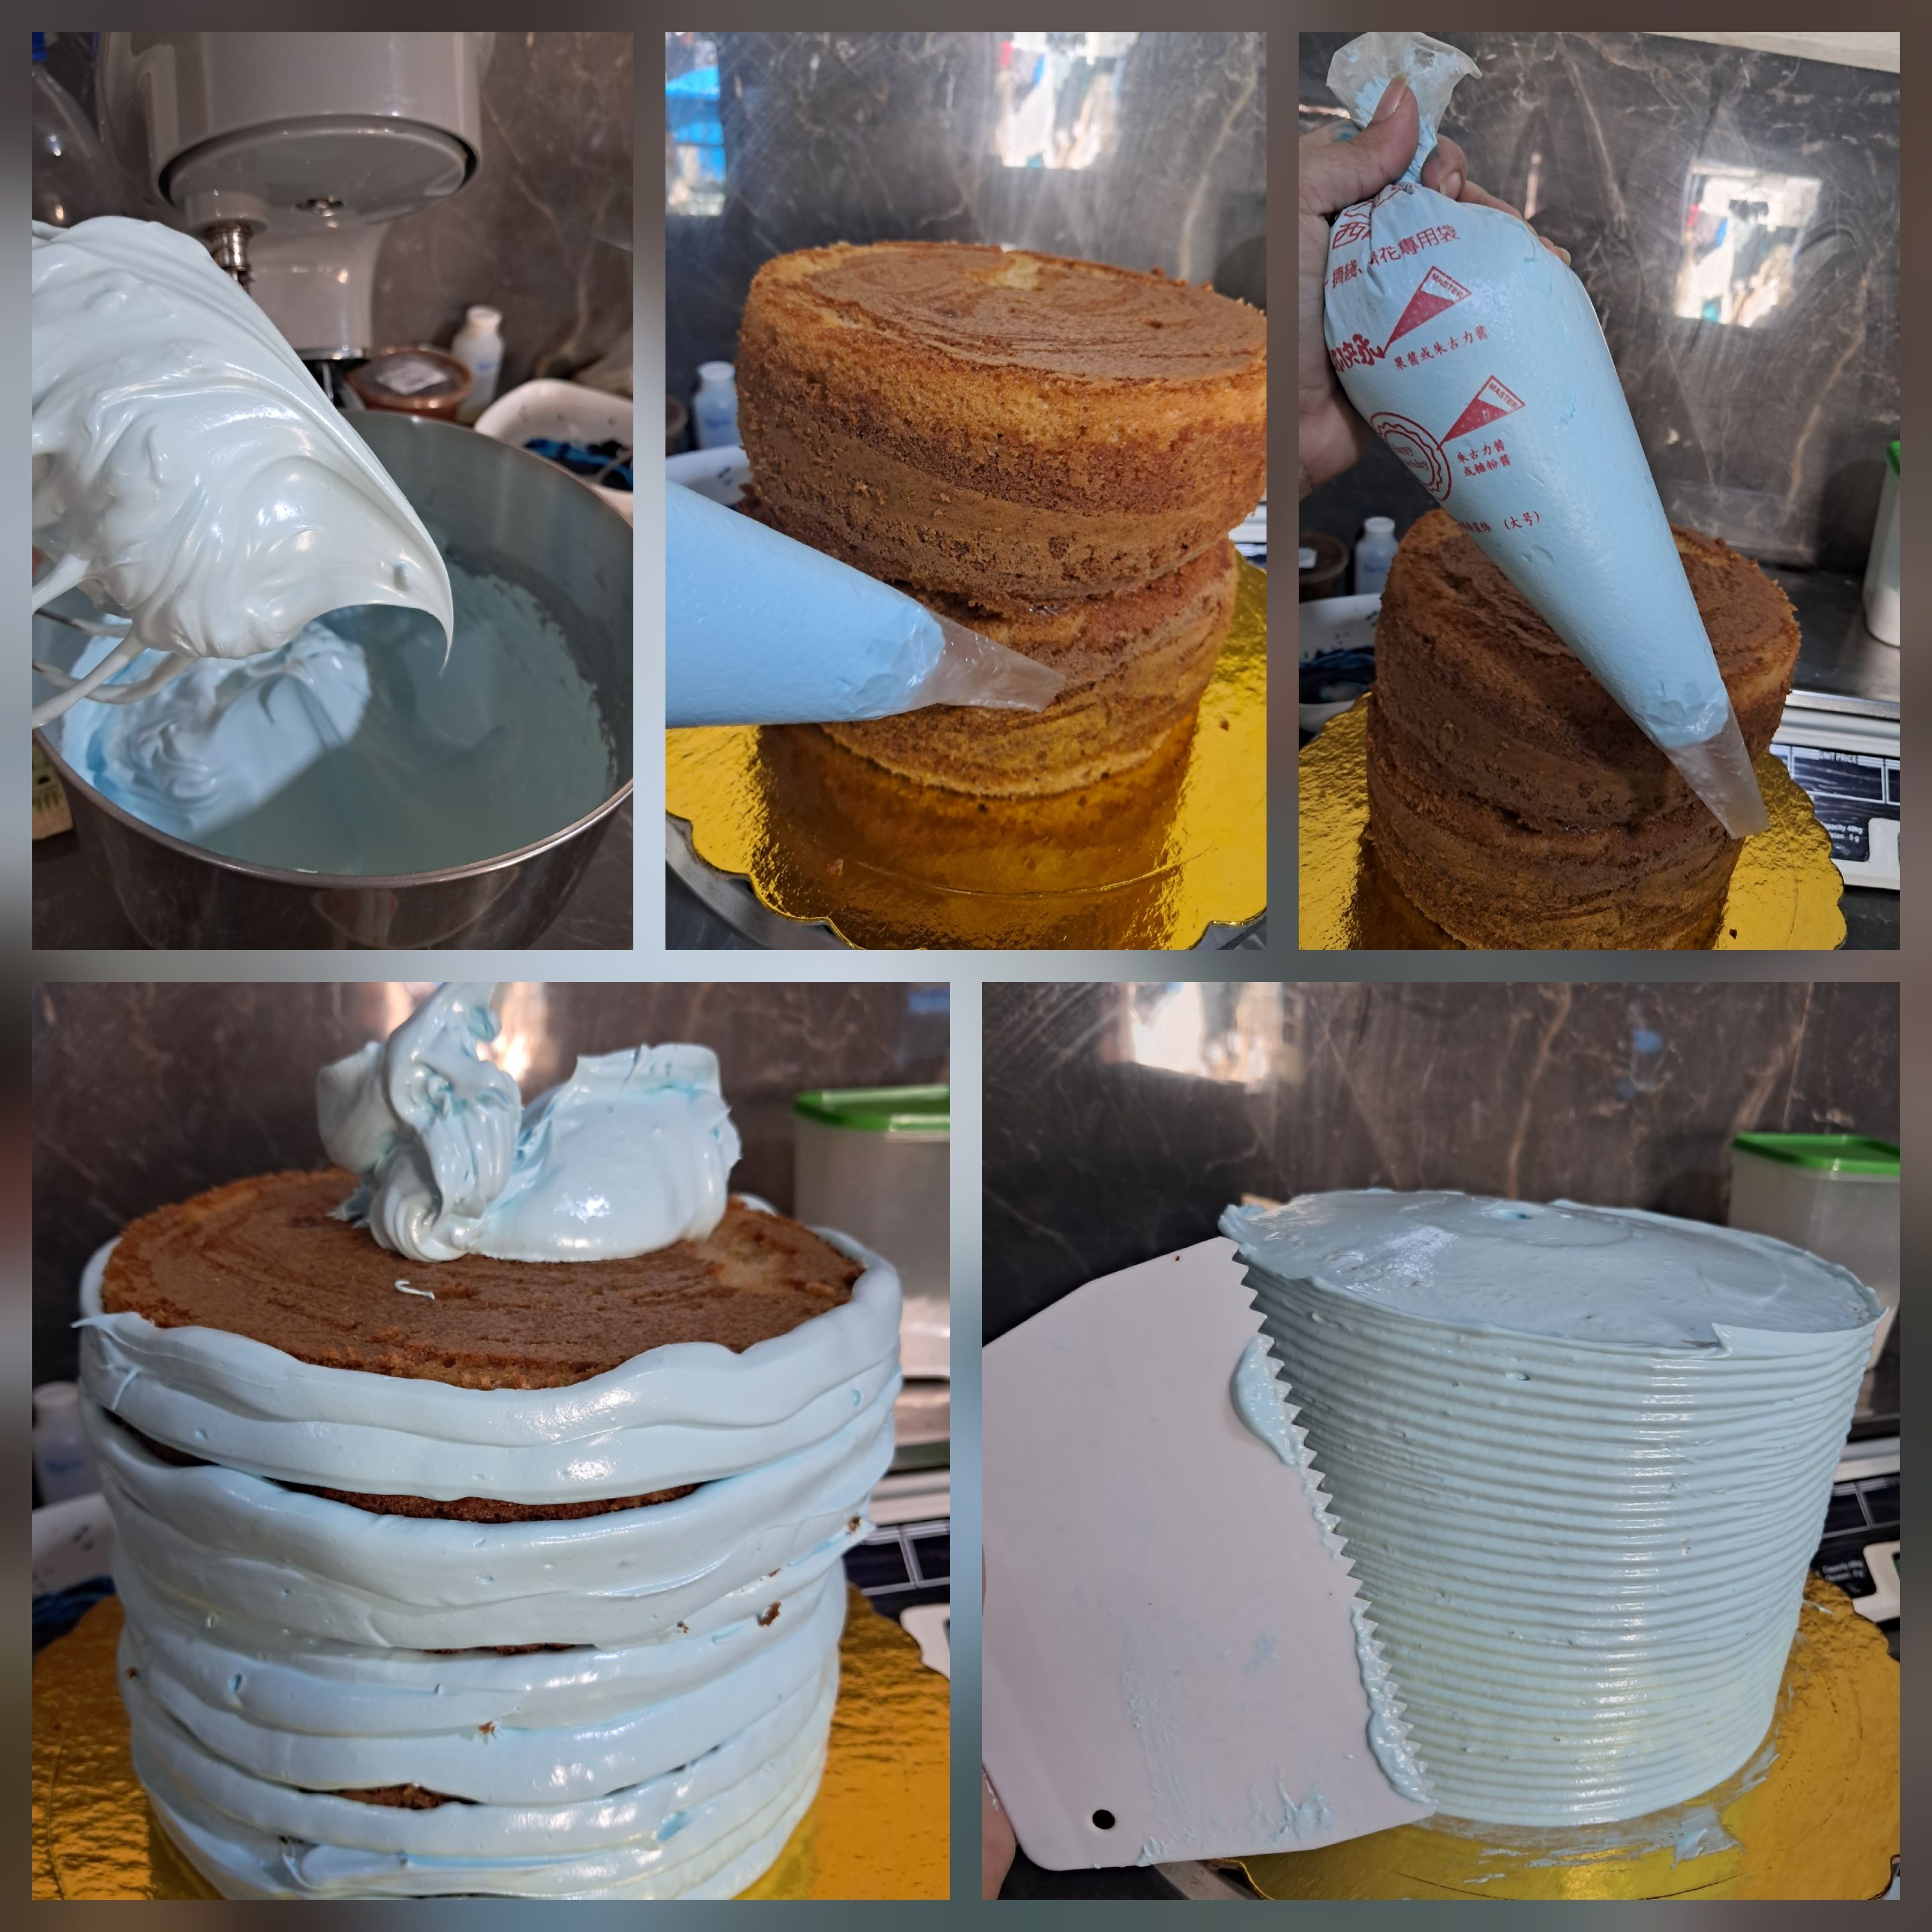
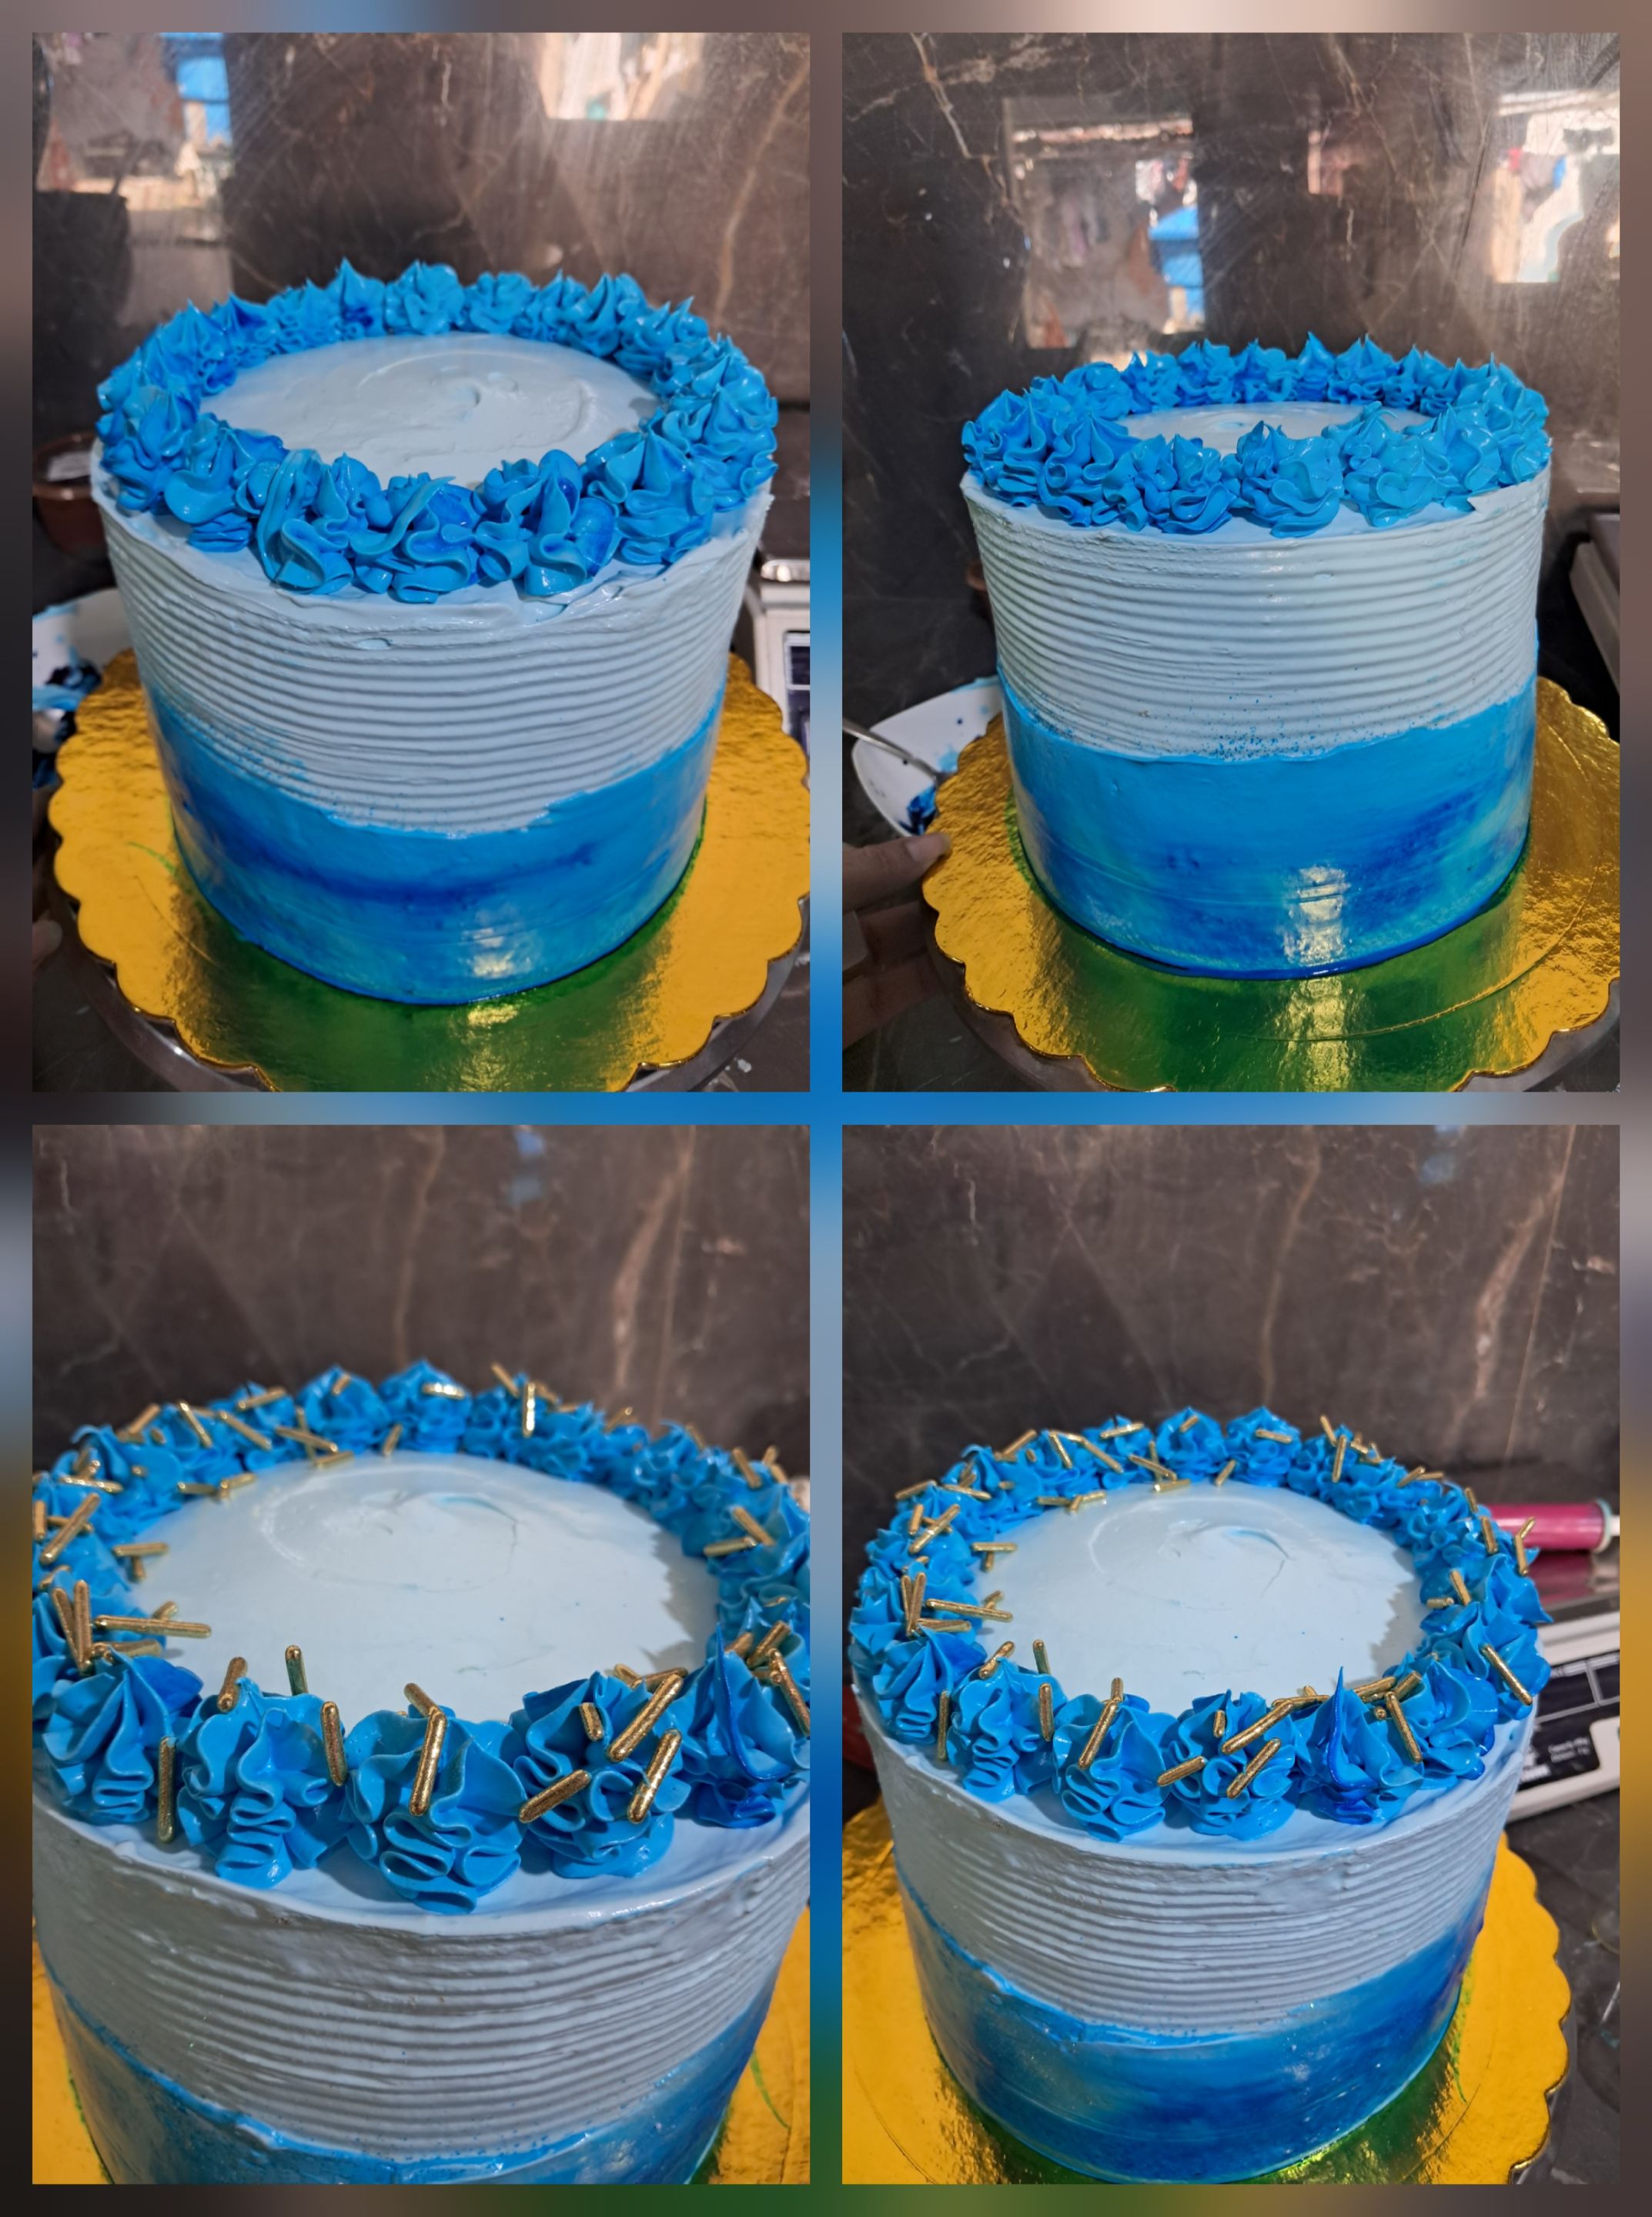
Como el color predominante para esta decoración era azul, decidí desde un principio añadir un poco de colorante líquido a la mezcla, lo cual no altera su densidad ni su estabilidad. También te enseñaré que para decorar y rellenar un pastel, debes nivelarlo muy bien. En este primer paso, colocaremos la cantidad necesaria de pastel y lo rellenaremos con el ingrediente de tu preferencia; en este caso, utilicé arequipe y chocolate.
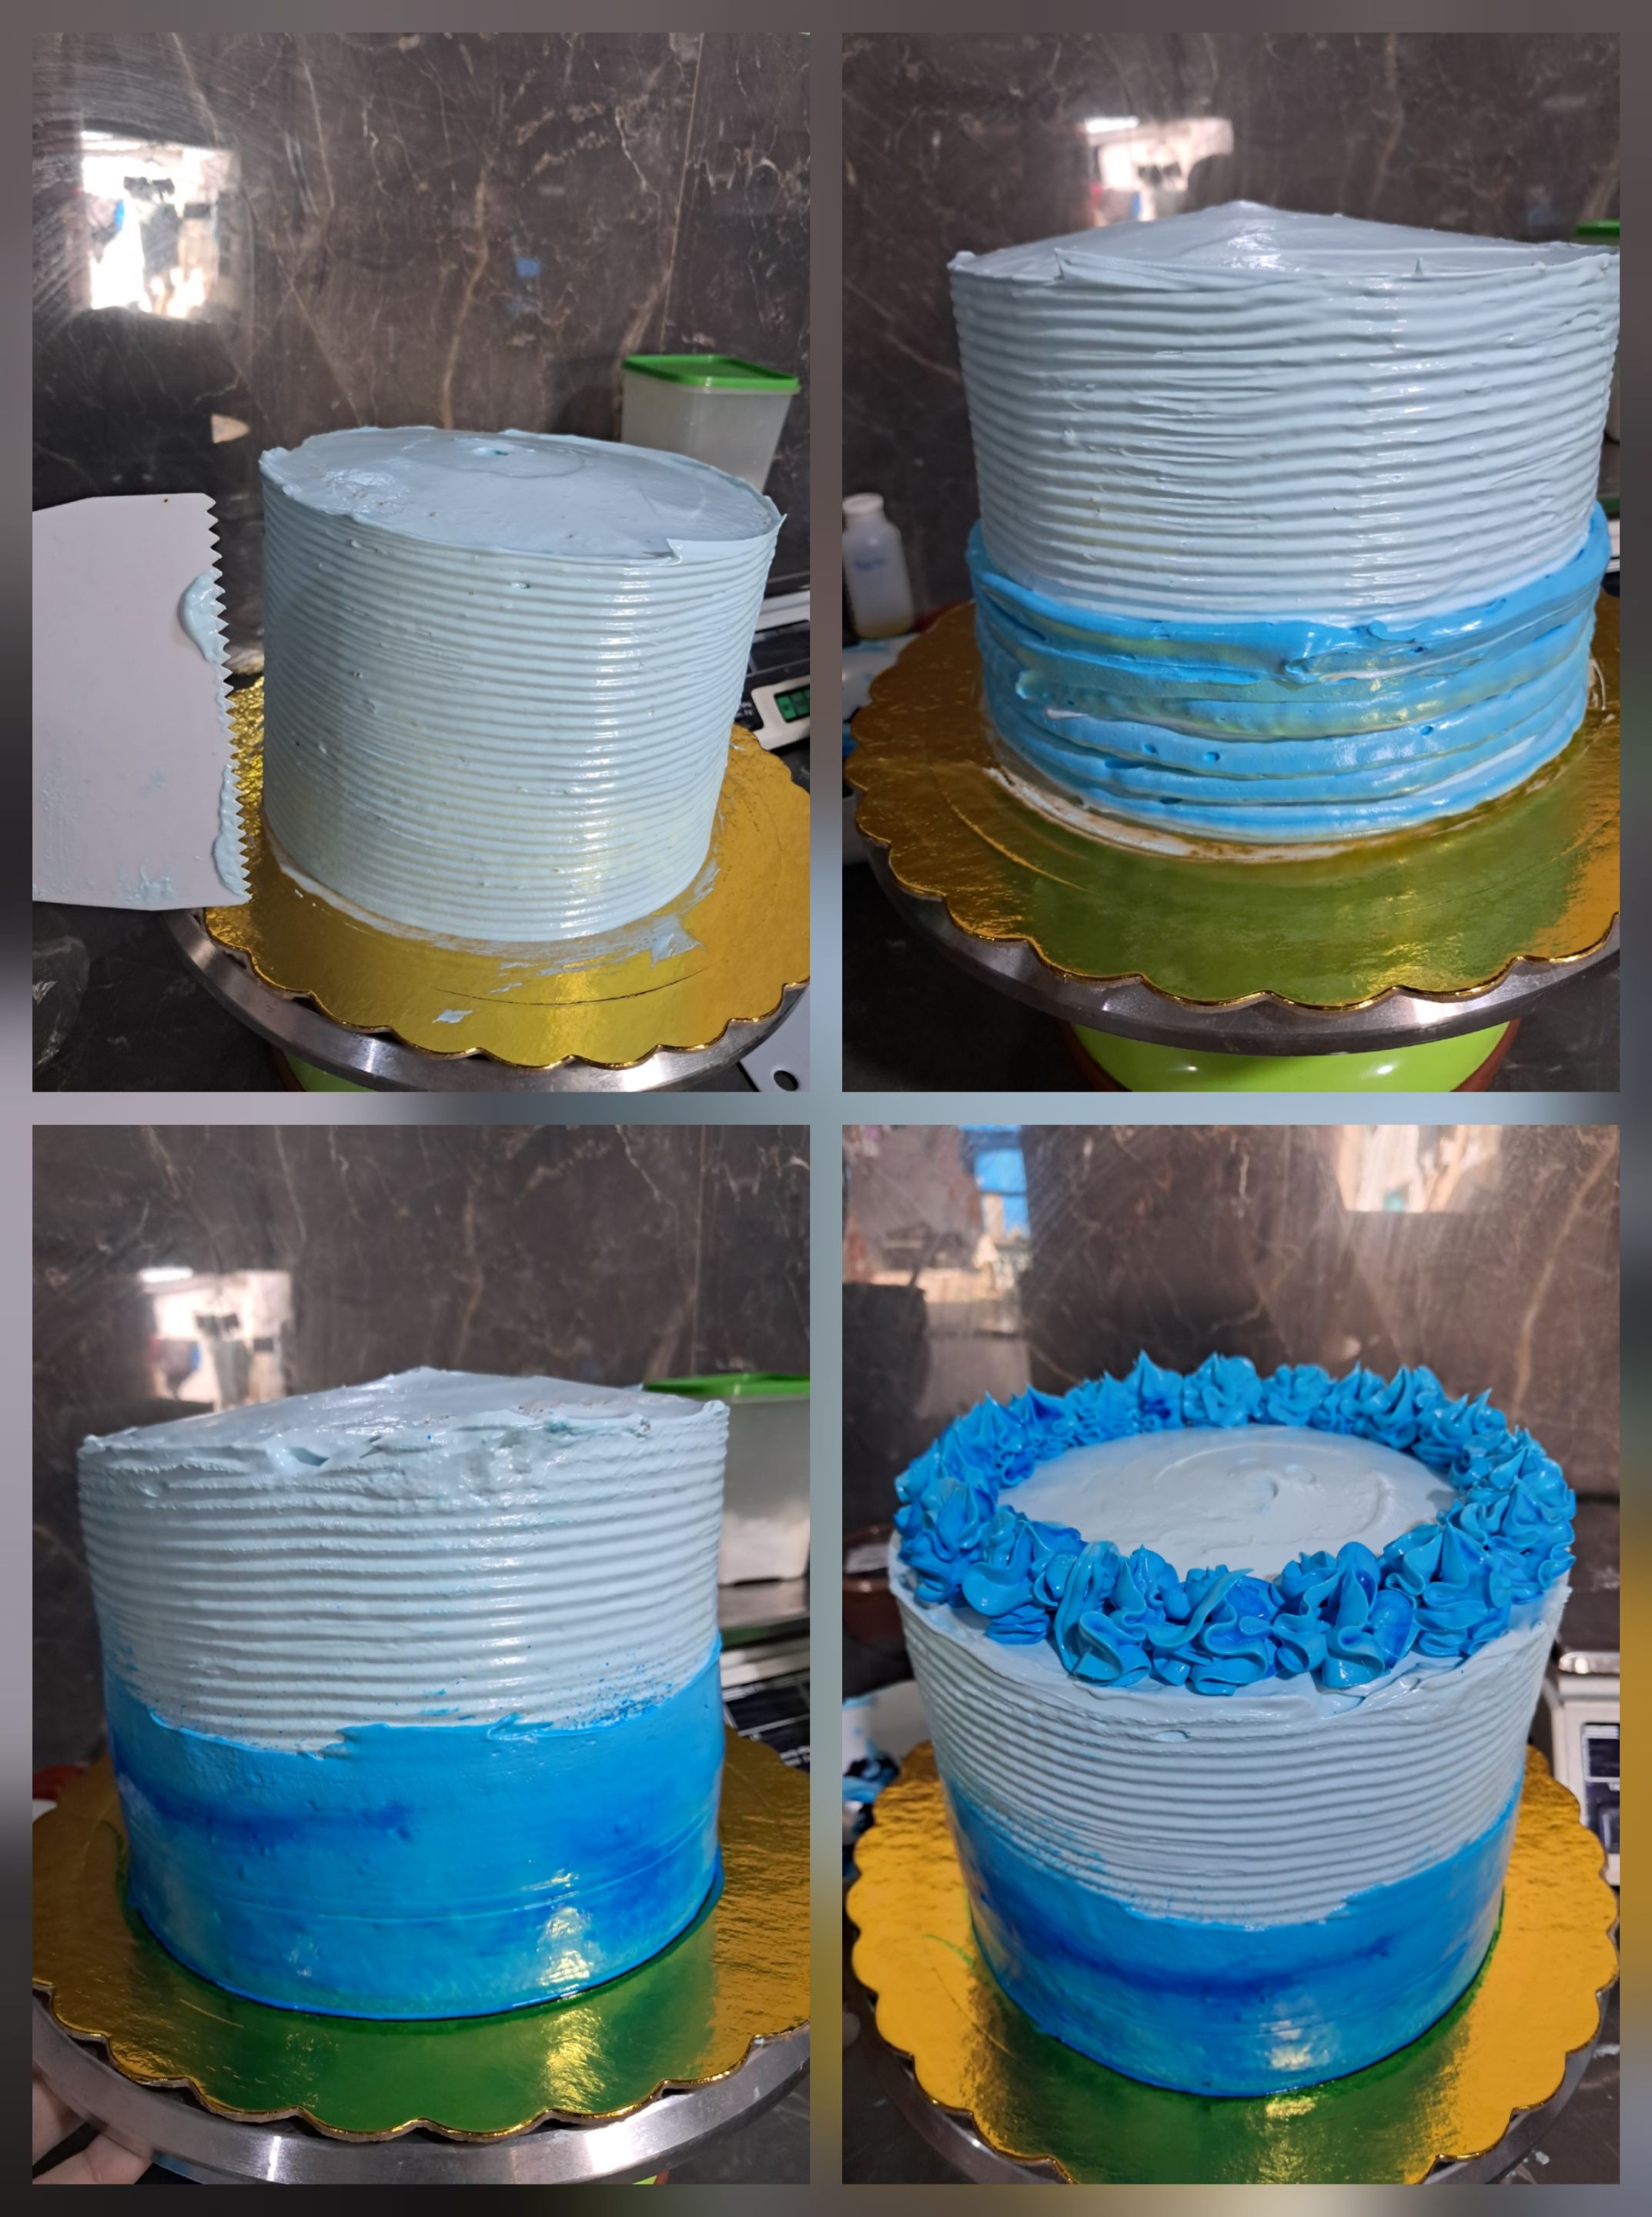
Una vez listo el merengue y con la torta nivelada y estable, comenzamos a colocar una primera capa llamada "recoge migas". Esta capa ayudará a que quede más prolija y cubra la superficie del pastel. Si realizas un buen merengue, te aseguro que no será tan necesario acudir a este paso. Con un alisador y el diseño de tu preferencia, puedes bordear la torta y lograr el diseño perfecto. Lo demás lo puedes hacer con mangas, según tu elección y gusto. Para finalizar el diseño, coloca toppers o papelería creativa, que son el complemento perfecto para el pastel. No olvides añadir brillantina comestible para que luzca más hermoso. Lo bueno de esta cobertura es que ayuda a la conservación del pastel; en un ambiente cálido o frío, será lo suficientemente estable.
>In this first part, making the Swiss meringue is very simple. Weigh the egg whites and double the amount of sugar. Place everything in a clean pot and place it on the stove. It's generally recommended to do this in a double boiler, but if you're already experienced at this step, you can do it straight away, always taking care not to burn it. Add a pinch of salt to this mixture to help bring out the flavors. Once the sugar has crystallized, that is, melted, transfer the mixture to the mixer. Beat until it reaches firm peaks, and at this point, you'll know the meringue is ready. Halfway through, add flavorings of your choice—in this case, cream—and a tablespoon of powdered sugar.
>Since the predominant color for this decoration was blue, I decided from the start to add a little liquid food coloring to the mixture, which doesn't alter its density or stability. I'll also show you that to decorate and fill a cake, you must level it very well. In this first step, we'll place the required amount of cake and fill it with the ingredient of your choice; in this case, I used caramel and chocolate.
>Once the meringue is ready and the cake is level and stable, we begin placing a first layer called the "crumb catcher." This layer will help make it look neater and cover the surface of the cake. If you make a good meringue, I assure you it won't be necessary to go to this step as much. With a smoother and the design of your choice, you can border the cake and achieve the perfect design. You can do the rest with piping bags, according to your choice and taste. To finish the design, place toppers or creative stationery, which are the perfect complement to the cake. Don't forget to add edible glitter to make it look even more beautiful. The great thing about this coating is that it helps preserve the cake; in a warm or cold environment, it will be stable enough.


---
Todas las imágenes son de mi propiedad.
Utilicé traductor [DeepL versión gratuita](https://www.deepl.com/es/translator)
Imágenes, separadores, banner hechos en [Canva](www.canva.com)
Contenido original de @marytp20

 #
#