¡Hola mis queridos Hivers! Para cuando estén leyendo este post yo me estaré recuperando de la extracción de una cordal pero aun así les traigo un nuevo, bonito y tierno dibujo, es un “Conejo bolita” una criaturita de fantasía originada en mi imaginación. Este dibujo lo hice unos días antes de ir al odontólogo, pues han pasado cosas buenas, tengo un nuevo celular y este tiene un Stylus, así que por supuesto deseaba probarlo para dibujar en digital, acompáñame en este post para ver el paso a paso y mi nueva experiencia con el S pen.
English Version
Hello, my dear Hivers! By the time you read this post, I will be recovering from having a wisdom tooth removed, but even so, I bring you a new, beautiful, and cute drawing. It is a “ball rabbit,” a little fantasy creature that originated in my imagination. I made this drawing a few days before going to the dentist, because good things have happened: I have a new cell phone, and it has a stylus, so of course I wanted to try it out for digital drawing. Join me in this post to see the step-by-step process and my new experience with the S pen.
Imagen creada por mí en Canva / Image created by me in Canva
Iniciamos haciendo un boceto dentro de la aplicación Ibis Paint X, esta es la diferencia principal diría yo, puesto que antes hacía mi boceto a lápiz y la importaba a la aplicación tomándole una foto. Para este boceto uso el pincel “Rotulador (suave)” en un tono grisáceo.
English Version
We start by making a sketch within the Ibis Paint X app. This is the main difference, I would say, since I used to make my sketch in pencil and import it into the app by taking a photo of it. For this sketch, I use the “Marker (soft)” brush in a grayish tone.
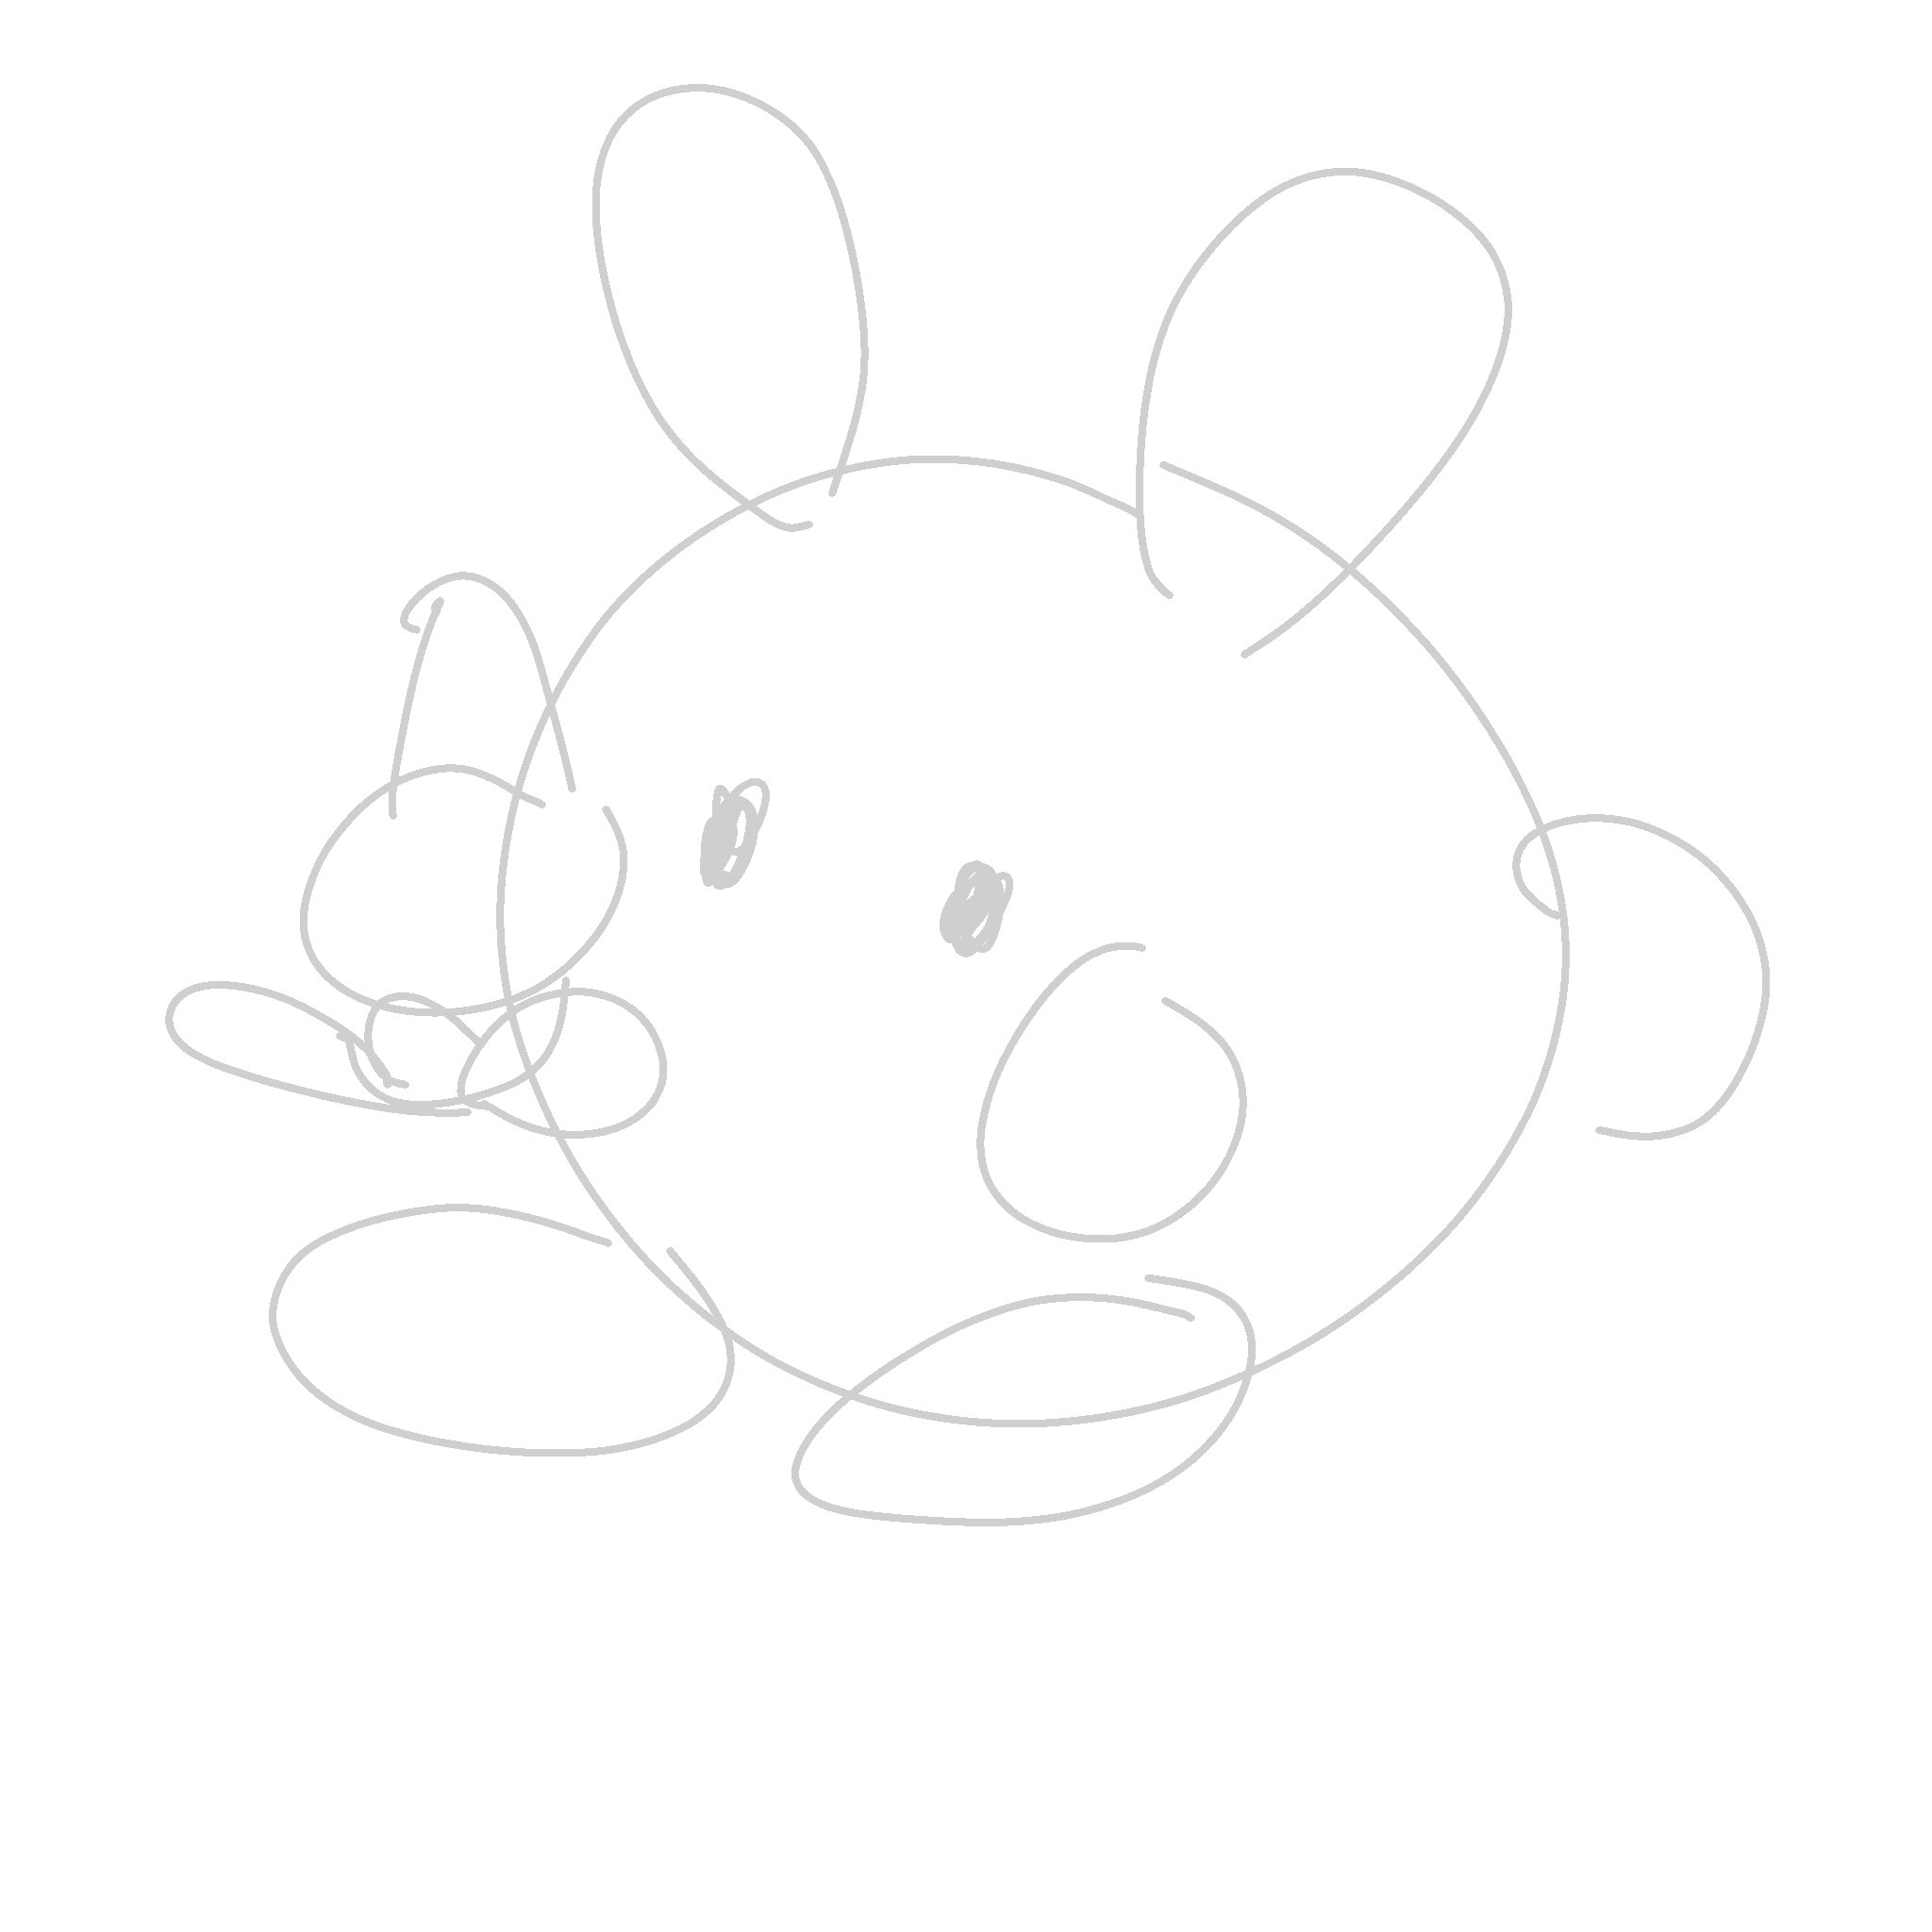
Boceto / Sketch
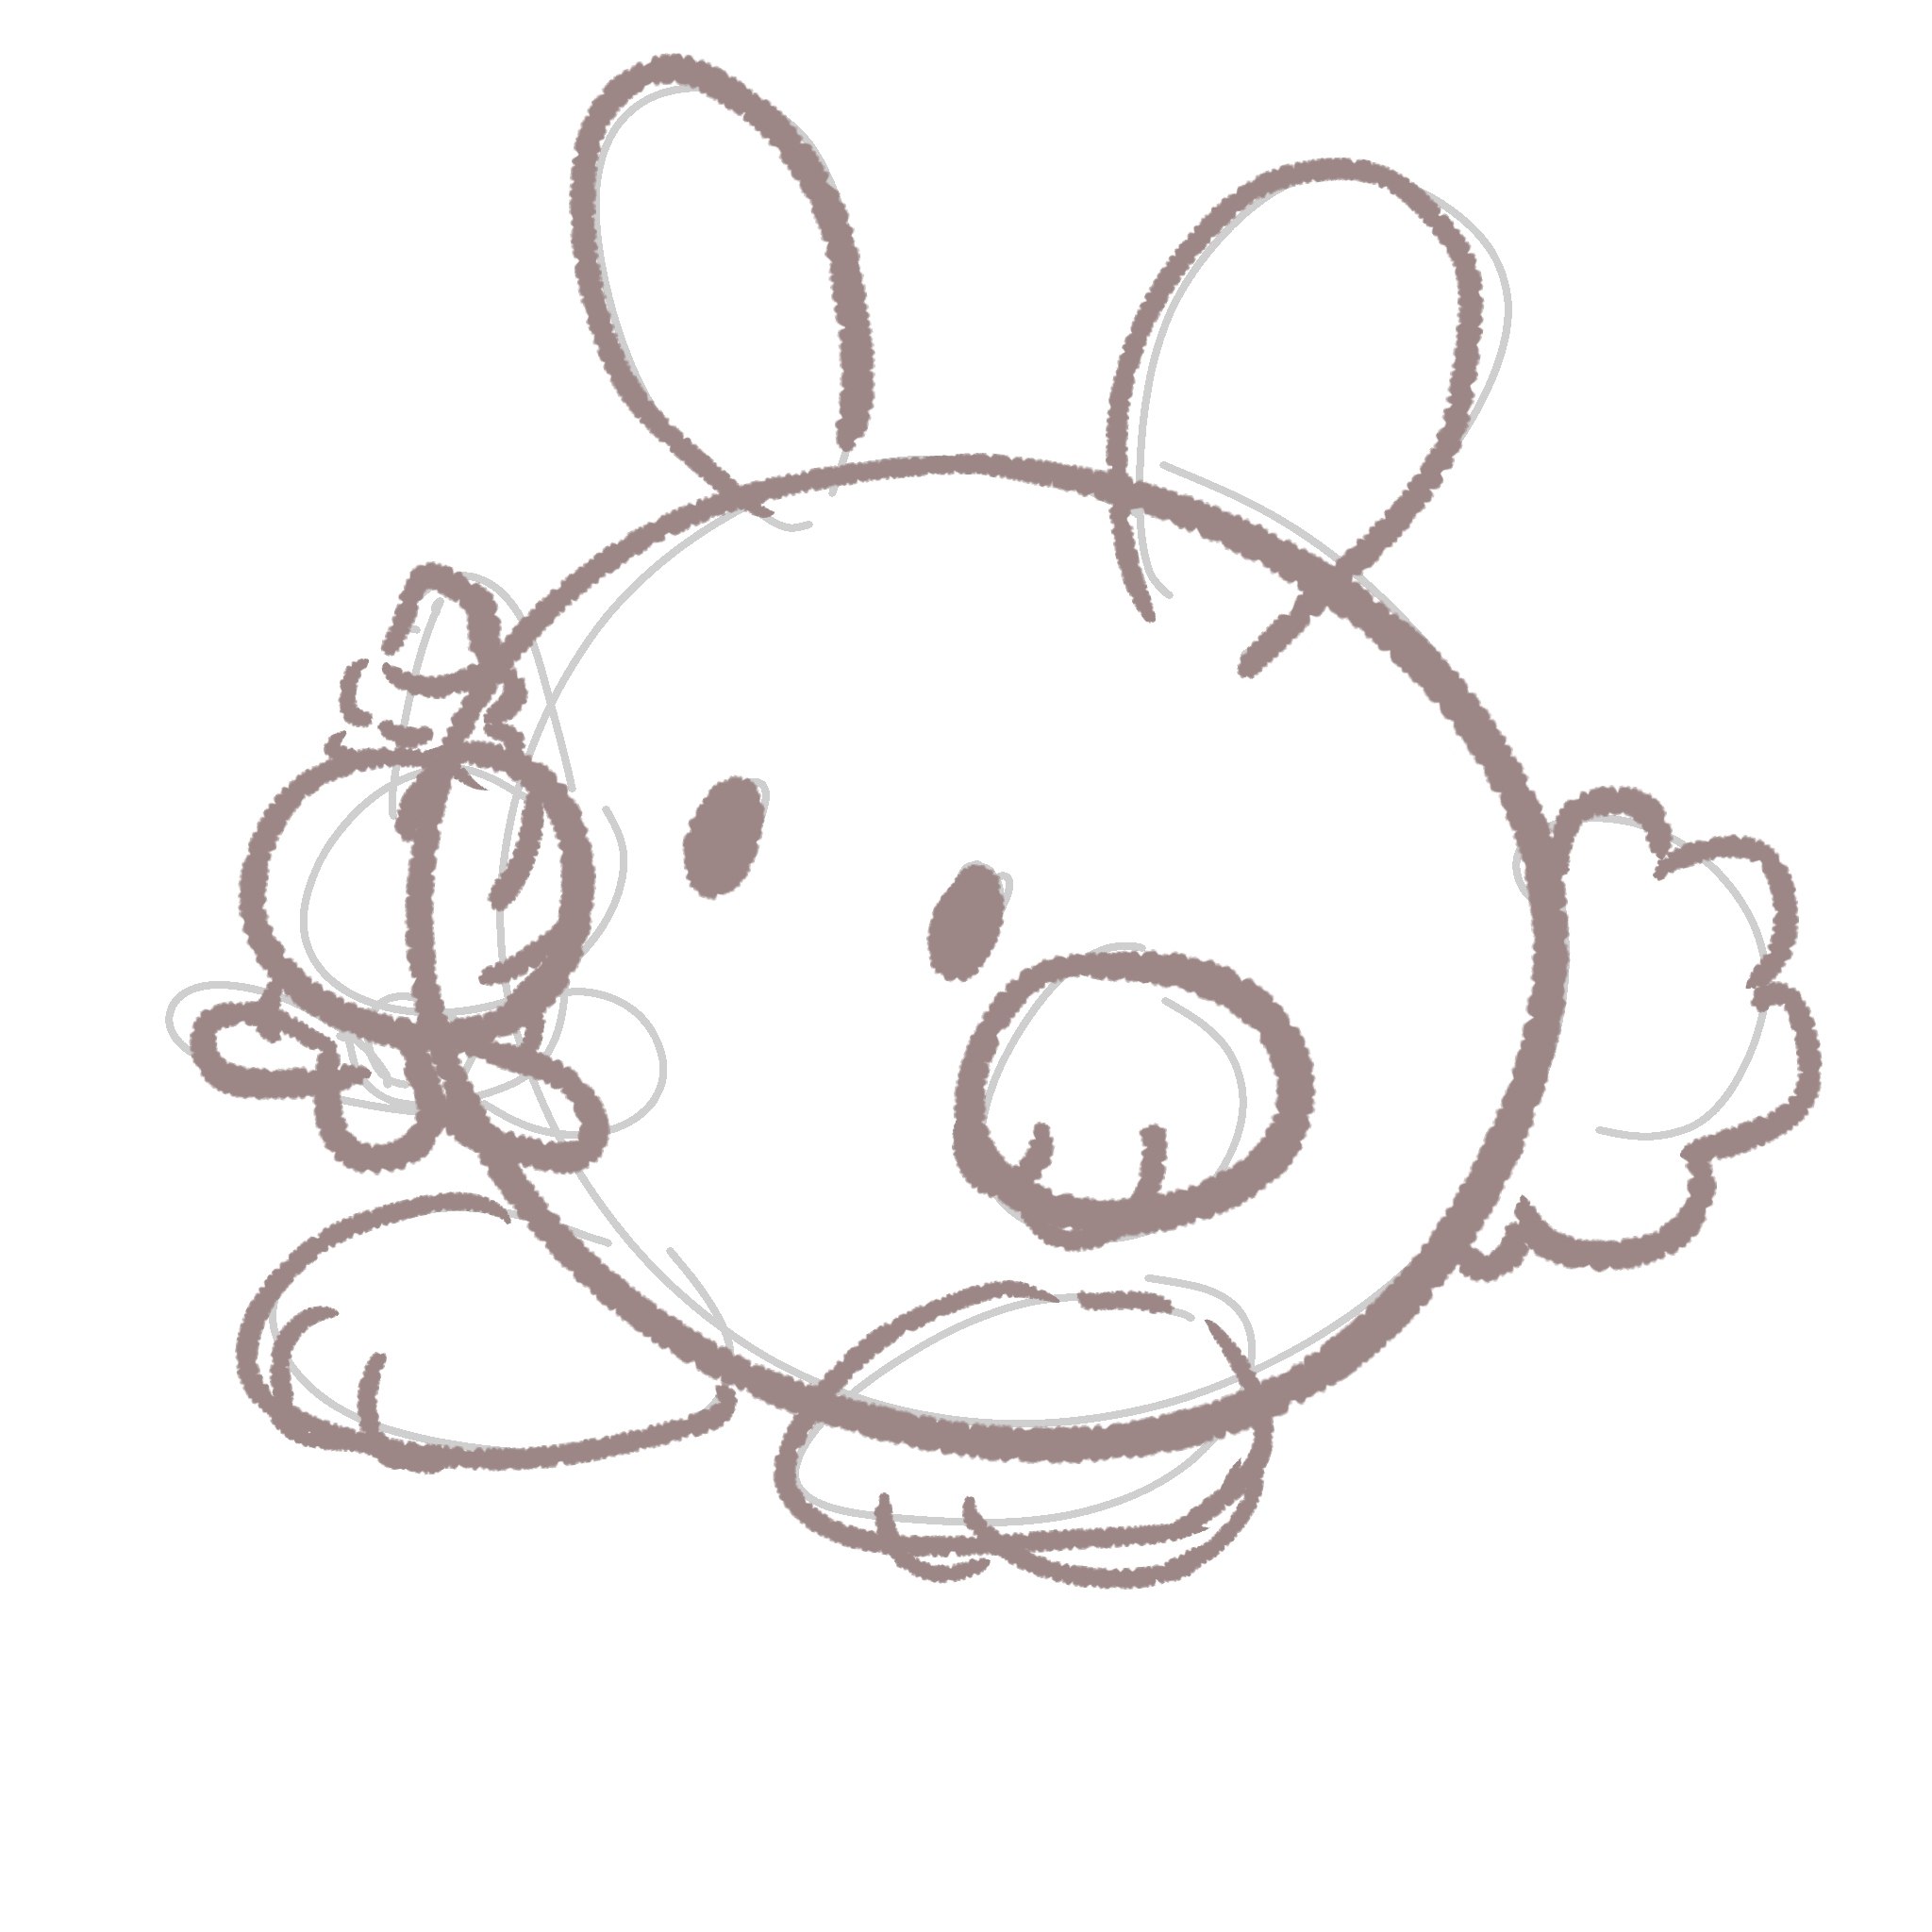
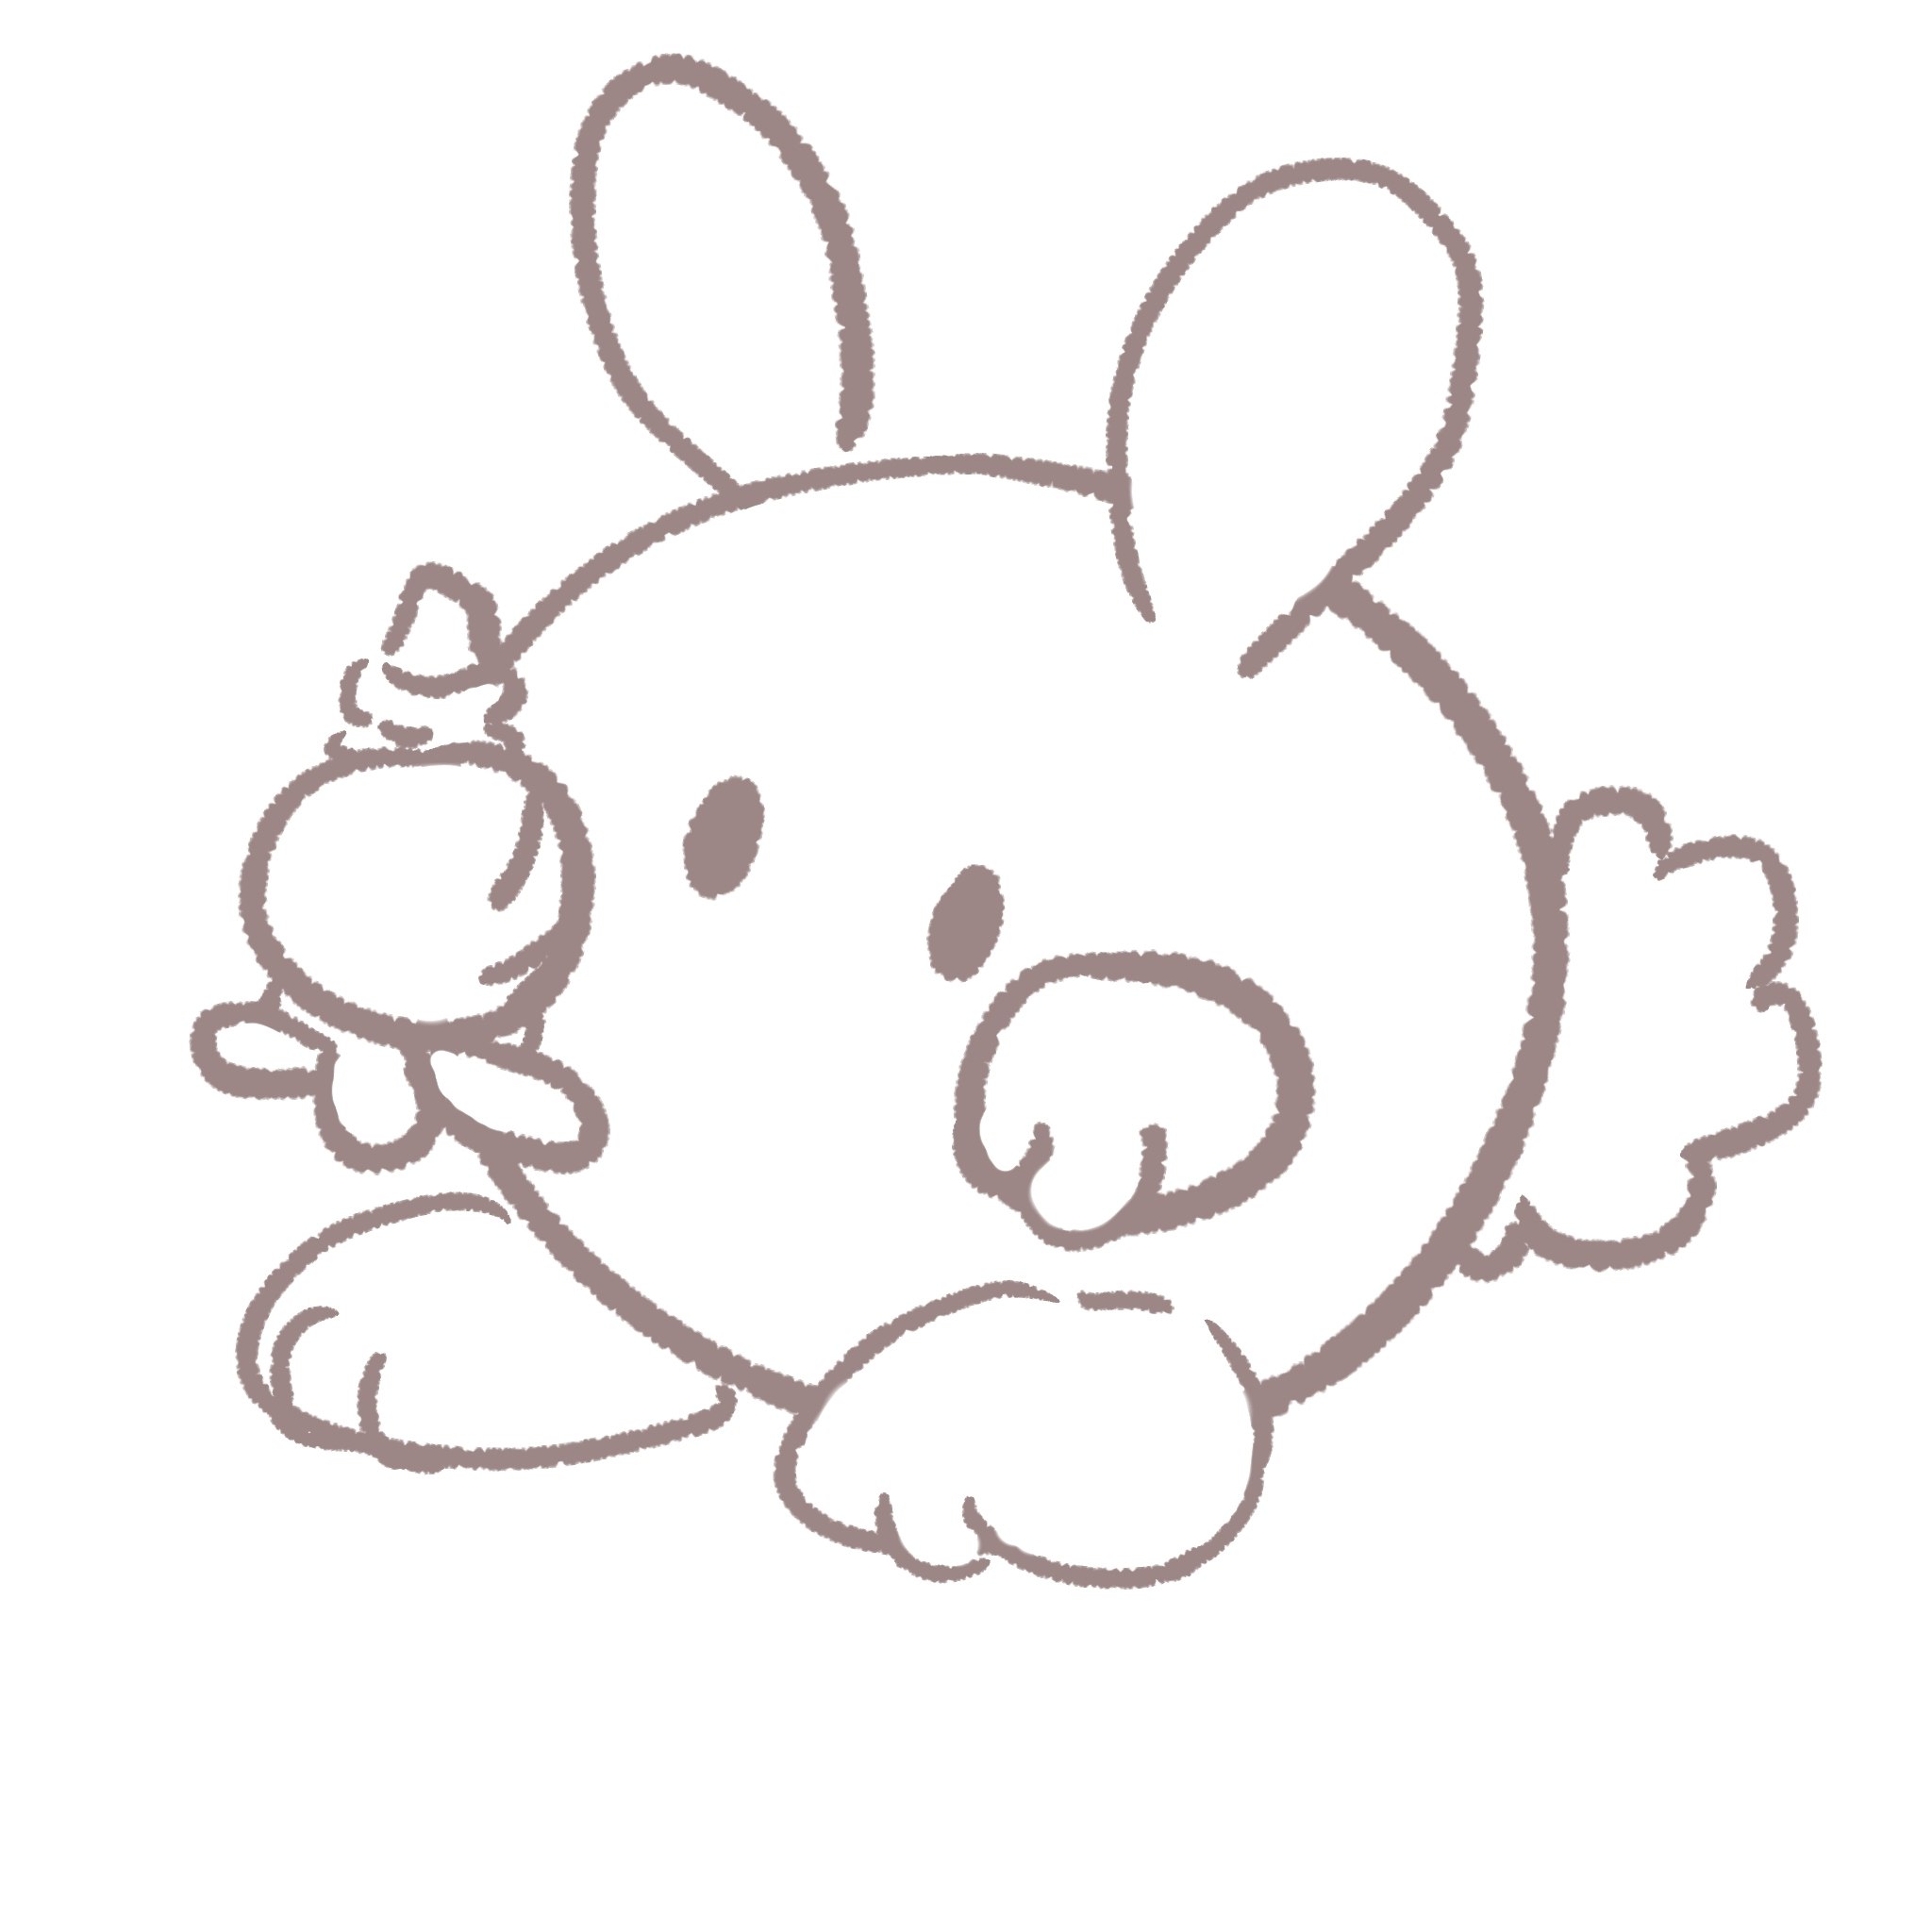
Para hacer las líneas definitivas hago uso del pincel “Plumilla maru suave” en color marrón rojizo no muy saturado, todo esto en una nueva capa y luego apagamos la capa del boceto y borramos las secciones innecesarias en las líneas definitivas. Esta es la parte que más me emocionaba probar, porque siempre había querido usar este pincel con los trazos siguiendo la diferencia de presión, antes no me gustaba como quedaba usando el estabilizador porque las líneas mantenían un grosor continuo y no se veía dinamismo.
English Version
To draw the final lines, I use the “Plumilla maru suave” brush in a reddish brown color that is not too saturated, all on a new layer. Then we turn off the sketch layer and erase the unnecessary sections in the final lines. This is the part I was most excited to try, because I had always wanted to use this brush with strokes that follow the difference in pressure. Before, I didn't like how it looked when using the stabilizer because the lines remained a continuous thickness and there was no dynamism.
 | 
--- | ---
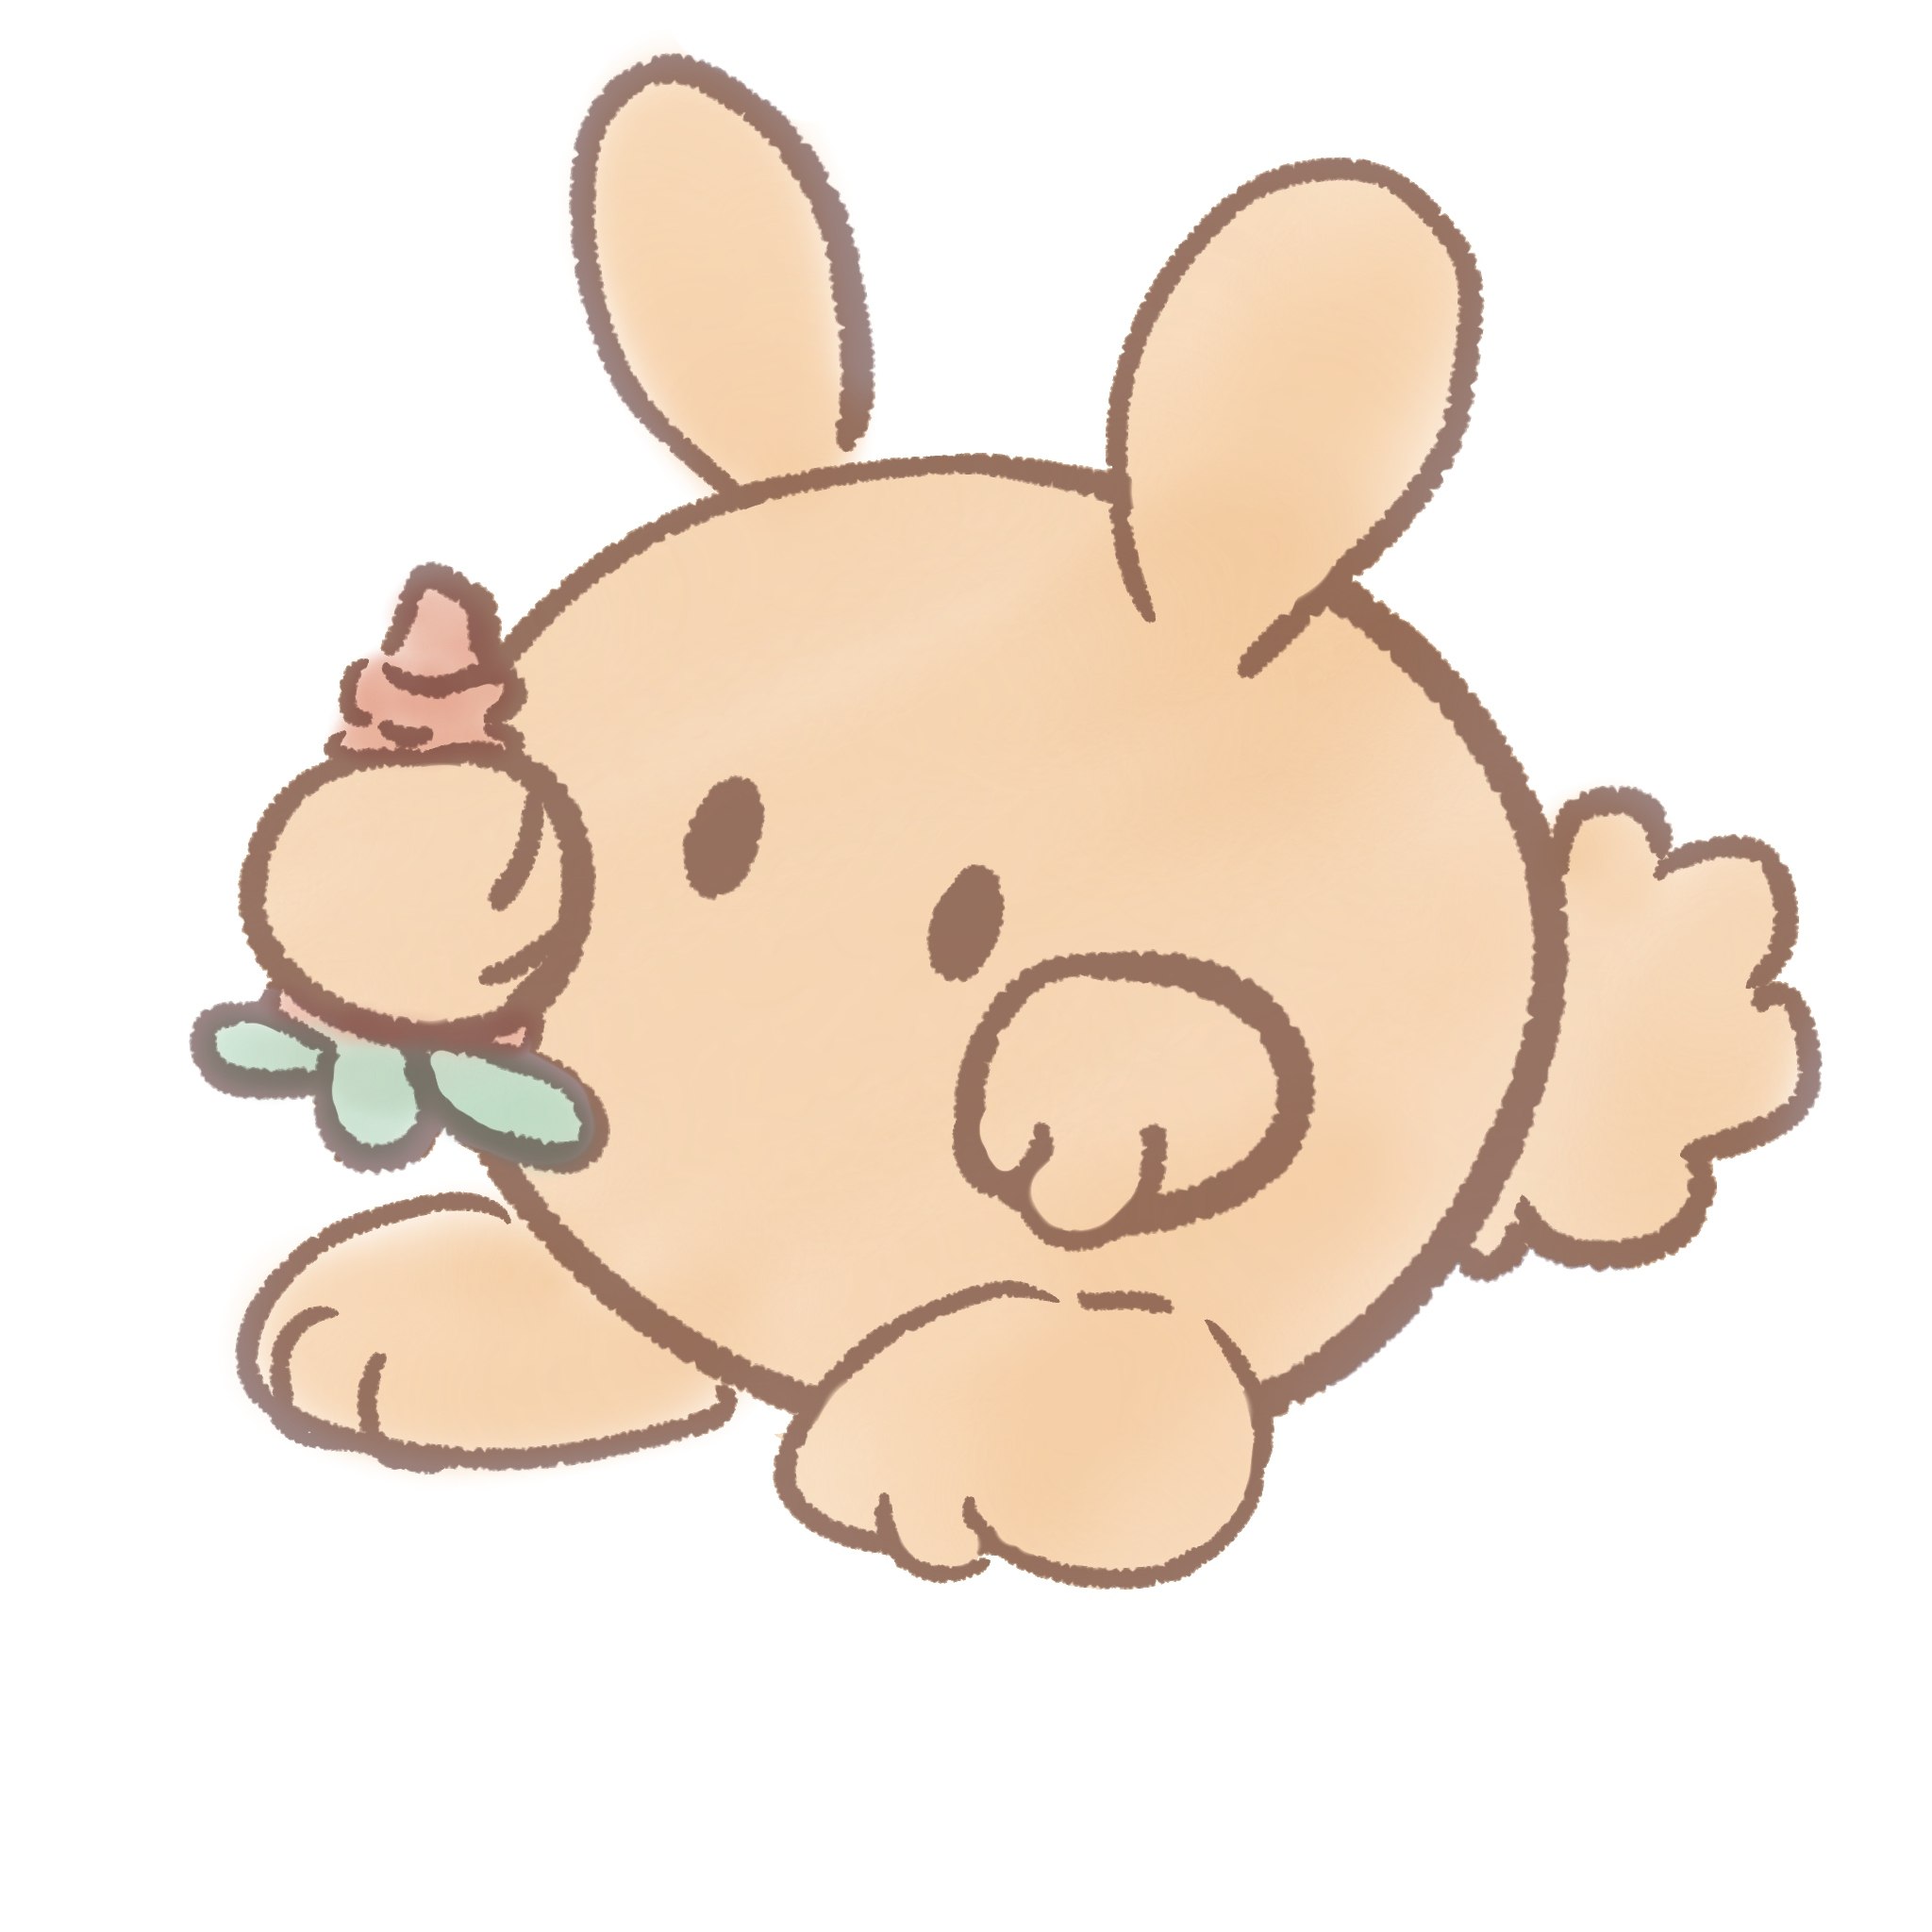
Line Art
Es momento de dar color (¡Oh sí!) así que uso el pincel tipo “Acuarela”, esto también es muy emocionante para mí porque puedo ir coloreando a mi gusto, haciendo énfasis en las zonas que deseo ya que este pincel mezcla y potencia el color cuando repasas una zona ya pintada, tal cual como es la acuarela en técnica tradicional y ese es un efecto que en verdad deseaba mucho hacer, solo que dibujando con el dedo no alcanzaba una precisión que me hiciera sentir satisfecha (risas). Por cierto, esta capa la coloco en modo multiplicar.
English Version
It's time to add color (Oh yes!), so I use the “Watercolor” brush. which is also very exciting for me because I can color as I please, emphasizing the areas I want, since this brush mixes and enhances the color when you go over an area that has already been painted, just like traditional watercolor technique, and that's an effect I really wanted to achieve, but drawing with my finger didn't give me the precision I needed to feel satisfied (laughs). By the way, I set this layer to multiply mode.
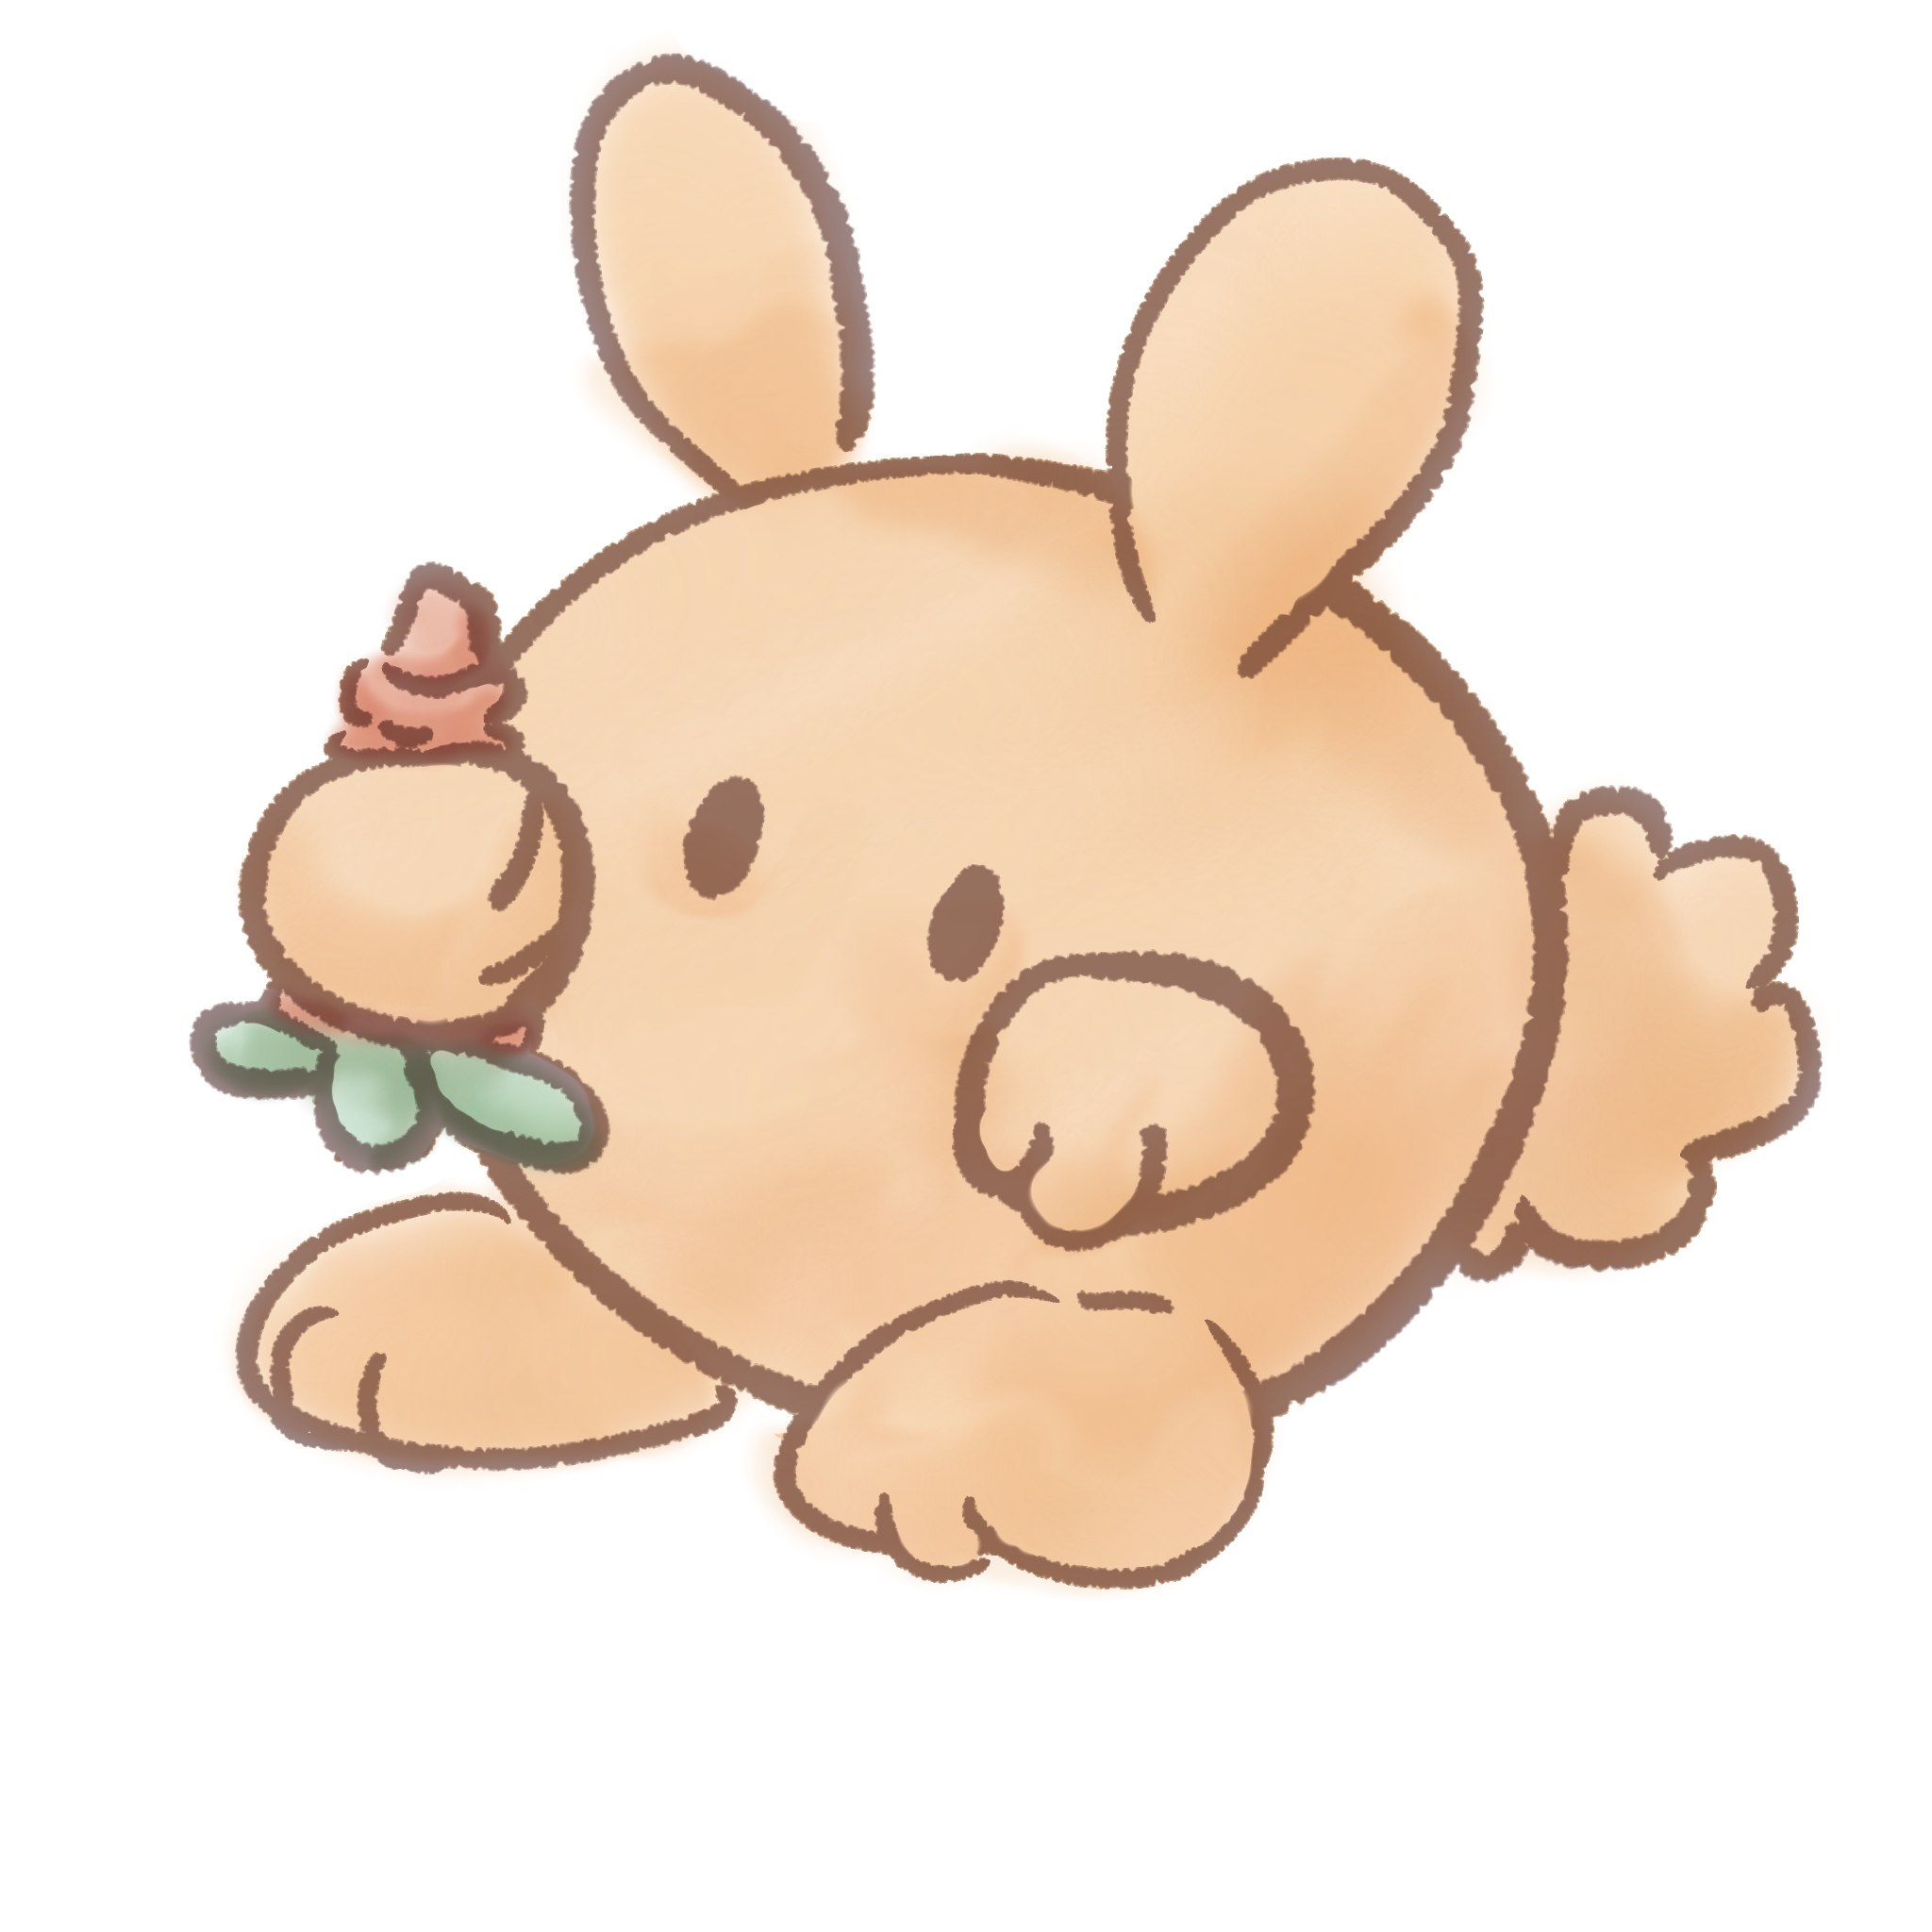
Colores base / Flat colors
Para hacer los sombreados continúo con el mismo pincel en una nueva capa en modo multiplicar, con la herramienta “gotero” voy tomando los colores que usé de base según el área que vaya a sombrear y procedo a hacer las áreas más oscuras según la dirección en la que imagino se encuentra la luz. Para que las sombras se vean más integradas al color, uso la herramienta de difuminación en los bordes de los trazos de las sombras principalmente, es importante usar un tamaño adecuado para cada sección y así no borrar en exceso el trazo ya realizado.
English Version
To create the shading, I continue with the same brush on a new layer in multiply mode. Using the eyedropper tool, I select the colors I used as a base according to the area I am going to shade and proceed to darken the areas according to the direction in which I imagine the light is coming from. To make the shadows look more integrated with the color, I use the smudge tool mainly on the edges of the shadow strokes. It is important to use an appropriate size for each section so as not to erase the stroke already made.
Sombras / Shades
Para las áreas de luz el procedimiento es similar al del sombreado pero este se hará en una nueva capa que estará en modo normal. Igualmente, con el gotero tomaremos los colores base pero solo como referencia para poder usar uno bastante más claro e iluminar en puntos estratégicos. Aquí también podemos difuminar un poco pero en realidad se necesita en menor grado que para las sombras.
English Version
For the light areas, the procedure is similar to that for shading, but this will be done on a new layer that will be in normal mode. Similarly, we will use the eyedropper to select the base colors, but only as a reference so that we can use a much lighter color and highlight strategic points. Here we can also blend a little, but in reality it is needed to a lesser degree than for the shadows.
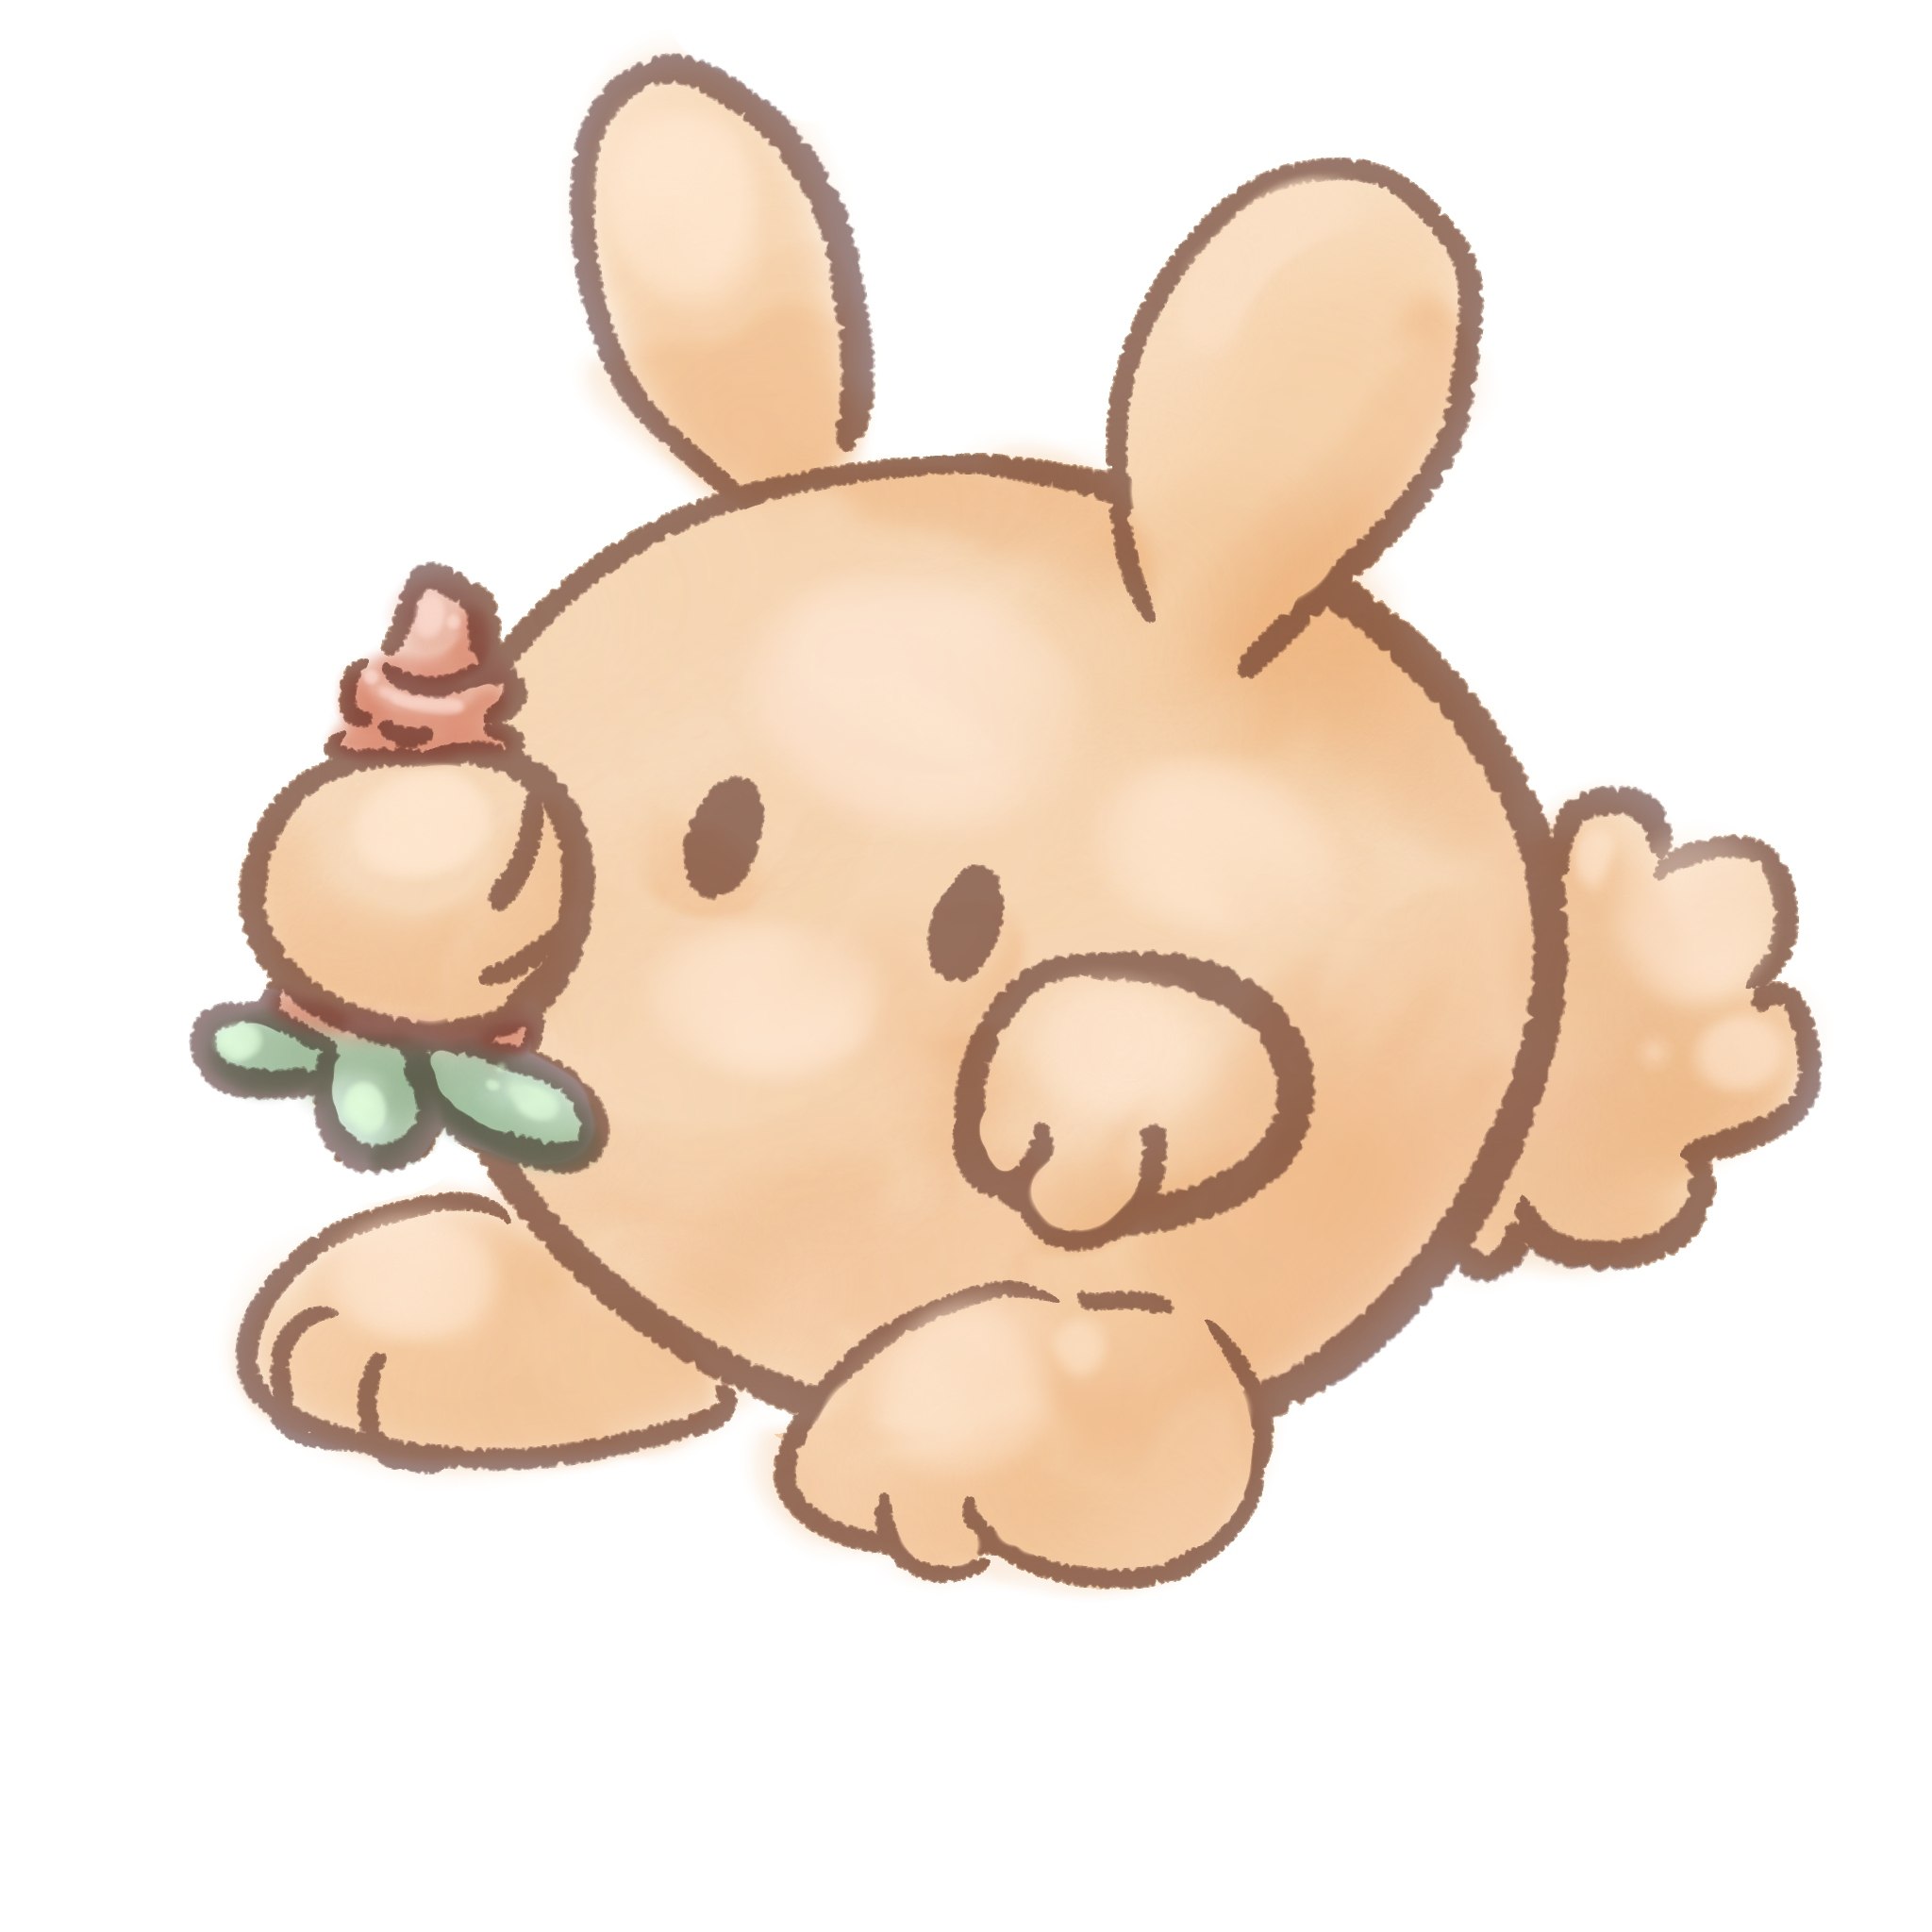
Luces / Lights
Para el rubor y el rosado de la parte interna de las orejitas hacemos una nueva capa en modo normal y con el pincel acuarela aplicamos los trazos necesarios, tanto para color base, un tomo más oscuro para las sombras y uno más claro para las luces y la herramienta de difuminado para integrar todo.
English Version
For the blush and pink on the inside of the ears, we create a new layer in normal mode and use the watercolor brush to apply the necessary strokes, both for the base color, a darker shade for the shadows, and a lighter shade for the highlights, and the smudge tool to blend everything together.
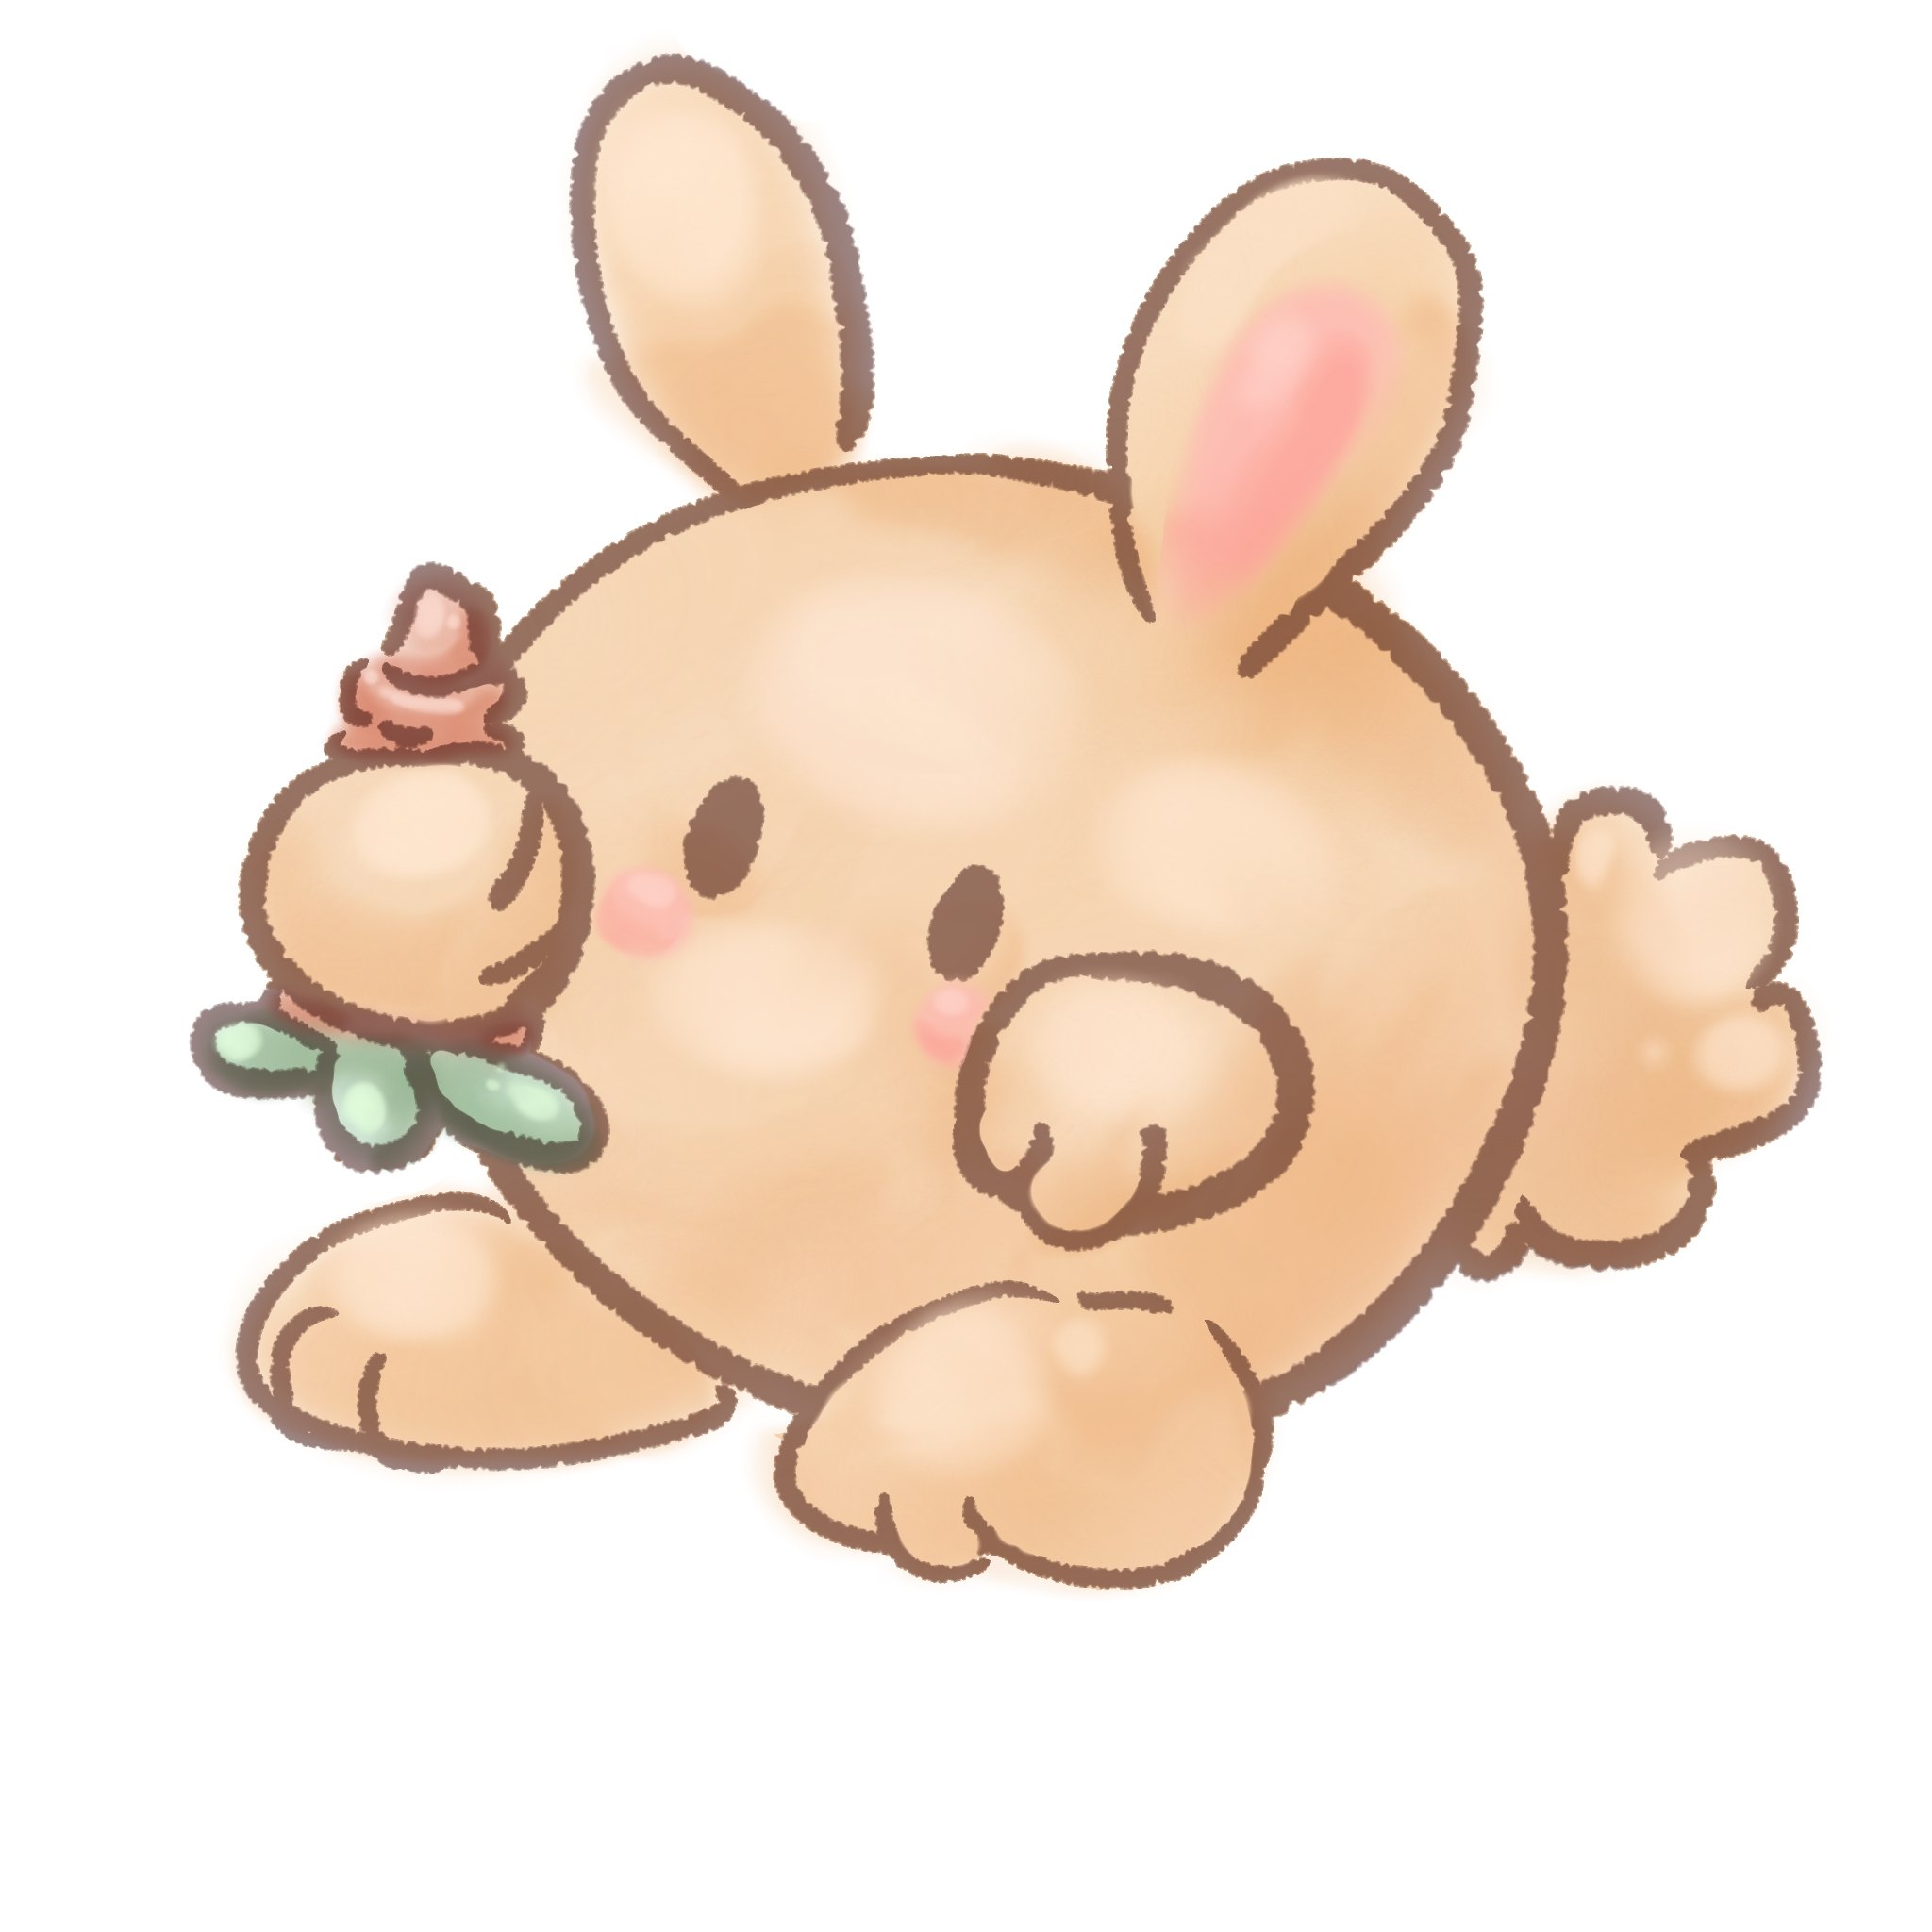
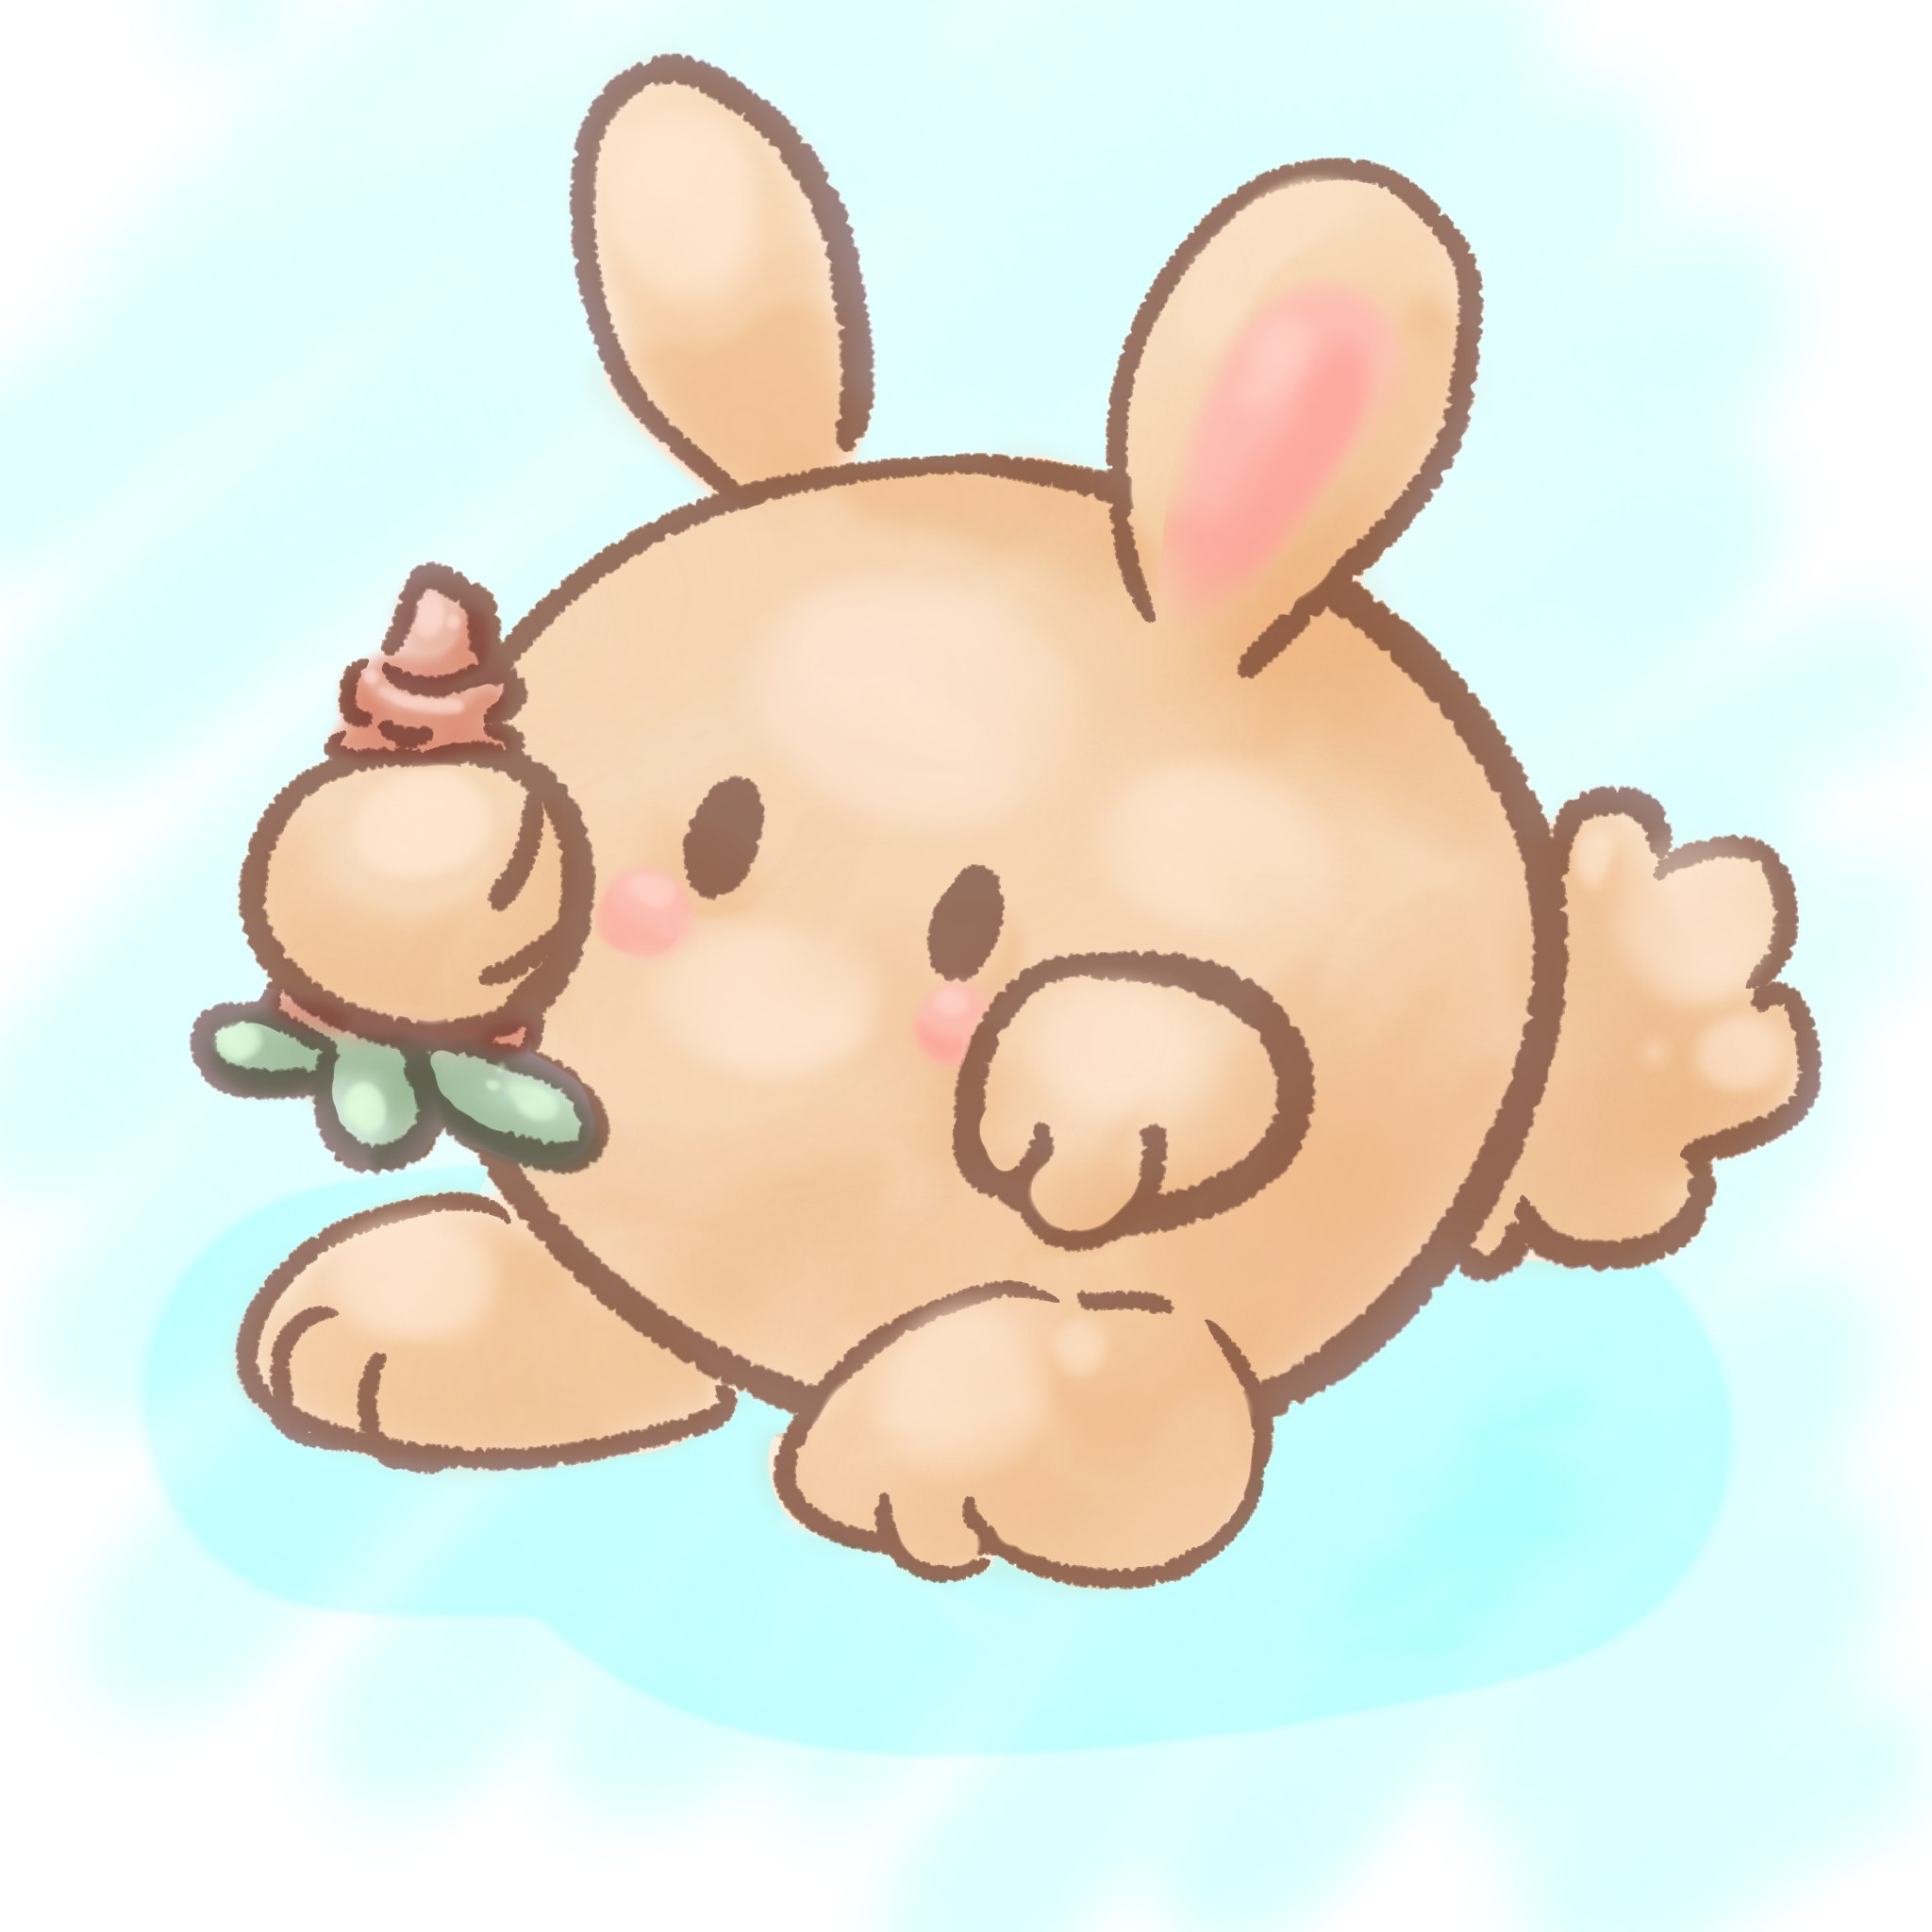
Rubor y orejita / Blush and little ear
En este punto añado el fondo, para ello he elegido un color azul menta que aplico con el mismo pincel acuarela y un tono un poco más oscuro para la sombra debajo del conejo.
English Version
At this point, I add the background. I have chosen a mint blue color, which I apply with the same watercolor brush, and a slightly darker shade for the shadow under the rabbit.
Fondo / Background
Ahora lo que le da vida a todo, el “blanco mágico”. Con el pincel tipo rotulador, seleccionamos color blanco y modificamos para que los trazos sean un poco más transparentes, ya que como es un dibujo muy tierno, tratamos de seguir una estética de colores muy suaves. Luego que hago estos toques “transparentes”, aumento de nuevo la solidez del color y hago más detalles, principalmente en el fondo deseo adornos en blanco puro. Agrego mi firma y listo, un hermoso conejo bolita de fantasía con su deliciosa zanahoria.
English Version
Now for the finishing touch, the “magic white.” Using the marker brush, we select white and modify it so that the strokes are a little more transparent, since it is a very cute drawing, we try to follow a very soft color aesthetic. After adding these “transparent” touches, I increase the color intensity again and add more details, mainly in the background, where I want pure white decorations. I add my signature, and that's it—a beautiful fantasy bunny with its delicious carrot.
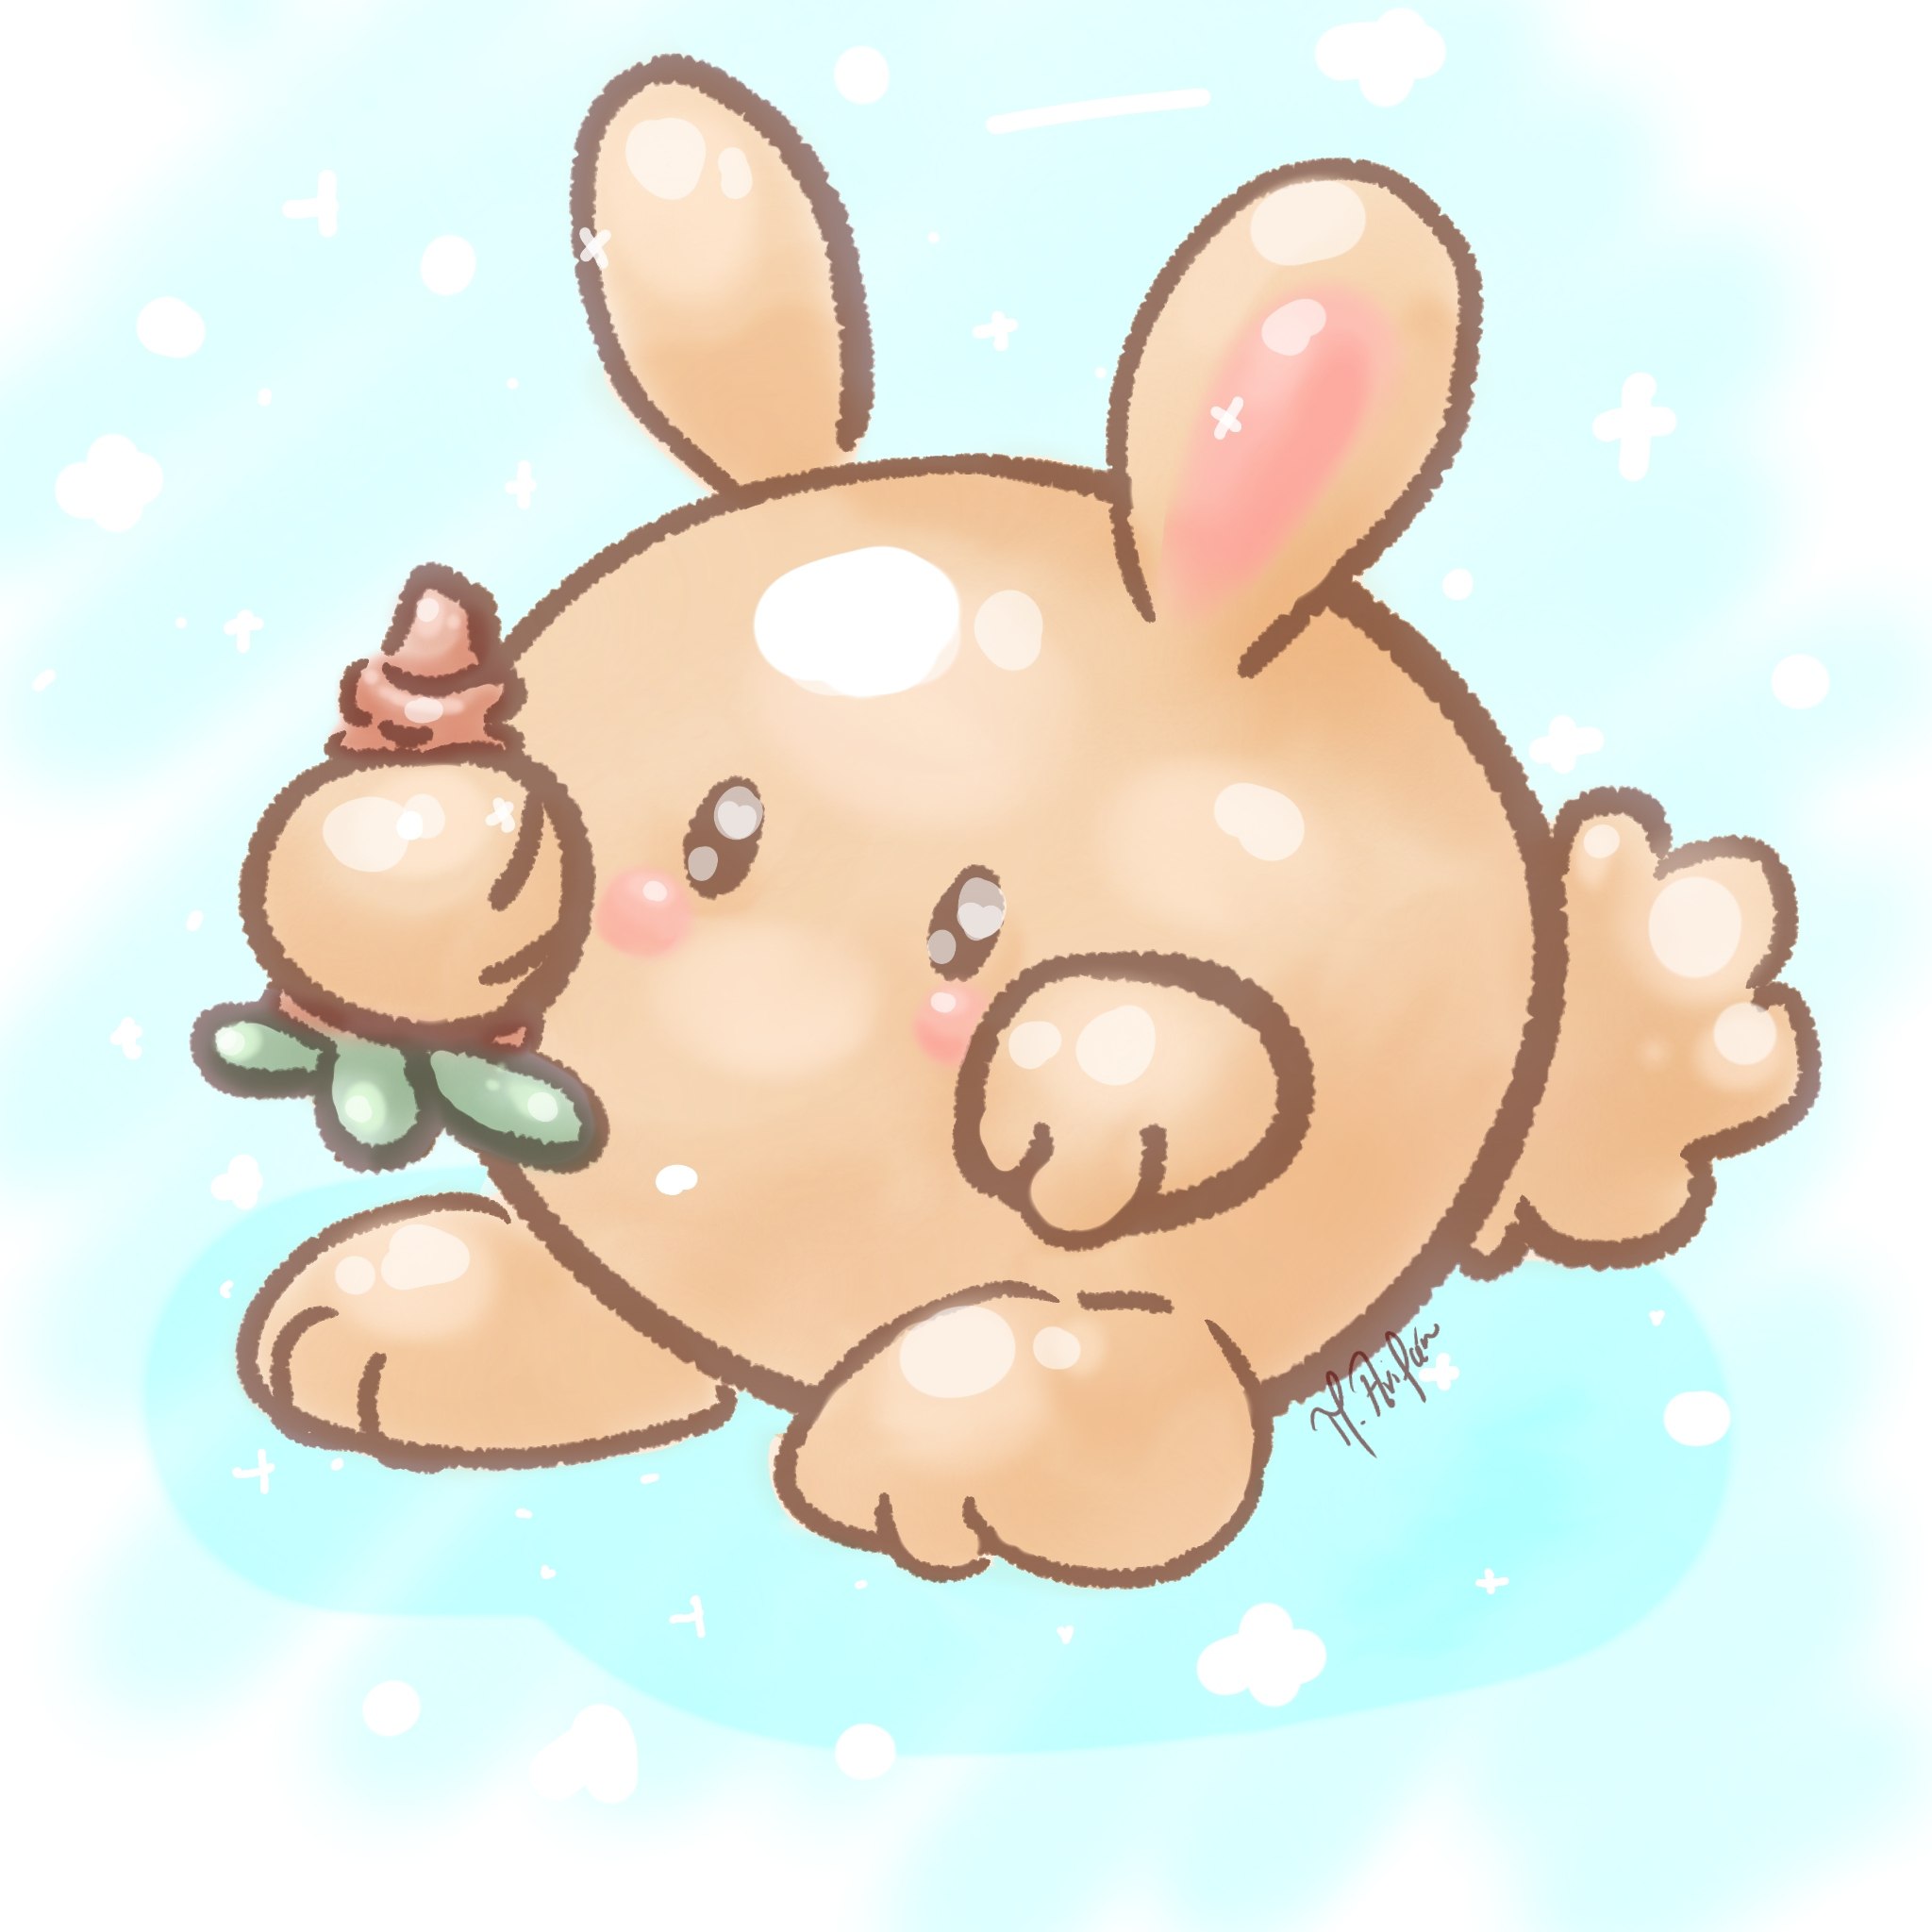
Resultado final / Final result
### Comentarios finales:
* Espero que les haya gustado el resultado final, yo estoy muy contenta con mi conejito, le di forma de bolita porque deseaba que se viera muy tierno y esponjoso y las figuras curvas siempre dan esta sensación de ternura.
* Aun debo practicar, la verdad acostumbrarse al lapicero es un proceso, por eso he decidido dibujar una figura sencilla en torno a una forma circular, para irme familiarizando a mis nuevas herramientas y no frustrarme en el proceso.
* Ustedes no lo ven pero llegar al conejo bolita tuvo unos cuantos lienzos previos, probando, experimentando y descartando, pero sobre todas las cosas, aprendiendo * se emociona porque le encanta aprender cosas nuevas * (risas).
English Version
### Final comments:
* I hope you liked the final result. I am very happy with my bunny. I made it round because I wanted it to look very cute and fluffy, and curved shapes always give that feeling of cuteness.
* I still need to practice. Getting used to the pen is a process, so I decided to draw a simple figure around a circular shape to familiarize myself with my new tools and not get frustrated in the process.
* You can't see it, but getting to the ball-shaped rabbit took a few previous canvases, trying, experimenting, and discarding, but above all, learning * she gets excited because she loves learning new things * (laughs).