¡Hola mis queridos amigos! En esta ocasión deseo participar en el concurso propuesto por la comunidad para honrar a las madres y qué mejor forma de hacerlo que mostrando el precioso obsequio que le hice a mi mami, unos hermosos y elegantes aretes de flores de porcelana fría en color cerúleo y con una perla central, este es un diseño atemporal, muy elegante y femenino, ideal para realzar su belleza.
English Version
Hello my dear friends! On this occasion I want to participate in the contest proposed by the community to honor mothers and what better way to do it than showing the precious gift I made for my mommy, beautiful and elegant earrings of cold porcelain flowers in cerulean color and with a central pearl, this is a timeless design, very elegant and feminine, ideal to enhance her beauty.
### Materiales:
* Porcelana fría
* Perlas
* Anzuelos
* Aros
* Herramientas para trabajar la porcelana fría
* Tijeras/Cúter
* Alicates de joyería
* Pegamento blanco
* Top coat
* Lámpara UV/LED
### Procedimiento:
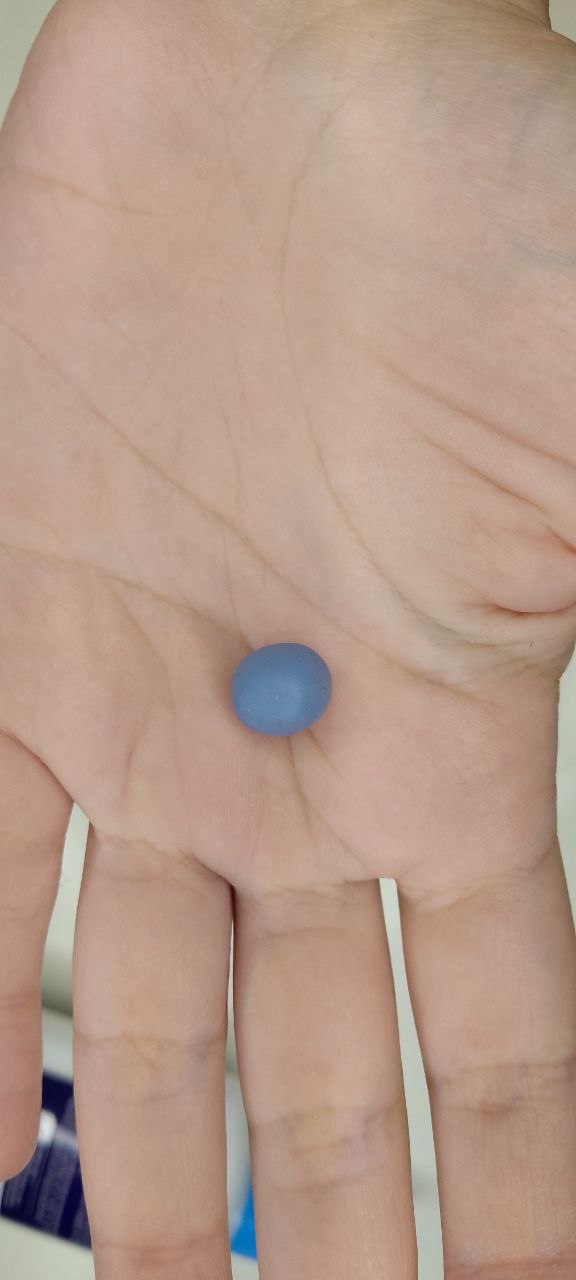
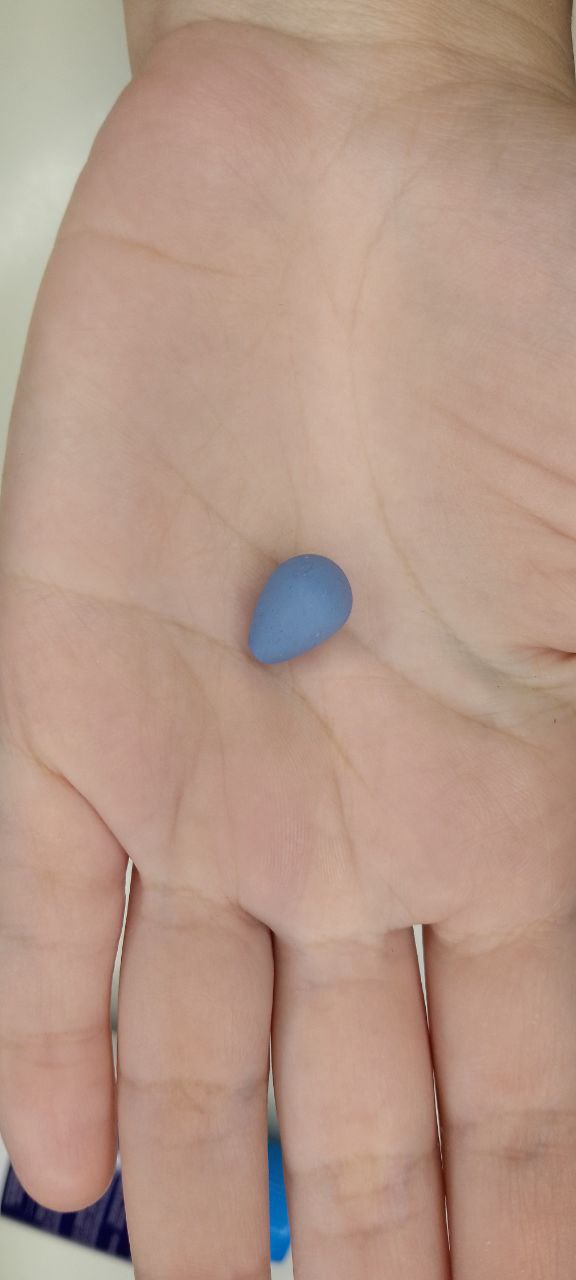
Iniciamos formando una bolita de porcelana fría color azul cerúleo y luego, con ayuda de alguna herramienta o con nuestros dedos, le daremos forma de gota redondeada.
English Version
### Materials:
* Cold porcelain
* Beads
* Hooks
* Hoops
* Tools for working the cold porcelain
* Scissors/Cutter
* Jewelry pliers
* White glue
* Top coat
* UV/LED lamp
### Procedure:
We start by forming a small ball of cerulean blue colored cold porcelain and then, with the help of some tool or with our fingers, we will shape it into a rounded drop.
 | 
--- | ---
Gota azul / Blue drop
Ahora tomaremos la gota entre nuestros dedos de modo que el extremo más gordito quede expuesto hacia arriba y empleando unas tijeras de hoja muy fina o un cúter, cortaremos en “cruz”, separando en cuatro porciones esta sección. El corte no debe ser de la pieza completa, solo de esa parte superior, pero todo debe seguir unido en la sección más fina de la gota inicial.
English Version
Now we will take the drop between our fingers so that the fatter end is exposed upwards and using a very fine-bladed scissors or a cutter, we will cut in “cross”, separating this section into four portions. The cut should not be of the whole piece, only of that upper part, but everything should remain together in the thinner section of the initial drop.
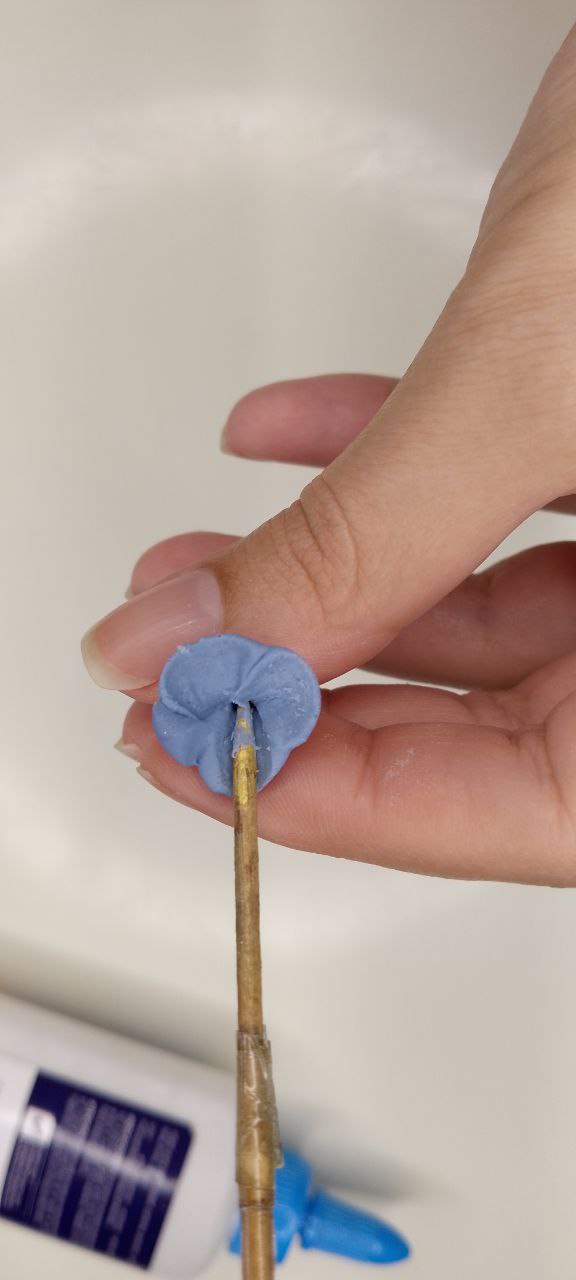
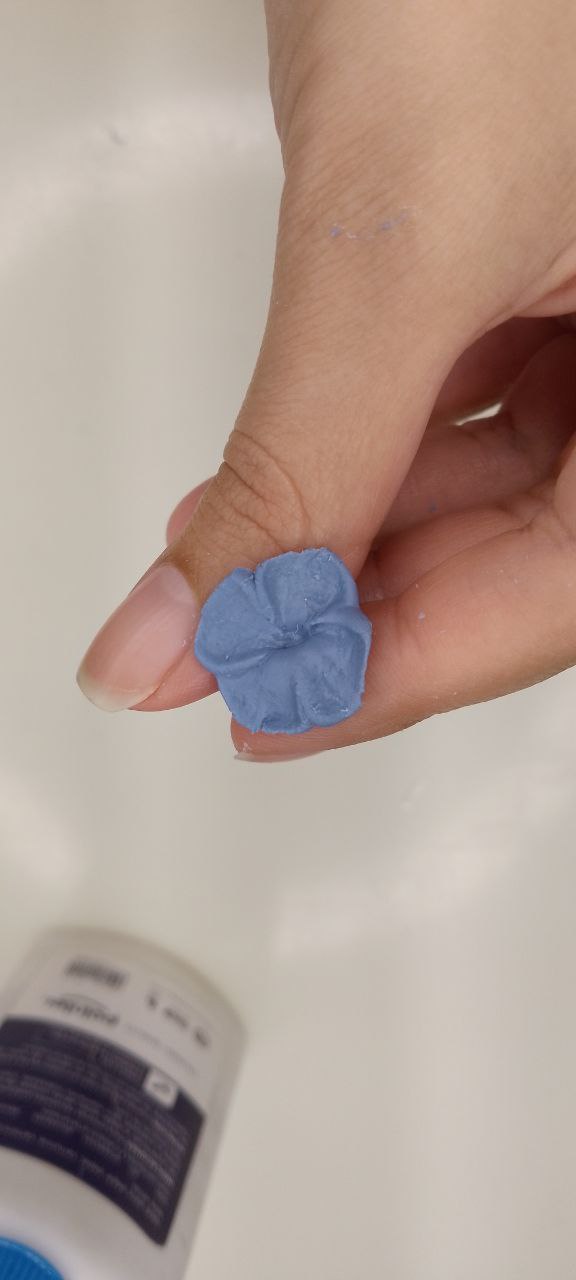
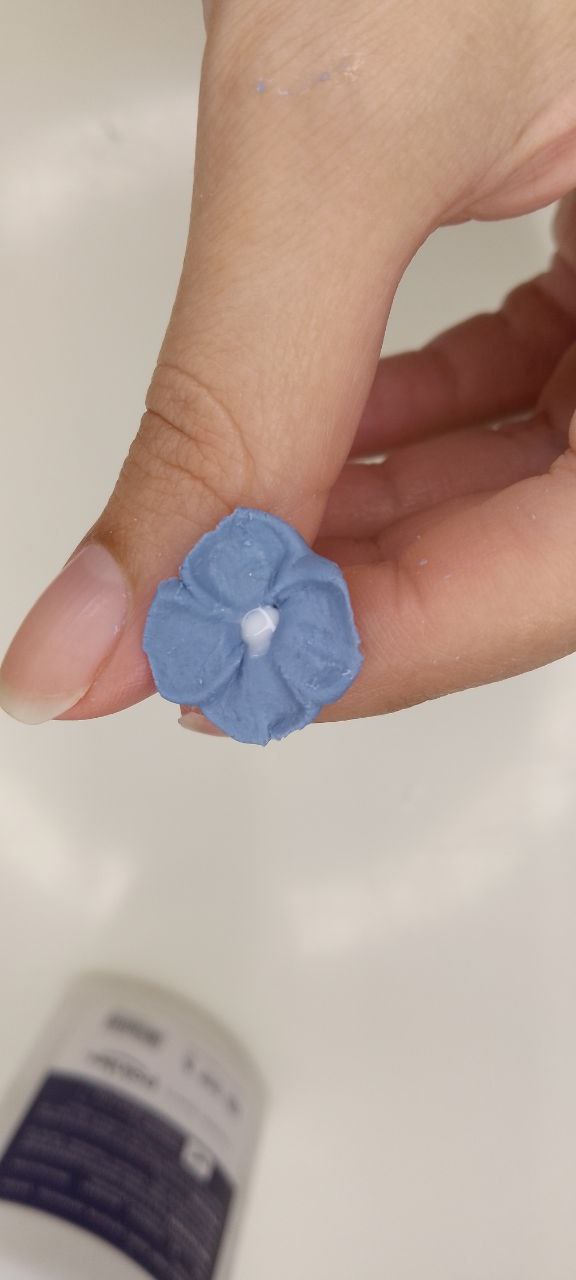
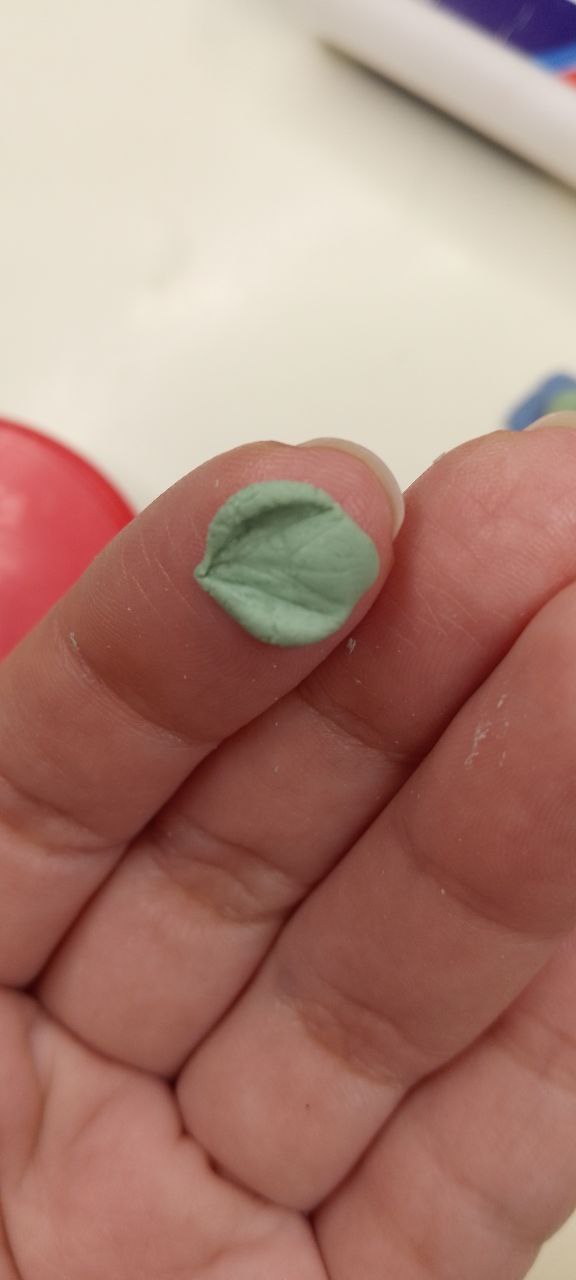
Seguidamente, tomaremos un palillo o algo similar y aplanaremos cada porción recién cortada, presionando el palillo en el centro de la porción y luego manteniendo la presión, rodaremos el palillo hacia un lado y hacia el otro, dando origen así a cada pétalo. Serán tantos pétalos como porciones cortemos, en este caso, corresponde a cuatro pétalos.
English Version
Next, we will take a toothpick or something similar and flatten each freshly cut portion, pressing the toothpick in the center of the portion and then keeping the pressure, we will roll the toothpick to one side and to the other, thus giving rise to each petal. There will be as many petals as portions we cut, in this case, it corresponds to four petals.
 | 
--- | ---
Formando pétalos / Forming petals
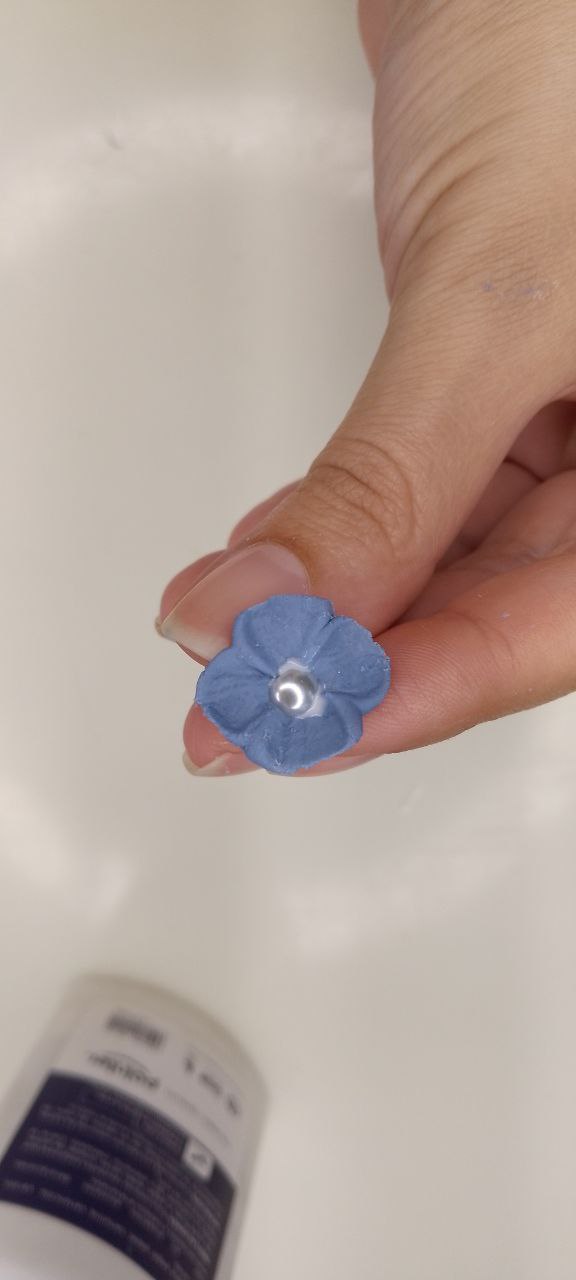
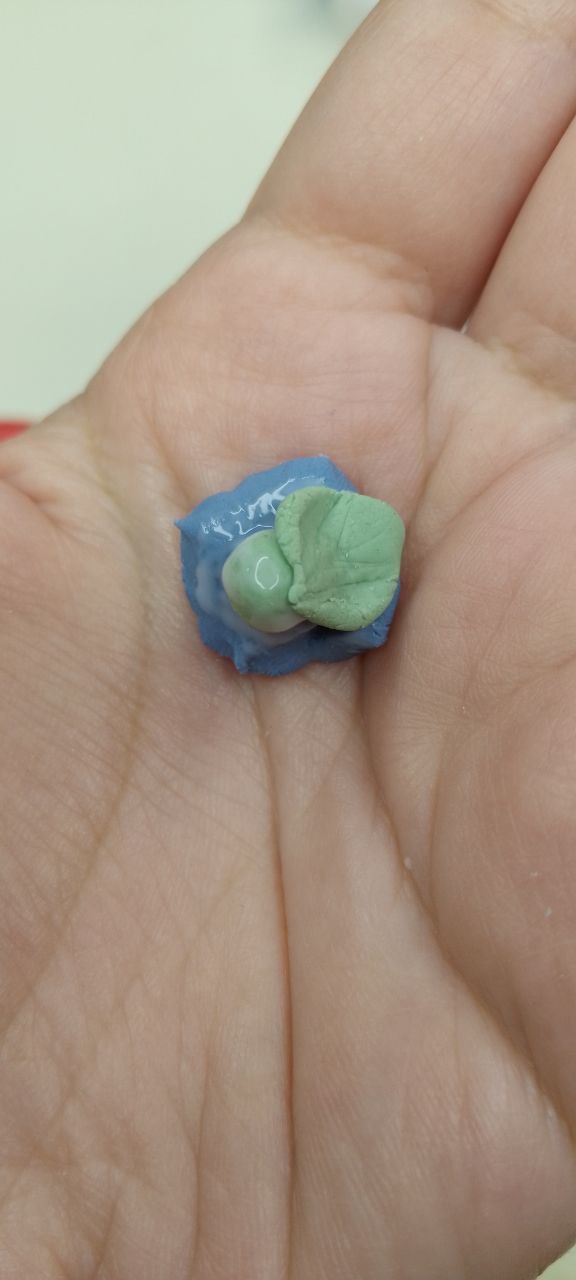
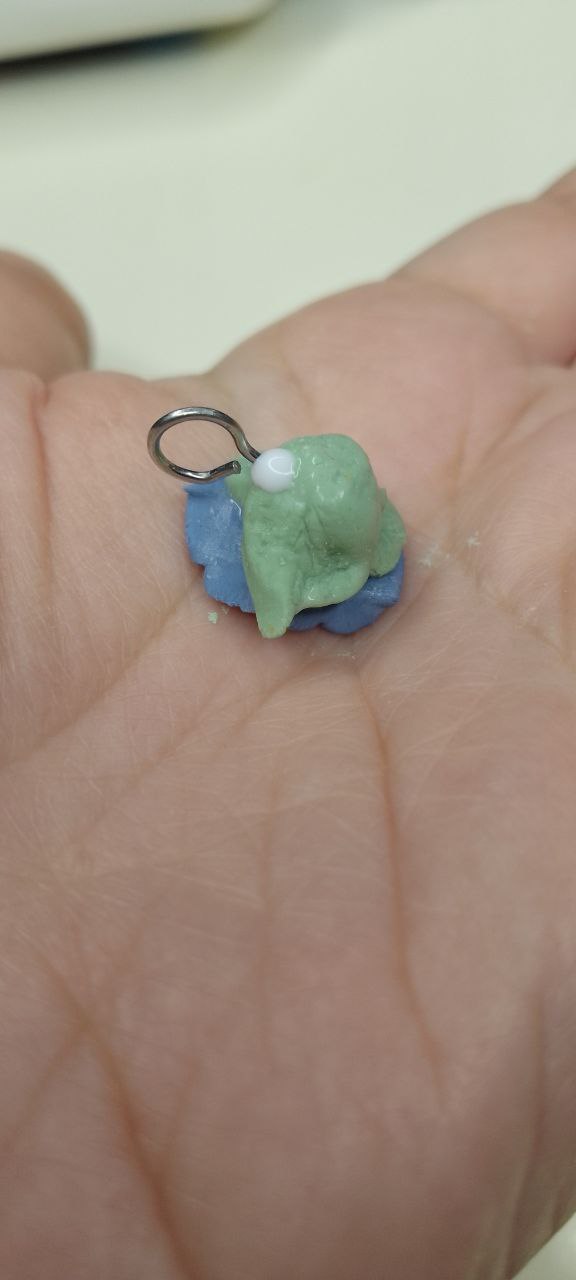
En el centro, añadiremos un puntito de pegamento blanco y luego una perla, esta la presionaremos un poco hacia dentro del diseño y con los dedos que sostenemos todo, también presionaremos un poco de modo que los pétalos envuelvan ligeramente la perla para que no salga de su lugar.
English Version
In the center, we will add a dot of white glue and then a pearl, this we will press it a little into the design and with the fingers that hold everything, we will also press a little so that the petals slightly wrap the pearl so that it does not come out of its place.
 | 
--- | ---
Añadiendo la perla / Adding the pearl
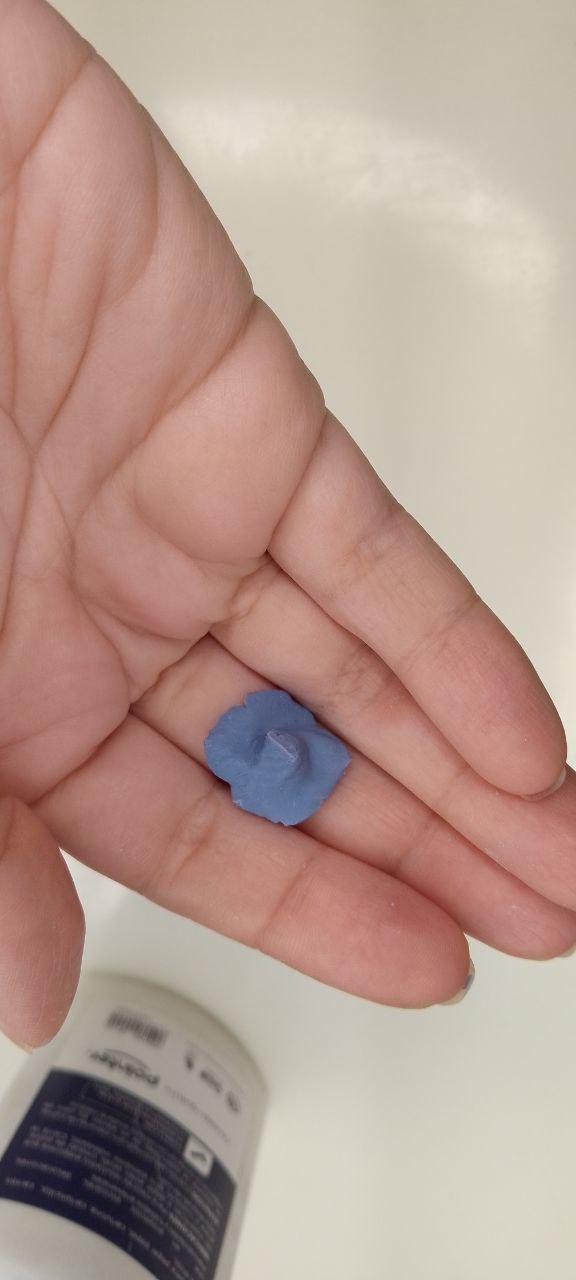
Una vez terminado los pasos previos, podremos ver que la gotita original es ahora una flor con una especie de cono debajo, así que cortaremos el exceso de ese cono, ya sea con tijera, cúter o nuestros mismos dedos, pero siendo muy cuidadosos de no cortar en exceso y exponer a la perla por detrás de la figura.
English Version
Once the previous steps have been completed, we can see that the original droplet is now a flower with a kind of cone underneath, so we will cut the excess of that cone, either with scissors, cutter or our own fingers, but being very careful not to cut too much and expose the pearl behind the figure.
 | 
--- | ---
Cortando el exceso / Cutting the excess
Dejaremos secar un poco la flor para así proceder sin deformar lo que ya hemos hecho, entonces daremos forma de cono a una pequeñísima porción de porcelana fría de color verde.
English Version
We will let the flower dry a little so as to proceed without deforming what we have already done, then we will give a cone shape to a very small portion of cold green porcelain.
Esta la pegaremos en la parte central trasera de la flor con un poco de pegamento.
English Version
We will glue it to the center back of the flower with a little glue.
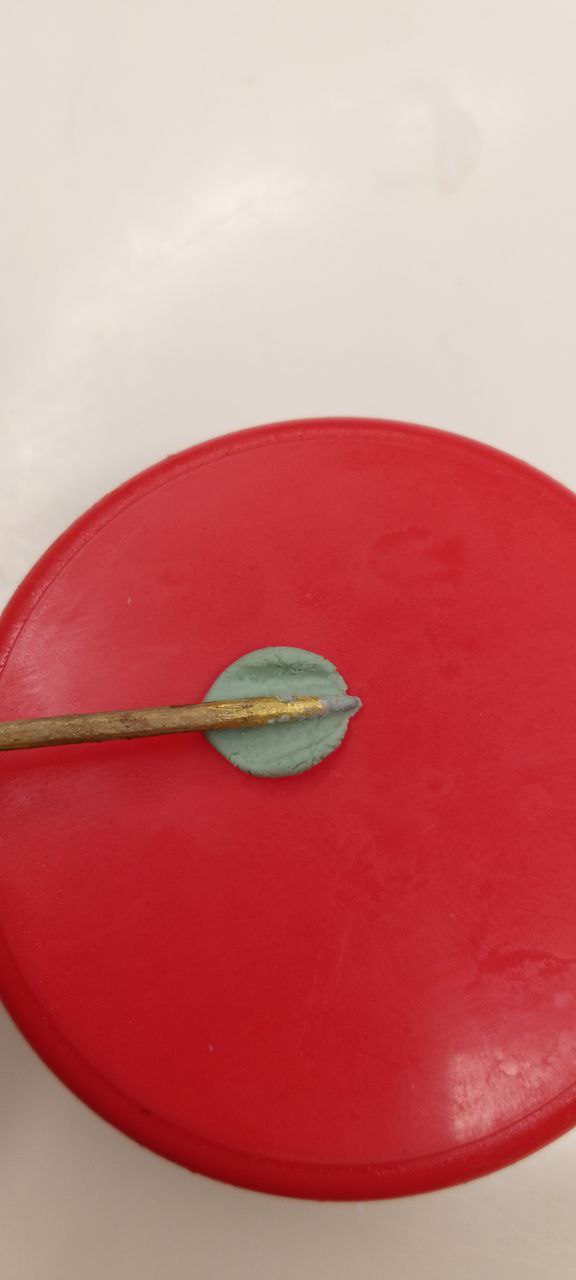
Tomaremos nuevamente una pequeña porción de porcelana fría del mismo color verde y formaremos una especie de óvalo, el cual colocaremos sobre una superficie plana y repetiremos el proceso de aplanar con el palillo, también le haremos detalles con el cúter y afinaremos los extremos proporcionando el aspecto de hoja.
English Version
We will take again a small portion of cold porcelain of the same green color and we will form a kind of oval, which we will place on a flat surface and we will repeat the process of flattening with the toothpick, we will also make details with the cutter and we will sharpen the ends providing the appearance of a leaf.
 | 
--- | ---
Haciendo las hojas / Making the leaves
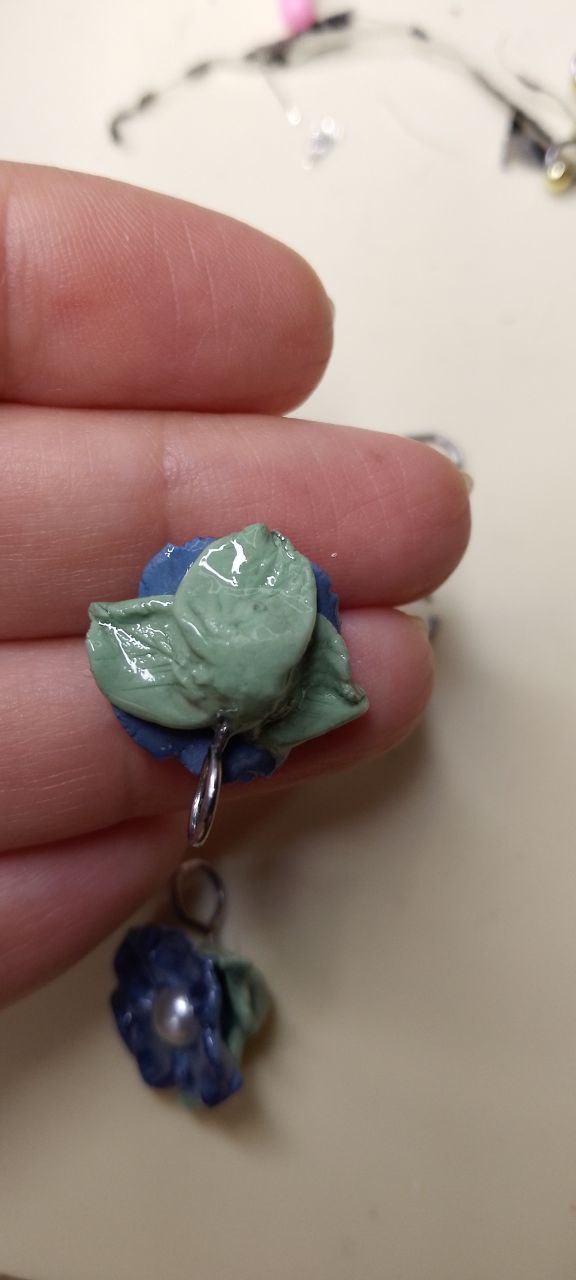
Agregamos una cada delgada de pegamento blanco en la parte trasera de la flor y adherimos la hoja envolviendo el cono verde y posicionando la hoja como más nos guste. Repetimos estos pasos para cuantas hojas deseemos añadir, yo he colocado tres hojas solamente para no recargar.
English Version
We add a thin layer of white glue on the back of the flower and adhere the leaf wrapping the green cone and positioning the leaf as we like. Repeat these steps for as many leaves as you want to add, I have placed only three leaves so as not to overload.
 | 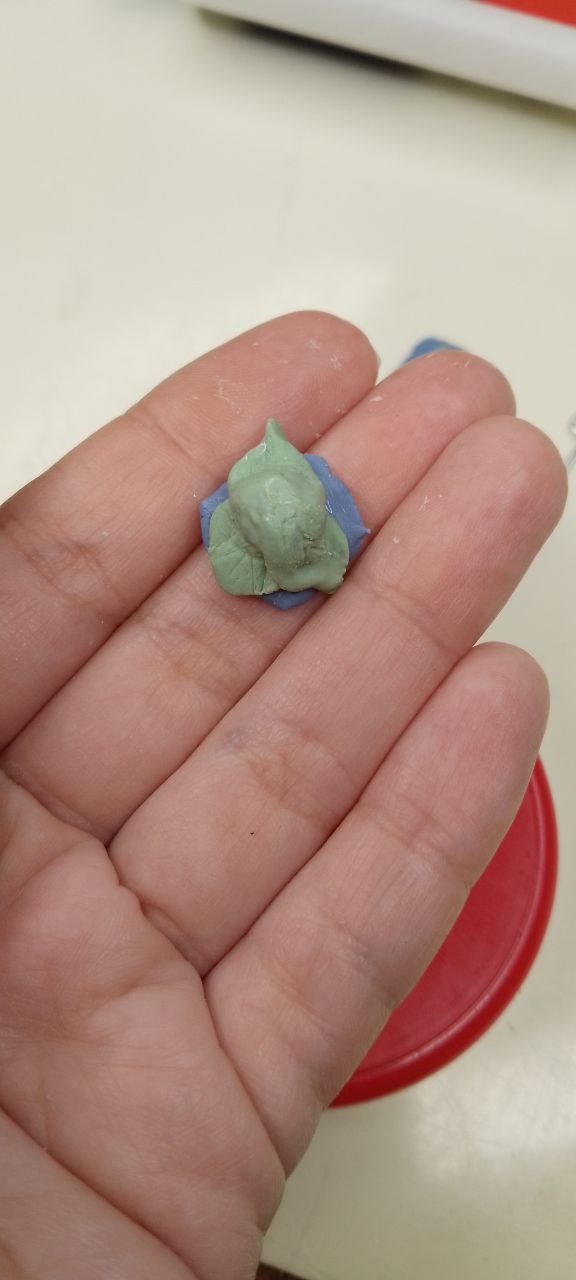
--- | ---
Posicionando las hojas / Positioning the leaves
Es momento de colocar el alfiler de ojo para posteriormente poder usar este arete de forma que cuelgue, para ello, tomaremos el alfiler de ojo, le daremos una capa de pegamento blanco a la parte recta del alfiler e introduciremos en la parte trasera de la flor tal como se ve en las imágenes.
English Version
It is time to place the eye pin to later use this earring so that it can hang, to do this, we will take the eye pin, we will give a layer of white glue to the straight part of the pin and introduce it in the back of the flower as shown in the images.
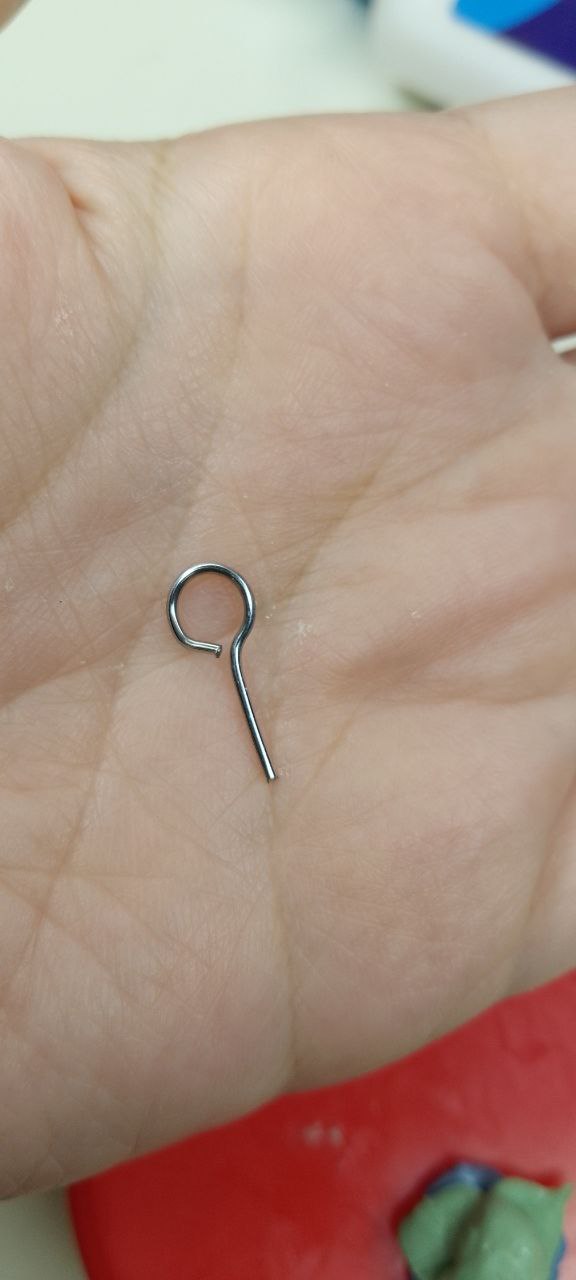 | 
--- | ---
Alfiler de ojo / Eye pin
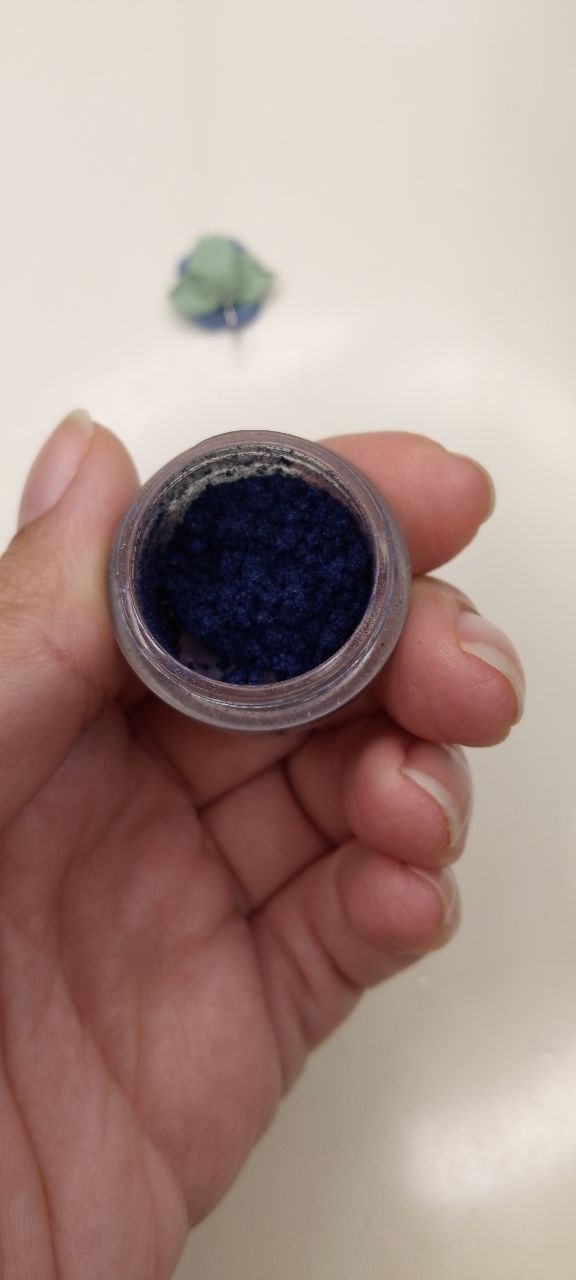
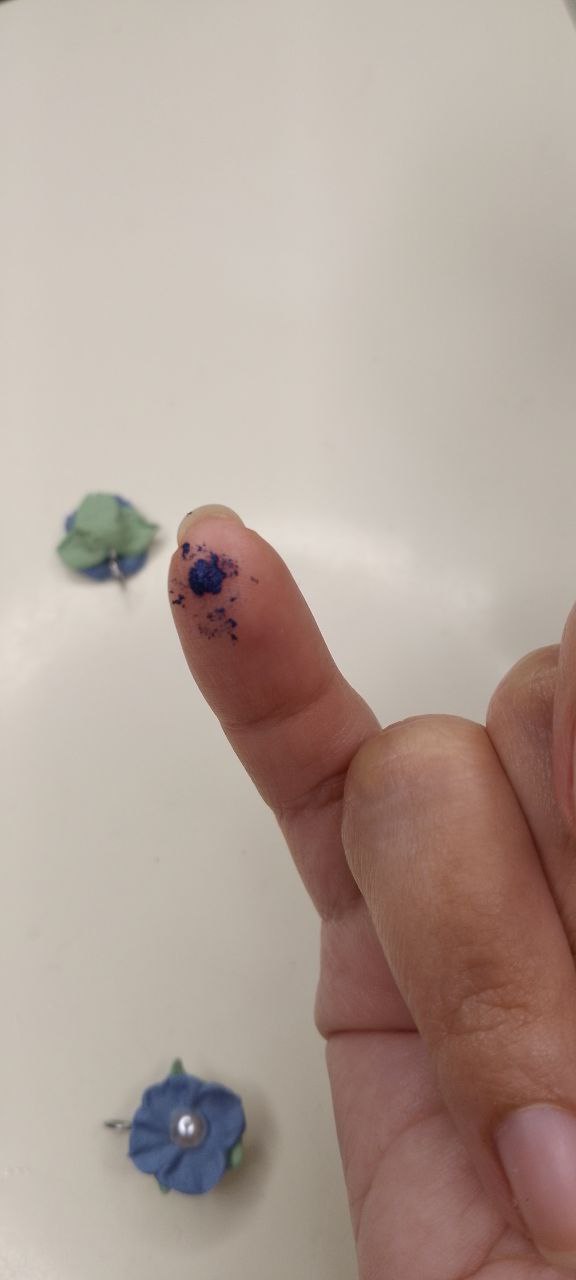
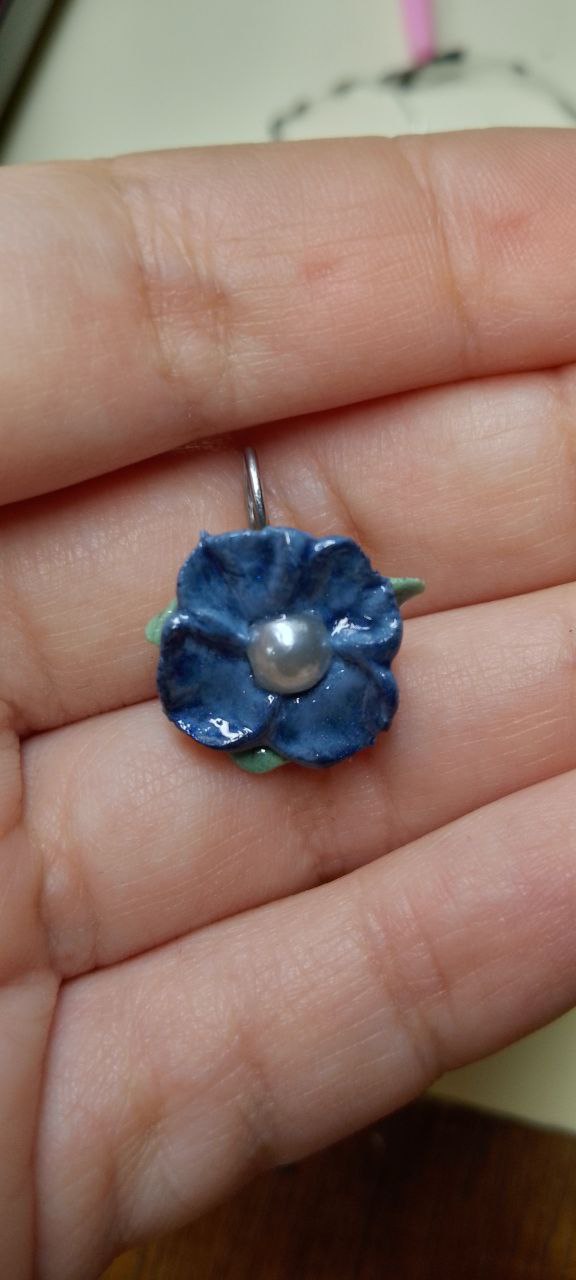
Dejamos secar todo y como deseaba resaltar un poco las texturas y dar un efecto un poco metalizado, decidí pintar un poco con sombra de ojos brillante color azul oscuro. Usé mi dedo como pincel, frotando delicadamente sobre los pétalos y con mucha paciencia, luego un pincel retiré cualquier exceso o “amontonamiento” de material.
English Version
We let everything dry and since I wanted to highlight the textures a bit and give a bit of a metallic effect, I decided to paint a bit of shimmery dark blue eyeshadow. I used my finger as a brush, rubbing delicately over the petals and with a lot of patience, then a brush I removed any excess or “clumping” of material.
 |  | 
--- | --- | ---
Sombreado de pétalos / Petal shading
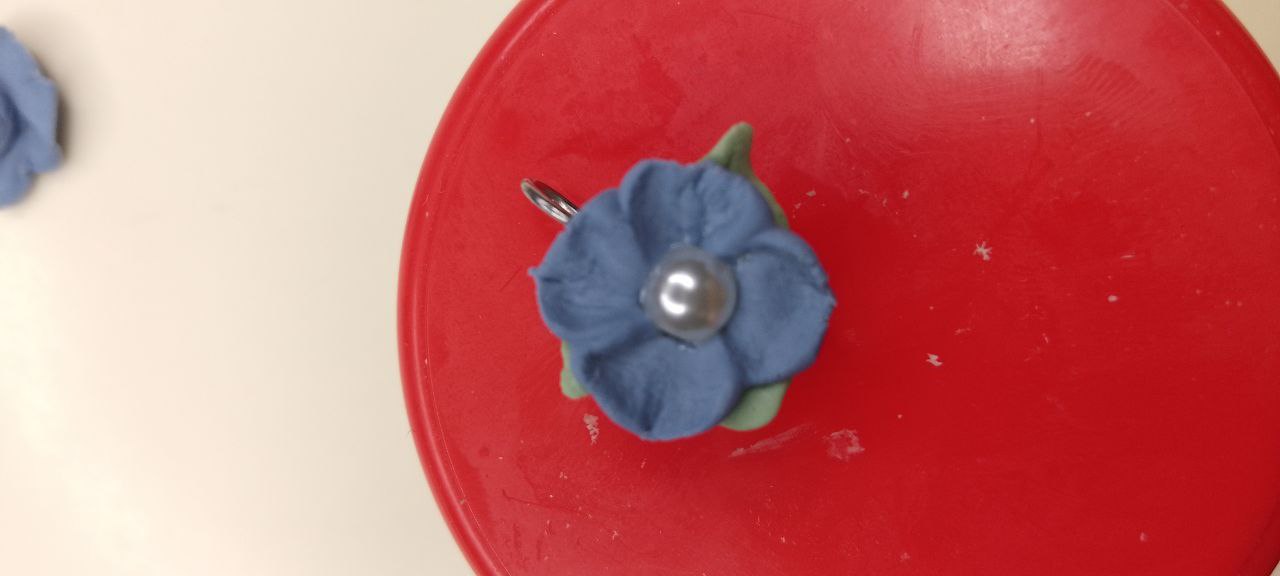
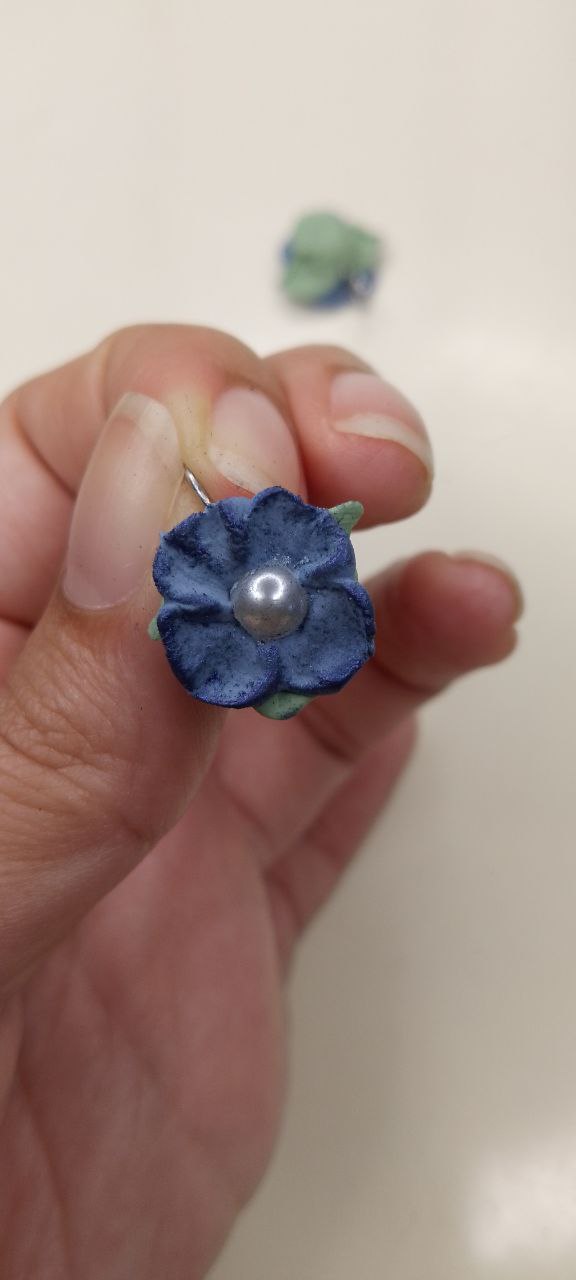
Barnizamos las piezas porque nos encanta el brillo (risas) y para ello usaremos top coat que curaremos con lámpara UV/LED.
English Version
We varnish the pieces because we love the shine (laughs) and for this we will use top coat that we will cure with UV/LED lamp.
 | 
--- | ---
Barnizado / Varnishing
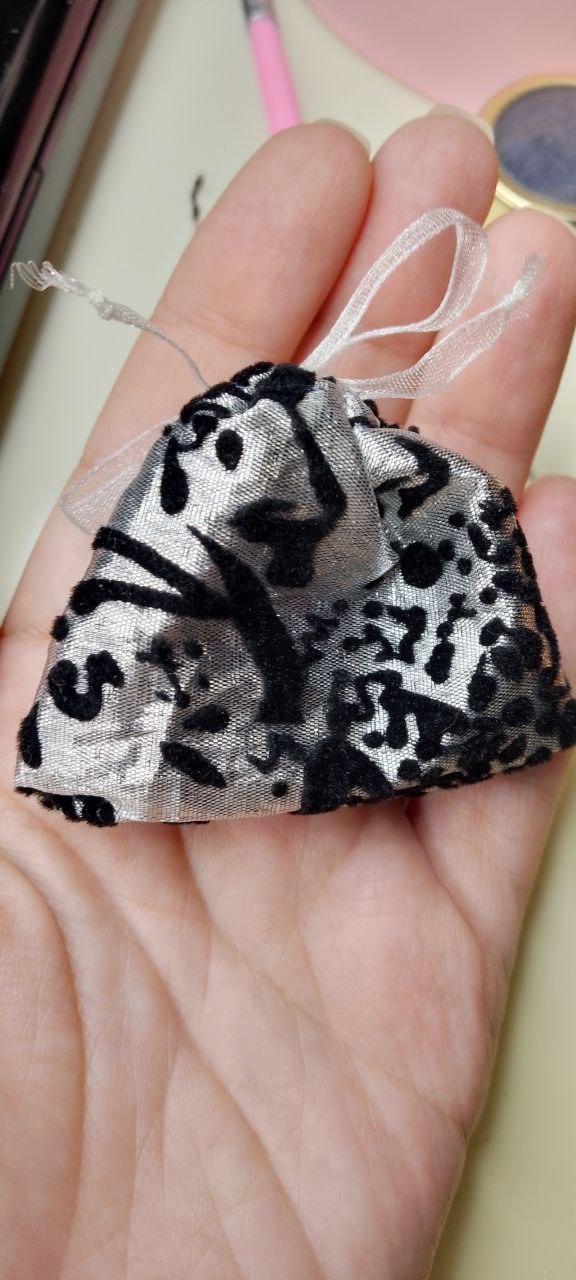
Y finalmente, añadimos un aro al ojo del alfiler para enlazar con el anzuelo. Repetimos todos los pasos para obtener la pareja de este hermoso diseño, lo guardamos en una linda bolsita y así se vería:
English Version
And finally, we add a ring to the eye of the pin to link with the hook. We repeat all the steps to get the couple of this beautiful design, we keep it in a nice little bag and this is how it would look like:
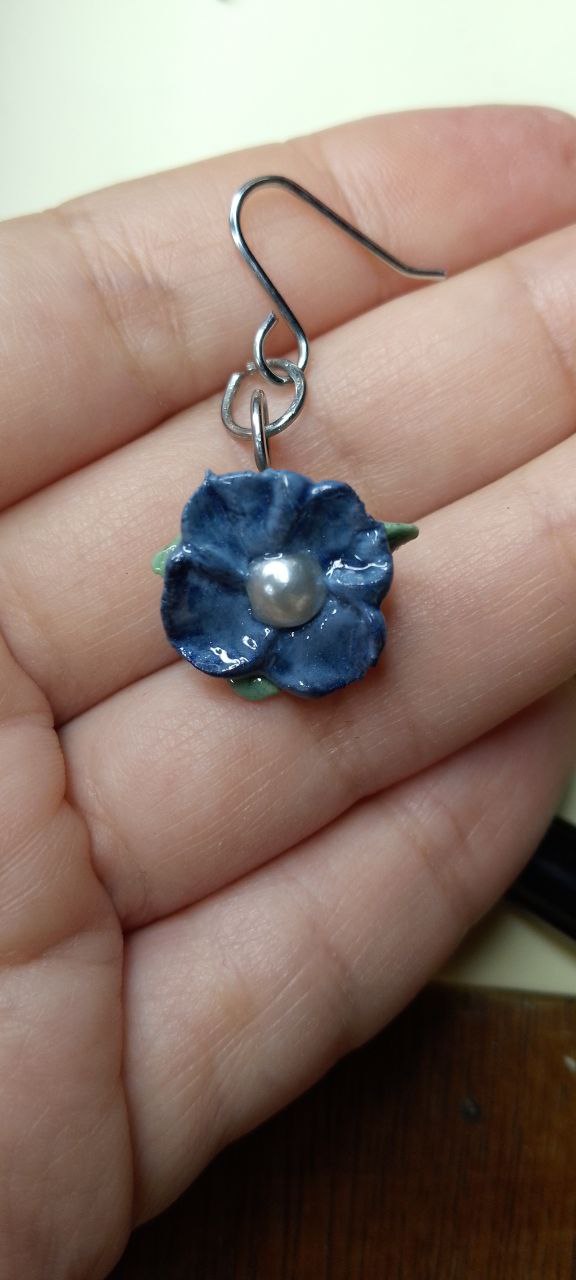 | 
--- | ---
Añadiendo anzuelo / Adding hook
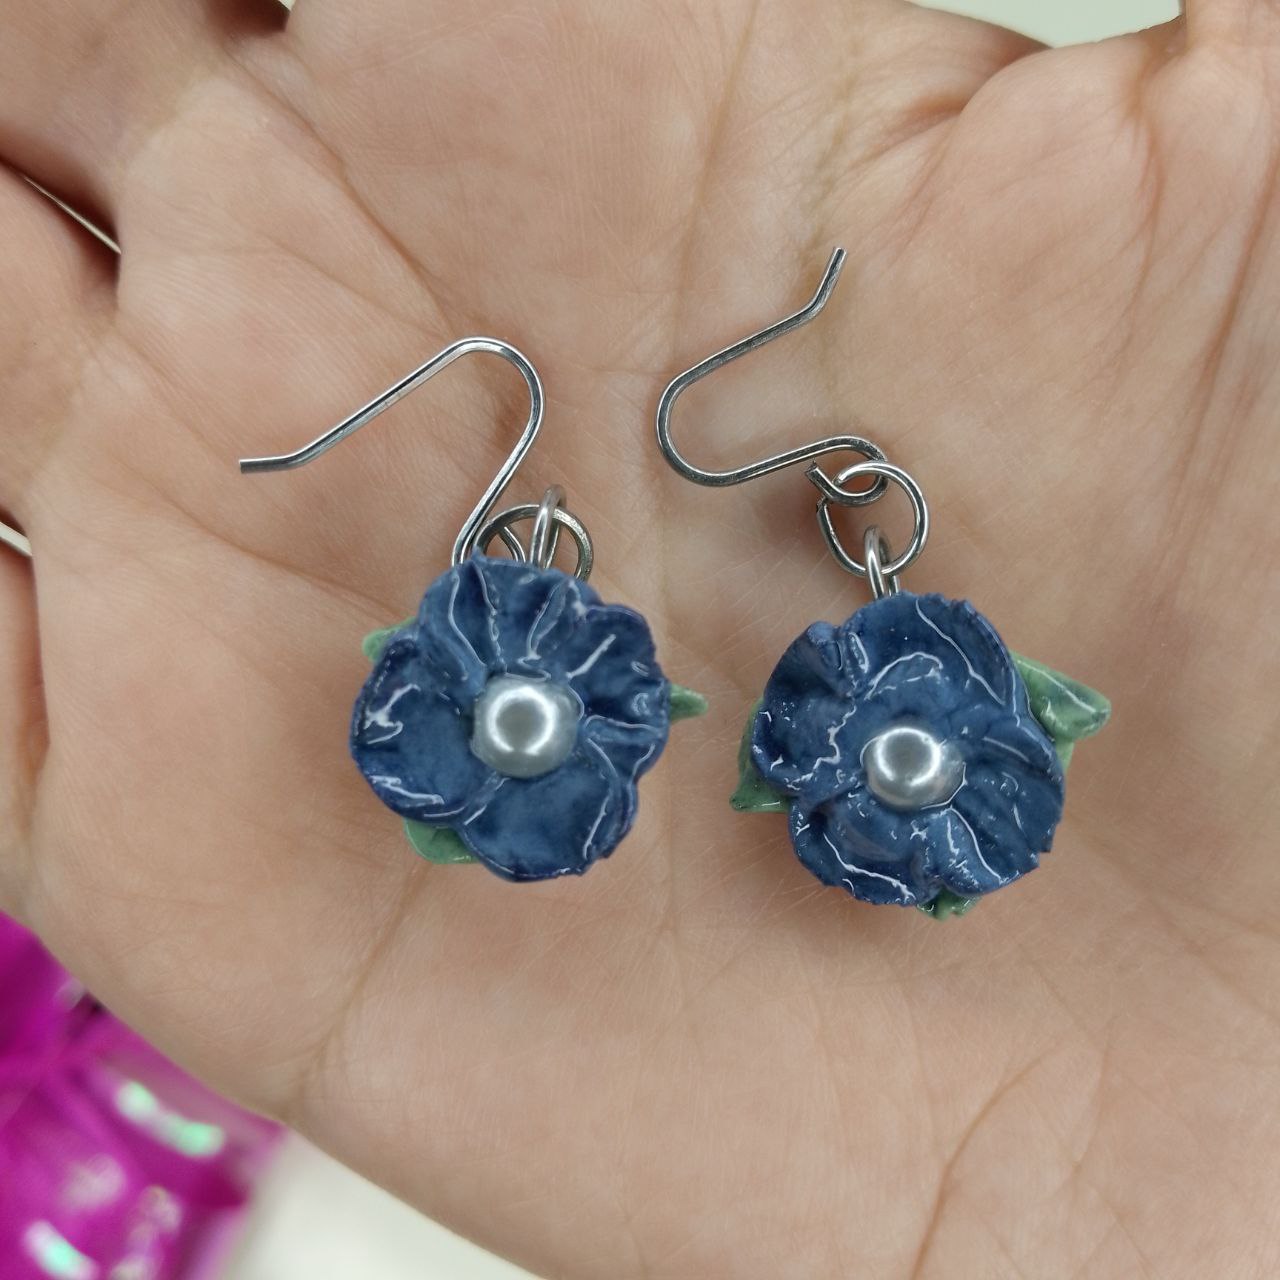
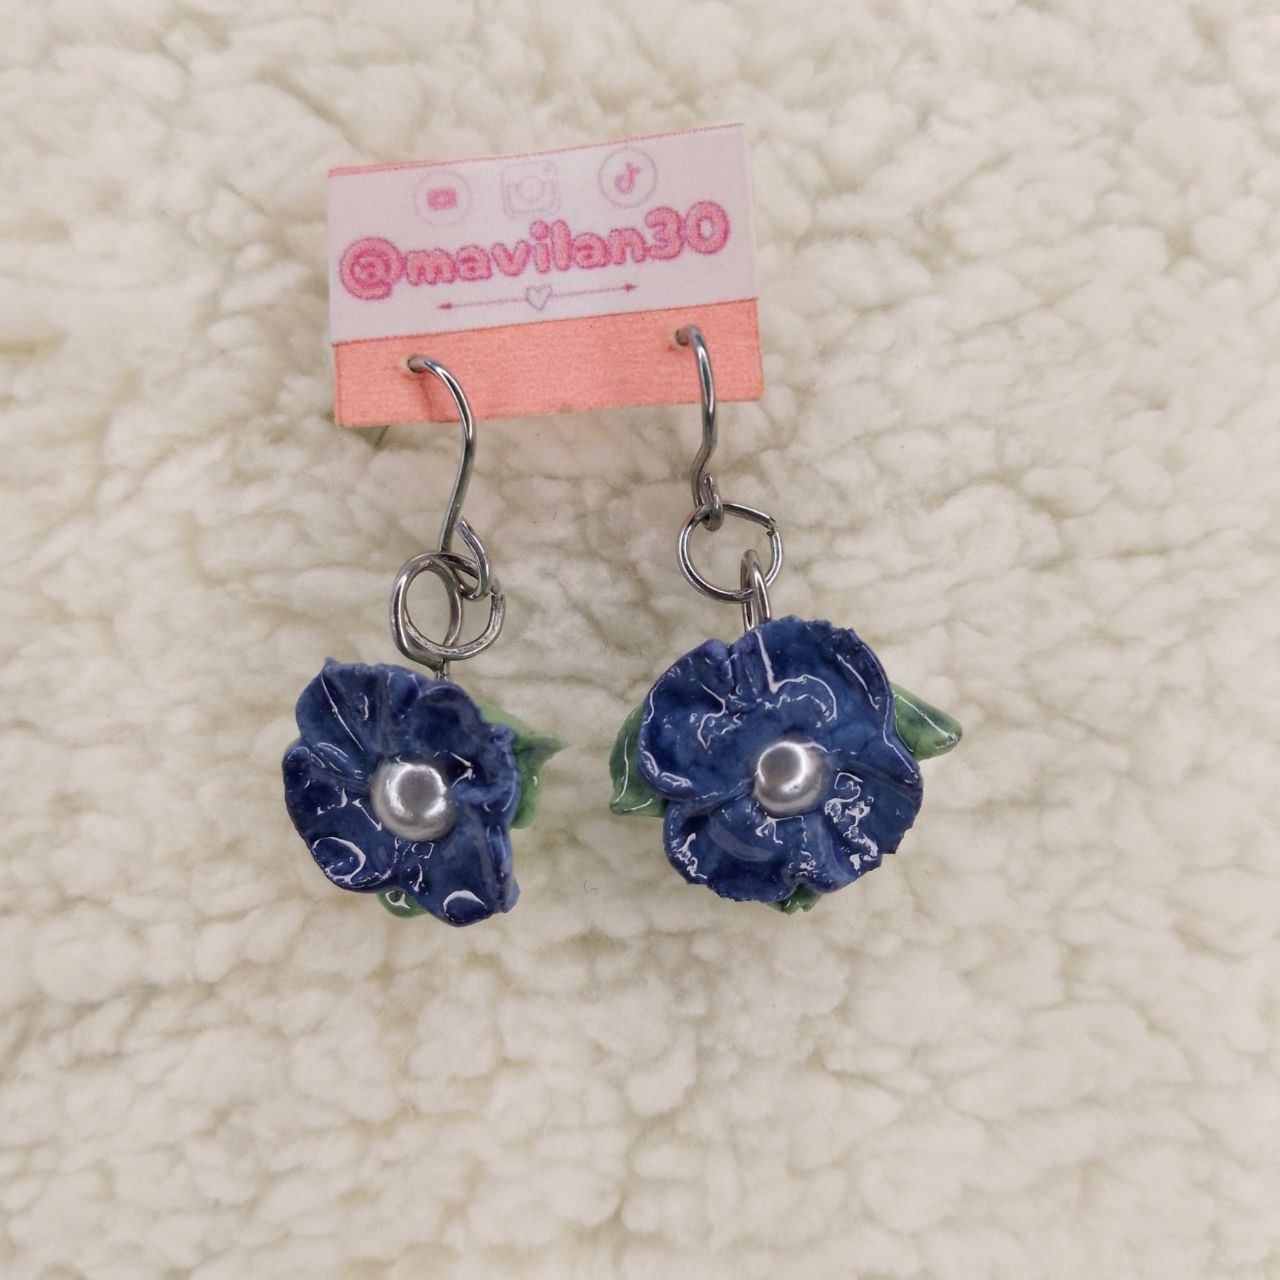
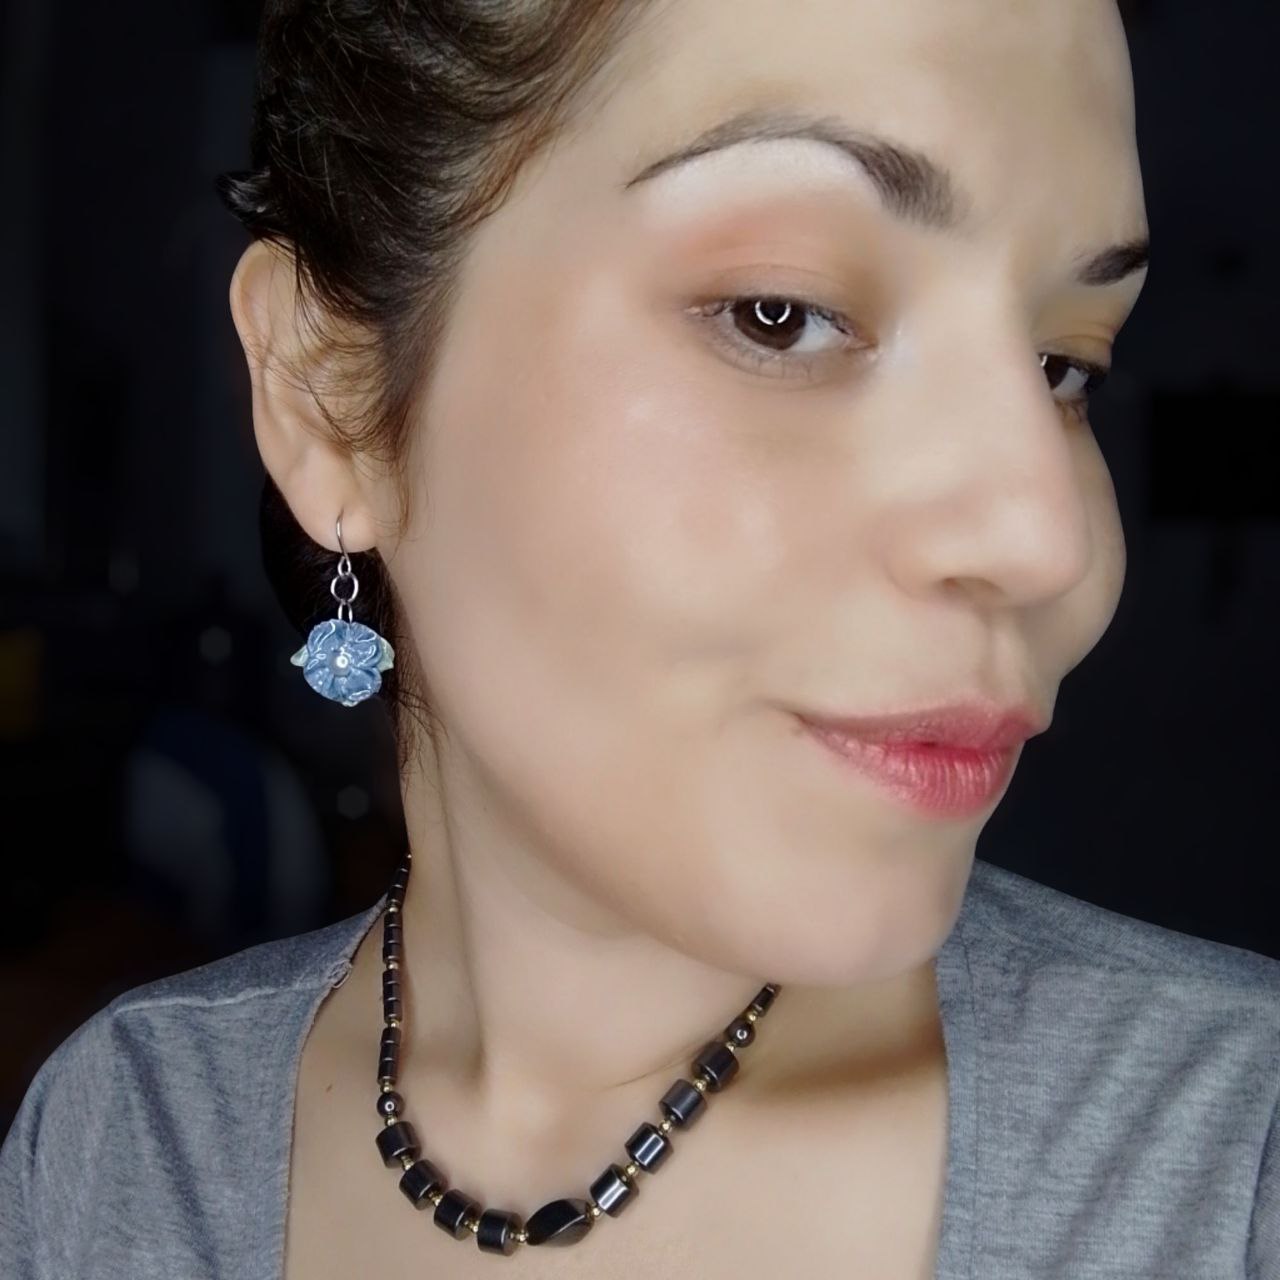
Y este es el resultado final con su etiqueta y todo bien coqueto, además de mi selfie (risas):
English Version
And this is the final result with its label and everything very flirtatious, plus my selfie (laughs):
 | 
--- | ---
Resultado final / Final result
---
*Invito a las creativas @celely, @mily23m y @verdeayer a participar en este [bonito concurso.]( https://peakd.com/hive-189504/@hive-189504/esp-ing-moms-accessory-contest)*
English Version
*I invite the creative @celely, @mily23m and @verdeayer to participate in this [nice contest.]( https://peakd.com/hive-189504/@hive-189504/eng-ing-moms-accessory-contest)*.