¡Hola mis queridos creativos! Una manualidad que tenía mucho tiempo con ganas de hacer era esta, una diadema para hacerme mi skincare y así poder recoger mi cabello fácilmente al momento de aplicar mis tratamientos faciales, maquillarme o solo lavar mi cara sin que el cabello quedara involucrado, como tenía un retazo de tela de peluche en color blanco, me dije a mí misma “es el momento”, así que hoy se los comparto para que puedan hacer las suyas. A continuación el paso a paso.
Hello my dear creatives! A craft that I had a long time wanting to do was this, a headband to make my skincare and so I could easily pick up my hair when applying my facial treatments, make up or just wash my face without the hair being involved, as I had a piece of stuffed fabric in white color, I said to myself “it's time”, so today I share them with you so you can make your own. Here is the step by step.
 Imagen creada por mí en Canva / Image created by me in Canva
Materiales:
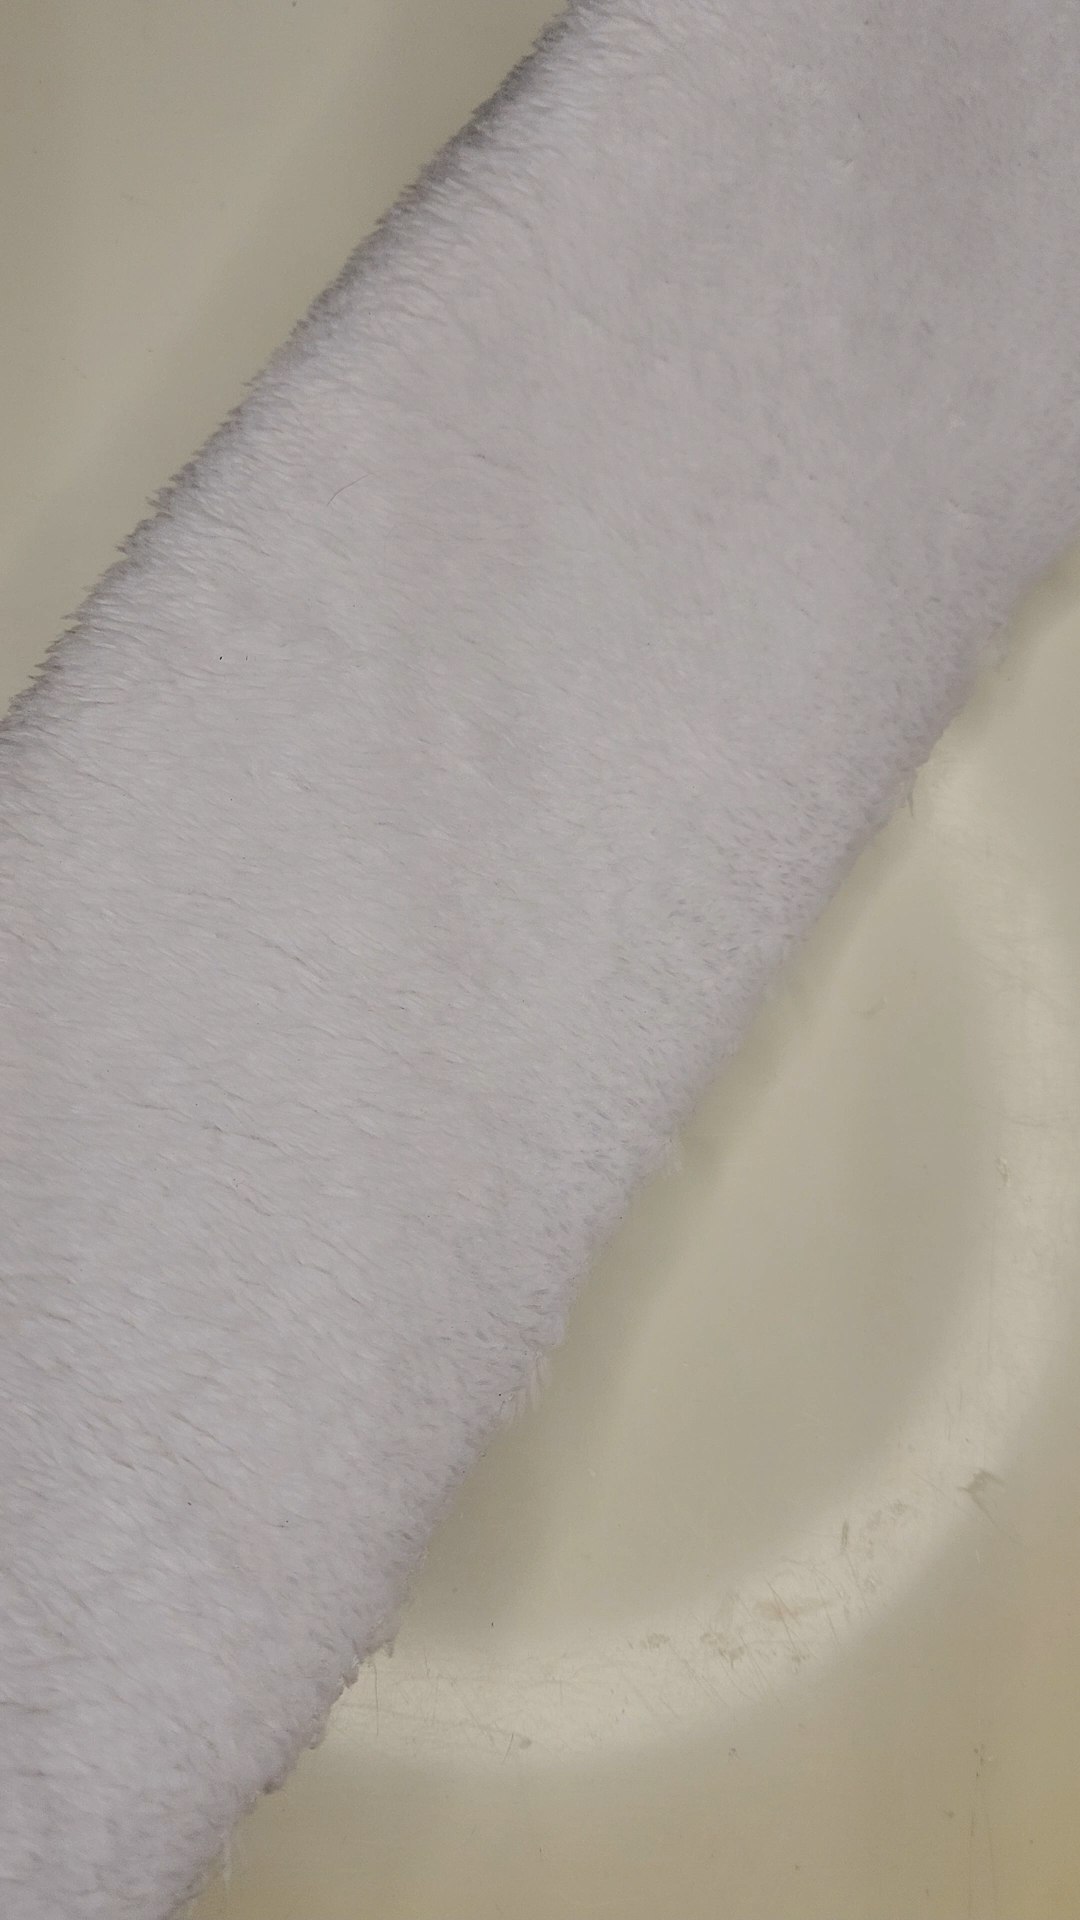
- Tela de peluche
- Liga
- Hilo de coser
- Aguja
- Tijeras
- Lápiz/Marcador
- Regla/cinta métrica
Procedimiento:
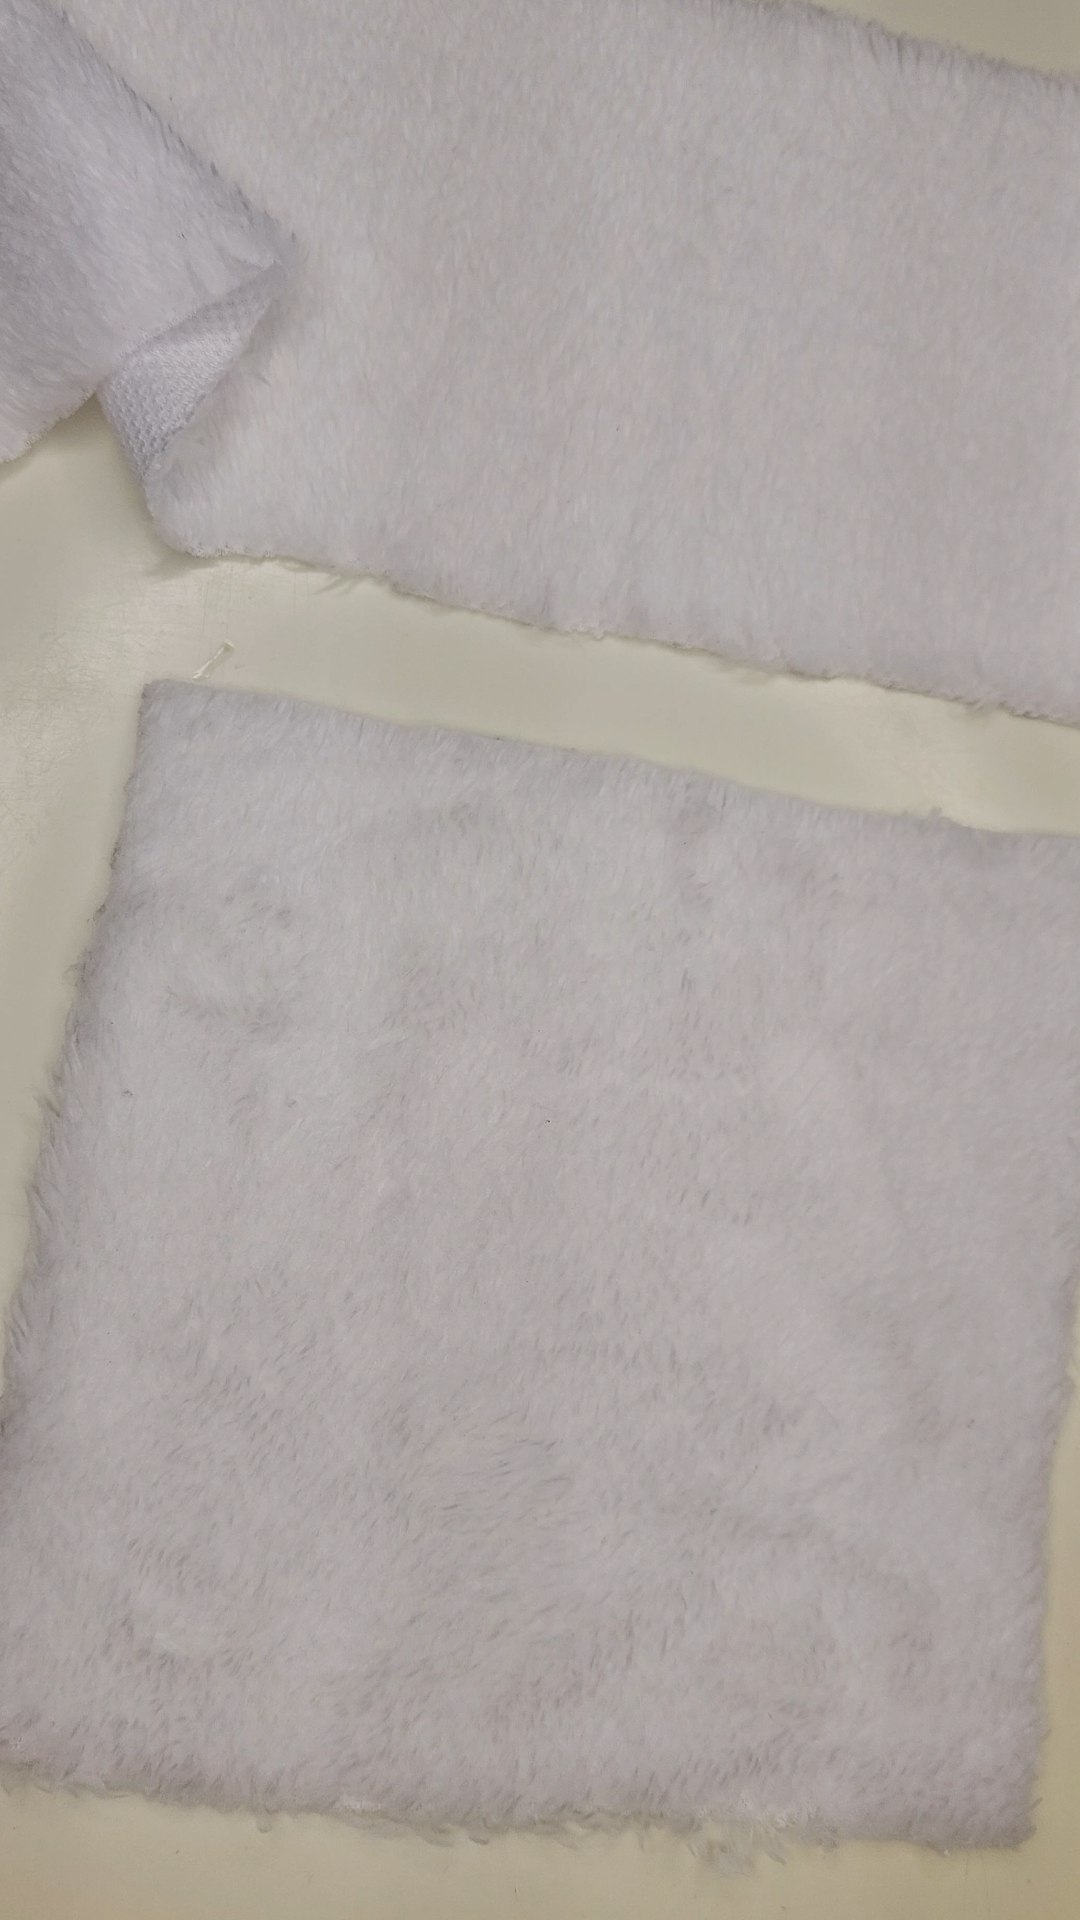
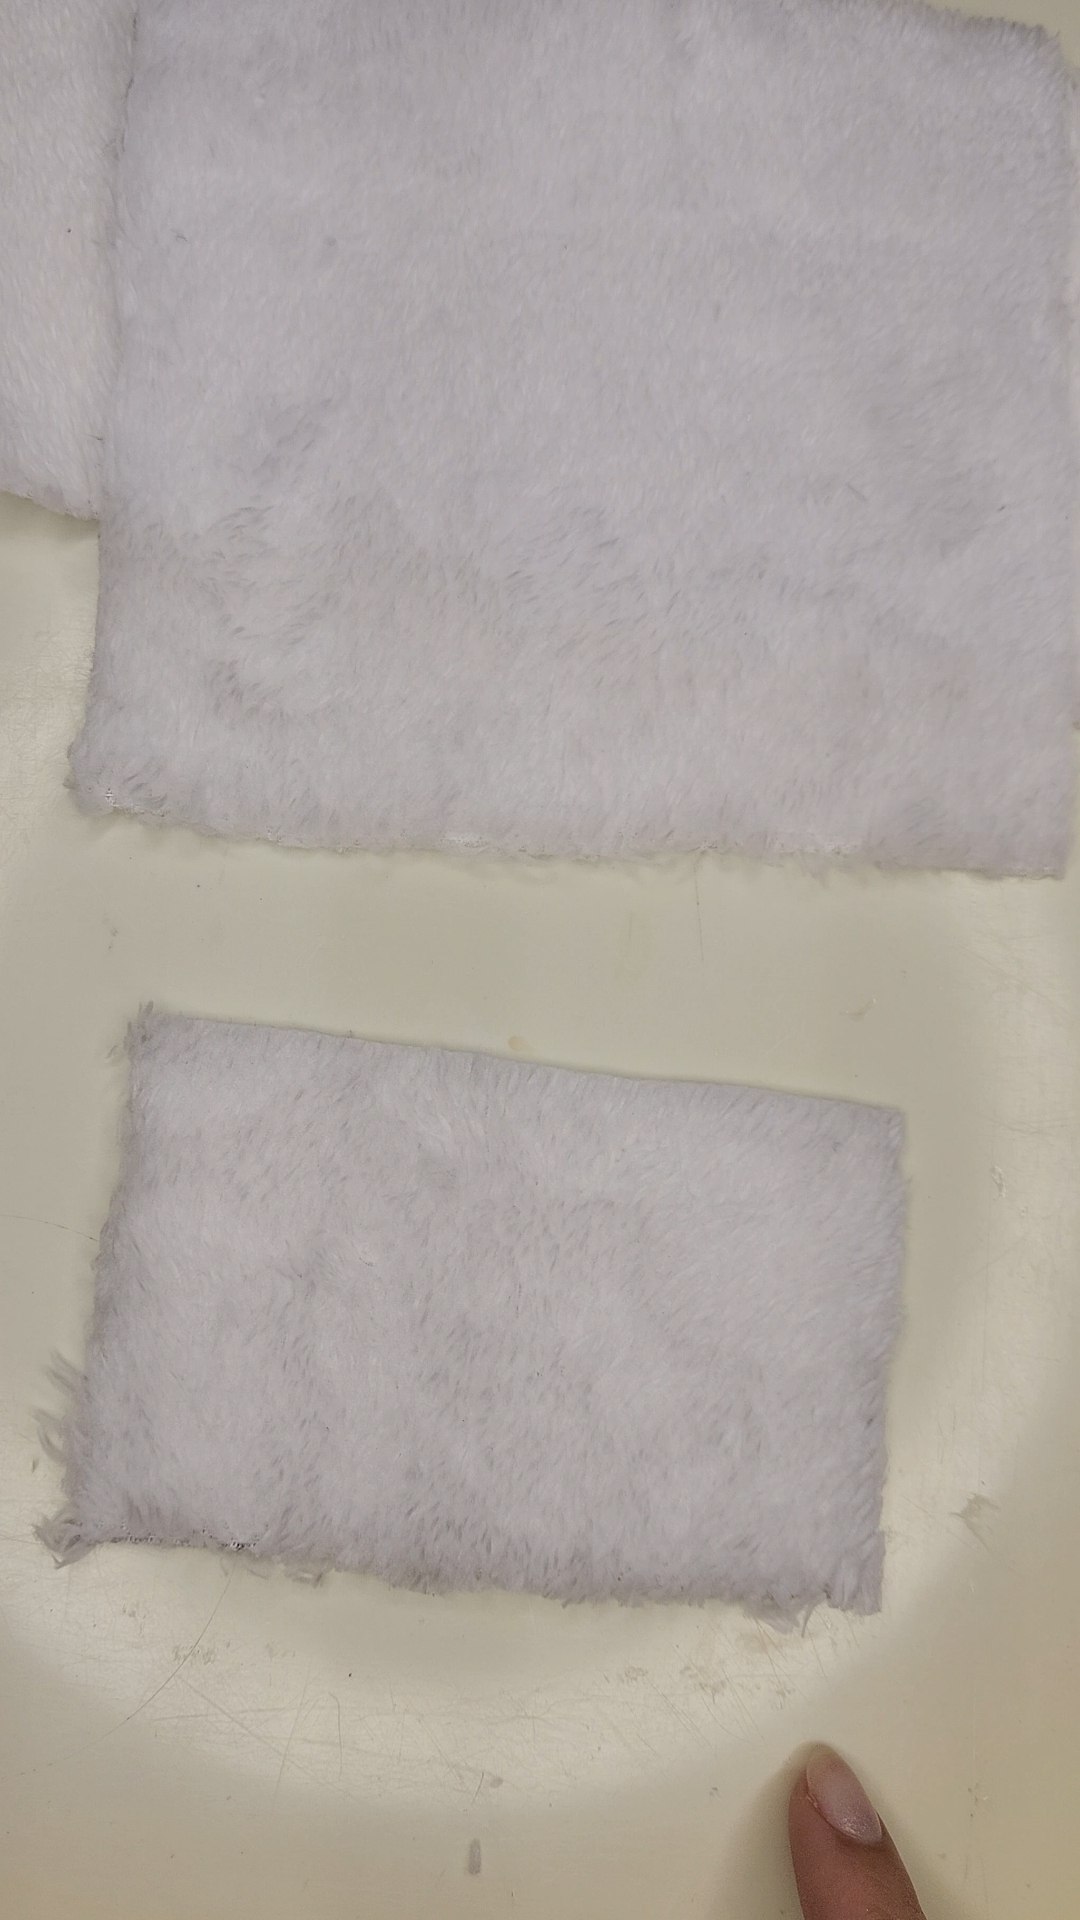
Iniciamos recortando con las tijeras las piezas que vamos a utilizar de la tela, para ello las hemos de marcar previamente con el lápiz. Estas piezas serían: un rectángulo de 75 cm por 12 cm, un cuadrado de 15 cm por 15 cm y un rectángulo pequeño de 7 cm por 11 cm.
Materials:
- Plush fabric
- Elastic band
- Sewing thread
- Needle
- Scissors
- Pencil/Marker
- Ruler/measuring tape
Procedure:
We start by cutting out with the scissors the pieces that we are going to use from the fabric, for this we have to mark them previously with the pencil. These pieces would be: a rectangle of 75 cm by 12 cm, a square of 15 cm by 15 cm and a small rectangle of 7 cm by 11 cm.
 |
 |
 |
|---|---|---|
Recortamos las piezas / We cut out the pieces
También debemos cortar el largo que requeriremos de la liga que permitirá que la diadema se mantenga en su lugar, podemos medir nuestra cabeza con la liga estirando un poco para que no quede floja o podemos tomar una medida estándar para la cabeza de una persona adulta que correspondería a unos 42 cm.
We must also cut the required length of the garter that will allow the headband to stay in place, we can measure our head with the garter stretching a little so that it is not loose or we can take a standard measurement for the head of an adult person that would correspond to about 42 cm.
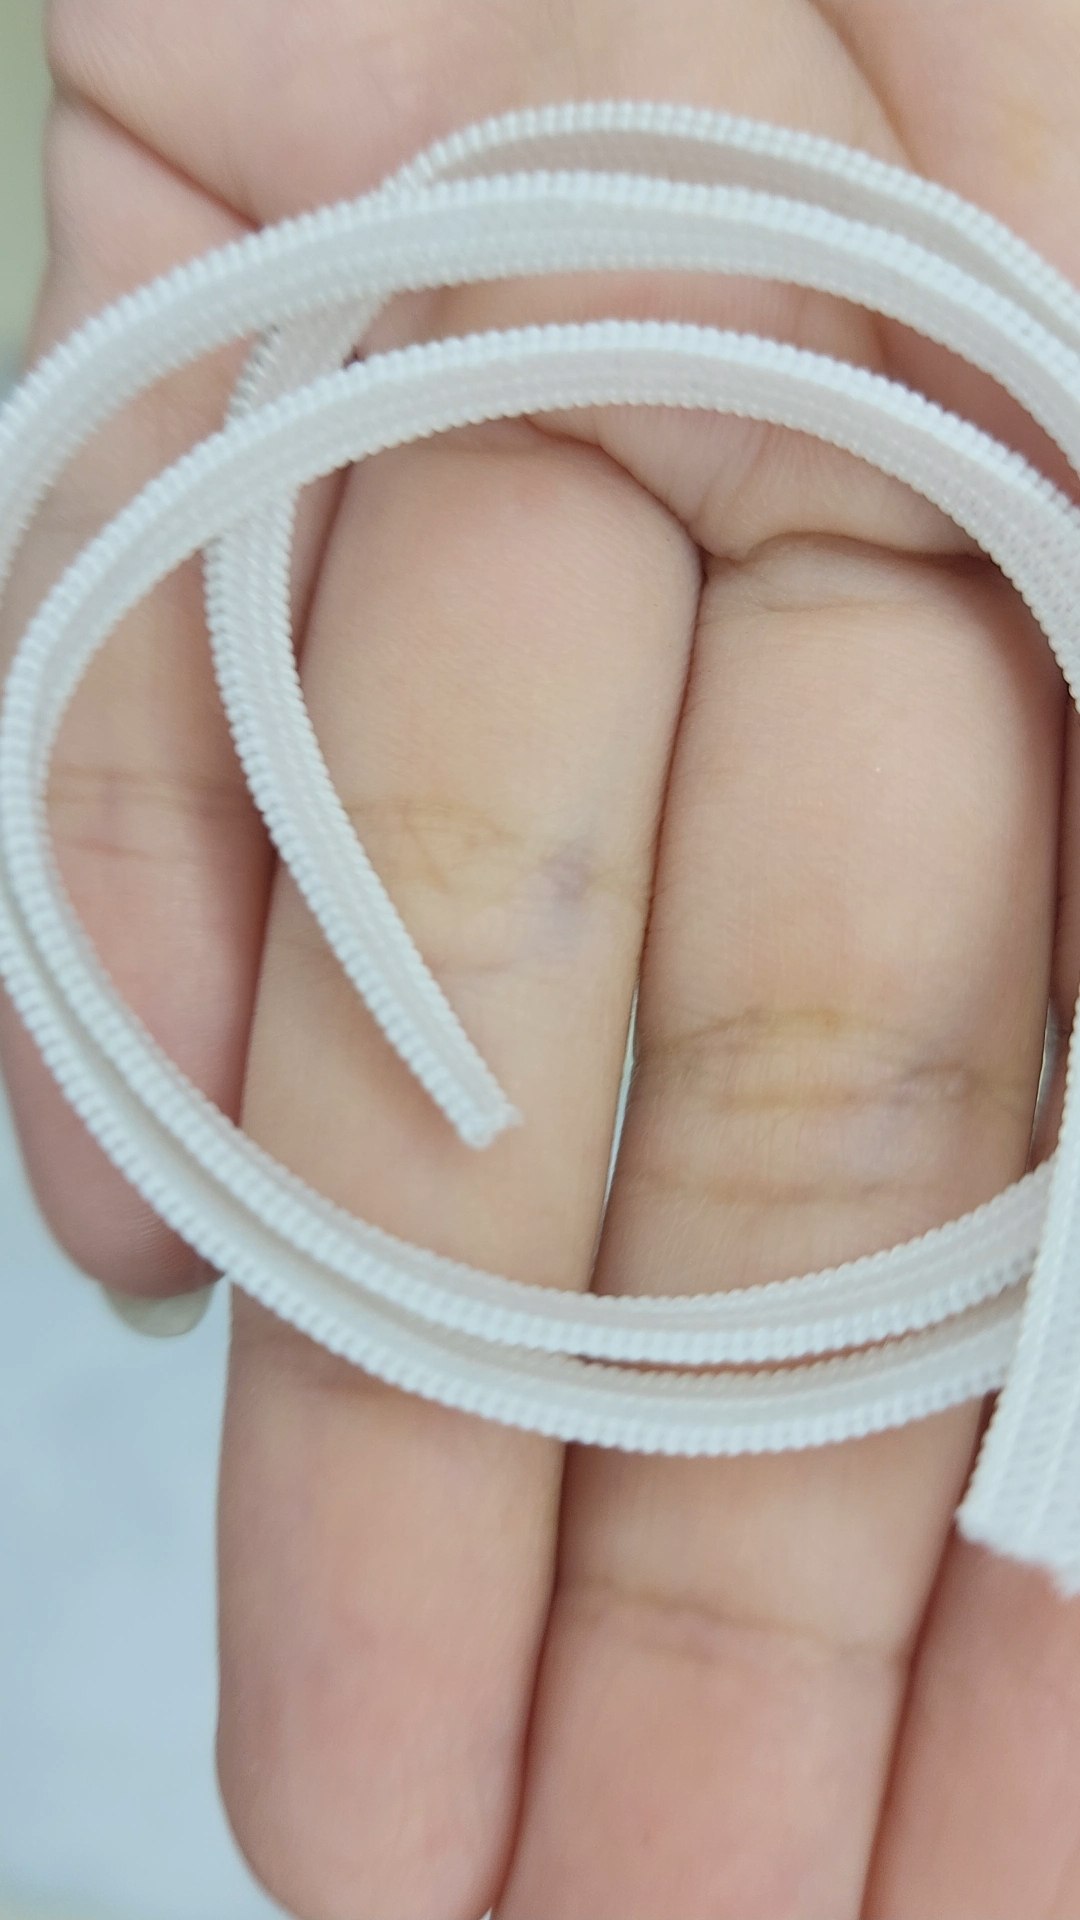 Liga / Elastic band
Ahora, procederemos a doblar todas las piezas de tela por la mitad de manera longitudinal, es decir, a lo largo. En el caso del cuadrado da igual que lado se tome para doblar a la mitad puesto que son iguales las longitudes de todos sus lados. Aseguraremos con alfileres para que todo quede en su lugar.
Now, proceed to fold all the pieces of fabric in half lengthwise, that is, lengthwise. In the case of the square, it doesn't matter which side you take to fold in half since the lengths of all its sides are equal. We will secure with pins so that everything stays in place.
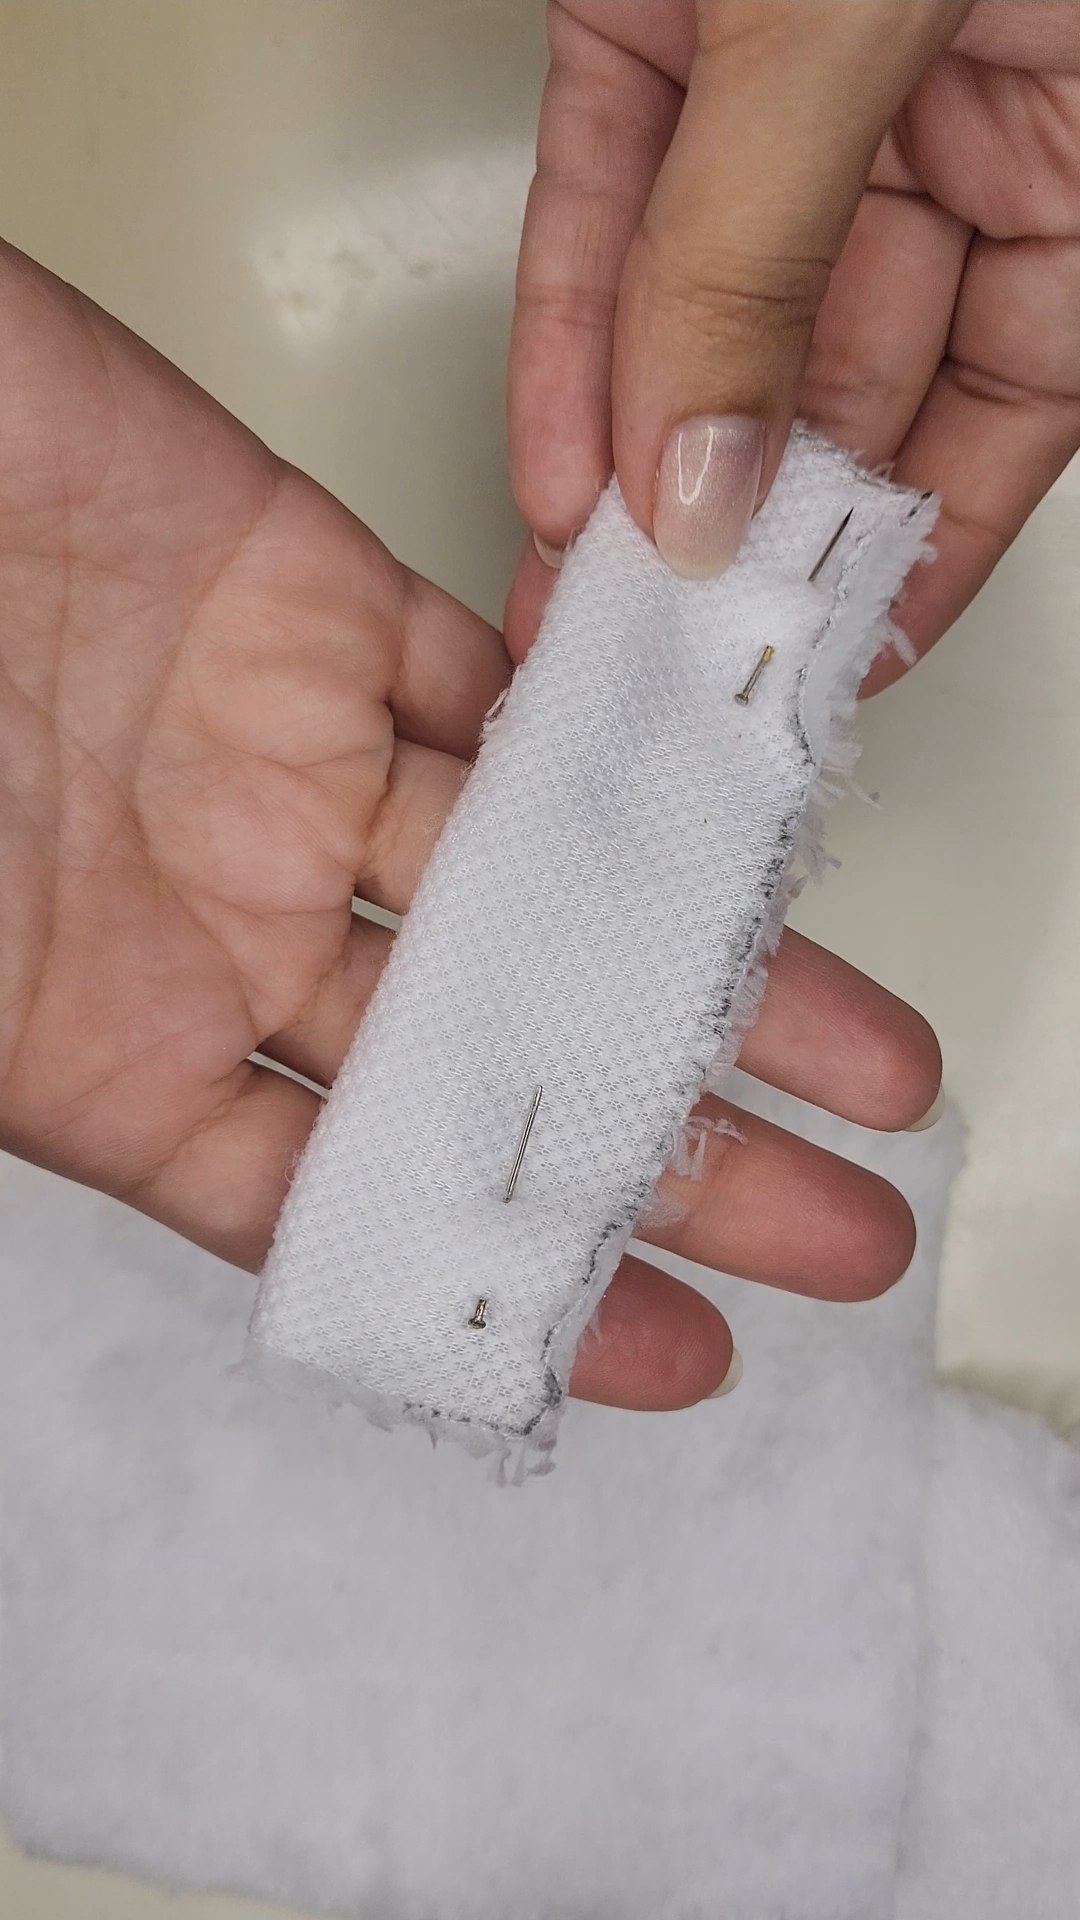 Doblamos / We fold
Procedemos a coser solo el lado largo de cada pieza, puede ser a mano o con máquina de coser, yo lo hice a mano. En el caso del cuadrado, se puede coser el lado que ha quedado largo y uno de los cortos de una vez, pero siempre se debe recordar dejar un lado libre para poder darle la vuelta.
We proceed to sew only the long side of each piece, it can be done by hand or with a sewing machine, I did it by hand. In the case of the square, you can sew the long side and one of the short sides at the same time, but always remember to leave one side free to turn it over.
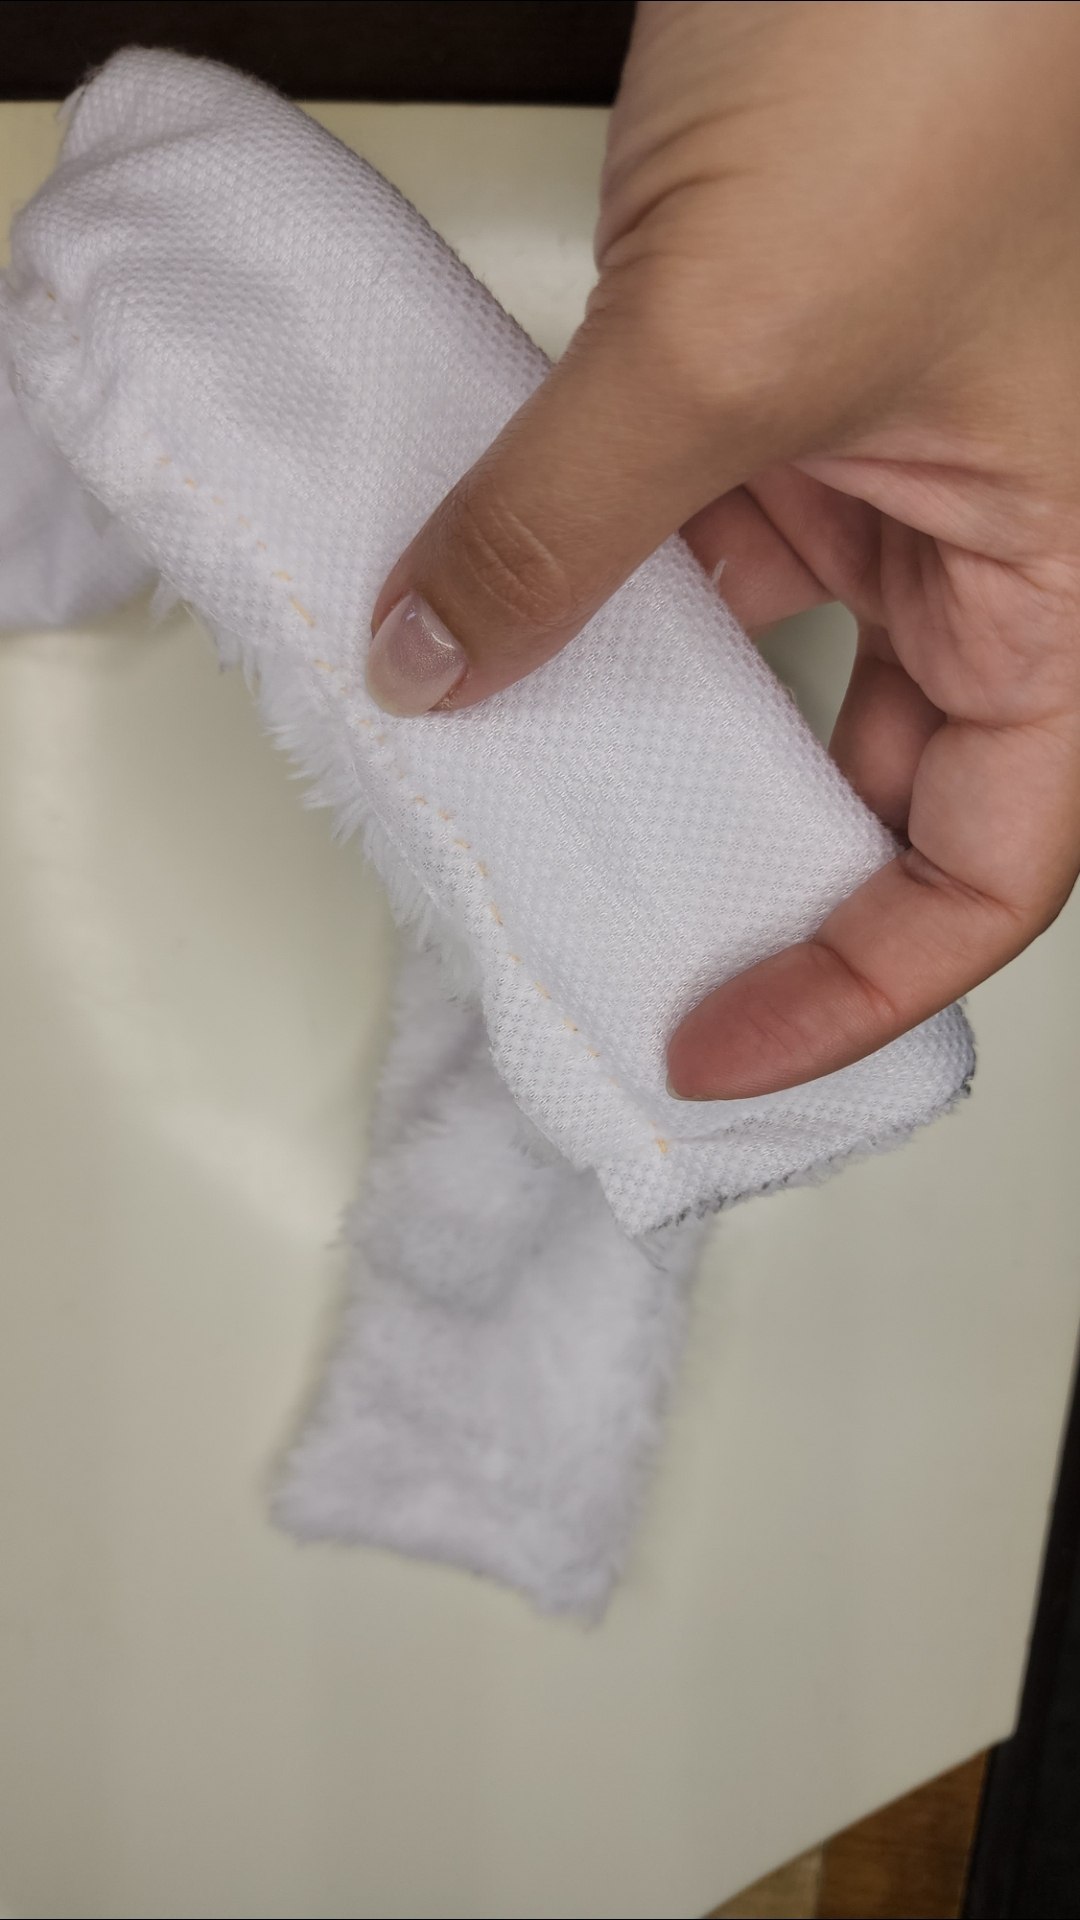 Cosemos / We sew
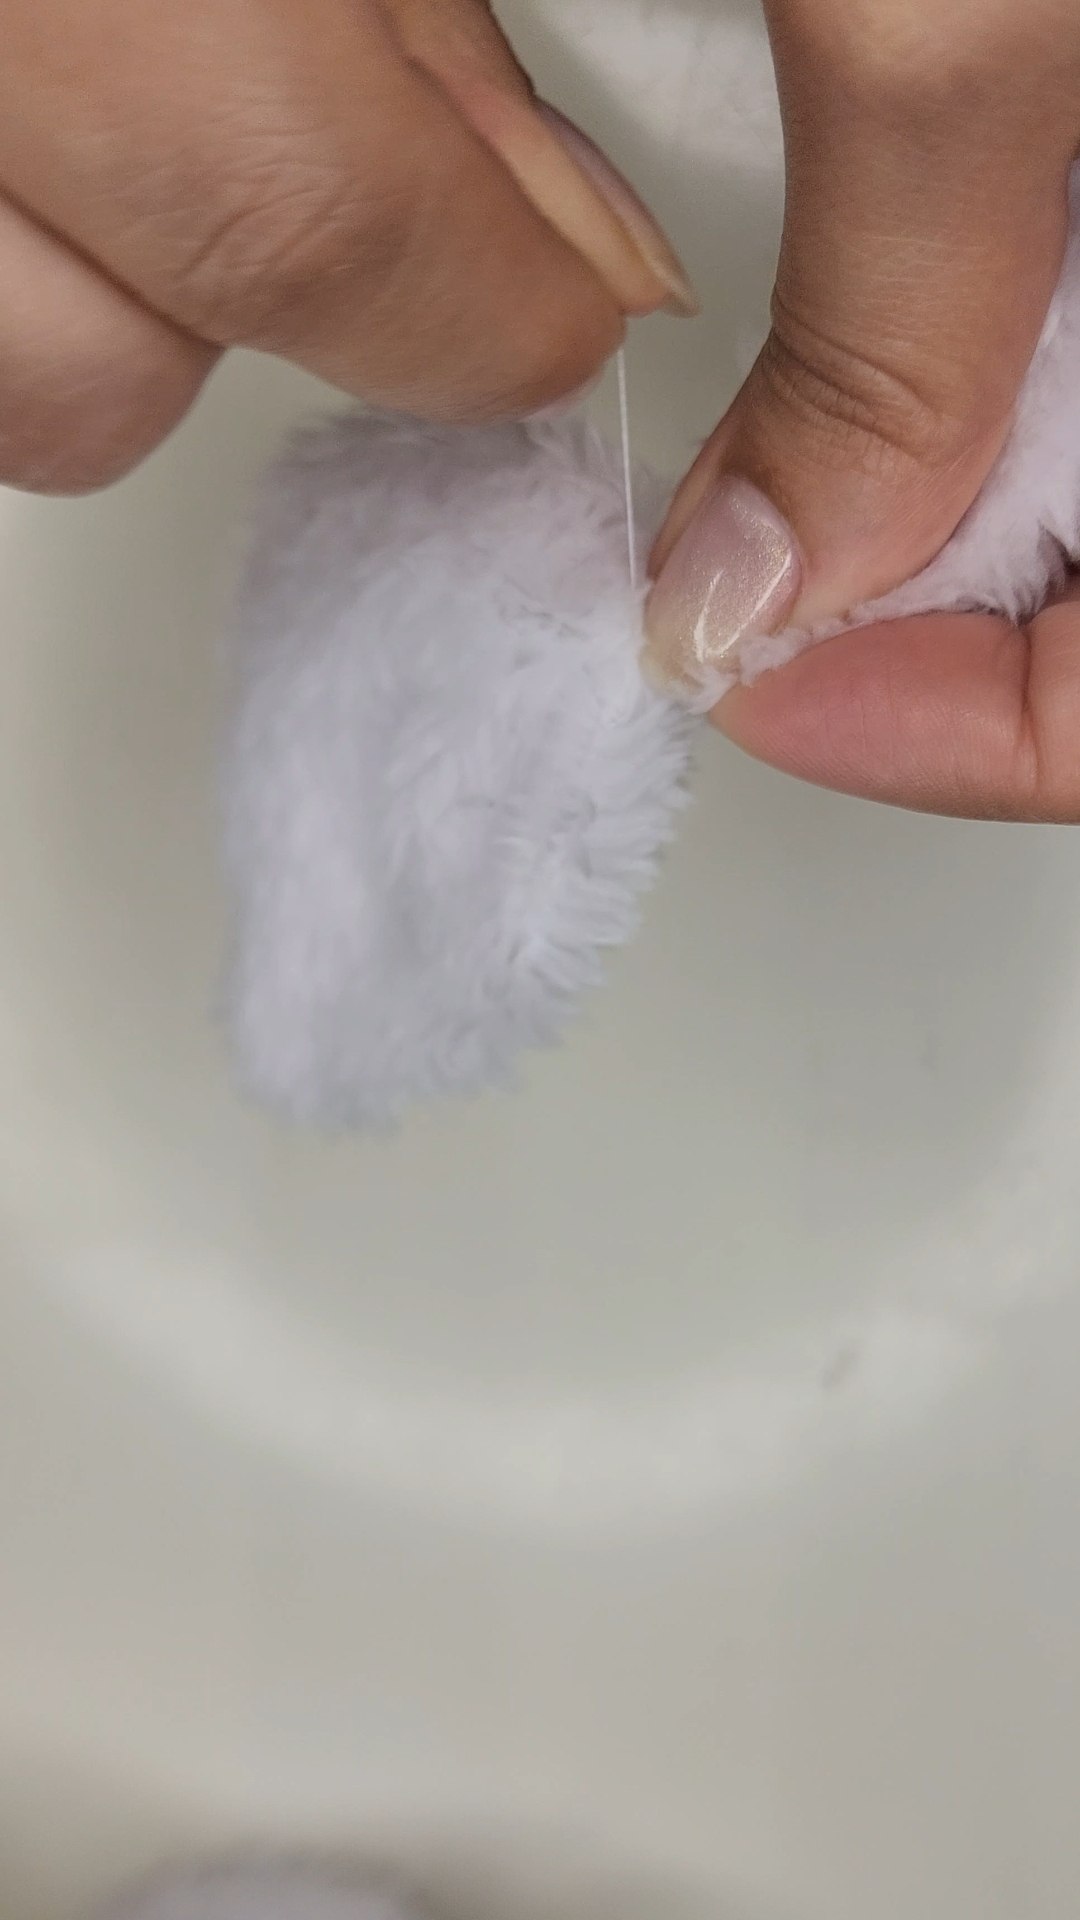
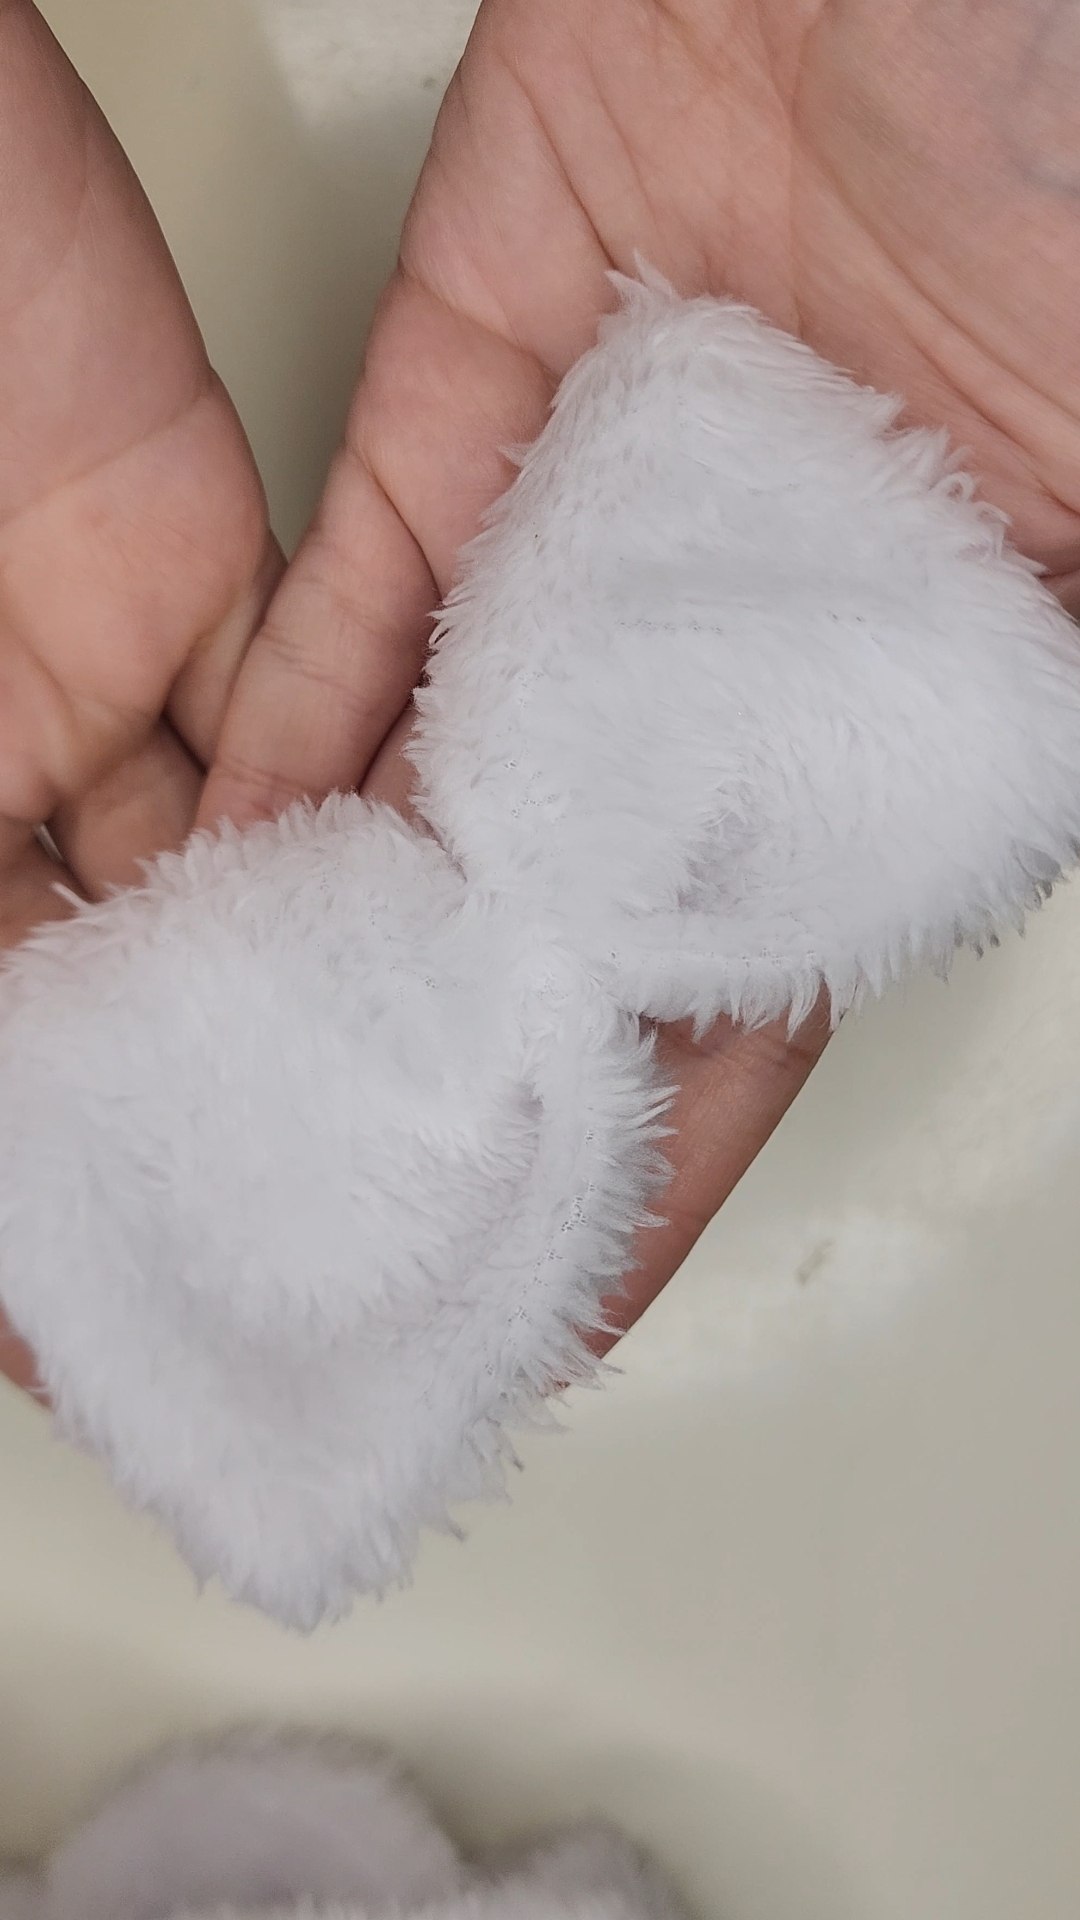
Es momento de voltear todas las piezas y la que puede ser un poco más complicada es la pieza pequeña pero podemos apoyarnos de algún elemento alargado y delgado (como en mi caso con un lápiz de color blanco) para dar la vuelta y dejar todo al derecho.
It is time to flip all the pieces and the one that can be a little more complicated is the small piece but we can lean on some long and thin element (as in my case with a white pencil) to flip it over and leave everything straight.
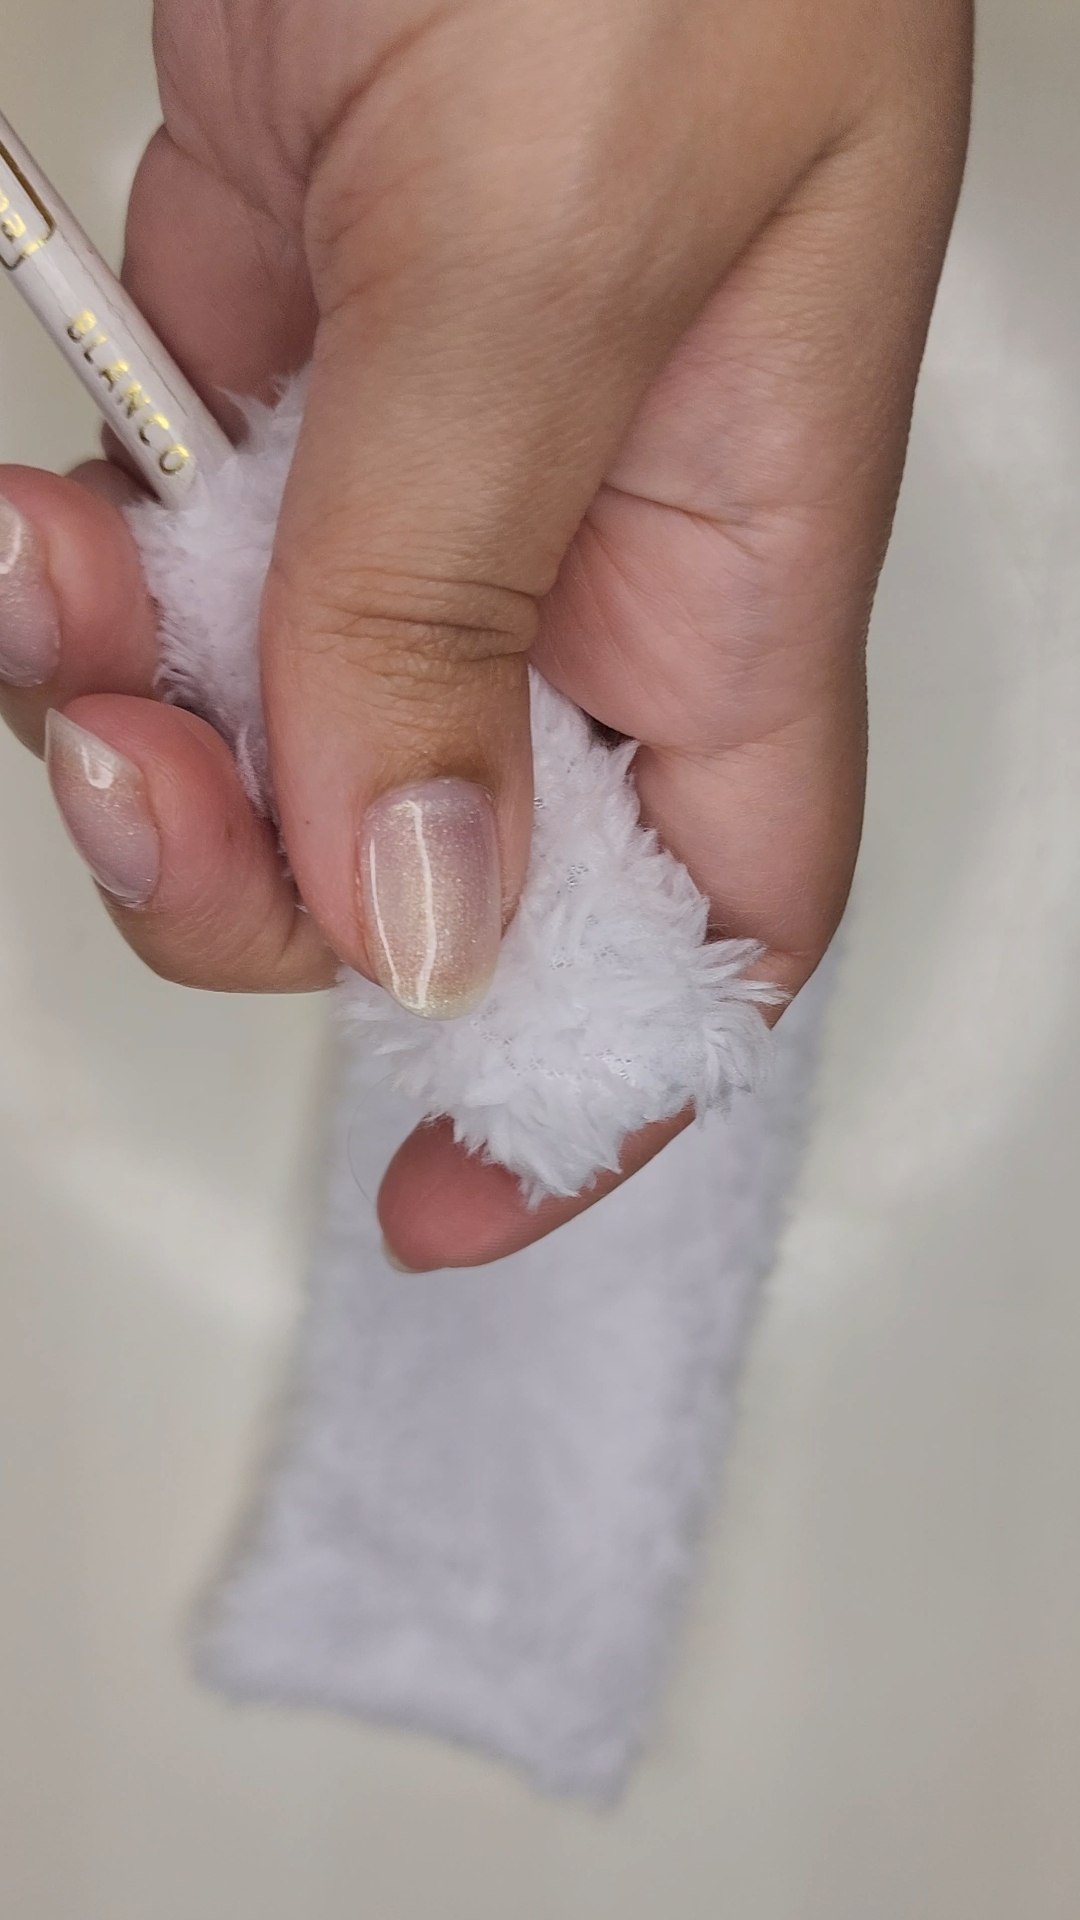 Volteamos / We flip
Con todas las piezas al derecho procedemos a introducir la liga en la pieza más larga, lo hacemos colocando un imperdible en uno de ellos extremos de la liga para poder tener un elemento firme que manipular desde fuera de la tela.
With all the pieces straight we proceed to introduce the garter in the longest piece, we do it placing a safety pin in one of them ends of the garter to be able to have a firm element to manipulate from outside of the fabric.
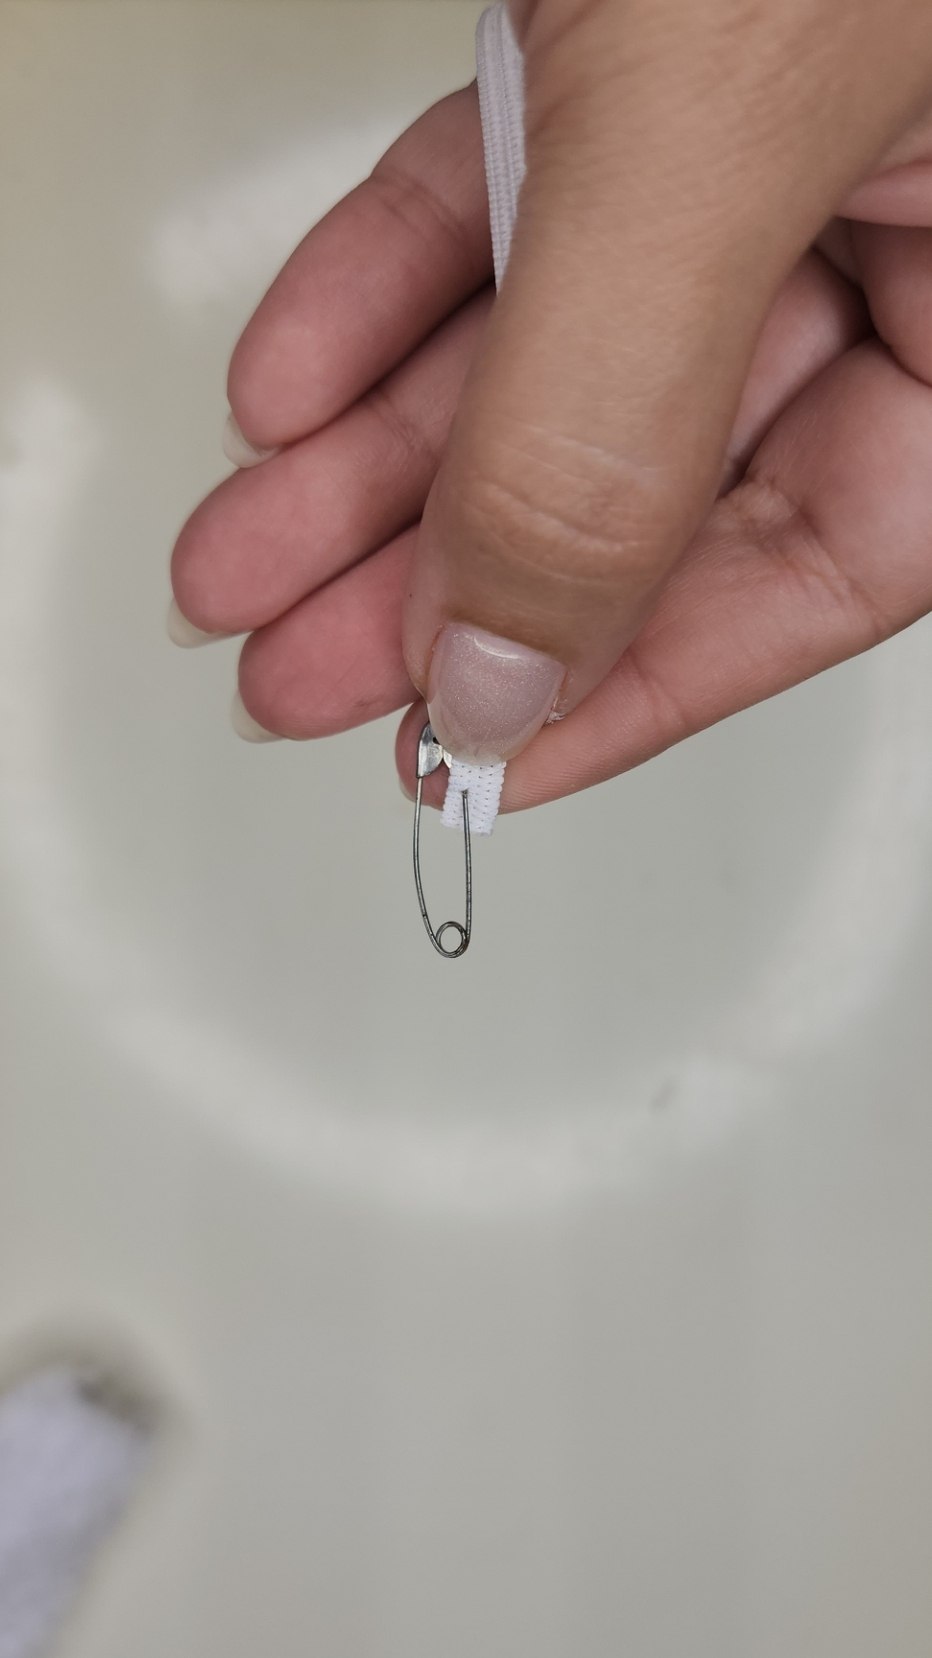 Introducimos la liga / Insert the elastic band
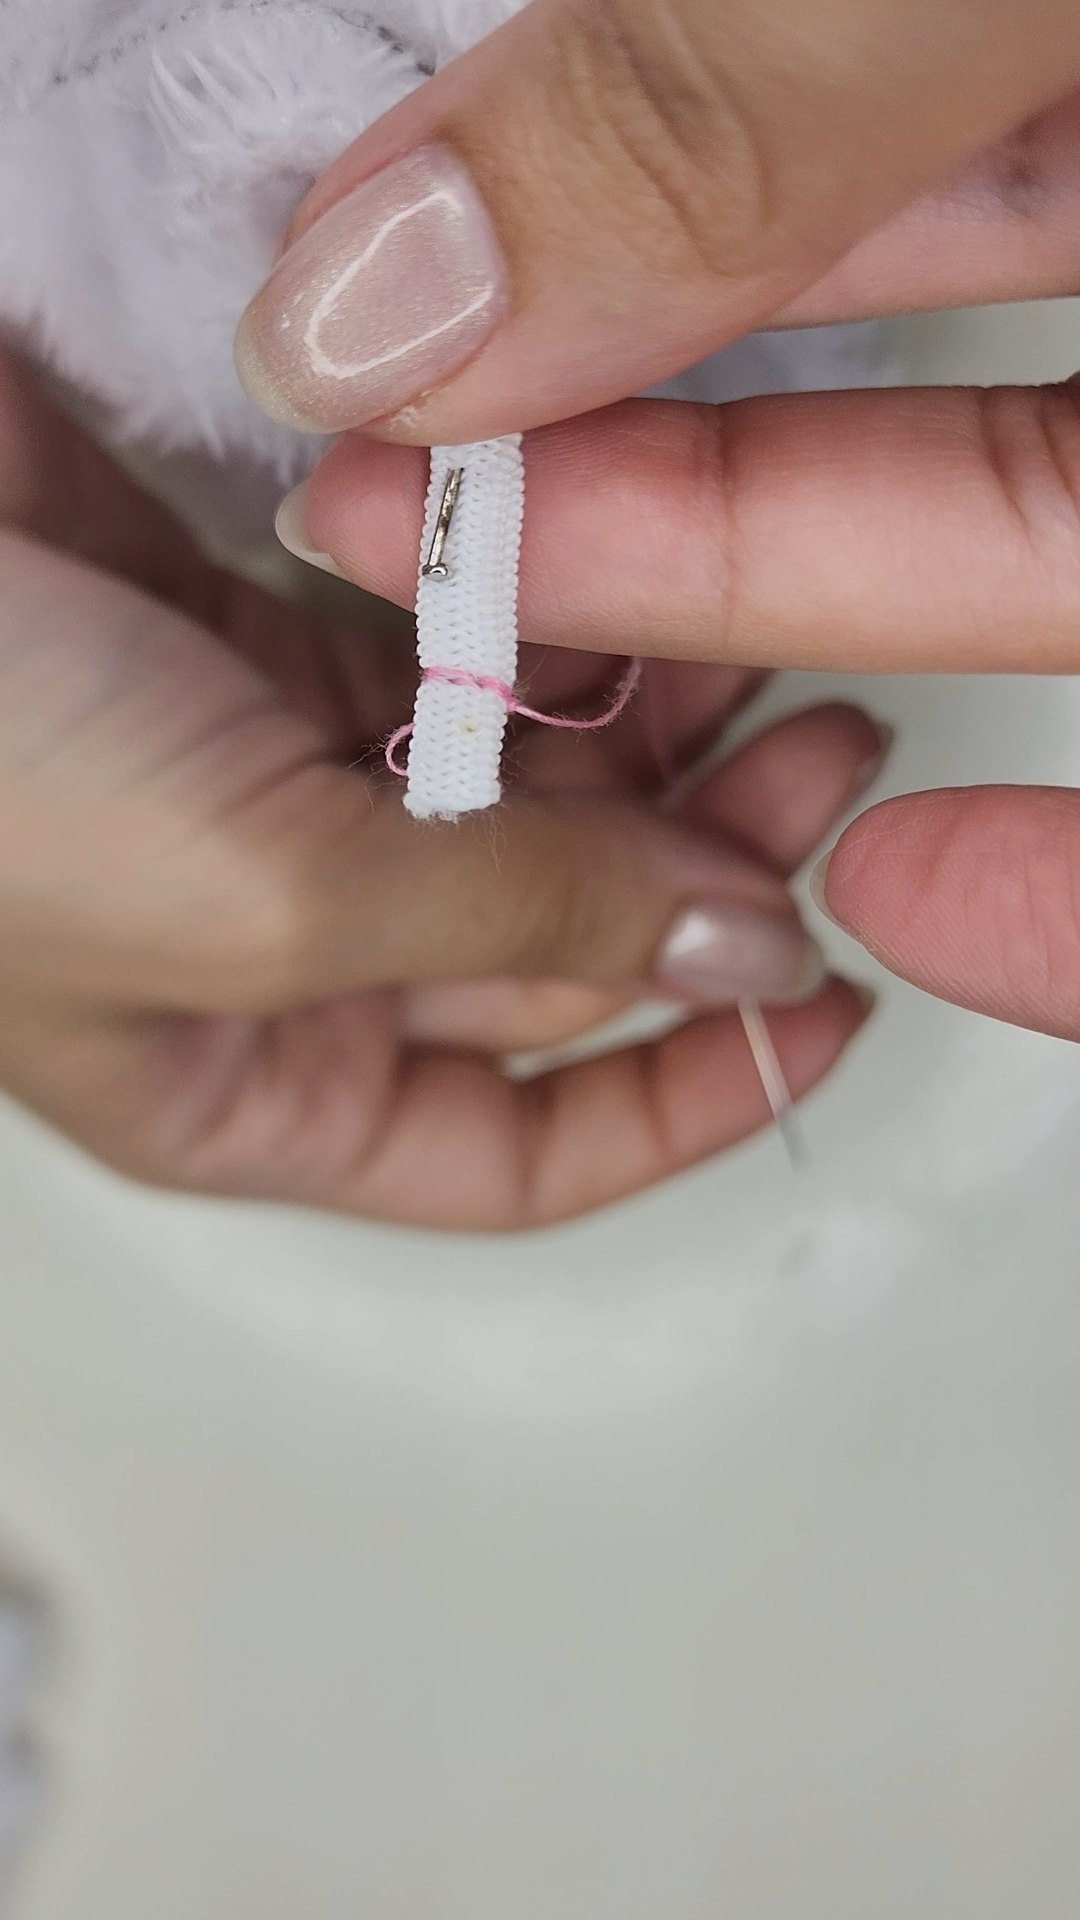
Al tener ambos extremos de la liga encontrados en el punto de inicio, los unimos con un alfiler mientras realizamos la costura, cosemos asegurando muy bien para que no se suelte nada.
Once both ends of the garter have met at the starting point, we join them with a pin while sewing the seam, sewing very well to ensure that nothing comes loose.
 |
 |
|---|---|
Cosiendo la liga / Sewing the elastic band
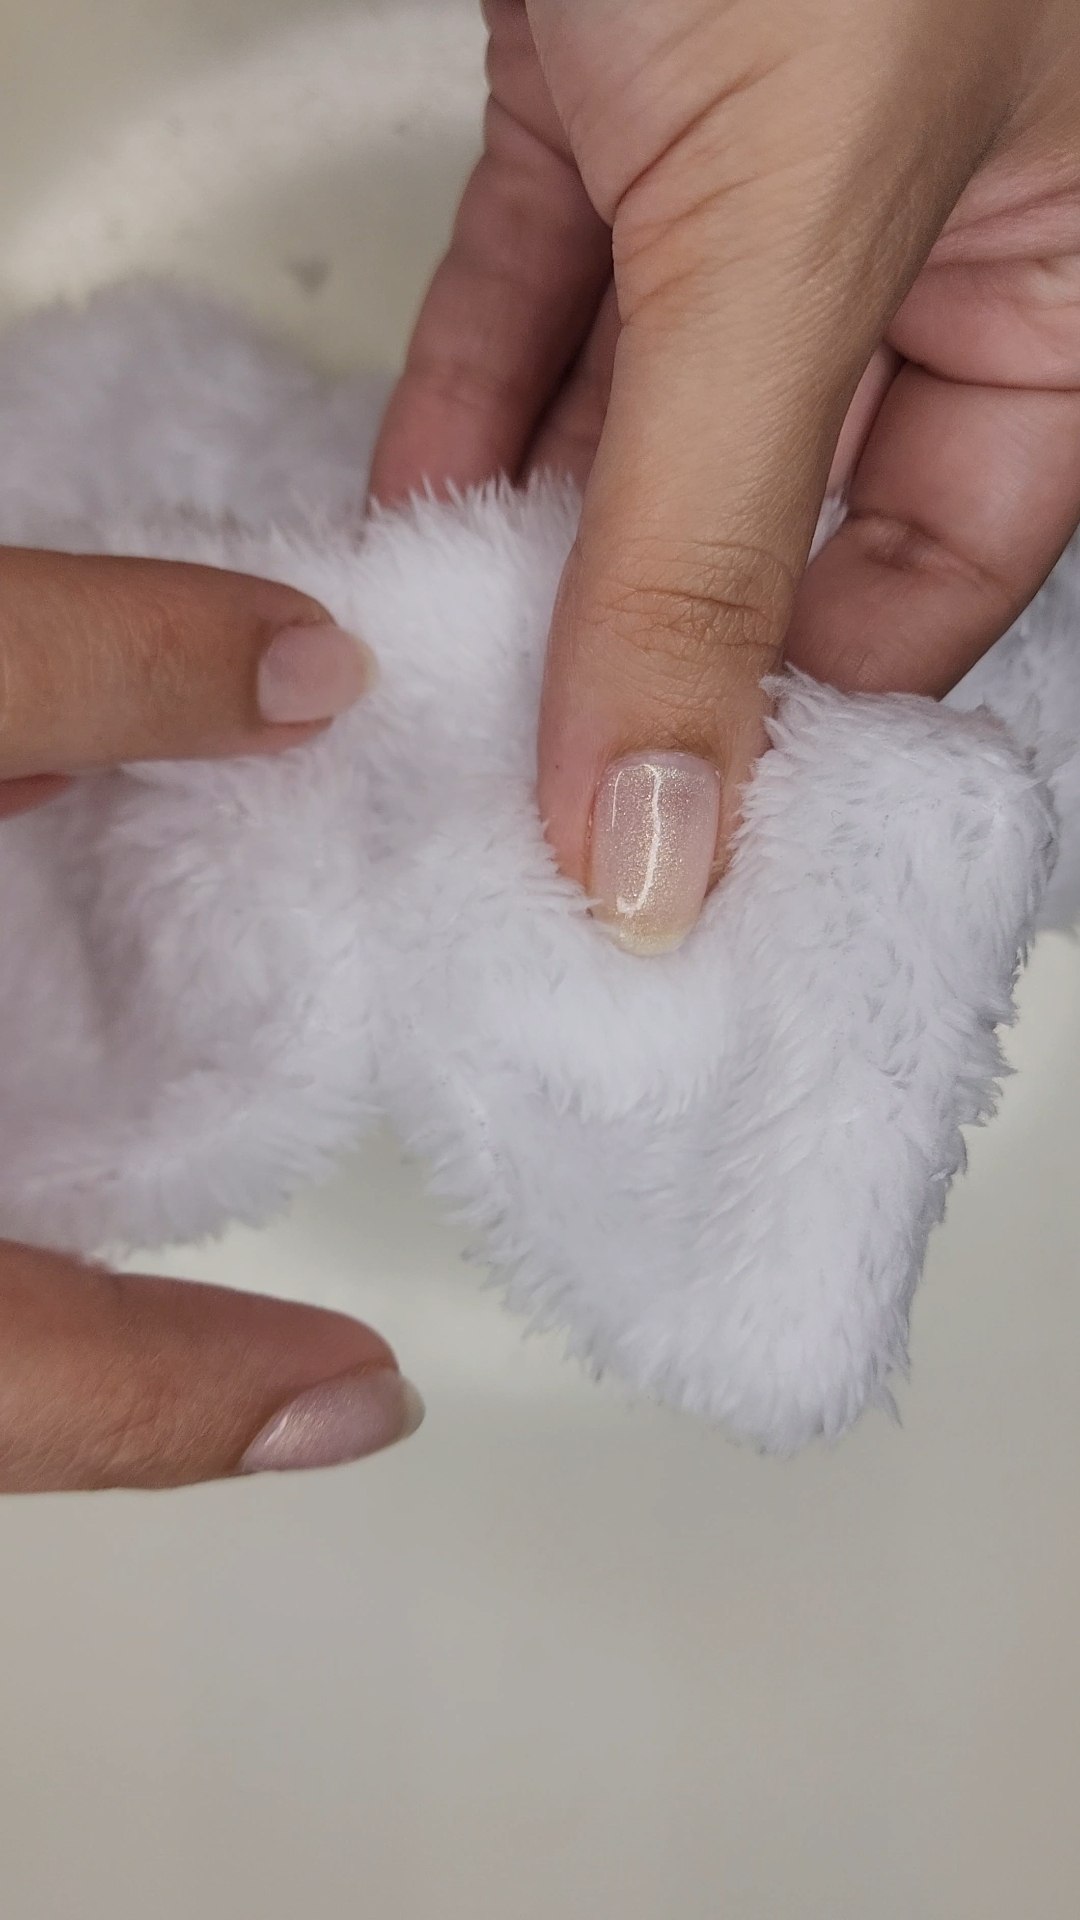
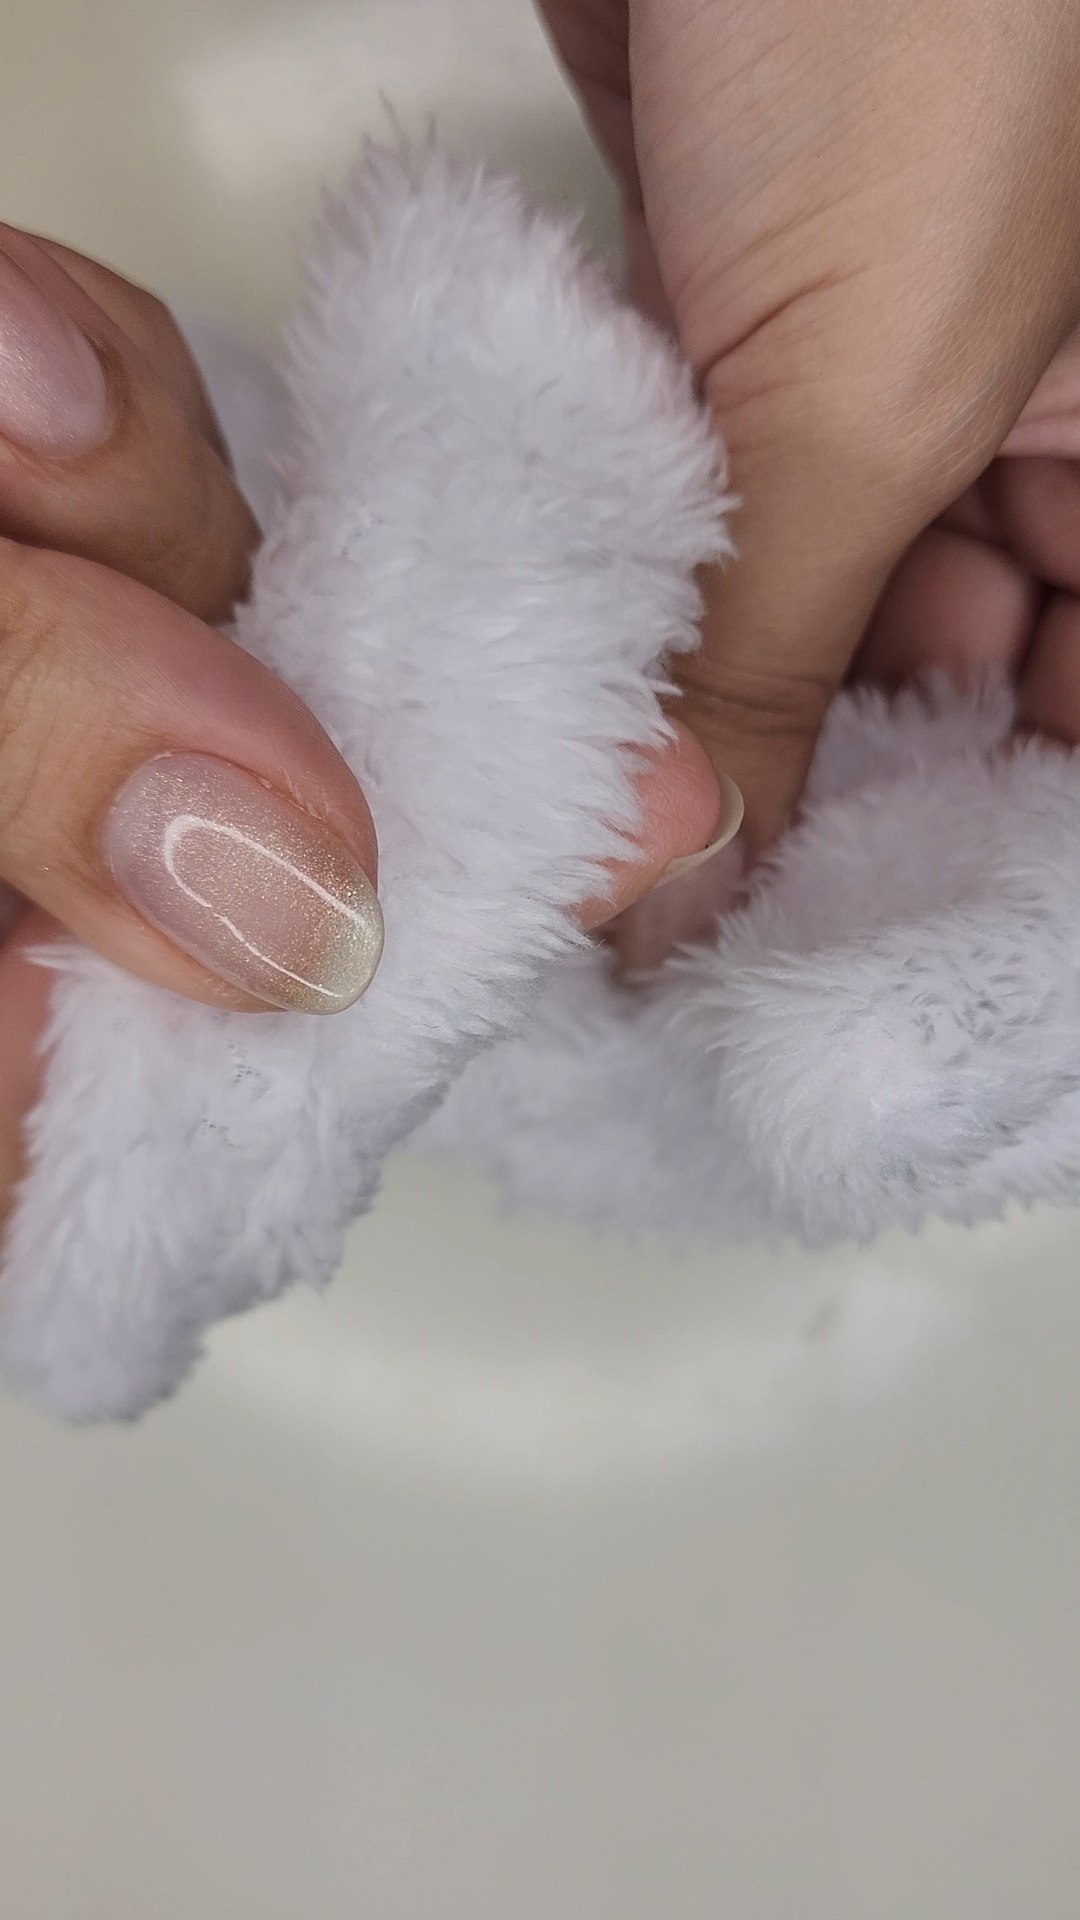
Ahora, doblamos más o menos 0.5 - 1 cm uno de los extremos de la tela de la pieza que ya conforma la circunferencia de la diadema hacia adentro y el otro extremo de la pieza lo introducimos dentro del primero.
Now, we fold about 0.5 - 1 cm one of the ends of the fabric of the piece that already forms the circumference of the headband inwards and the other end of the piece we introduce it inside the first one.
 Uniendo los extremos de la diadema / Joining the ends of the headband
Cosemos con hilo del mismo color de la tela (en este caso blanco) ya que es una costura que queda externa y visible si es de otro color.
We sew with thread of the same color of the fabric (in this case white) since it is a seam that remains external and visible if it is of another color.
 Cosemos los extremos / We sew the ends
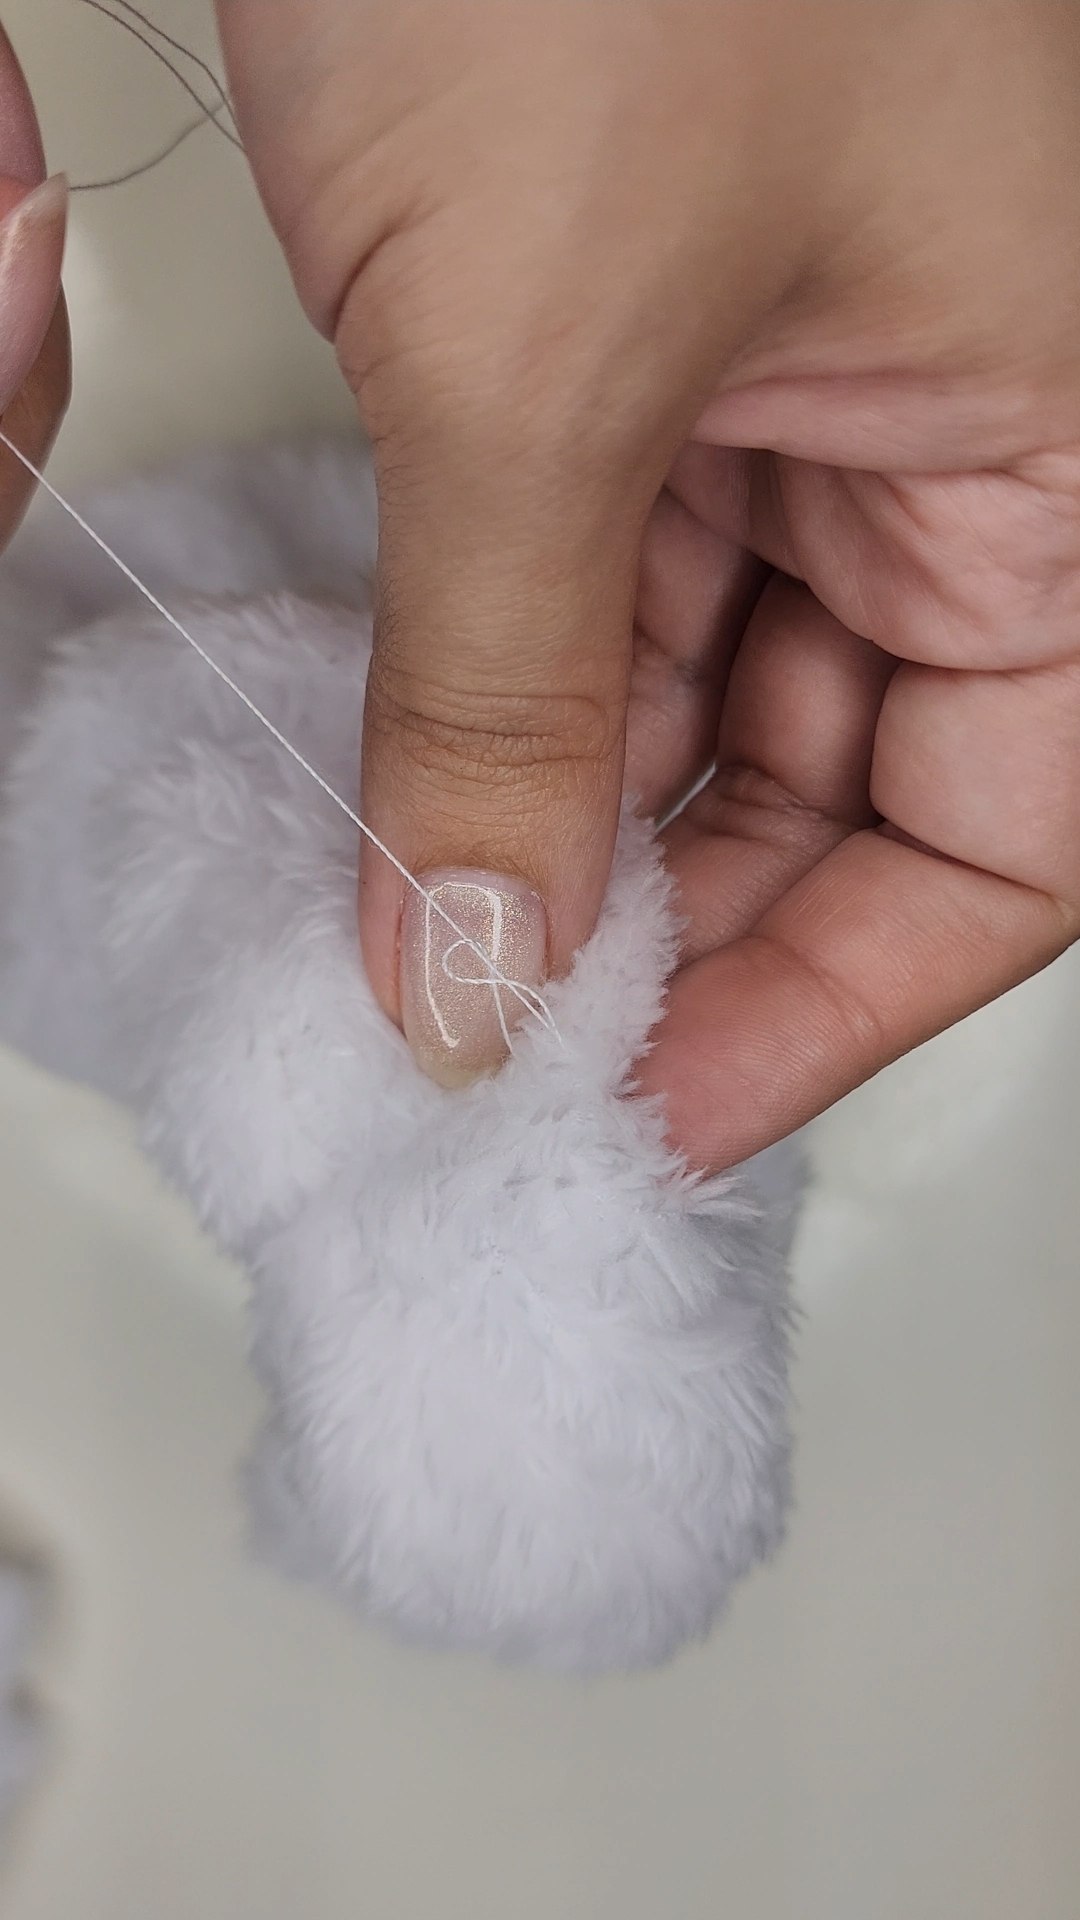
Para poder terminar el lazo, cosemos con puntada oculta el lado faltante.
In order to finish the loop, we sew the missing side with a hidden stitch.
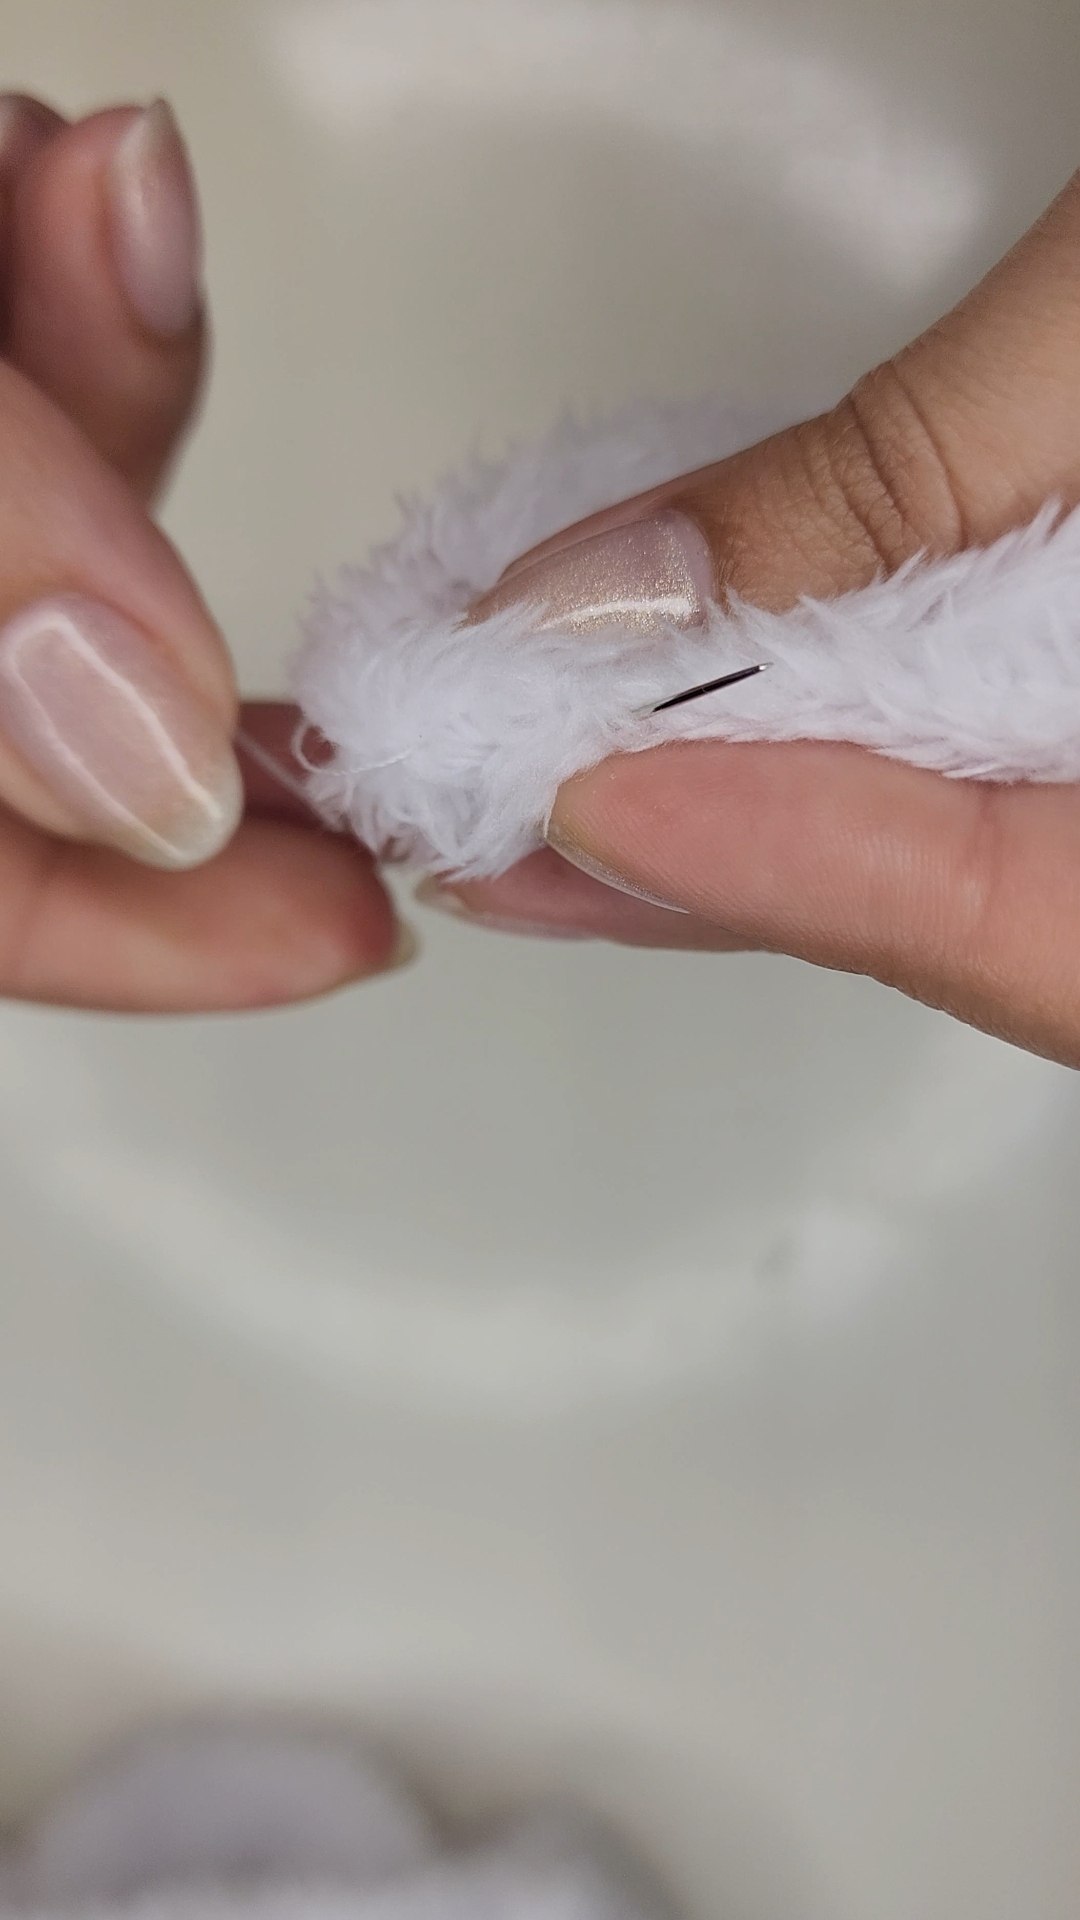 Terminando costura del lazo / Finishing loop stitching
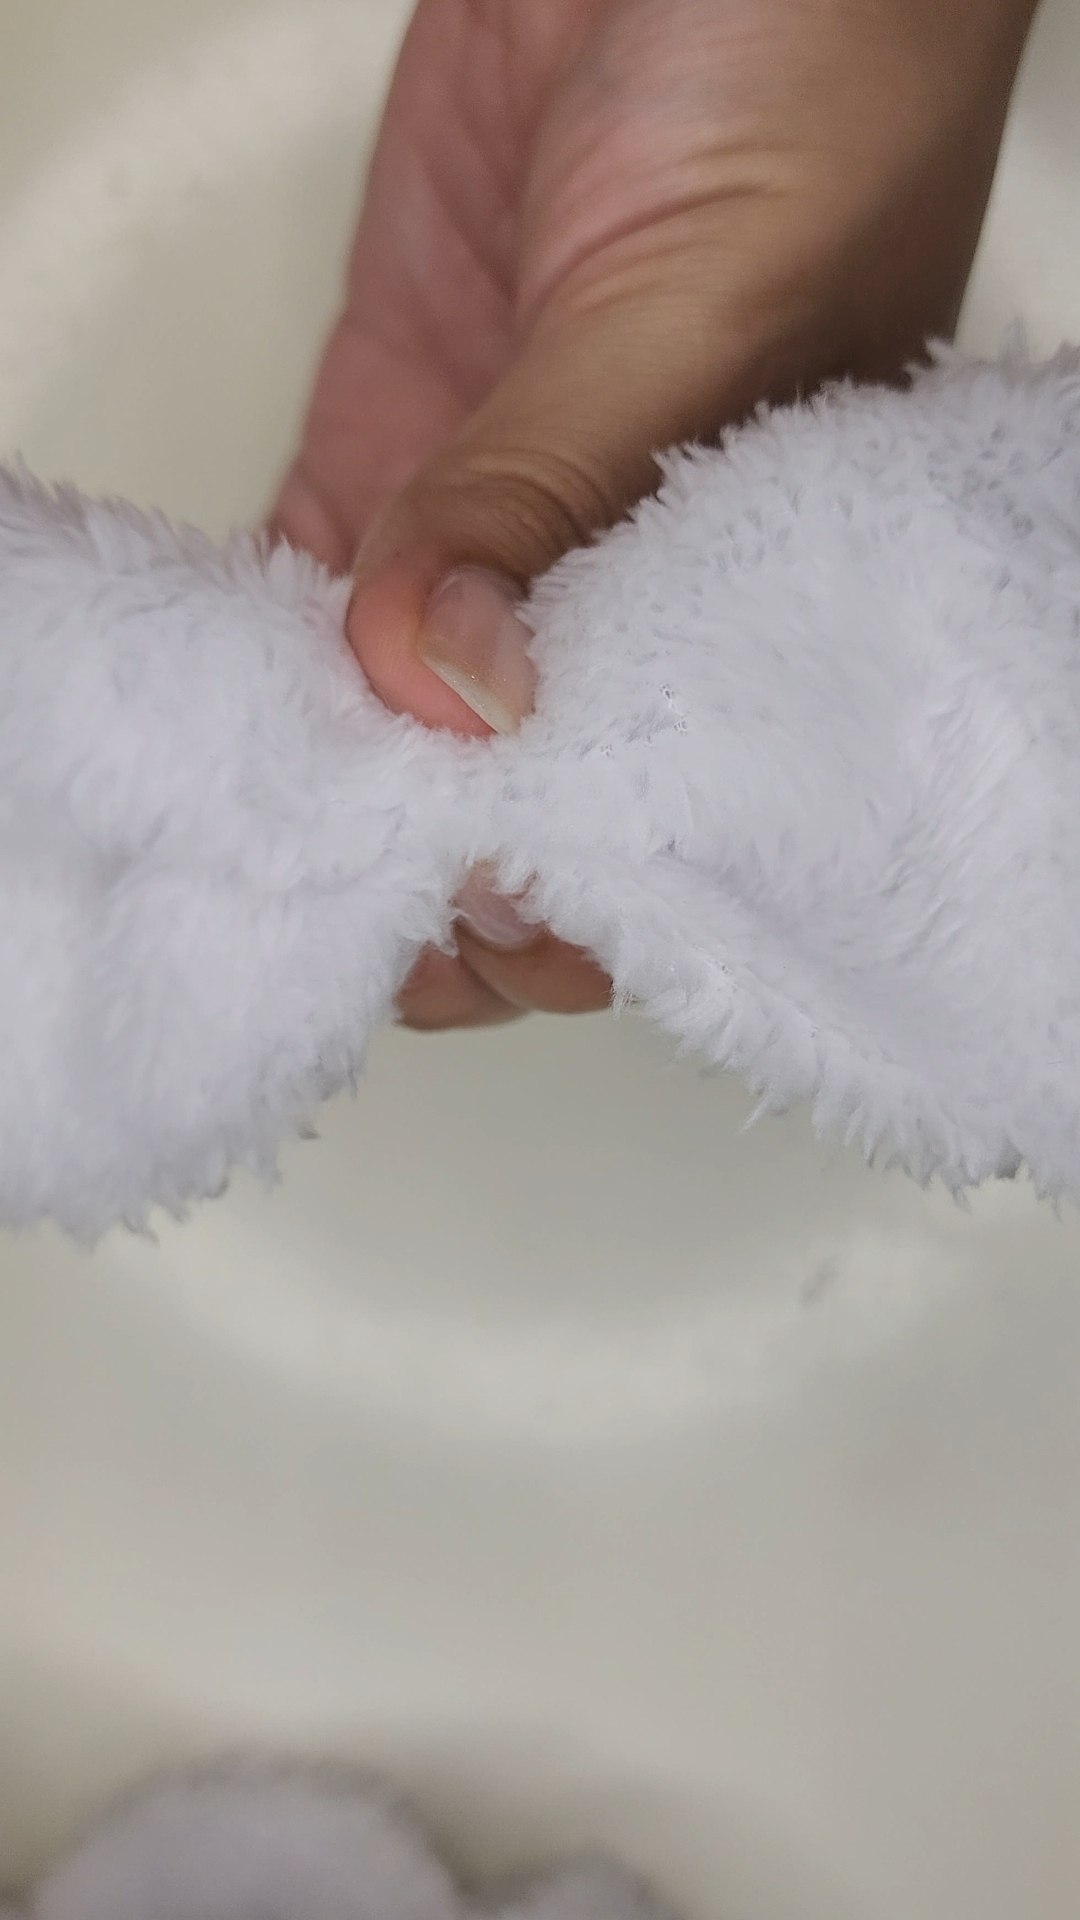
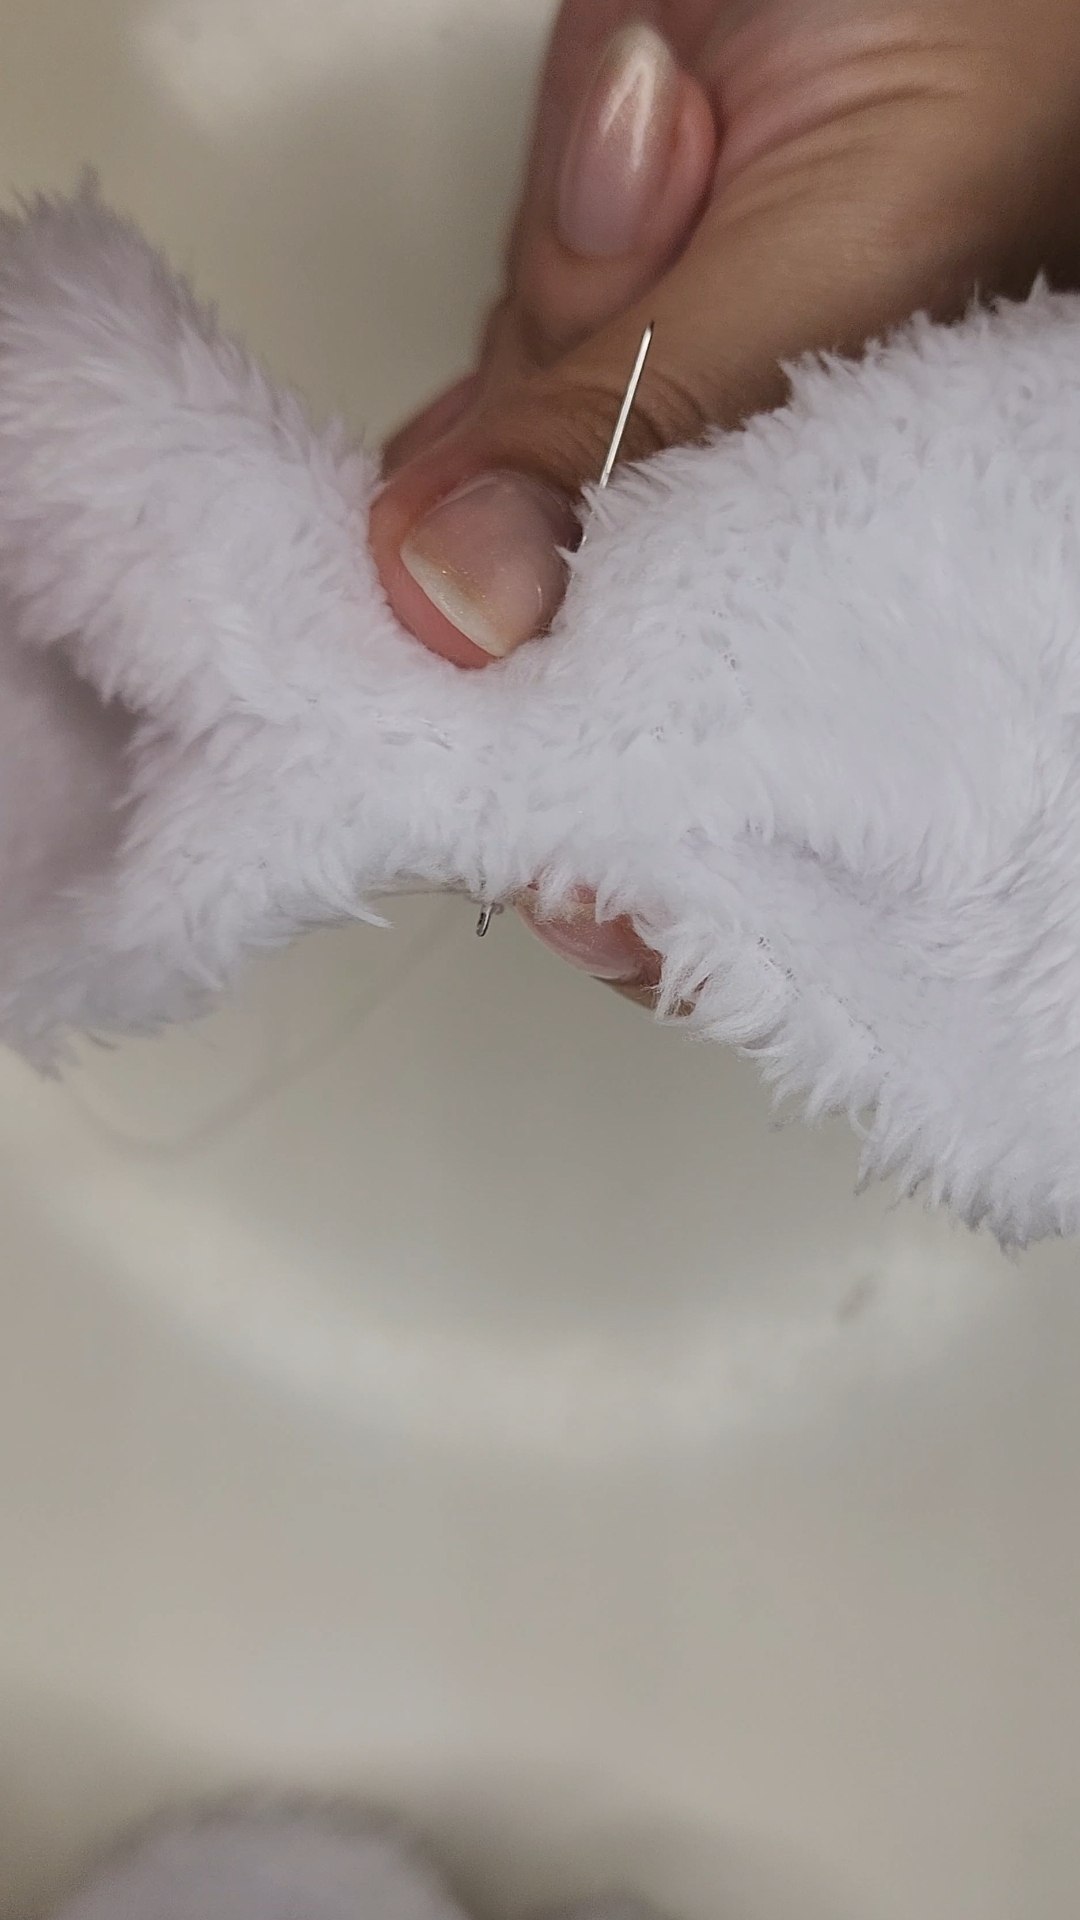
Luego, fruncimos en el centro para que ya así se forme el lazo, atravesamos este fruncido con aguja y con hilo, damos varias vueltas alrededor con el mismo hilo y aseguramos al final para que nada se suelte.
Then, we gather in the center so that the loop is formed, we go through this gathering with needle and thread, we make several turns around it with the same thread and we secure it at the end so that nothing comes loose.
 |
 |
|---|---|
 |
 |
|---|---|
Fruncido del lazo / Tie ruffling
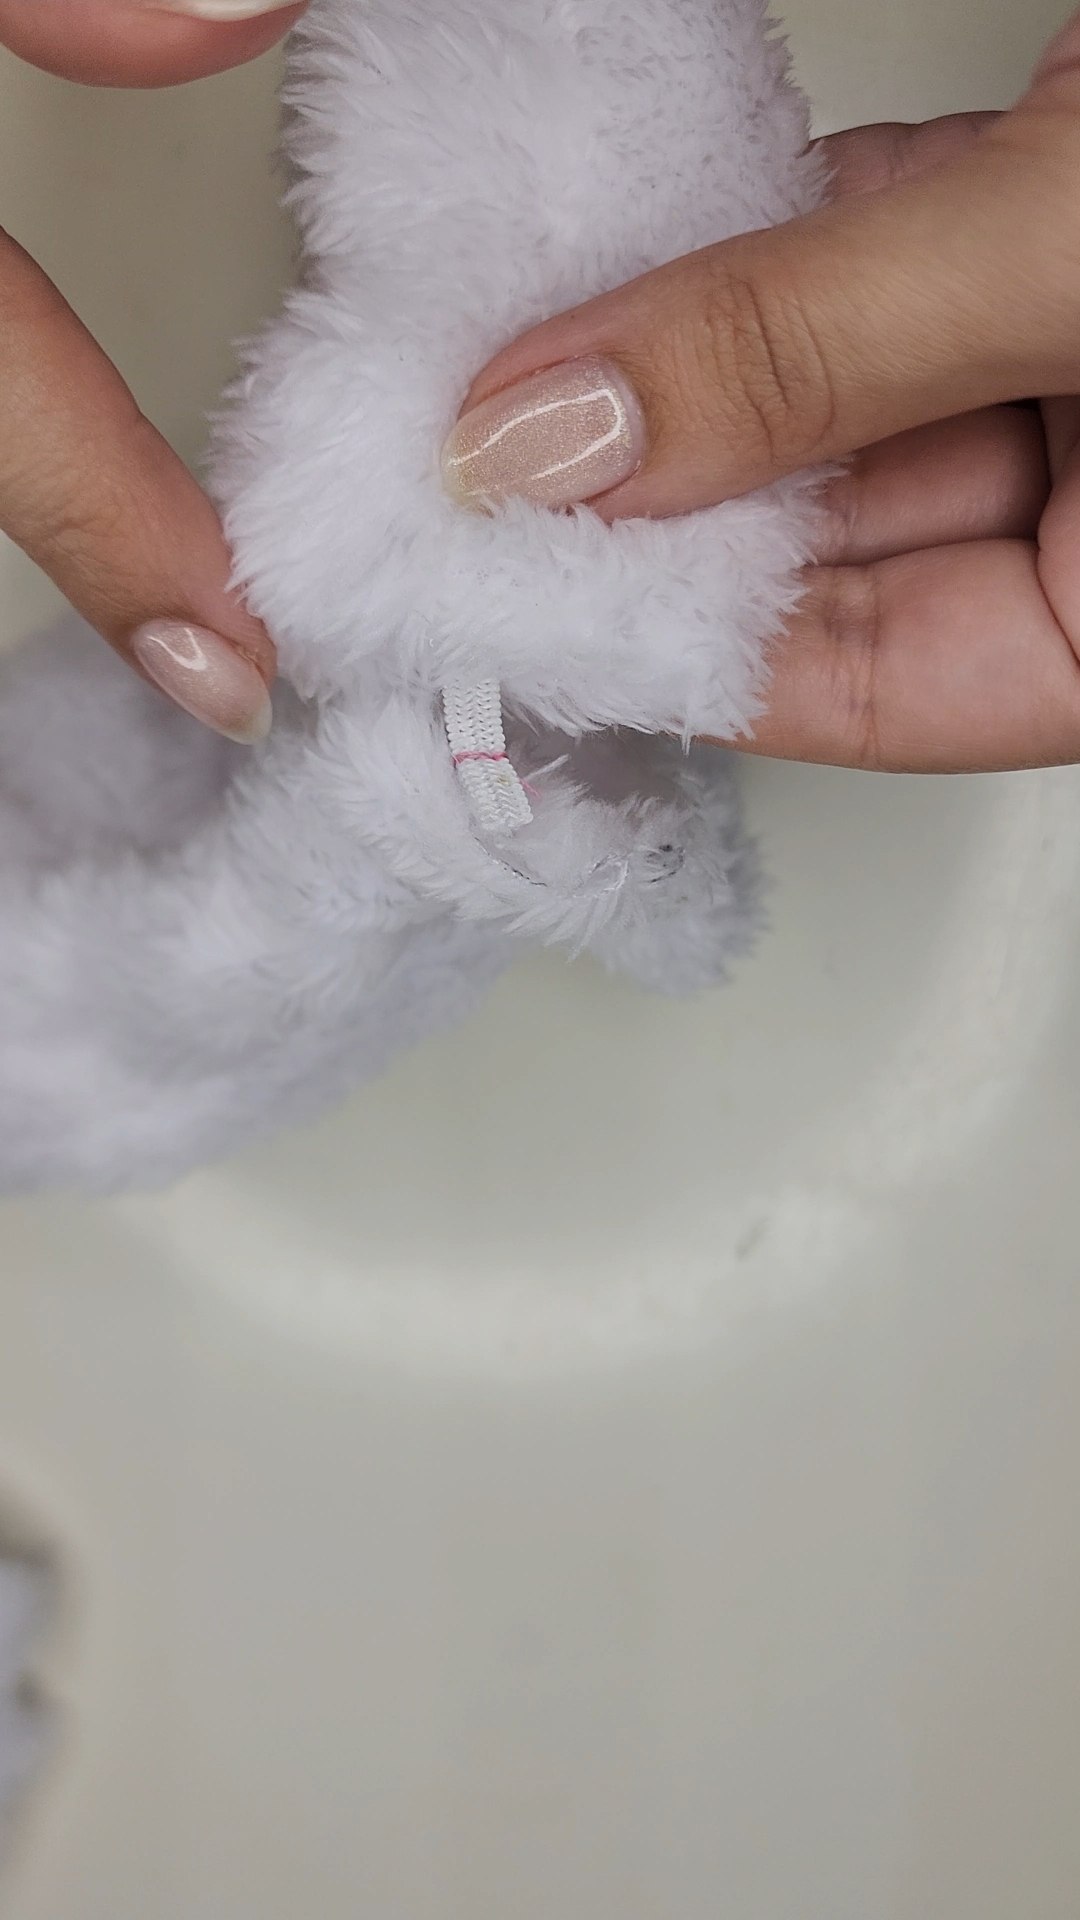
Para unir el lazo al cuerpo de la diadema, hacemos coincidir el centro del lazo con la línea donde unimos ambos extremos del cintillo, tomamos la pieza pequeña y rodeamos la unión de ambas piezas anteriores, apretaremos lo más posible y coseremos bien, de manera que no se vaya a mover el lazo de su lugar.
To attach the loop to the body of the headband, we make the center of the loop coincide with the line where we join both ends of the headband, we take the small piece and surround the union of both previous pieces, we will tighten as much as possible and sew well, so that the loop will not move from its place.
 |
 |
 |
|---|---|---|
Uniendo el lazo a la diadema / Attaching the loop to the headband
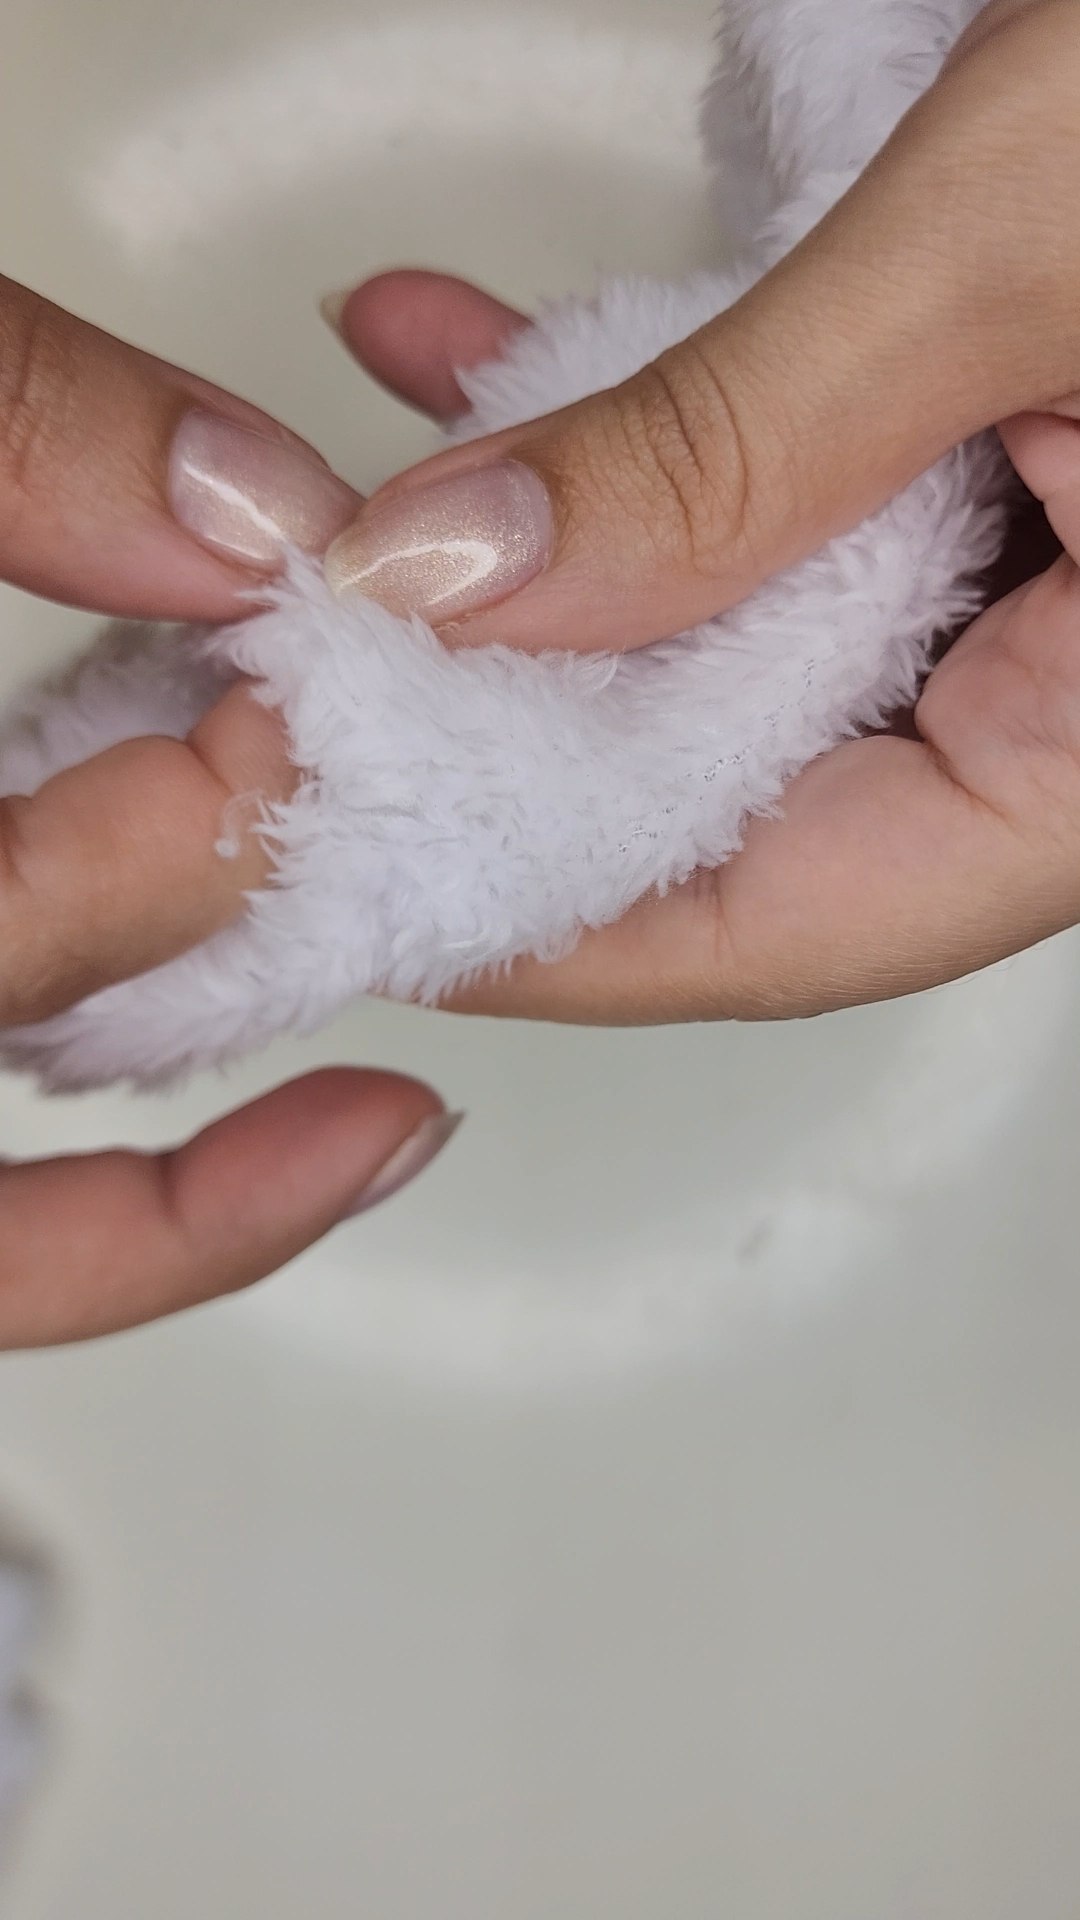
Cortamos el excedente de la pieza pequeña, damos vuelta para esconder la costura y estaría listo.
We cut the excess of the small piece, turn it over to hide the seam and it would be ready.
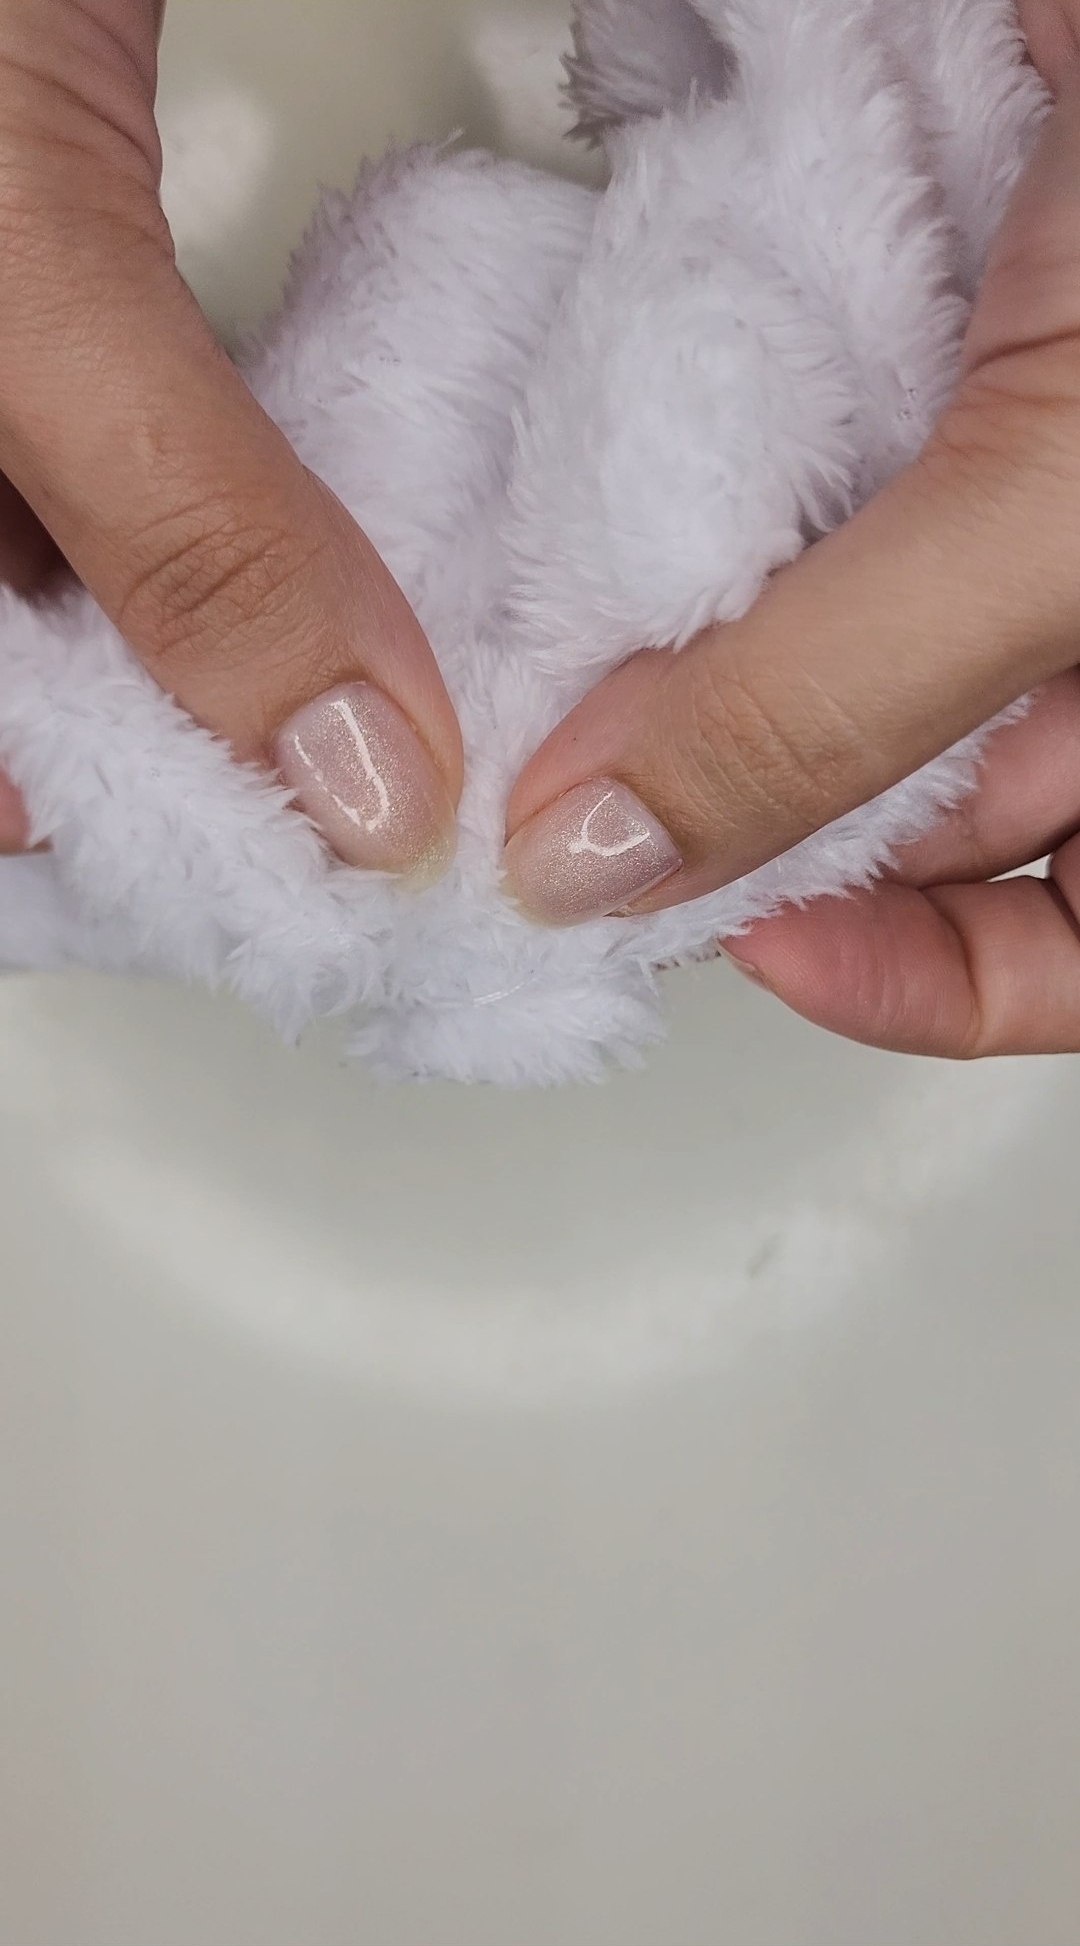 |
 |
|---|---|
Diadema terminada / Finished headband
Y así se ve ya en uso. Me encantó el resultado, ahora no quiero dejar de usarla (risas).
And this is how it looks already in use. I loved the result, now I don't want to stop using it (laughs).
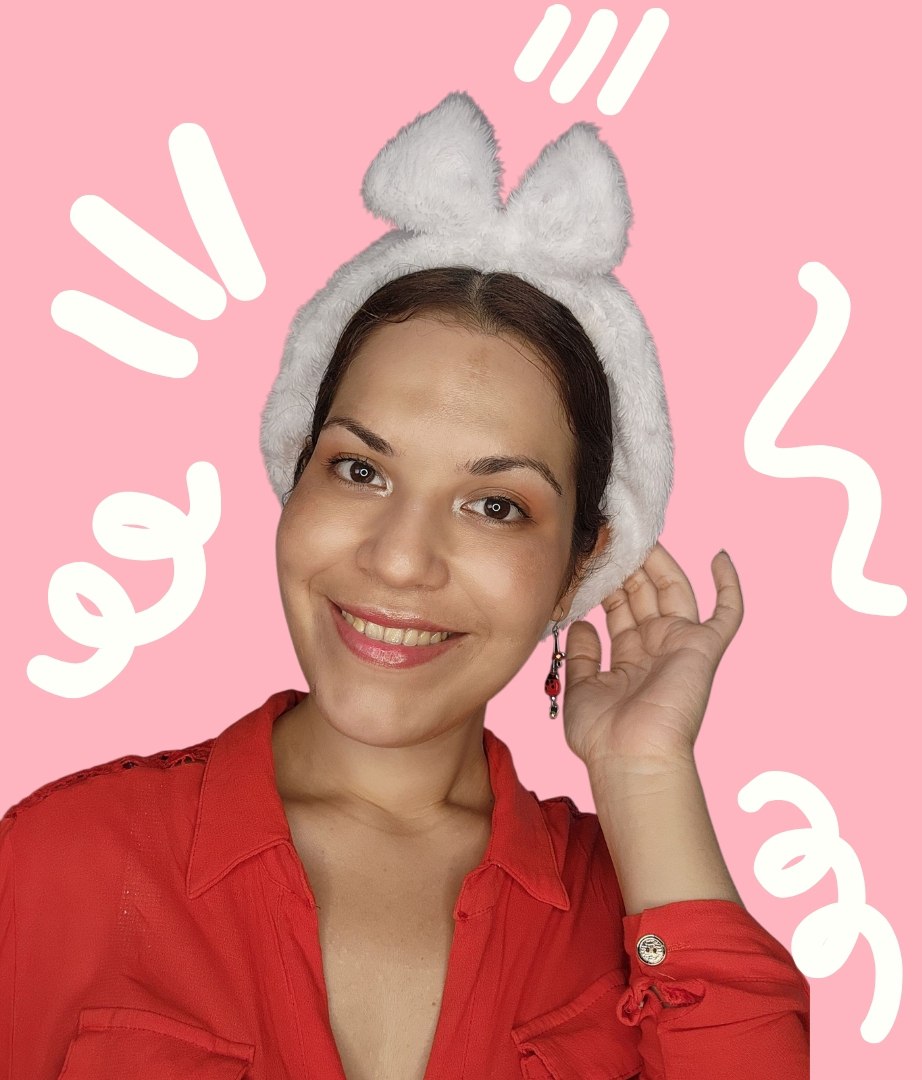 Resultado final / Final result
¡Muchas gracias por leerme! Thank you so much for reading me!
Fotografías propias, tomadas con mi Samsung Galaxy S22. Traducido al inglés con DeepL. Ediciones con Photoroom y Canva.
Own photographs, taken with my Samsung Galaxy S22. Translated to English with DeepL. Editions with Photoroom and Canva.
Posted Using INLEO