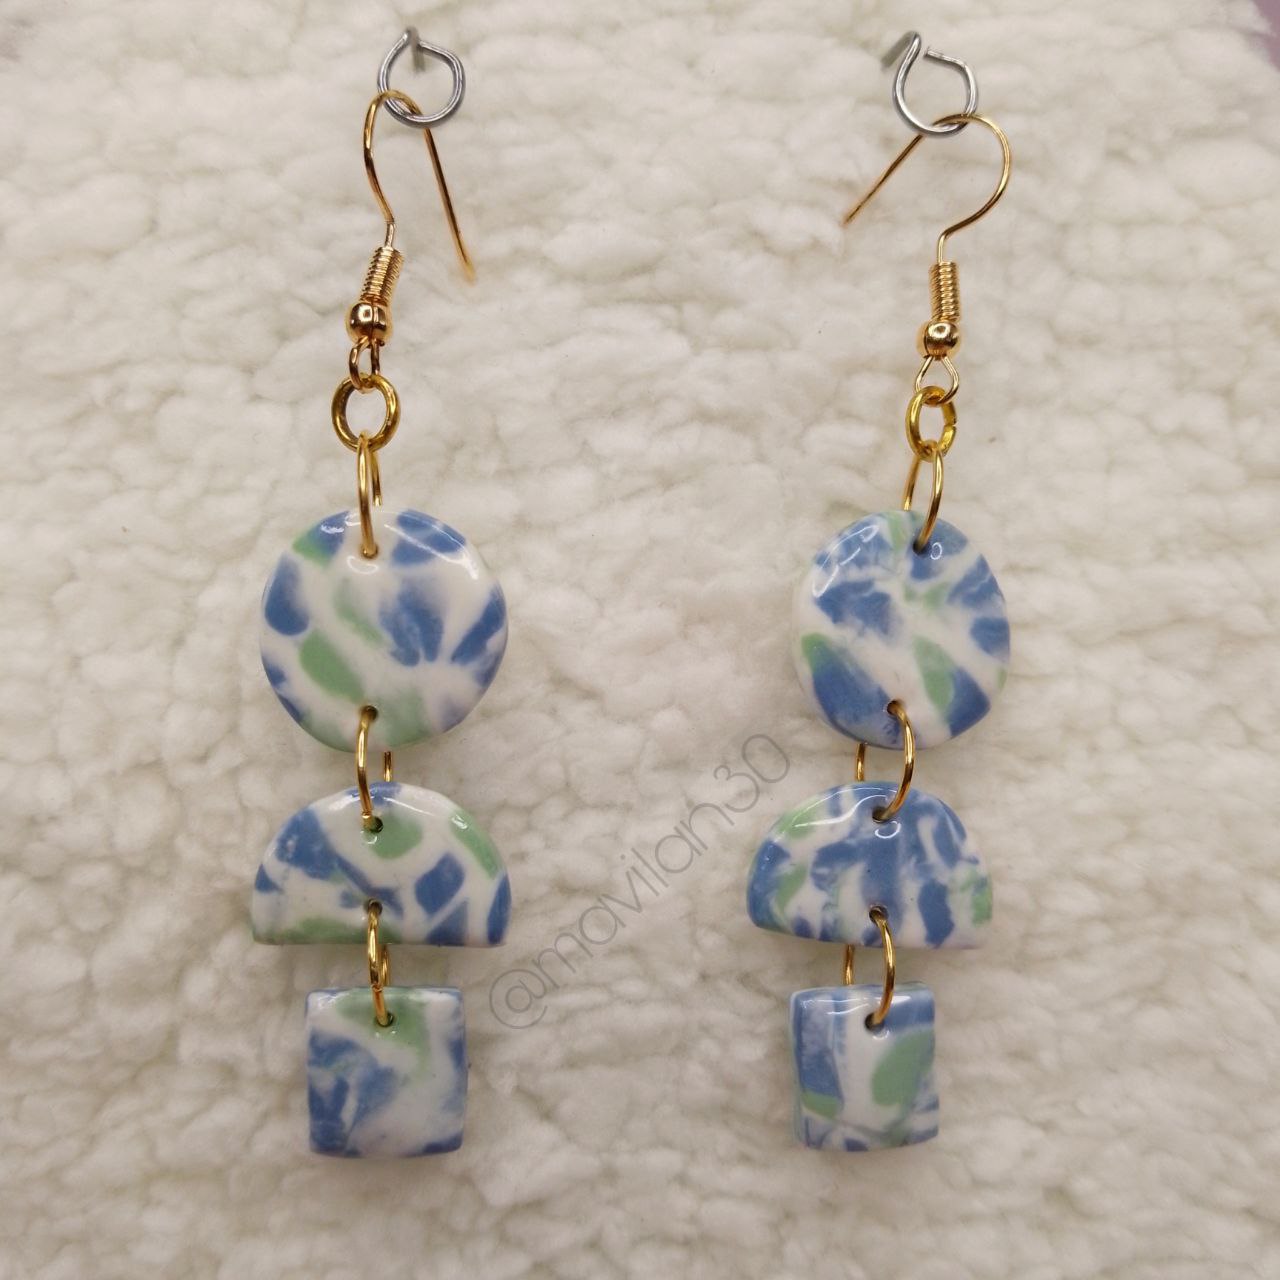
¡Hola mis queridos hivers! Hoy vengo súper emocionada con un nuevo diseño de aretes y es que estoy absolutamente enamorada del resultado y sinceramente espero que ustedes lo amen tanto como yo. Se trata de un marmoleado en porcelana fría, donde se combinan los colores blanco, azul y verde, he llamado a este diseño “Terra” porque se me asemeja un poco a esas vistas desde el espacio del planeta Tierra, donde predomina el azul de las masas de agua, los tonos verdosos y los nubarrones blancos que la envuelven. Acompáñame en este post y no te pierdas ninguno de los pasos para hacer estos elegantes aretes, que por cierto, si te quedas hasta el final verás el resultado no solo de los de la portada si no también de una variante más.
>Hello my dear hivers! Today I come super excited with a new earrings design and I am absolutely in love with the result and I sincerely hope you love it as much as I do. It is a marbled cold porcelain, where white, blue and green colors are combined, I have called this design “Terra” because it resembles me a little to those views from space of the planet Earth, where the blue of the water masses, the greenish tones and the white clouds that surround it predominate. Join me in this post and don't miss any of the steps to make these elegant earrings, which by the way, if you stay until the end you will see the result not only of the ones on the cover but also of one more variant.
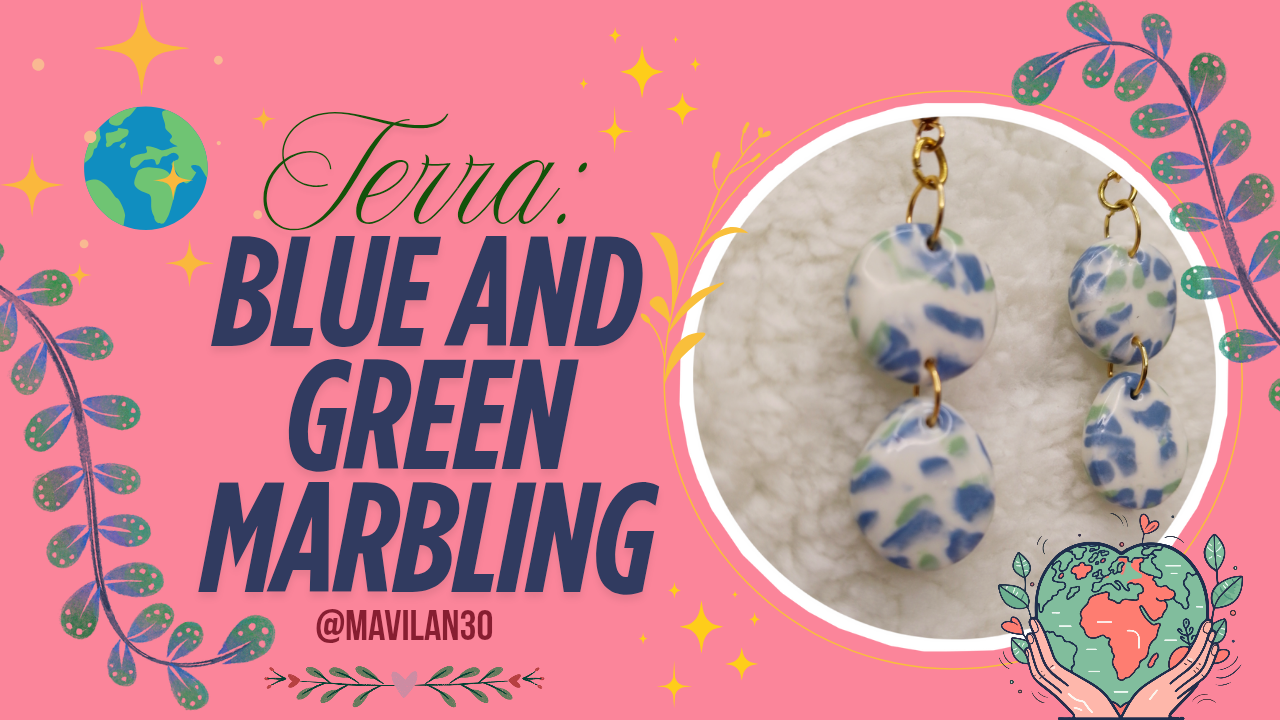
*Imagen creada por mí en Canva / Image created by me in Canva*
### Materiales:
* Porcelana fría
* Cúter
* Rodillo o elementos para aplanar
* Aguja
* Dremel
* Top Coat
* Lámpara UV/LED
* Cortadores
* Aros
* Anzuelos
* Alicates de joyería
### Procedimiento:
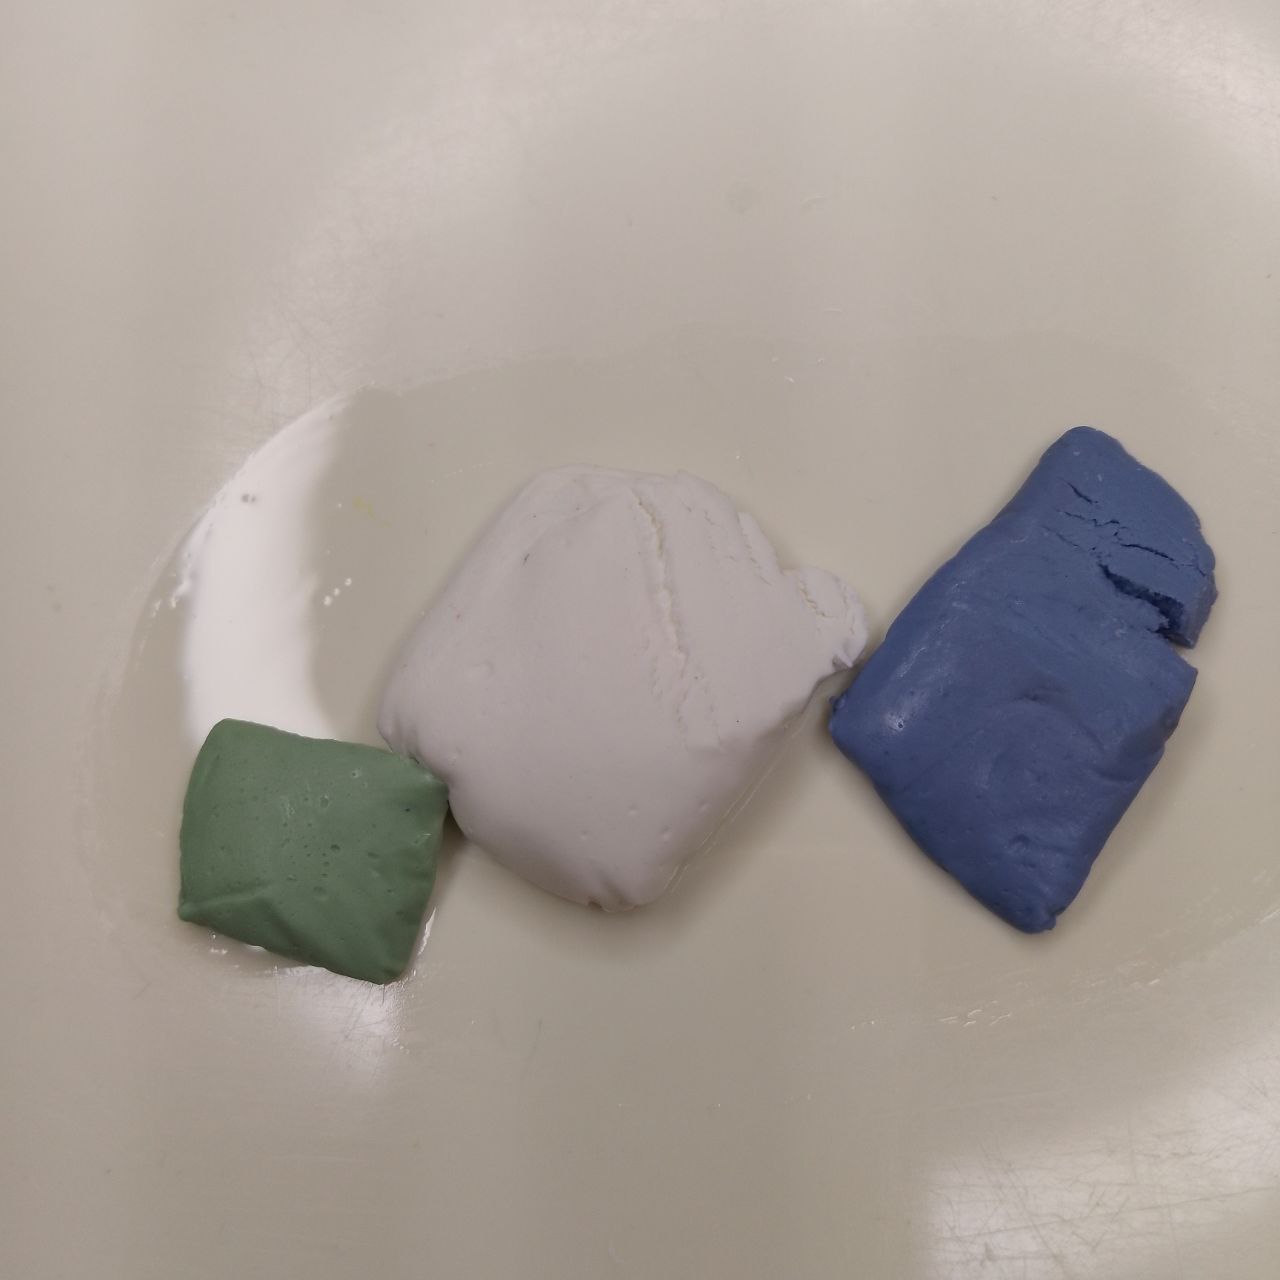
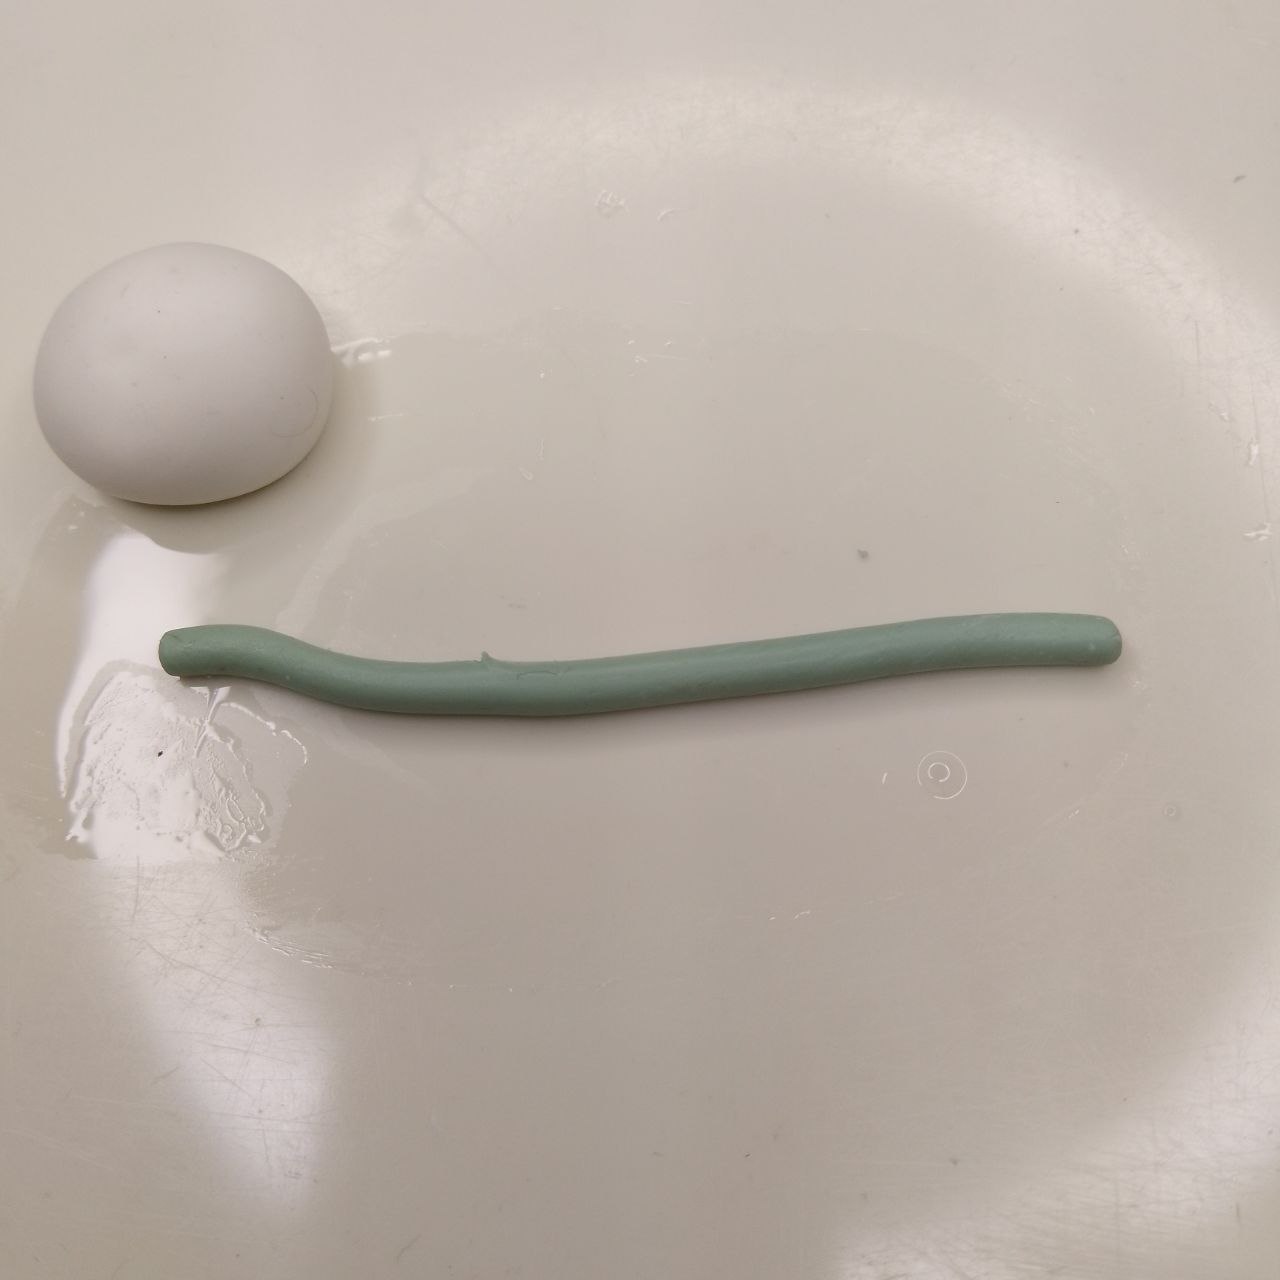
Iniciamos tomando porciones de porcelana fría de los colores que deseamos combinar, en mi caso, he tomado blanco como base y azul y verde. Formaremos cilindros con la porcelana fría color verde y color azul. Como mi cantidad de azul es significativamente mayor a la verde, he hecho dos cilindros con este color, pues buscamos que todos los cilindros sean de más o menos el mismo largo.
>### Materials:
>
>* Cold porcelain
>* Cutter
>* Roller or flattening elements
>* Needle
>* Dremel
>* Top Coat
>* UV/LED lamp
>* Cutters
>* Hoops
>* Hooks
>* Jewelry Pliers
>
>### Procedure:
>
>We start by taking portions of cold porcelain of the colors we want to combine, in my case, I have taken white as a base and blue and green. We will form cylinders with the cold porcelain green color and blue color. As my amount of blue is significantly higher than the green, I have made two cylinders with this color, because we want all the cylinders to be of more or less the same length.
 | 
--- | ---
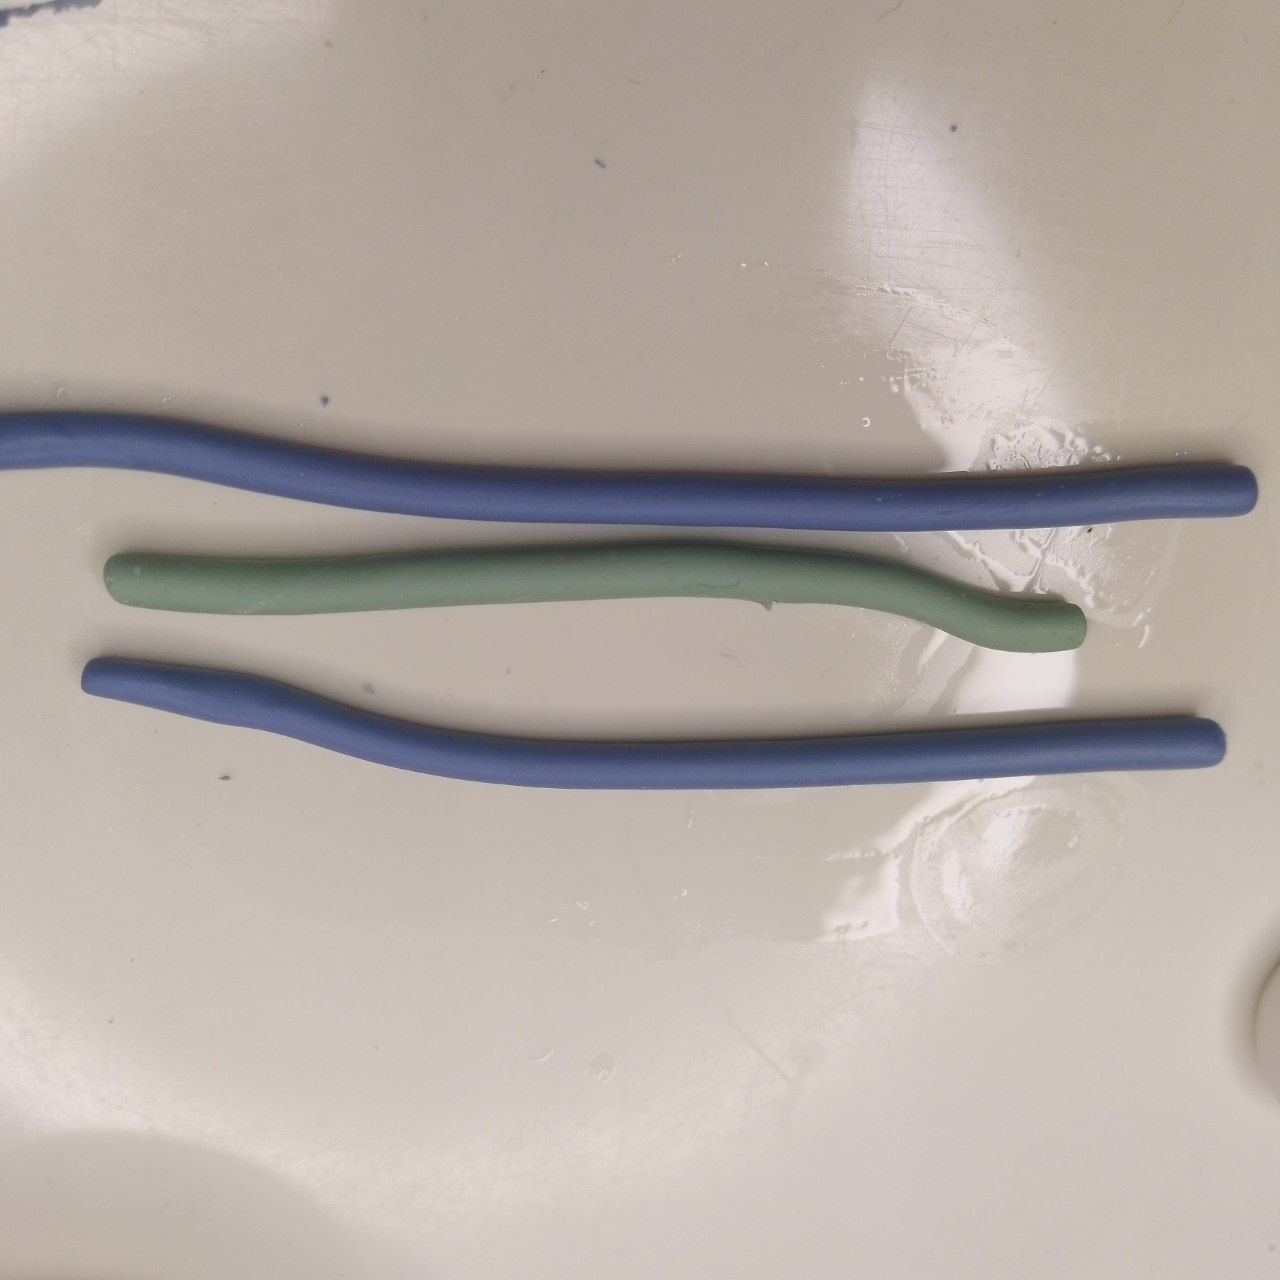
*Formando cilindros / Forming cylinders*
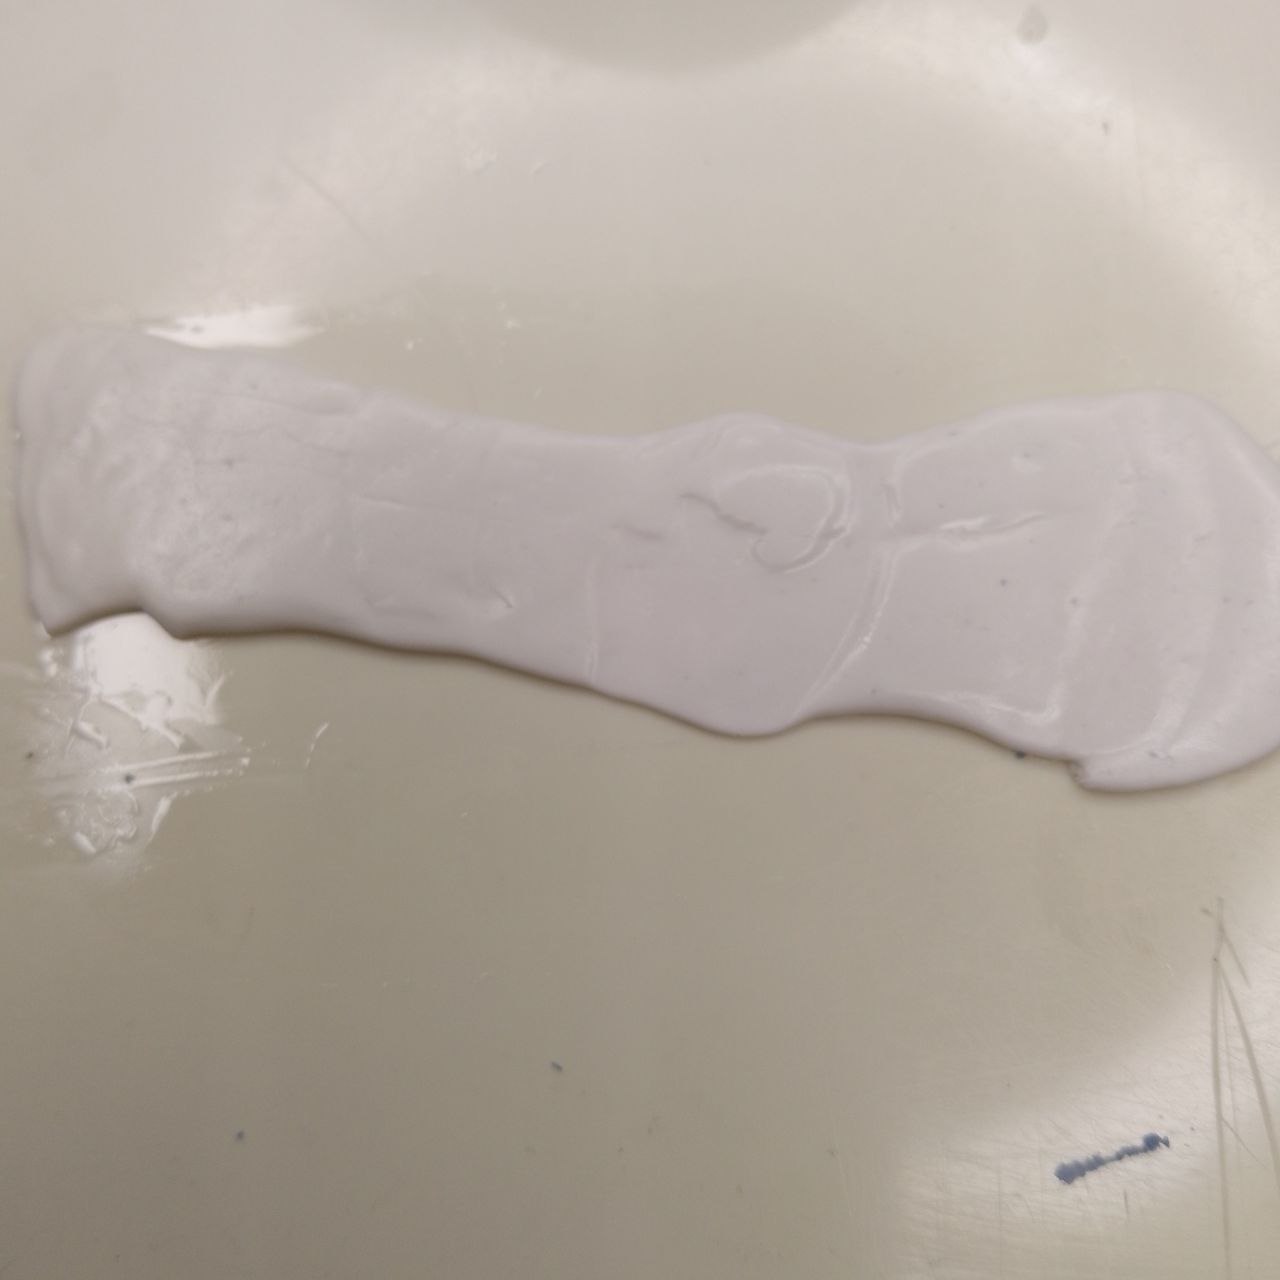
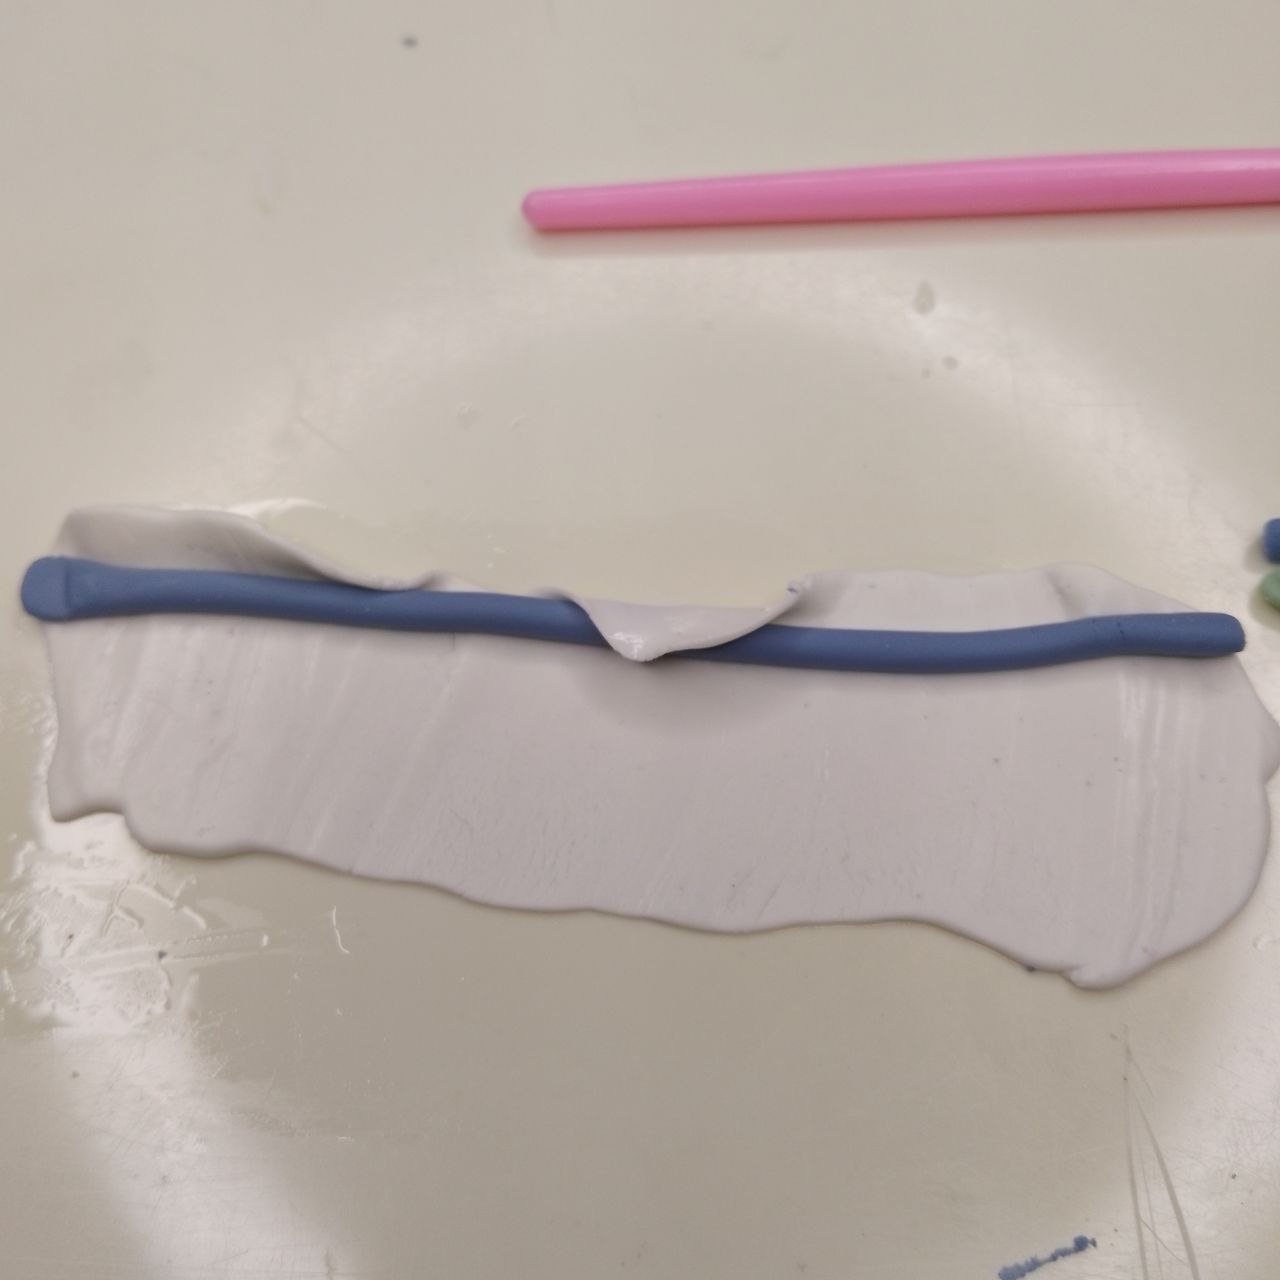
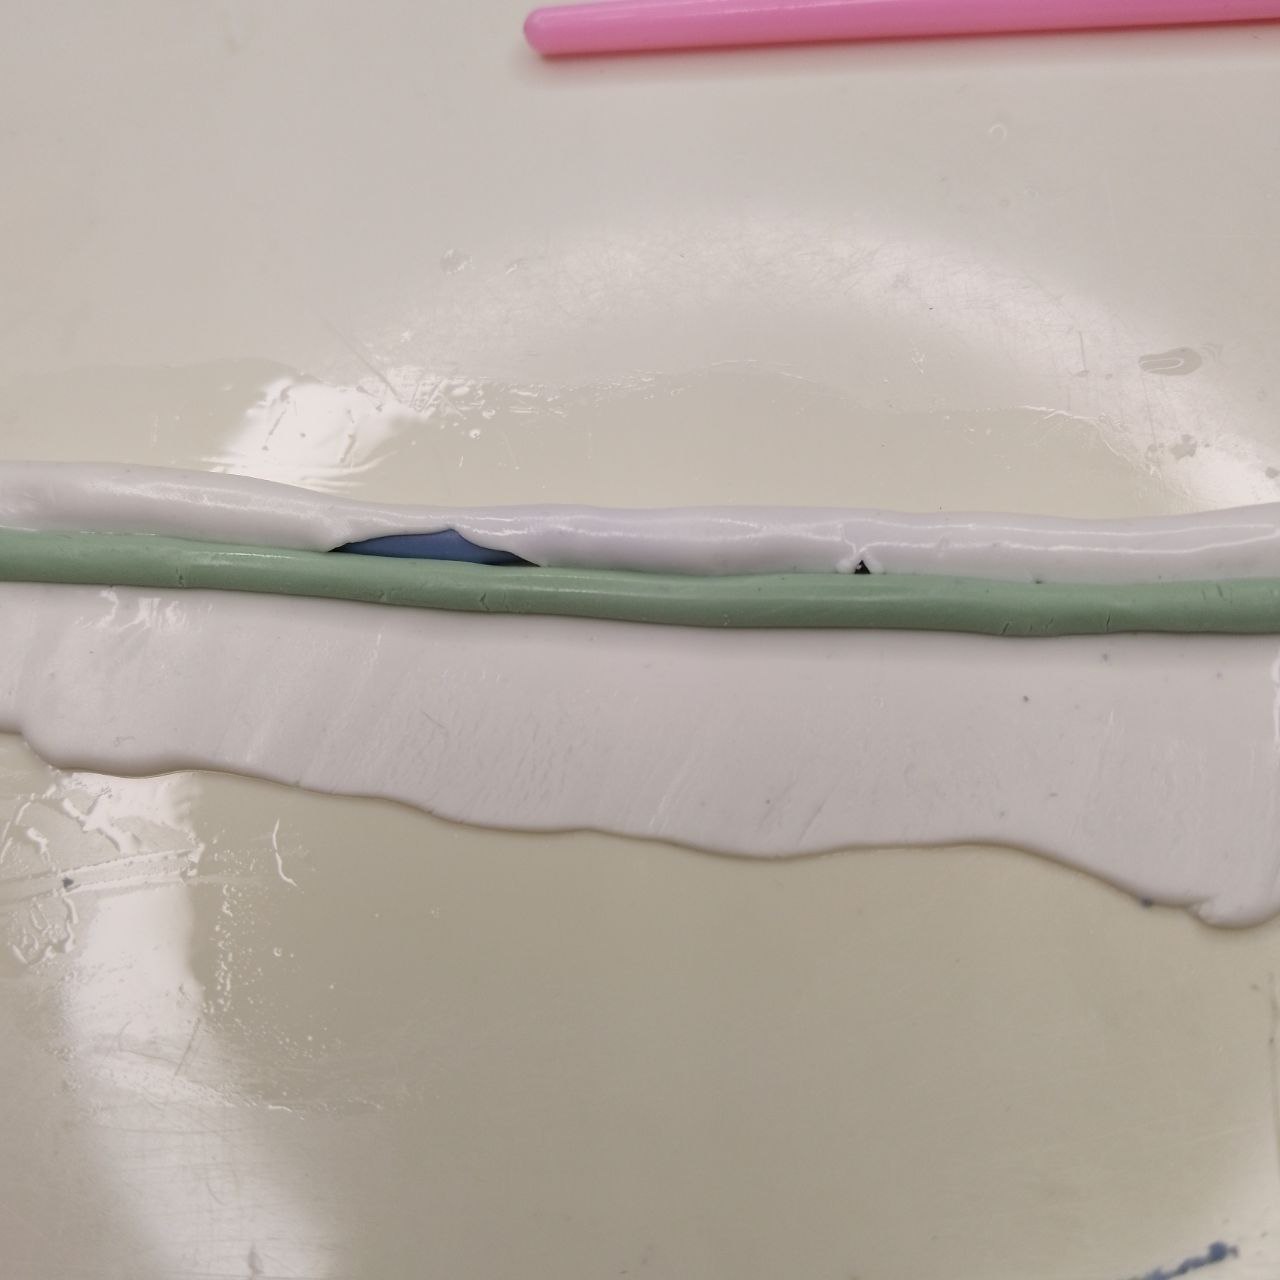
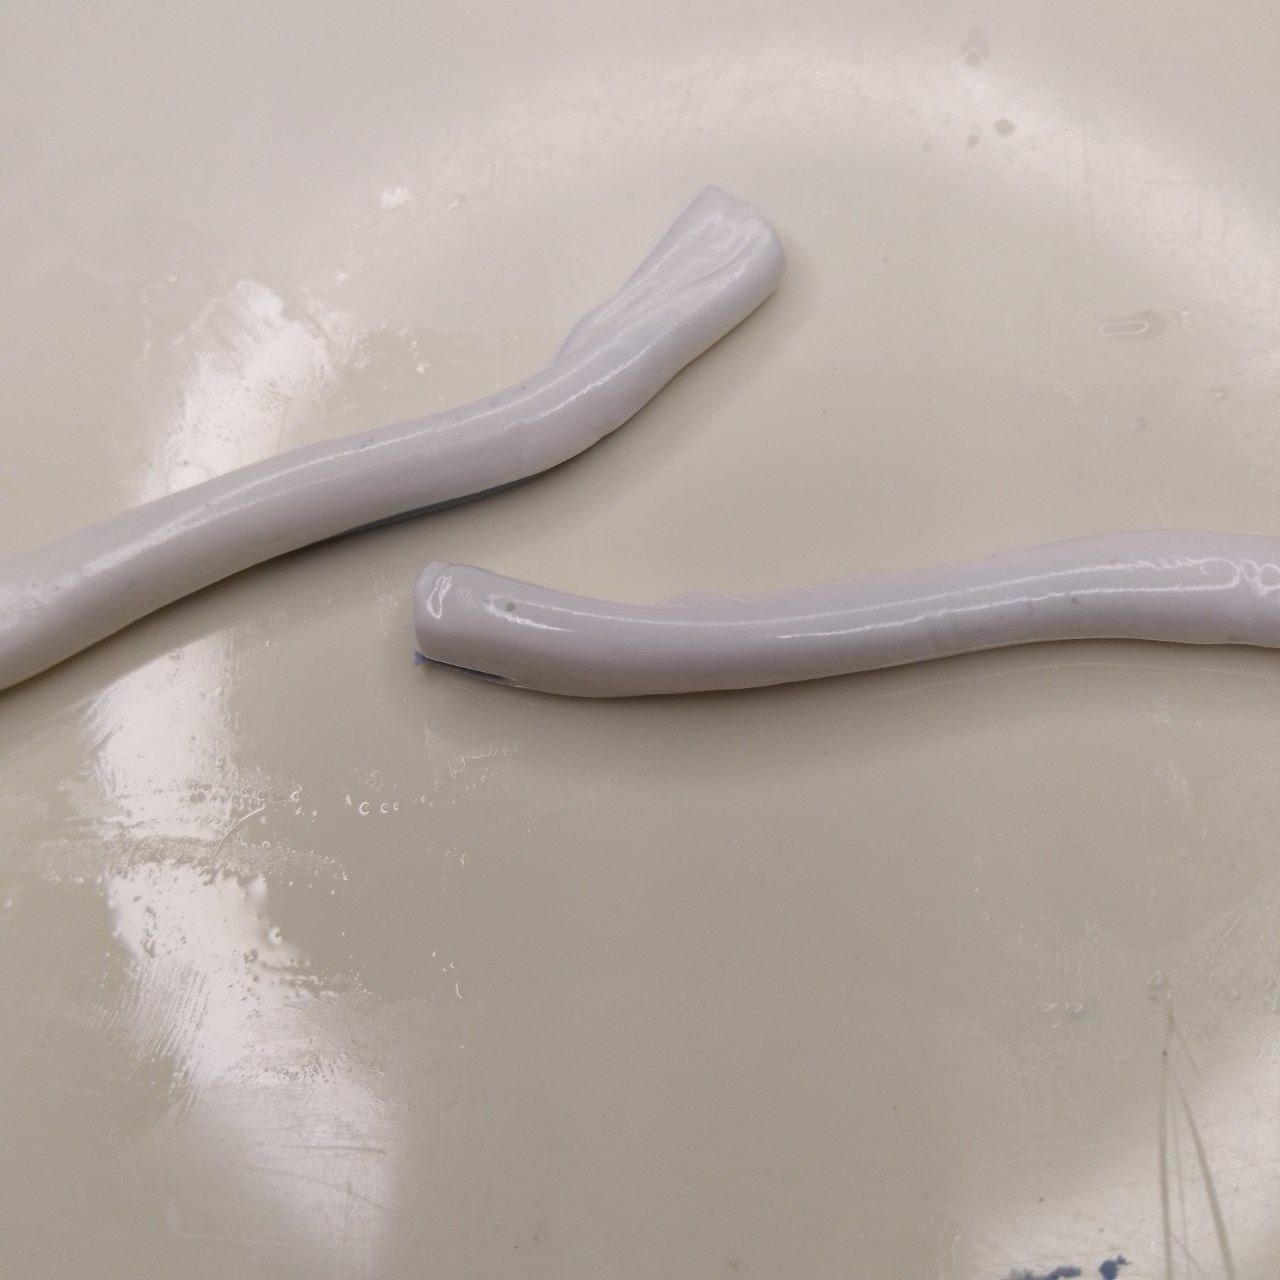
Ahora aplanaremos la porcelana fría blanca con un rodillo, de forma que el largo sea aproximadamente igual al de los cilindros anteriores e iremos envolviendo con ella cada cilindro de color uno por uno, es decir, al envolver completamente uno, iniciamos la acción de envolver el siguiente. Se puede hidratar un poco la masa con agua si se cree que es necesario.
> Now flatten the white cold porcelain with a rolling pin, so that the length is approximately equal to the length of the previous cylinders and we will wrap each colored cylinder one by one, that is to say, when we wrap one completely, we begin the action of wrapping the next one. You can hydrate the dough a little with water if you think it is necessary.
 | 
--- | ---
 | 
--- | ---
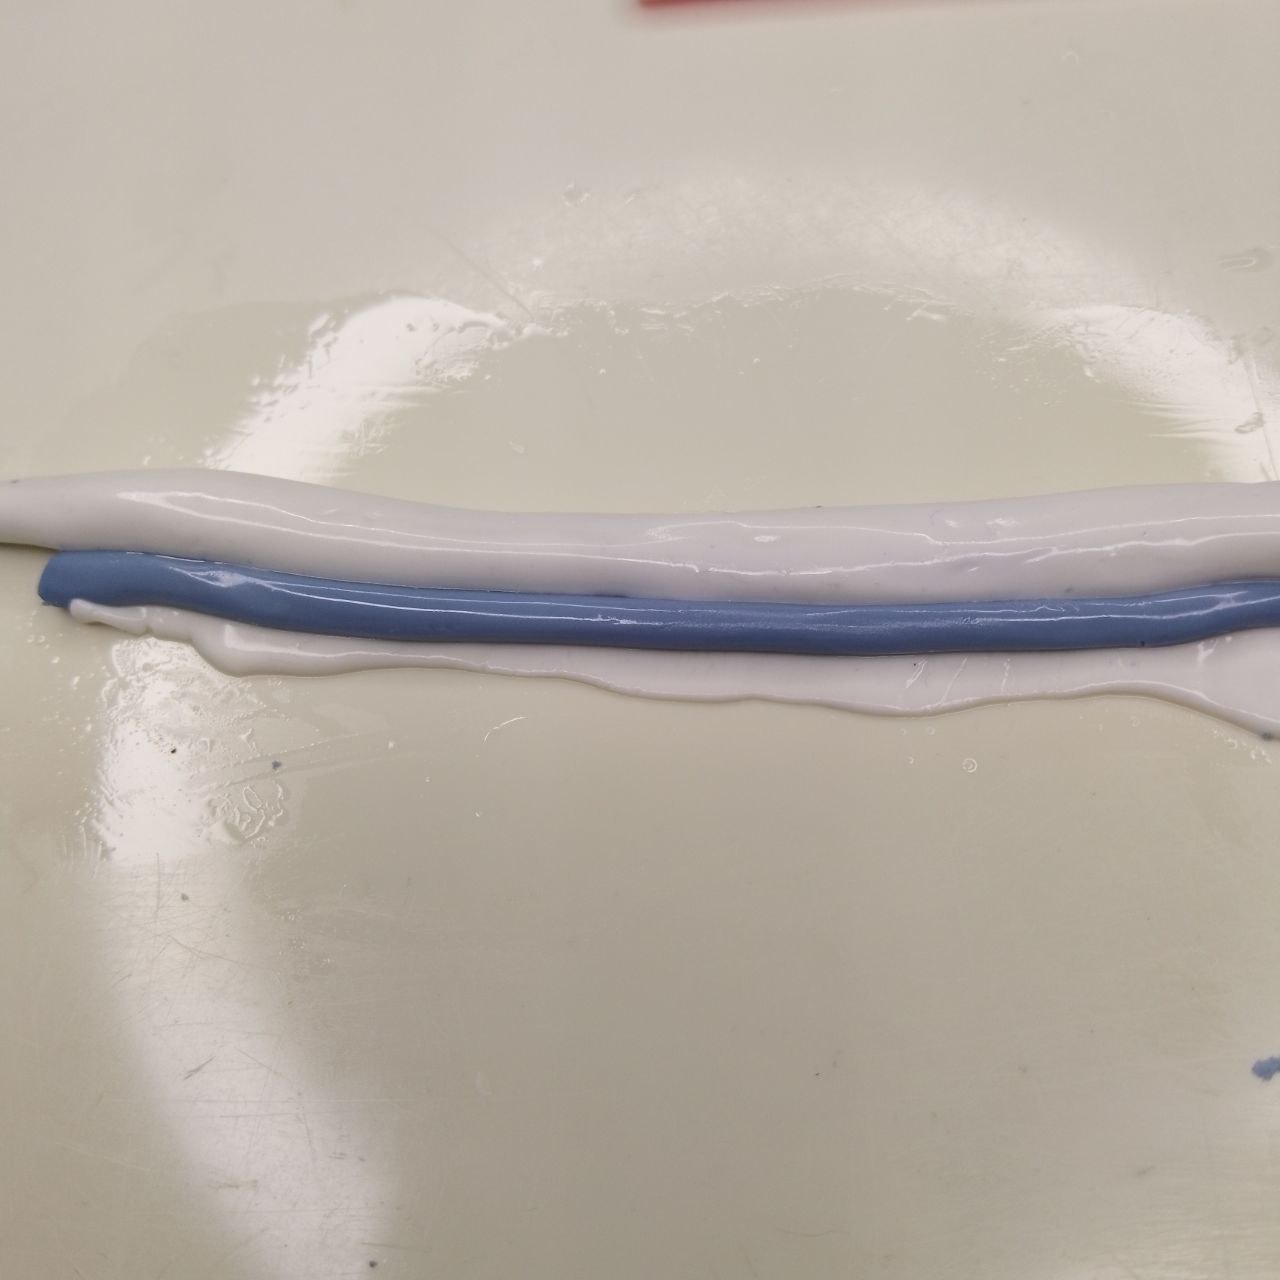
*Envolviendo los cilindros / Wrapping the cylinders*
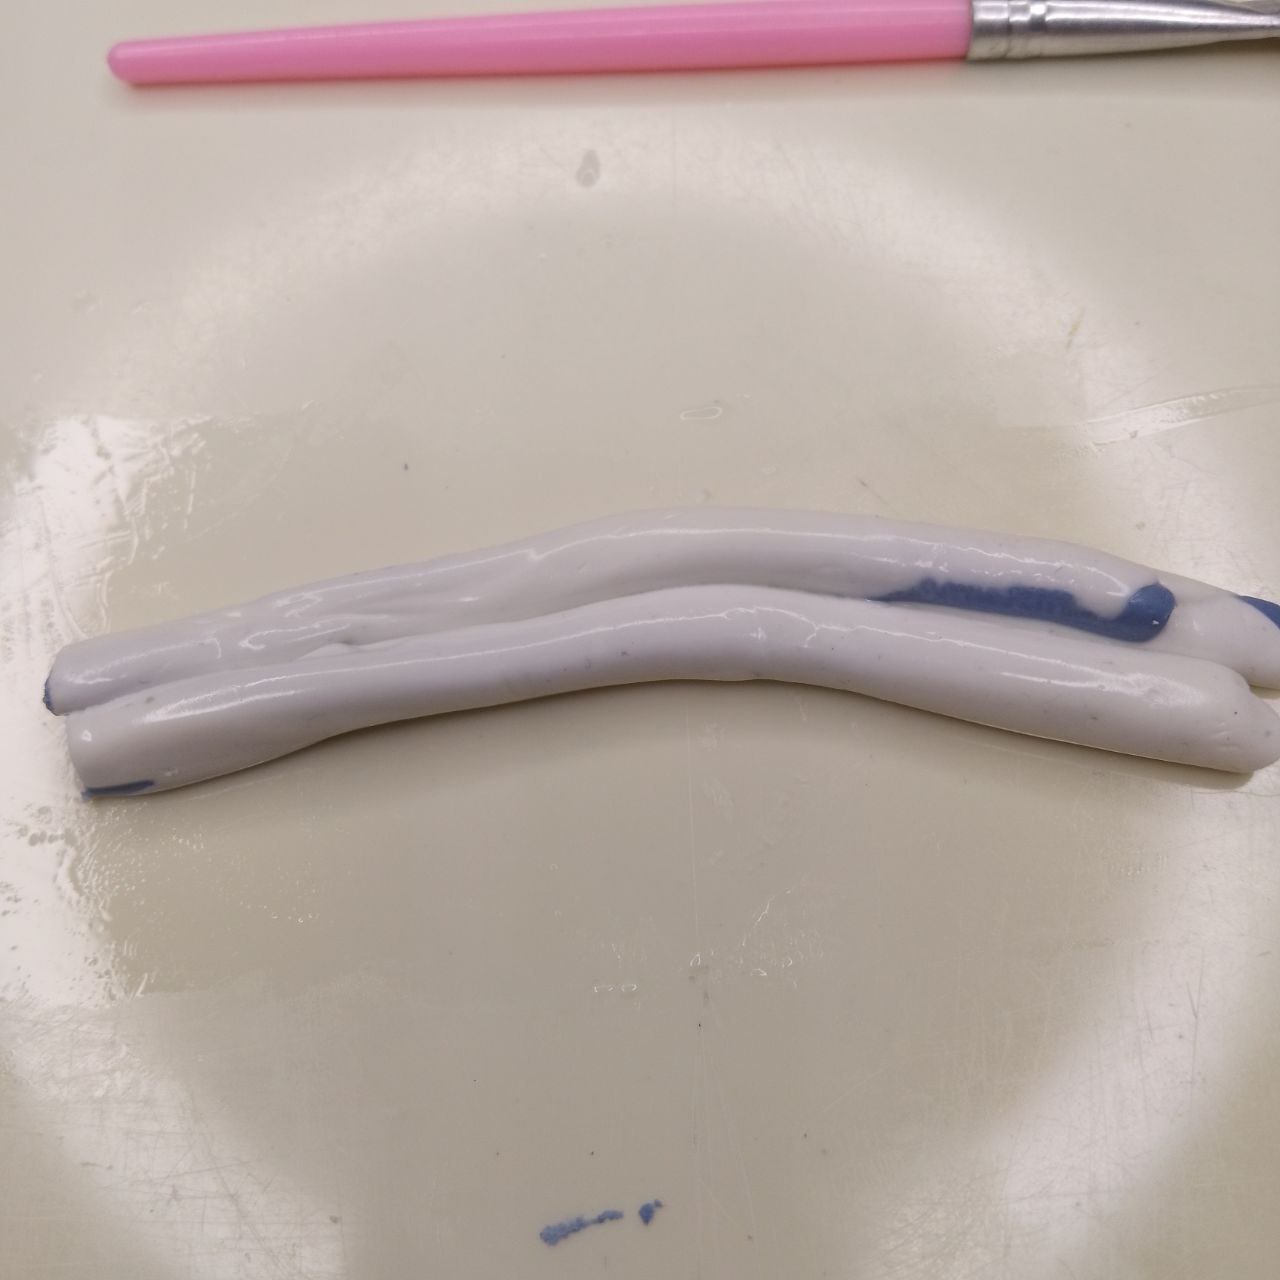
Al terminar de envolver los tres cilindros, rodaremos este cilindro gordito que se ha formado de forma que todo quede más integrado y al hacerlo, notaremos que el cilindro se alargará, por lo que cortaremos a la mitad, colocaremos cada mitad una al lado de la otra y repetiremos la acción de rodarlo para formar de nuevo un cilindro integrado y esto lo repetiremos una vez más.
> When we finish wrapping the three cylinders, we will roll this chubby cylinder that has been formed so that everything is more integrated and by doing so, we will notice that the cylinder will lengthen, so we will cut it in half, place each half next to the other and repeat the action of rolling it to form again an integrated cylinder and we will repeat this once more.
 | 
--- | ---
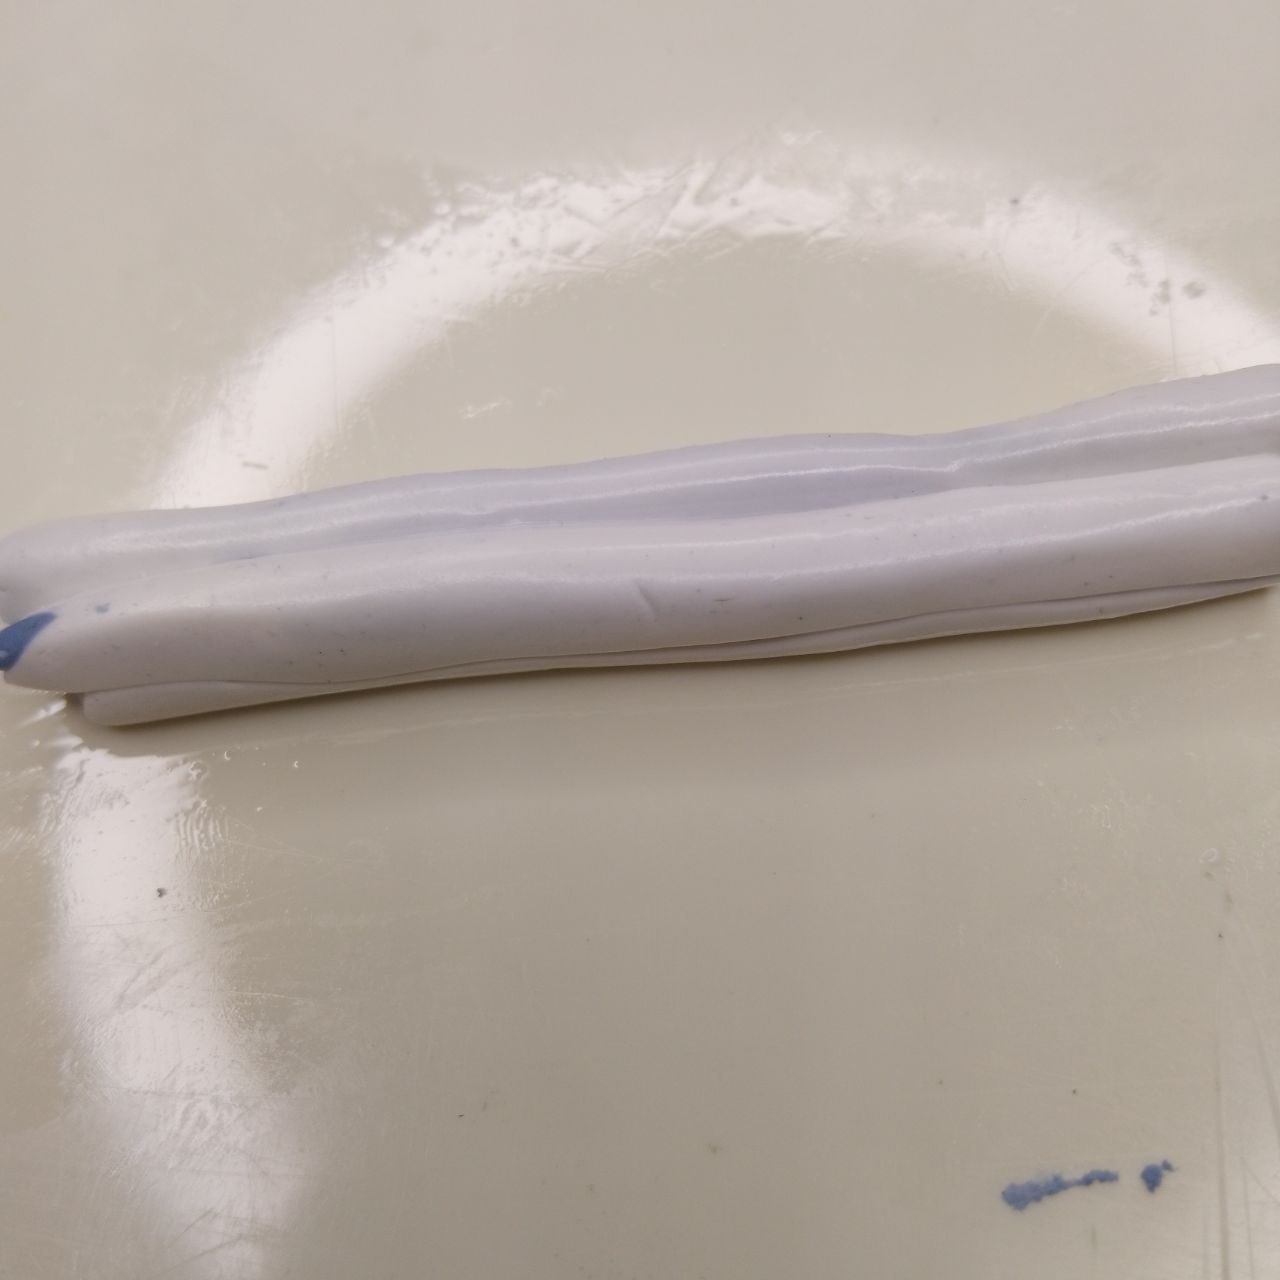
*Formando el cilindro definitivo / Forming the final cylinder*
Es momento de cortar en partes iguales (o más bien de proporciones aproximadamente iguales) el cilindro definitivo que hemos formado.
> It is time to cut into equal parts (or rather of approximately equal proportions) the final cylinder that we have formed.
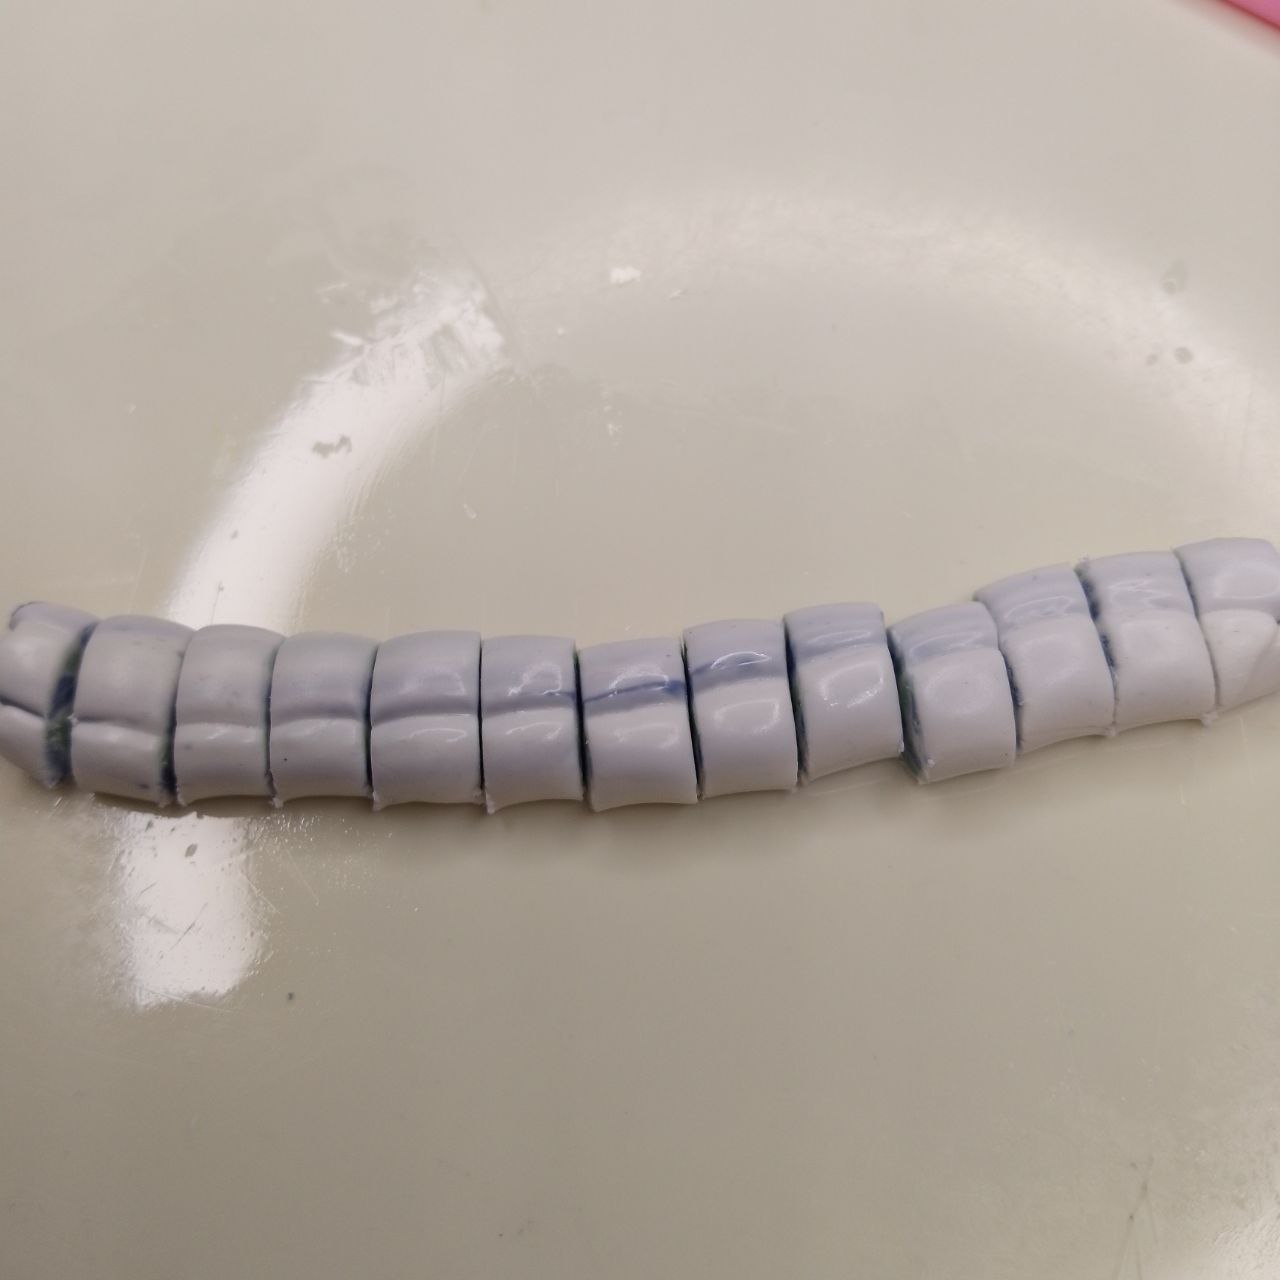
*Cortando en partes iguales / Cutting in equal parts*
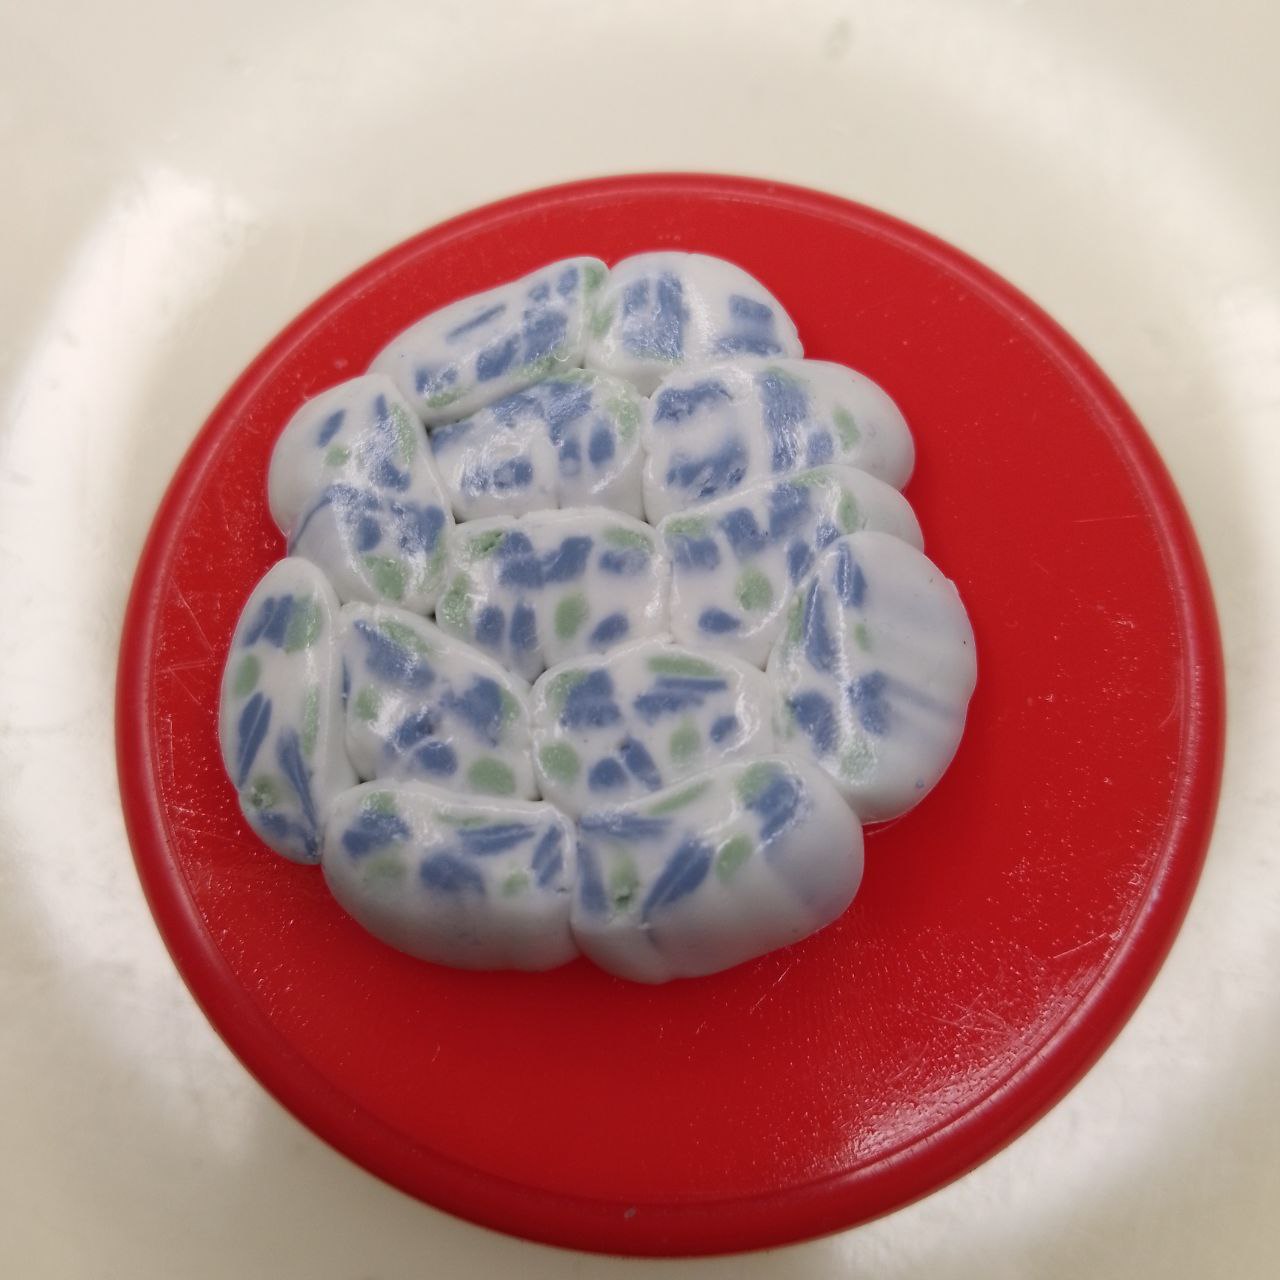
Cada uno de estos trocitos de cilindro los posicionaremos uno junto a otro como más nos guste en alguna superficie en la que podamos trabajar, que en mi caso es la tapa de un envase vacío de crema para el rostro porque aquí nada nos detiene (risas).
> Each of these little pieces of cylinder we will position them next to each other as we like on a surface we can work on, which in my case is the lid of an empty face cream container because nothing stops us here (laughs).

*Posicionando las porciones / Positioning the portions*
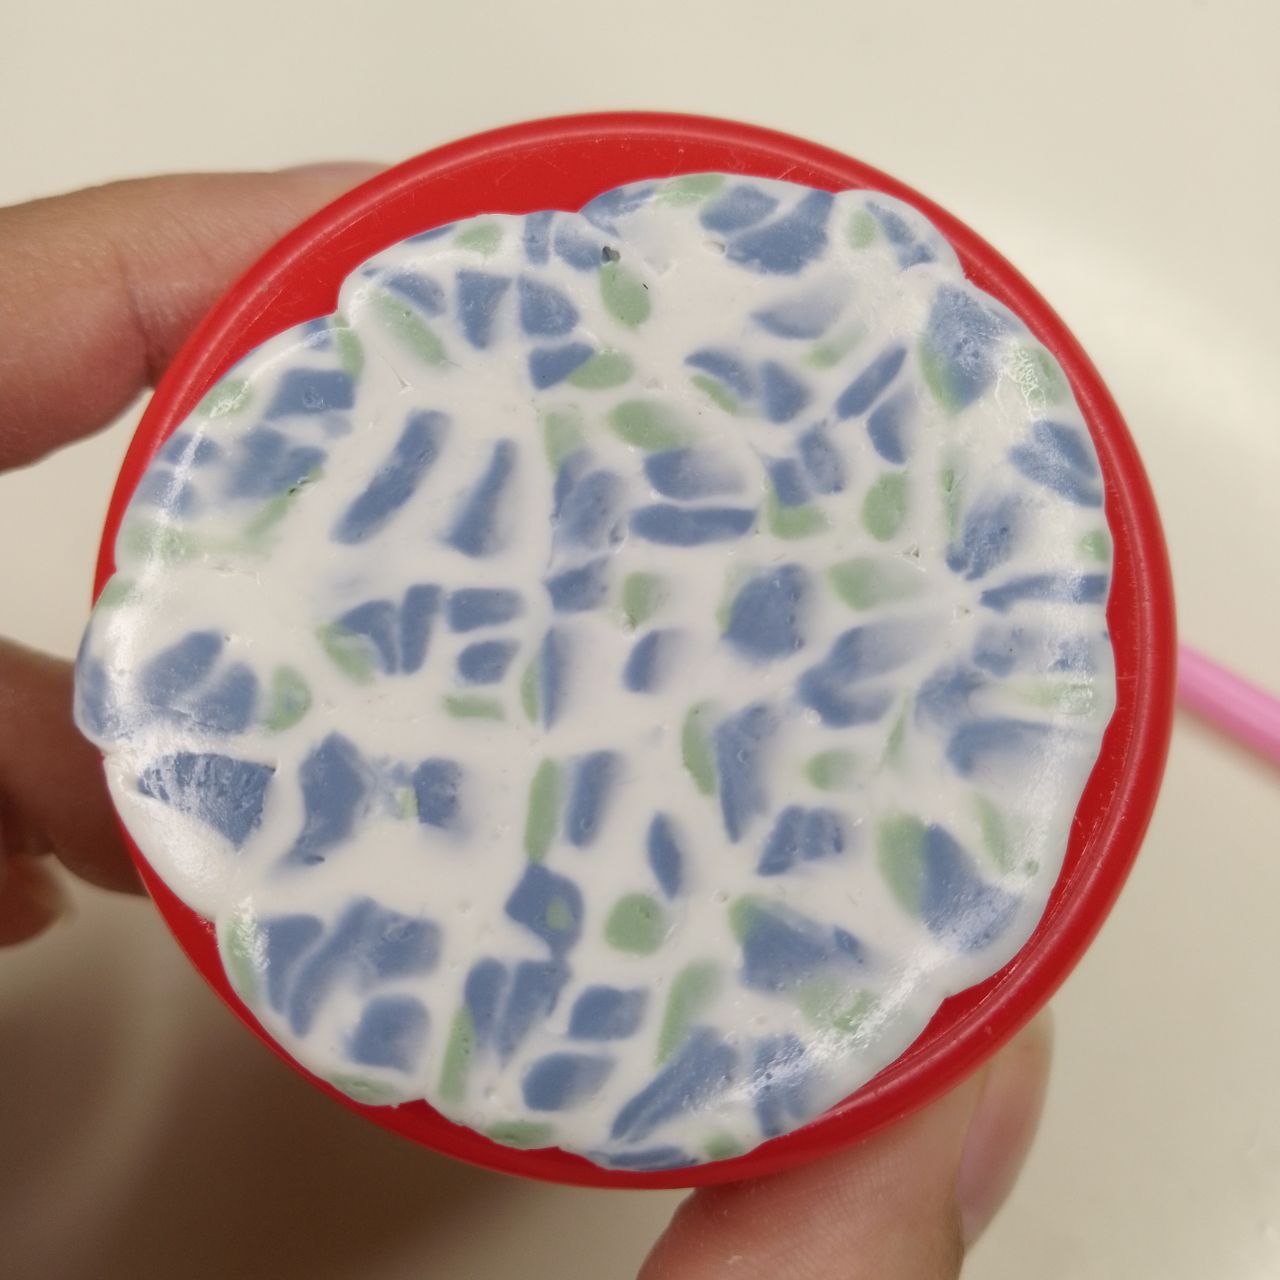
Con nuestra mano, presionaremos un poco estos pedacitos para unirlos un poco más y luego, los aplanaremos, ya sea con un rodillo o como yo lo hice en este caso, presionando el envase con la porcelana fría sobre la superficie plana en la que suelo trabajar.
> With our hand, we will press a little bit these pieces to join them a little more and then, we will flatten them, either with a rolling pin or as I did in this case, pressing the container with the cold porcelain on the flat surface where I usually work.
 | 
--- | ---
*Aplanando / Flattening*
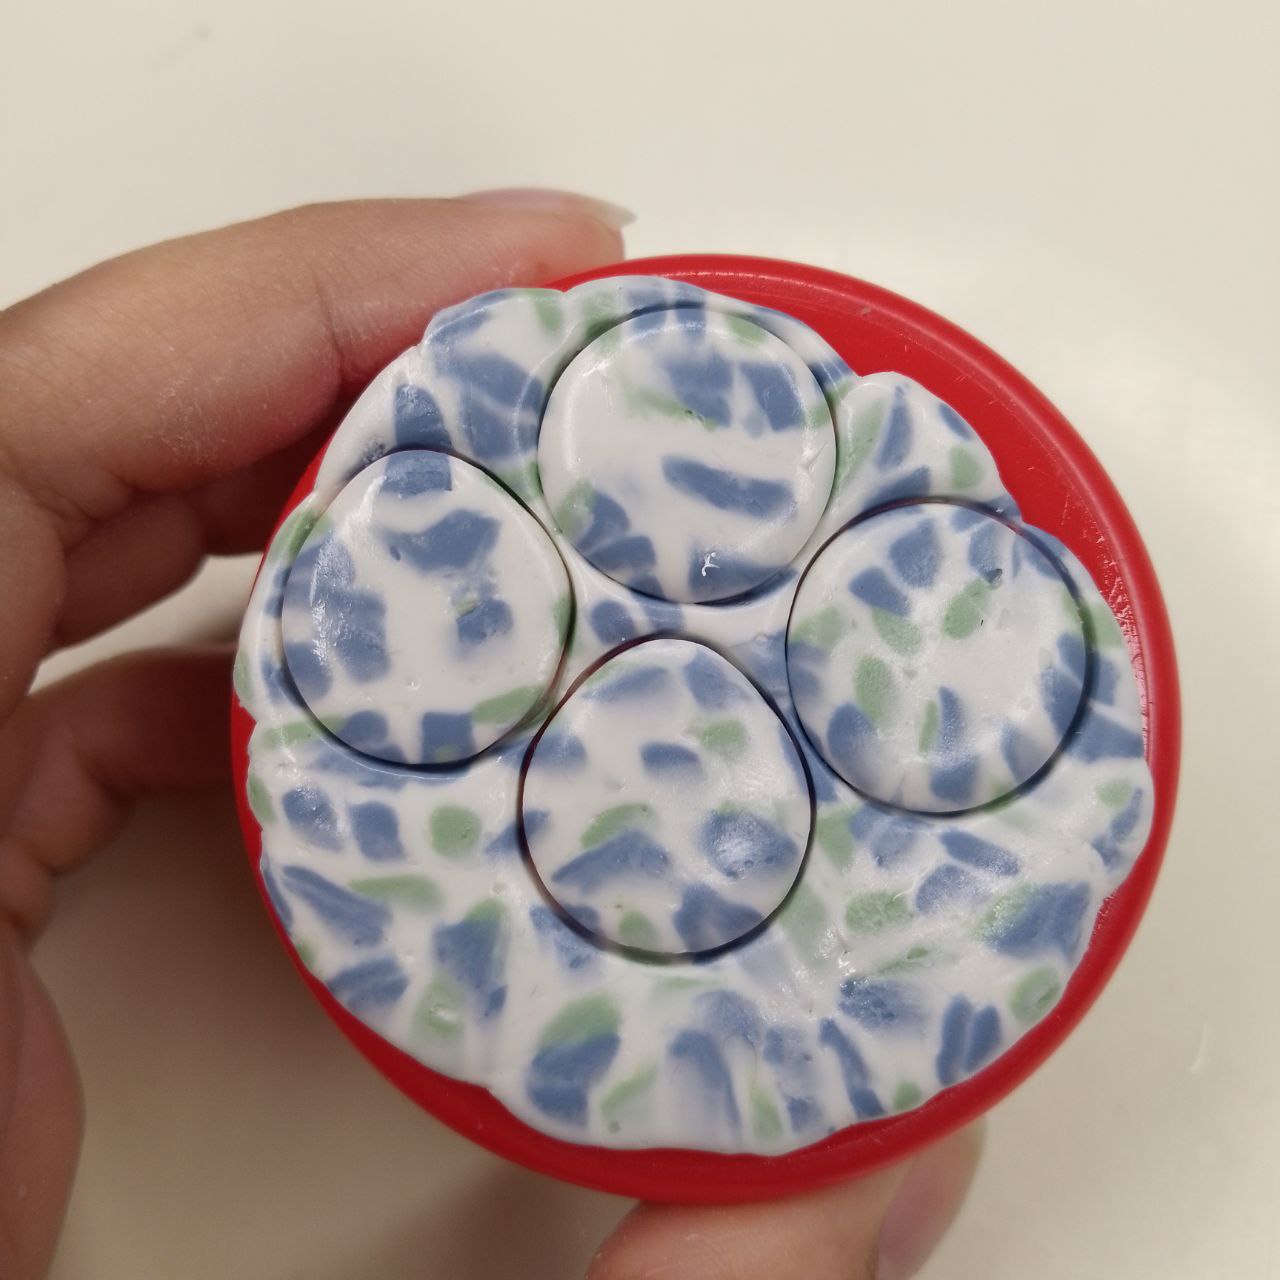
Es el momento de los cortadores y con ellos podremos extraer todas las figuras que deseemos.
> It is time for the cutters and with them we can extract all the figures we want.
 | 
--- | ---
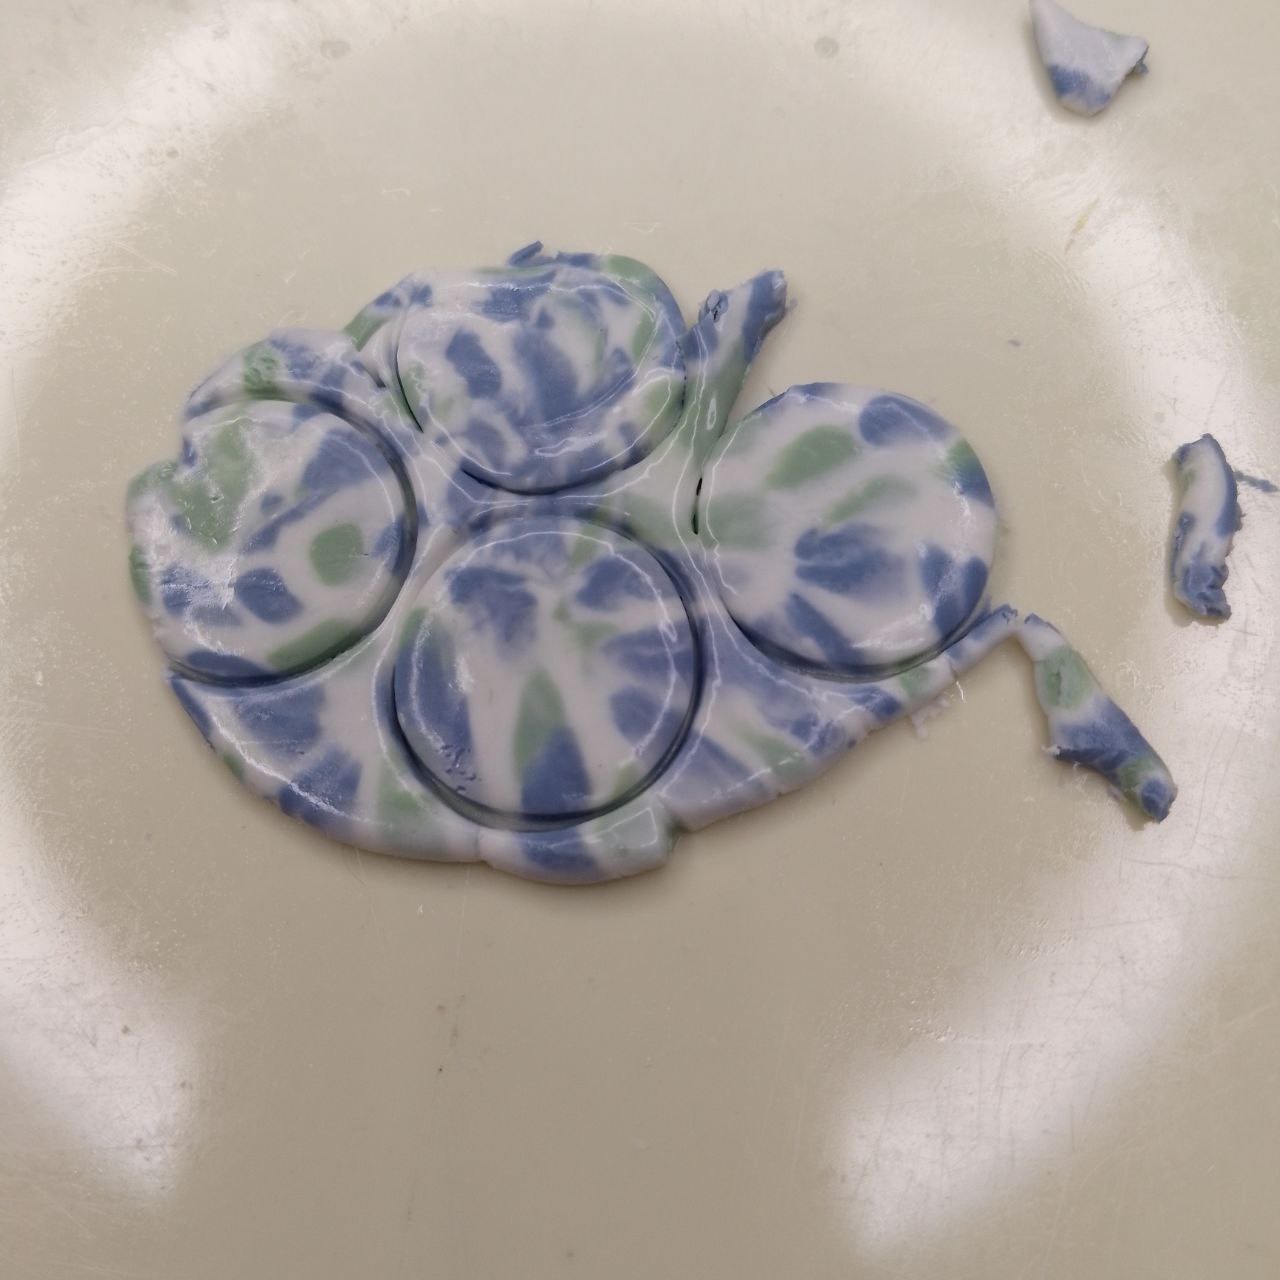
*Cortando las figuras / Cutting the figures*
Como queda una masa sobrante alrededor de lo que hemos cortado, yo los uno otra vez con el procedimiento anterior y esta vez, lo he aplanado con un rodillo. Si se fijan con detenimiento, podrán notar la diferencia en como se distribuyeron los colores comparando el primer diseño con este último.
> As there is some leftover dough around what we have cut, I put them together again with the previous procedure and this time, I flattened it with a rolling pin. If you look closely, you will notice the difference in how the colors were distributed comparing the first design with this last one.
 | 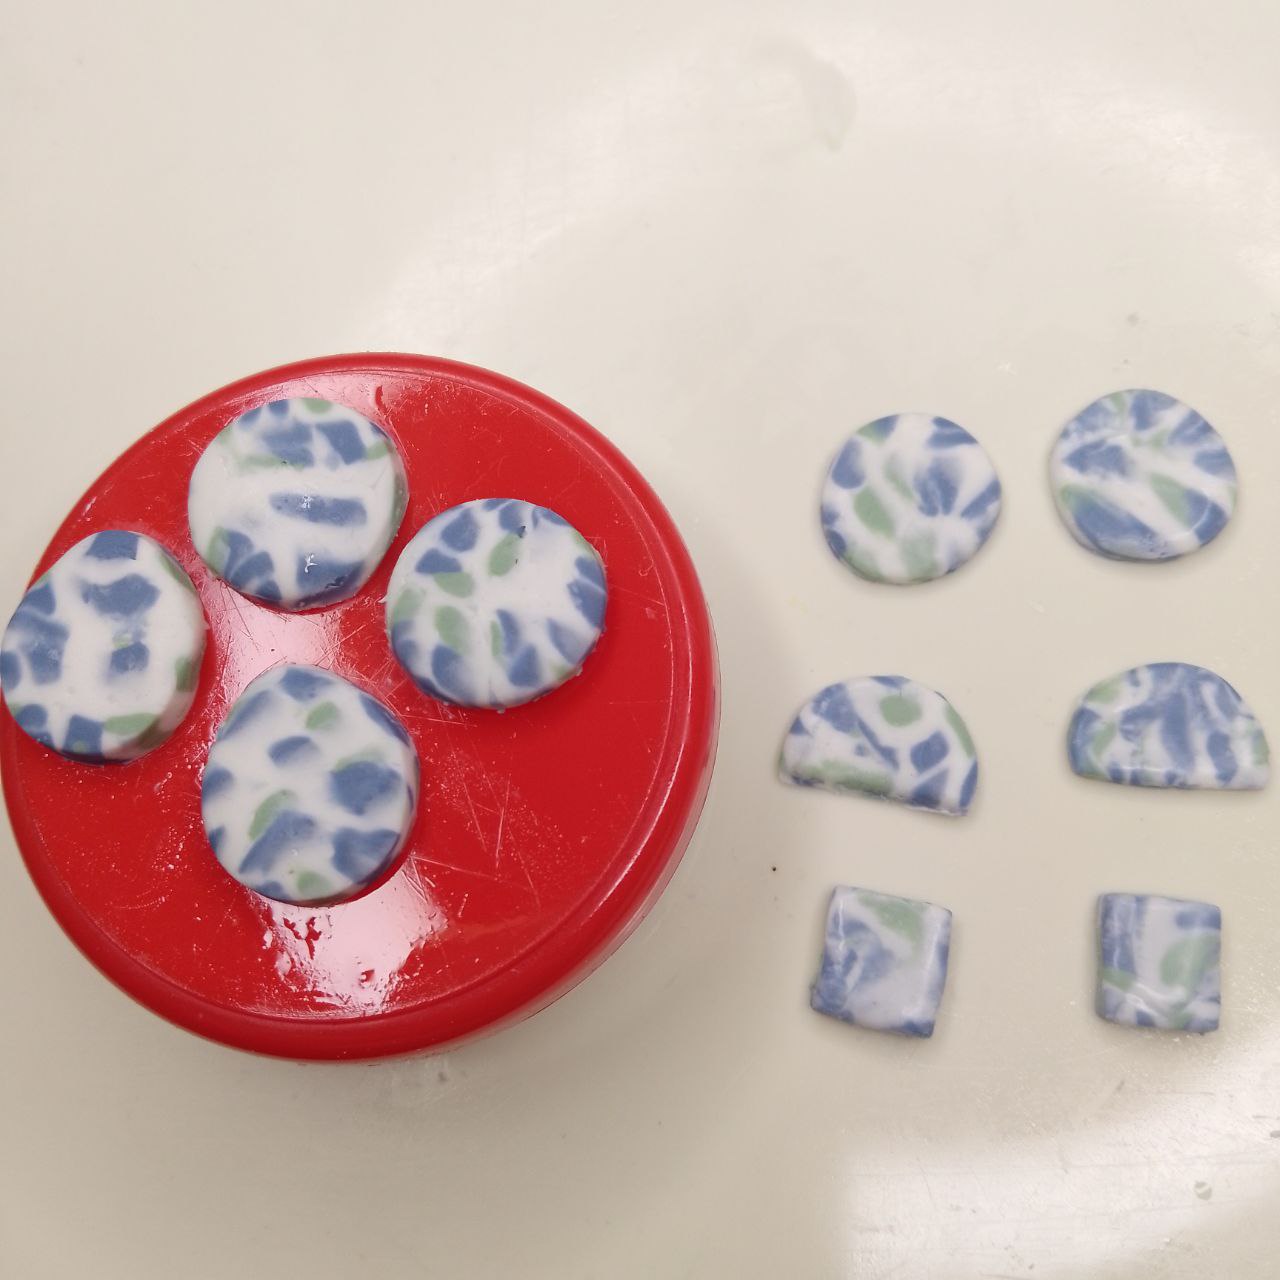
--- | ---
*Más figuras cortadas / More cut figures*
Ahora, con ayuda de una aguja, haremos agujeros donde los necesitemos para poder posteriormente ( luego del secado), unir las piezas.
> Now, with the help of a needle, we will make holes where we need them to be able to join the pieces later (after drying).
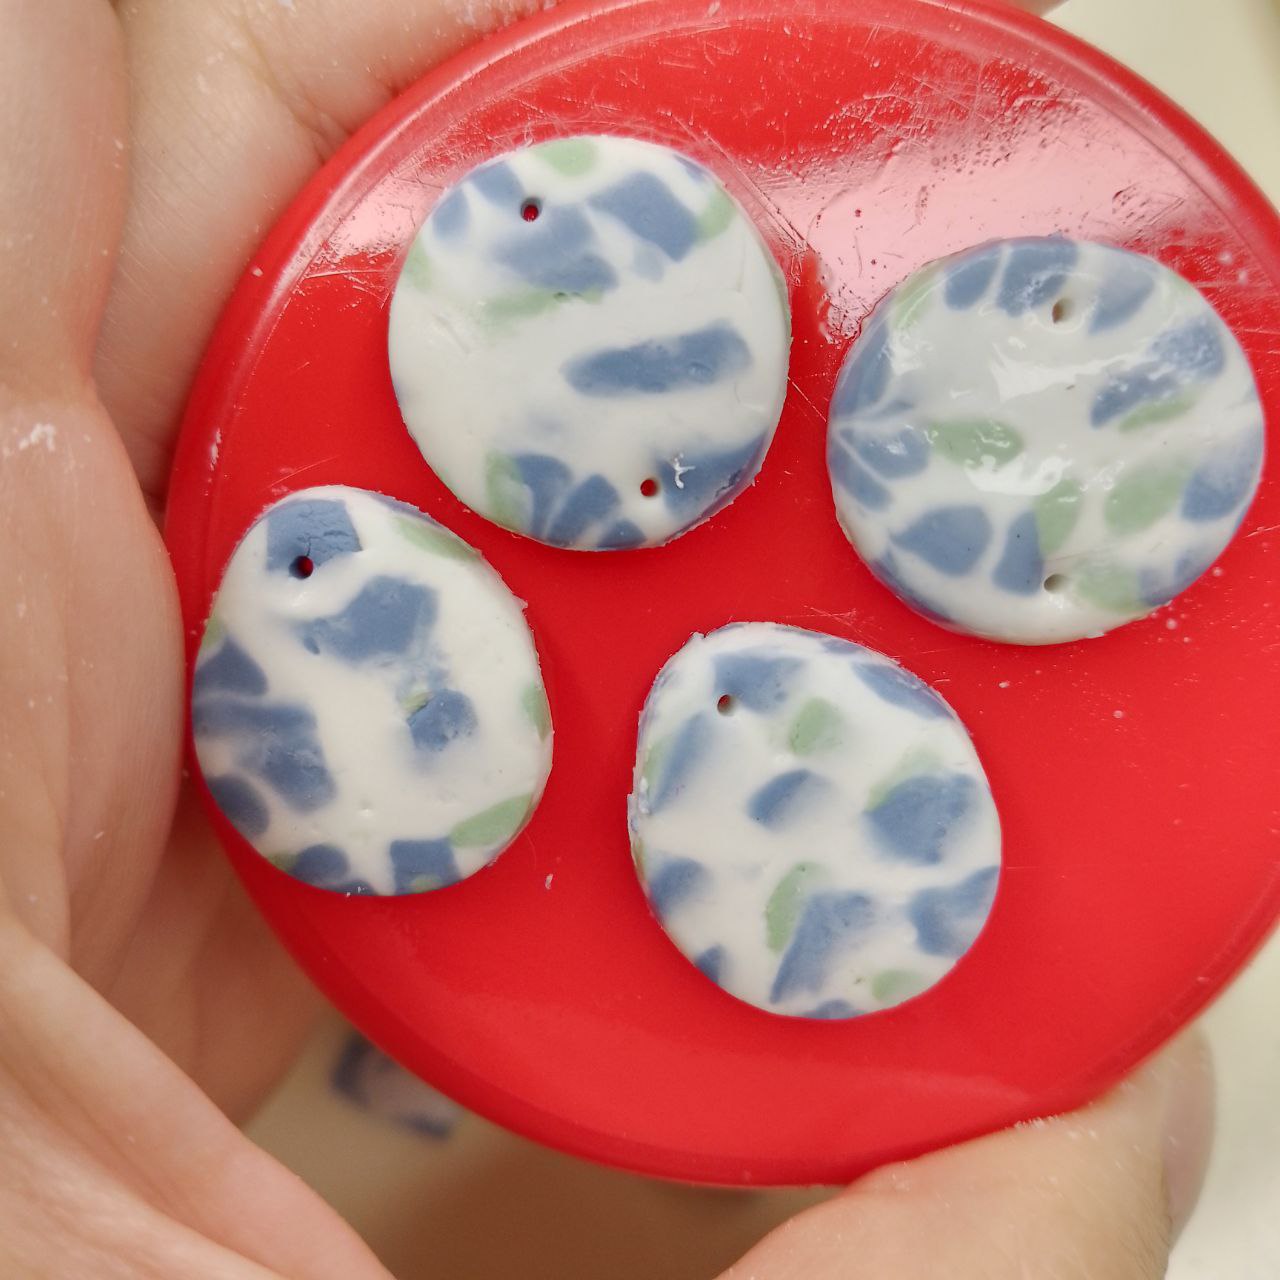
*Agujeramos / We pierce*
Luego de unas 24 horas, ya están secas las piezas por completo, por lo que procedo a pulir sus bordes con ayuda del dremel usando las puntas que mejor se adaptan a cada zona.
> After about 24 hours, the pieces are completely dry, so I proceed to polish their edges with the help of the dremel using the tips that best suit each area.
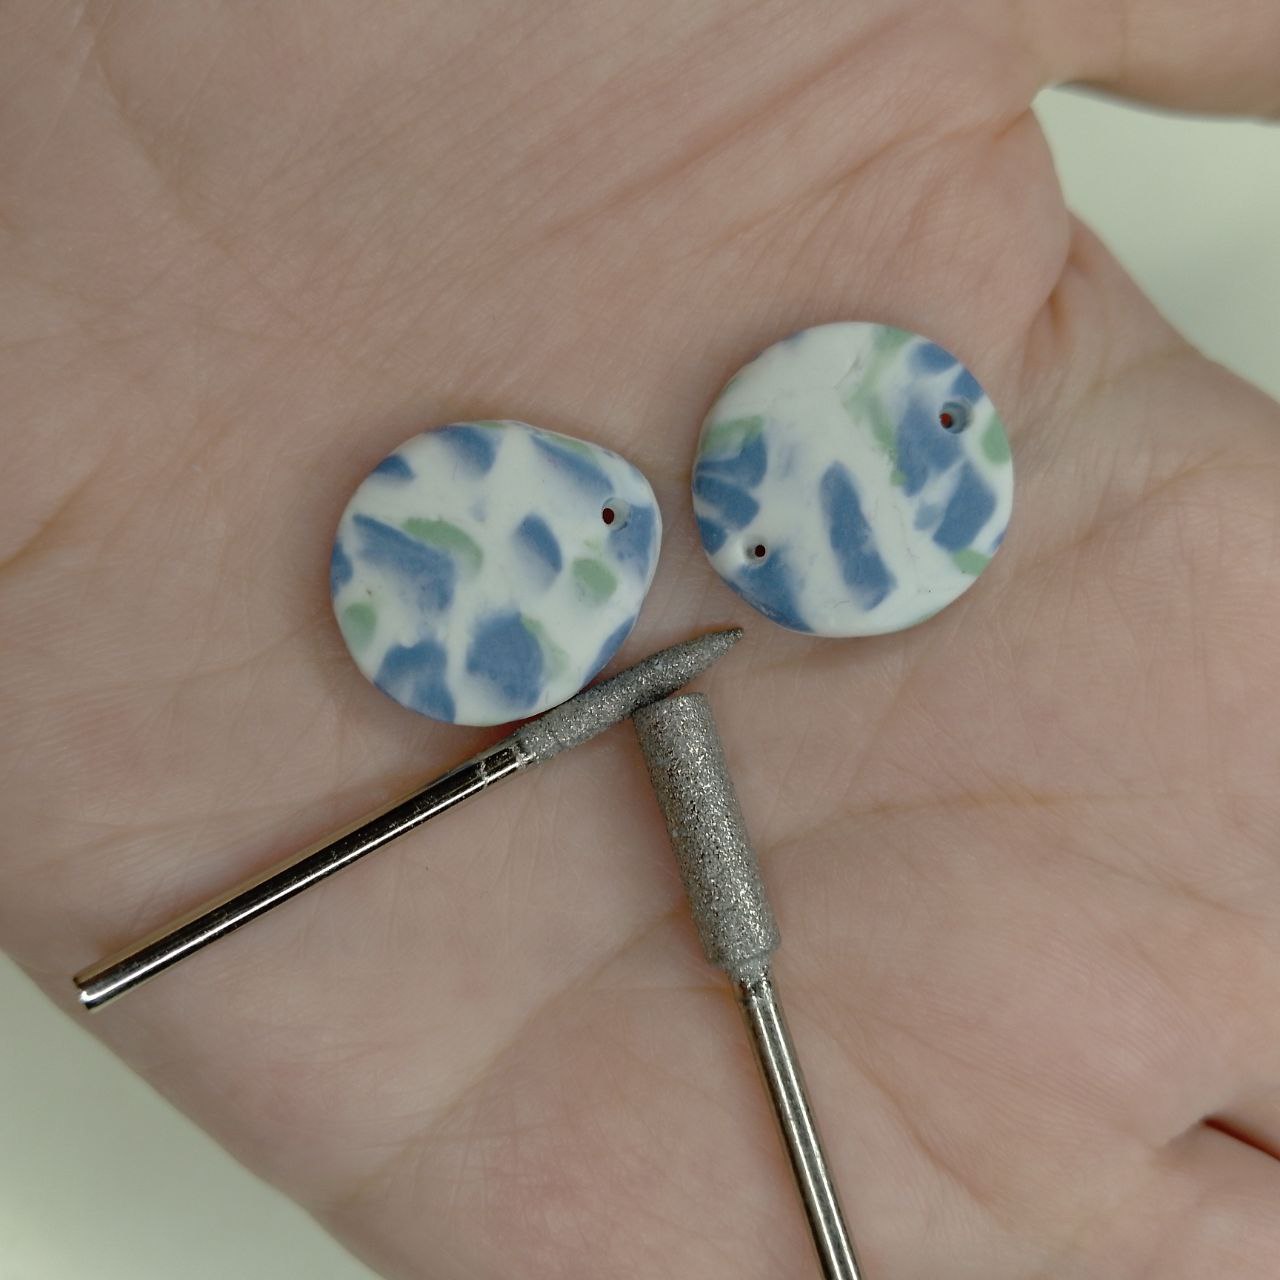
*Pulimos los bordes / Polishing the edges*
Con los bordes prolijos, aplicamos el Top Coat y curamos en lámpara para obtener ese brillo hermoso, pero si tú no eres team brillo, puedes dejarlo sin barnizar y se igualmente precioso.
> With the edges neat, we apply the Top Coat and lamp cure to get that beautiful shine, but if you are not a shine team, you can leave it unvarnished and it will be just as beautiful.
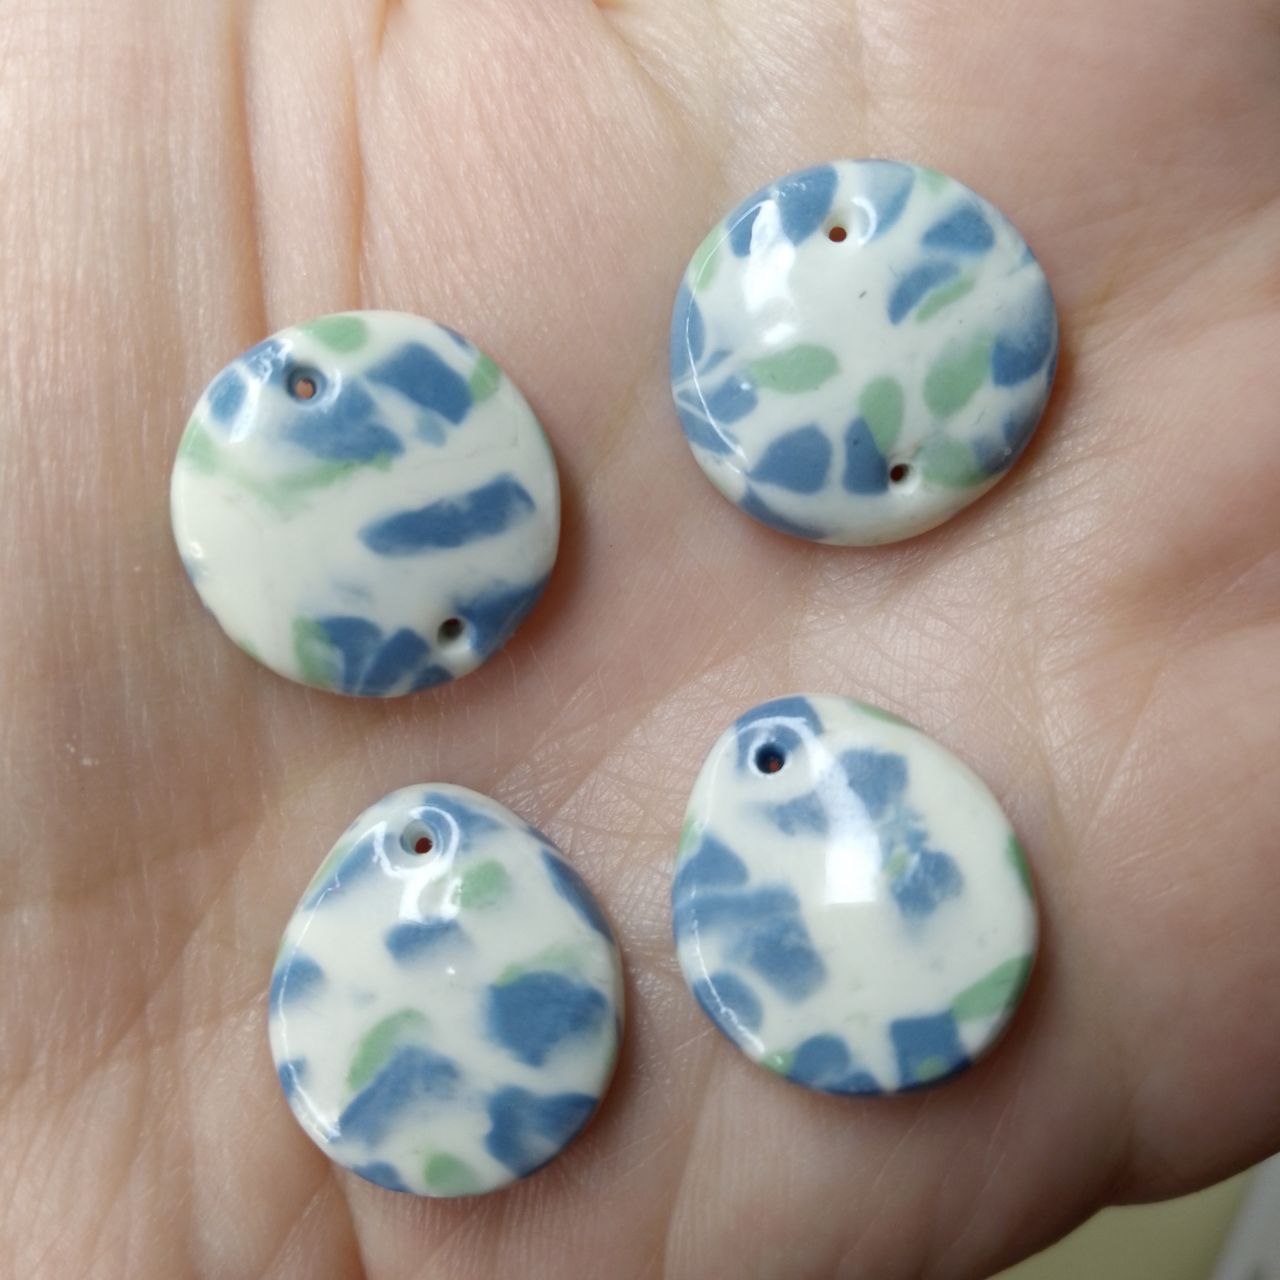
*Aplicamos Top Coat / Apply Top Coat*
Por último, colocamos los aros y anzuelos para poder ensamblar todo.
> Finally, we place the hoops and hooks to be able to assemble everything.
*Ensamblaje / Assembly*
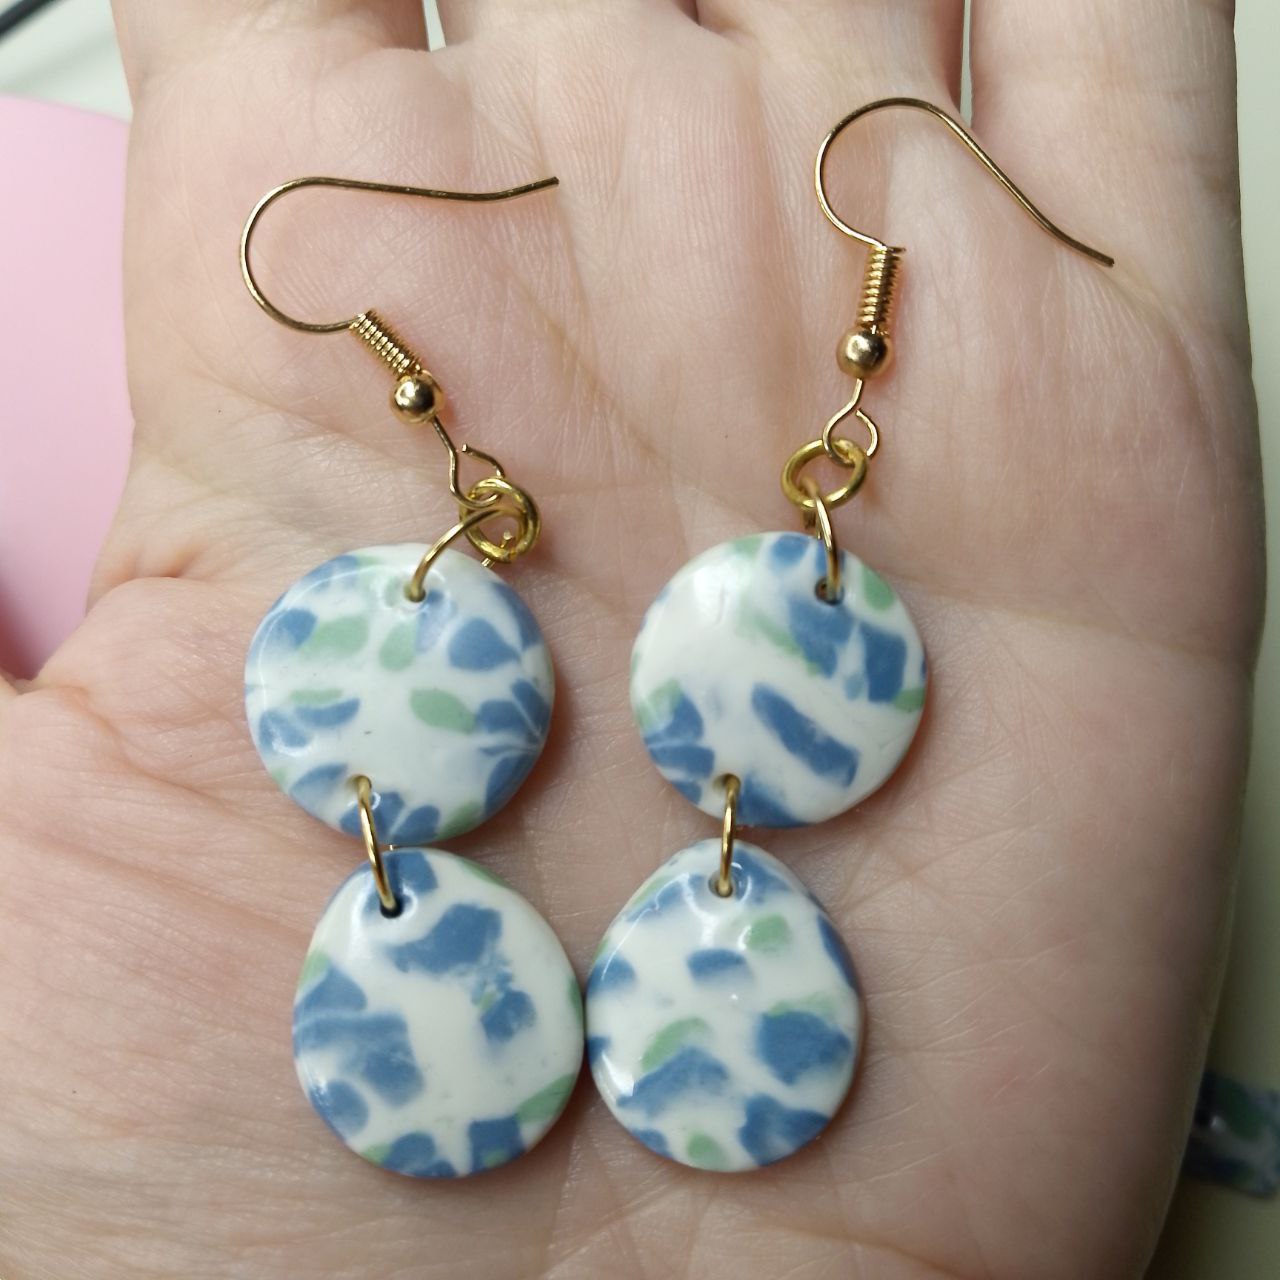
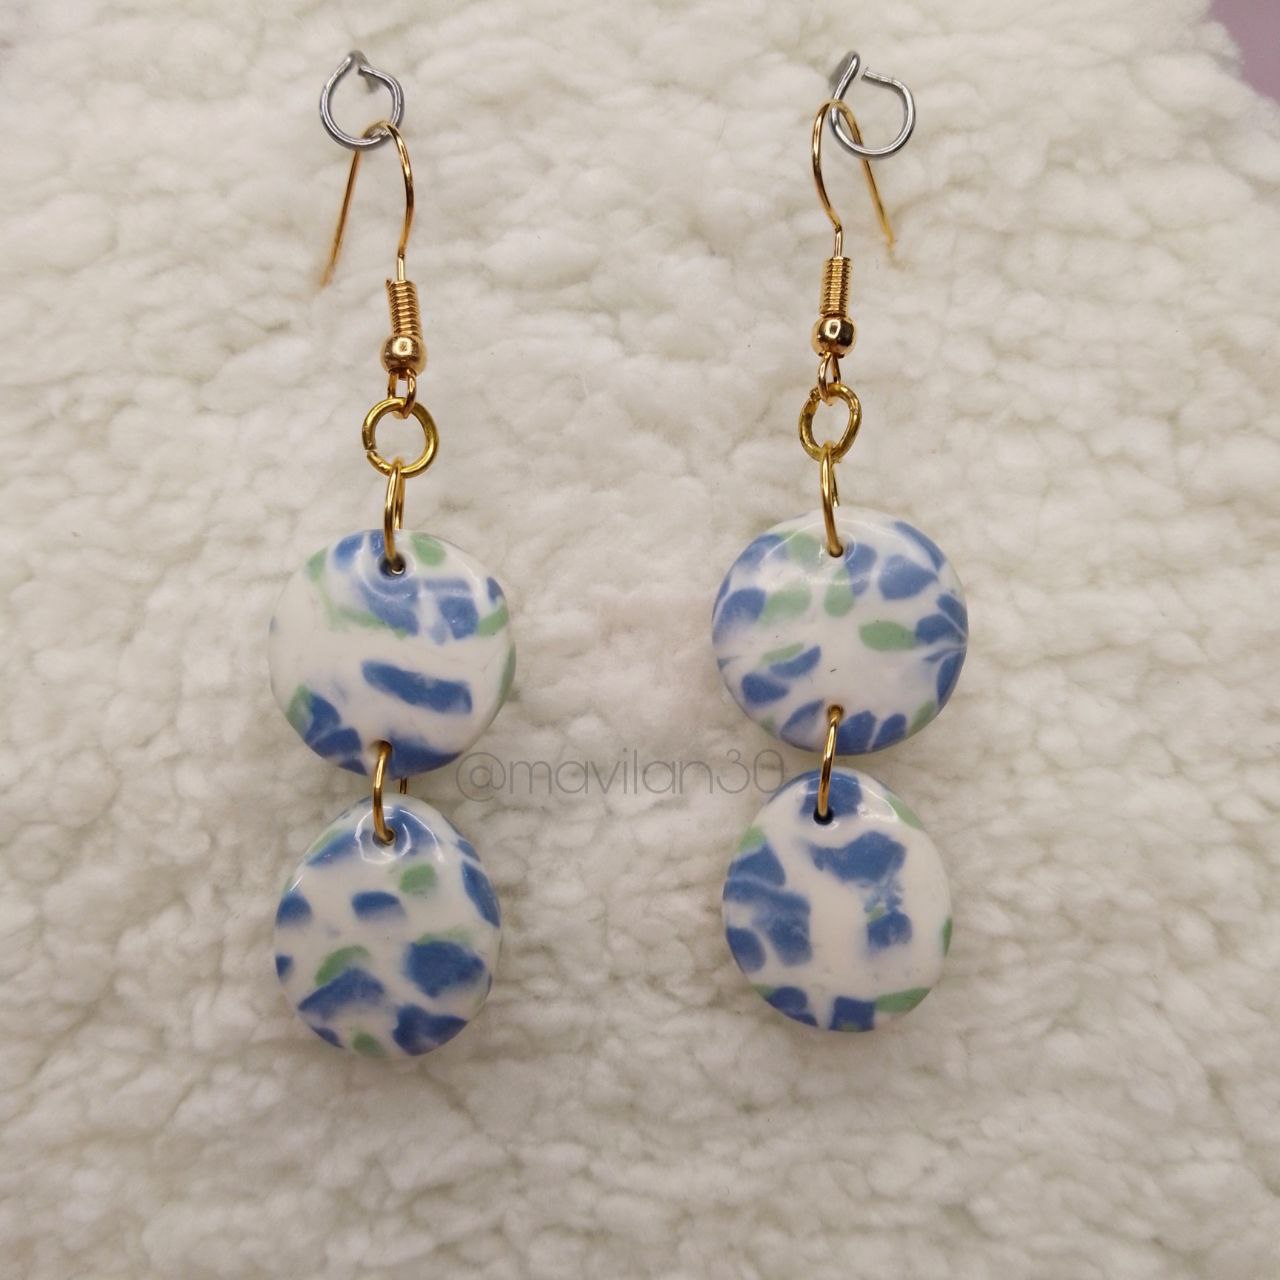
Y este es el resultado final:
> And this is the final result:
 | 
--- | ---
*Resultado final / Final Result*
---
**¡Muchas gracias por leerme!**
**Thank you so much for reading me!**
---
Fotografías propias, tomadas con mi Tecno Spark 10C.
Traducido al inglés con DeepL.
>Own photographs, taken with my Tecno Spark 10C.
>Translated to English with DeepL.
---

Posted Using [INLEO](https://inleo.io/@mavilan30/terra-blue-and-green-marbling-espeng-81q)