¡Hola mis queridos hivers! Hoy vengo con una nueva figura de anime y es que éste siempre ha ocupado una parte importante de mi vida, por lo que muchas de mis creaciones estarán siempre ligadas a dicha temática. Es probable que en días anteriores hayan visto mi tutorial sobre cómo hacer a Bulma en porcelana fría (si aún no lo haces puedes visitar mi perfil y allí lo encontrarás), pues definitivamente no podía haber Bulma sin su Vegeta y ese es el personaje del día de hoy. Vegeta es el príncipe Saiyajin de Dragón Ball, un tanto cascarrabias pero en realidad todo un héroe. Acompáñame en este post y aprende a hacer tu propio Vegeta estilo chibi en porcelana fría.
Hello my dear hivers! Today I come with a new anime figure and this has always been an important part of my life, so many of my creations will always be linked to that theme. It is likely that in previous days you have seen my tutorial on how to make Bulma in cold porcelain (if you still do not do it you can visit my profile and there you will find it), because definitely there could not be Bulma without her Vegeta and that is the character of today. Vegeta is the Saiyajin prince of Dragon Ball, a bit of a curmudgeon but really a hero. Join me in this post and learn how to make your own chibi style Vegeta in cold porcelain.
 Imagen creada por mí en Canva / Image created by me in Canva
Materiales:
- Porcelana fría
- Pinturas al frío
- Pegamento blanco
- Alfiler de ojo
- Alambre
- Top Coat
- Lámpara UV LED
- Herramientas para trabajar la porcelana fría
- Sombra de ojos dorada
Procedimiento:
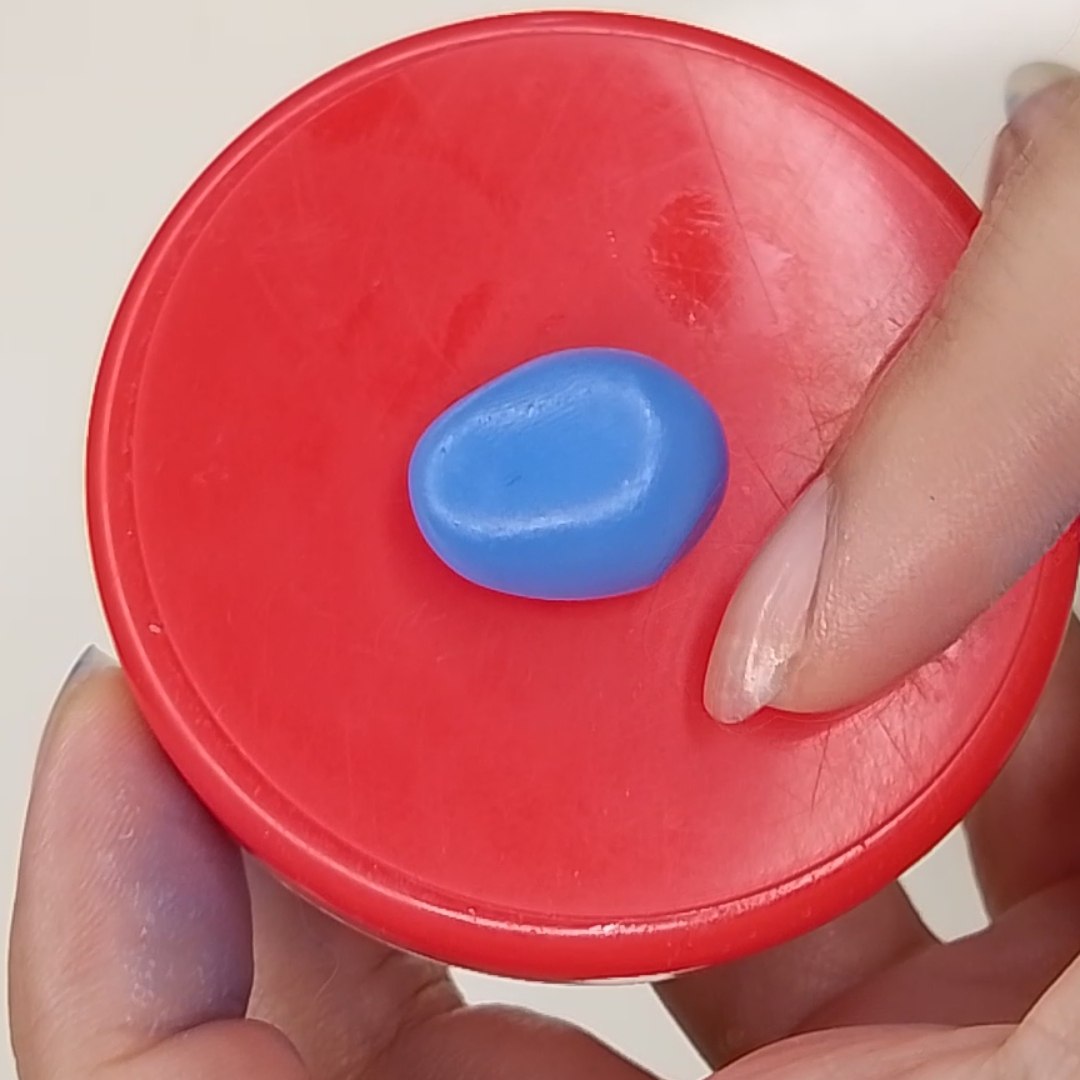
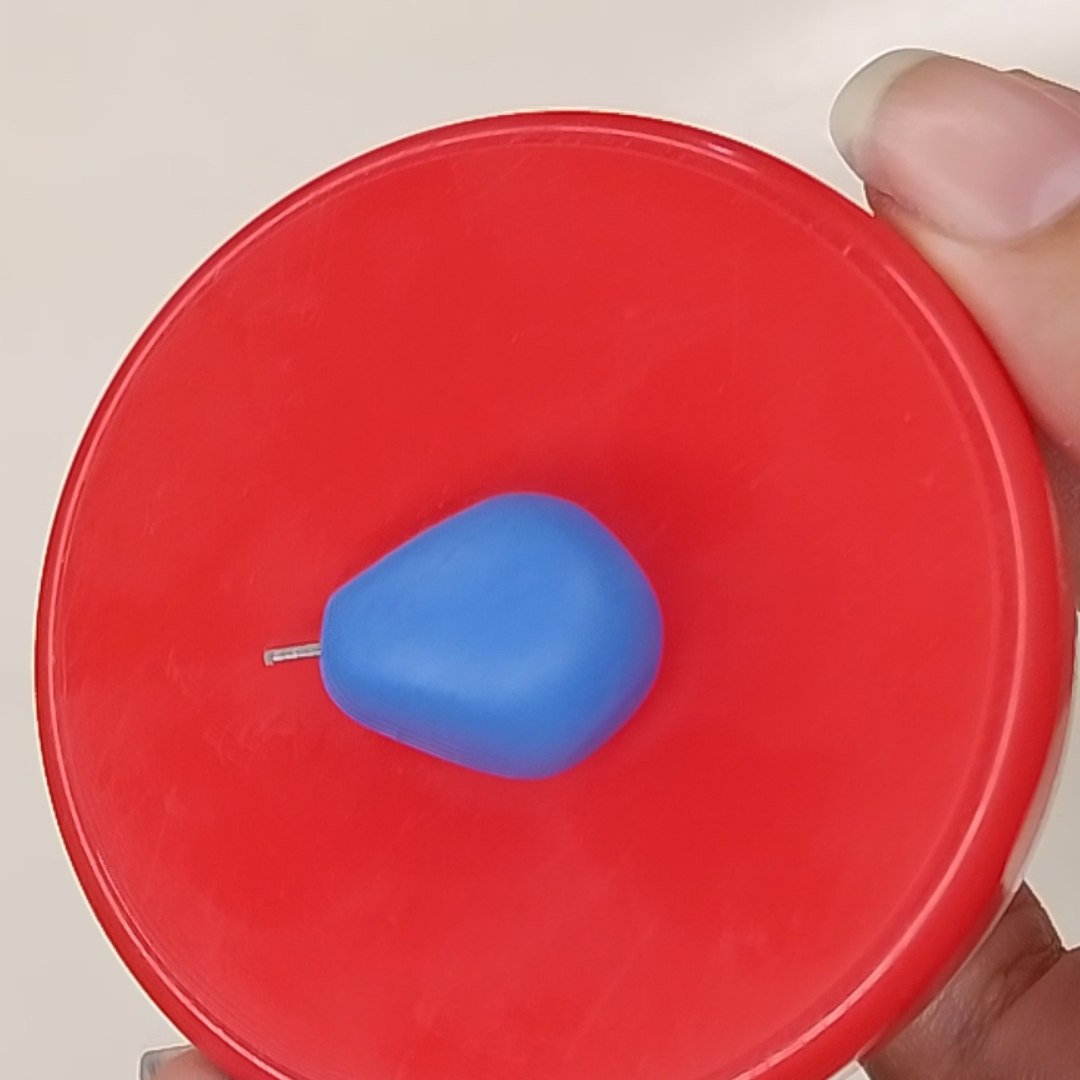
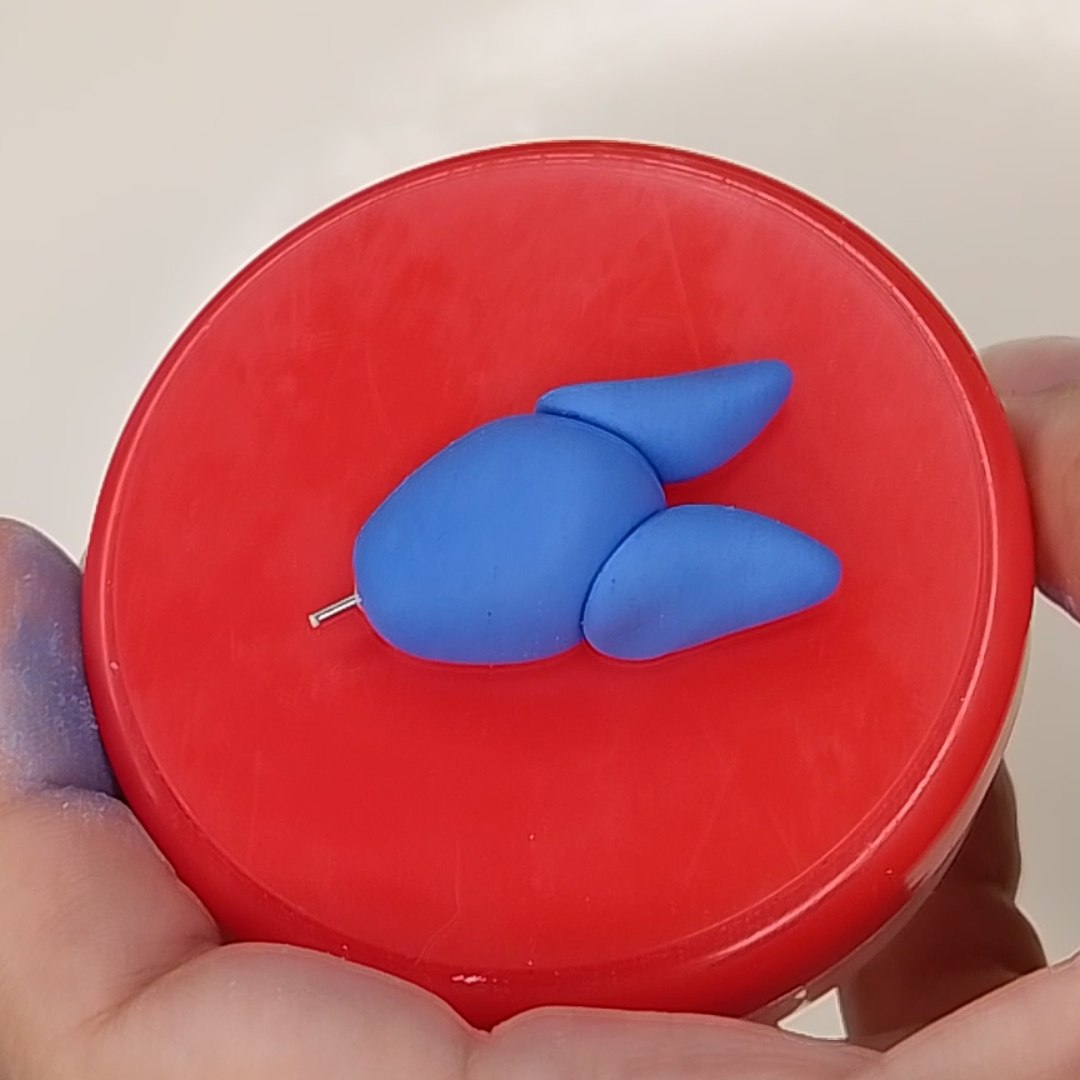
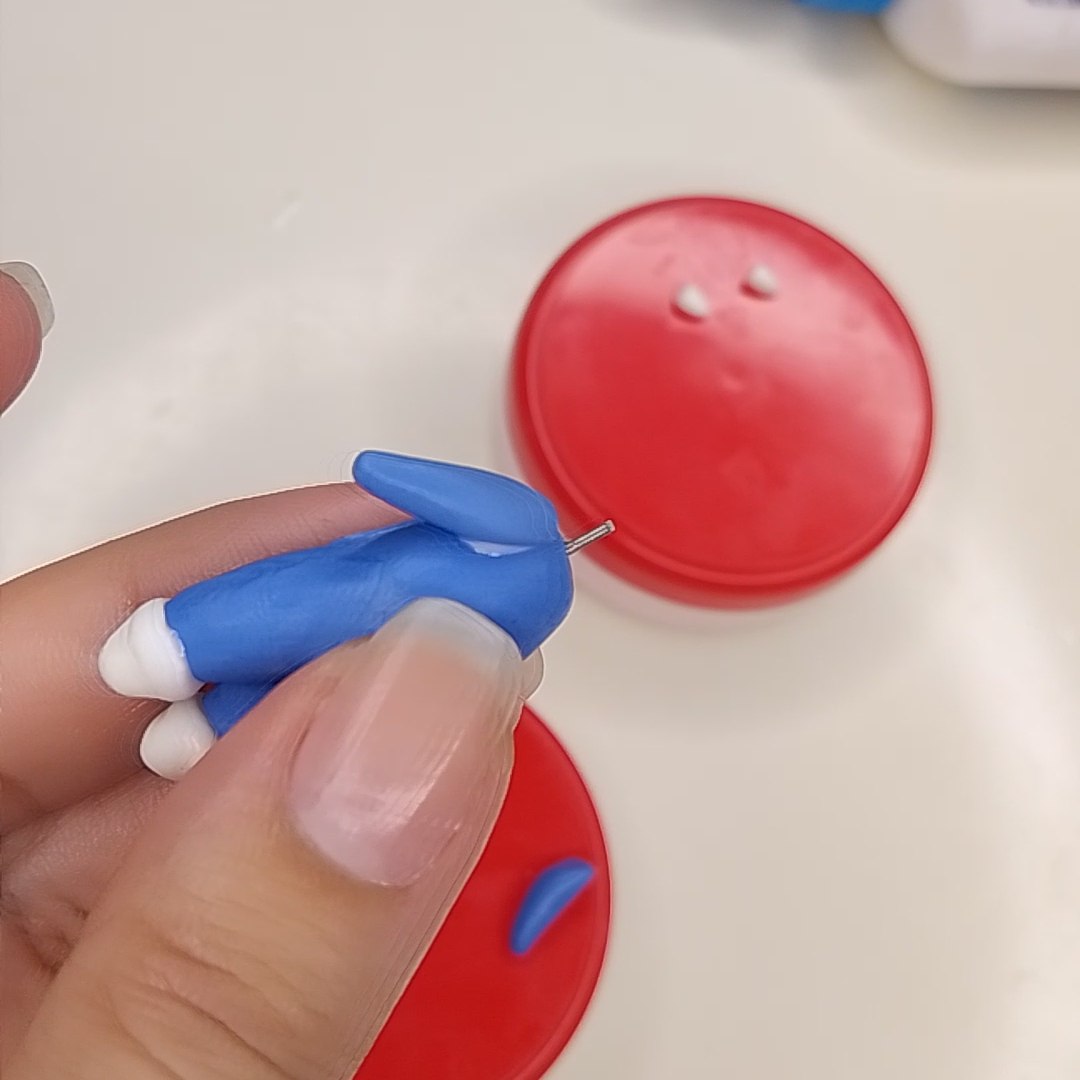
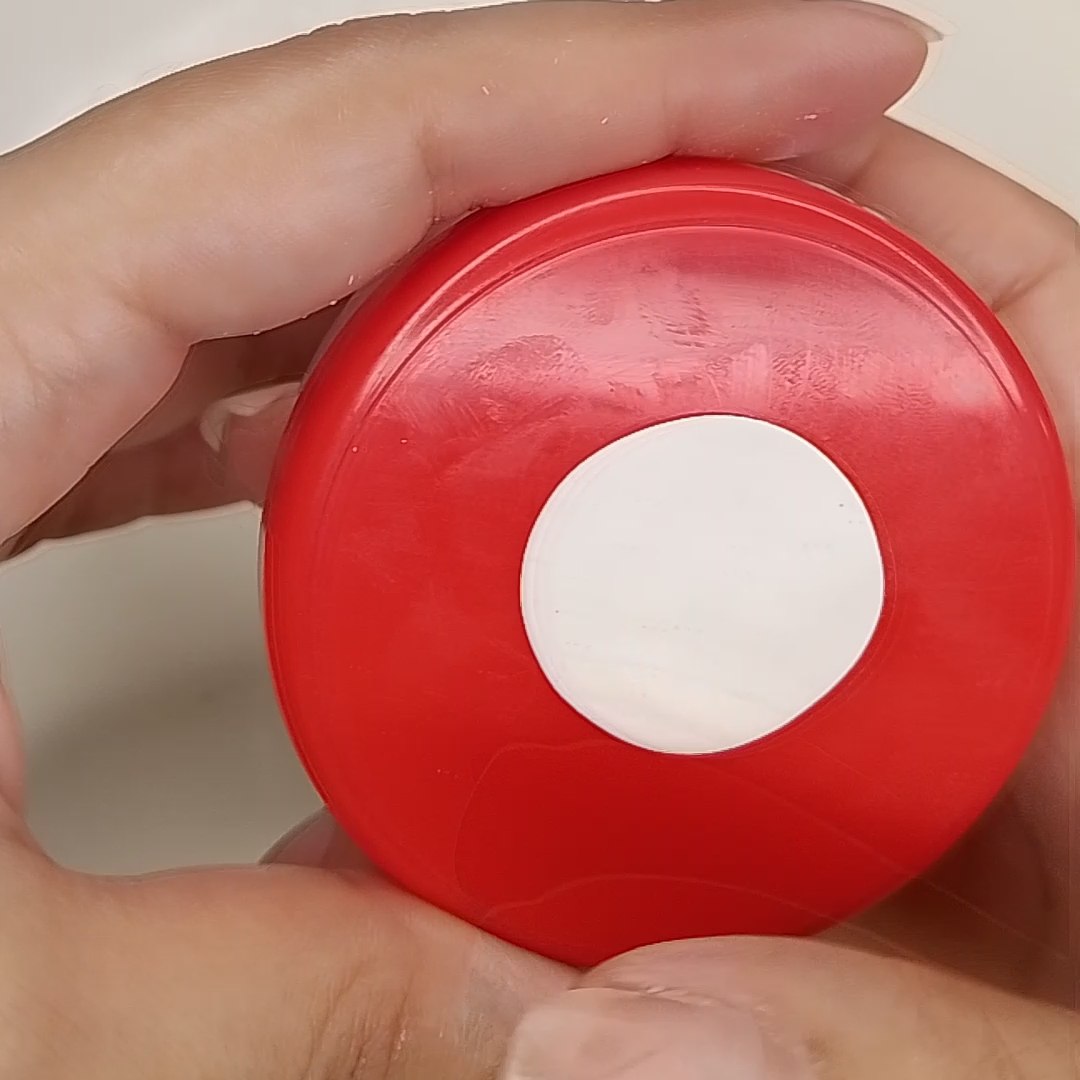
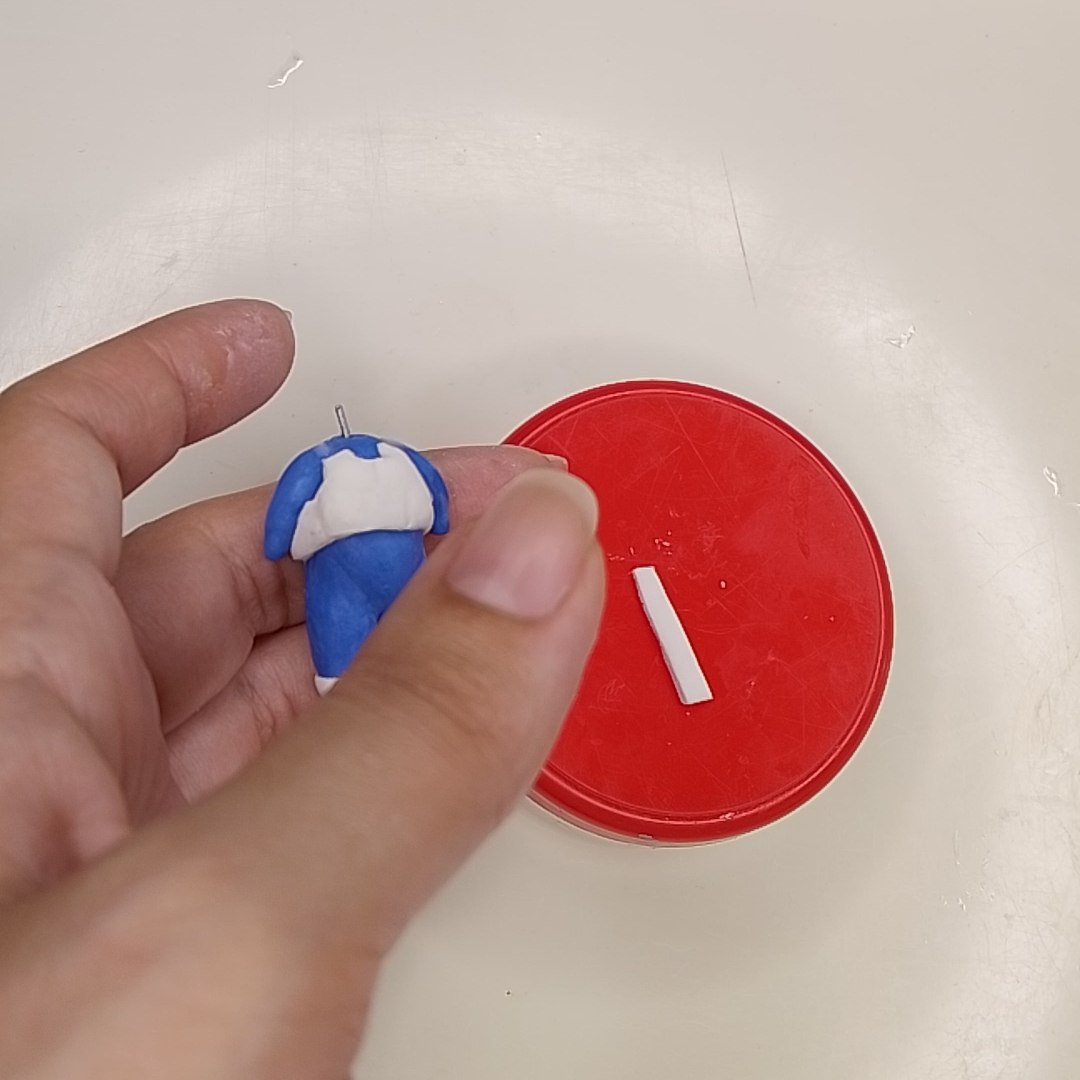
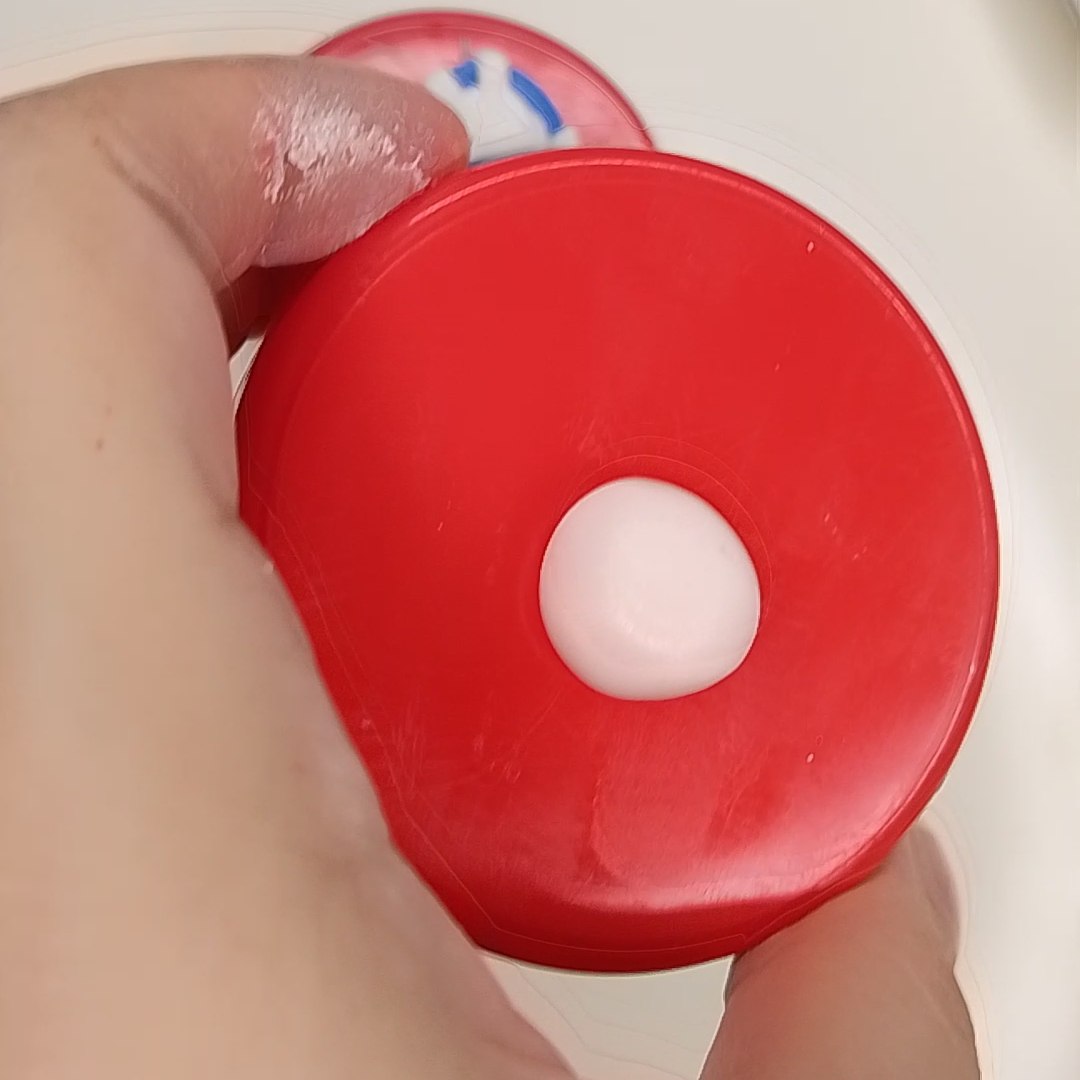
Iniciamos formando una gota gordita de porcelana fría en color azul, esta corresponderá al cuerpo de Vegeta. Con nuestros dedos modificamos un poco su forma para dar una mejor superficie de adherencia a piezas como las piernas, por ejemplo. Seguidamente, insertaremos un trocito de alambre en la parte superior del cuerpo habiéndolo cubierto previamente con pegamento y dejamos un extremo de tamaño prudente expuesto ya que en este insertaremos la cabeza más adelante.
Materials:
- Cold porcelain
- Cold paints
- White glue
- Eye pin
- Wire
- Top Coat
- UV LED lamp
- Tools to work the cold porcelain
- Gold eyeshadow
Procedure:
We start by forming a chubby drop of cold porcelain in blue color, this will correspond to Vegeta's body. With our fingers we modify its shape a little bit to give a better adherence surface to pieces like the legs, for example. Next, we will insert a small piece of wire in the upper part of the body having previously covered it with glue and we leave an end of prudent size exposed since in this we will insert the head later on.
 |
 |
|---|---|
Cuerpo / Body
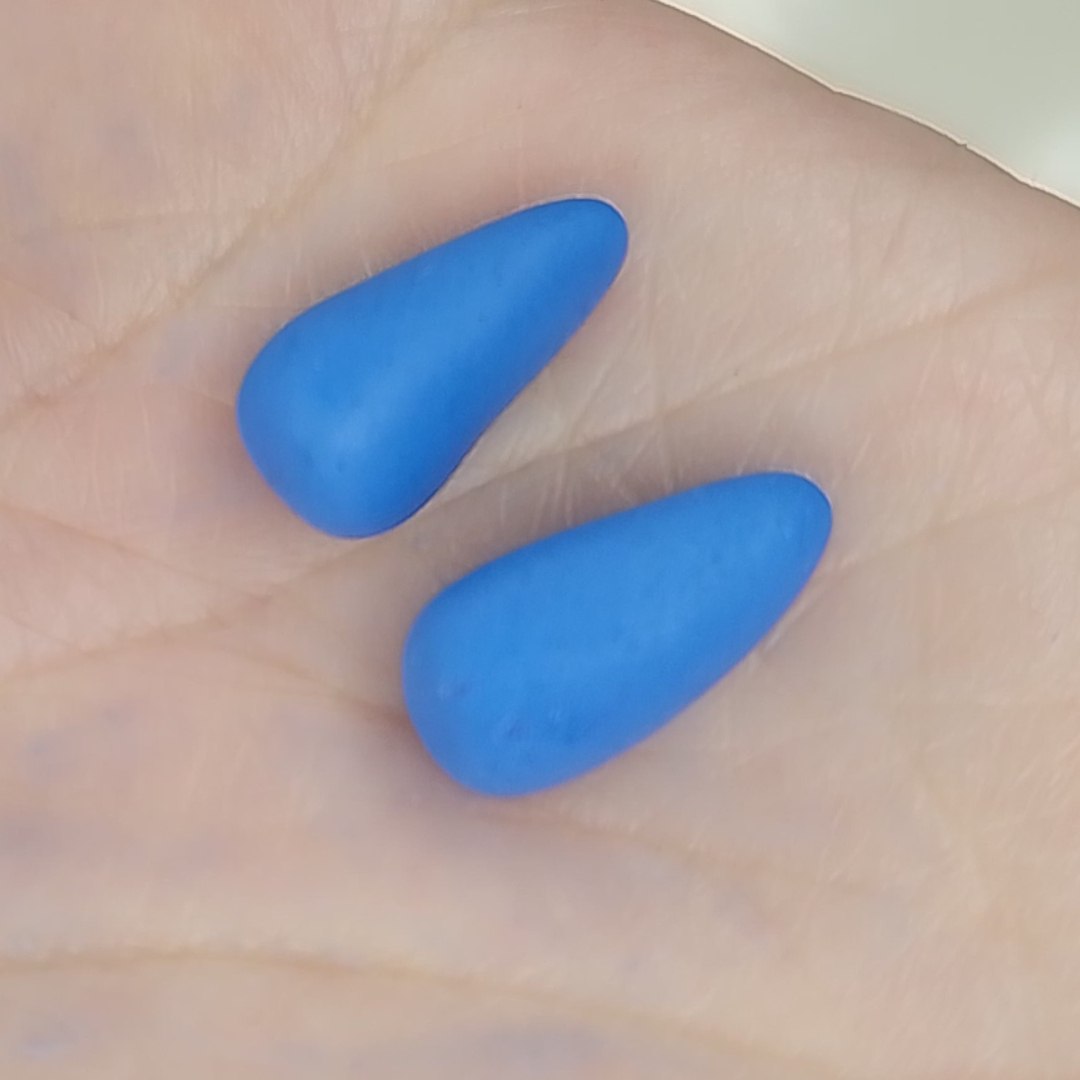
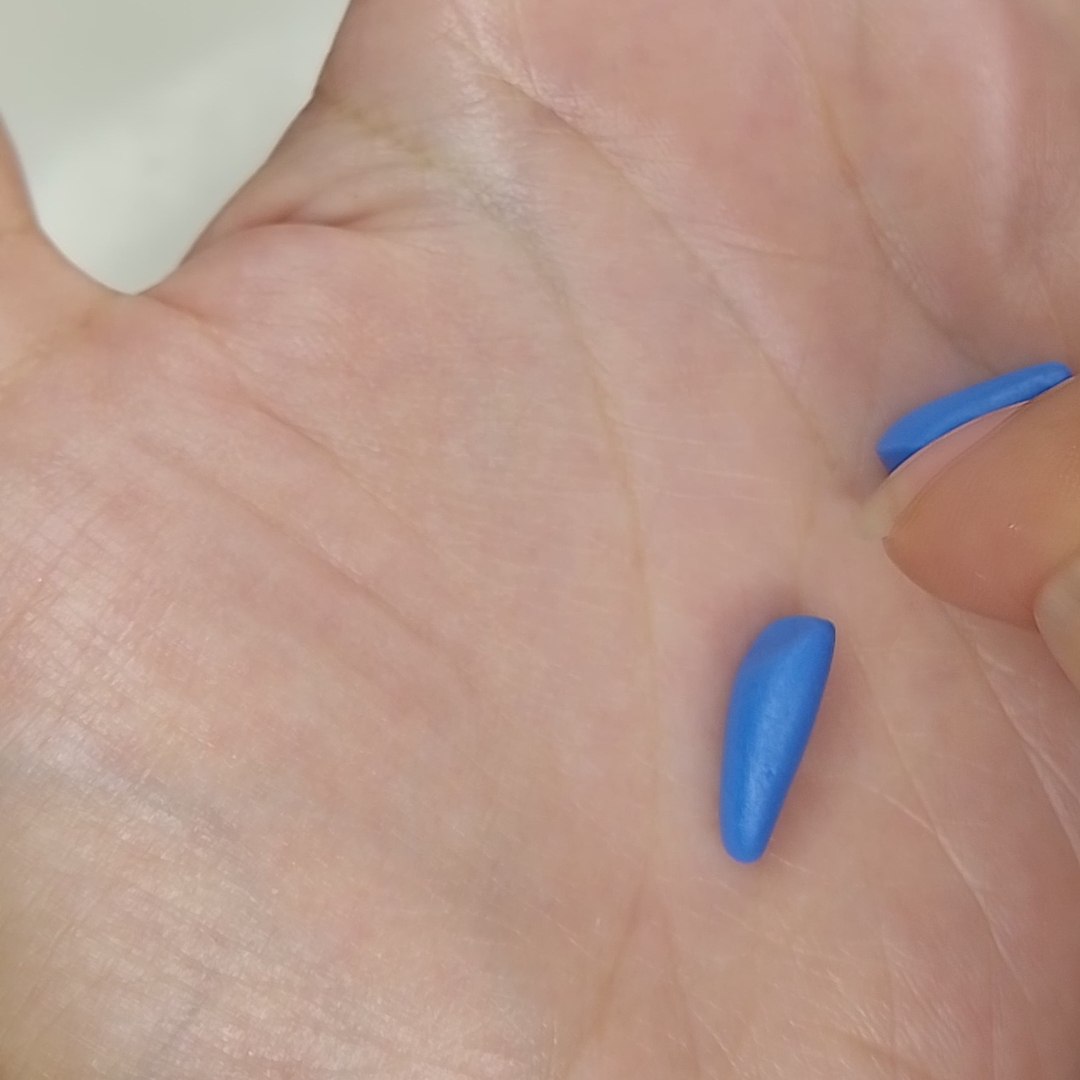
Ahora moldearemos dos gotas más con el mismo color azul, estas son las piernas, las cuales vamos a integrar colocando algo de pegamento previamente y luego con nuestros dedos o alguna herramienta (yo usé la punta de un pincel) y humedeciendo la superficie de la masa un poco, iremos puliendo para que todo se vea integrado y prolijo.
Now we will mold two more drops with the same blue color, these are the legs, which we will integrate by placing some glue beforehand and then with our fingers or some tool (I used the tip of a brush) and moistening the surface of the dough a little, we will polish so that everything looks integrated and neat.
 |
 |
|---|---|
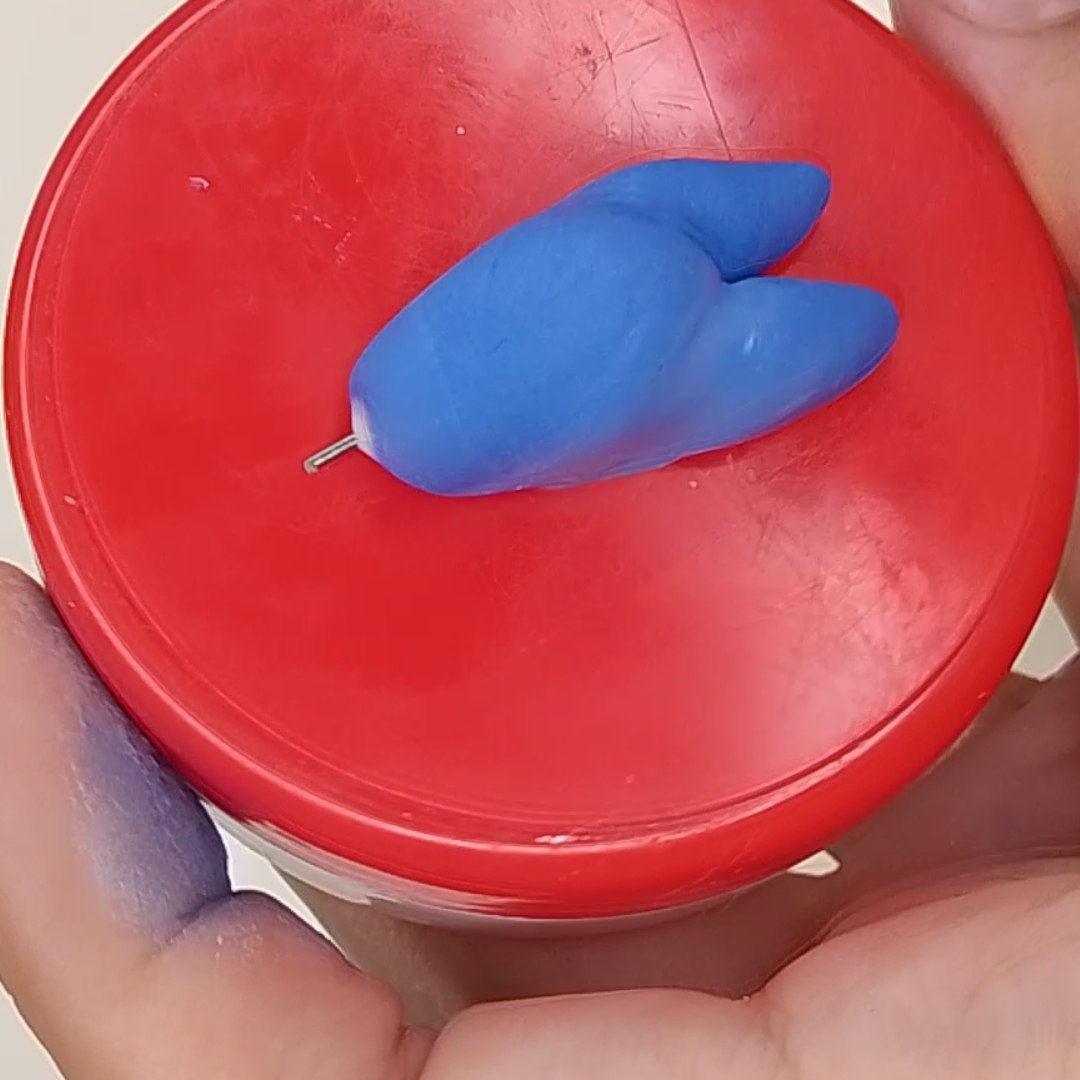 Piernas / Legs
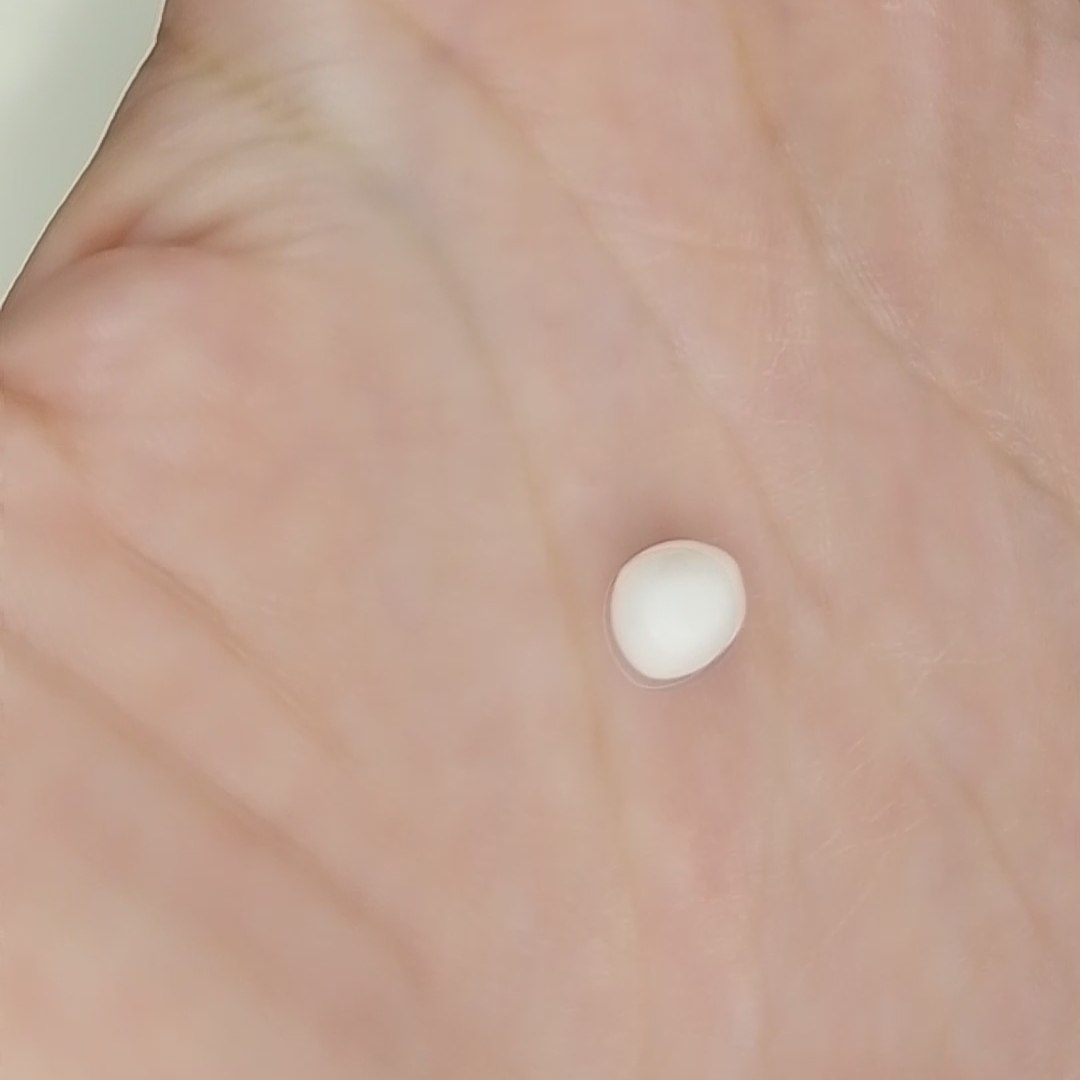
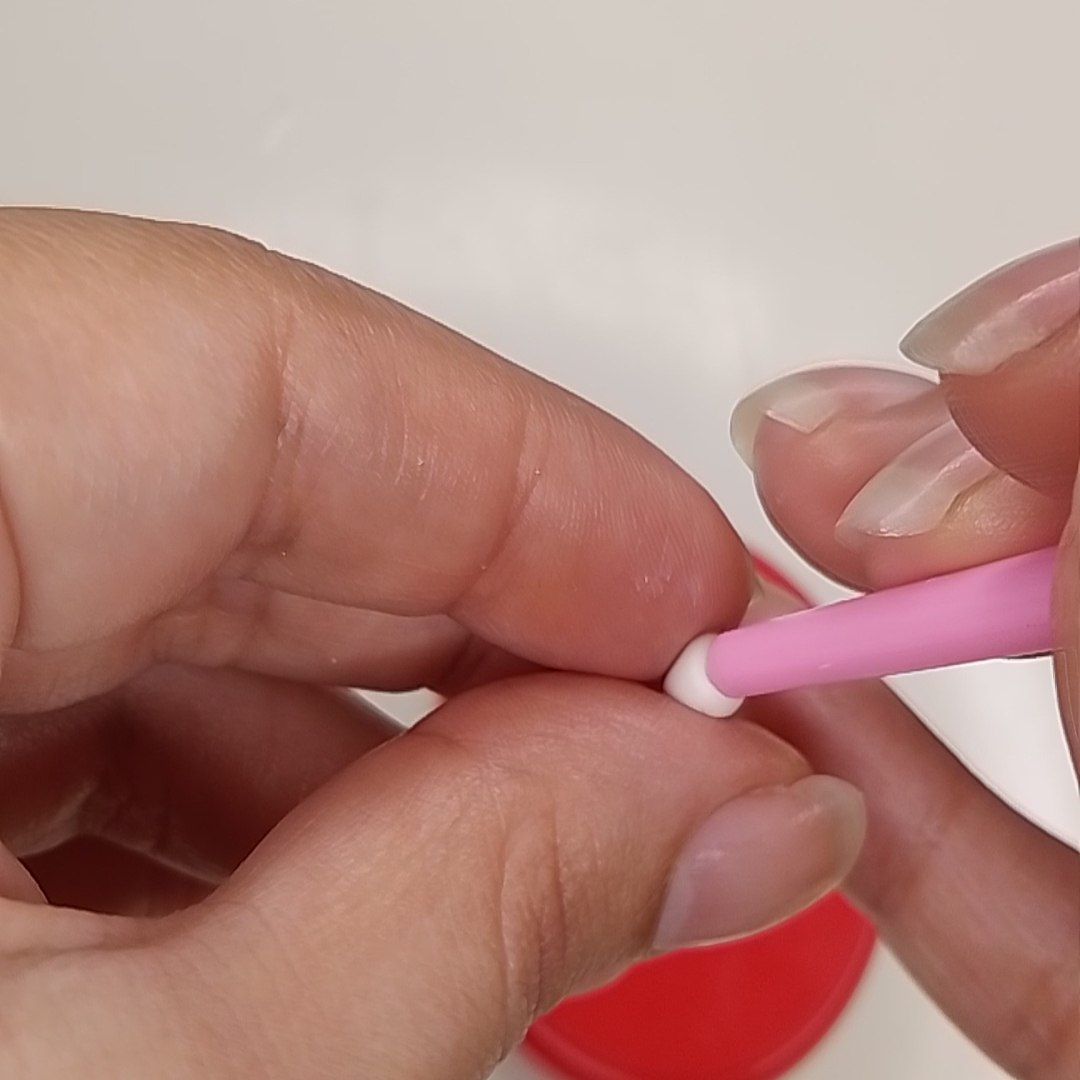
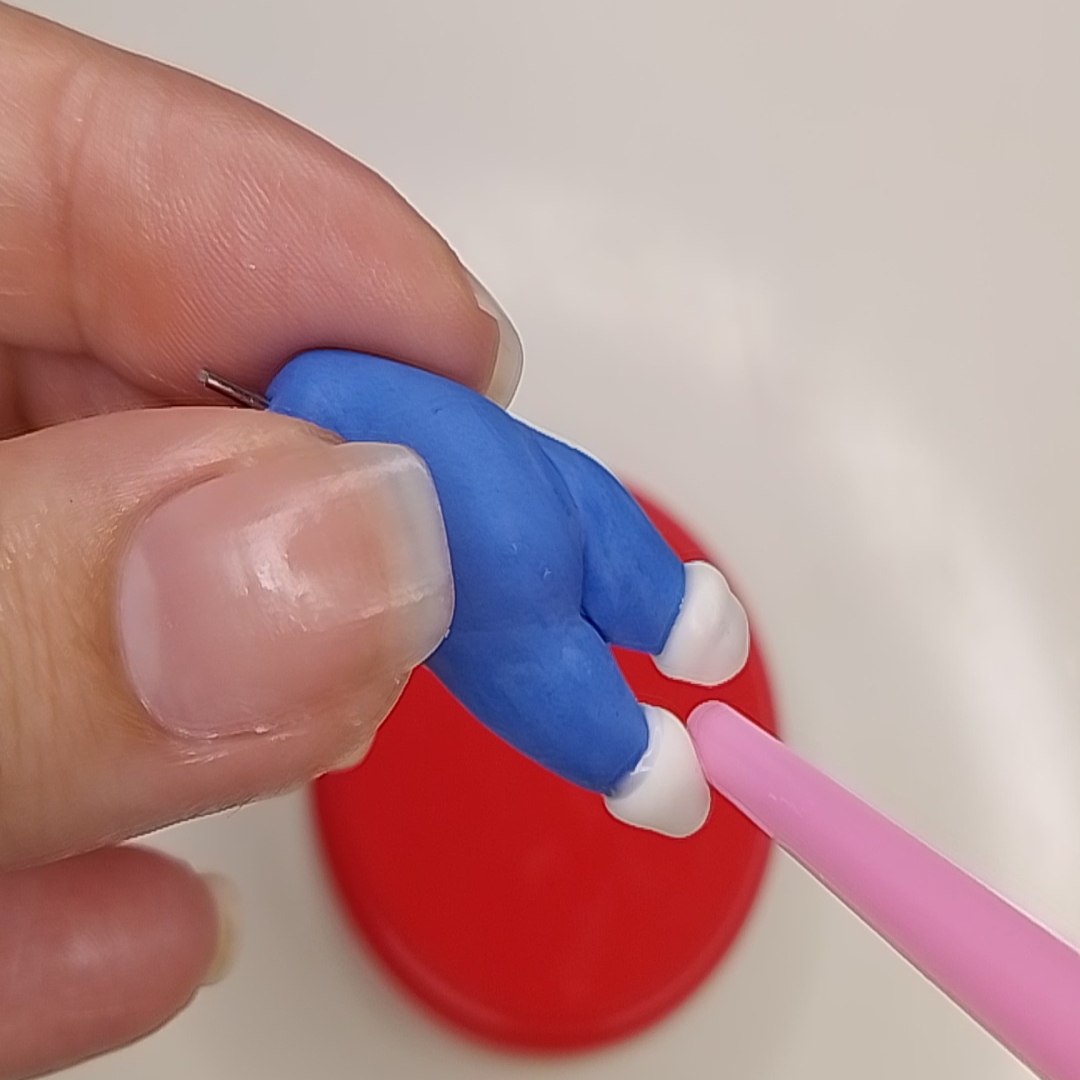
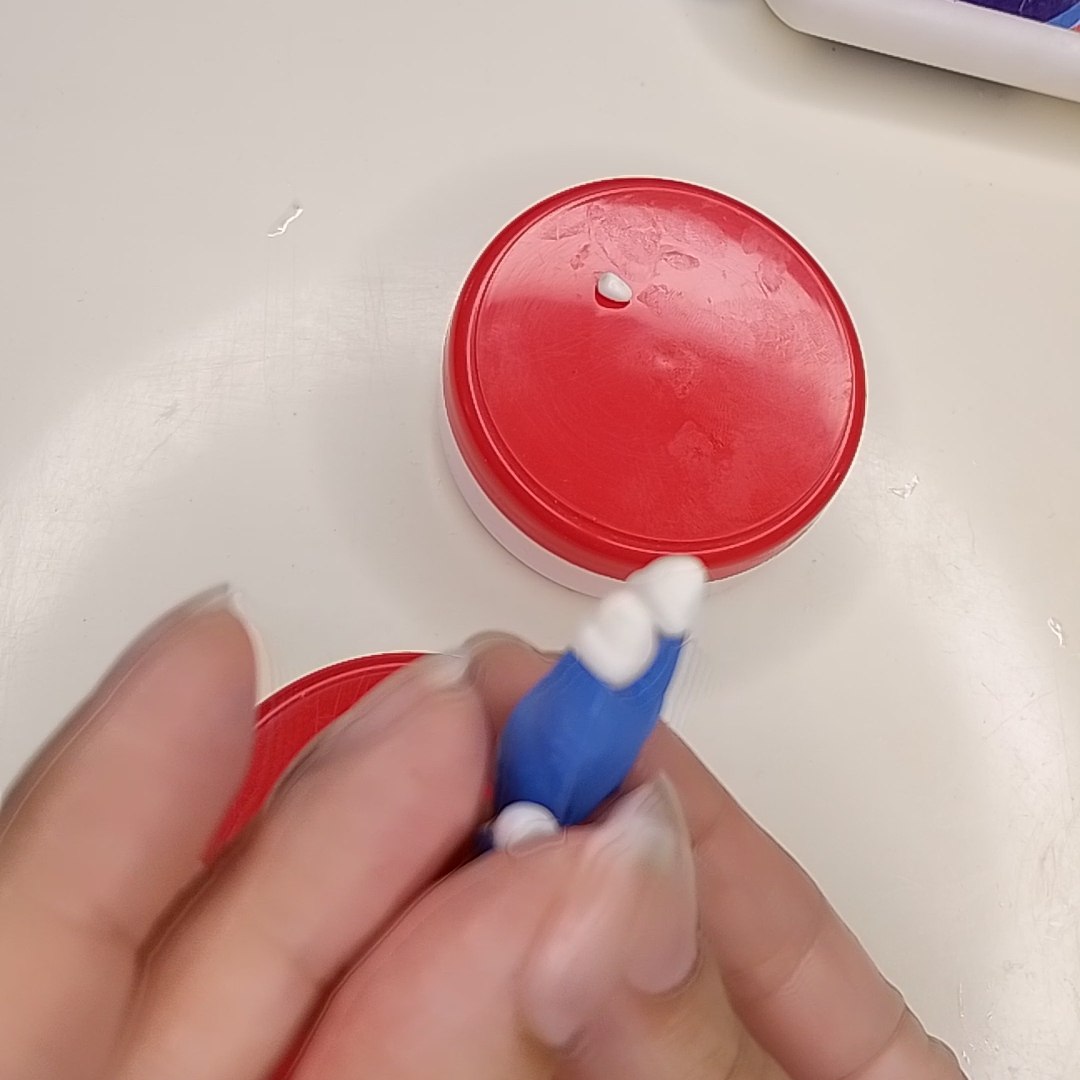
Es momento de hacer las botas, por lo que formaremos una bolita de porcelana fría en color blanco y luego la ahuecaremos un poco con la punta de un pincel fino, añadiendo algo de pegamento al final de la pierna posicionamos entonces la bota y repetimos para la otra pierna.
It is time to make the boots, so we will form a little ball of cold porcelain in white color and then we will hollow it a little with the tip of a fine brush, adding some glue at the end of the leg we then position the boot and repeat for the other leg.
 |
 |
|---|---|
 Botas / Boots
Para los brazos usaremos el mismo procedimiento que para las piernas, solo que con porciones de masa más pequeñas e igualmente, añadiremos guantes blancos siguiendo la forma indicada para las botas pero con una cantidad minúscula de porcelana fría en ese color.
For the arms we will use the same procedure as for the legs, only with smaller portions of dough and, likewise, we will add white gloves following the shape indicated for the boots but with a tiny amount of cold porcelain in that color.
 |
 |
|---|---|
| Brazos / Arms |
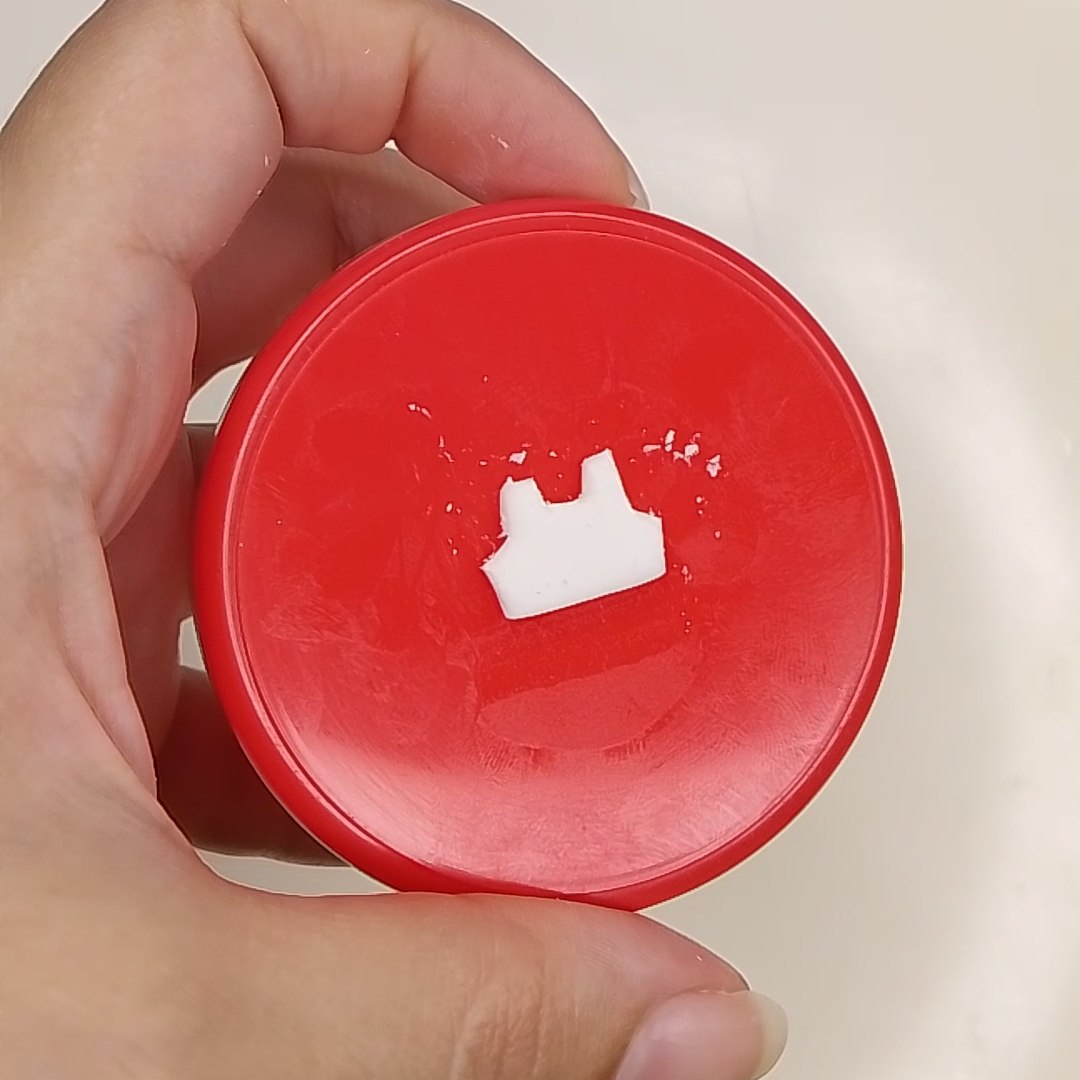
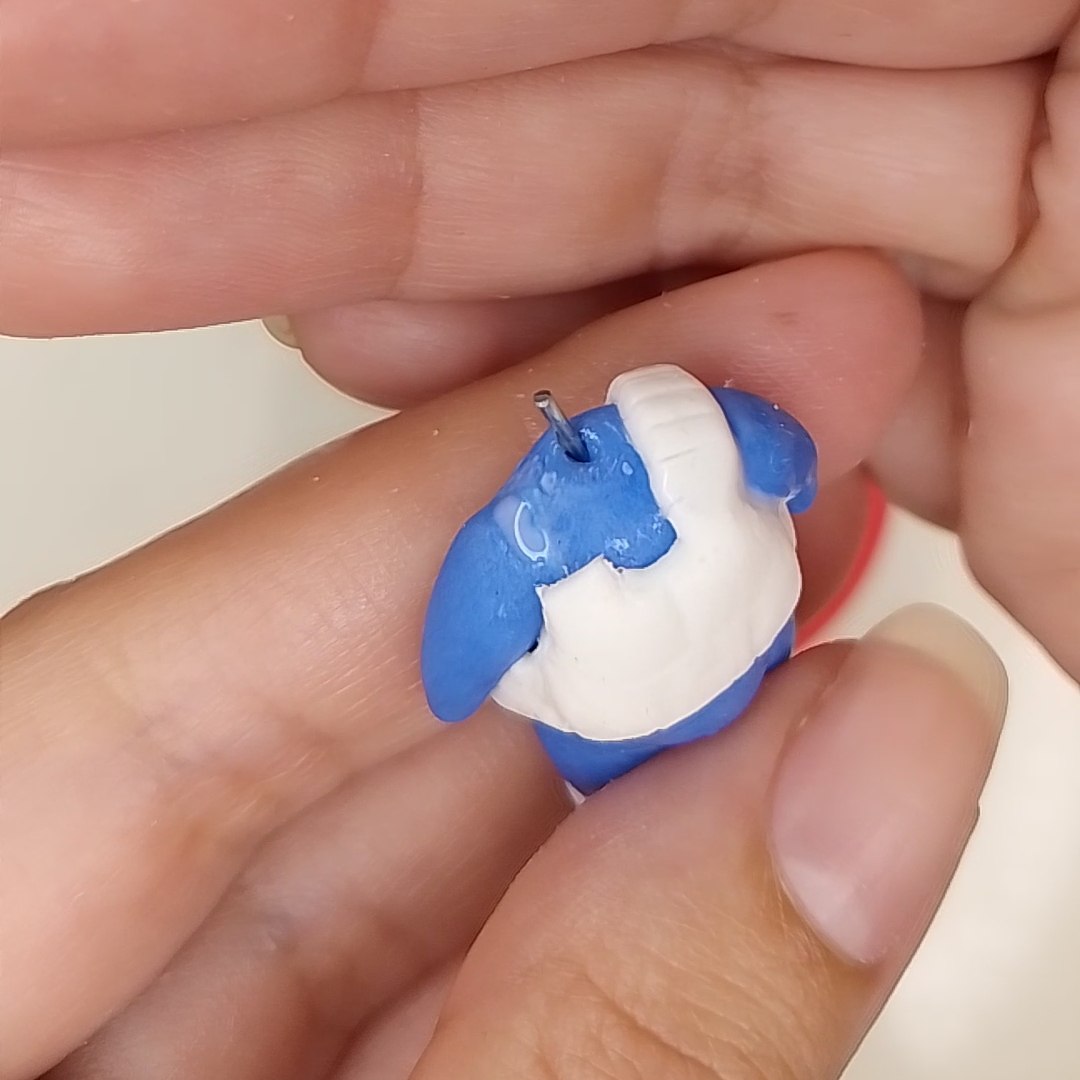
Para el protector que cubre su pecho y espalda, aplanamos una porción de porcelana fría blanca y con una aguja dibujamos la parte del frente, luego la cortamos con ayuda de un cúter y la pegaremos en la parte delantera del cuerpo. Este es un buen momento para comentar que había pegado ya un brazo cuando me di cuenta que era mejor pegar toda la armadura primero y luego pegar el otro brazo, lo bueno es que así ustedes no cometen el mismo error (risas).
For the protector that covers his chest and back, we flatten a portion of white cold porcelain and with a needle we draw the front part, then we cut it with the help of a cutter and glue it on the front of the body. This is a good moment to comment that I had already glued one arm when I realized that it was better to glue the whole armor first and then glue the other arm, the good thing is that this way you don't make the same mistake (laughs).
 |
 |
|---|---|
 Armadura frontal / Front armor
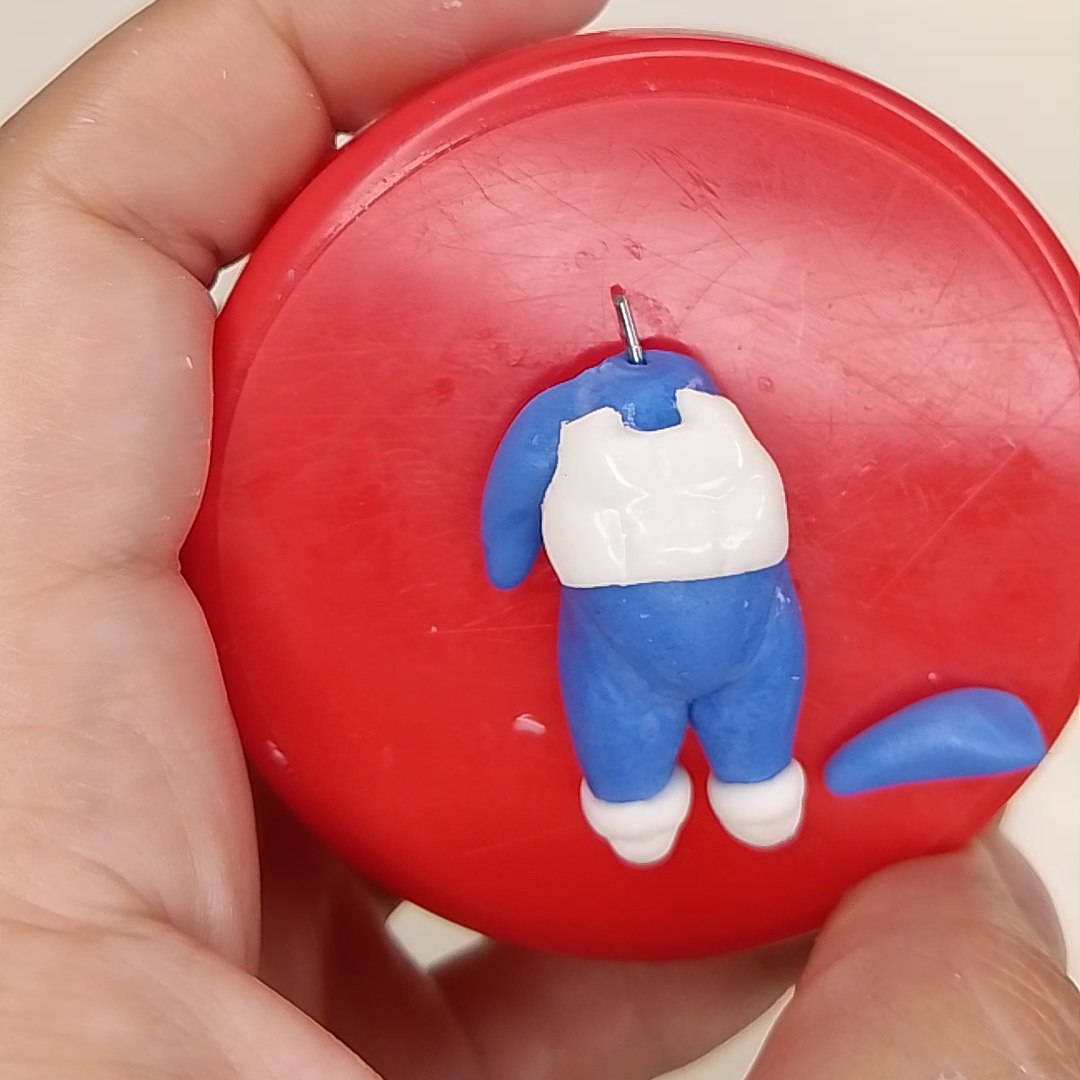
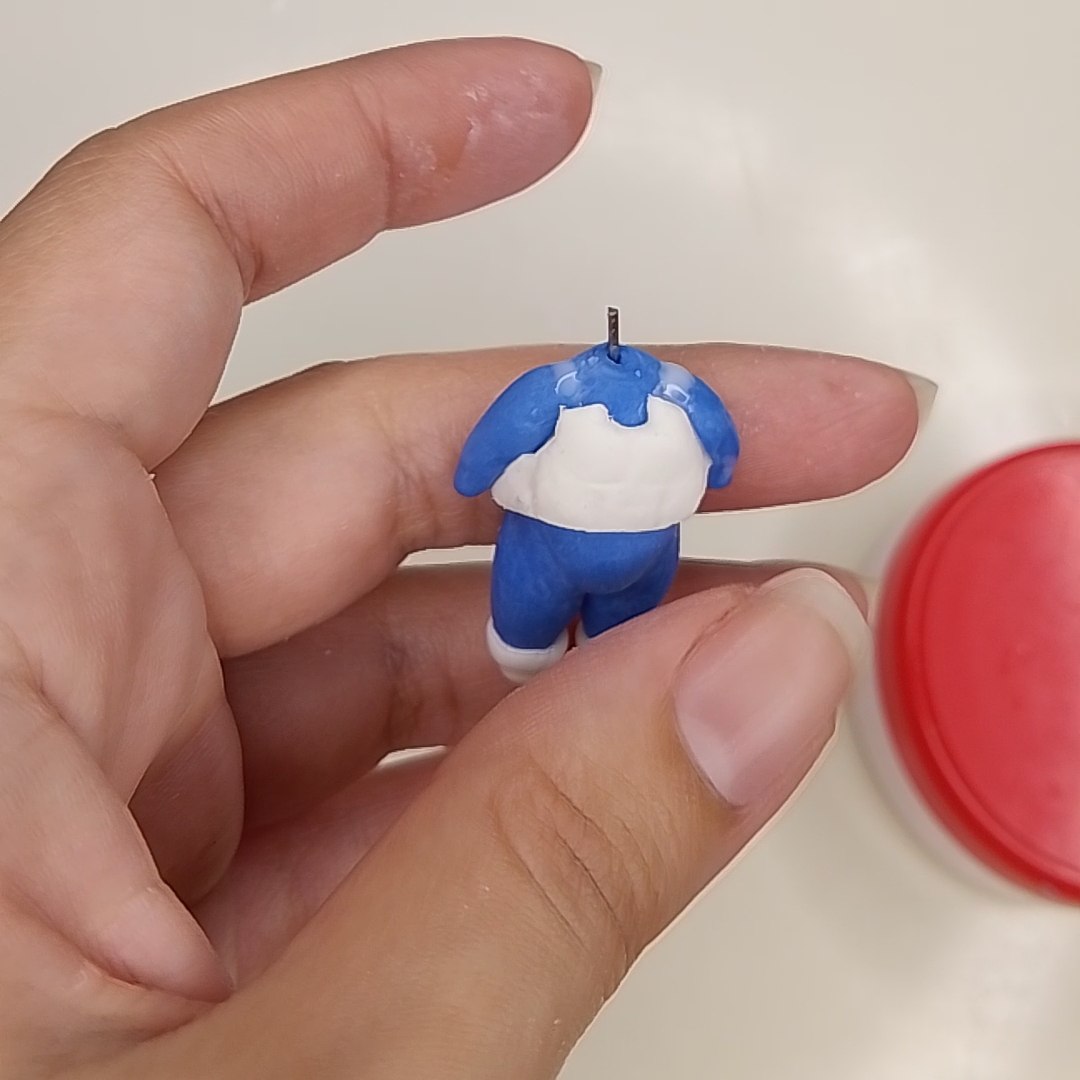
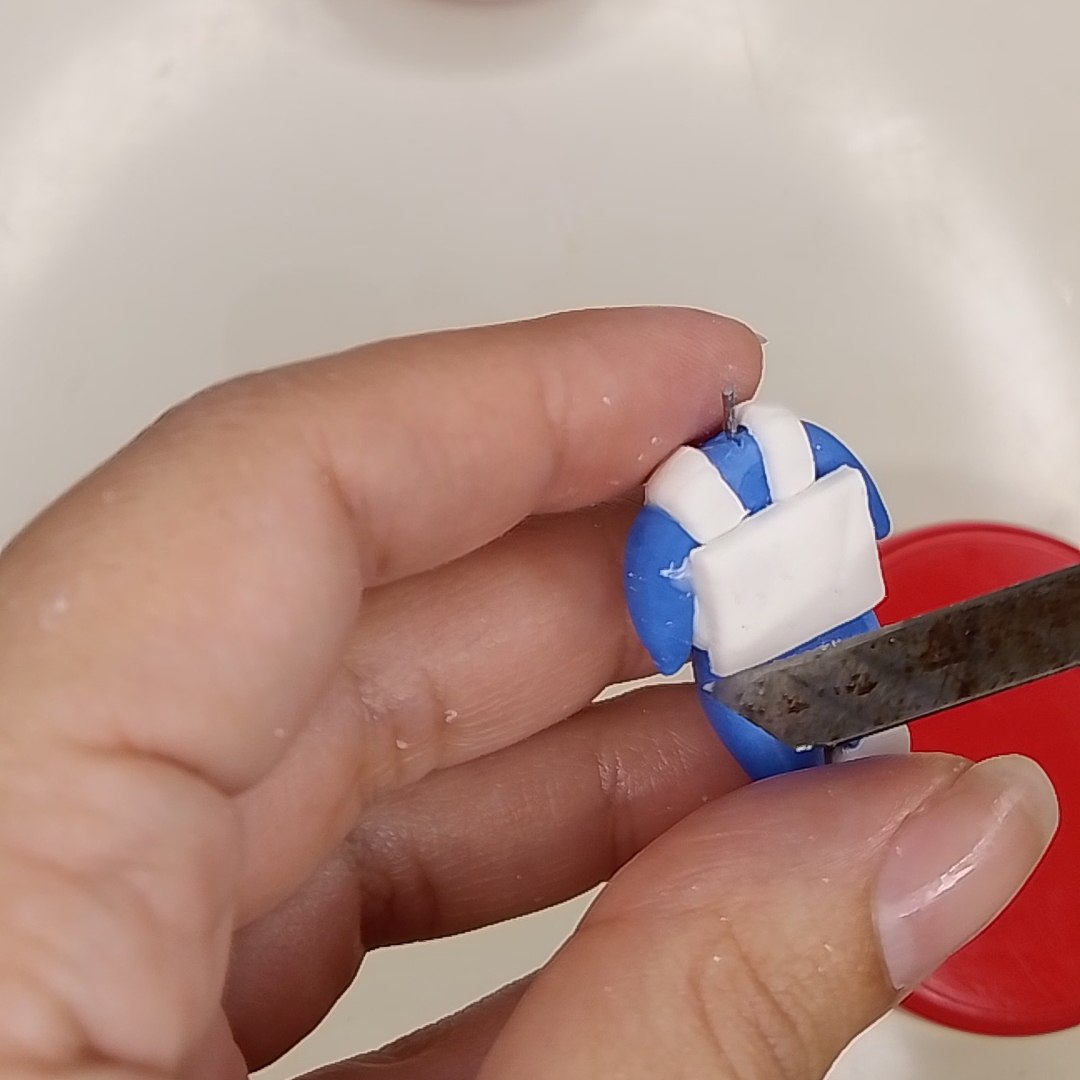
Luego procedemos con las partes sobres los hombros para las que solo se necesita recortar rectángulos finos y luego de adherirlos, darles textura presionando ligeramente con el cúter y terminamos con la parte trasera añadiendo un rectángulo que cubra toda el área necesaria, recortando lo sobrante y puliendo las uniones humedeciendo un poco y suavizando con nuestros dedos o alguna herramienta.
Then we proceed with the parts on the shoulders for which we only need to cut thin rectangles and after adhering them, give them texture by pressing lightly with the cutter and we finish with the back part by adding a rectangle that covers all the necessary area, trimming the excess and polishing the joints by wetting a little and smoothing with our fingers or some tool.
 |
 |
|---|---|
 |
 |
| --- | --- |
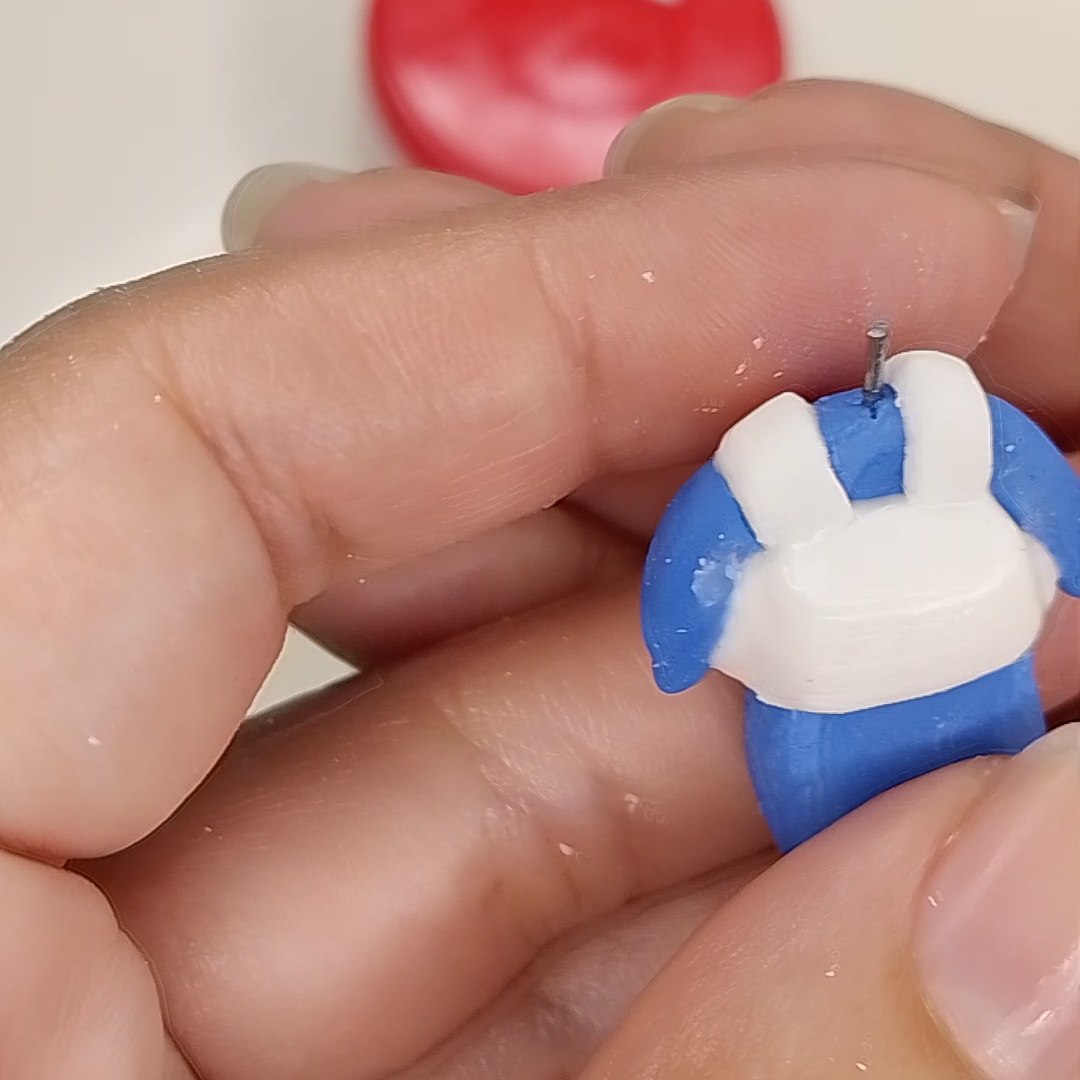 Resto de la armadura / Remaining armor
Formamos una bolita de color piel para la cabeza, en su parte posterior pegamos una porción de porcelana fría en color negro y luego la adherimos al cuerpo, recuerden que para ello debemos agregar pegamento, no solo en el alambre si no también en un poco de la superficie de los hombros para que no se mueva de allí jamás.
We form a little ball of skin color for the head, in its back we glue a portion of cold porcelain in black color and then we adhere it to the body, remember that for this we must add glue, not only in the wire but also in a little of the surface of the shoulders so that it never moves from there.
 |
 |
|---|---|
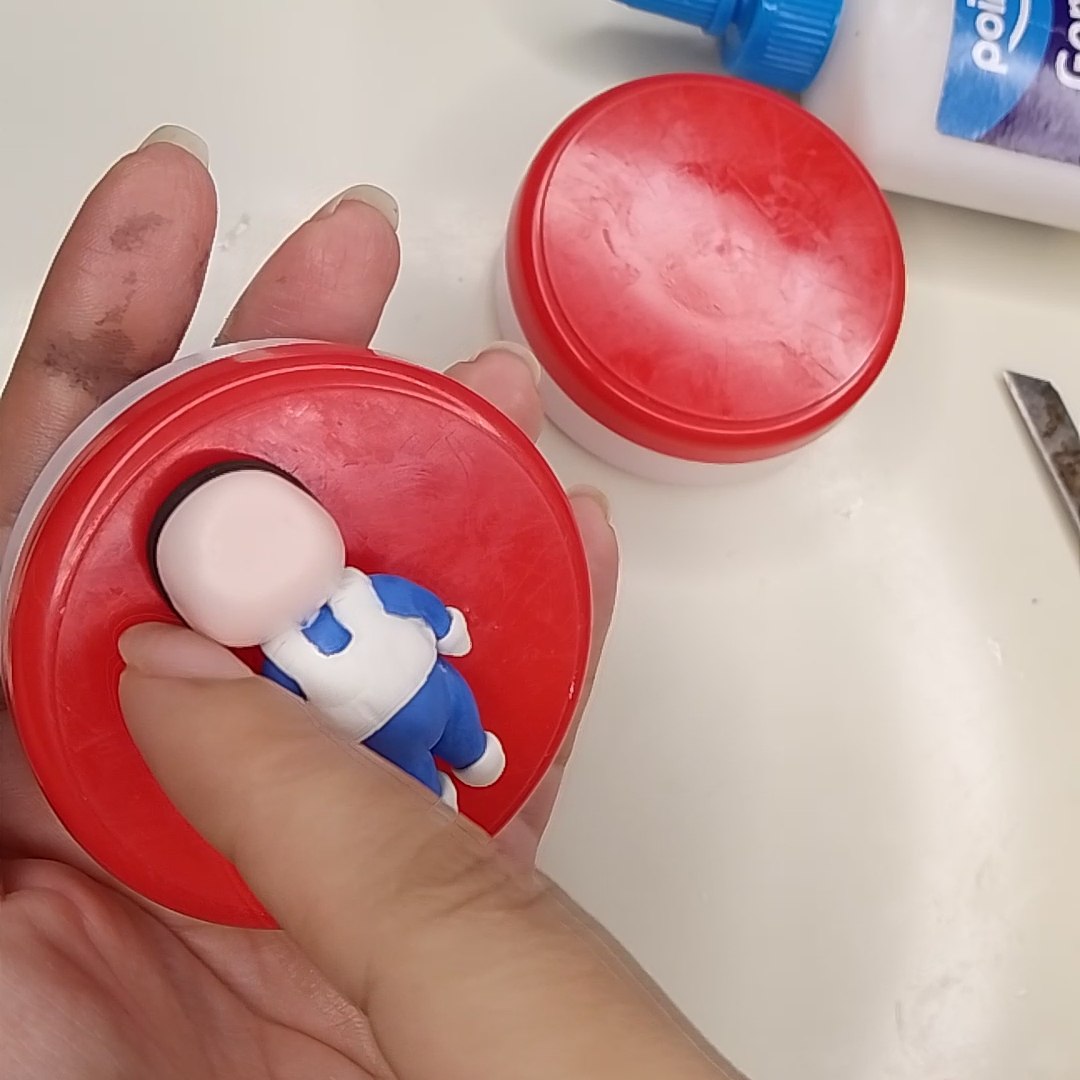 Cabeza / Head
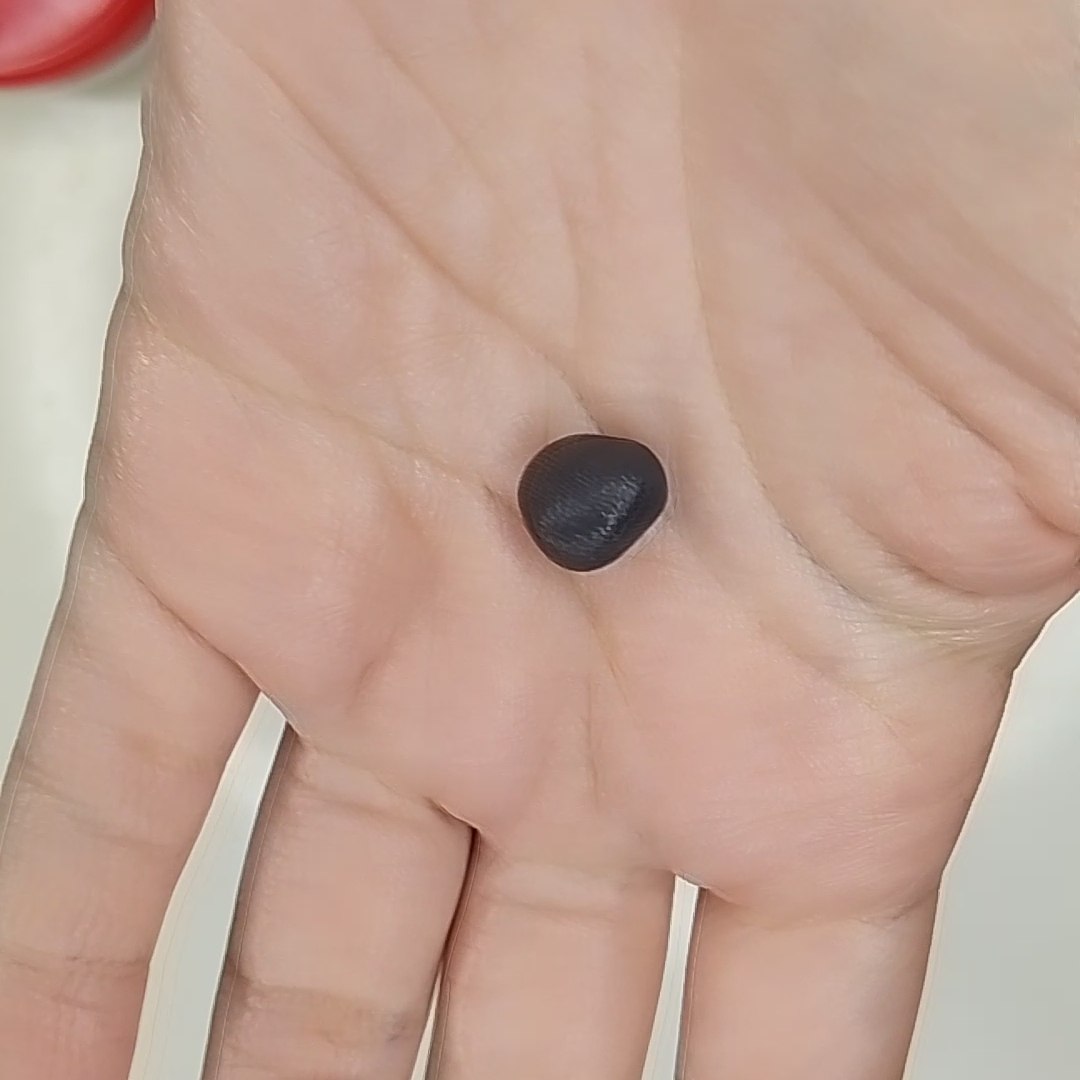
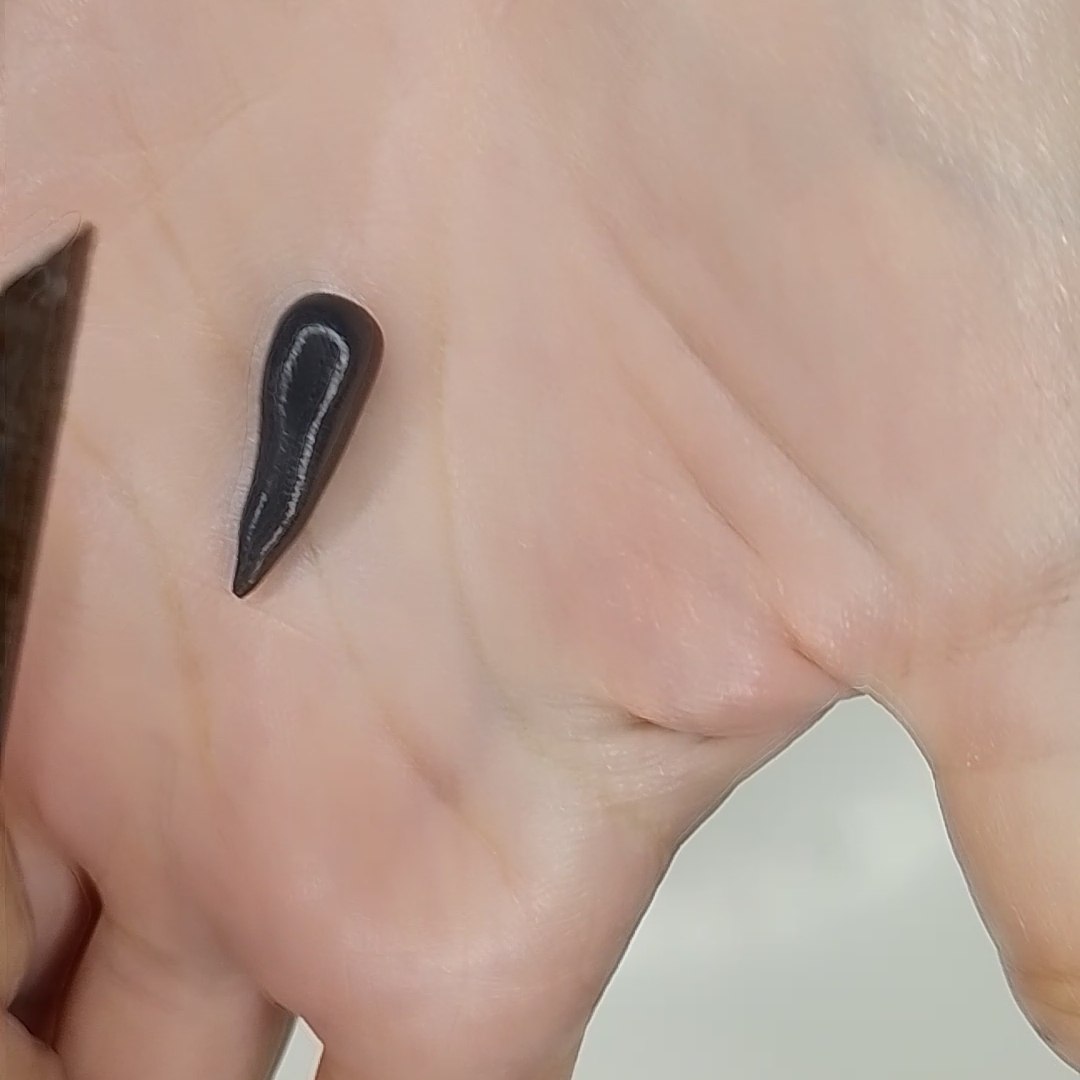
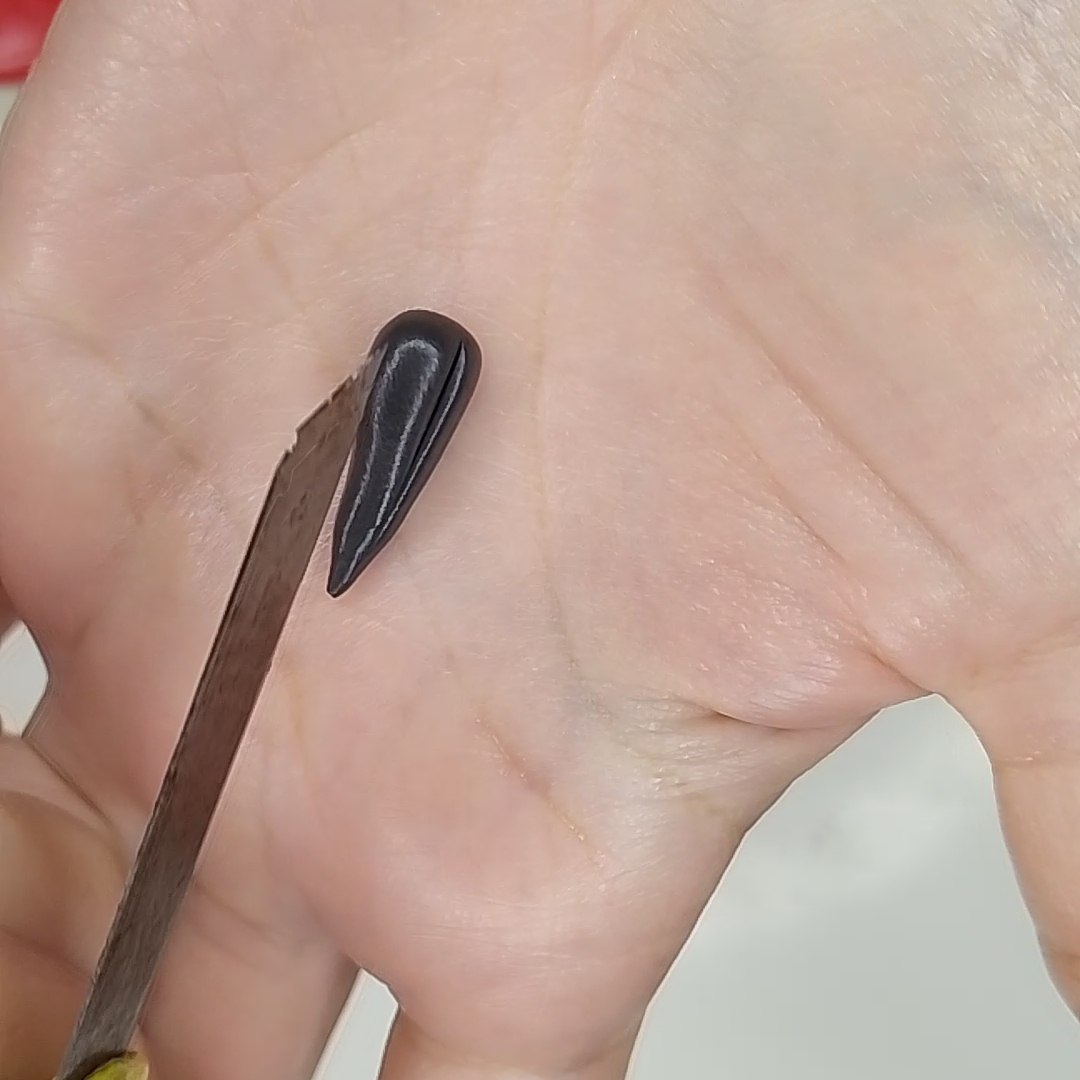
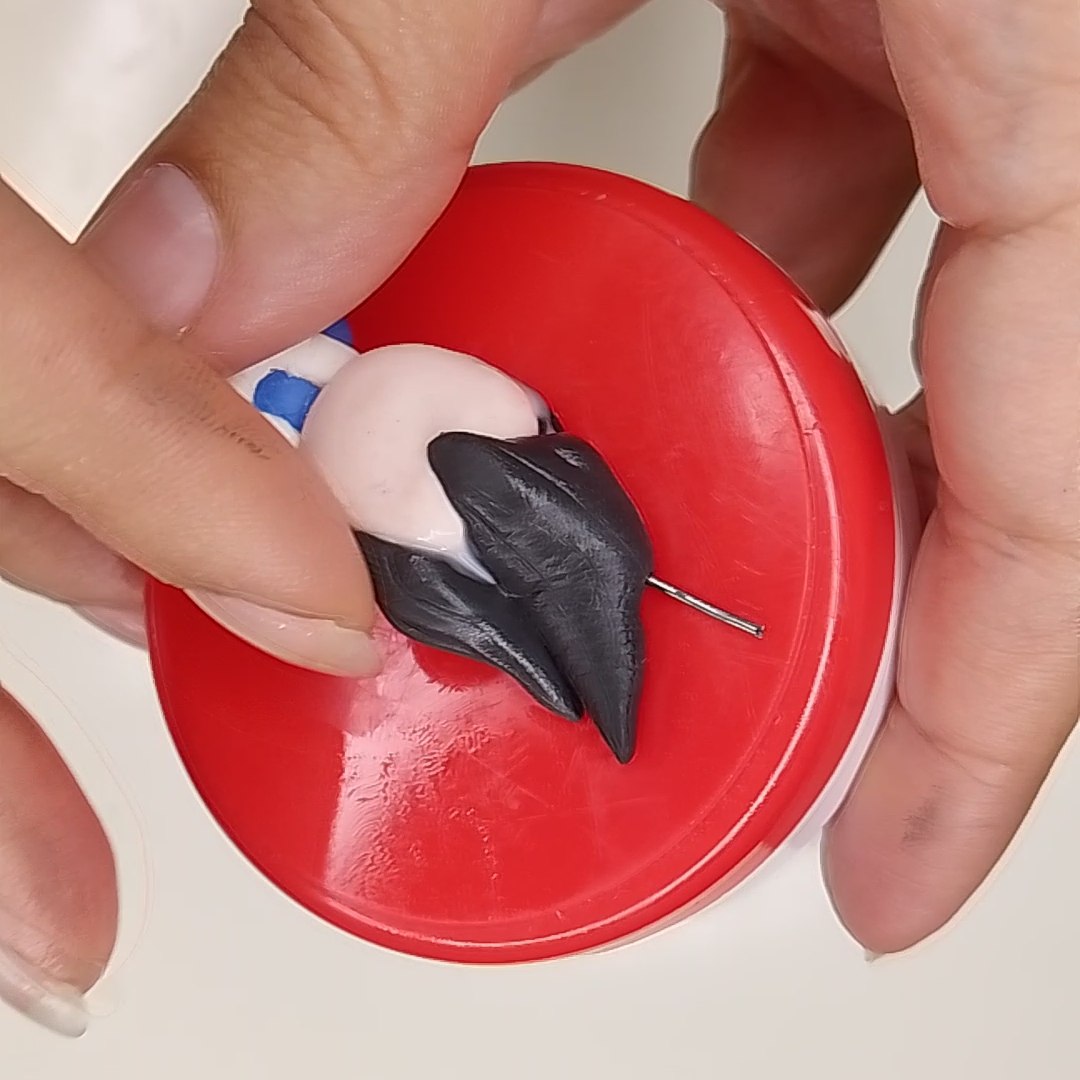
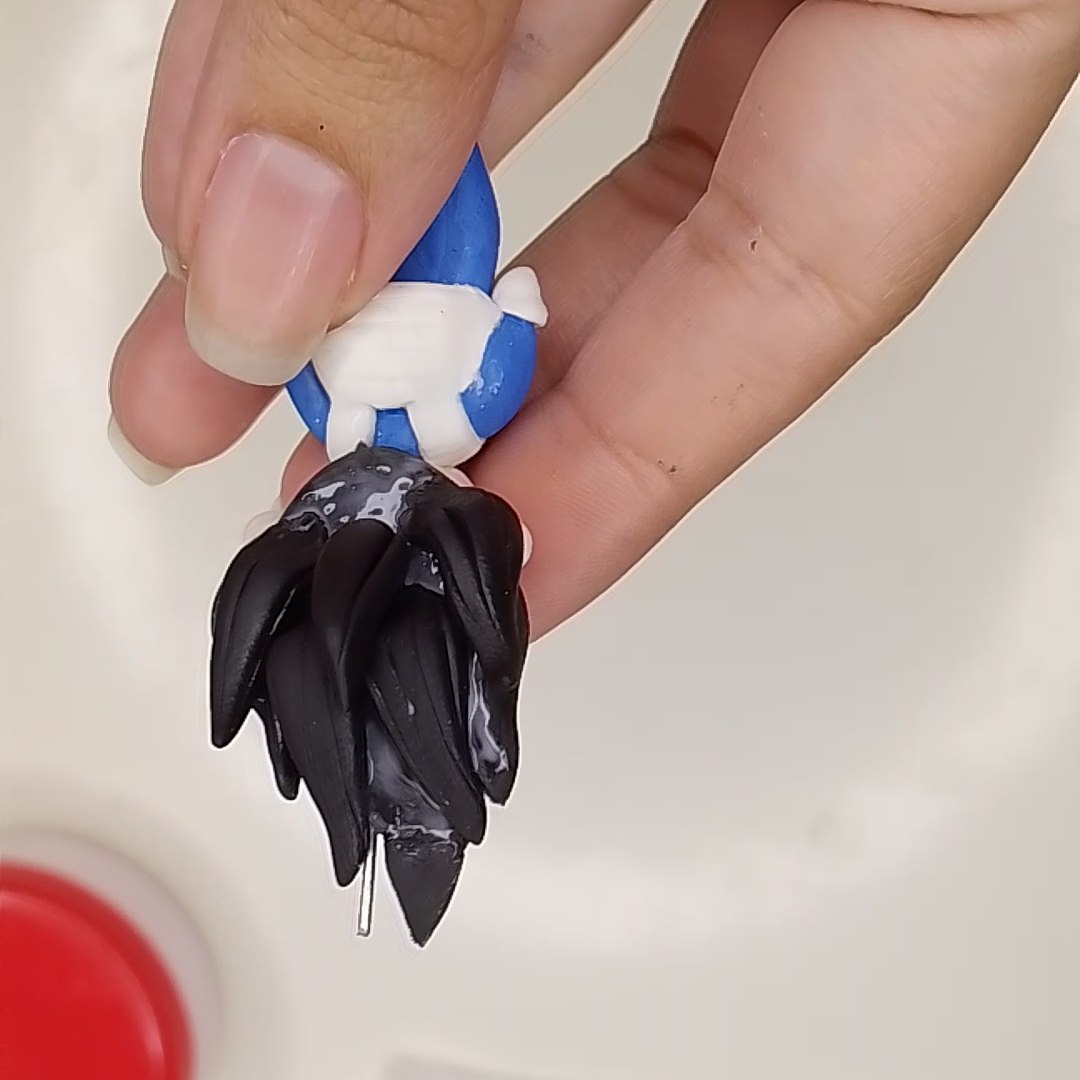
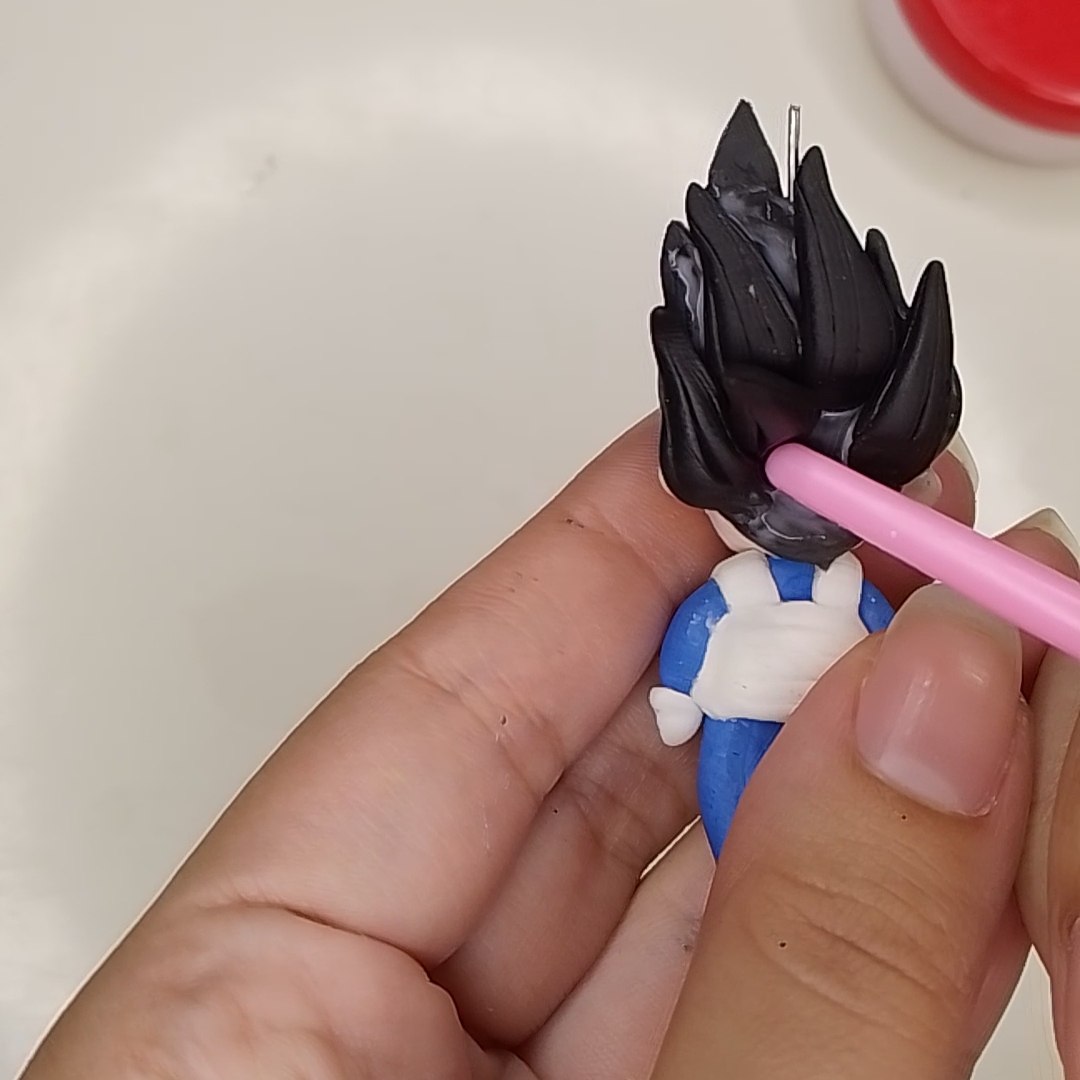
Ahora vamos con el cabello, formaremos gotas de porcelana fría color negro y las alargaremos hasta que se forme un extremo puntiagudo, le daremos textura con el cúter y adherimos a la cabeza con pegamento. Repetimos las veces que sean necesarias hasta llenar todos los espacios. En este punto había agregado un alambre en la parte superior de la cabeza para al estar todo seco, formar el ojal, pero luego me di cuenta que lo quería en otra posición y que era más fácil introducir el alfiler de ojo con su ojal ya listo, así que más adelante lo verán corregido.
Now we go with the hair, we will form drops of cold porcelain black color and we will lengthen them until a pointed end is formed, we will give it texture with the cutter and we will adhere it to the head with glue. Repeat as many times as necessary until all the spaces are filled. At this point I had added a wire at the top of the head to form the eyelet when everything was dry, but then I realized that I wanted it in another position and that it was easier to insert the eye pin with its eyelet ready, so later you will see it corrected.
 |
 |
|---|---|
 |
 |
|---|---|
 |
 |
|---|---|
Cabello / Hair
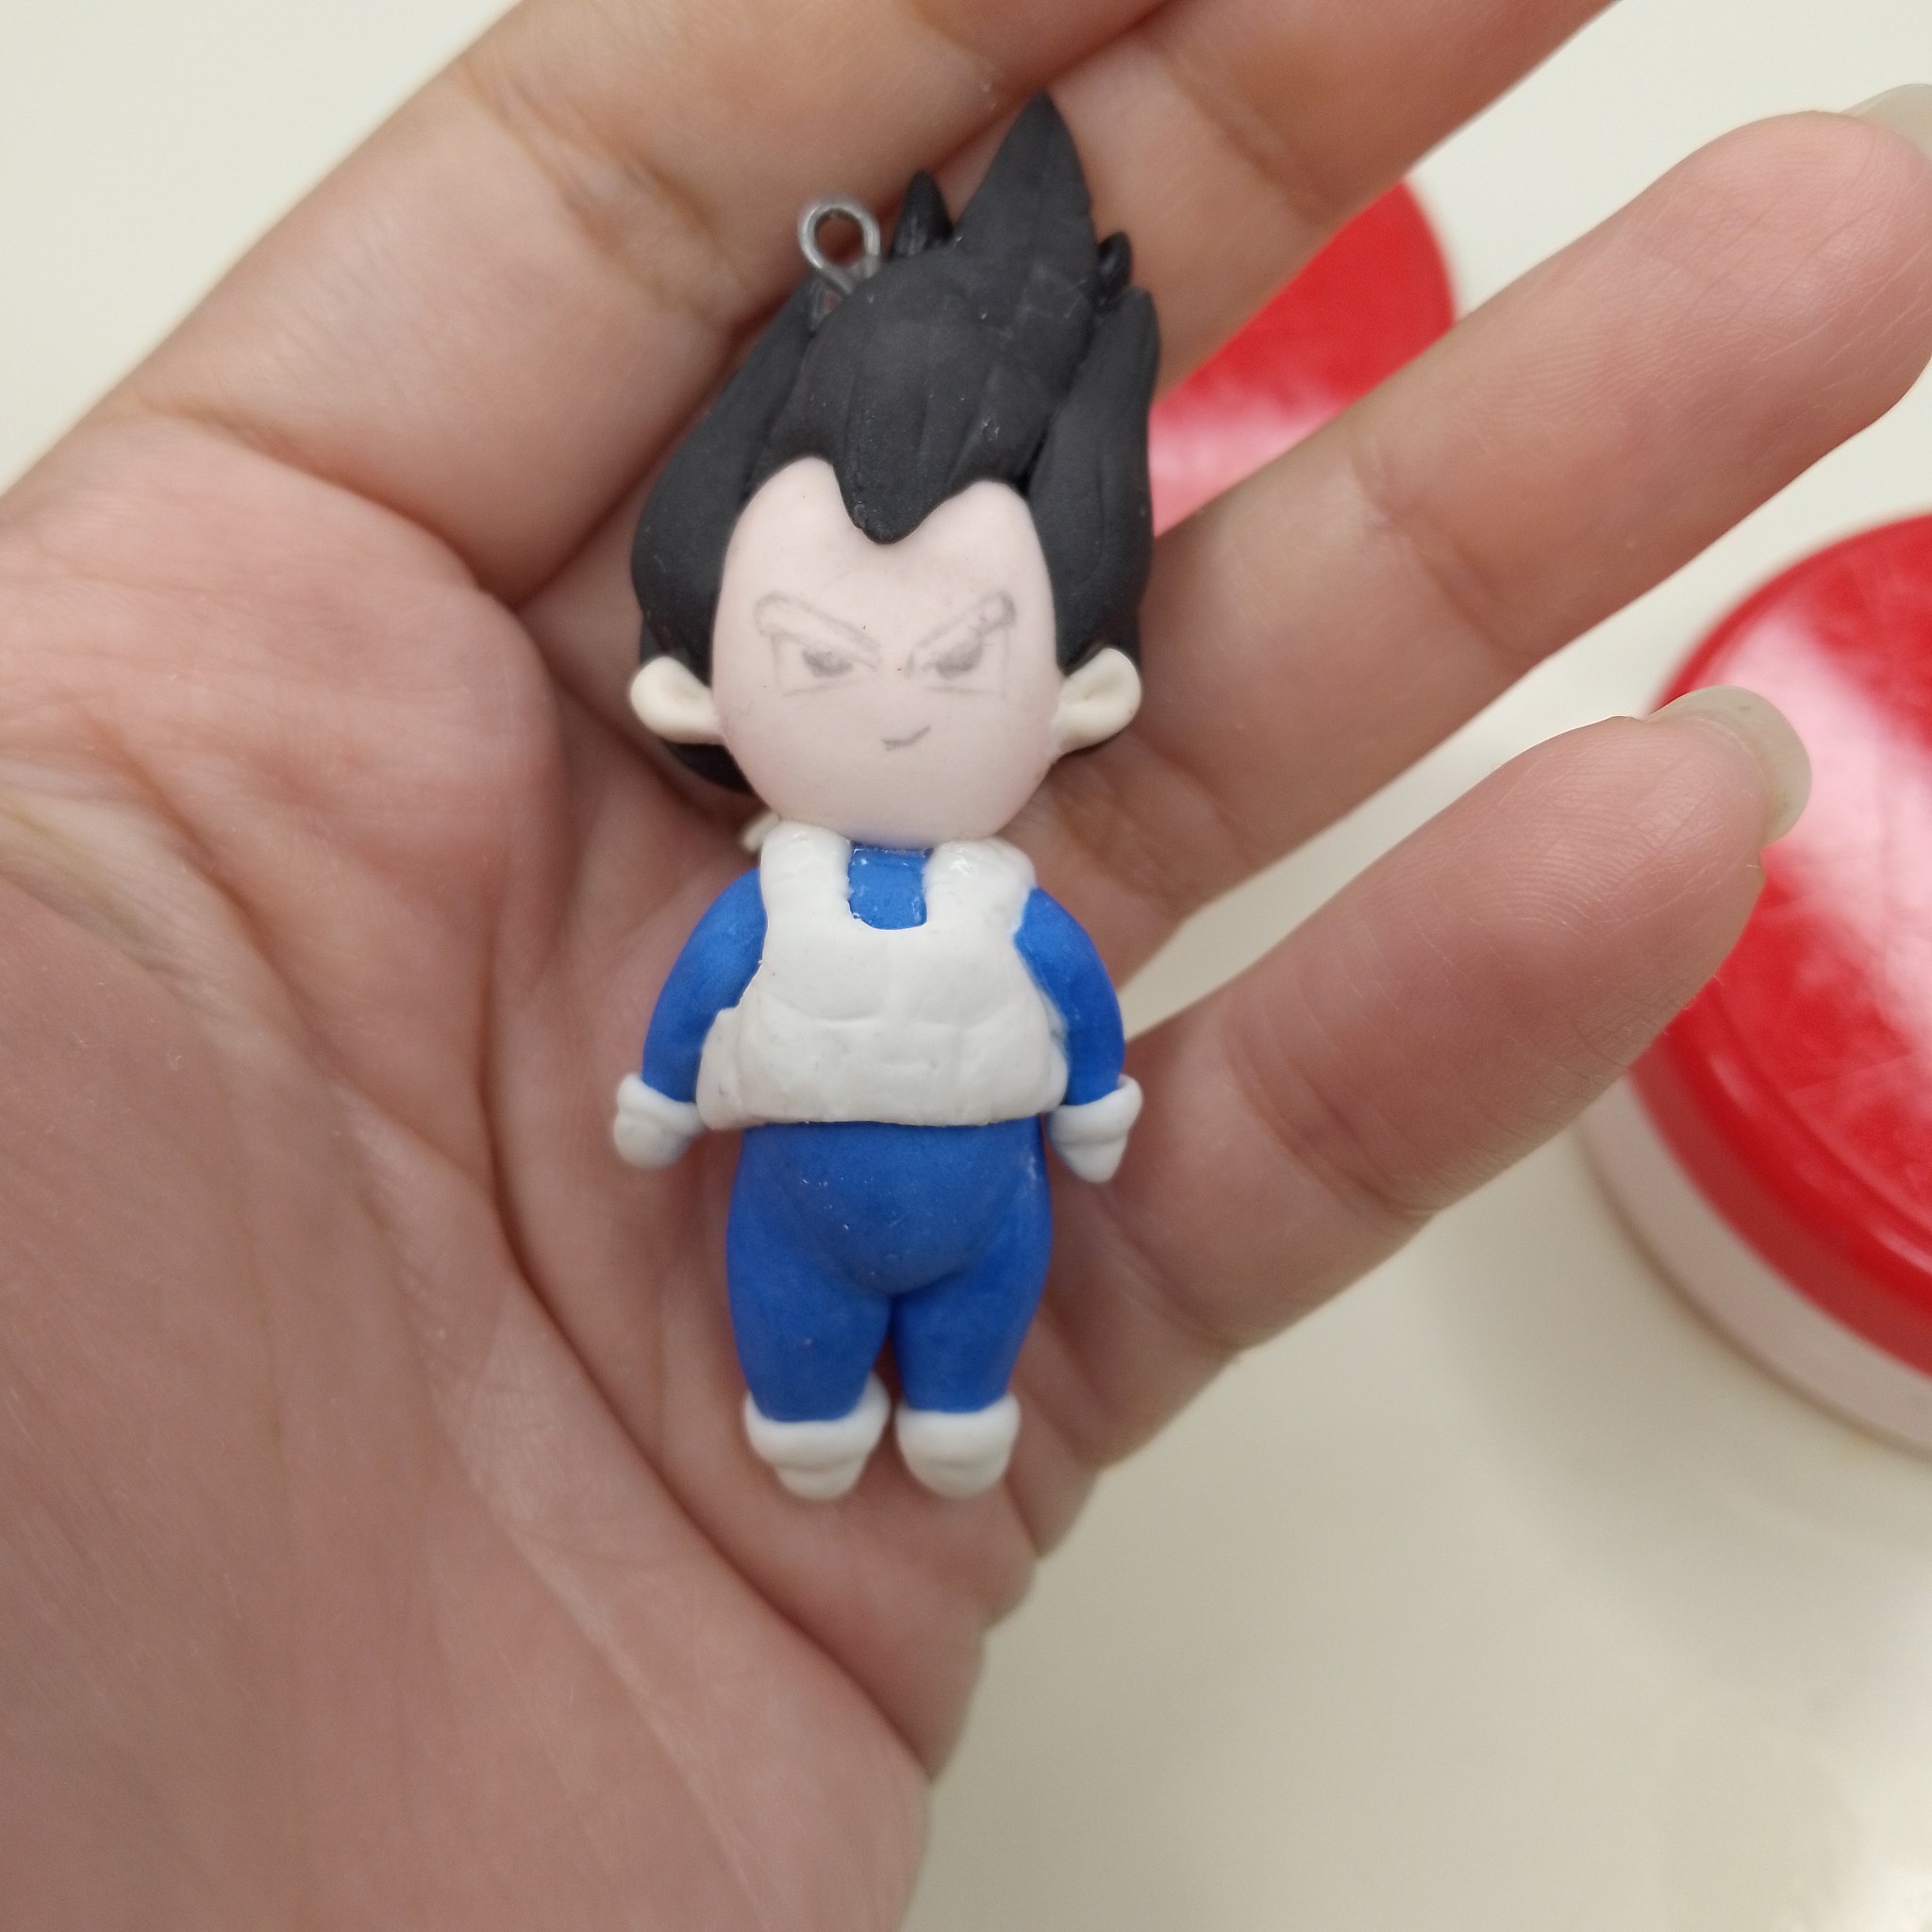
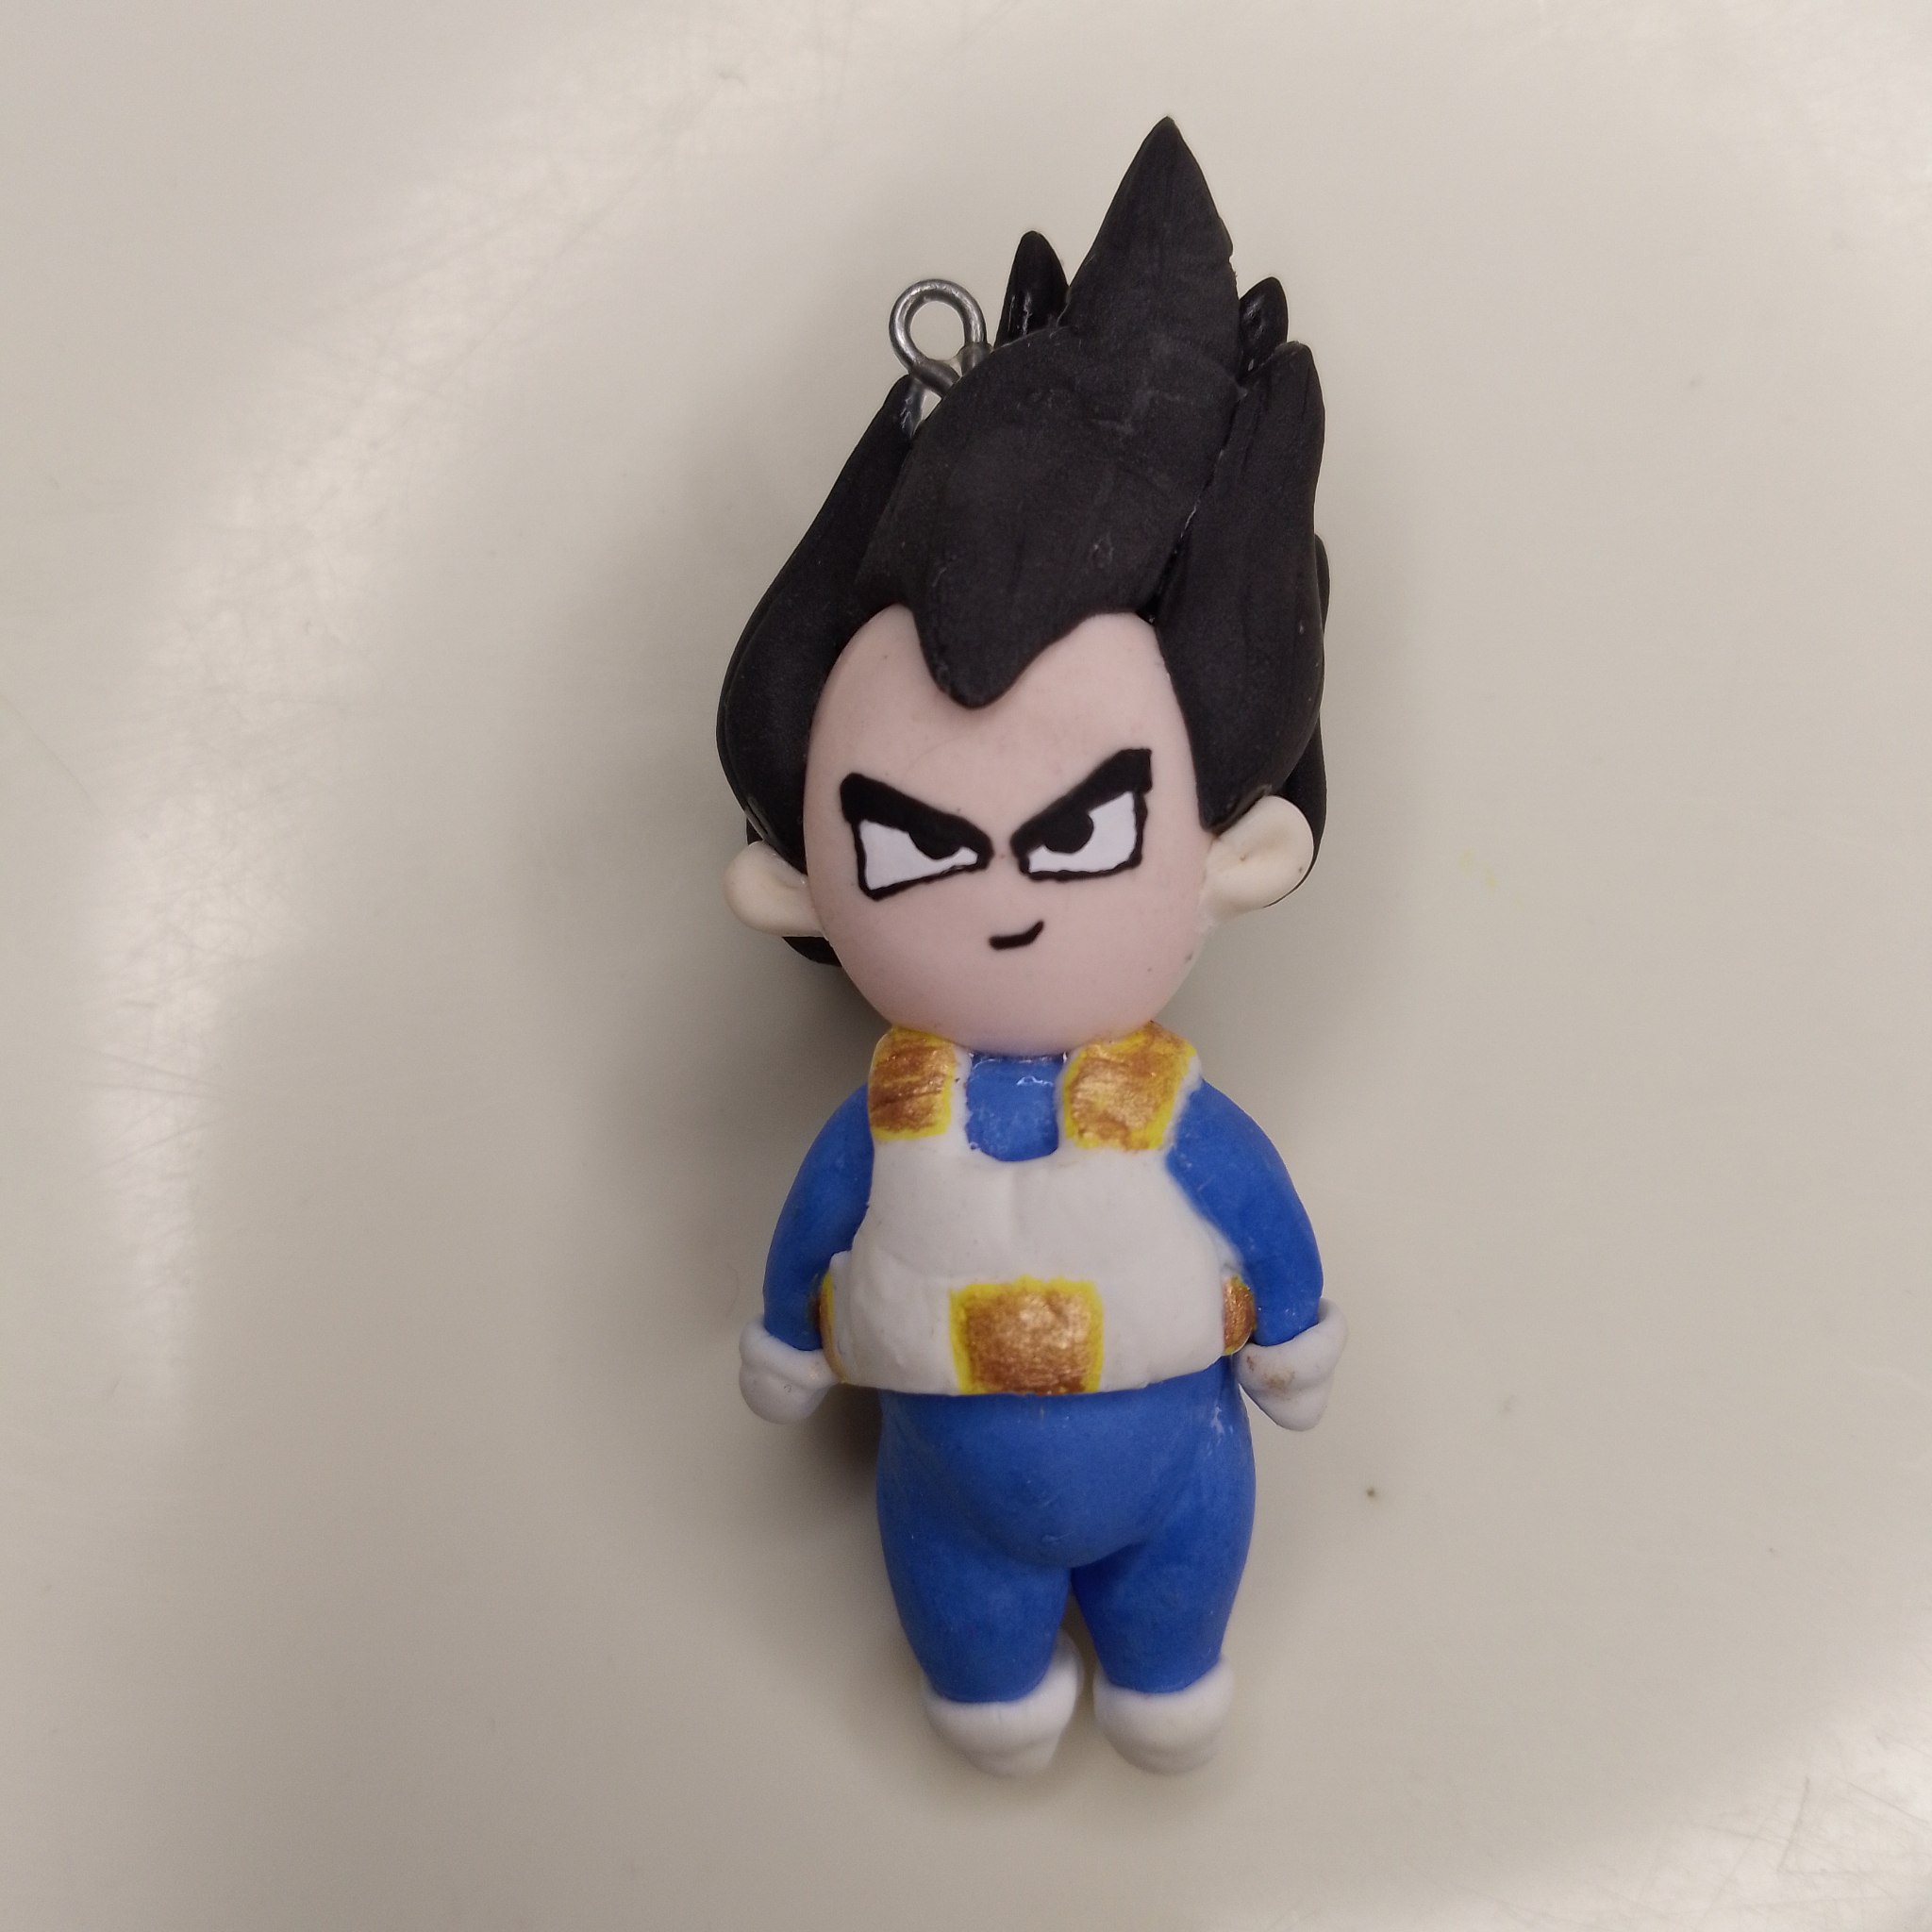
Cuando ya todo estuvo seco, dibujé su carita con lápiz, luego con pintura al frío la hice definitivamente. También pinté con pintura al frío amarilla los detalles de su armadura y al secar lo repinté con mi sombra dorada mezclada con un poco de pegamento.
When everything was dry, I drew his face with pencil, then with cold paint I did it definitively. I also painted with yellow cold paint the details of his armor and when it dried I repainted it with my golden shadow mixed with some glue.
 |
 |
|---|---|
| Detalles en pintura / Details in paint |
Para finalizar agregué unas capas de Top Coat y curé cada una de ella con la lámpara UV LED y así fue el resultado:
To finish I added a few coats of Top Coat and cured each one with the UV LED lamp and this was the result:
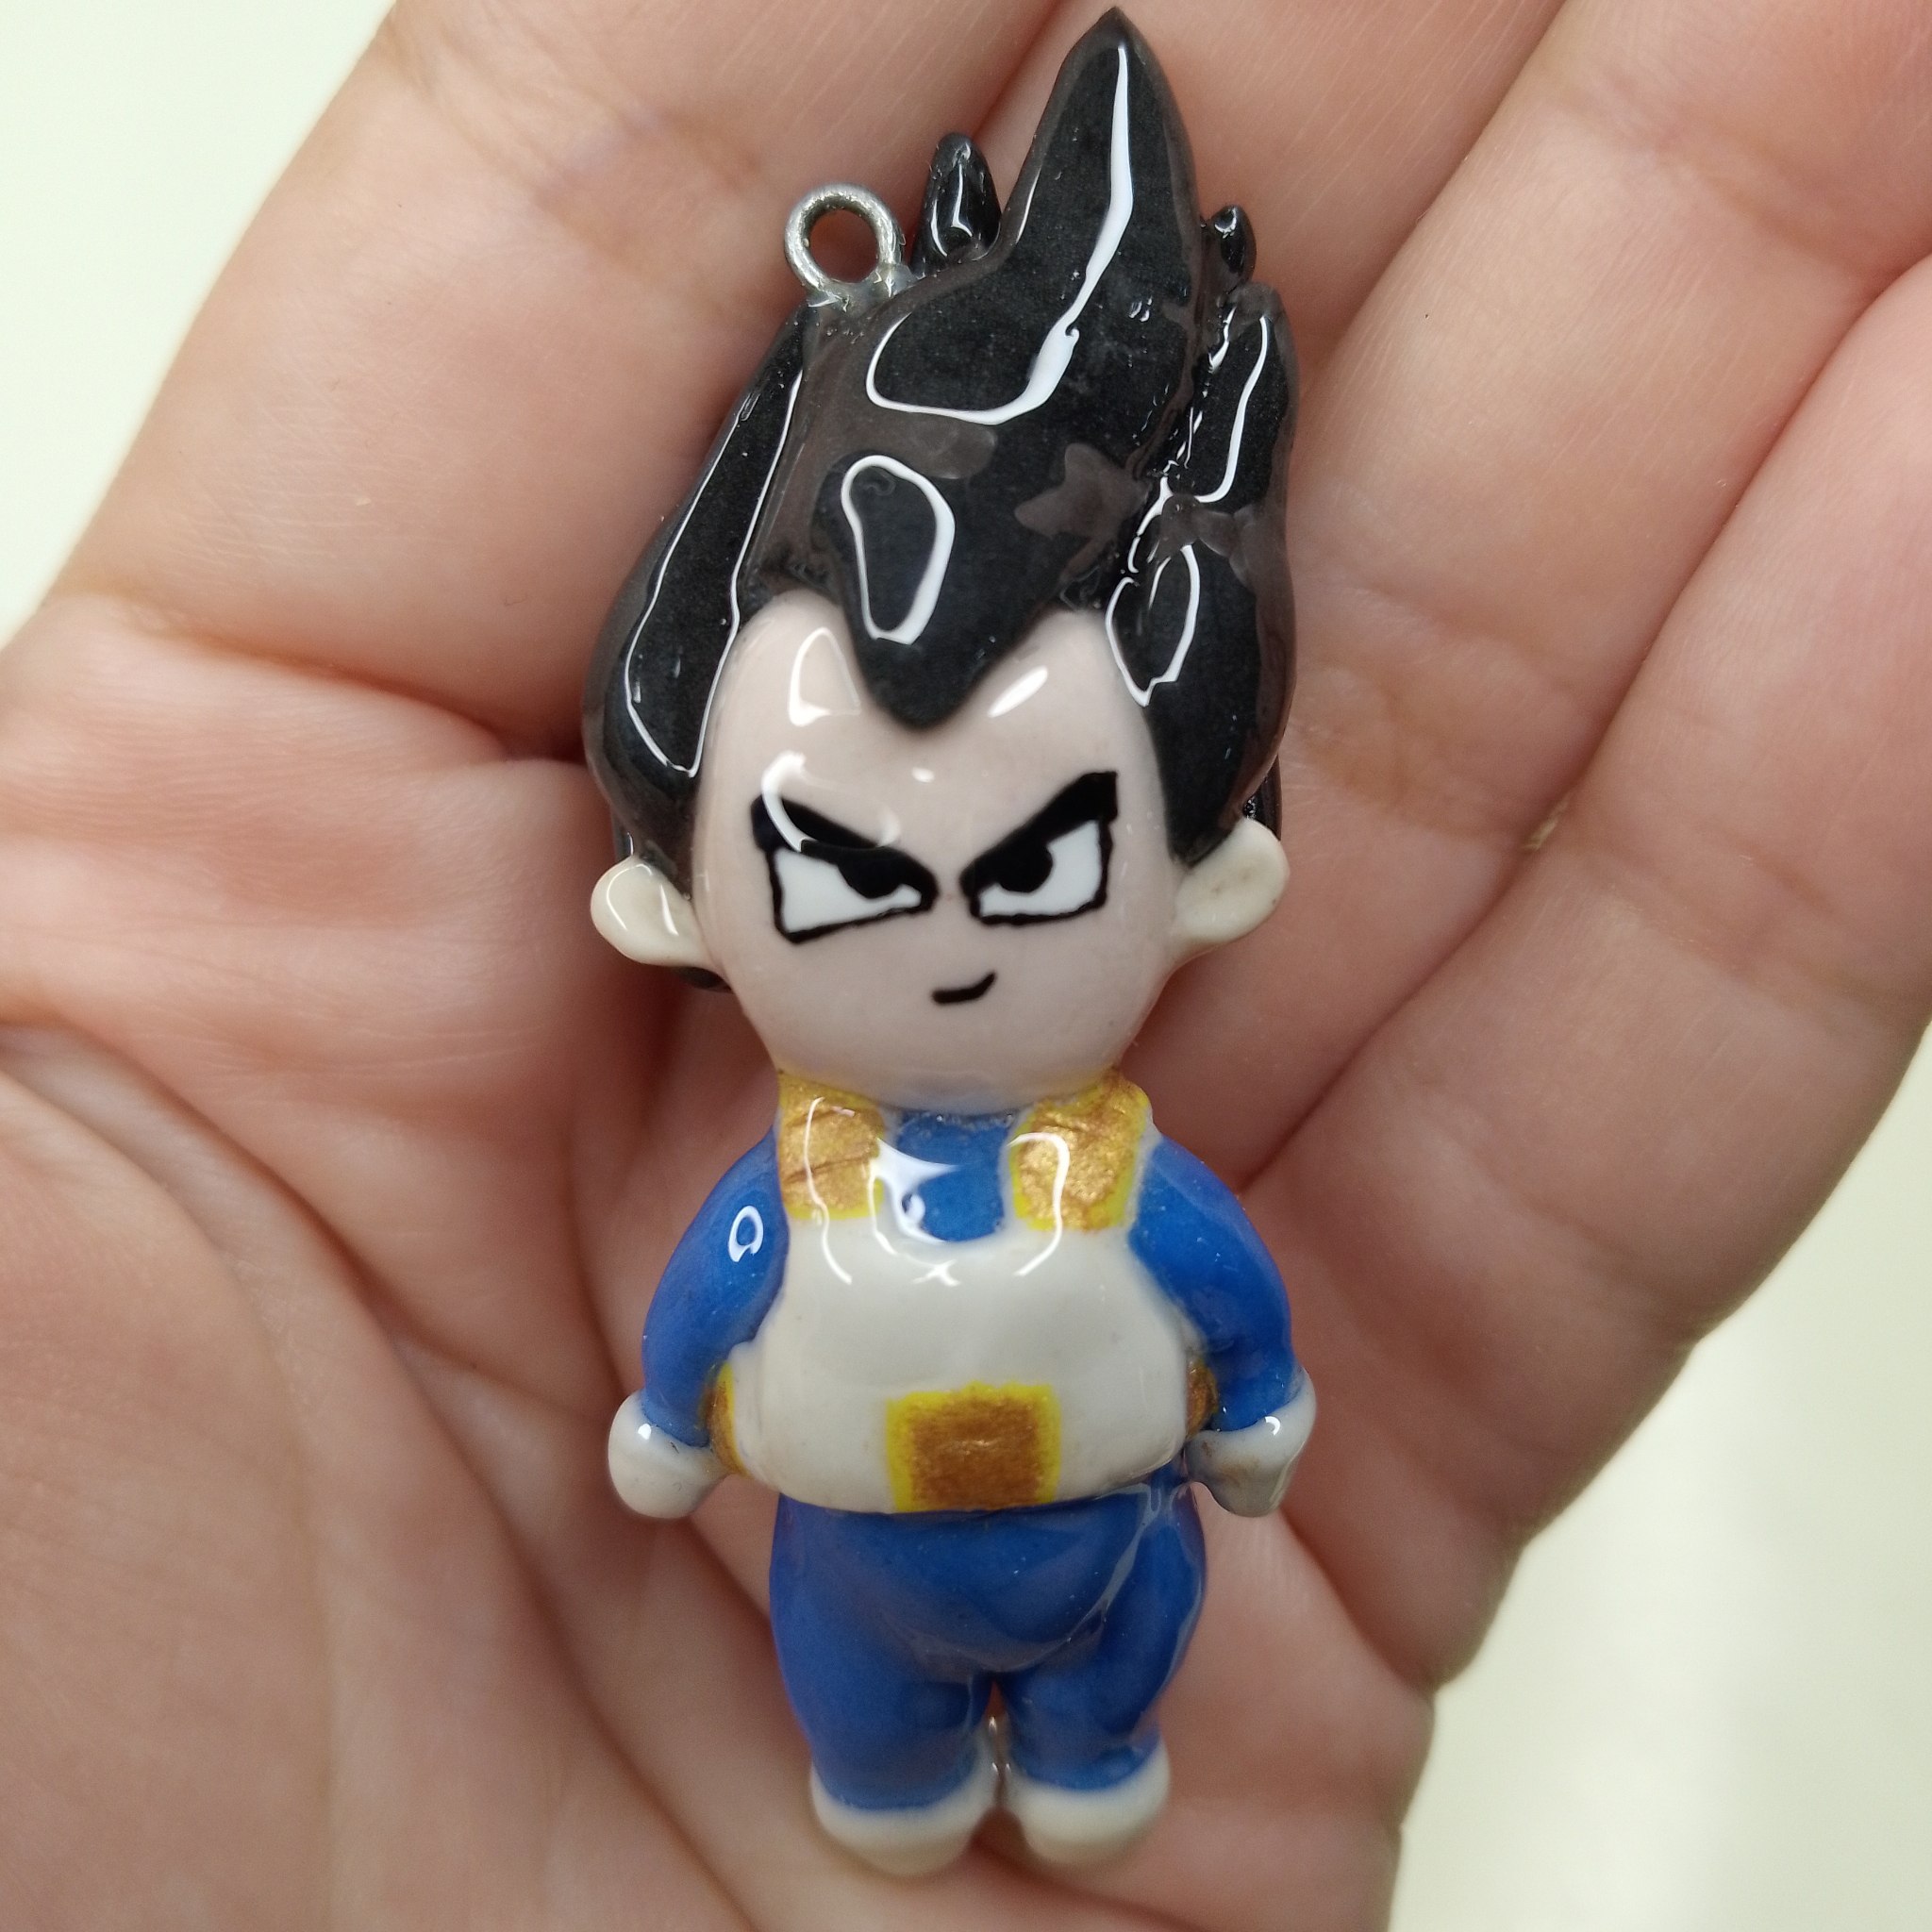 Resultado final / Final result
Y aquí pueden verlo todo hermoso junto a su bella esposa Bulma:
And here you can see him all beautiful together with his beautiful wife Bulma:
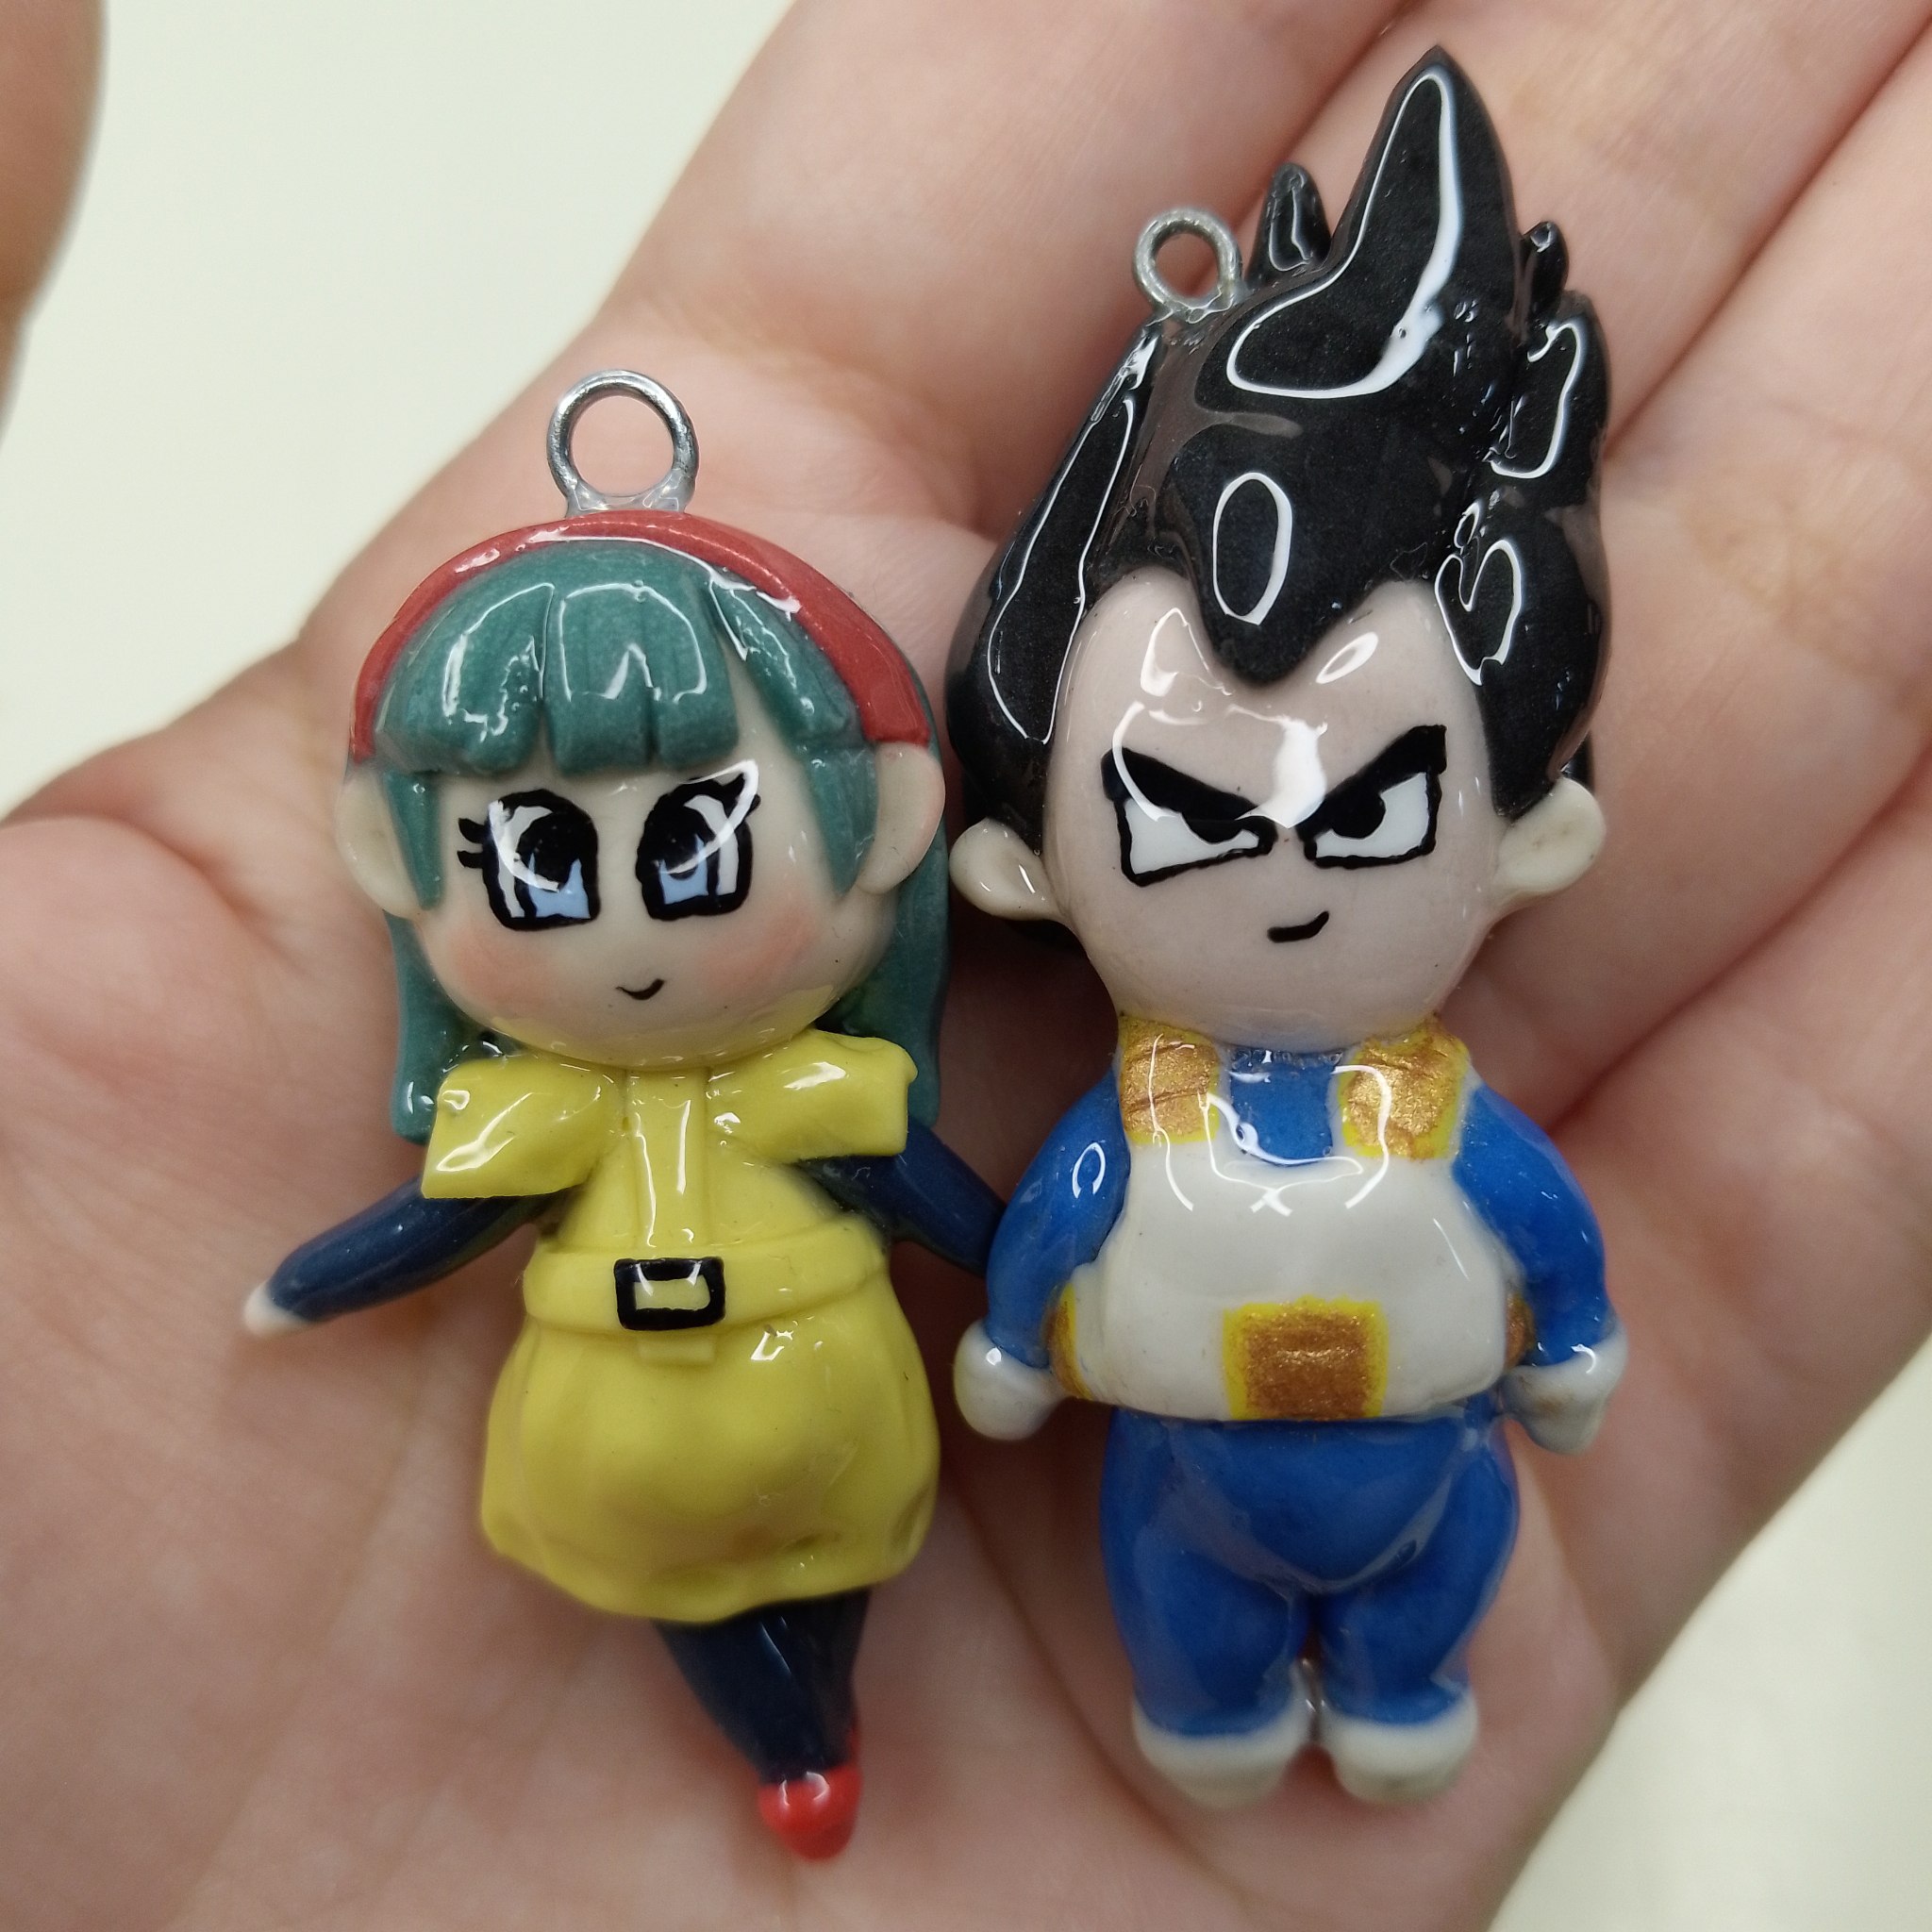 Junto a Bulma / Together with Bulma
¡Muchas gracias por leerme! Thank you so much for reading me!
Fotografías propias, tomadas con mi Tecno Spark 10C. Traducido al inglés con DeepL.
Own photographs, taken with my Tecno Spark 10C. Translated to English with DeepL.

Posted Using INLEO