I am leaving my participation today by using the tag #beediy in this wonderful monthly contest organized by the community. Surely, you are moving your valuable time towards creative art. I think art is on the verge of extinction. So we need to be more attentive and interested in art.
These special natural materials have really made me interested in creating joyful art. This special art will really promote caring for the environment. And through style skills, I express my interest in further progressing and creating art. Surely our interest, effort and attention play an important role in creating a beautiful art.
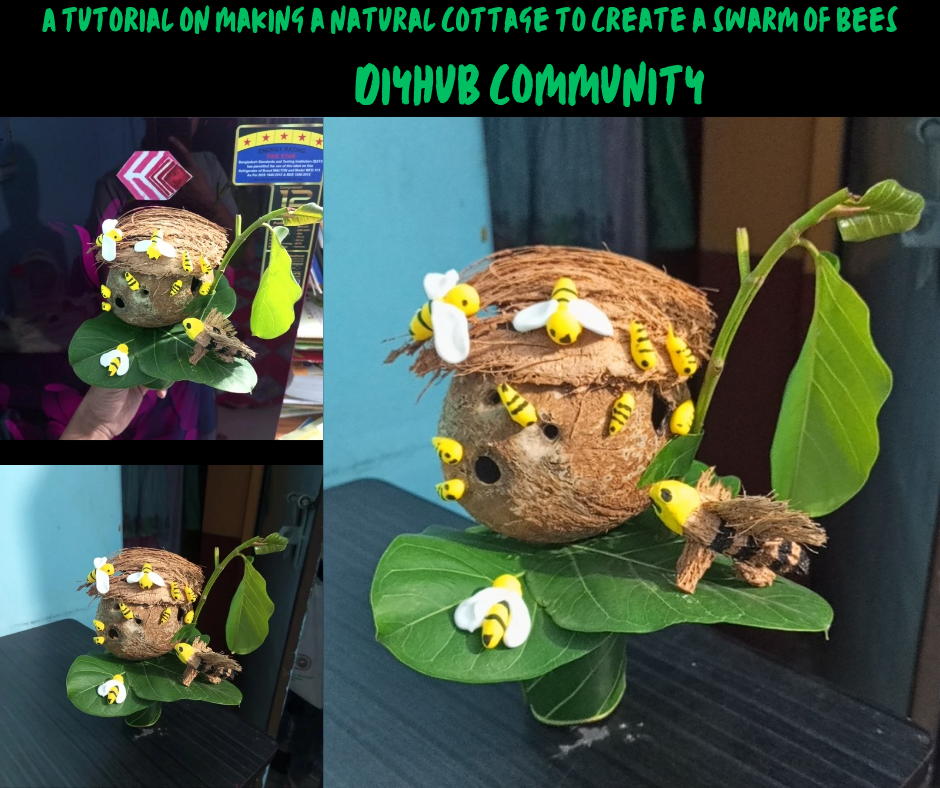
step by step bee and Cottage making tutorial
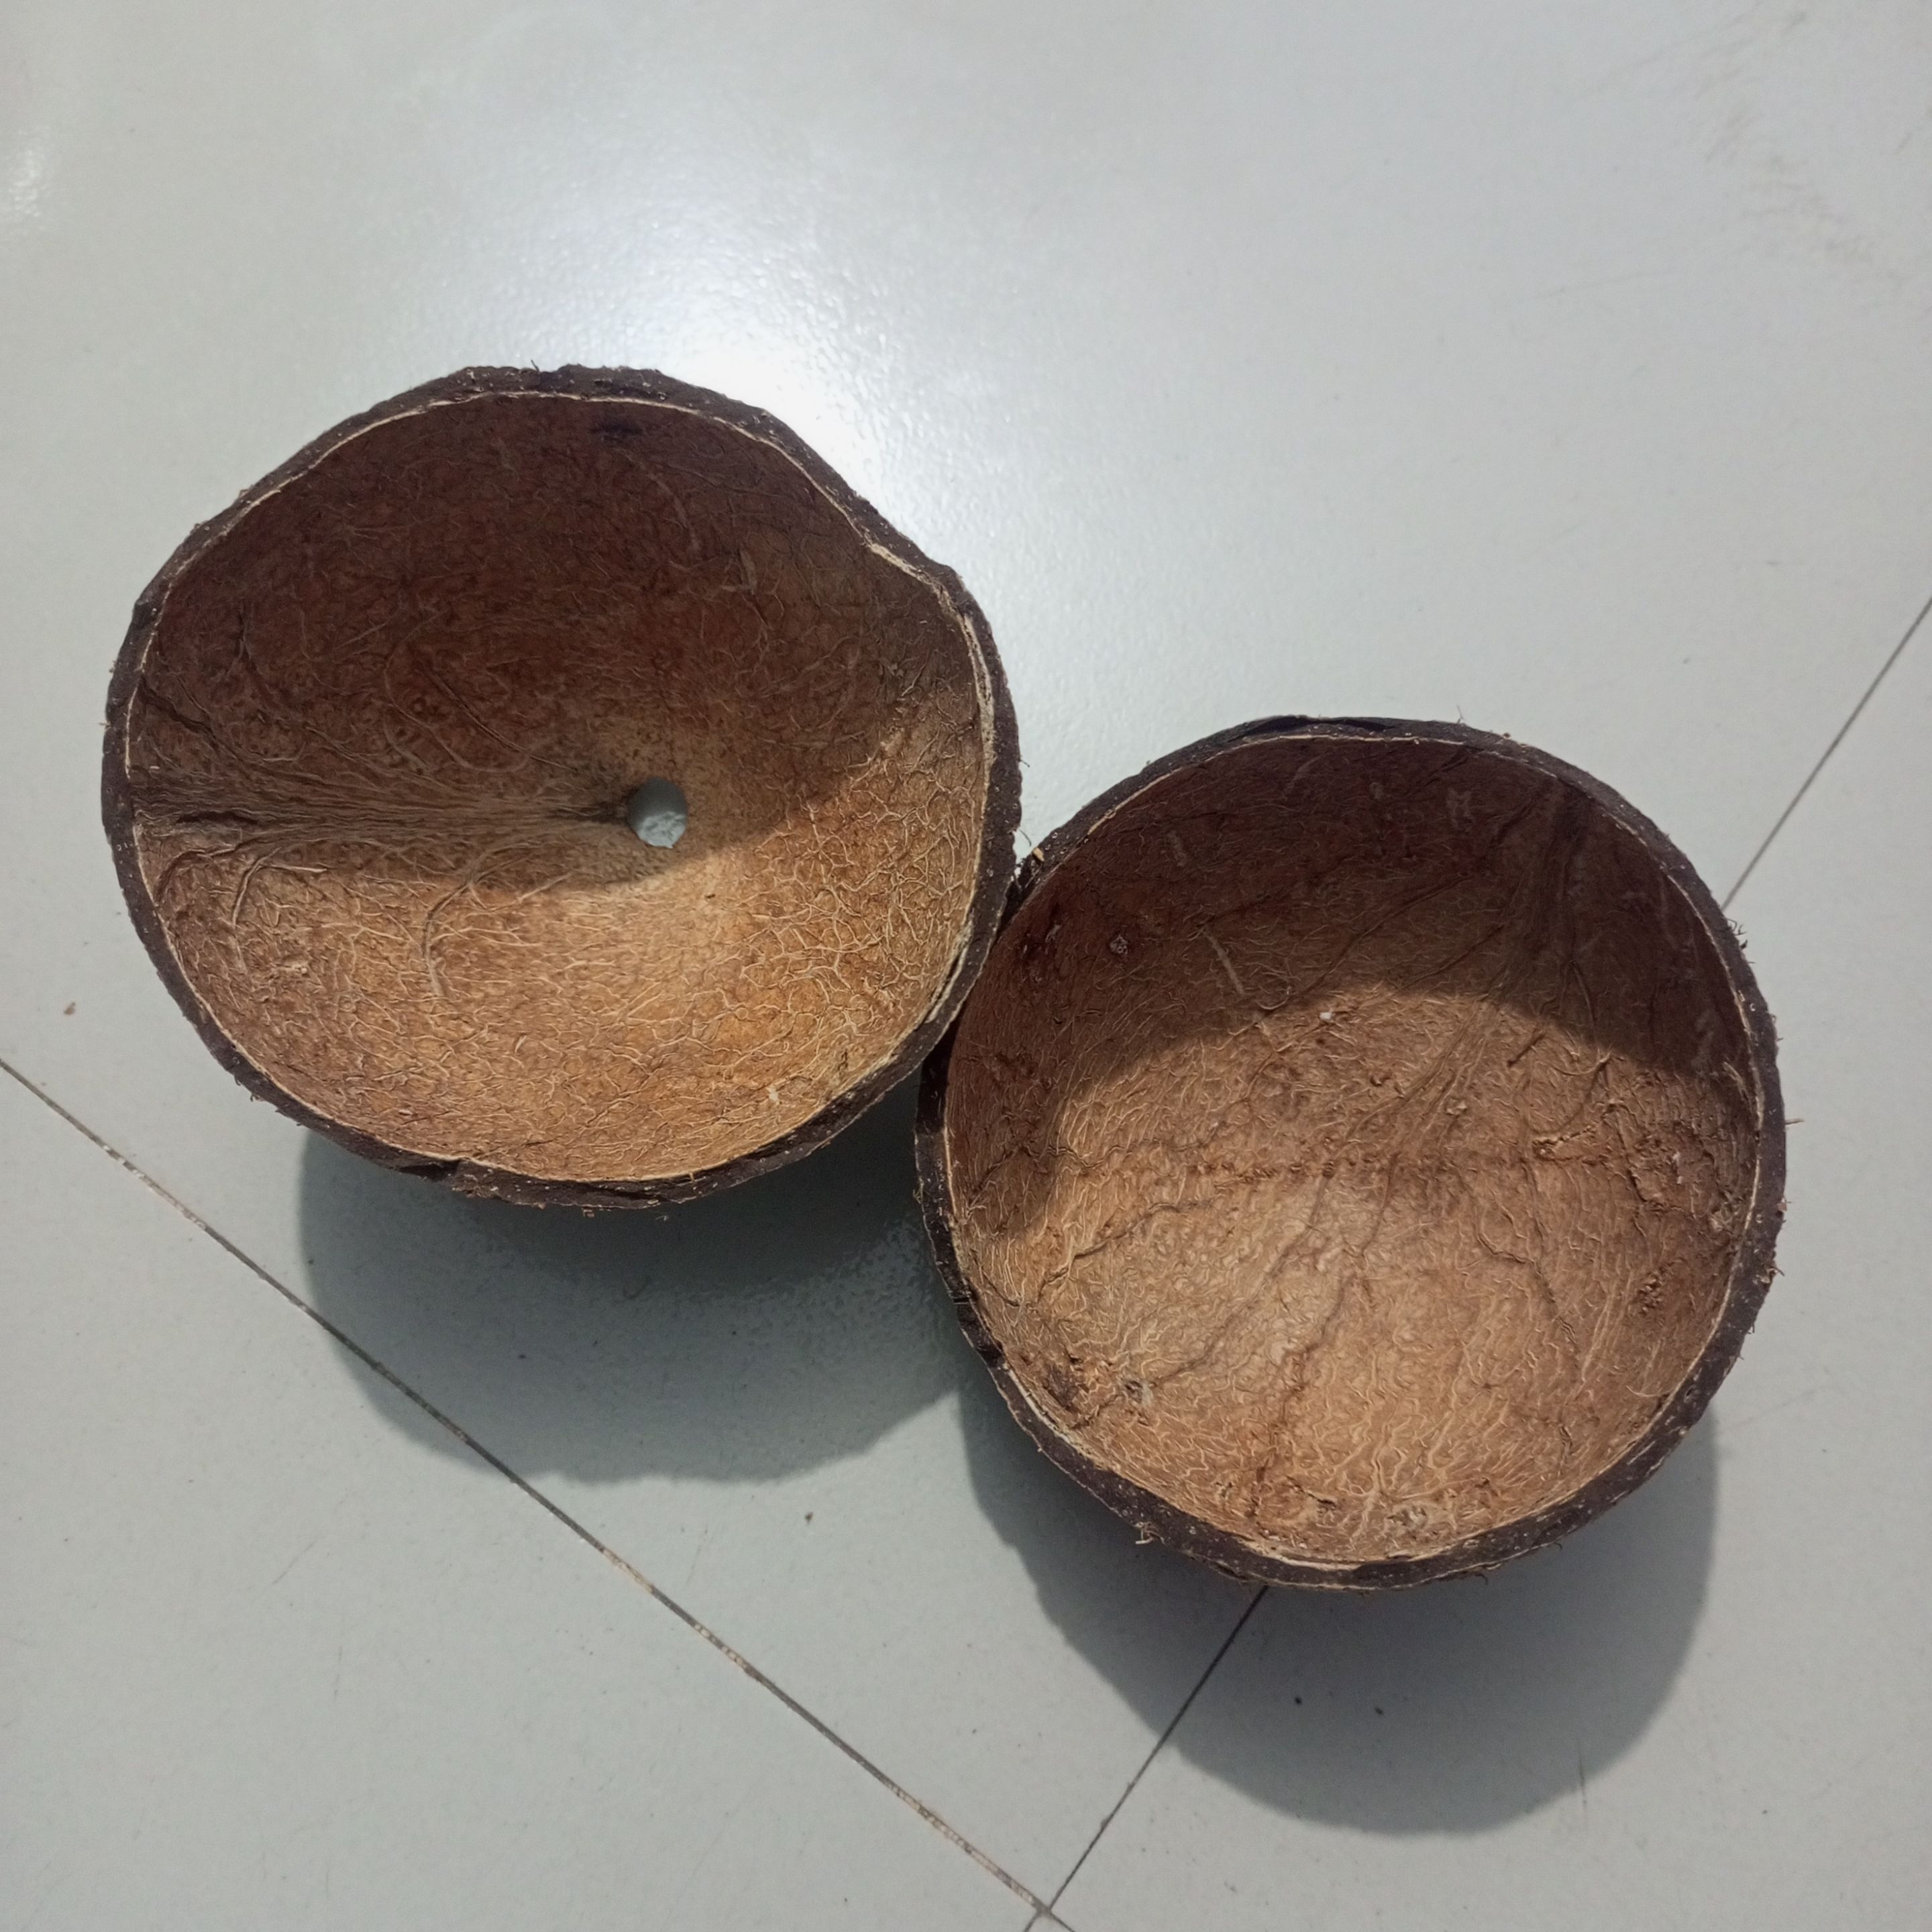
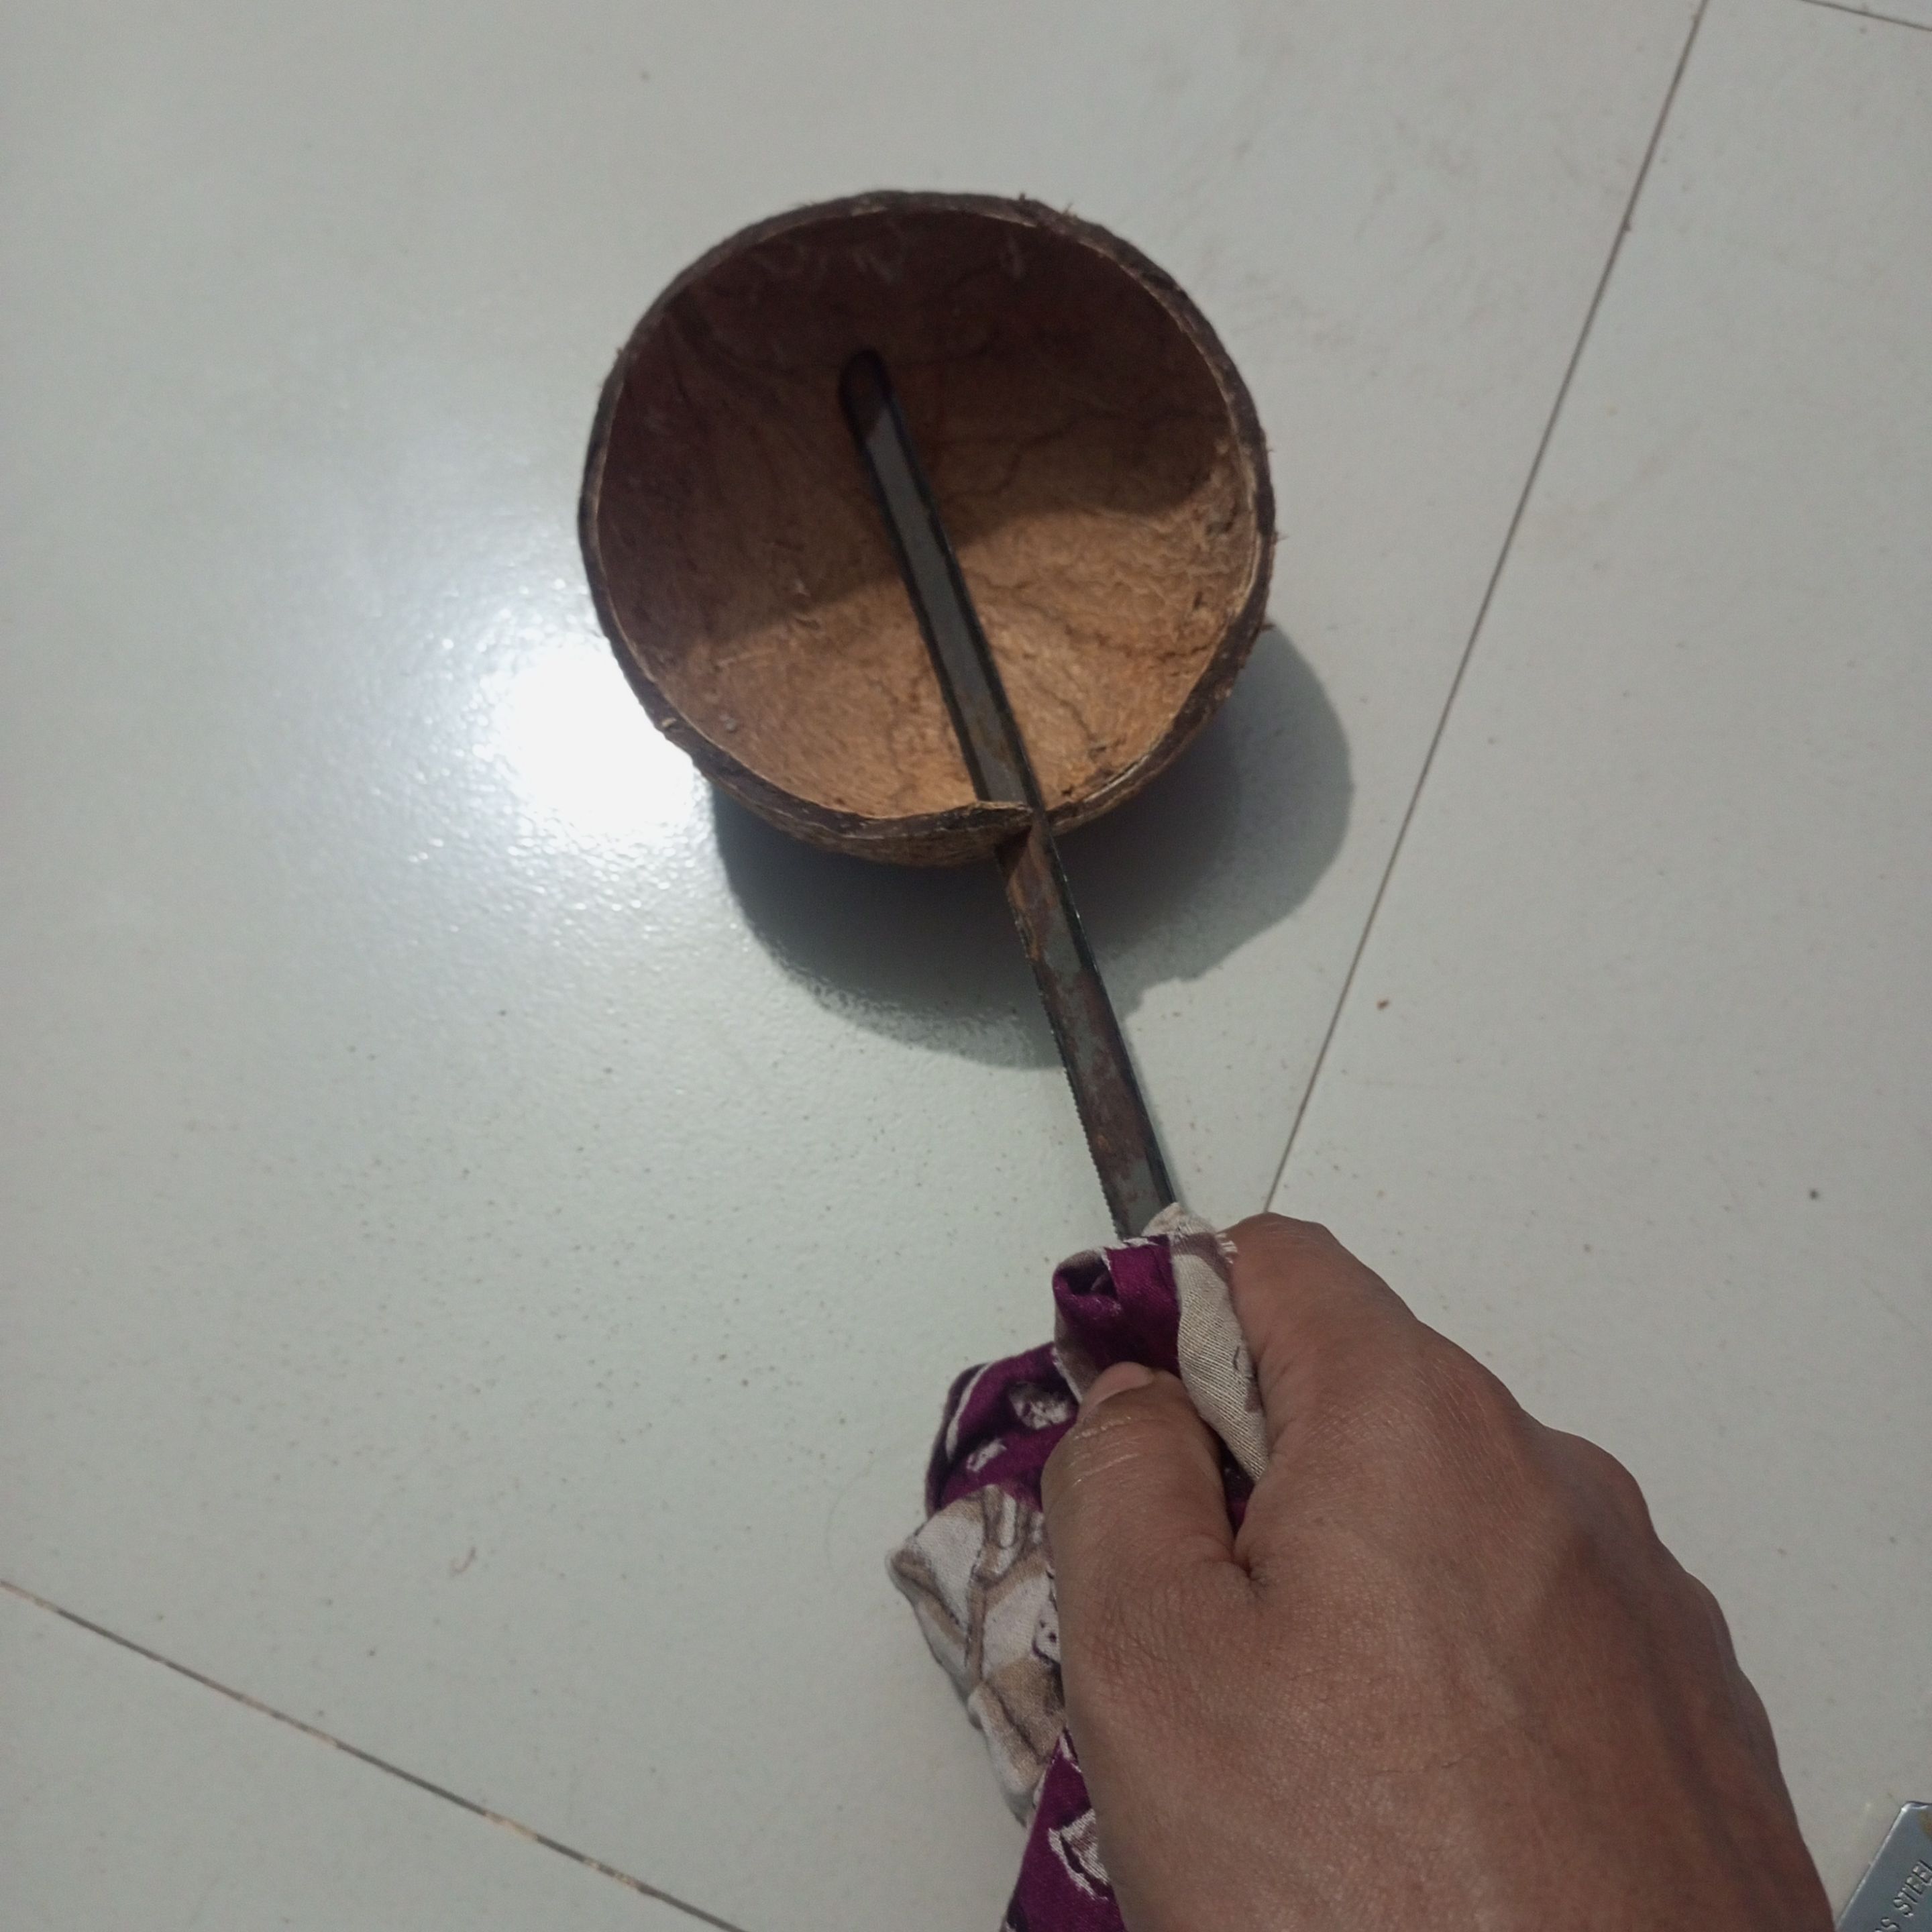
In this step, I carefully cut the coconut shell using a Hasco blade, which will provide a great entryway for the bees.
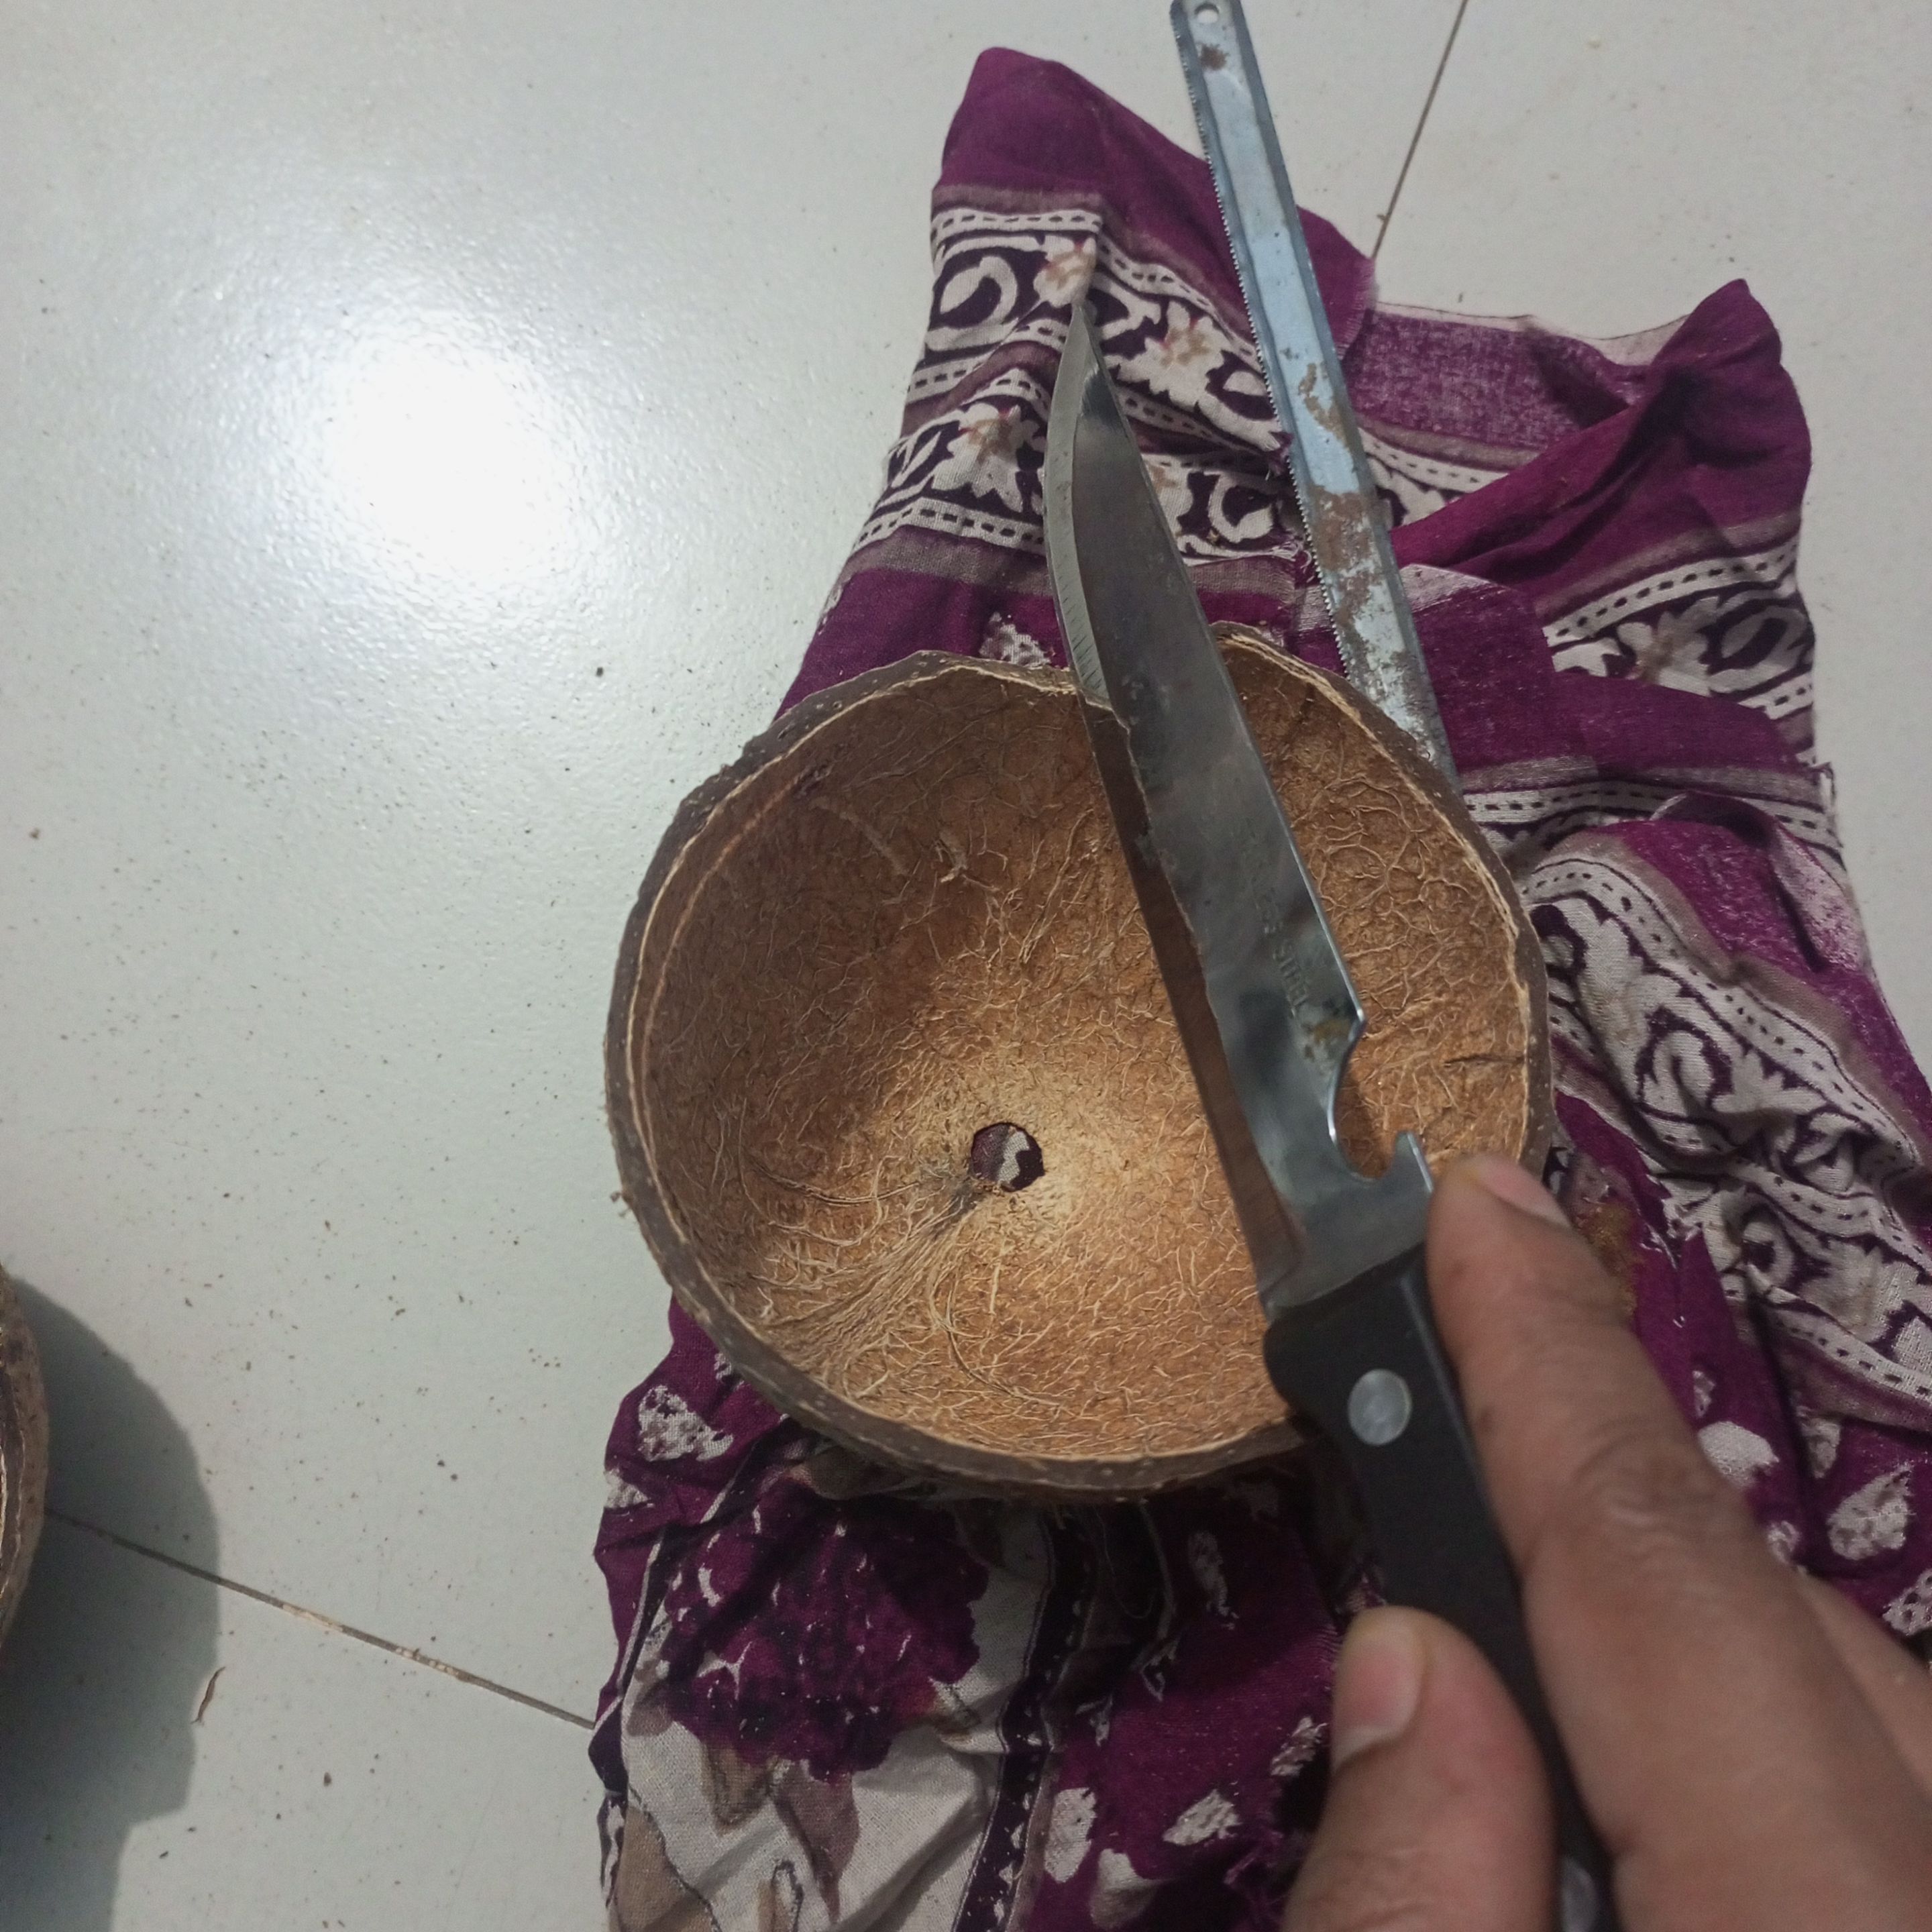
Next, I used a knife to smooth out the hole nicely. Let's follow the next step.

This is how I neatly joined the two coconut shells using B-6000 glue.
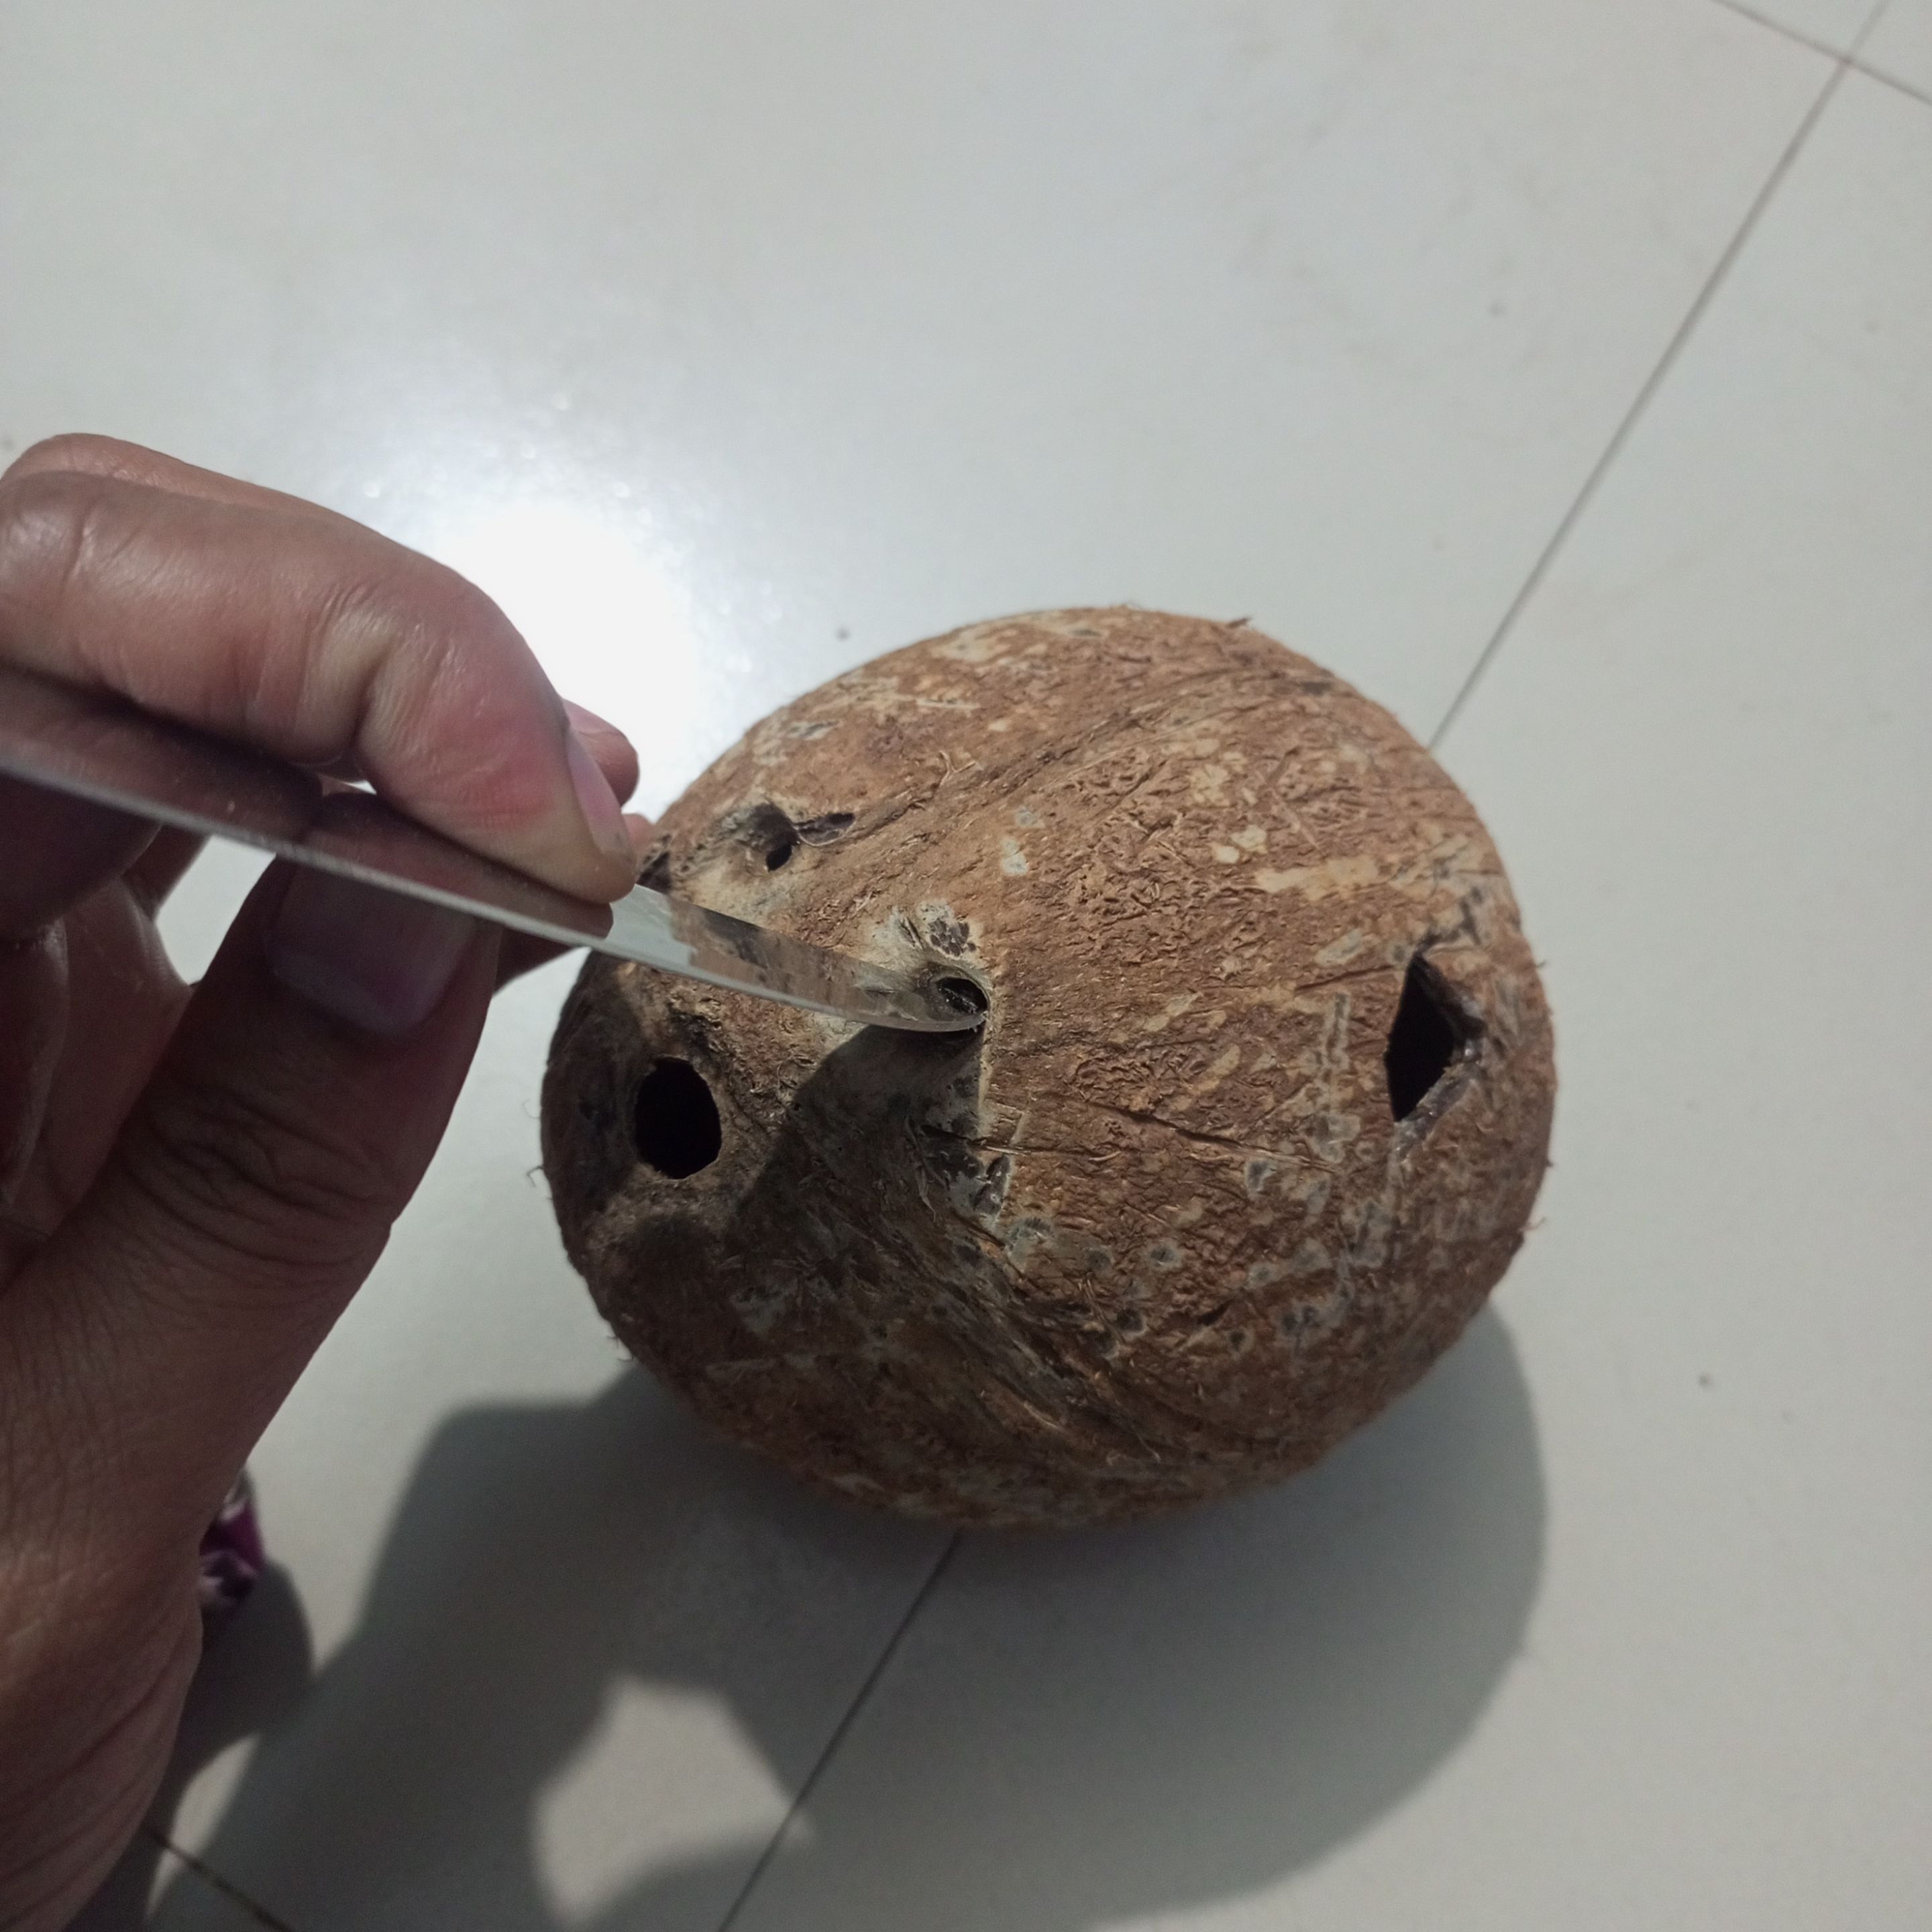
Later, using a knife, I made all the holes beautifully small and large with great feeling.

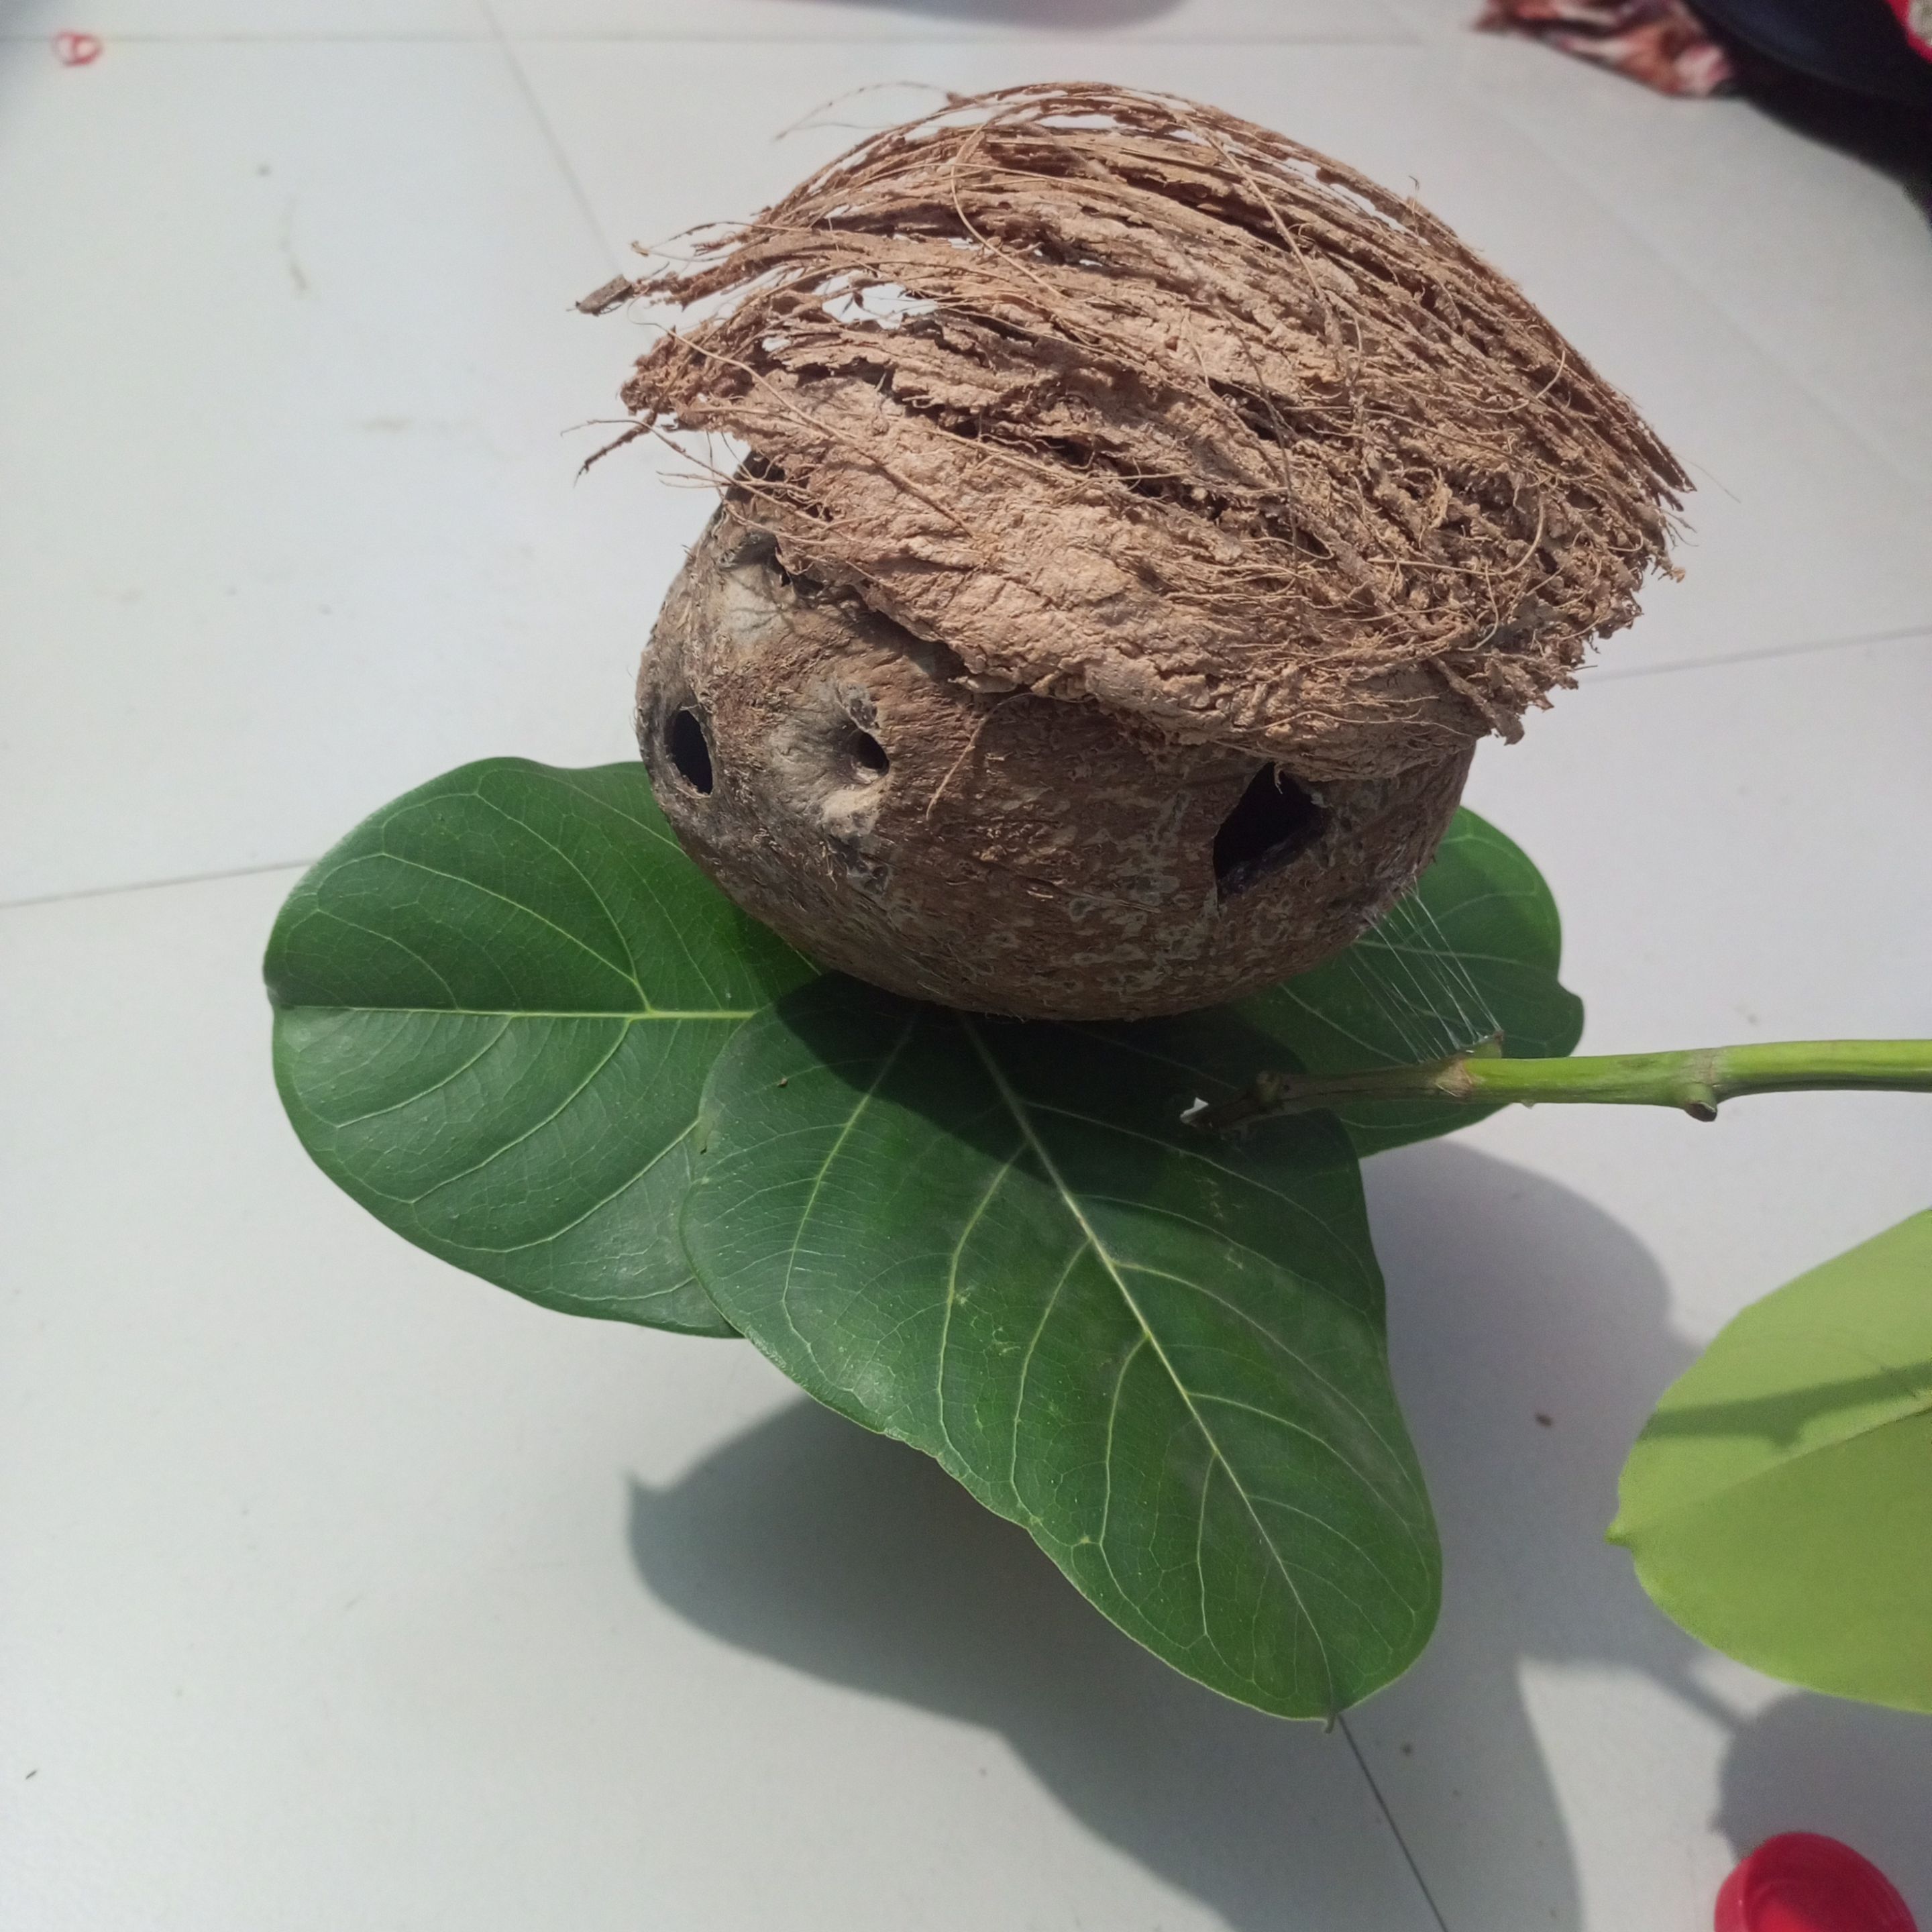
In this step, first I took the coconut husk and then I attached the coconut husk to the top of the coconut shell using B-6000 glue. Then I put two leaves together and then I attached another leaf and glued it. Then I attached the coconut cottage on the top using glue. Here I have taken a plastic bottle. So let's follow the next step.
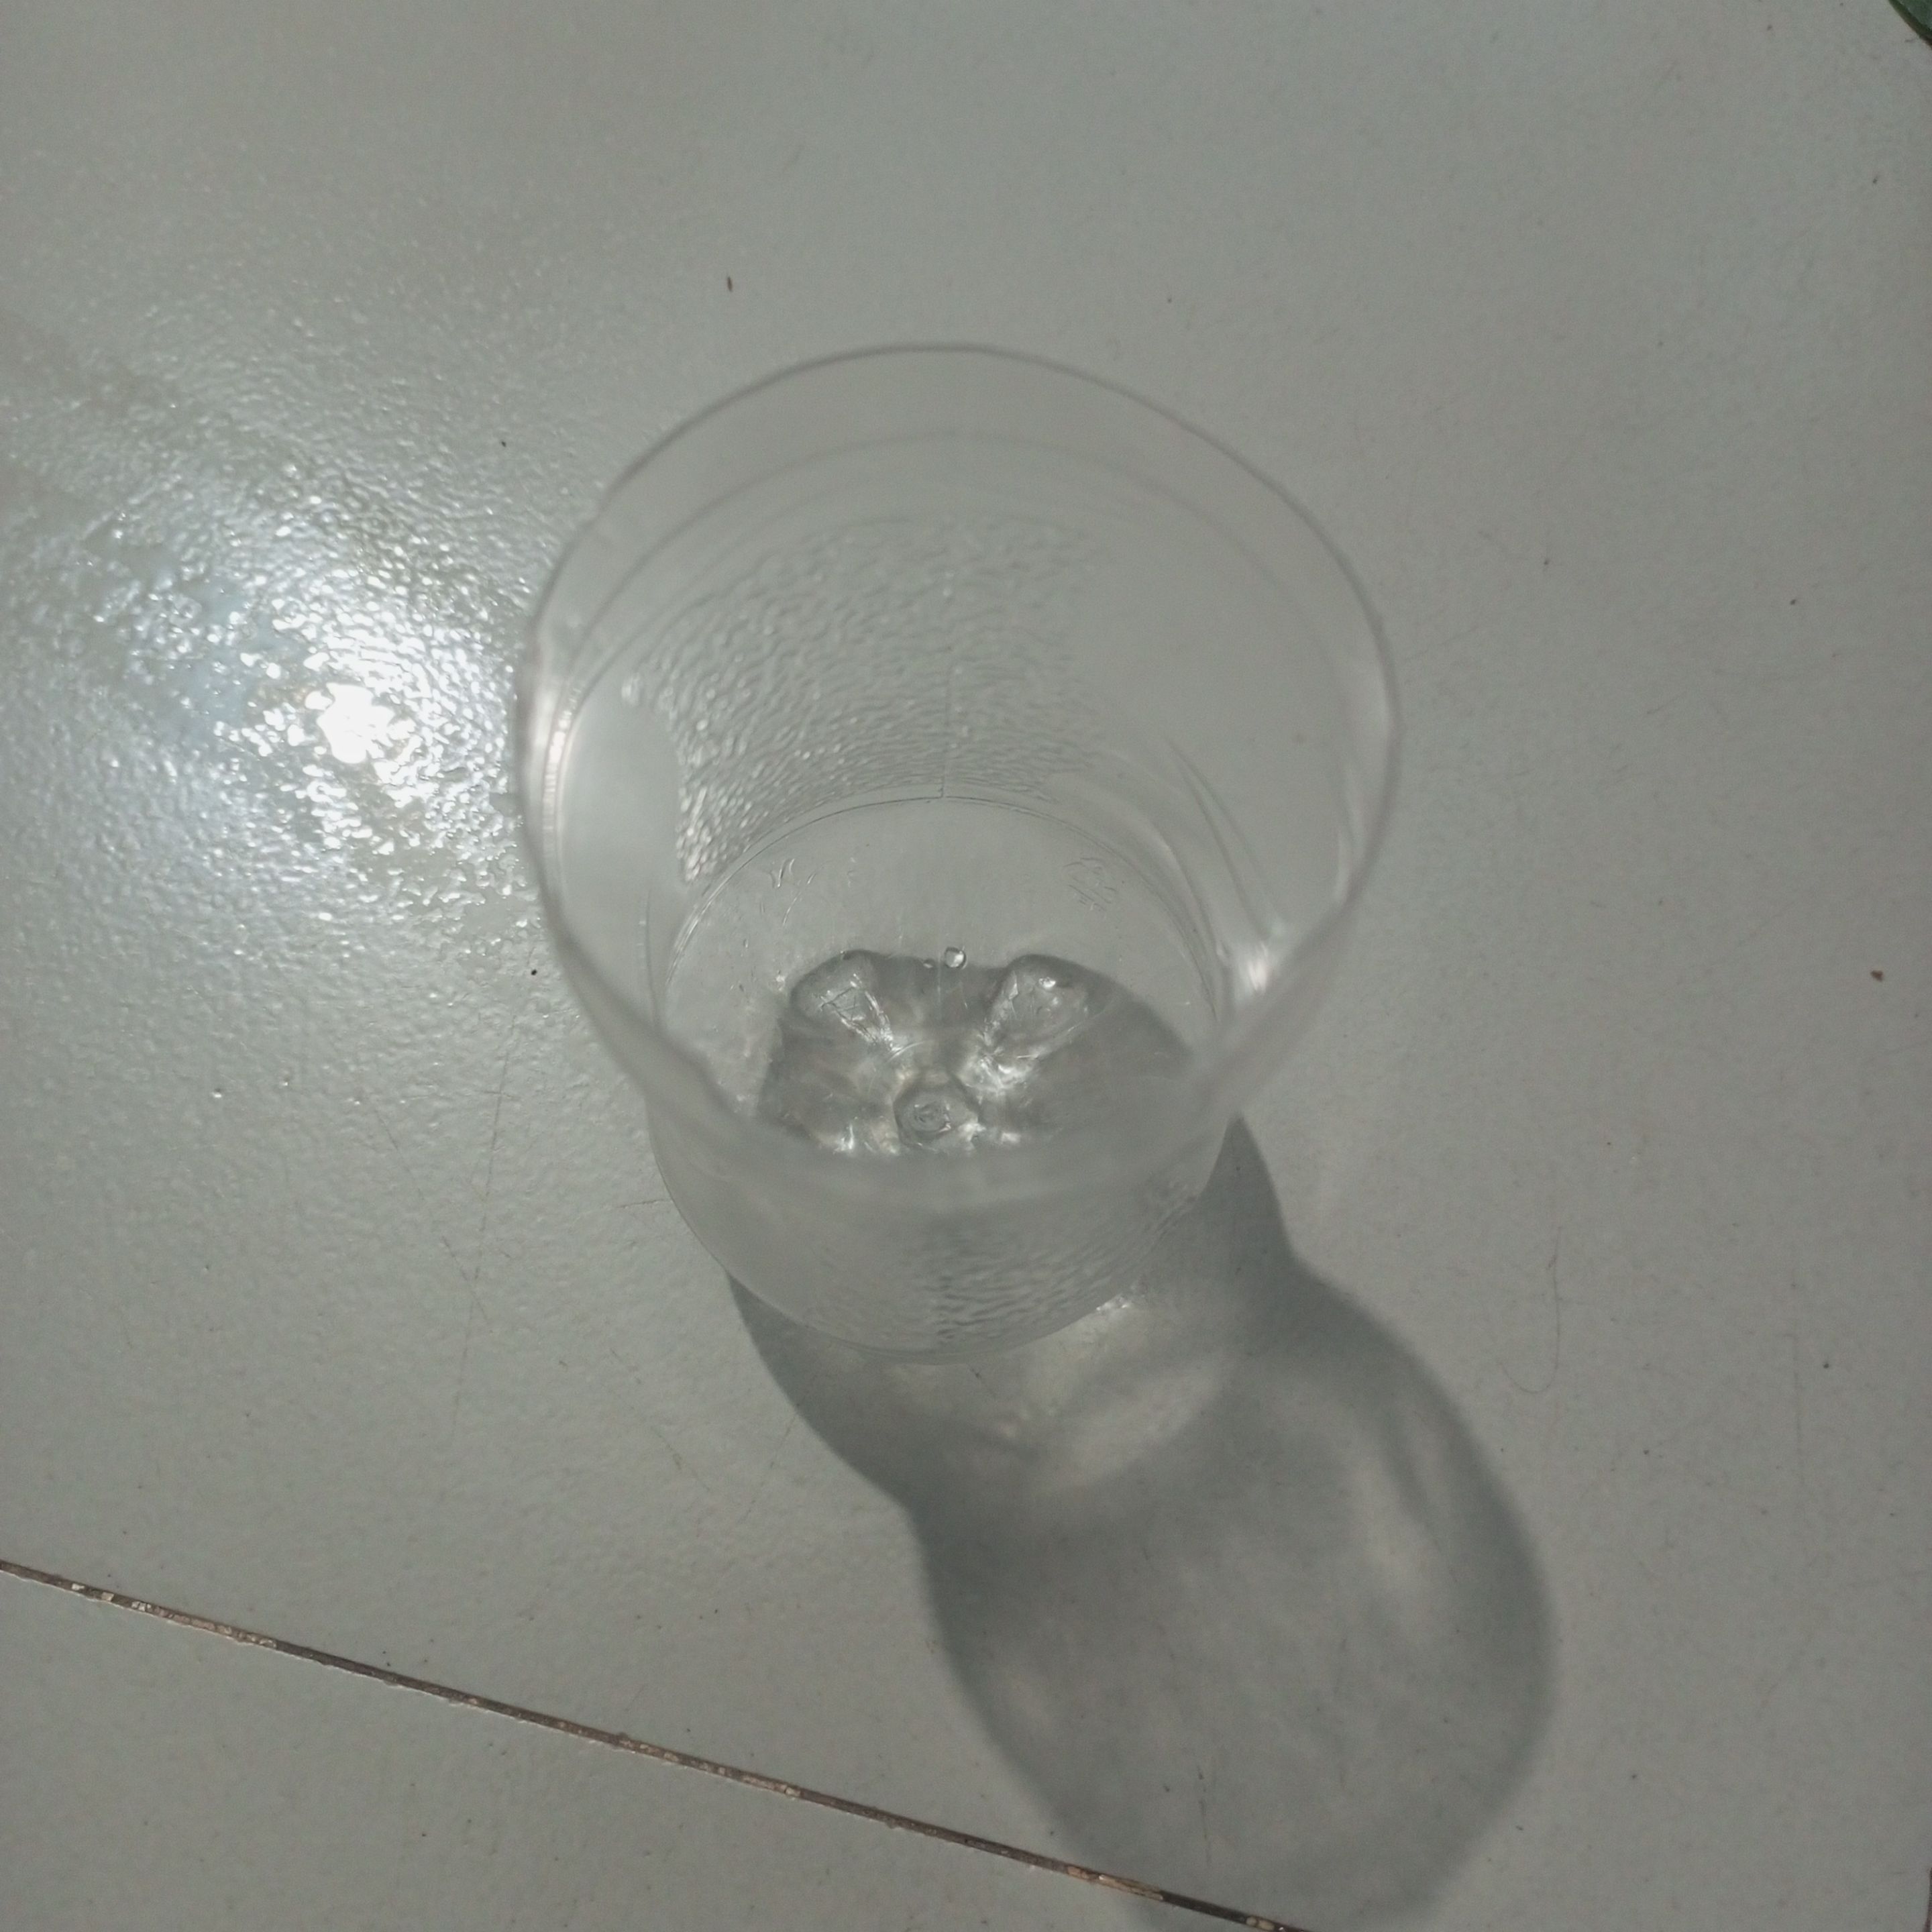
I cut the bottle in half with great feeling using the anti-cutter.
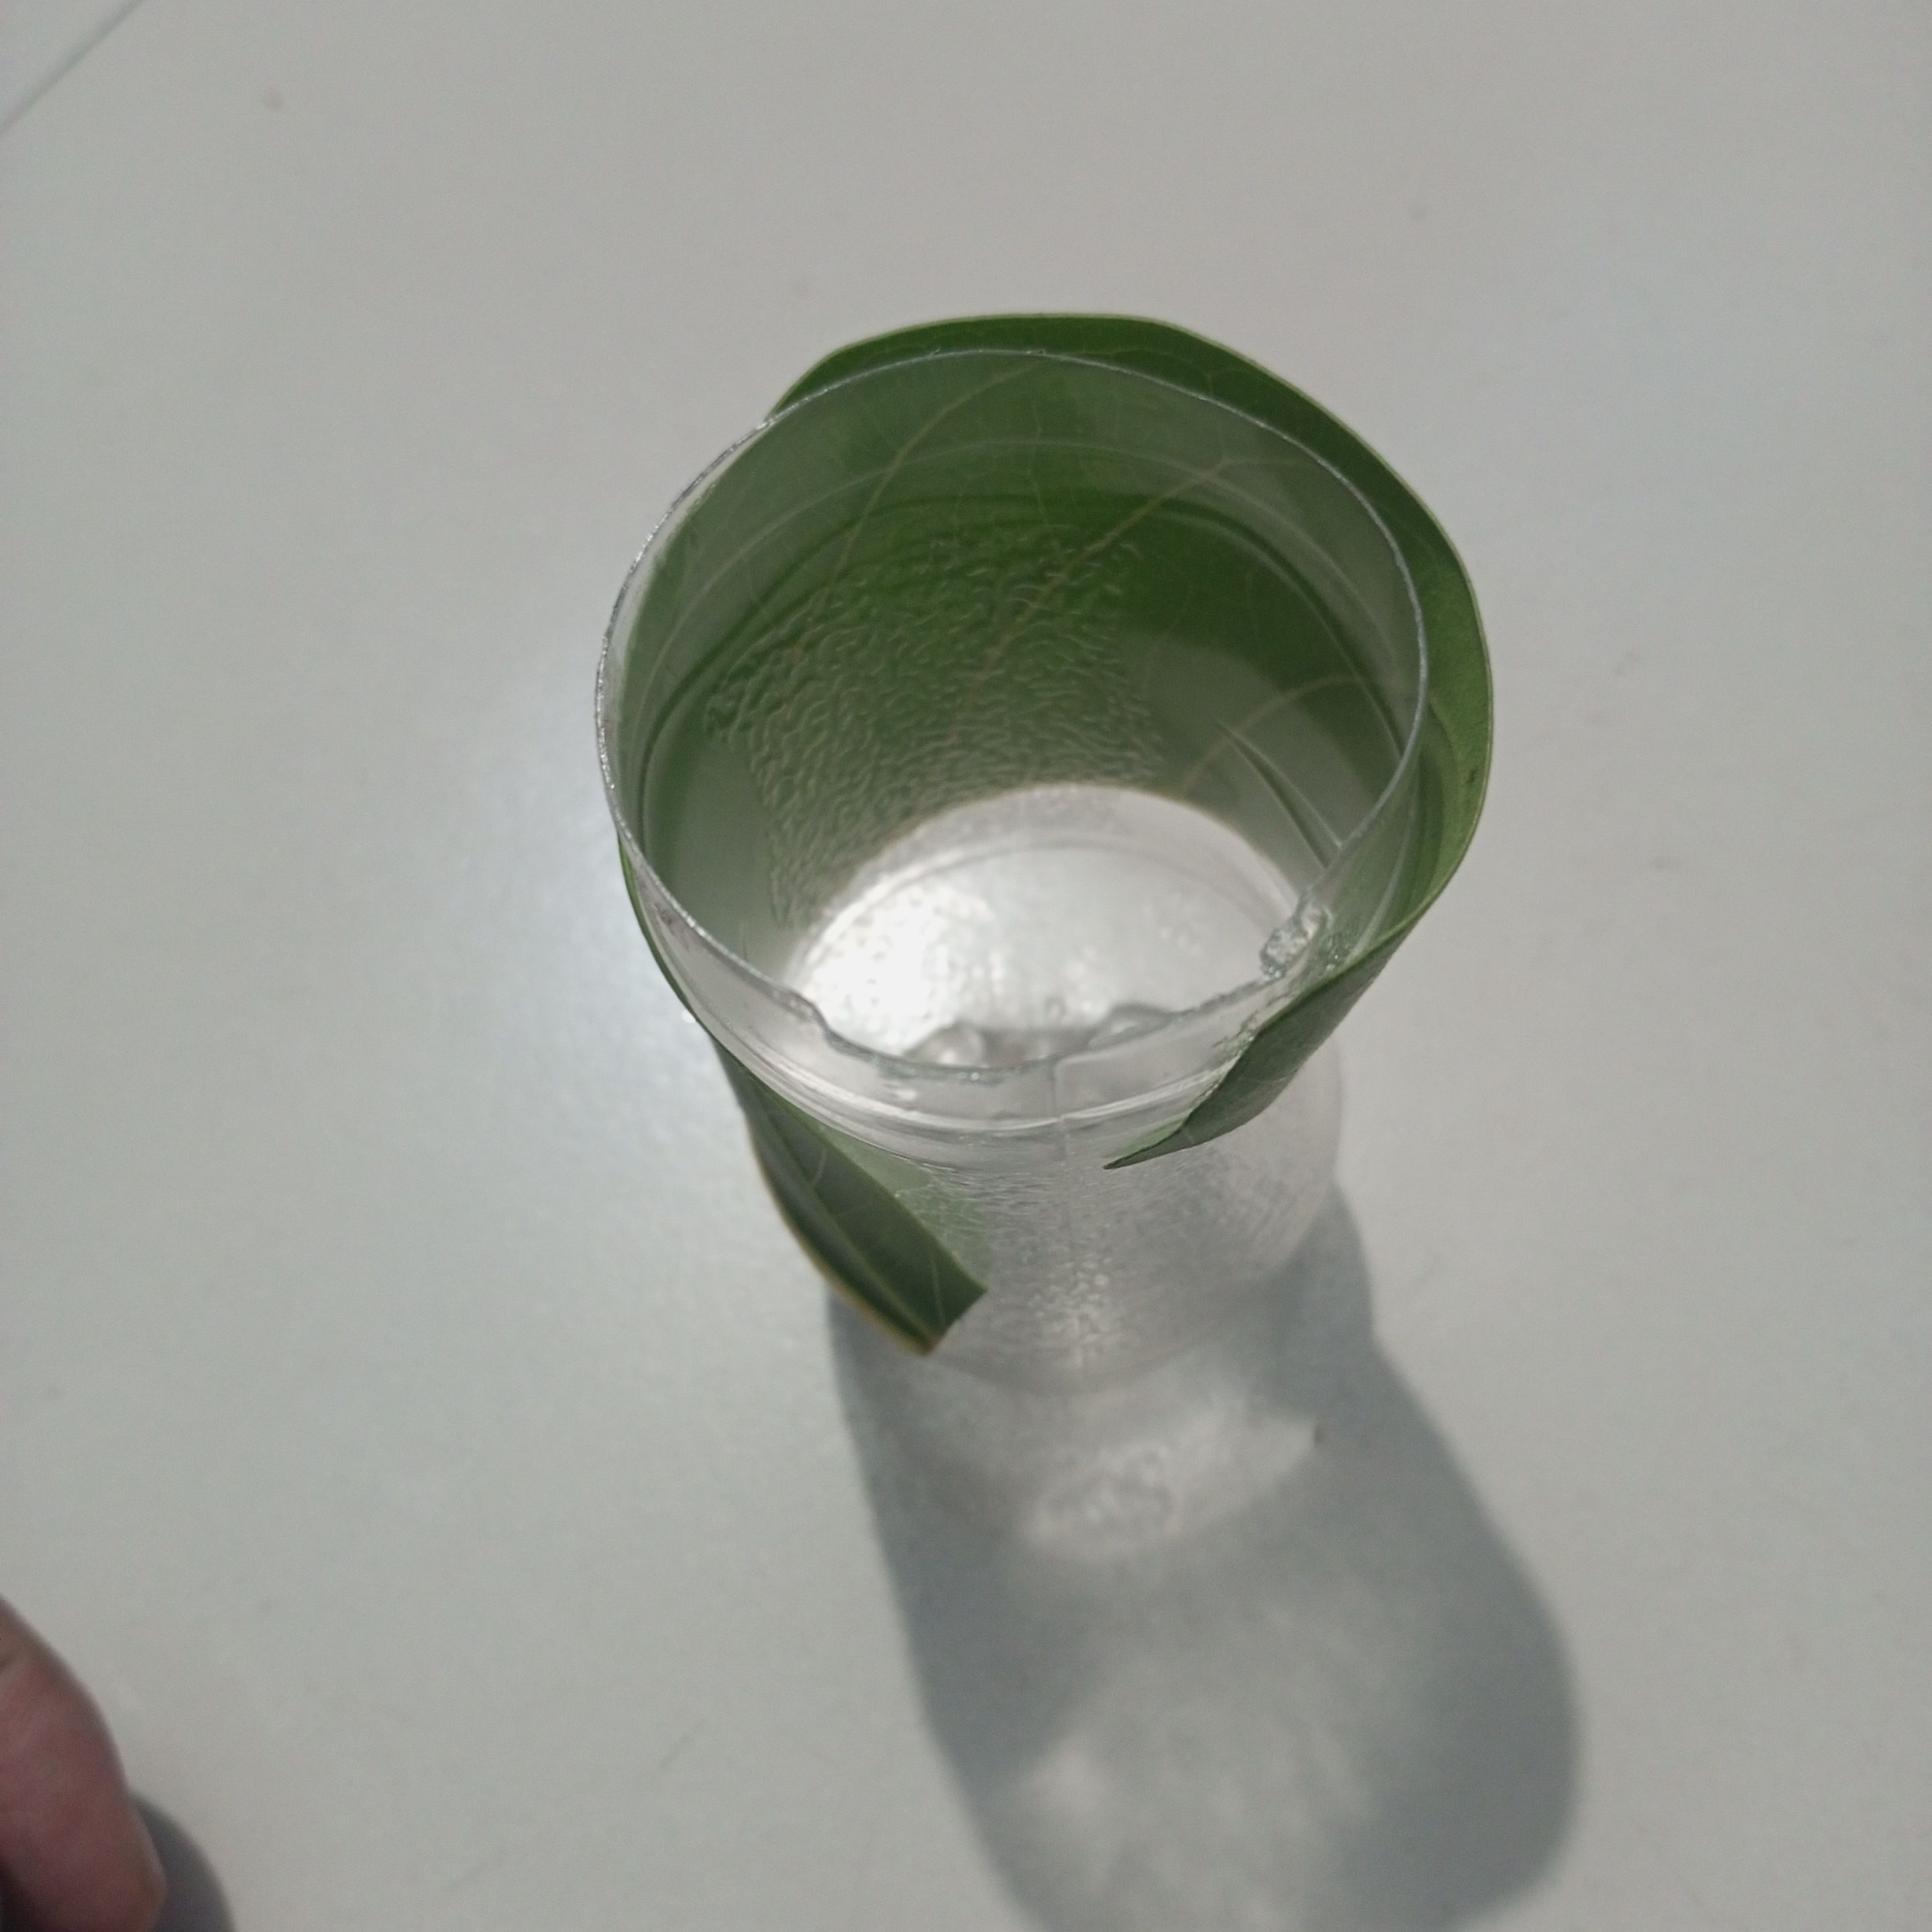
Next, I first attached a leaf to the area around the bottle using glue.
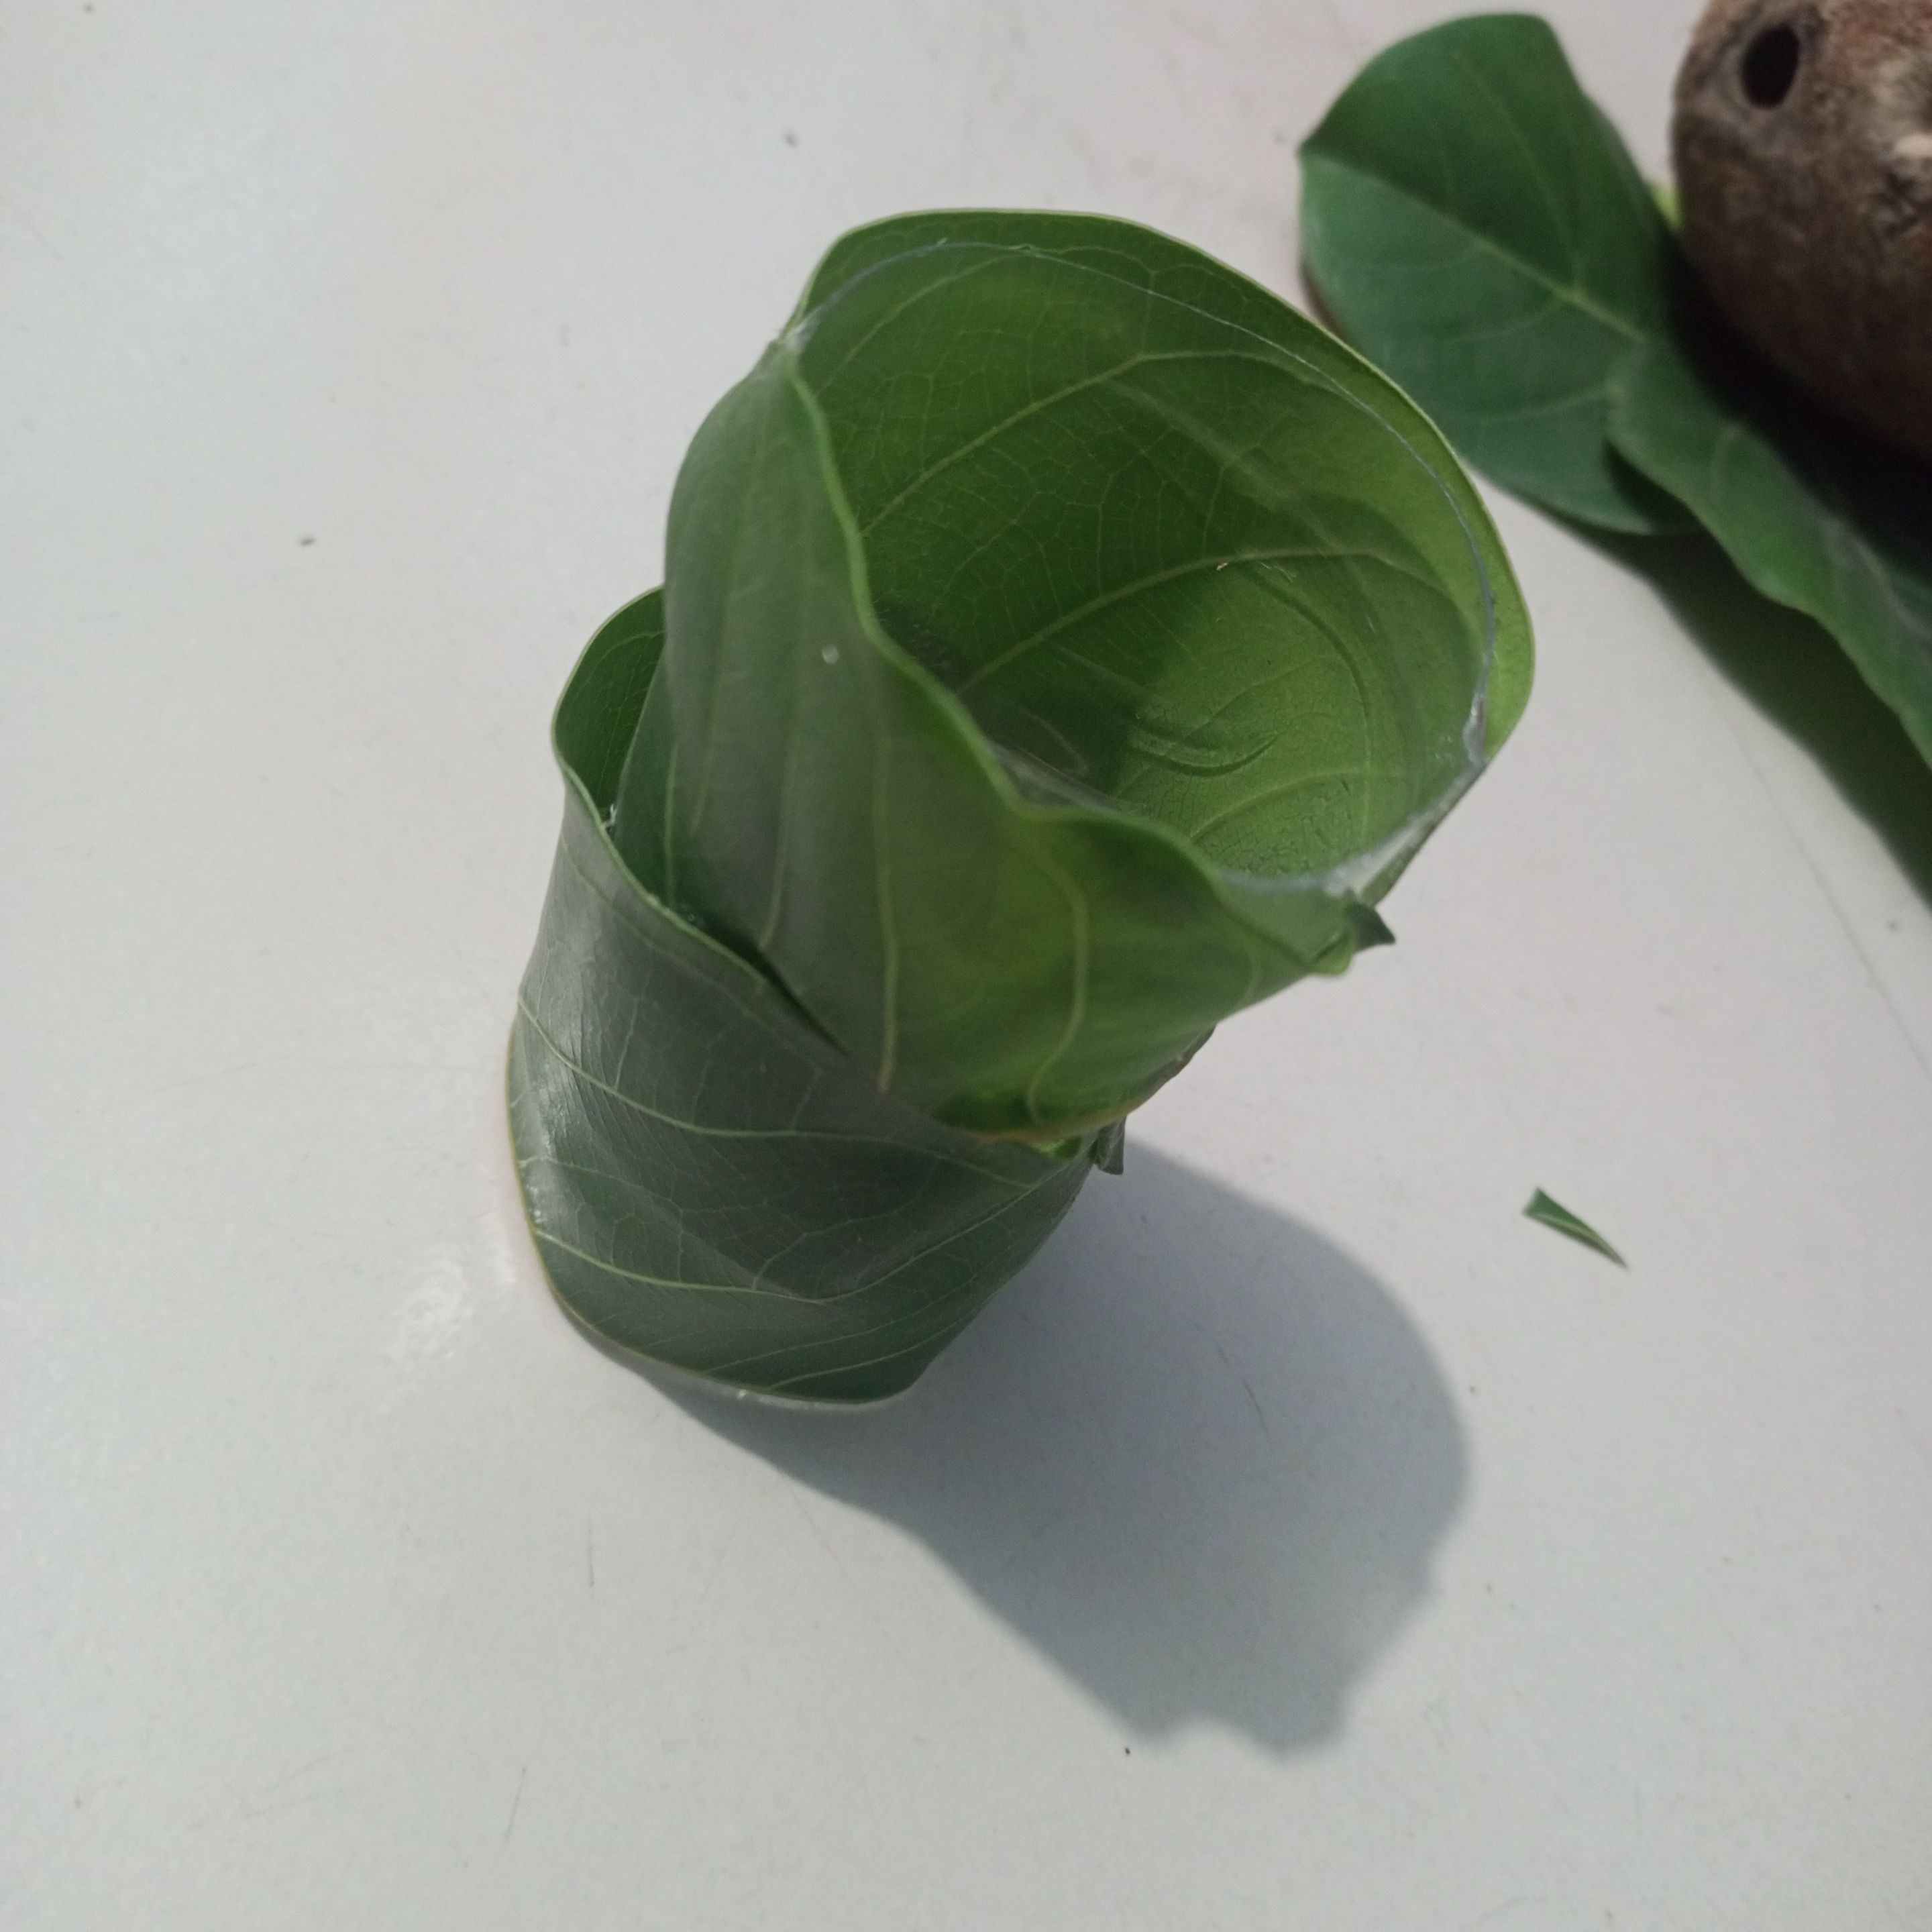
Then, I applied glue around the bottle, arranged the leaves of the tree beautifully, and covered the bottle with plastic.
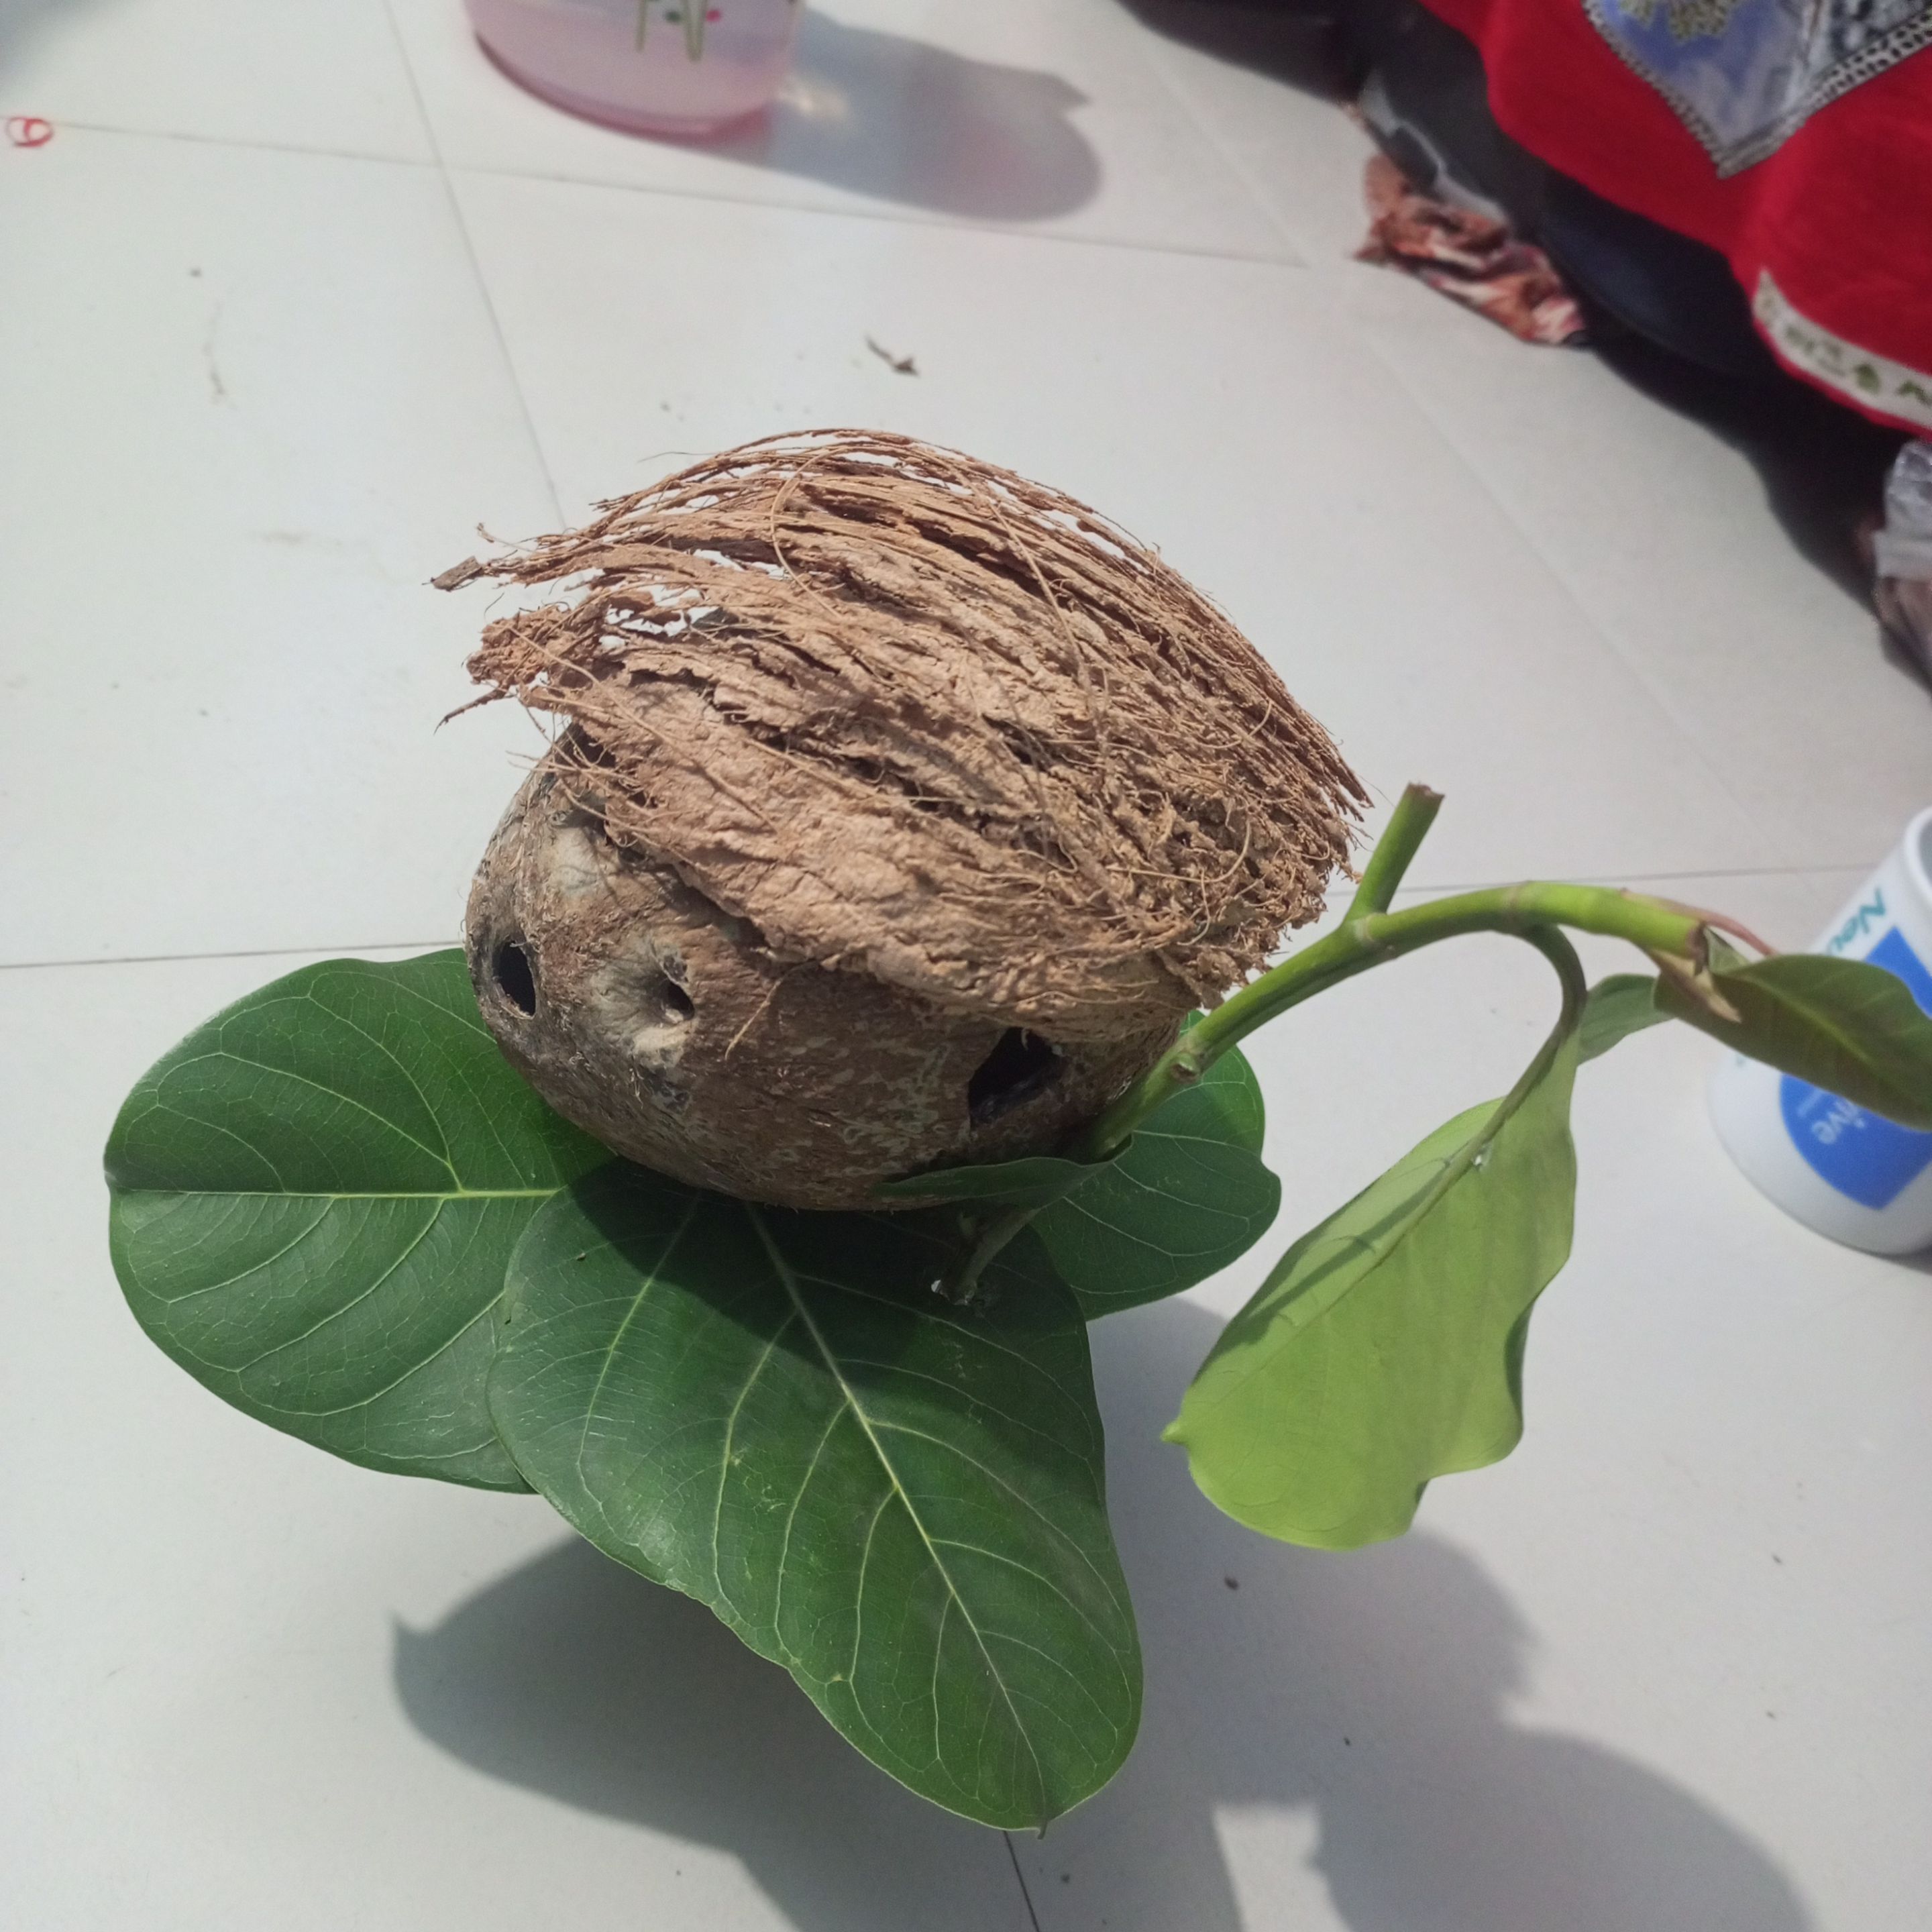
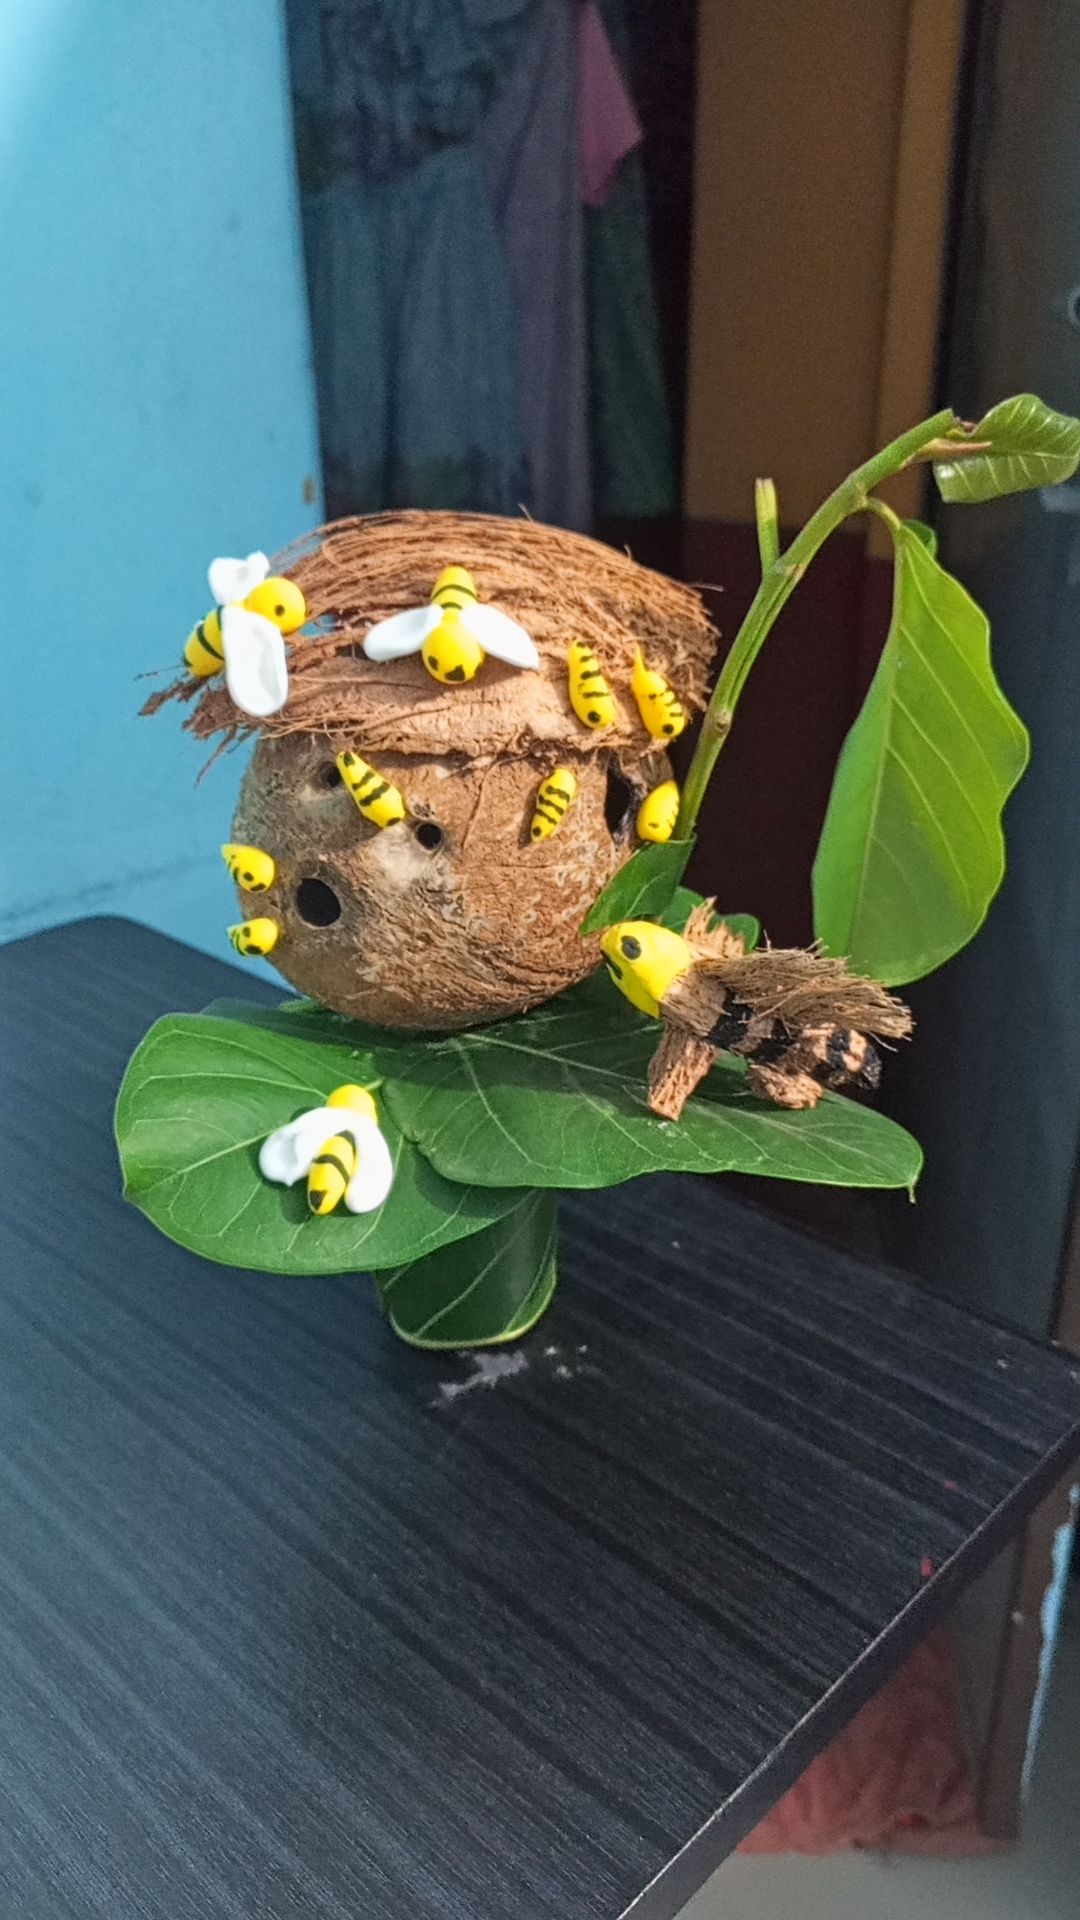
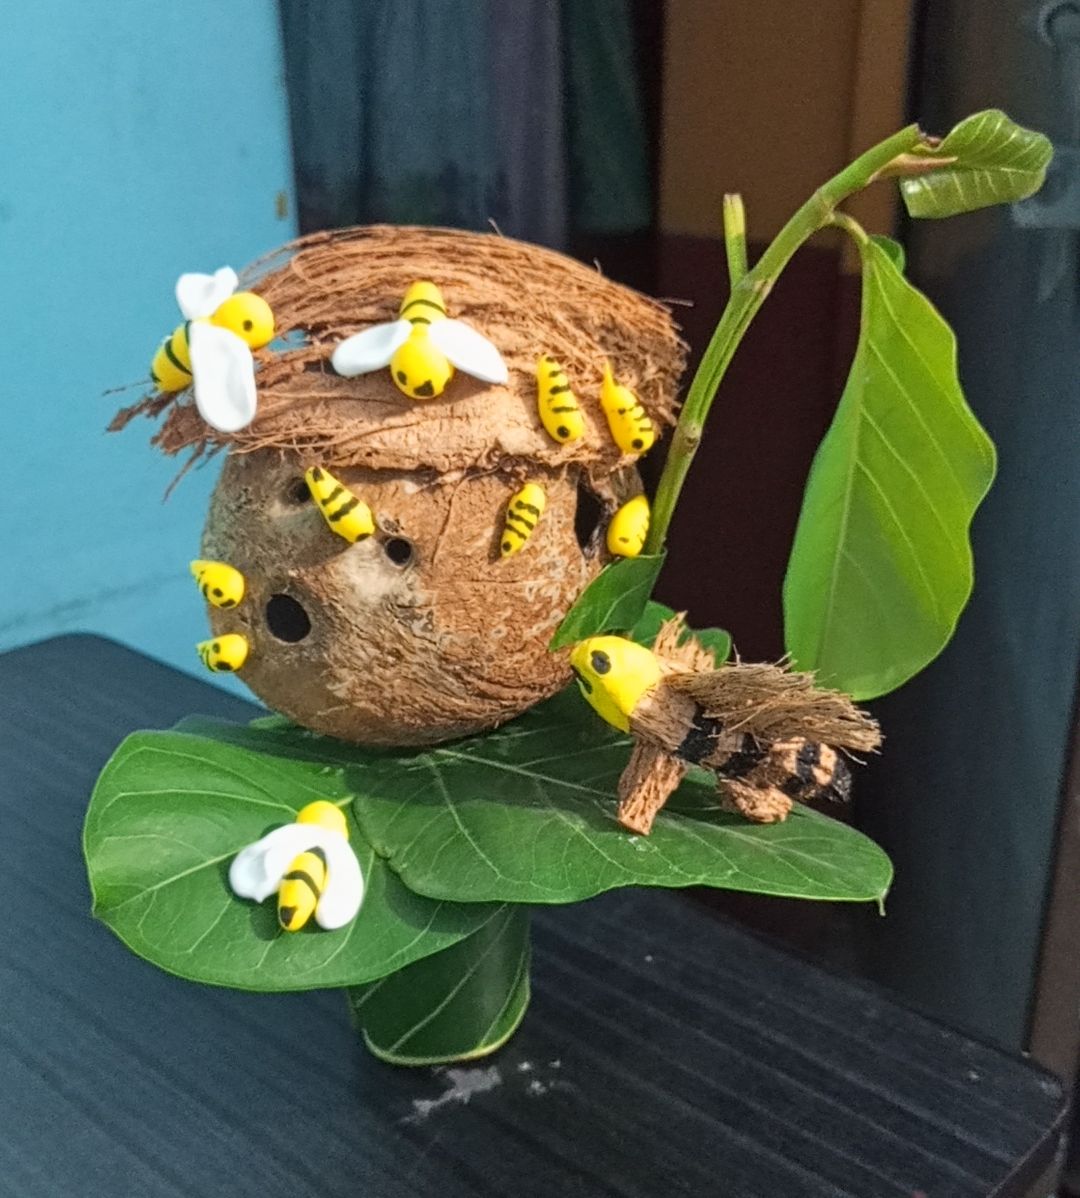
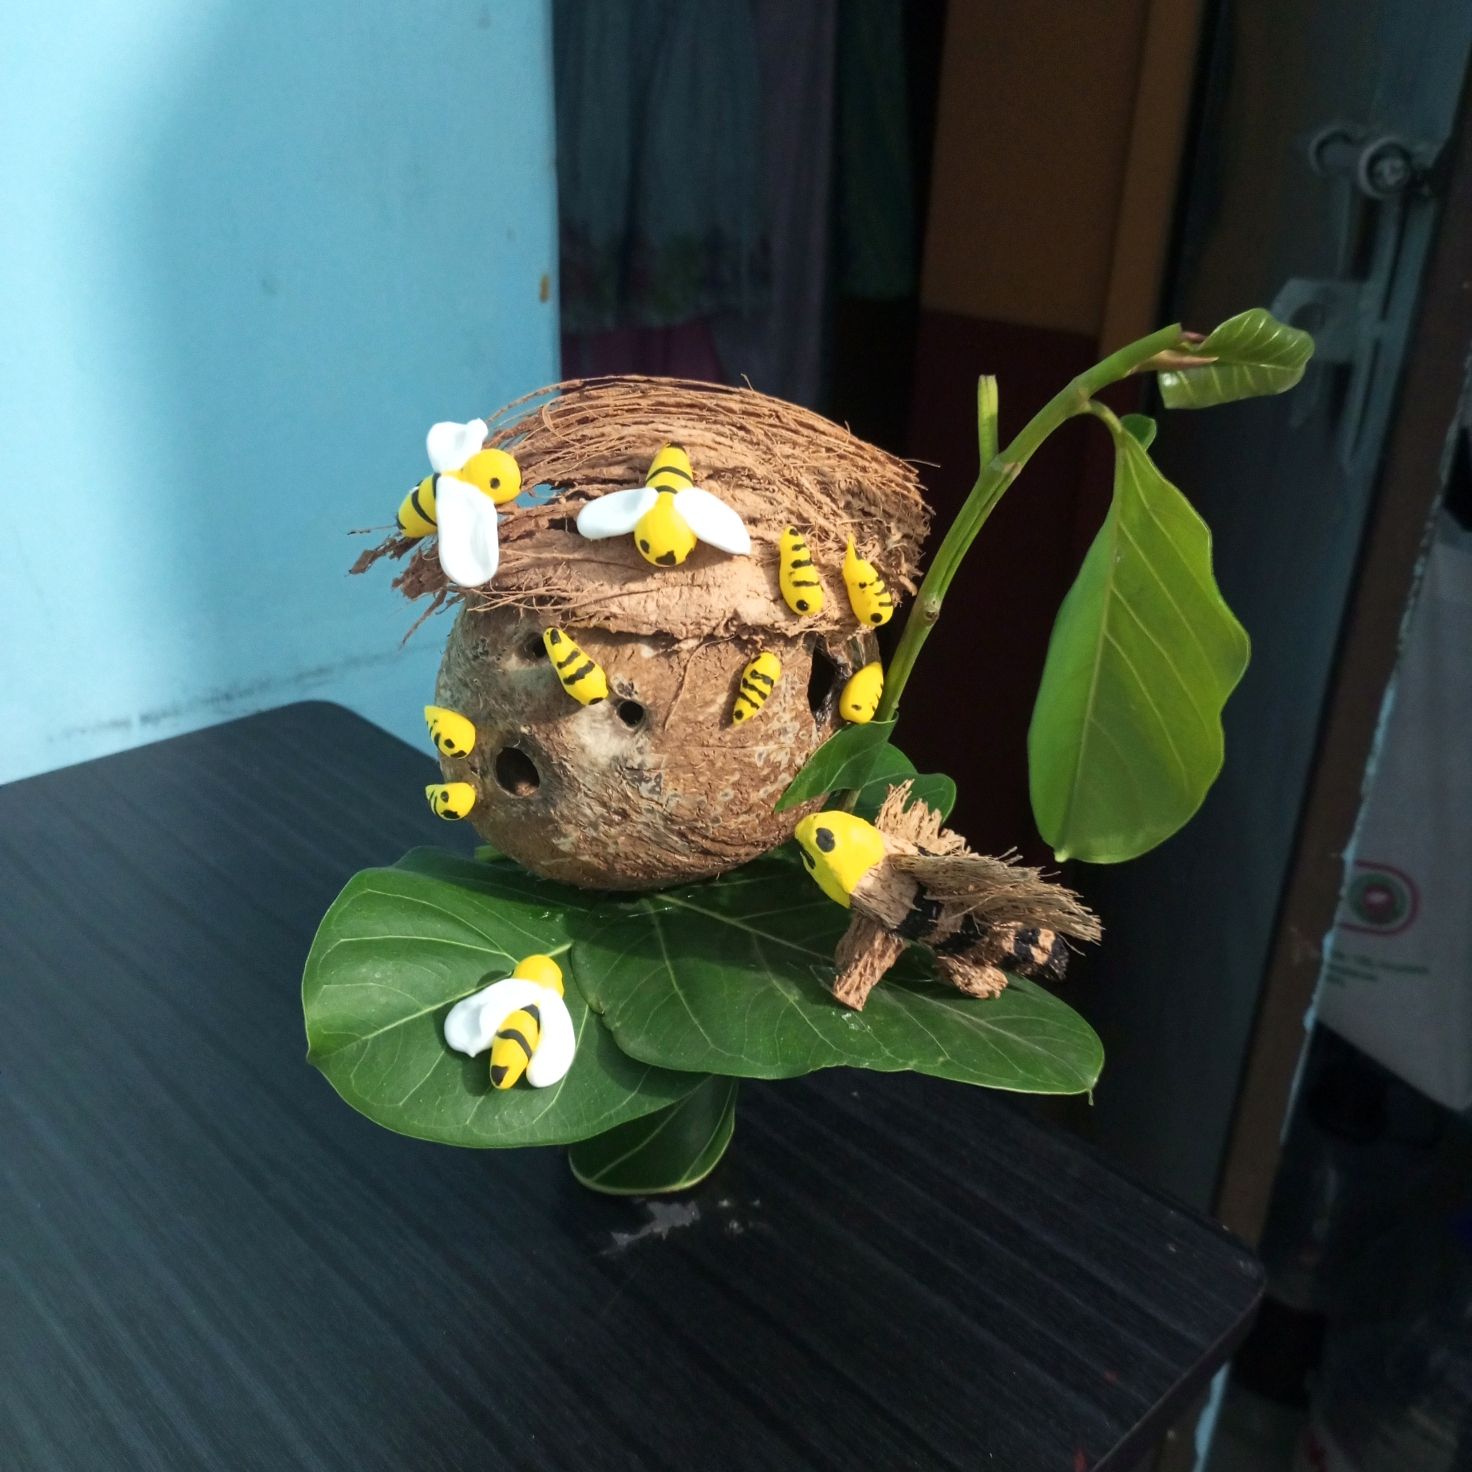
Next, in this step, I placed the natural coconut cottage on top of the plastic cottage made from coconut shells, creating a wonderful bee cottage. Next, I attached a tree branch here, inspired by a beehive.
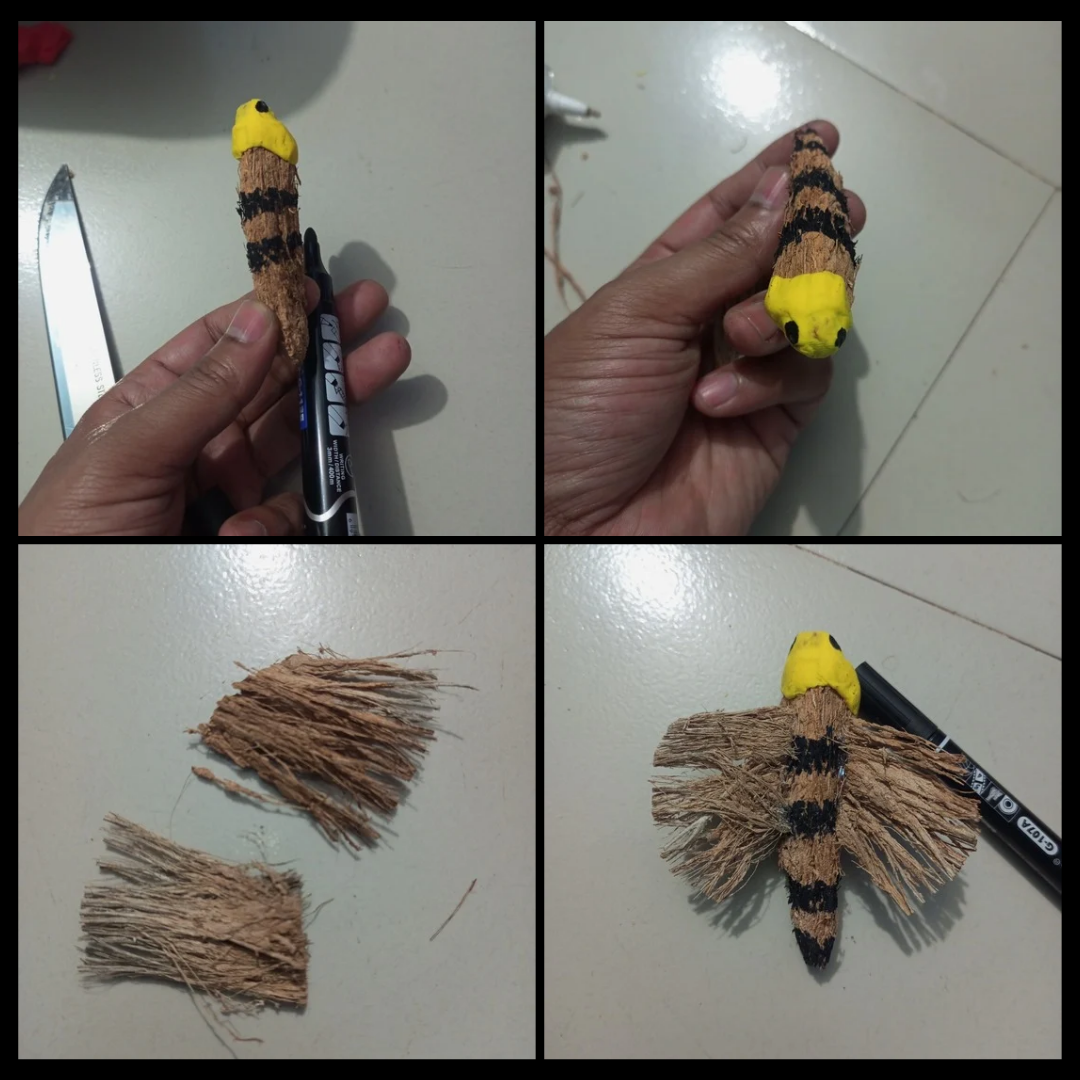
In this step, first I cut a coconut shell into size by cutting it neatly with scissors. Then I prepared the head part using clay. I prepared the eye design and the face design using market. Then I made two wings using coconut shell. Later I connected the two wings and made a bee by placing light coconut shell in the shape of the legs. This is a different kind of bee.
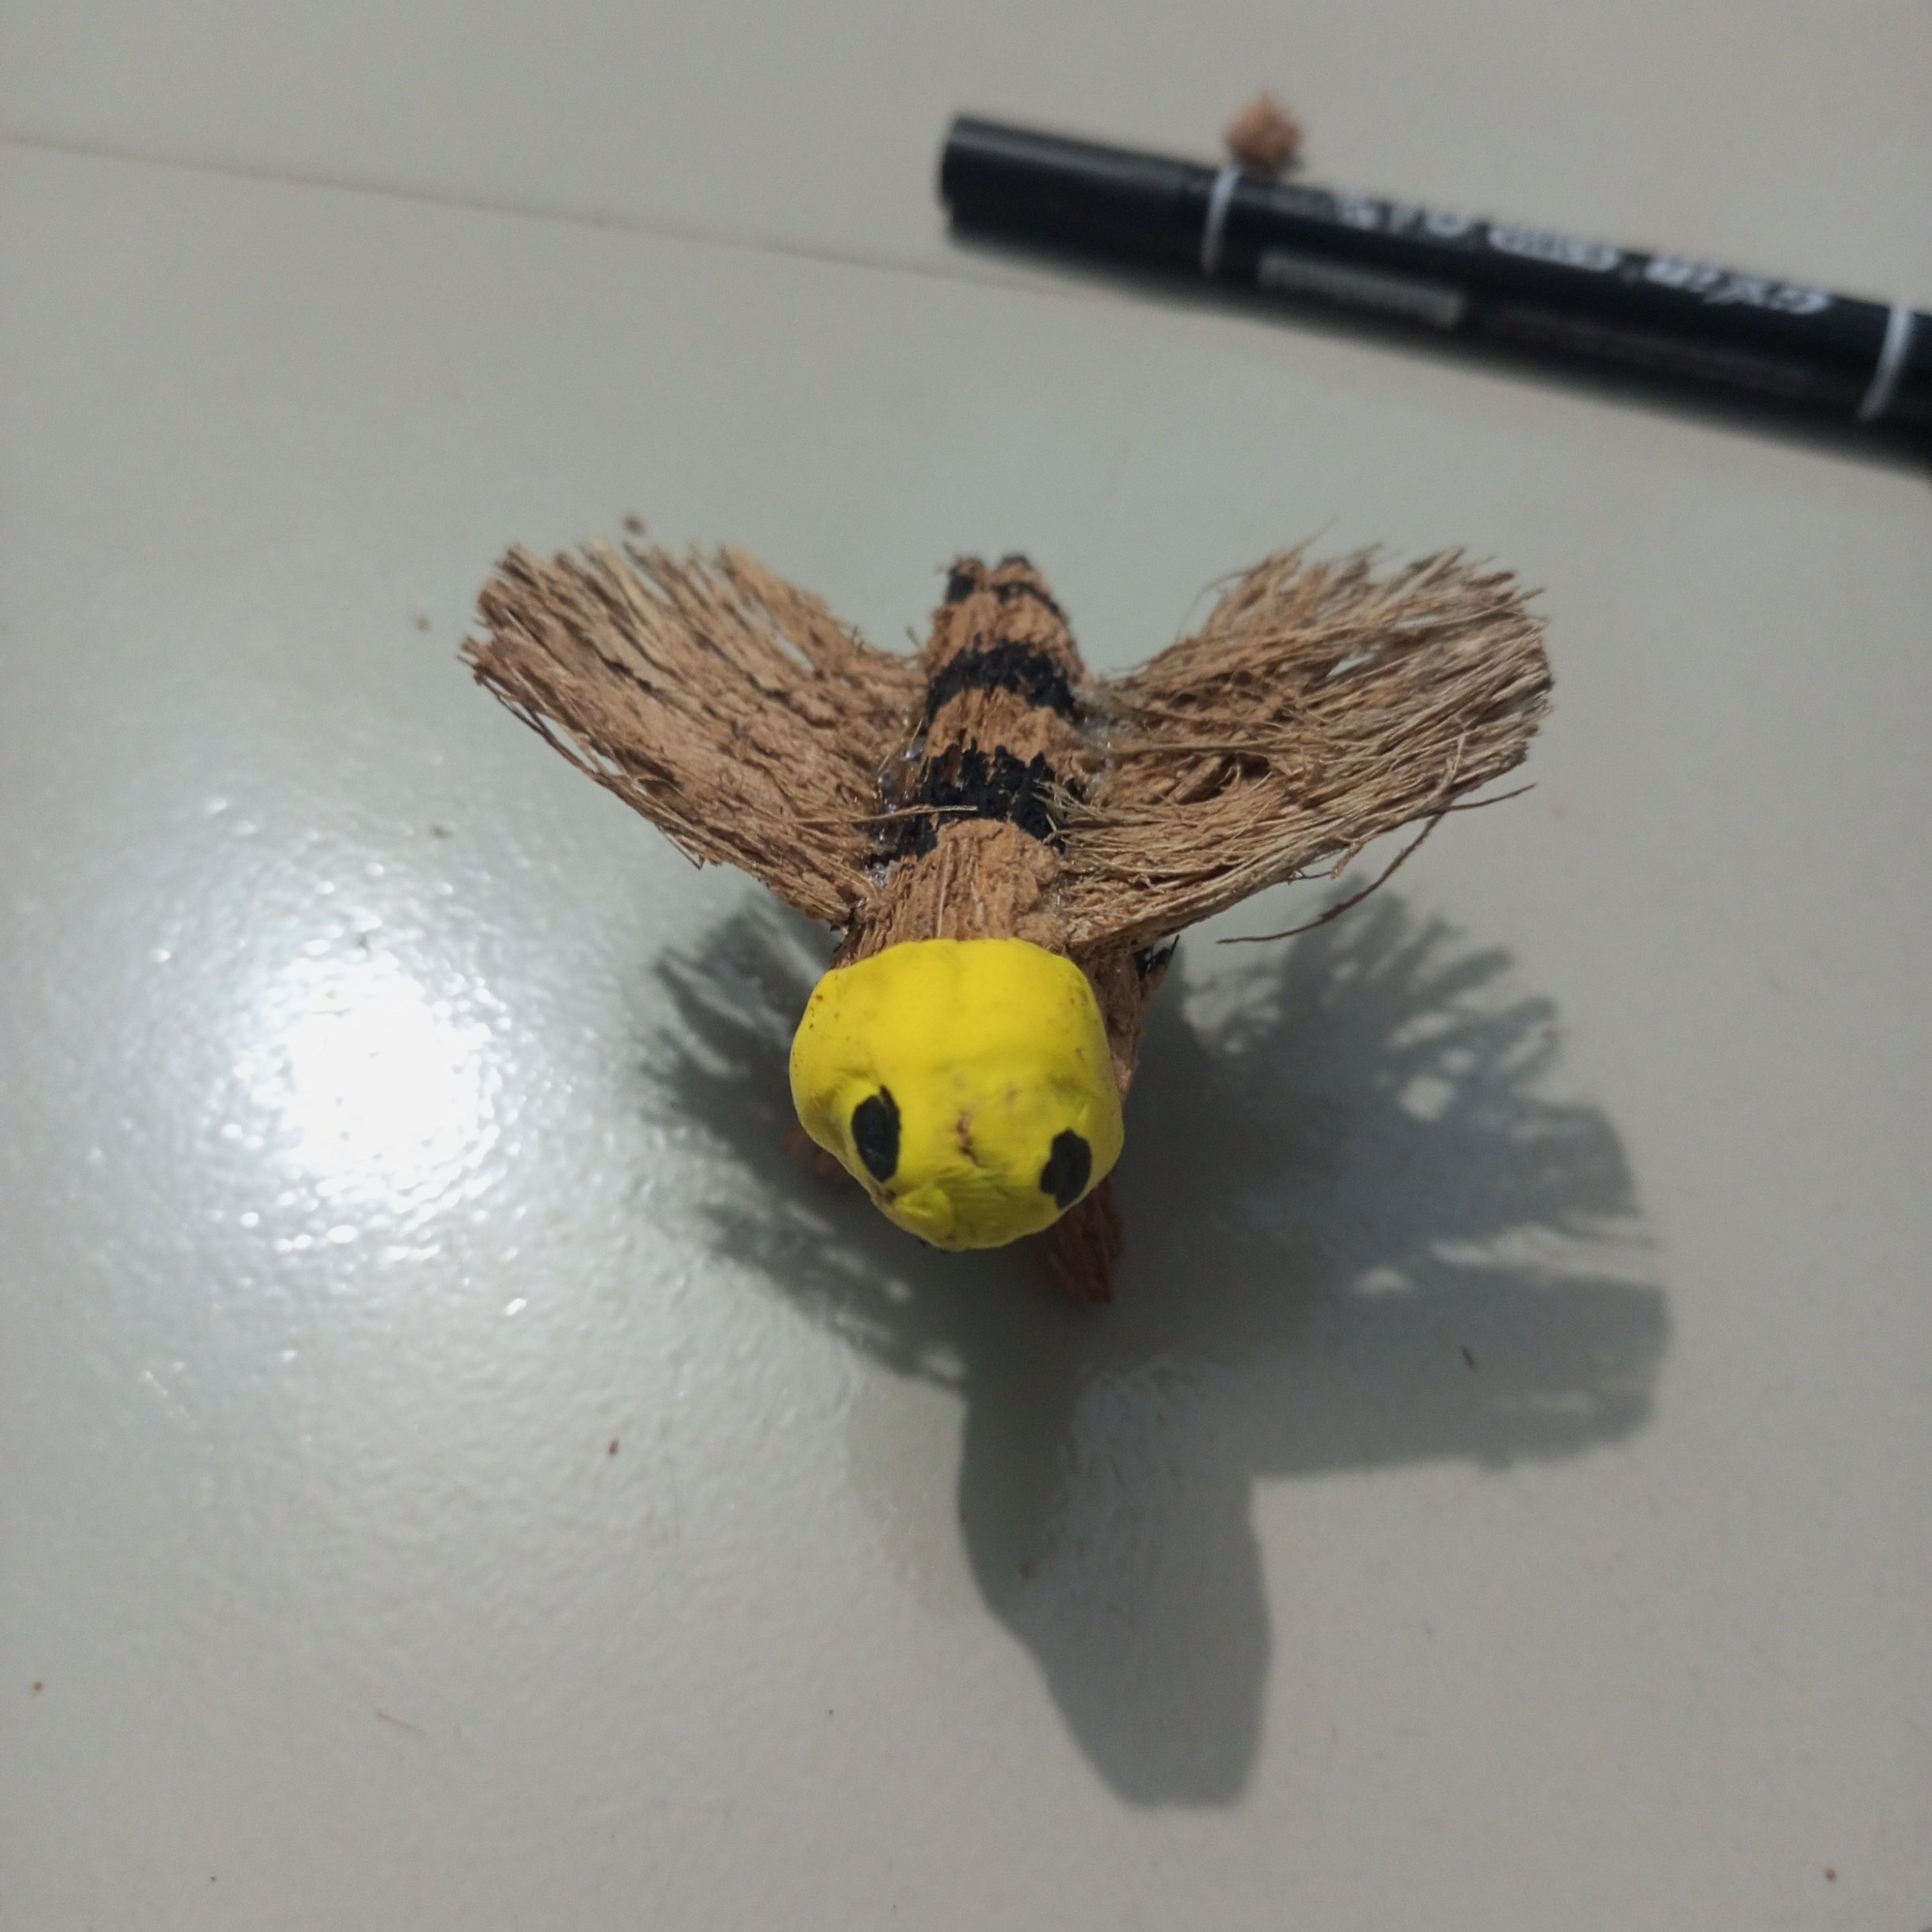
Here you can see how a beautiful bee has been created in a wonderfully natural way.
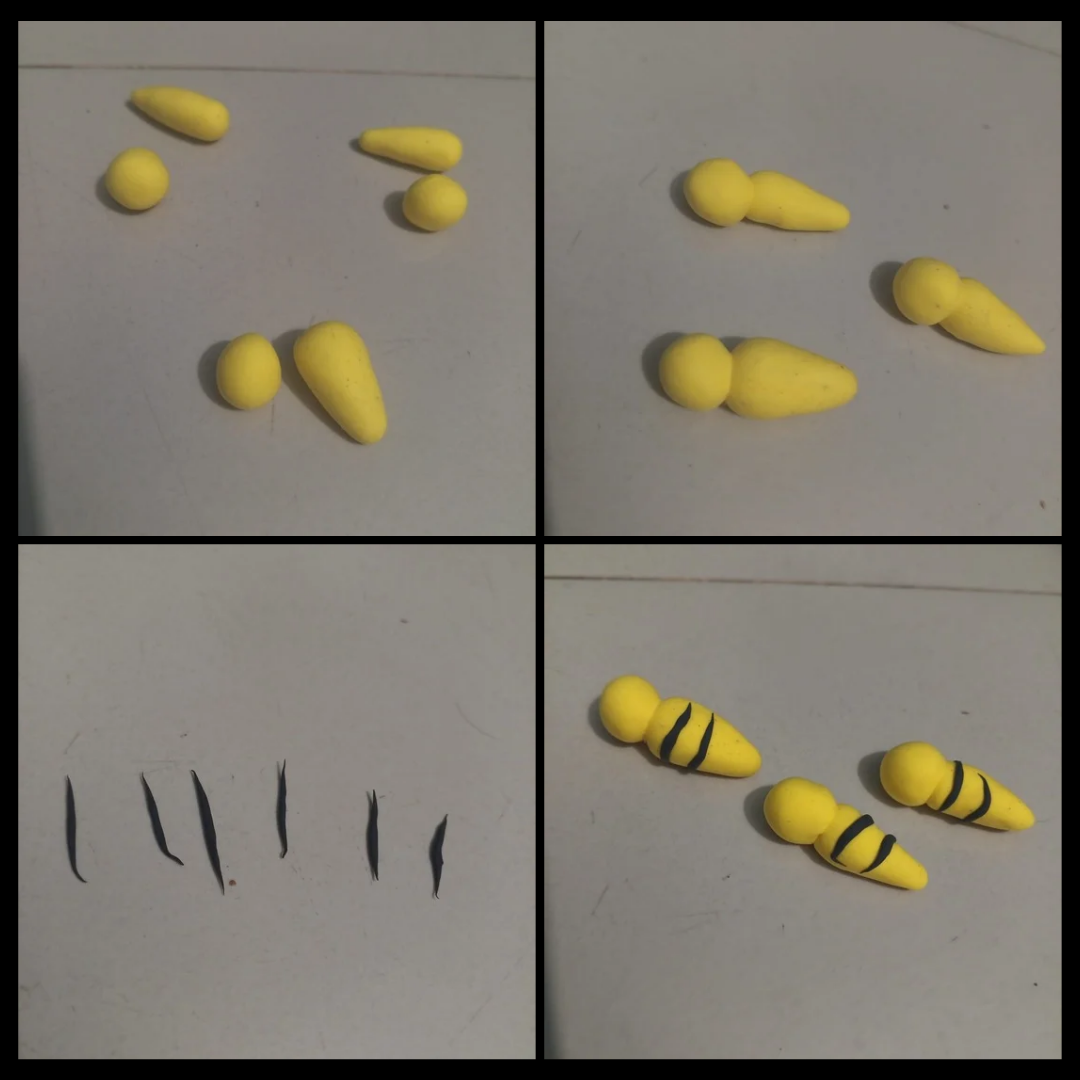
First I took the yellow clay and made a small and large design of a small bee with my hands. Then I attached the head to the body. Then I made the black clay thin. Later I applied the black clay to the bee's body to make it lighter.

Then I made a bee using clay, giving it the shape of the face, including the shape of the eyes. Later, I completed the work of making the bee by attaching the wings.
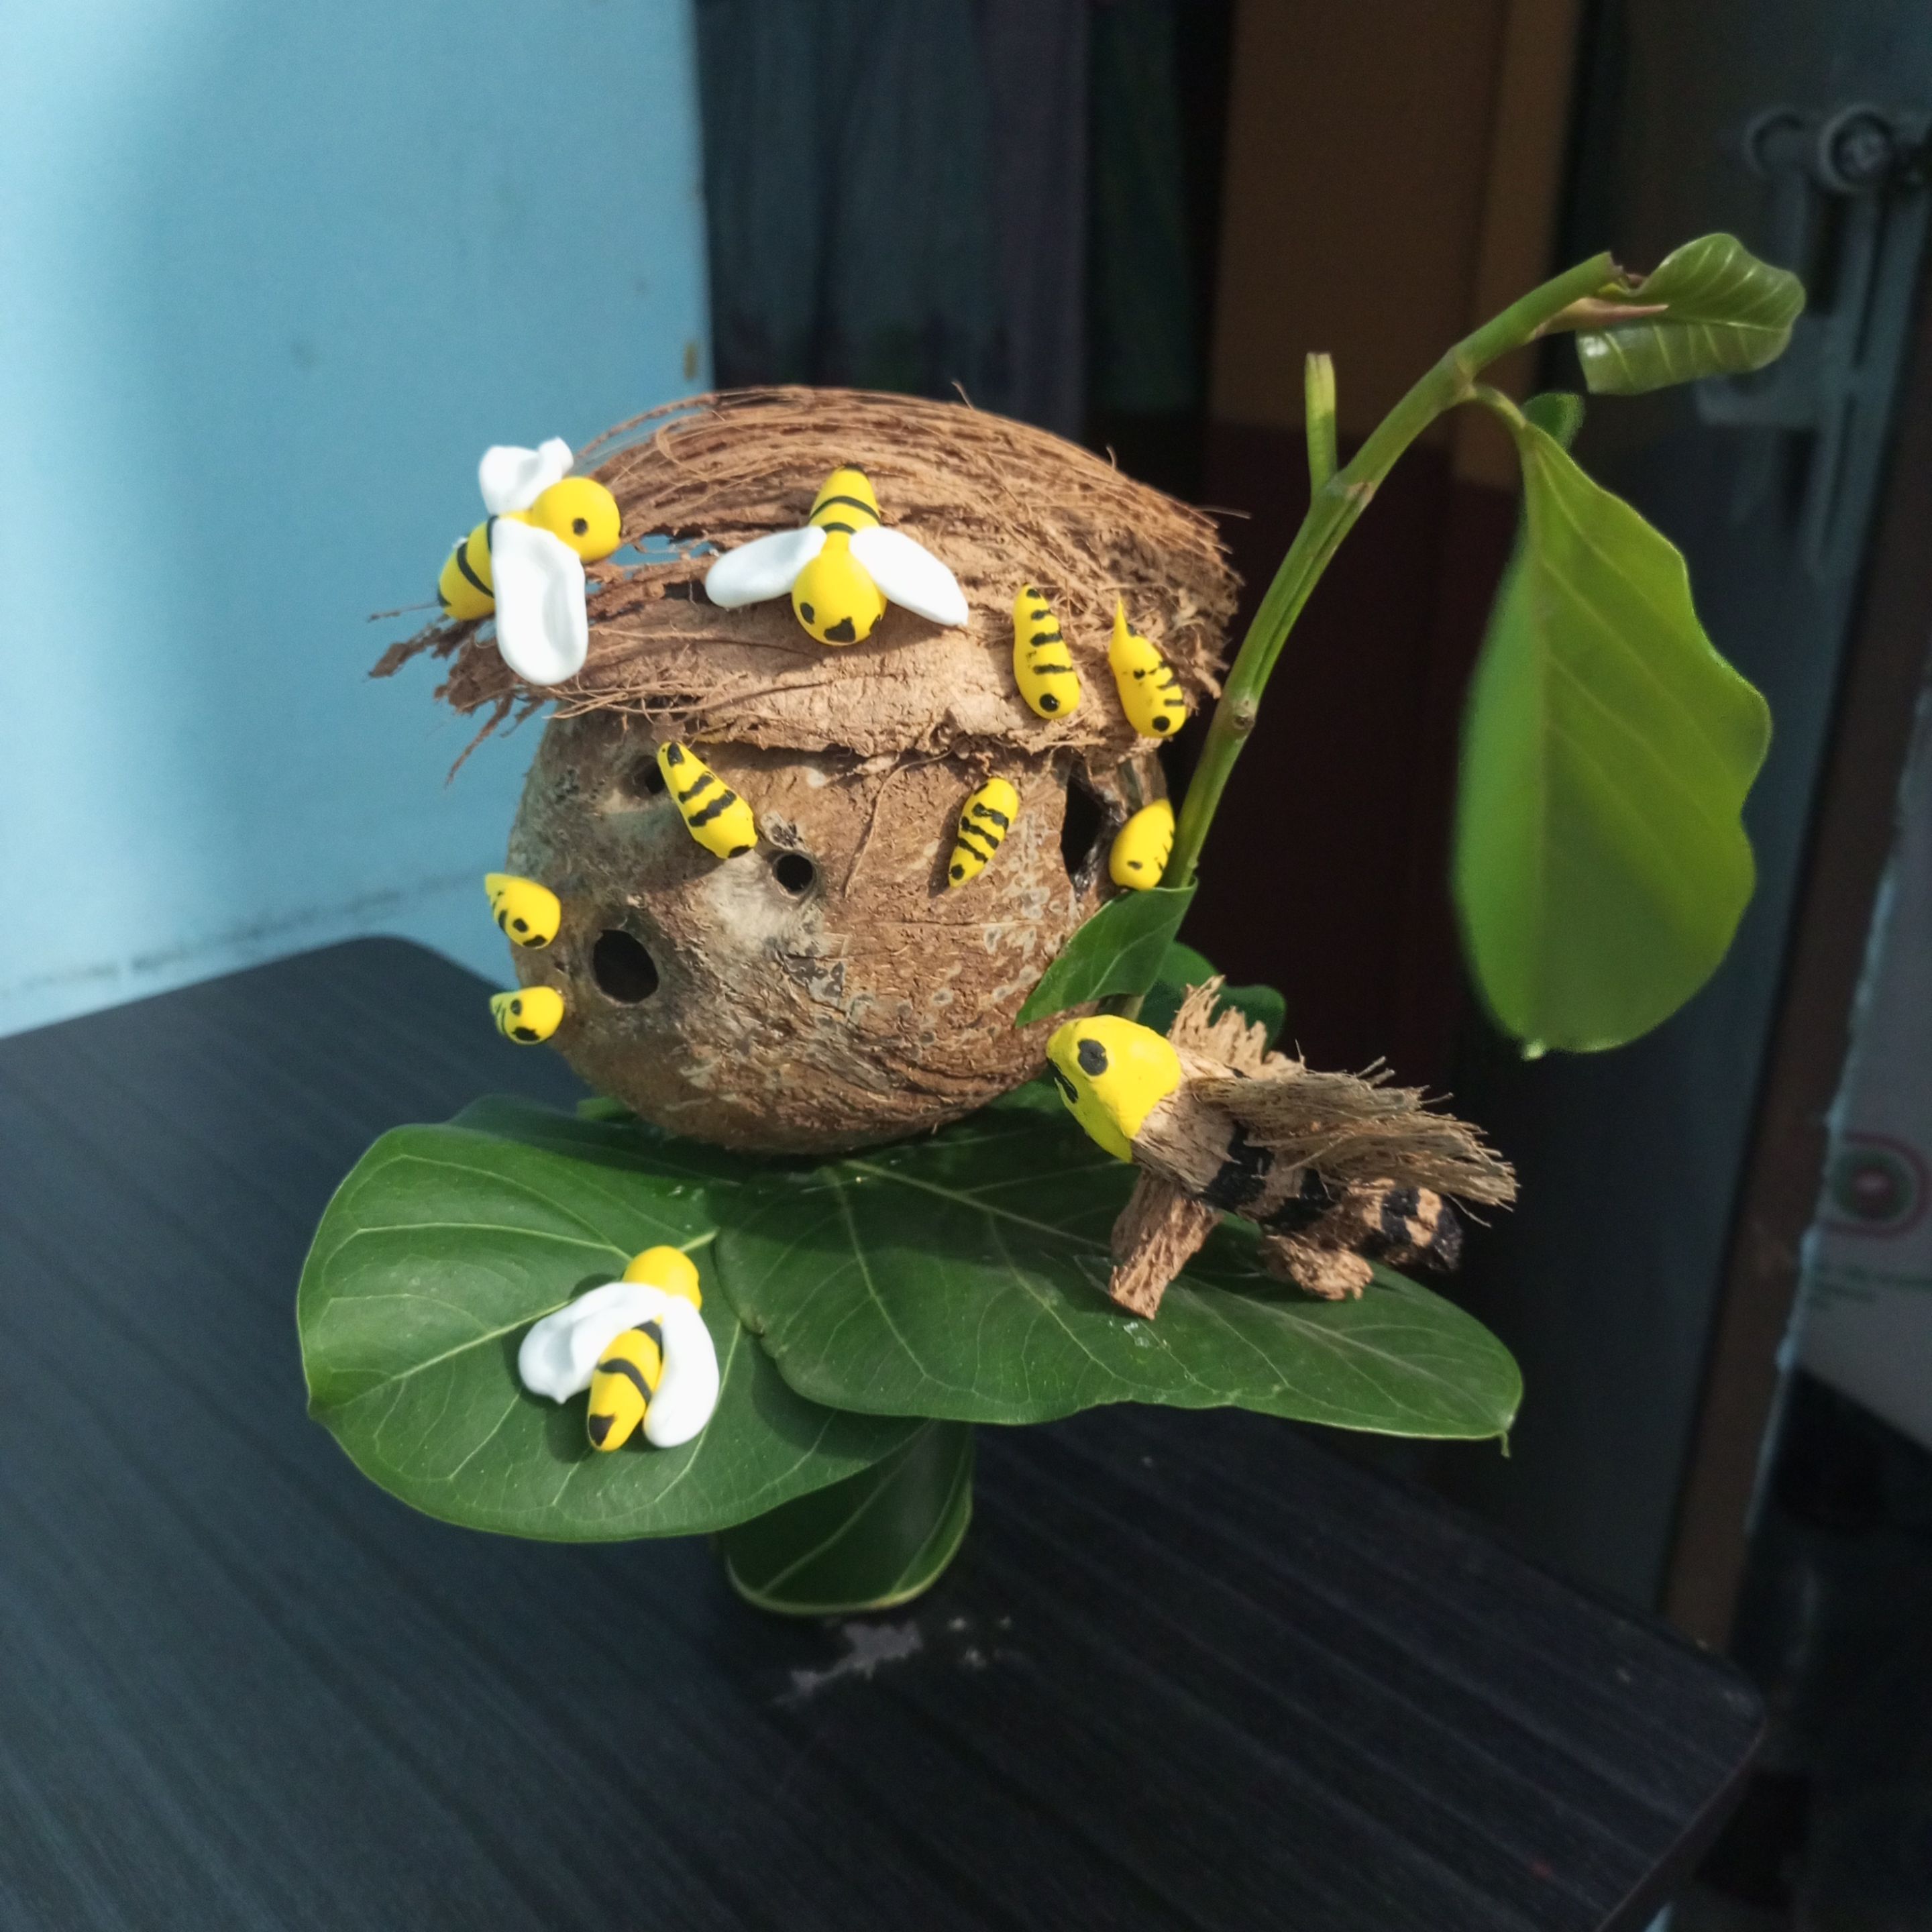
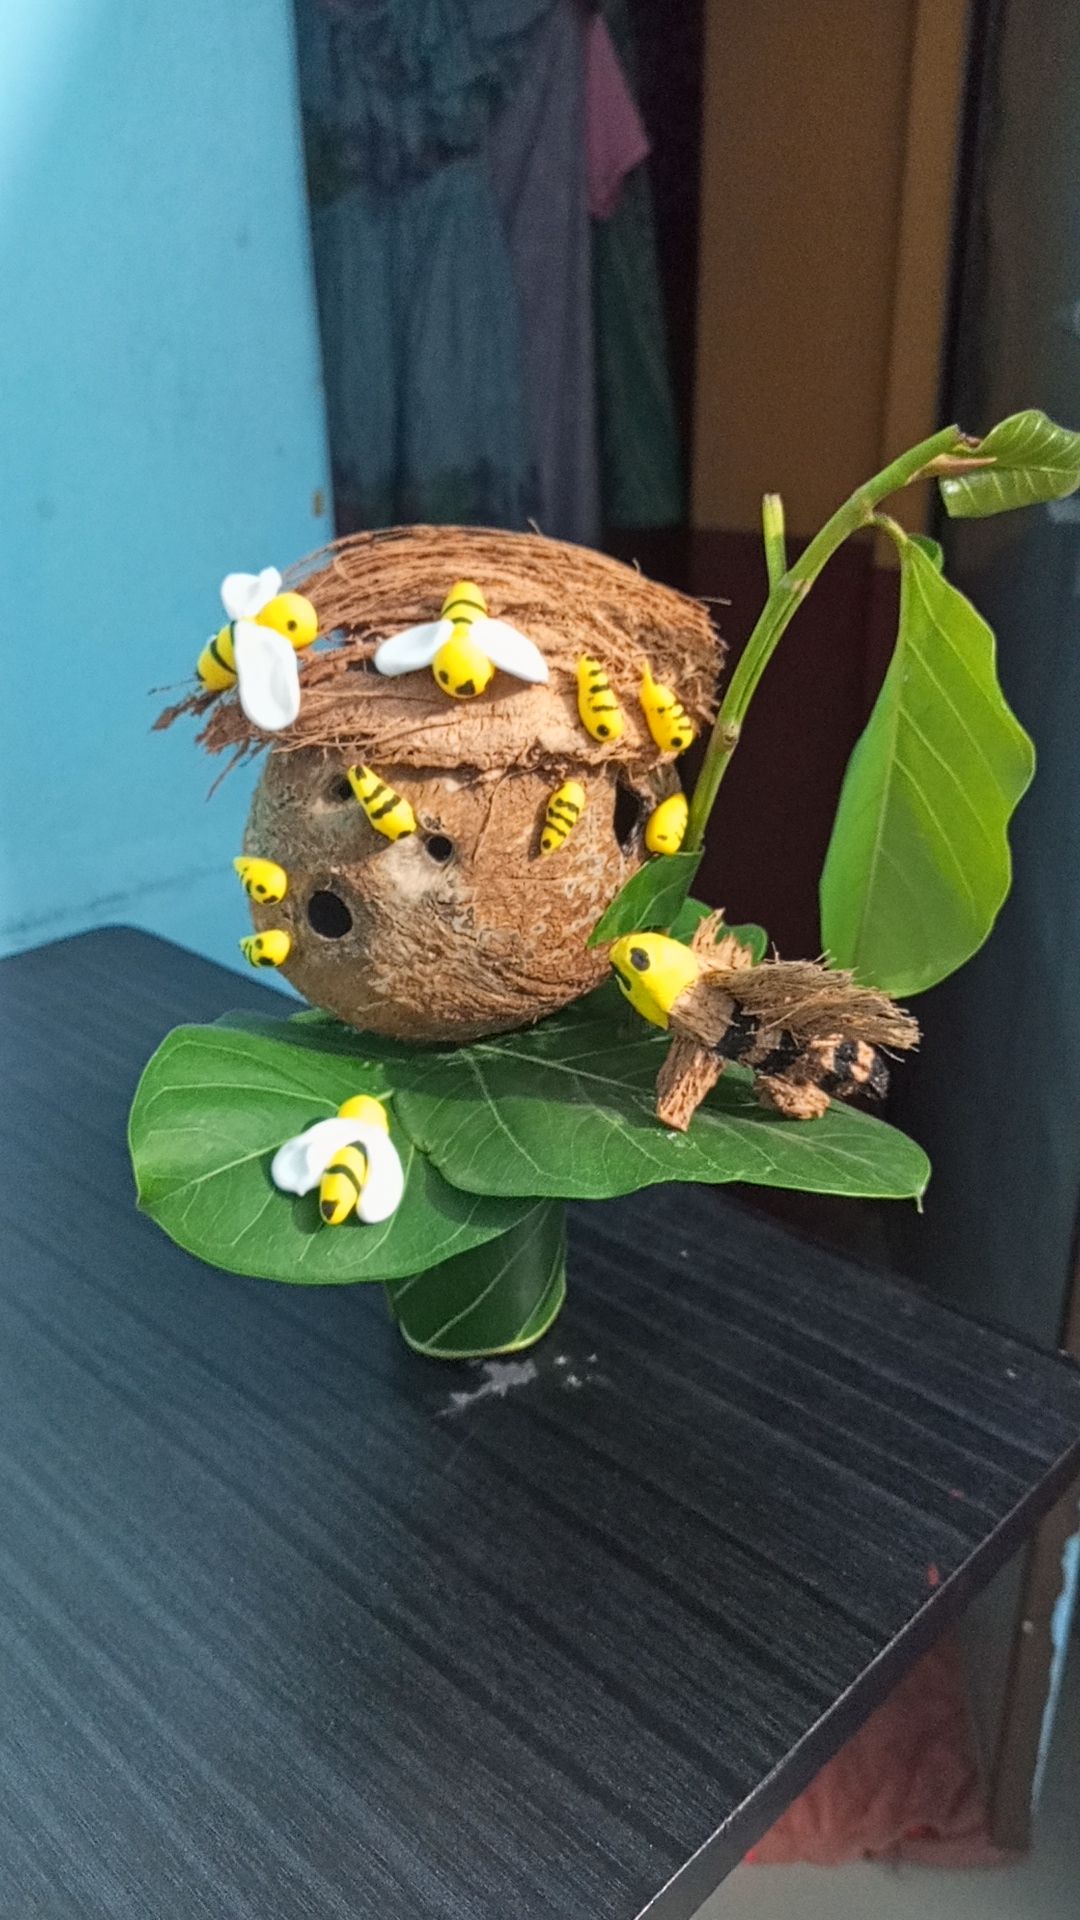
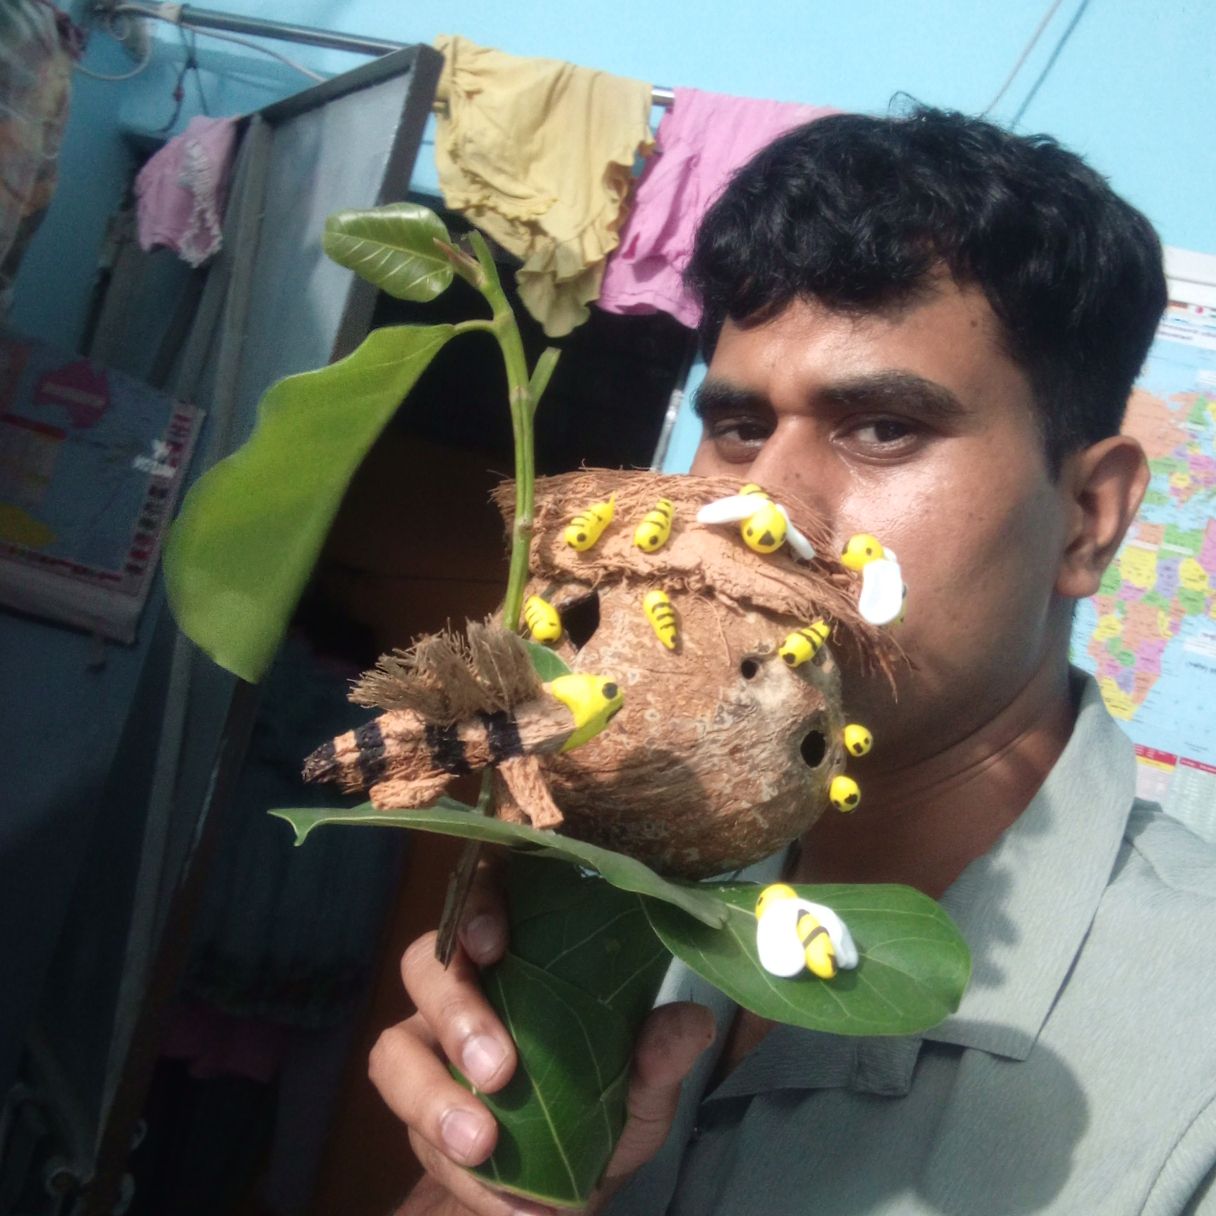
Finally, I am trying to show the scene of the queen bee sitting around the bee cottage with small and large bees. Finally, I am preparing a wonderful bee cottage with a tree and many small and large bees and presenting it to you all. Let's go to the final step.
Here I am showing the names and pictures of the materials needed. All these tools were used to make today's Natural Cottage and Bees.
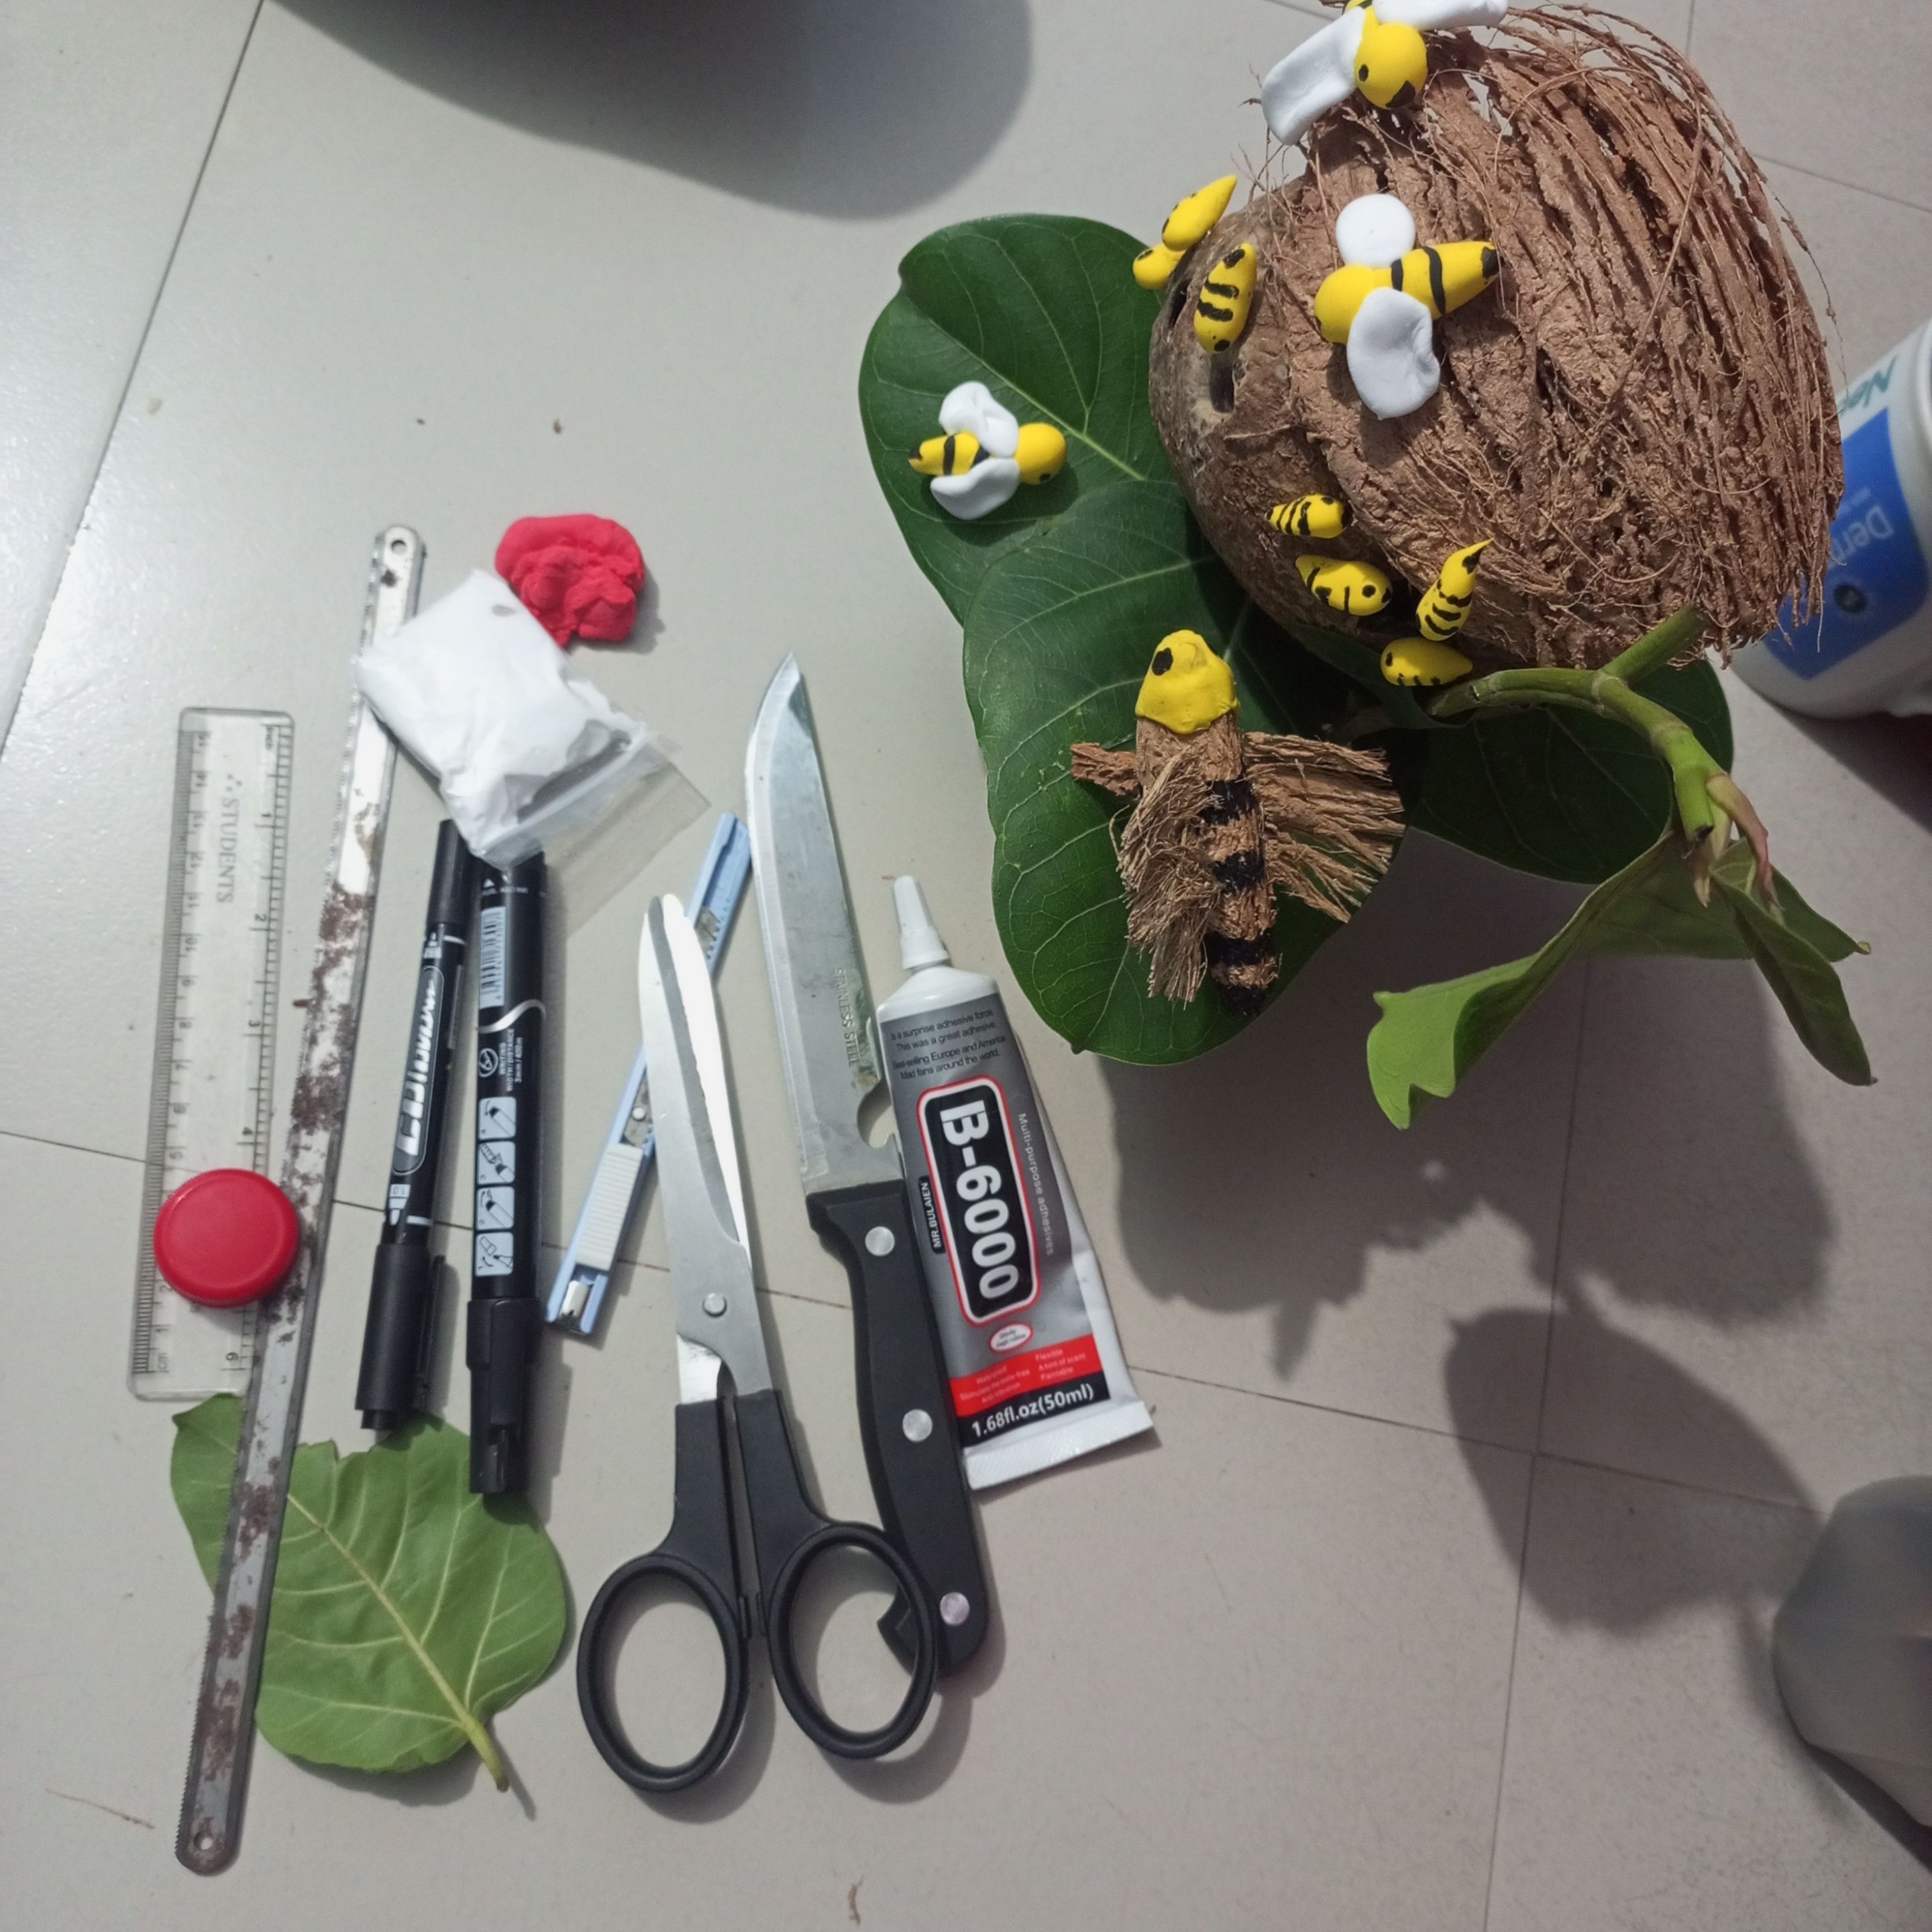
🌺Scale 🌺Banyan tree leaves 🌺Knofe 🌺Anti-cutter 🌺Scissors 🌺Coconut shell 🌺Marker pen 🌺Coconut flakes 🌺Hasco blade 🌺Plastic bottle 🌺B-6000 glue 🌺 small marker pen

Thank you for reading my creative article blog .Stay safe,stay happy.i think if you find any mistake in writing or something. Please allow me to correct it.And find me on social media.
Thank you for reading my creative article blog .Stay safe,stay happy.i think if you find any mistake in writing or something. Please allow me to correct it.And find me on social media.
All Prepared by @mdakash62