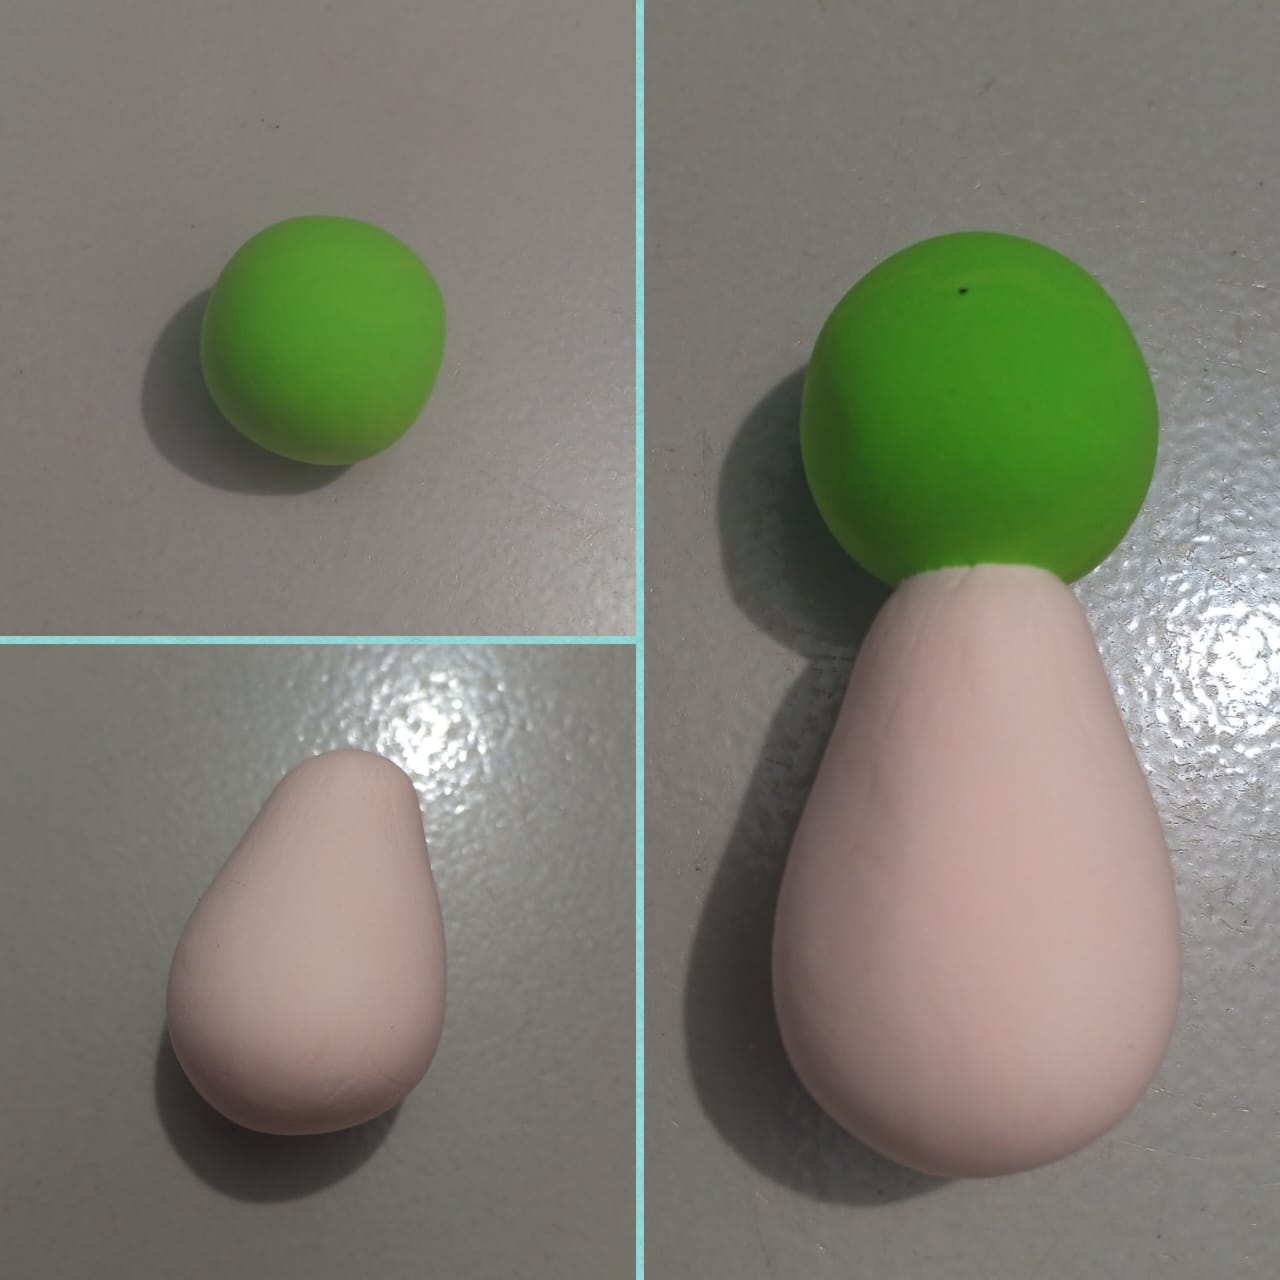
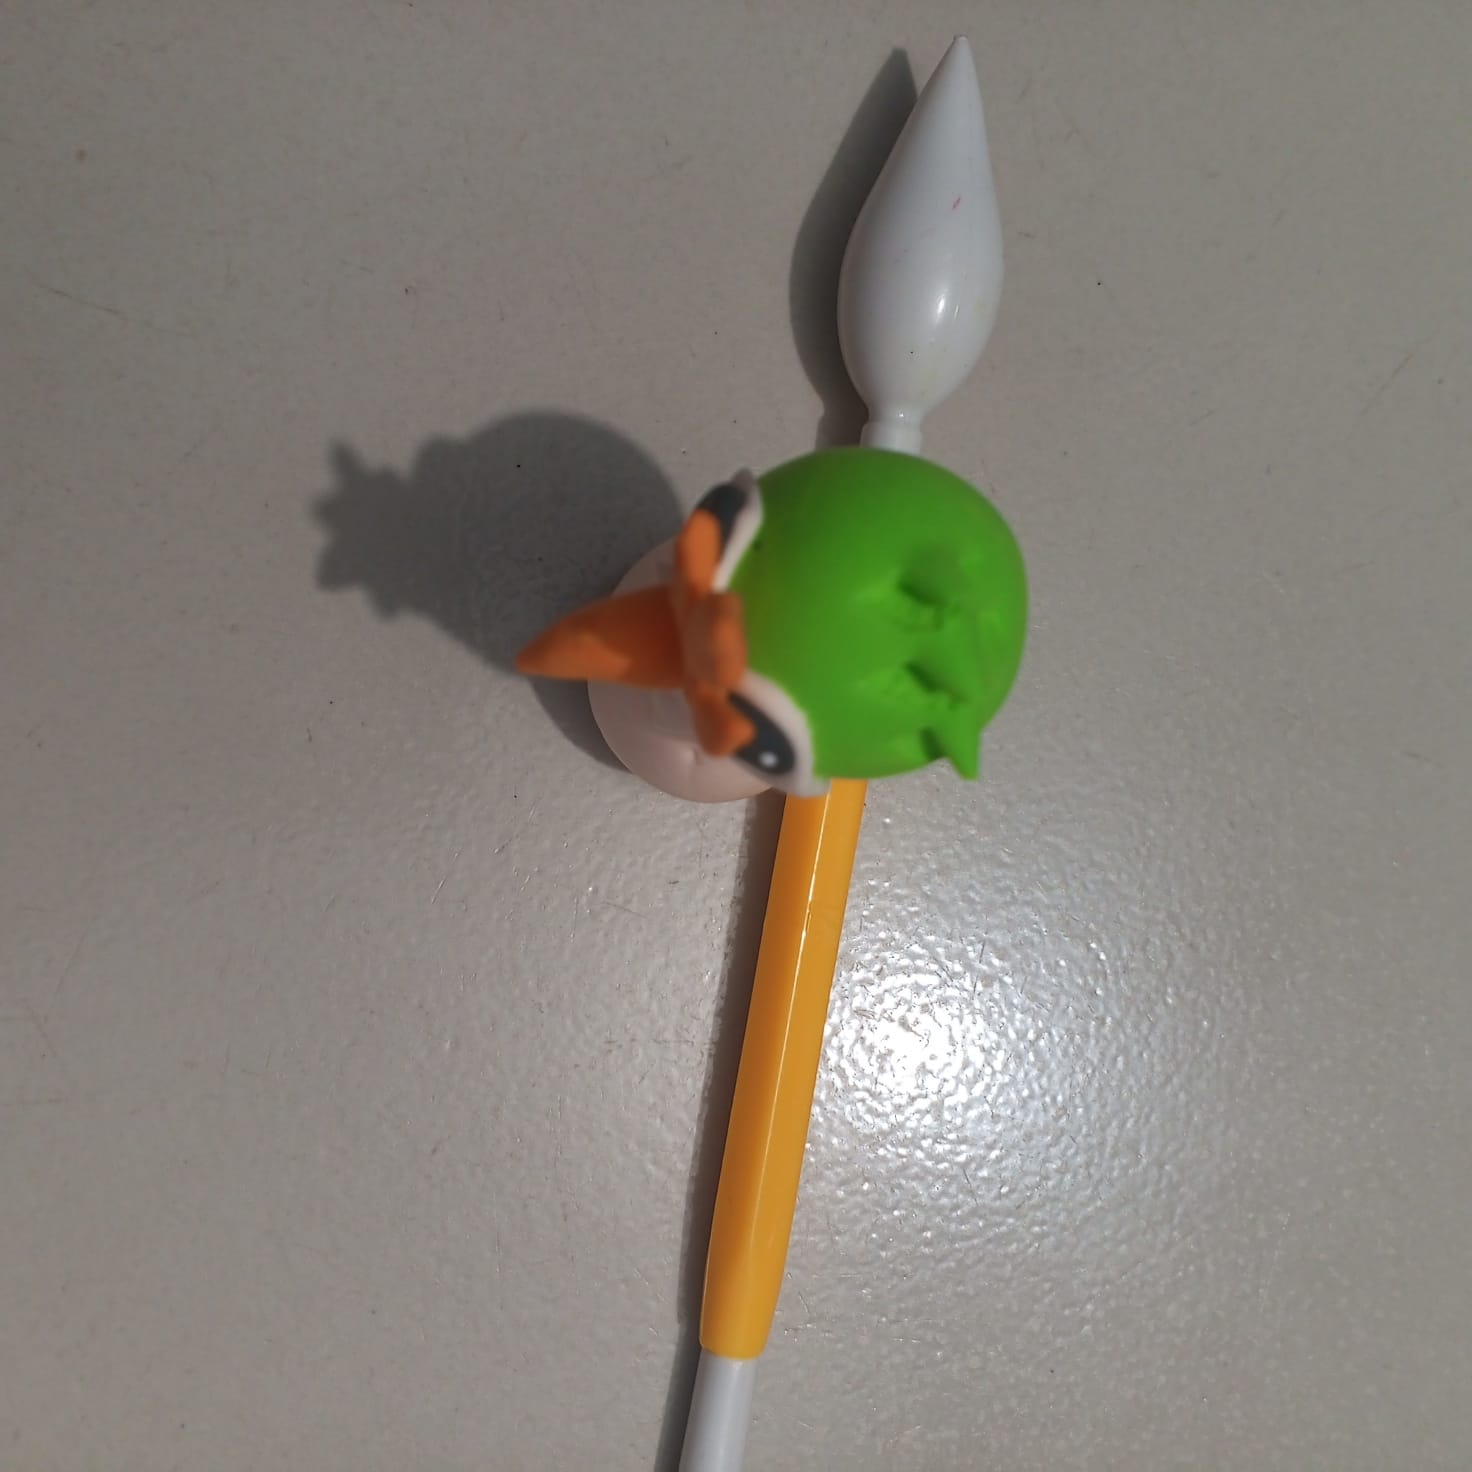
First I took blue and sky blue colored clay. The first one was round and the second one was slightly round and elongated. Then I joined the two together to prepare the body and head shape of the Chirple animal.
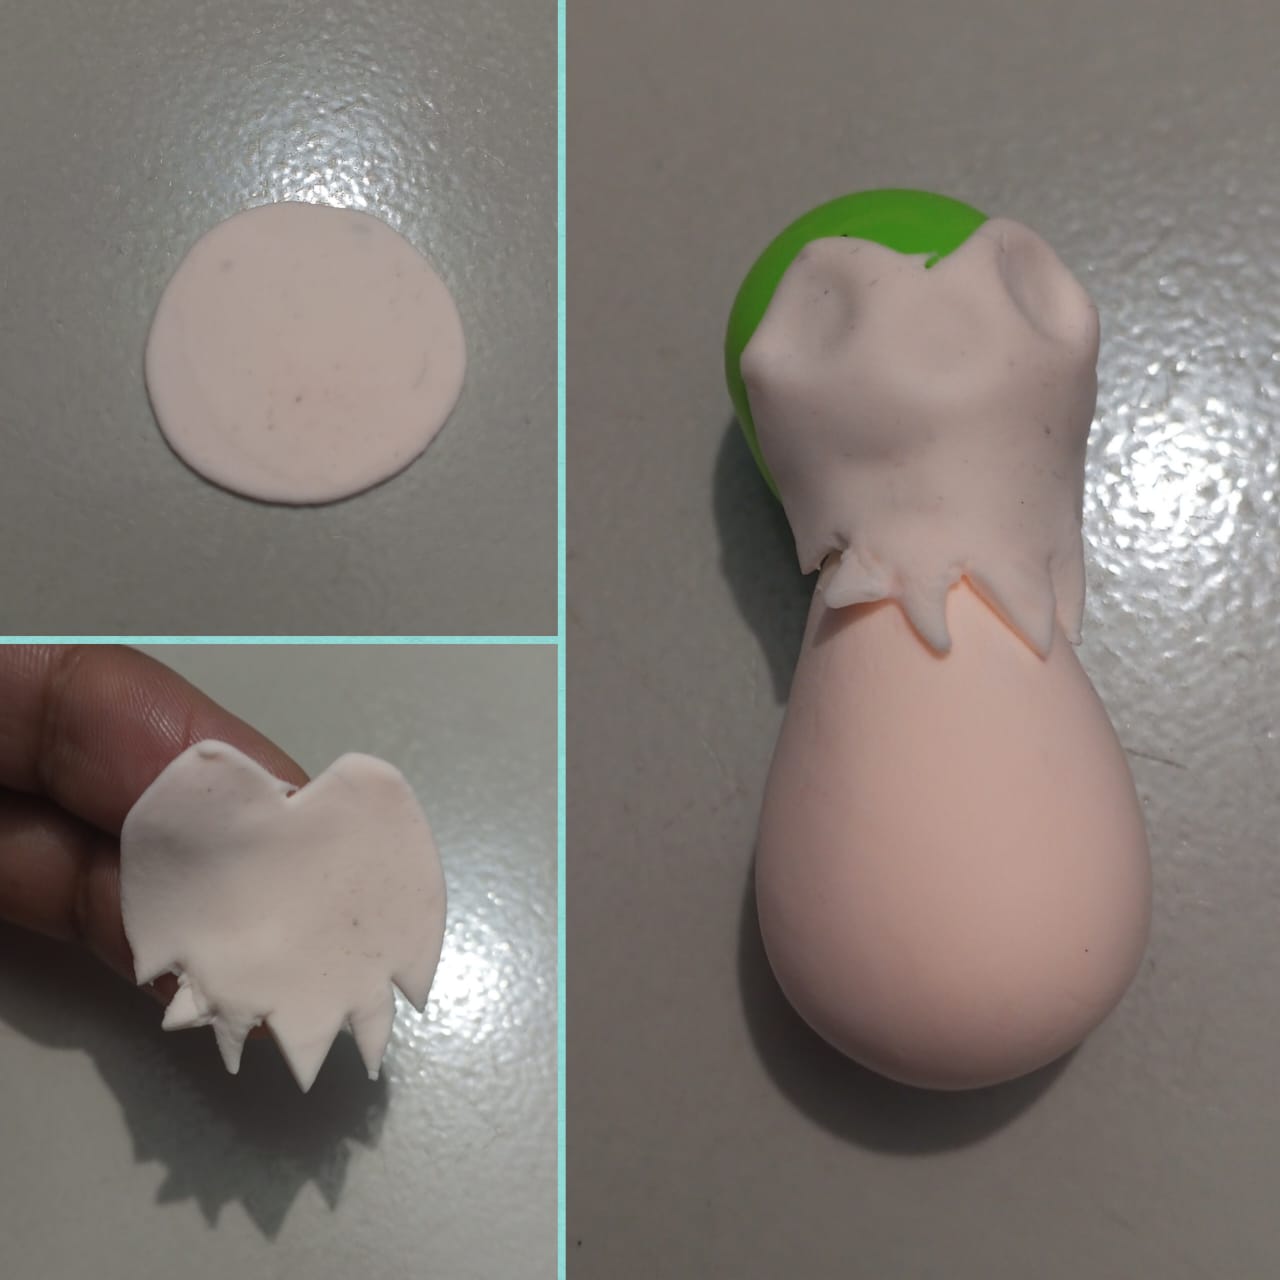
Next, I took the sky blue colored clay and first flattened it using a plastic lead. Then I cut it close and made a design in the shape of the neck of the Chirple animal. Then I attached the design to the neck at the front of the head.
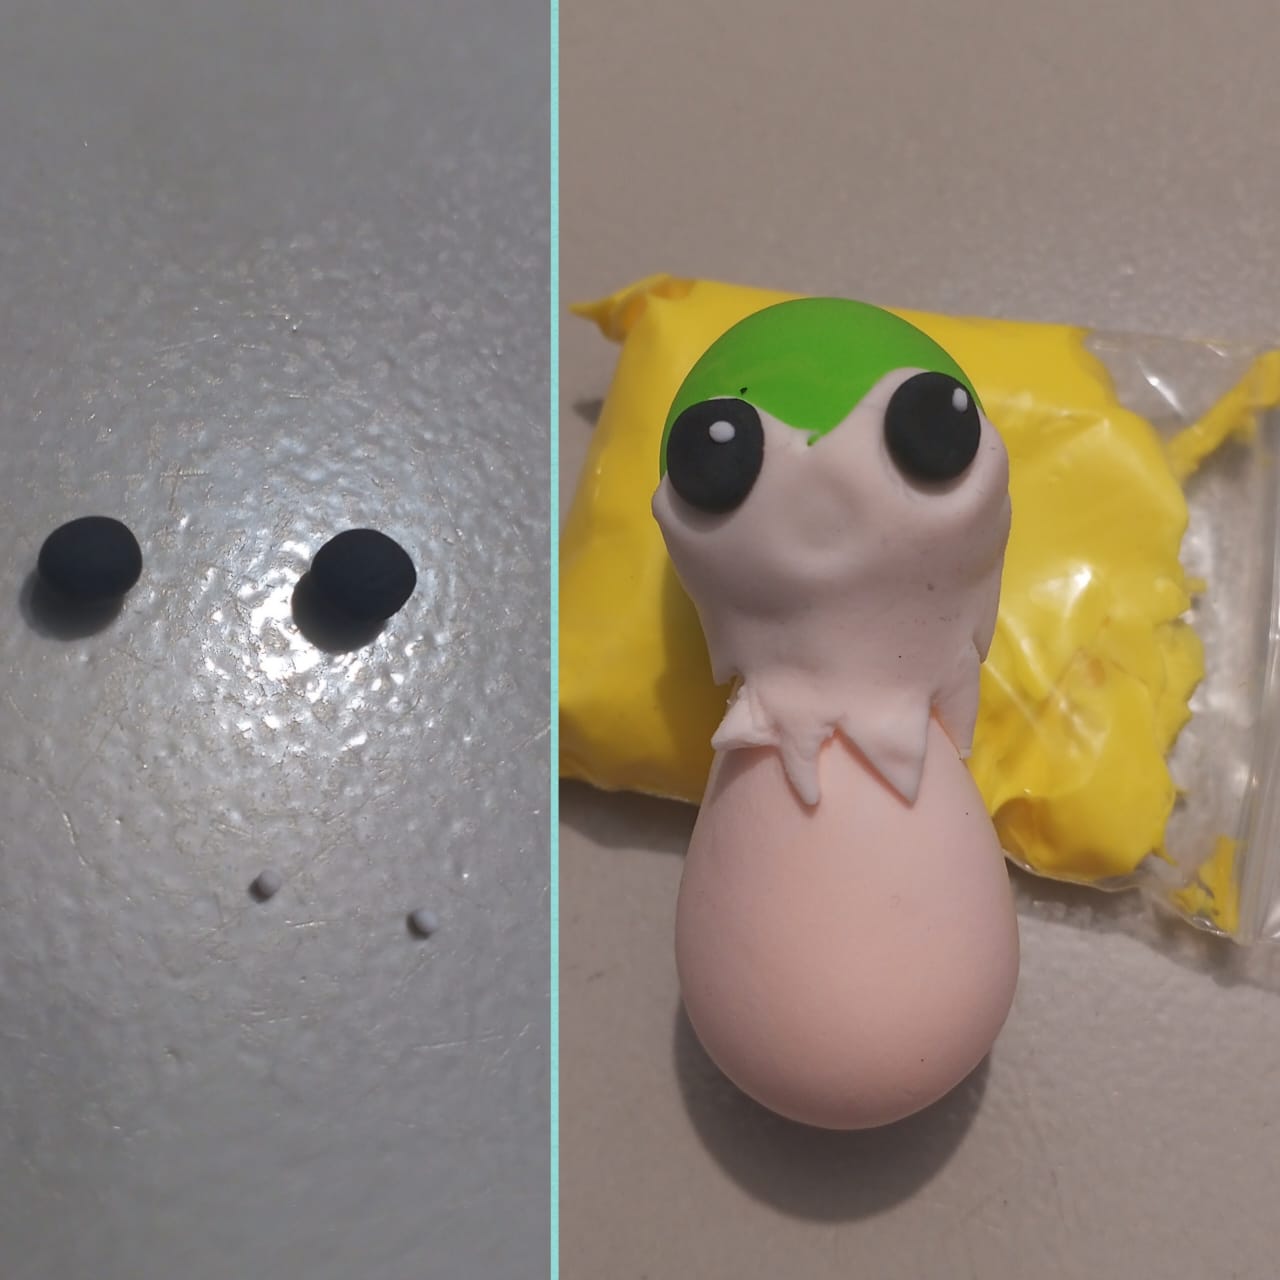
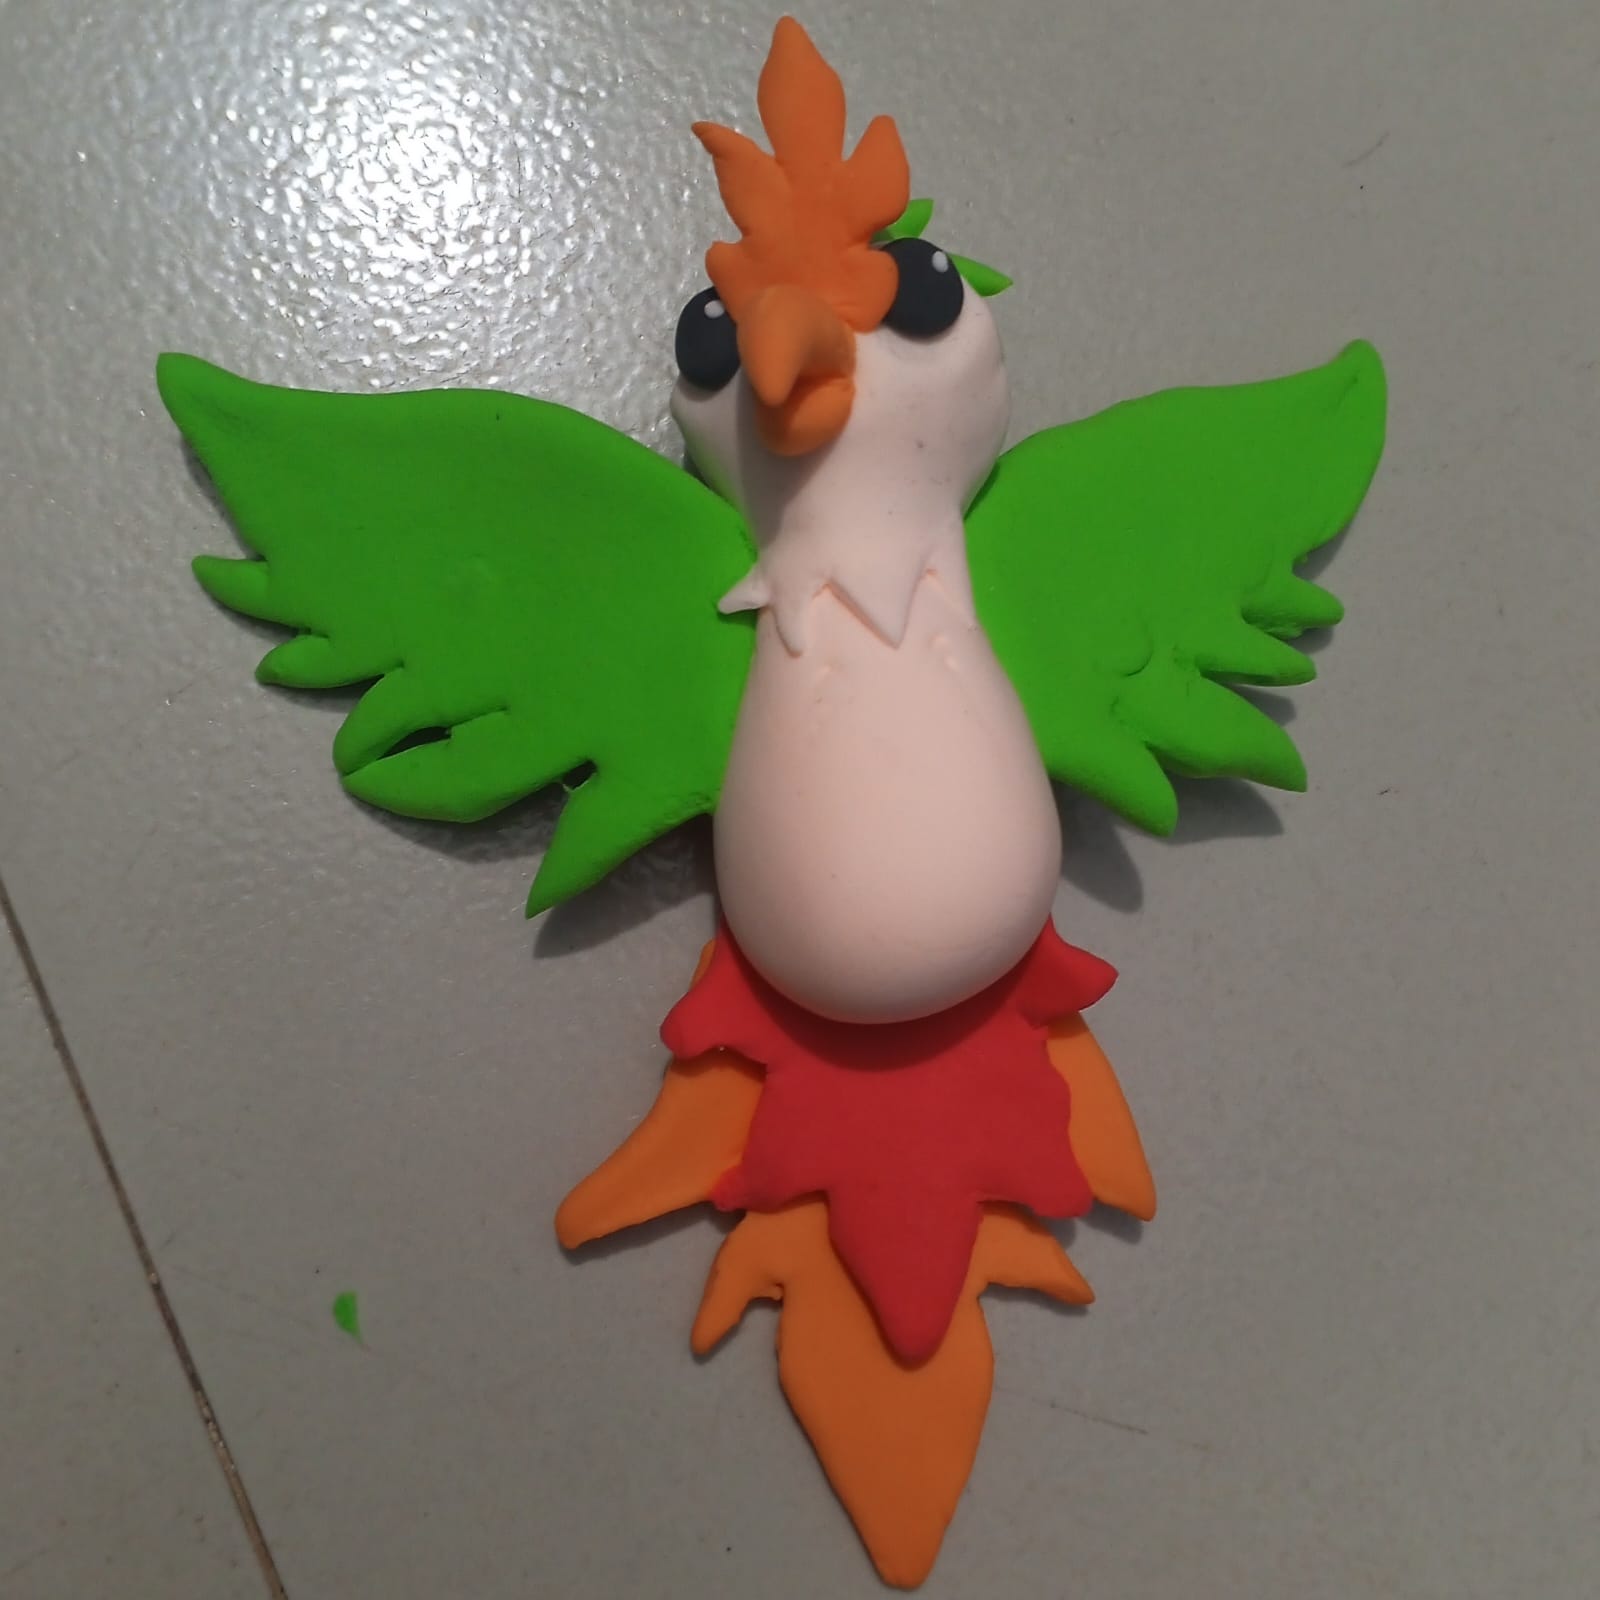
Next, I created the shape of the eyes with great feeling using white and black colored clay. Then I built one on top of the other. Next, I beautifully attached the eyes to the shape of the head.
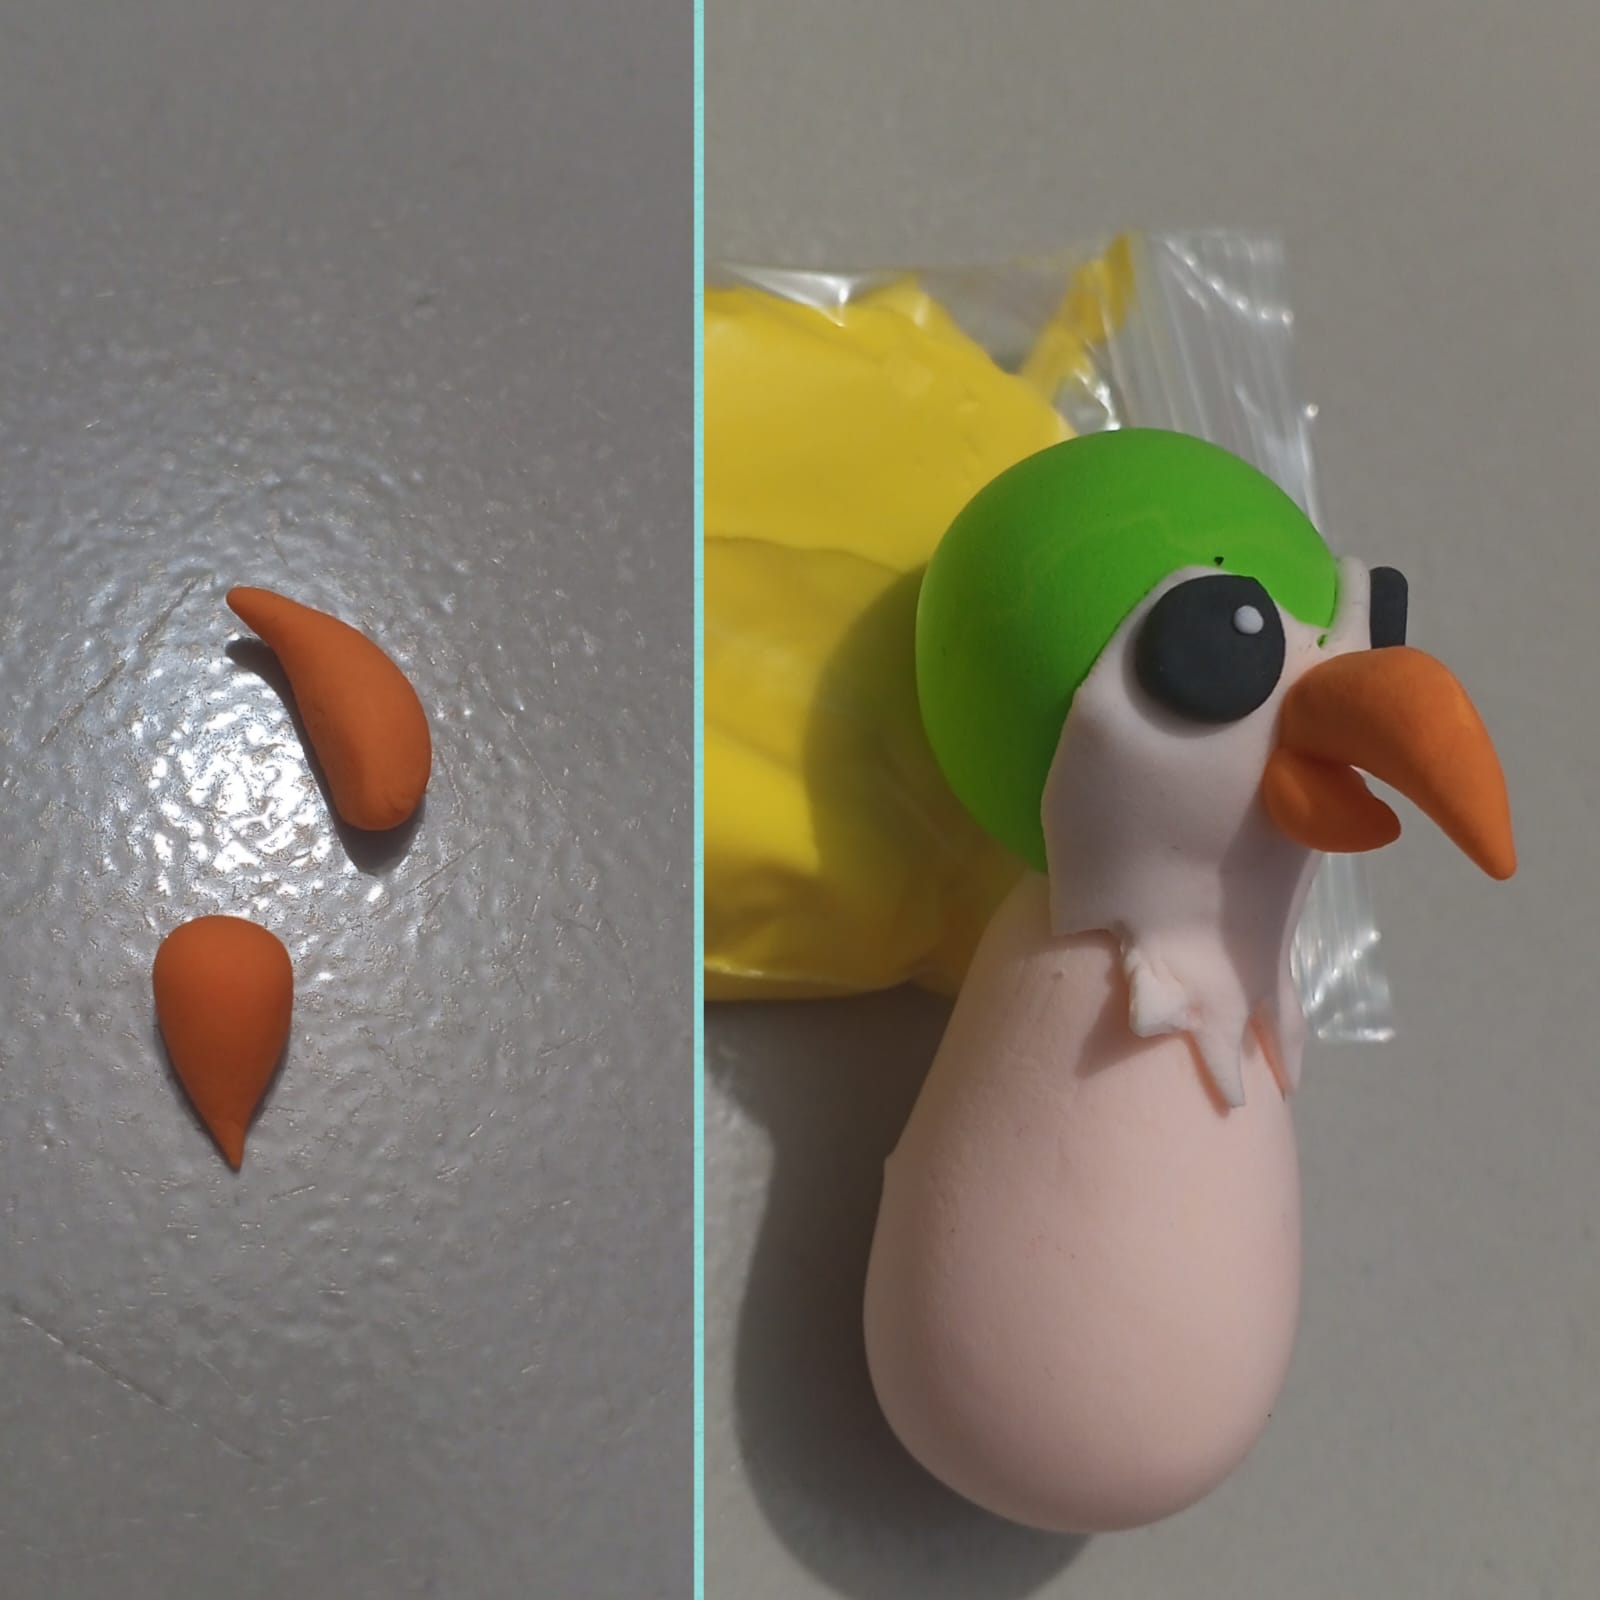
In this way I took orange colored clay. Later I made it into a light round and thin long shape. Then I completed the design using a plastic instrument. Which looks like the shape of a beautiful parrot's beak. Later I attached the beak to the front of the head.
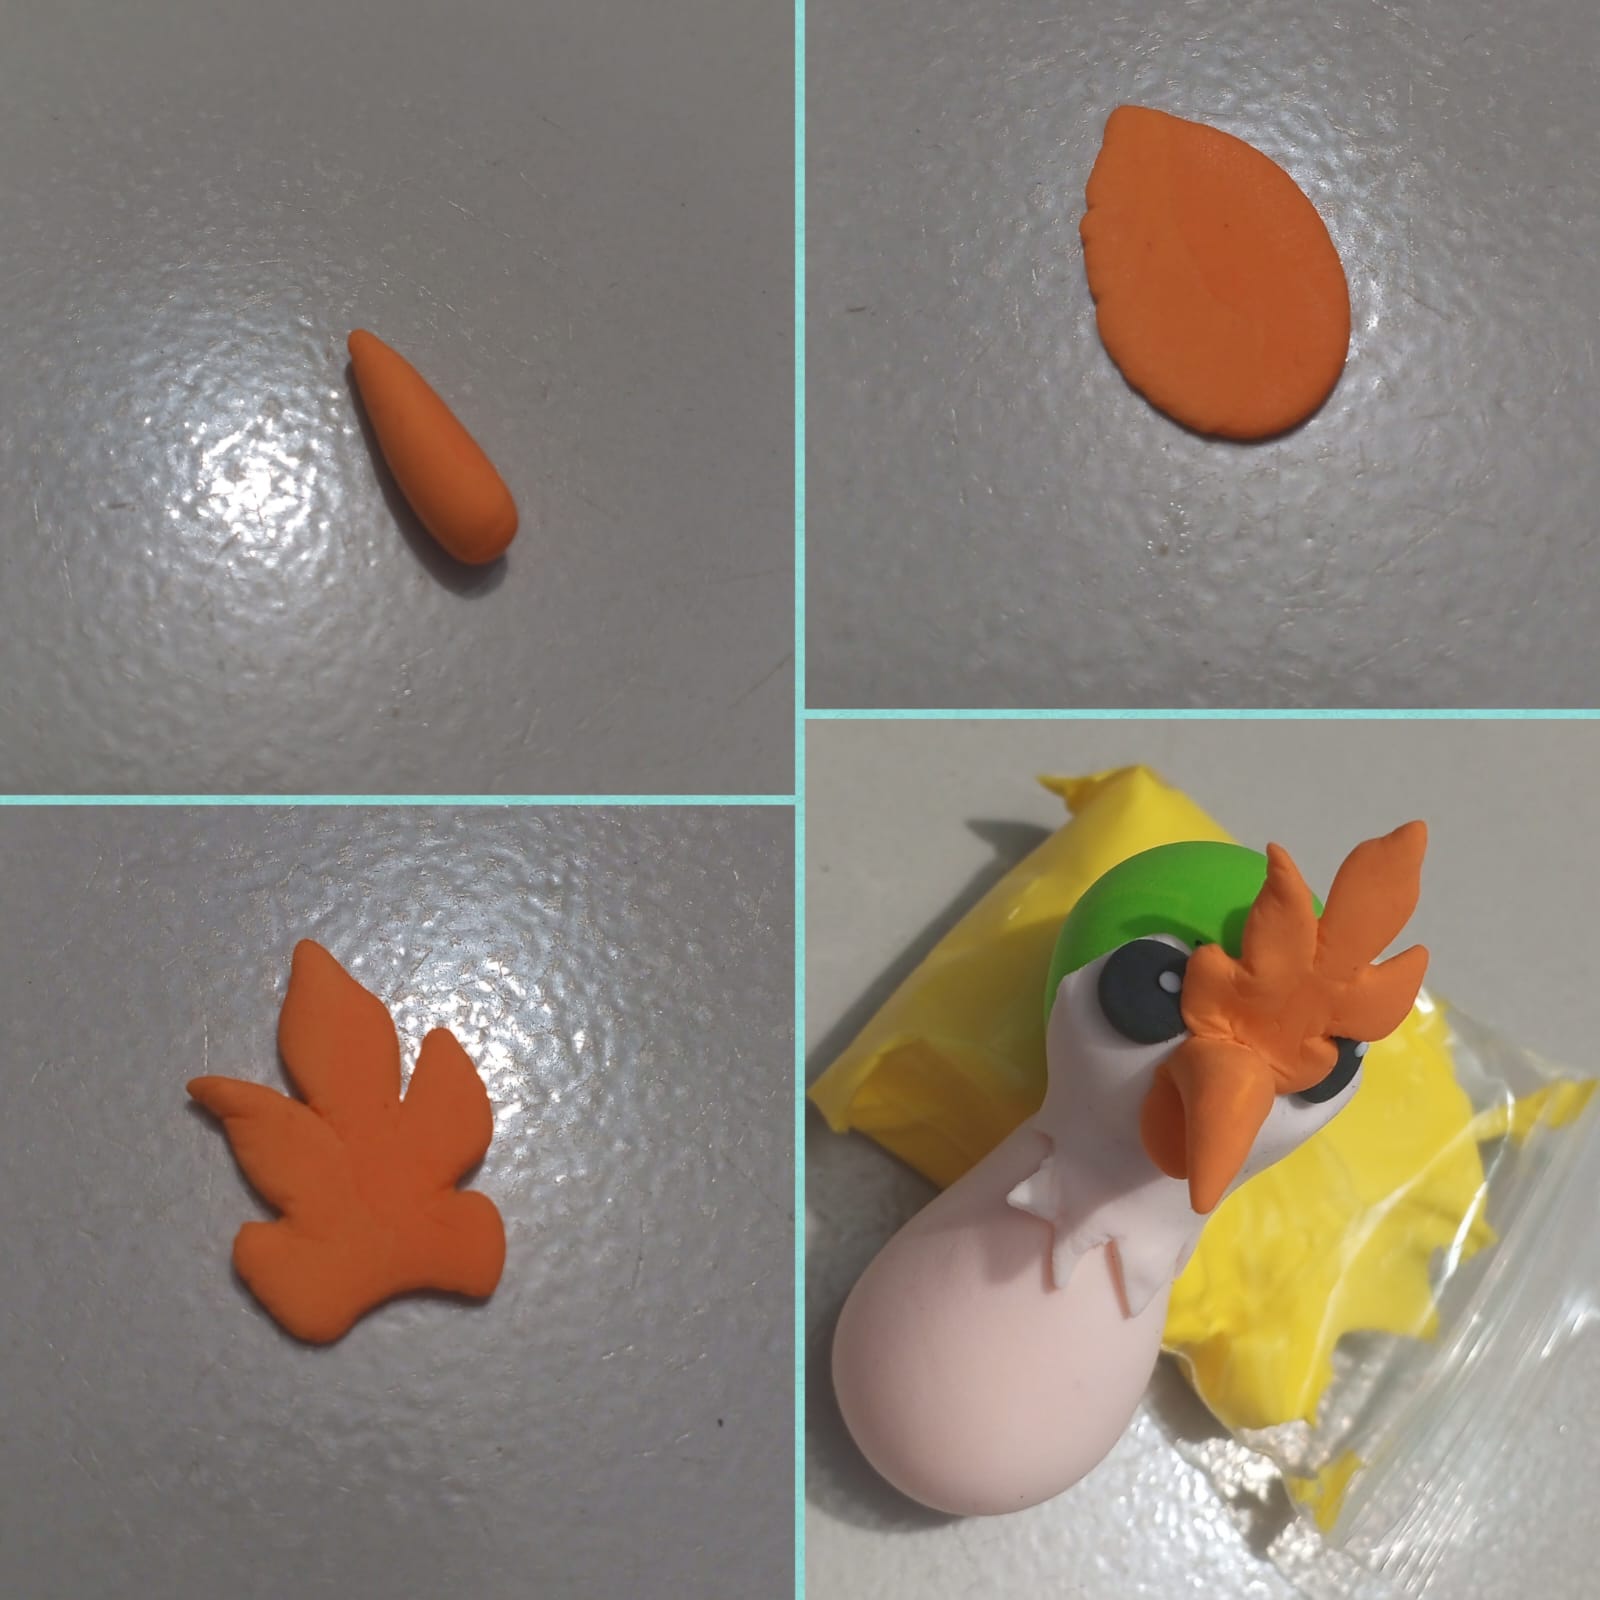
Then I took orange colored clay and made it round and long. Then I flattened it slightly using plastic lead. I made a beautiful plaque or tassel for the head of the Chirple bird. Then I attached the plaque to the head at the top of the lip.
Next, Chirple created three comb shapes on the top of the birds' heads using scissors.
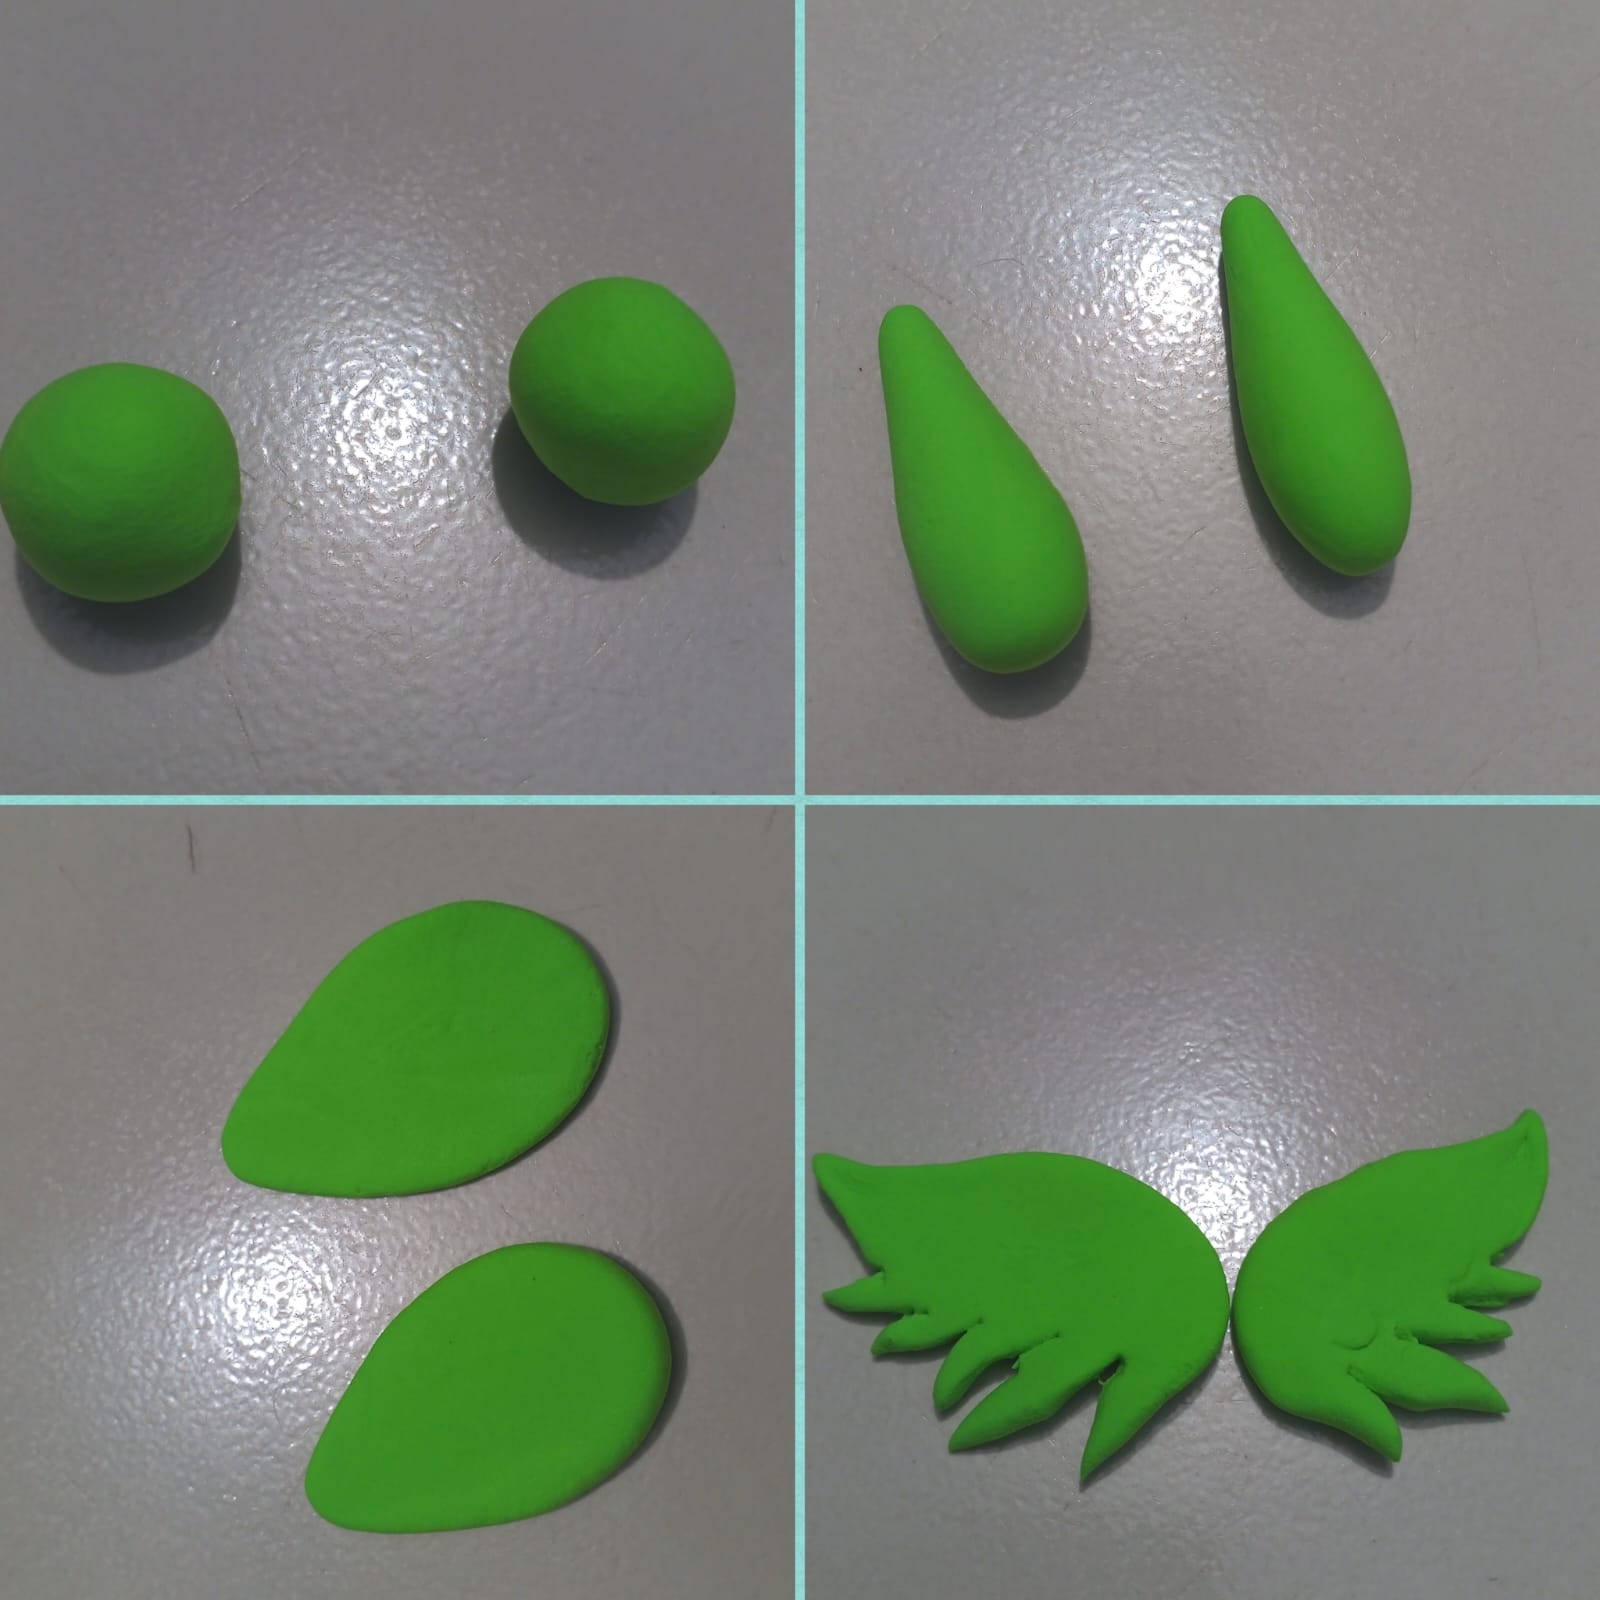
Next I took green colored clay. Then I made it into a light round shape with the help of my hands. Then I made it into a long shape. Then I flattened it using a plastic lead. Then I made the shape of the wings by cutting them using a plastic instrument knife. So in this step we can enjoy the shape of the wings of the chirple animal.
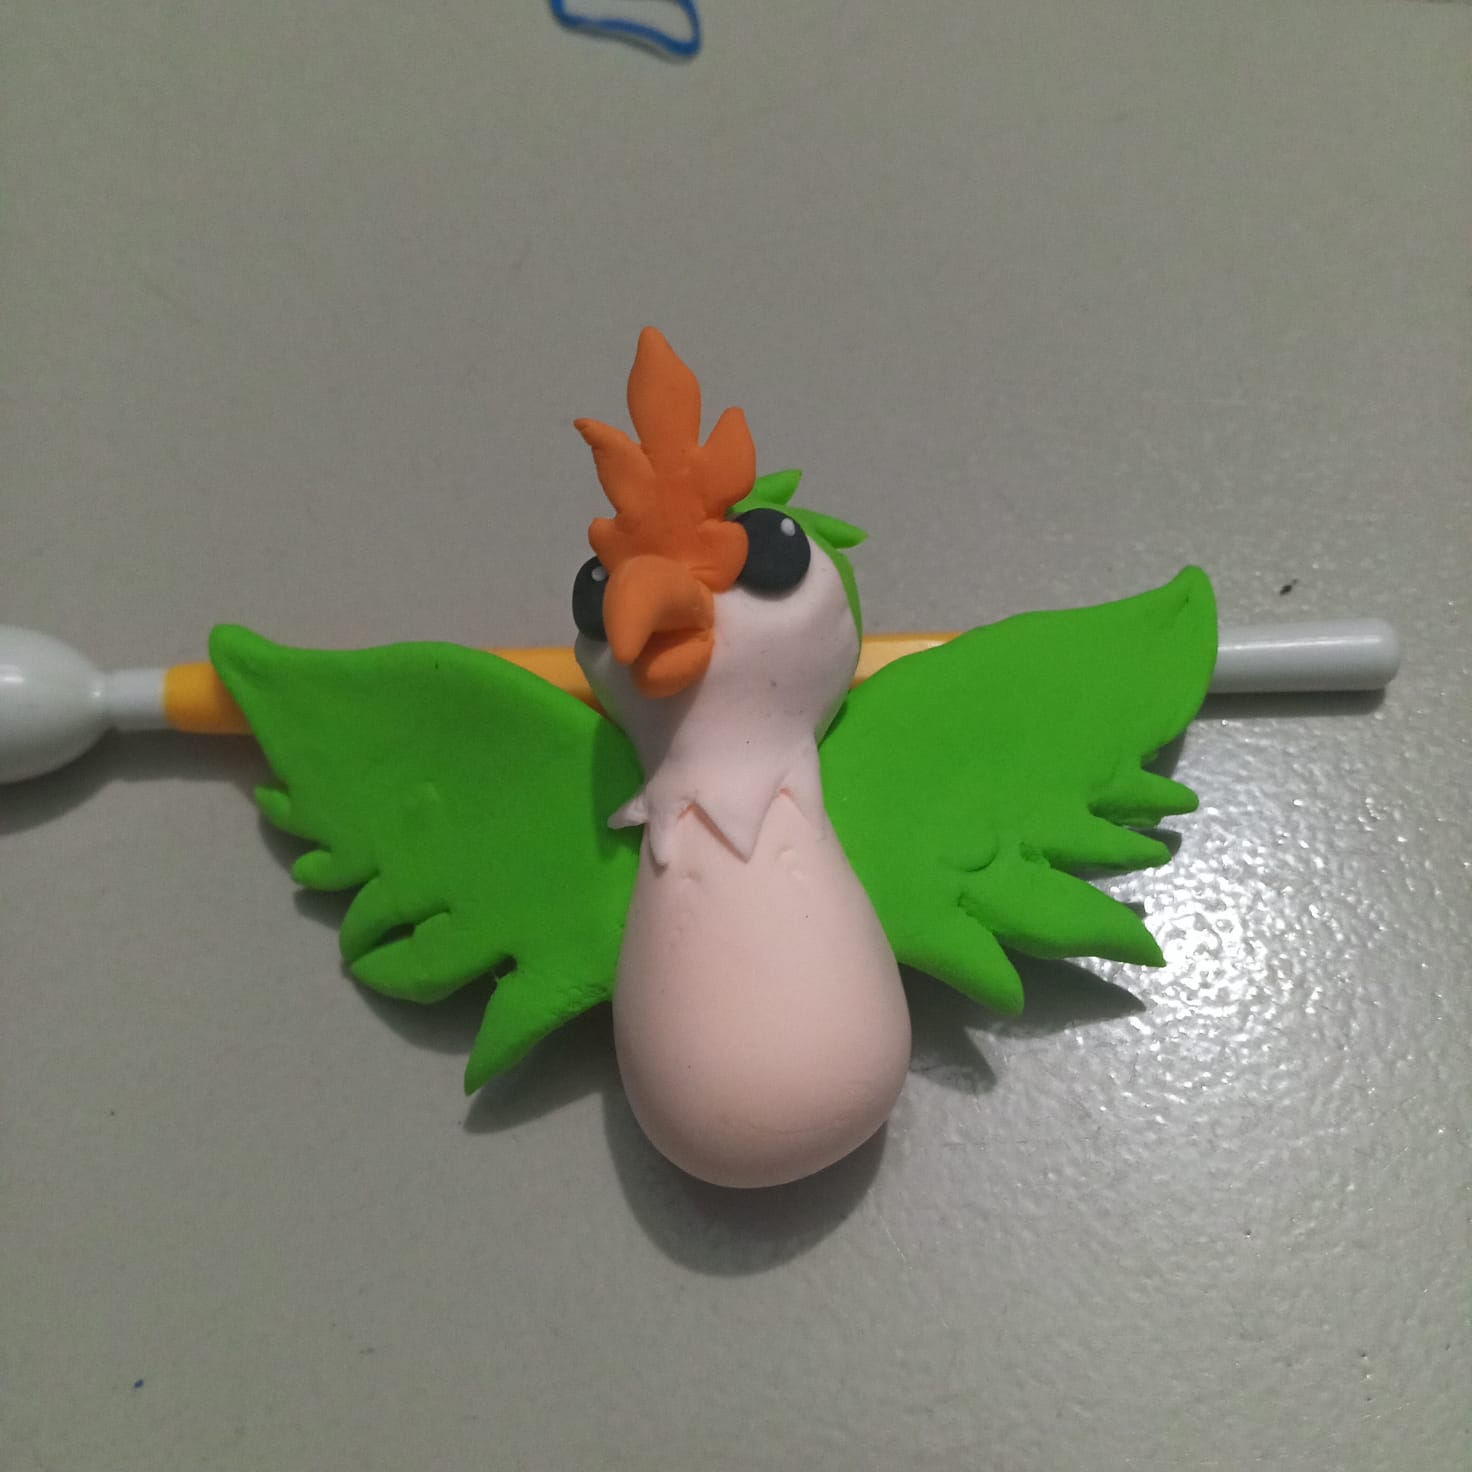
Then I attached the wing shape of the chirple creature to the body on both sides with great feeling. Which looks really great and beautiful.
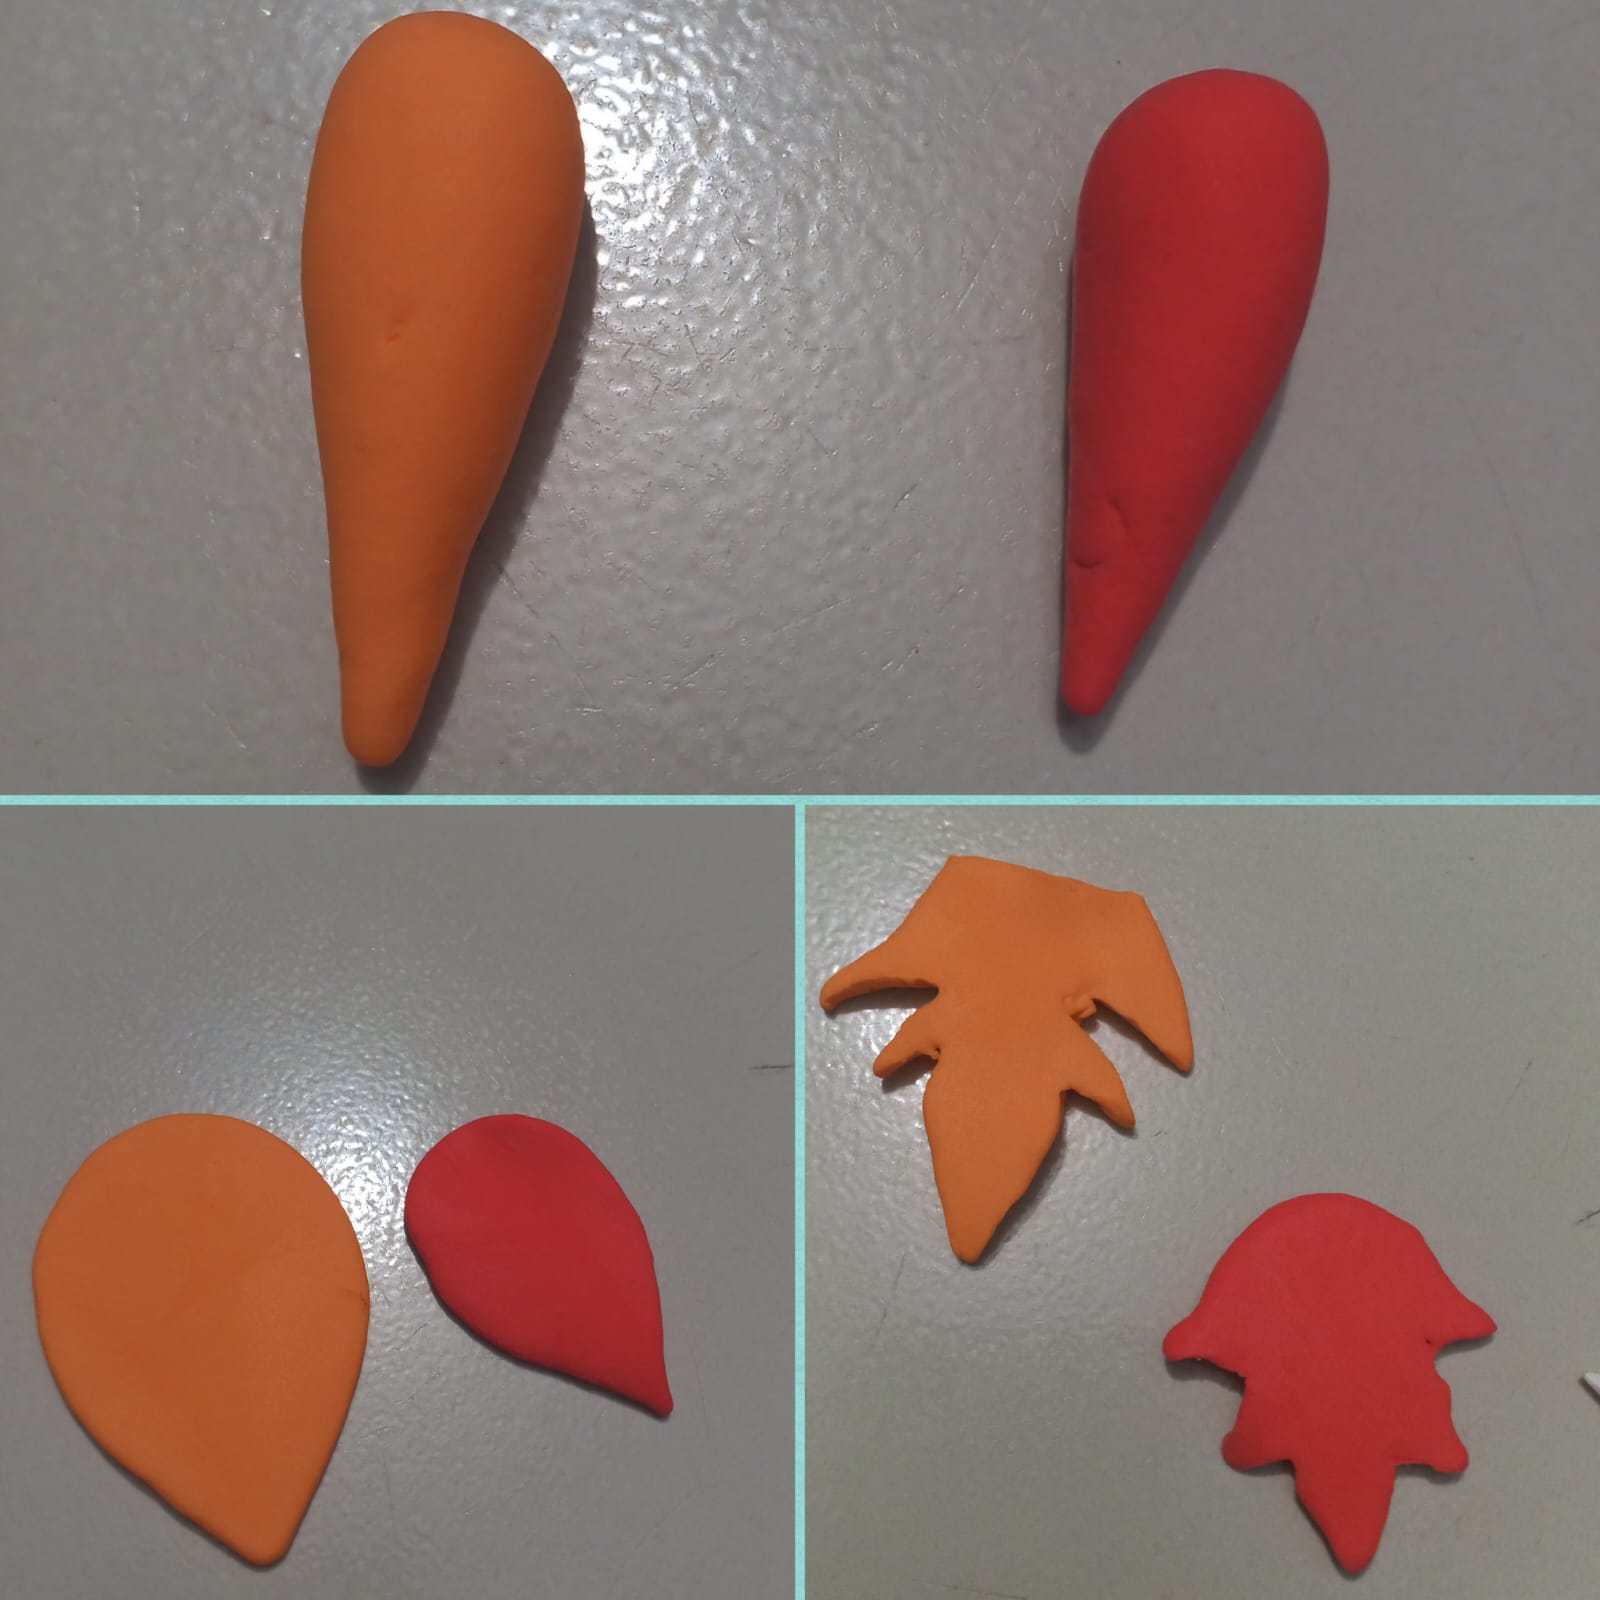
Here I have taken two colors of clay, red and light yellow. Later I have made two similar light small and large long balls from the two colors of clay. Then I have flattened them using plastic lead. Later, using plastic instruments, I have made these two wonderful shapes into beautiful grass cutting shapes to prepare the furry shape of the chirple animal's tail.
Next, I completed the wonderful design of the tail by placing one small piece of fur on top of another. Then I attached this wonderful design to the lower part of the animal's body to complete the fur design.

In this step I took red colored clay. Later I made the shape of the chirple animal's foot by taking beautiful shape of the red colored clay. Later I tried to show the full toes of the foot by using plastic instrument knife.
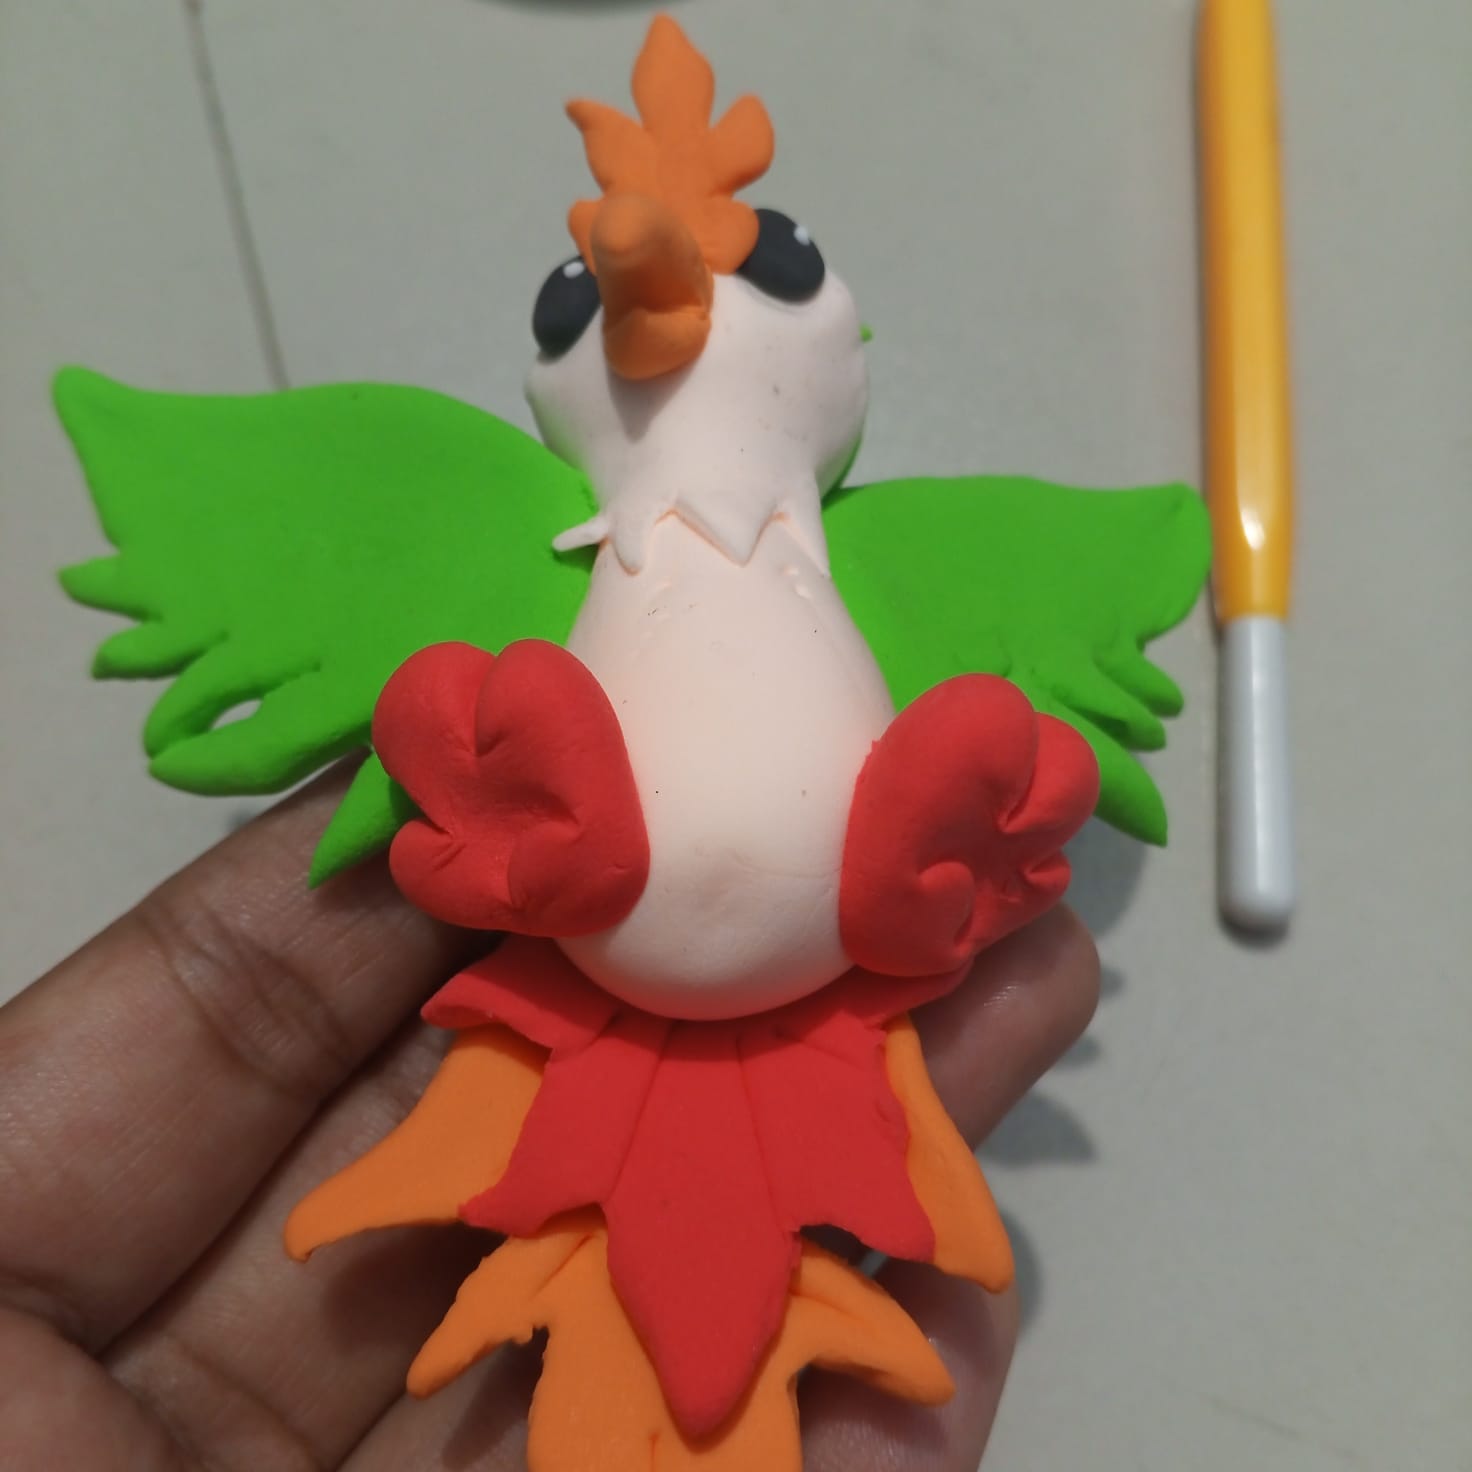
Then, with great feeling, I attached my legs to the animal's harness.
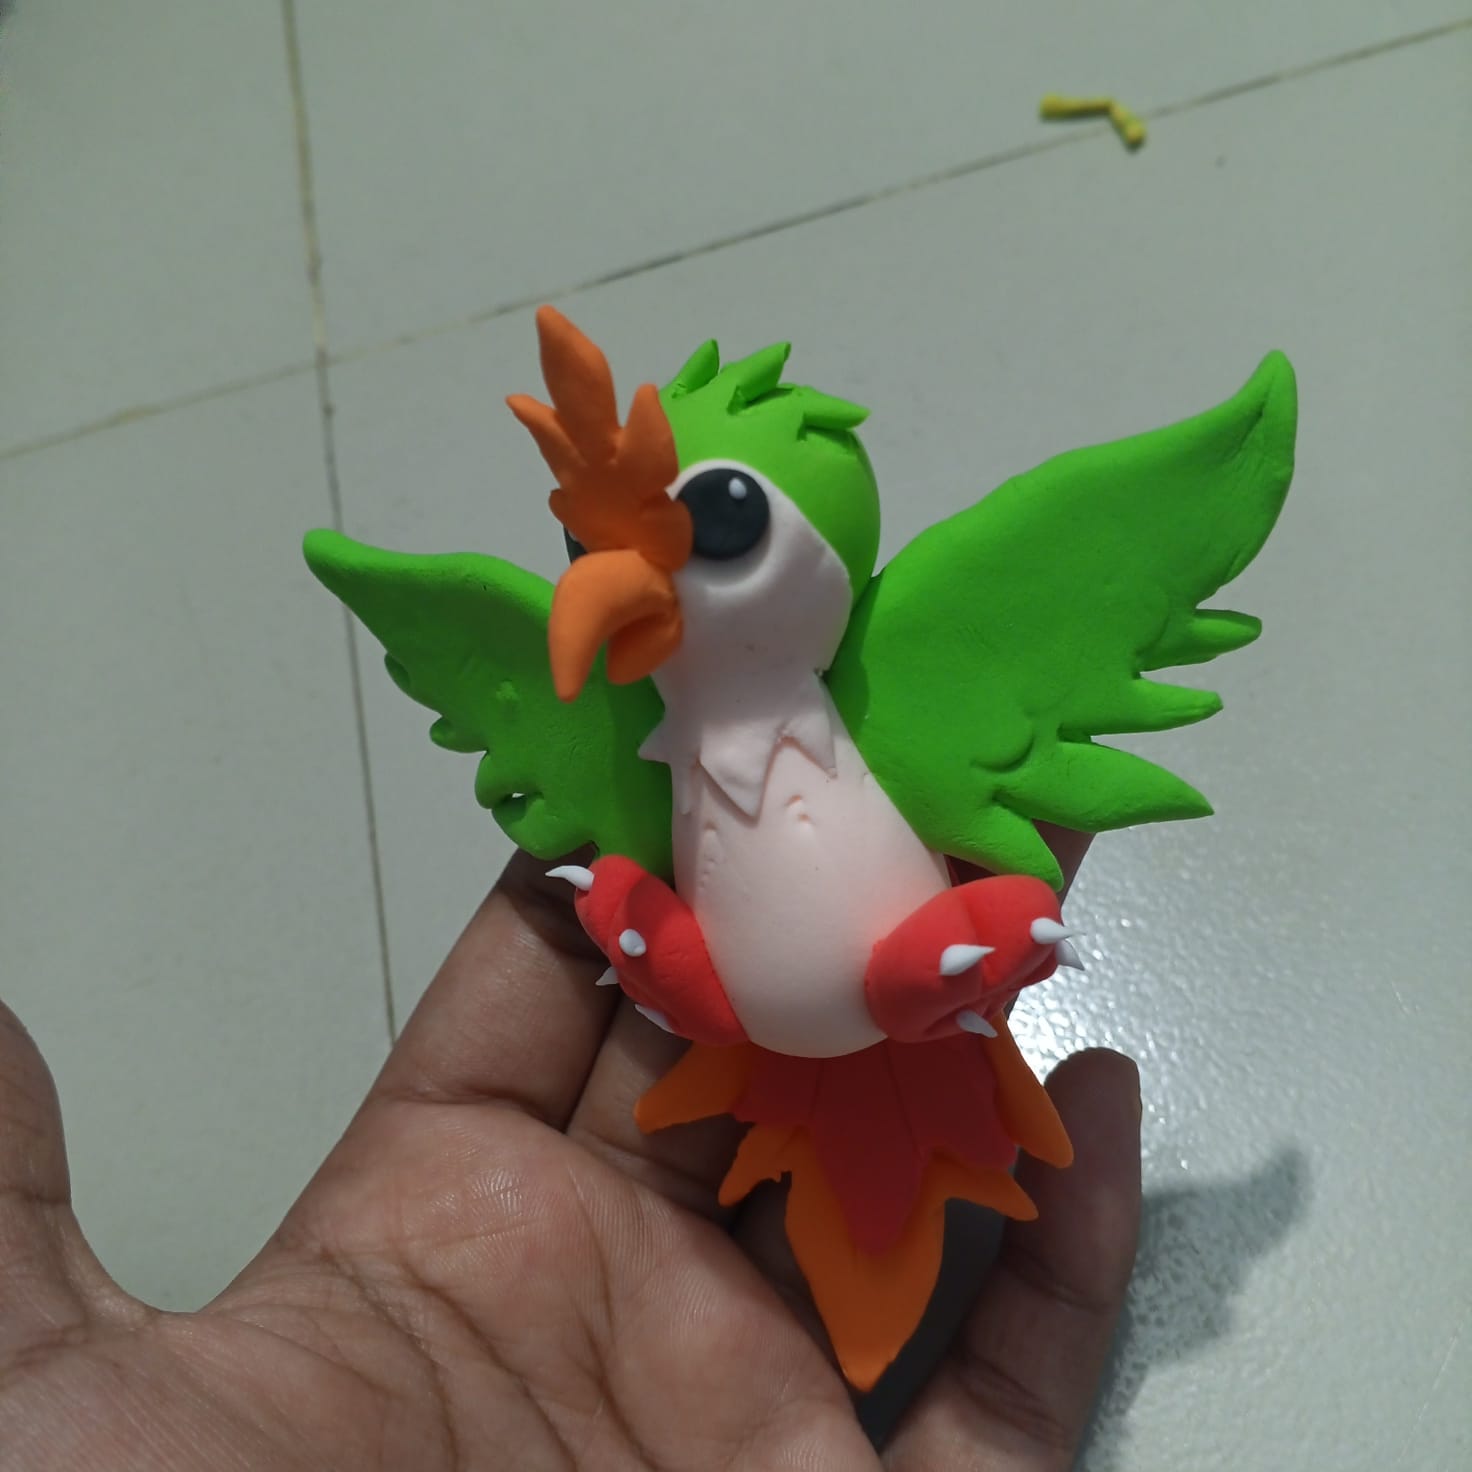
Next, using white clay, I prepared the shape of the chirple's toenails with great feeling and attached all the designs to the feet. Here I can say with great ease that you must have seen it very deeply and loved the toenails.
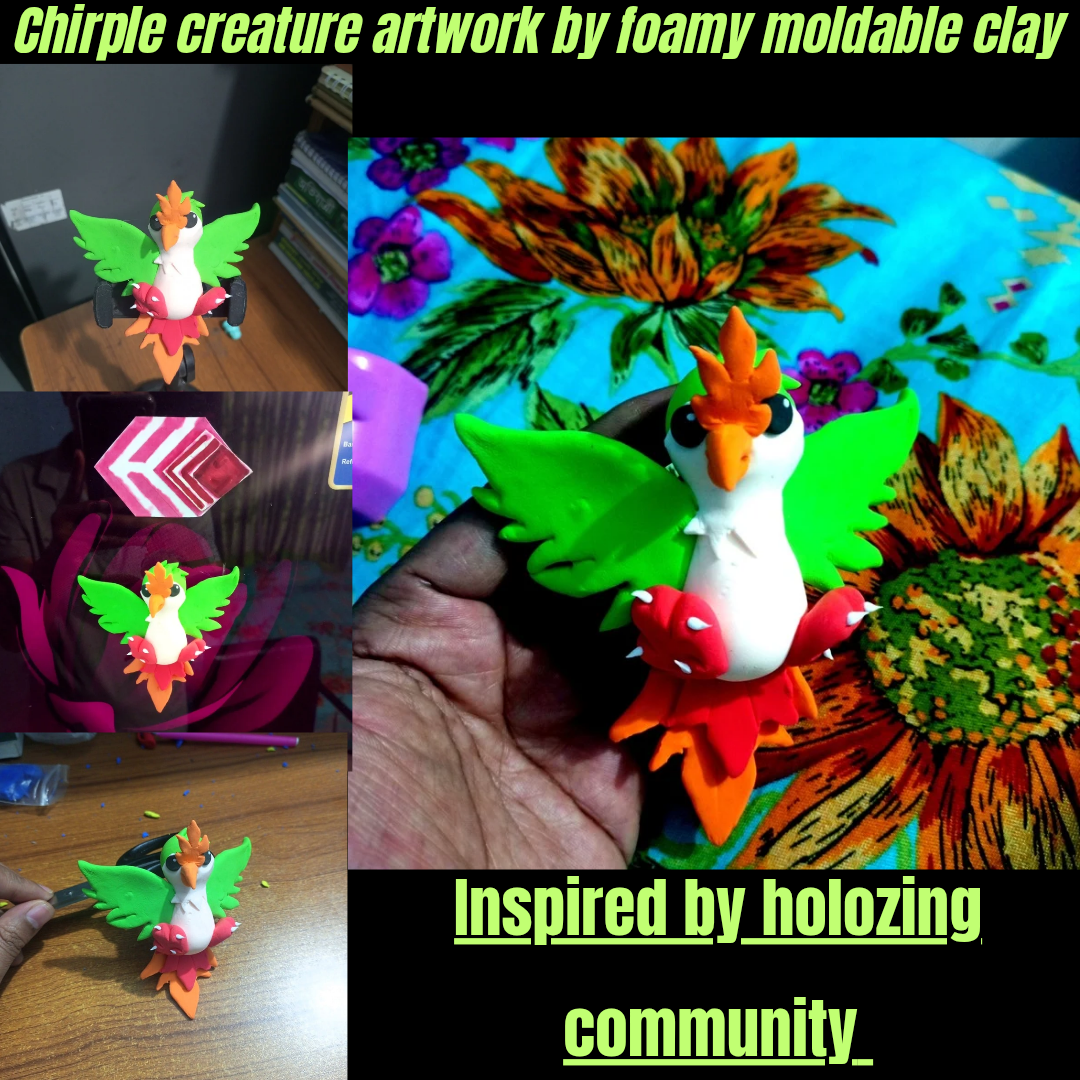
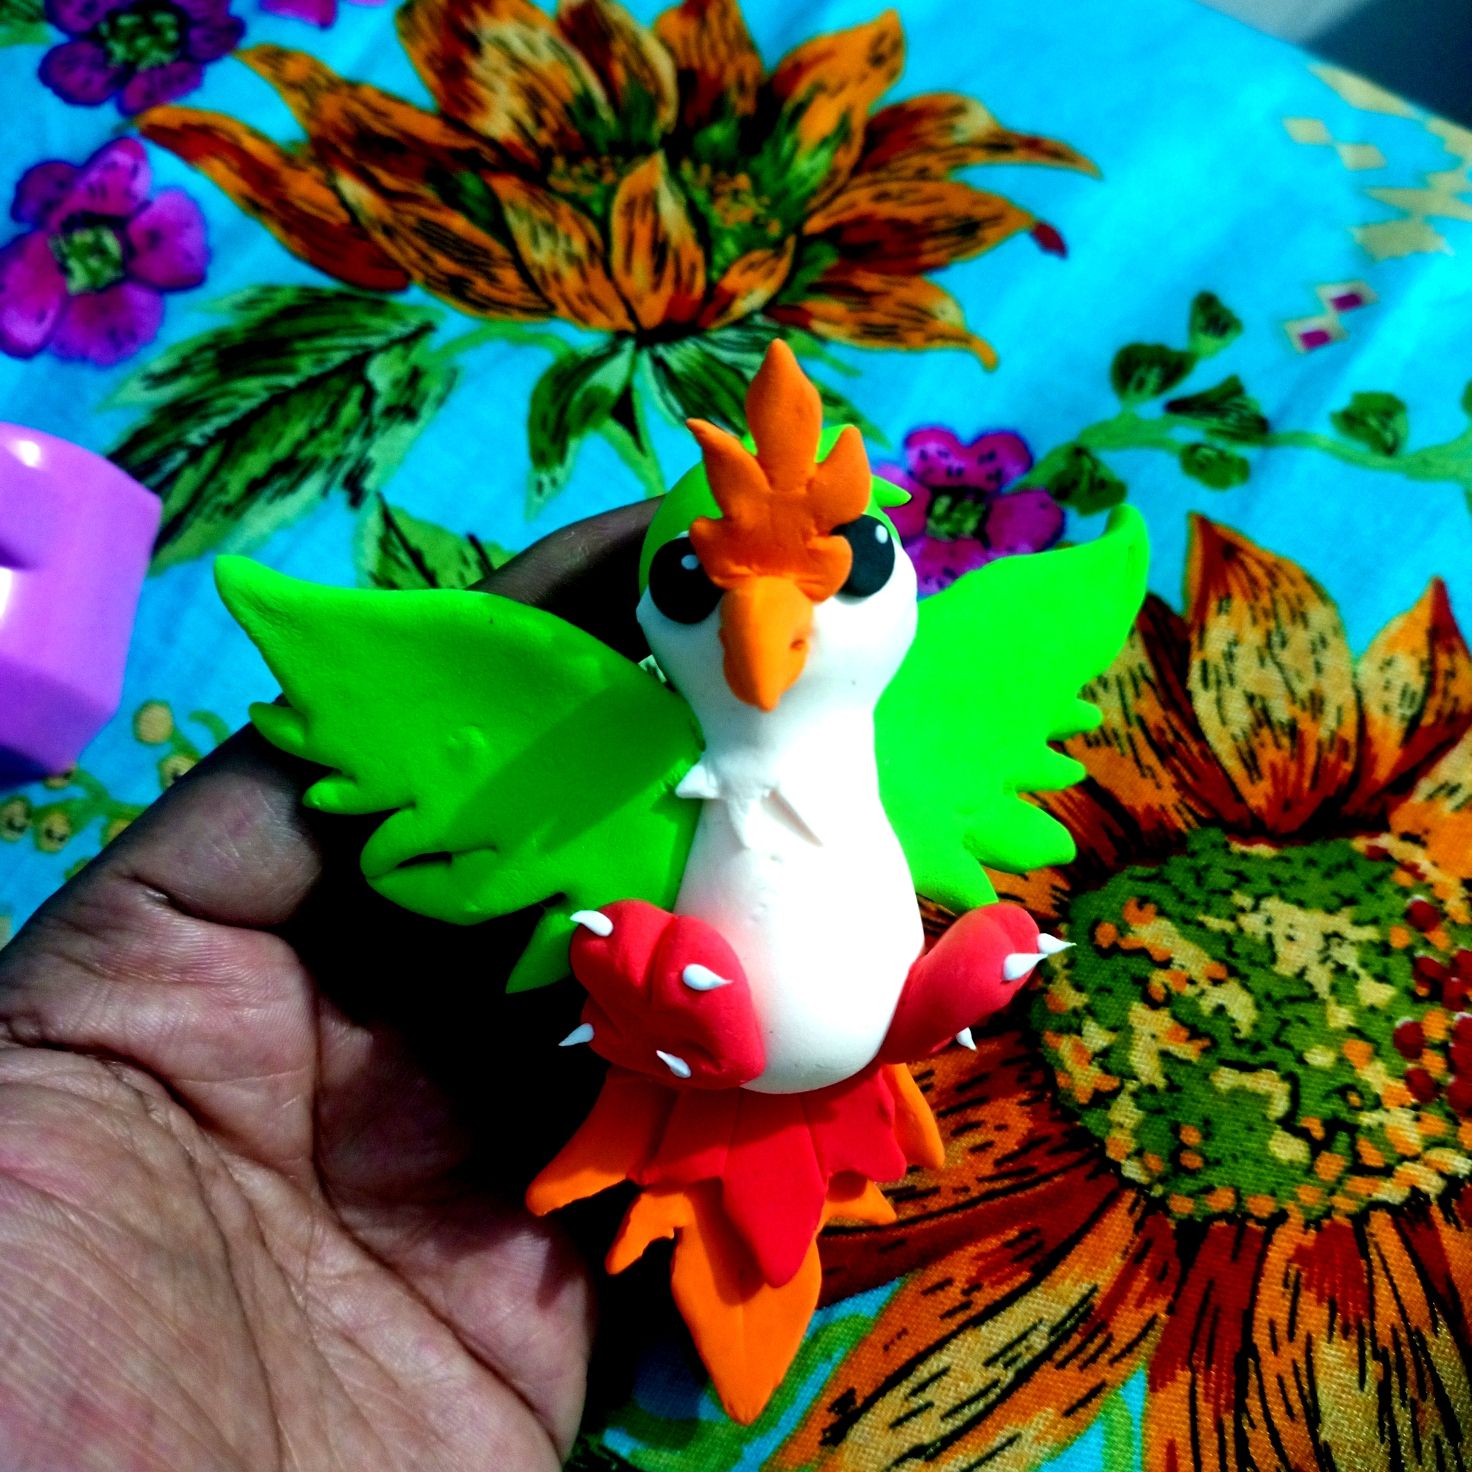
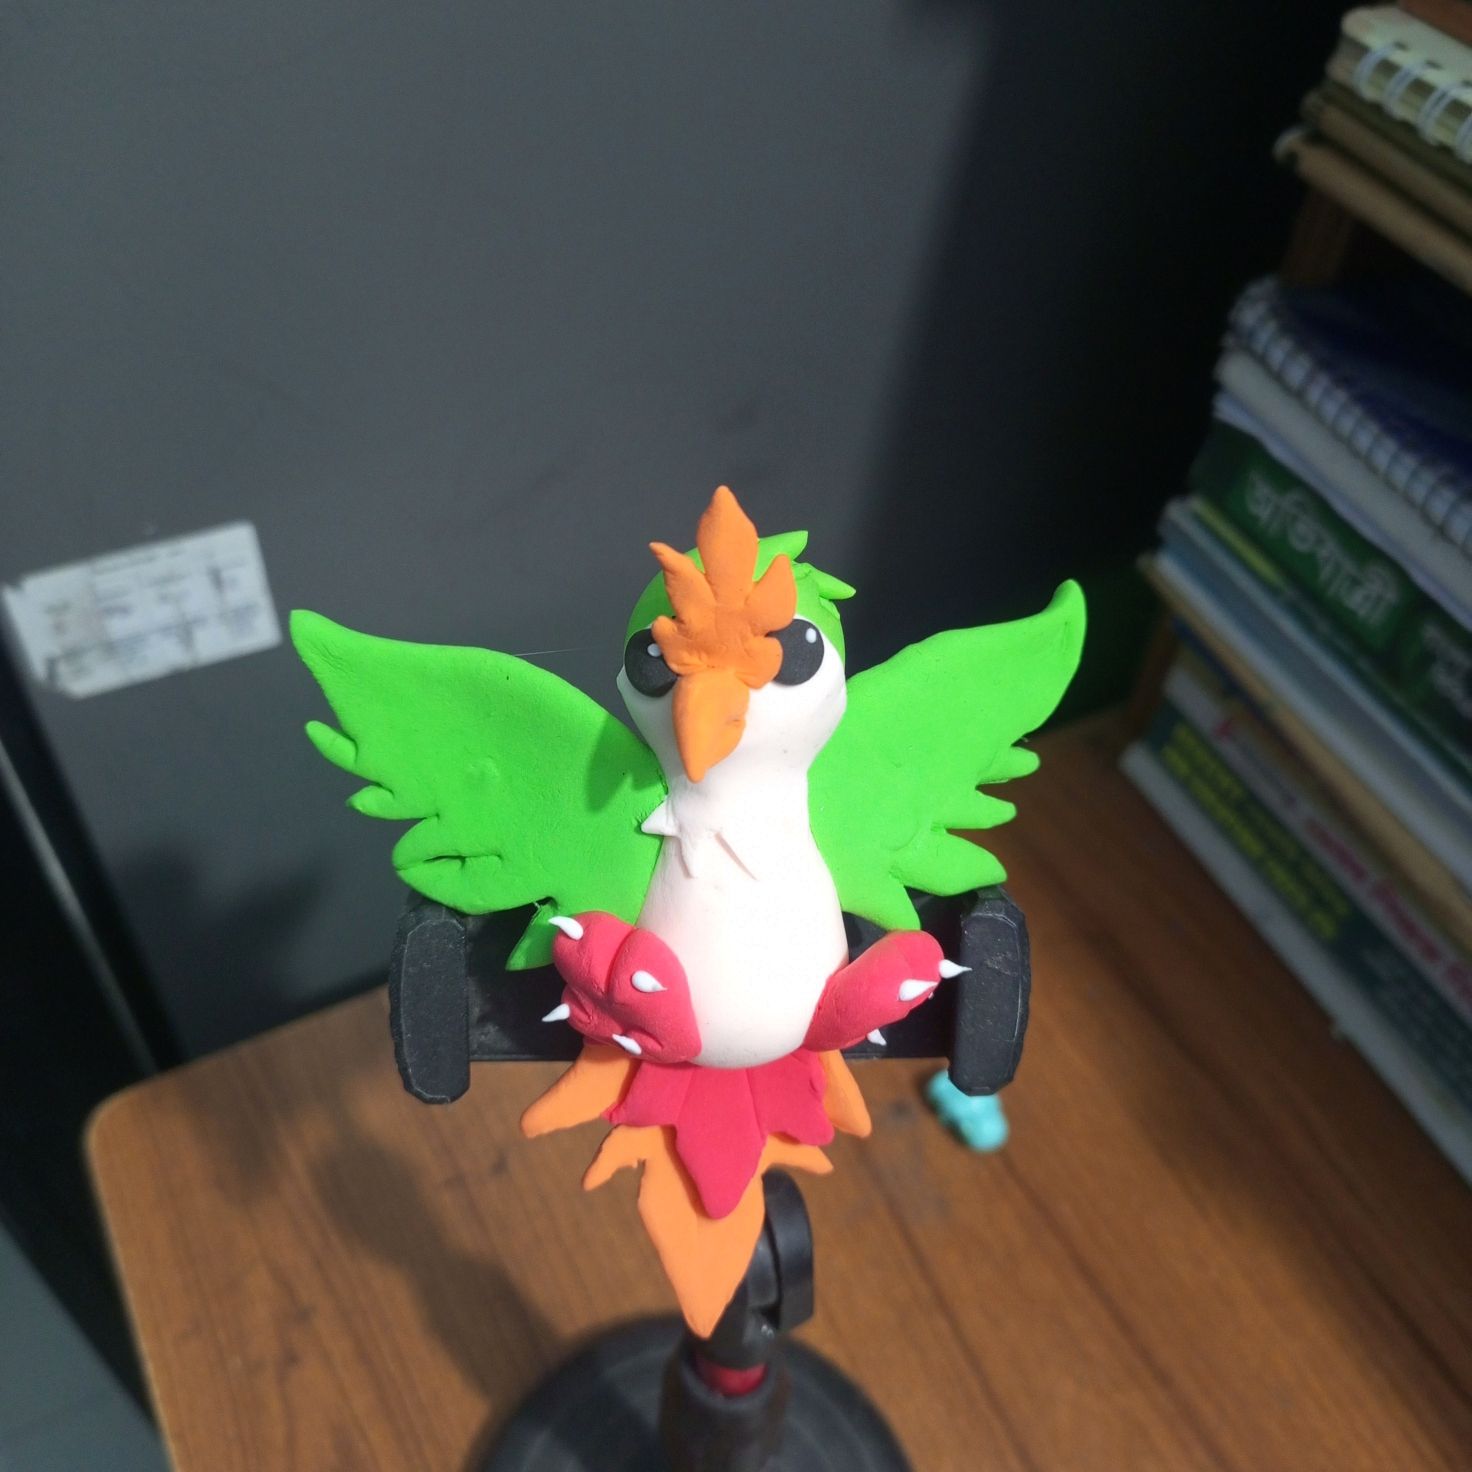
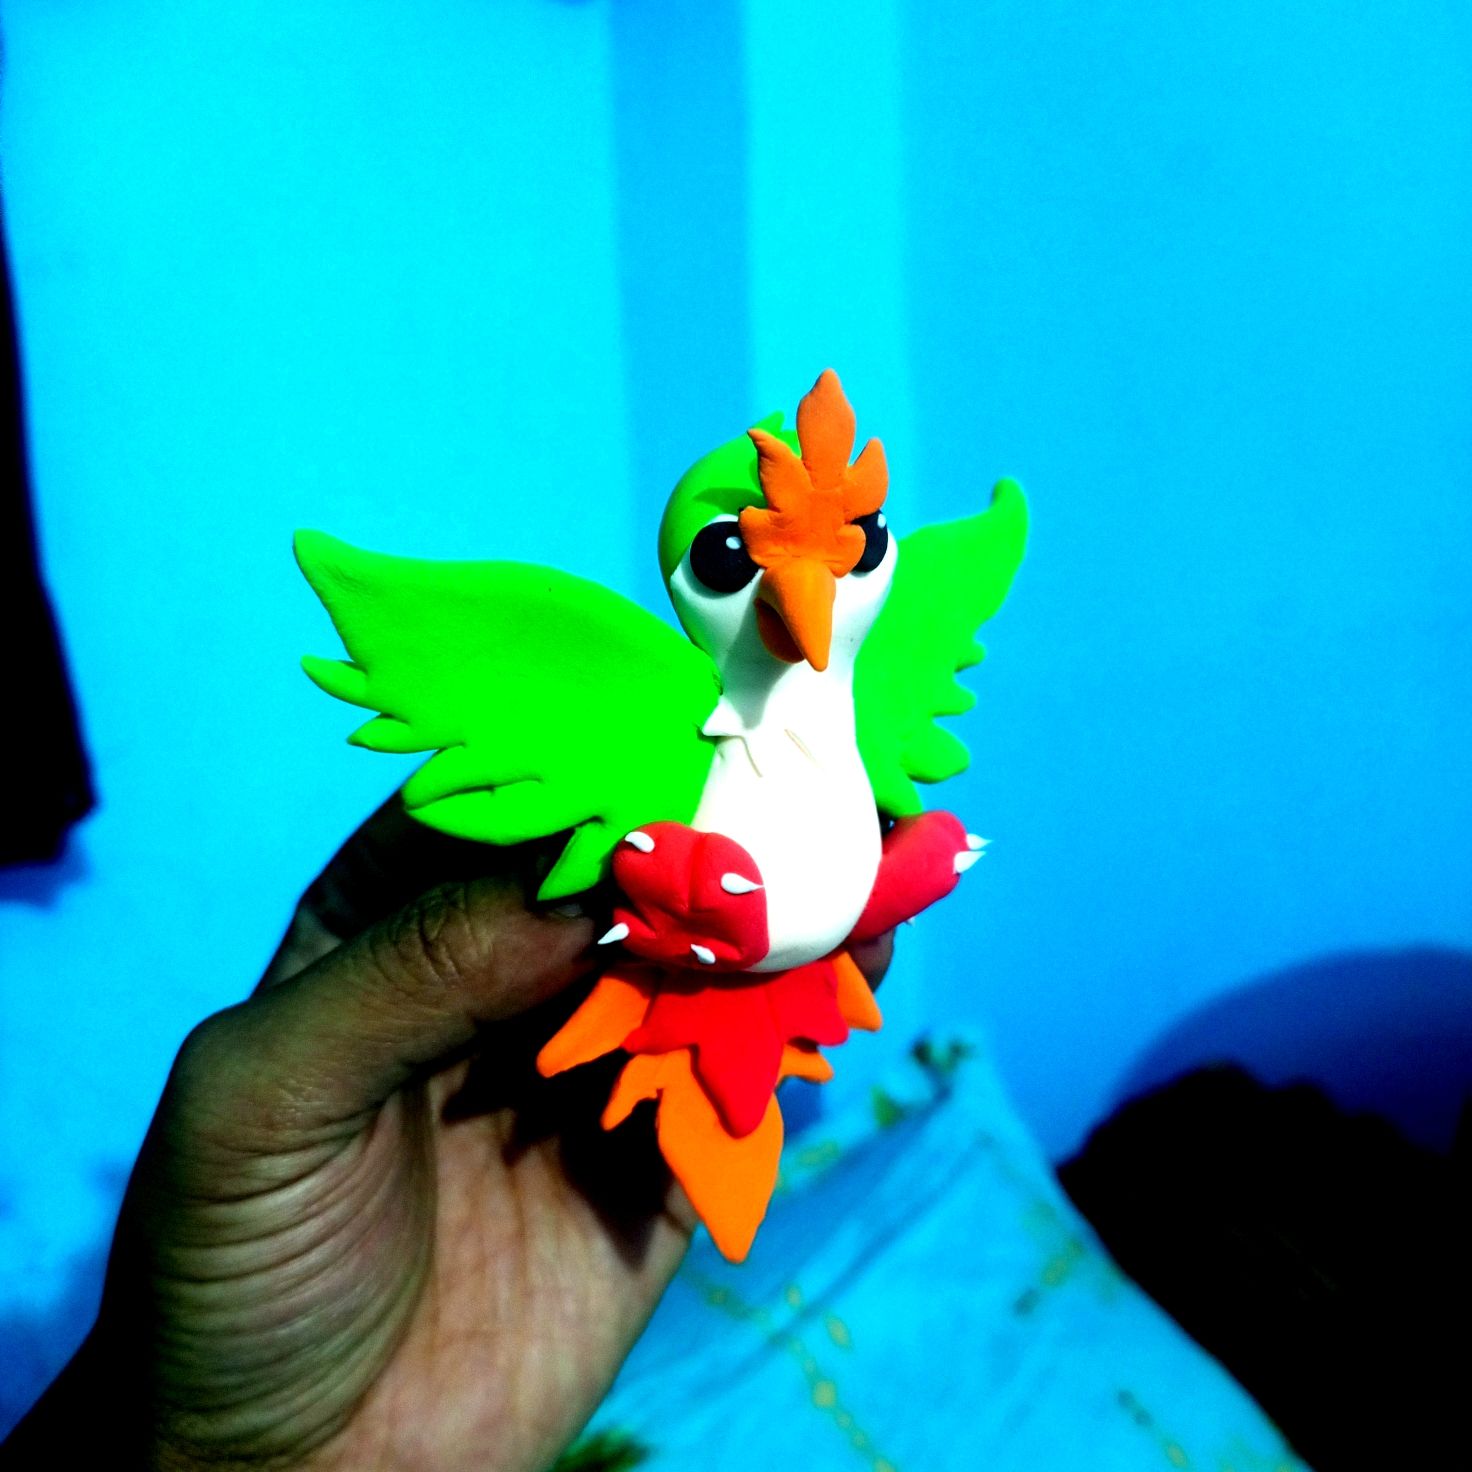
Here we will follow the final step by arranging all the steps beautifully to create all the limbs of the collective chirple creature.
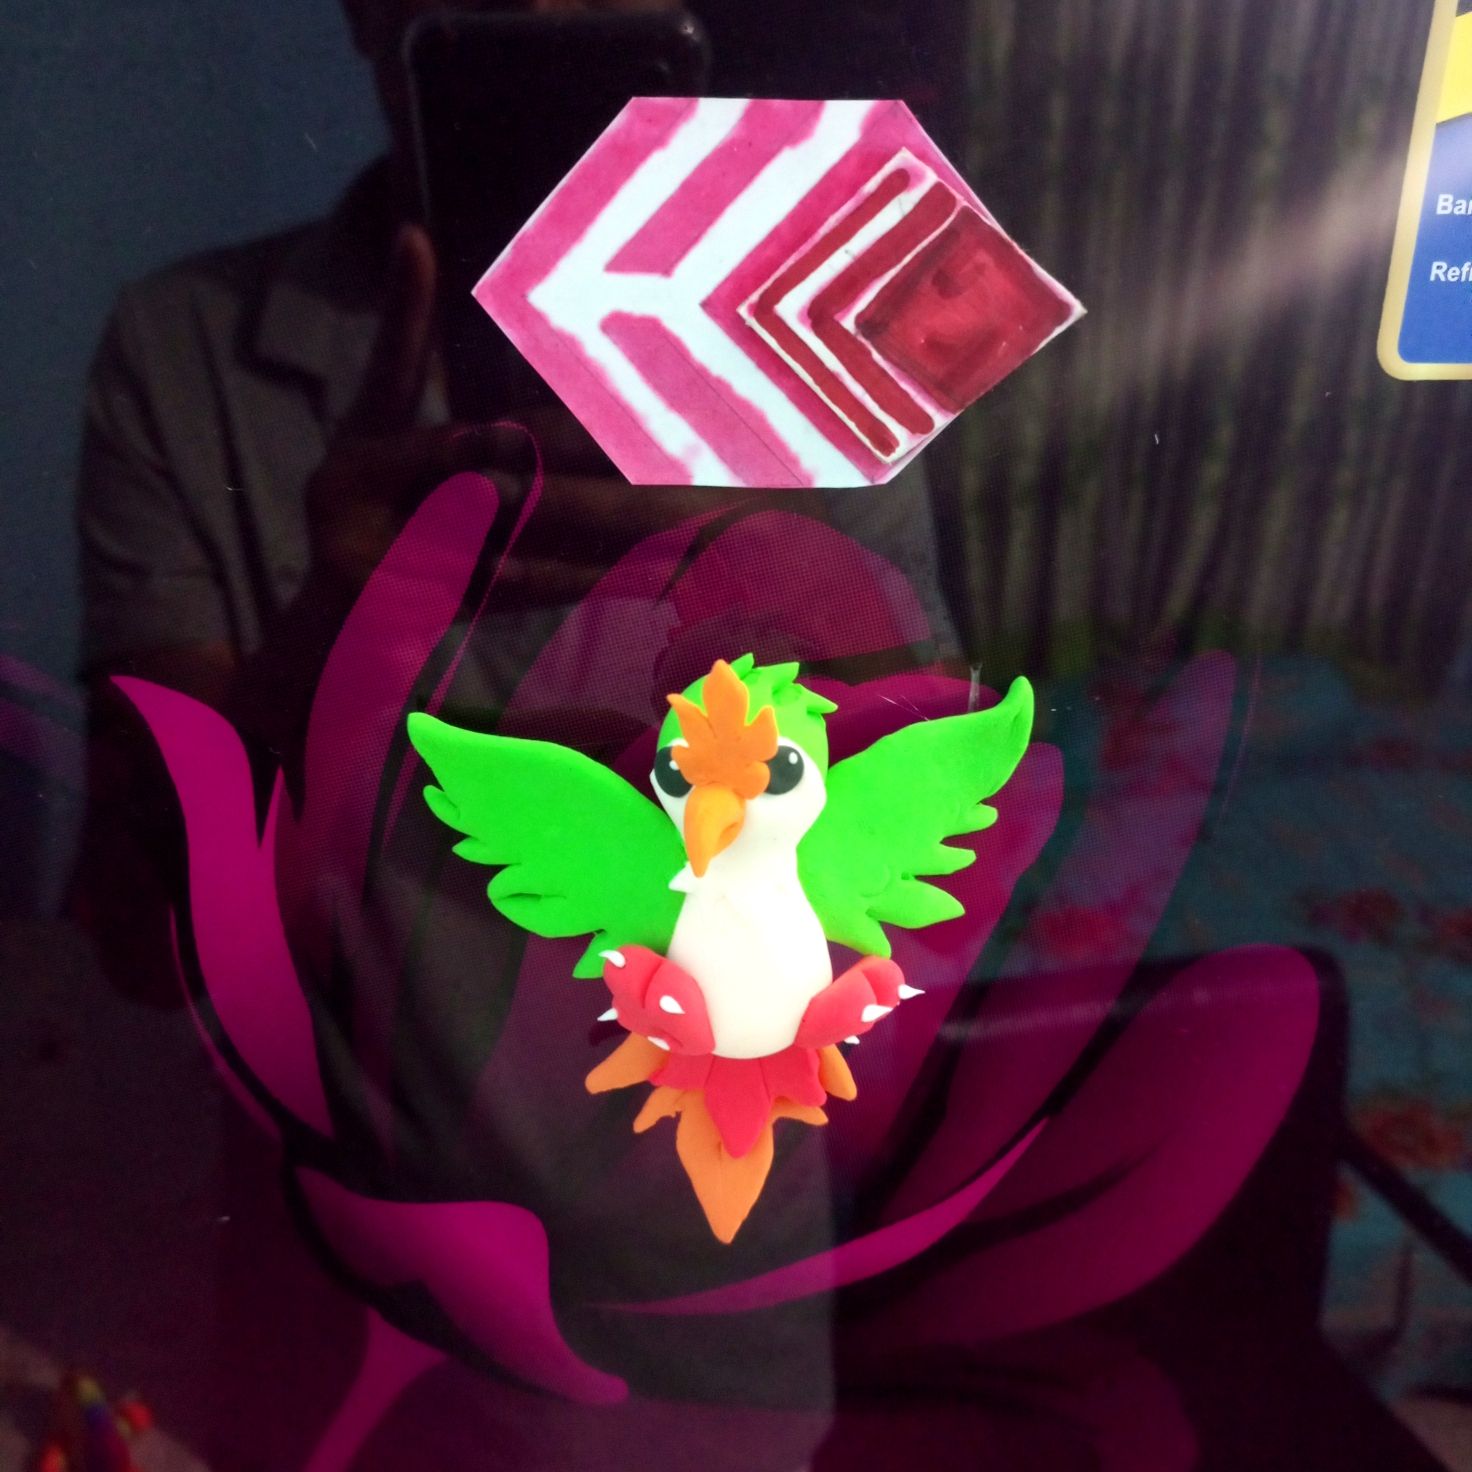
✓We always consider this great hive platform as a treasure trove of knowledge. So, we are trying to present you with a great picture with the hive logo to inspire the first unique Chirple animal in the holozing games.
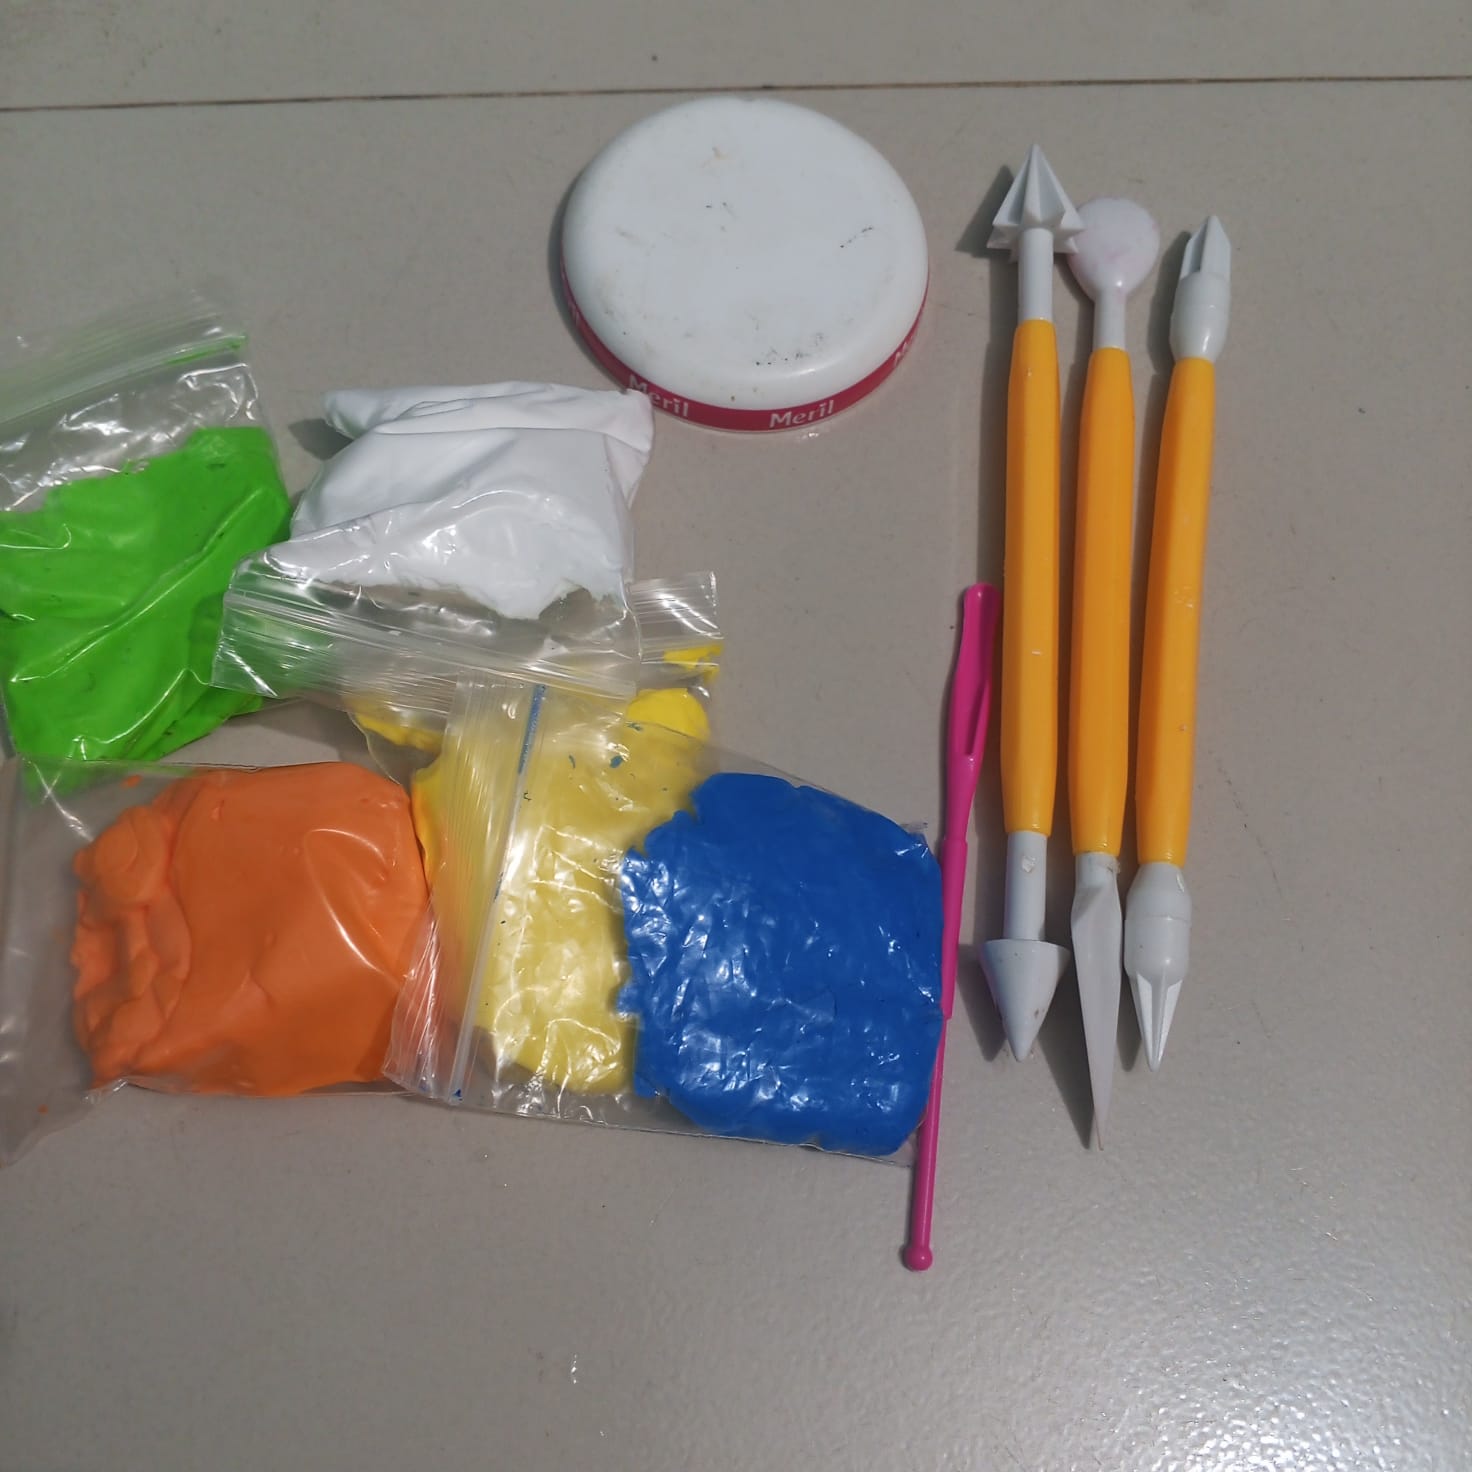
🌺Scale
🌺Scissors
🌺moldable Clay
🌺Plastic lead
🌺Plastic instrument

👁️🌺Here I am showing a selfie with this amazing Chirple animal.🌺👁️

Thank you for reading my creative article blog .Stay safe,stay happy.i think if you find any mistake in writing or something. Please allow me to correct it.And find me on social media.