Cover Created By Canva
we will present creative style skills using paper cups, colored paper and necessary materials. You must love the art that is made by making full use of the things thrown away. We can create art just by enjoying the beauty of everything around us. It is really a great skill and creativity that is created by seeing reality.
Step by step paper flower making tutorial
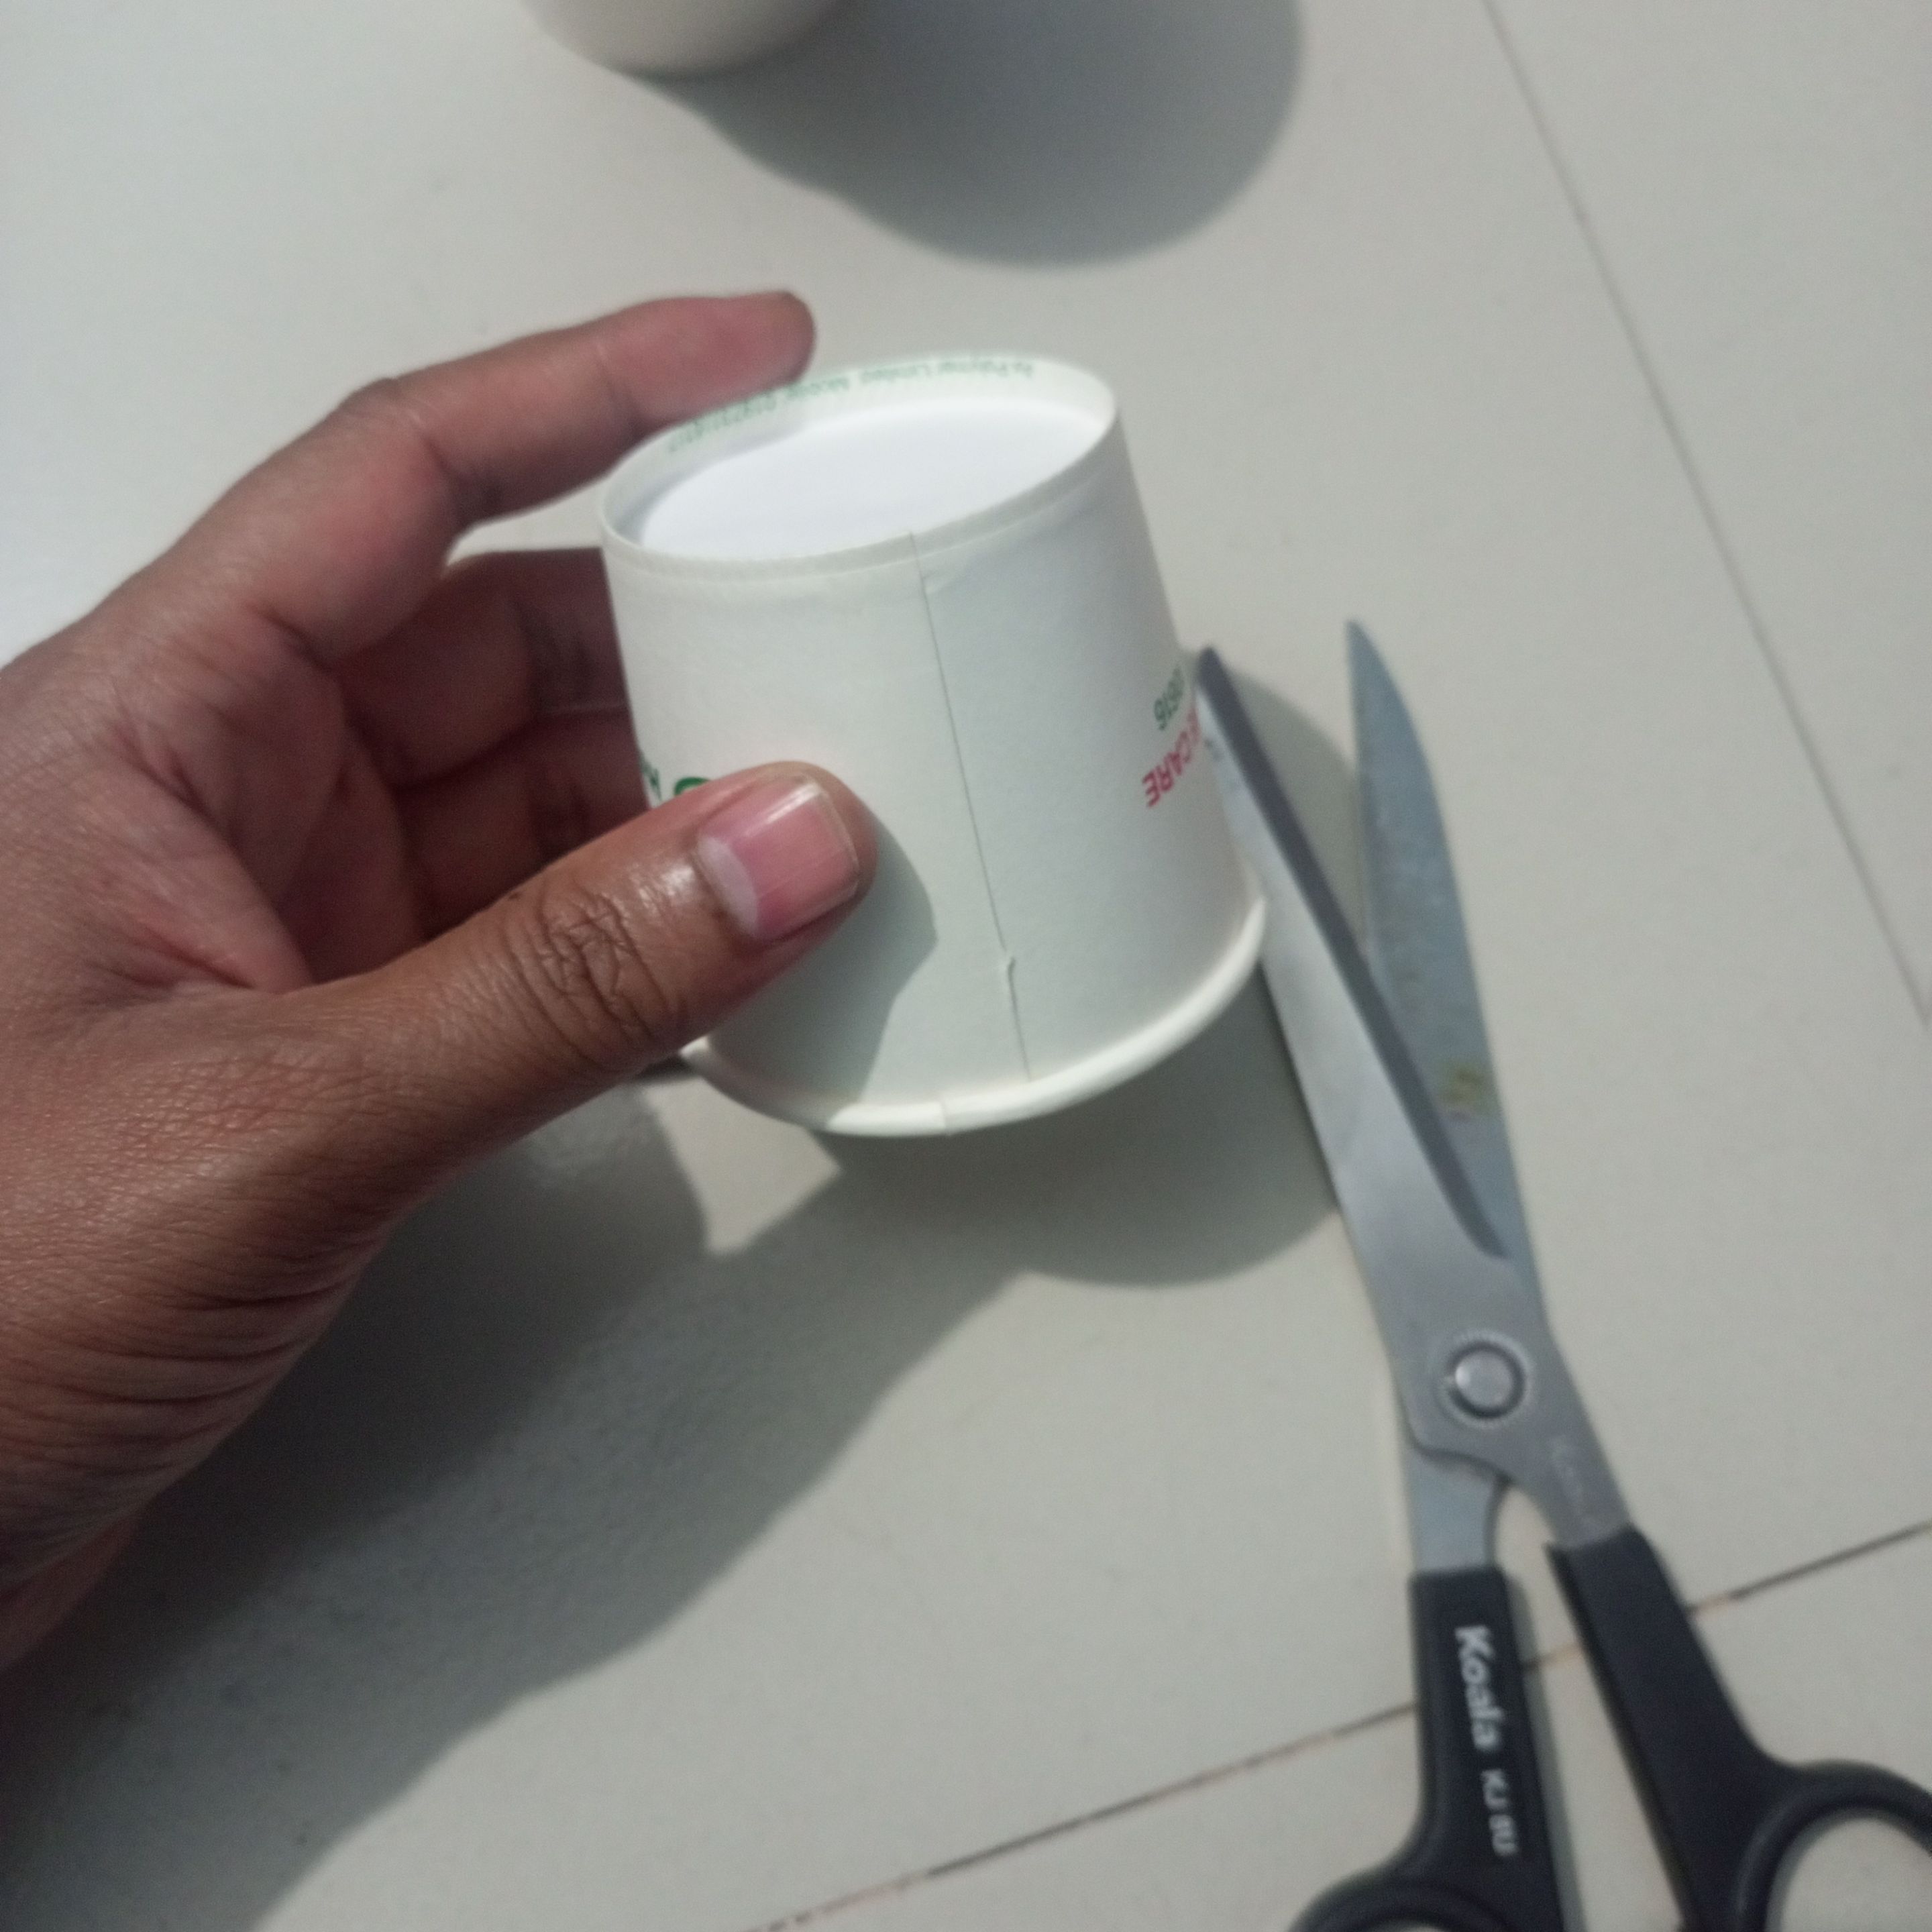
Next, I carefully cut the paper cups one after the other into nice sizes and evenly.
Next, I carefully cut the paper cups one after the other into nice sizes and evenly.
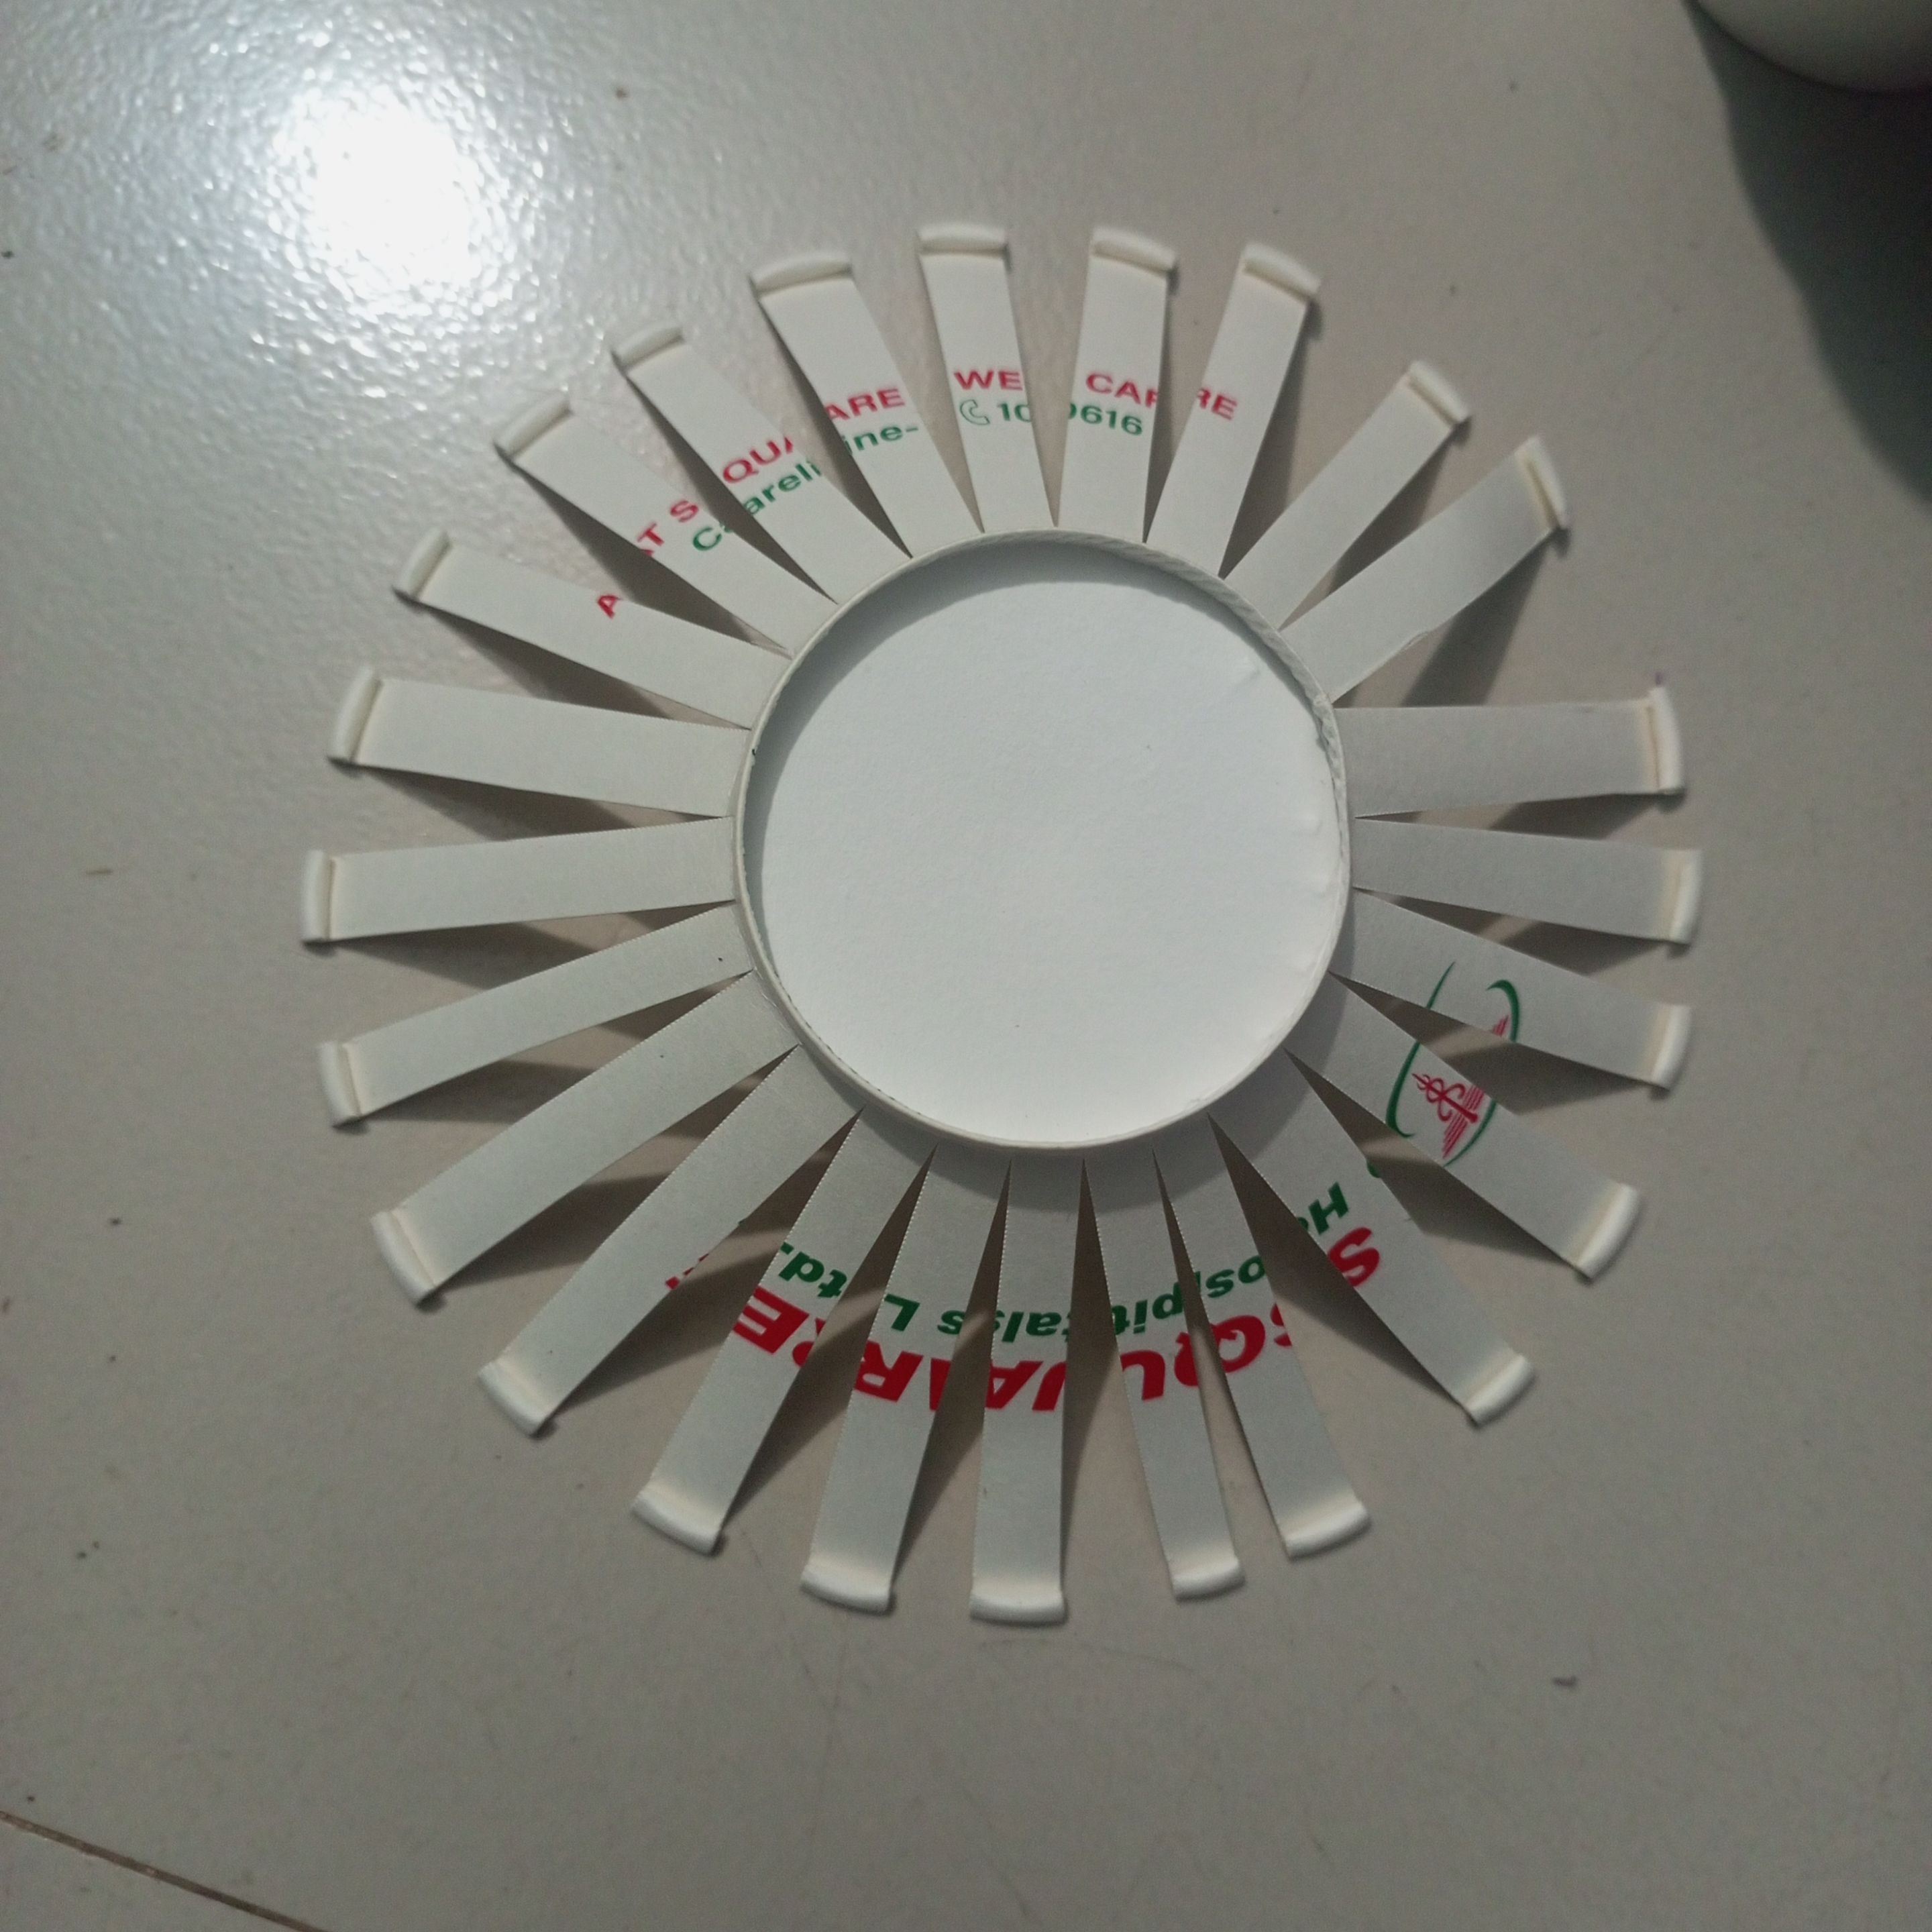
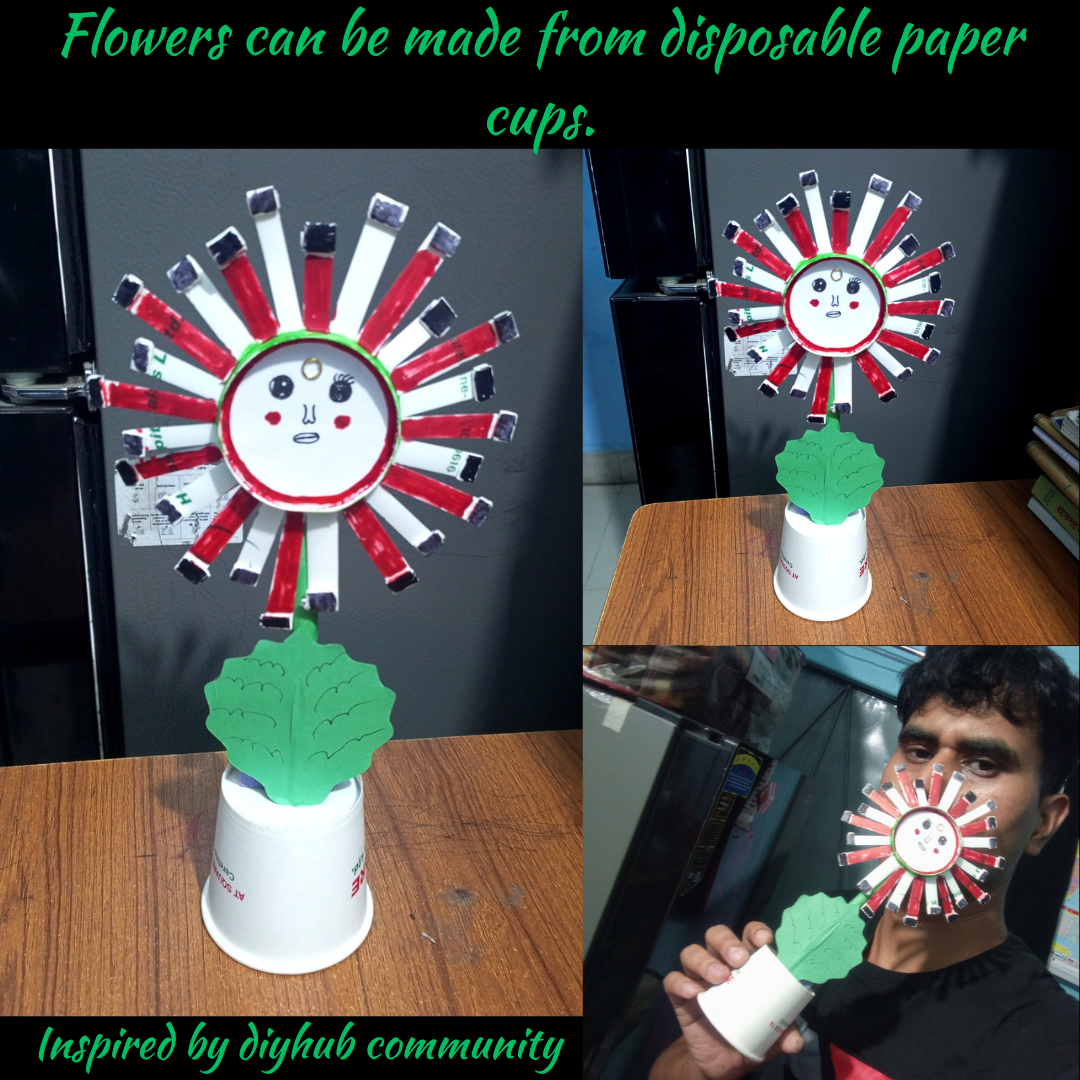
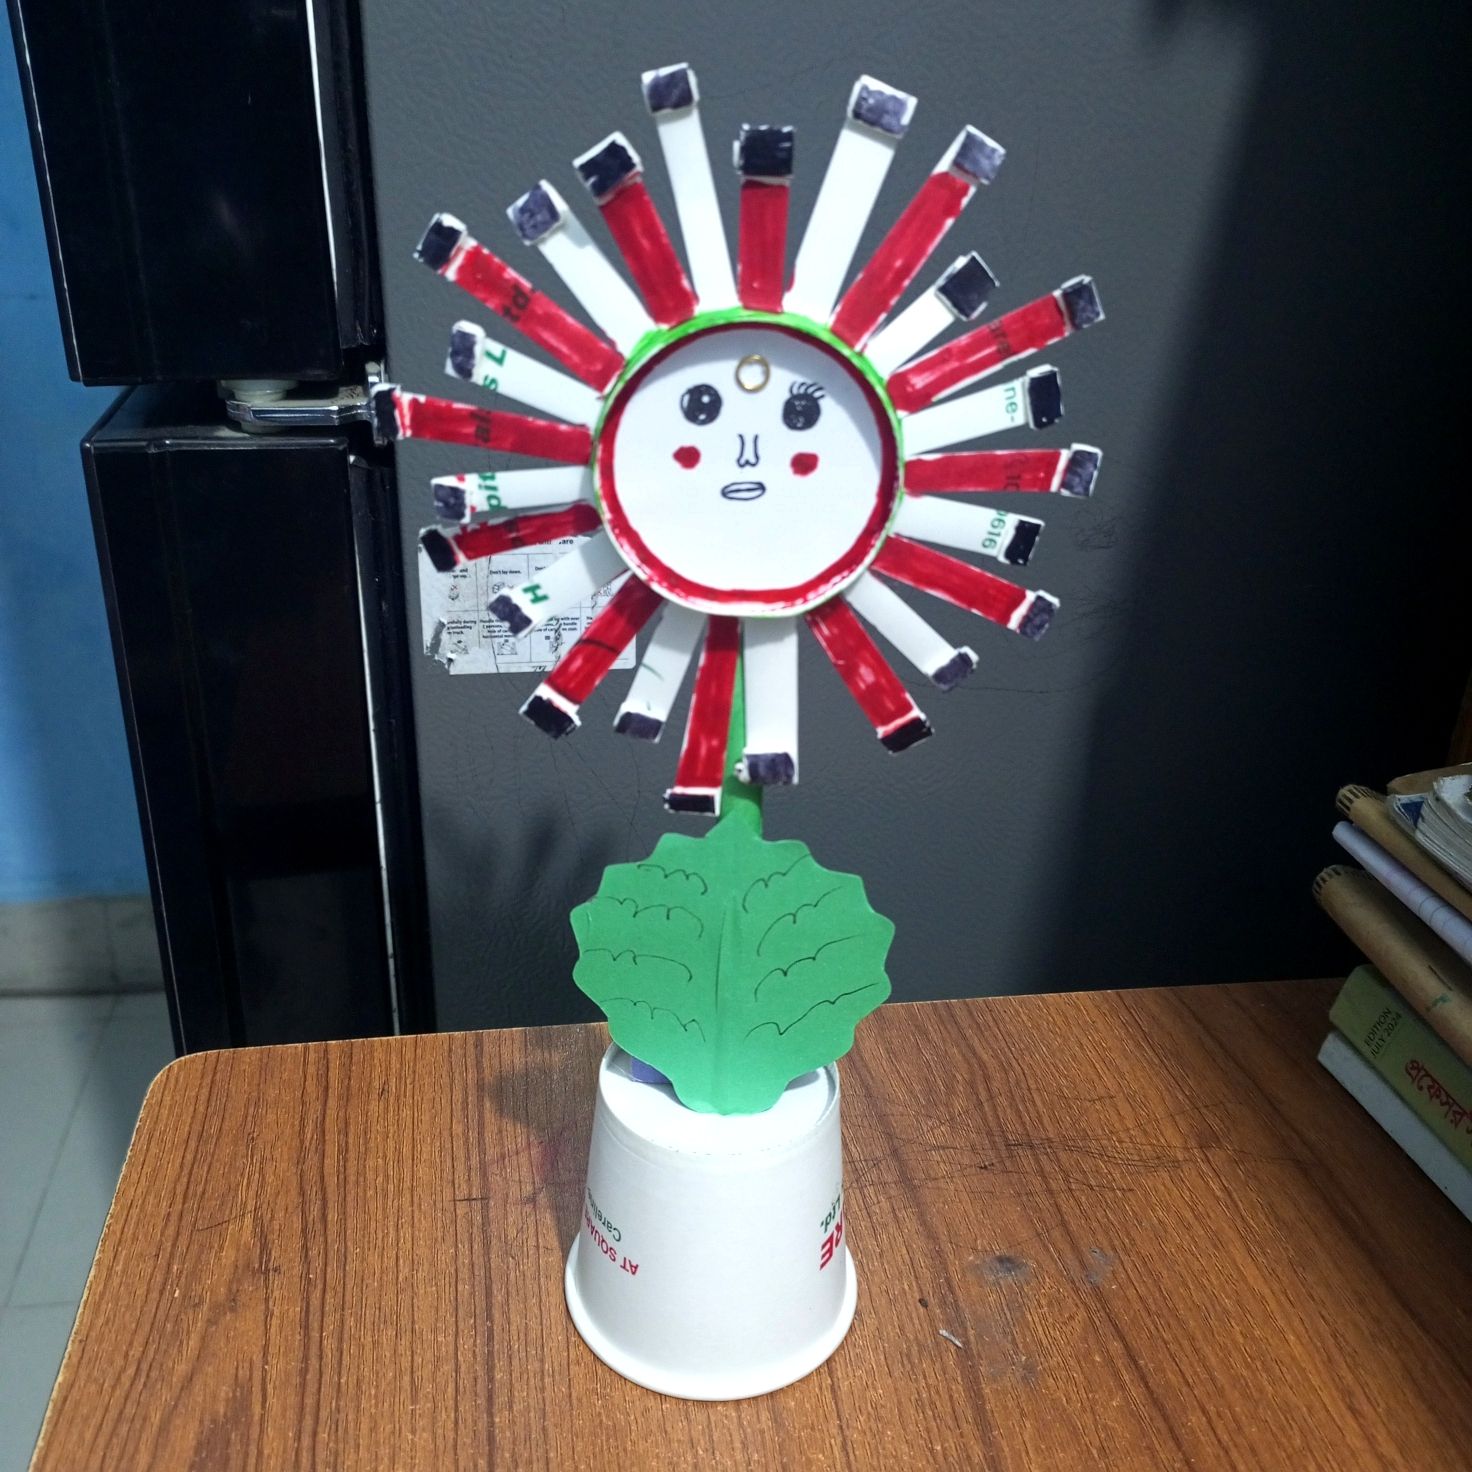
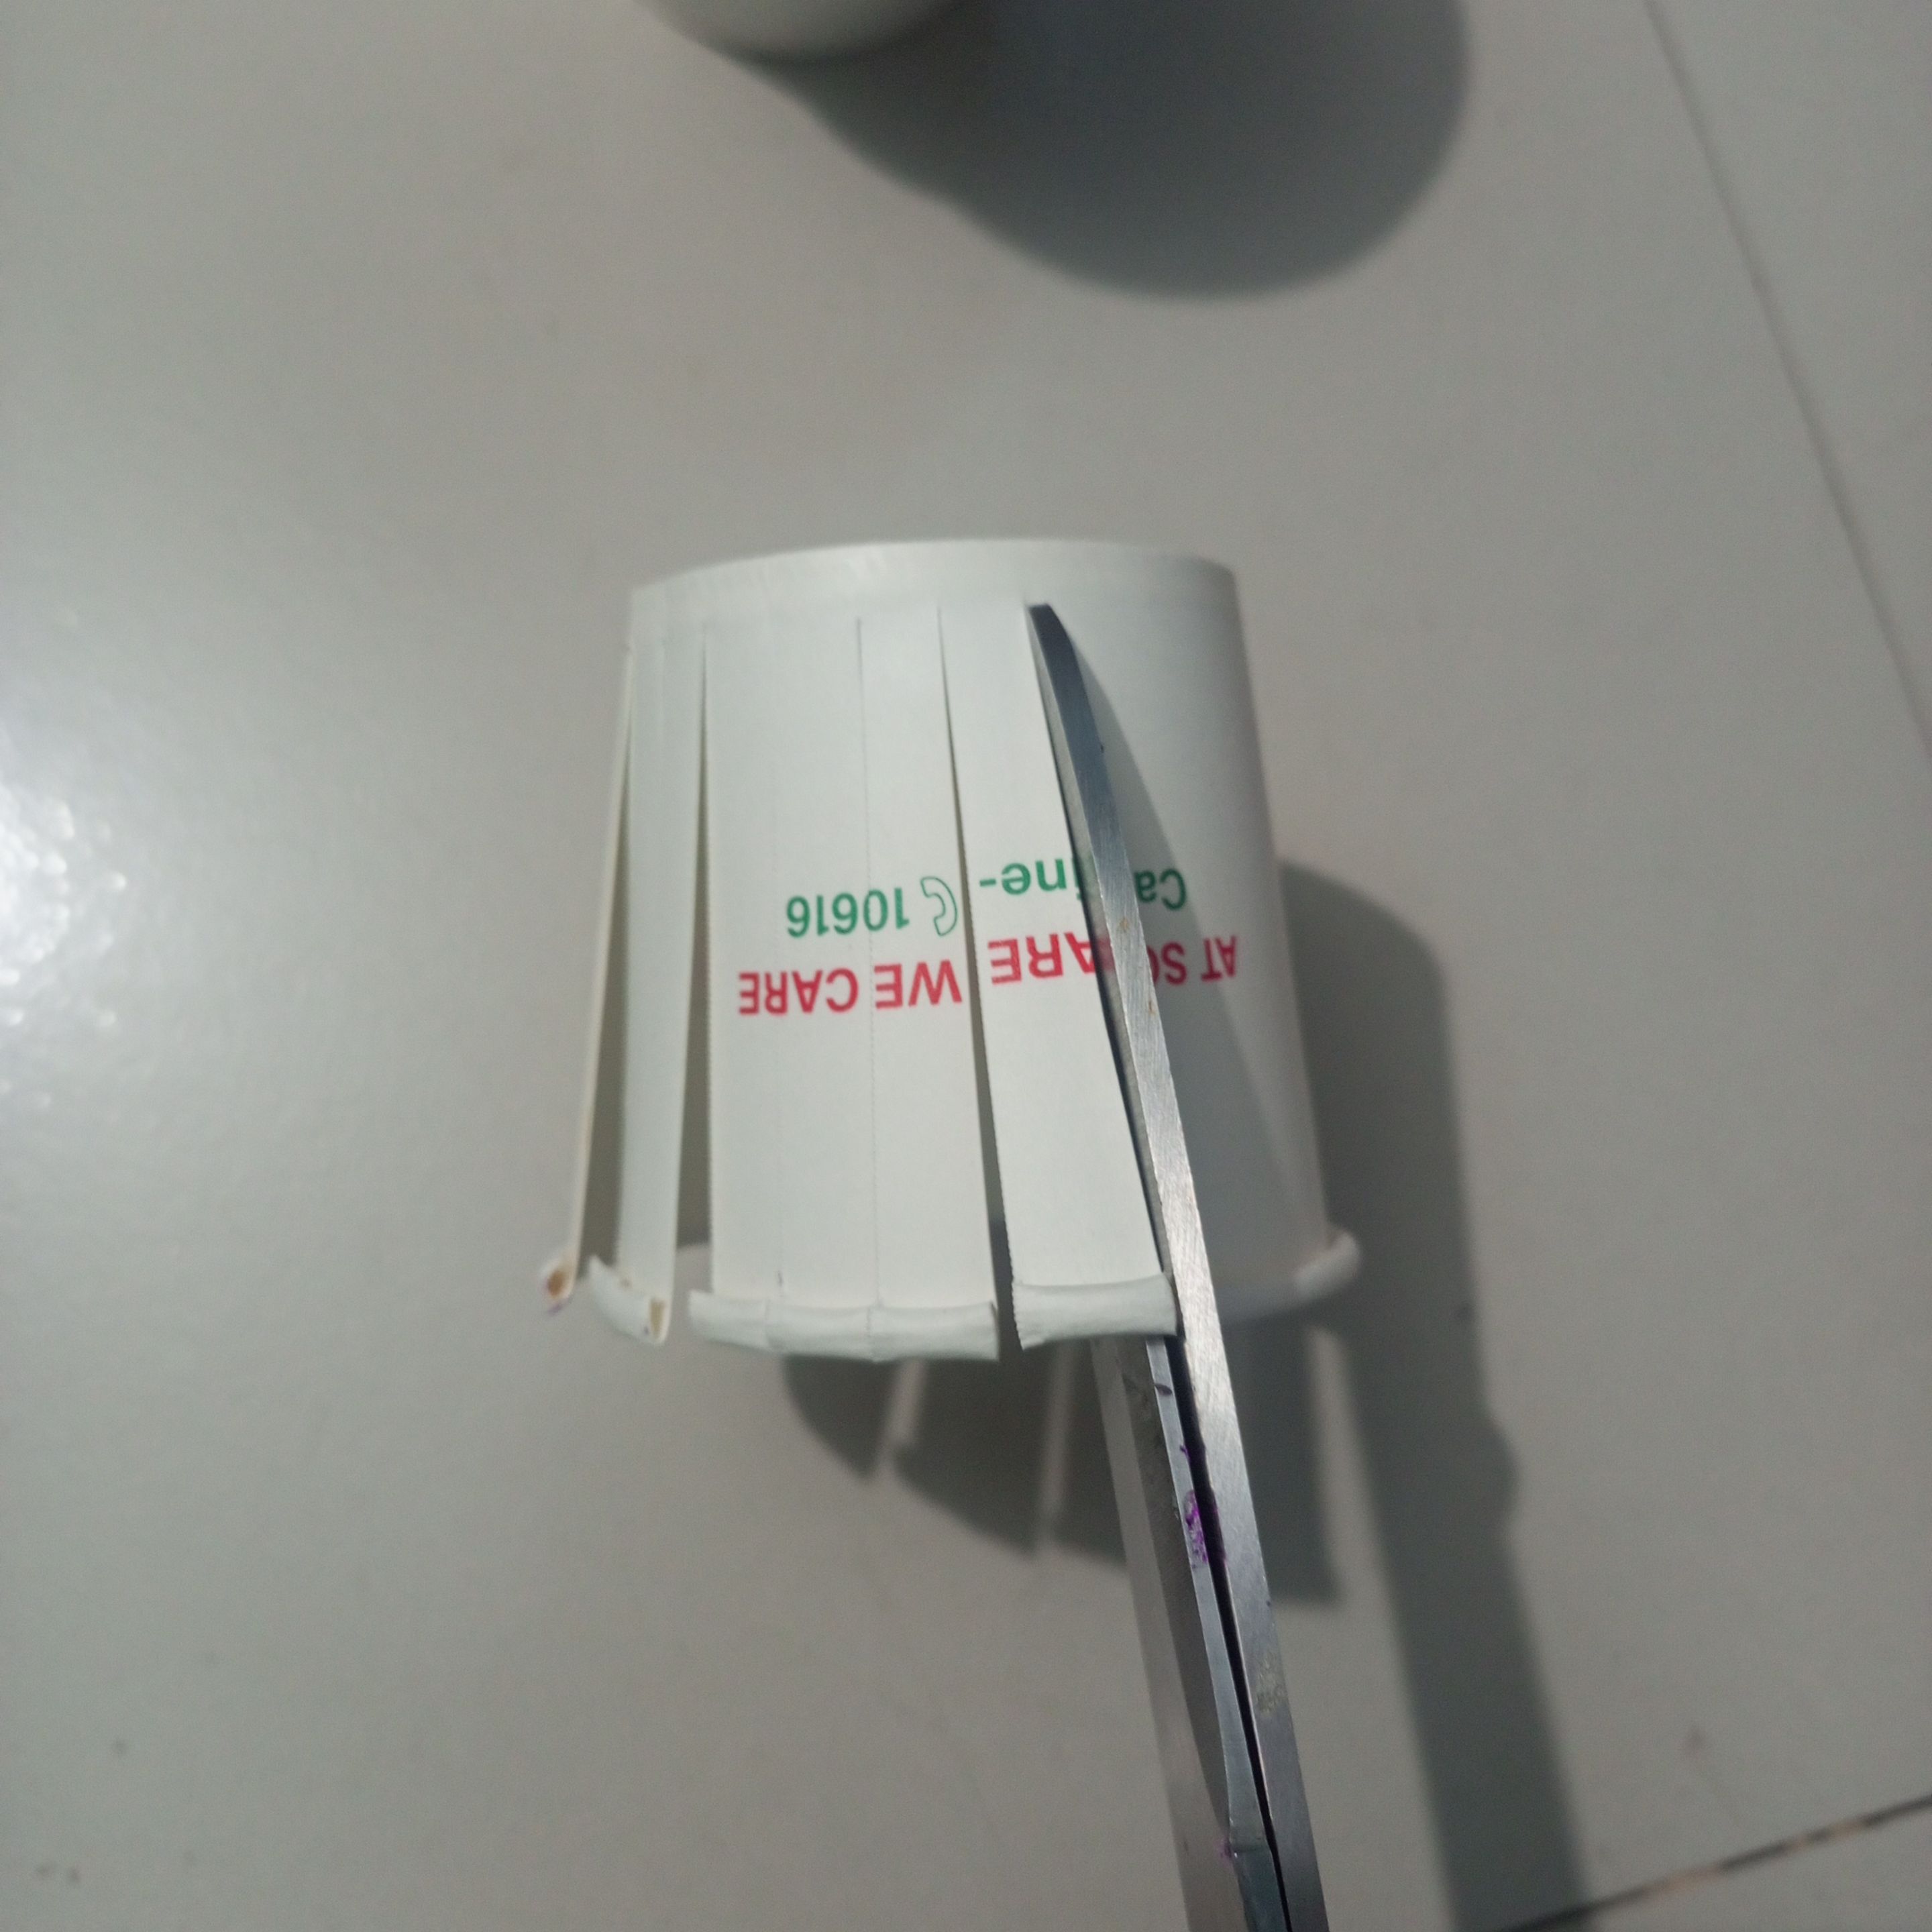
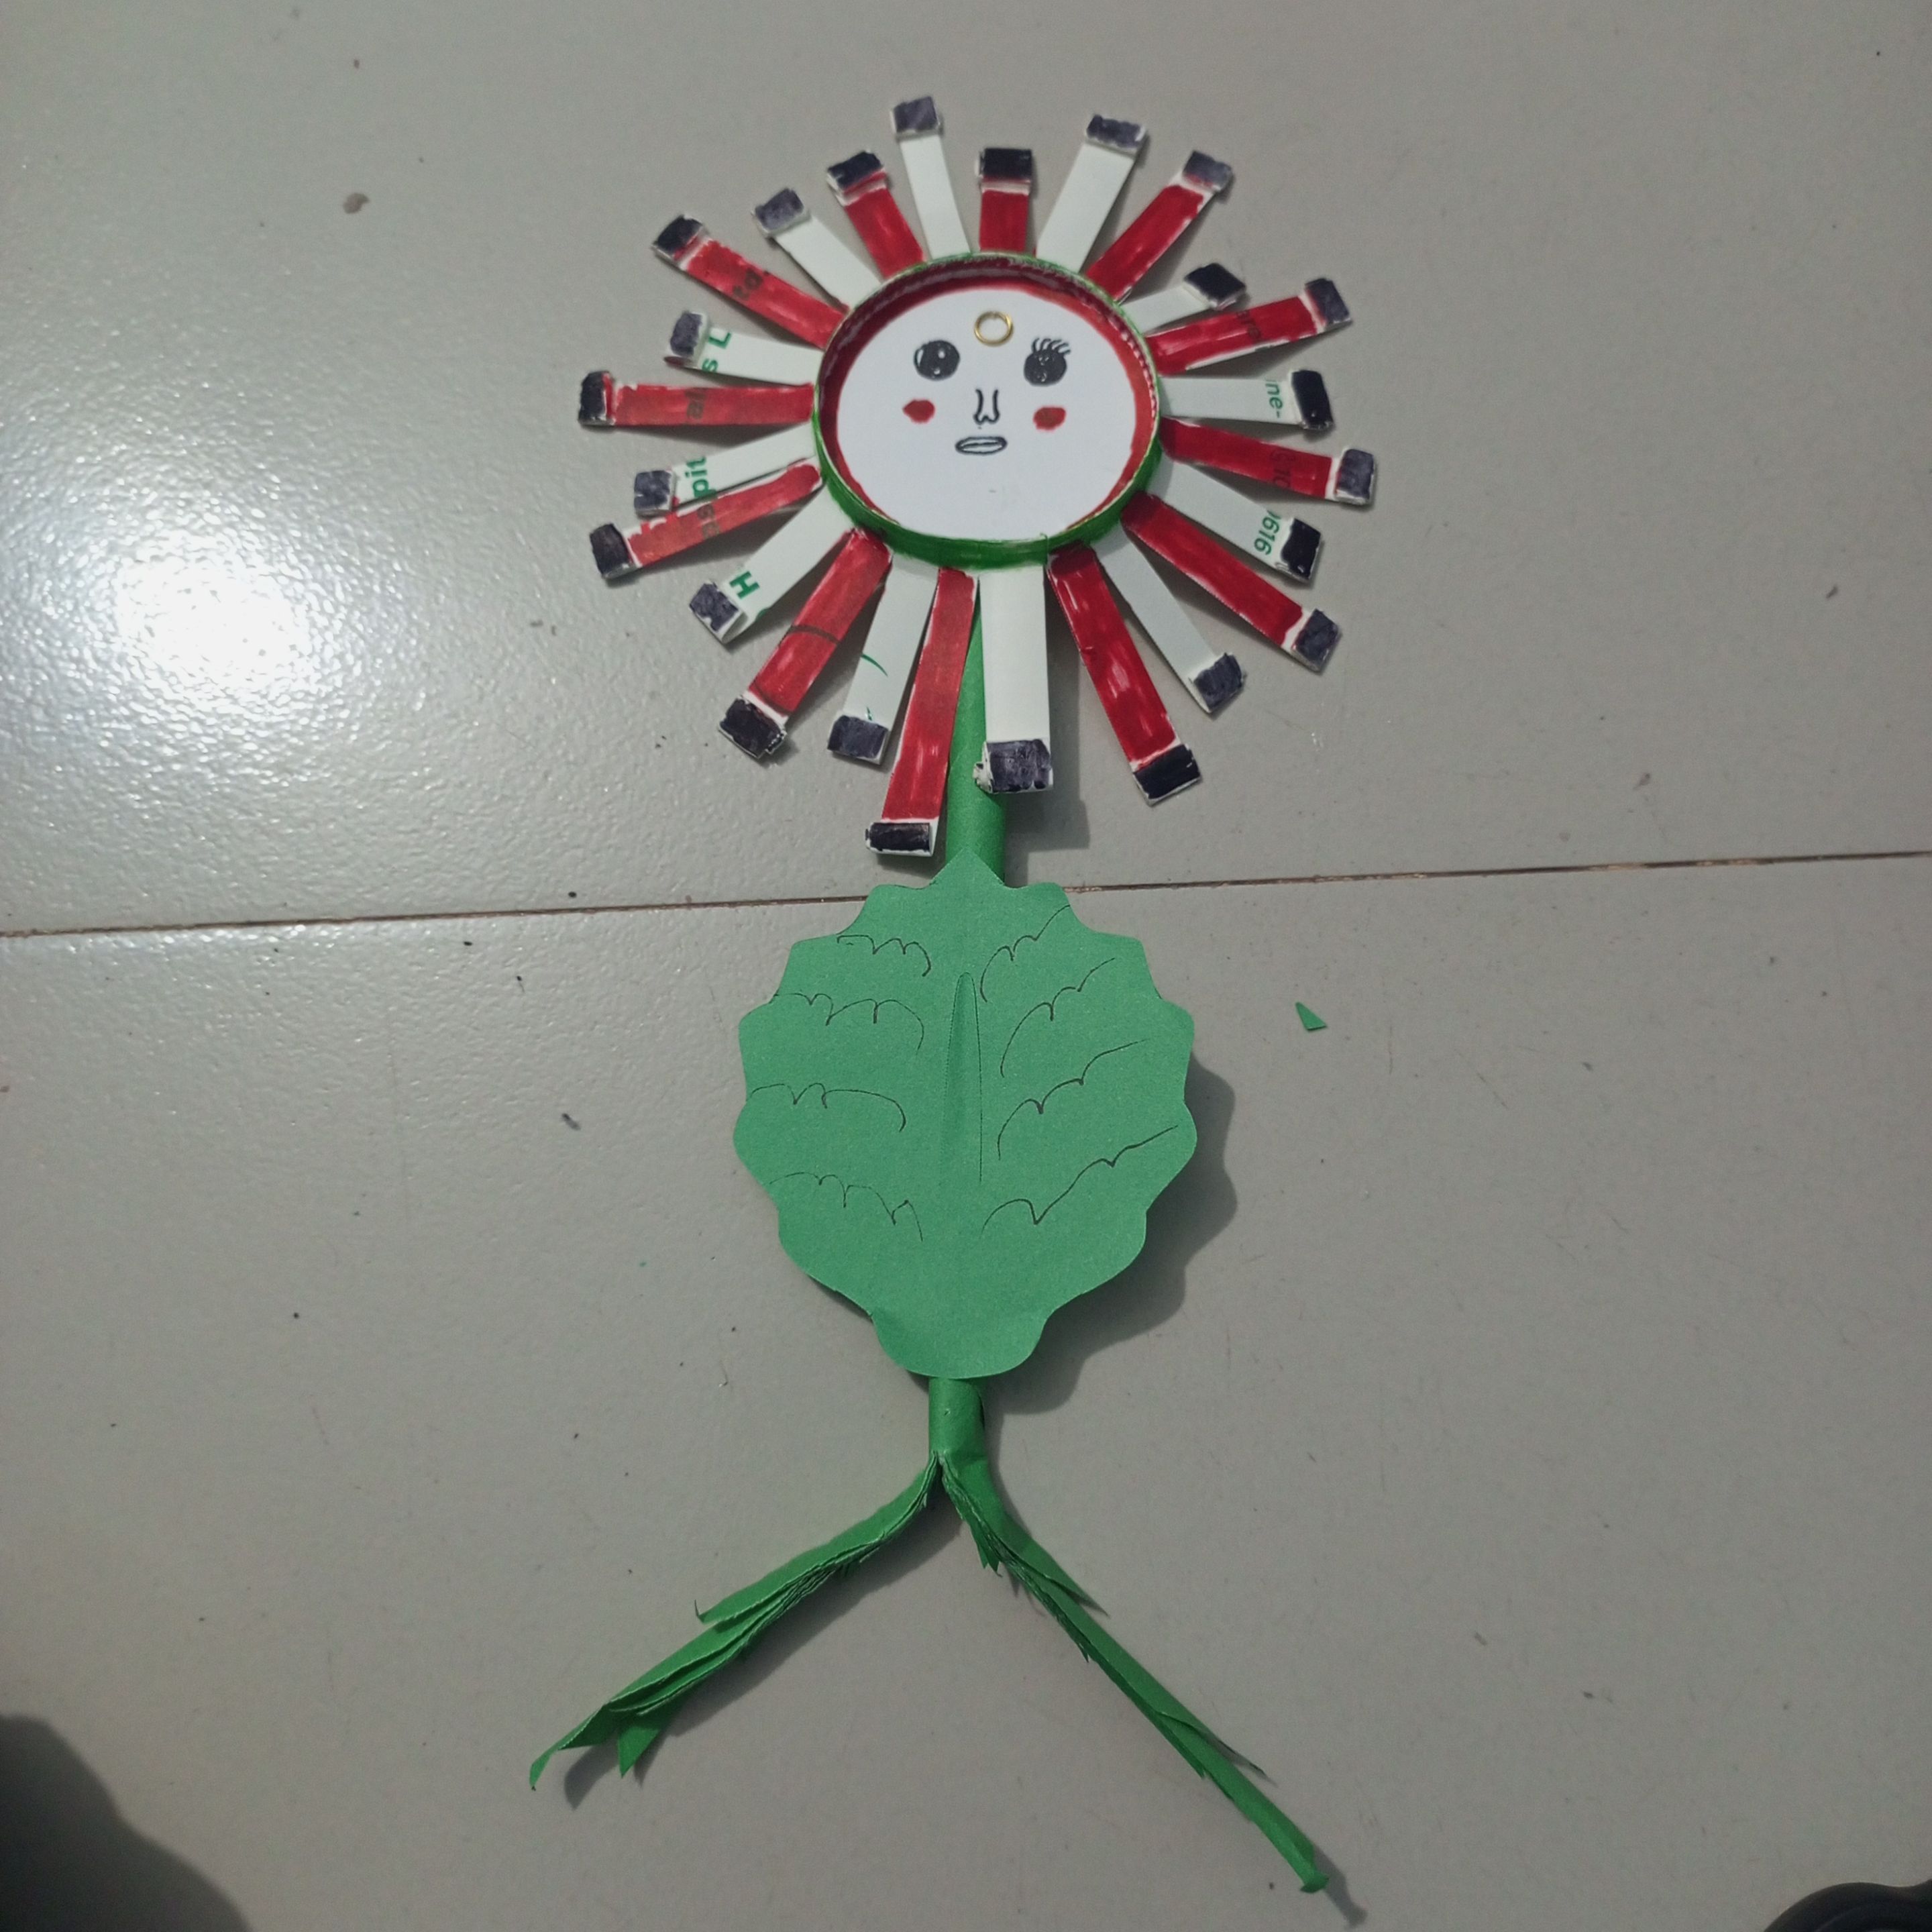
After cutting the paper cup, you can see this amazing view, which shows a beautiful flower shape.
After cutting the paper cup, you can see this amazing view, which shows a beautiful flower shape.
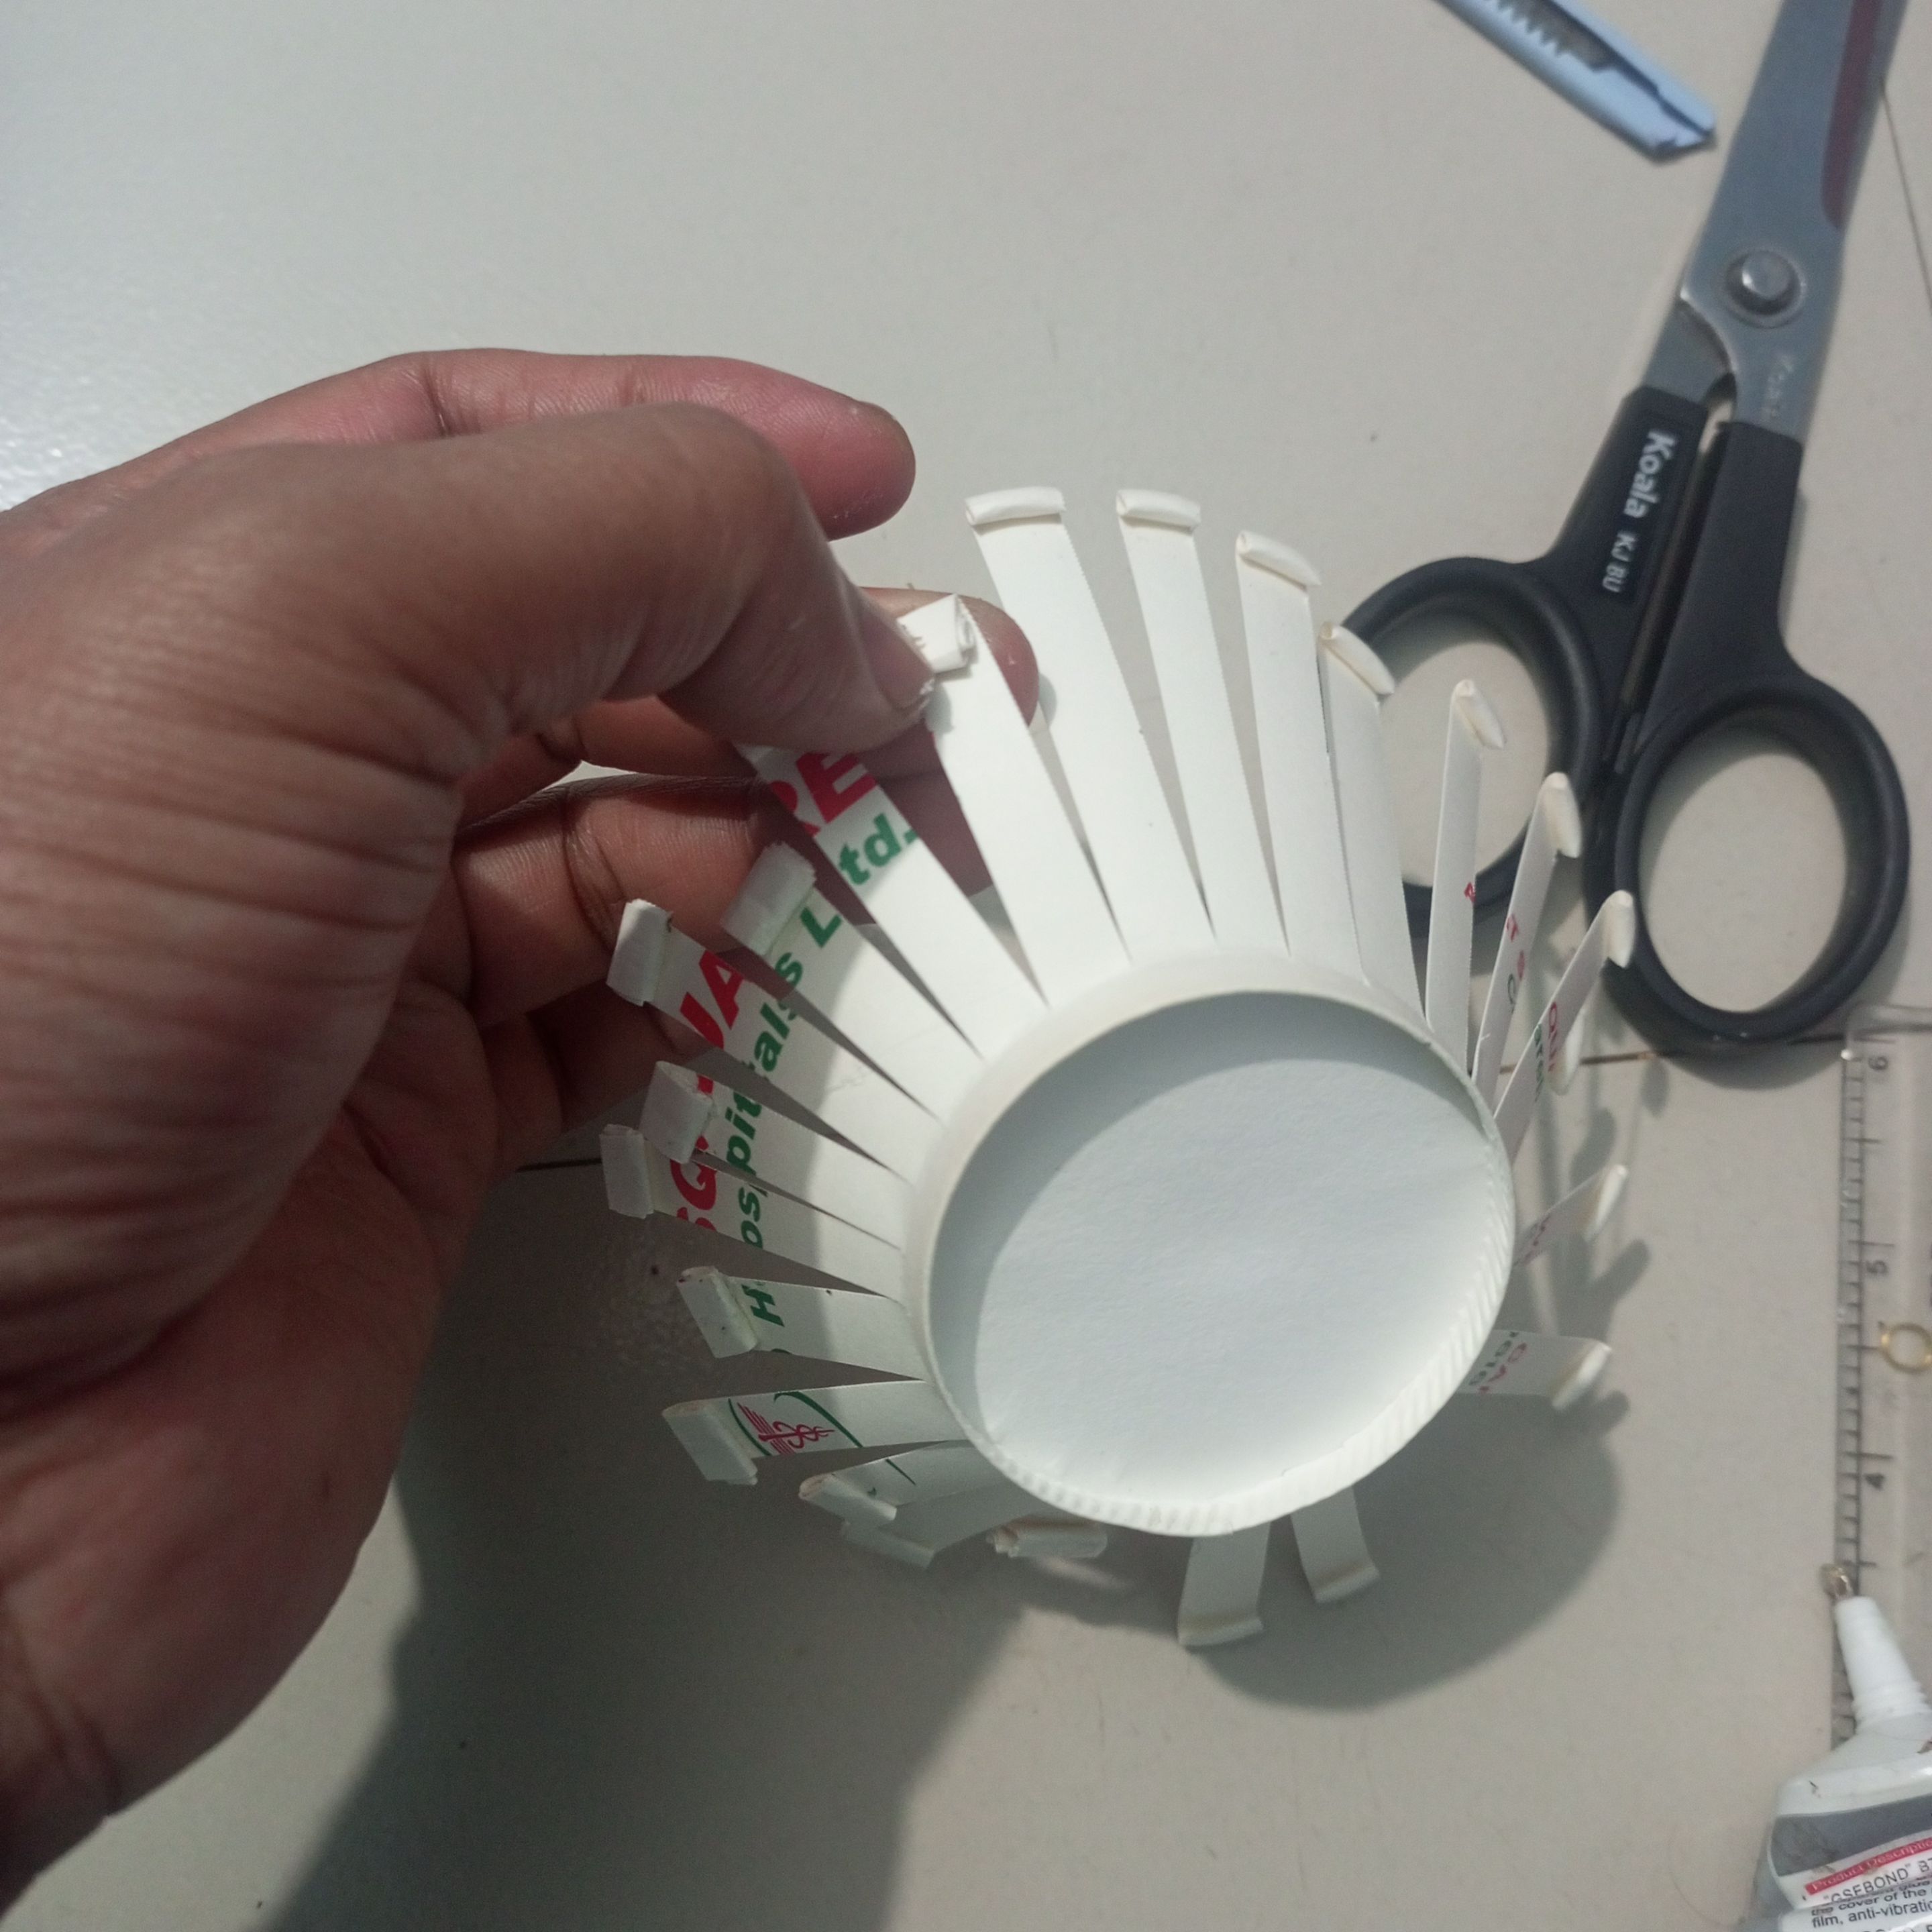
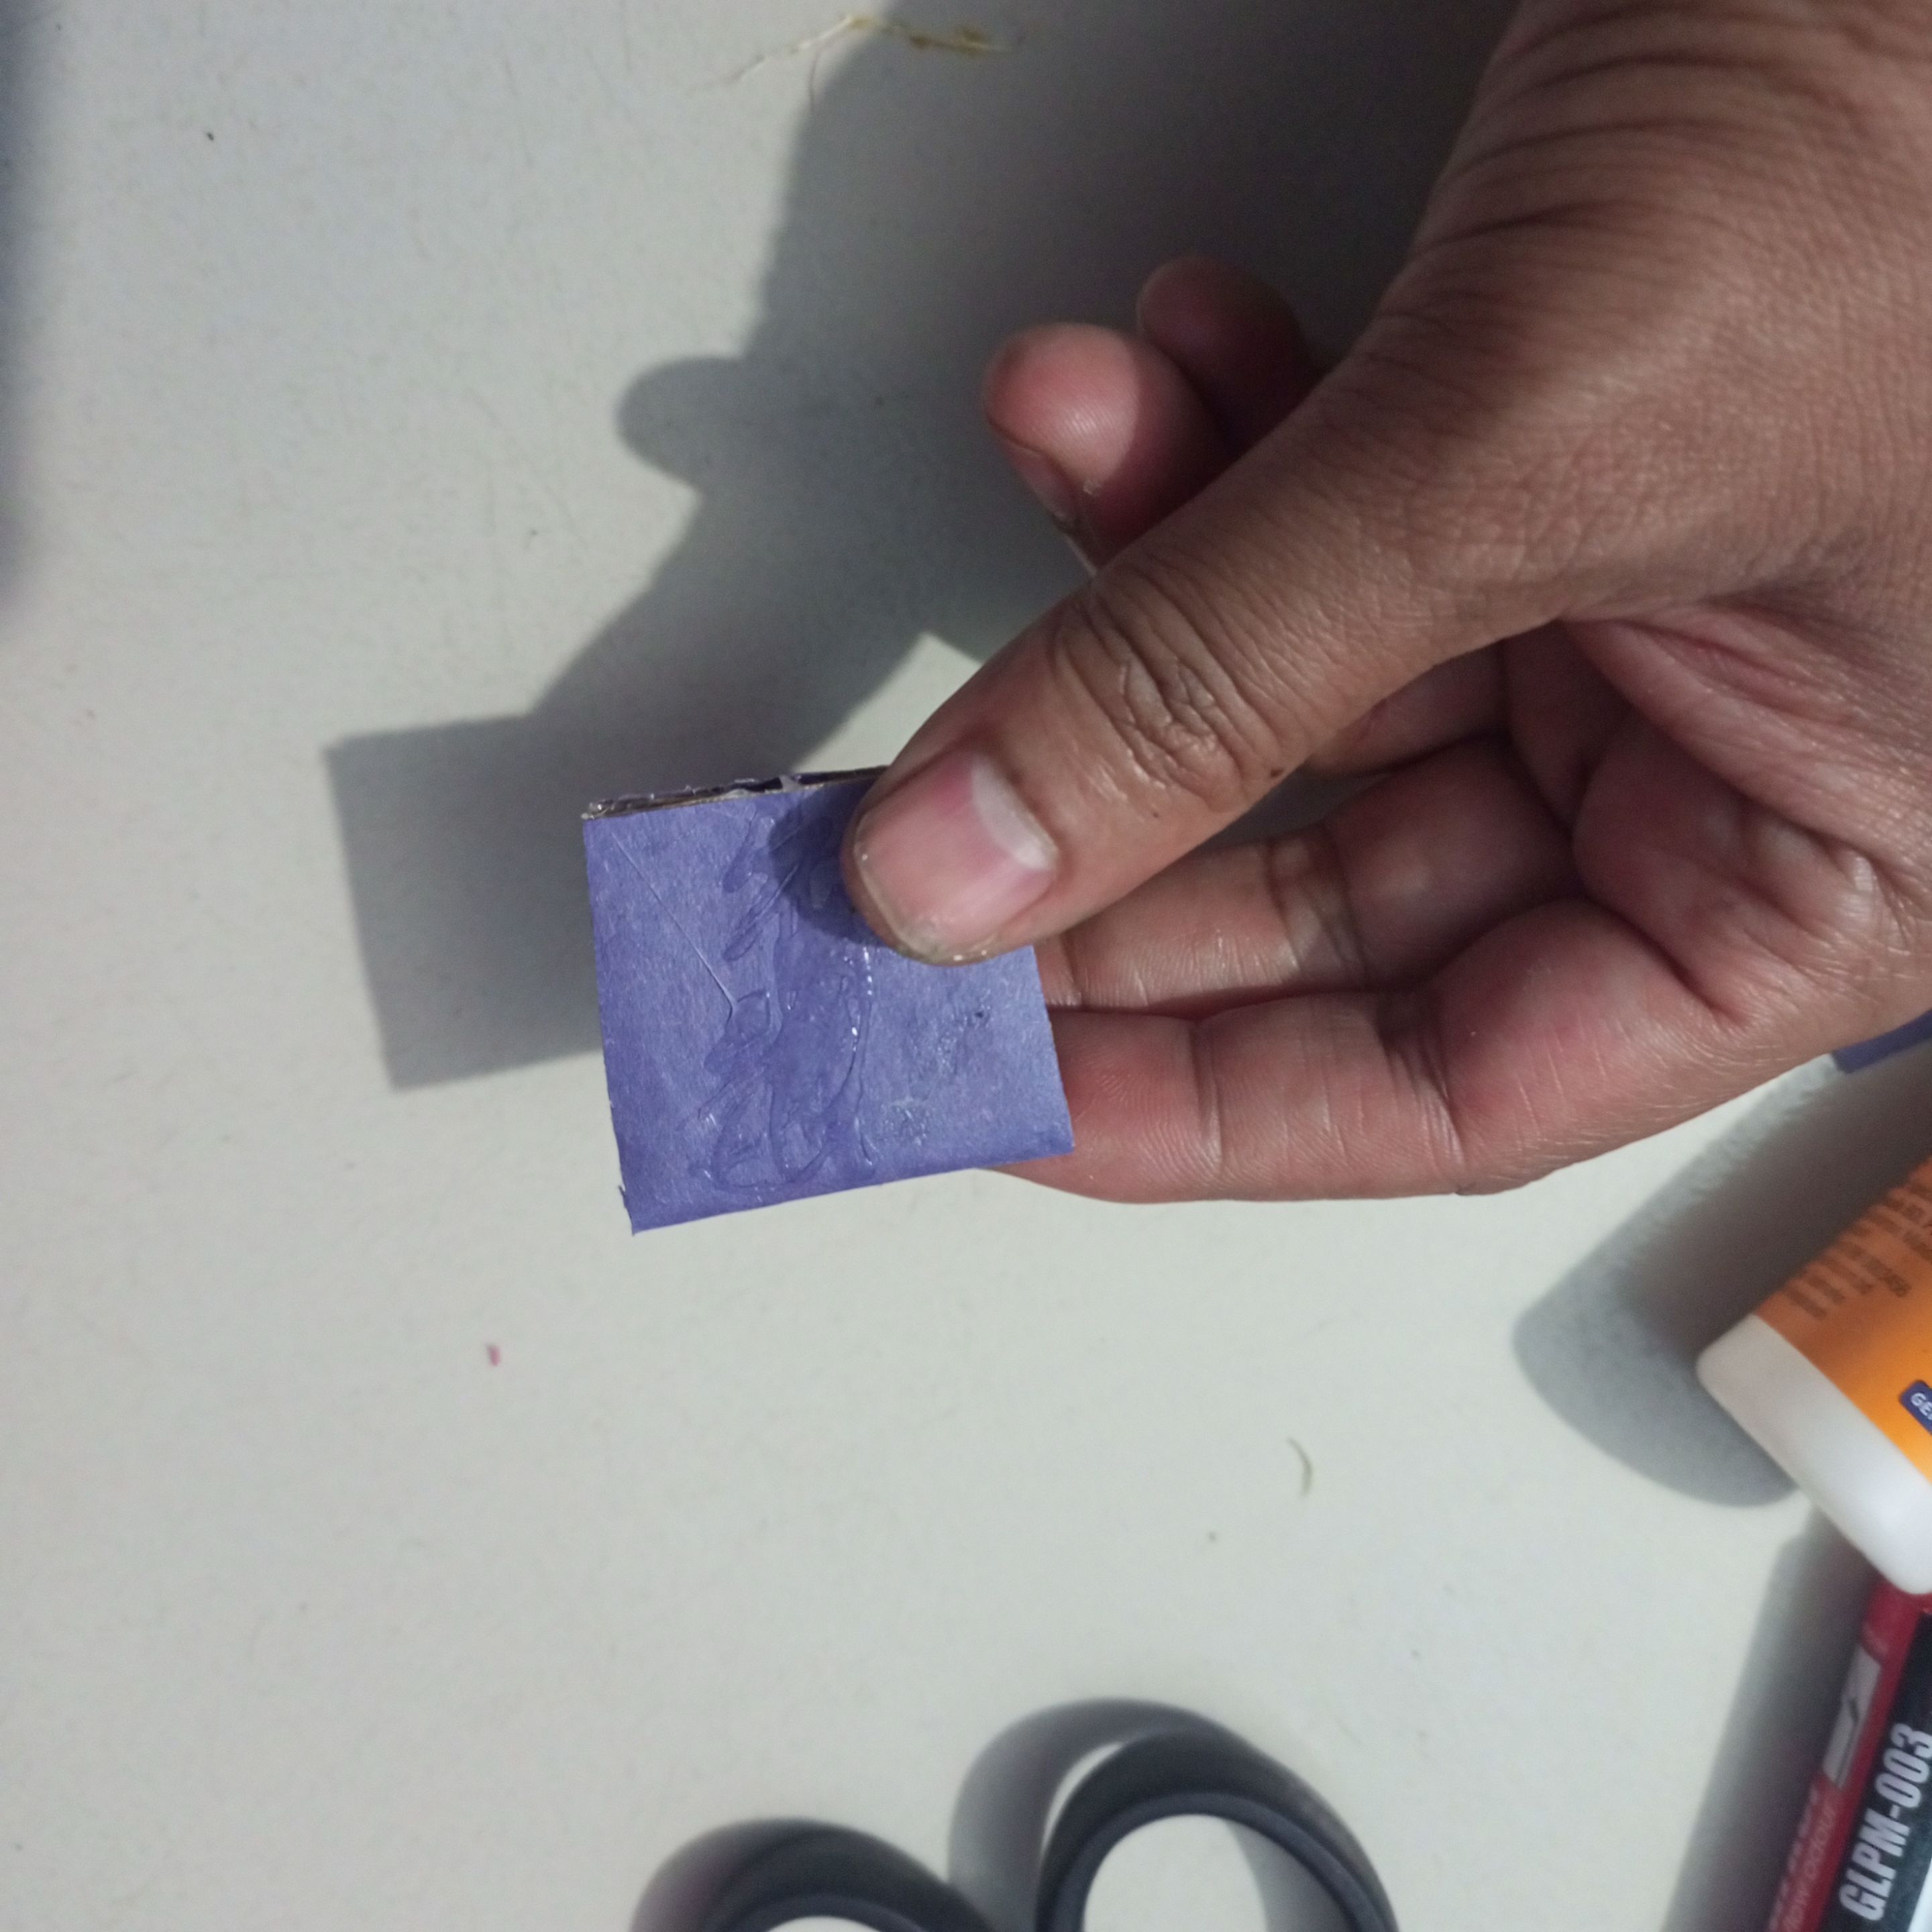
Next, I cut out the paper cup pieces, making them smaller and larger than the head, and attached them neatly using glue with patches.
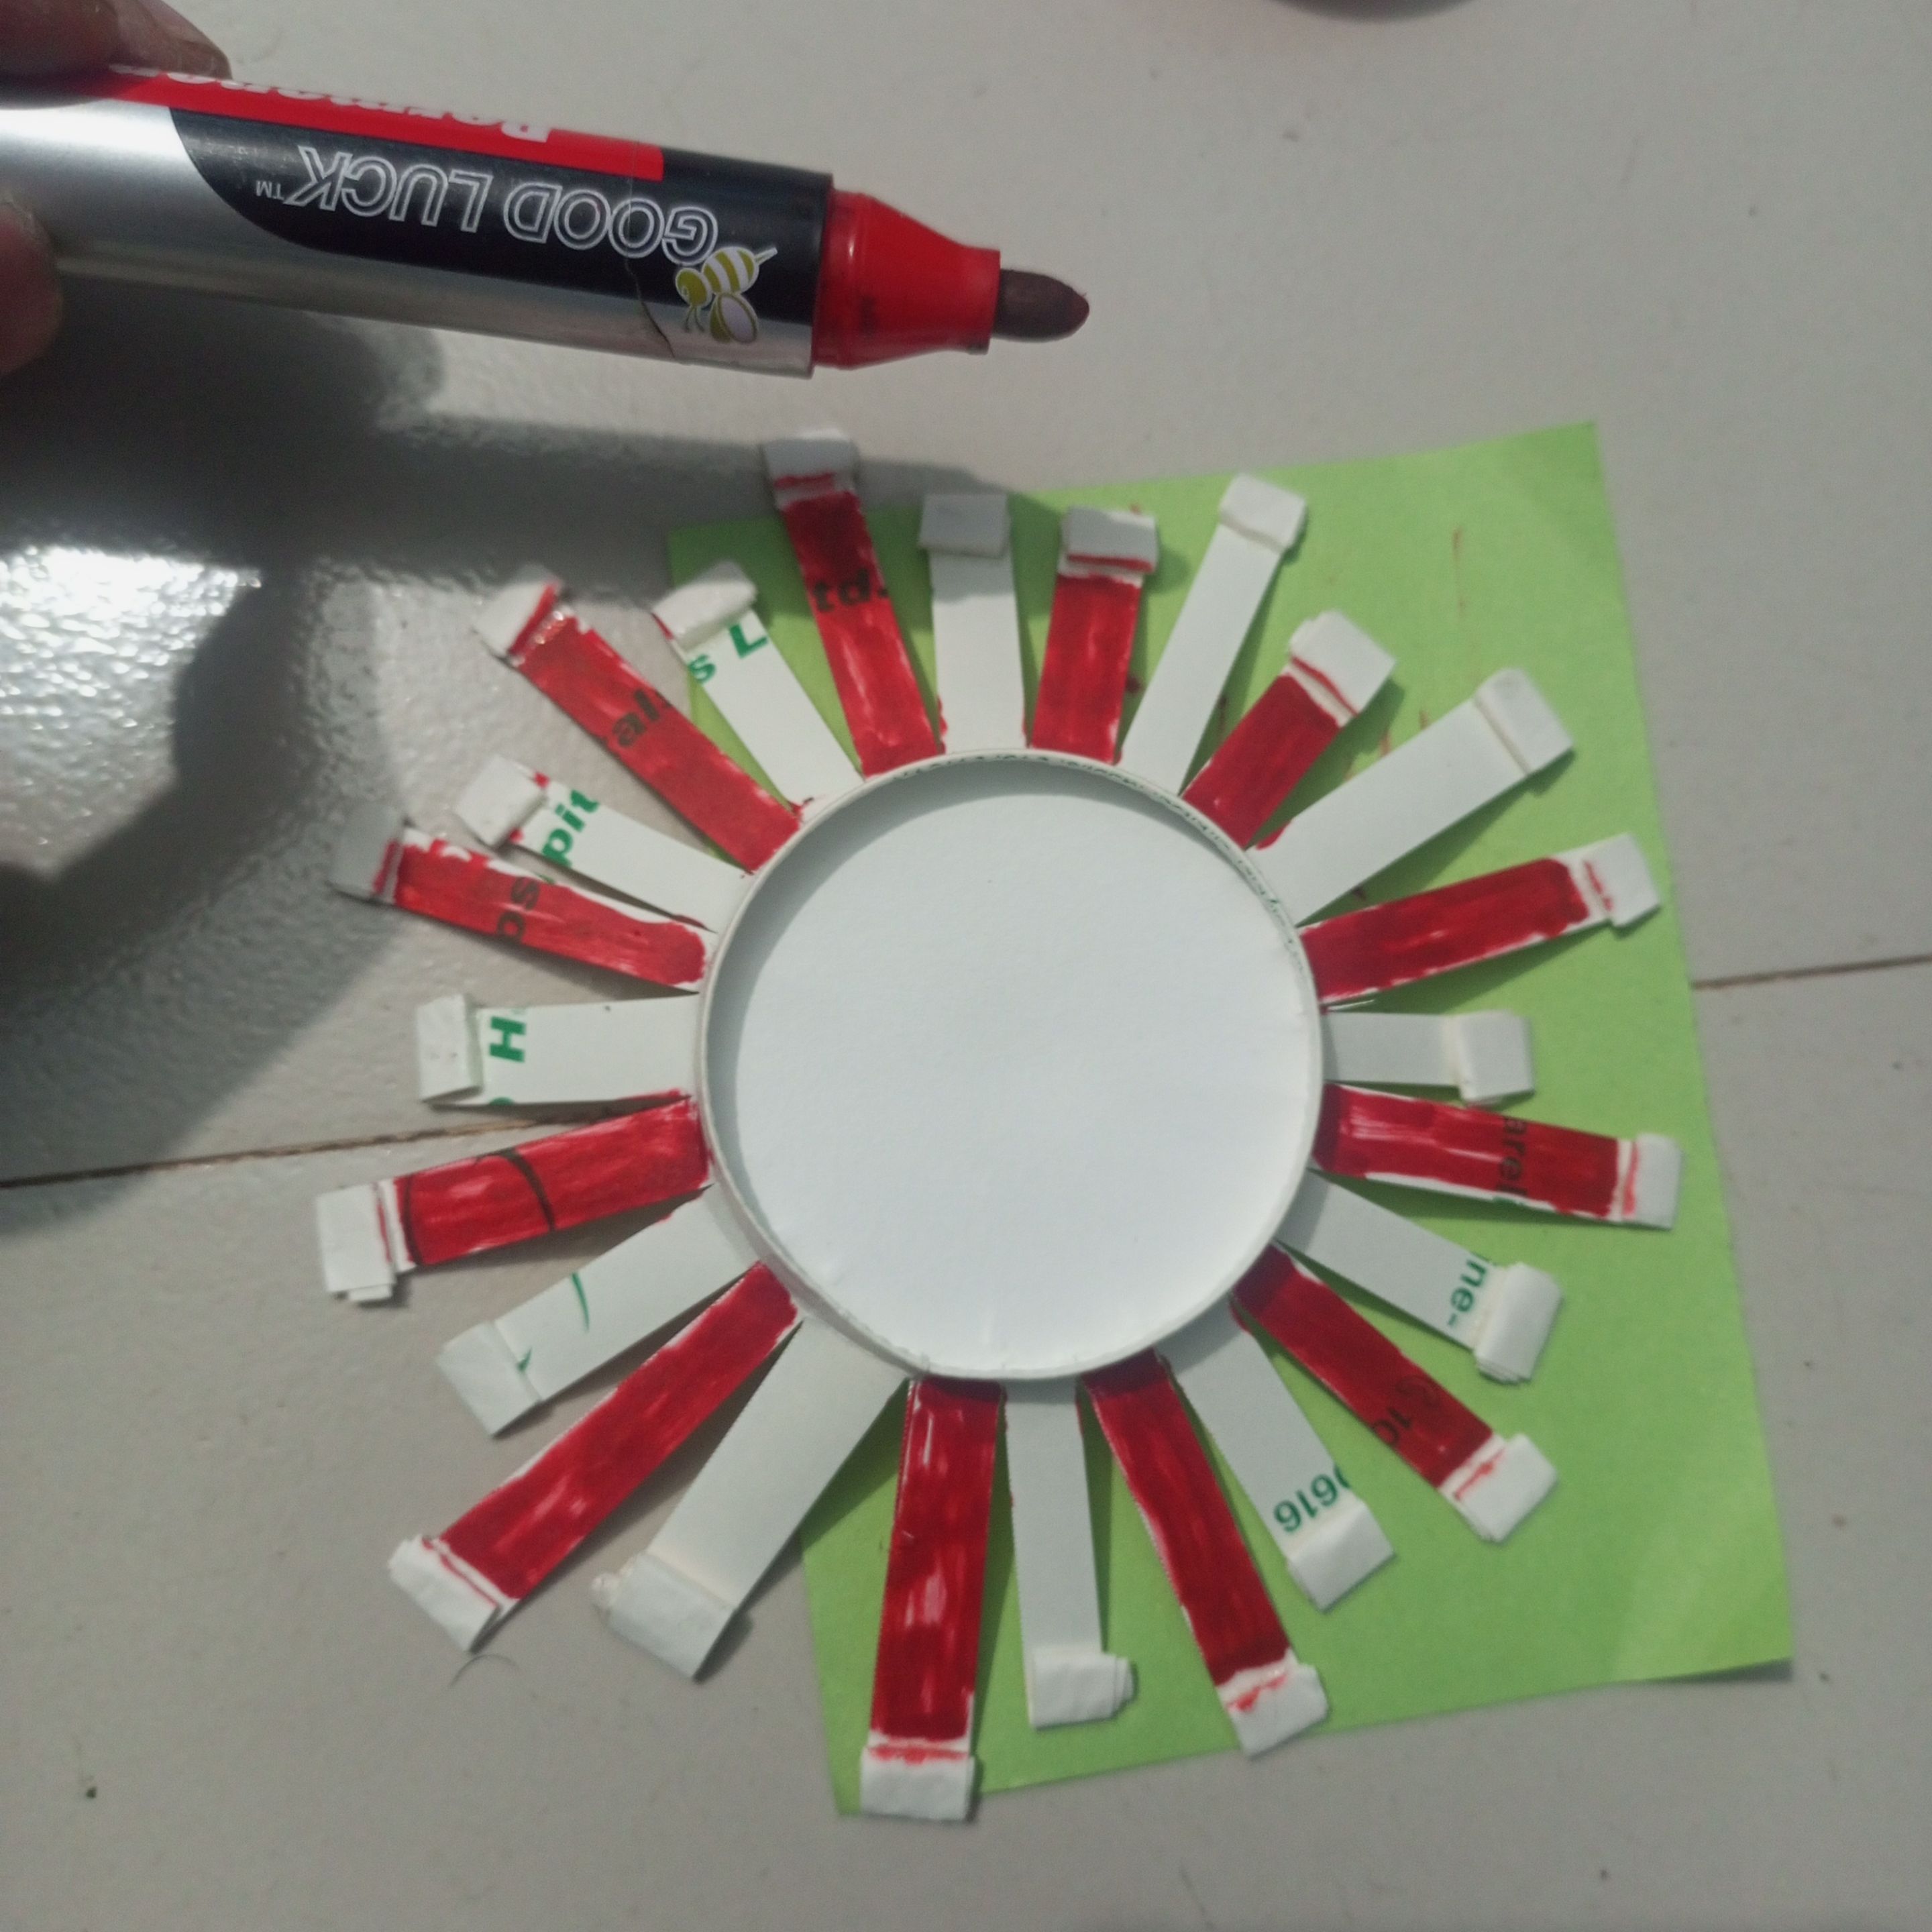
Then I beautifully colored the thinly cut parts around the sides of the paper cup using a red marker pen.
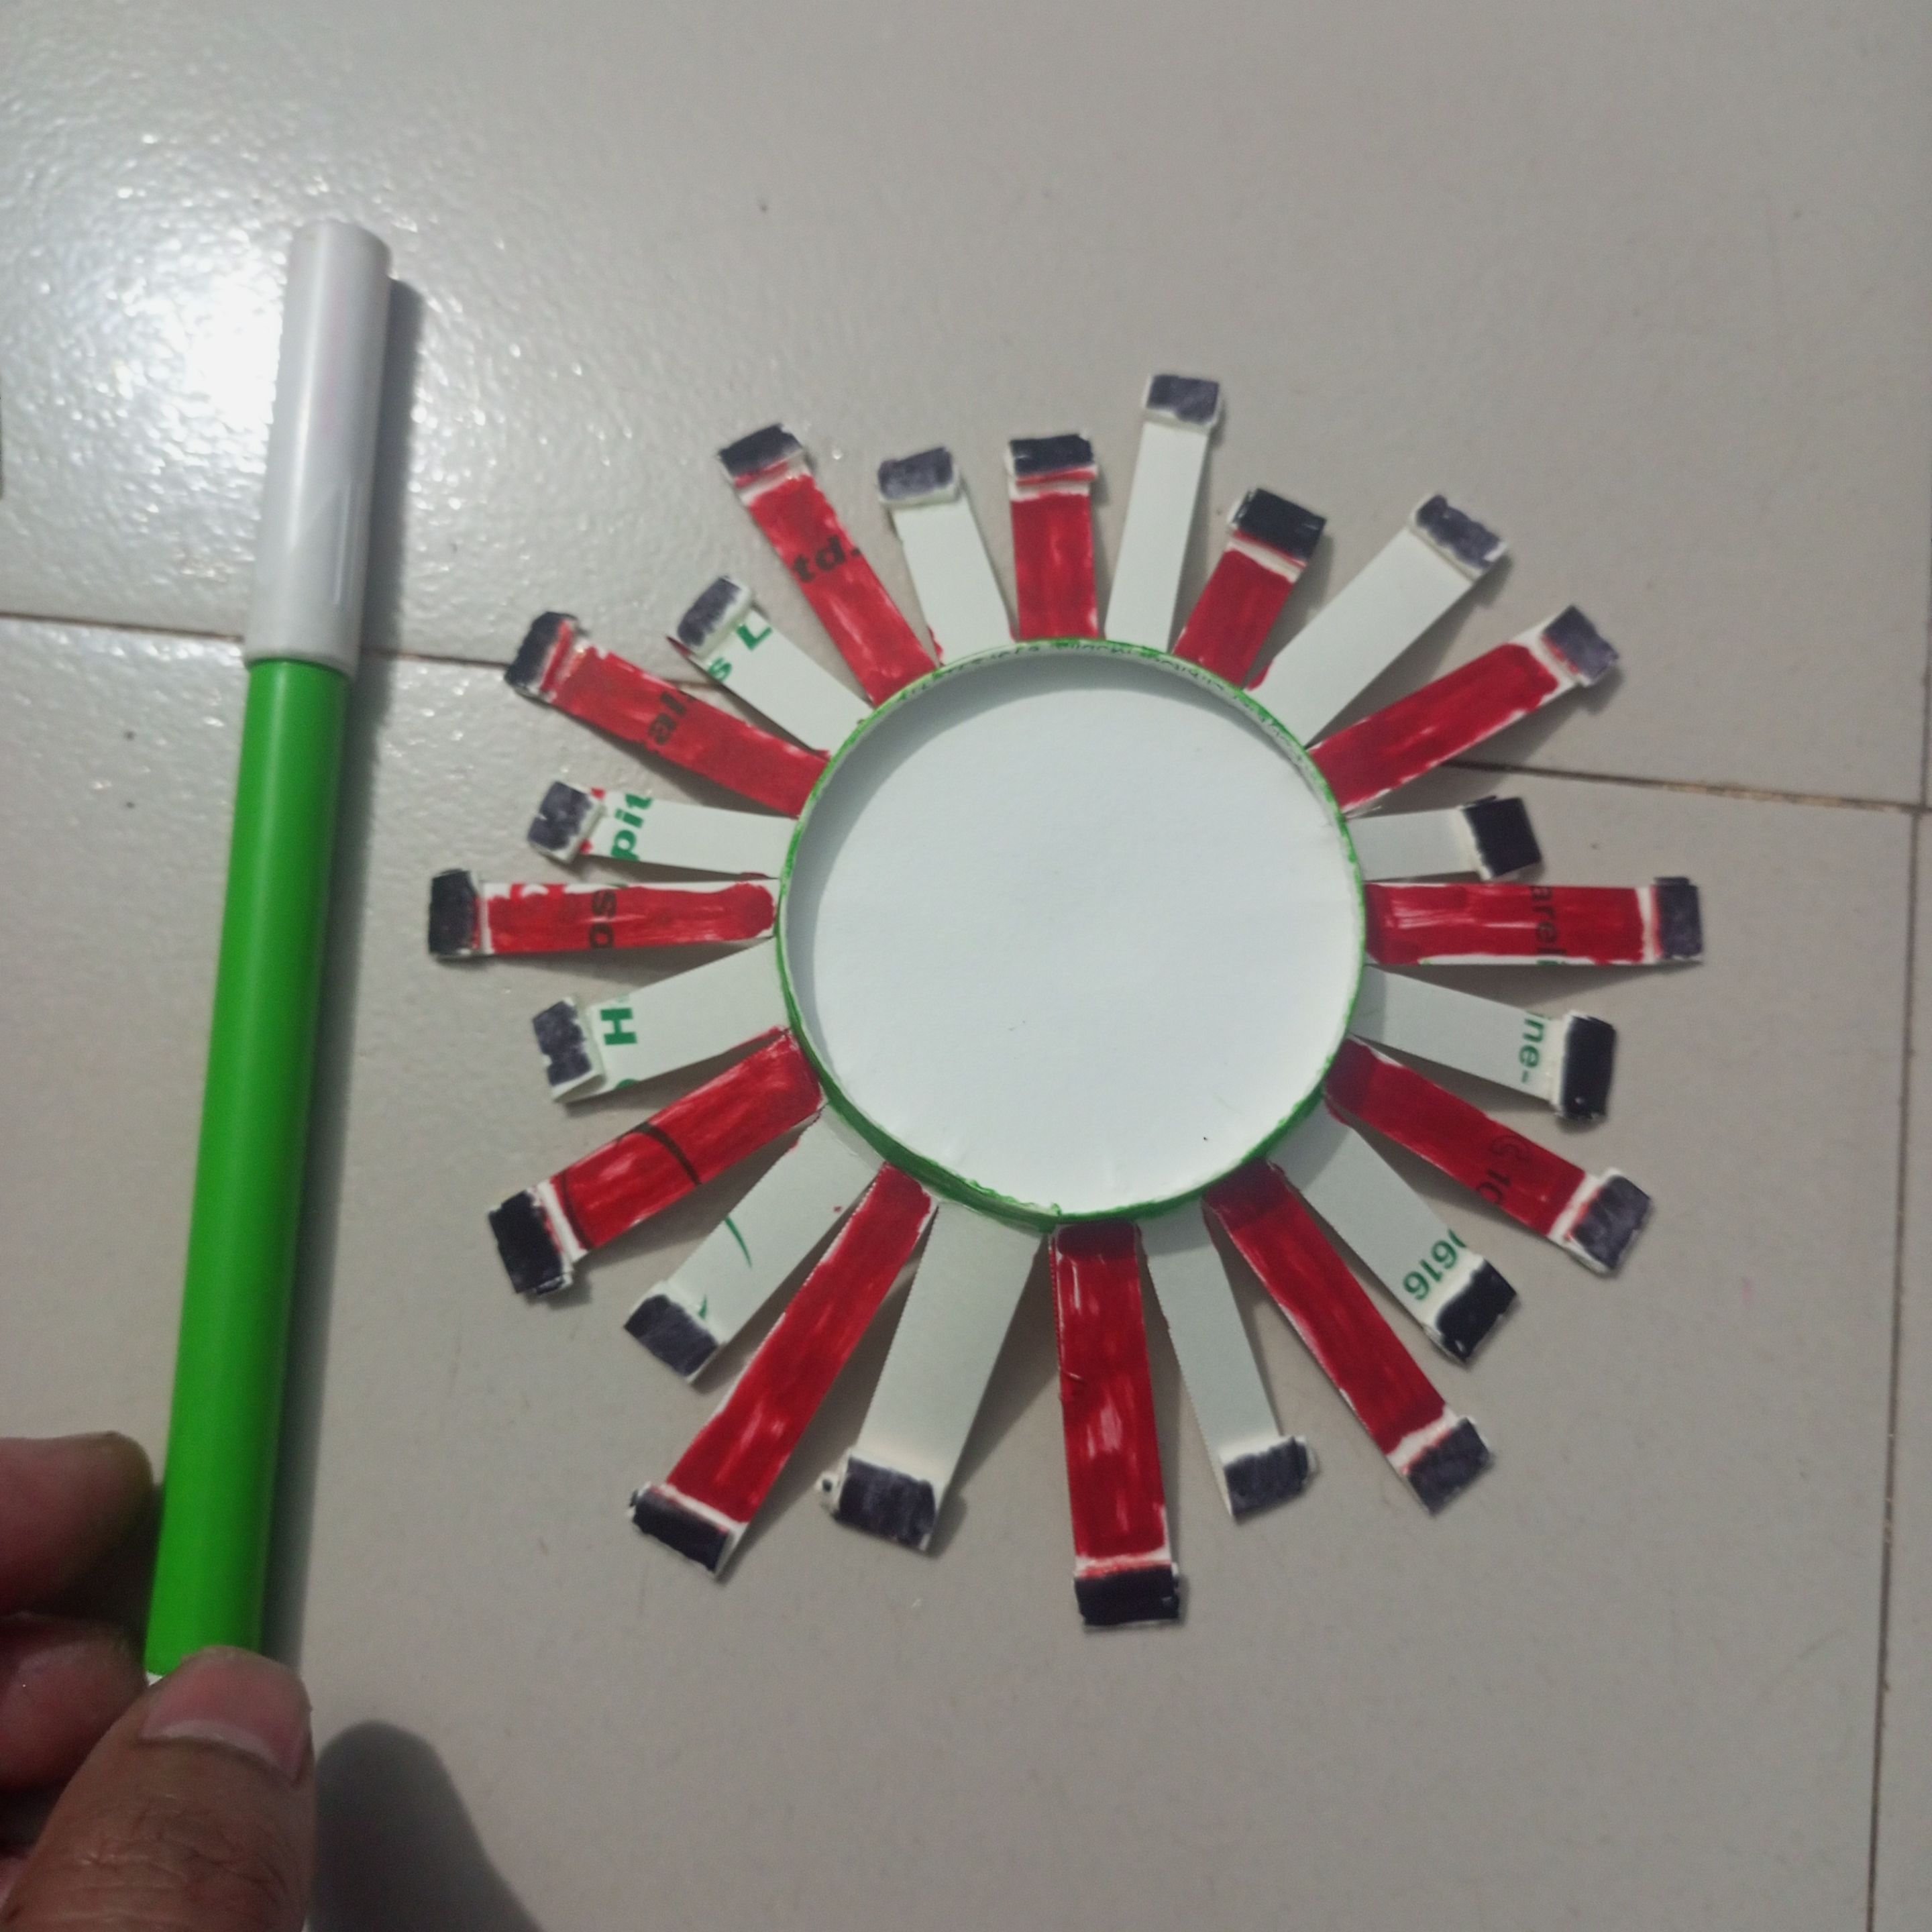
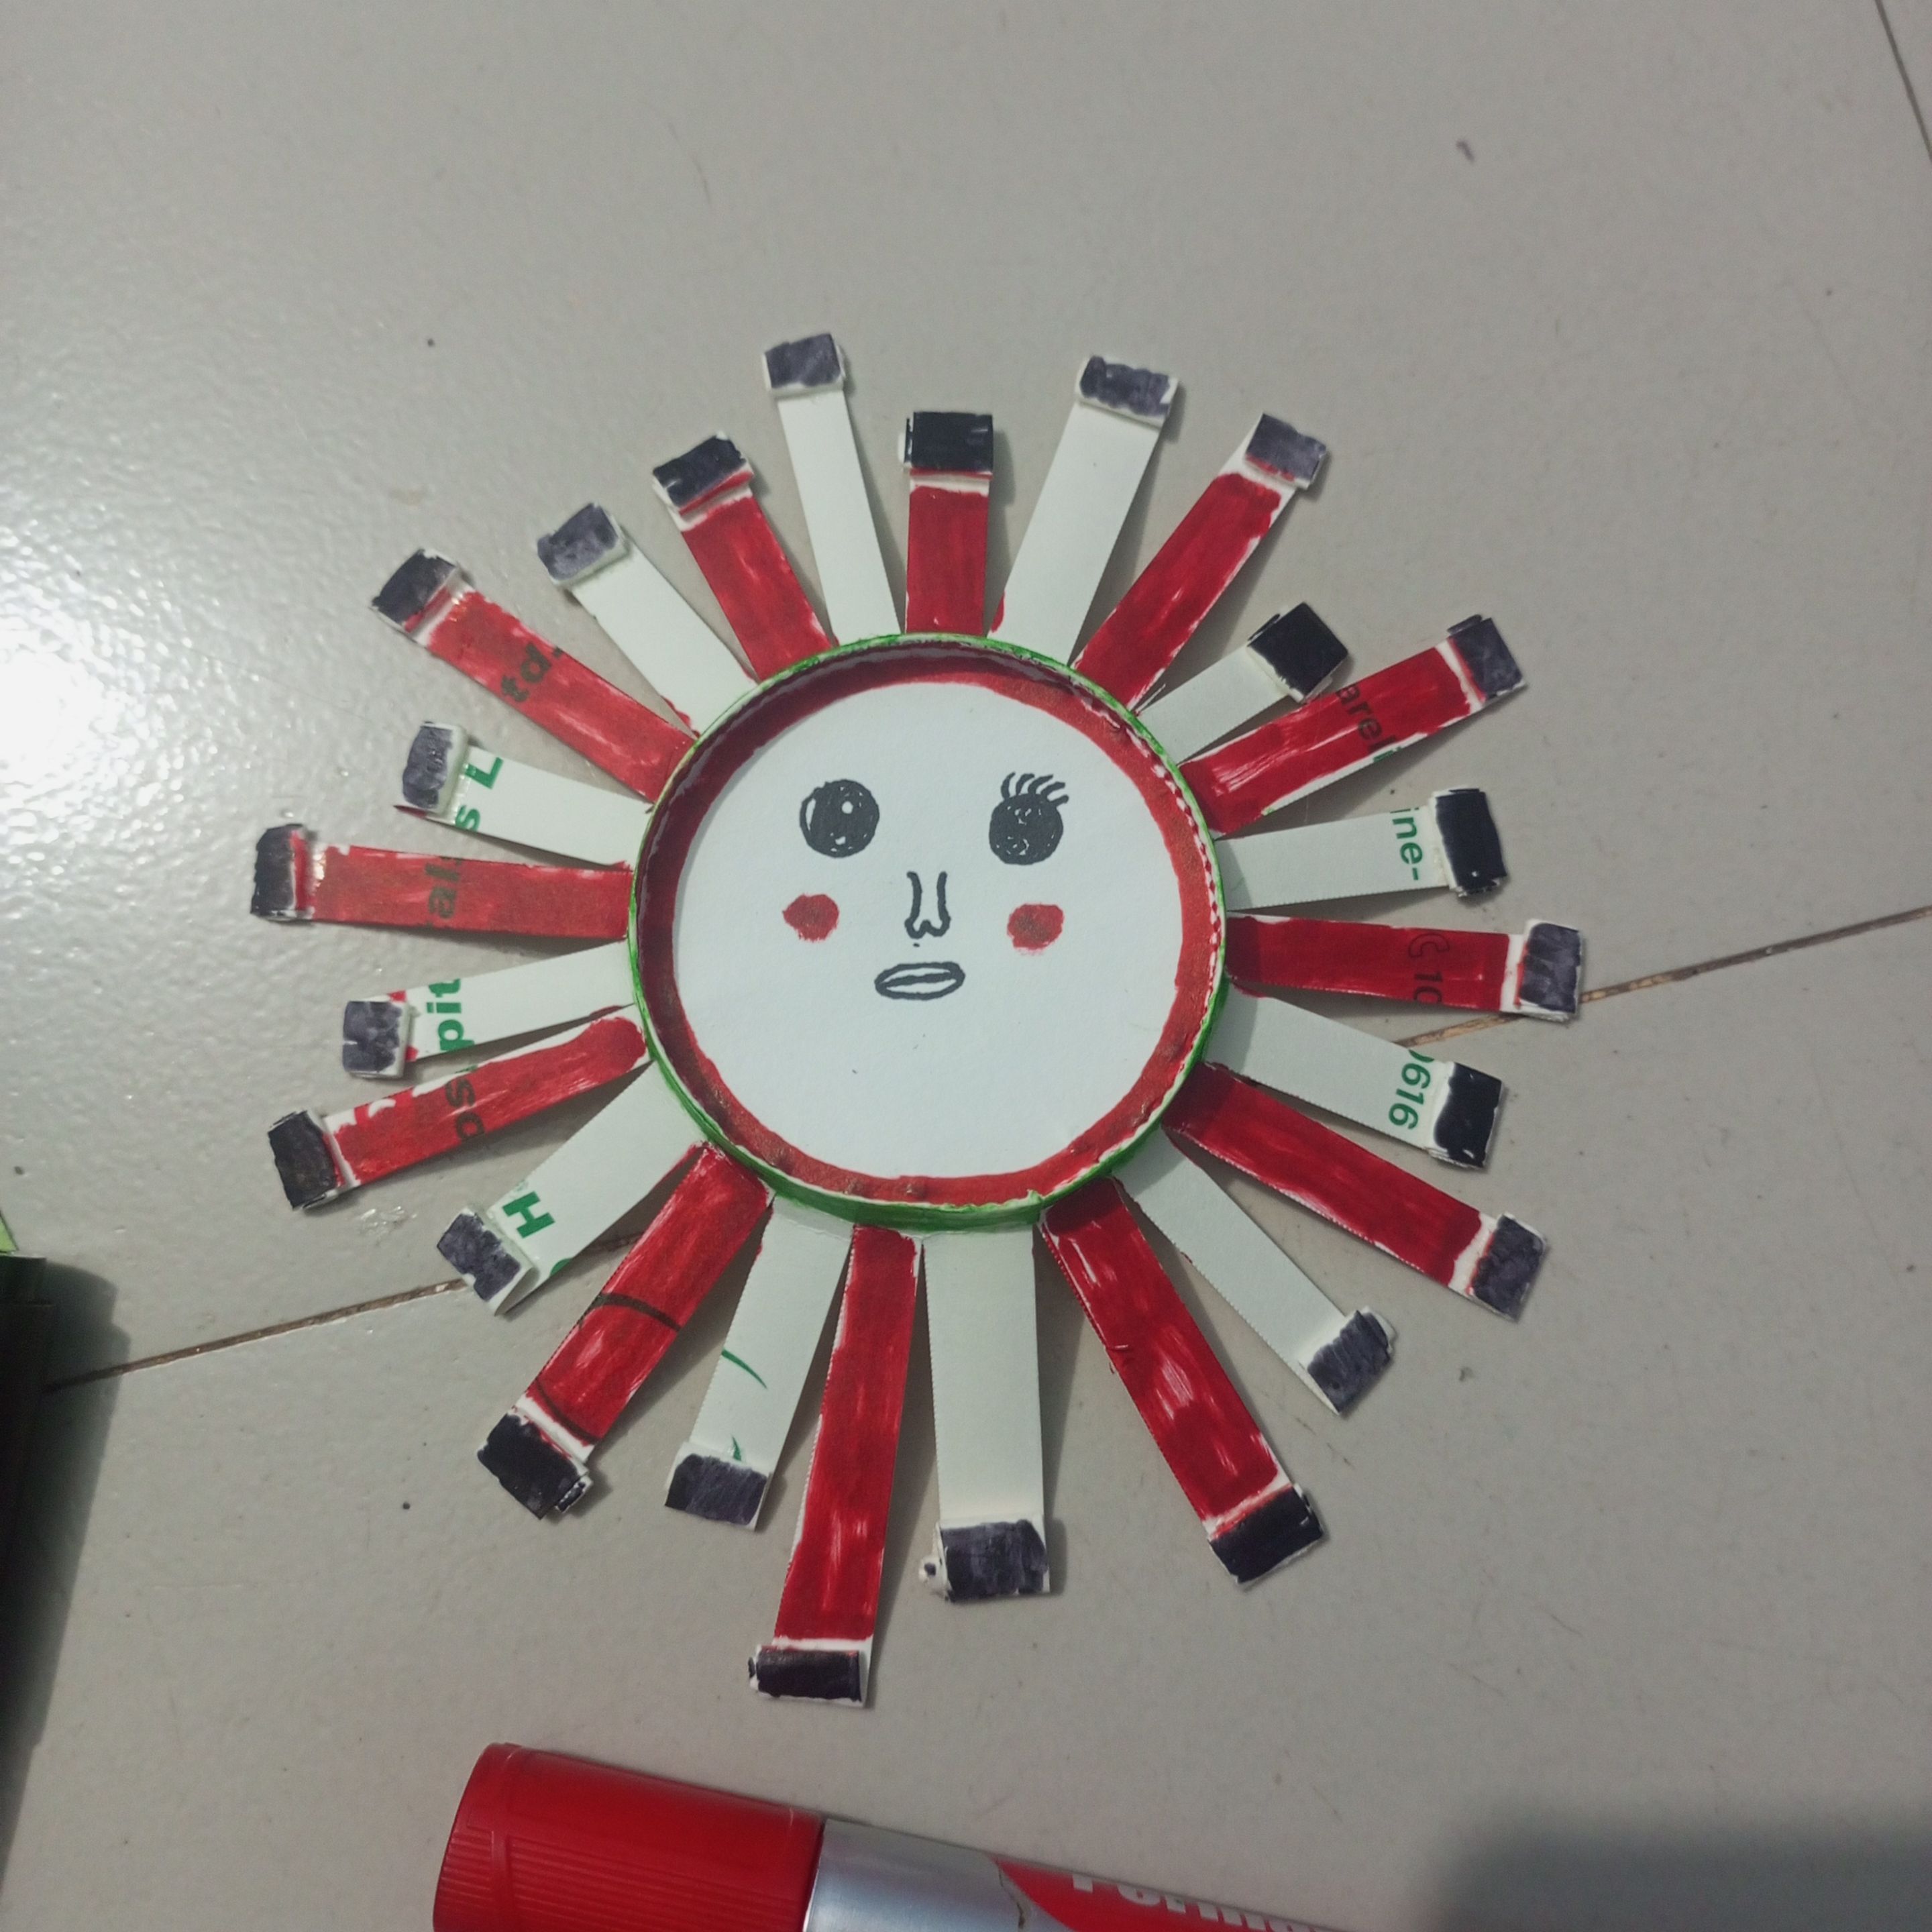
Next, in these two steps, I colored the outer thin round part green using a green marker pen. At the same time, I colored the head part black using a black marker pen.
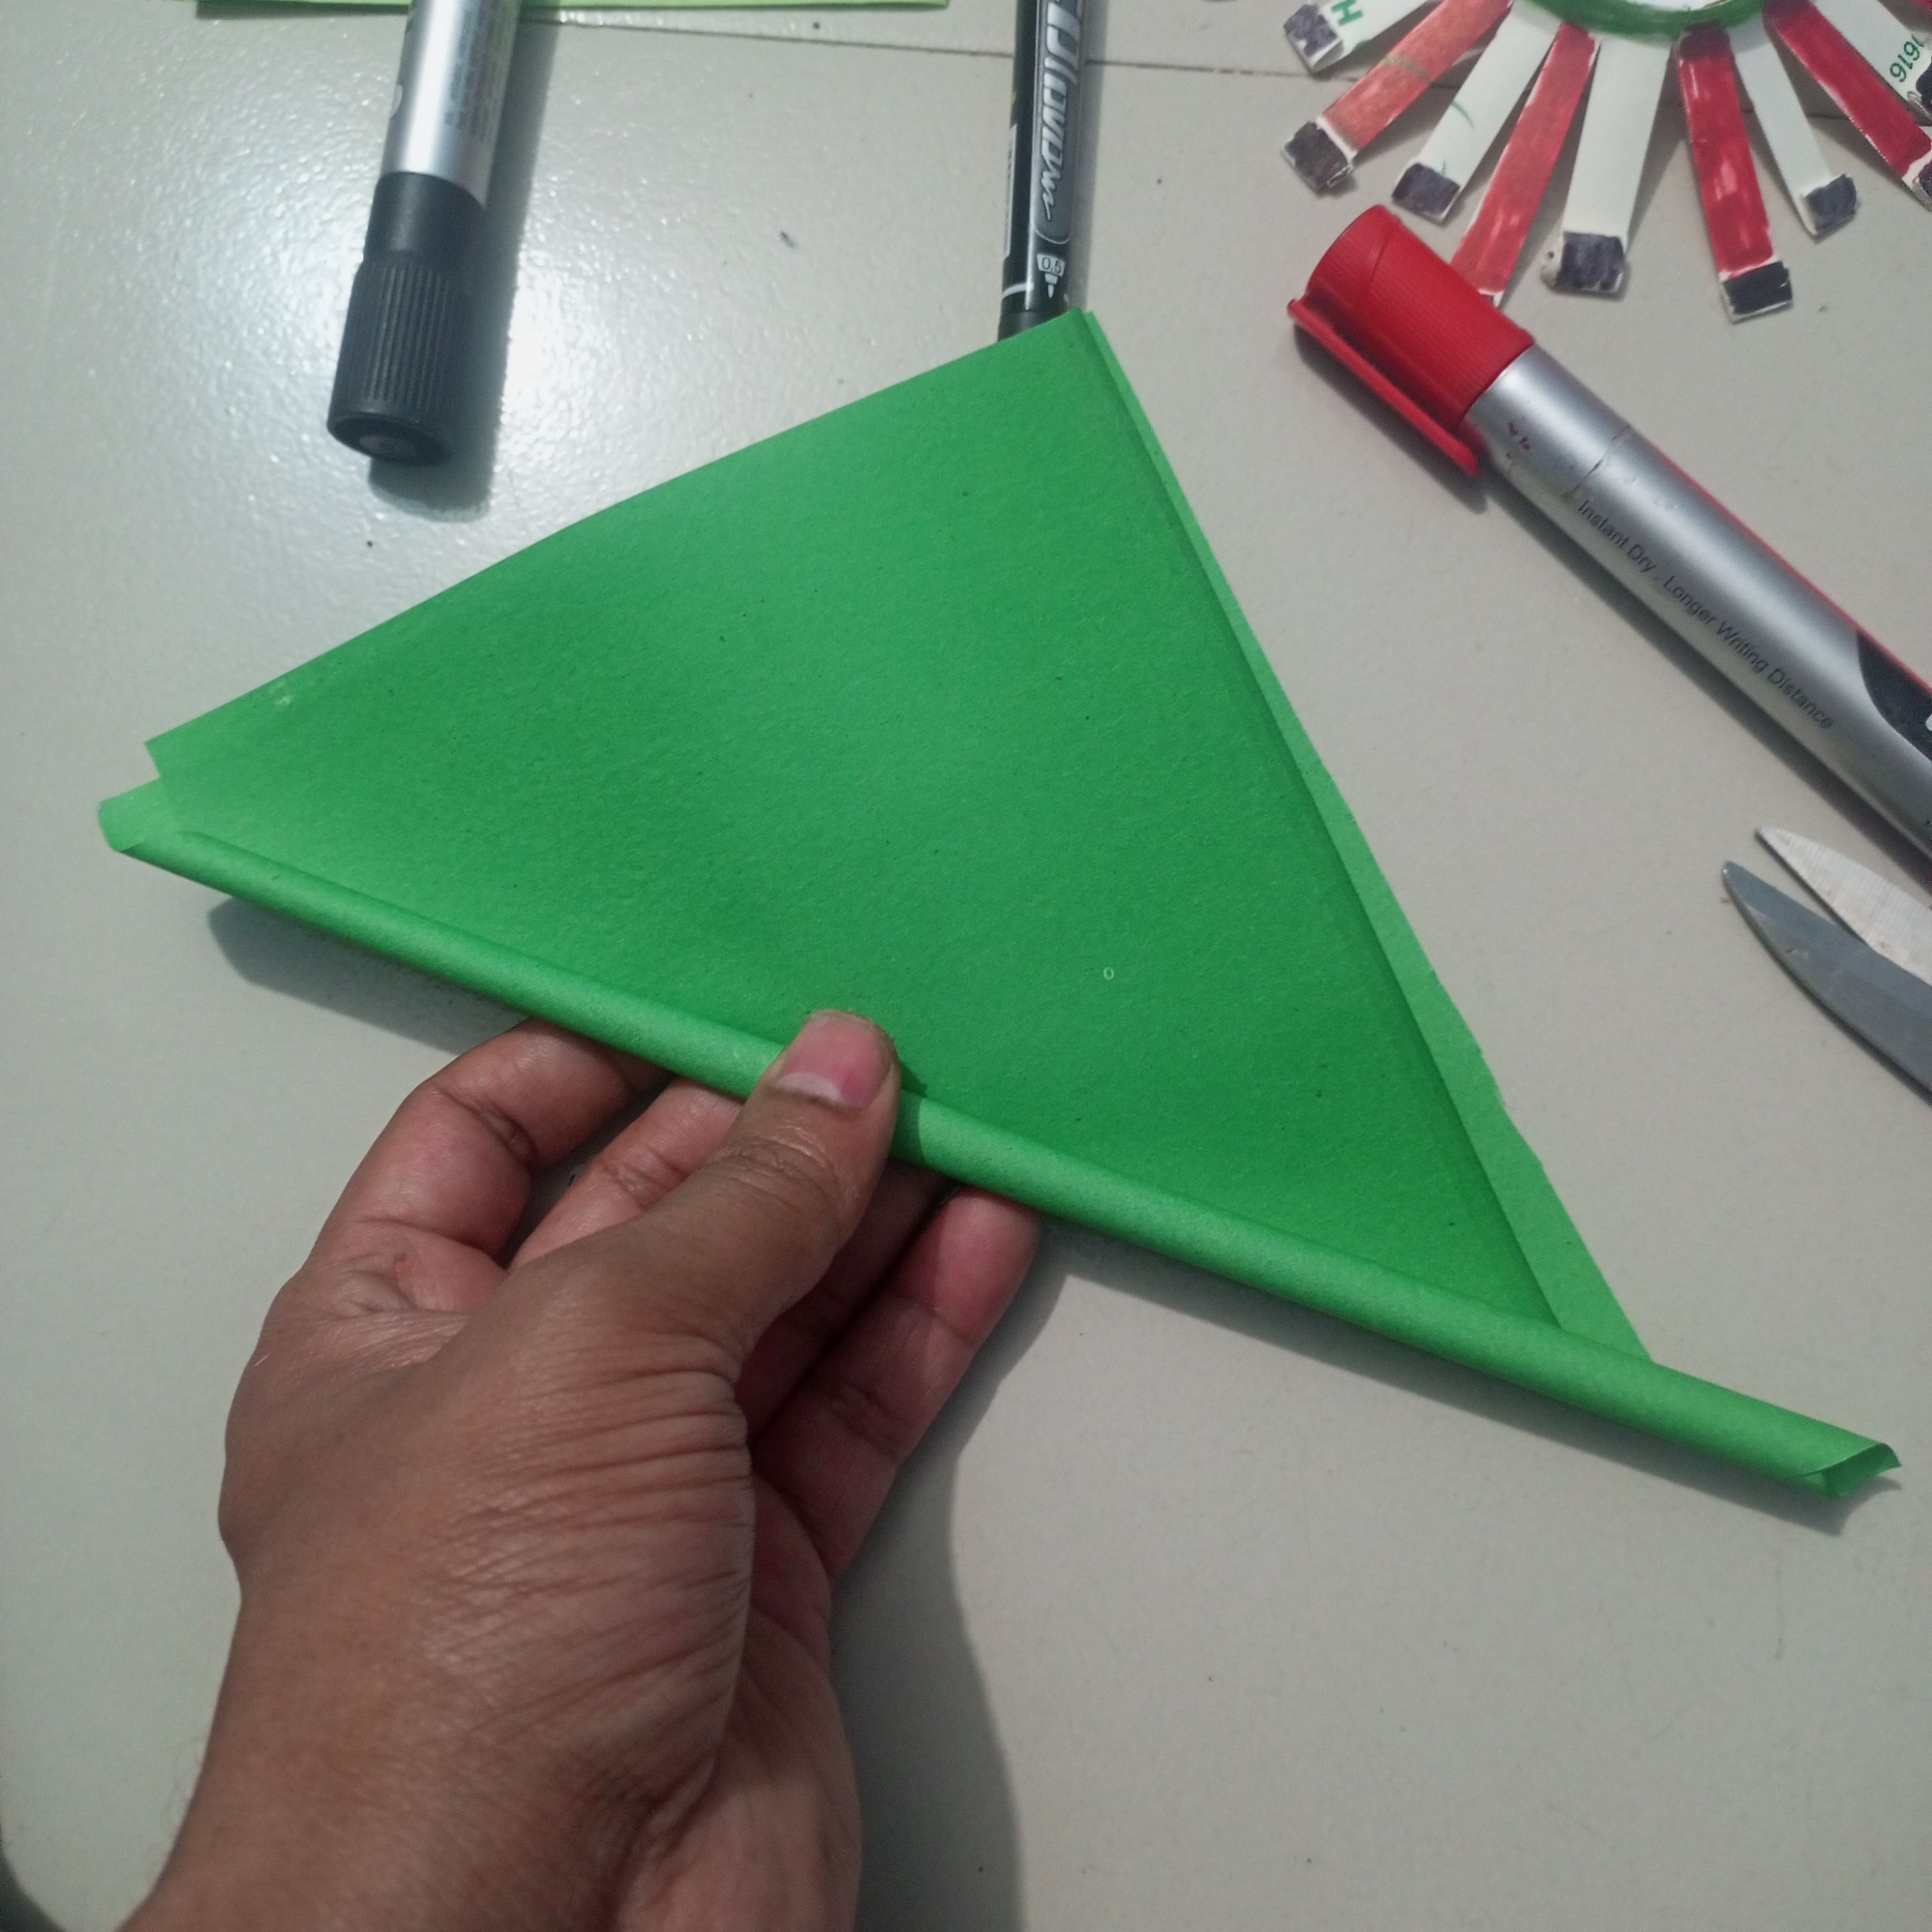
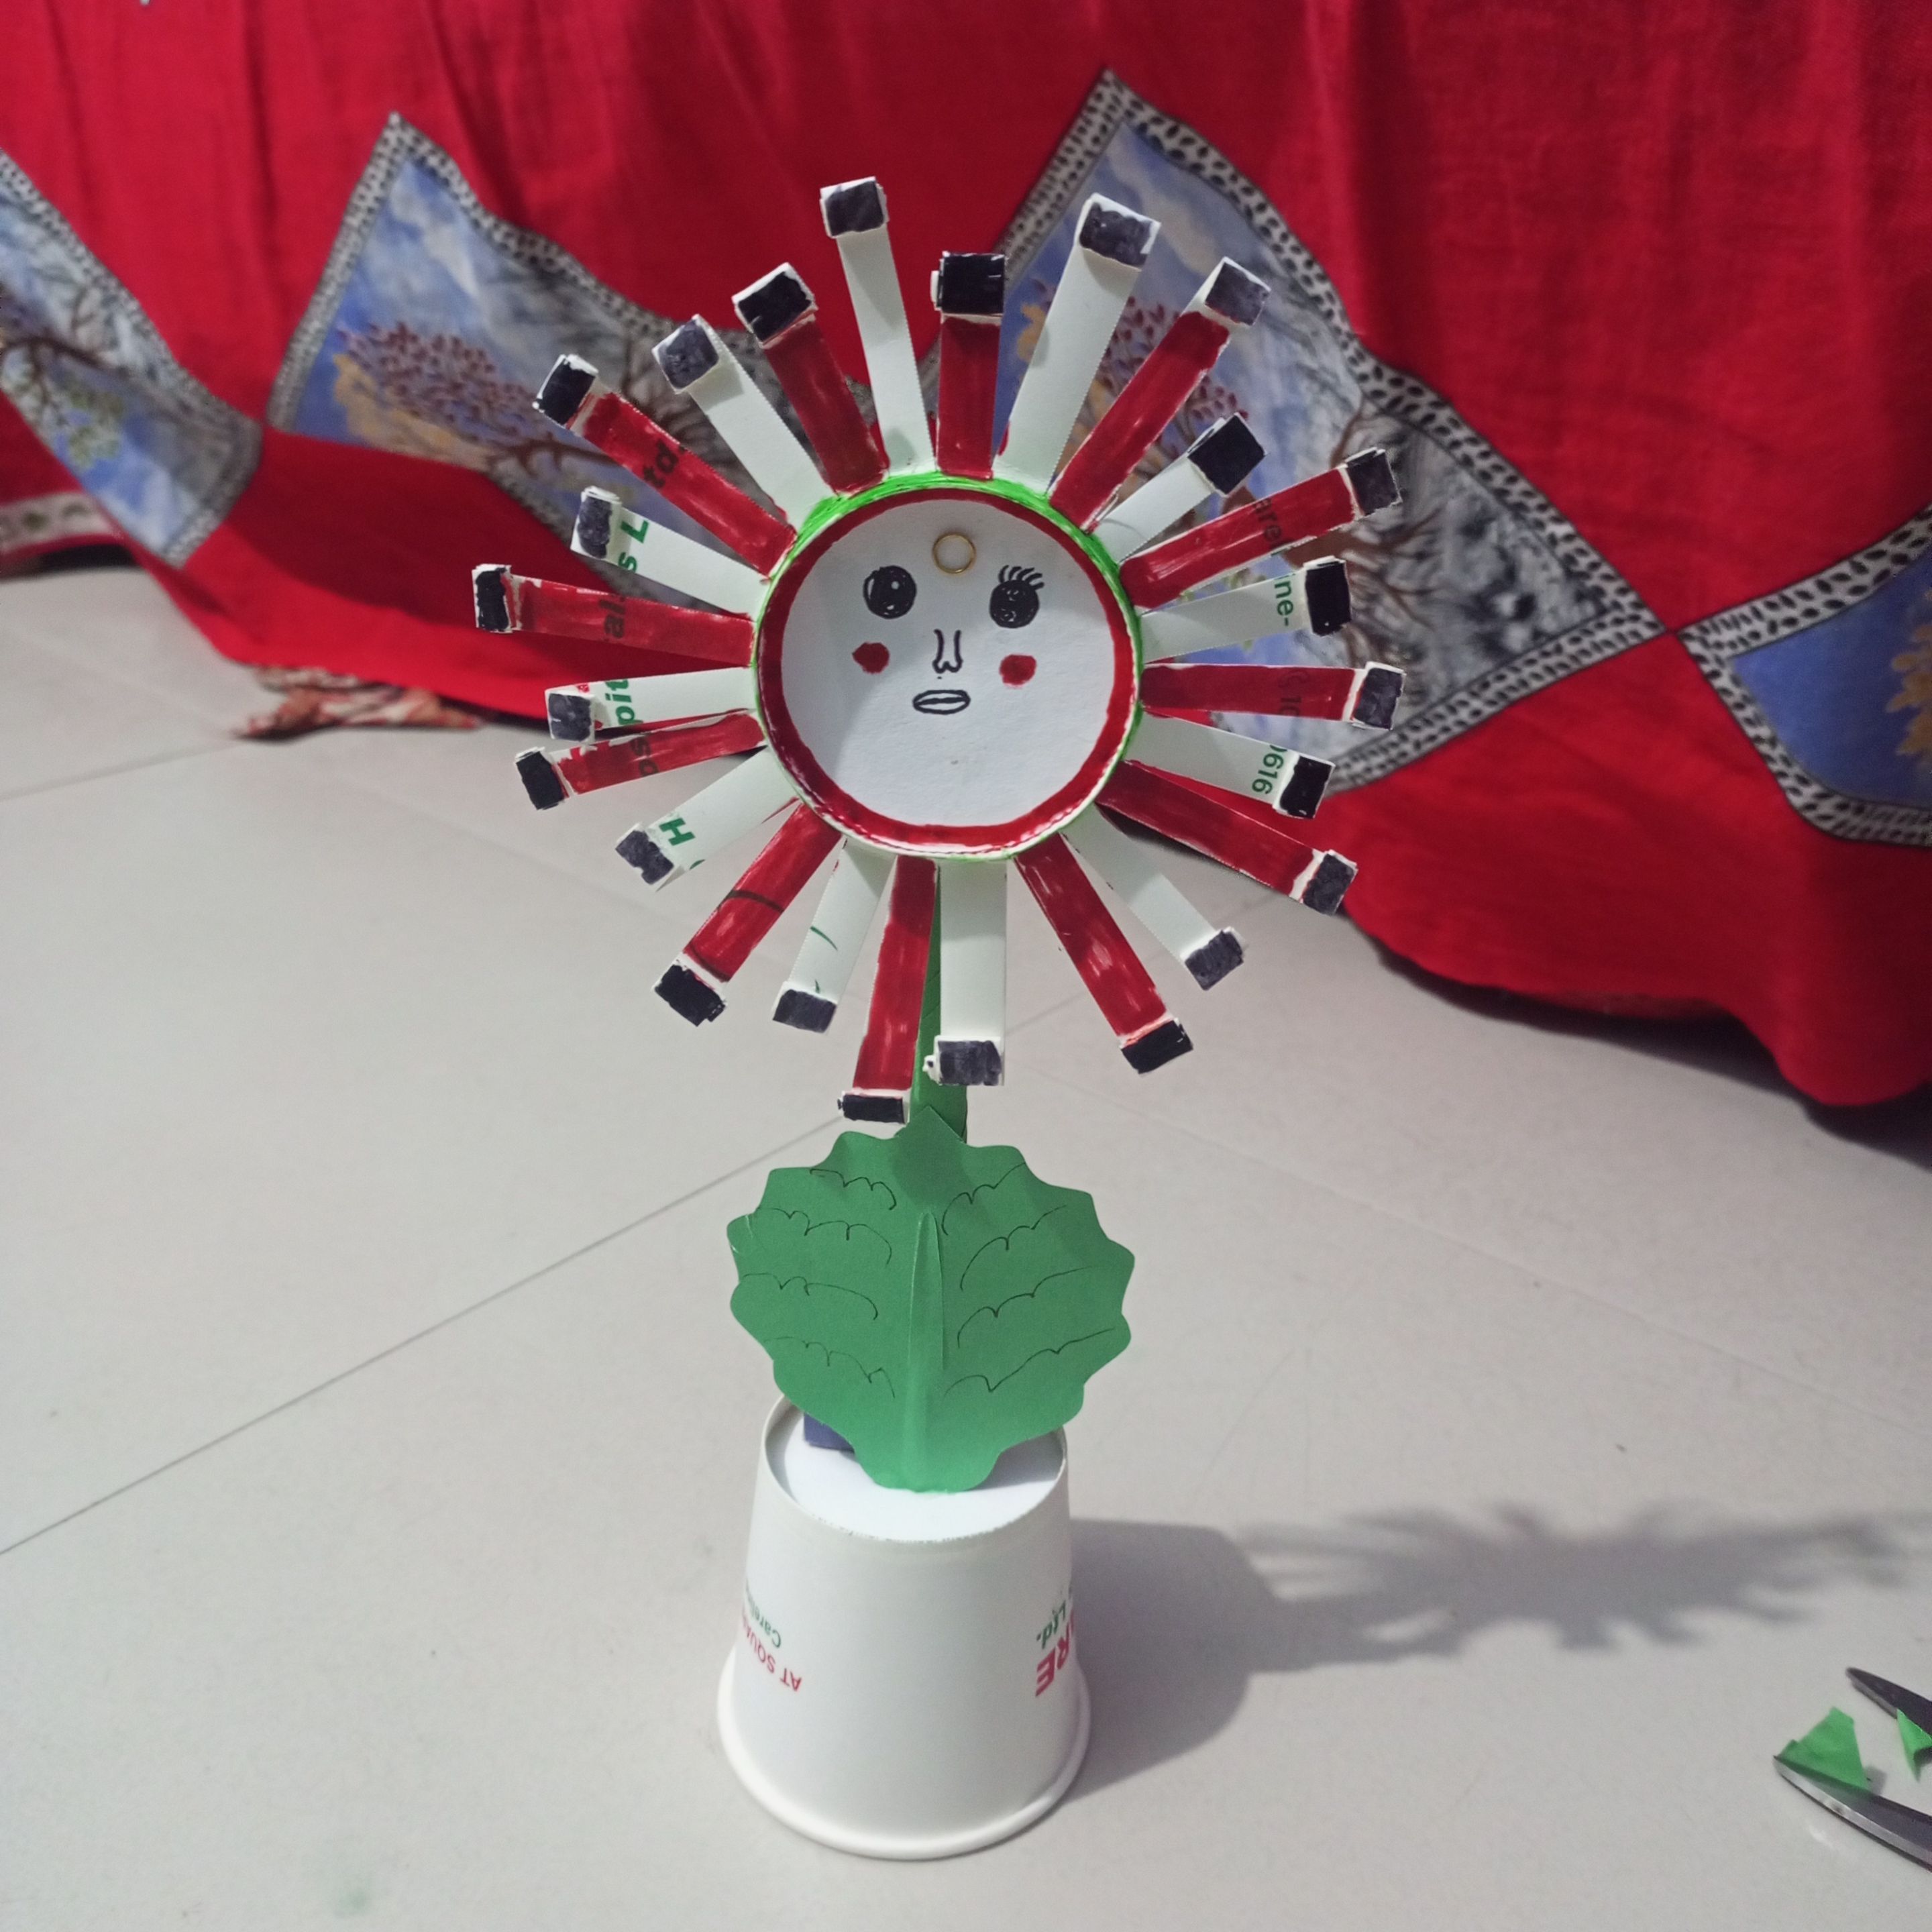
Next, I took a green colored paper and folded it in two, applied Fevicol glue very tightly, and worked on twisting the paper.
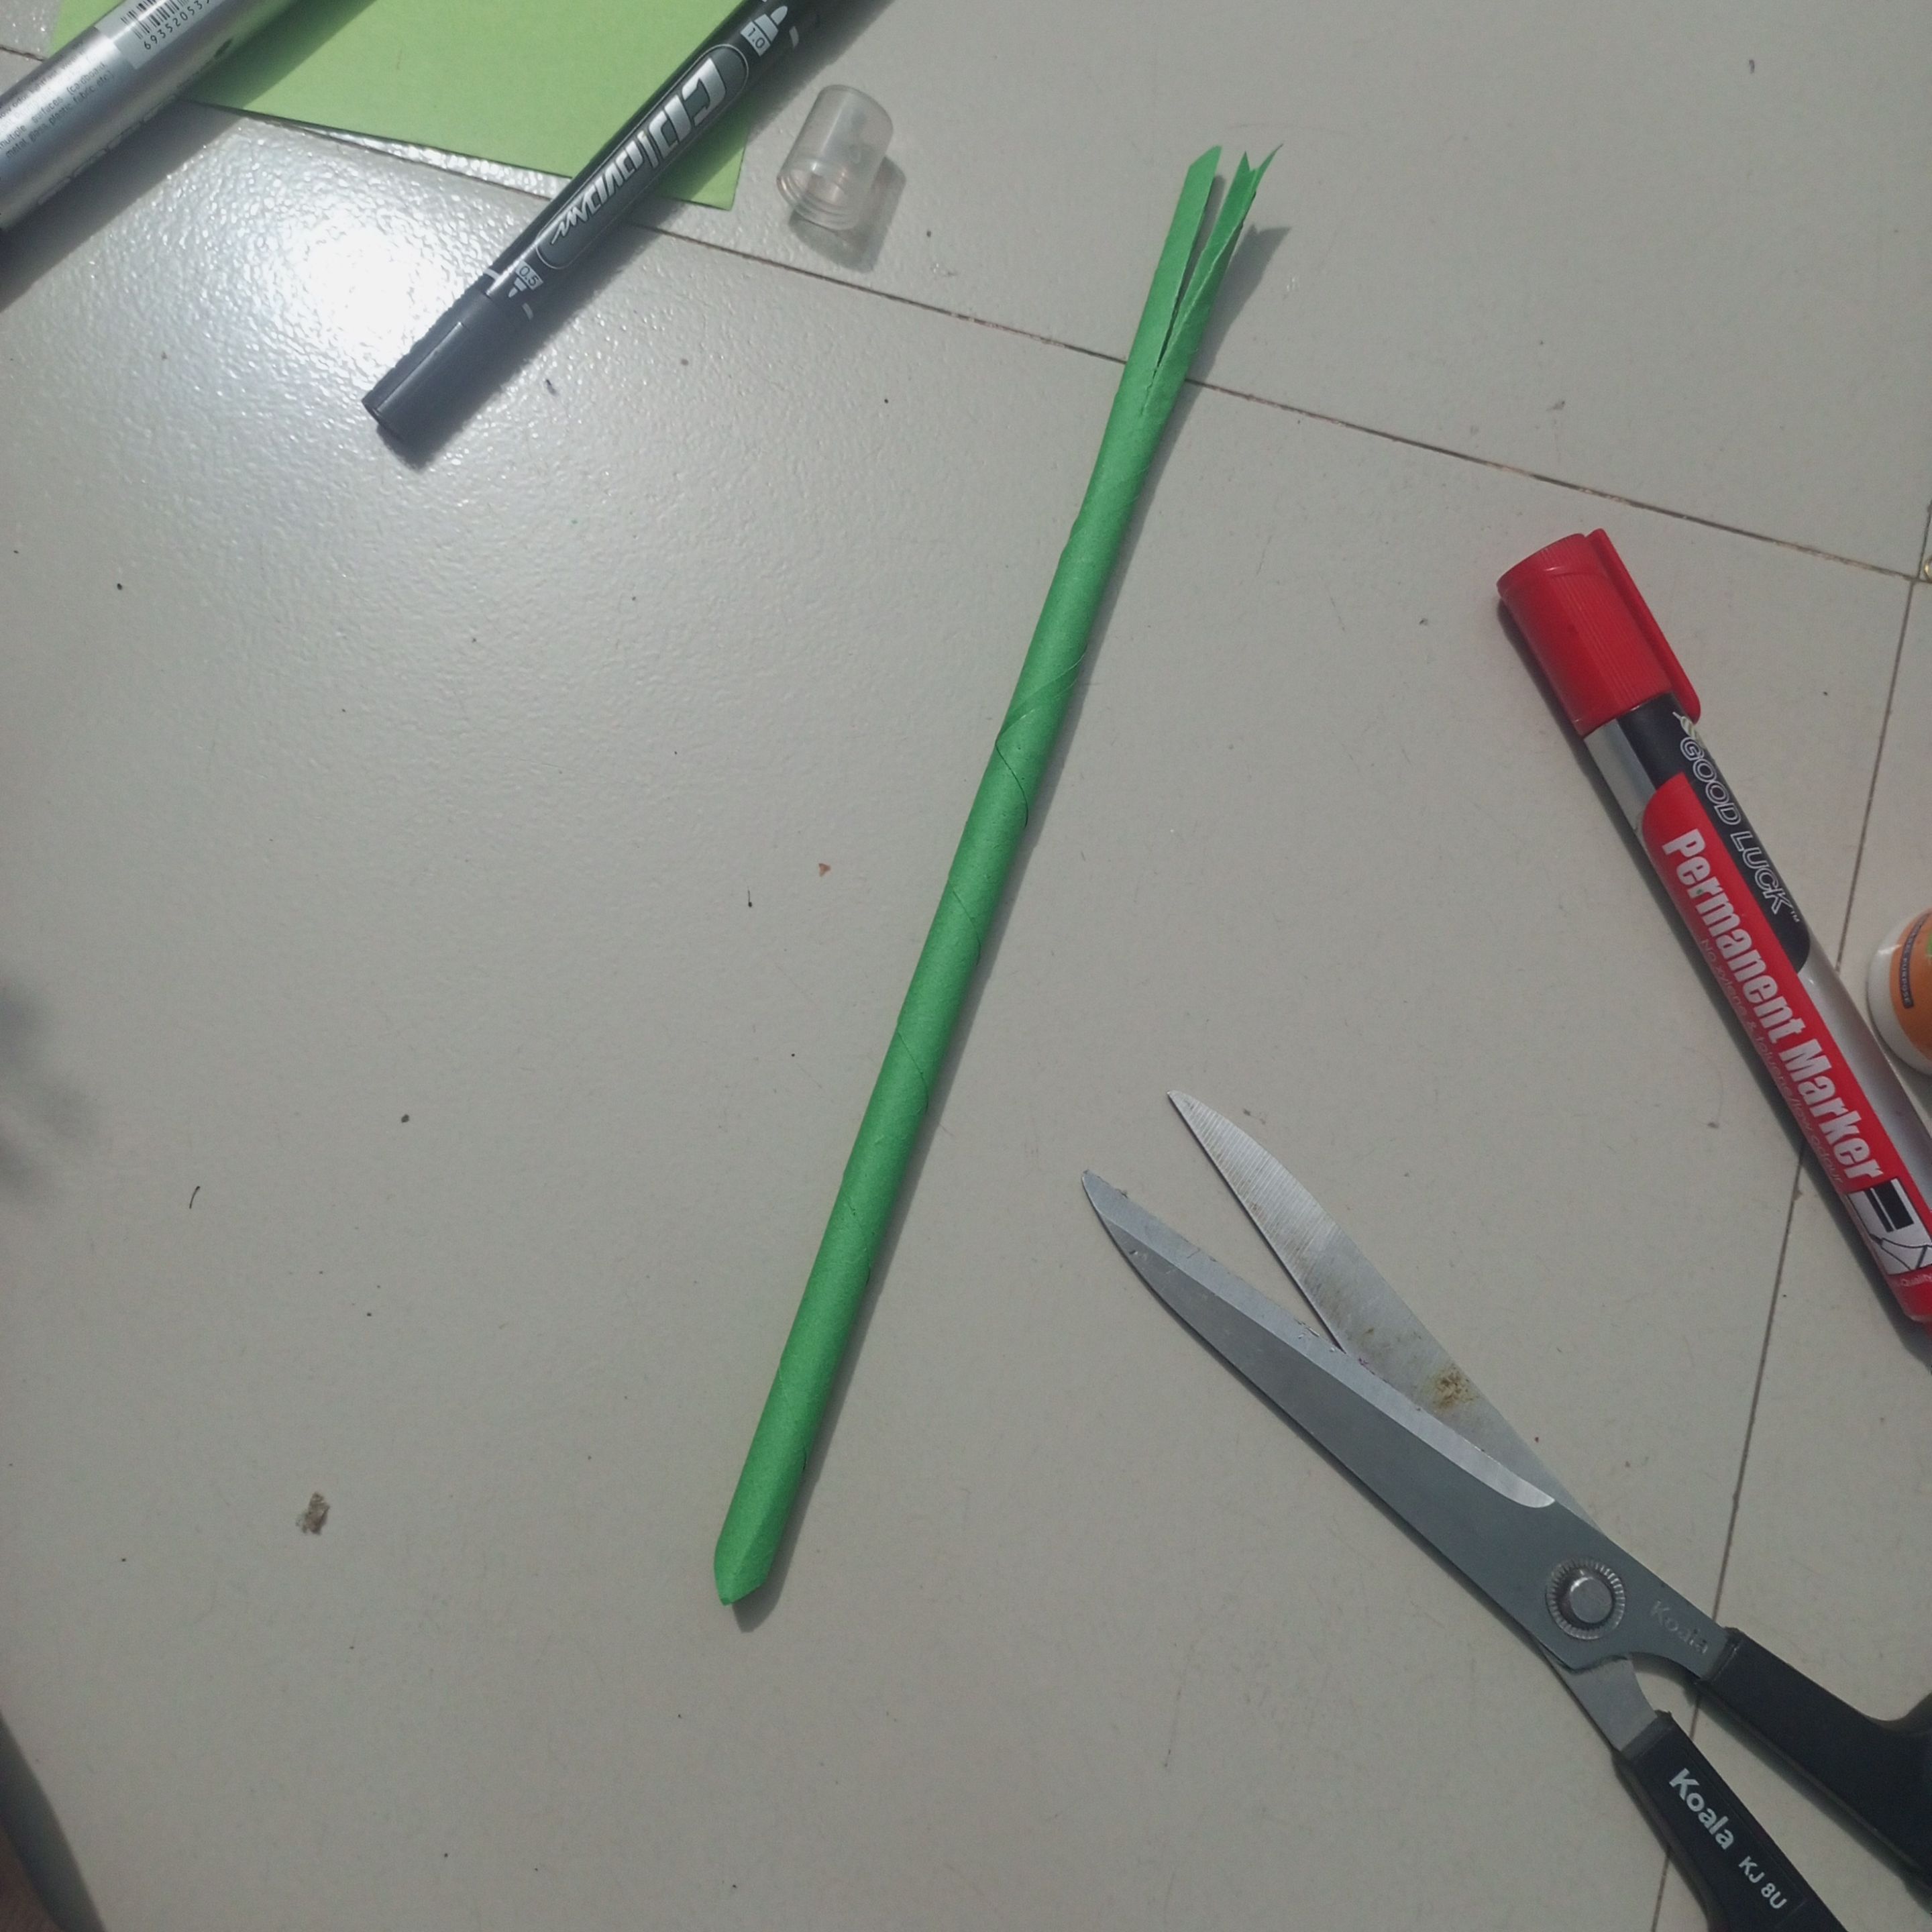
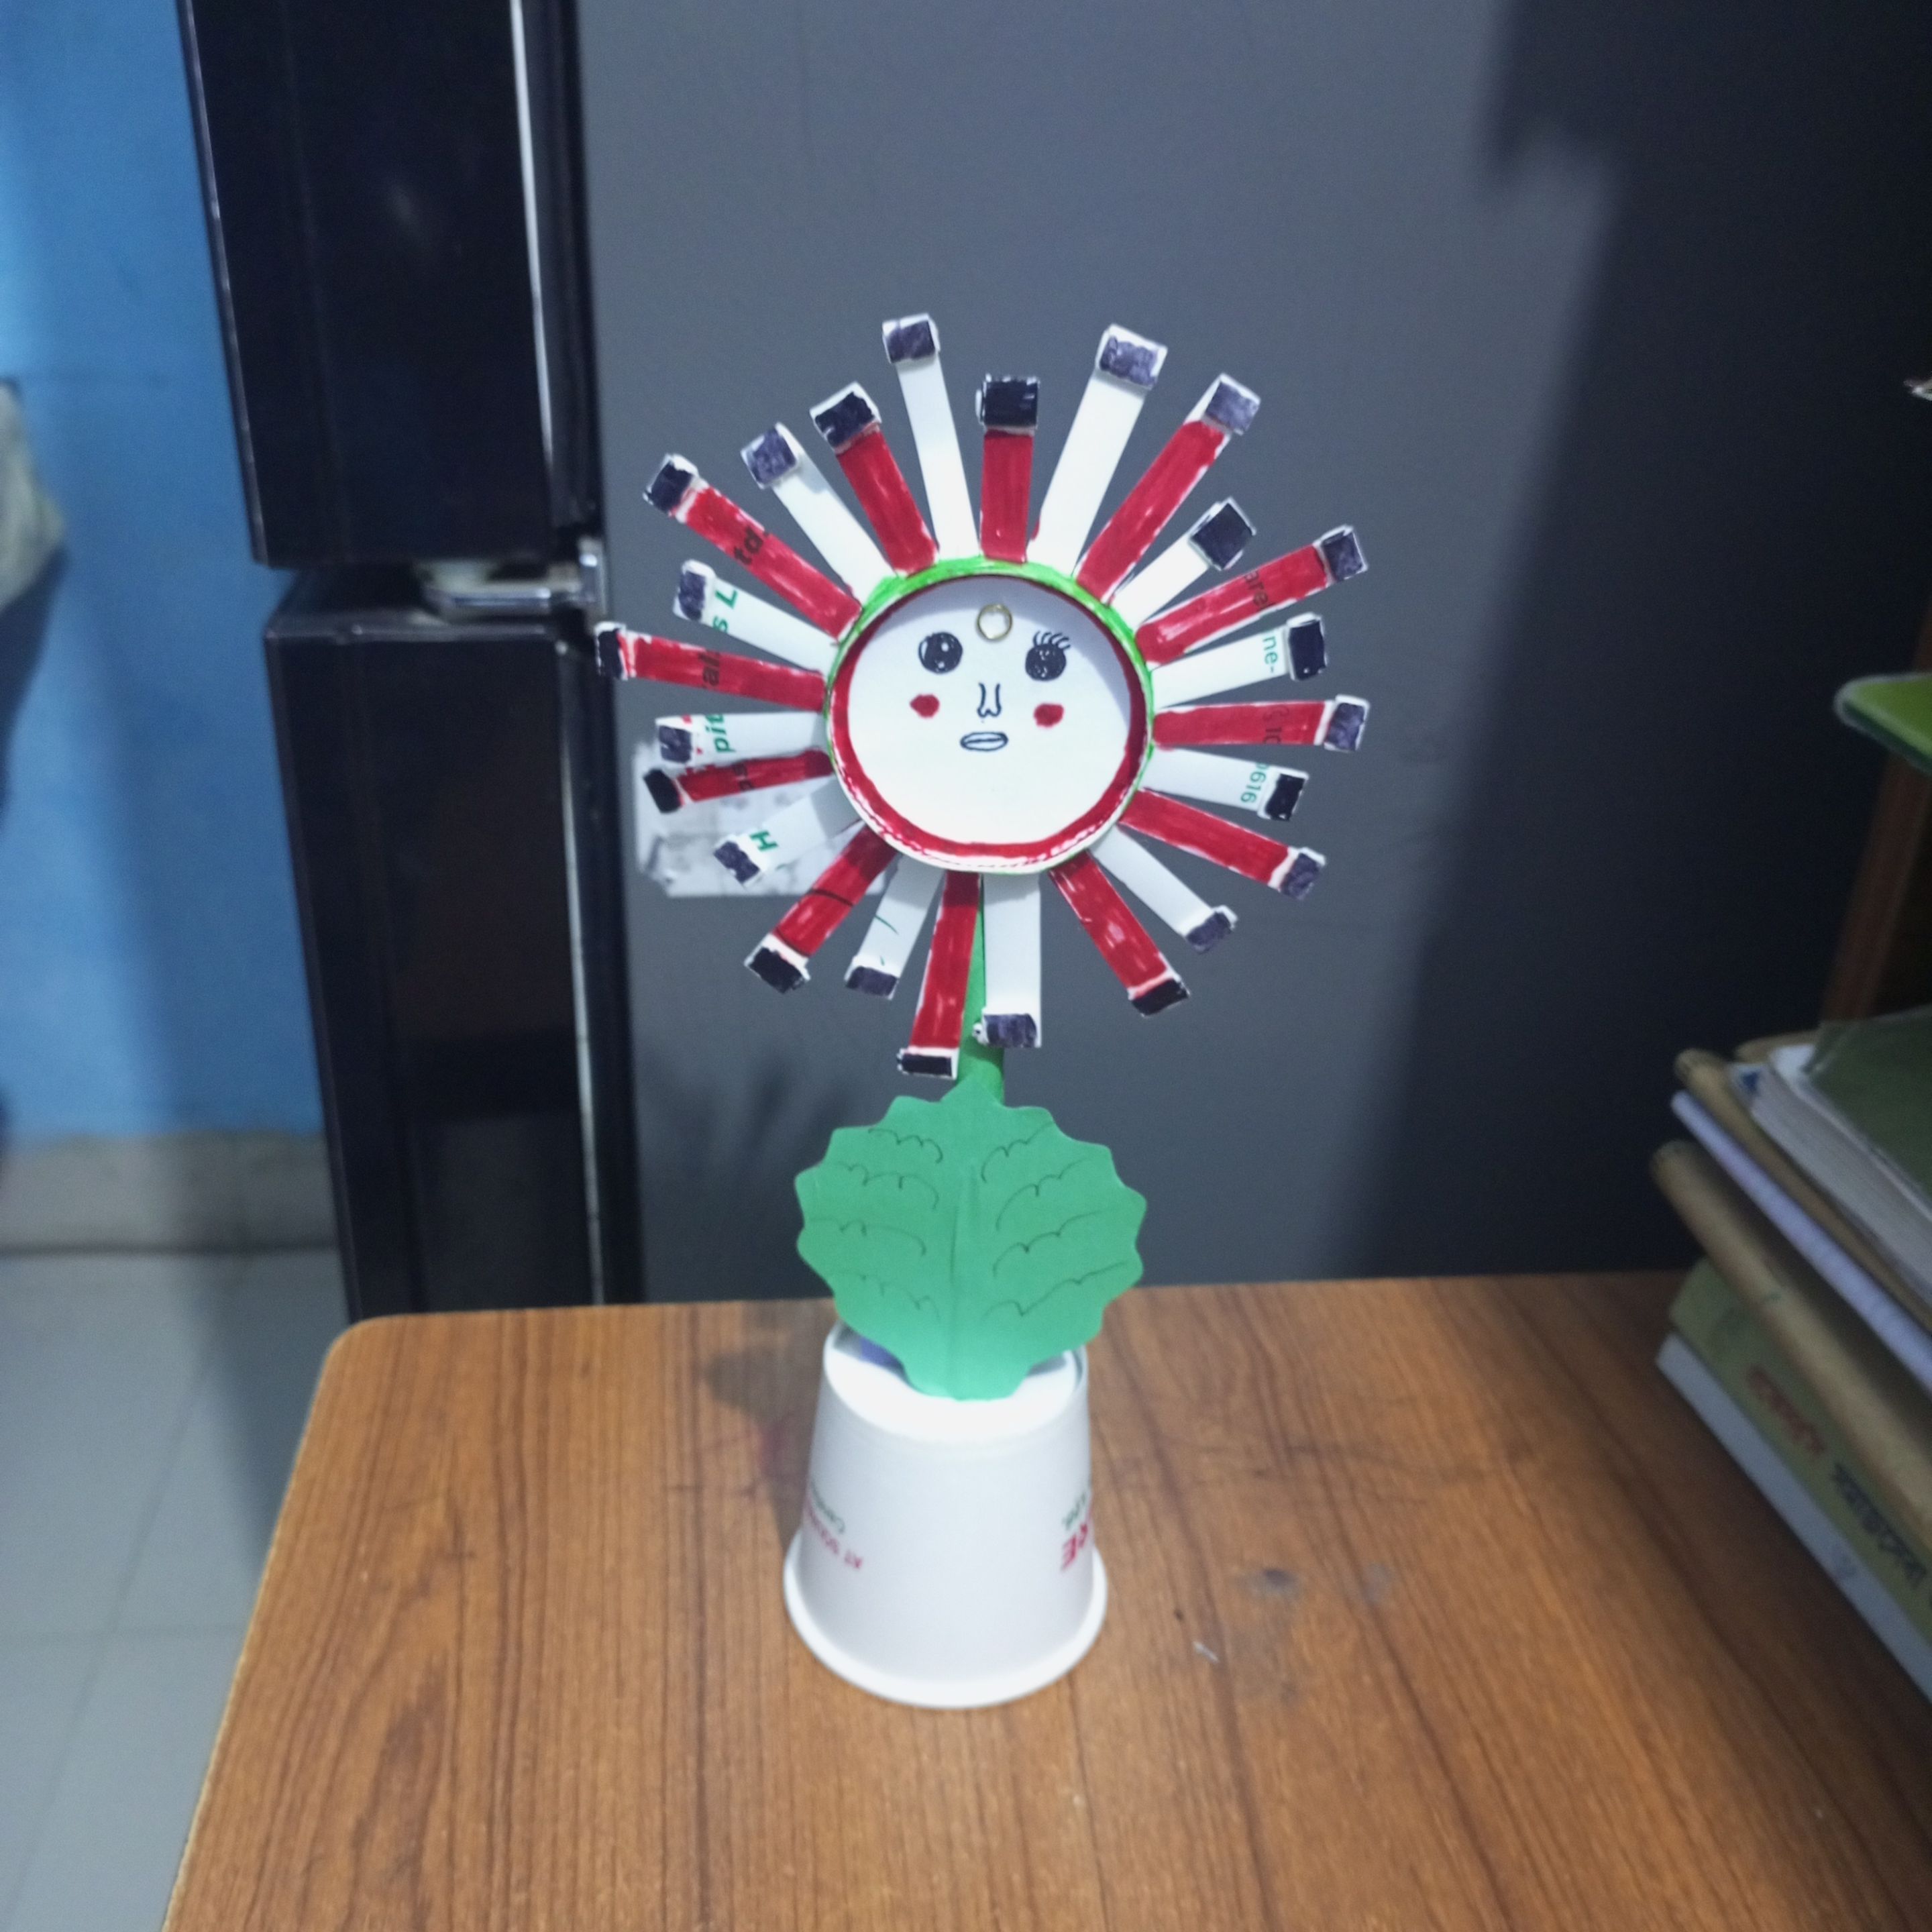
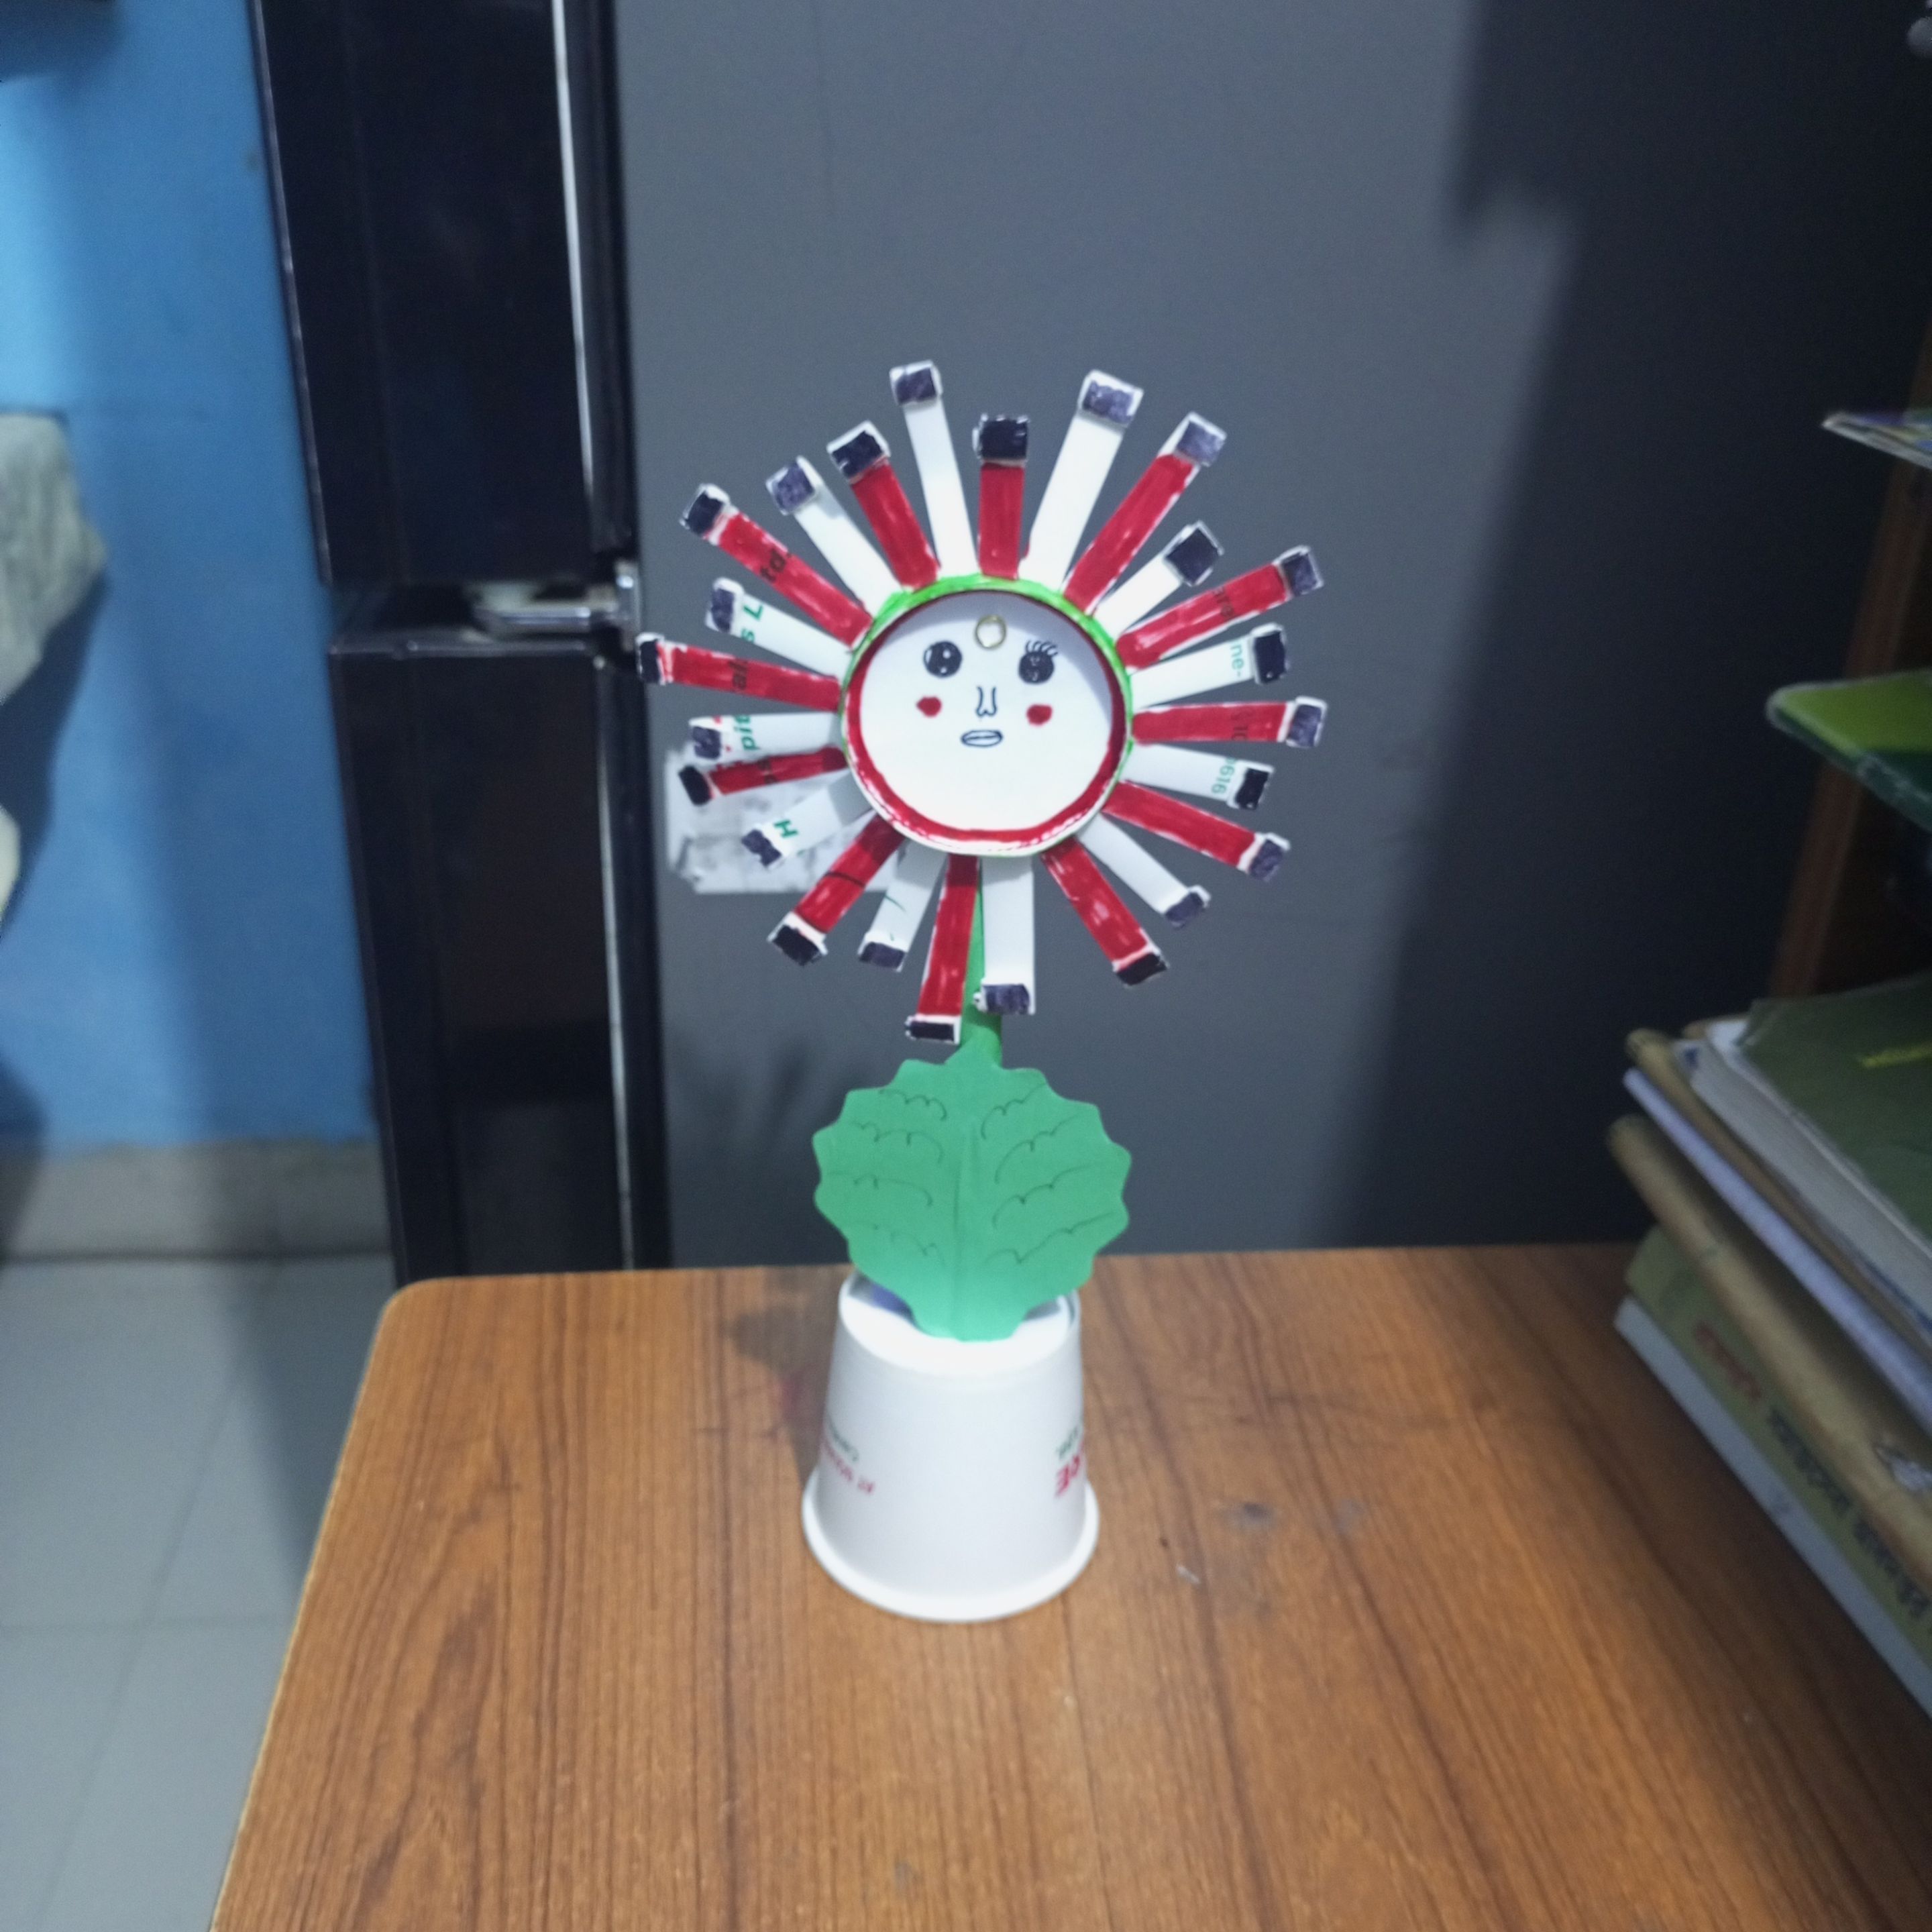
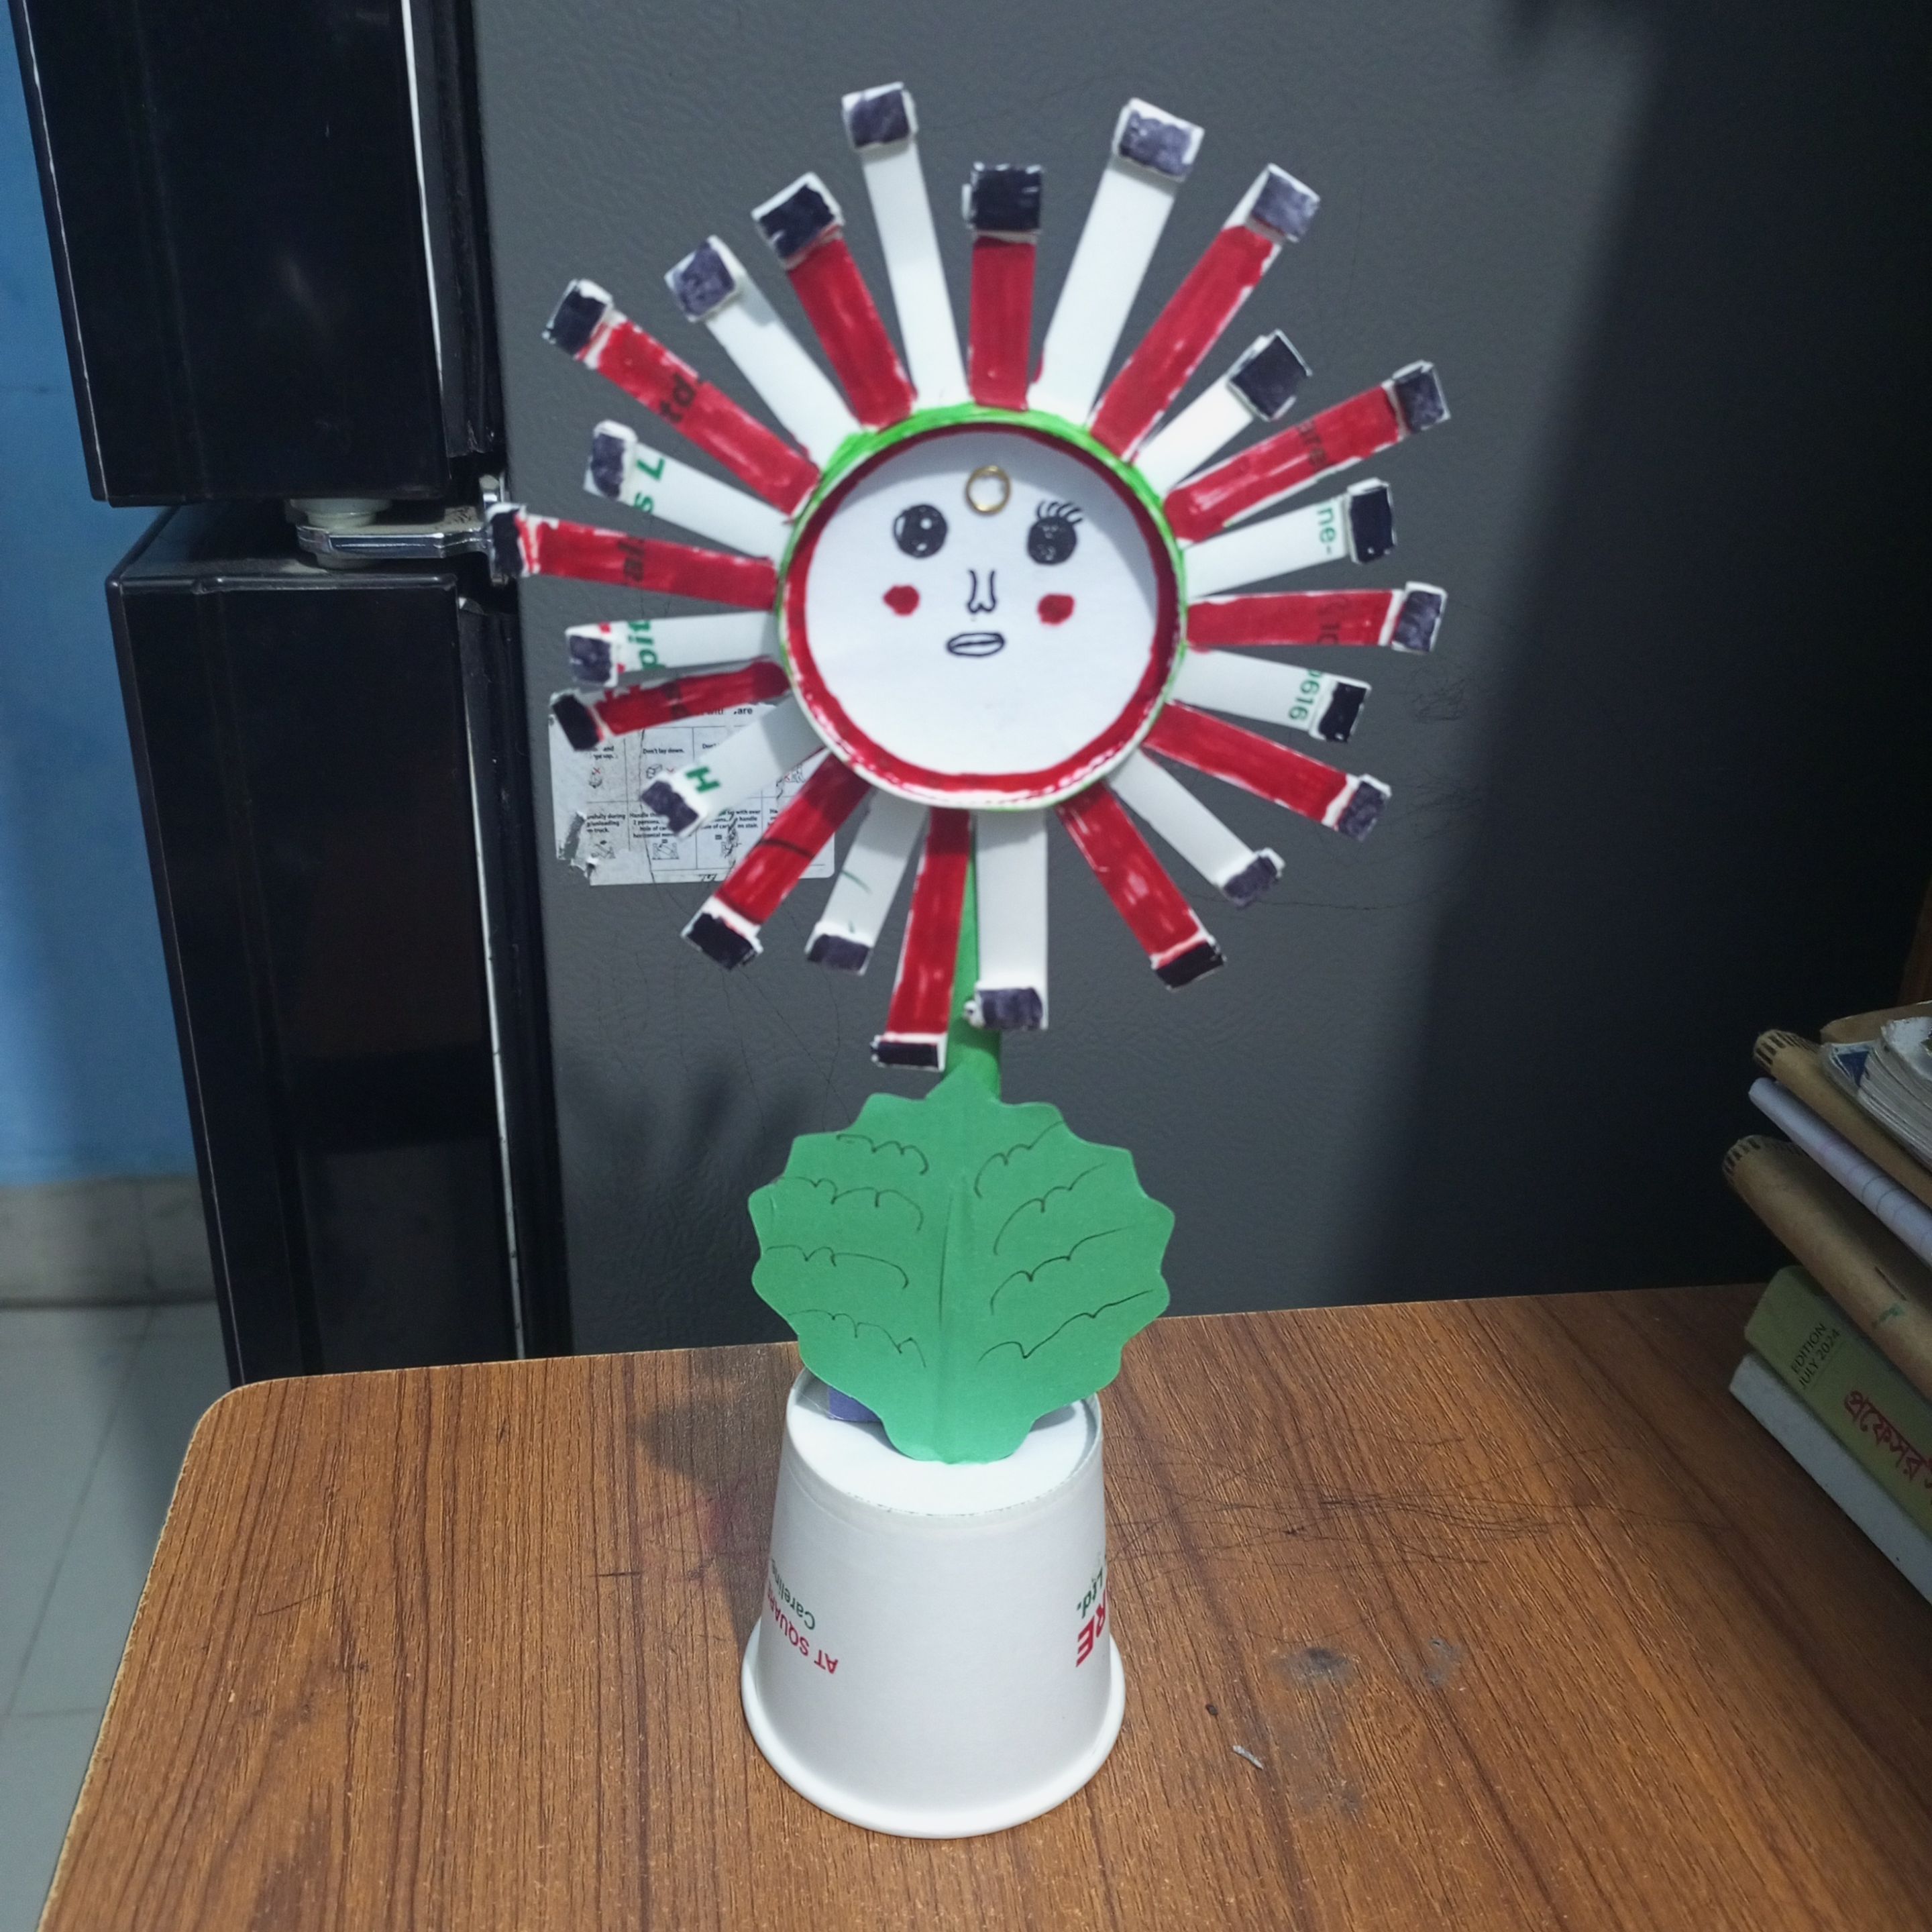
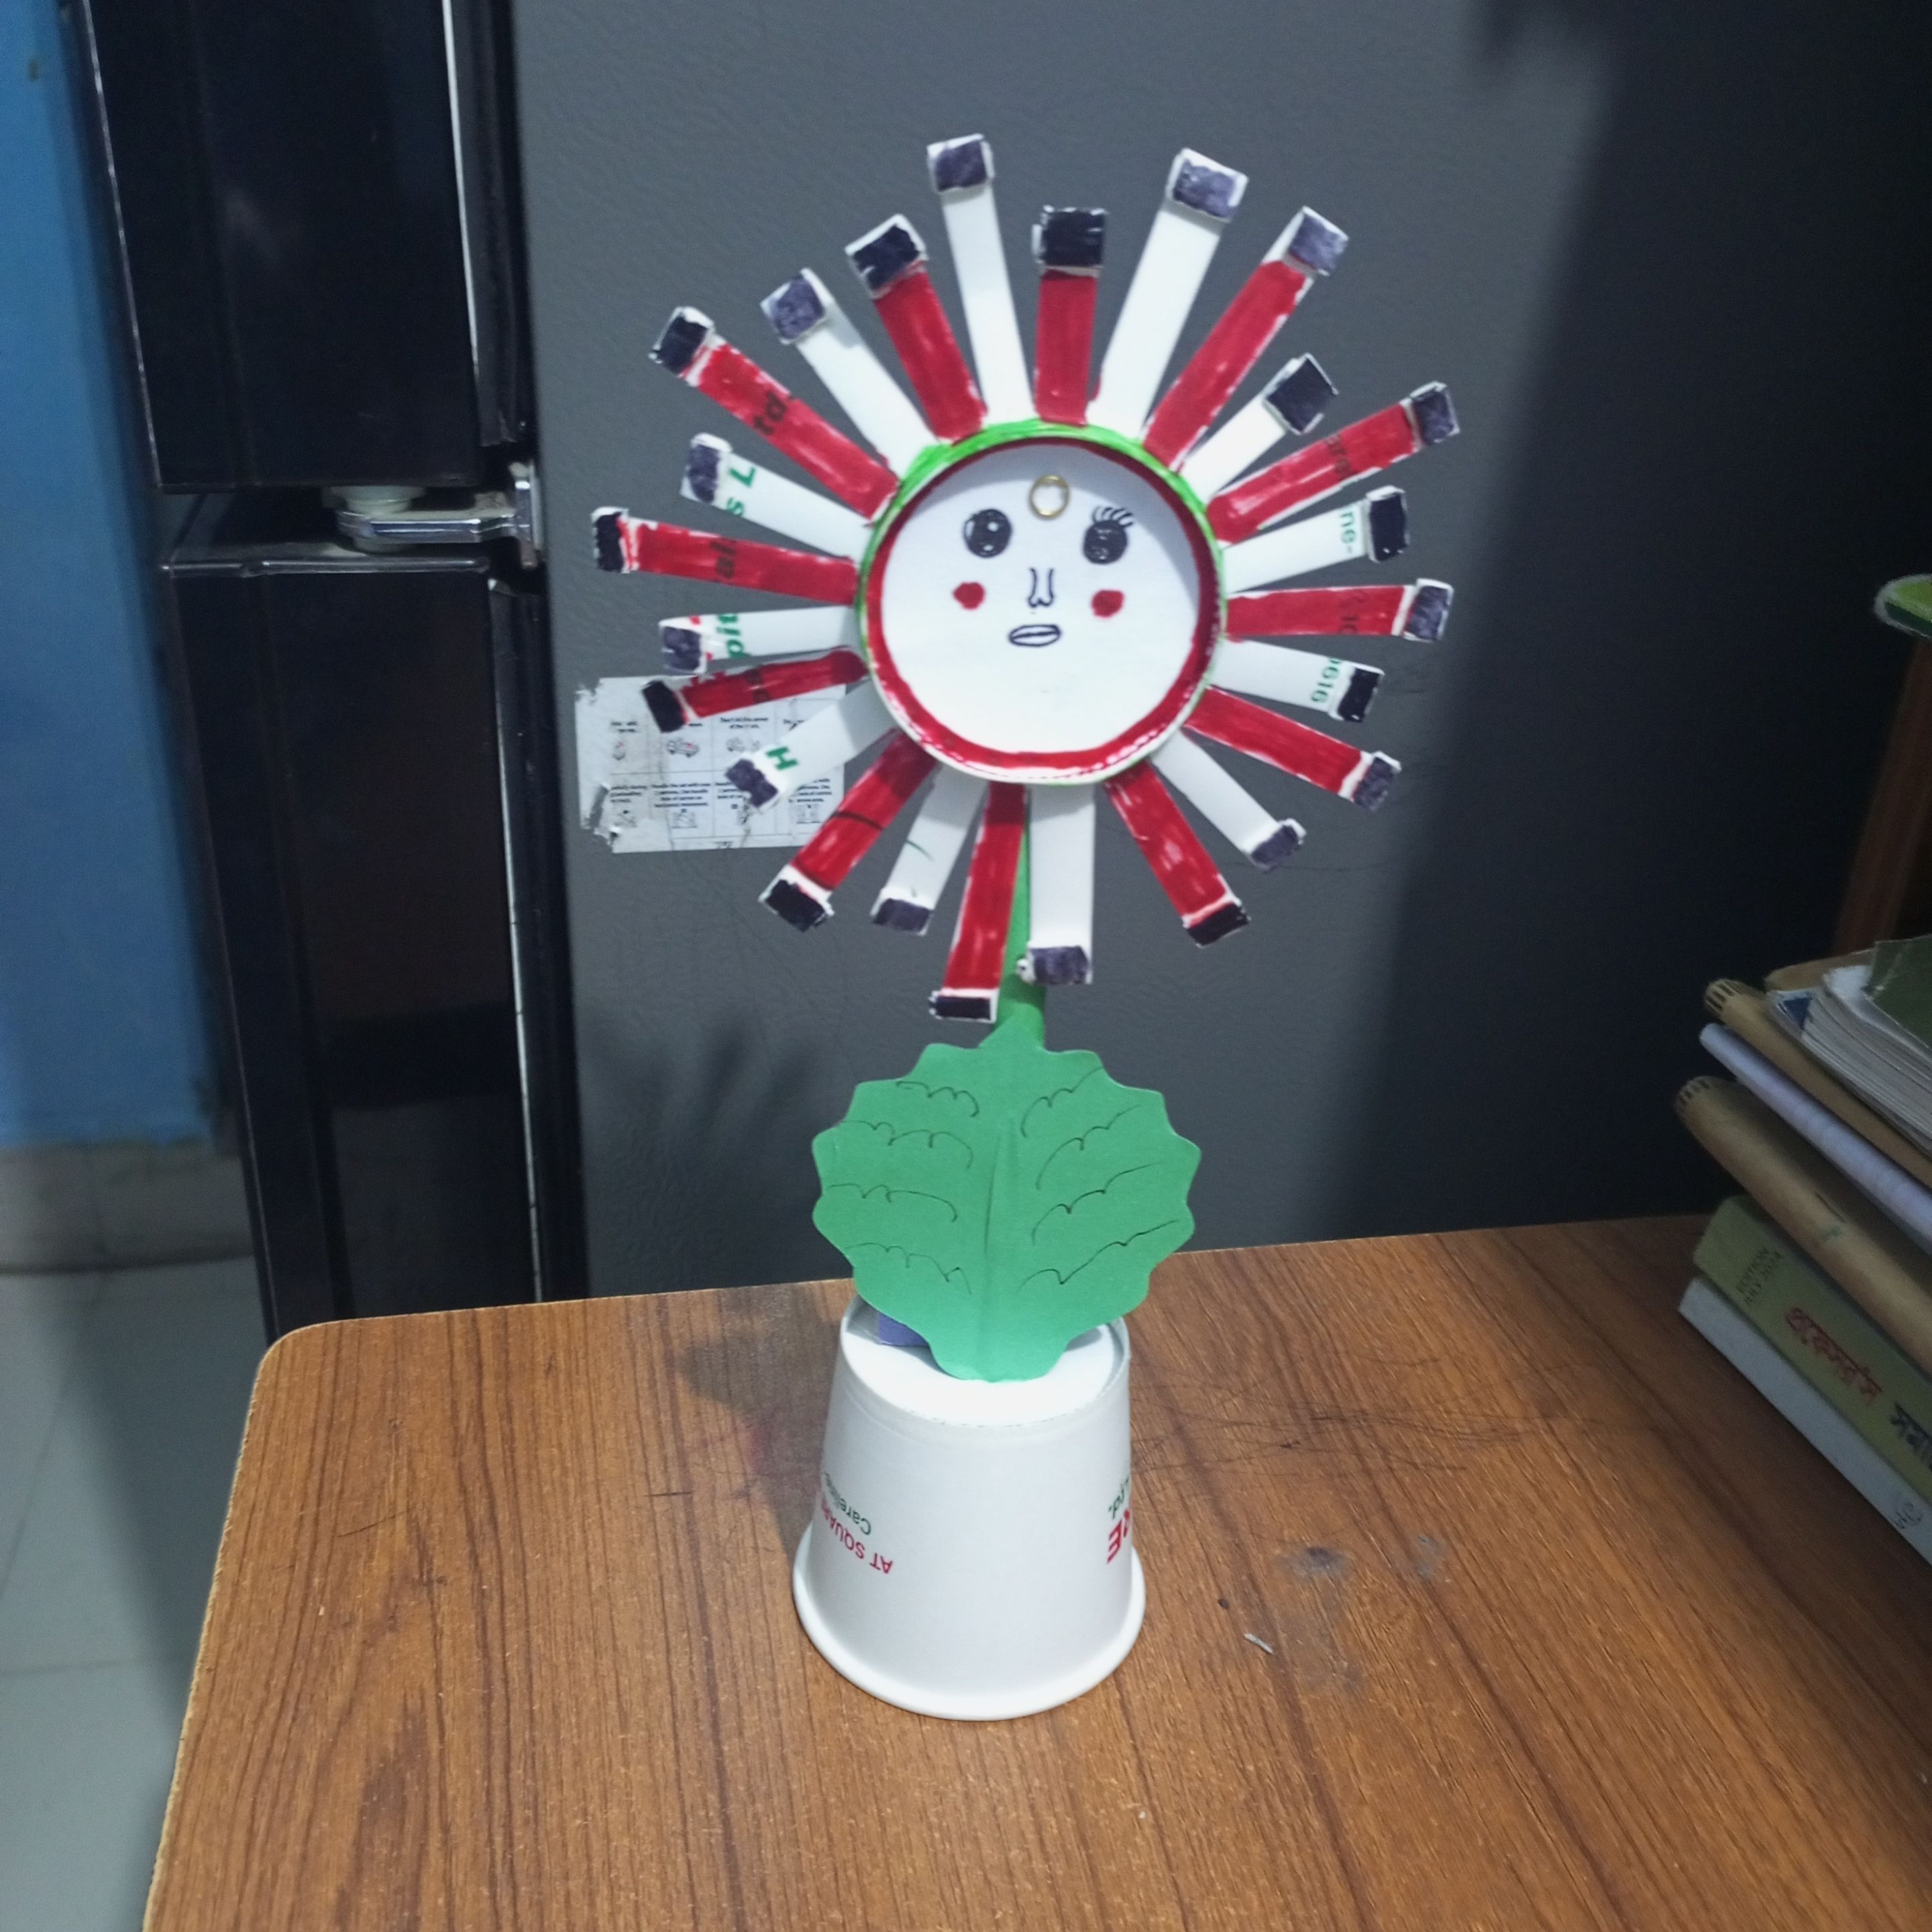
Here you can see a great paper baton ready. Then I designed the head part by cutting it close to the head.
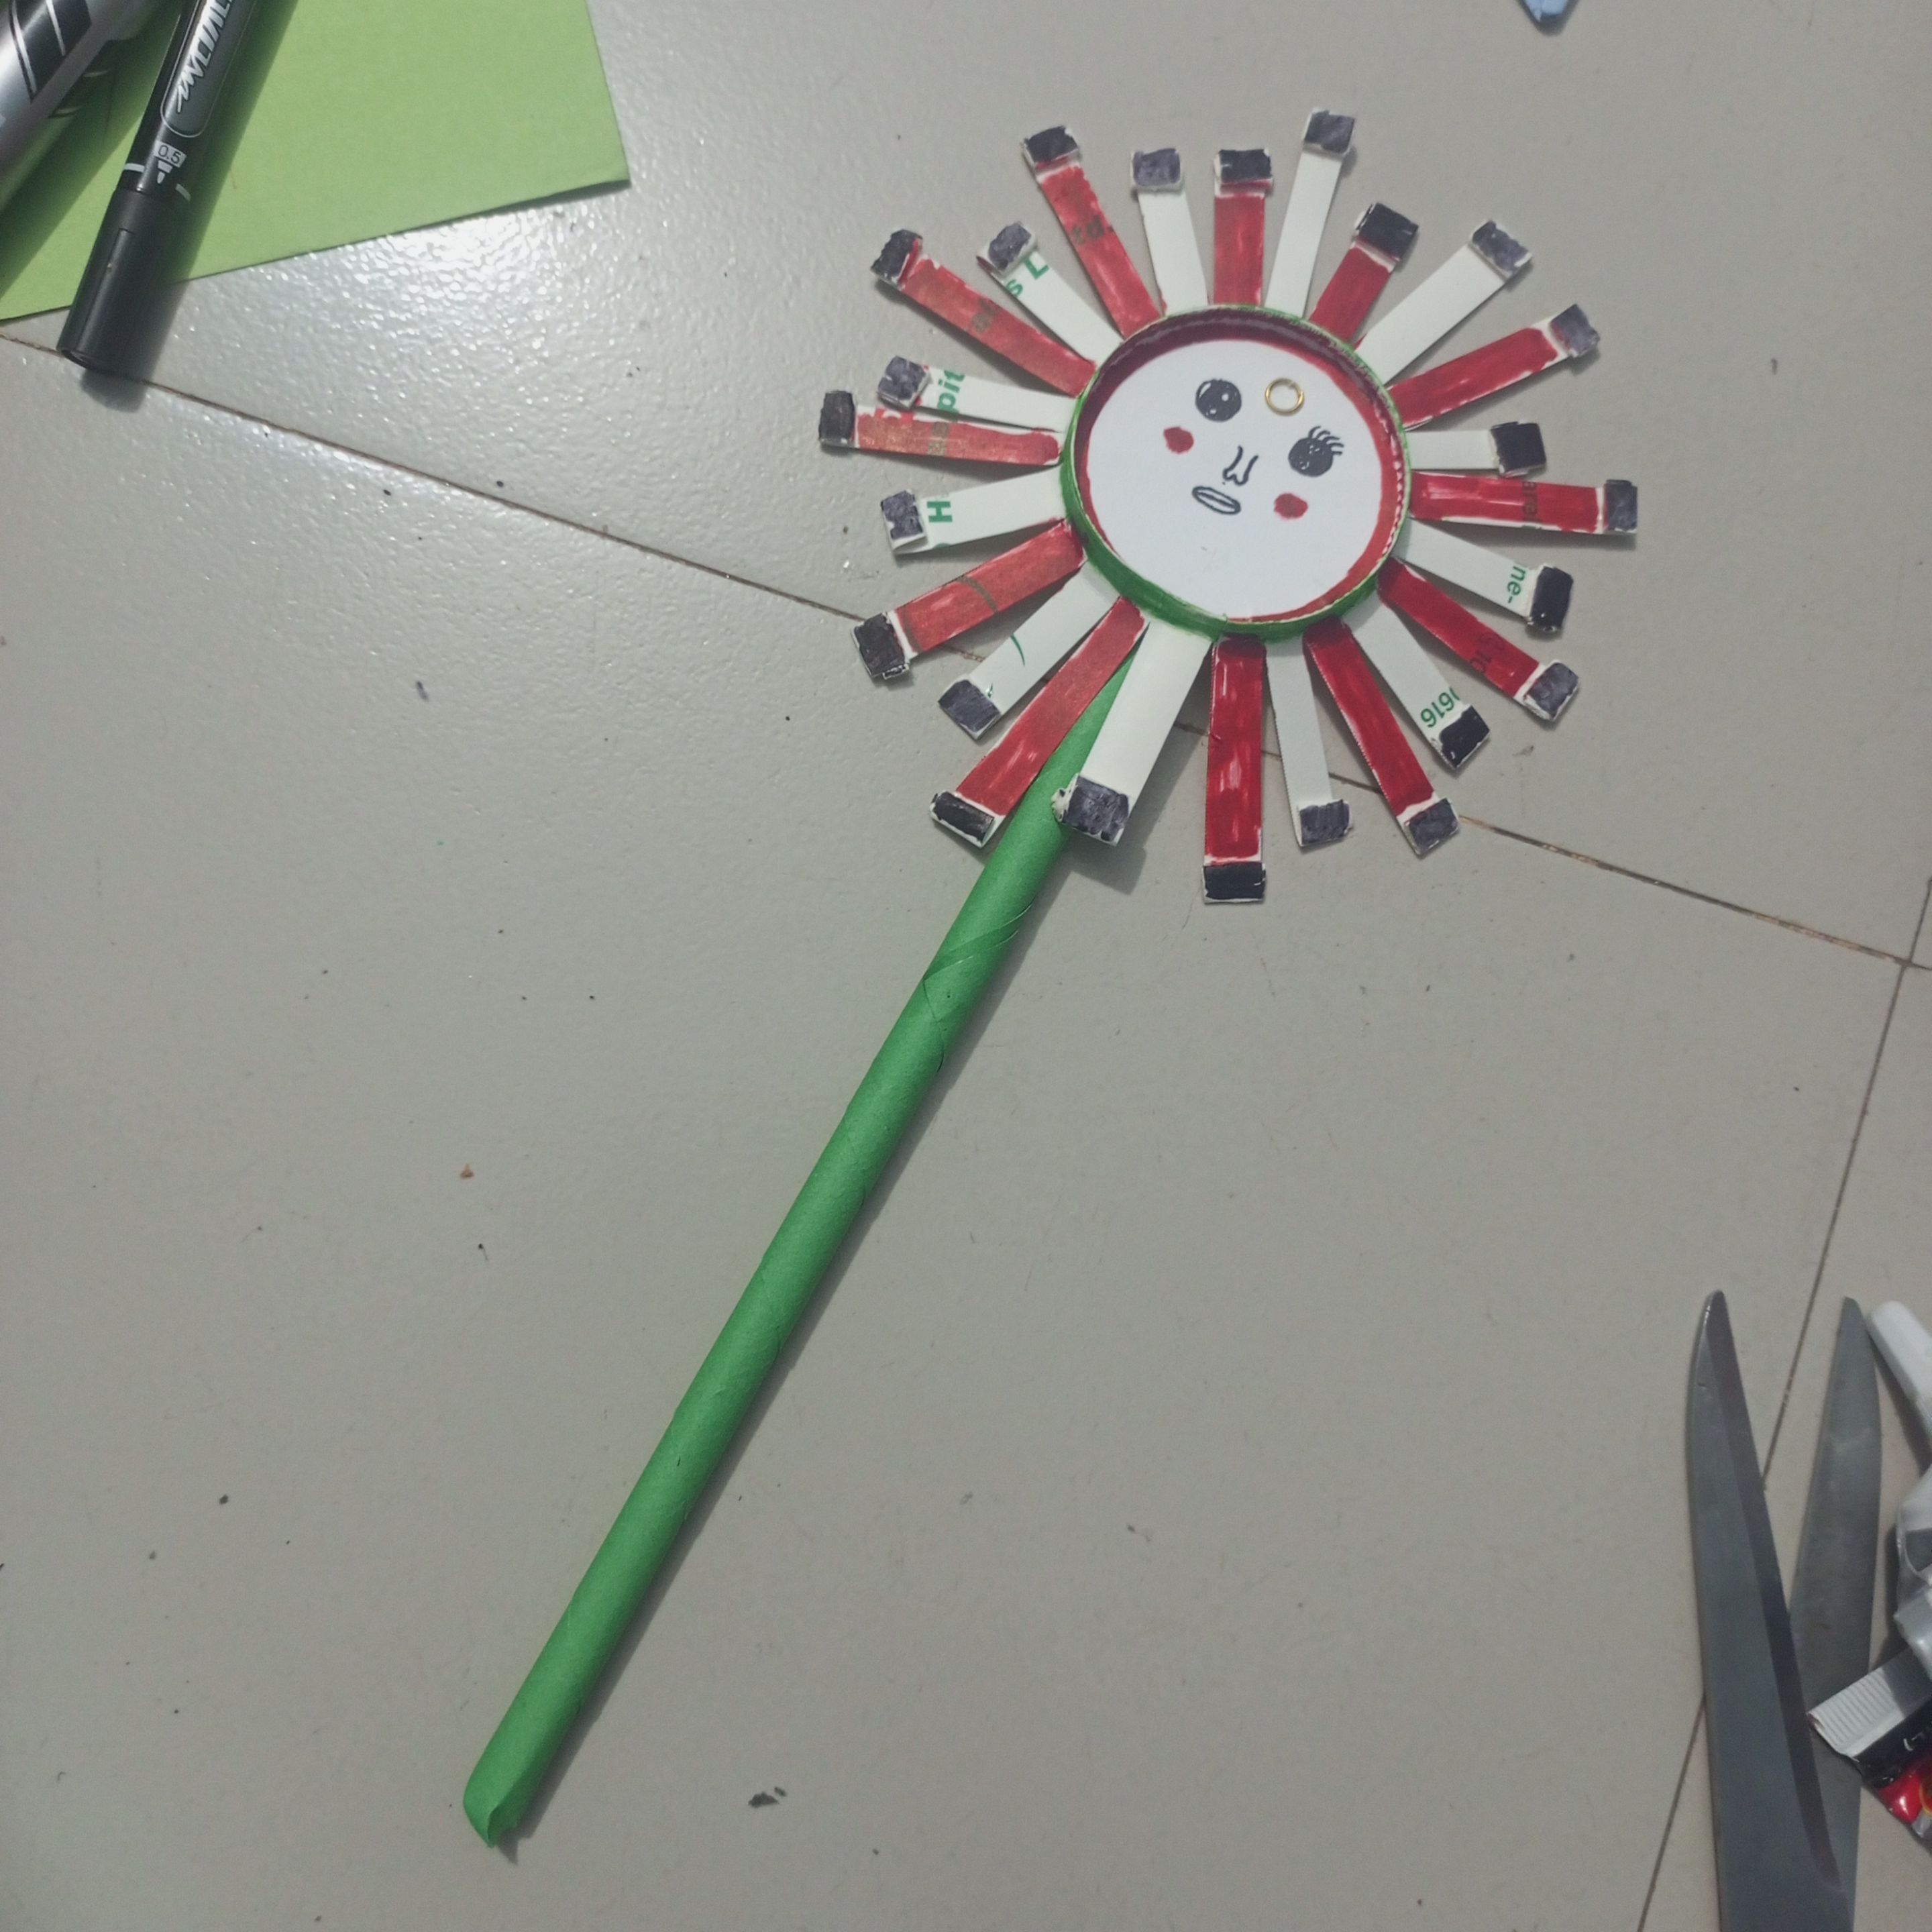
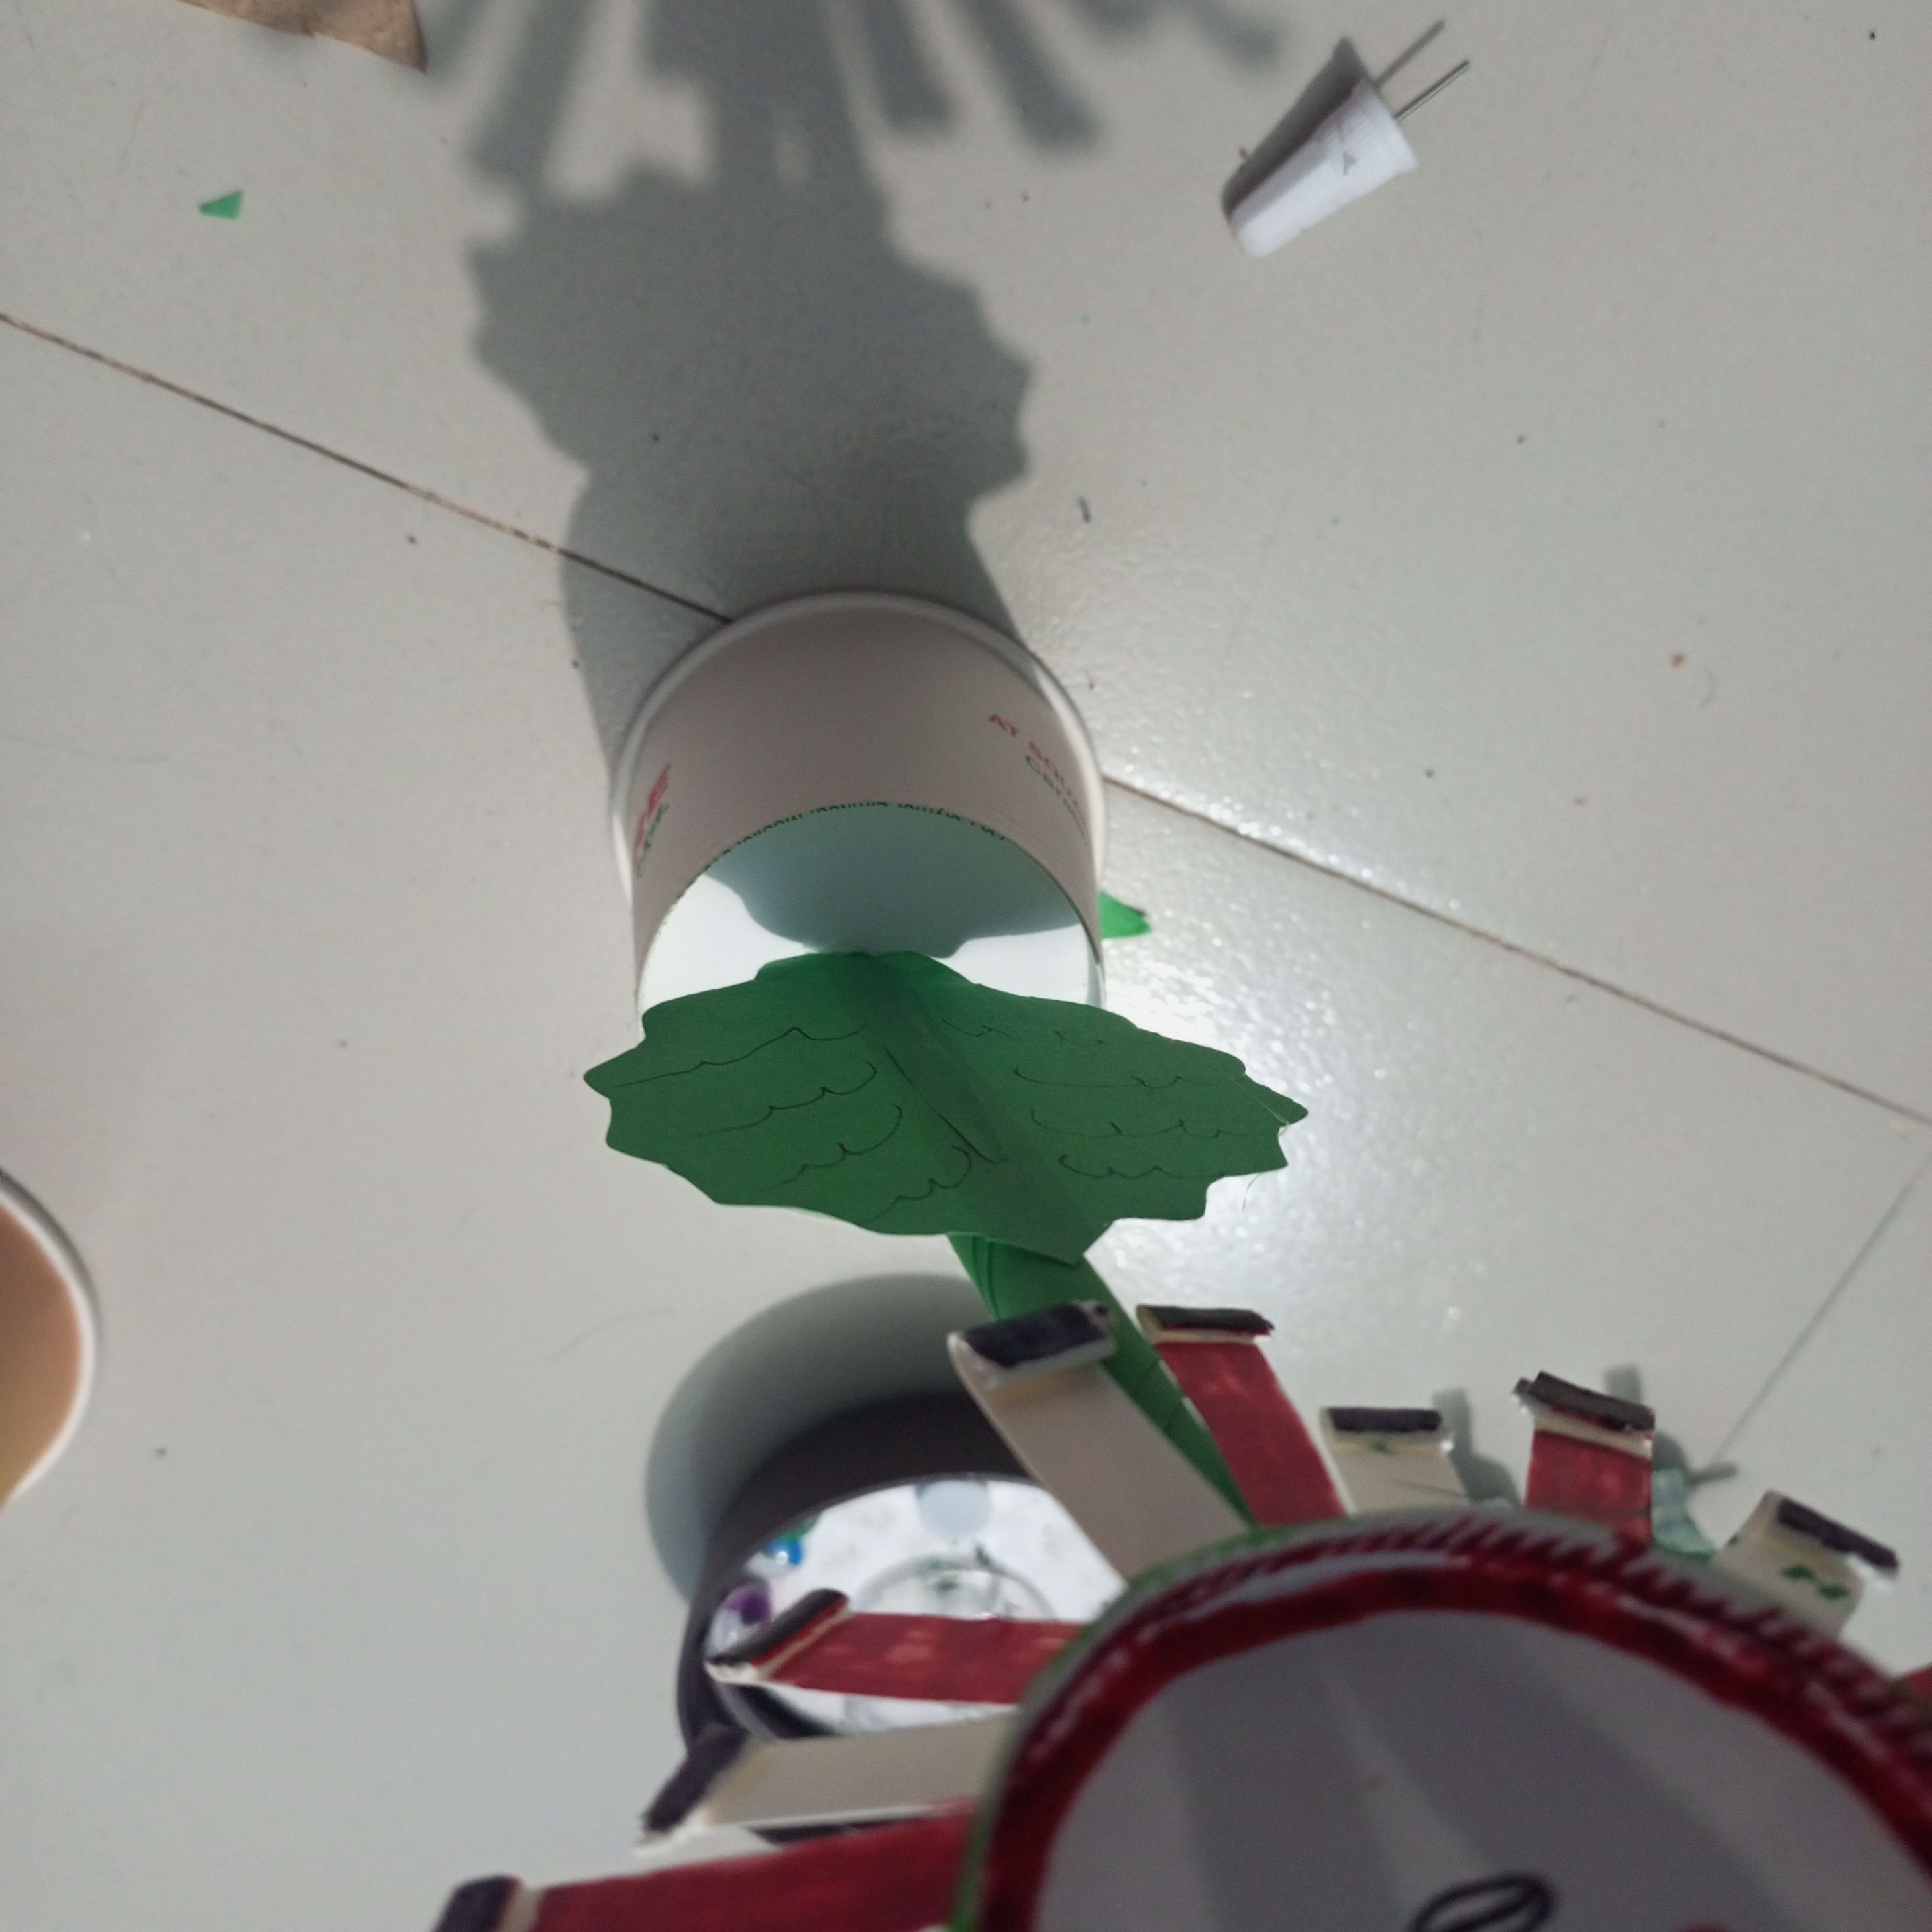
Here I have attached the paper stick to the paper cup and tried to make the design beautiful.
Next, I made a leaf shape and attached it to that wonderful paper stick.
Here I have created a beautiful garland by combining a piece of cardboard and colored paper.
Here is necessary all the equipments and pictures
🌺Scale 💌Scissors 🇧🇩Paper cup 💌Colour paper 🌺Red Marker pen 💌Black Marker pen 🌺Anti-cutter 🕳️B-6000 glue 🔵Favicol glue 🌺 Cardboard

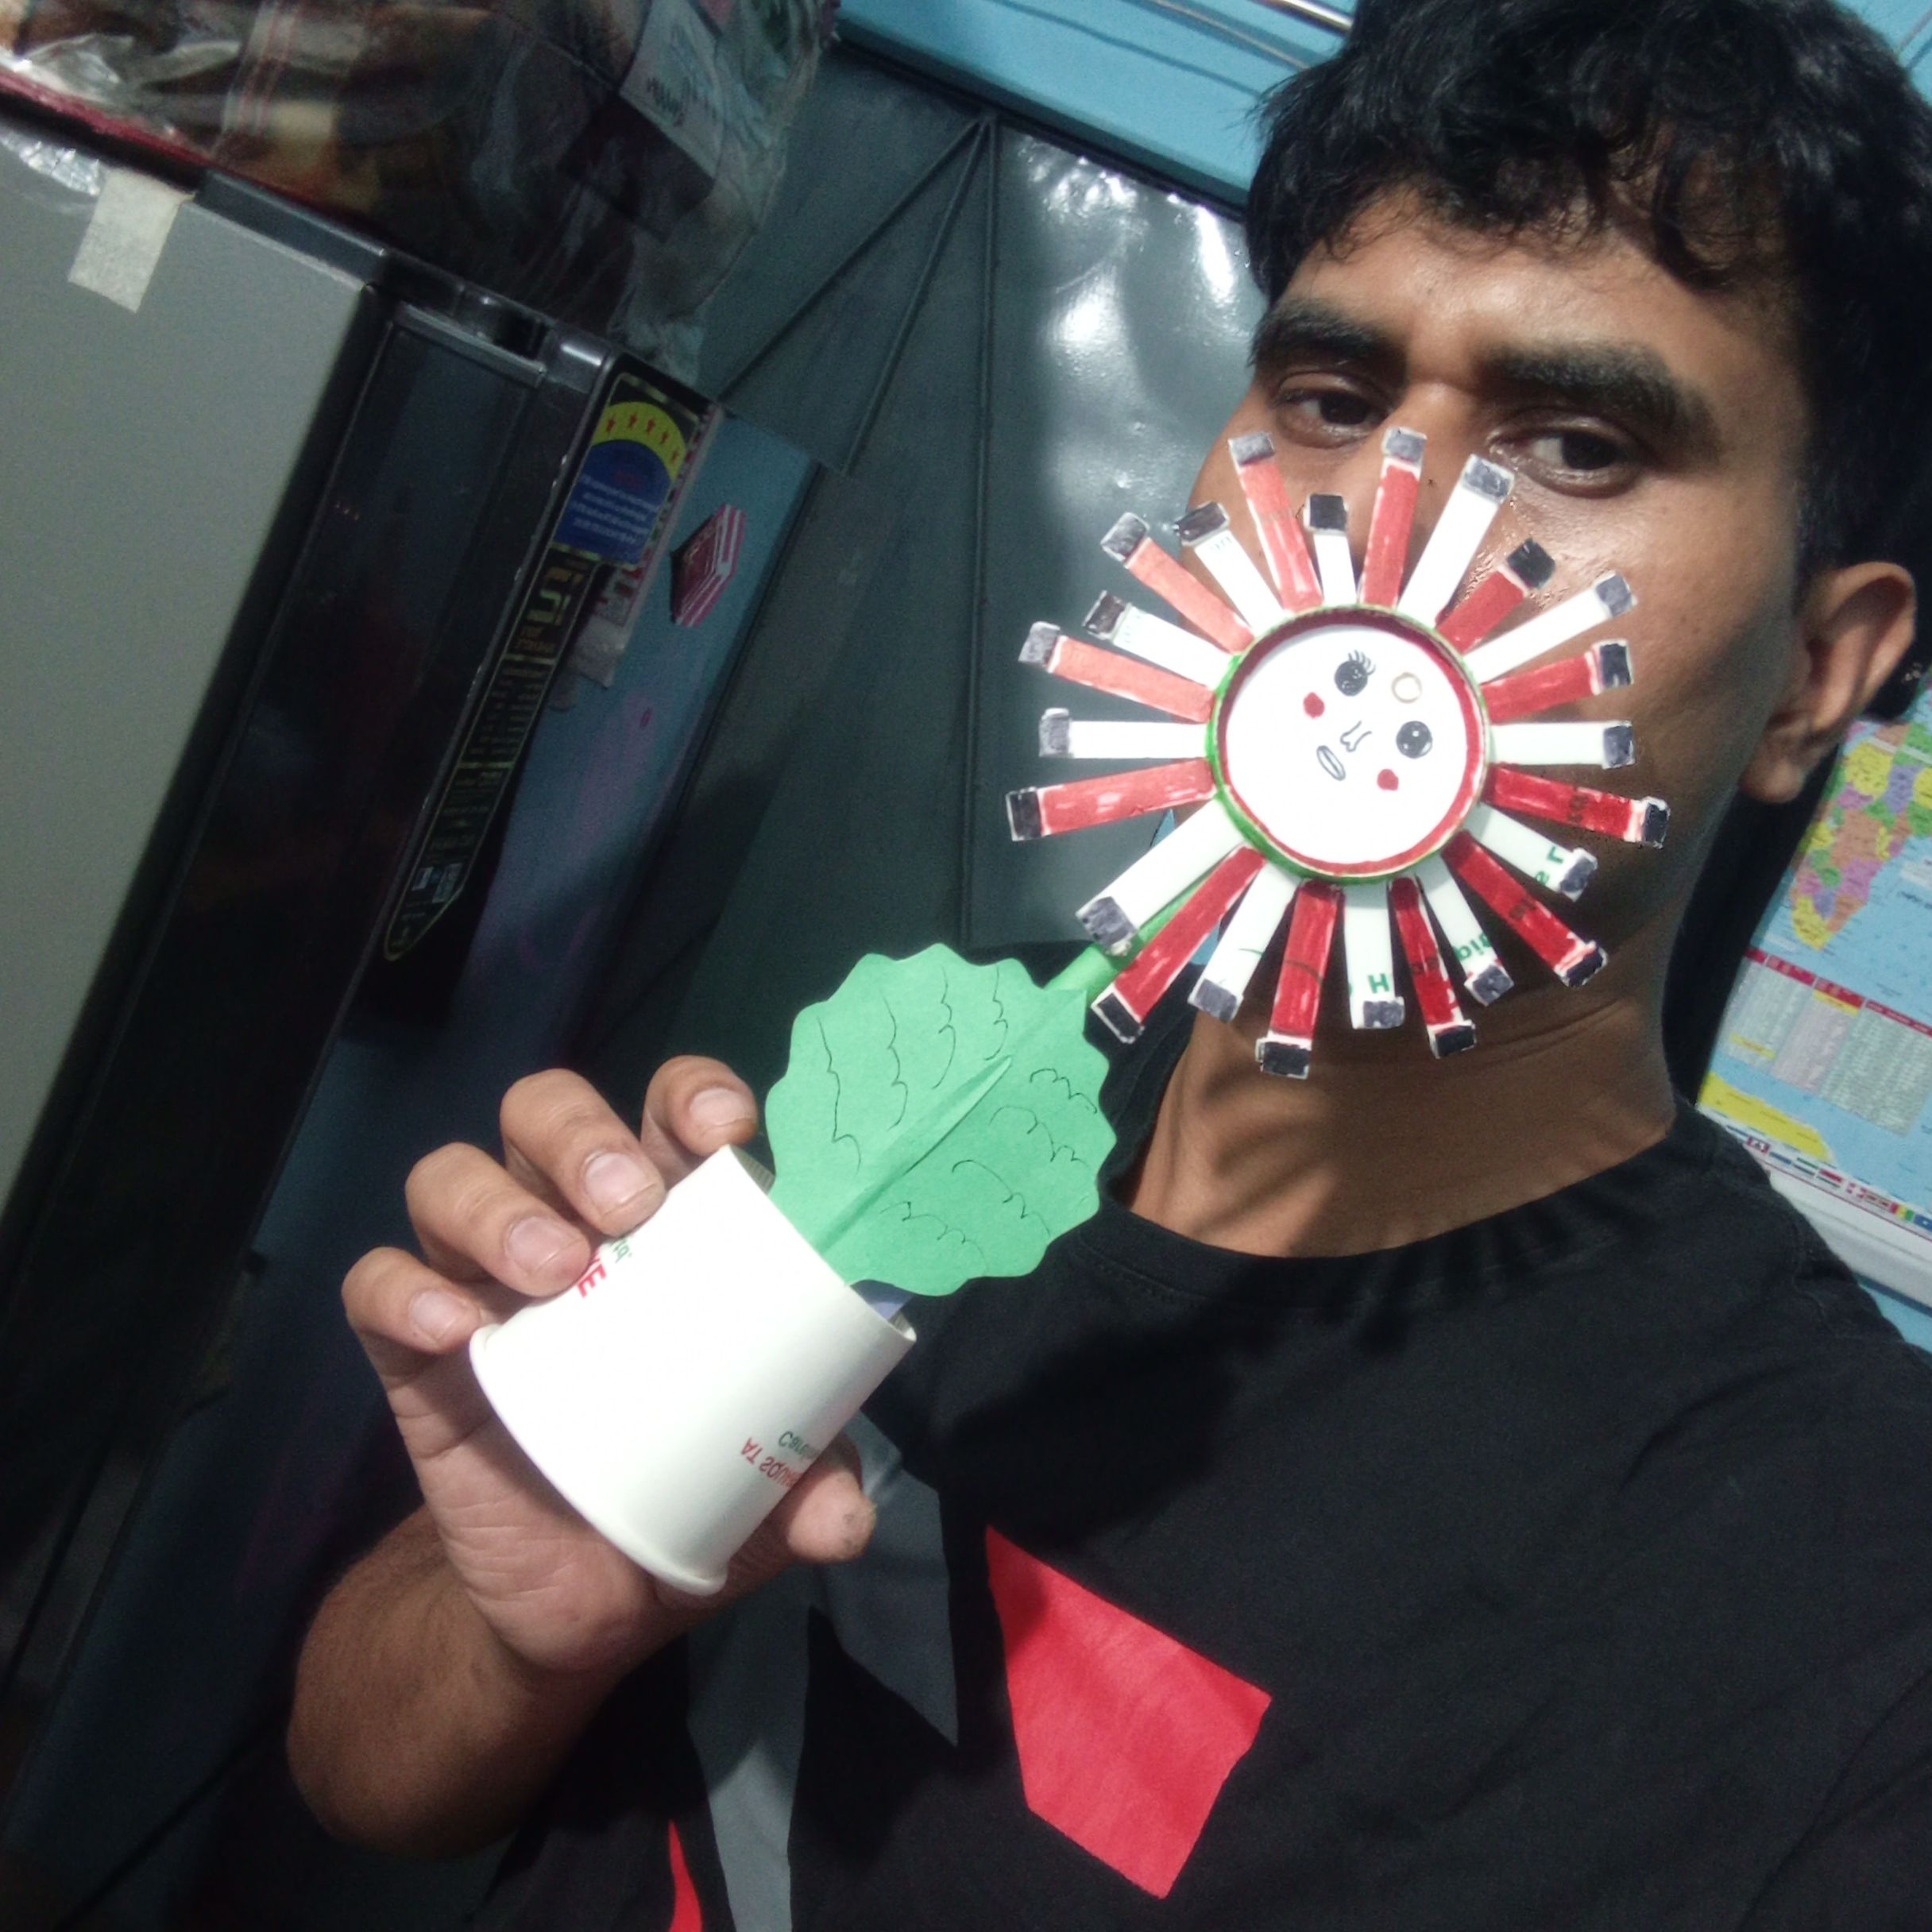
Here is my selfie with decoration.

Thank you for reading my creative article blog .Stay safe,stay happy.i think if you find any mistake in writing or something. Please allow me to correct it.And find me on social media.
Thank you for reading my creative article blog .Stay safe,stay happy.i think if you find any mistake in writing or something. Please allow me to correct it.And find me on social media.
All Prepared by @mdakash62