I hope everyone is doing well. The great creator will surely help you all to achieve all the creative skills. Today I have brought a great creative queen bee making skill through my beloved @diyhub community. In today's special presentation, I will present a queen bee making tutorial by paper quilling. Above all, I ask for your valuable time. Along with that, I urge you to enjoy an art with patience and peaceful time. Paper quilling is really a very difficult thing. Here, this creative presentation will be presented today by checking special patience, intelligence and patterns. Your valuable time will really take you to a unique world of great skills.
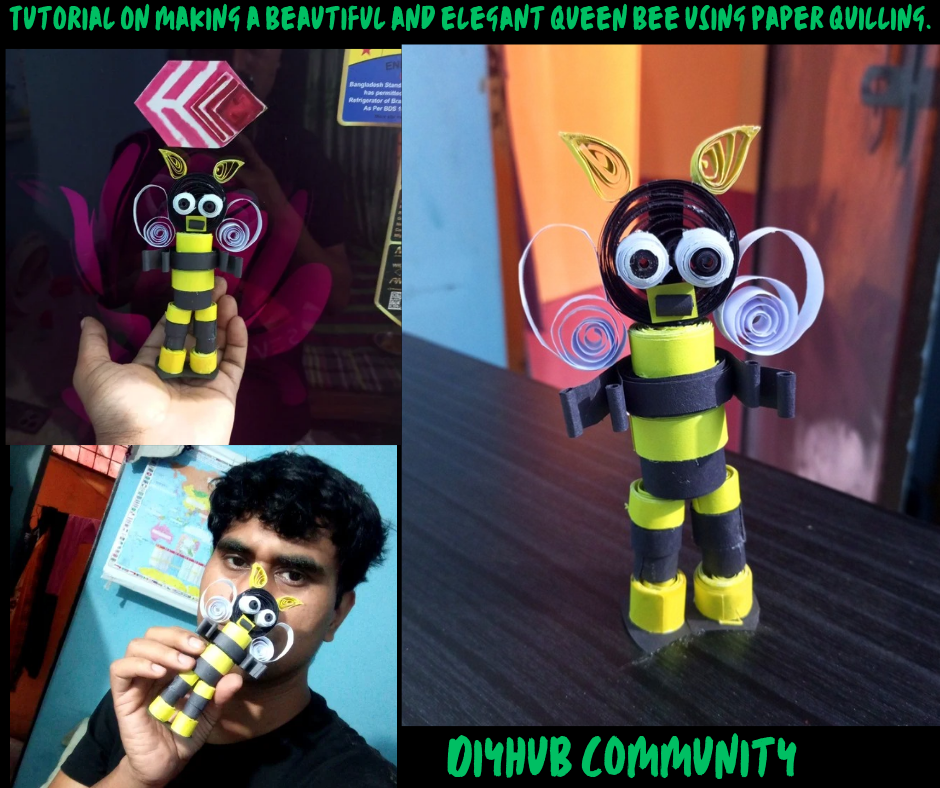
Cover Created By Canva
Today I used three colored papers to make this amazing queen bee. Along with all the necessary materials including glue, special beeswax sticks helped me a lot. These special materials double a creative art skill.
It is truly a great job to create and present a creative art. Through which artists can be appreciated very easily. And people's comments certainly encourage us to create such and even more beautiful art. Surely creative arts promote environmental care and enhance the beauty of the home. I am very happy to present such a creative art in front of all of you. Let us then arrange its main steps beautifully. Through which we can easily understand how this art is created.

Step by step bee making paper quilling tutorial
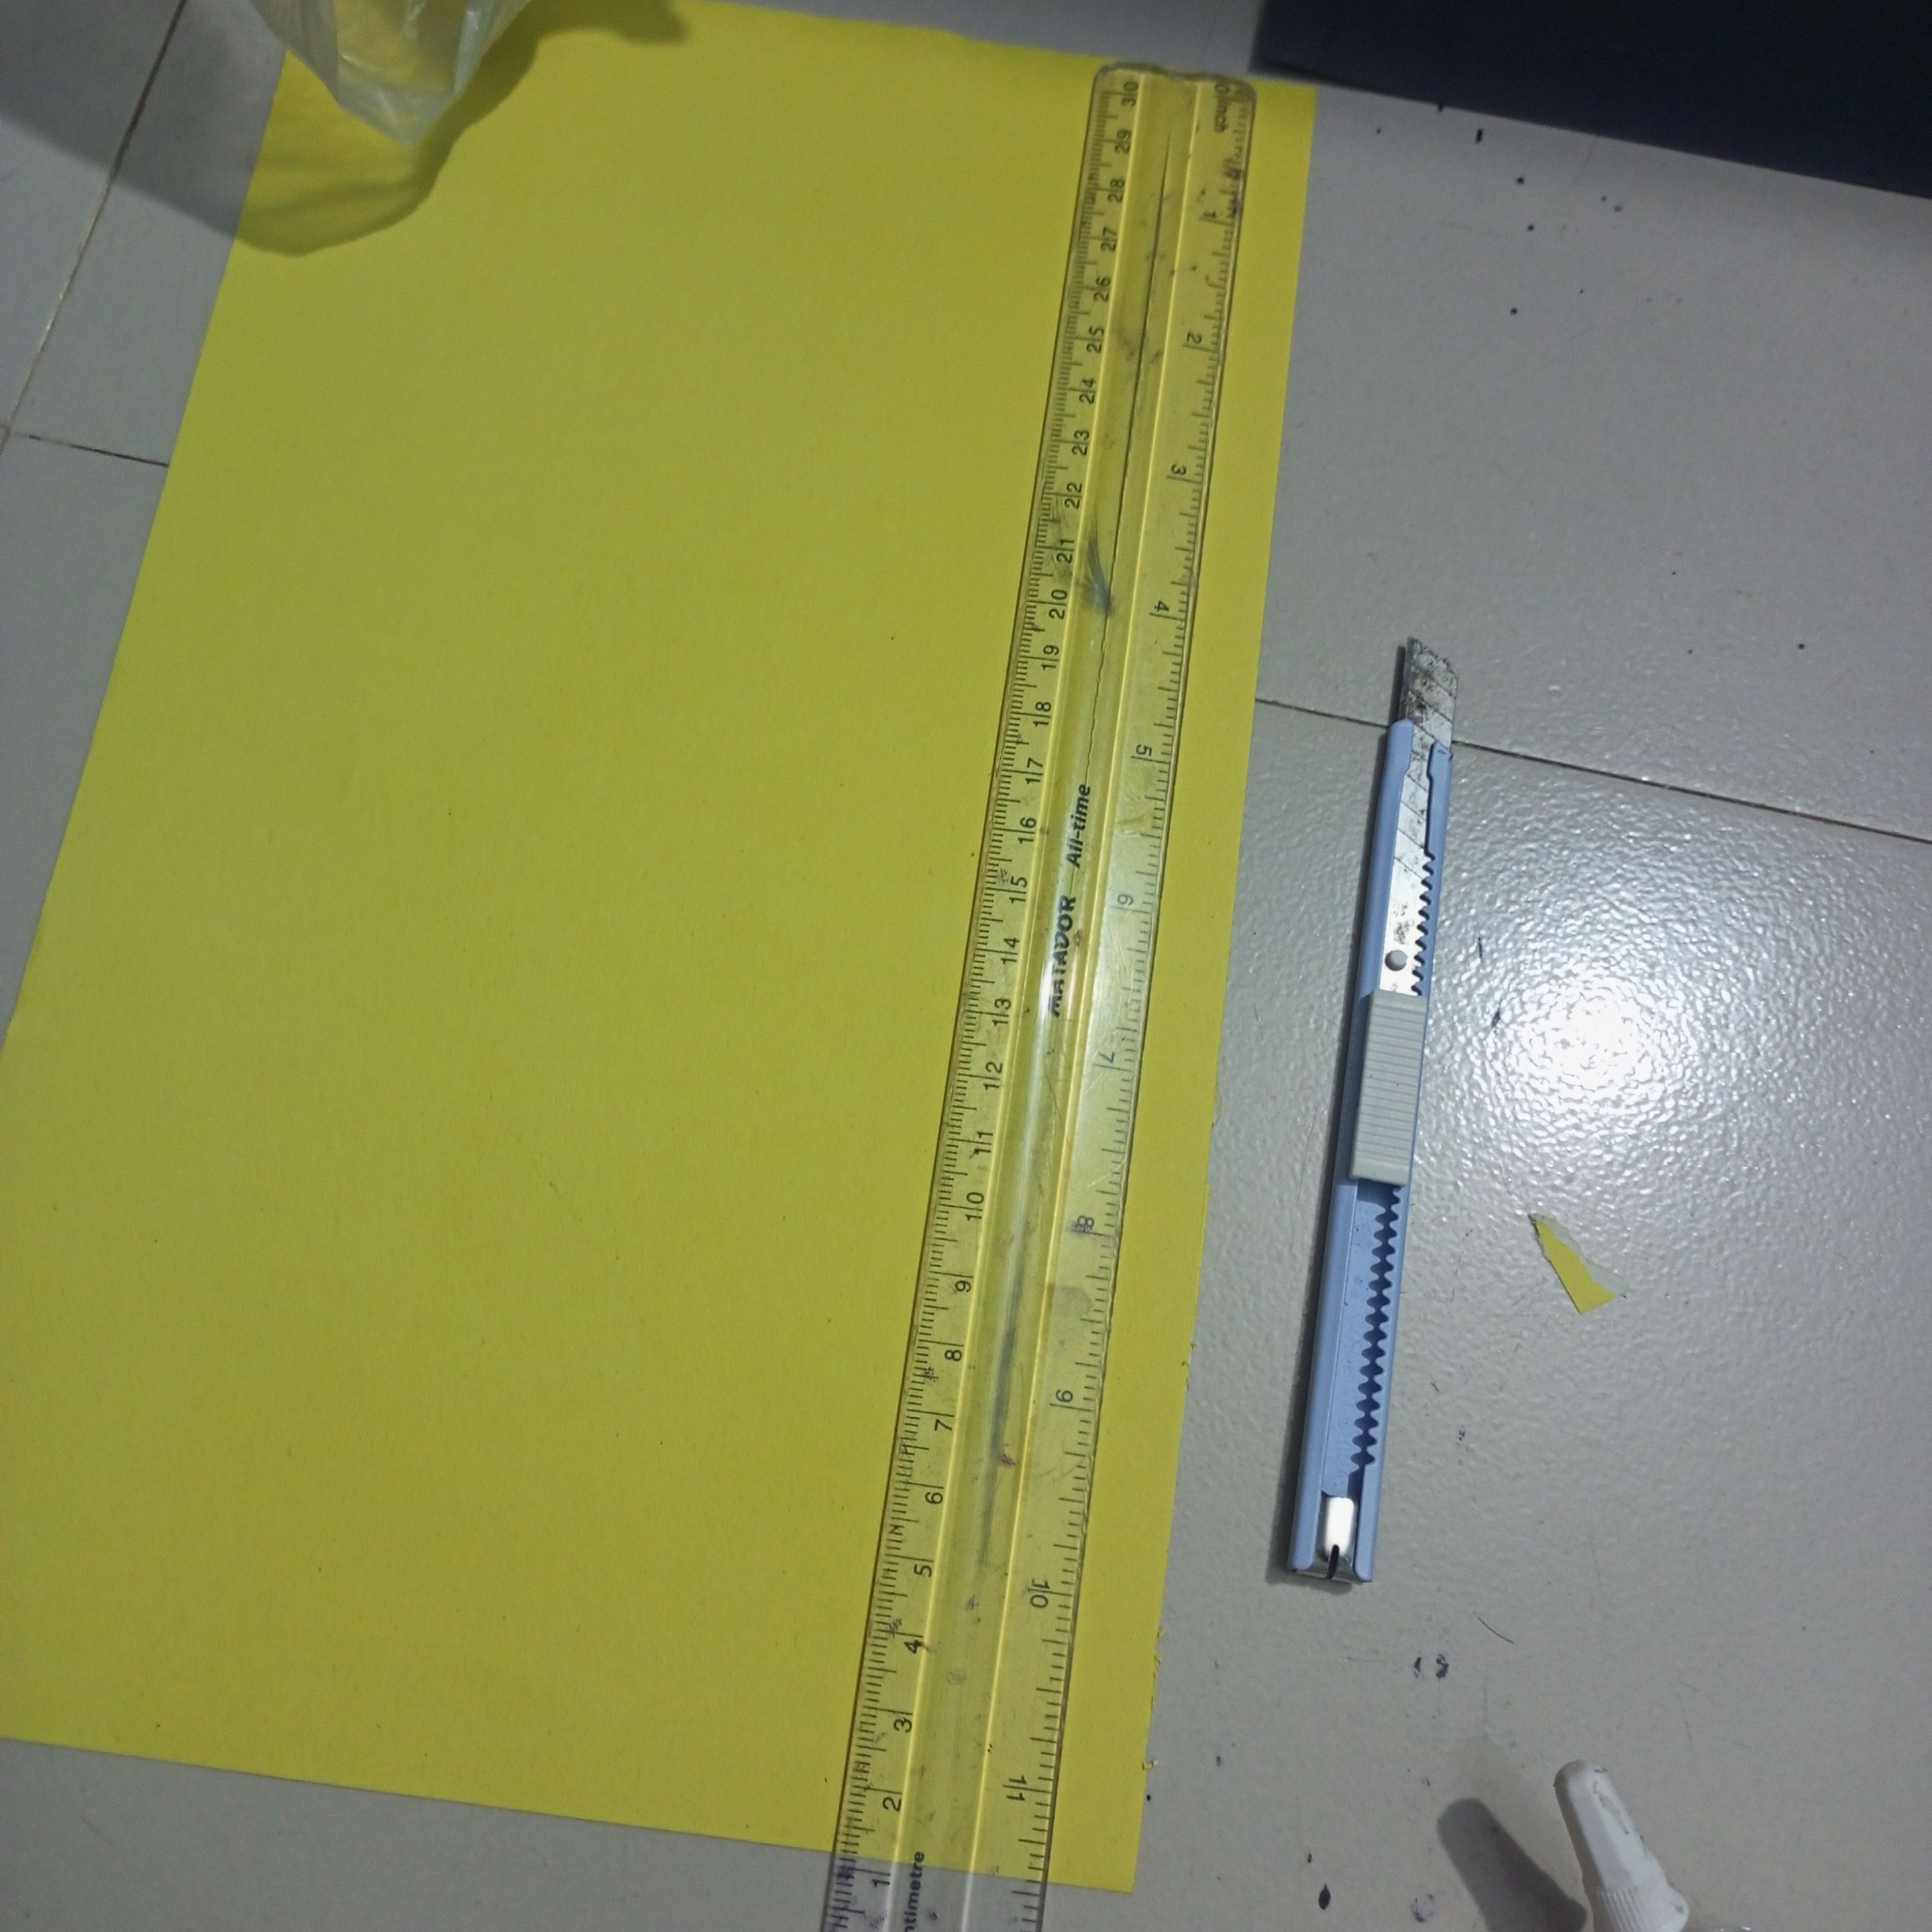
First, I gathered all the necessary materials. Then, with great feeling, I took the yellow colored paper and cut the papers into beautiful sizes and evenly using the anti-cutter and scale.
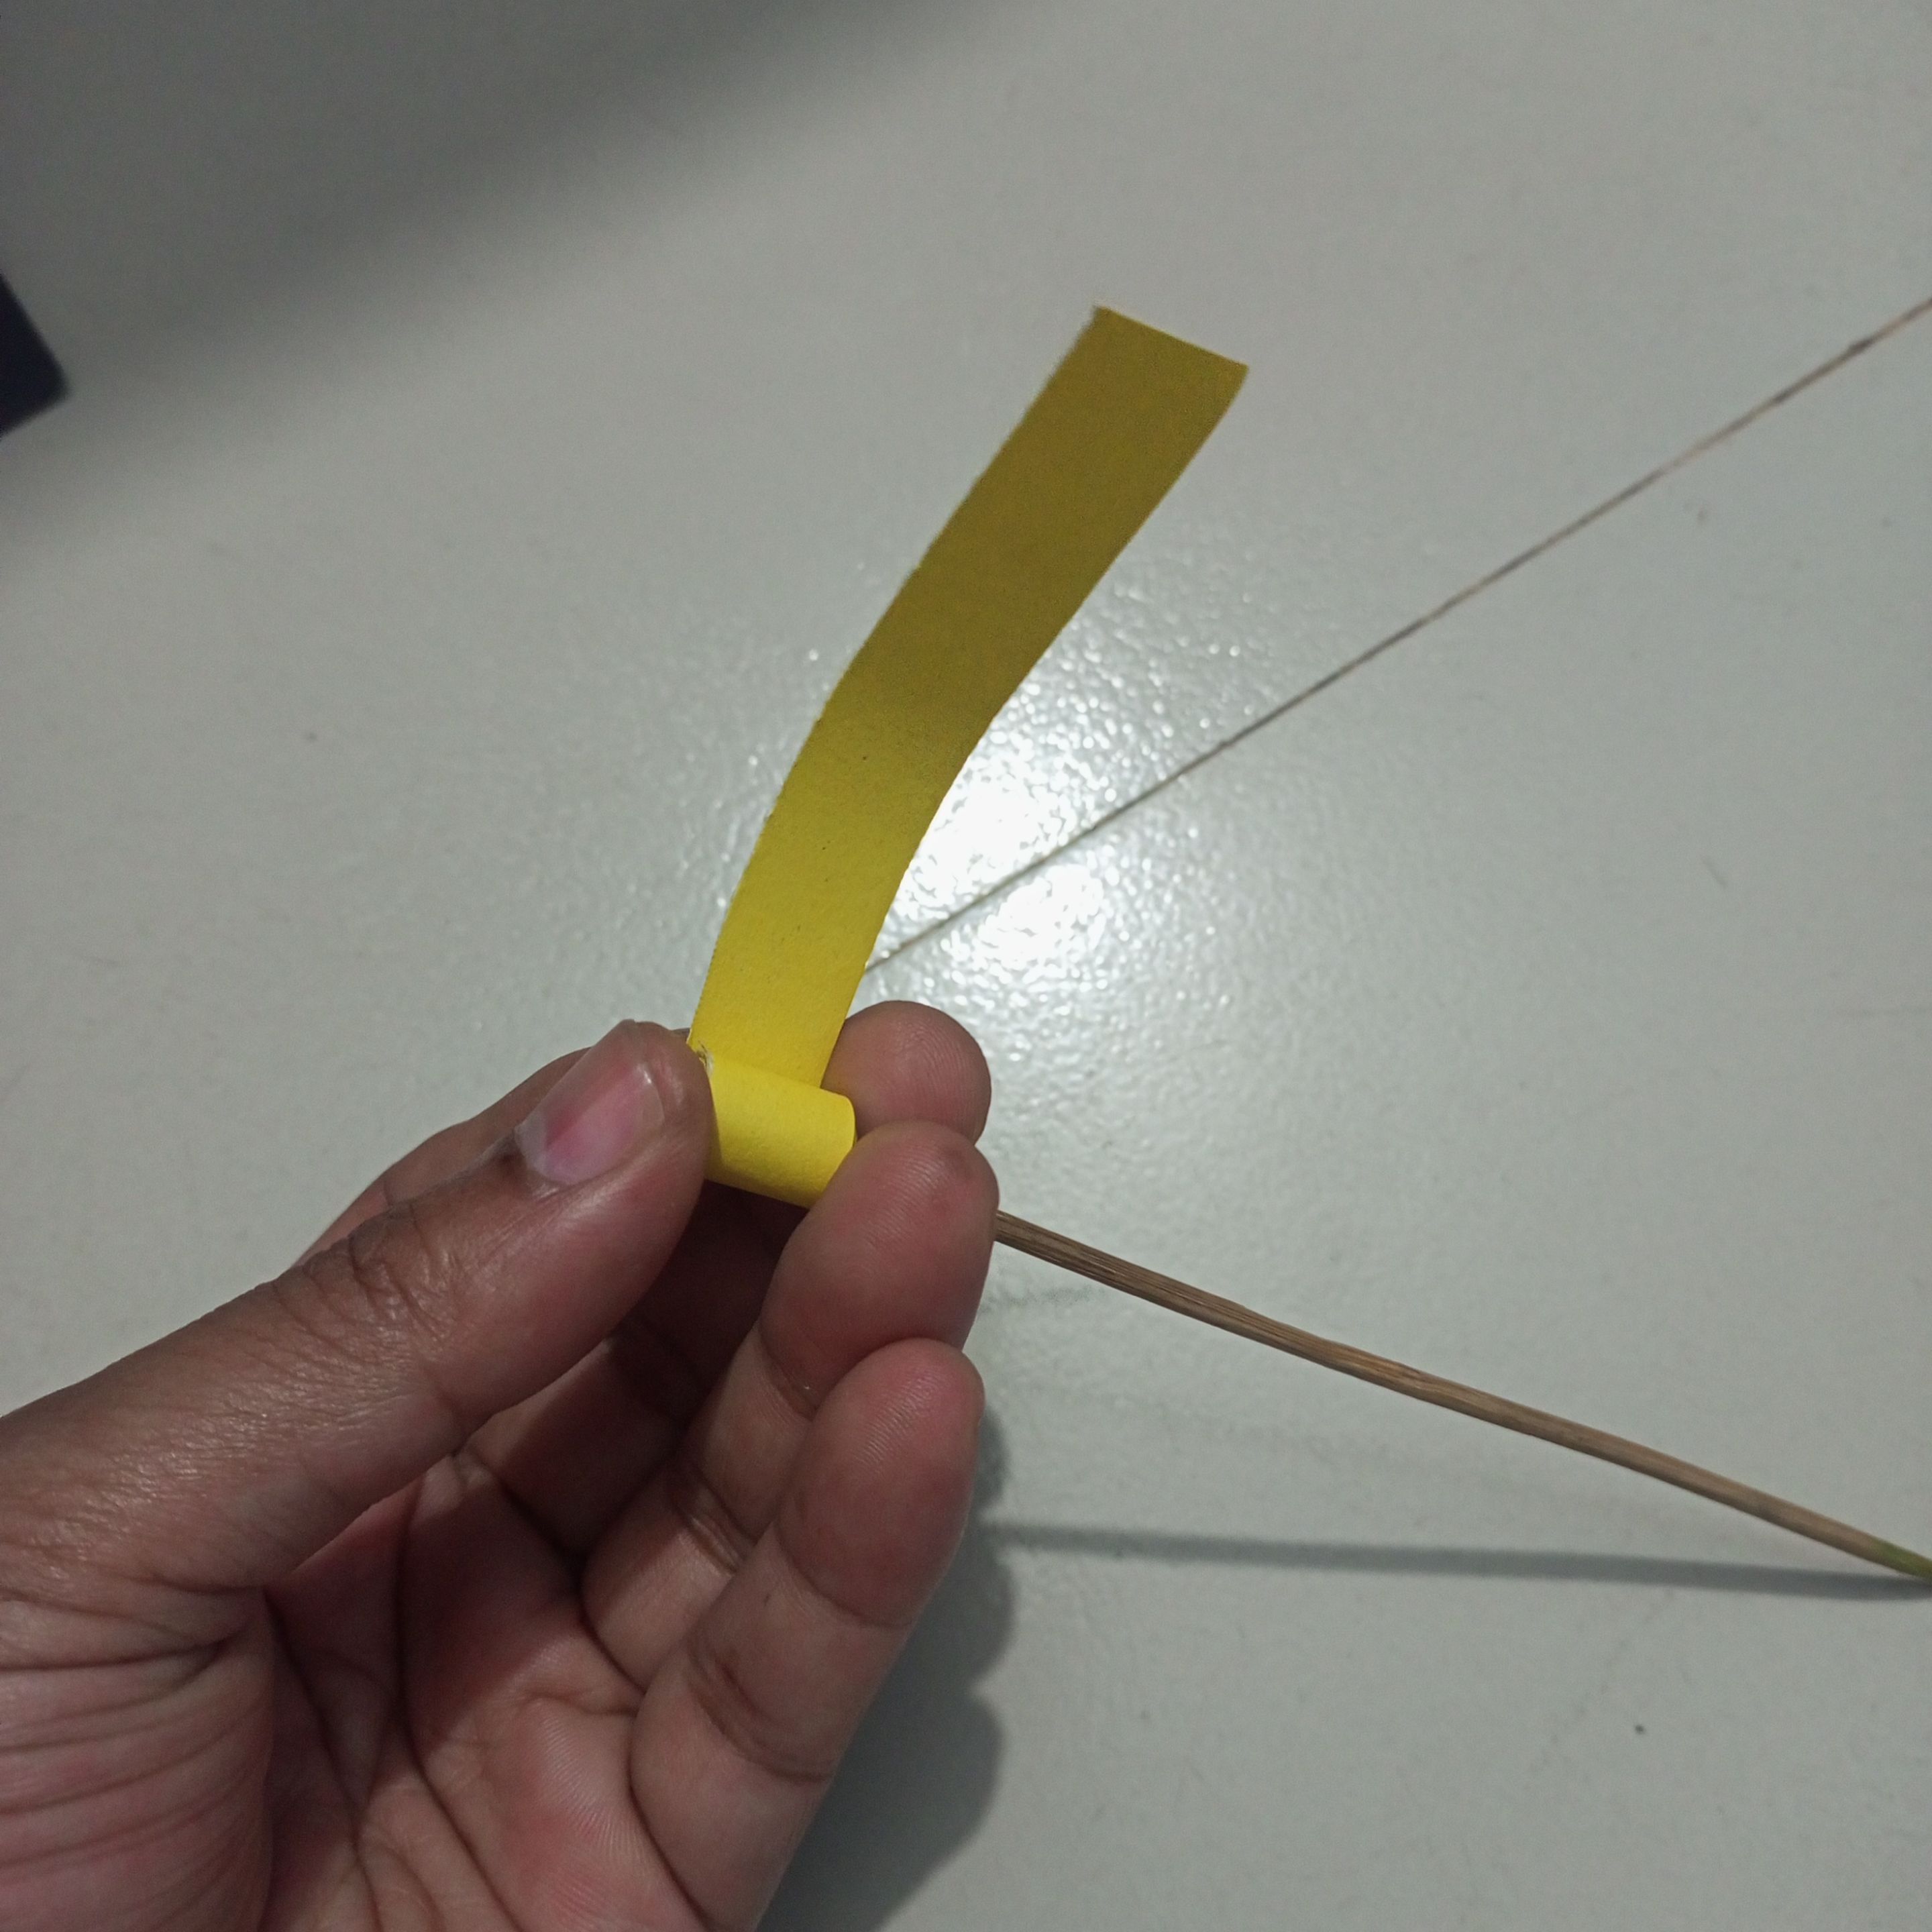
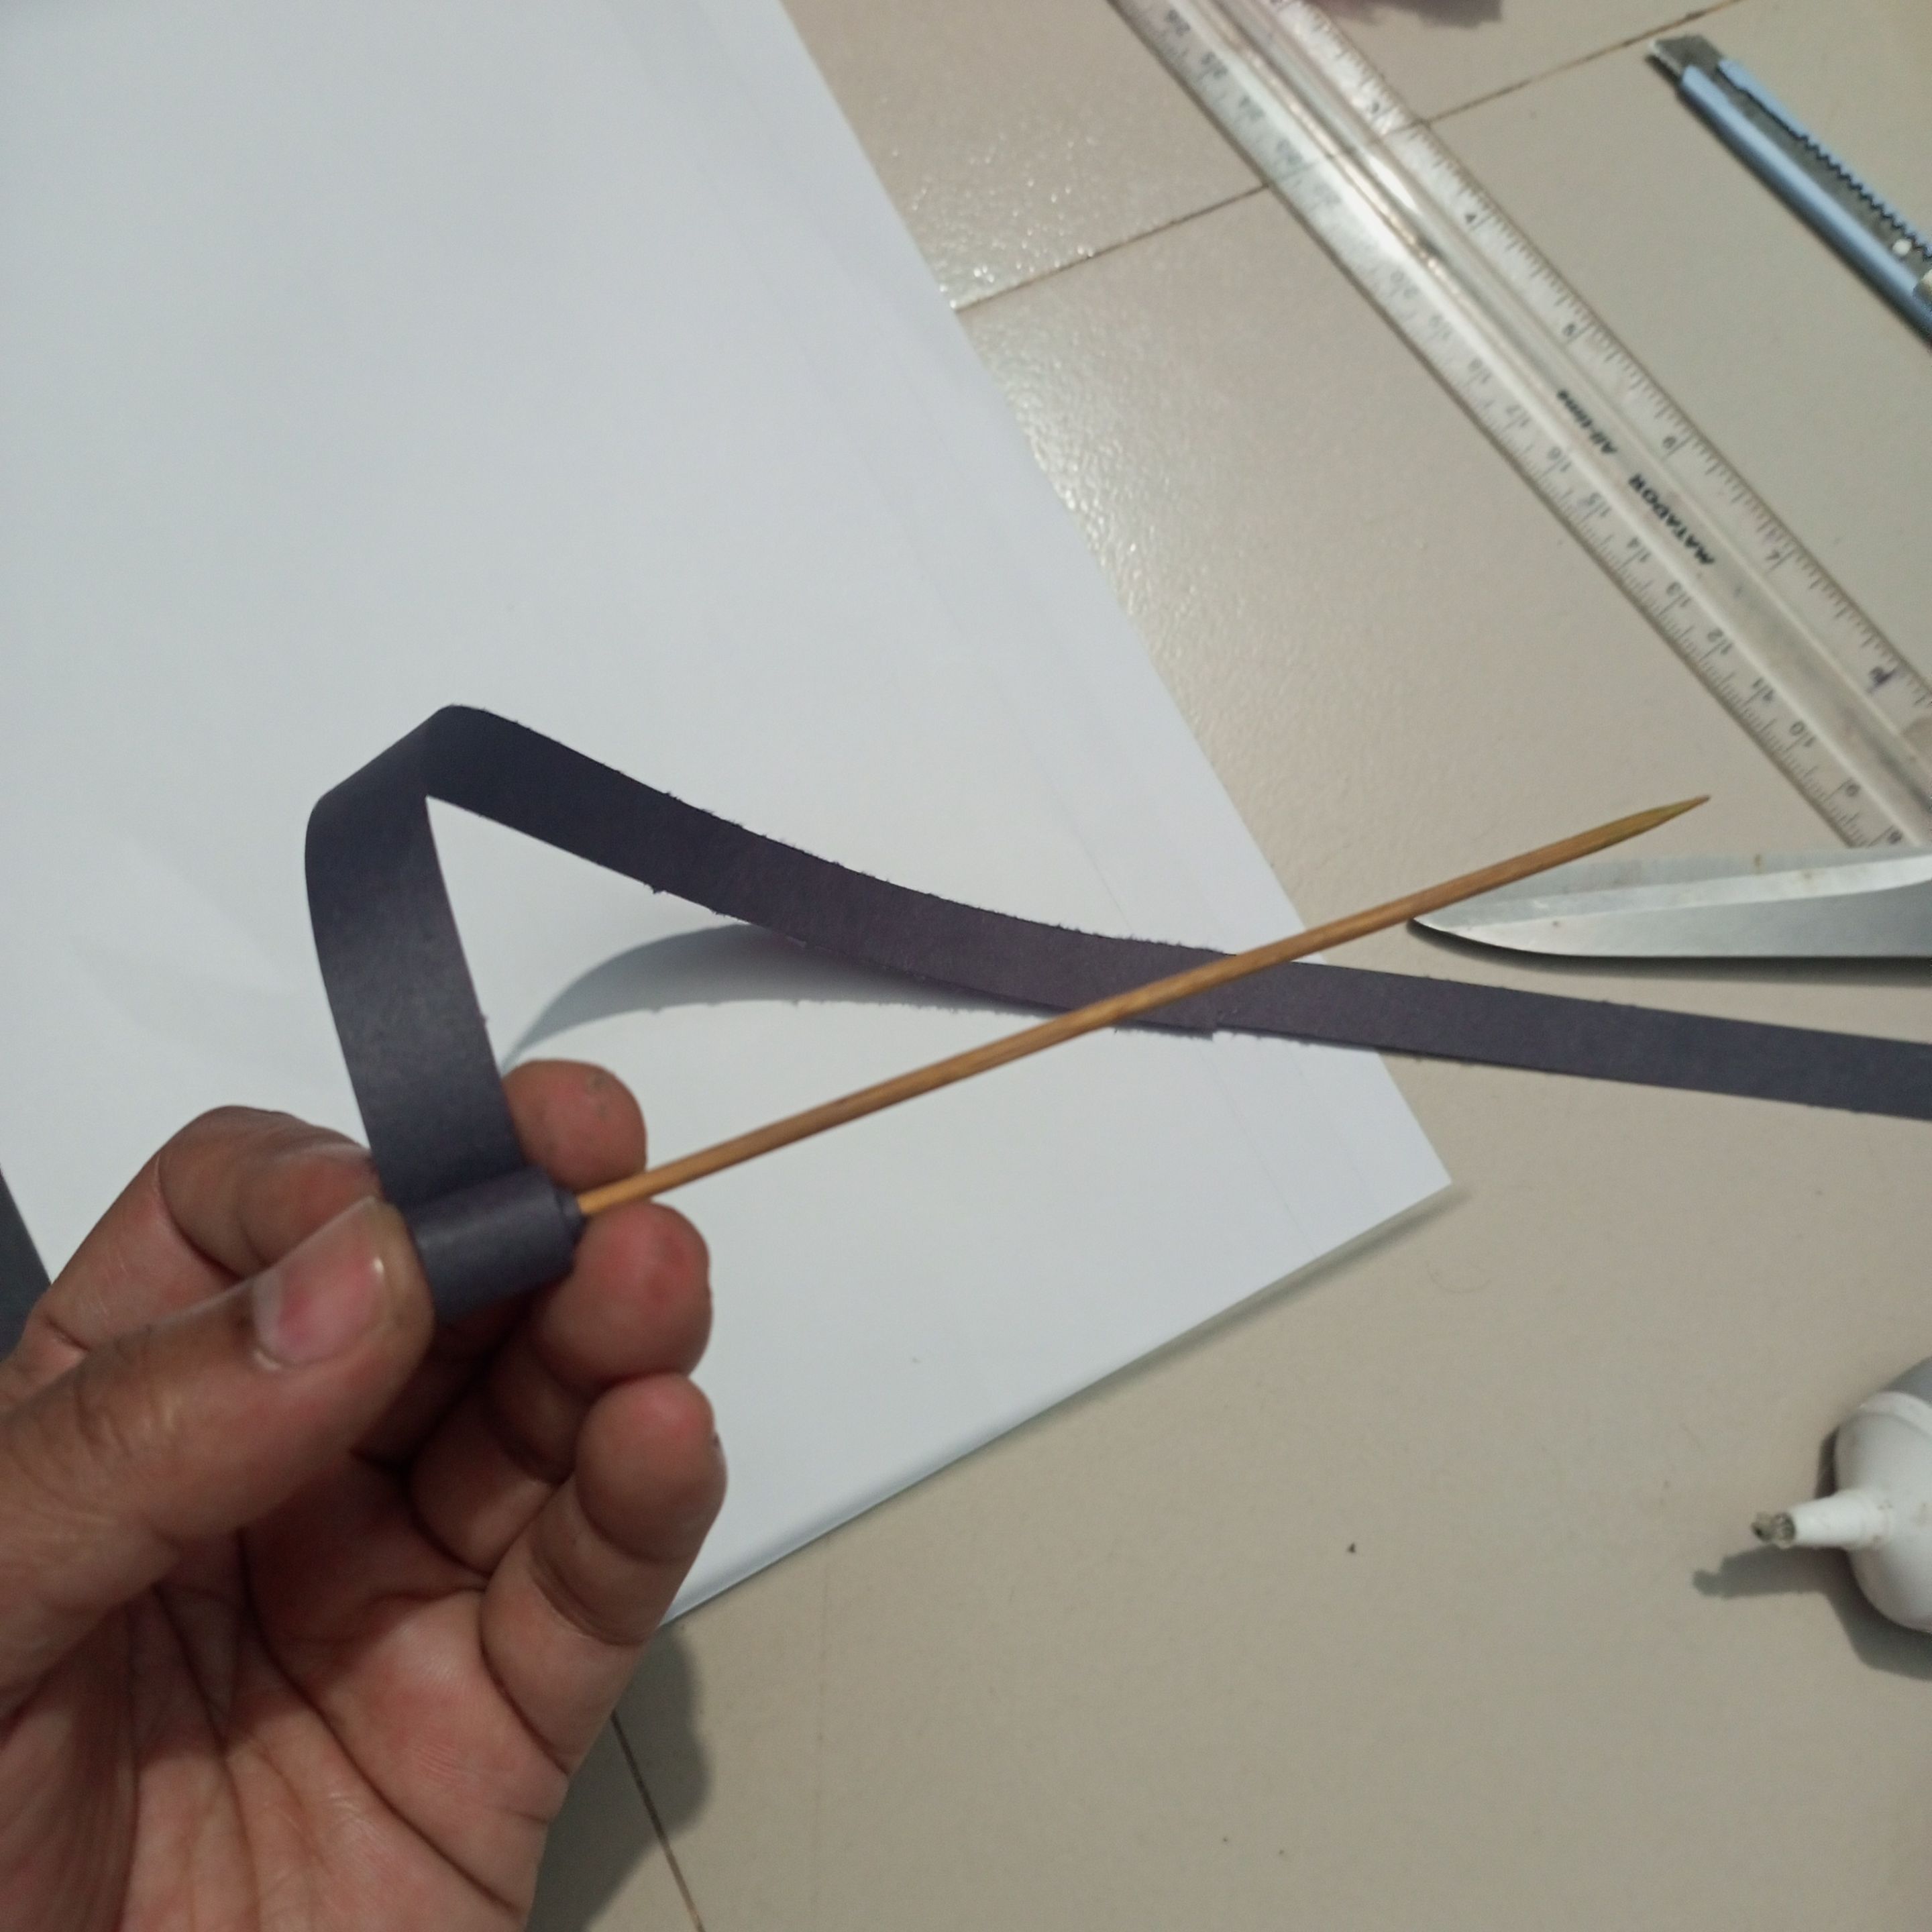
In this step, I used a bamboo stick to quill the paper by rotating the stick nicely and evenly.
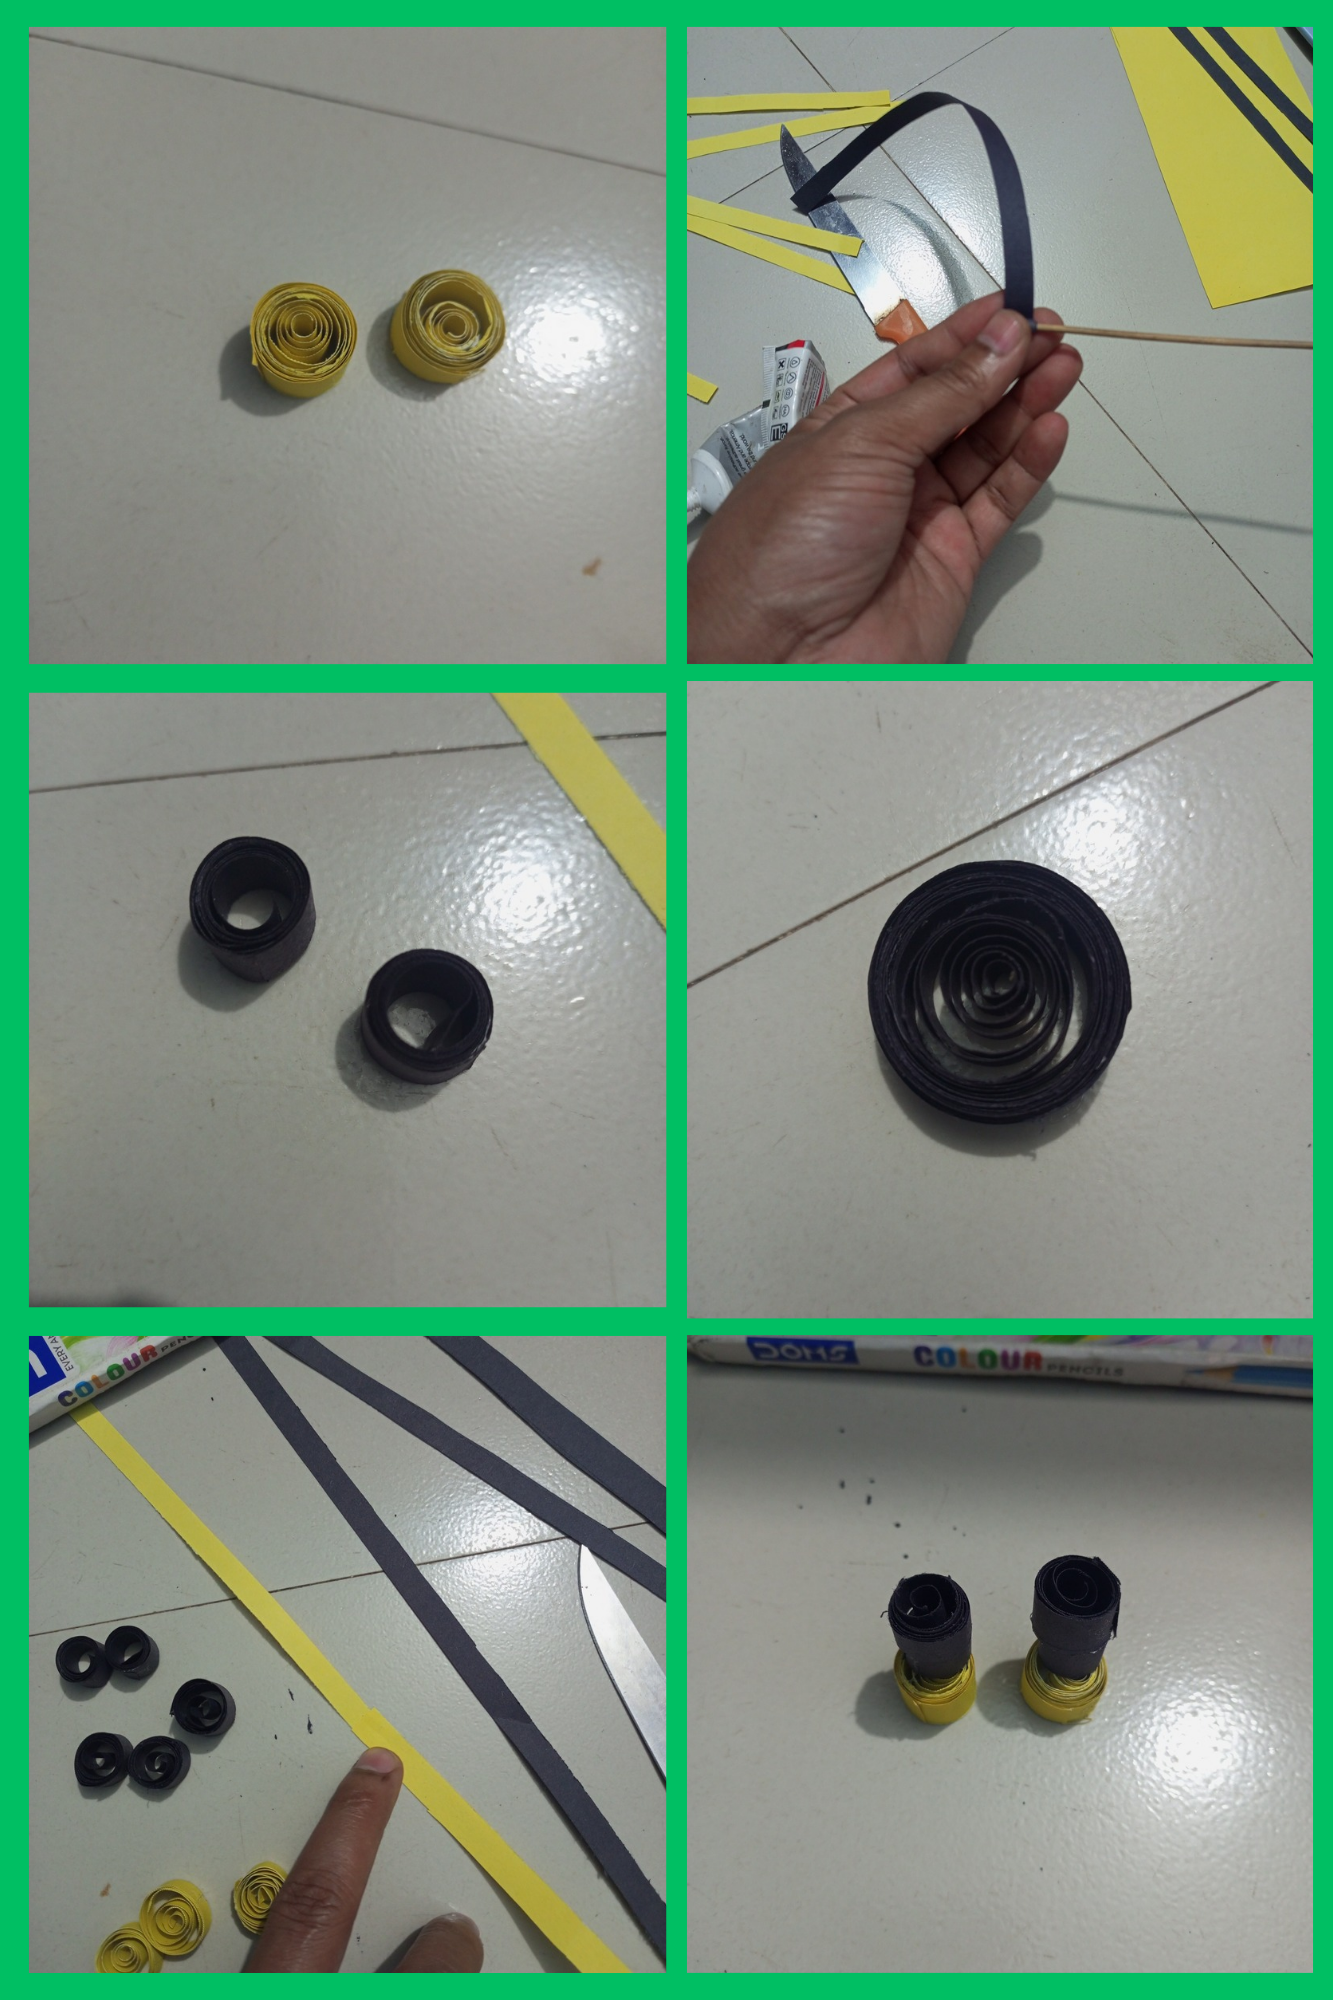
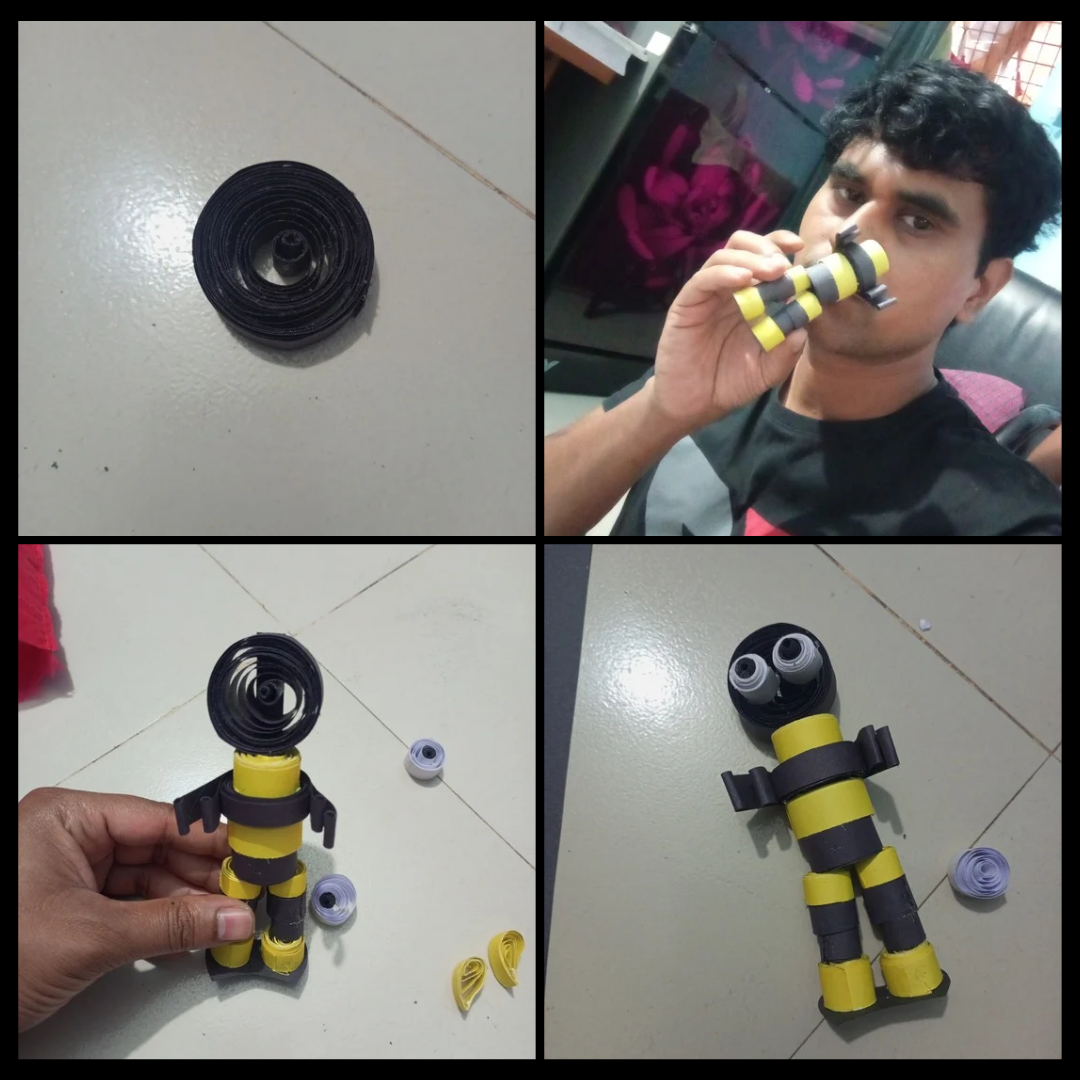
In this step I am showing the yellow quilling papers. In the next step I have cut the black color paper in the same way and quilled it. I have prepared all the materials including the shape of the legs and the shape of the body. Then I have added the yellow quilling two at the bottom. Then I have attached four quilling papers two by two in black. Let us follow the next step.
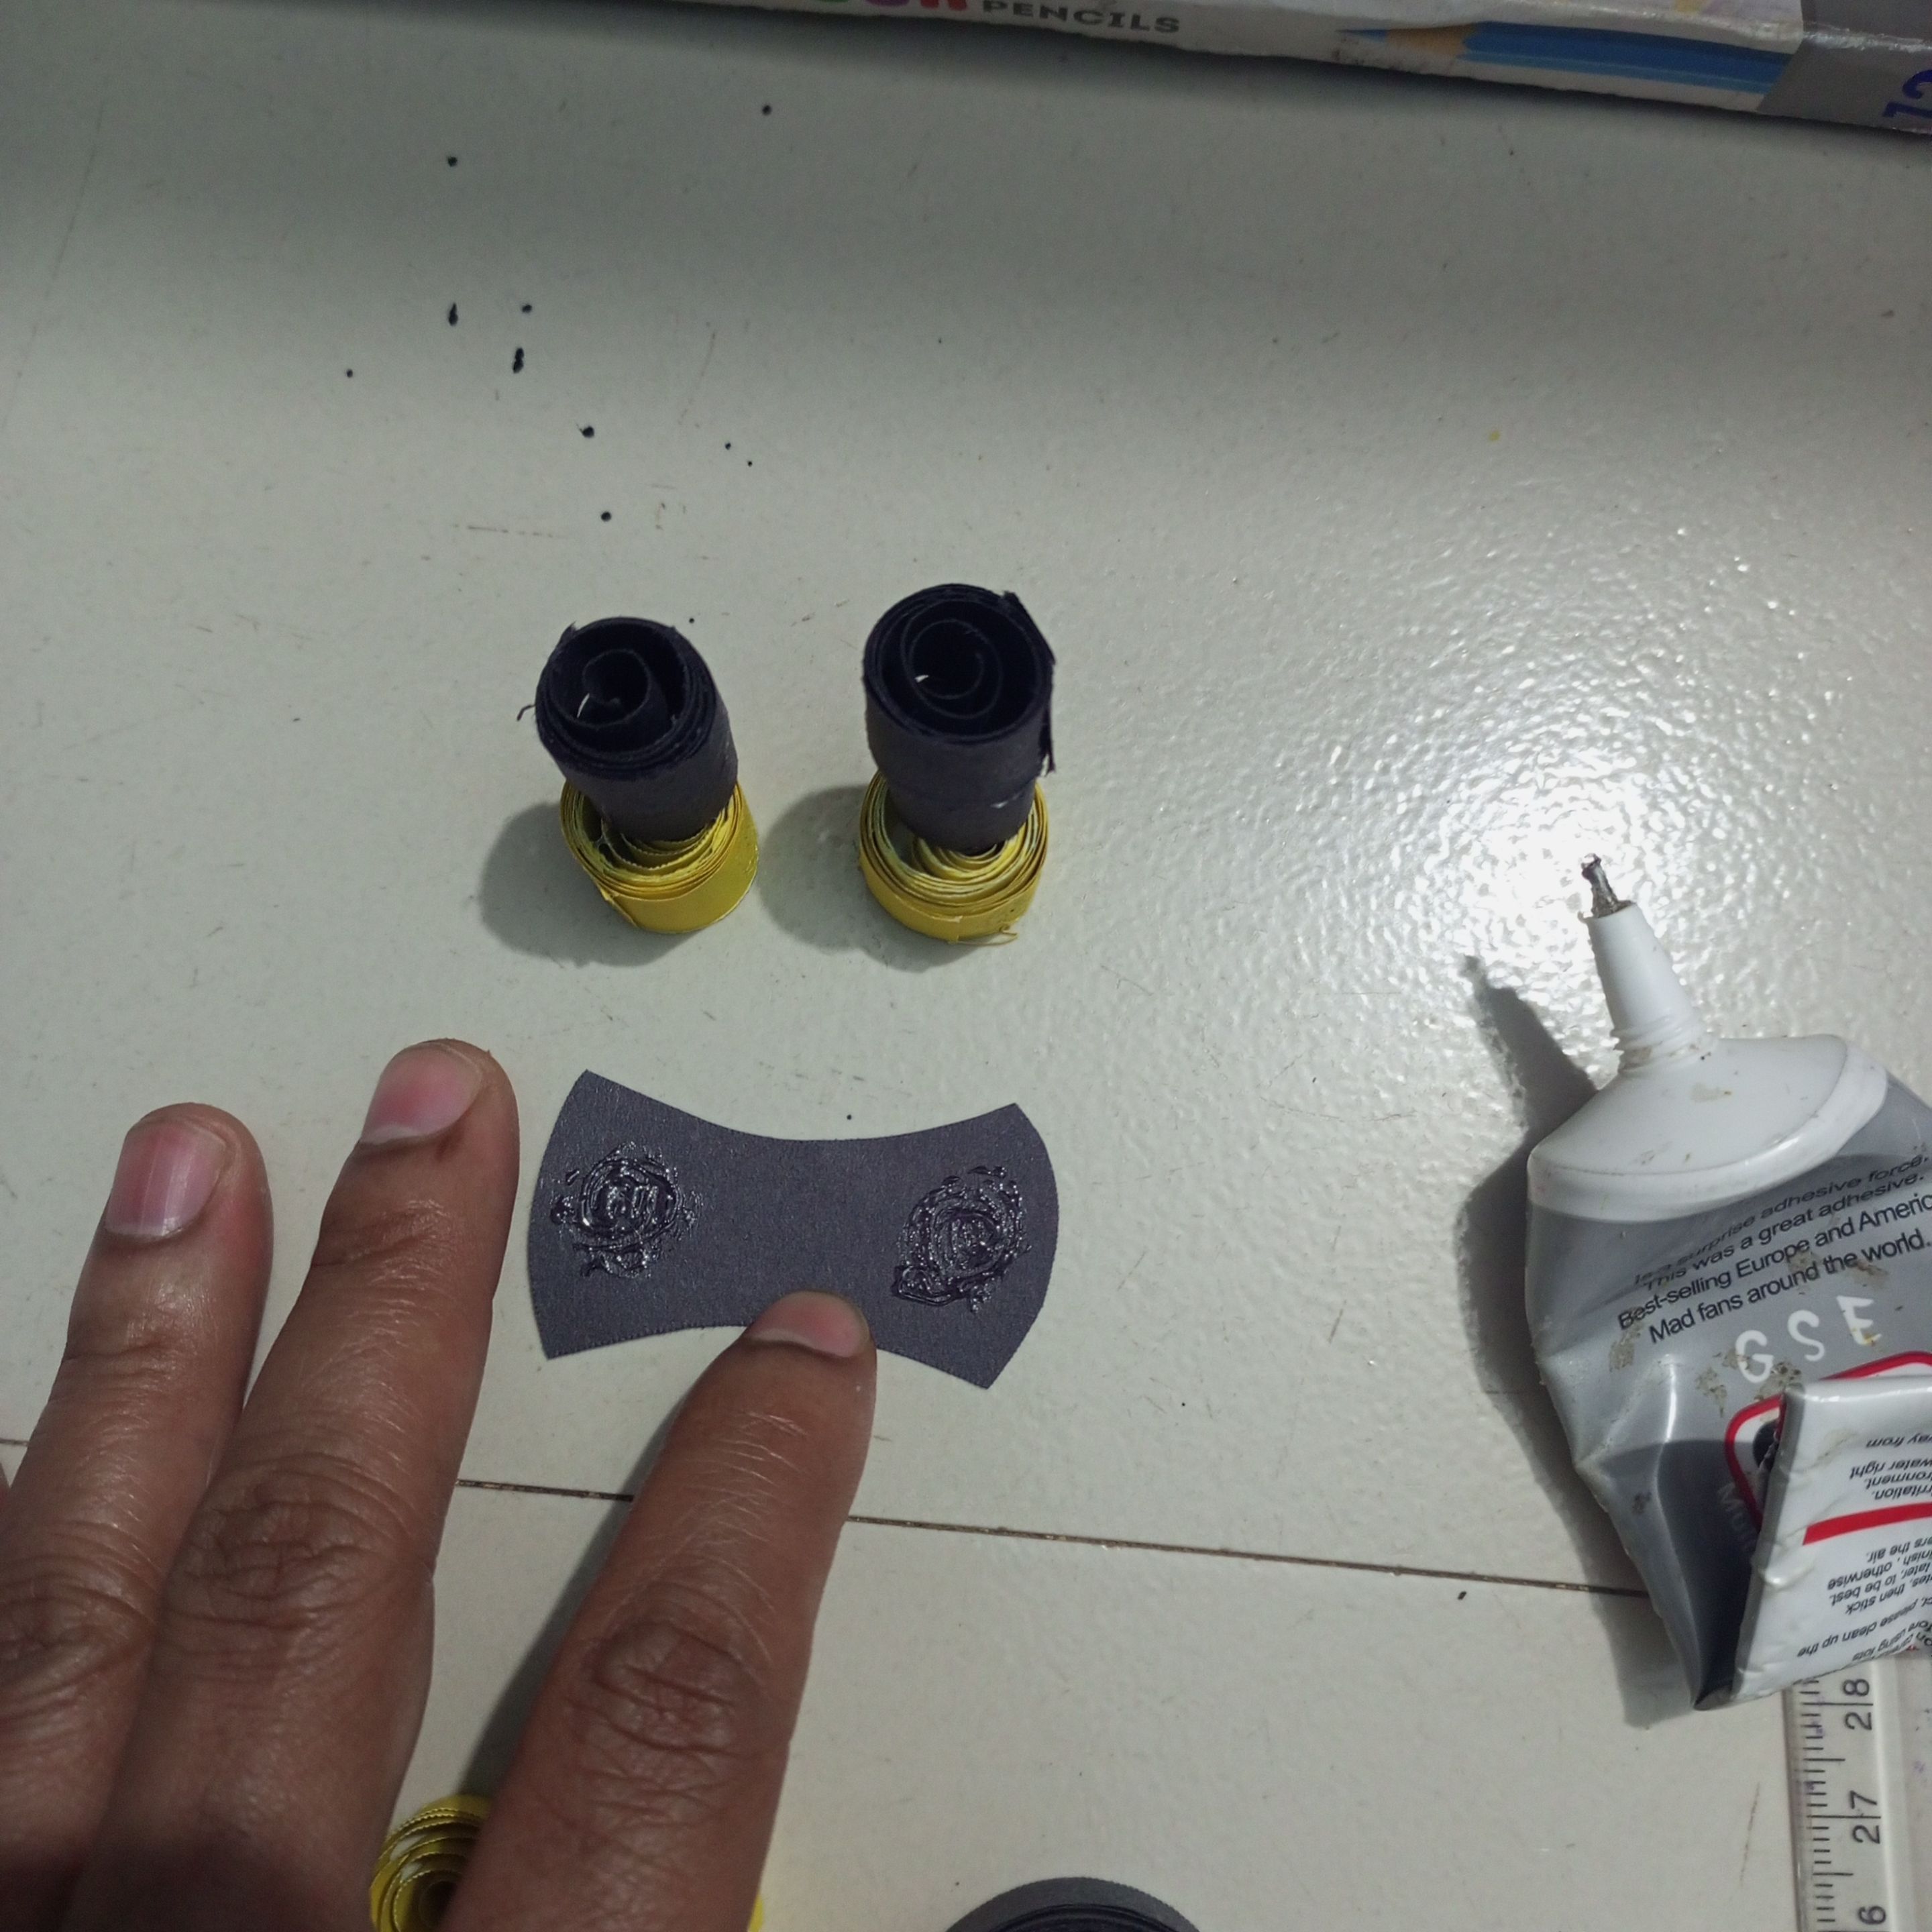
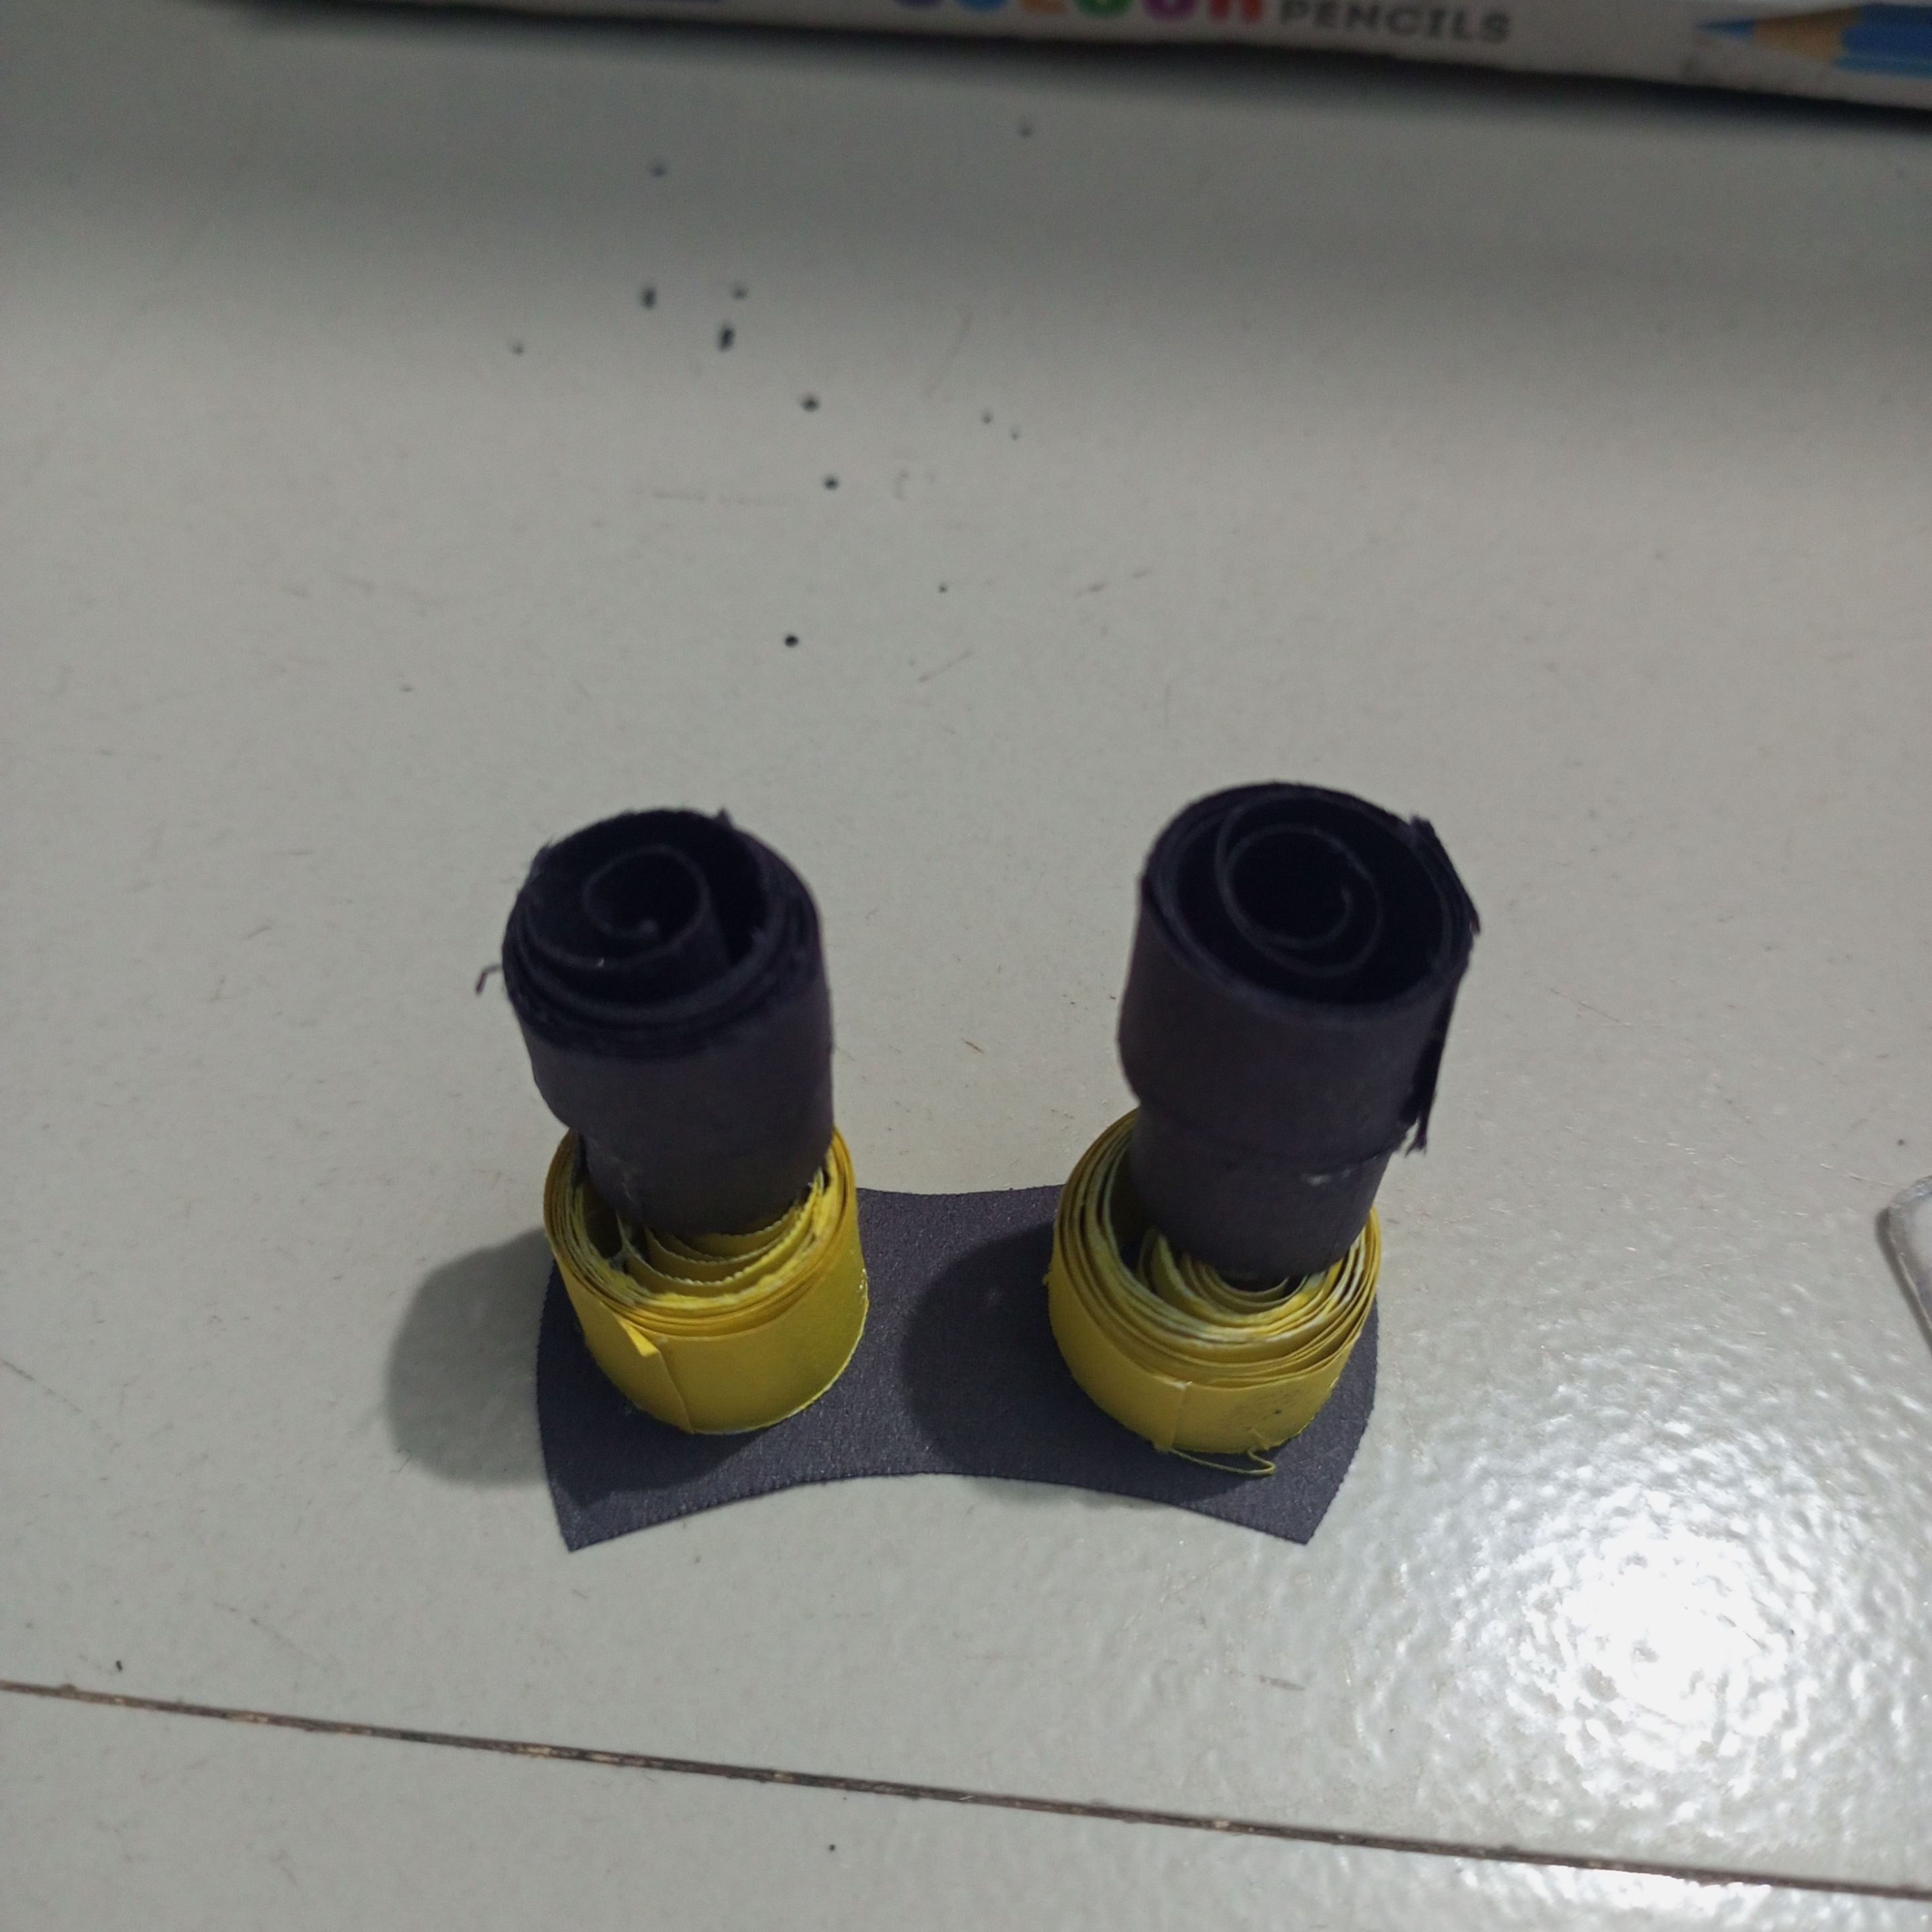
Next I cut a black colored paper to a nice size to put on the bottom part. Then in this step I glued it using B-7000 glue. Then I attached one leg on top of the other and attached it to the paper.
In this step, I quilled yellow colored paper into a nice size and placed it in the middle.
Later, I attached black colored paper and used glue to create a beautiful structure by quilling it.
In this step, I quilled the yellow papers again with great feeling.
Then I quilled the white papers beautifully.

In these two steps, I have made two small eye shapes by quilling black colored paper with great feeling.
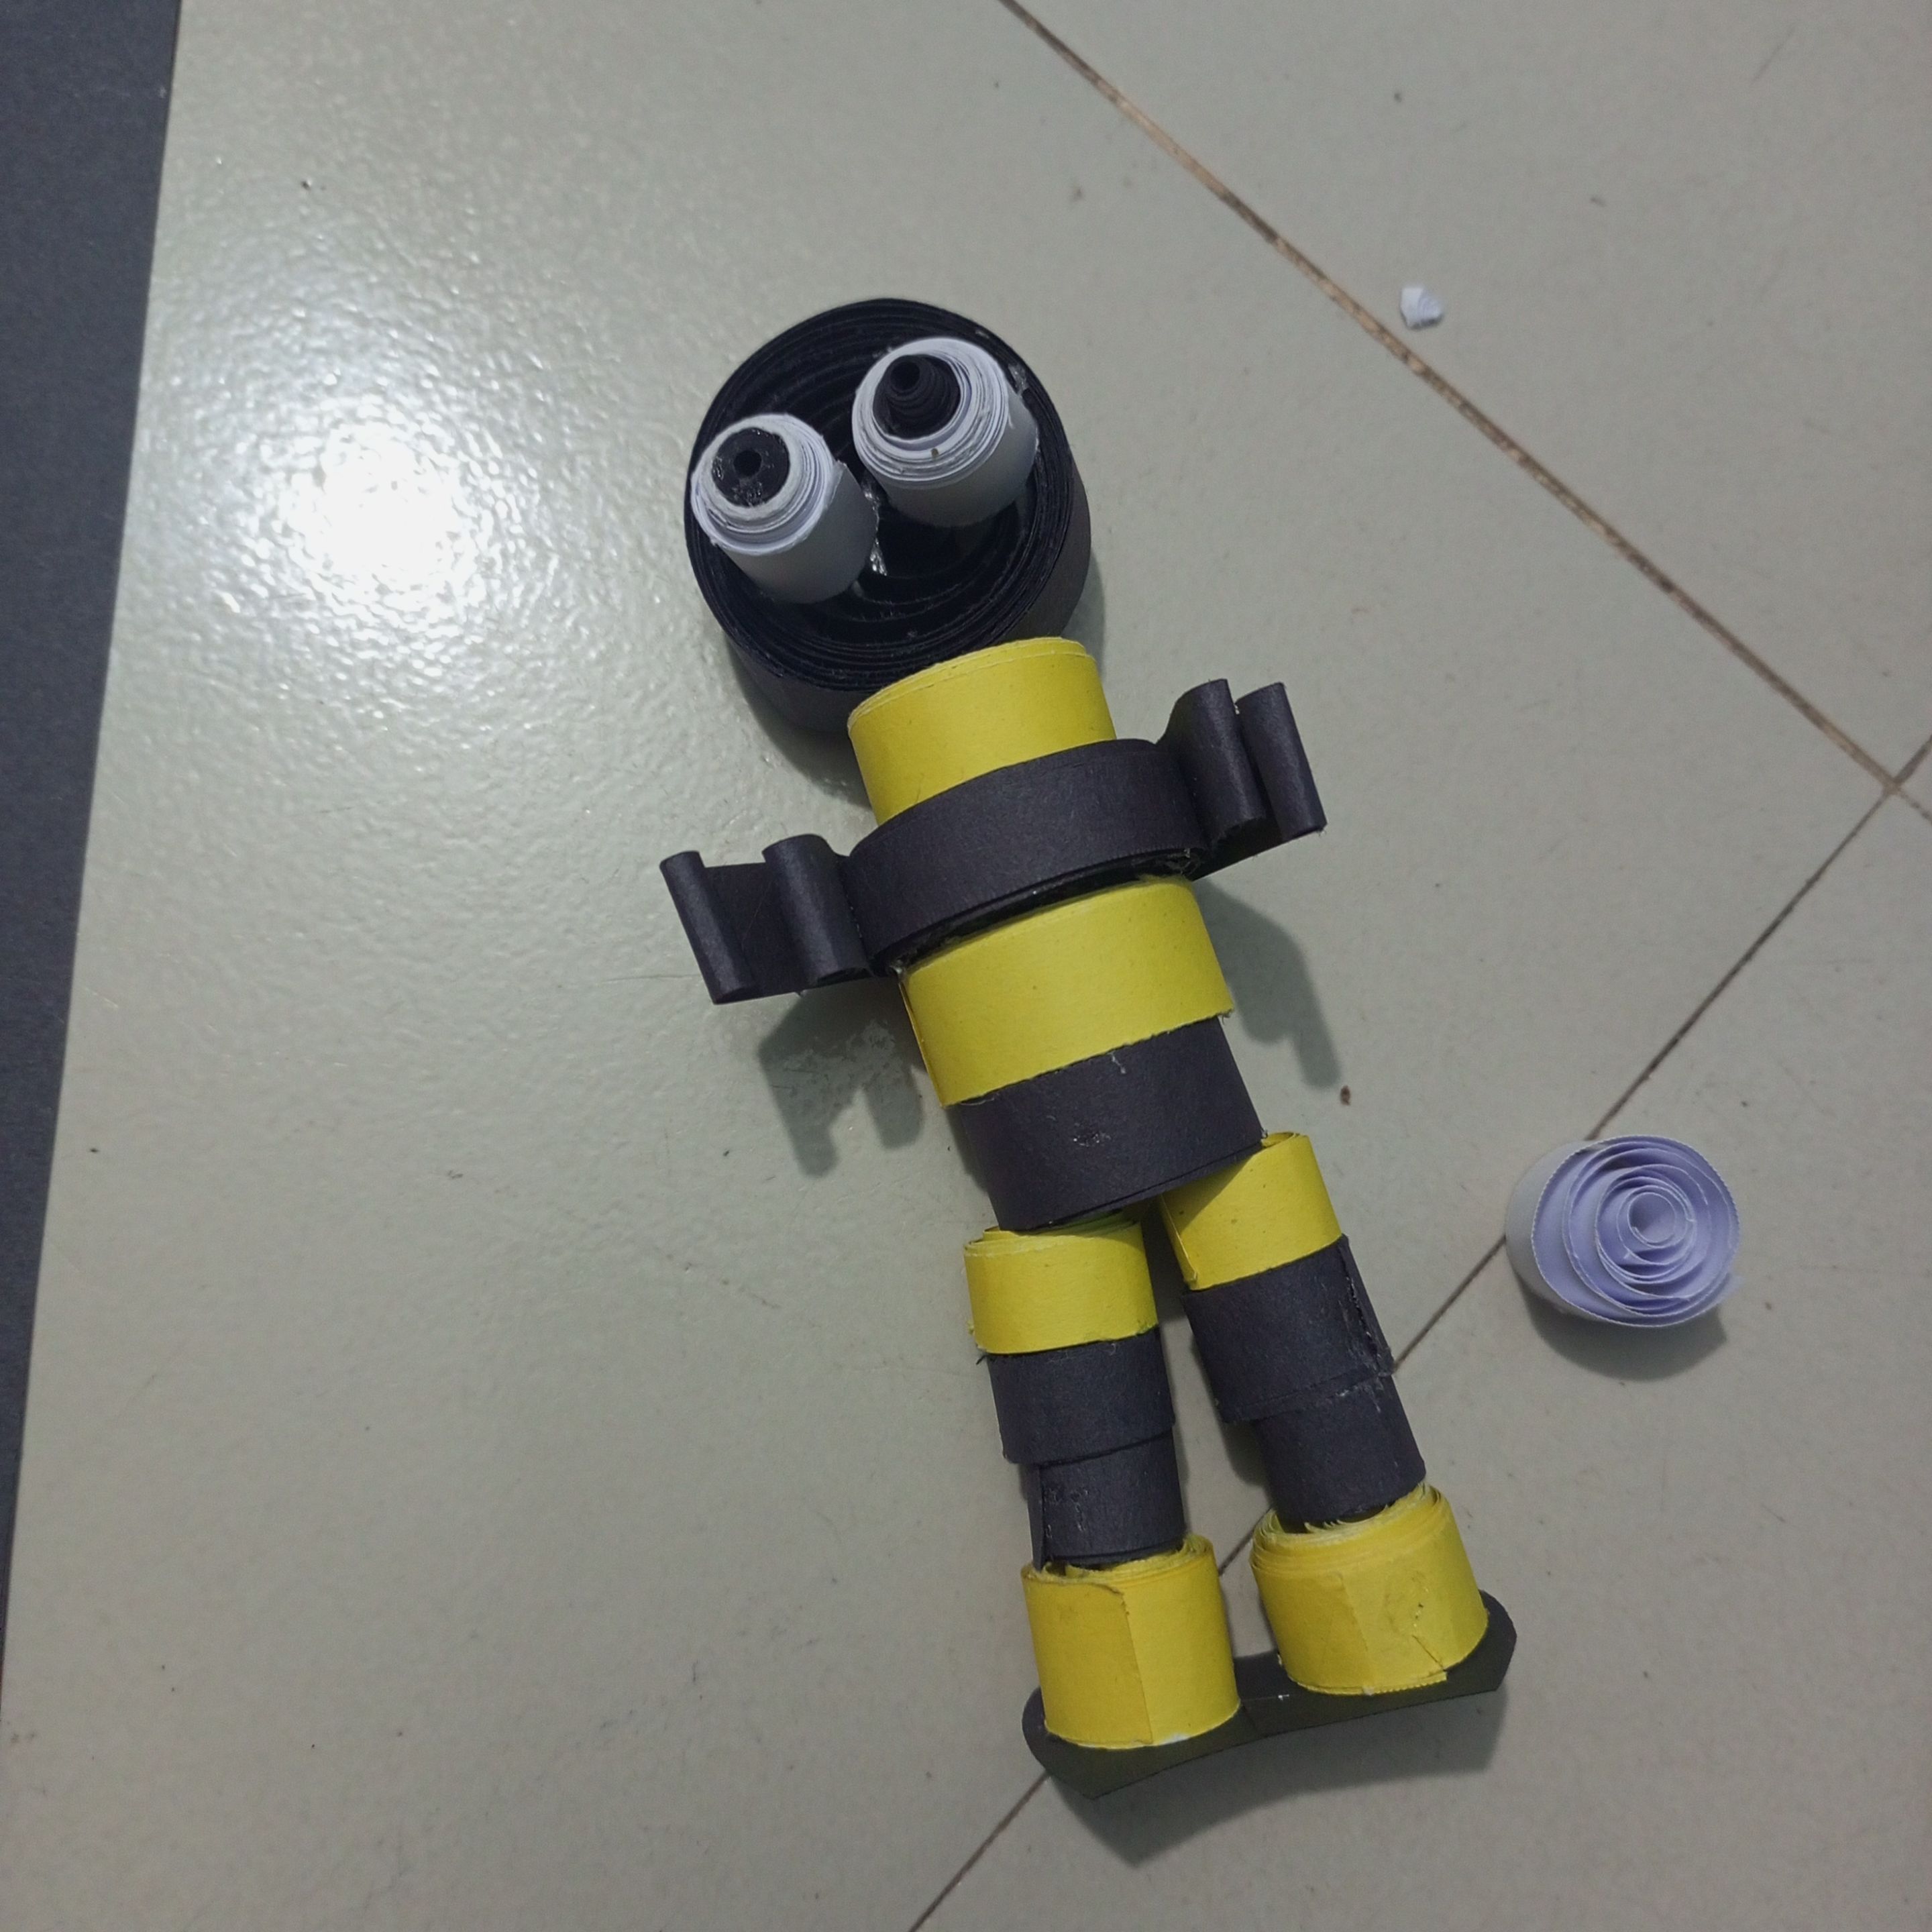
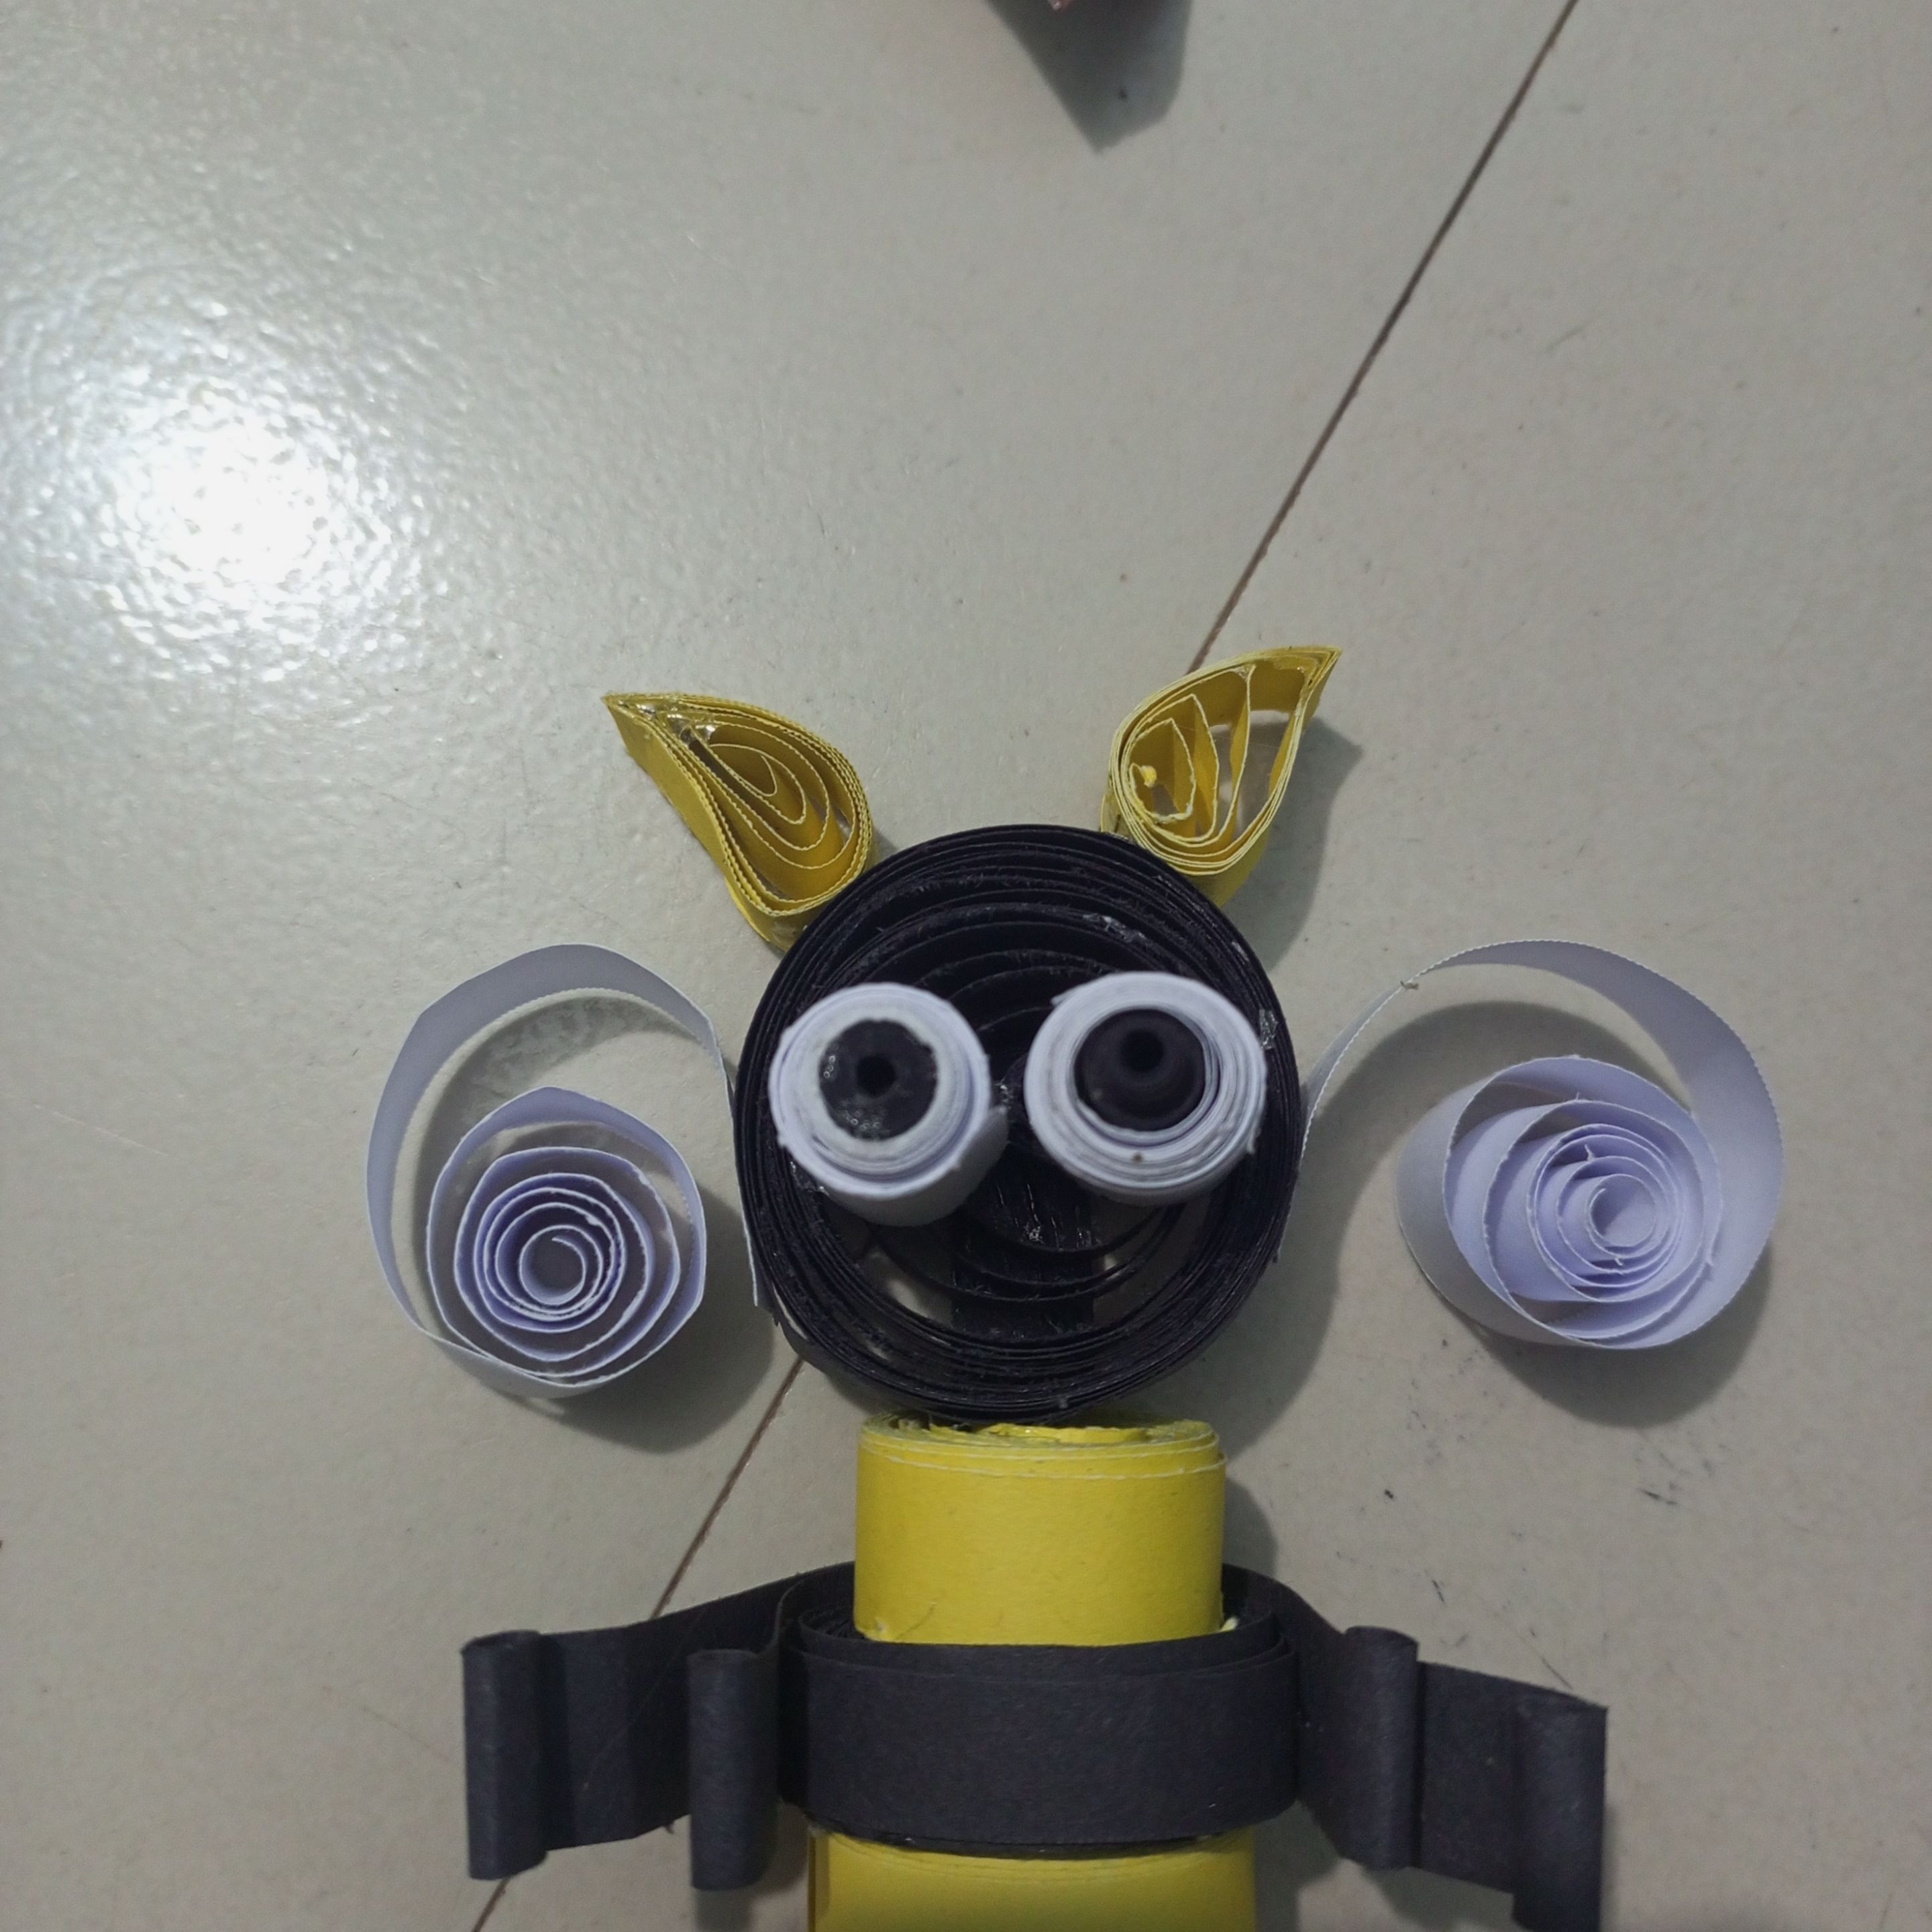
In this step, I have quilled the shape of the queen bee's head with black colored paper. Later, I have quilled the shape of two hands and attached them to the front part of the bee's back. Then, I have attached the head to the upper part of the animal's body. Later, I have prepared the shape of the eyes by patching white and black paper and have made the animal's structure on the front part of the head.
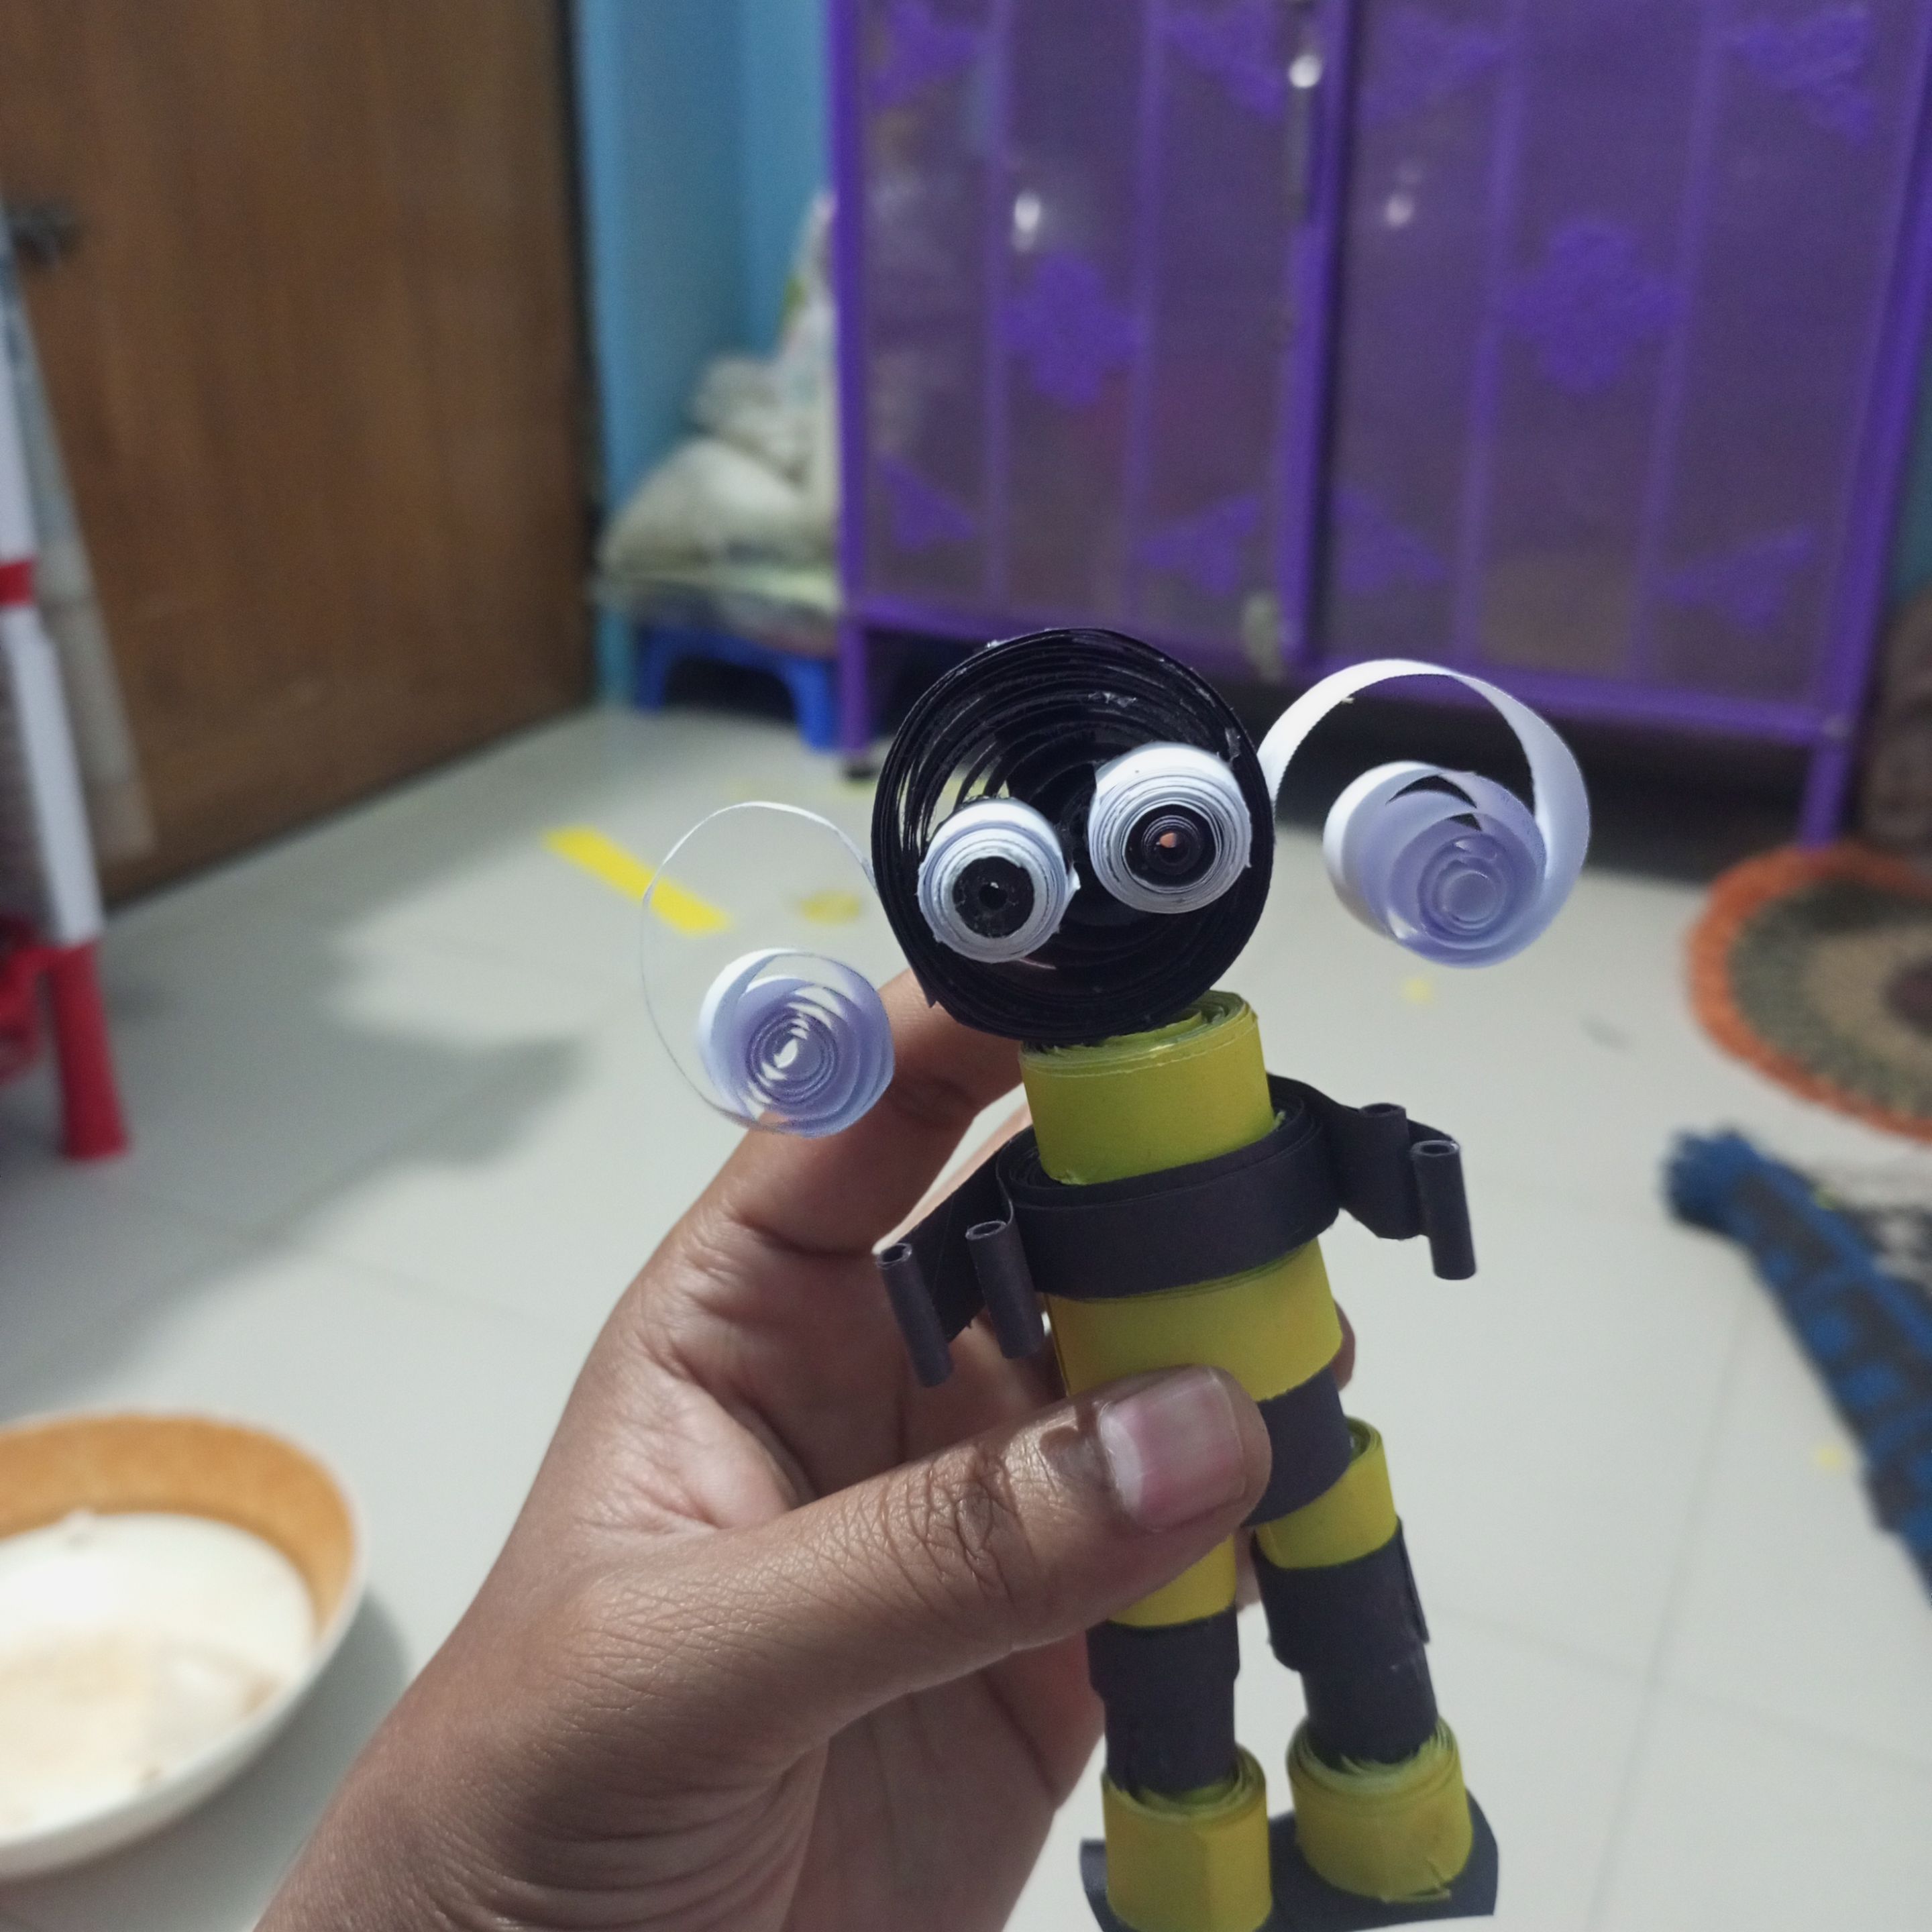
In these two steps, I have created two ear shapes with great feeling using white paper.Later,I have constructed this quilling paper into two ear shapes with the body.
Next, we will follow the final step by connecting the two antennas with great feeling.
In this step, I have made the antennae of the bee using yellow paper. Later, I am trying to show the shape of the ears by shaping the antenna on the two sides. And I am following the final step by connecting all the organs.
https://files.peakd.com/file/peakd-hive/mdakash62/AKR9r31xuE5yQ1NFHiqwtL6PQjsBAeKND4aqiGW6nvKaVFUonJtm3gx8e9eQZ6R.jpg
https://files.peakd.com/file/peakd-hive/mdakash62/AKcdgZbf7enaxj231K9ndepKCzfnwrnq3igLh6vTRRBN4w77x8ybYajEbL356NV.jpg
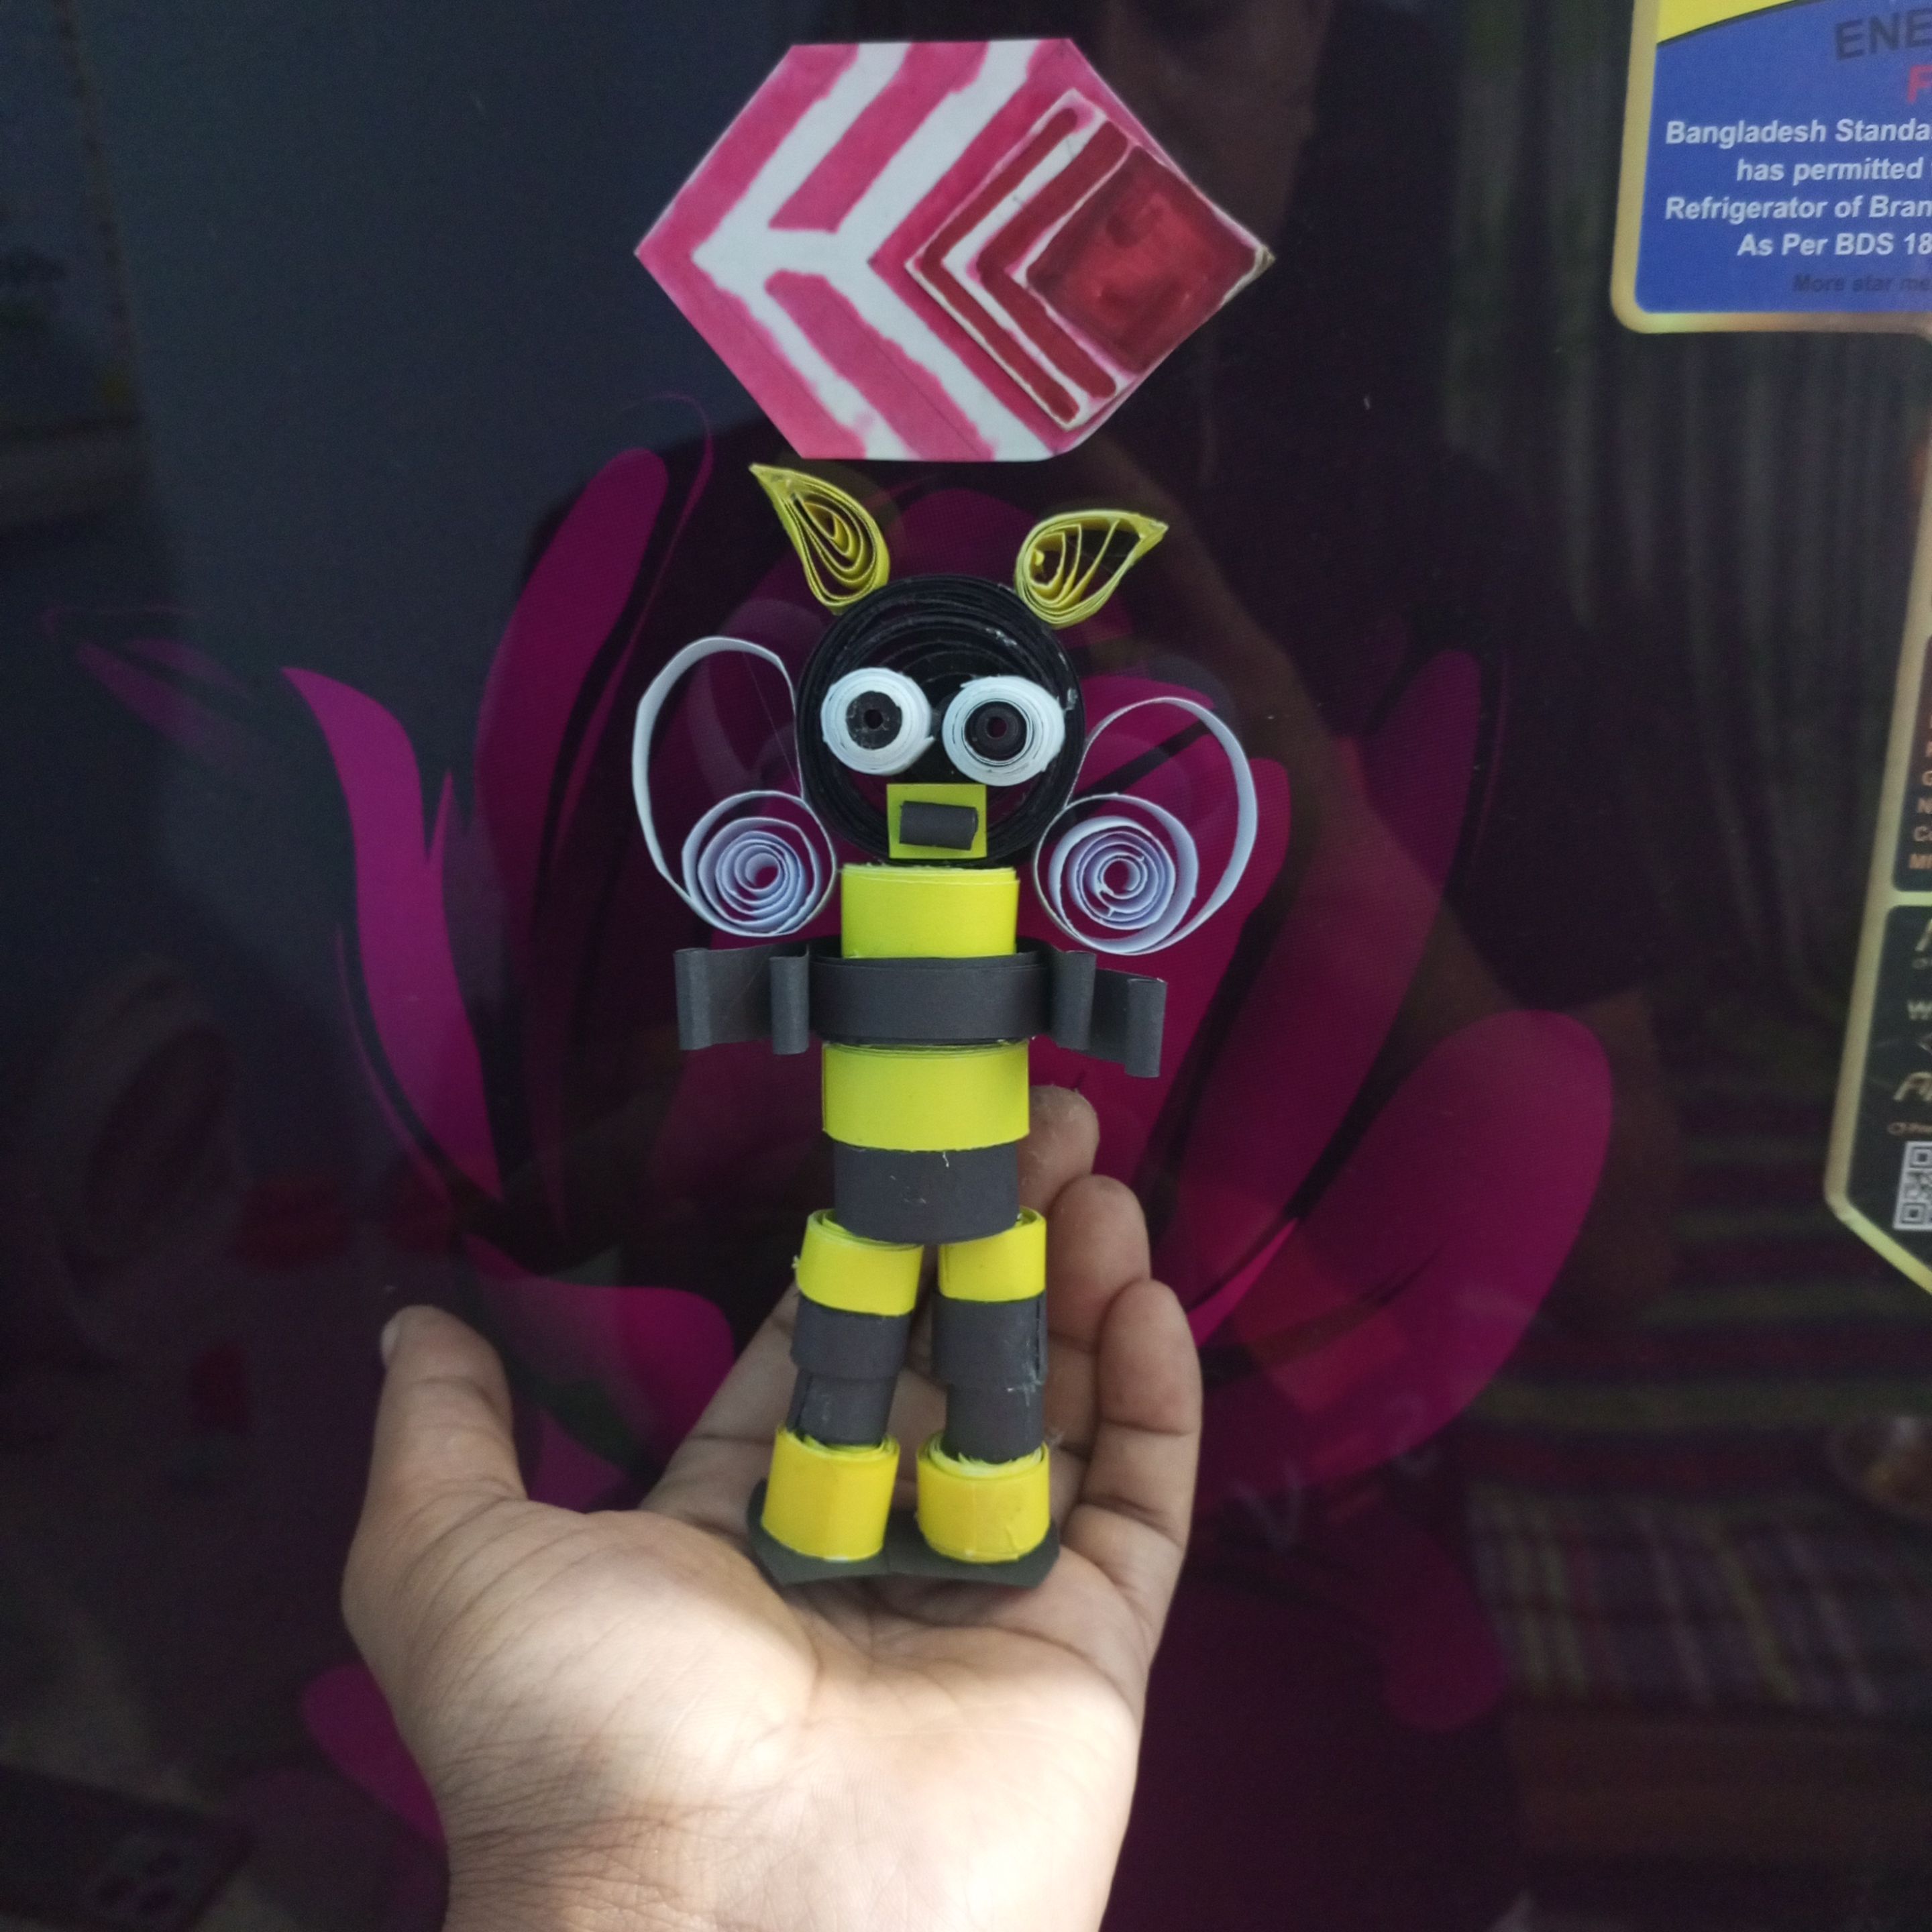
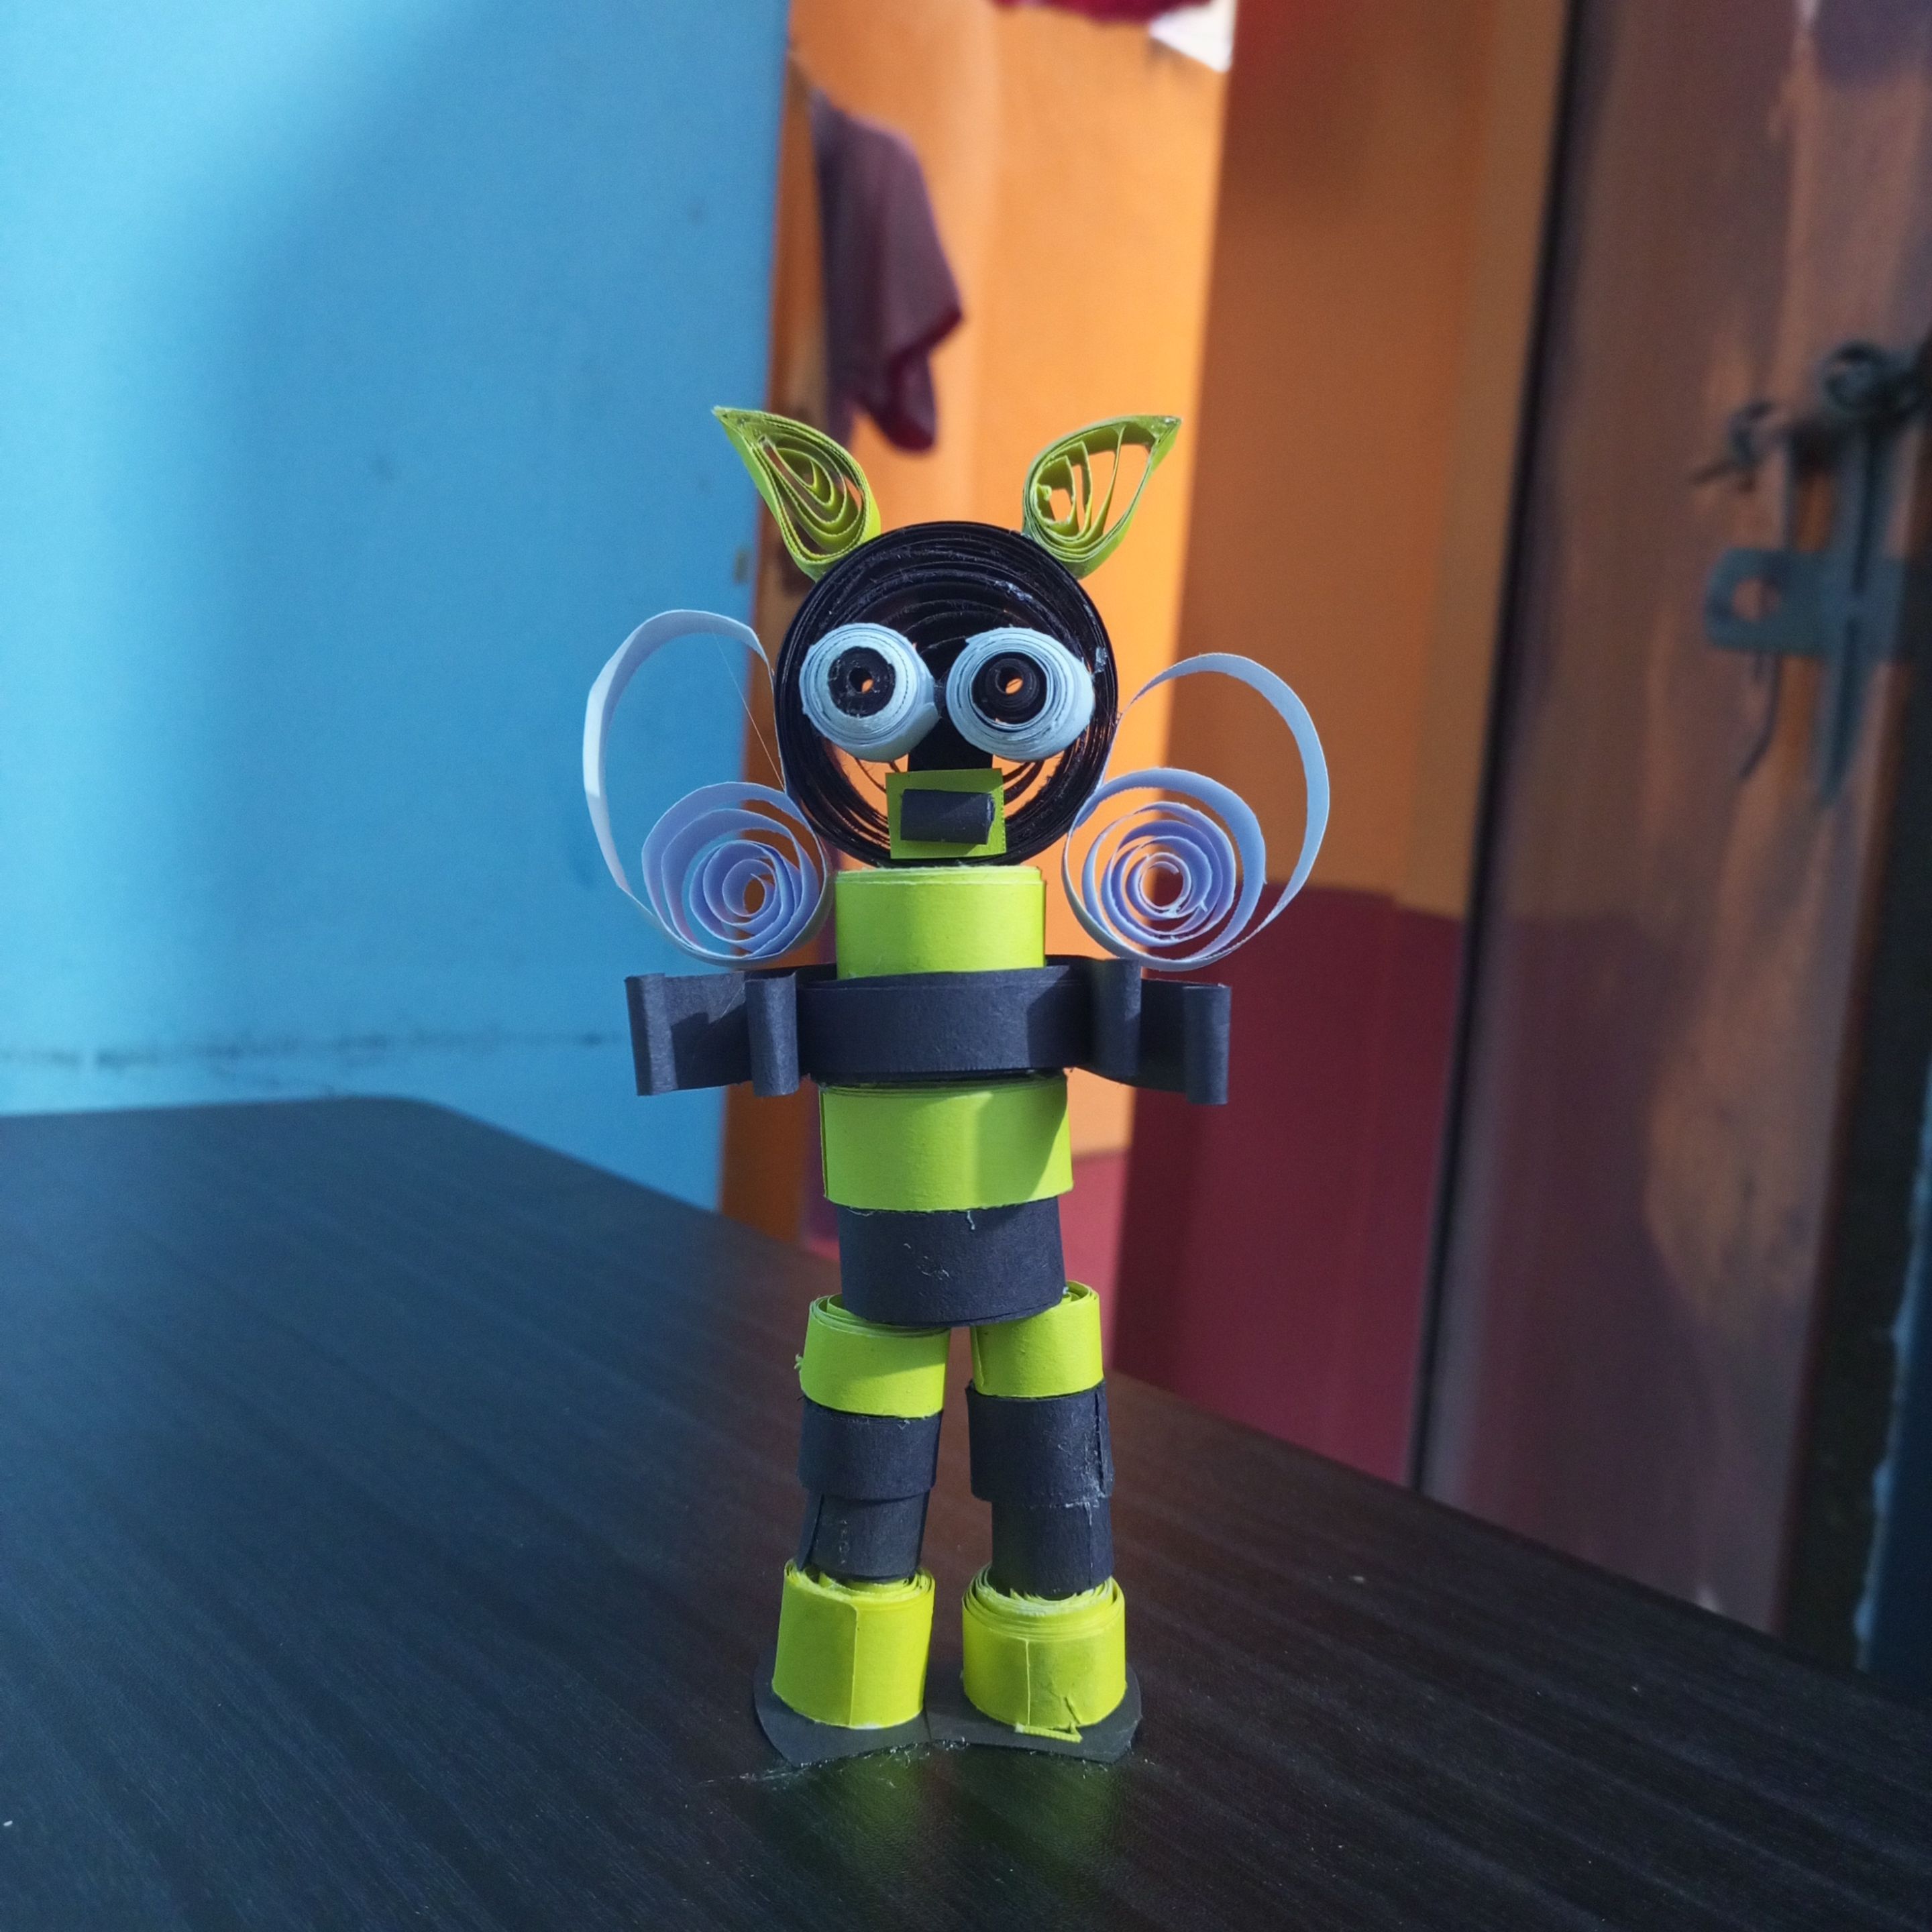
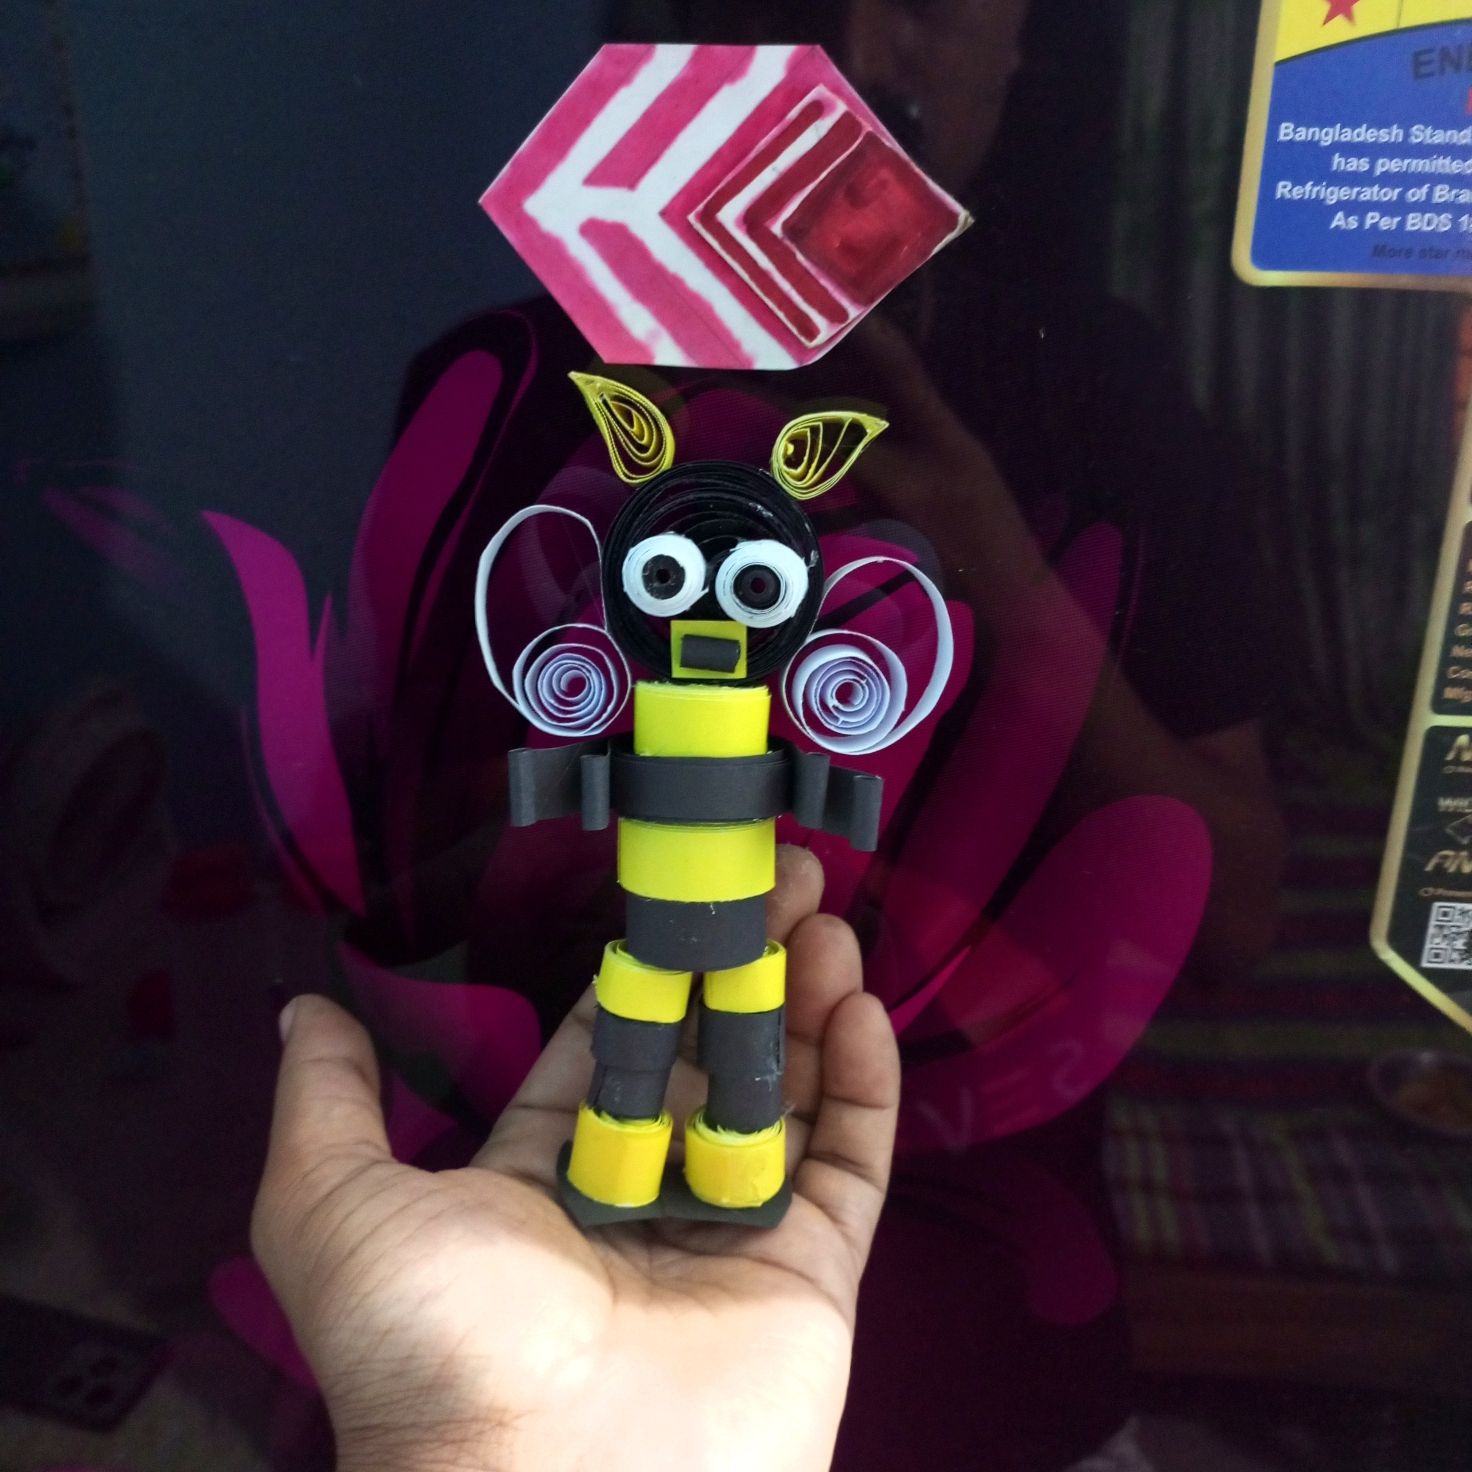
Finally, I am presenting the paper quilling skill in front of all of you by arranging all the steps beautifully. Surely you will watch such beautiful steps carefully. Along with this, you will enjoy the new tutorial on making a beautiful bee with joy. I try to do these special tasks very carefully. By watching these beautiful steps smoothly, you can easily prepare such an art. Which above all shows a beautiful queen bee. Thank you for your valuable time and cooperation.
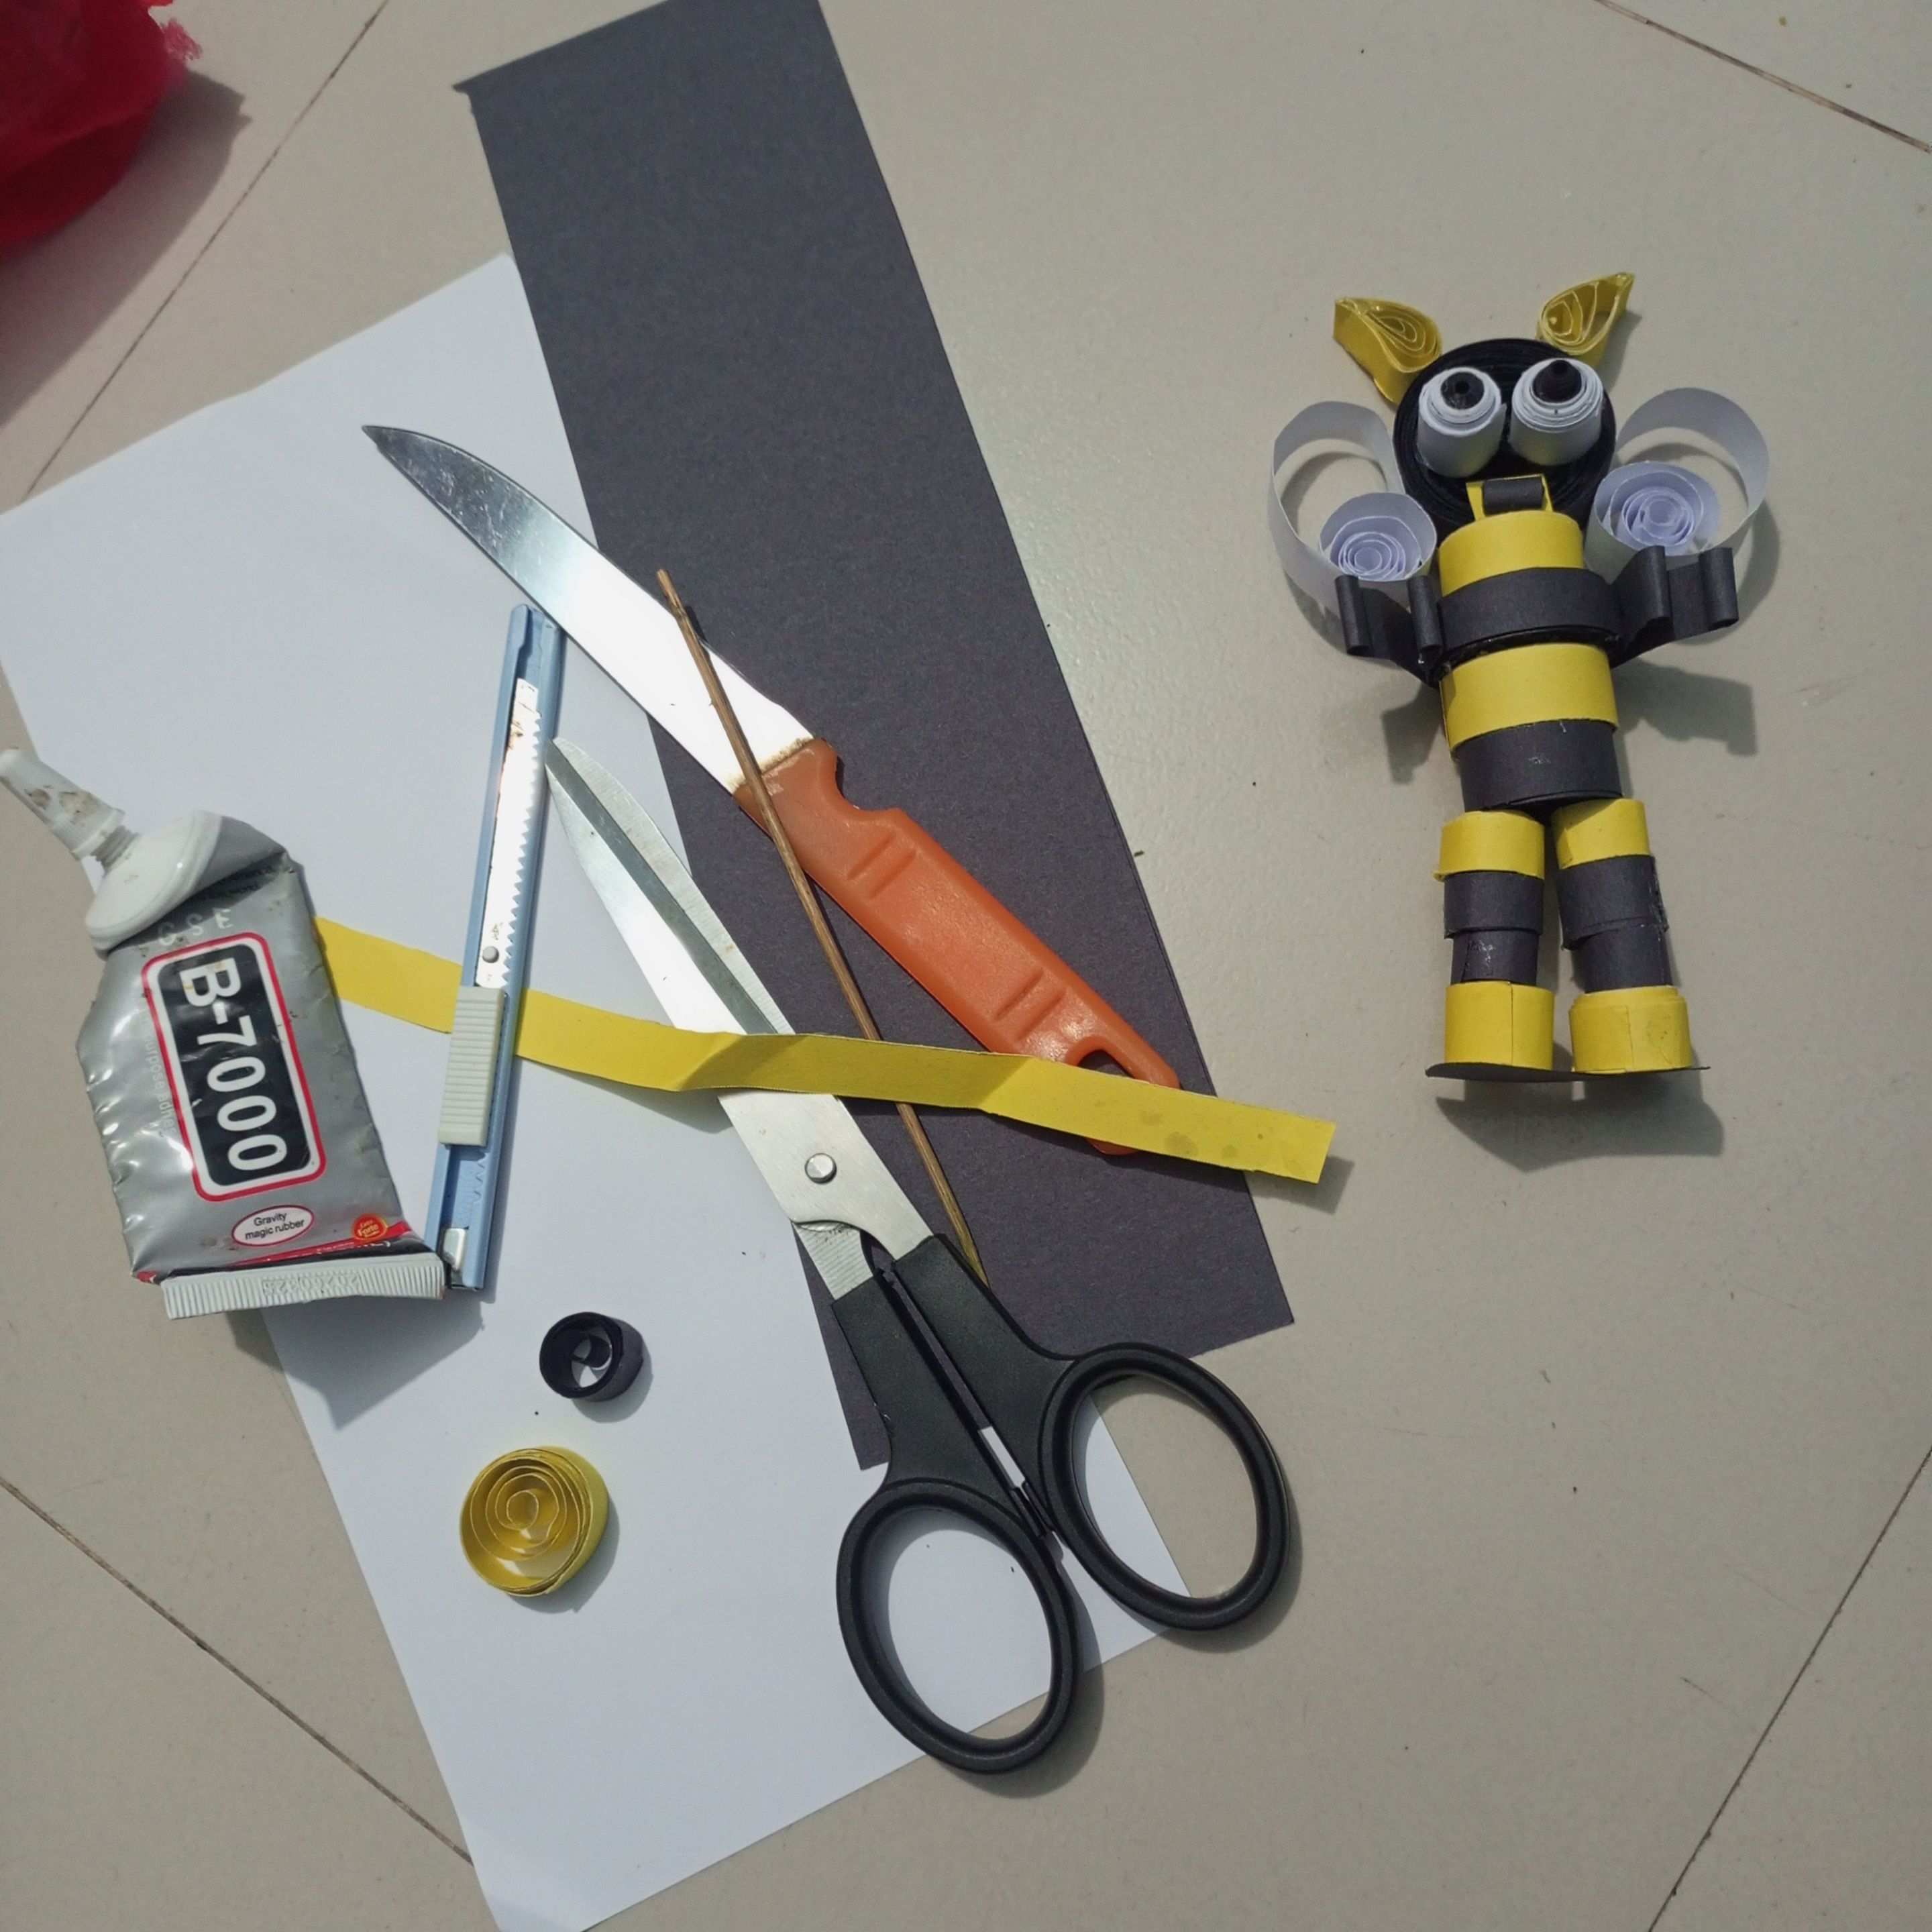
Scale
3 colour paper
Anti cutter
Scissors
Knife
B-7000 glue
Bamboo stick

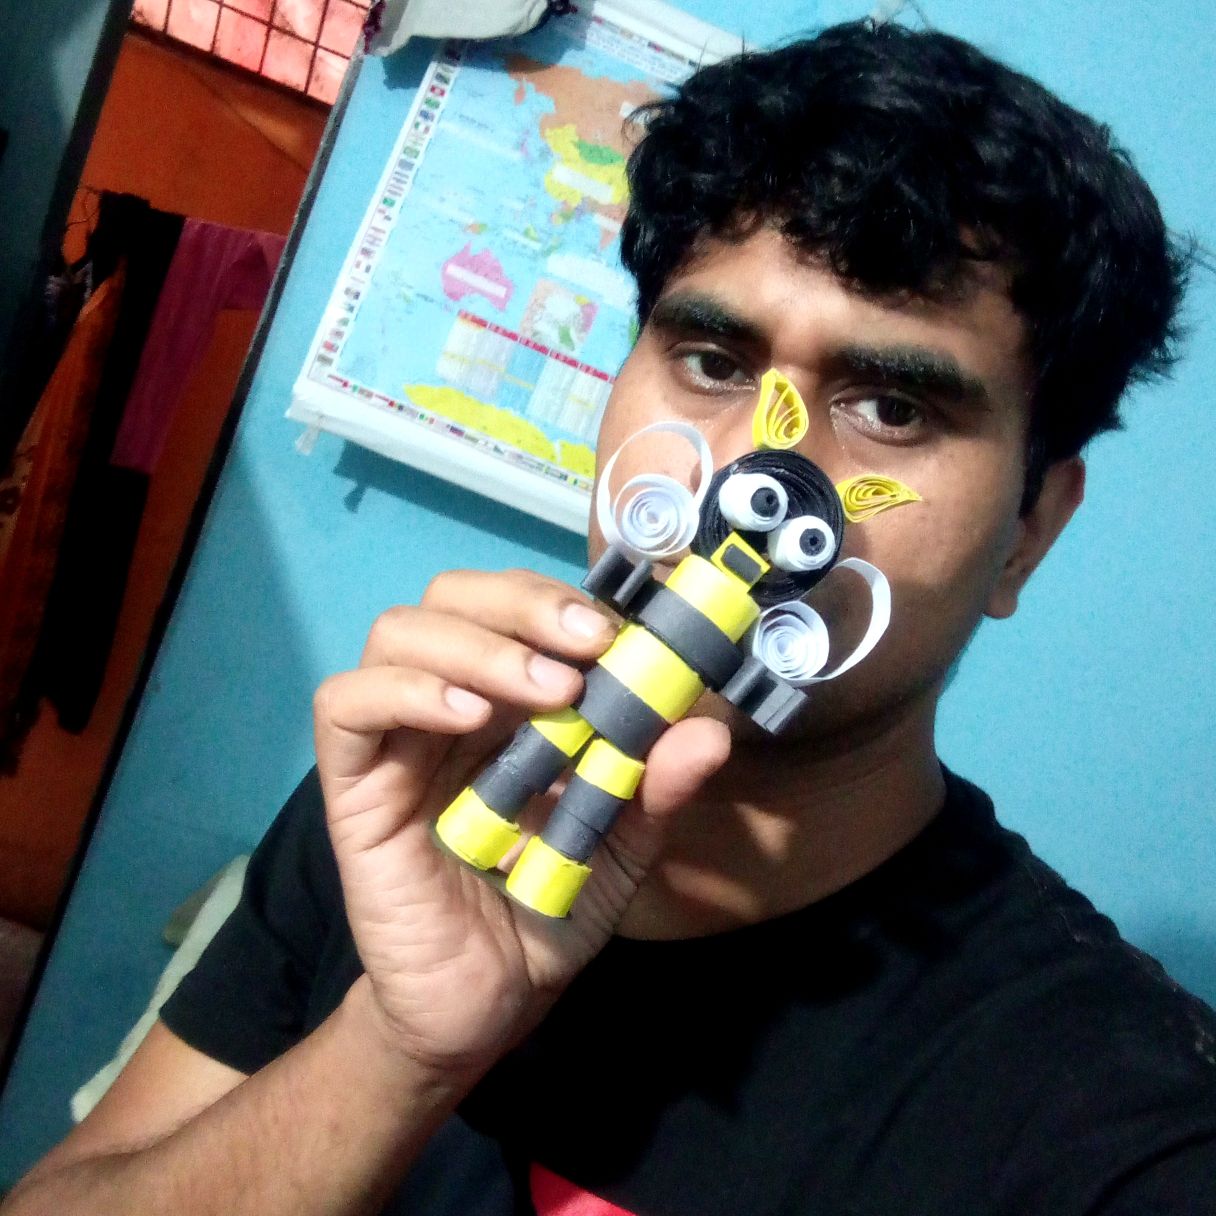
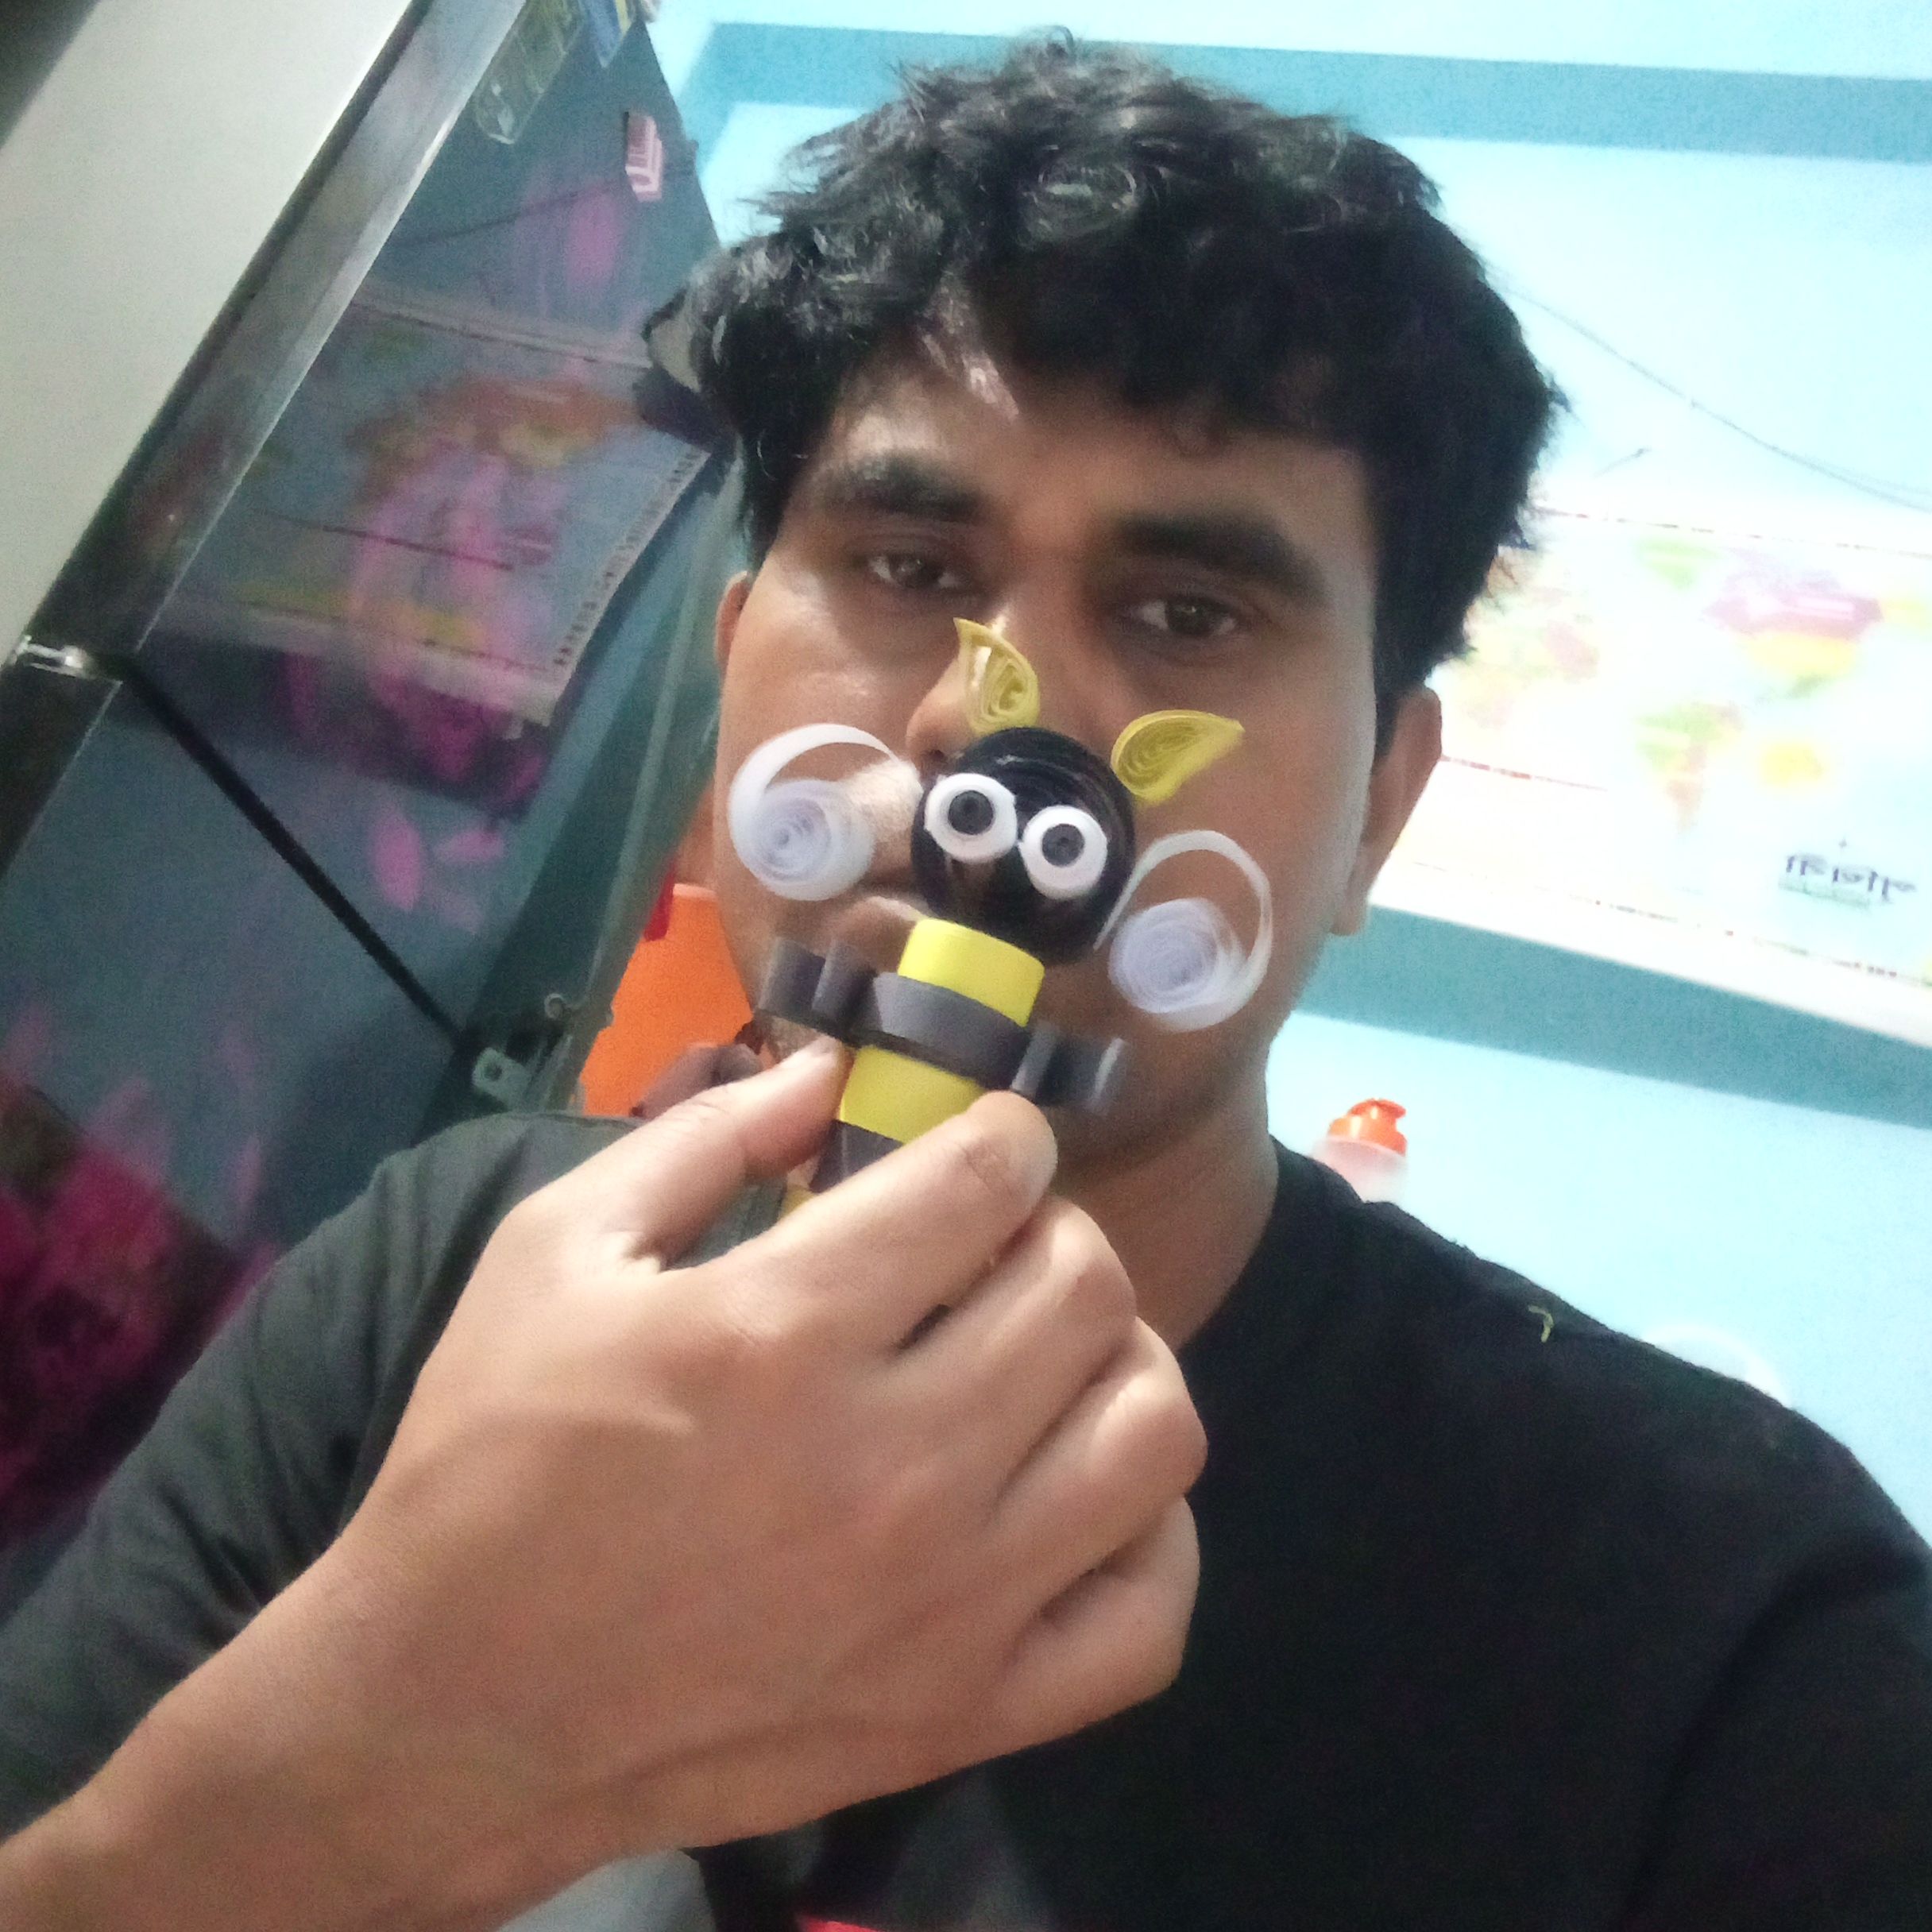
I showed a selfie after making a bee with paper quilling.

Thank you for reading my creative article blog .Stay safe,stay happy.i think if you find any mistake in writing or something. Please allow me to correct it.And find me on social media.
Twitter Discord
All Prepared by @mdakash62