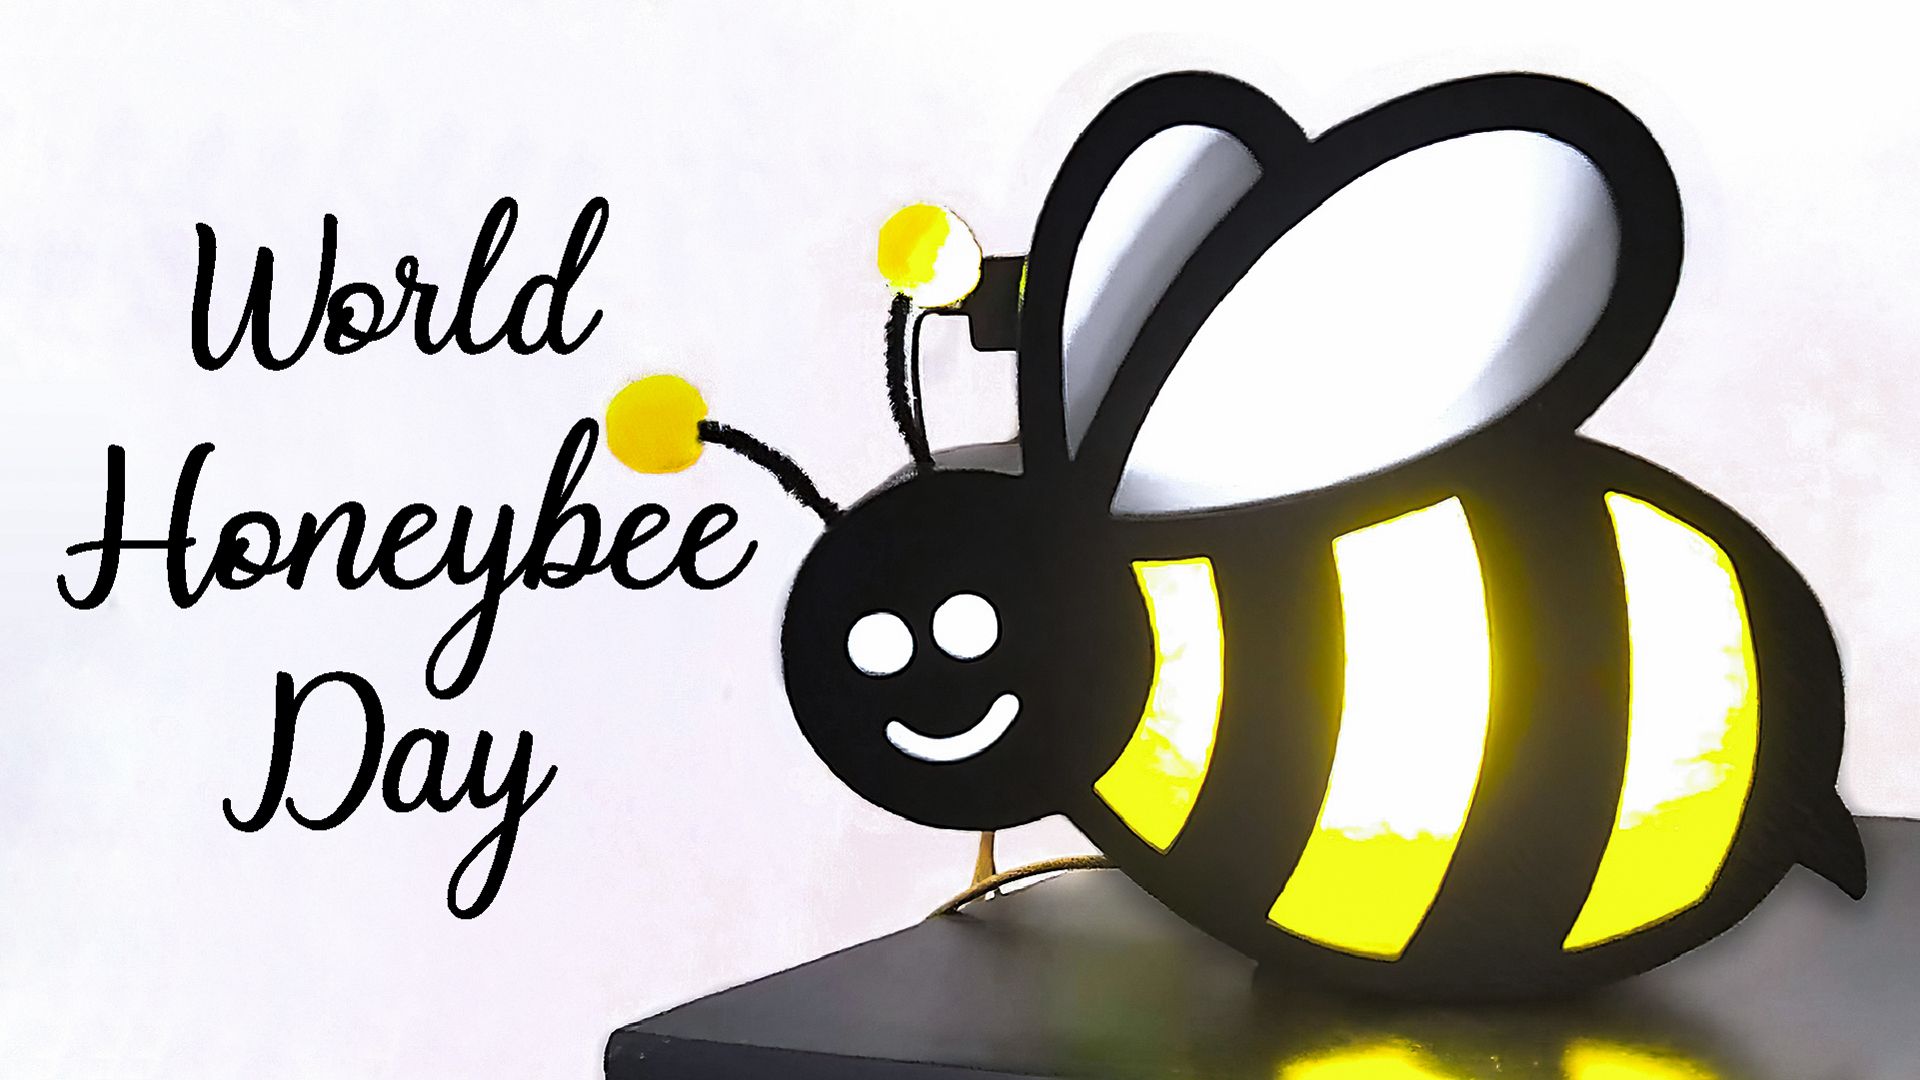
Hello creative people!!! This month's contest theme celebrates the International Honeybee Day, that small insect of vital importance for the reproduction of thousands of species. Its work of pollination is essential to maintain the biodiversity of the planet and therefore life.
It is a very good idea to pay tribute and raise awareness about the importance of bees and what better way to do it than from creation.
As soon as I read the topic I remembered a project I made a few months ago, but it fit the occasion so well that I wanted to share it with you and with it, make my entry to the contest.
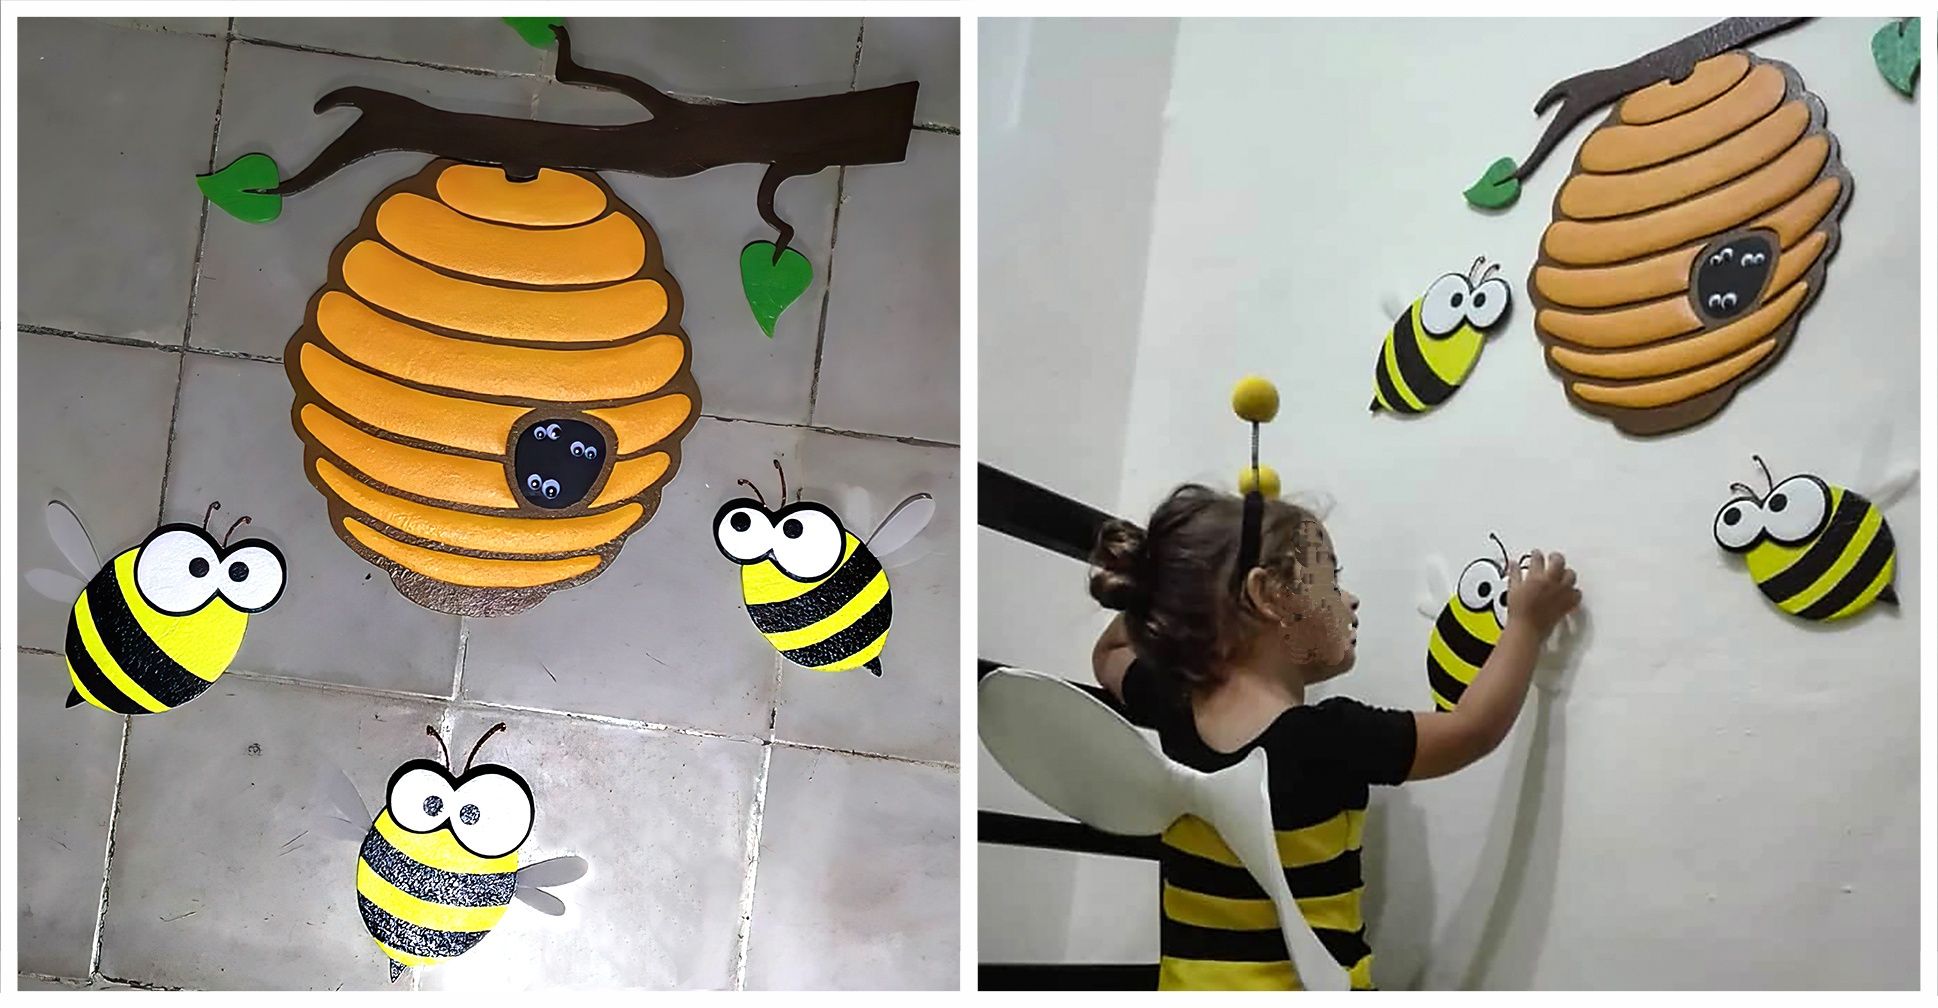
I made this bee-shaped lamp for a little girl named Ana. She is a fan of these beautiful insects. I had already made her a wall decoration for her room and now I would make the lamp to match.
As usual the materials I used were cardboard and handmade paper, trying to recycle and reuse as creatively as possible.
Without further ado I leave you the list of materials and the step by step.
Español - Click aquí
¡¡Hola gente creativa!! El tema del concurso de este mes celebra el Día Internacional de la Abeja, ese pequeño insecto de vital importancia para la reproducción de miles de especies. Su labor de polinización es imprescindible para mantener la biodiversidad del planeta y por ende la vida. Es muy buena idea rendir tributo y generar conciencia sobre la importancia de las abejas y que mejor manera de hacerlo que desde la creación. En cuanto leí el tema recordé un proyecto que elaboré hace unos meses, pero se ajustaba tan bien a la ocasión que no quise dejar de compartirlo con ustedes y con él, hacer mi entrada al concurso. Esta lámpara en forma de abeja la realicé para una pequeña llamada Ana. Ella es fanática de estos hermosos insectos. Ya le había elaborado una decoración para la pared de su habitación y ahora le haría la lámpara a juego. Como casi siempre los materiales que utilicé fueron cartón y papel artesanal, tratando de reciclar y reutilizar de la manera más creativa posible. Sin más les dejo la lista de materiales y el paso a paso.
For this project I used:
- Mold
- Corrugated cardboard adjusted to the mold size
- Reused white bond paper
- Handmade paper
- Black acrylic paint
- Brushes
- Acetate film
- Yellow chinese paper
- Glue (white glue)
- Silicone gun and silicone sticks
- Cutter
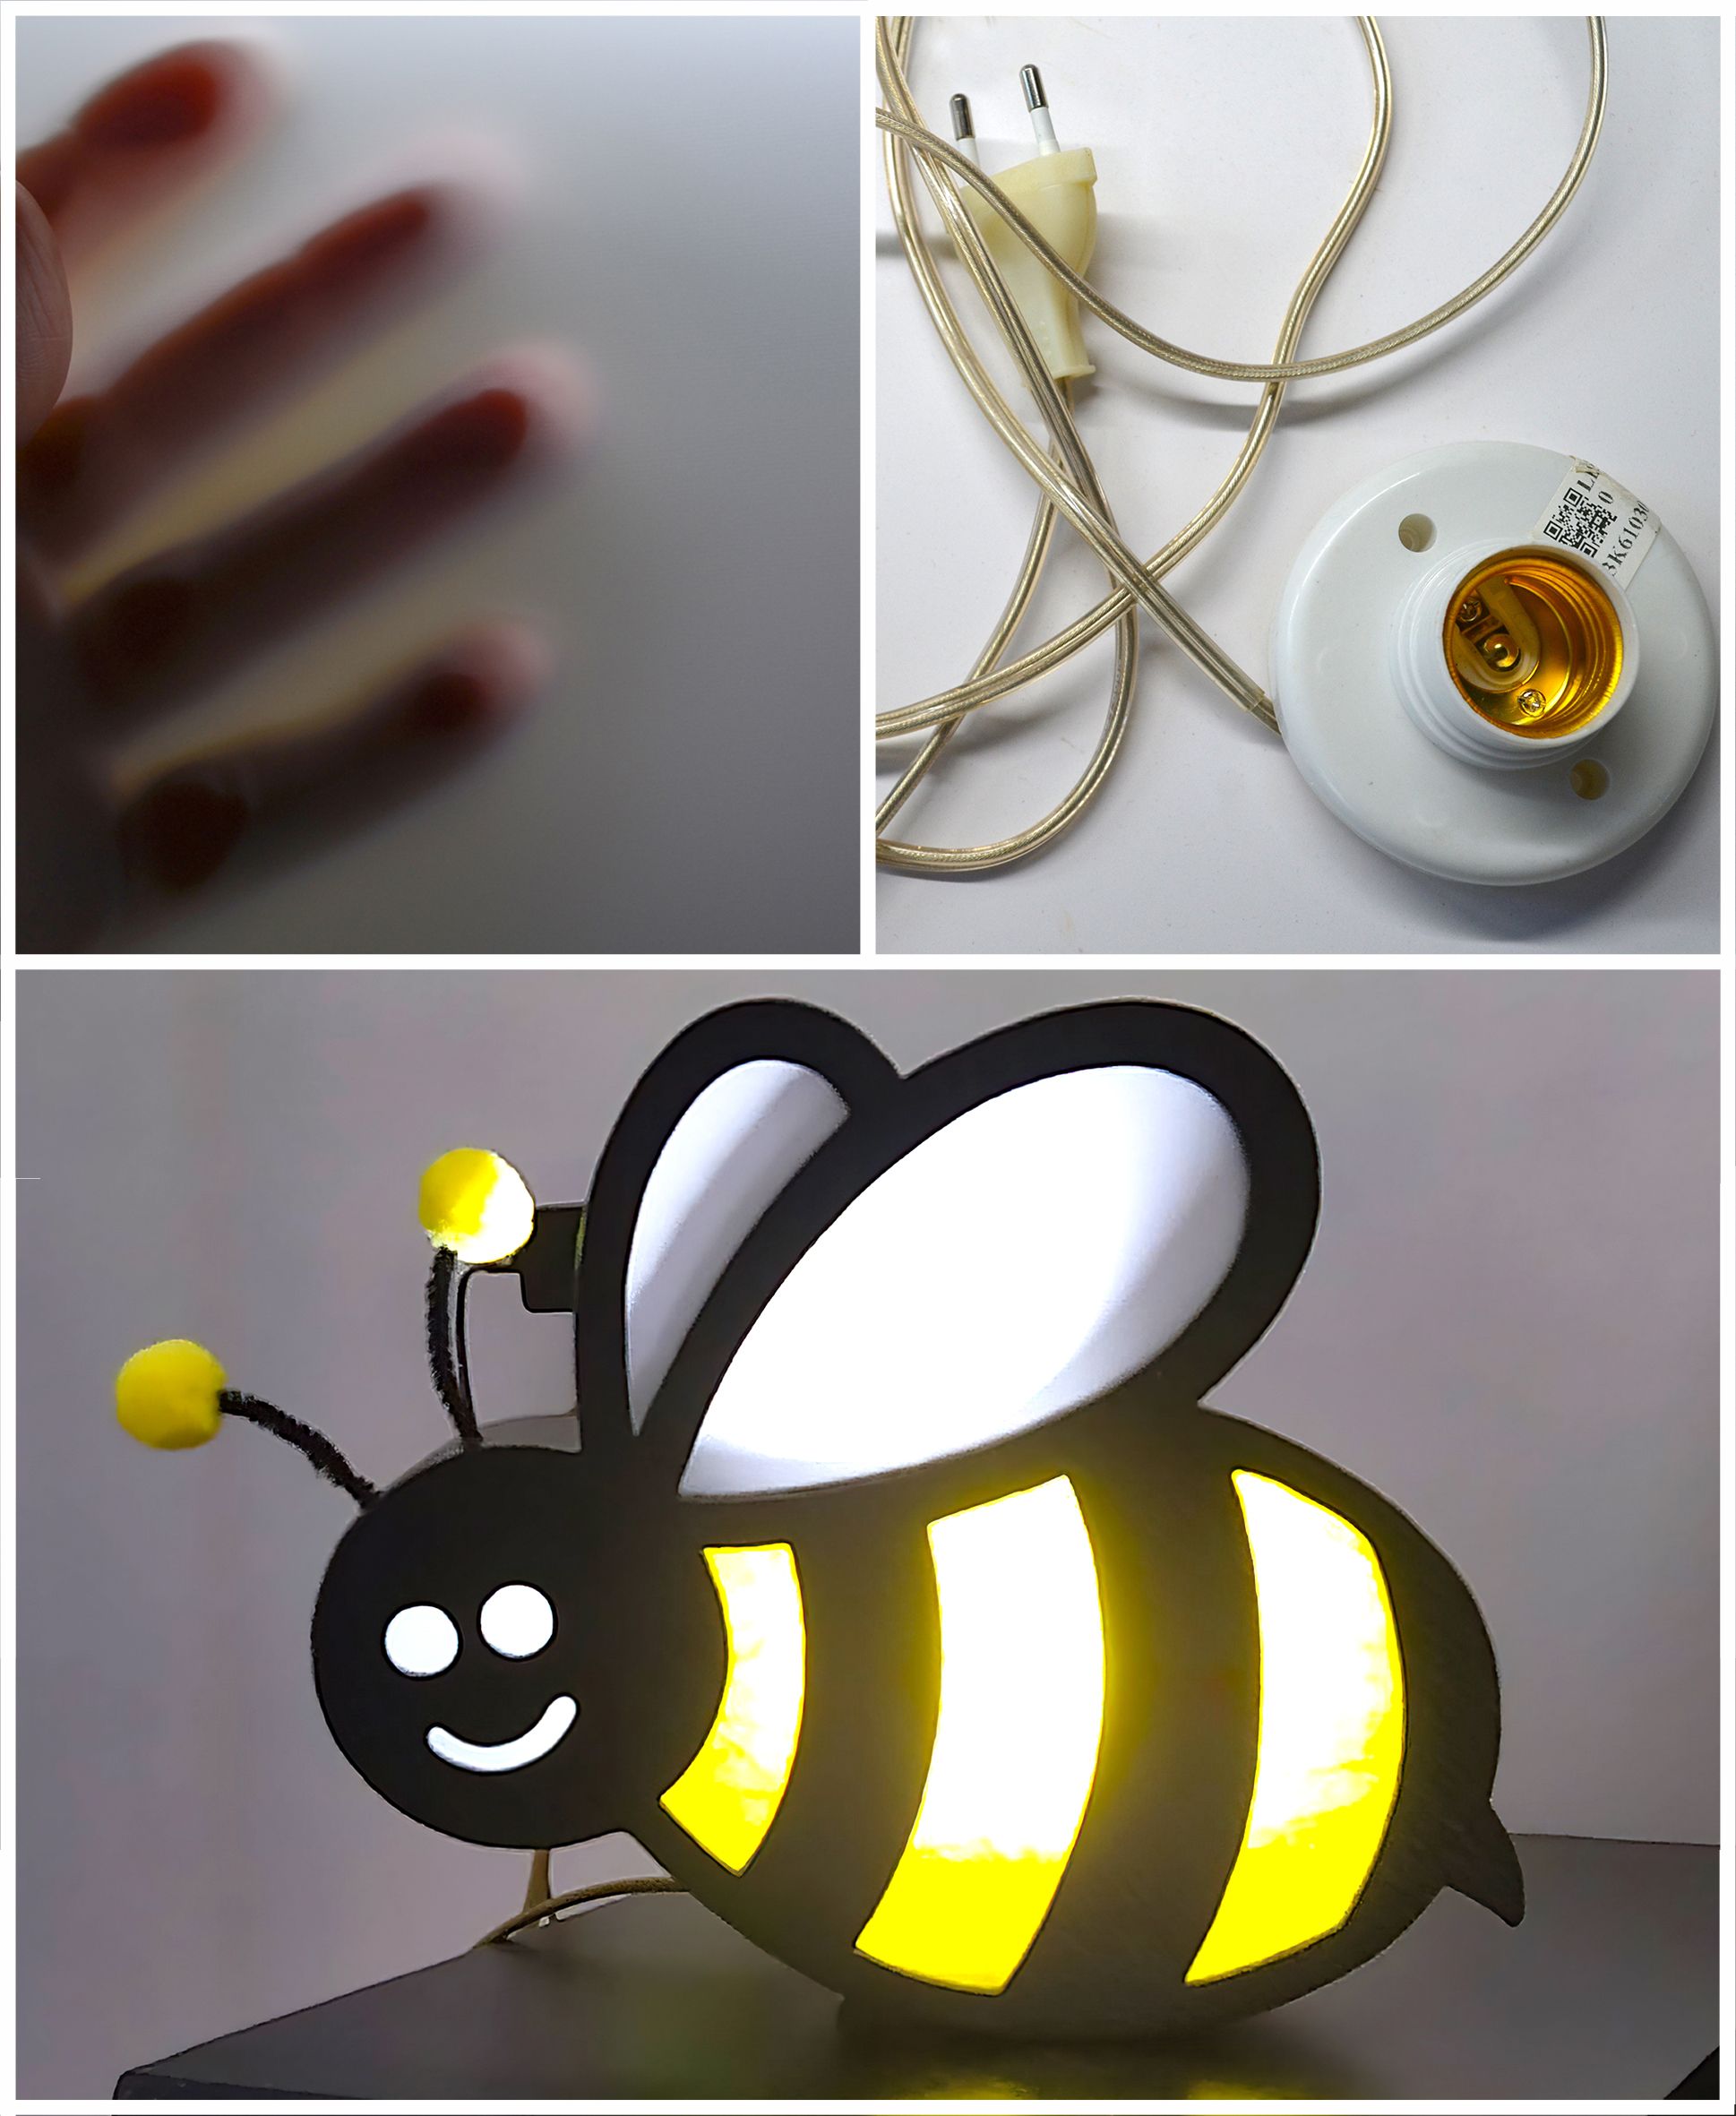
- Socket
- Cable with lamp switch
Para este proyecto utilicé: - Molde - Cartón corrugado ajustado al tamaño del molde - Papel bond reutilizado - Papel artesanal - Pintura acrílica negra - Pinceles - Película de acetato - Papel de china amarillo - Pegamento (cola blanca) - Pistola de silicona y barras de silicona - Cúter - Socket - Cable con interruptor de lámpara

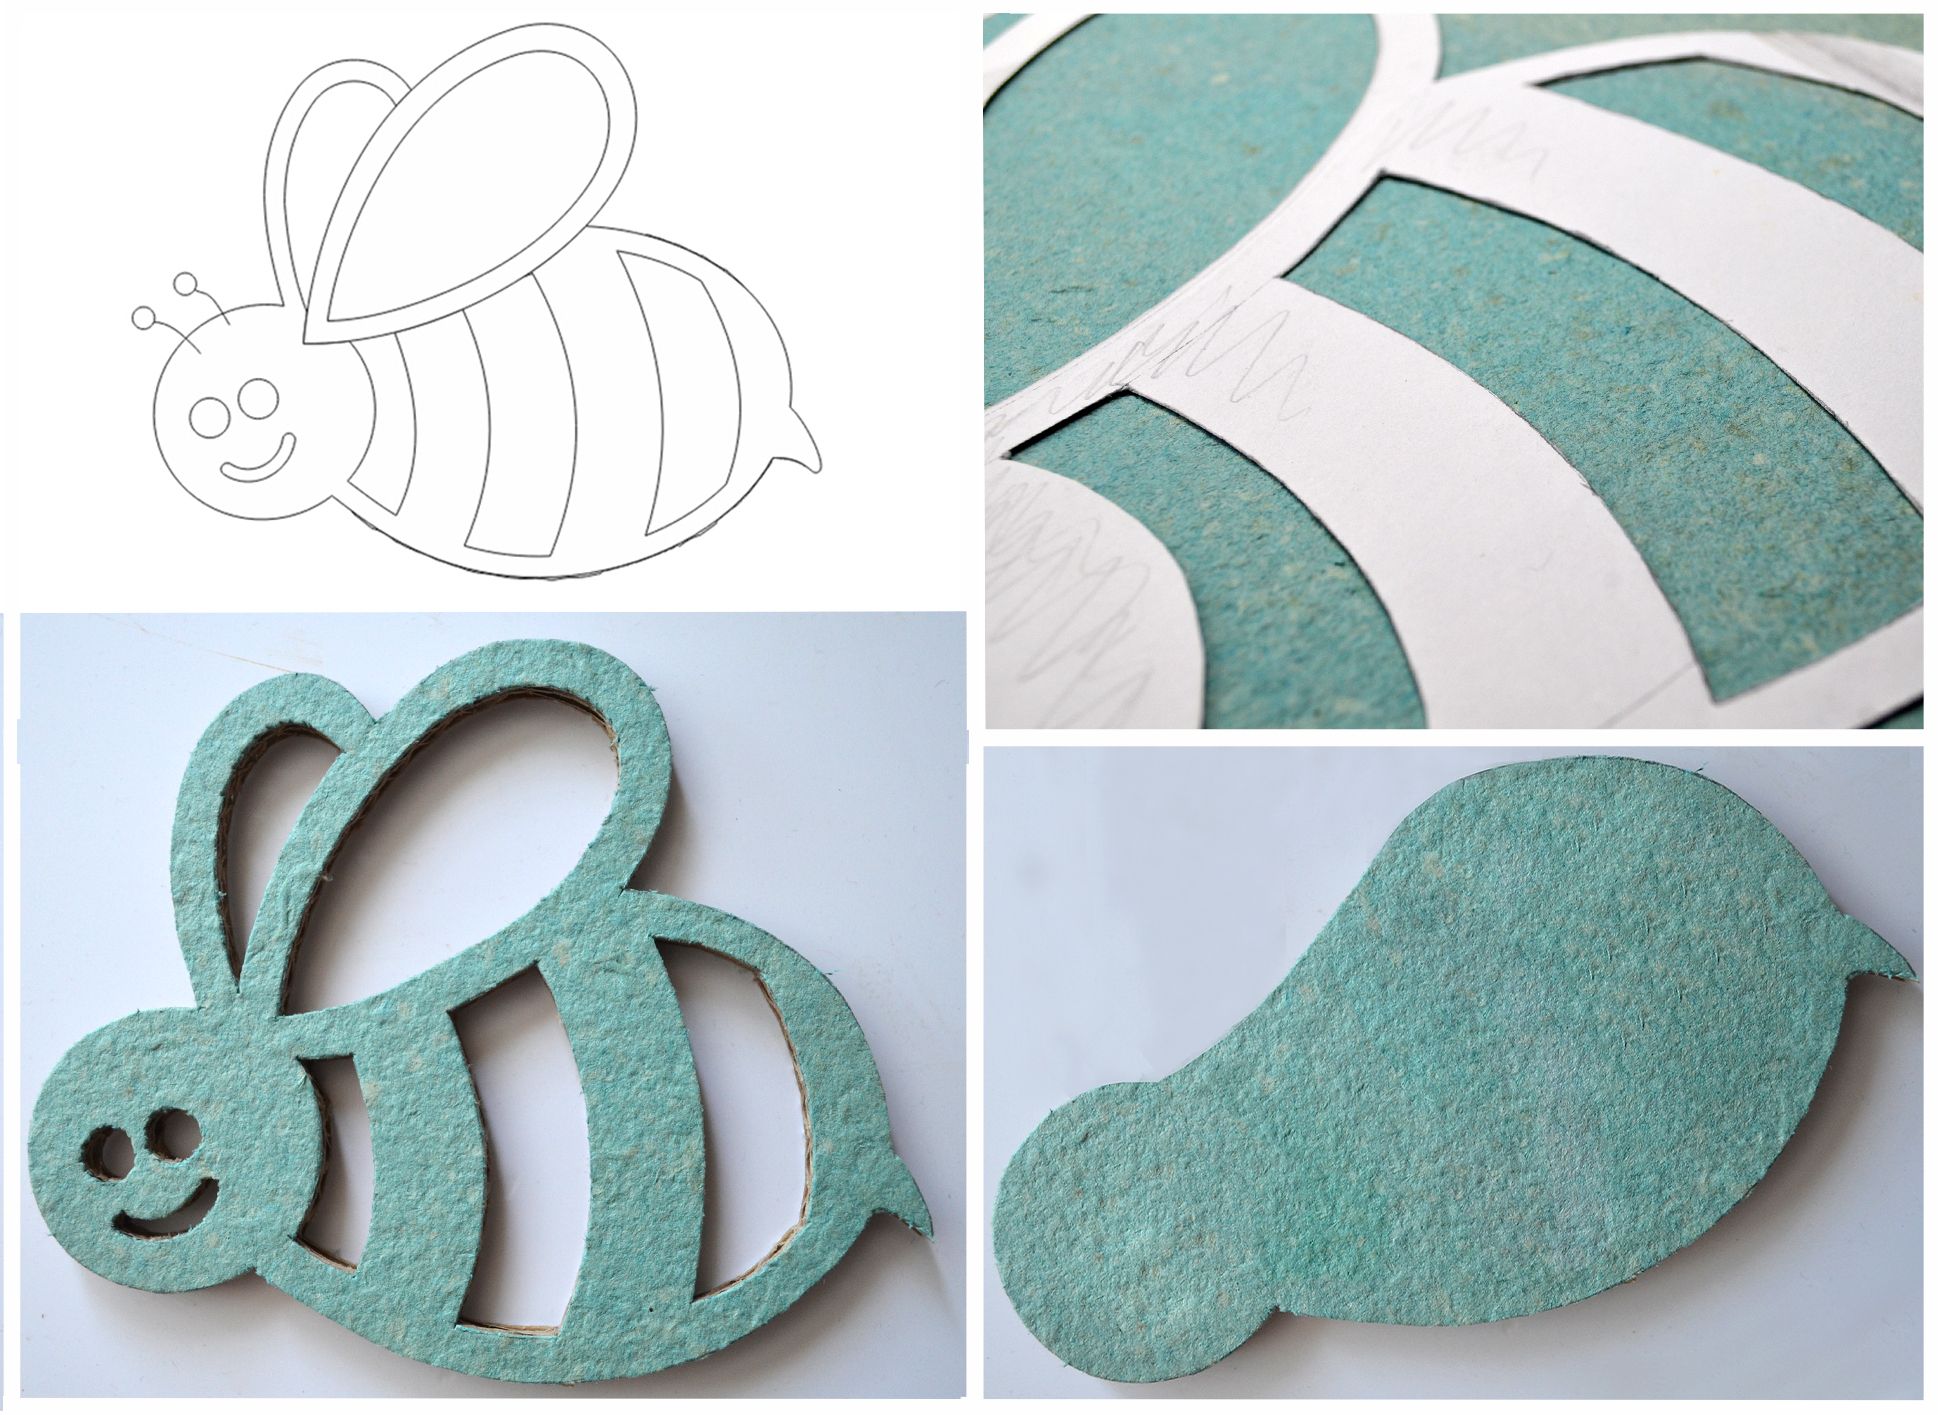
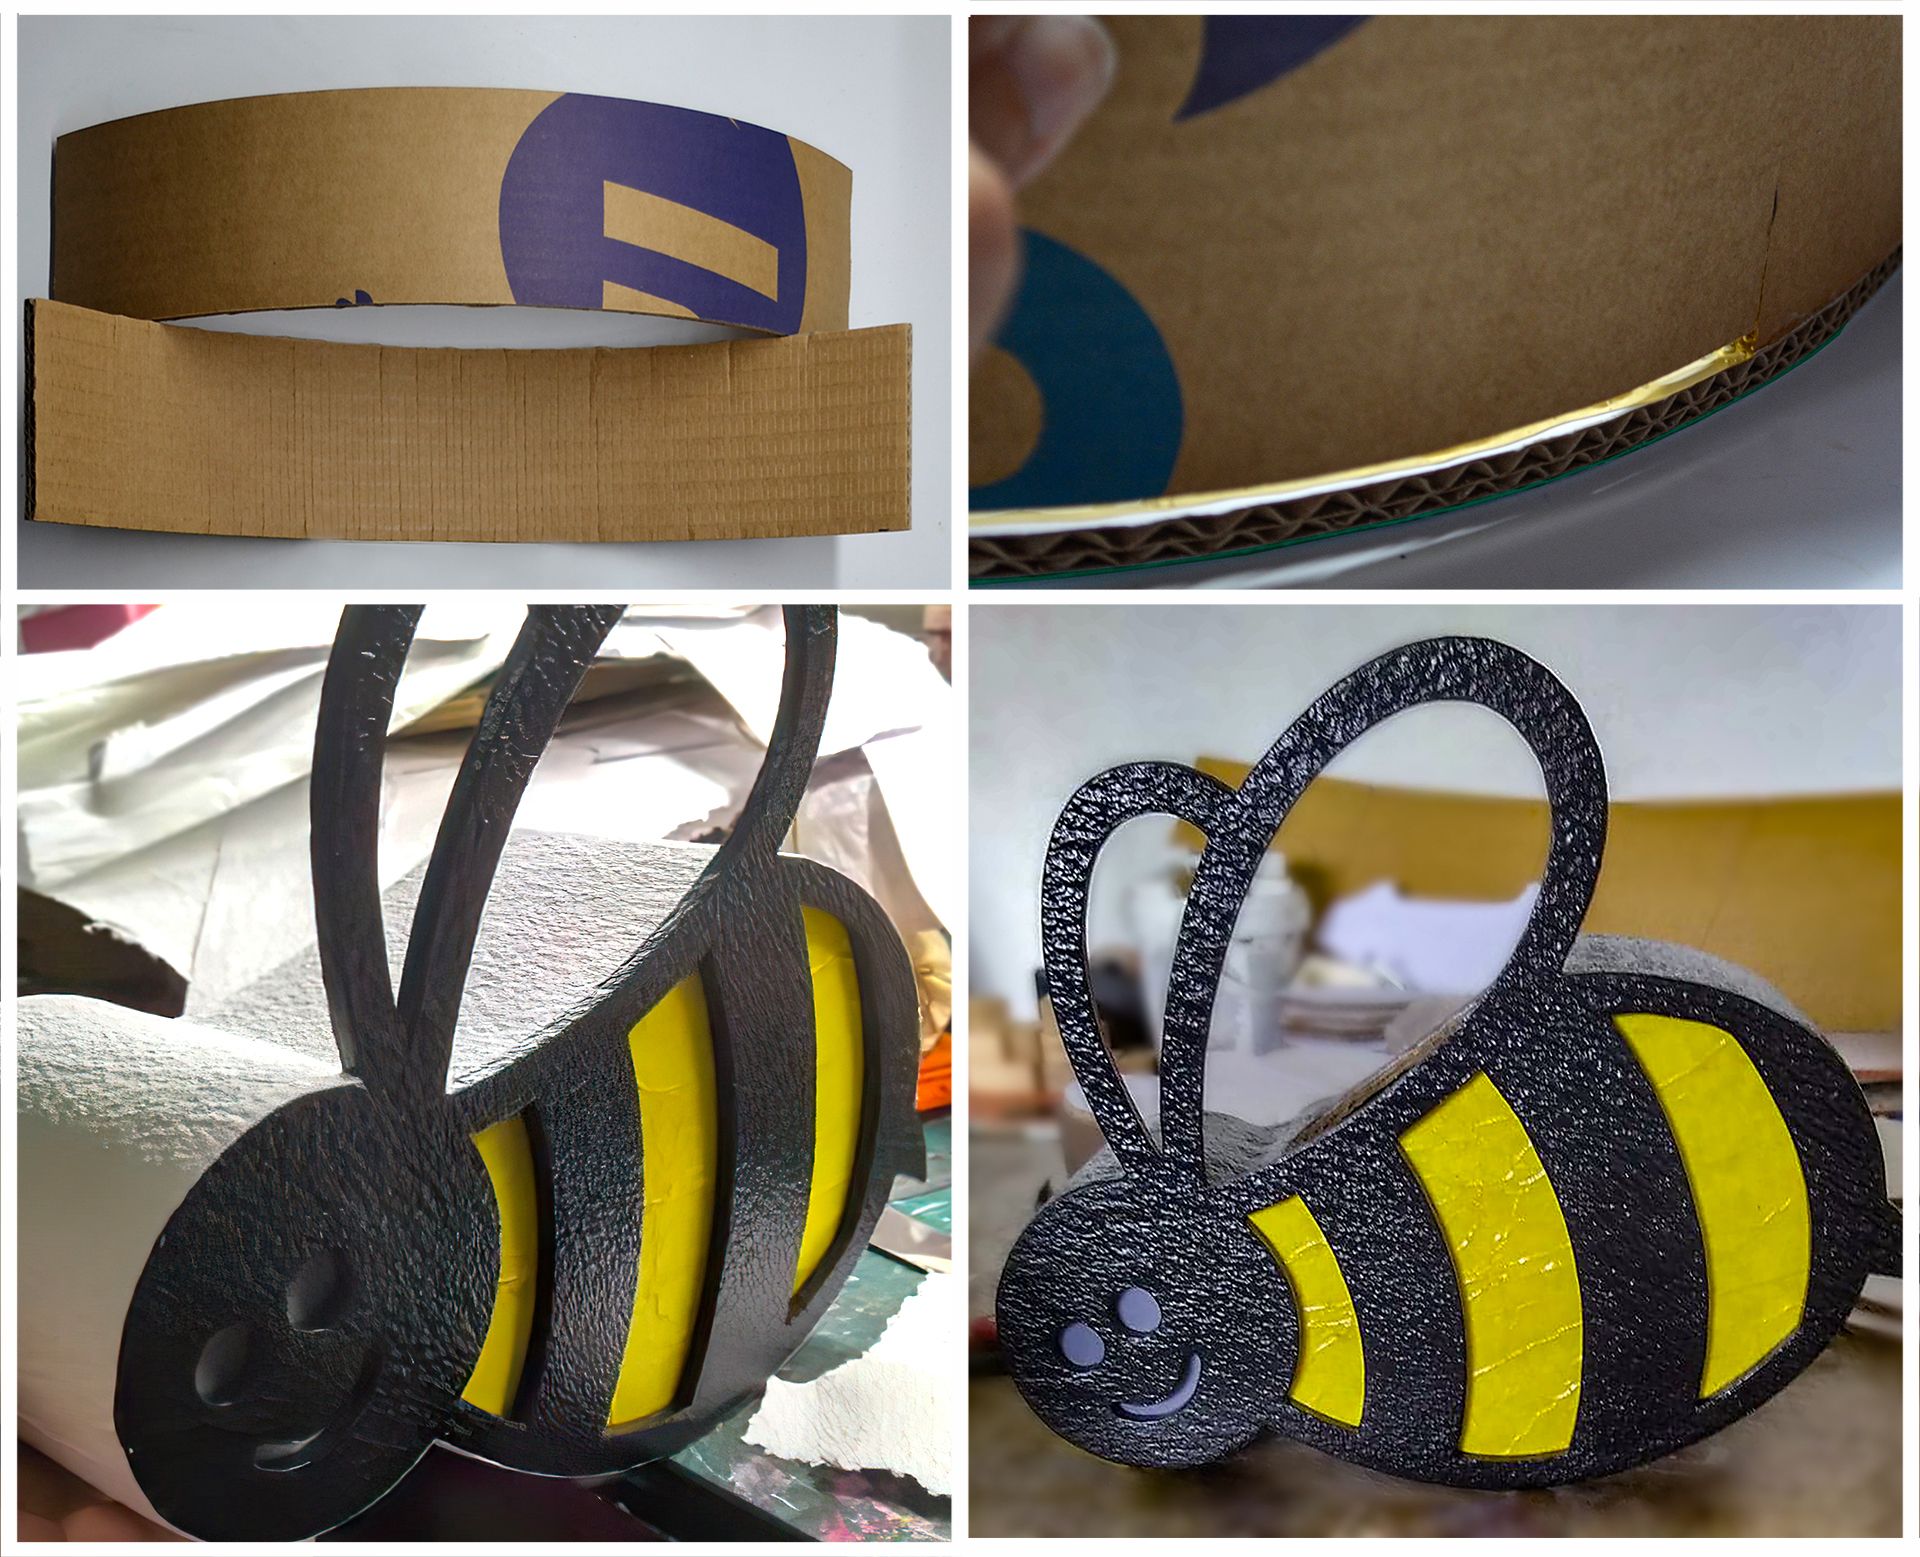
The first thing I did was to line the cardboard with craft paper on the front and reused bond paper on the back. Then I created a mold in CorelDraw and marked the shapes of the bee on the lined cardboard. The front of the lamp with openwork stripes, wings, eyes and a small mouth. The back part was just the body, without any fretwork.
Lo primero que hice fue forrar el cartón con papel artesanal por el anverso y de papel bond reutilizado por el reverso. Posteriormente creé un molde en CorelDraw y marqué las formas de la abeja en el cartón forrado. La parte delantera de la lámpara con rayas caladas, alas, ojos y una pequeña boca. La parte trasera solo el cuerpo, sin calado alguno.
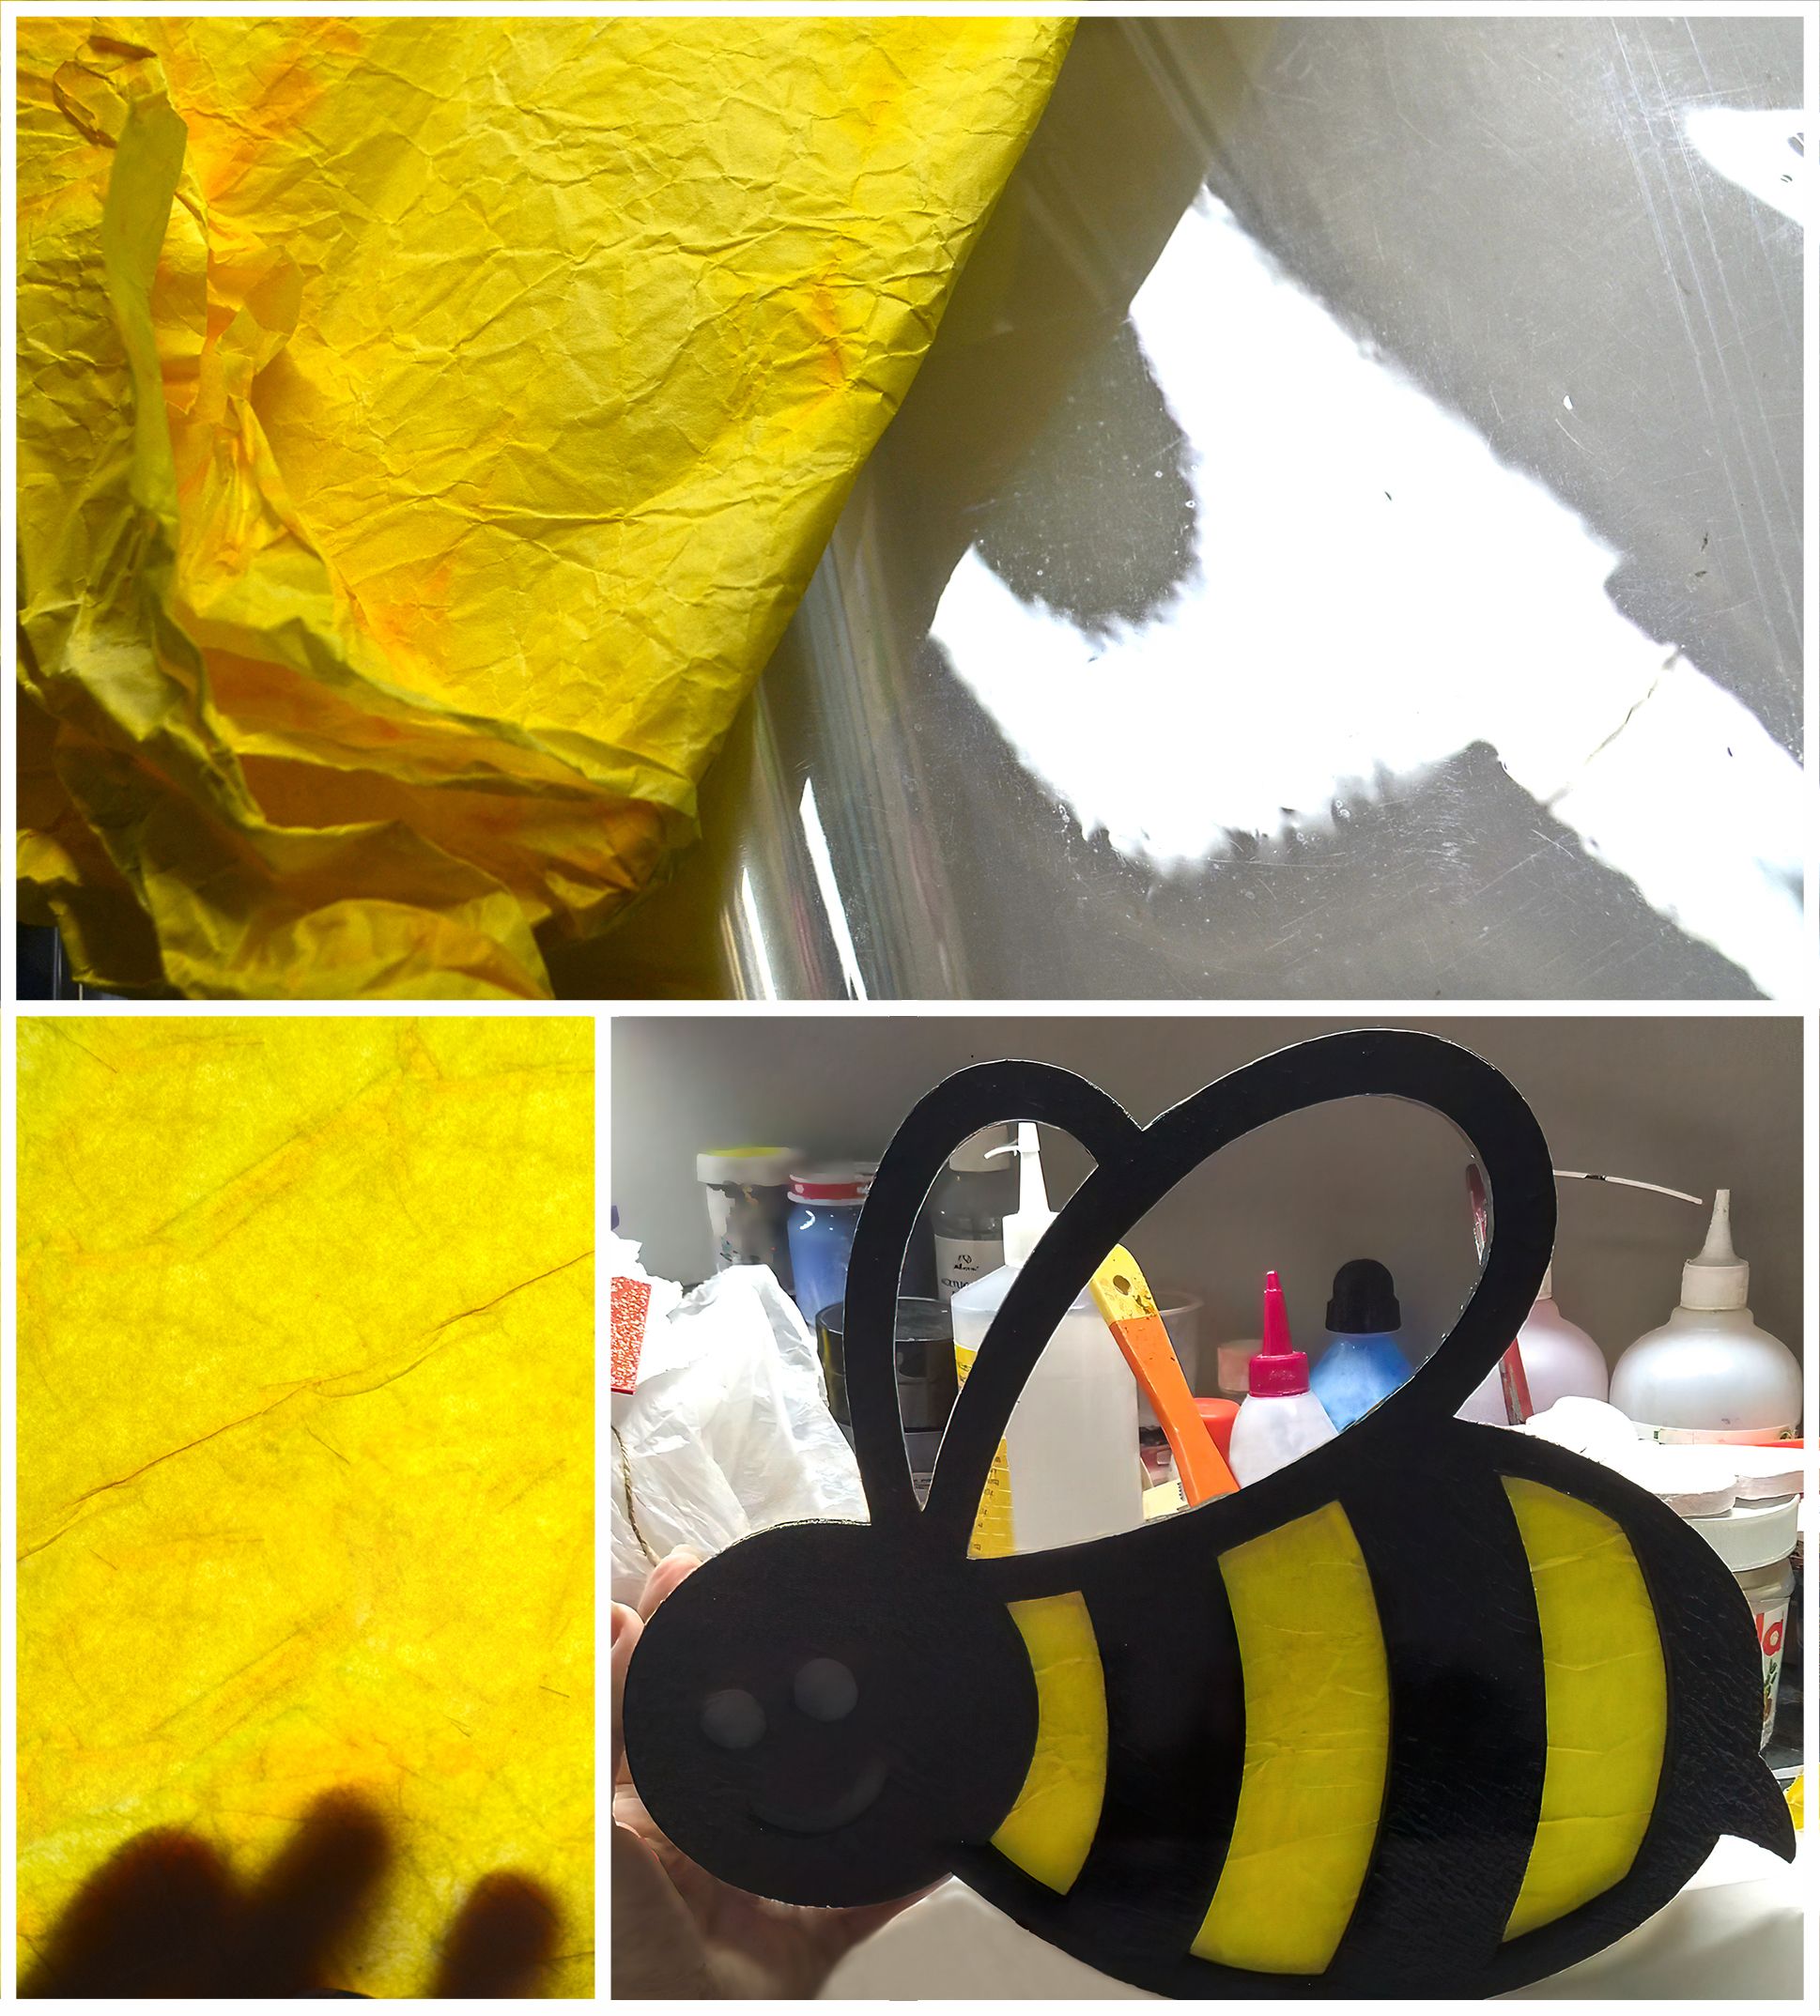
Next I lined the acetate film with the yellow china paper to make the lampshade, which would also be the yellow stripes of the bee. Then I took the front part of the lamp and covered the exposed edges of the cardboard with strips of craft paper, painted it black and glued the yellow film on the back.
A continuación forré la película de acetato con el papel de china amarillo para hacer la pantalla de la lámpara, que sería a la vez, las rayas amarillas de la abeja. Luego tomé la parte frontal de la lámpara le cubrí los bordes expuestos del cartón con tiras de papel artesanal, pinté de negro y pegué por la parte de atrás la película amarilla.
With everything ready I proceeded to join the front and back of the lamp with a strip of cardboard 7cm wide. I did it with hot silicone so that they were strongly glued. I lined everything with craft paper and painted completely black. At the top, just behind the wings, I opened a hole big enough to insert the socket and the bulb.
Con todo listo procedí a unir la parte delantera y trasera de la lámpara con una tira de cartón de 7cm de ancho. Lo hice con silicona caliente para que quedaran fuertemente pegadas. Forré todo con papel artesanal y pinté completamente de negro. Por la parte superior, justo detrás de las alas, abrí un orificio lo suficientemente grande para introducir el socket y la bombilla.
Finally I placed a snowy white acetate behind the wings for better aesthetics. I put some black pipe cleaner antennas with yellow pompoms and incorporated the electrical installation. Thus the bee lamp was ready to illuminate the dreams of little Ana.
Por último coloqué un acetato blanco nevado por detrás de las alas para mejor estética. Puse unas antenas de limpiapipas negros con pompones amarillos y le incorporé la instalación eléctrica. Así quedó lista la lámpara de abeja para iluminar los sueños de la pequeña Ana.

All rights reserved on the text and images, which are of my authorship unless otherwise indicated. Cover made in Photoshop. I use DeepL for translation because my English is very bad 🤭.
Derecho reservado sobre el texto y las imágenes, que son de mi autoría a no ser que indique lo contrario. Portada realizada en Photoshop. Uso DeepL para la traducción porque mi Inglés es muy malo. 🤭