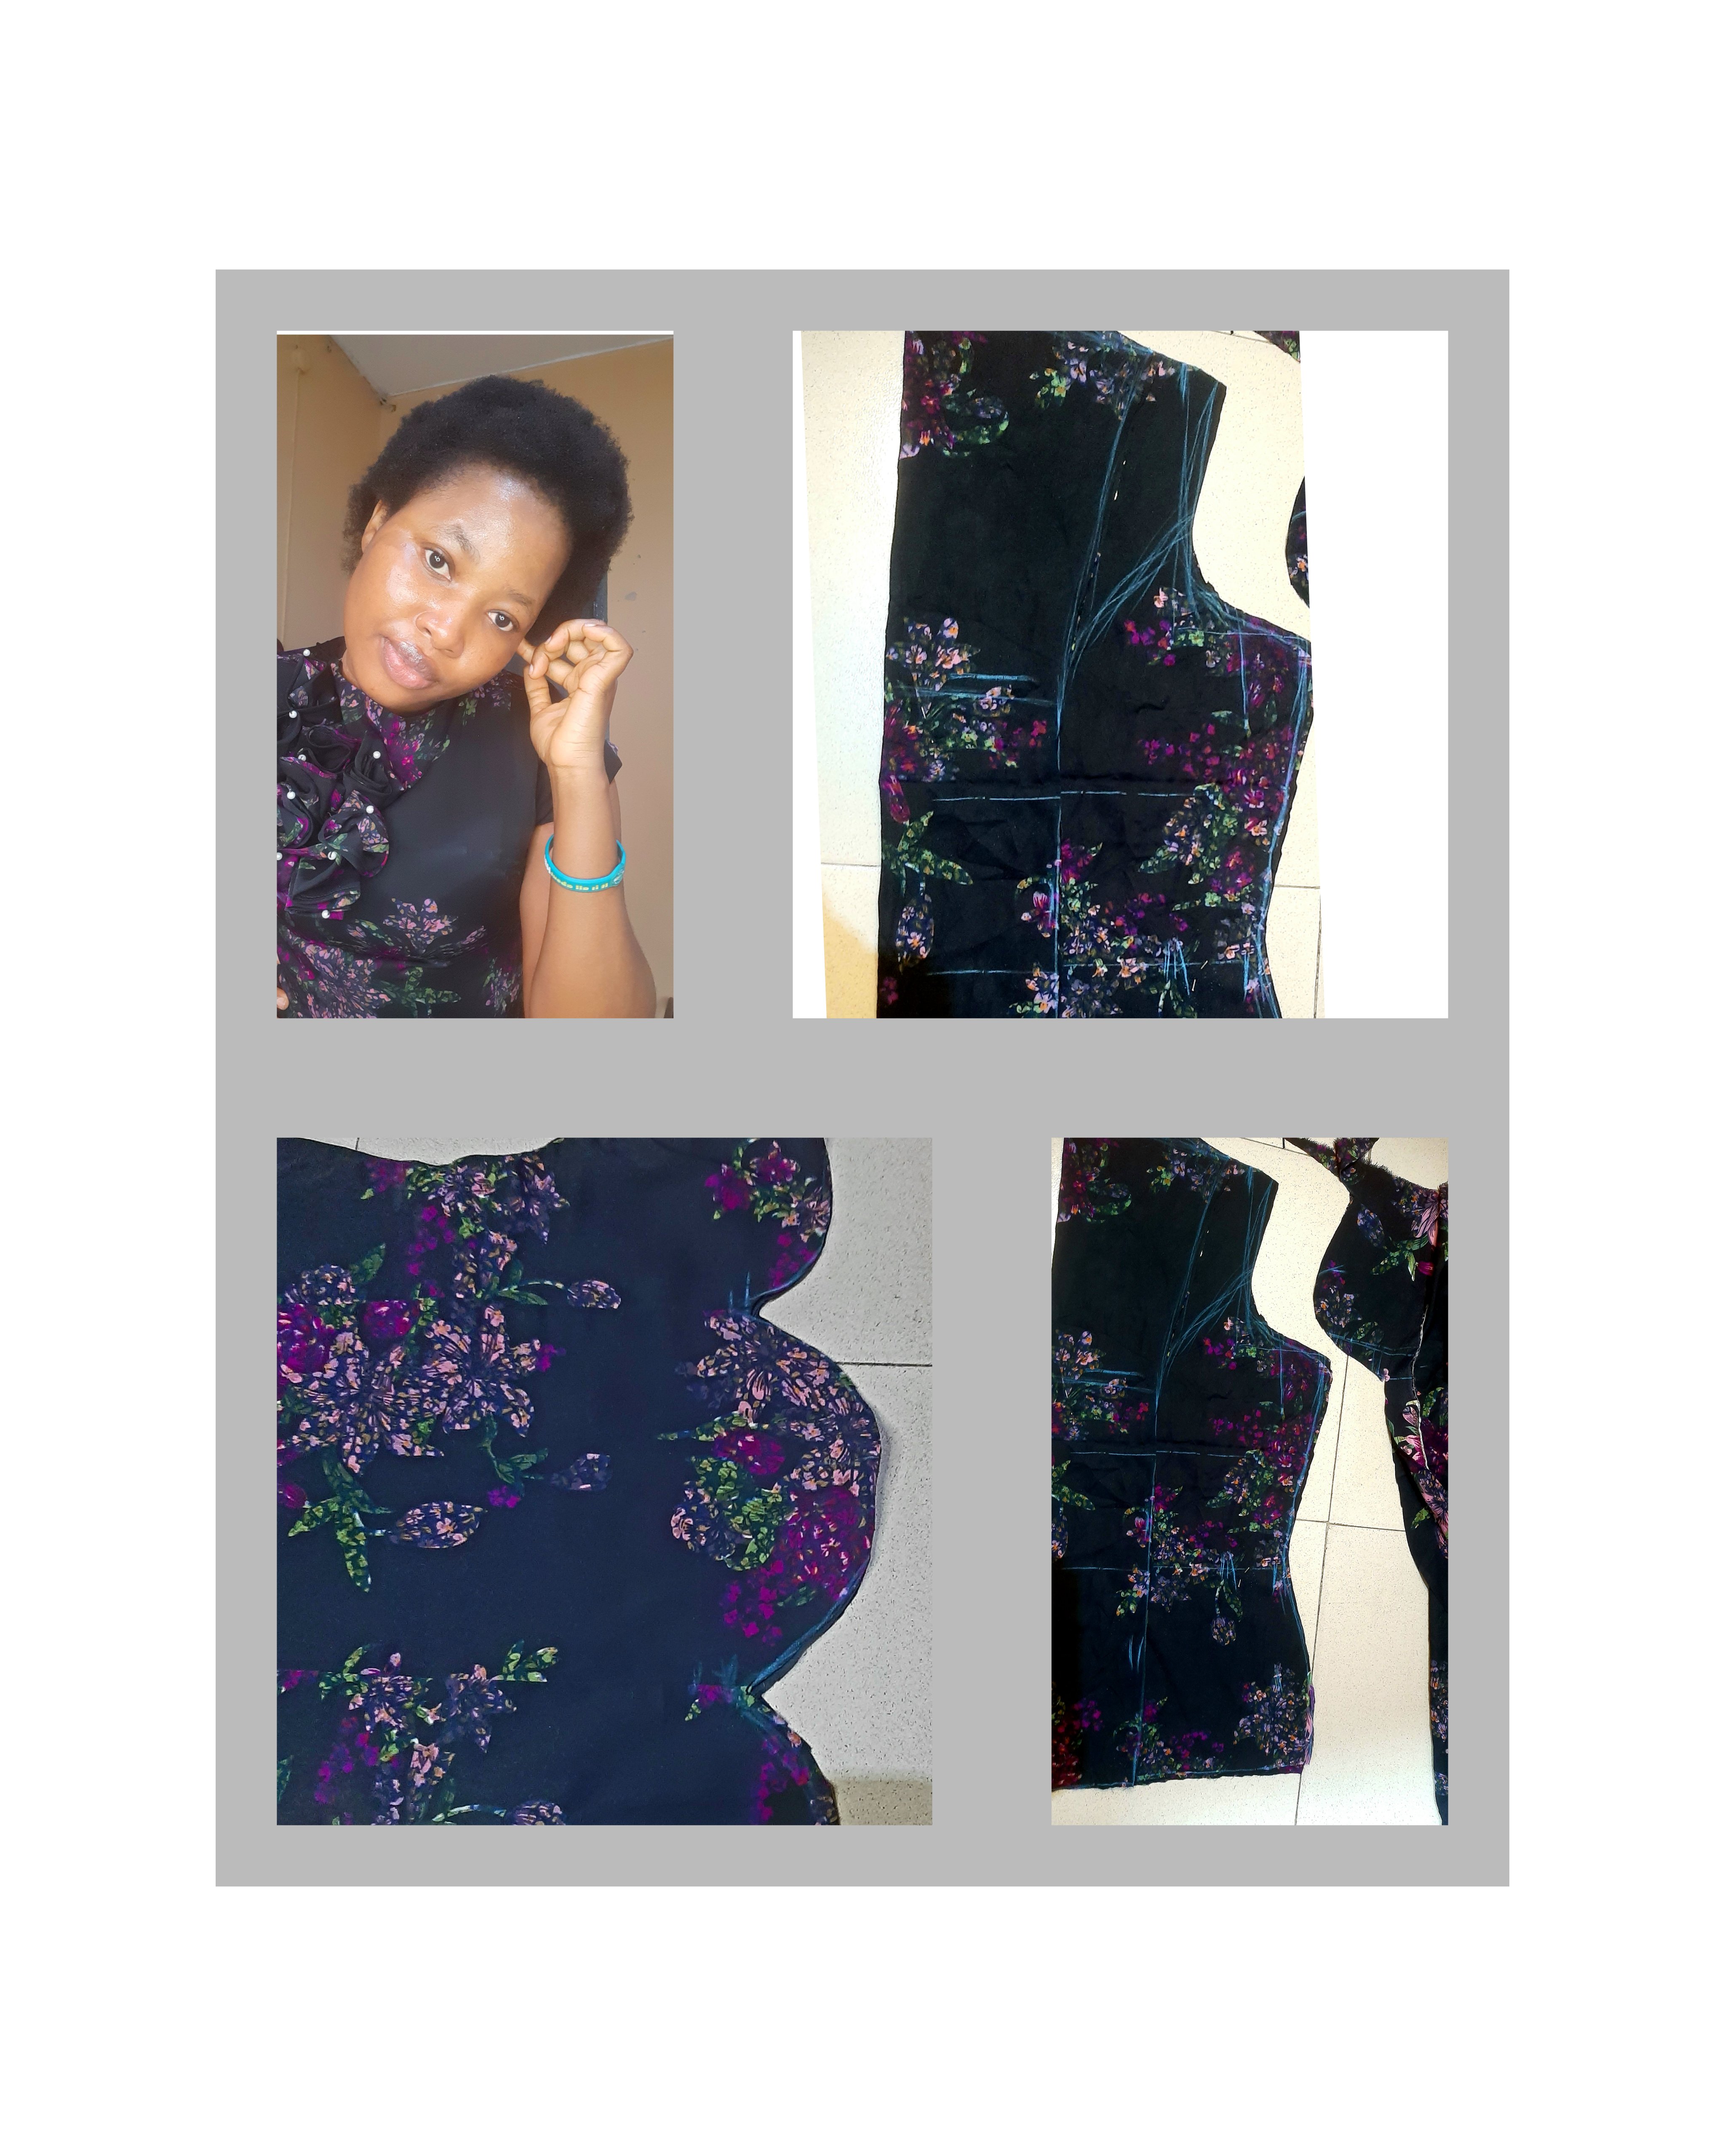
Hello fellow designers! I'm glad to share with you my latest sewing project, a beautiful gown I made for Sunday service. In this tutorial, I'll walk you through the steps I took to create this stunning piece.
The Inspiration
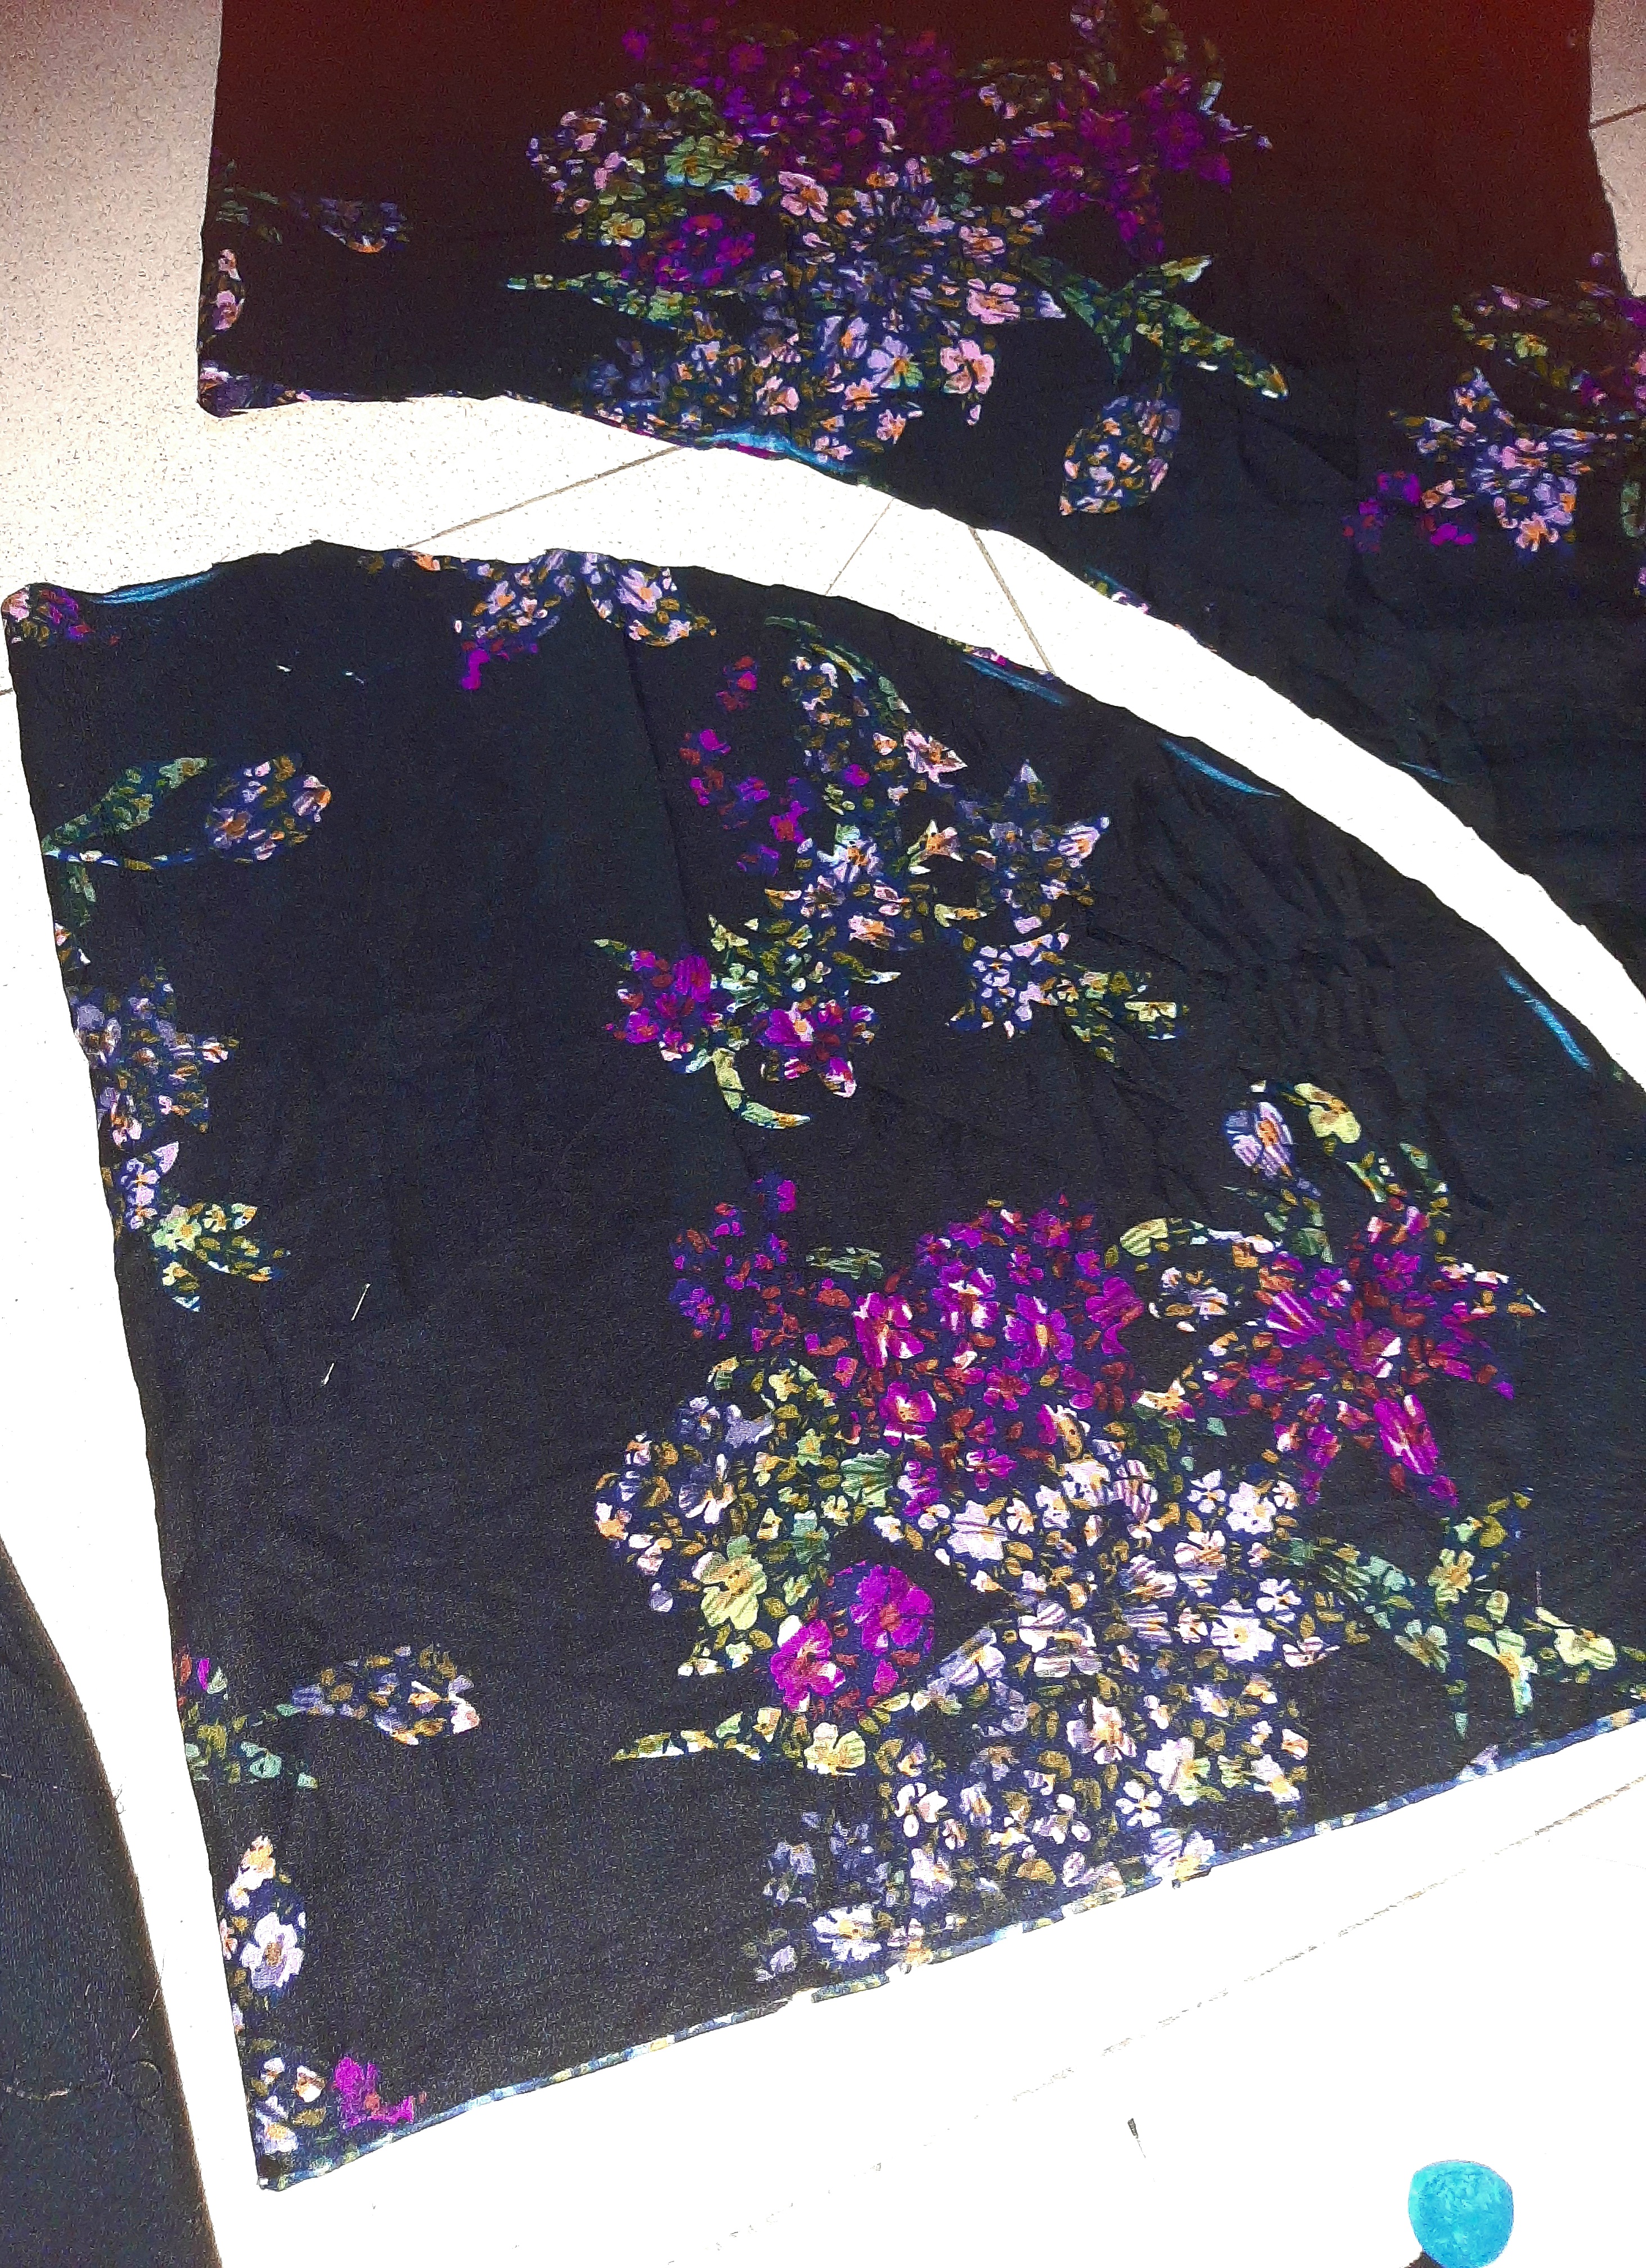
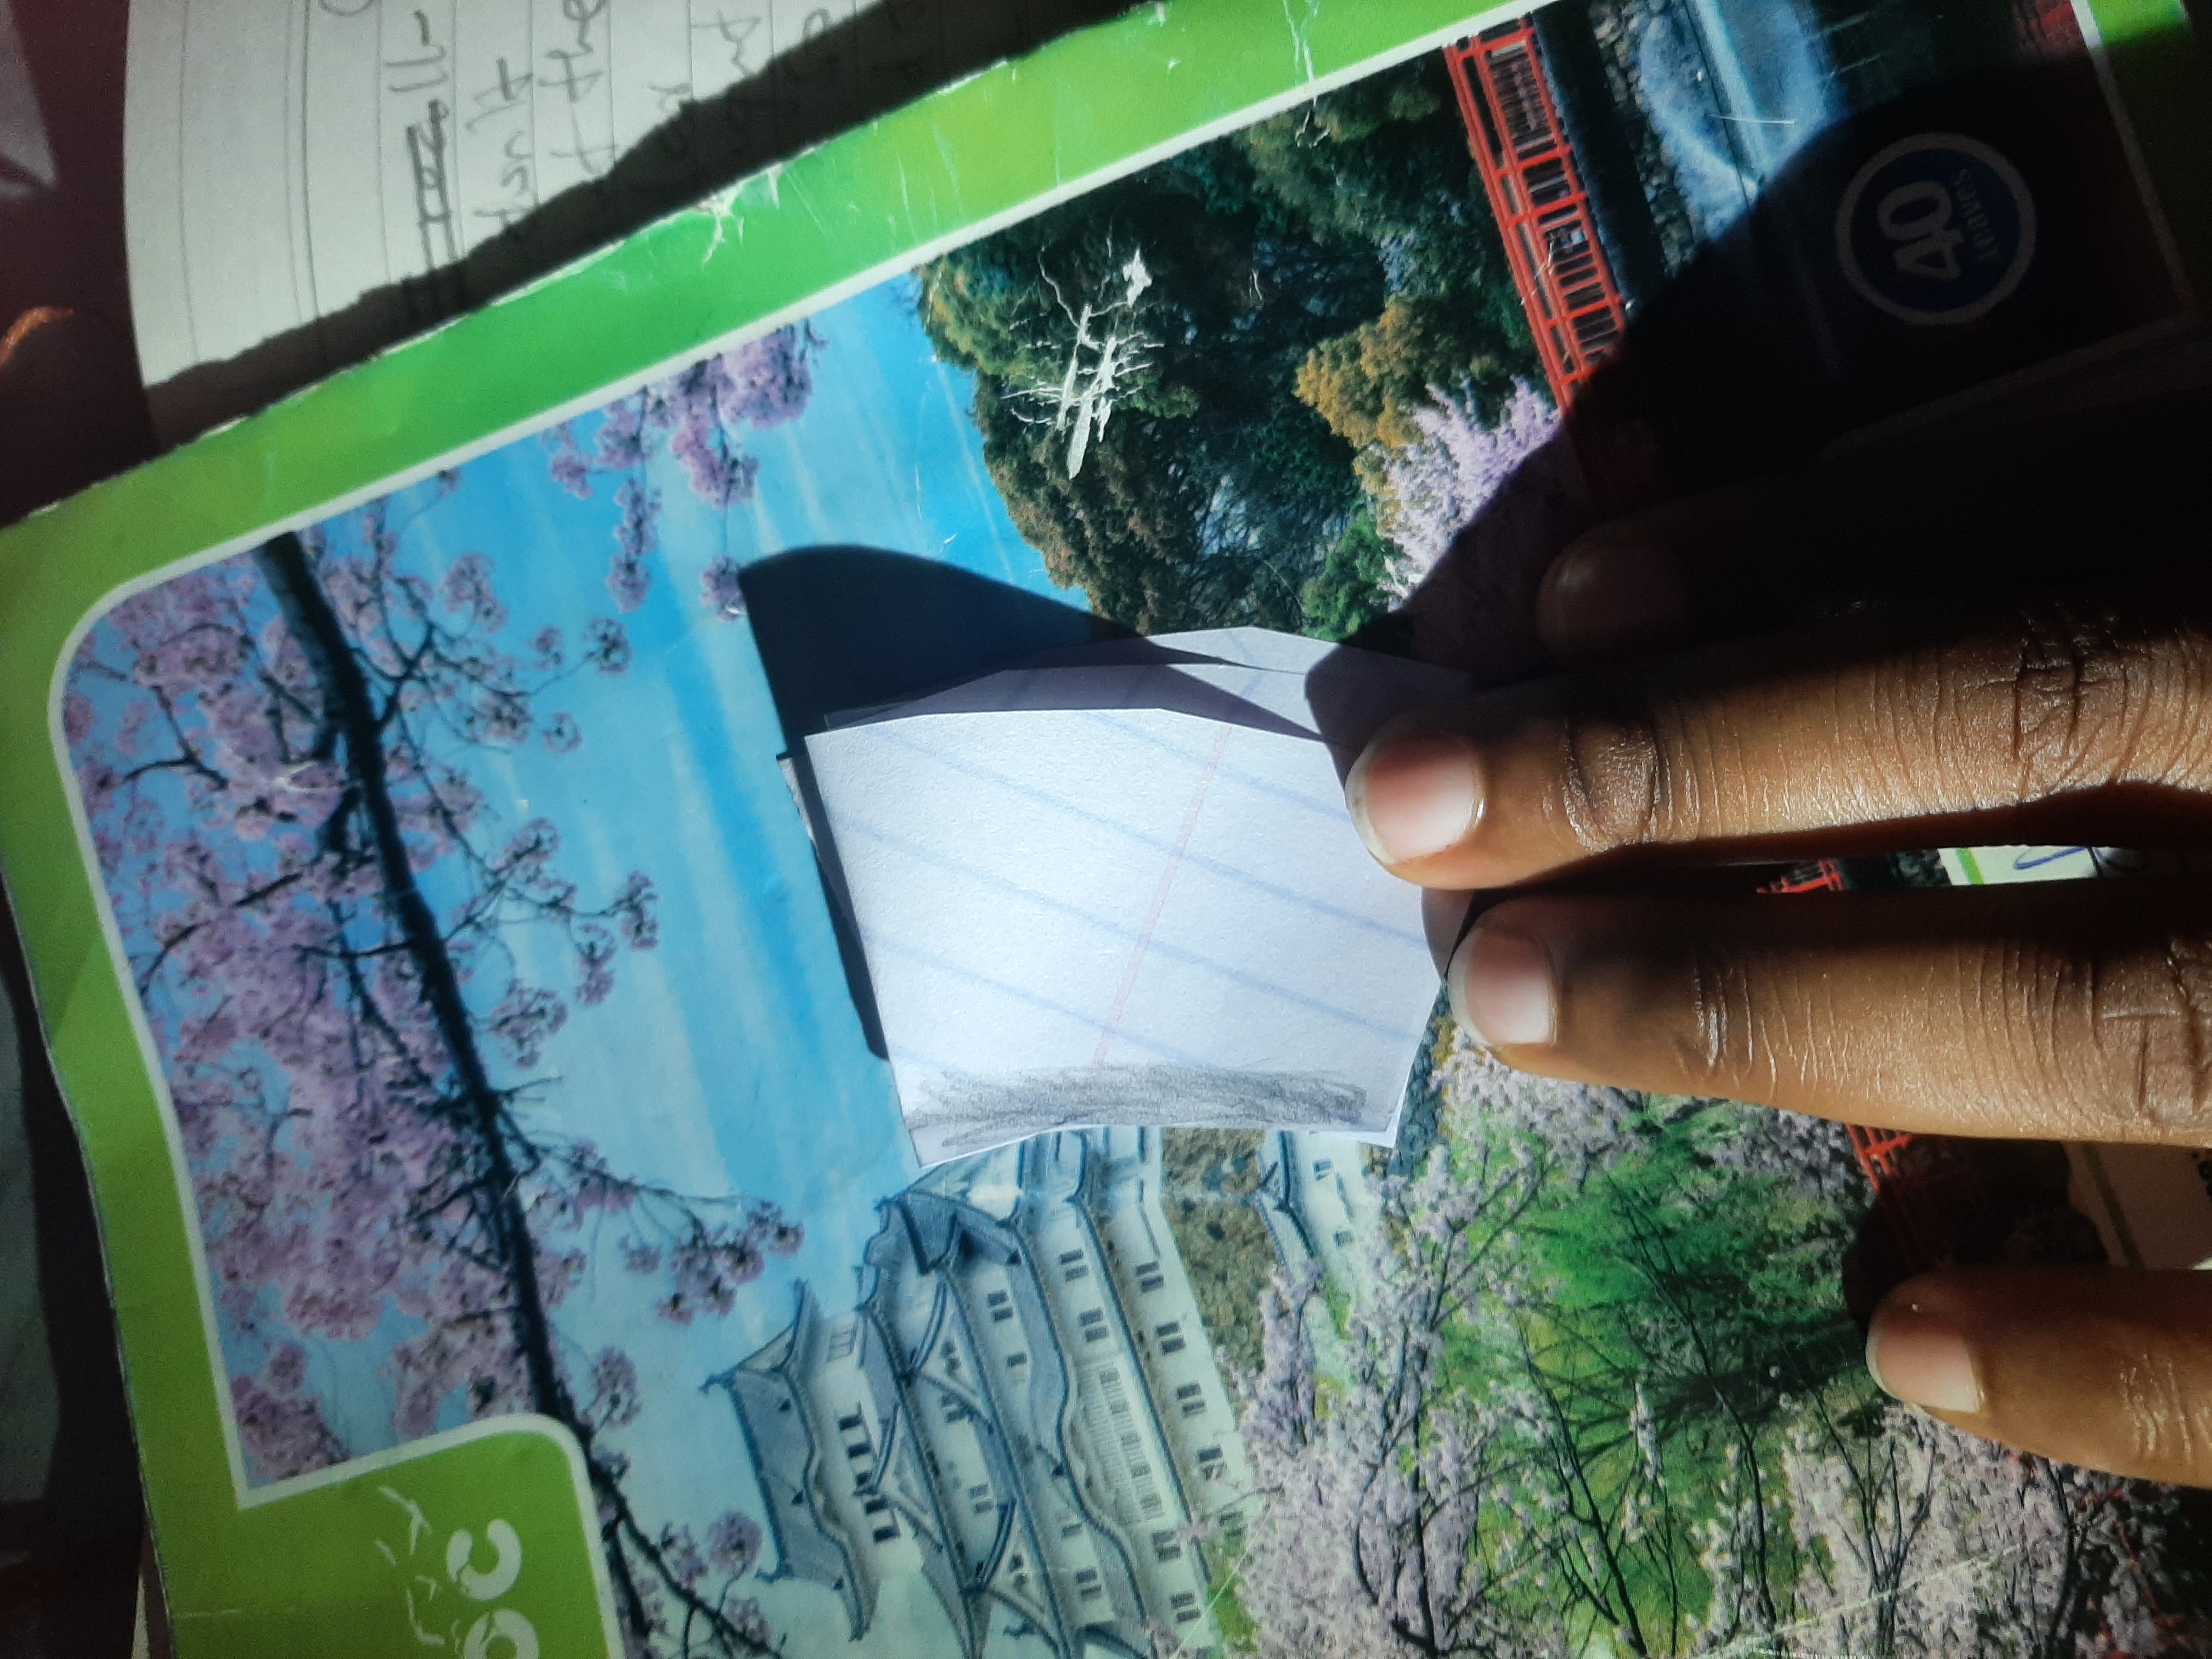
It all started on Saturday when I was contemplating what to wear to church on Sunday. My thought landed on this particular fabric that has been in my care for a while now. I do not have any specific design in mind but I knew I wanted a modest flowy gown with a free bottom part. In this tutorial, I'll share the steps I took to create this gown. While I won't be able to provide shots for some parts because I was trying to work against time, I'll use paper illustrations to fill in the gaps.
Sewing Materials Used
- Cotton Lining
- Soft Paper Stay
- Matching Thread
- Zip
- Pearl Bead
The Process
Step 1
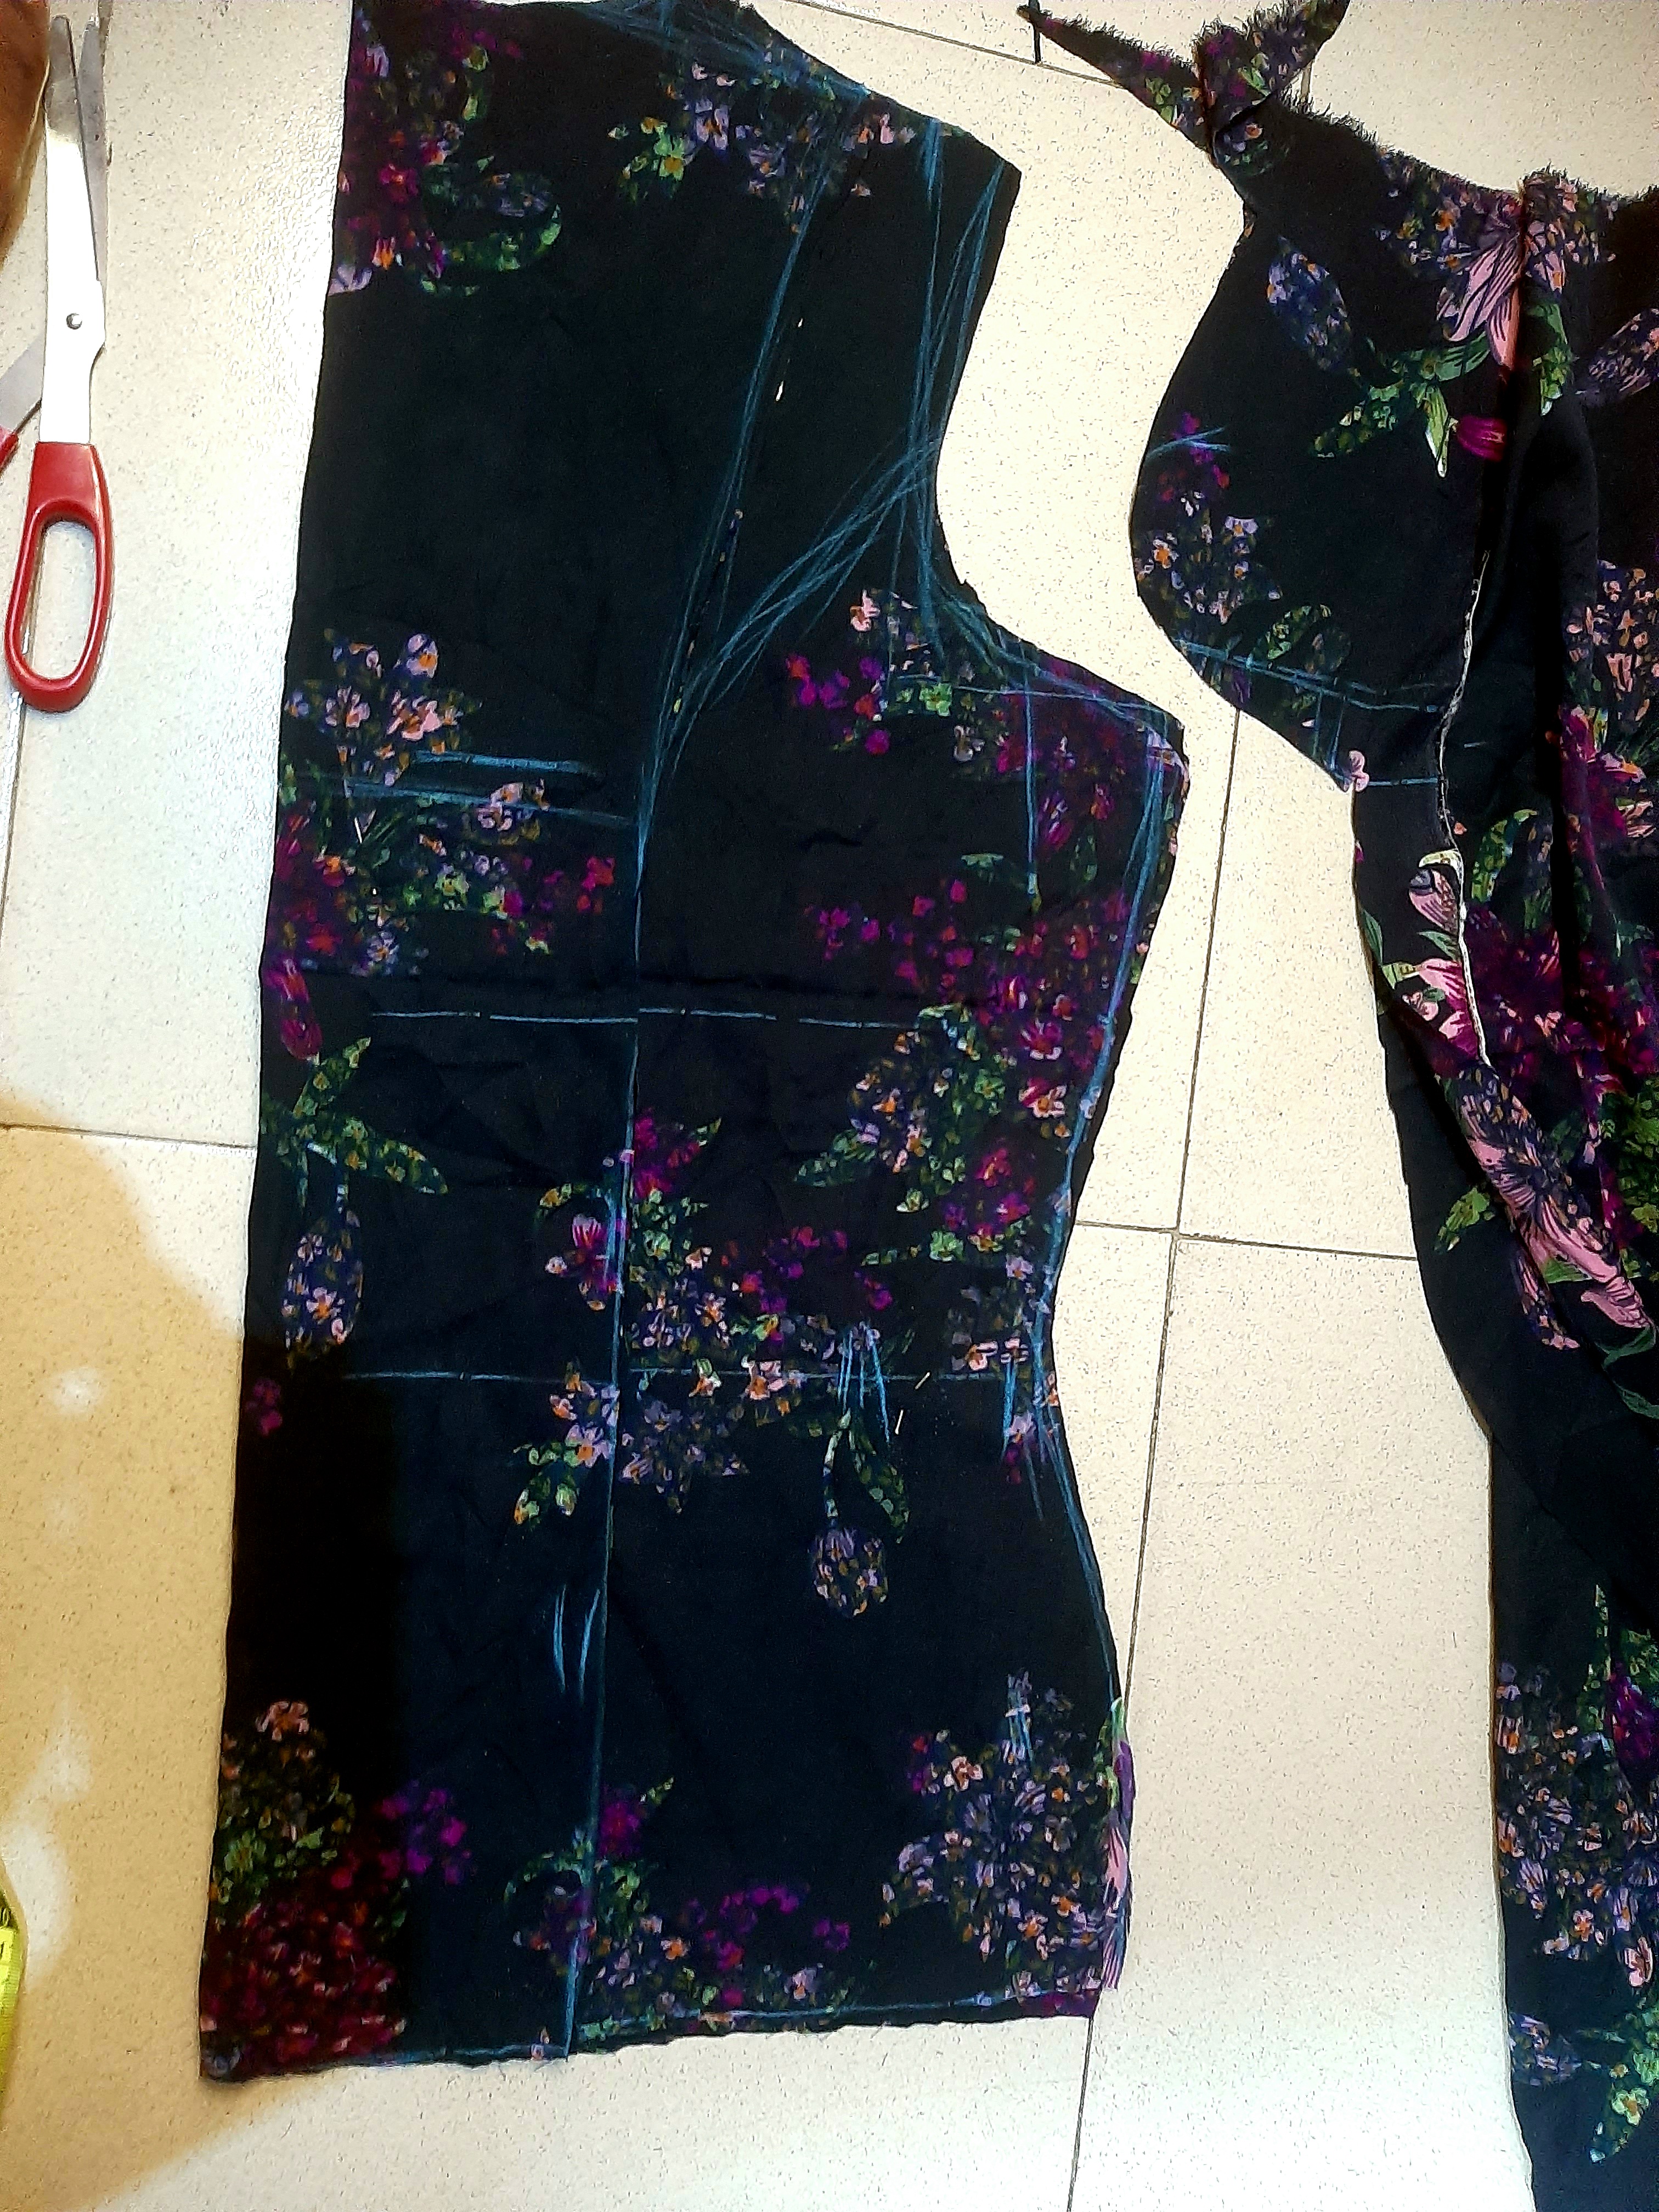
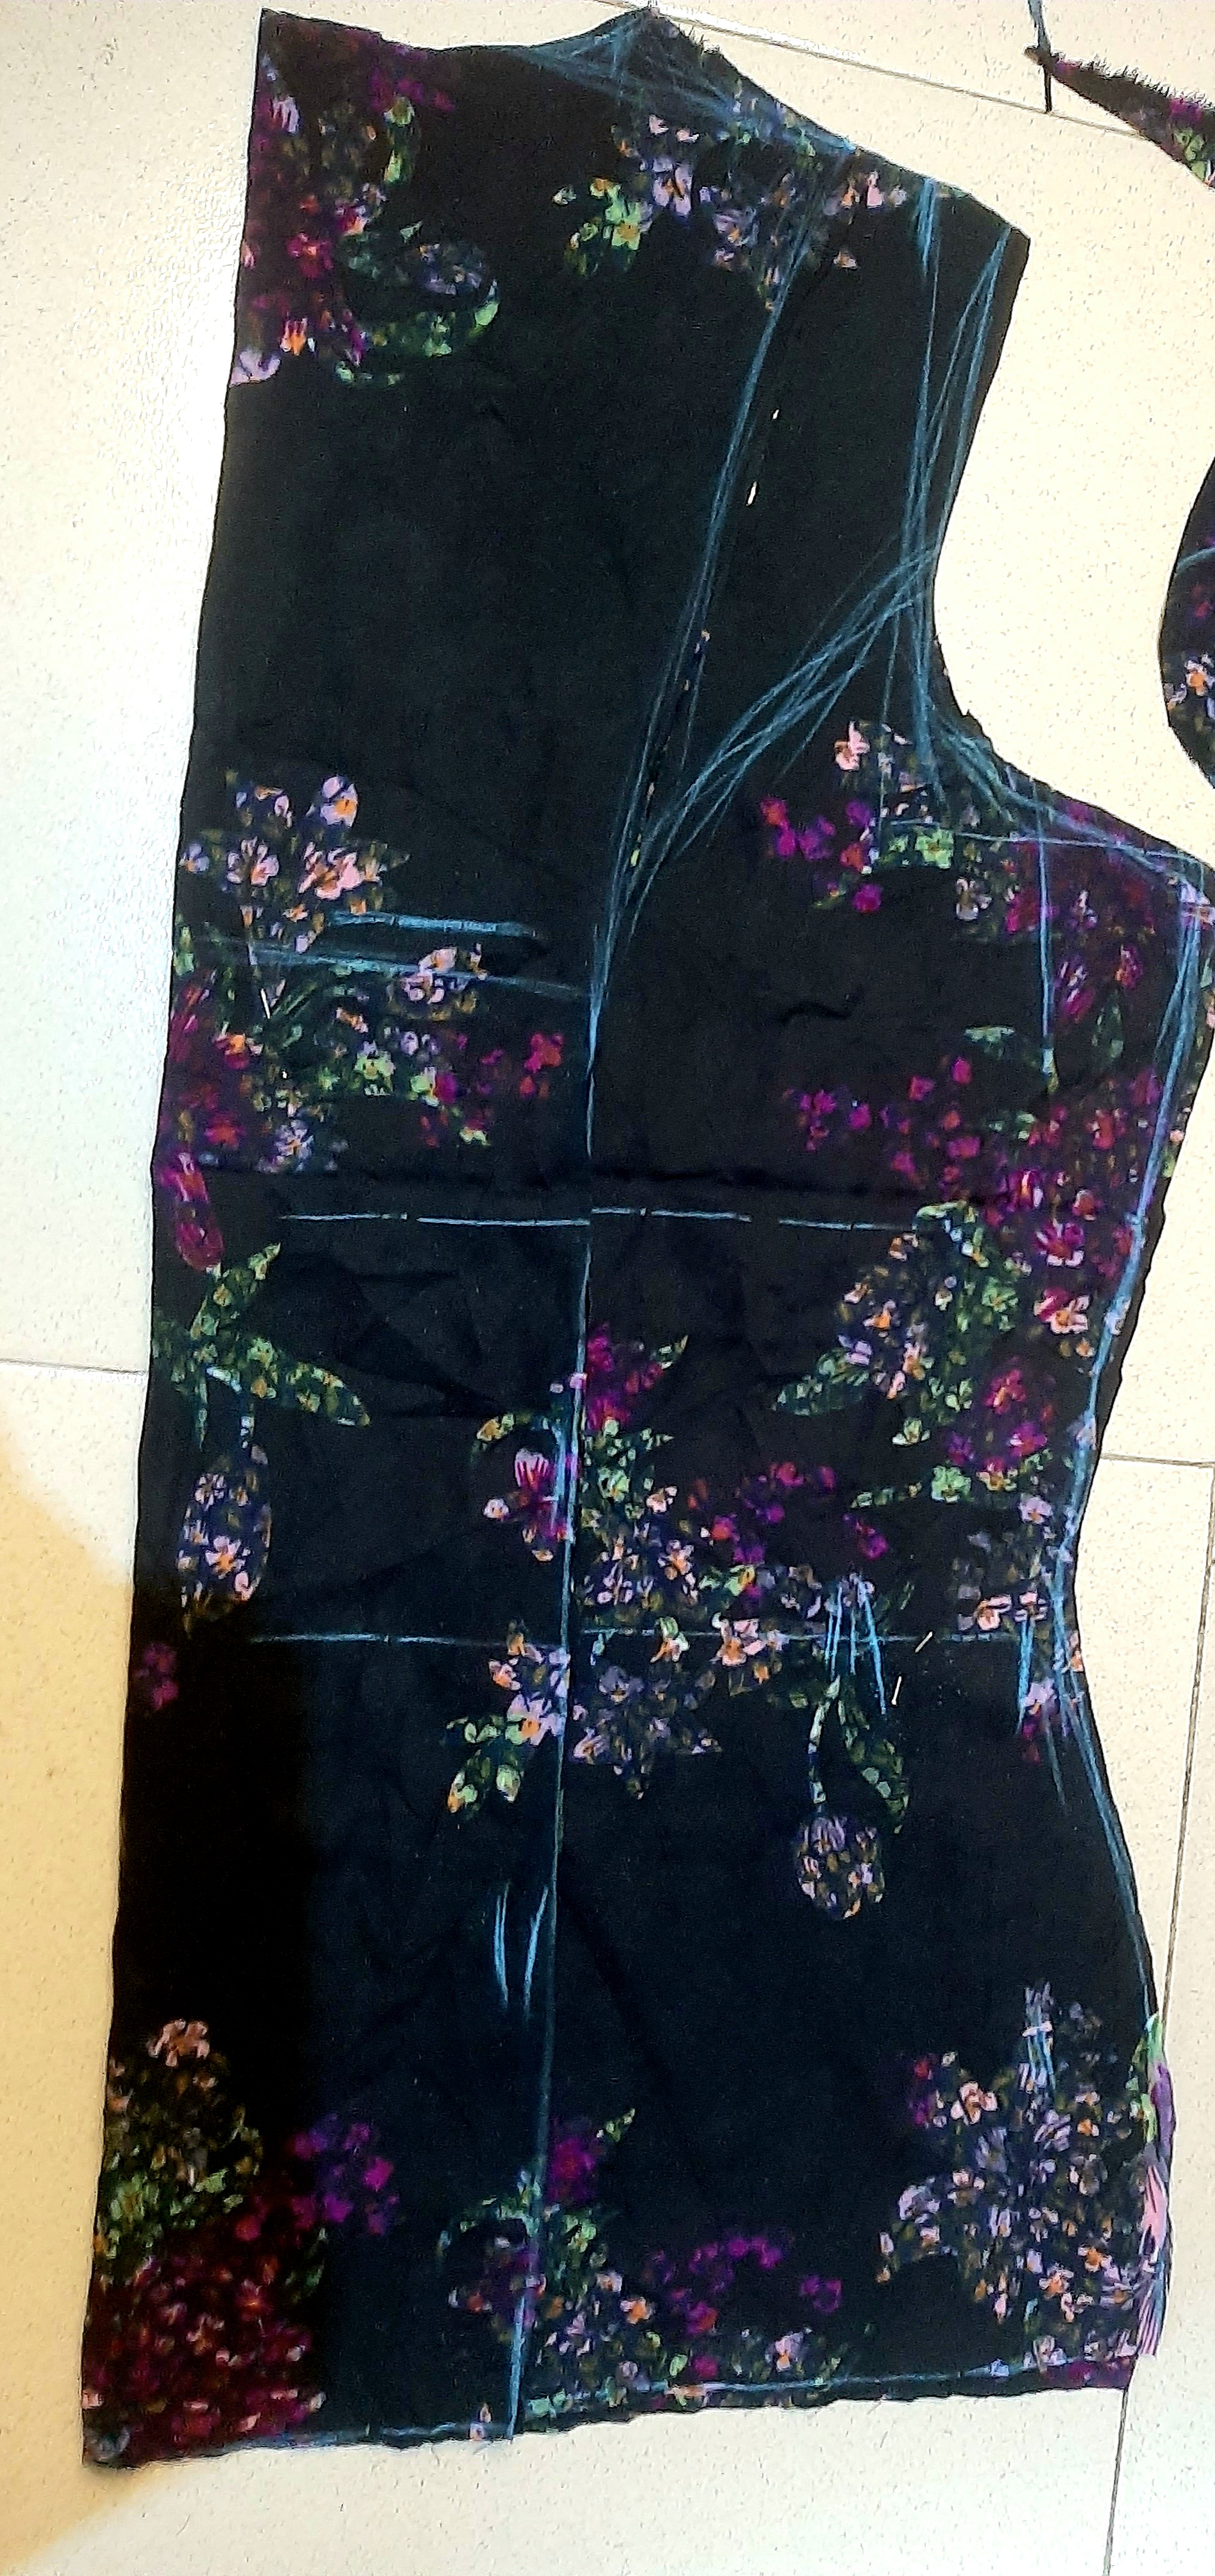
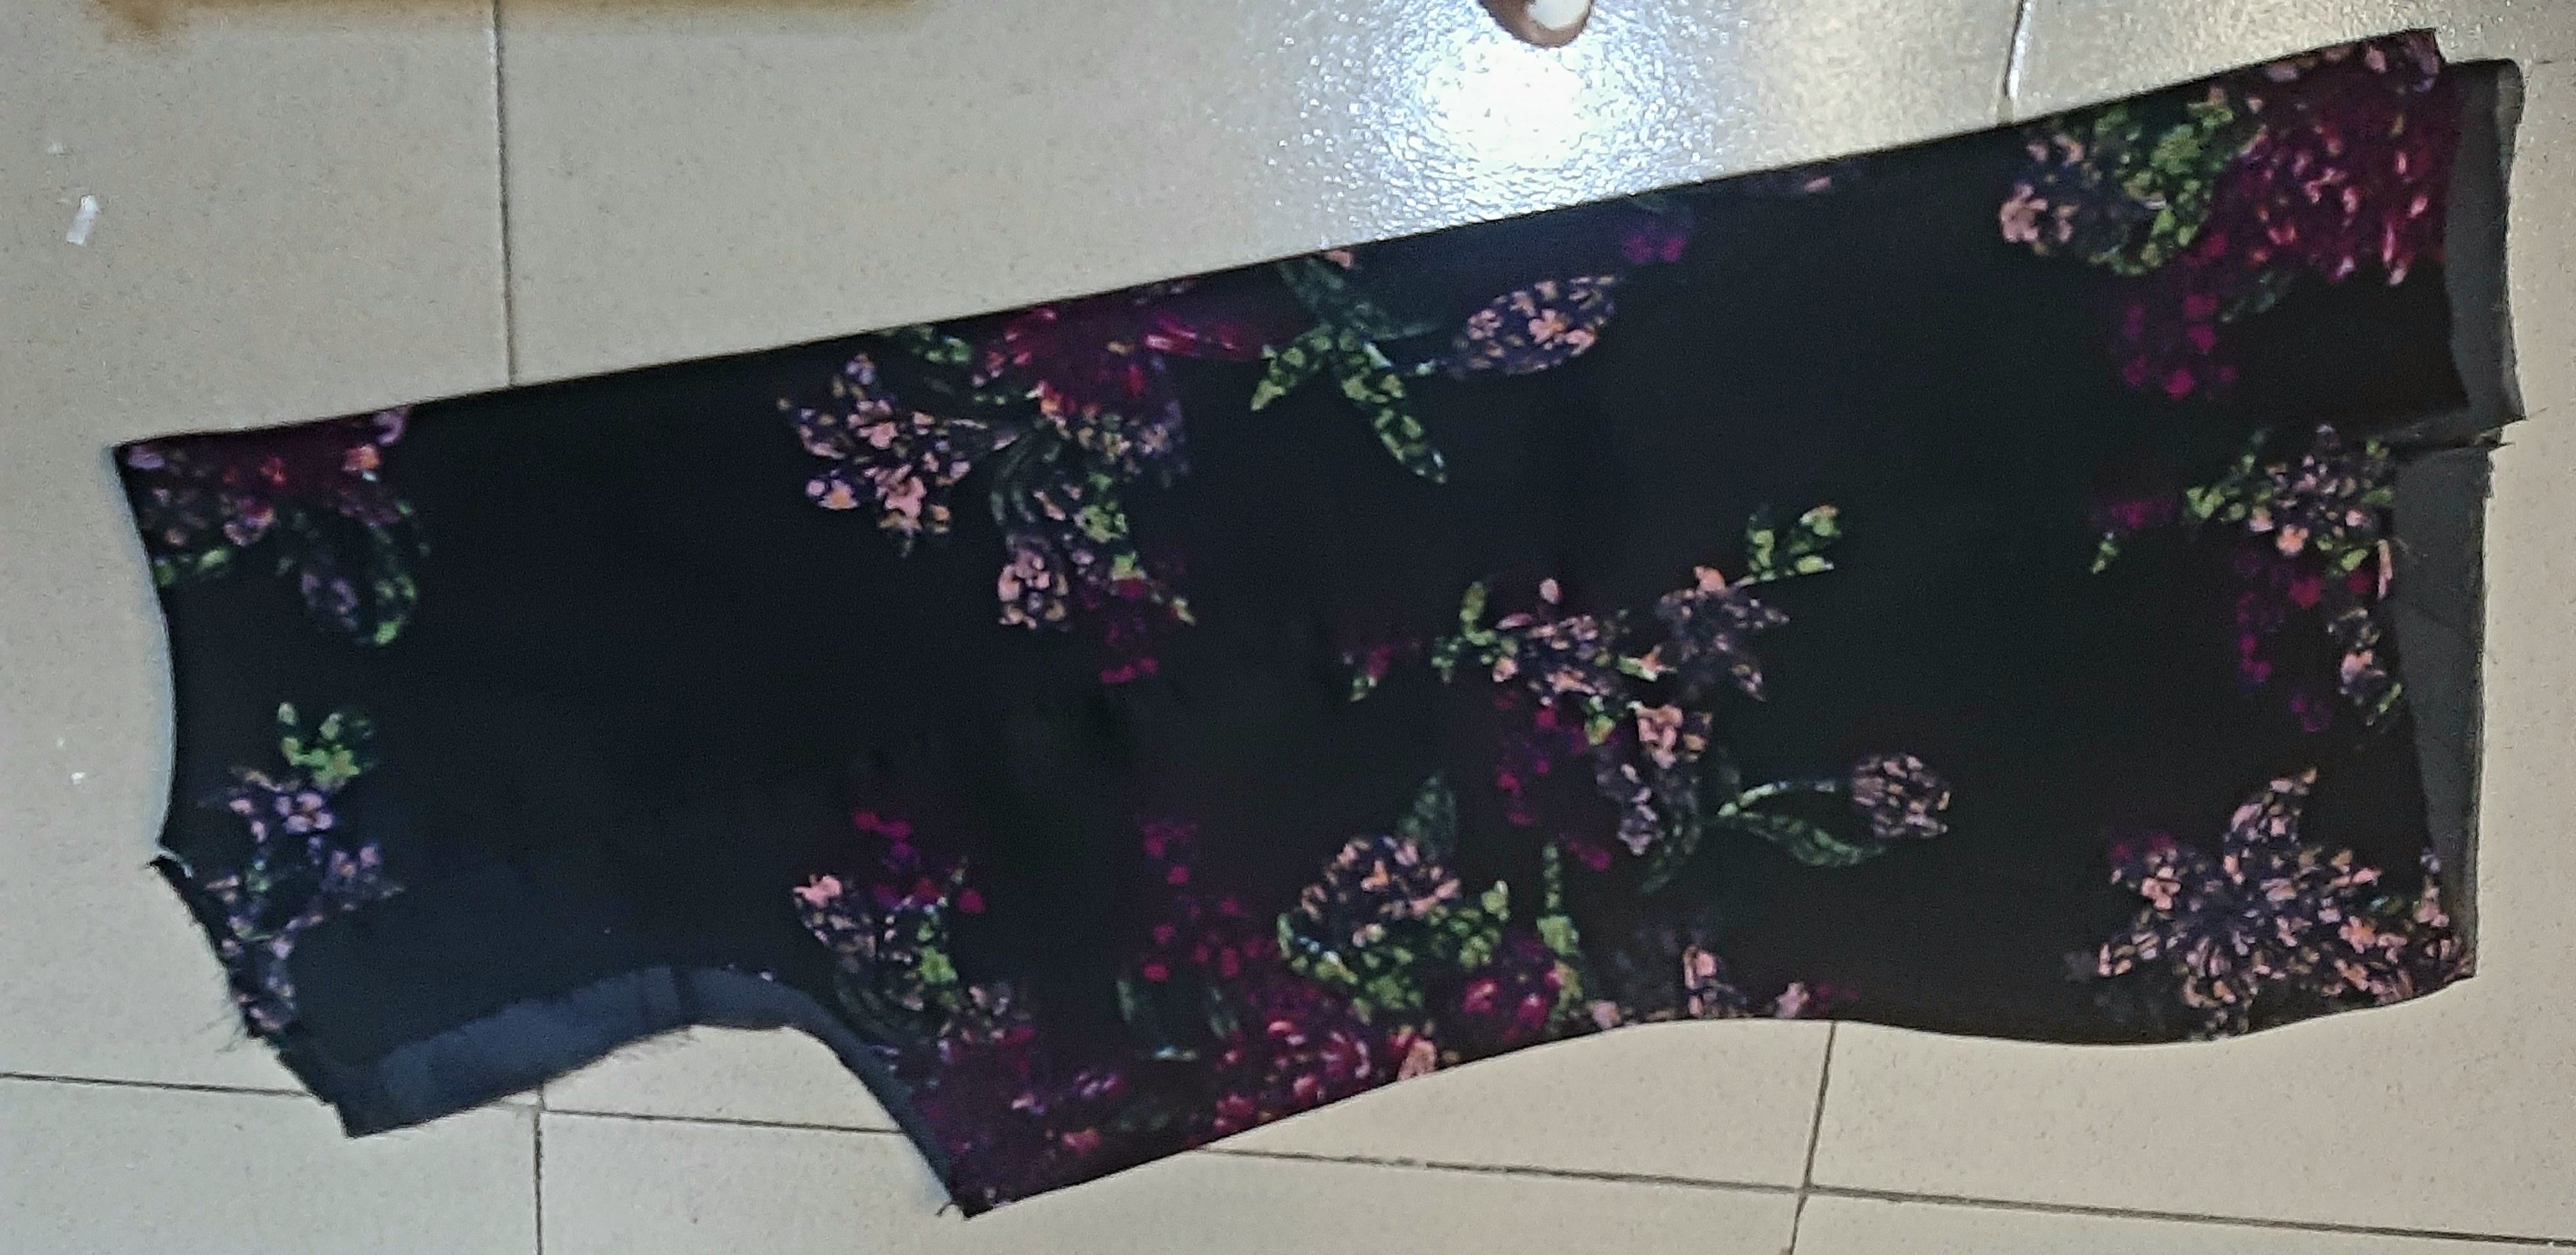
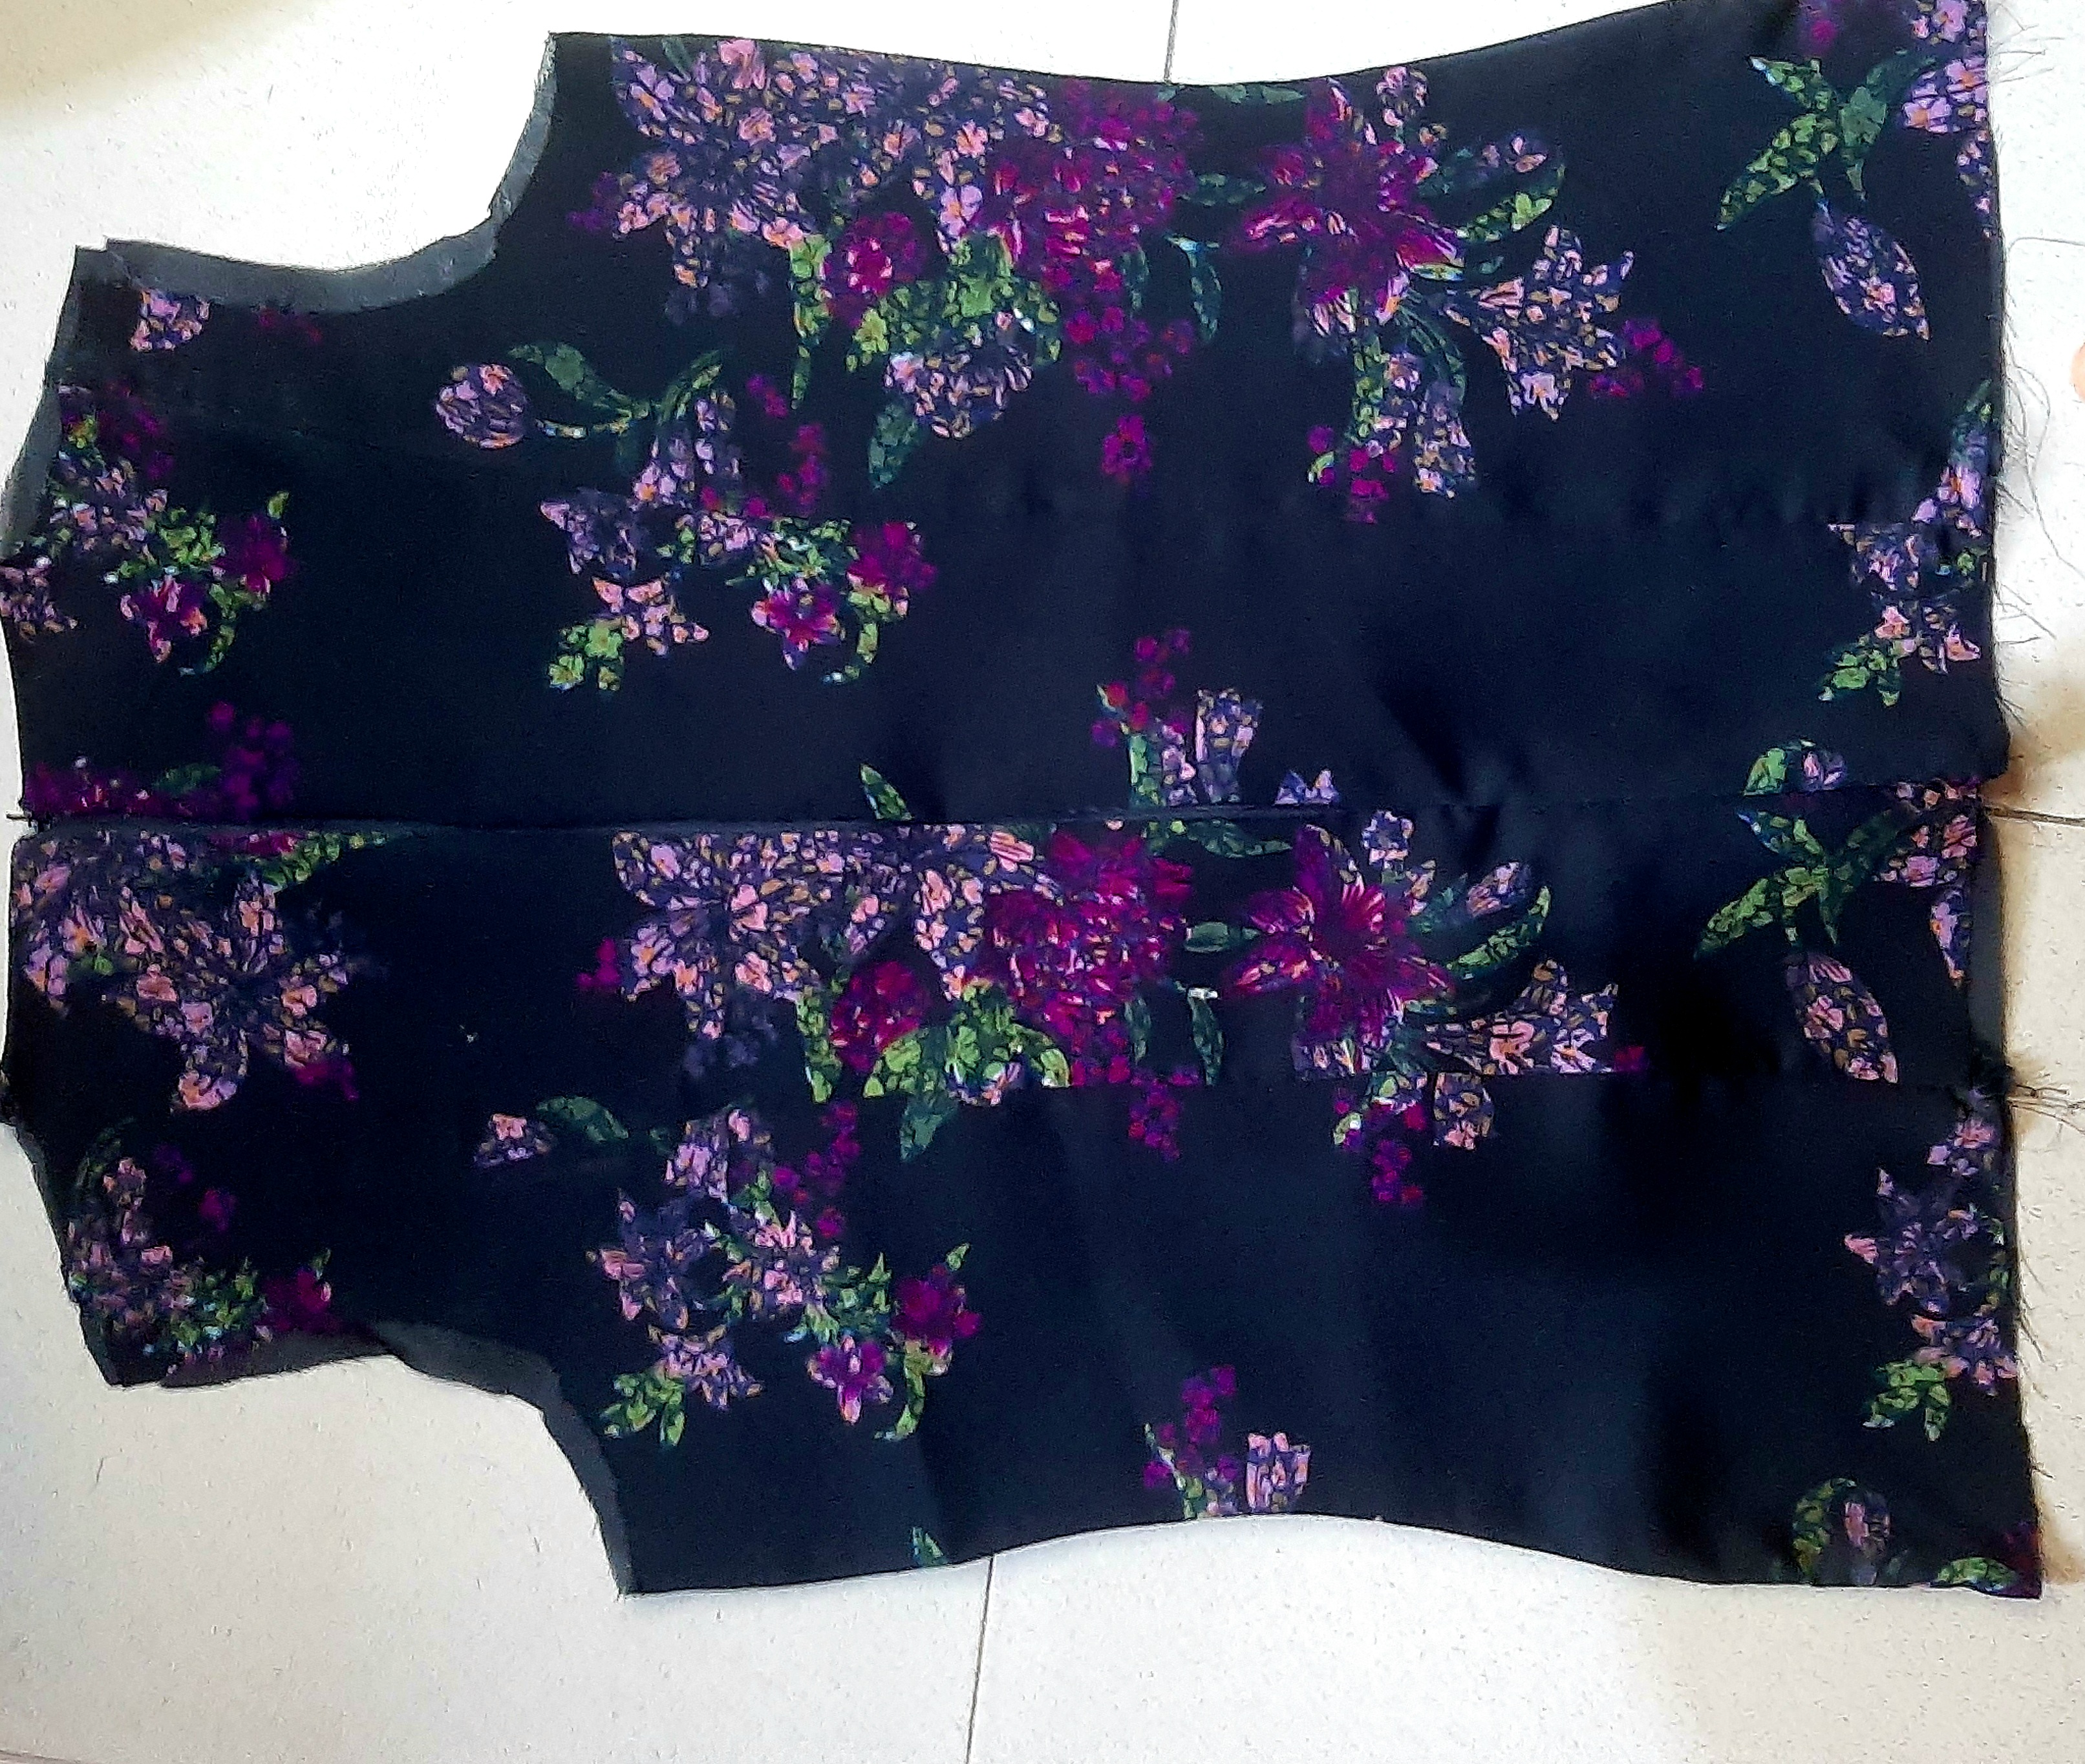
I cut out the front and back bodices, extending the length to the hip line.
I initially wanted to make a princess dart but changed it.
Step 2
Originally, I planned for a high neckline, but I decided to go for an inbuilt high neckline instead.
Step 3
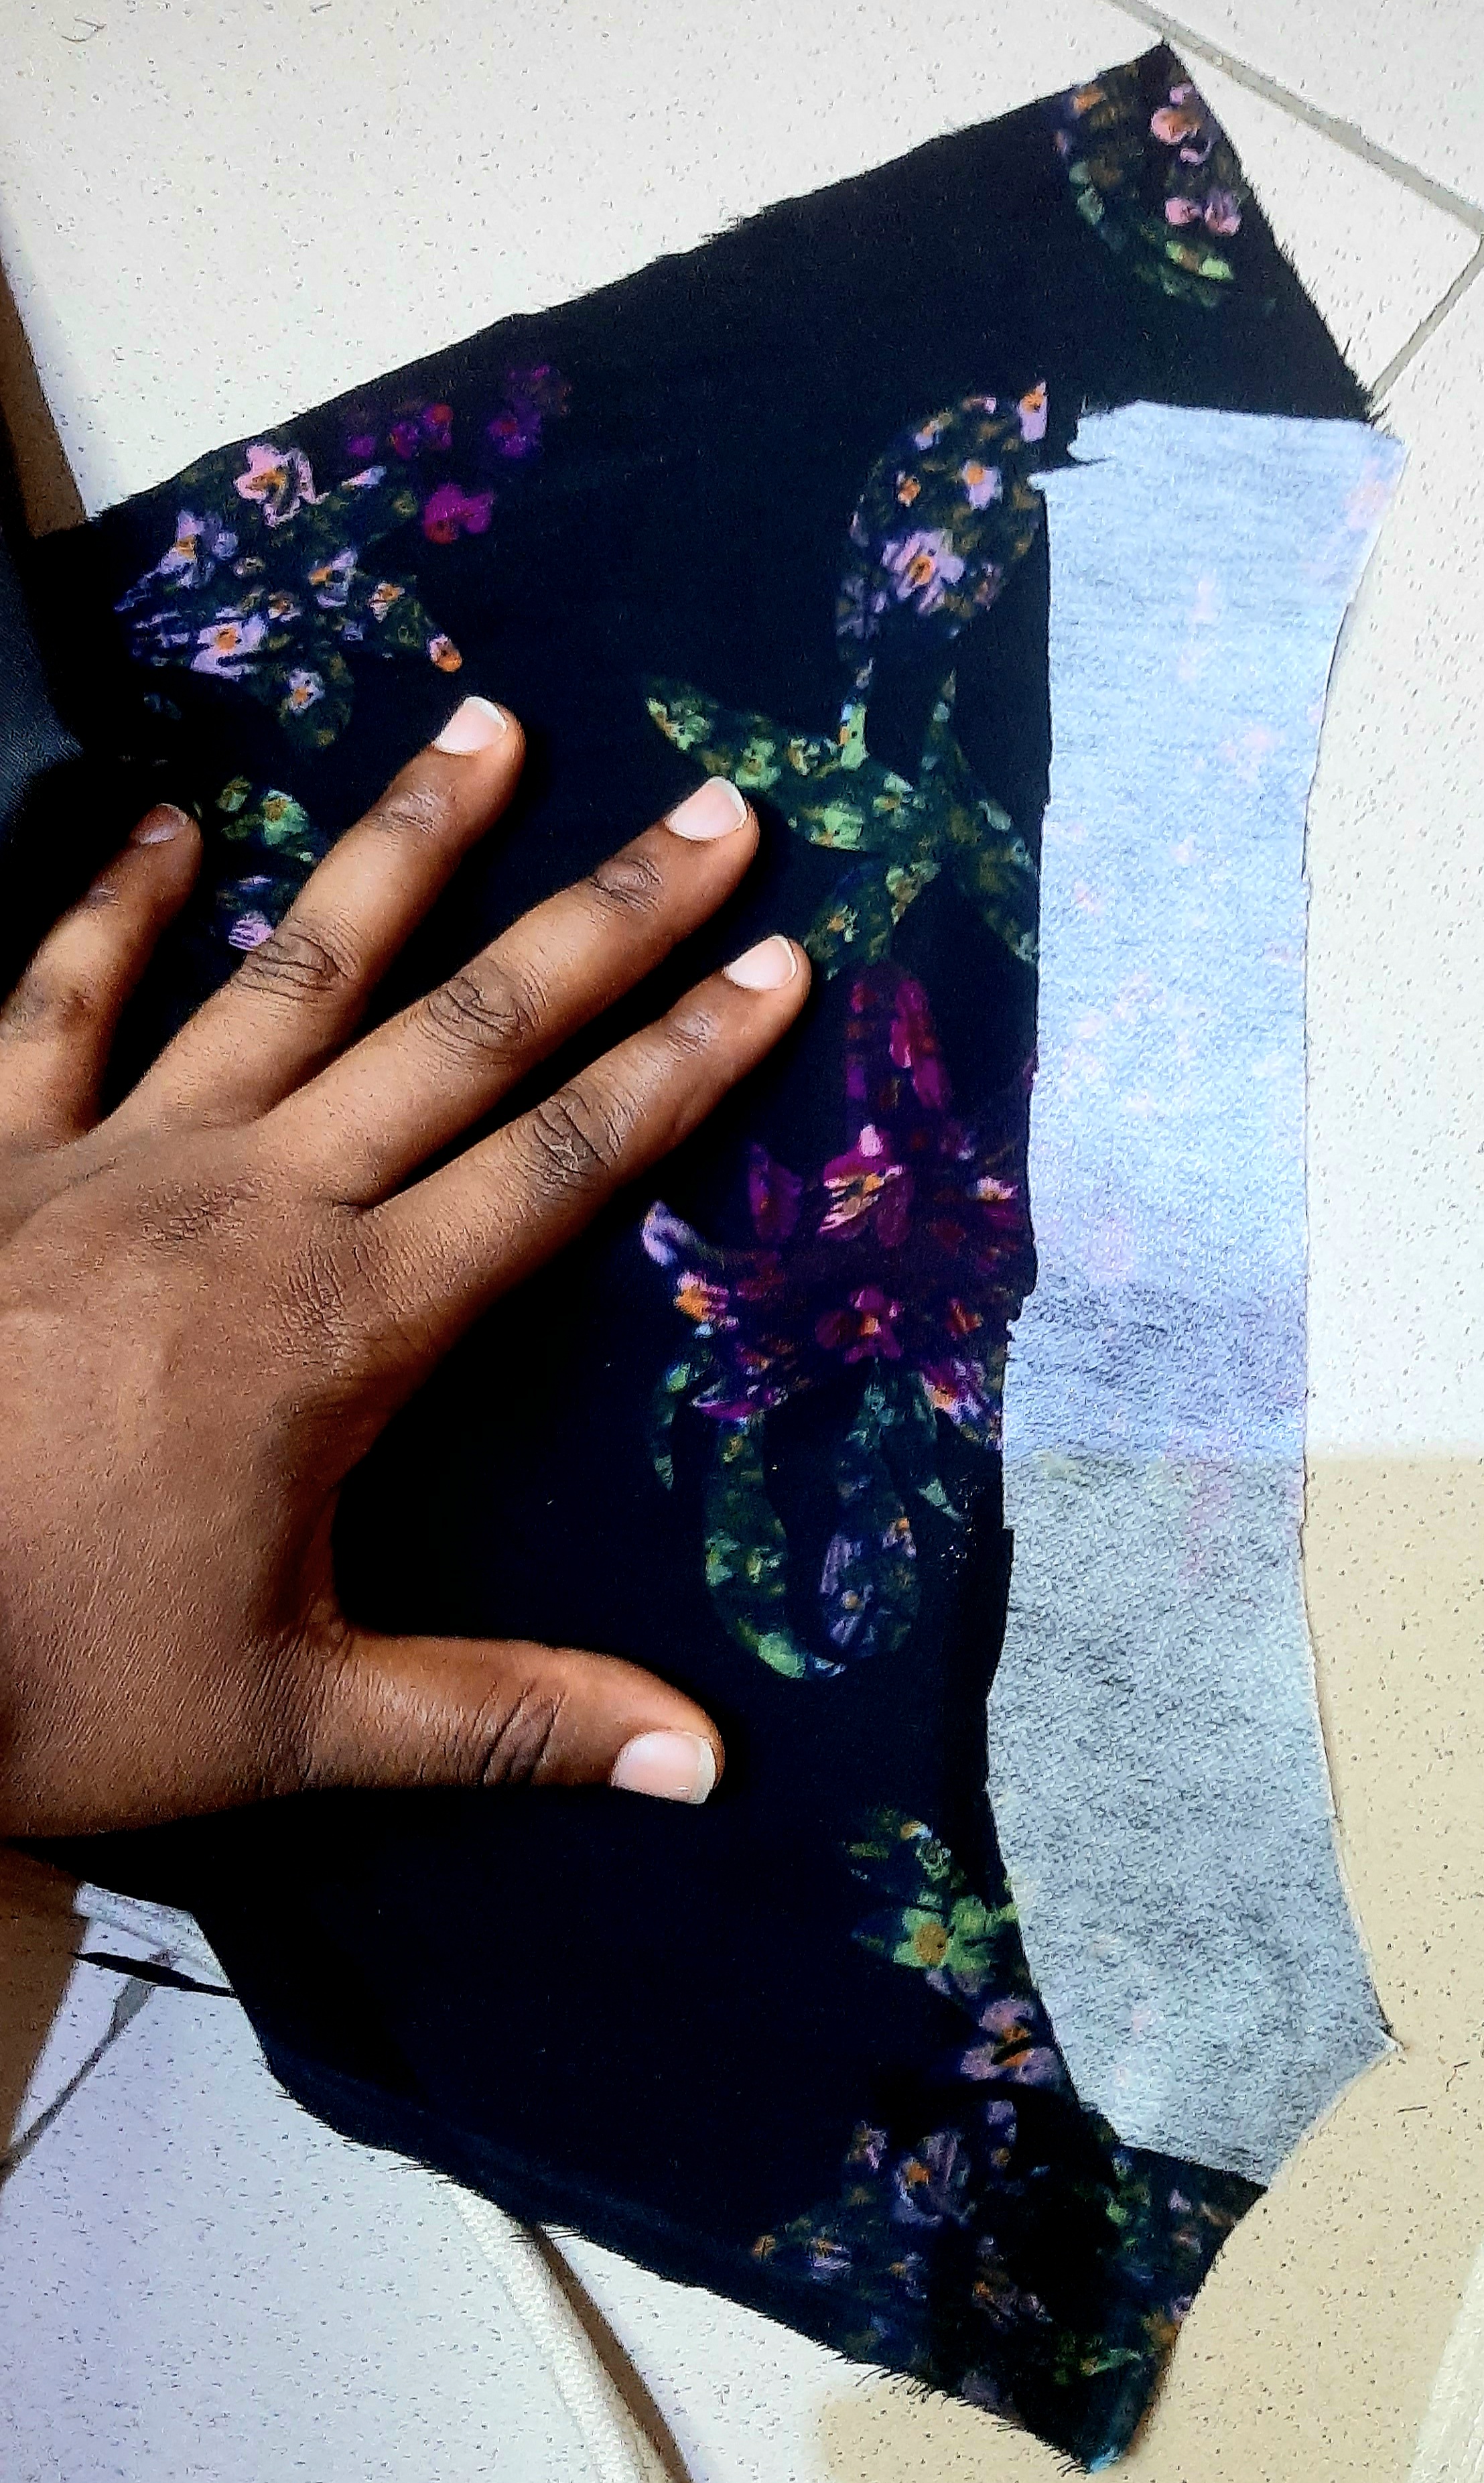
I added a soft paper stay to the neckline to stabilize it.
Step 4
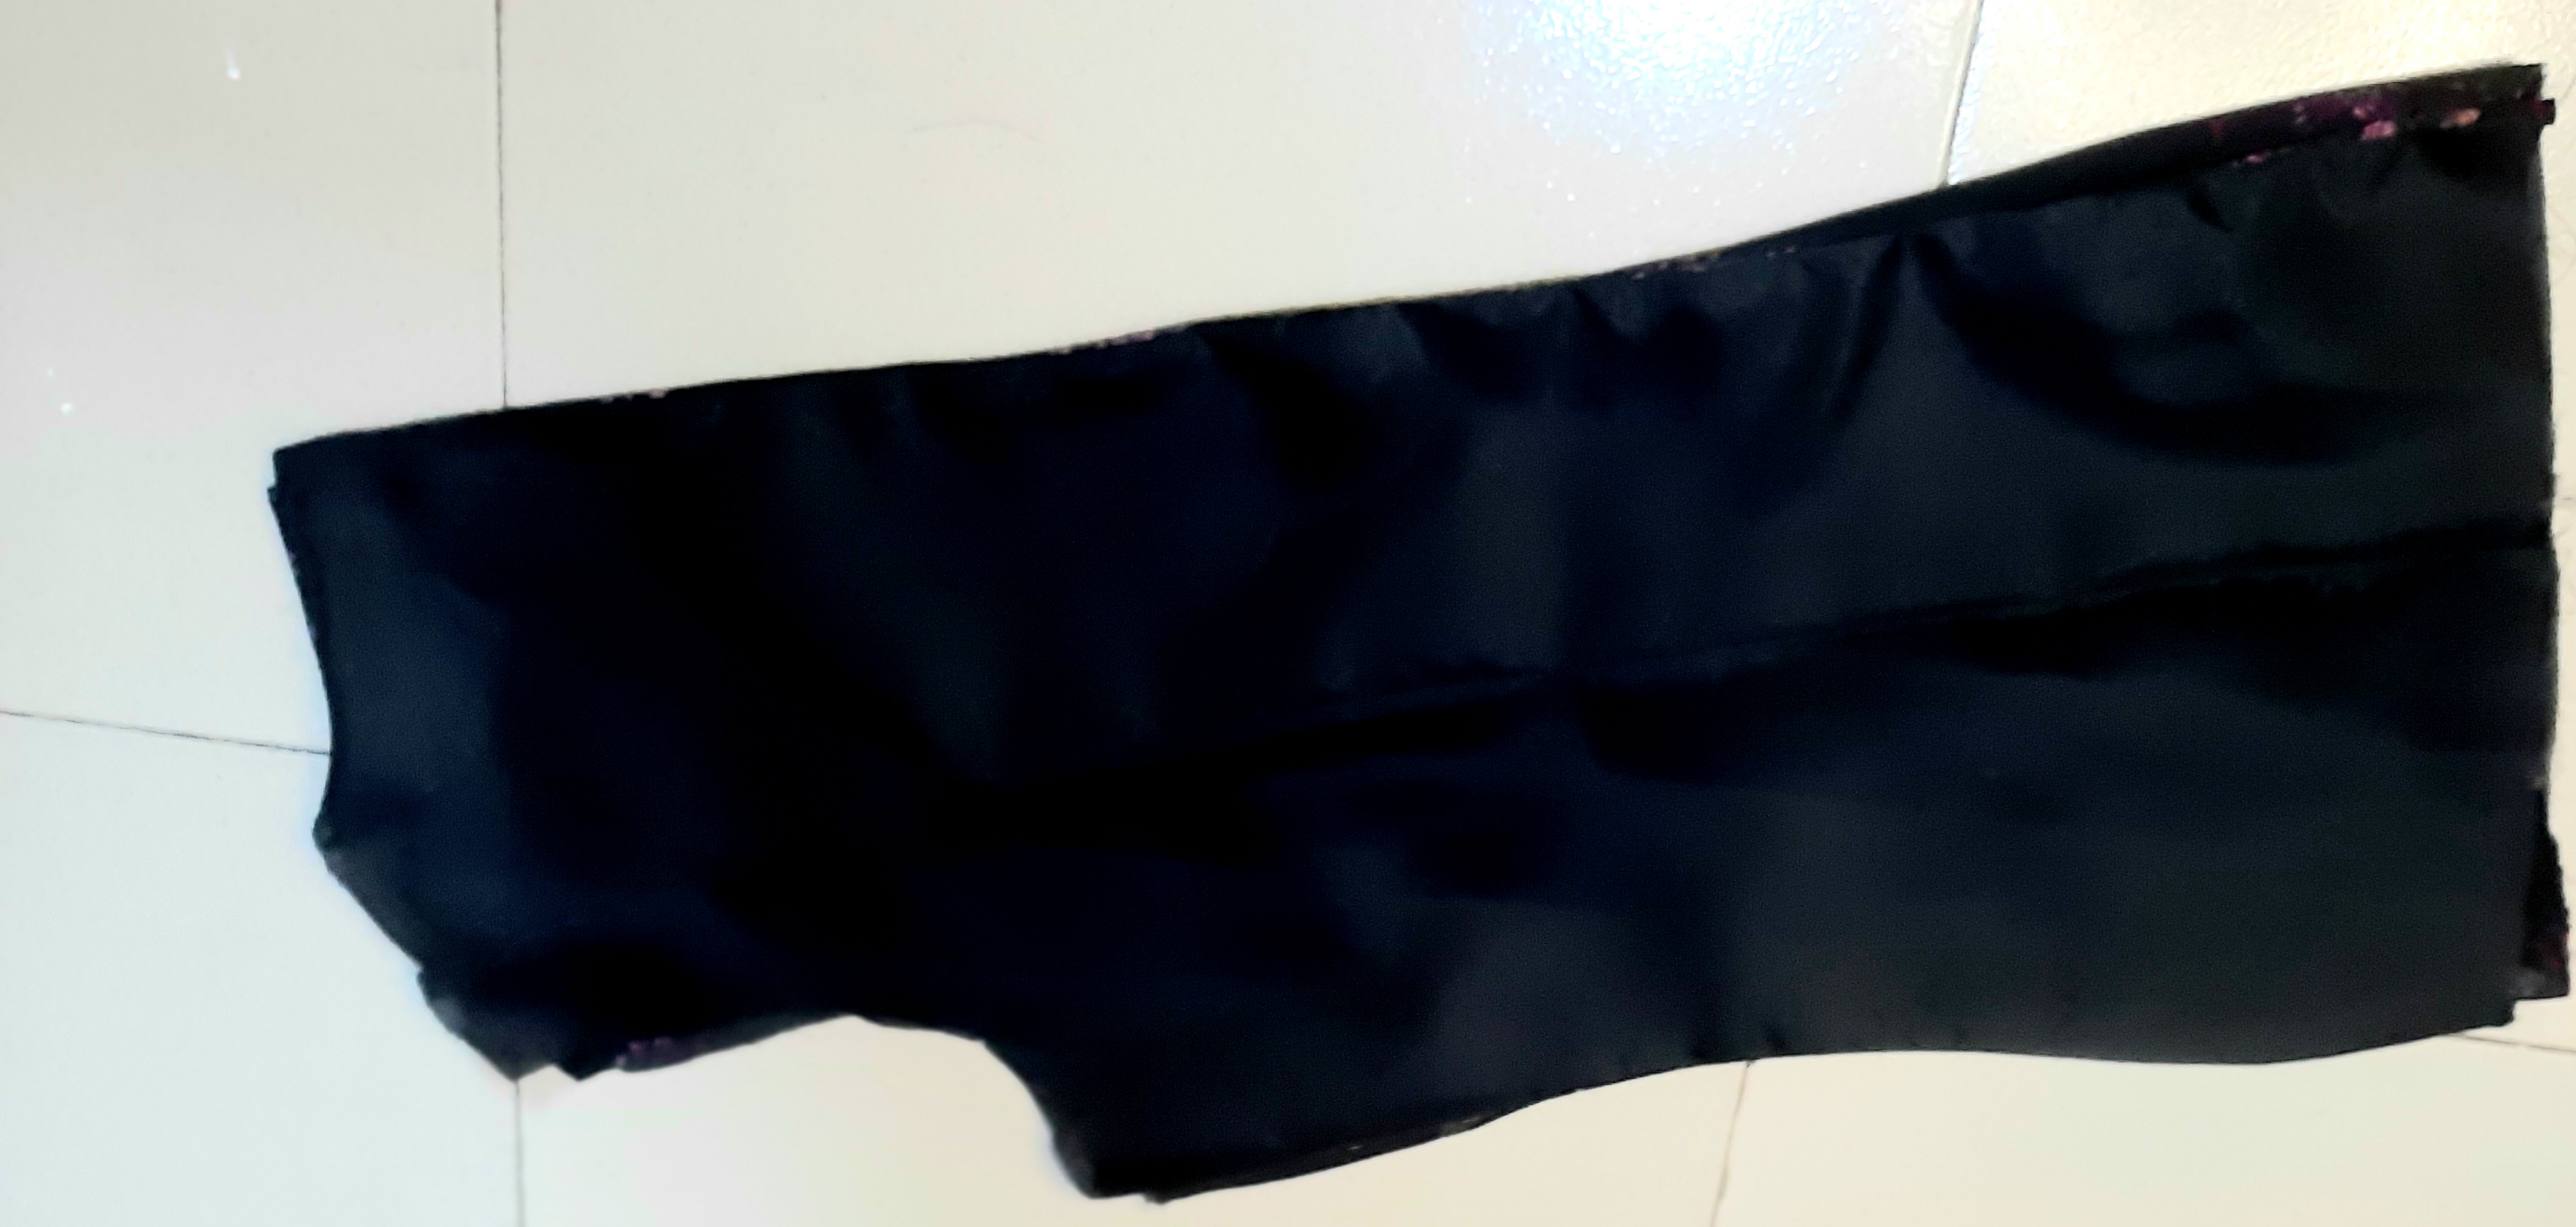
I fixed the cotton lining on both the front and back bodices and gave them a proper ironing.
Step 5
I joined the front and back bodies. I used an invisible zip for the back bodice.
Step 6
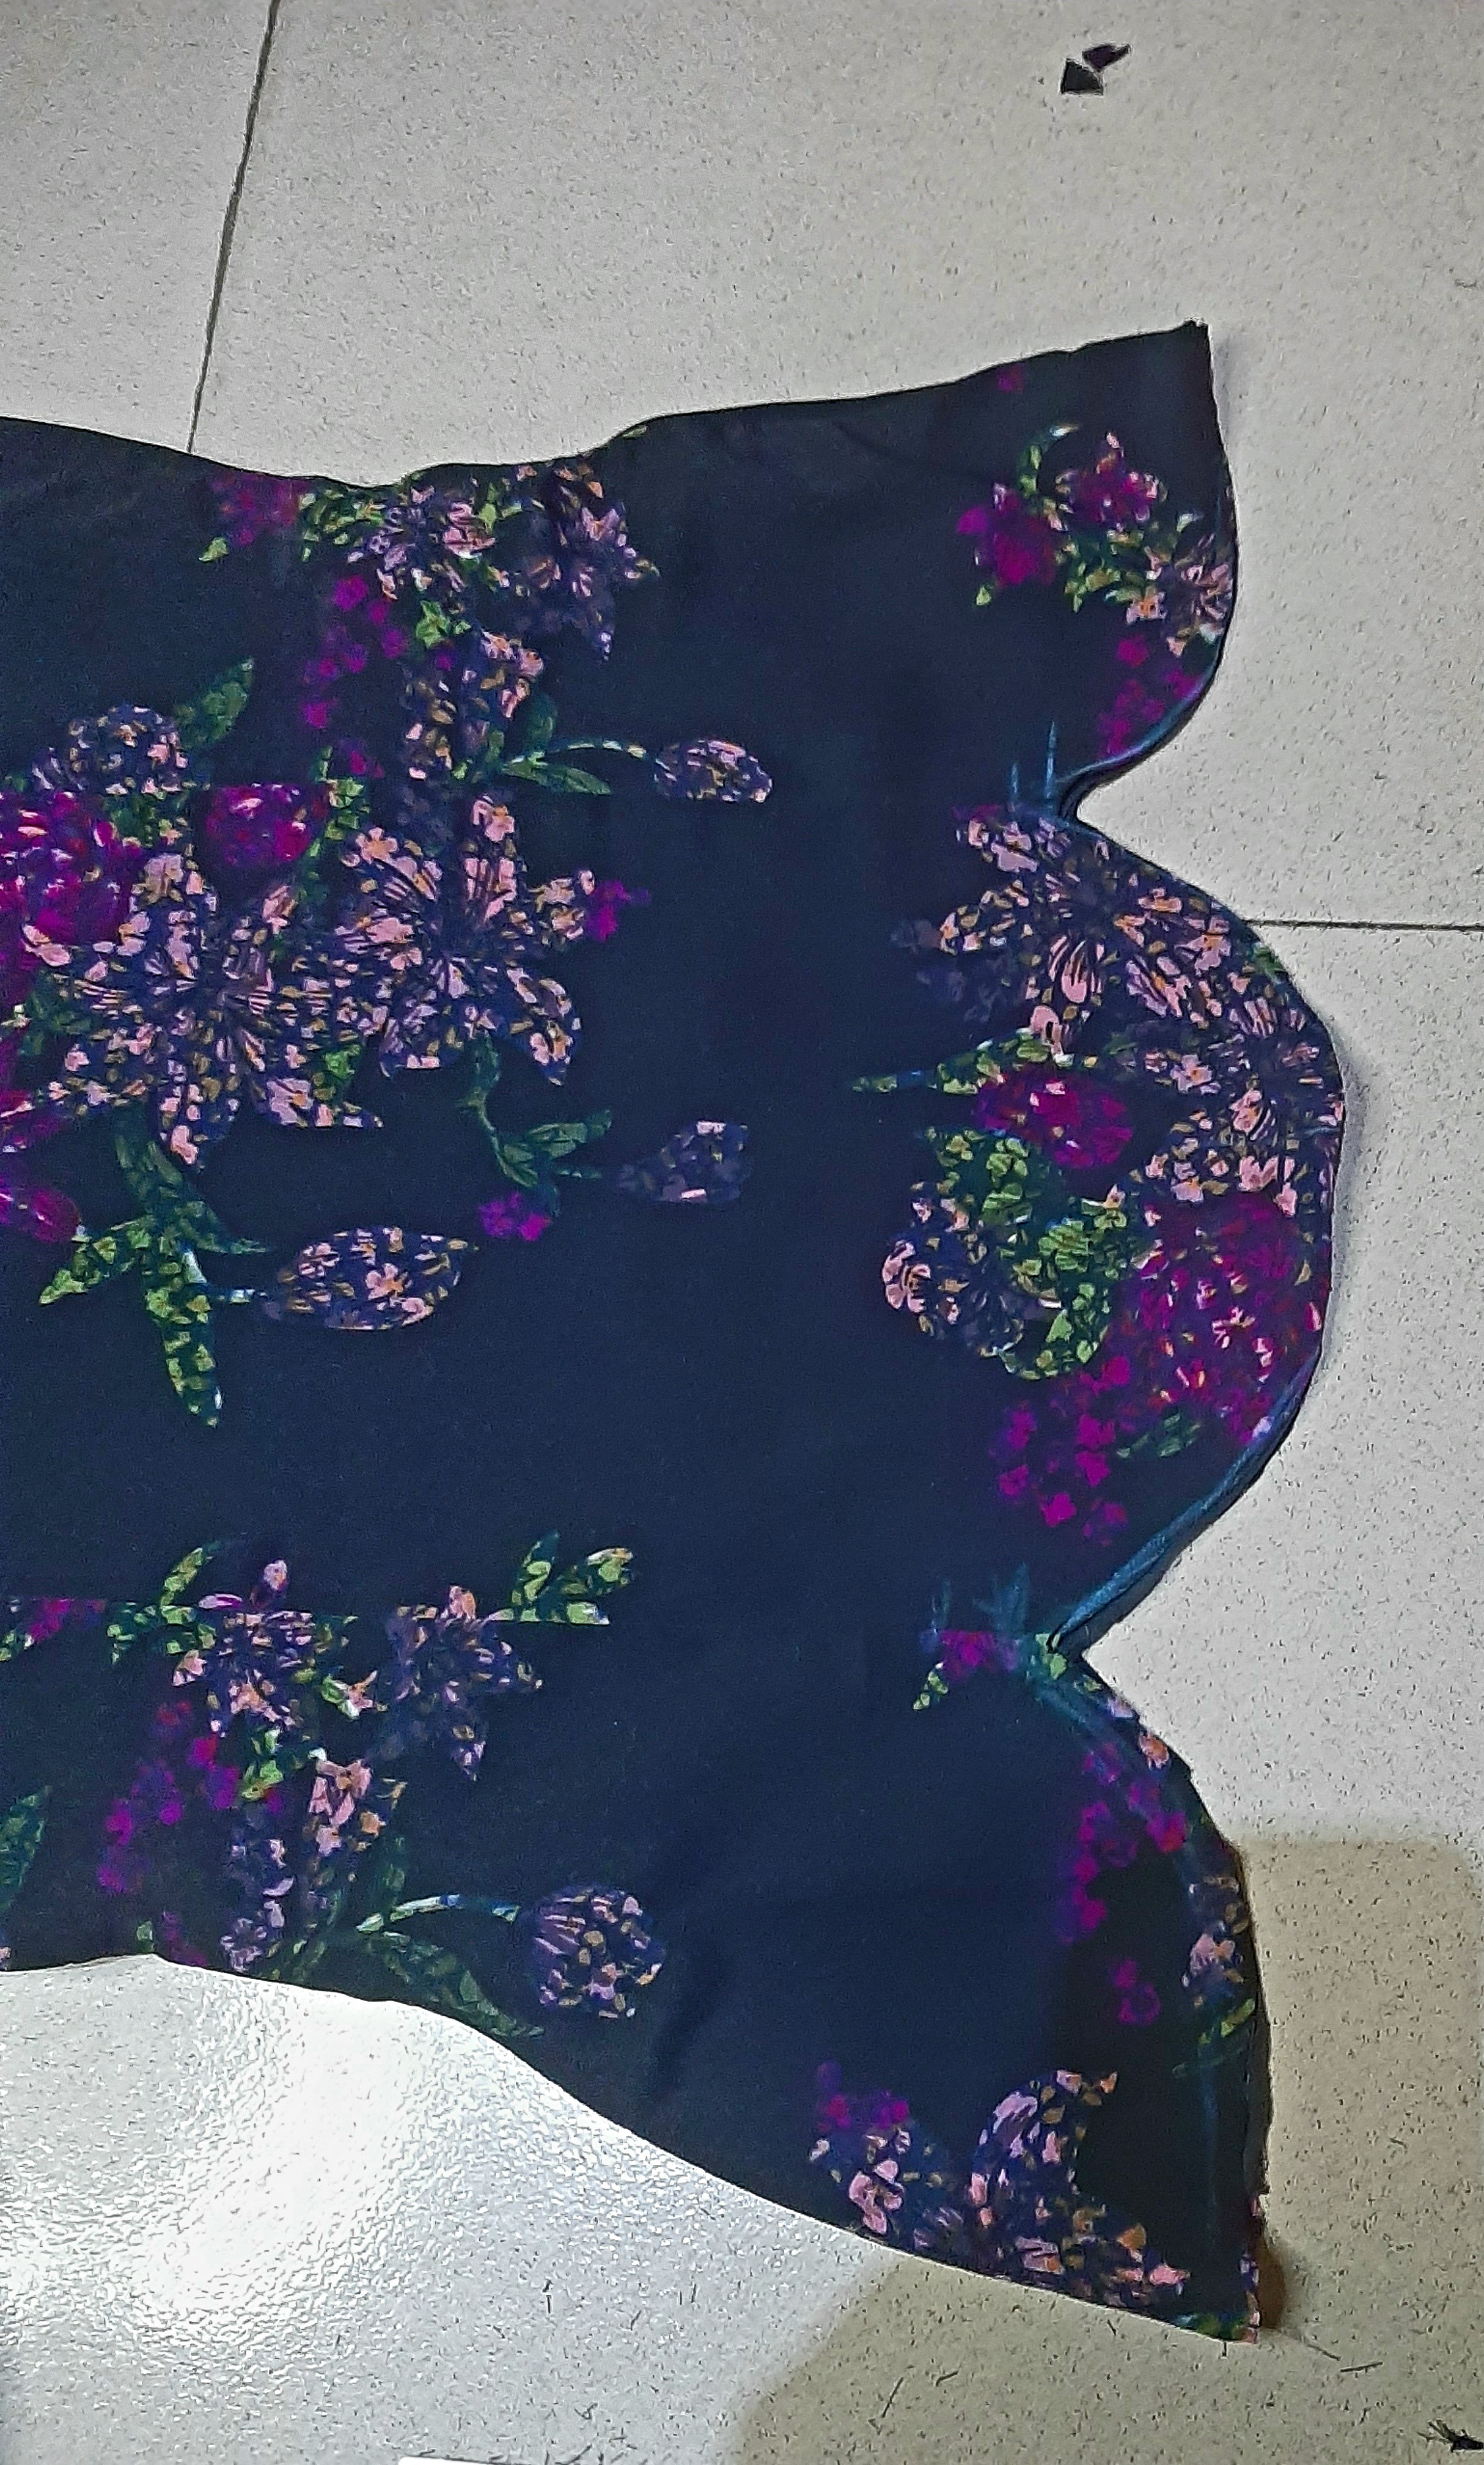
I don't want the regular straight line bottom so I did this. I came in by 3 inches on both dart lines to achieve the curve.
Step 7 I multiply my hip measurement x 4 to determine the length of fabric needed for the gather, aiming for a full effect.
Step 8
I used a 180-degree circular flay to create the rose. After lining the fabric, I folded it into four equal parts, secured the shaded area with a seam, and then attached it to the dress.


Step 9
Finally, I added the sleeves to the dress.
Ta-da! And here's the final result!


All pictures are mine!
Posted Using INLEO