Hello, dear Hivers!
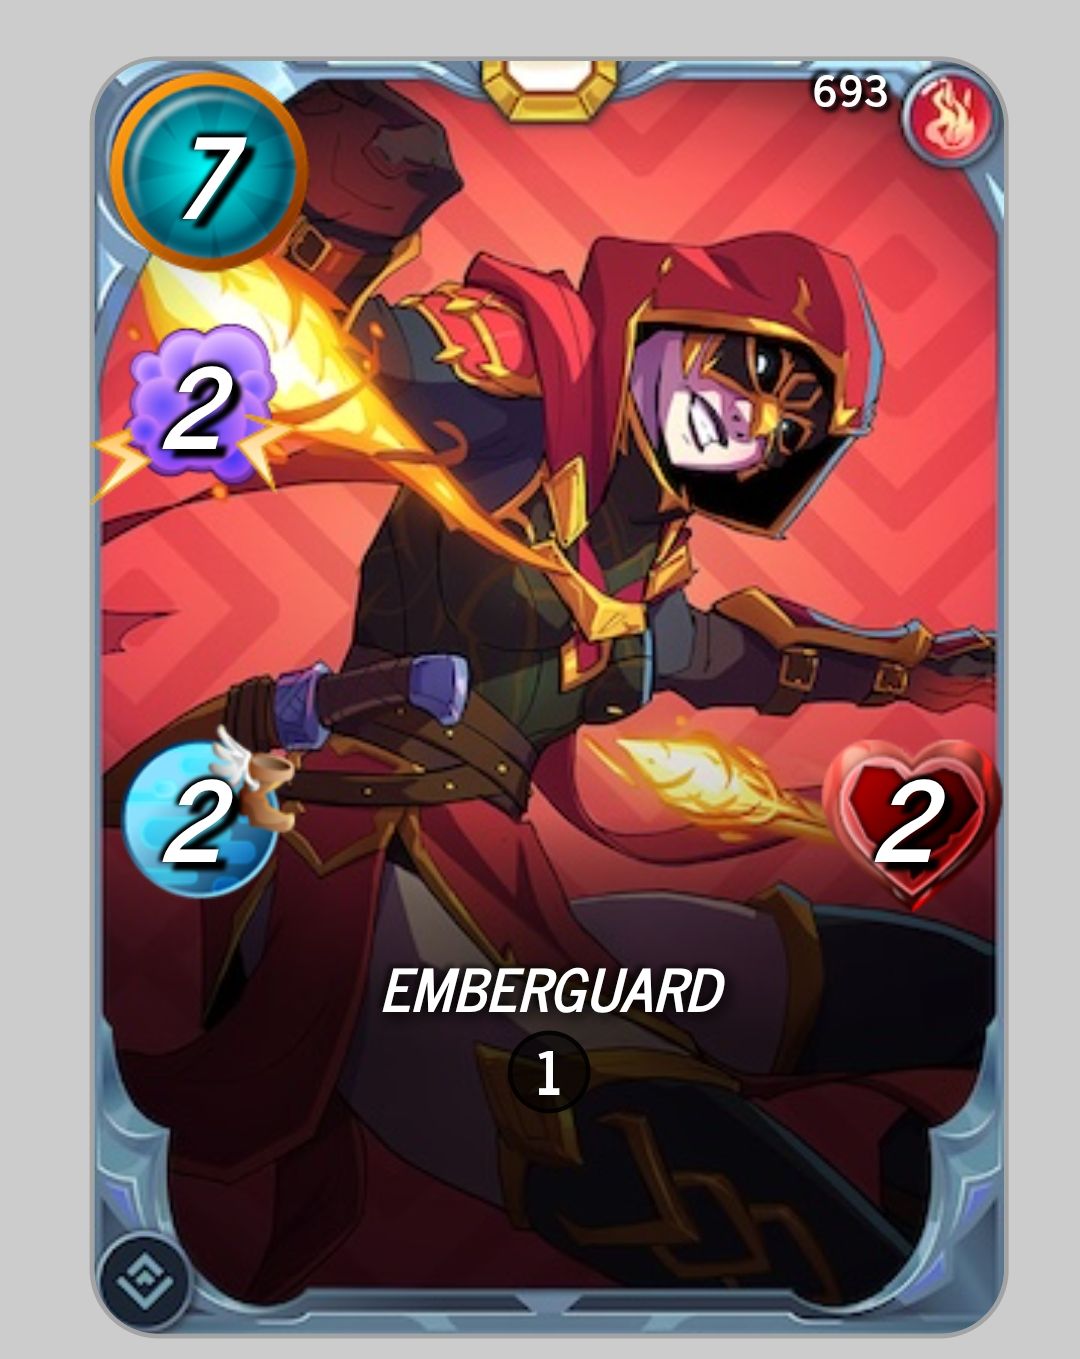
This time, to officially start my new Sketchbook, i wanted to do some fan art of another Splinterlands character called ***EmberGuard***, who really caught my attention, especially because of the color palette. Since she's a fire element character, i love that i could play with the color red for this occasion. For some time now, i've really enjoyed adding this particular color to my drawings. So, without beating around the bush or looking at too many cards, i decided on this creature. Lately, i've been trying not to overthink things because, at this point, i tend to get indecisive when i have so many options that i like.
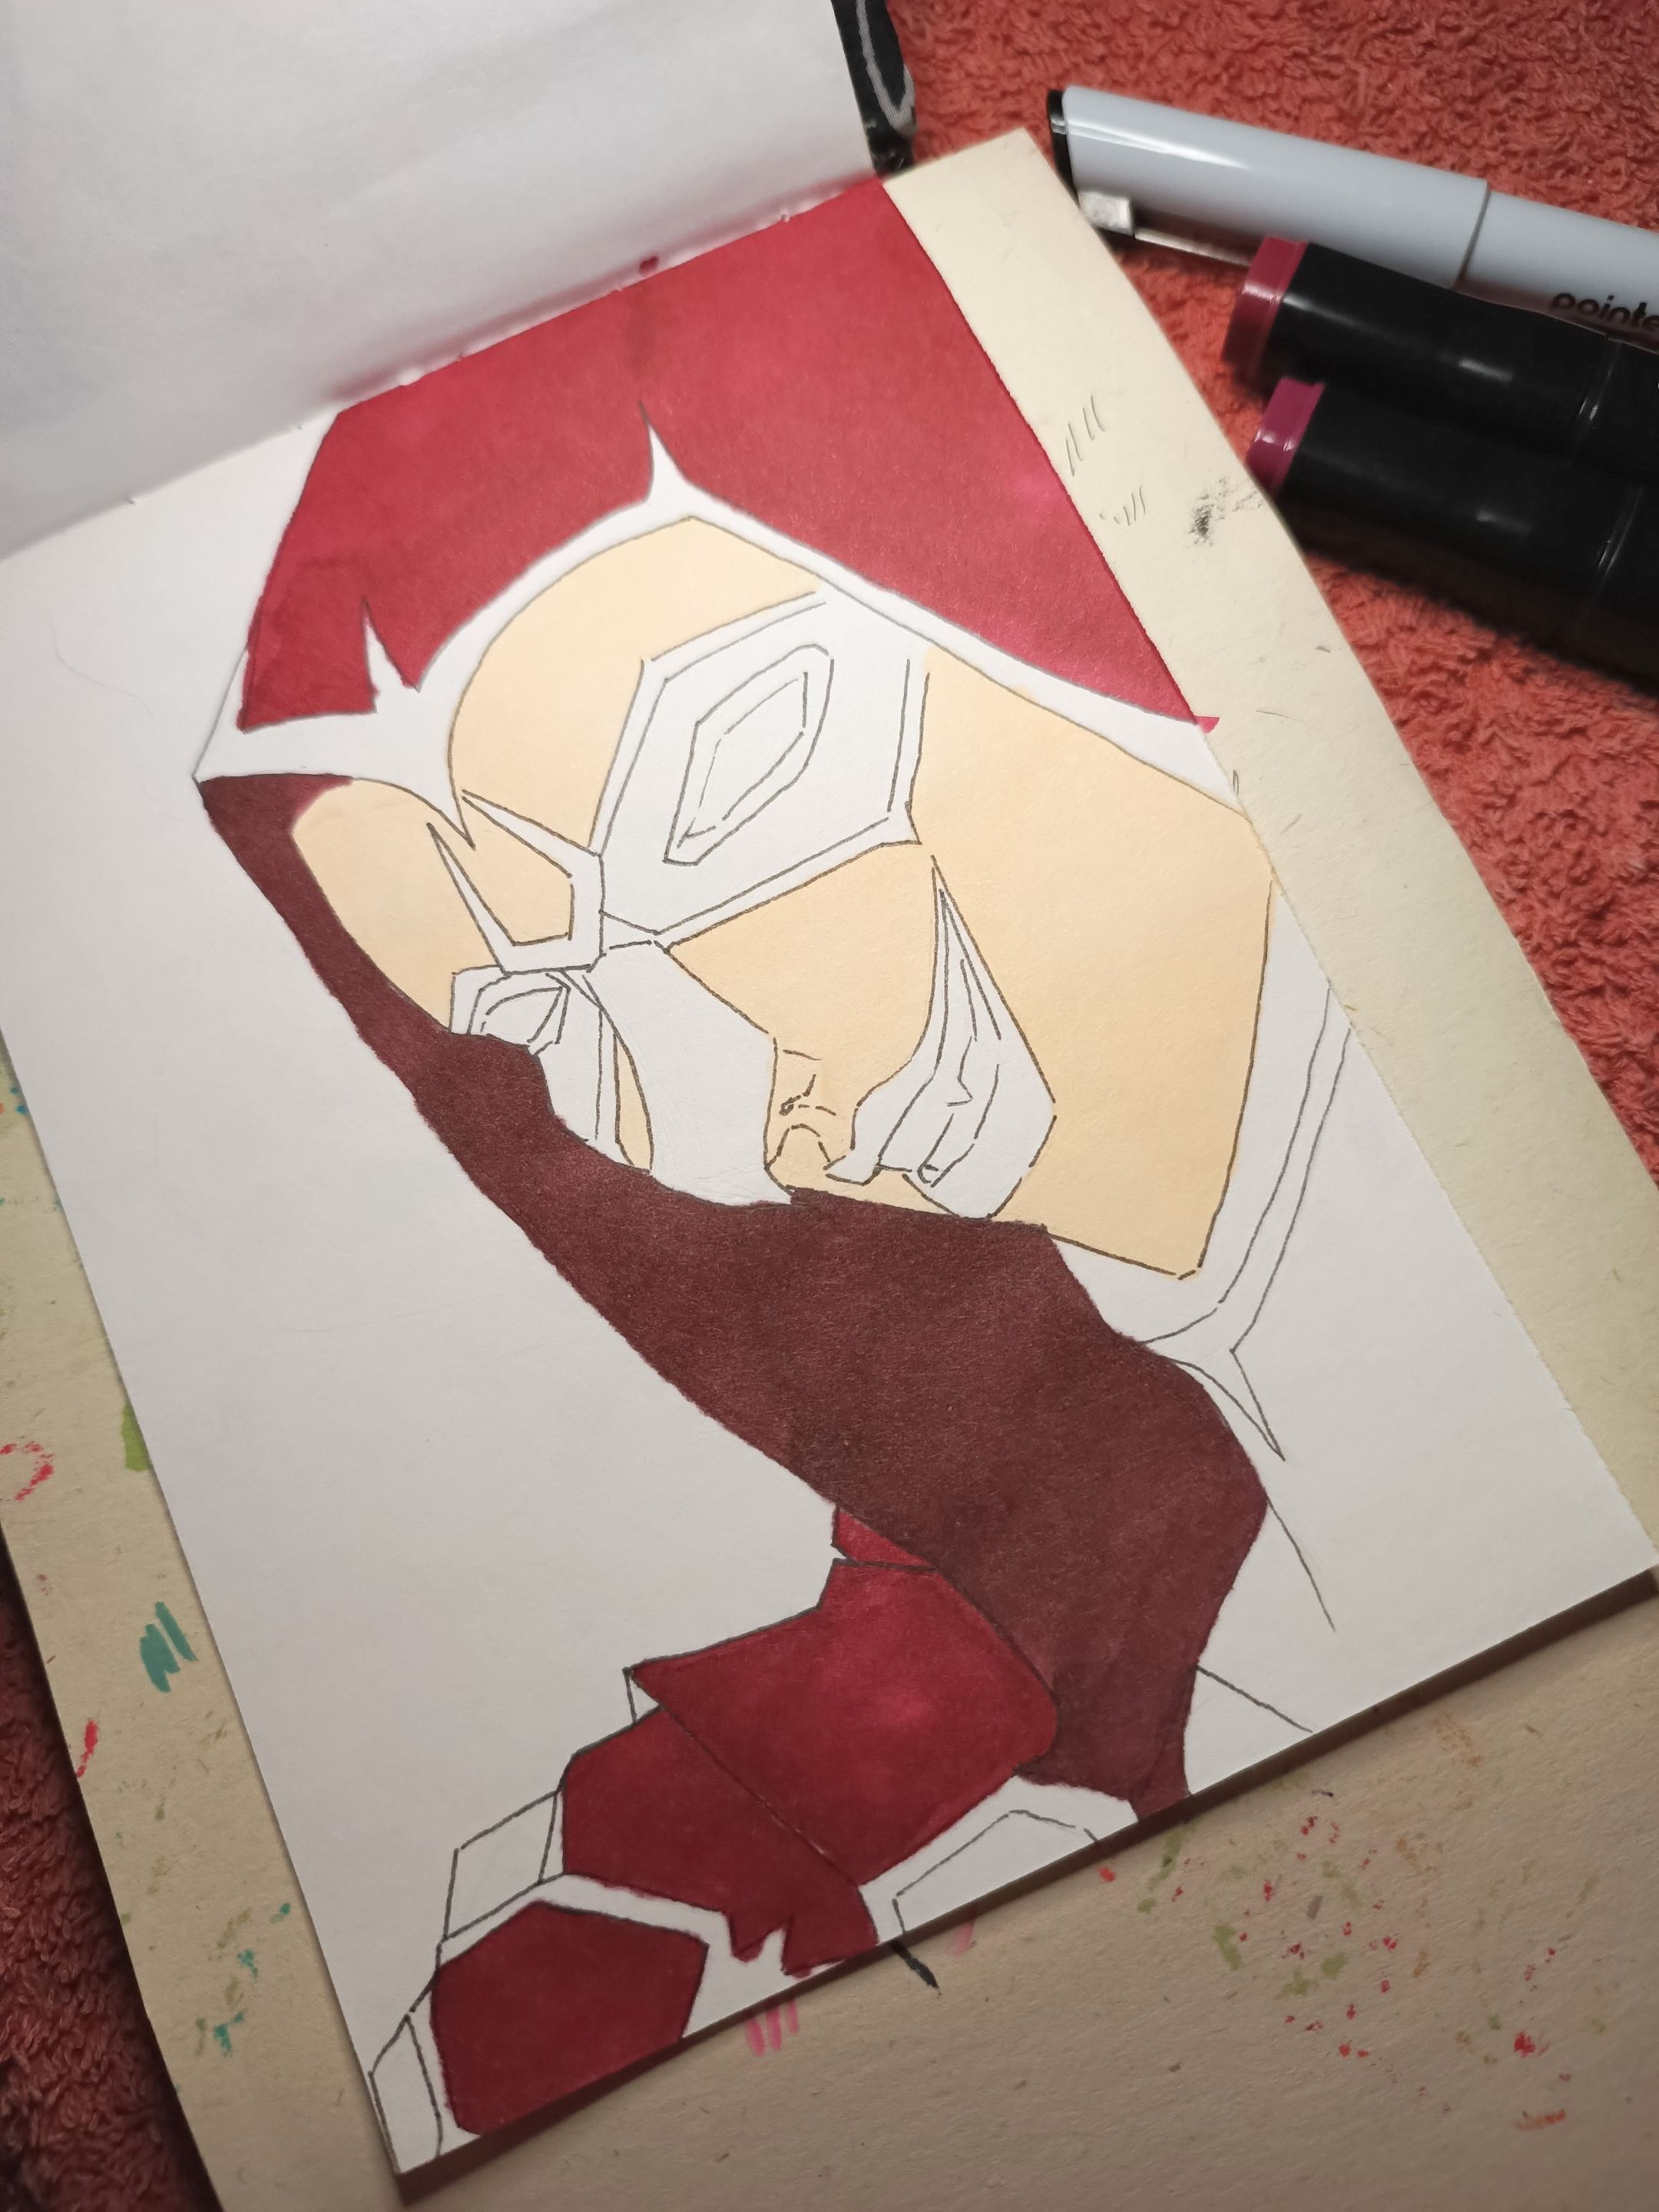
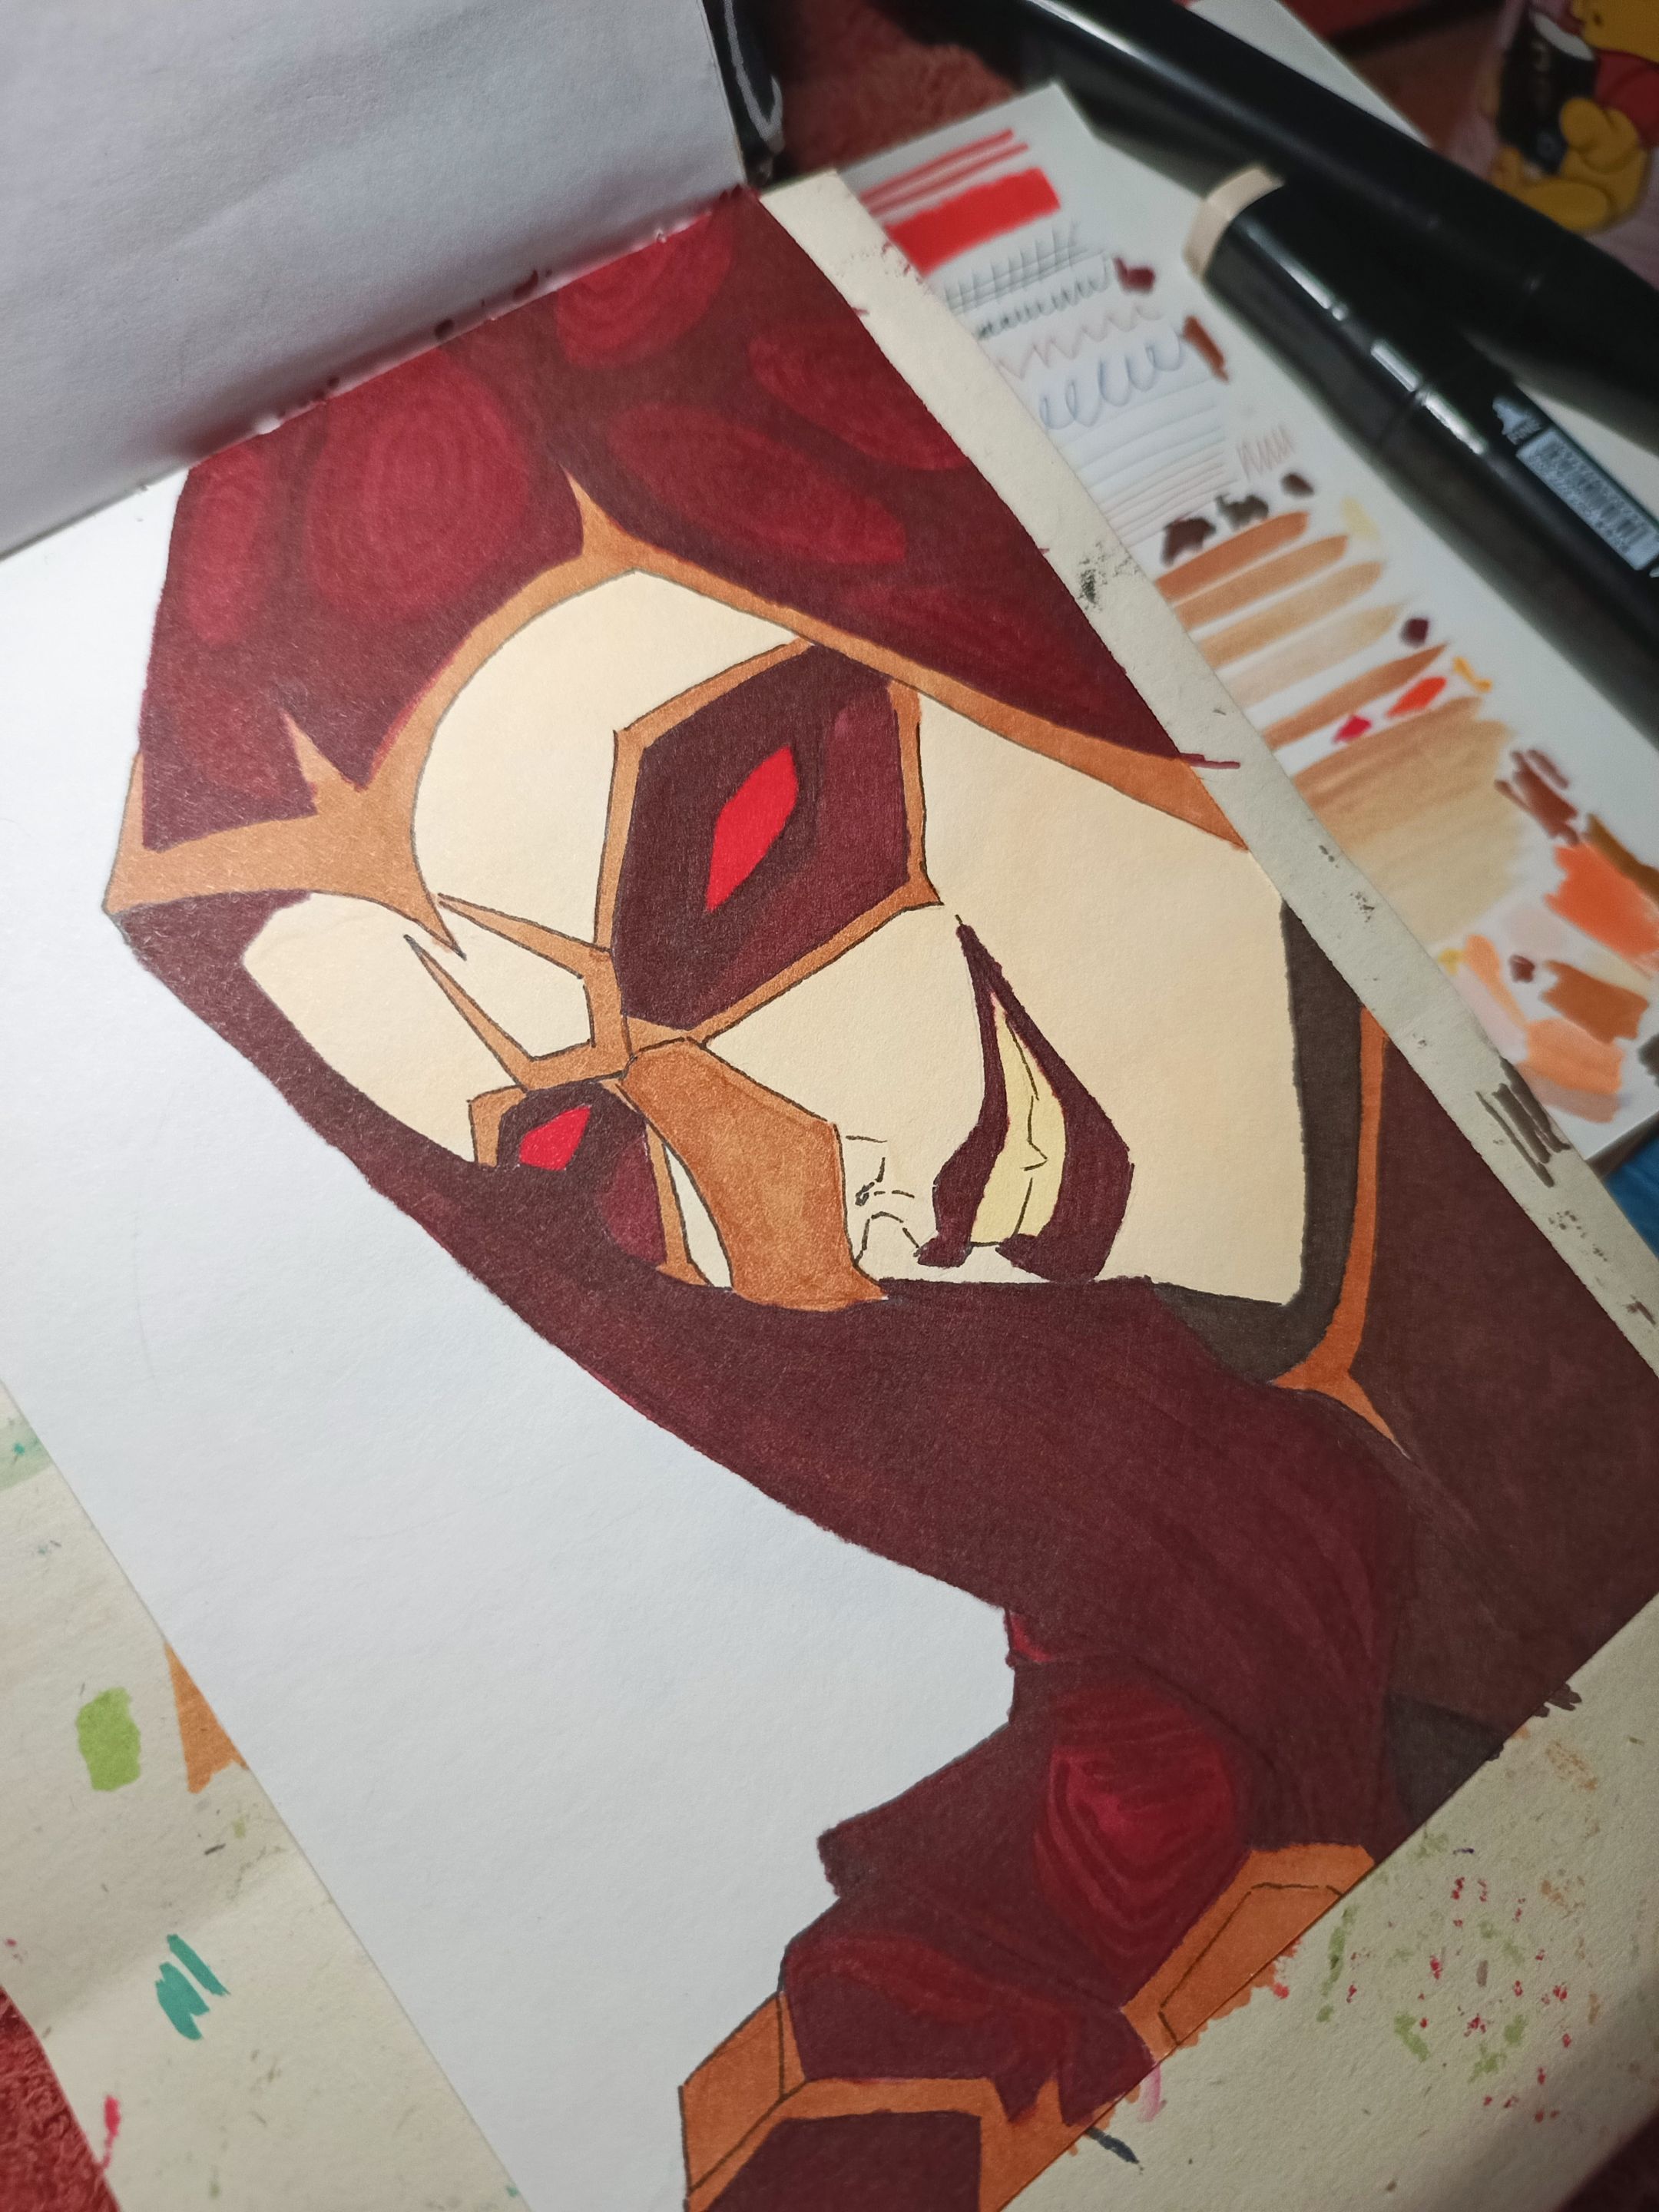
Sketching/ Ink Time
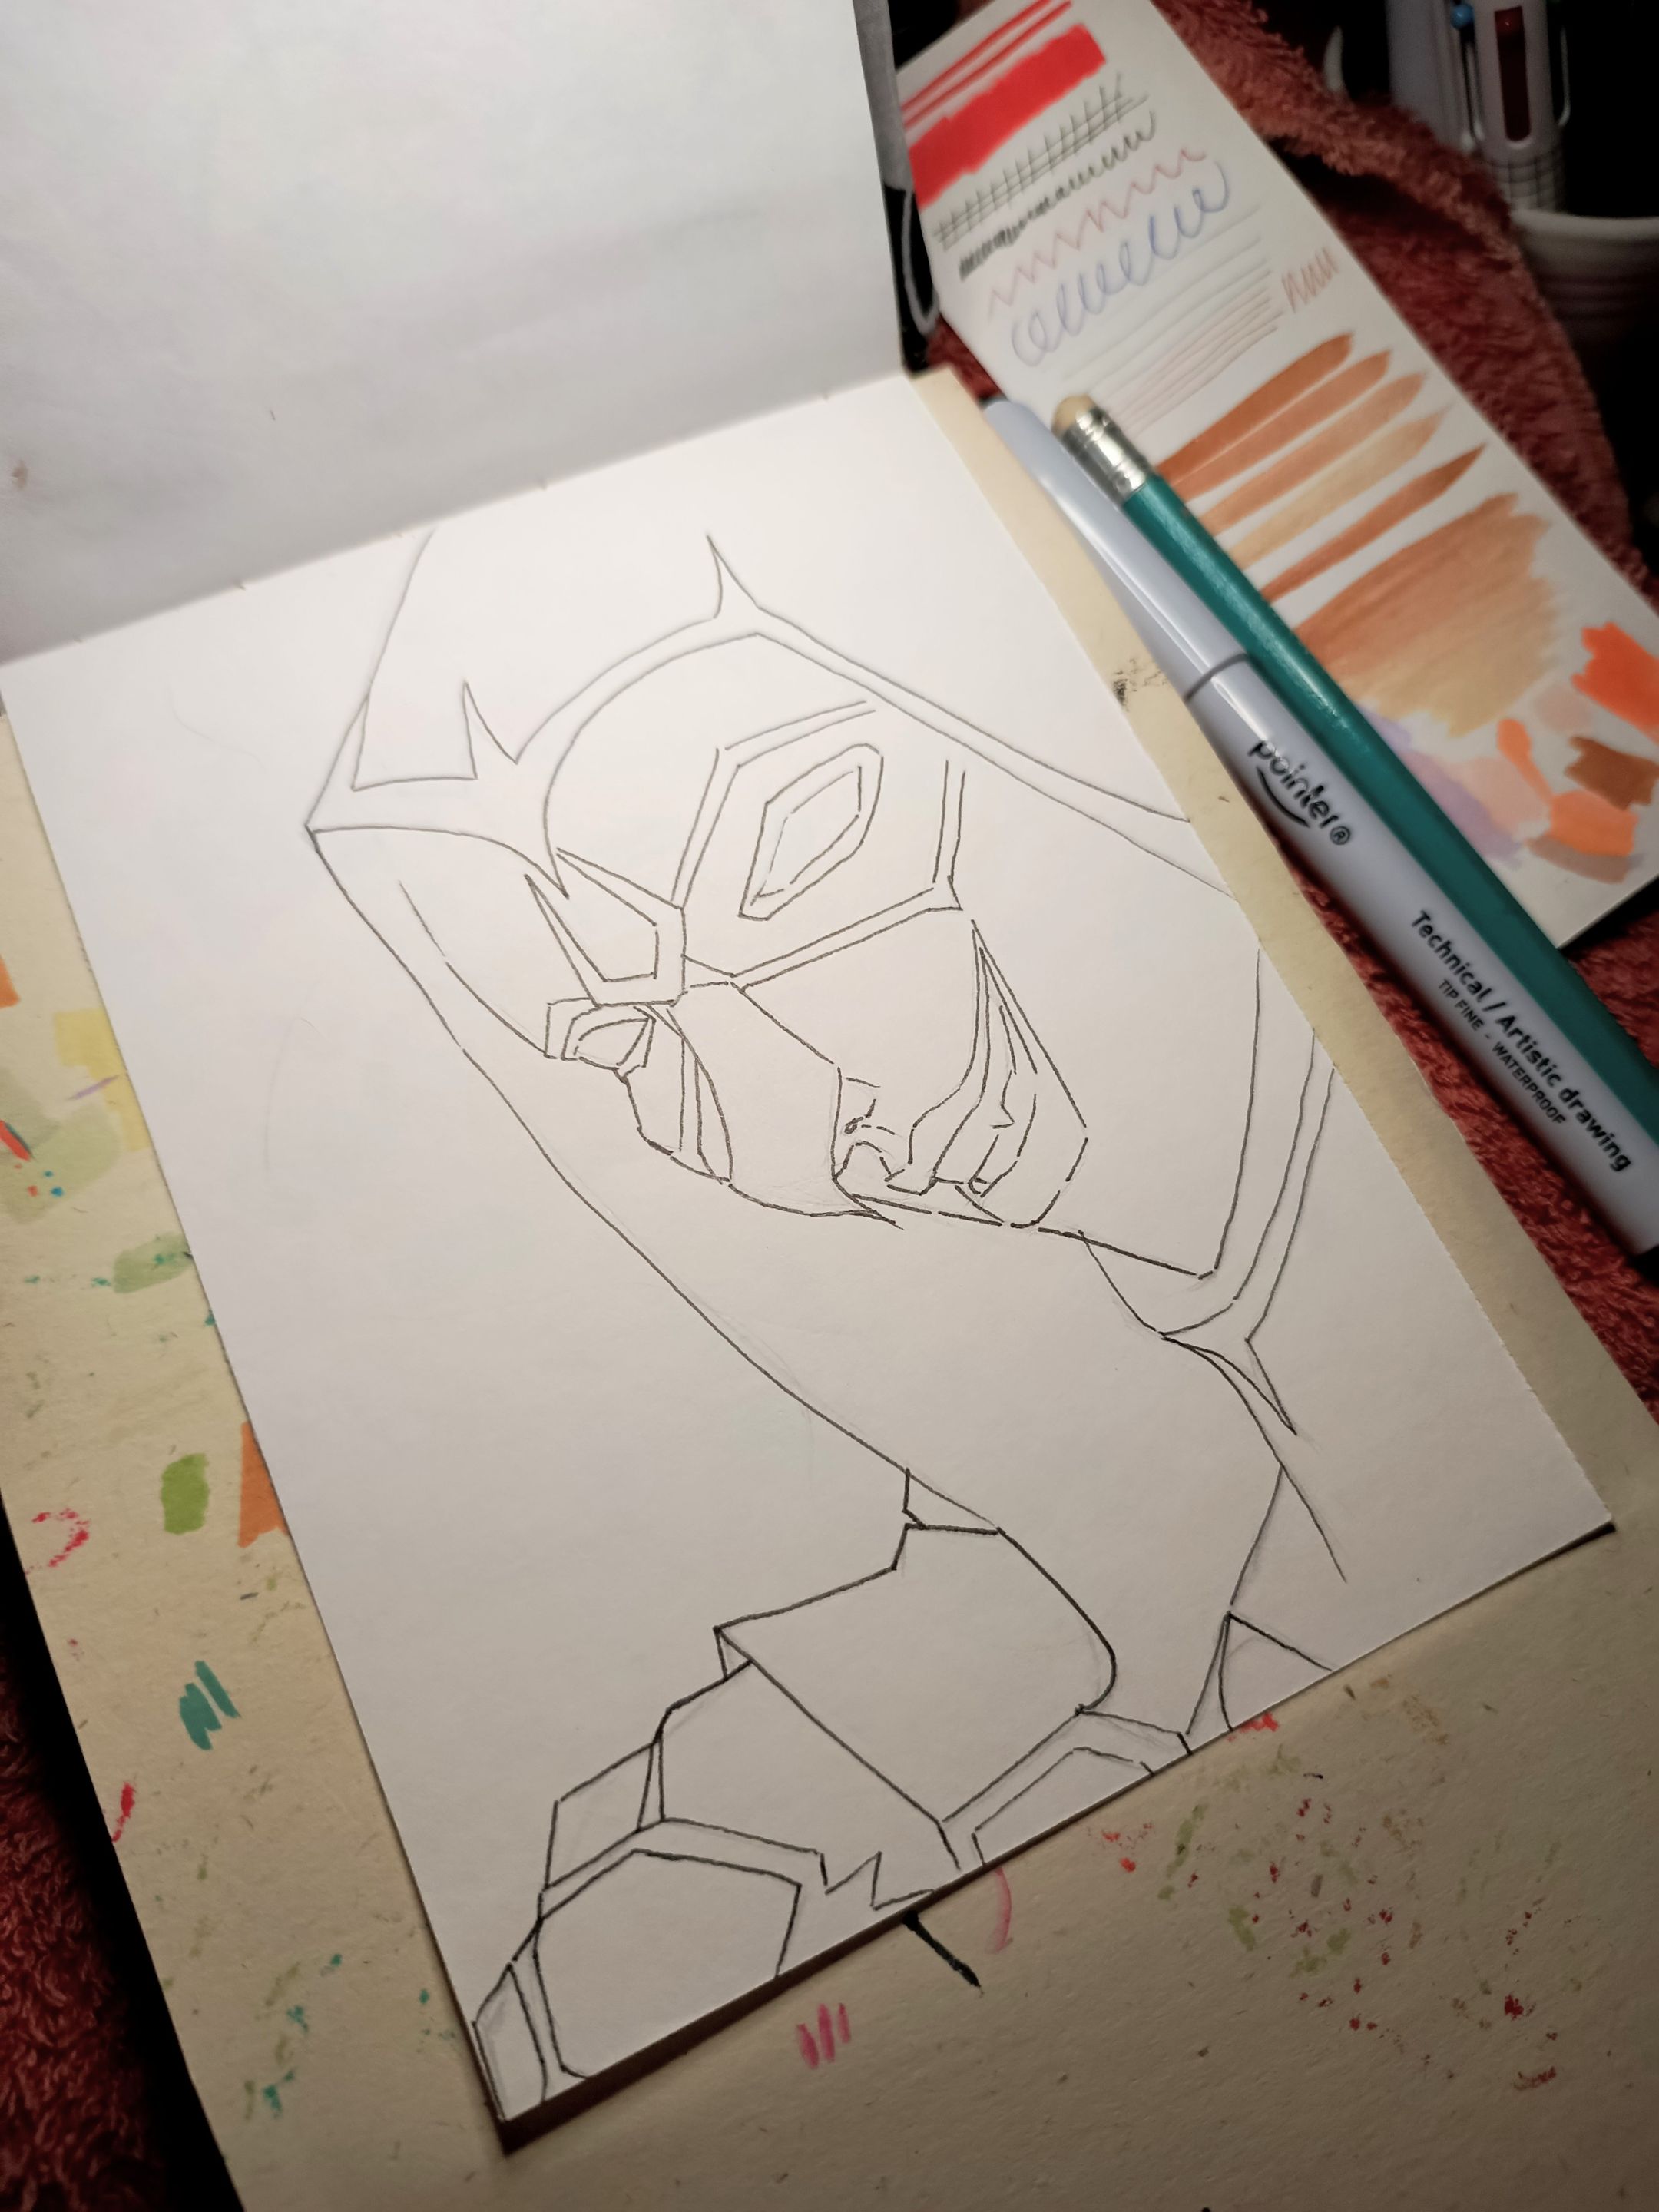
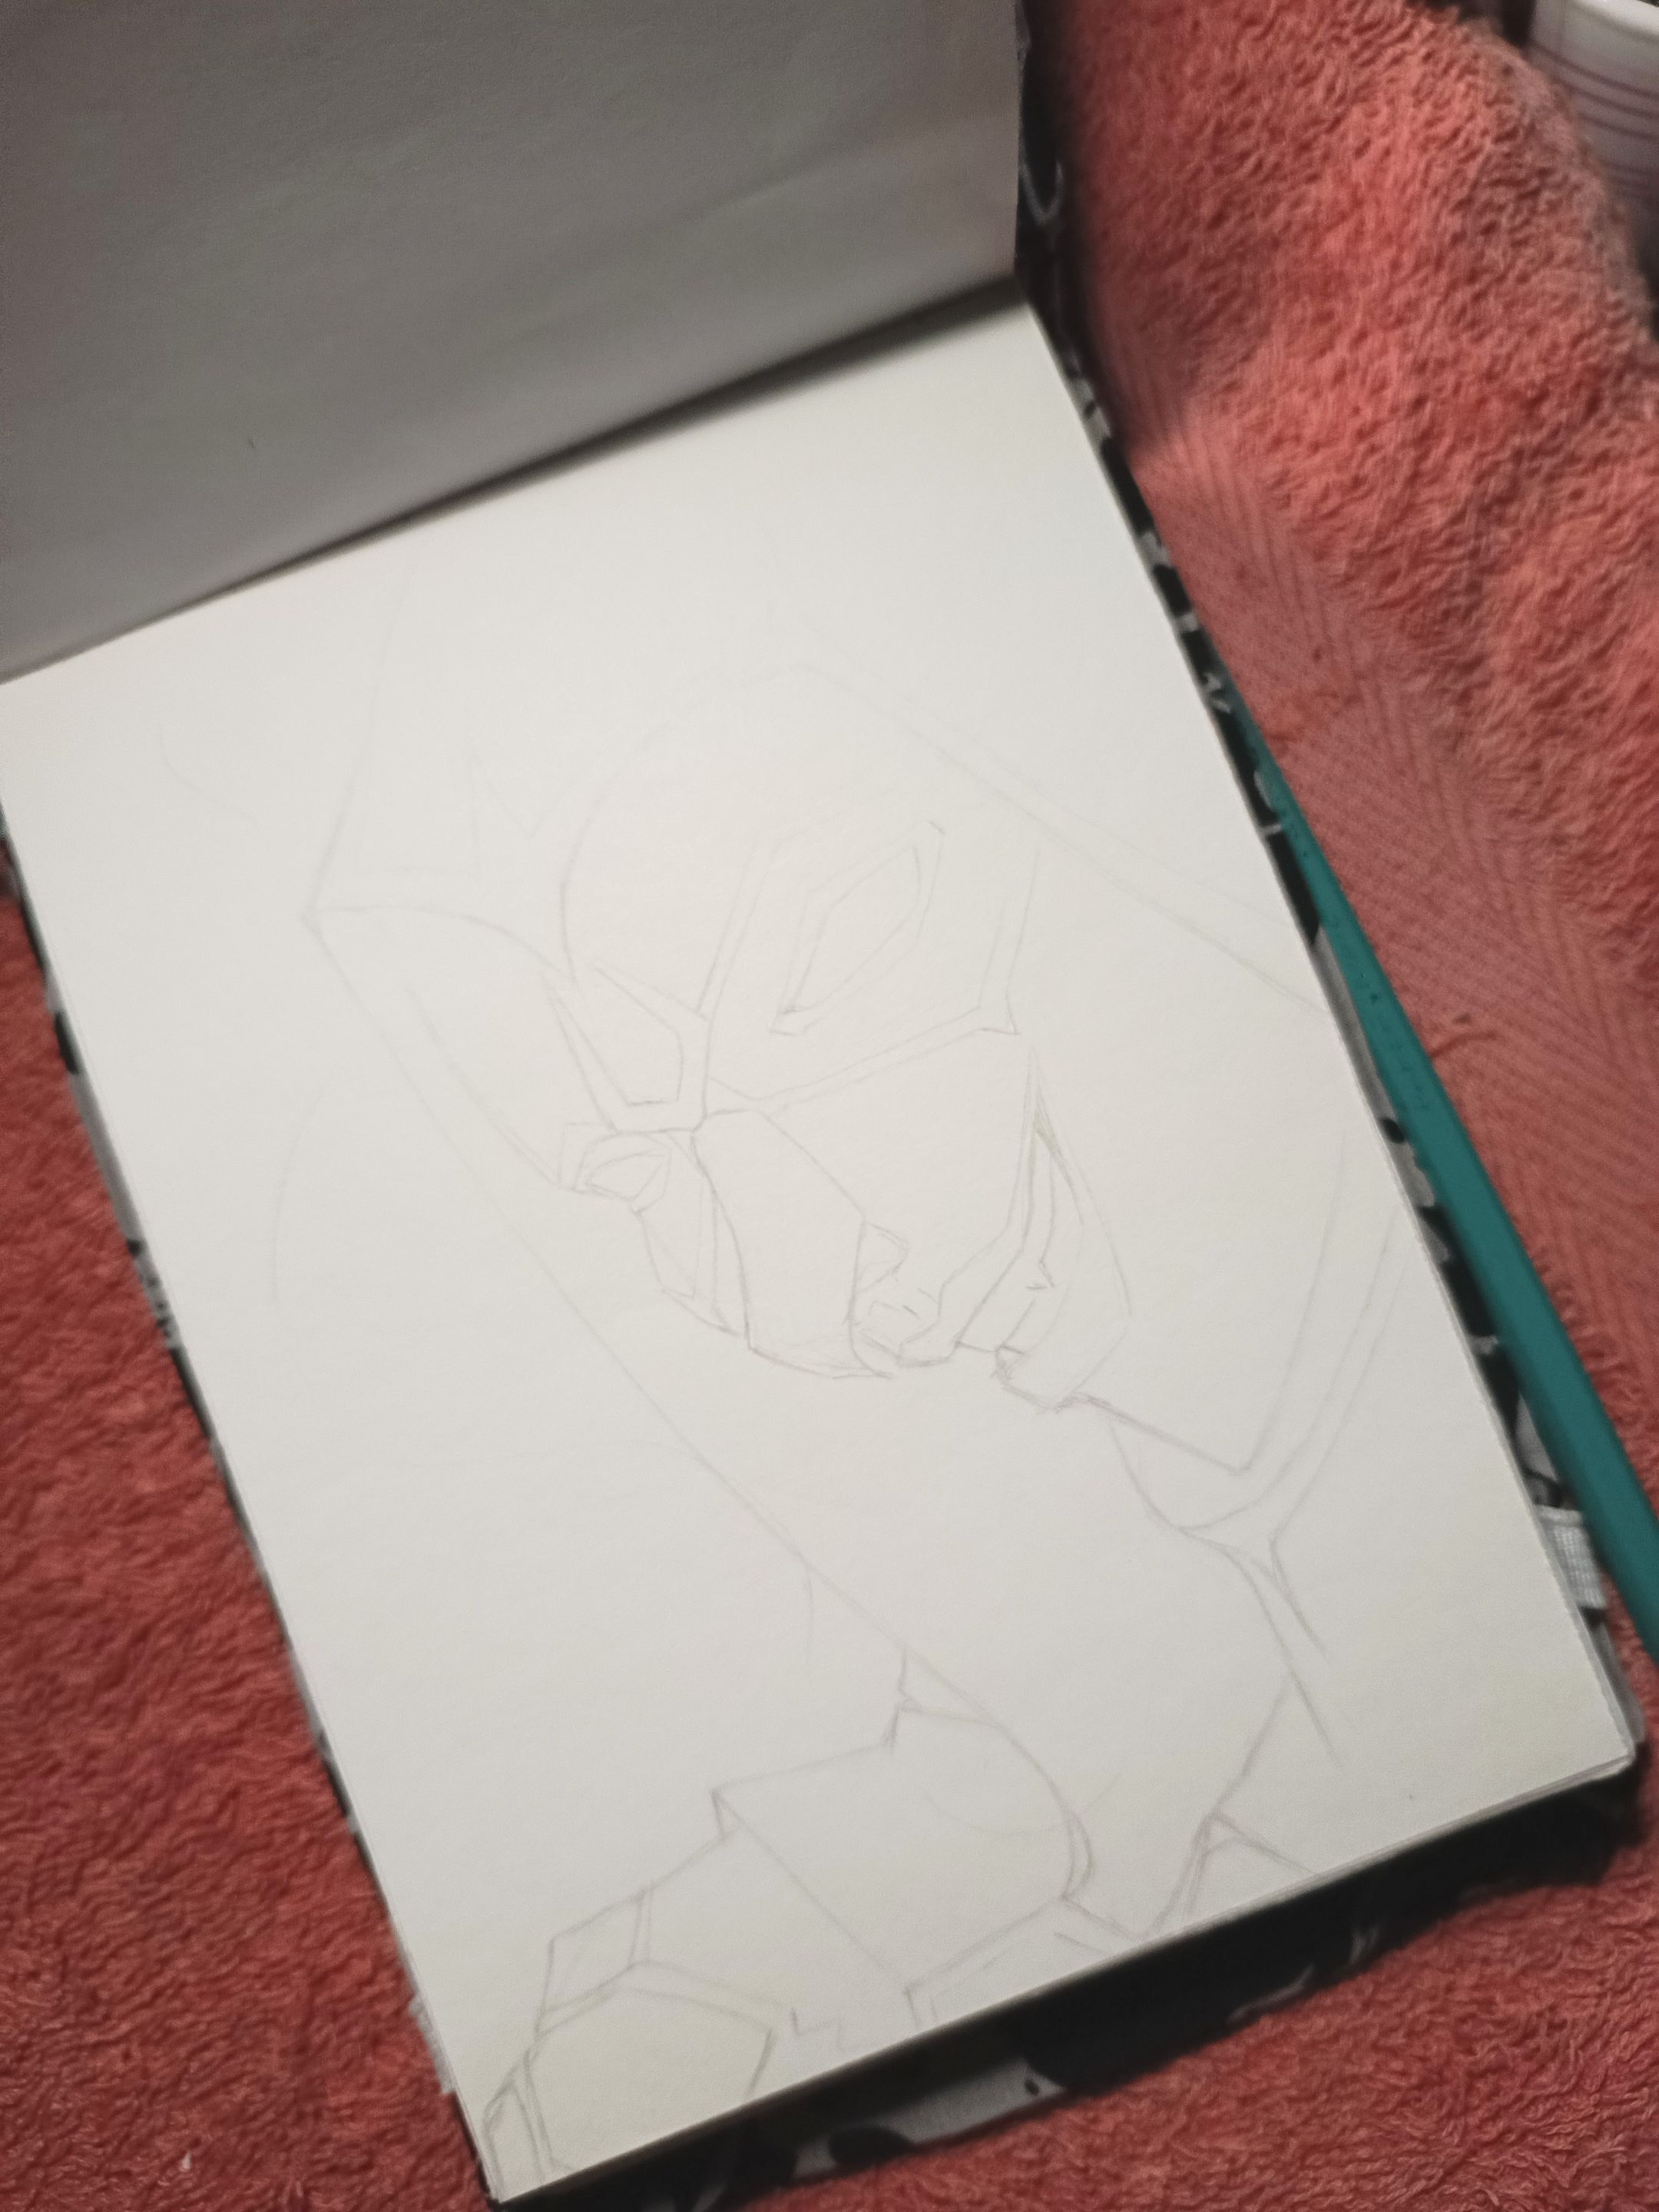
I usually change many things about the character, but i try to respect the idea and its colors, or i simply draw inspiration from what i see. This time, i wanted to make it similar, but adding other details and patterns that i like to include in my drawings. I focused more on her face and hood, which i love. Once i had my sketch ready, i continued with the ink and outlines. At this point, i sometimes get indecisive because, in some drawings, i like to add a base layer first and then start outlining. I don't really like white paper anymore.
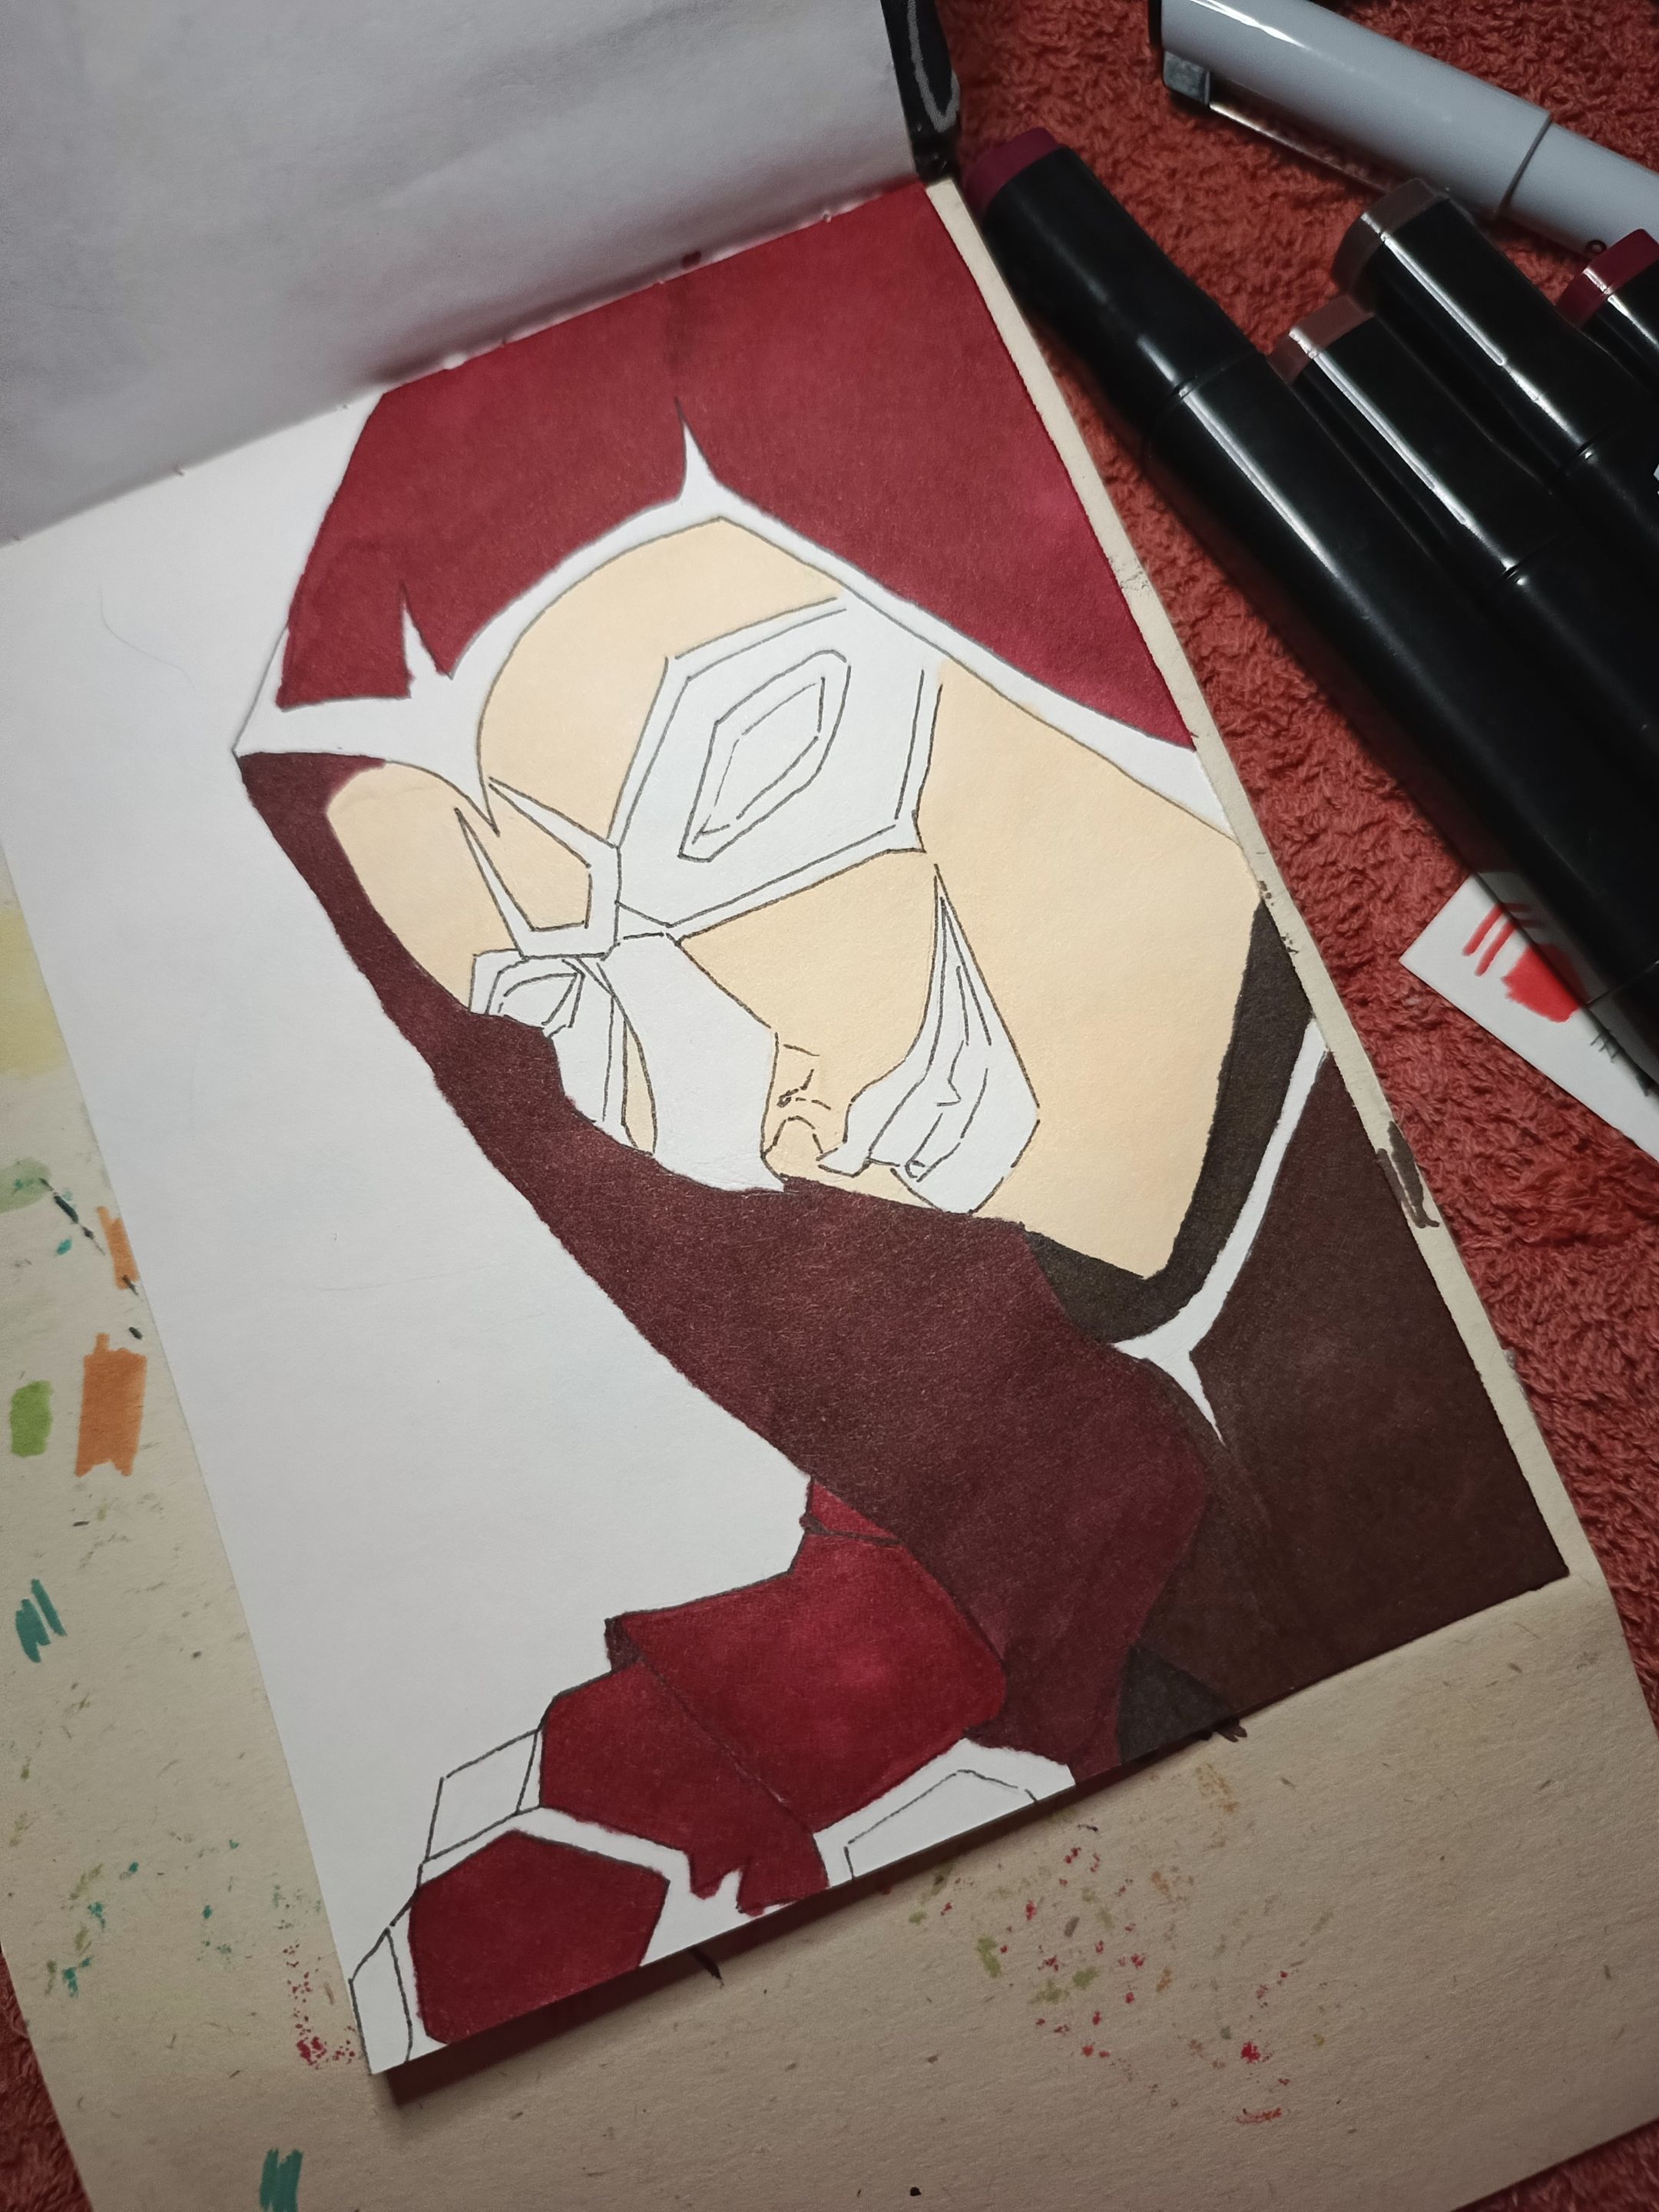
Coloring Time | Materials
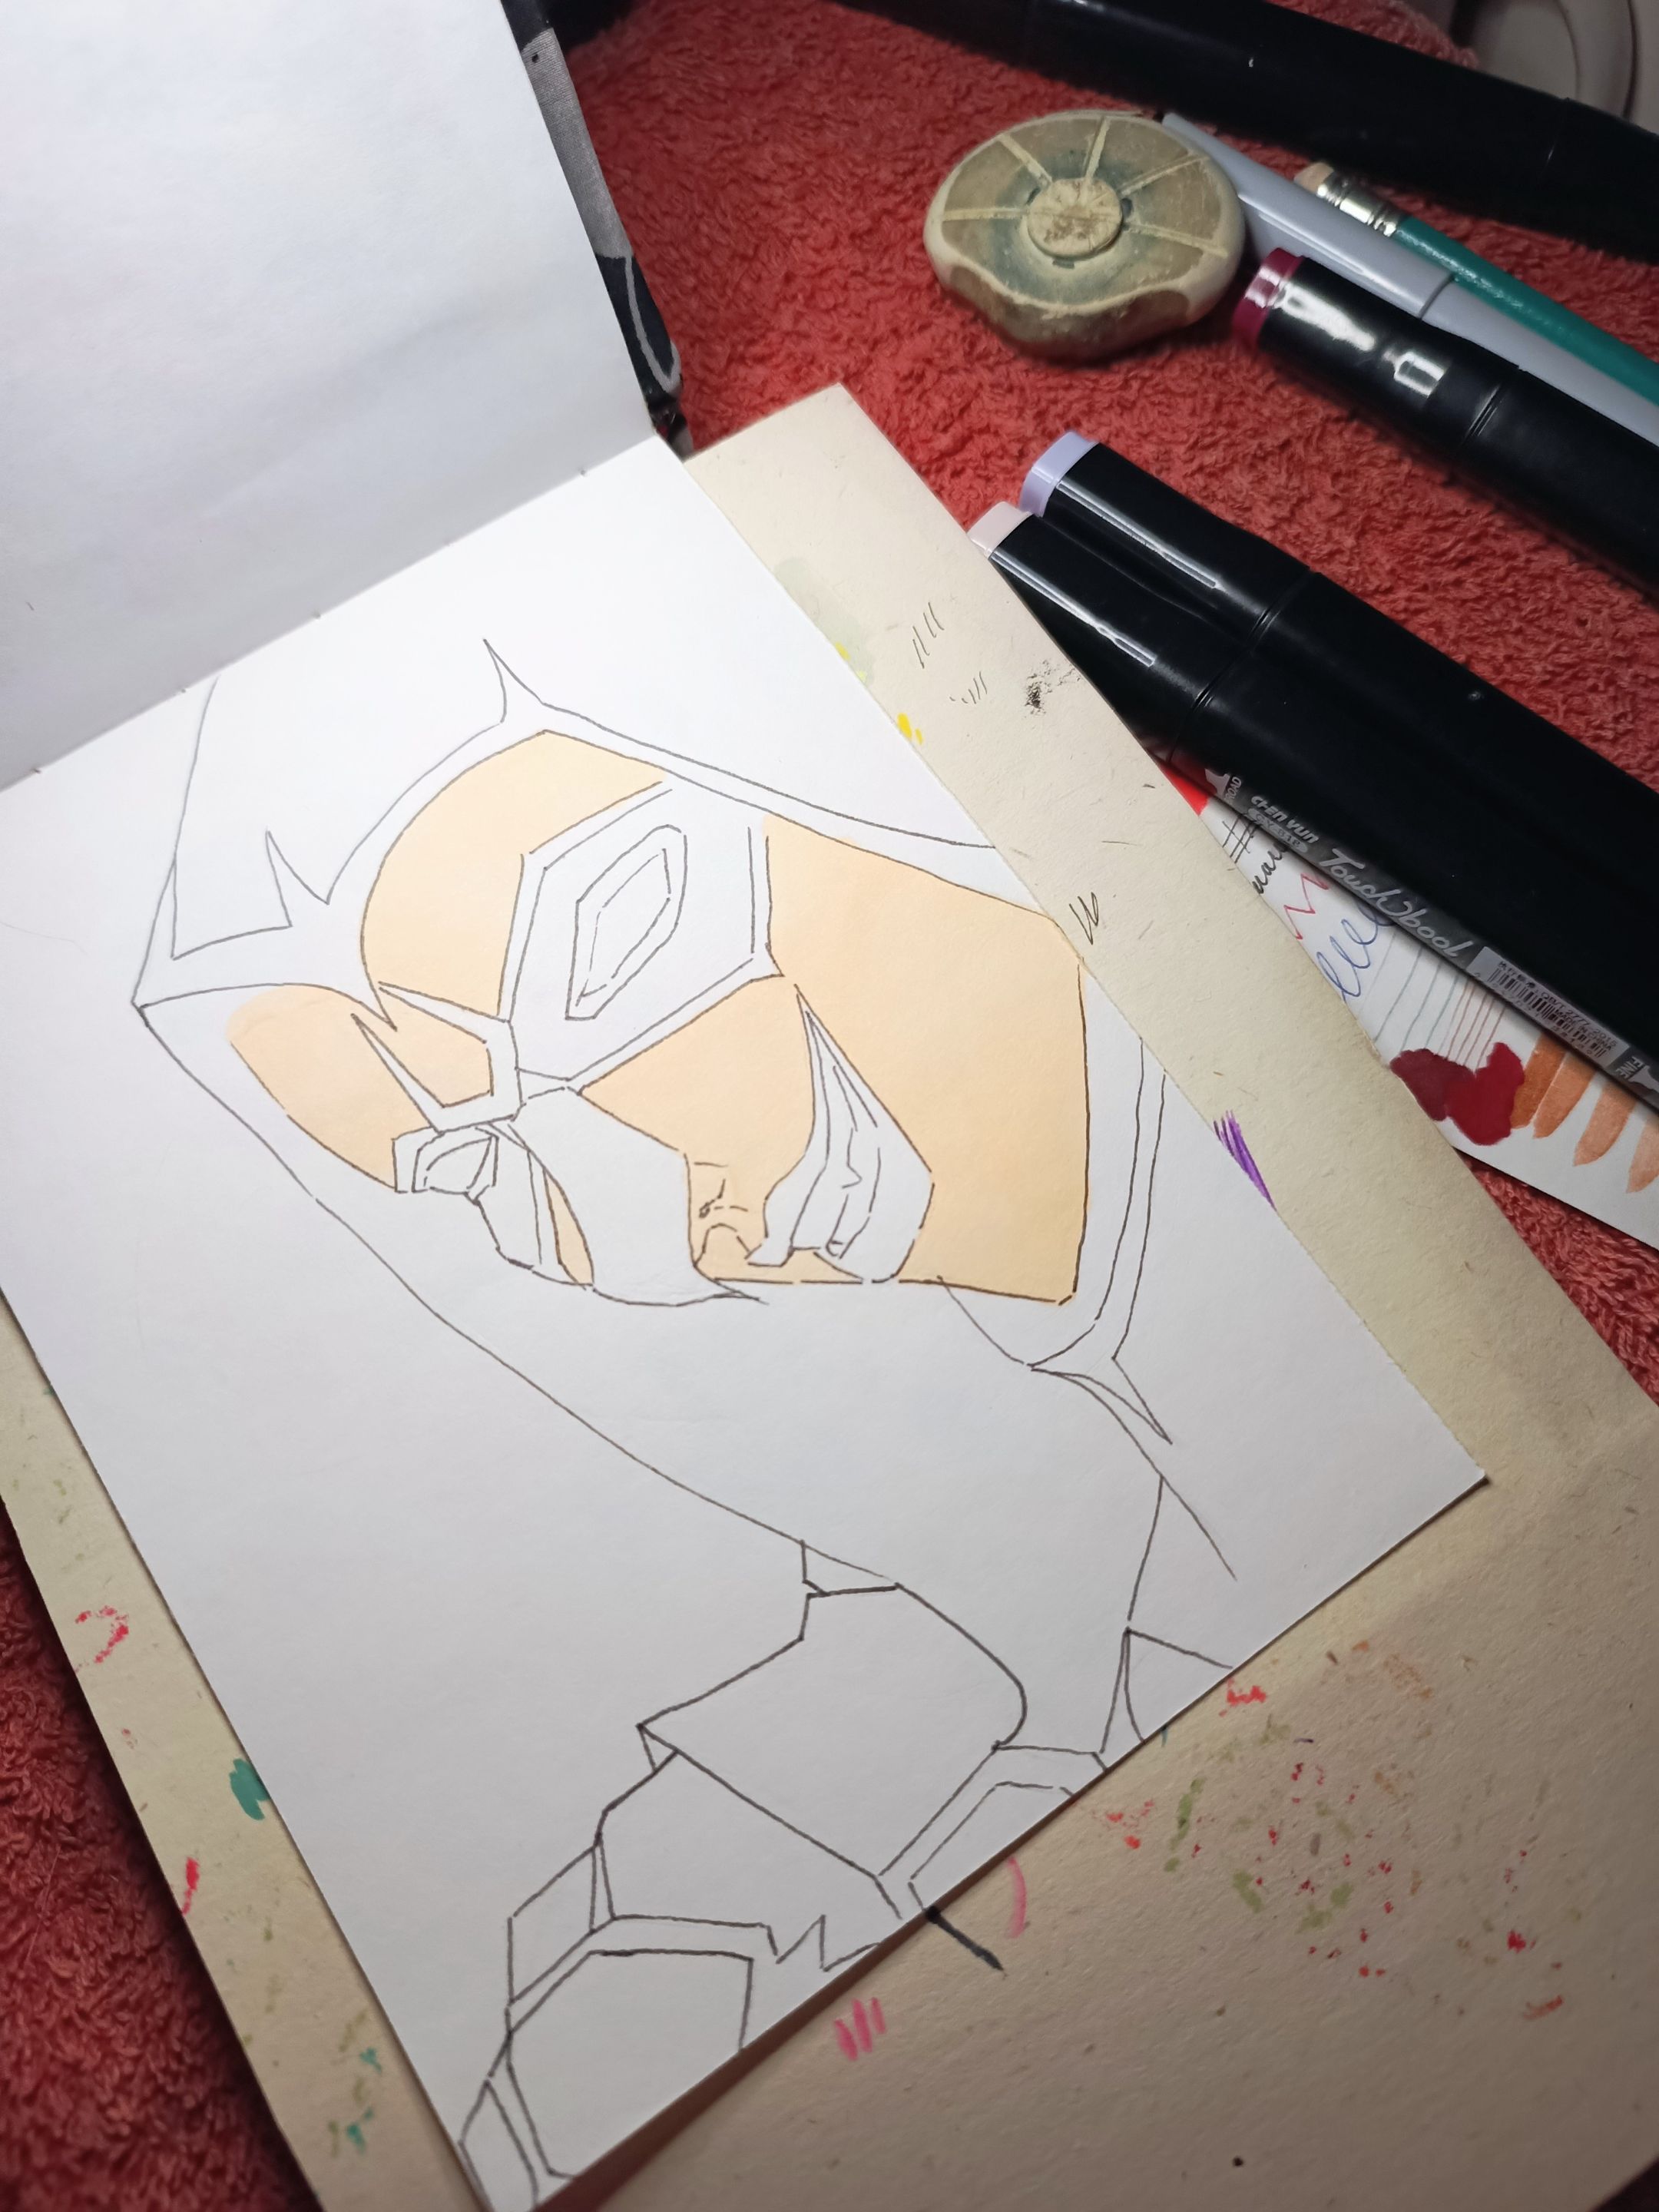
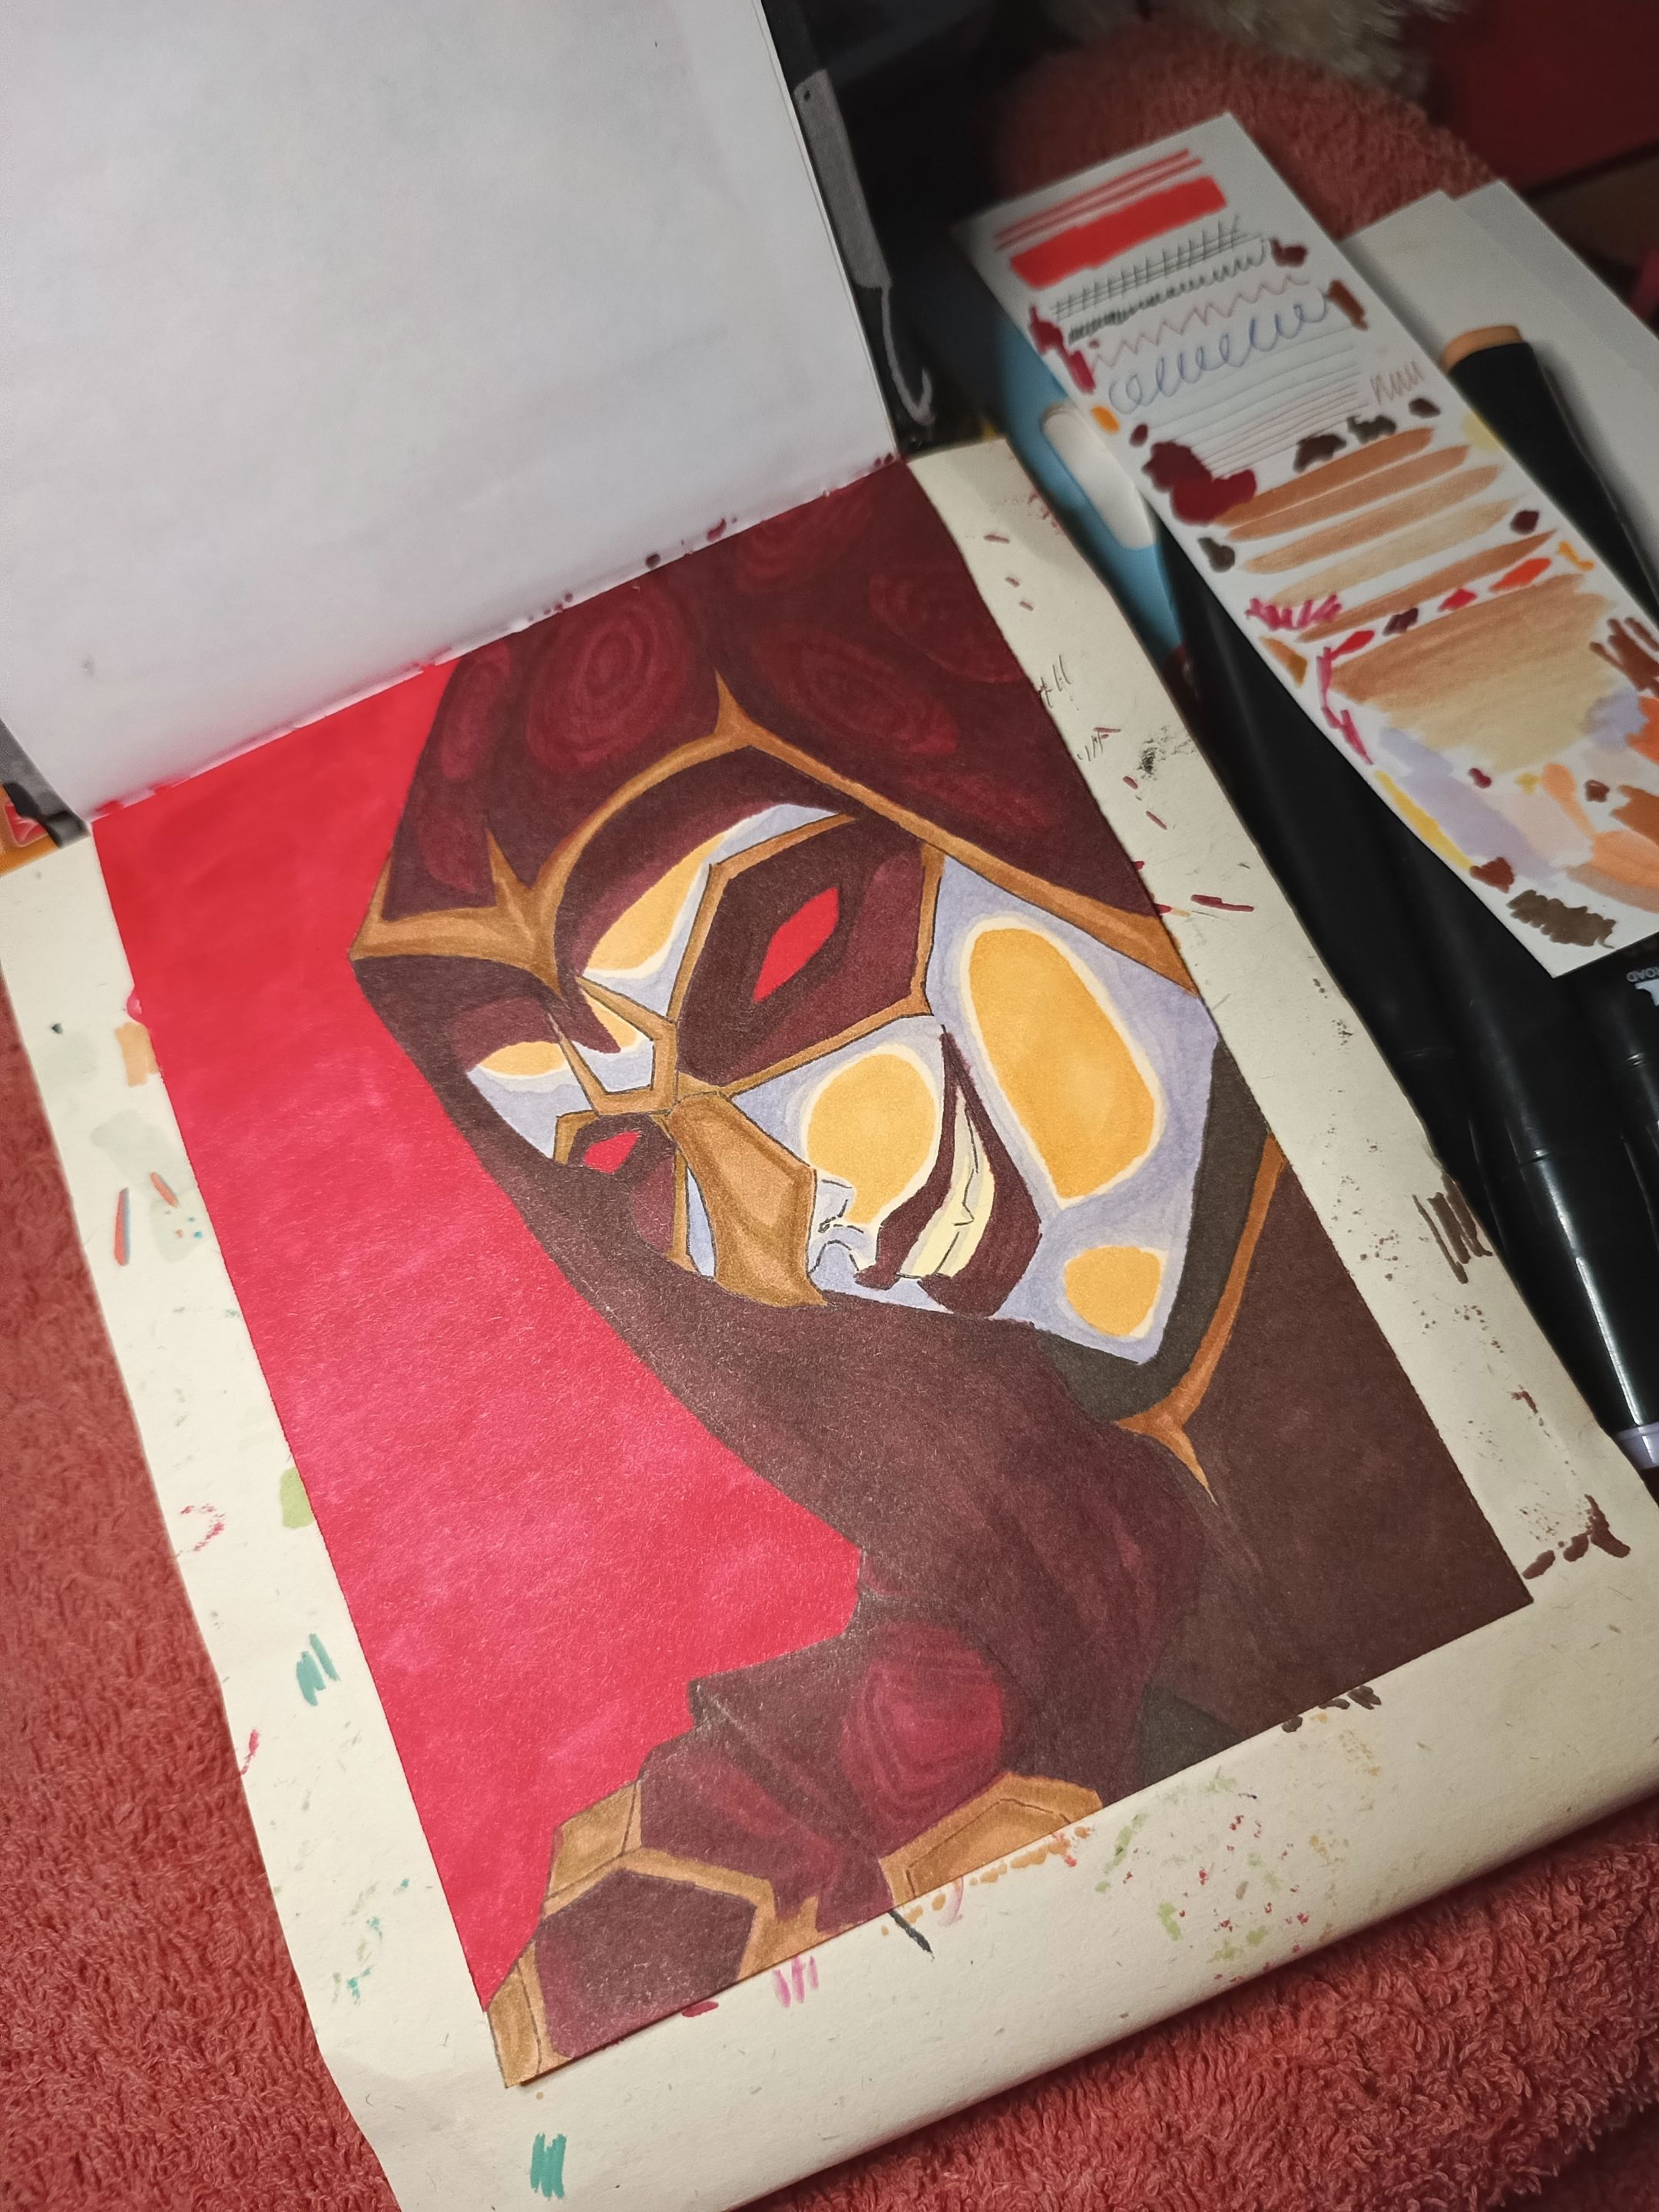
I had previously tested materials on this paper to see if i could use markers on this drawing. And it didn't turn out so bad after all. I used alcohol markers for the base, choosing a beige-pink color for the skin, two shades of red for the hood, one quite dark and one wine red. For details such as gold, i chose an ochre shade and a greenish-gray for other details. I thought about using pastel colors for some touches on the hood, but then i decided not to use pencils. Just alcohol markers, acrylics, and pastel and oil chalks.
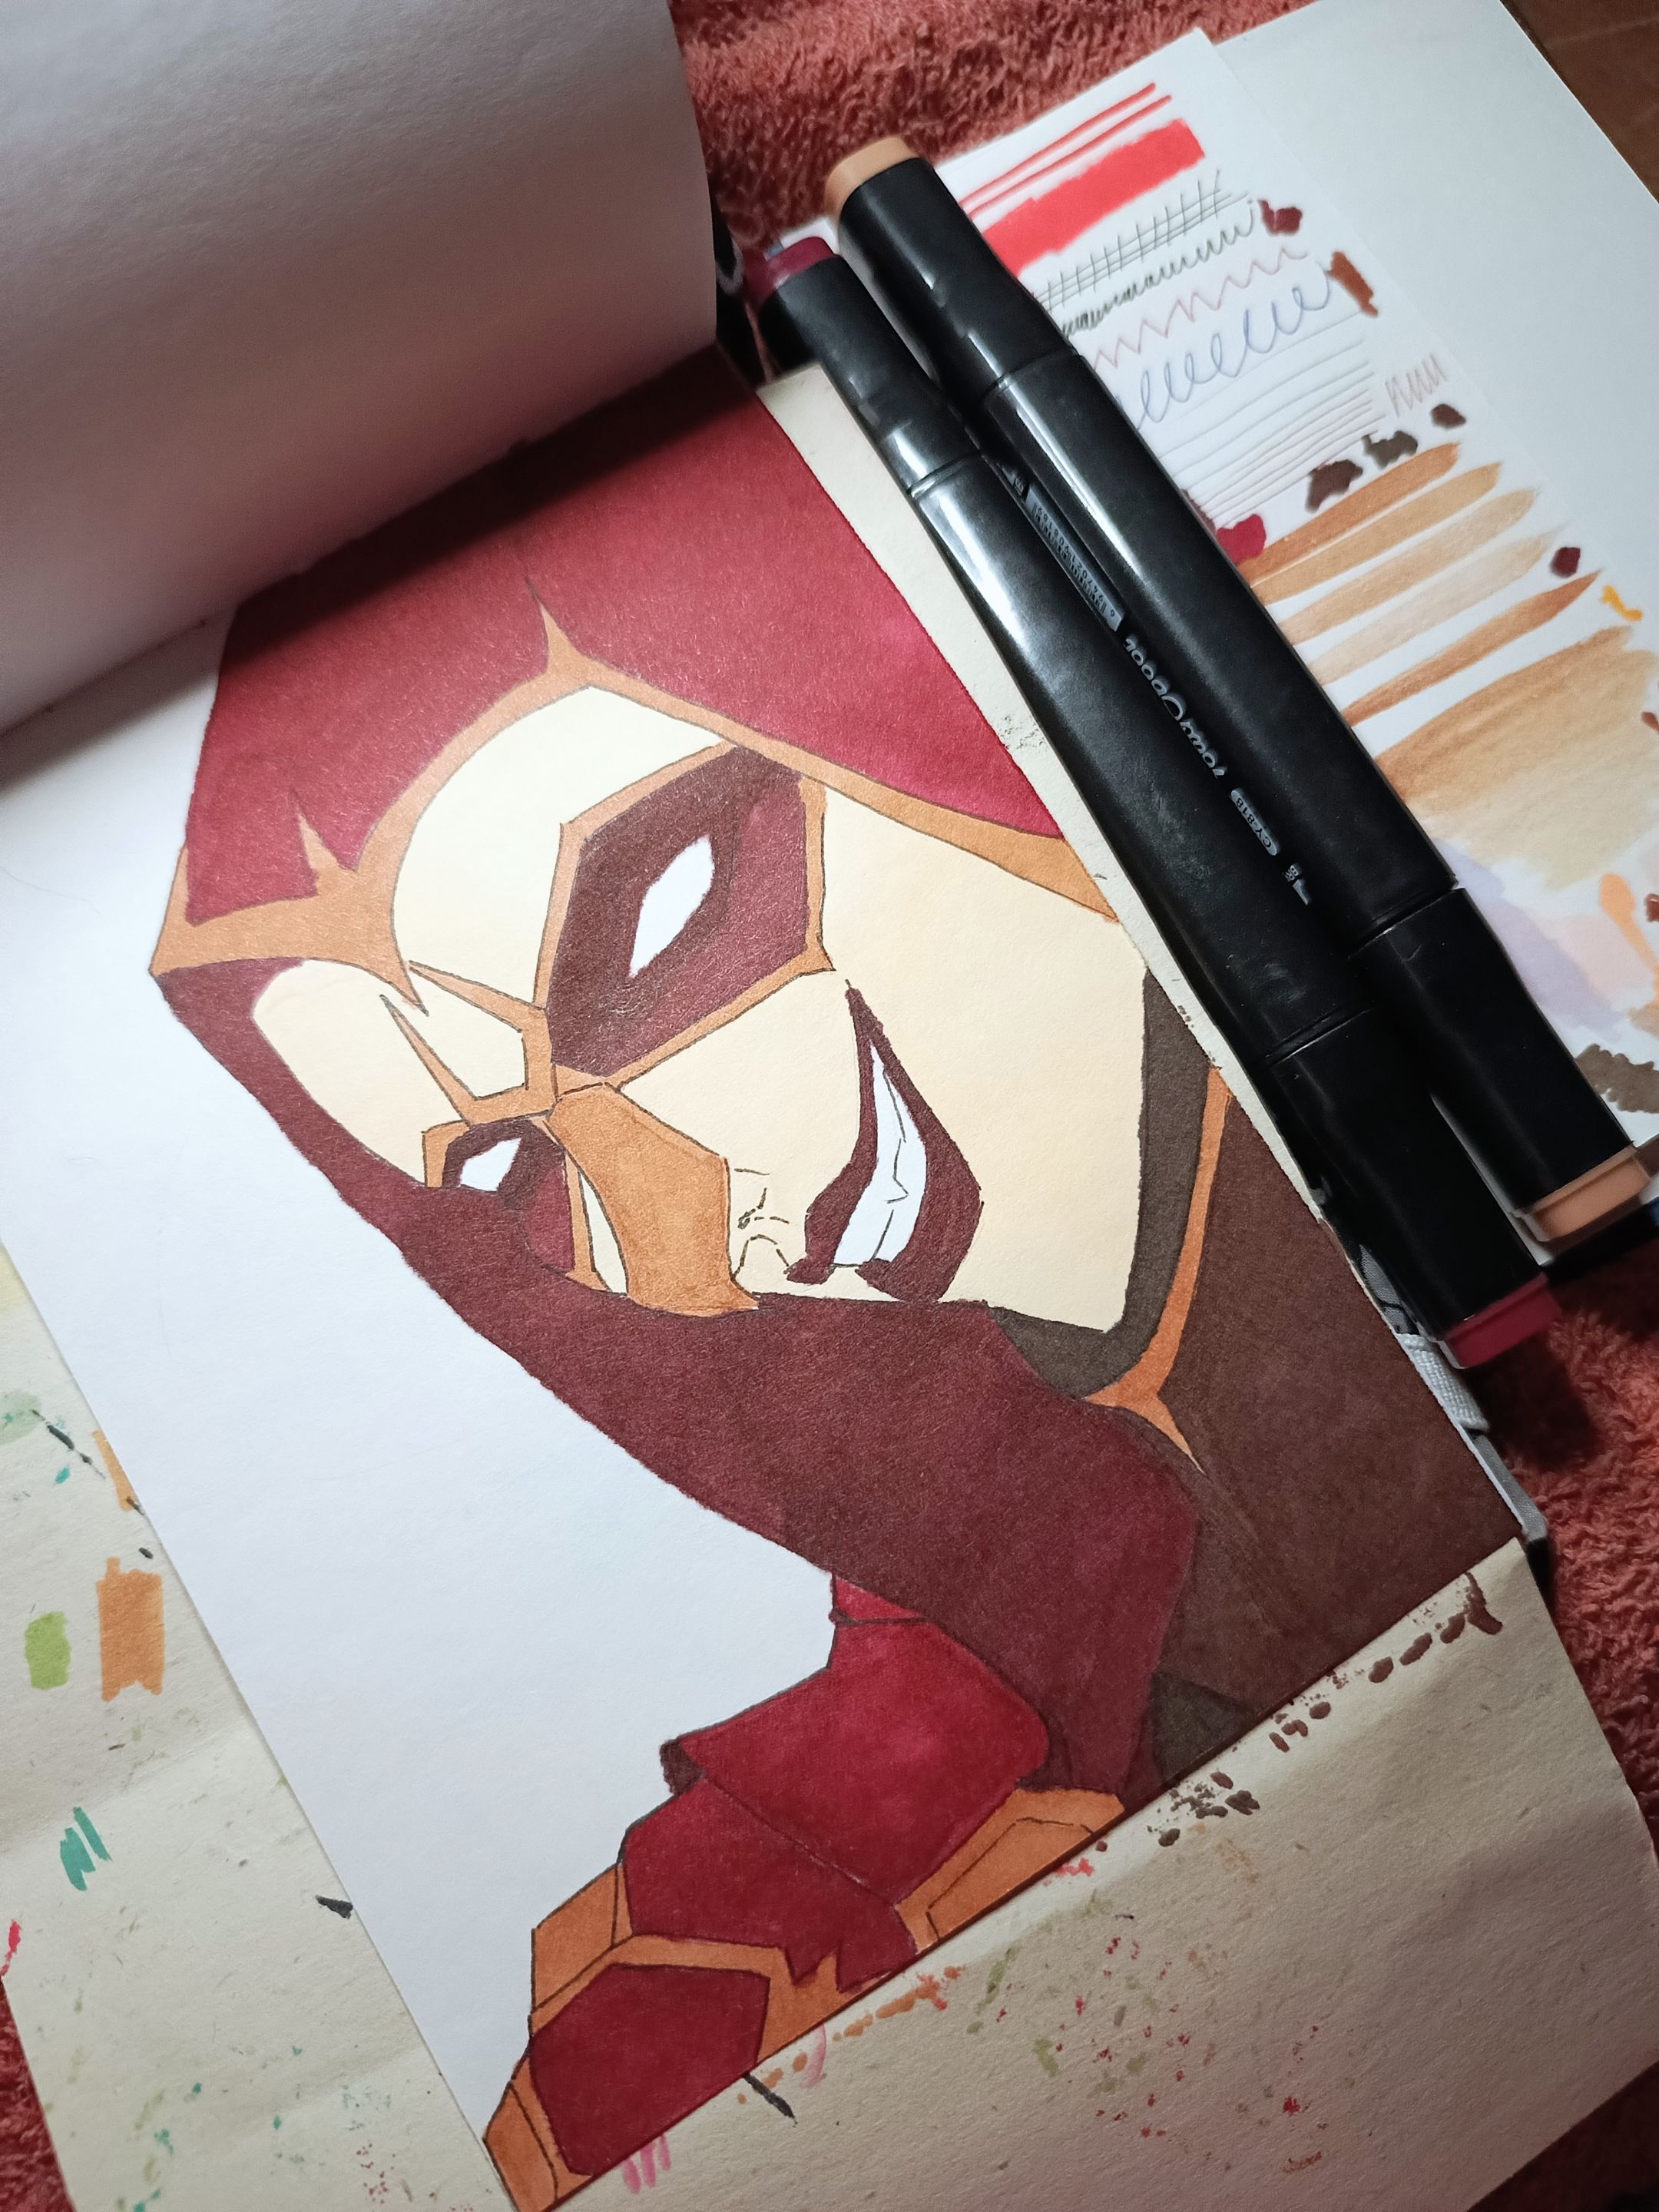
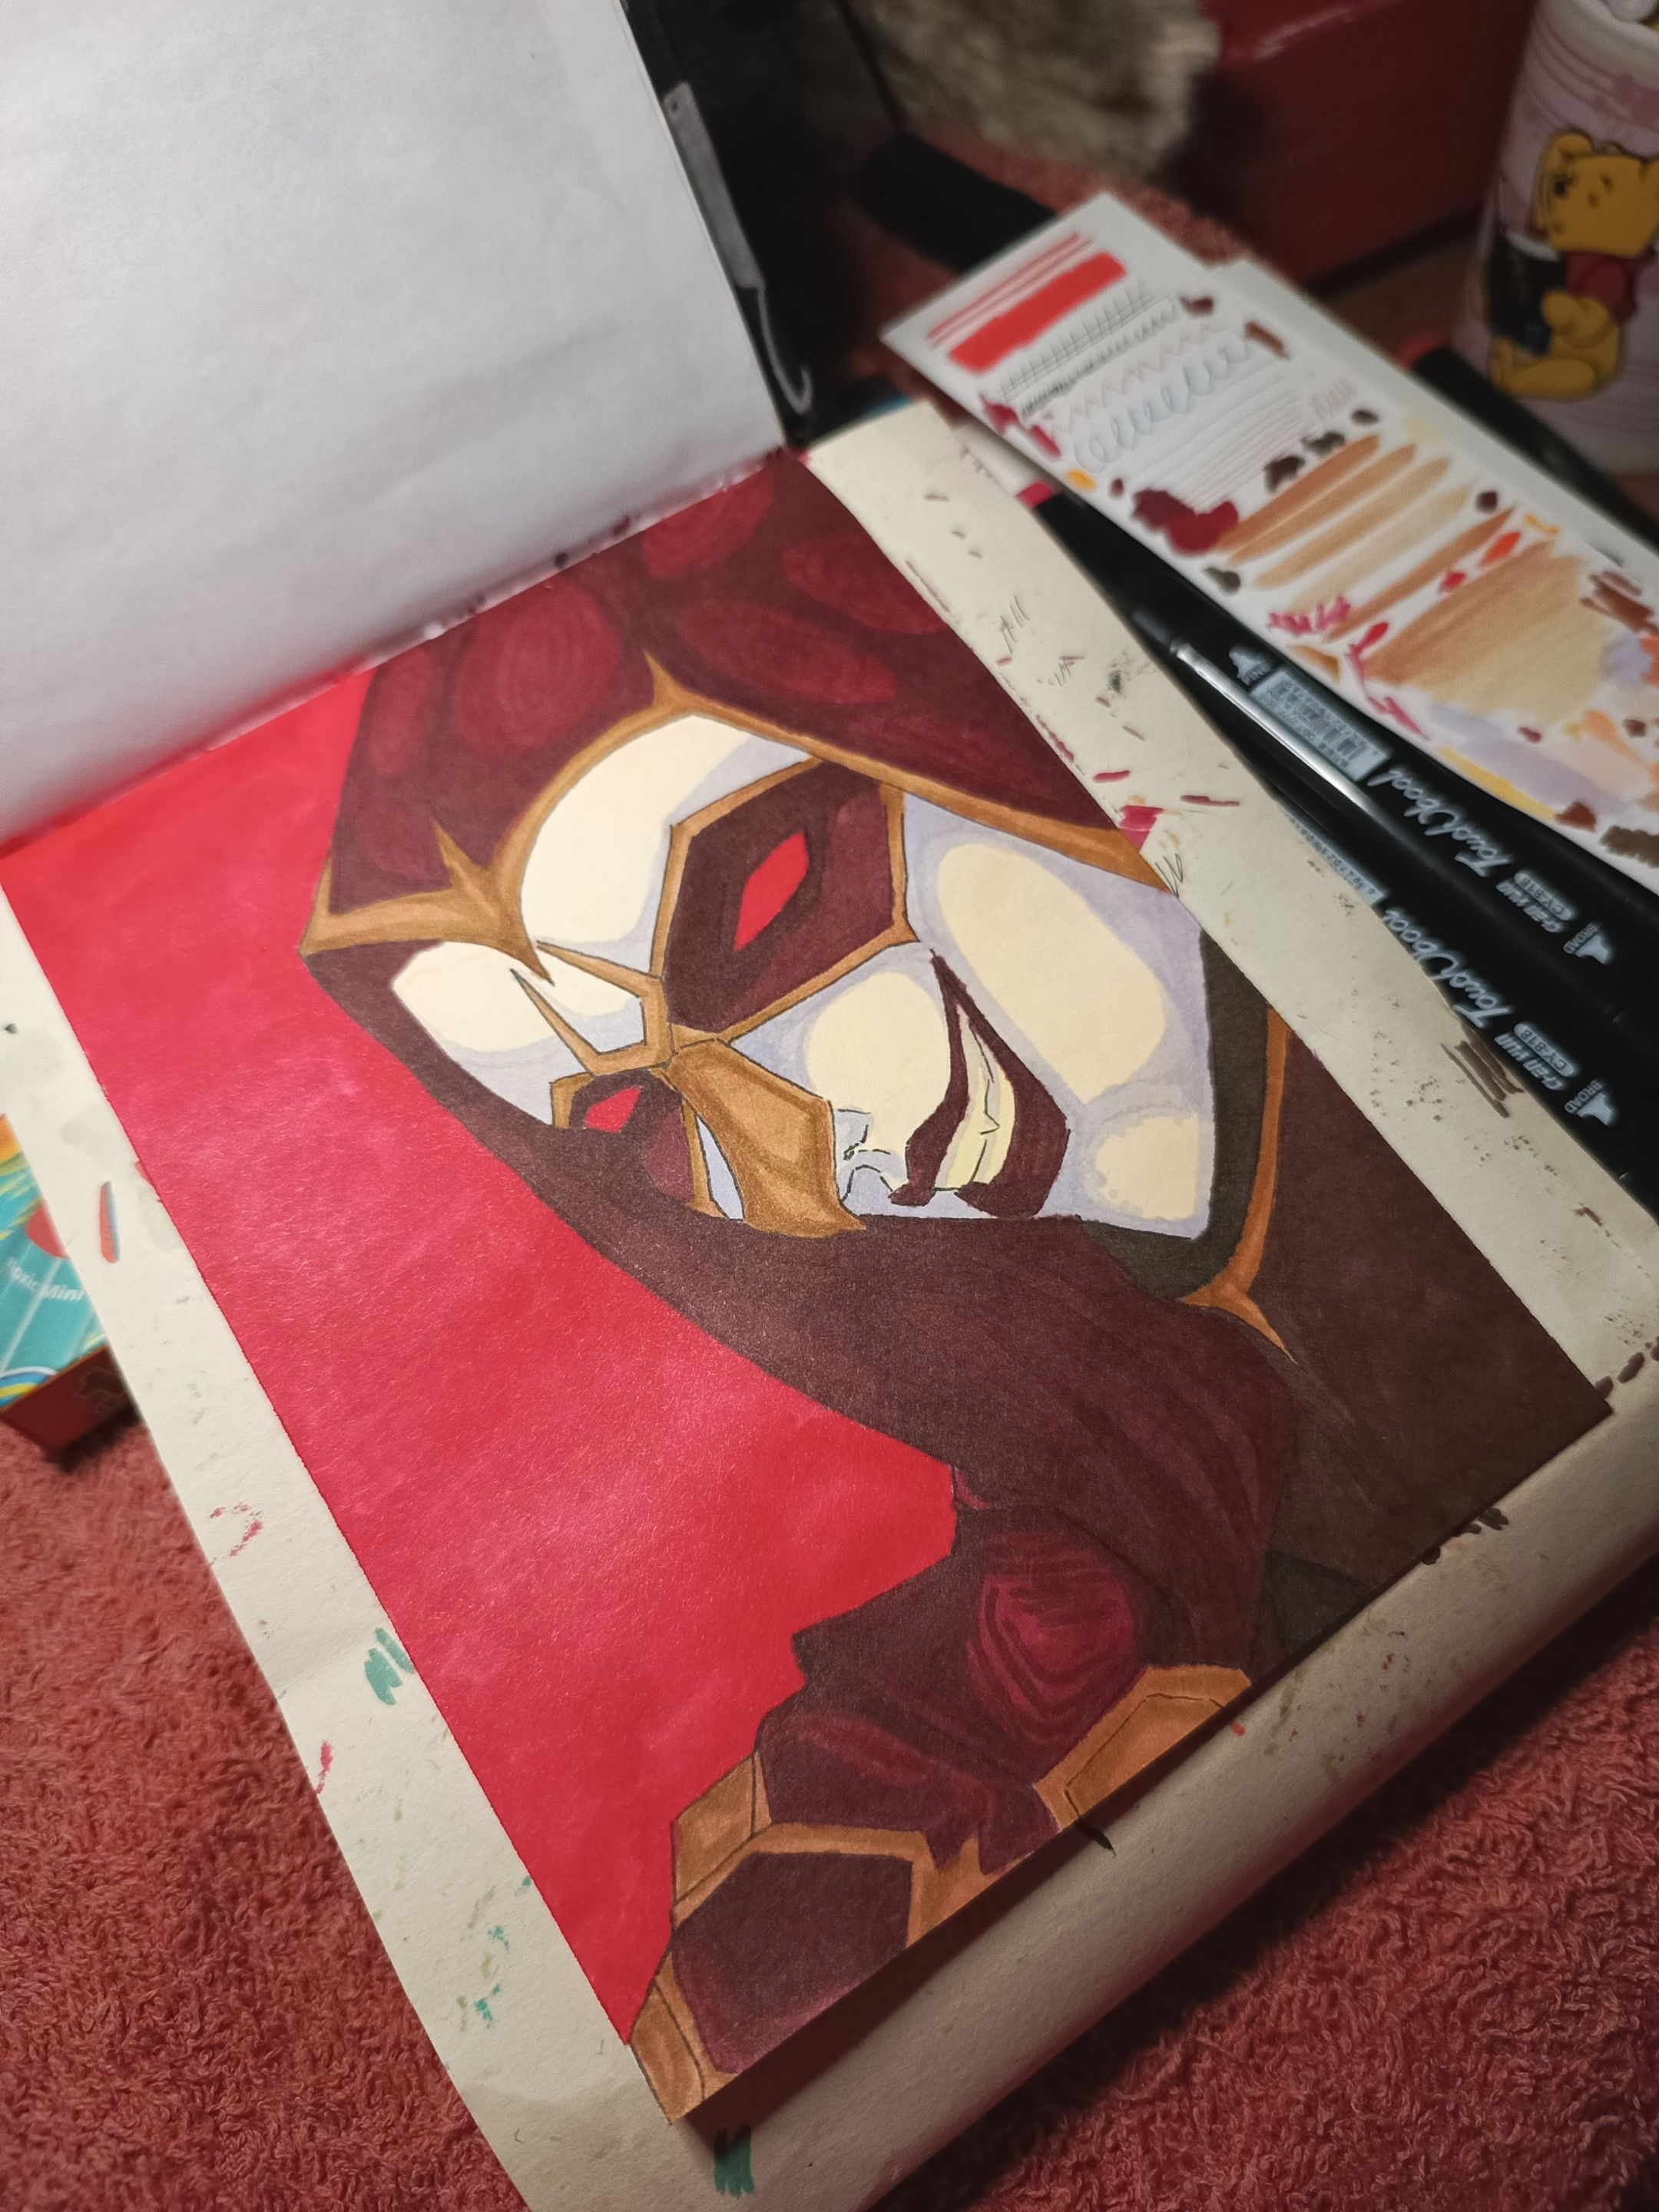
Shadows | Background
I used the same base colors to create the midtones and shadows. That's one advantage of this type of marker: since they are somewhat transparent, when you add other layers once the base has dried, it's as if you were coloring with a darker shade. For the skin, i added other shades, such as lilac and a sand color. And for the background, without much hesitation, i used a deep red that i love. I had to add a shade with a certain amount of saturation in order to overlay the details of the fire. In this case, it would also come out as red eyes. Although her eyes in the card are not this color, i wanted to give her a slightly more dramatic look.
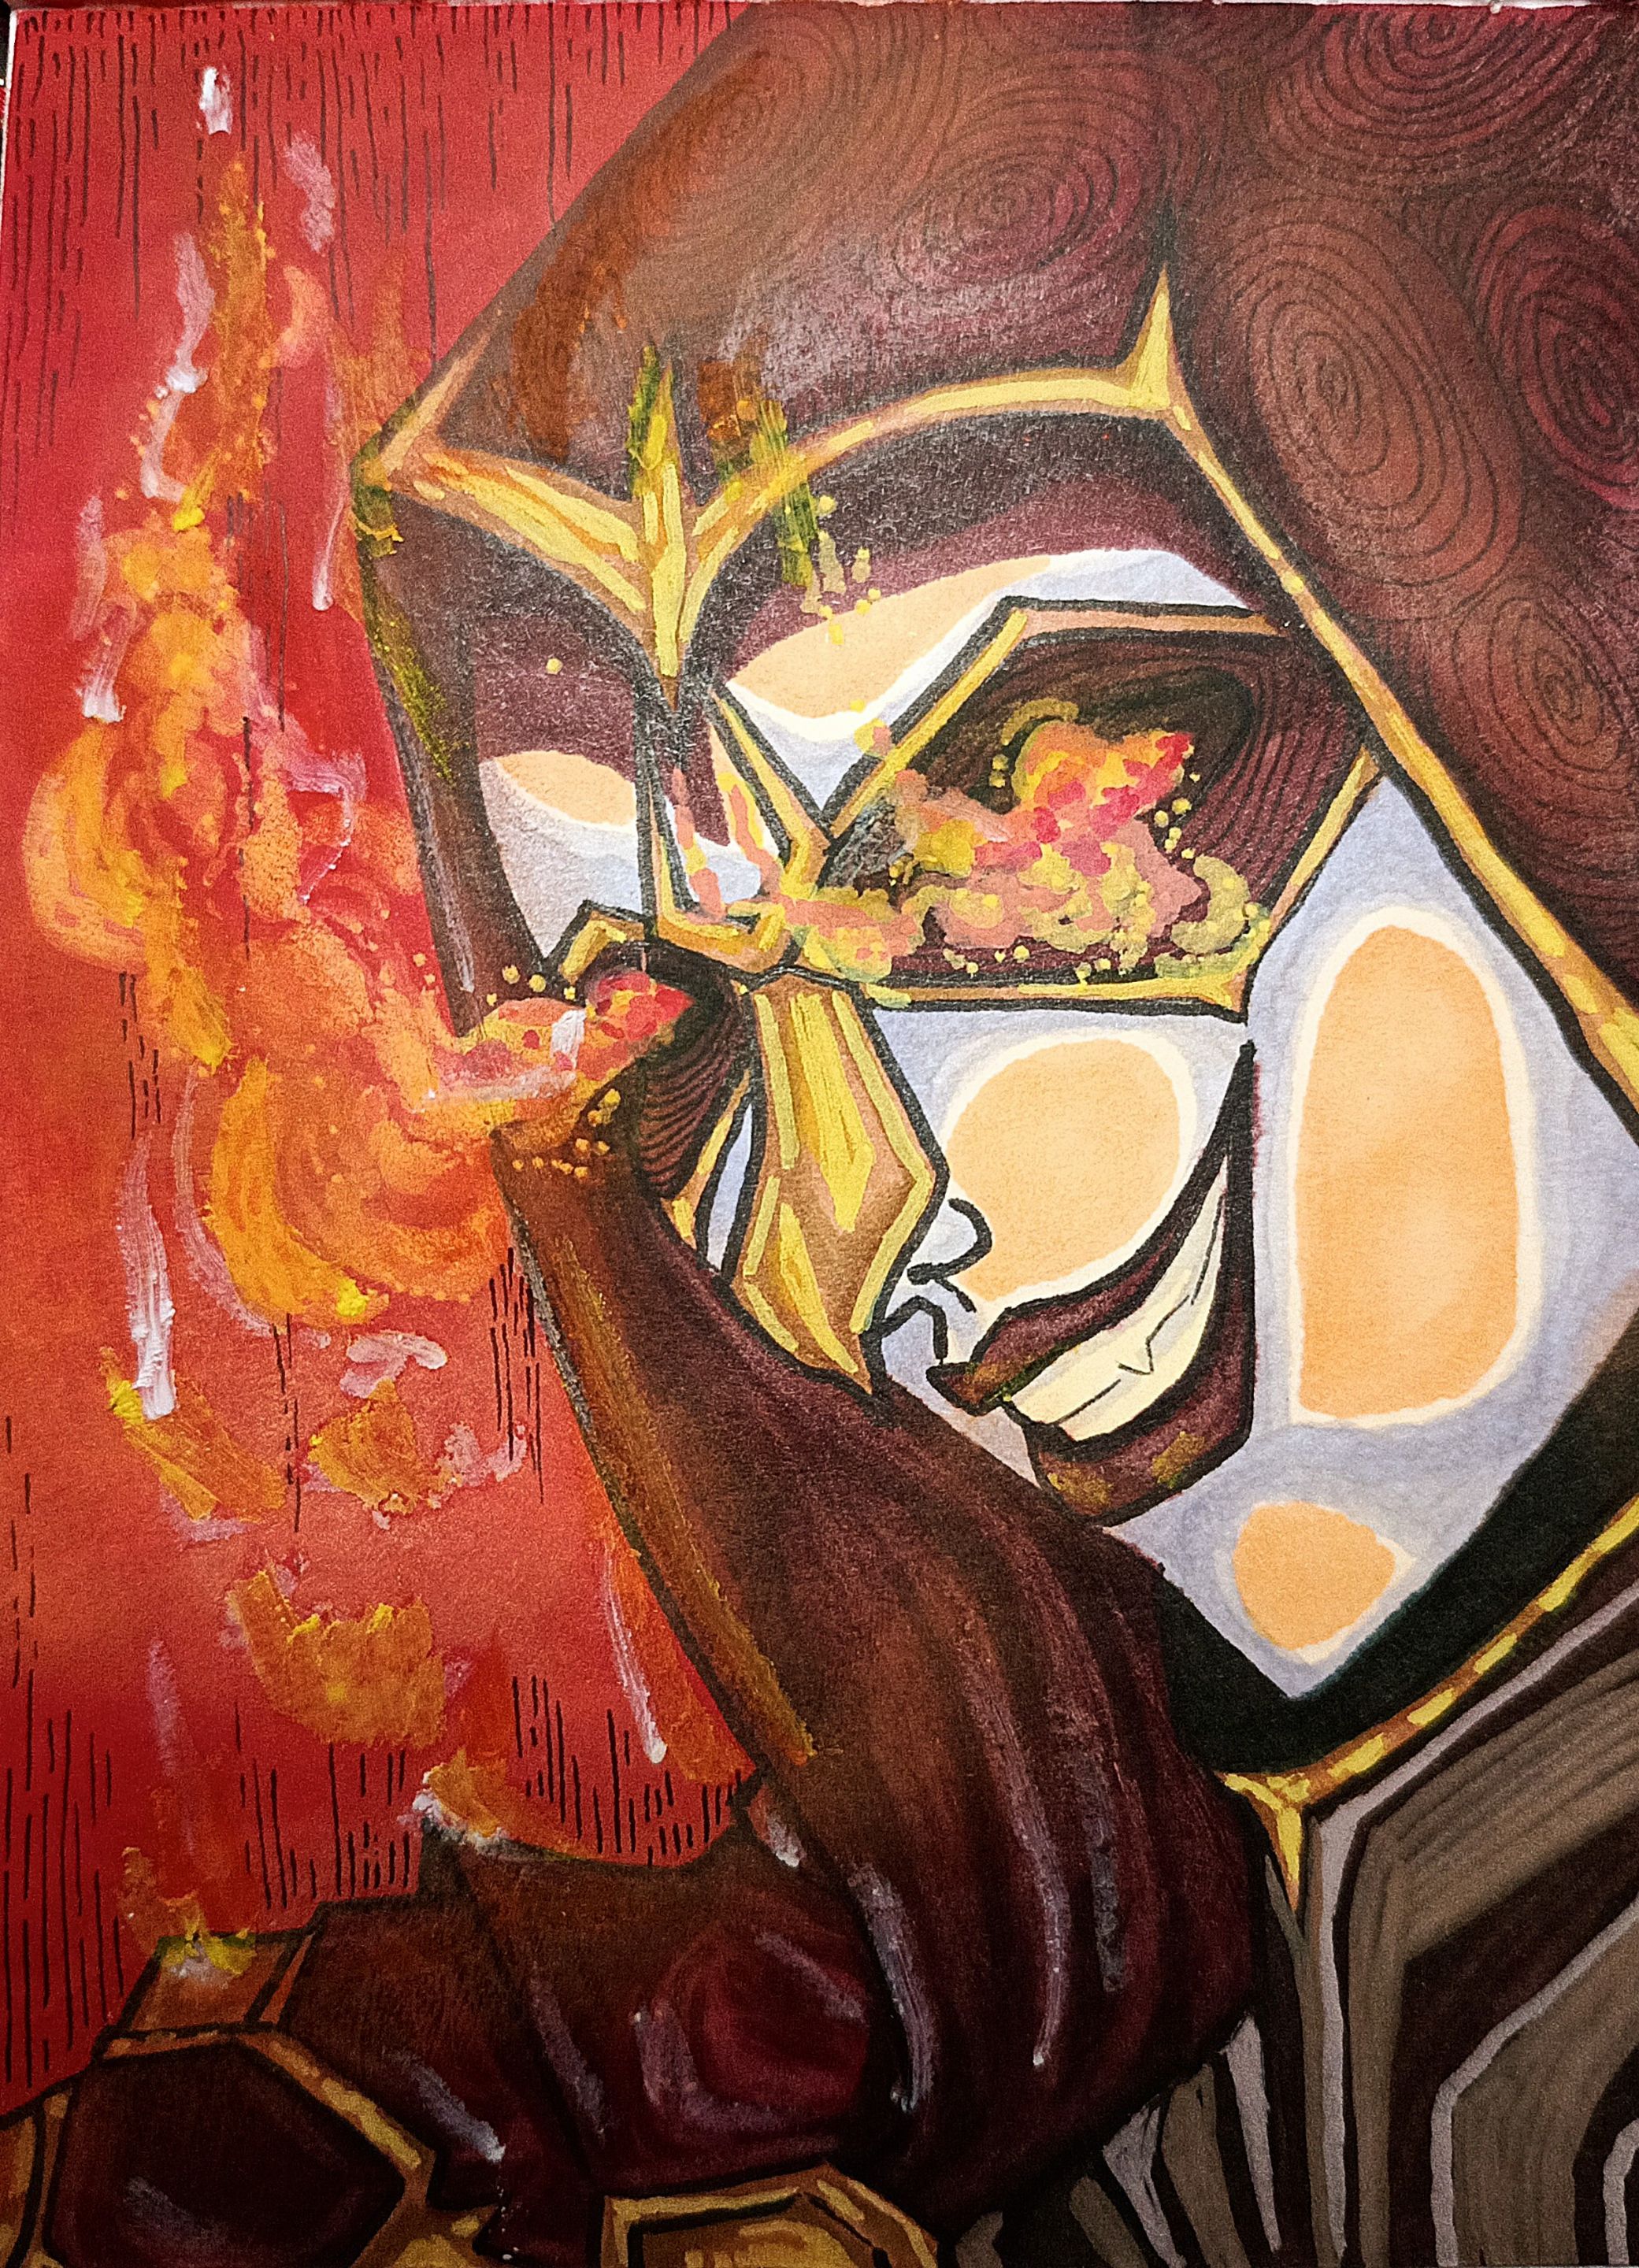
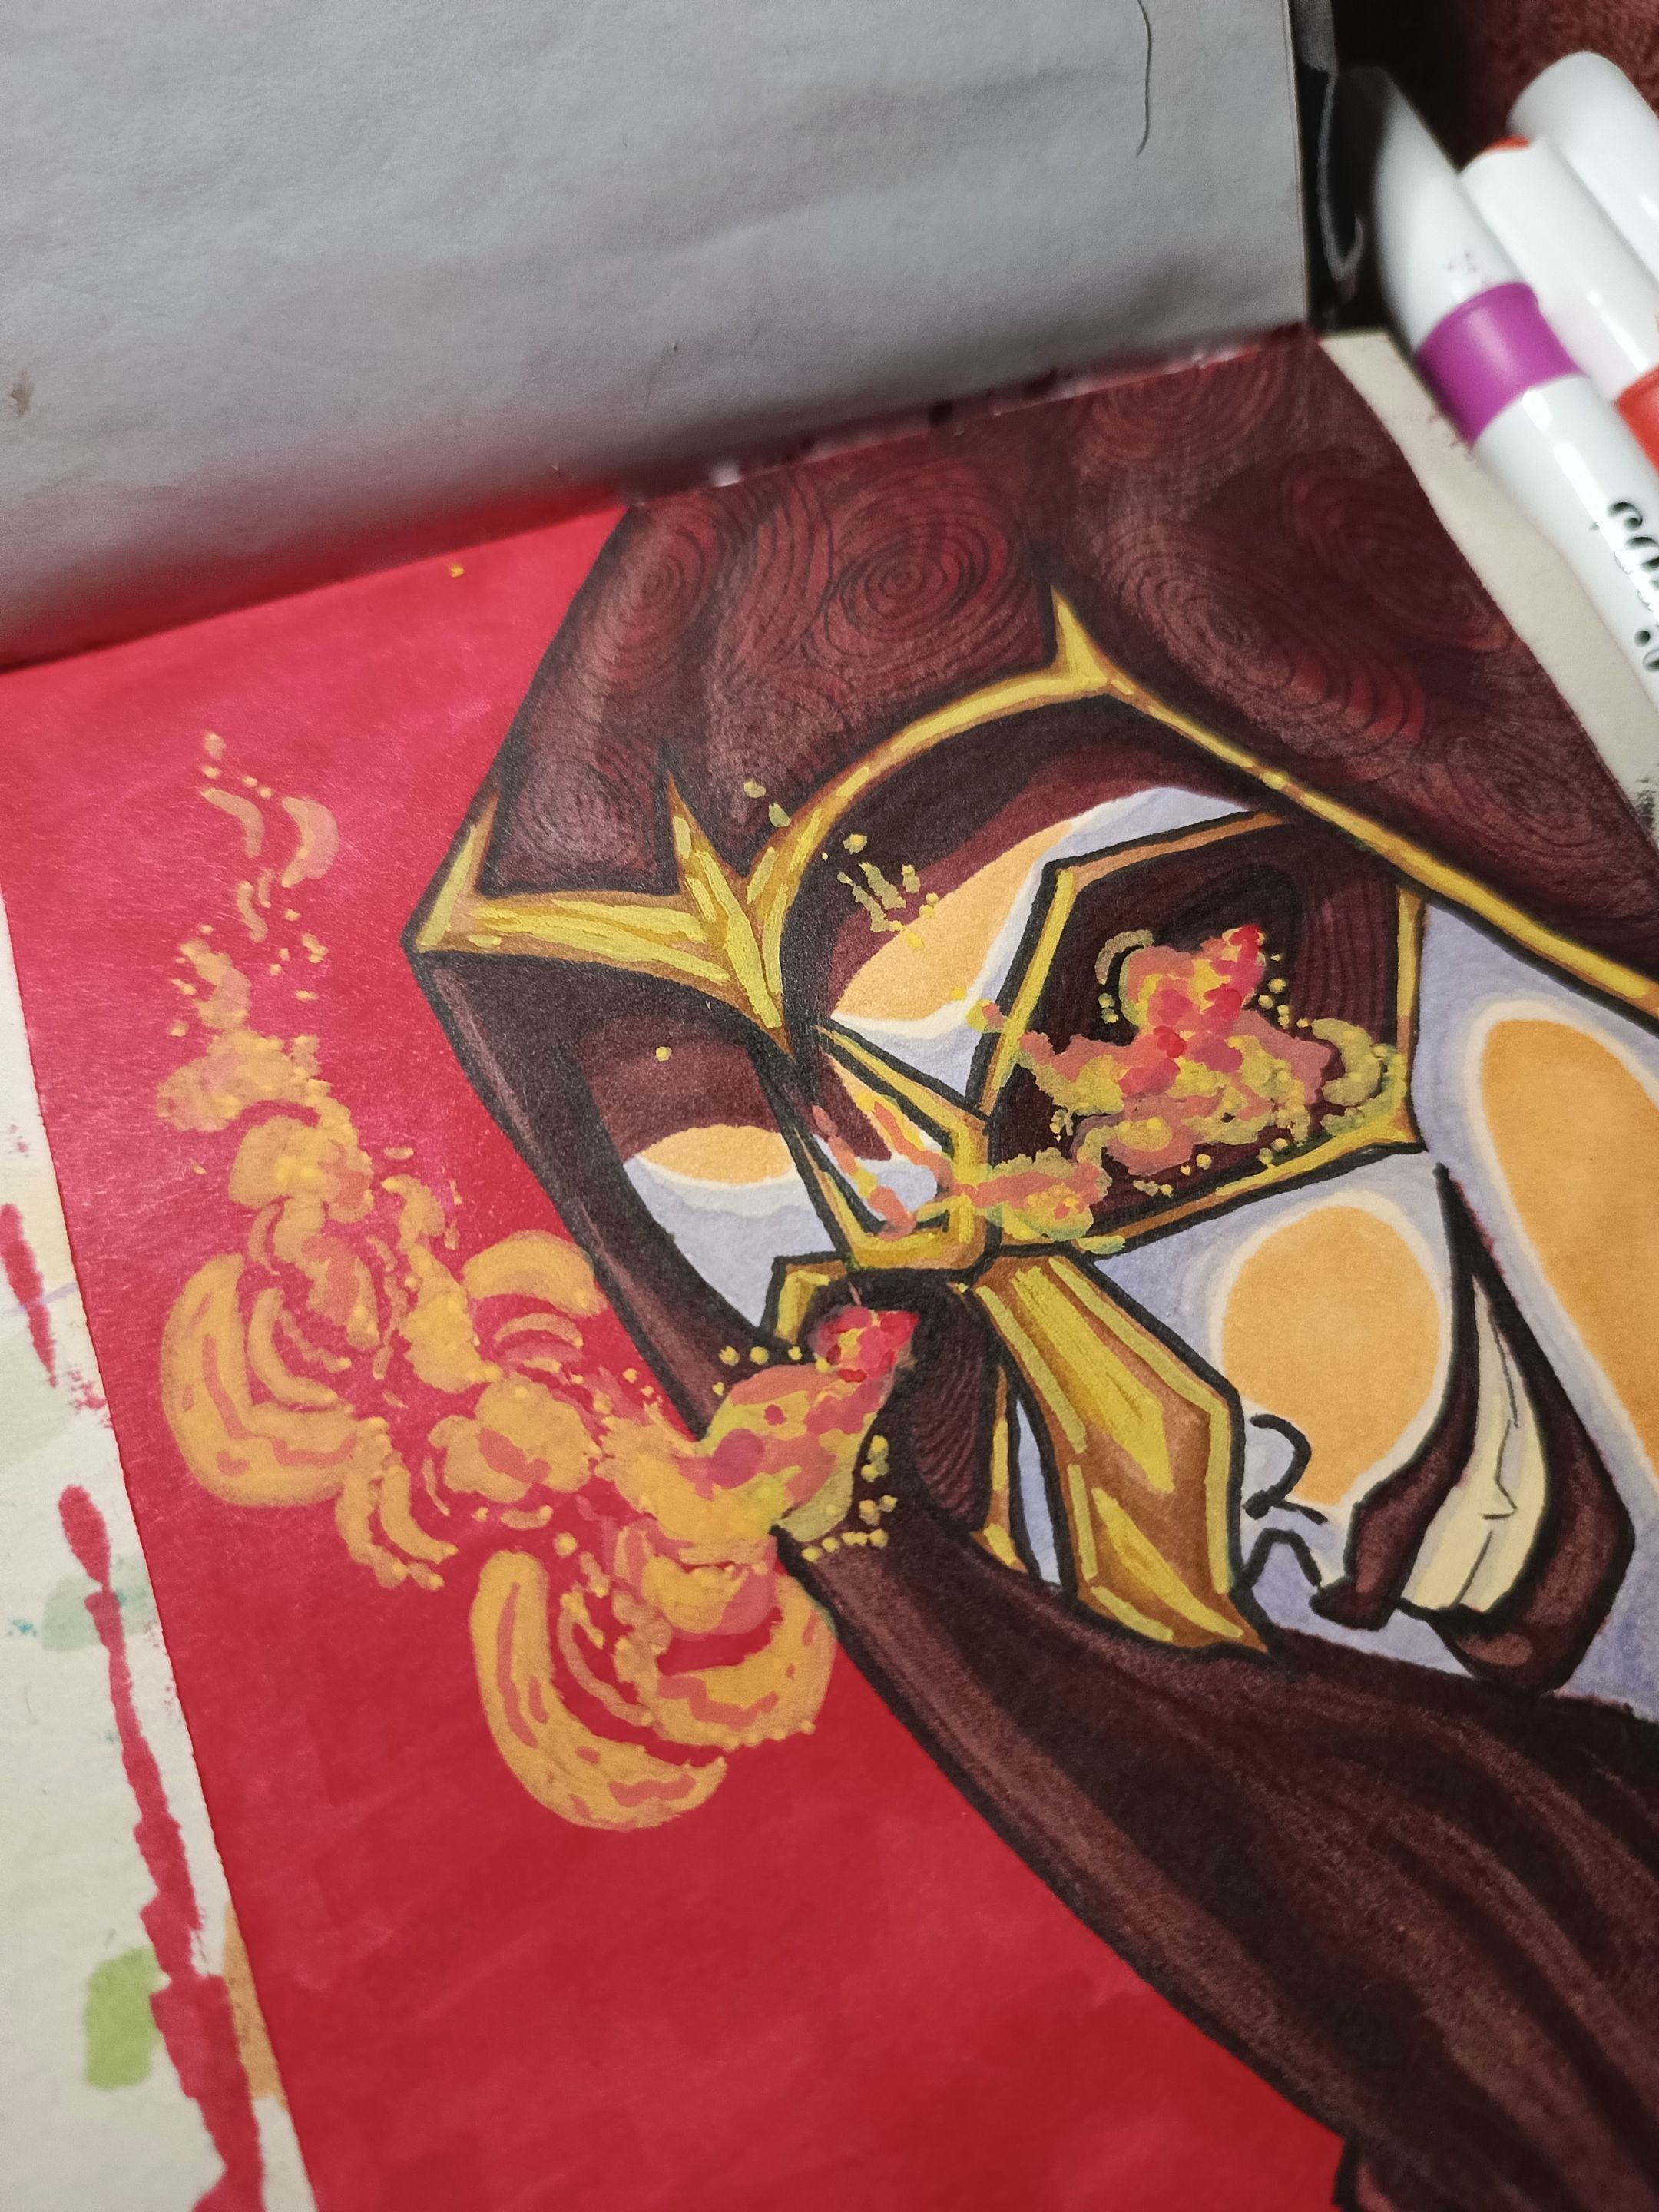
Last Details
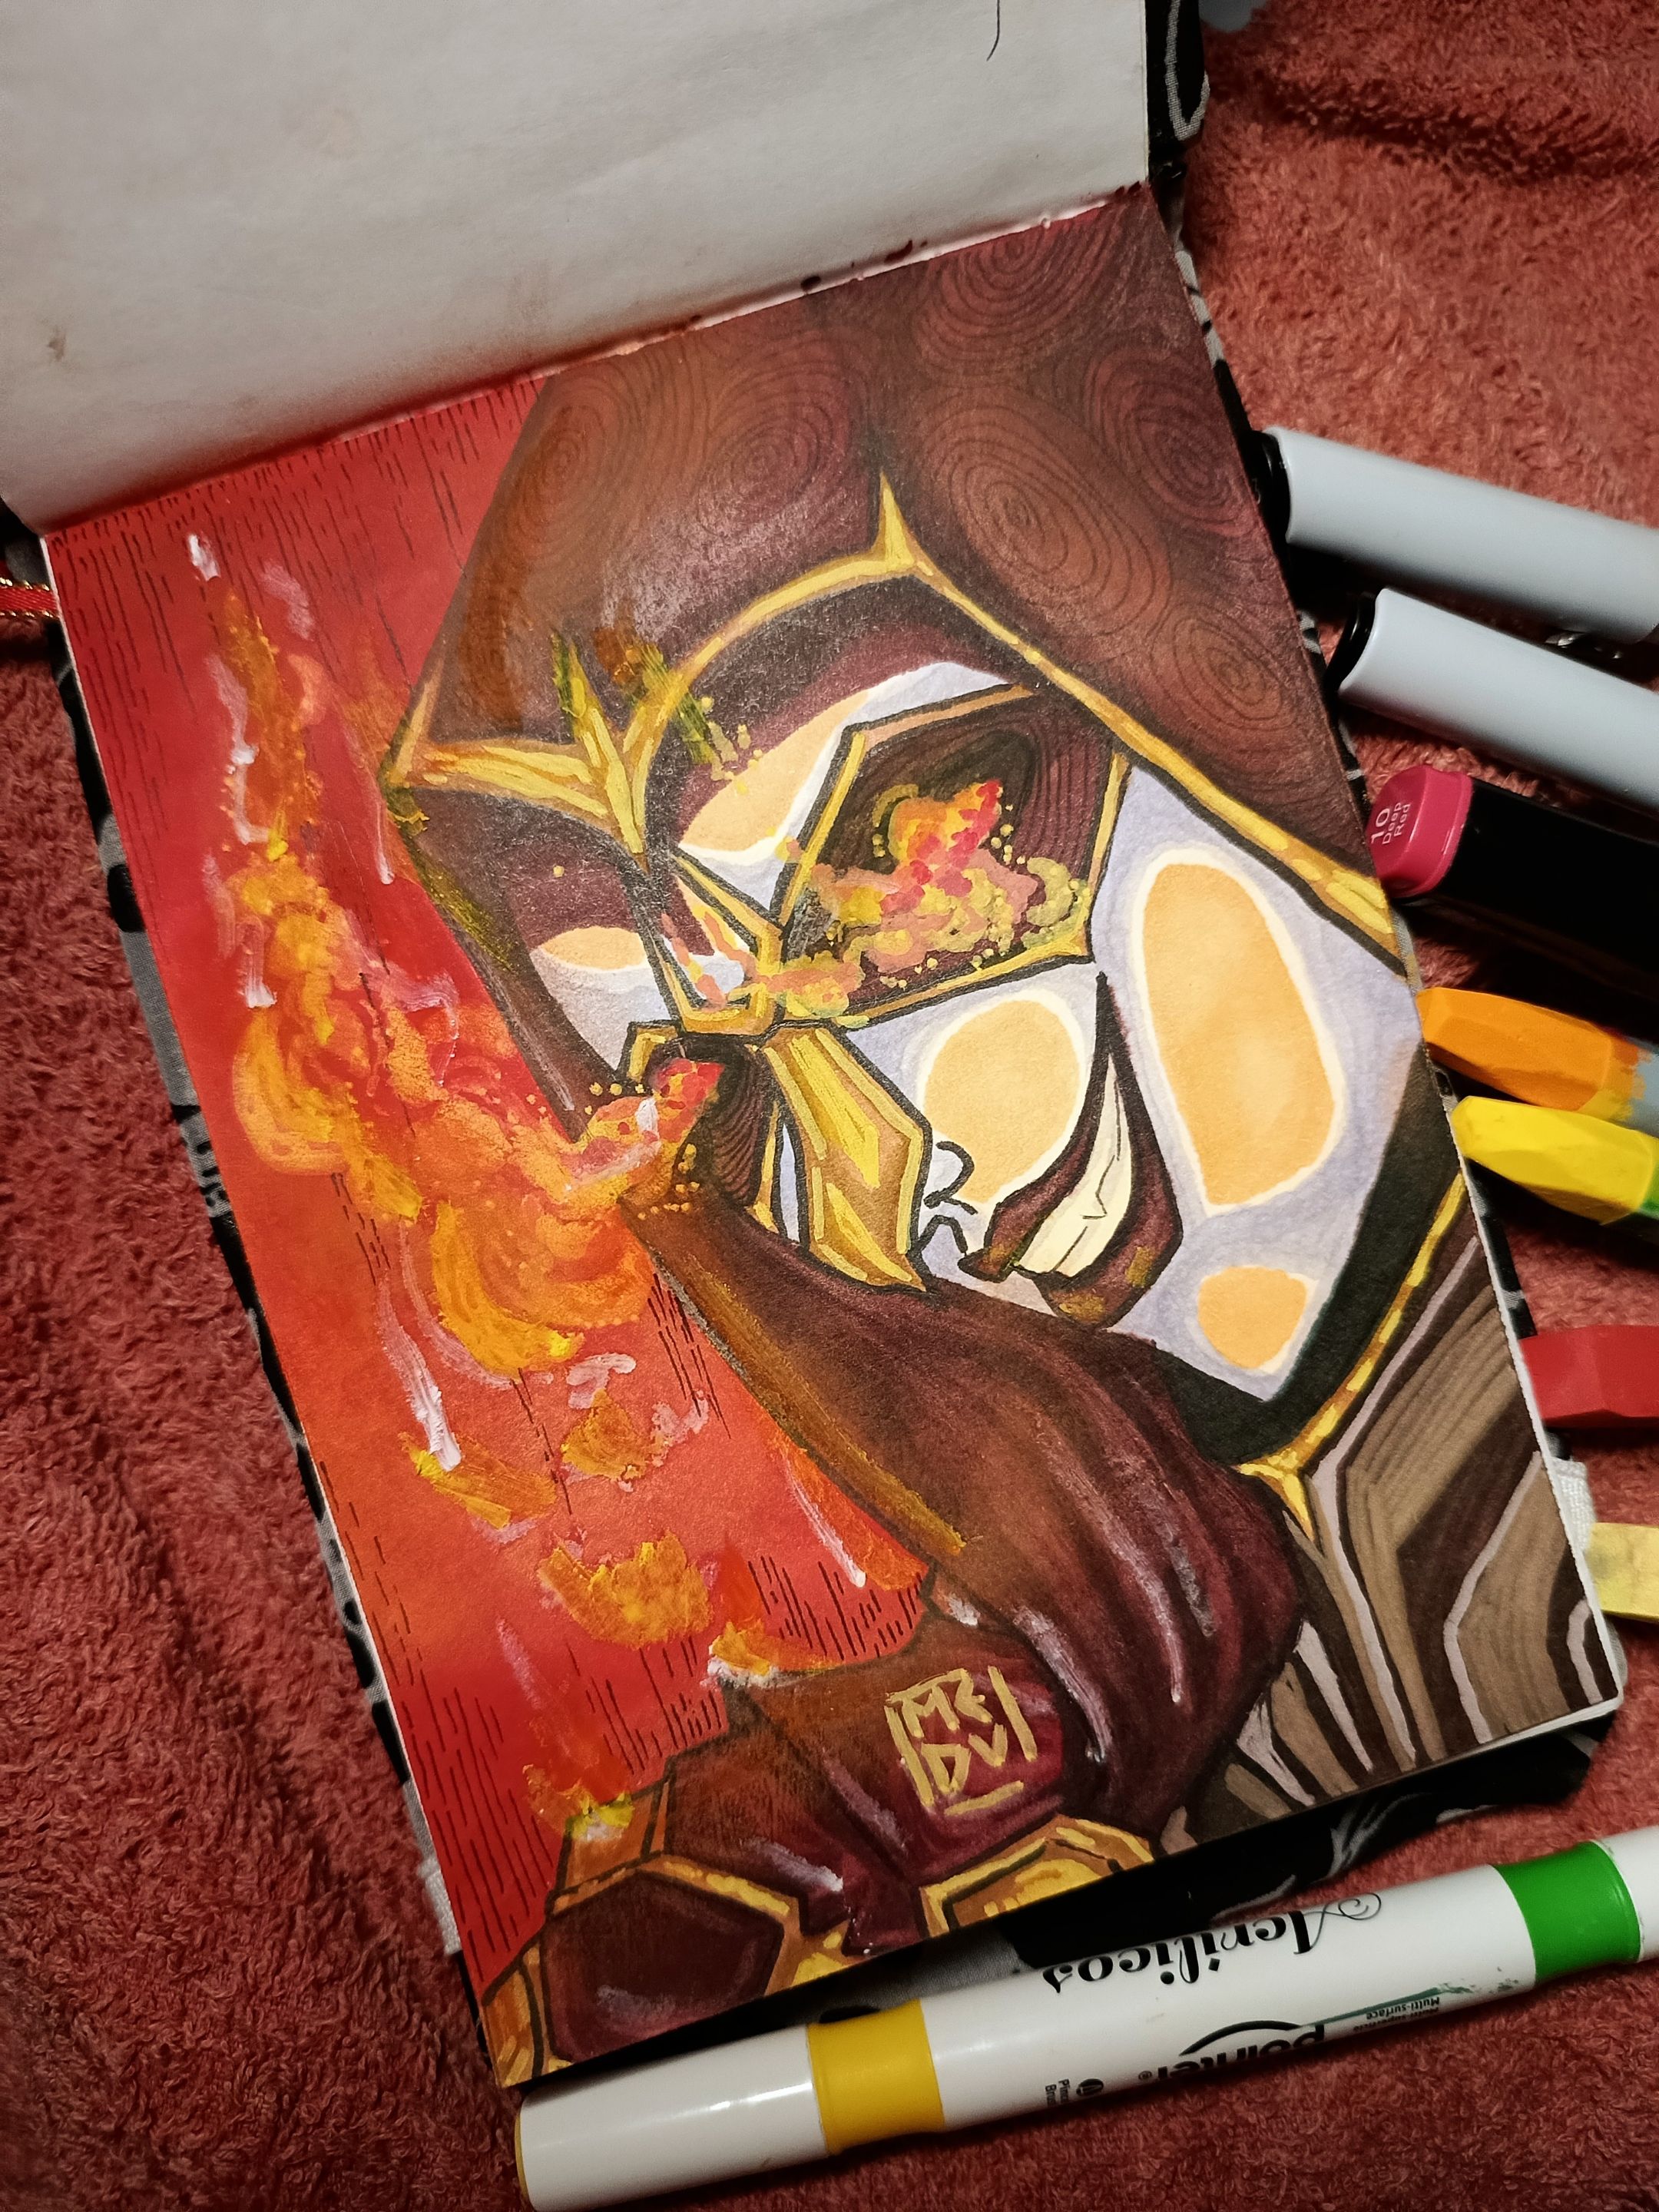
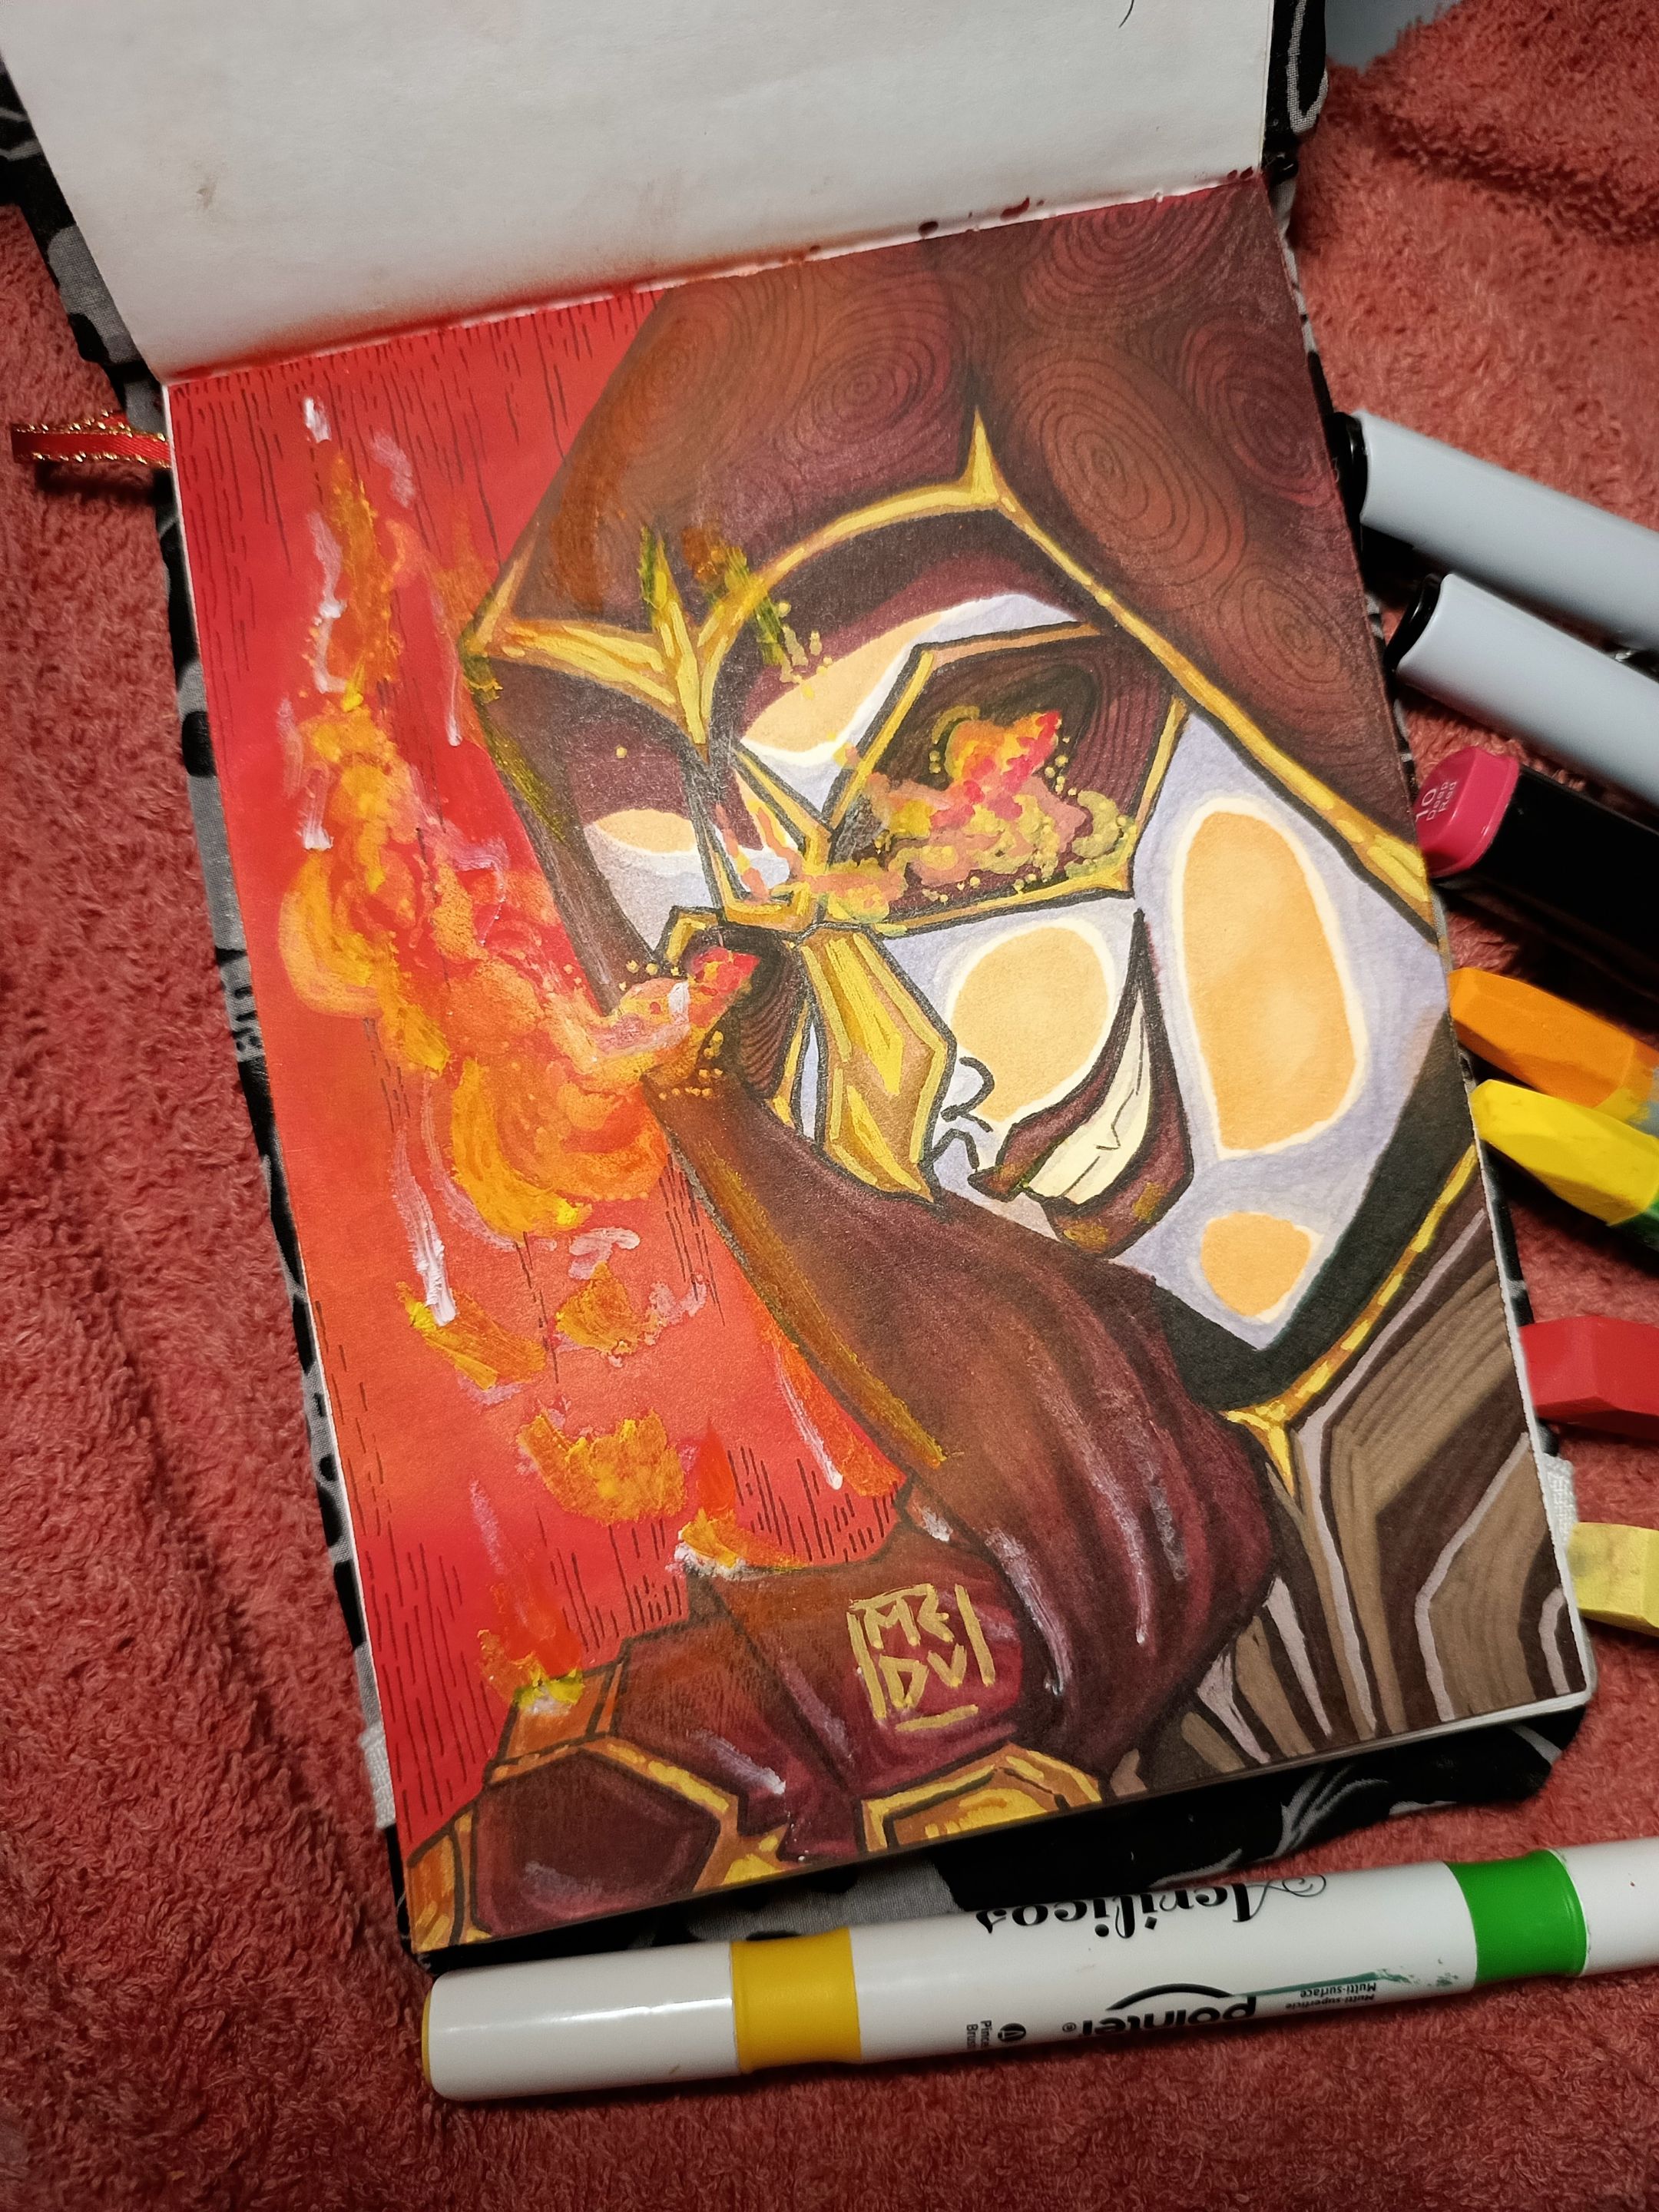
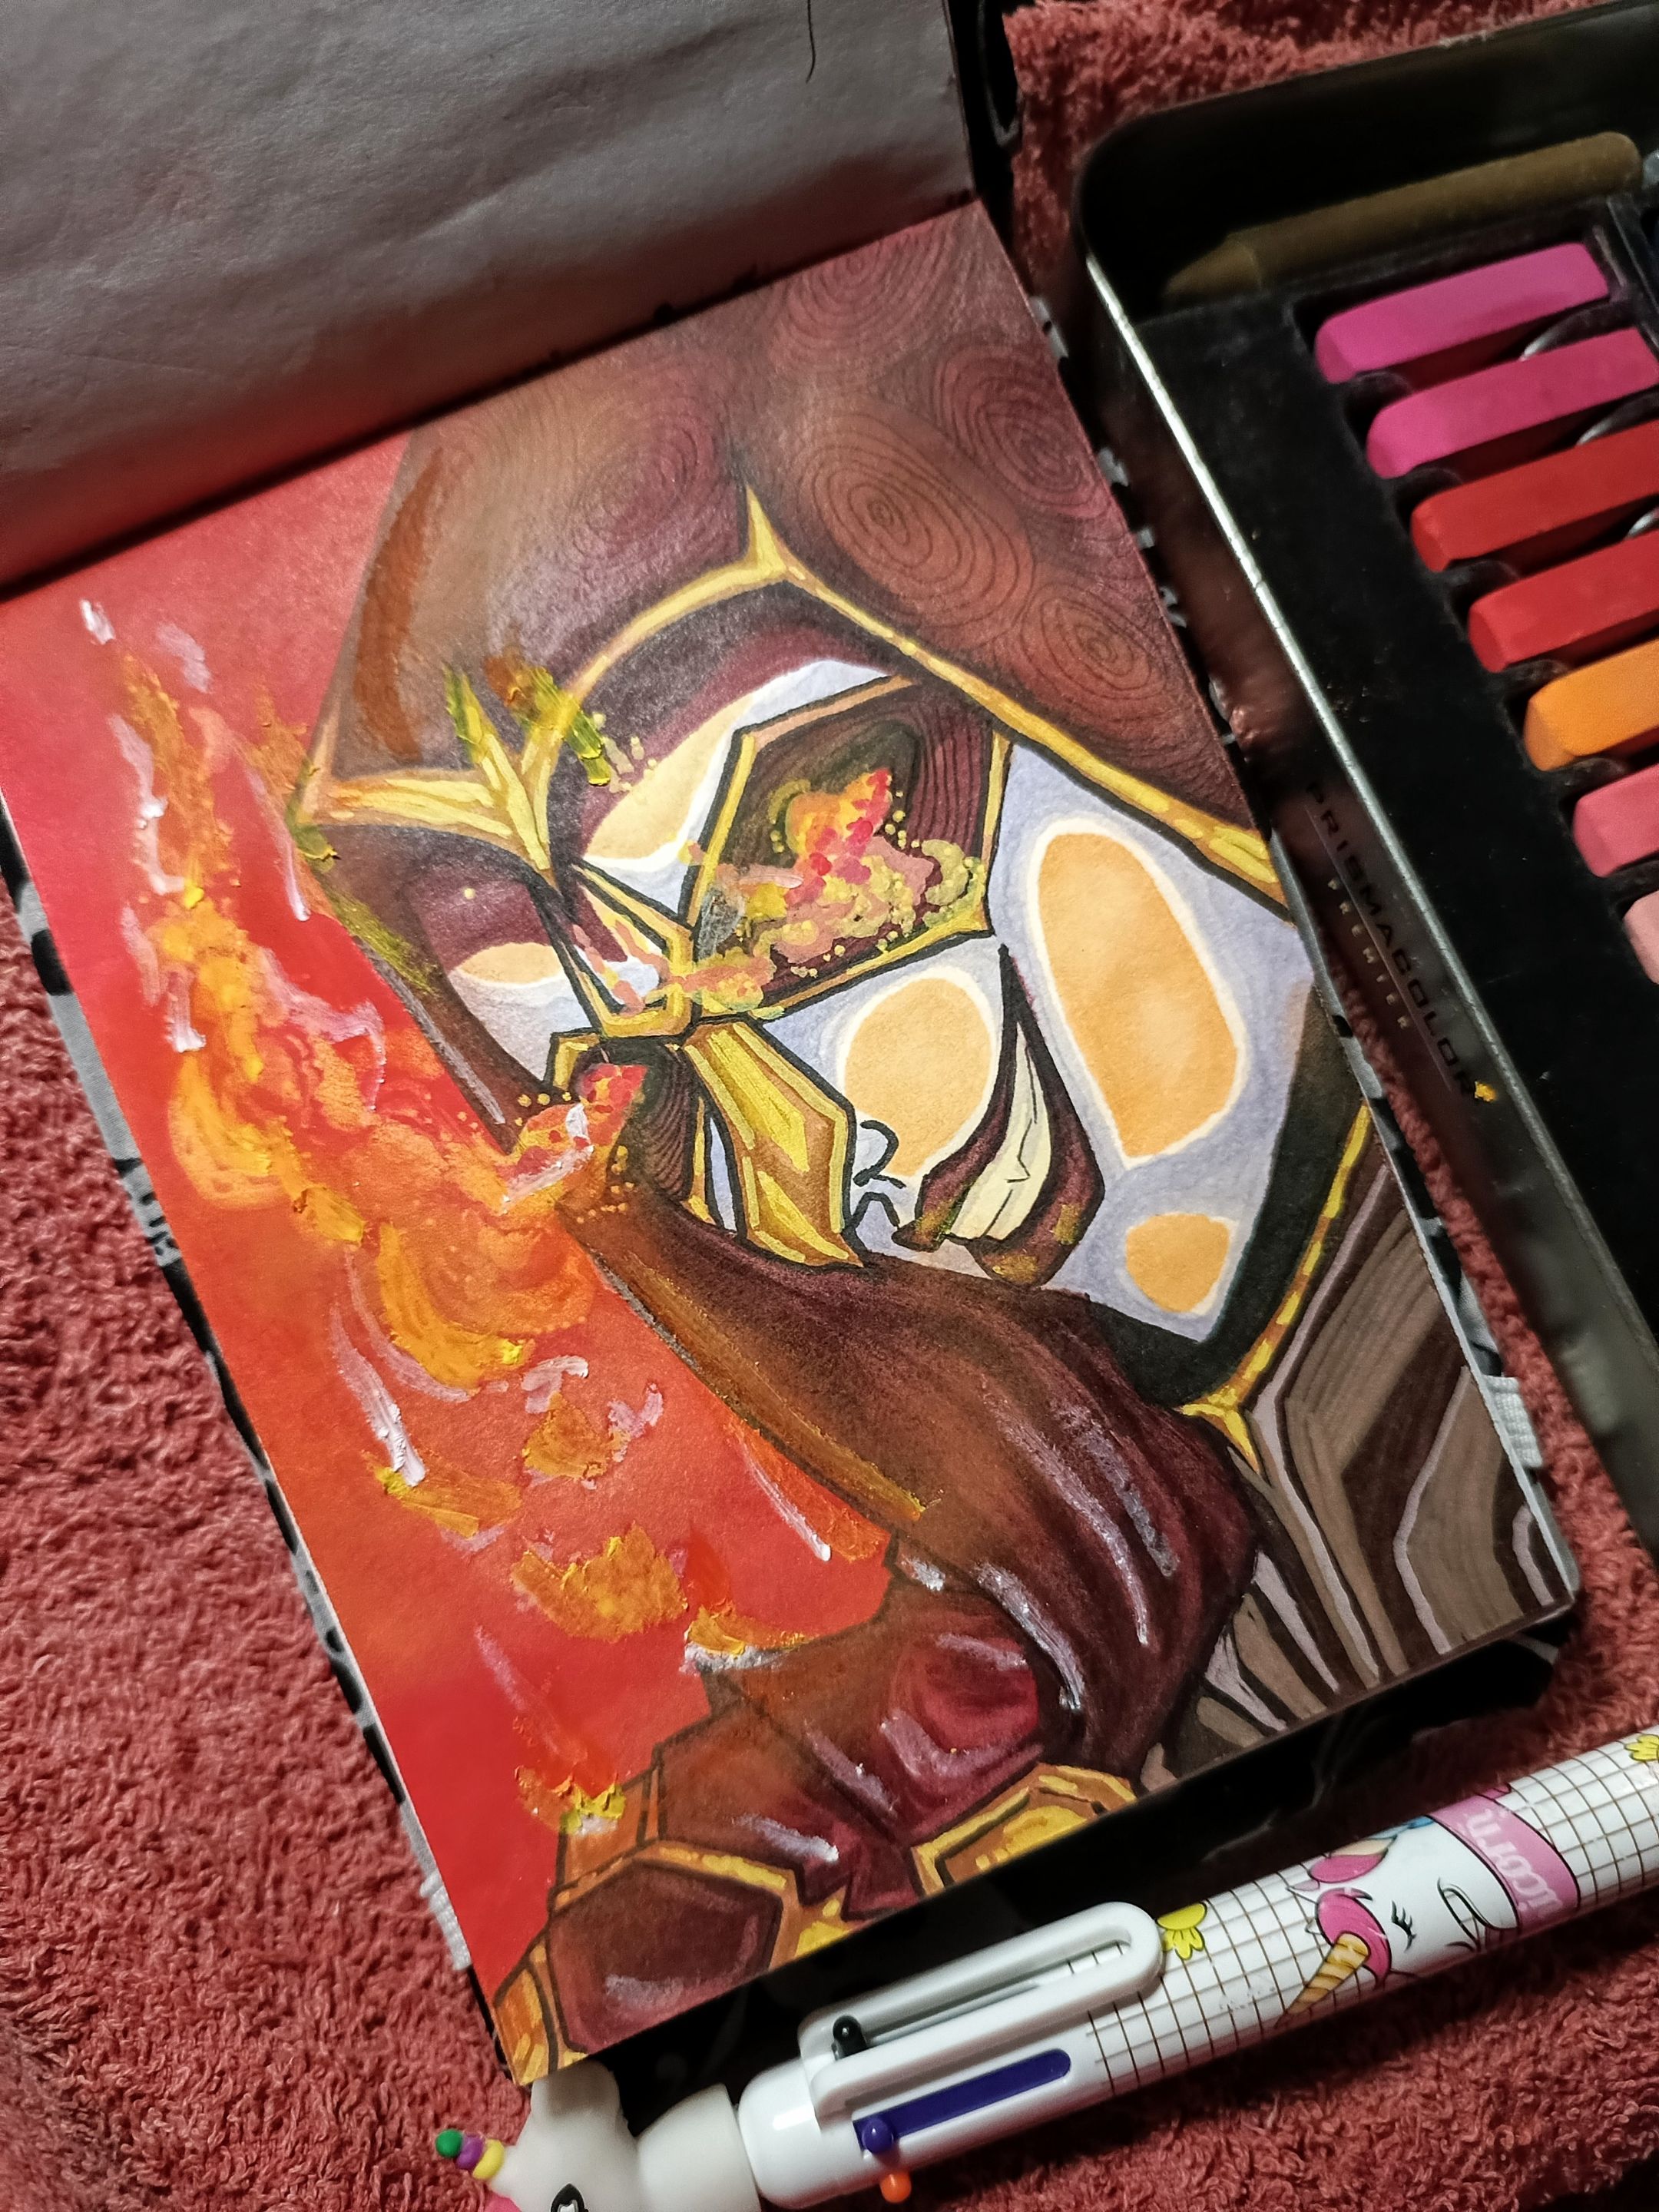
For the final details, i used yellow acrylic markers for the golden areas of her clothing. For the neck, i used two slightly unusual shades of brown. For the fire coming out of her eyes, i also used yellow and orange acrylics. But i needed another material to make it stand out, so i started using oil pastels to create an orange glow and added touches of light with white. I also added pastel chalks to the background for a luminous effect. I got my hands pretty dirty, but i liked that effect. Finally, i added a few lines of ink to the background, and that was it. I admit i wanted to keep adding other details, but i decided that was enough, especially since my sketchbook isn't that big.
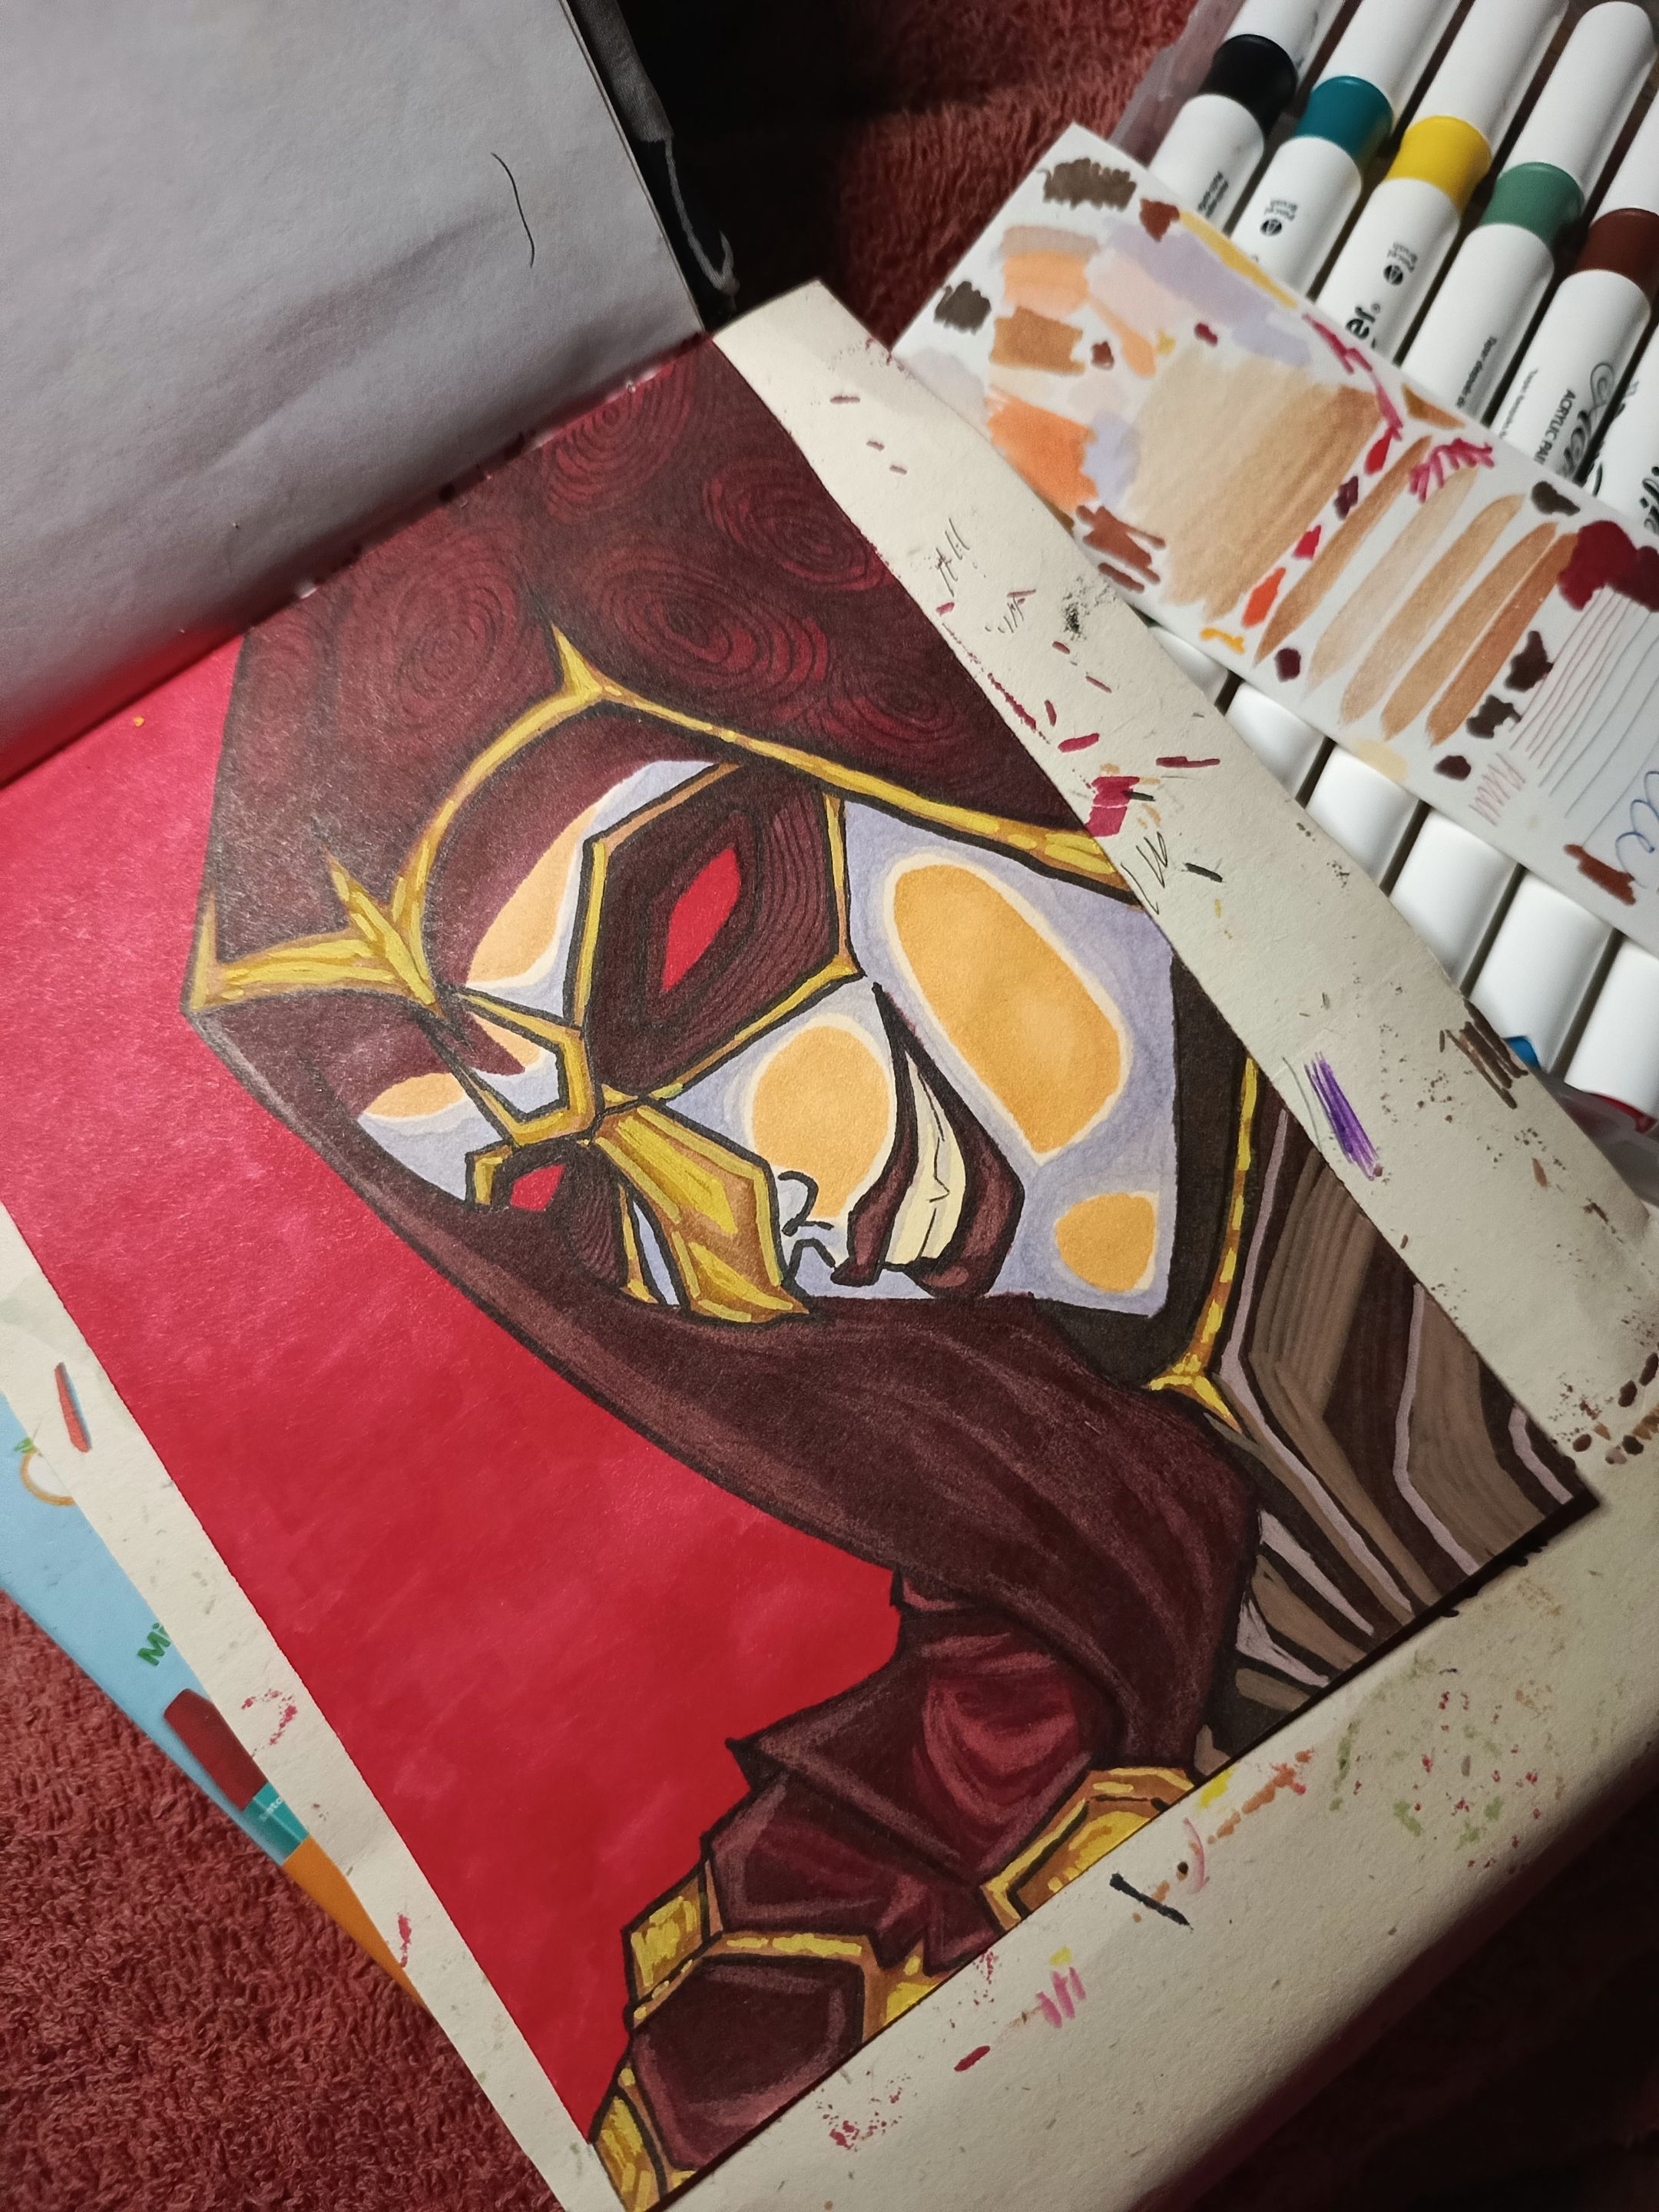
The End
And that's how this Emberguard fan art turned out. I admit that for a moment i thought it would be a disaster because of the paper, since it's not as thick as the one in my mini sketchbook and the detail of the fire would be a bit difficult for me. well, actually that part was a little complicated because of the type of material. I wanted to define that part a little more, but i didn't want to ruin it. In the end, i liked the result, and i don't know about you, but i find it a little funny that it reminds me of The Nun, i don't know why 😅

Thank You for visiting and supporting my little artístic corner, see you later! ;)
Gracias por visitar y apoyar mi pequeño rincón artístico, nos vemos luego! ;)
👉MY SOCIAL NETWORKS & NFTS👈
Crédits | Créditos
Original Content |Contenido Original
Photos taken with my phone |Fotos tomadas con mi móvil
Translated with |Traducido por Deepl translator
©Medussart 2025