• ENGLISH •
.jpg) ---
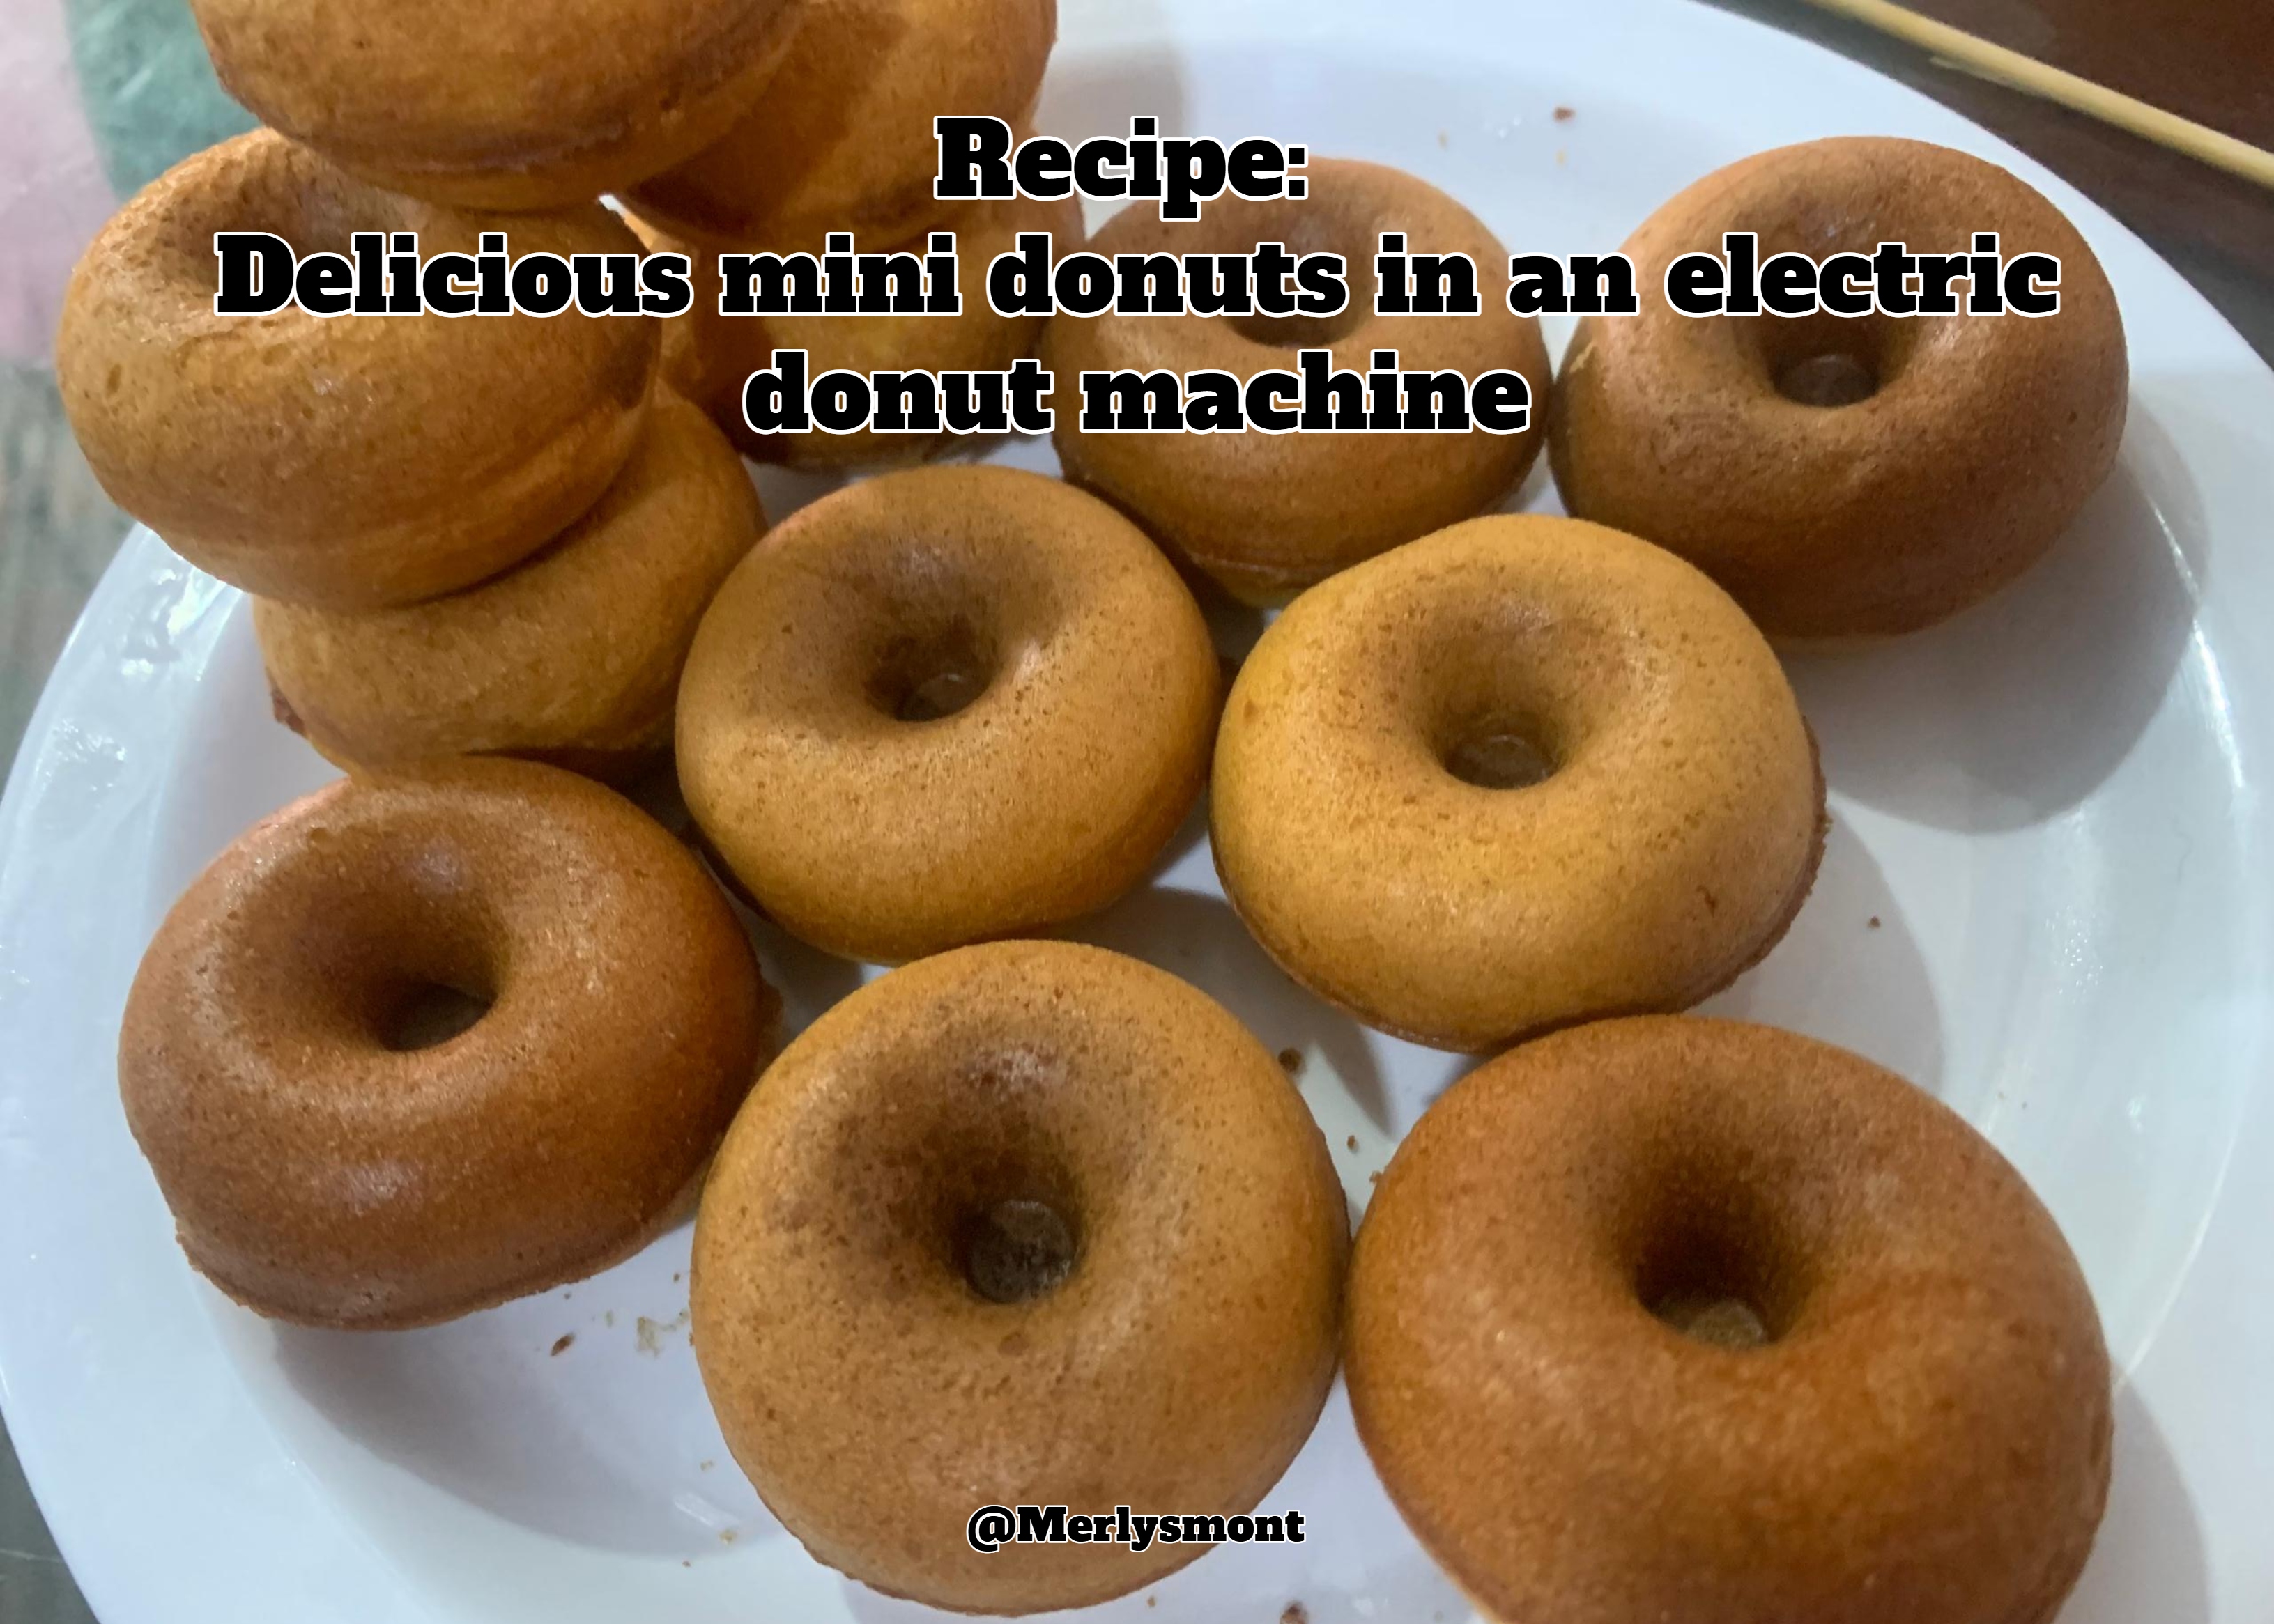
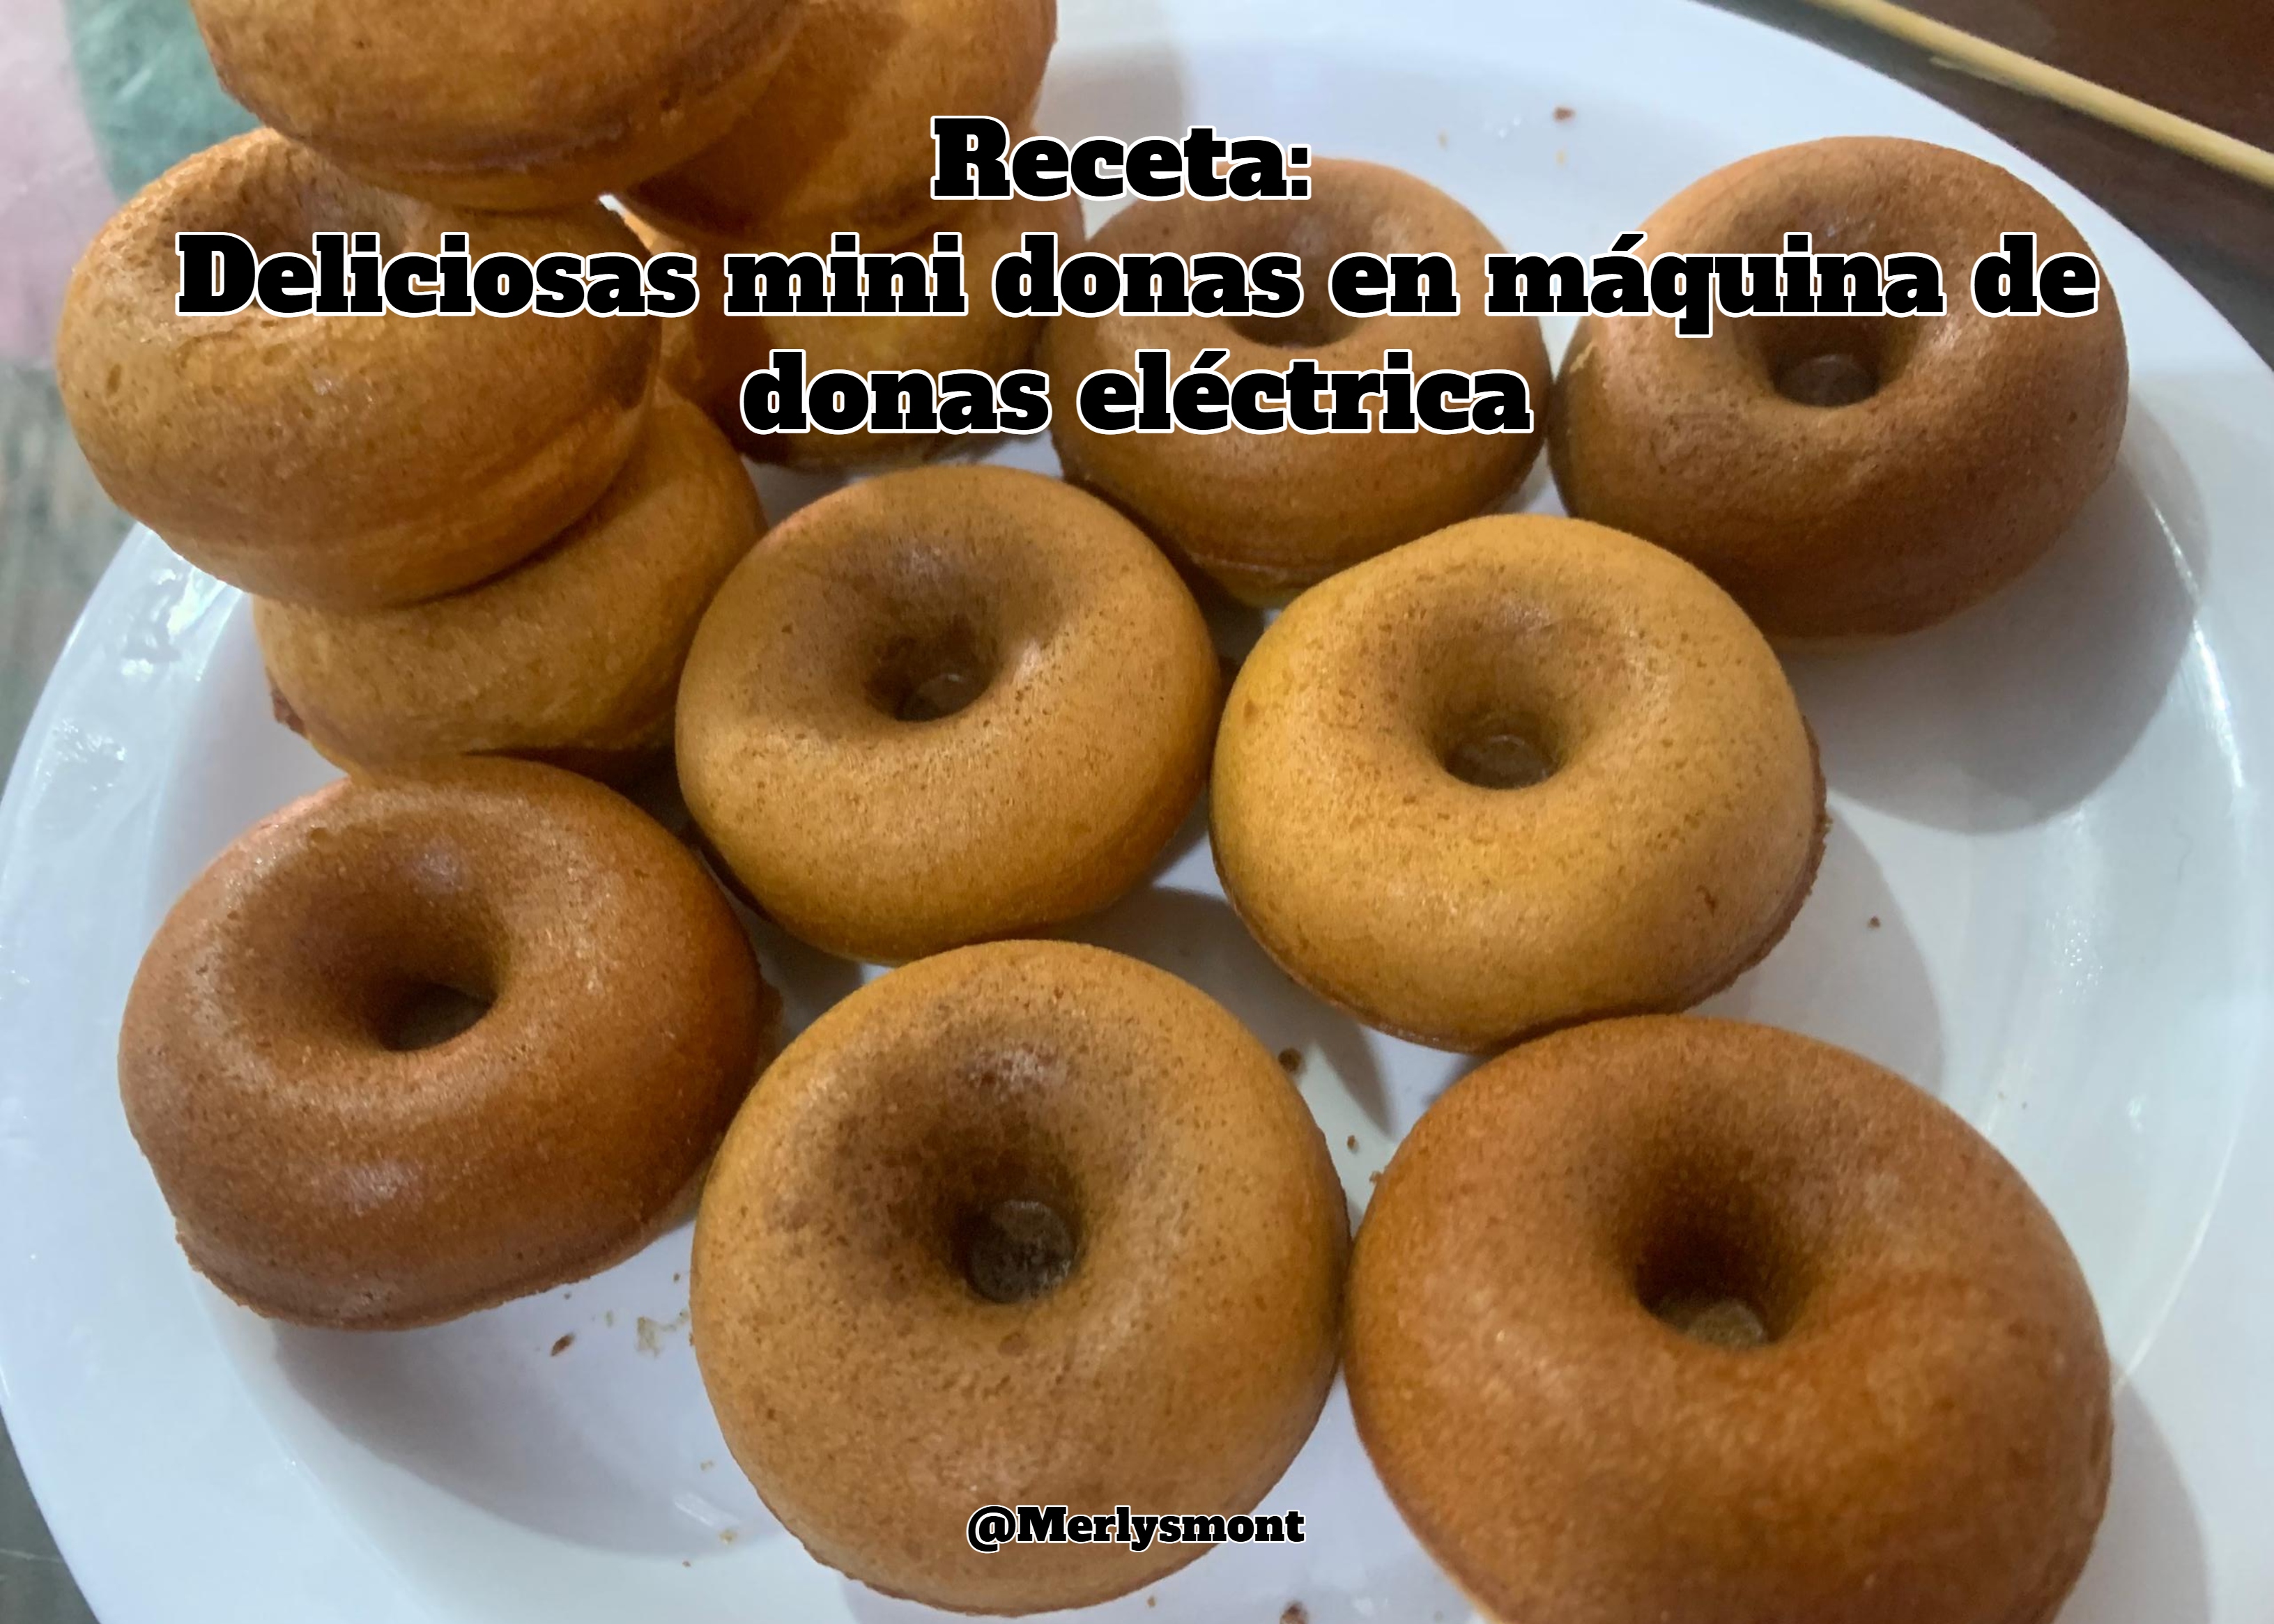
I recently purchased the mini donut maker that's currently trending on social media. For a couple of days, I experimented with different recipes and ingredient quantities until I finally found one that made my mini donuts super delicious and fluffy. Today, I'd like to share it with you.
---
||.jpeg)|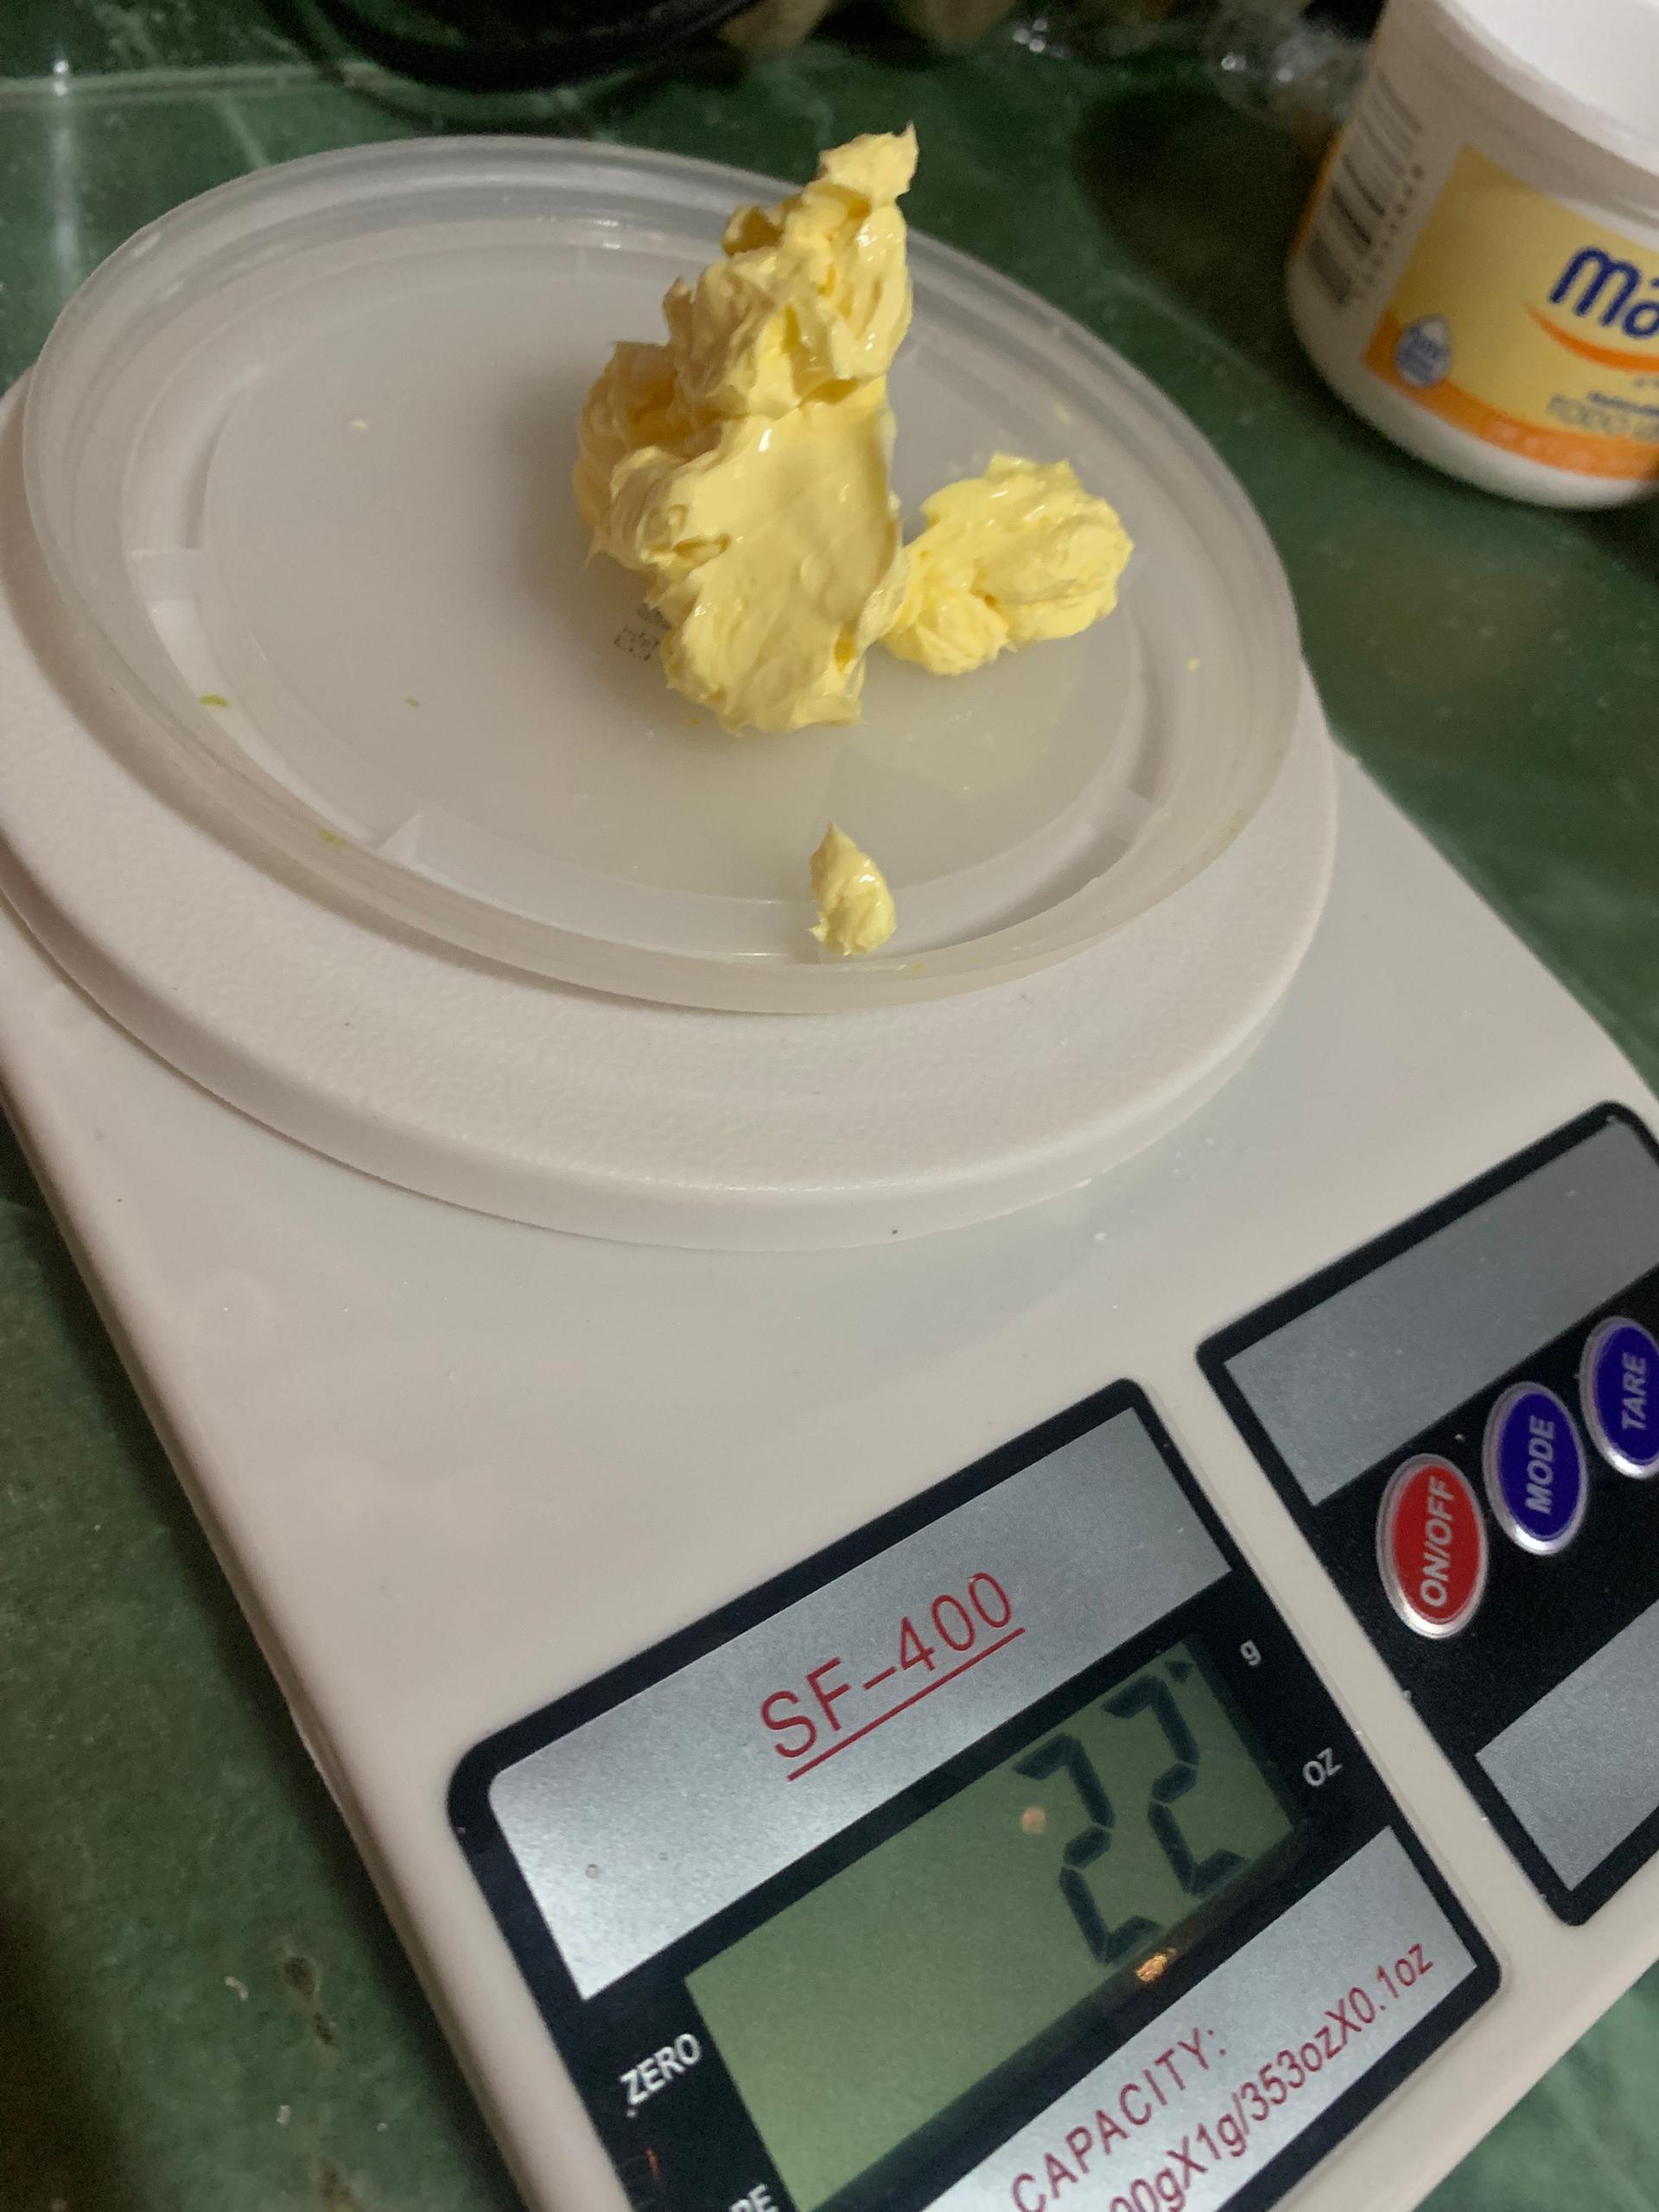.jpeg)|
|---|---|---|
|.jpeg)|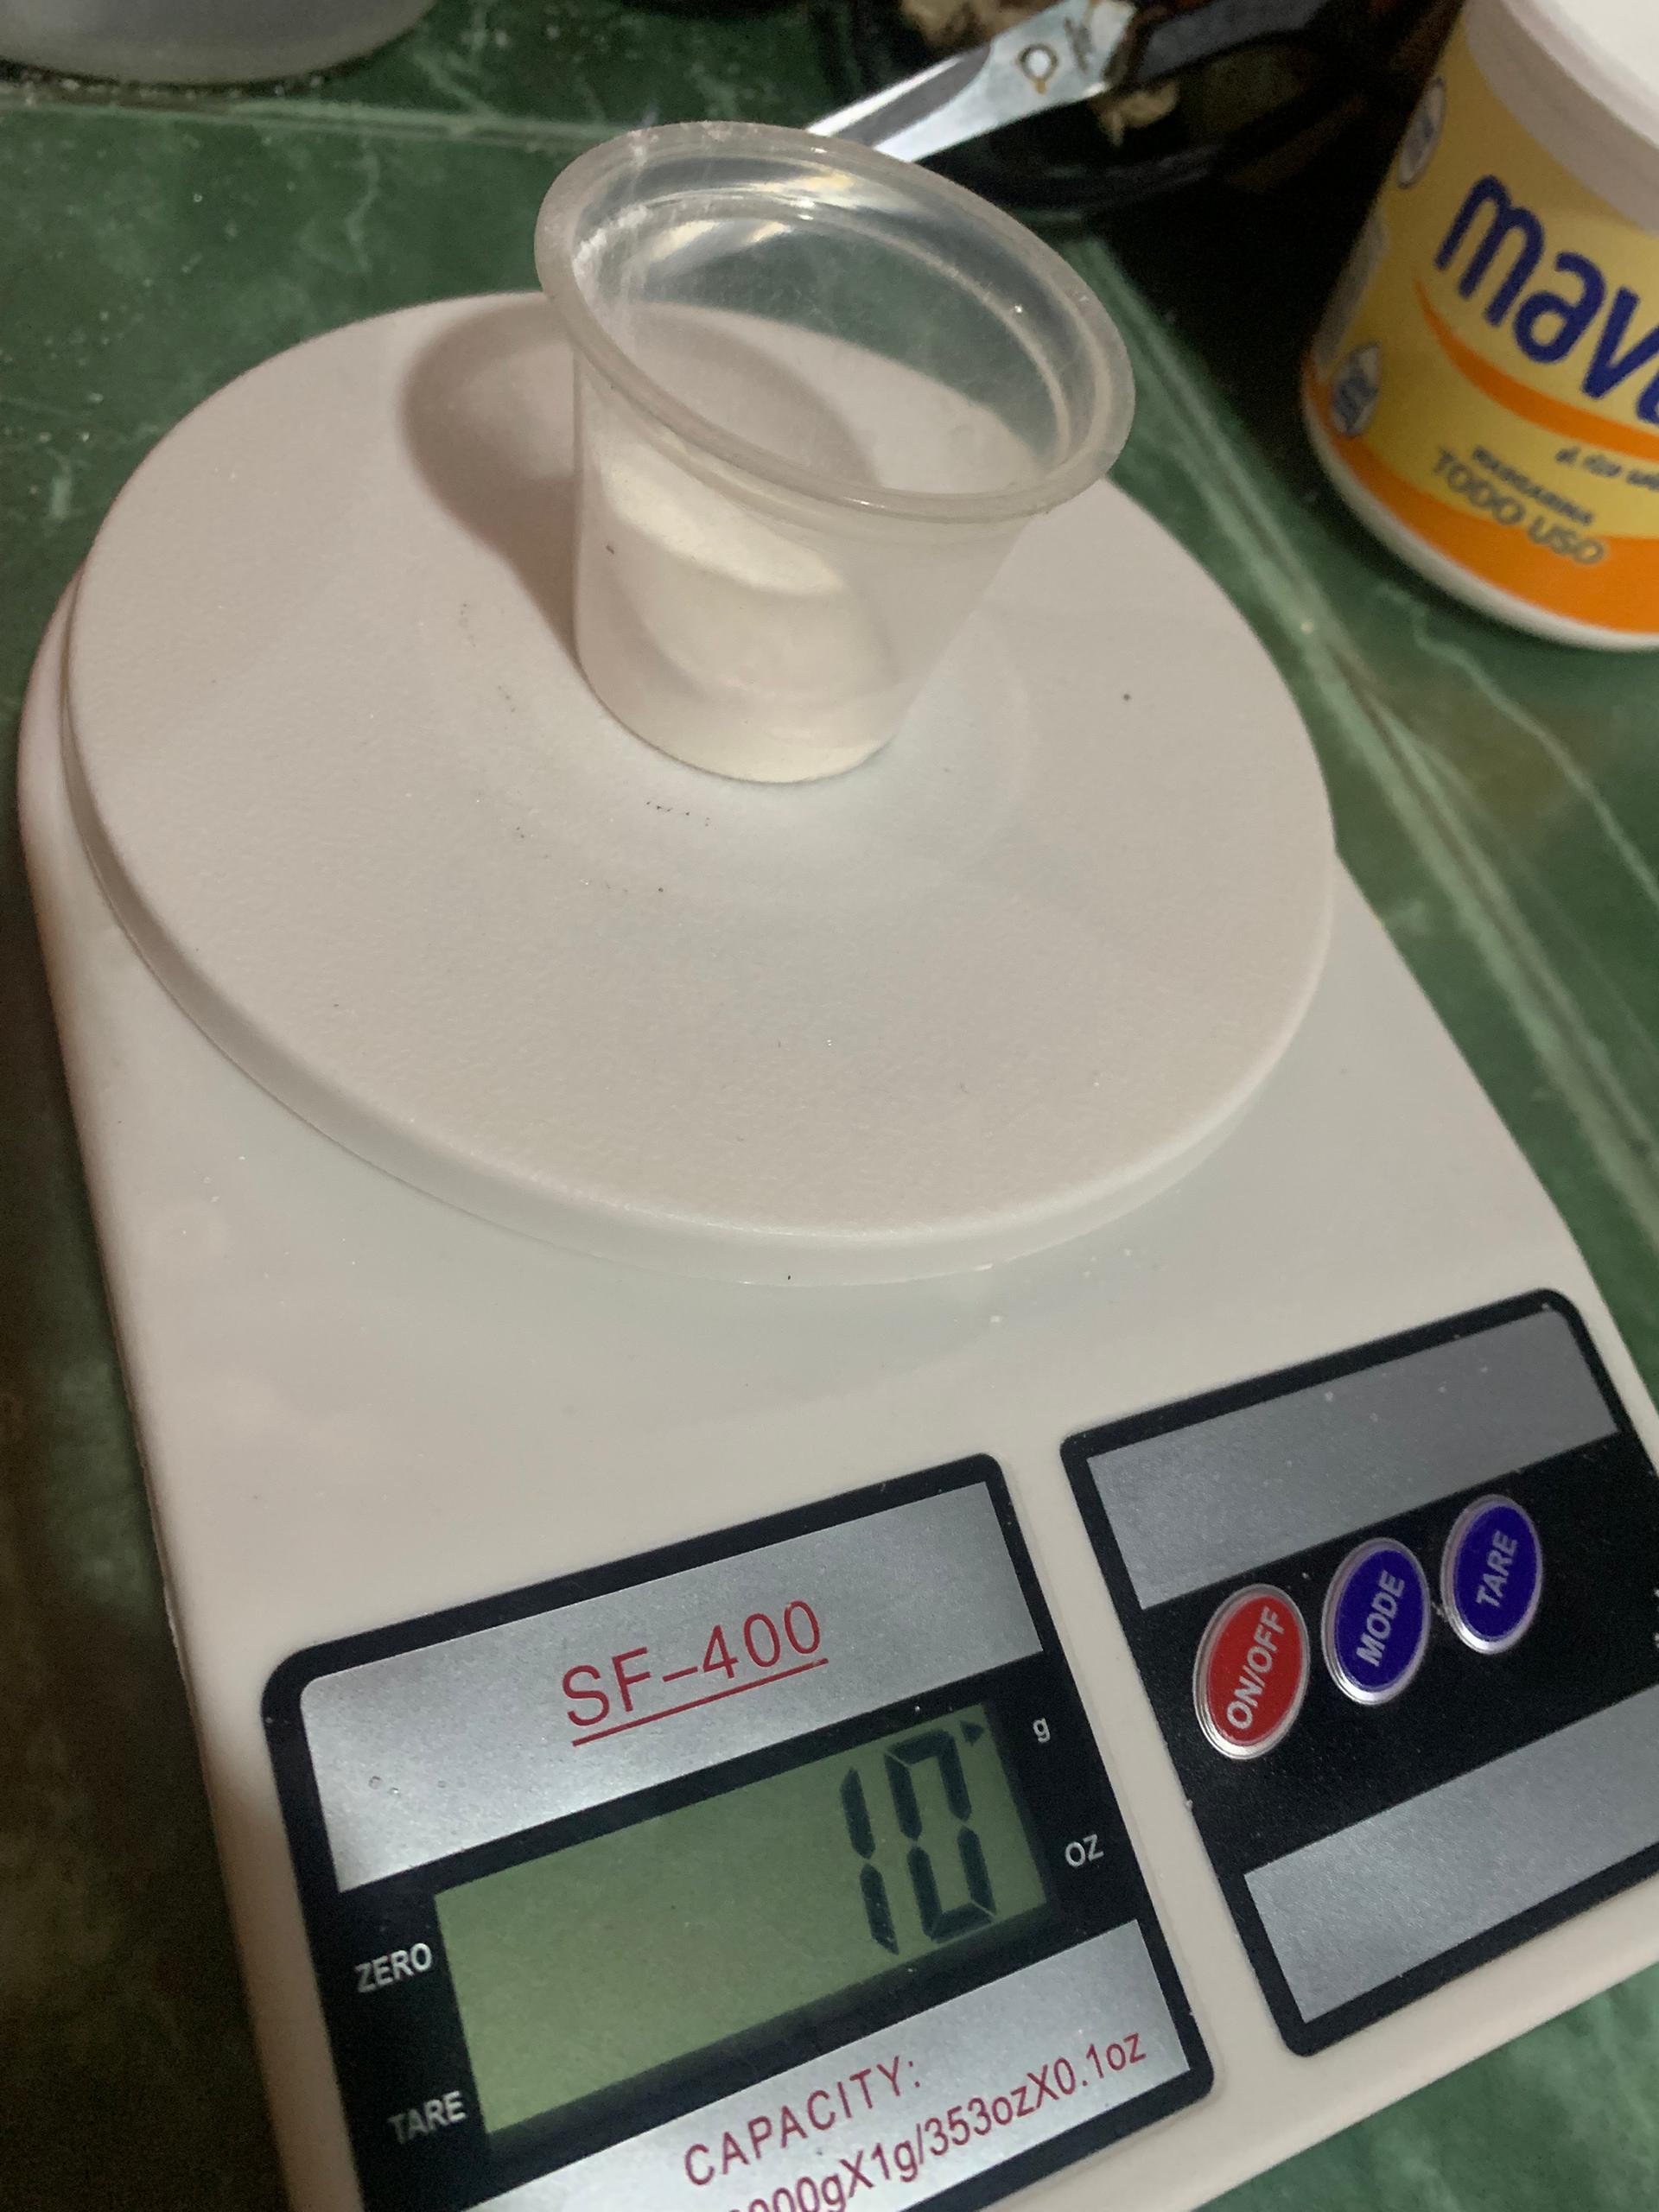|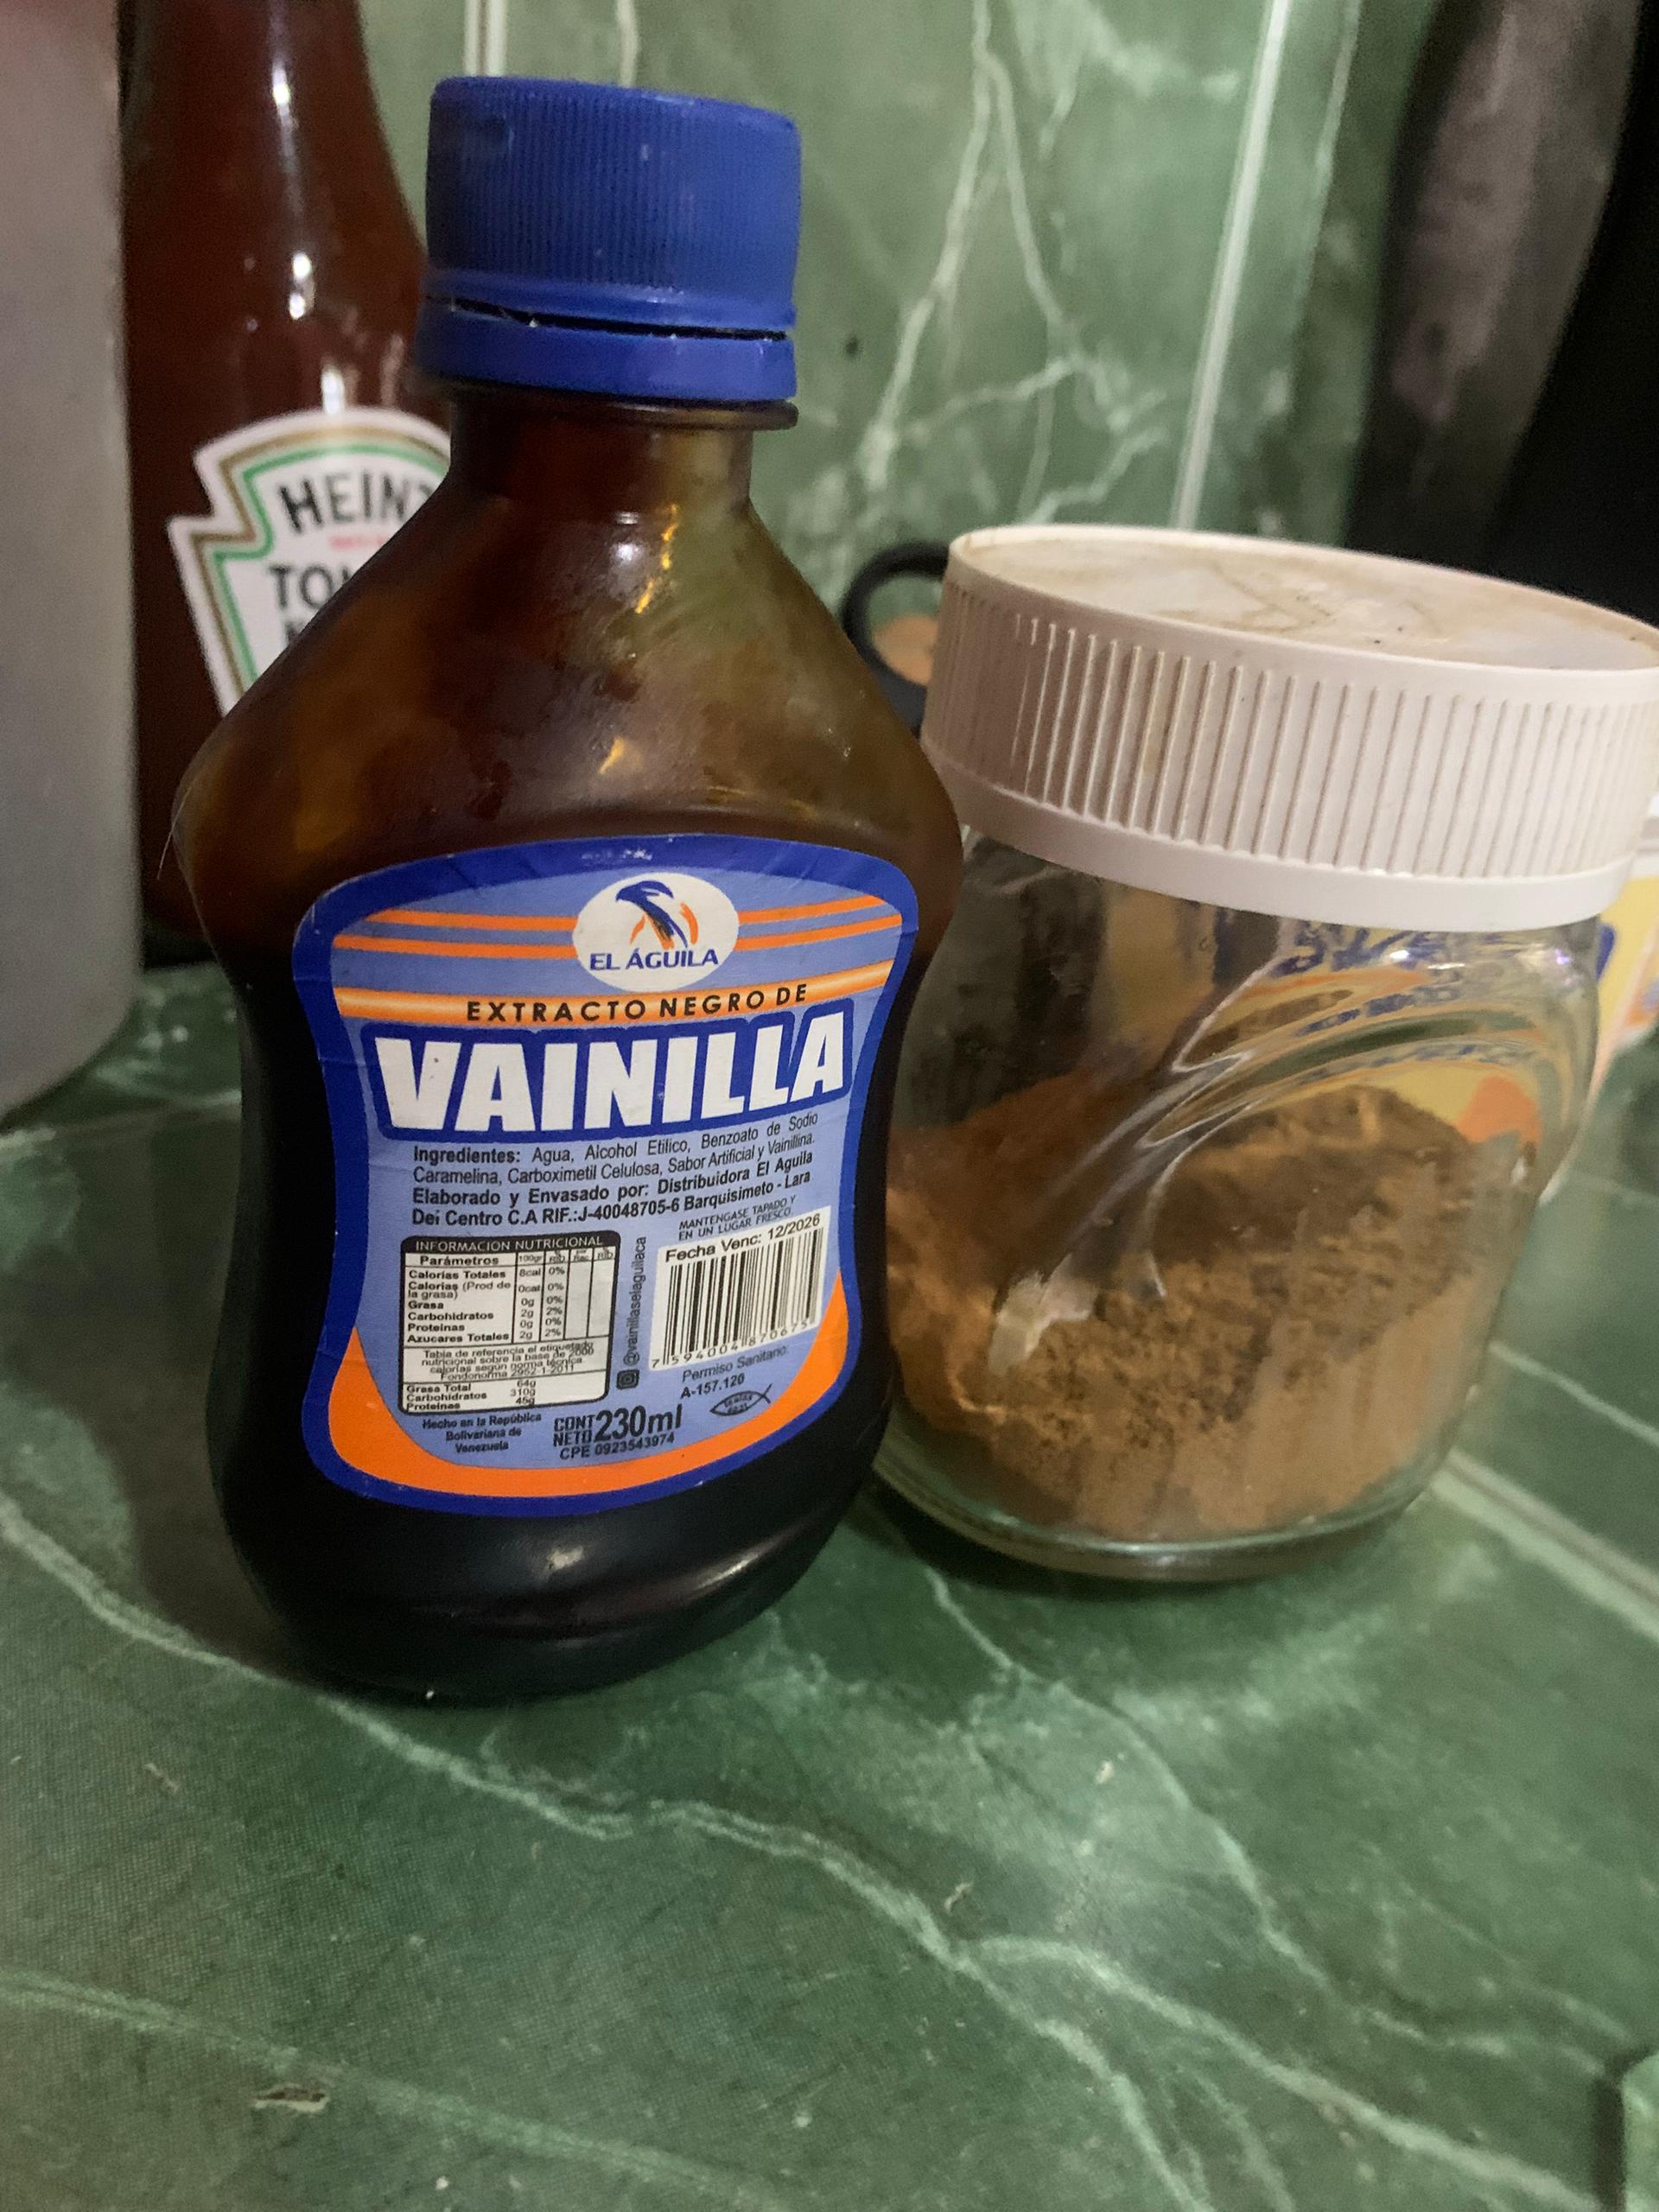|
📋Ingredients:
(For approximately 18 mini donuts 🍩🍩)
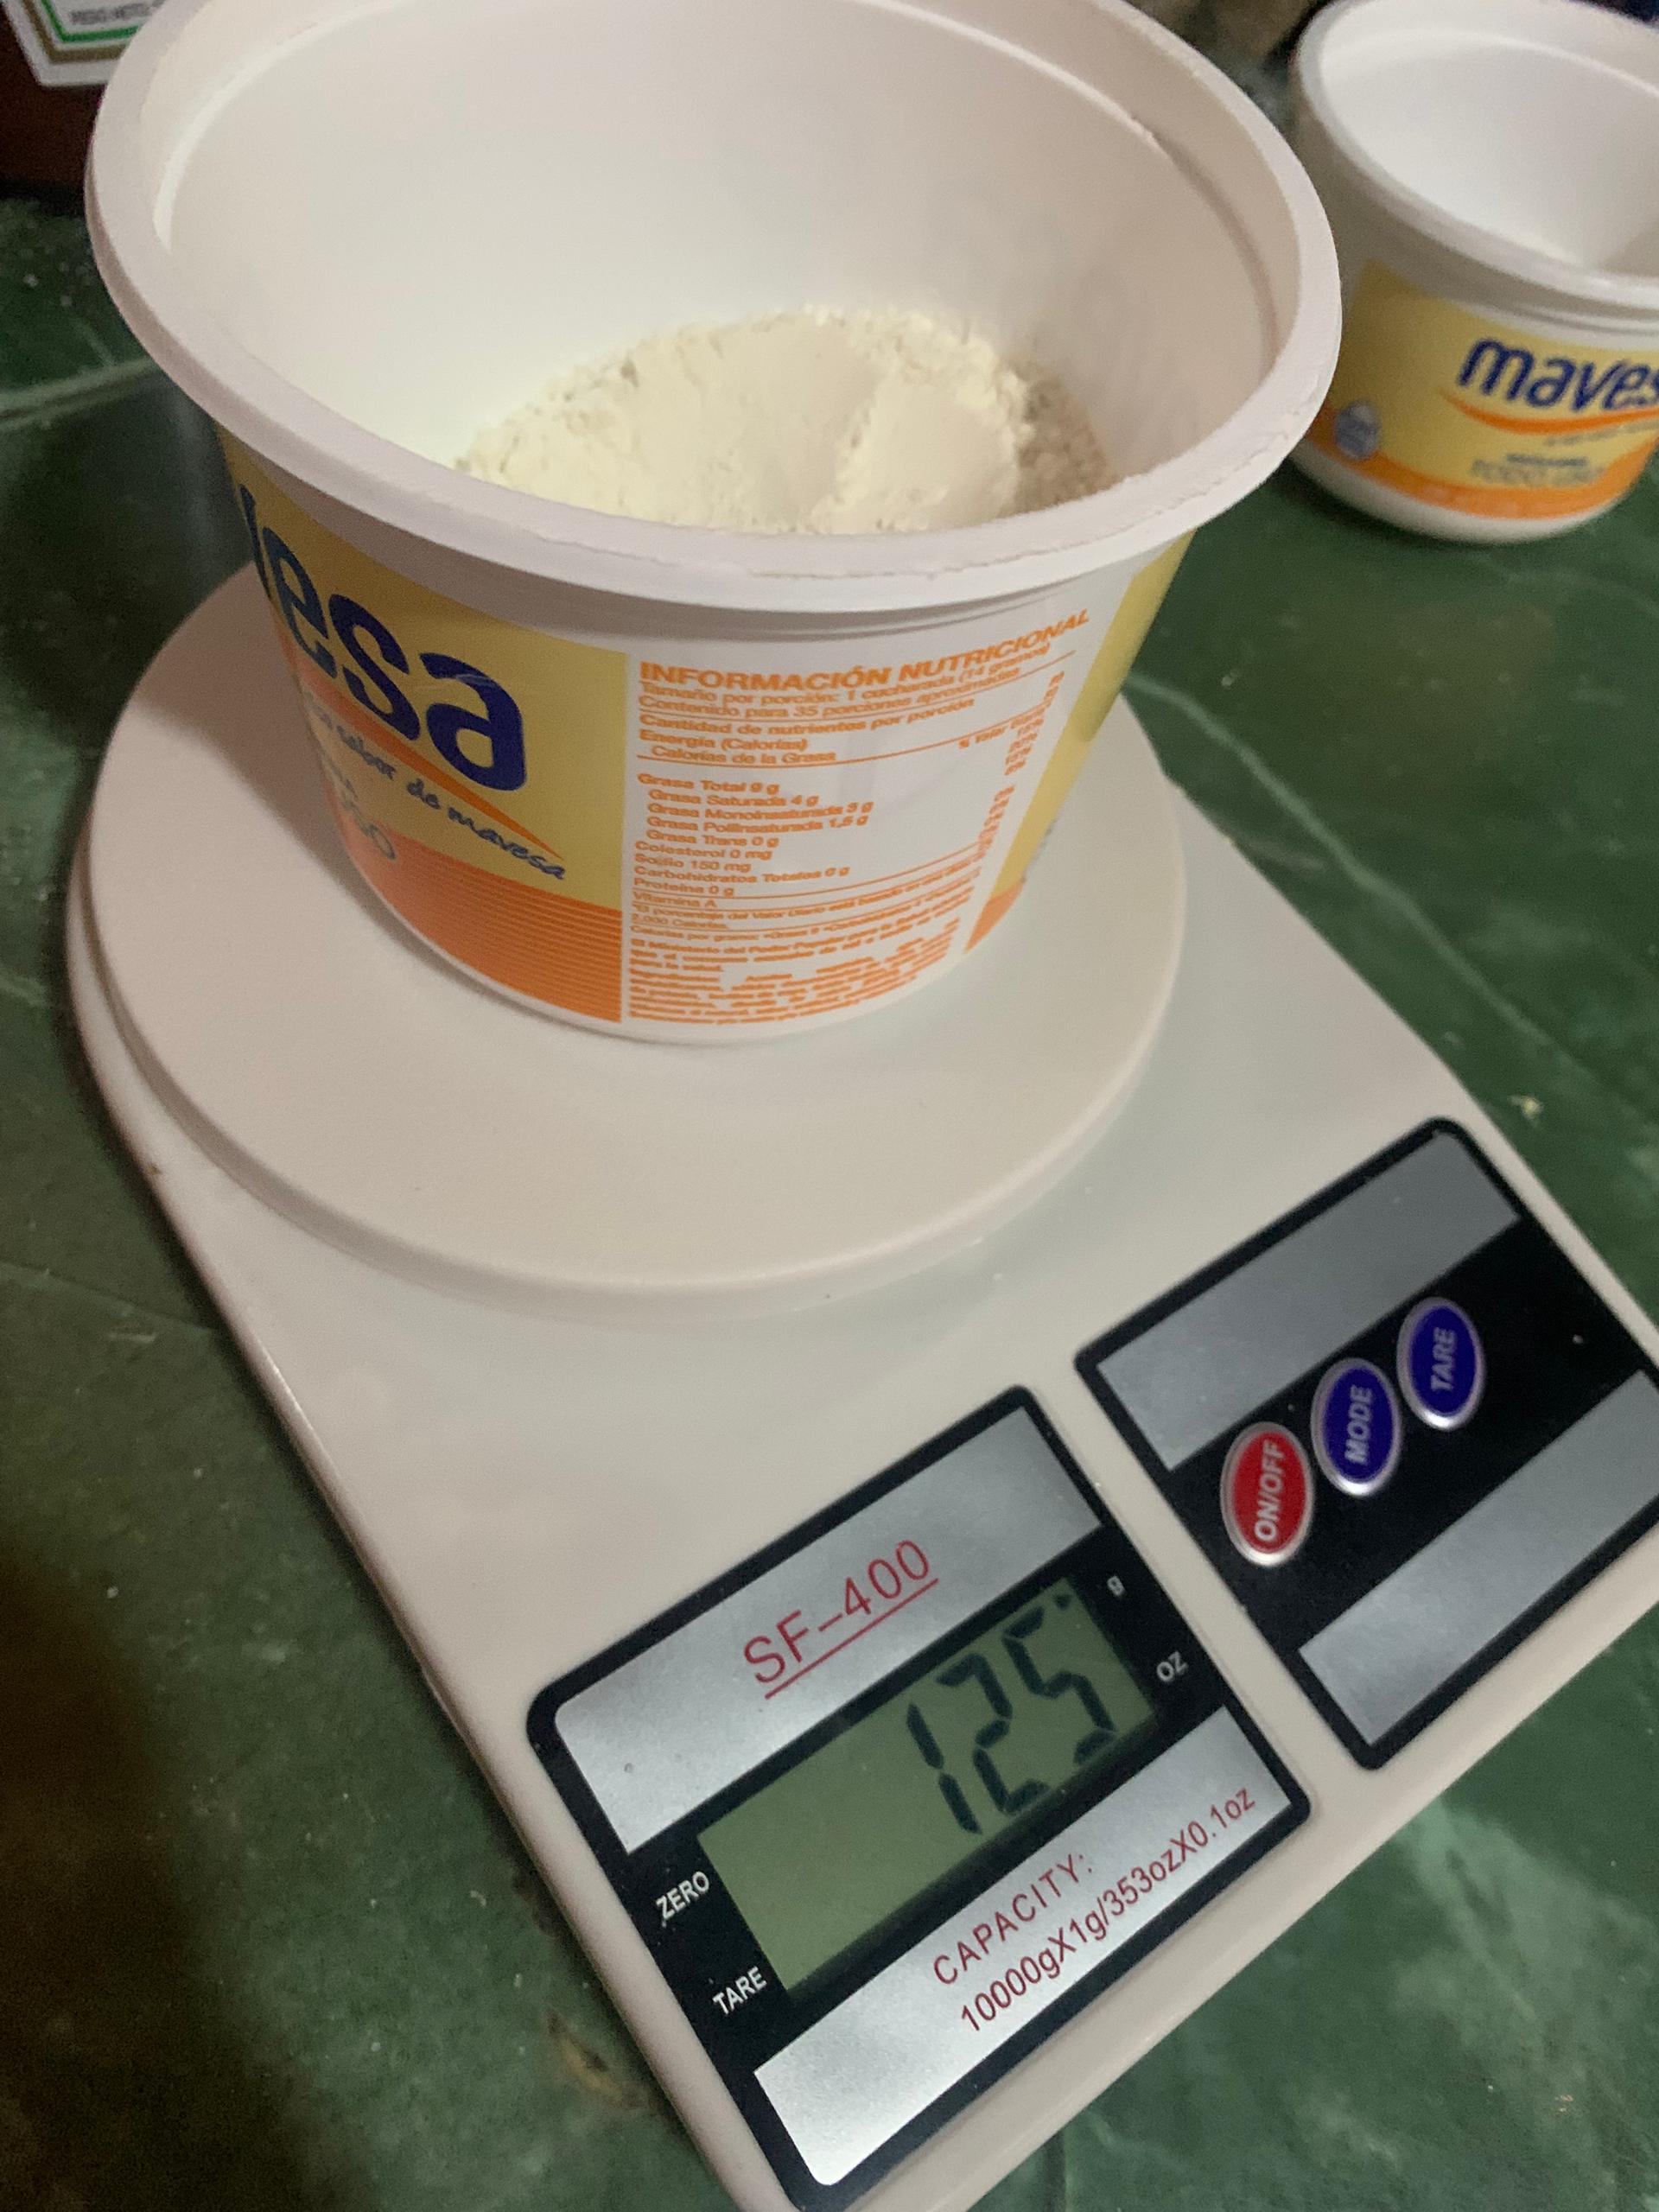
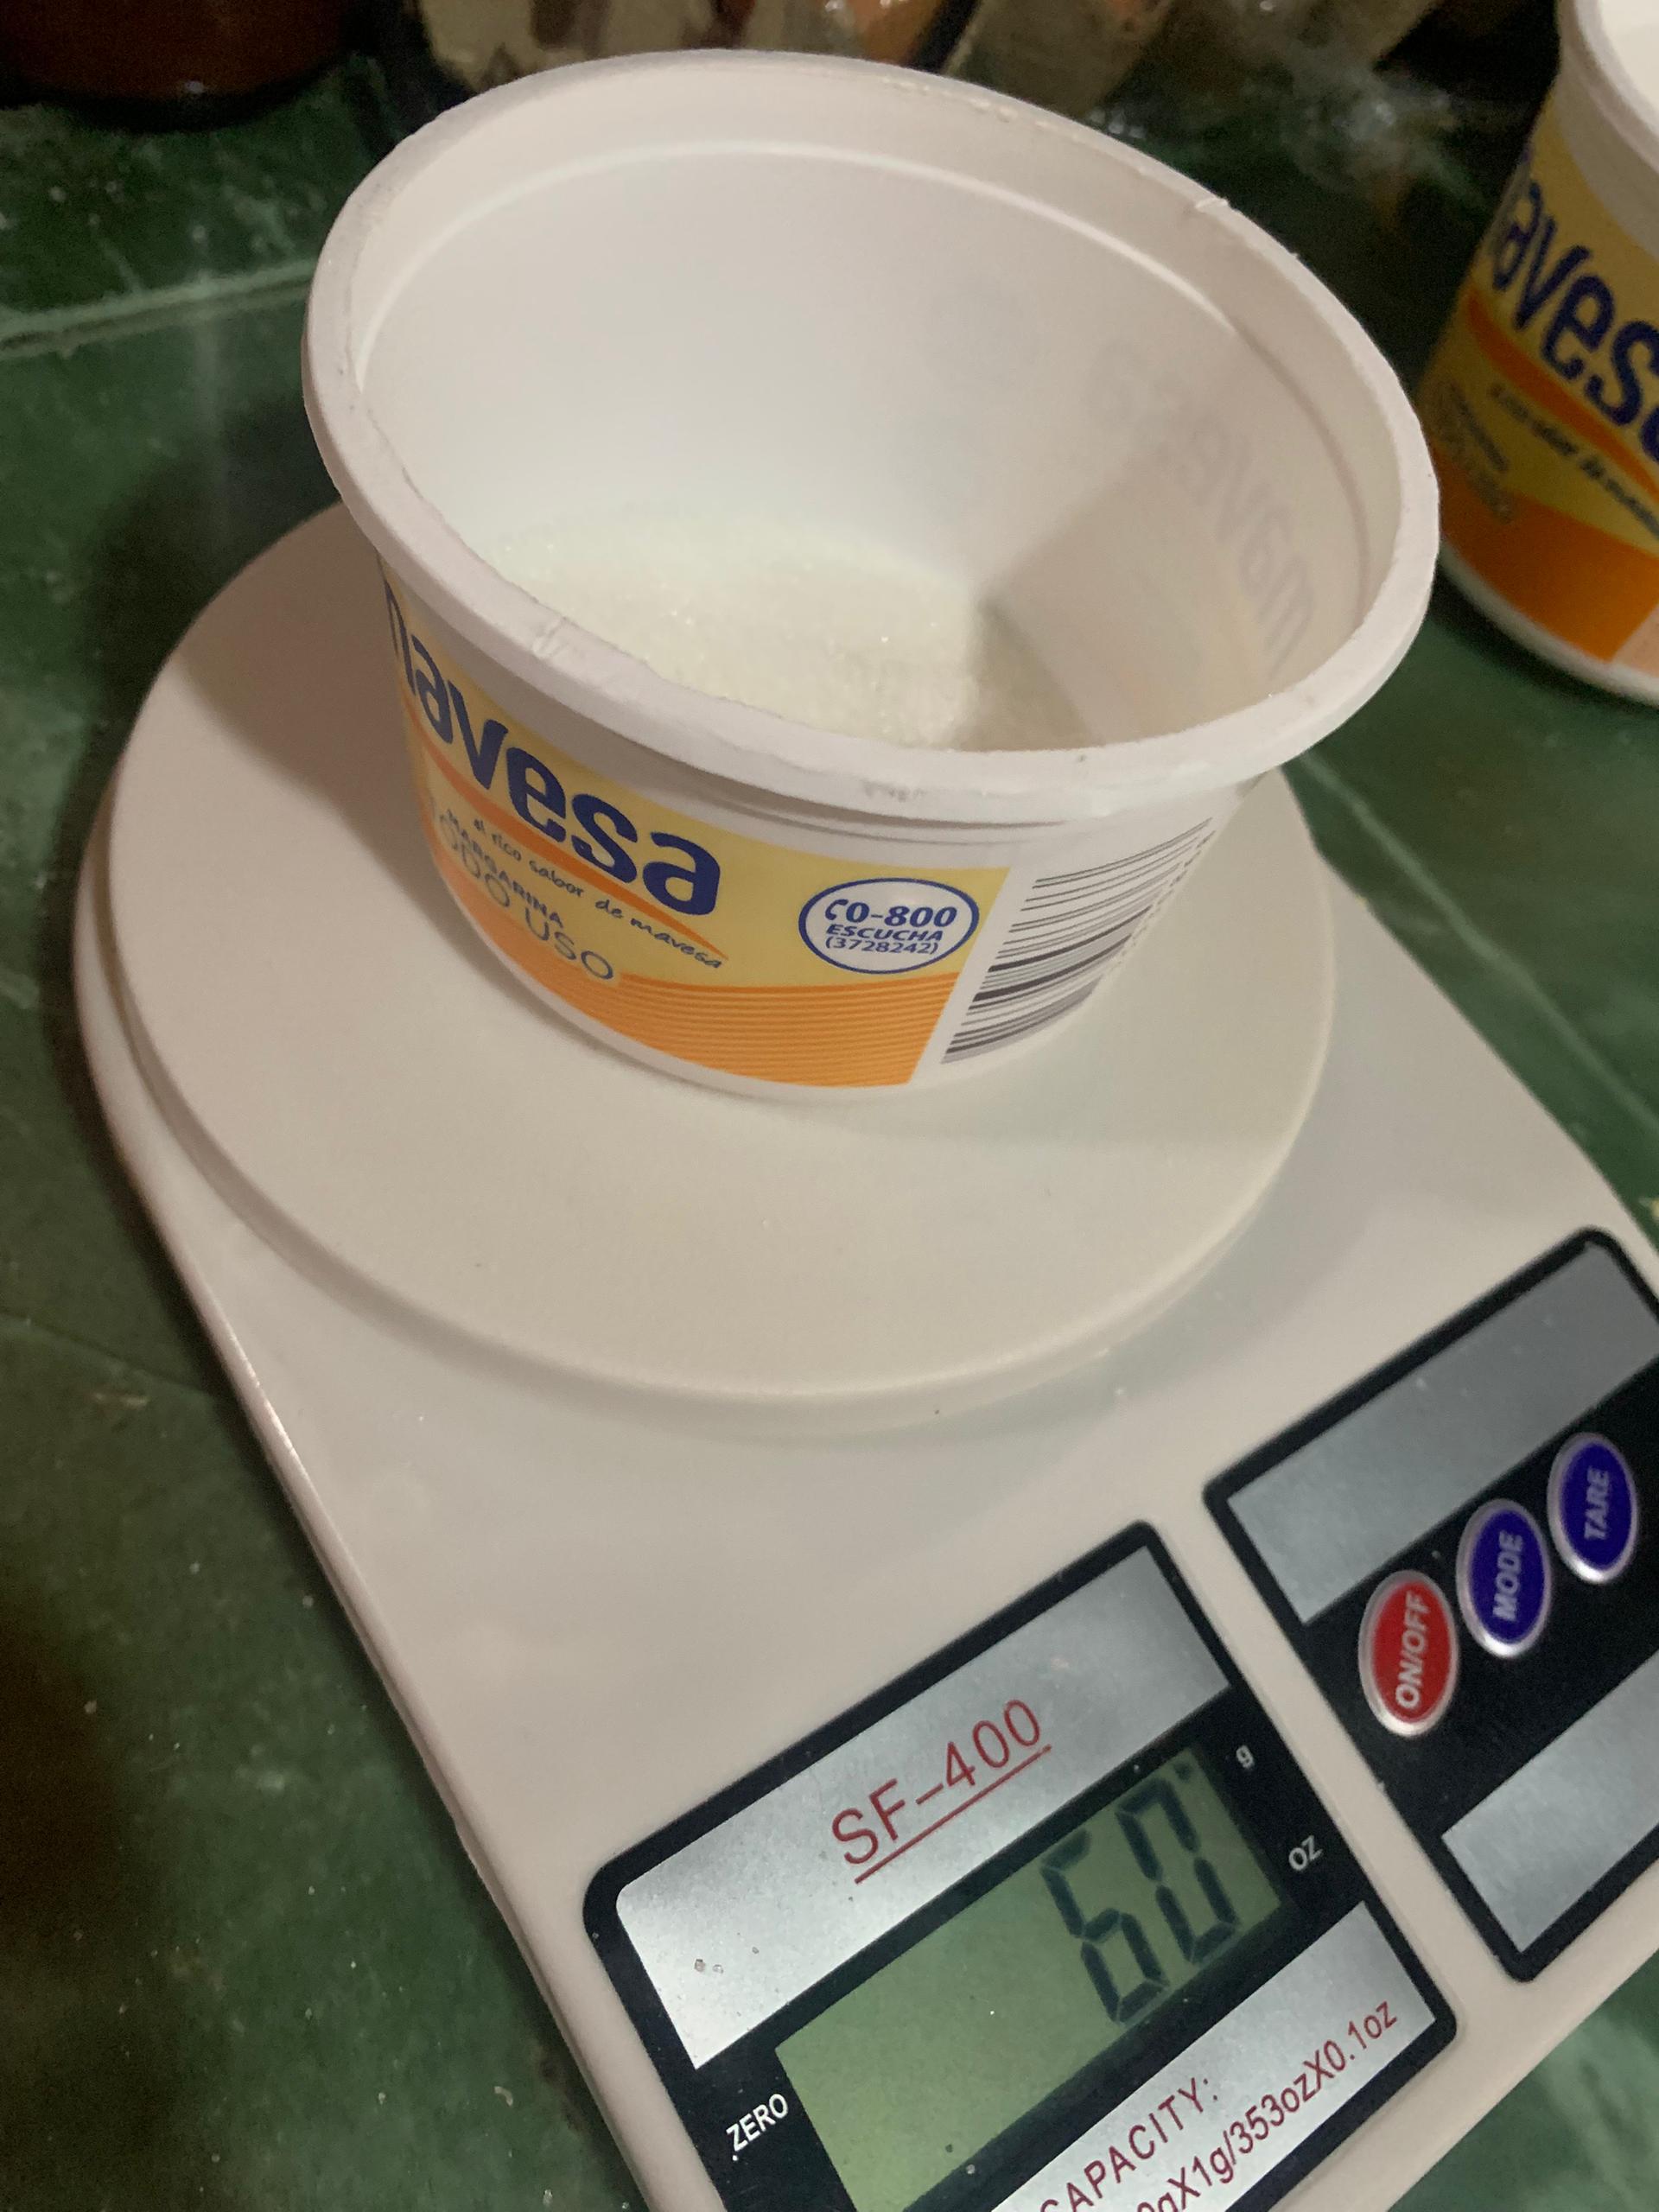
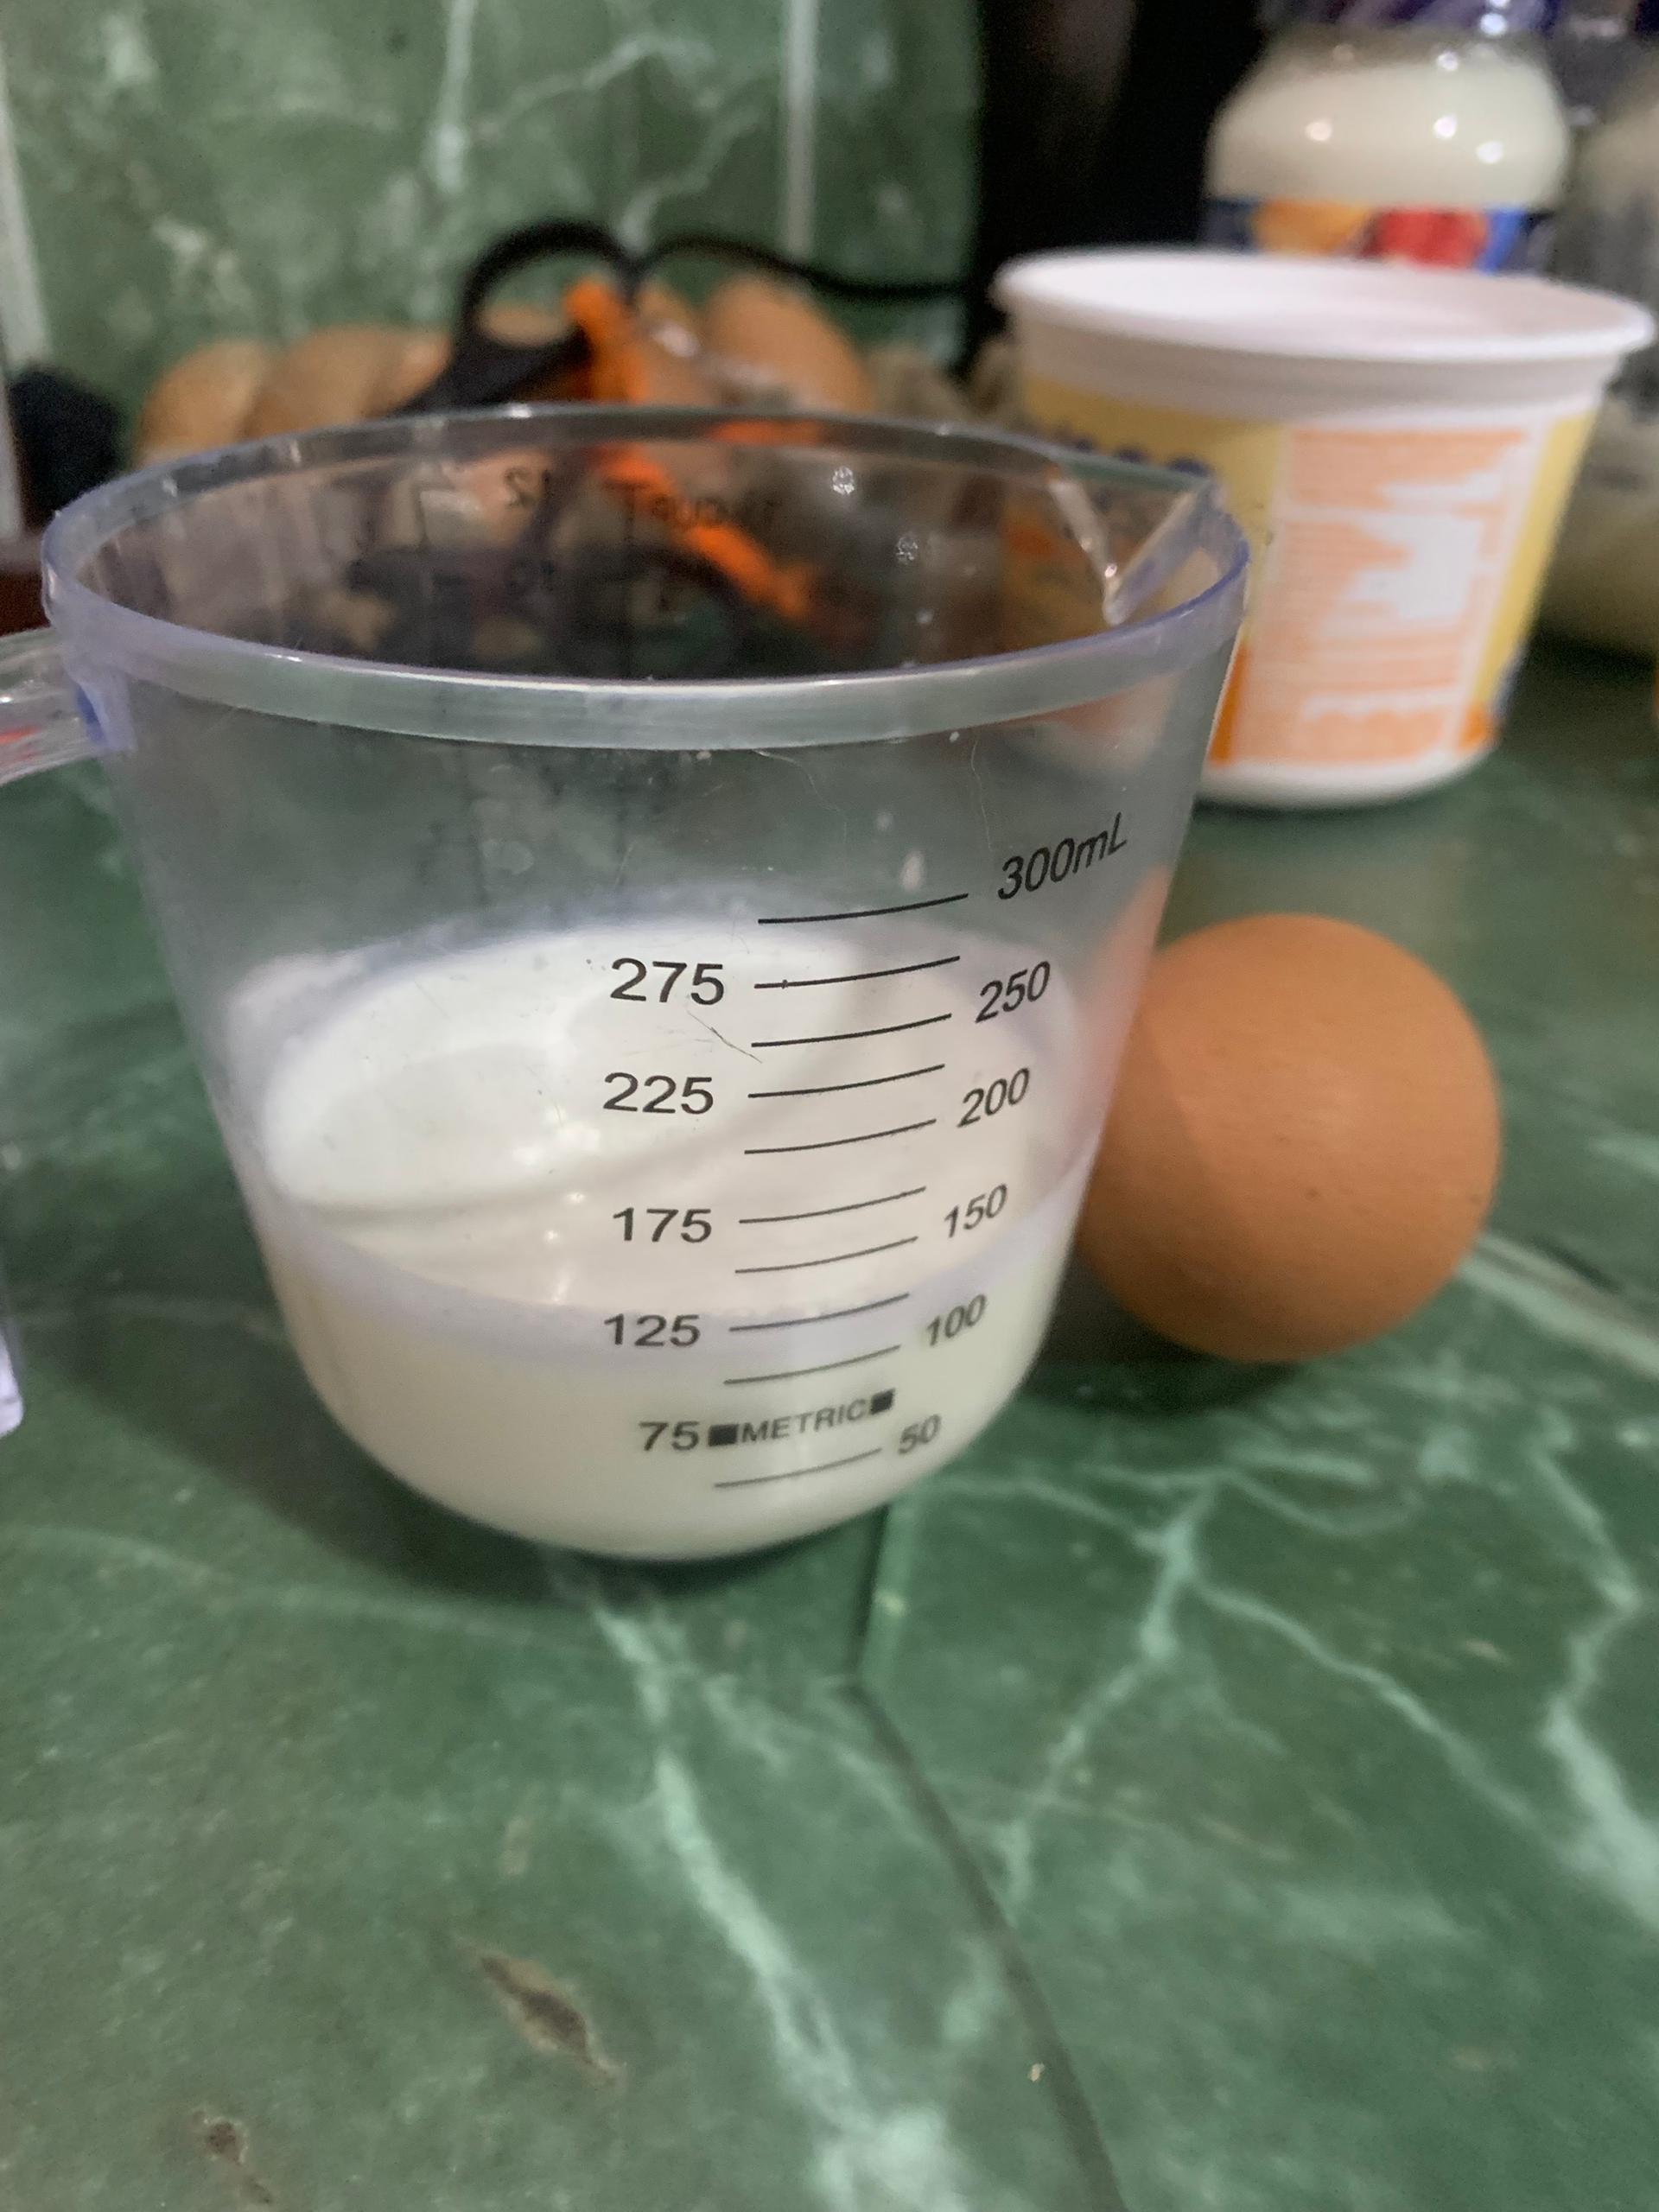
✔️ 125 grams of self-rising wheat flour ✔️ 60 grams of refined sugar ✔️ 22 grams of margarine ✔️ 100 milliliters of liquid milk ✔️ 1 egg ✔️ 10 grams of baking powder ✔️ Vanilla and cinnamon powder to taste ---🥣👩🏻🍳 Preparation 👩🏻🍳🥣
|.jpeg)|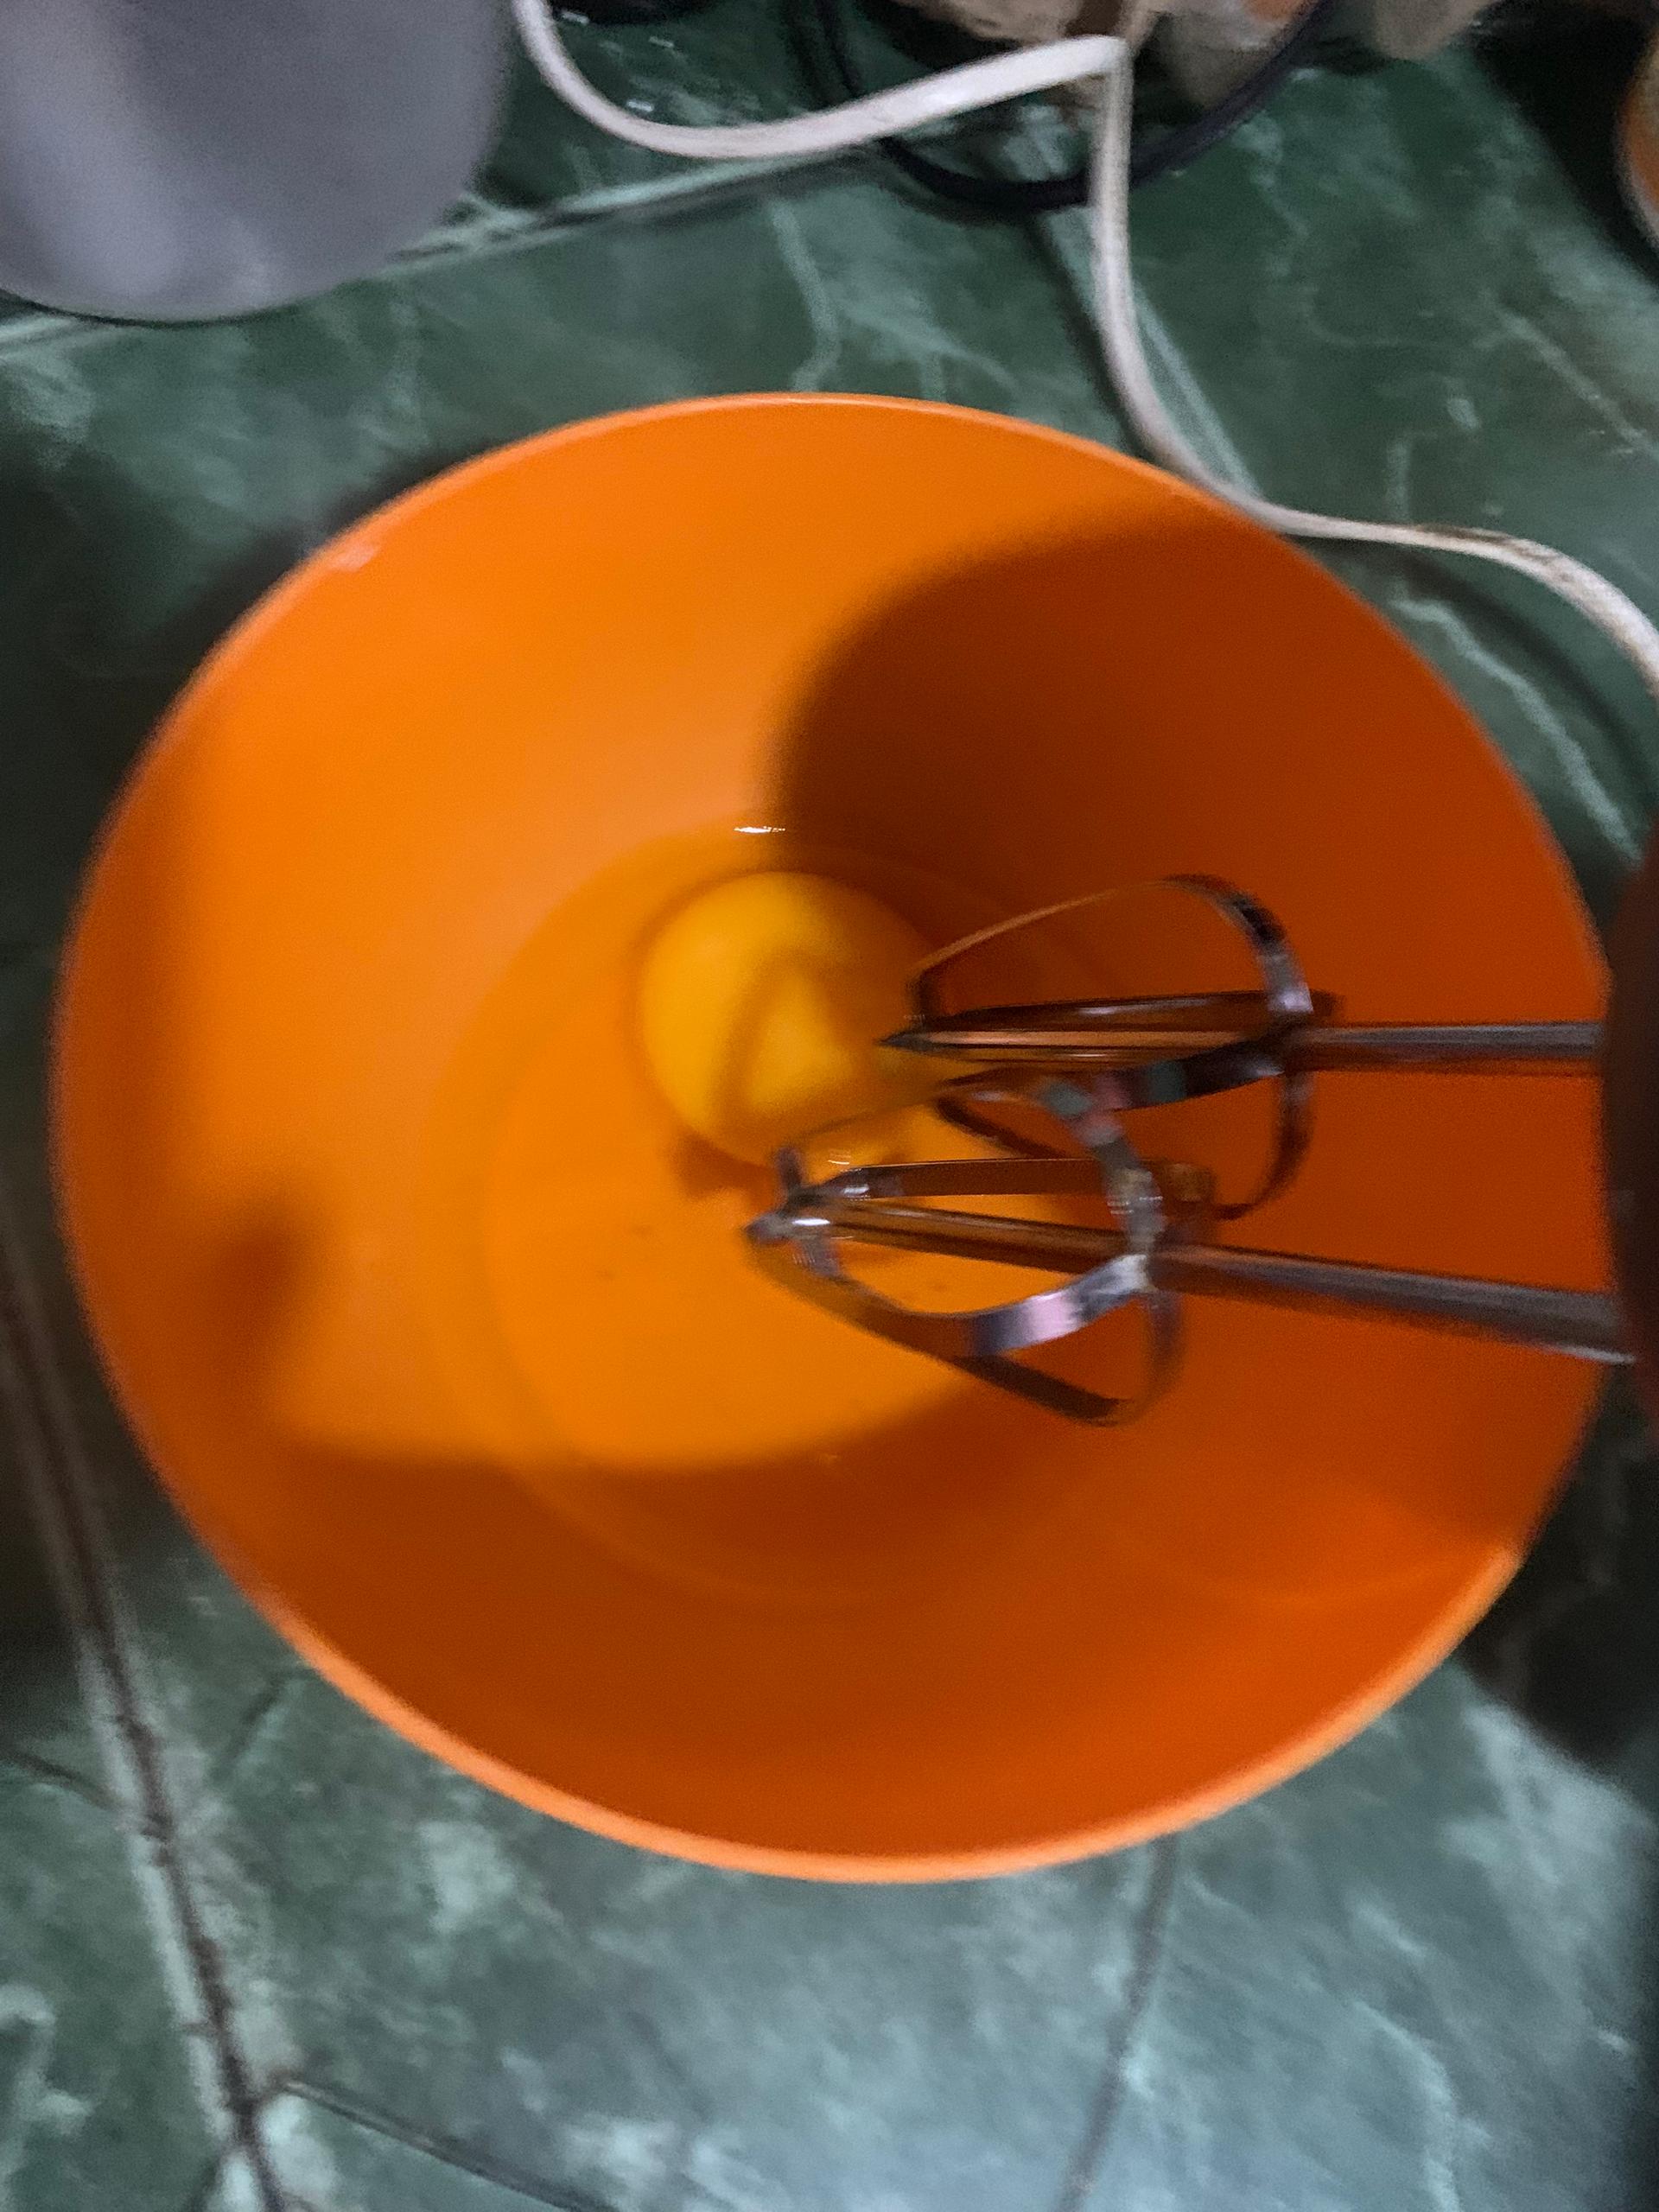.jpeg)|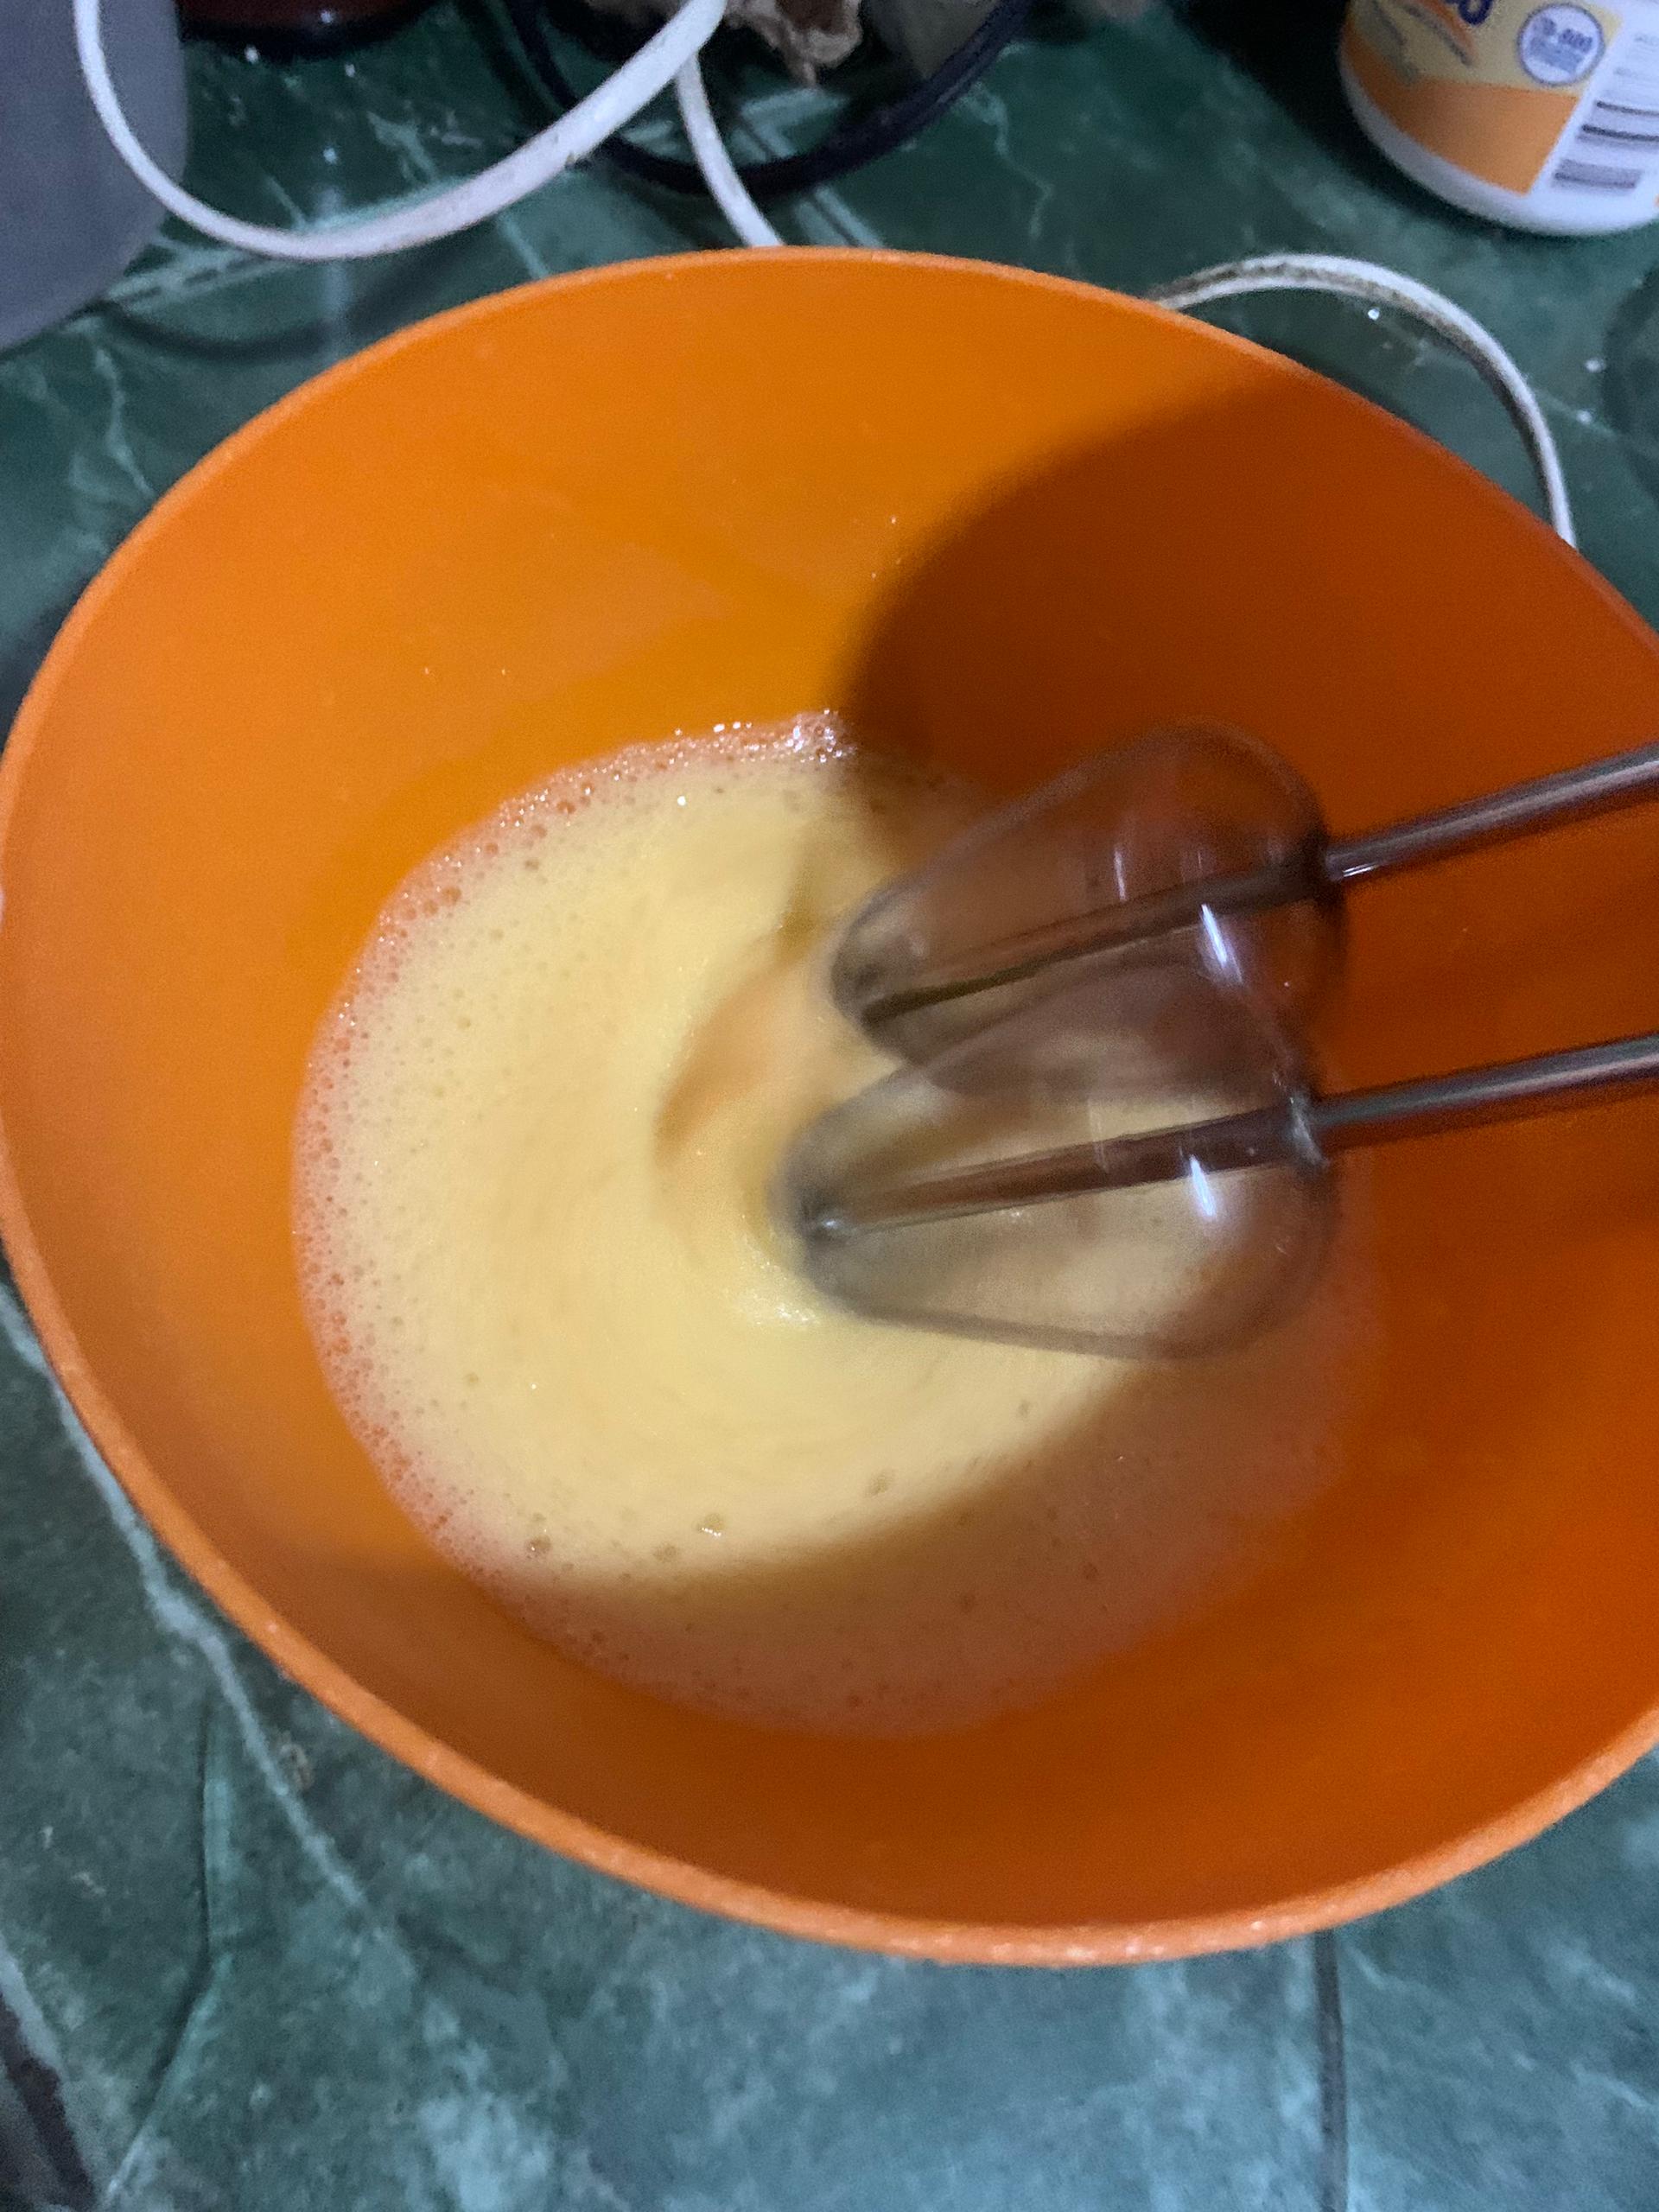|
|---|---|---|
|.jpeg)|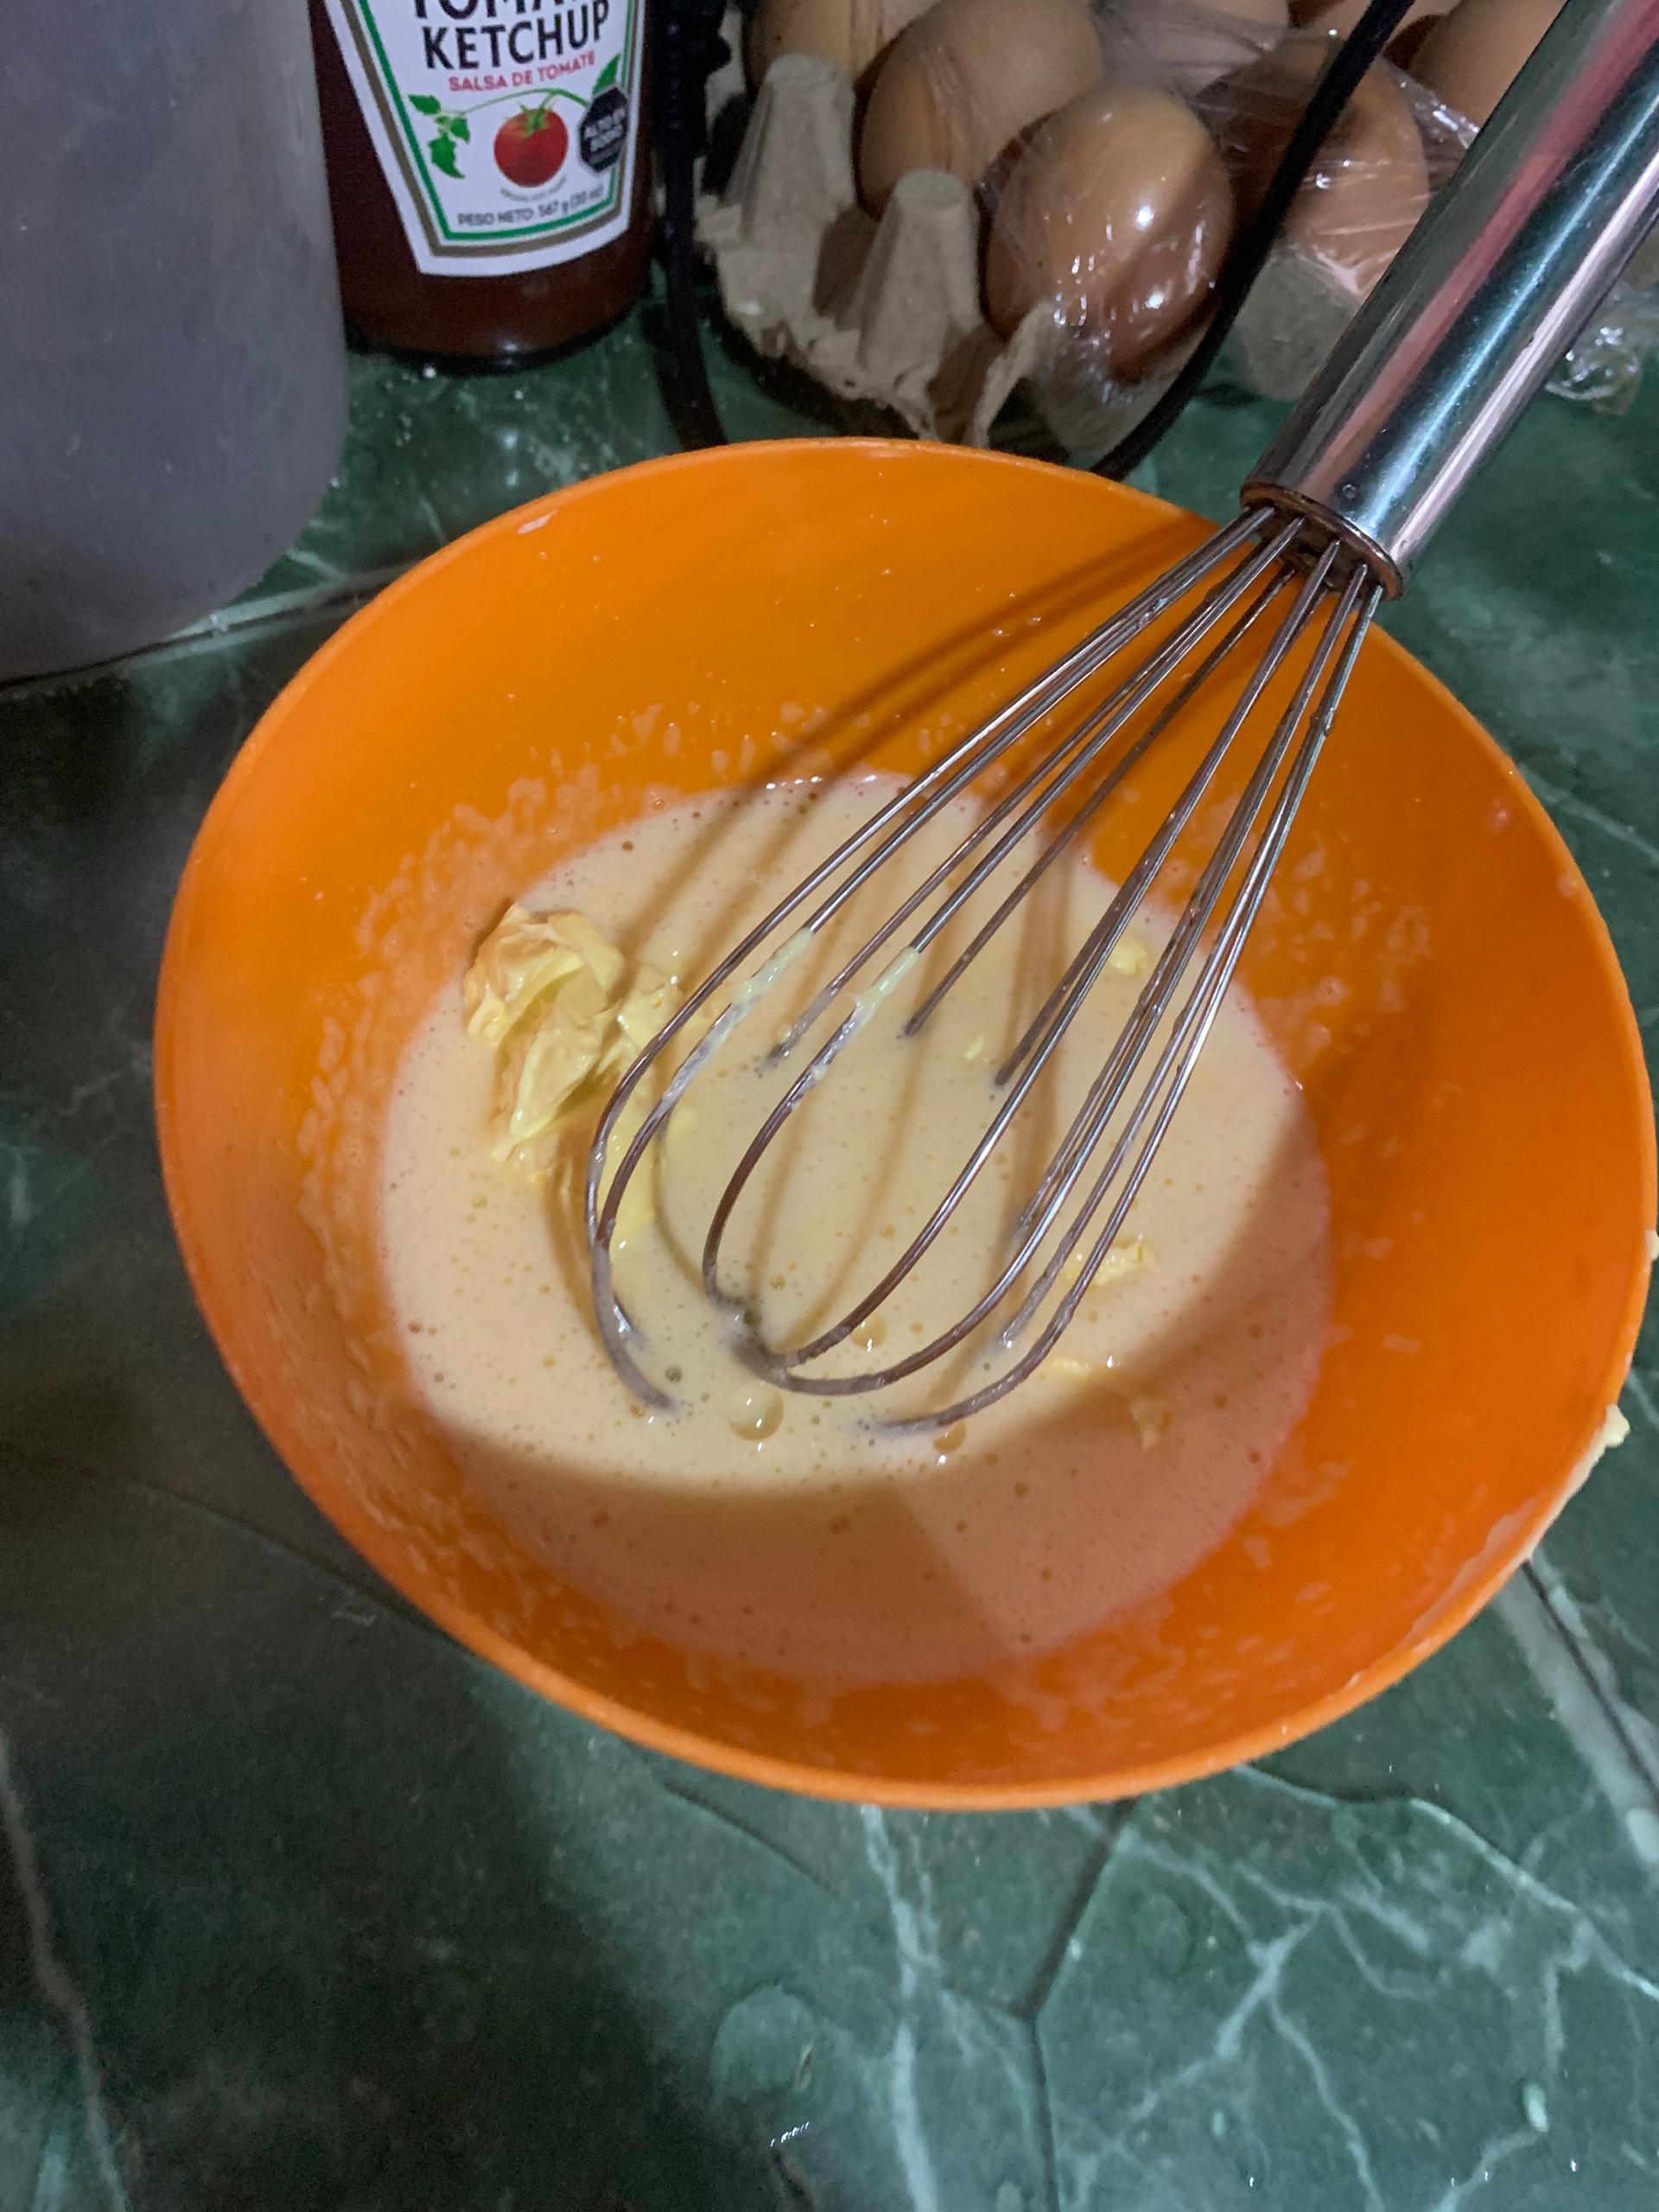|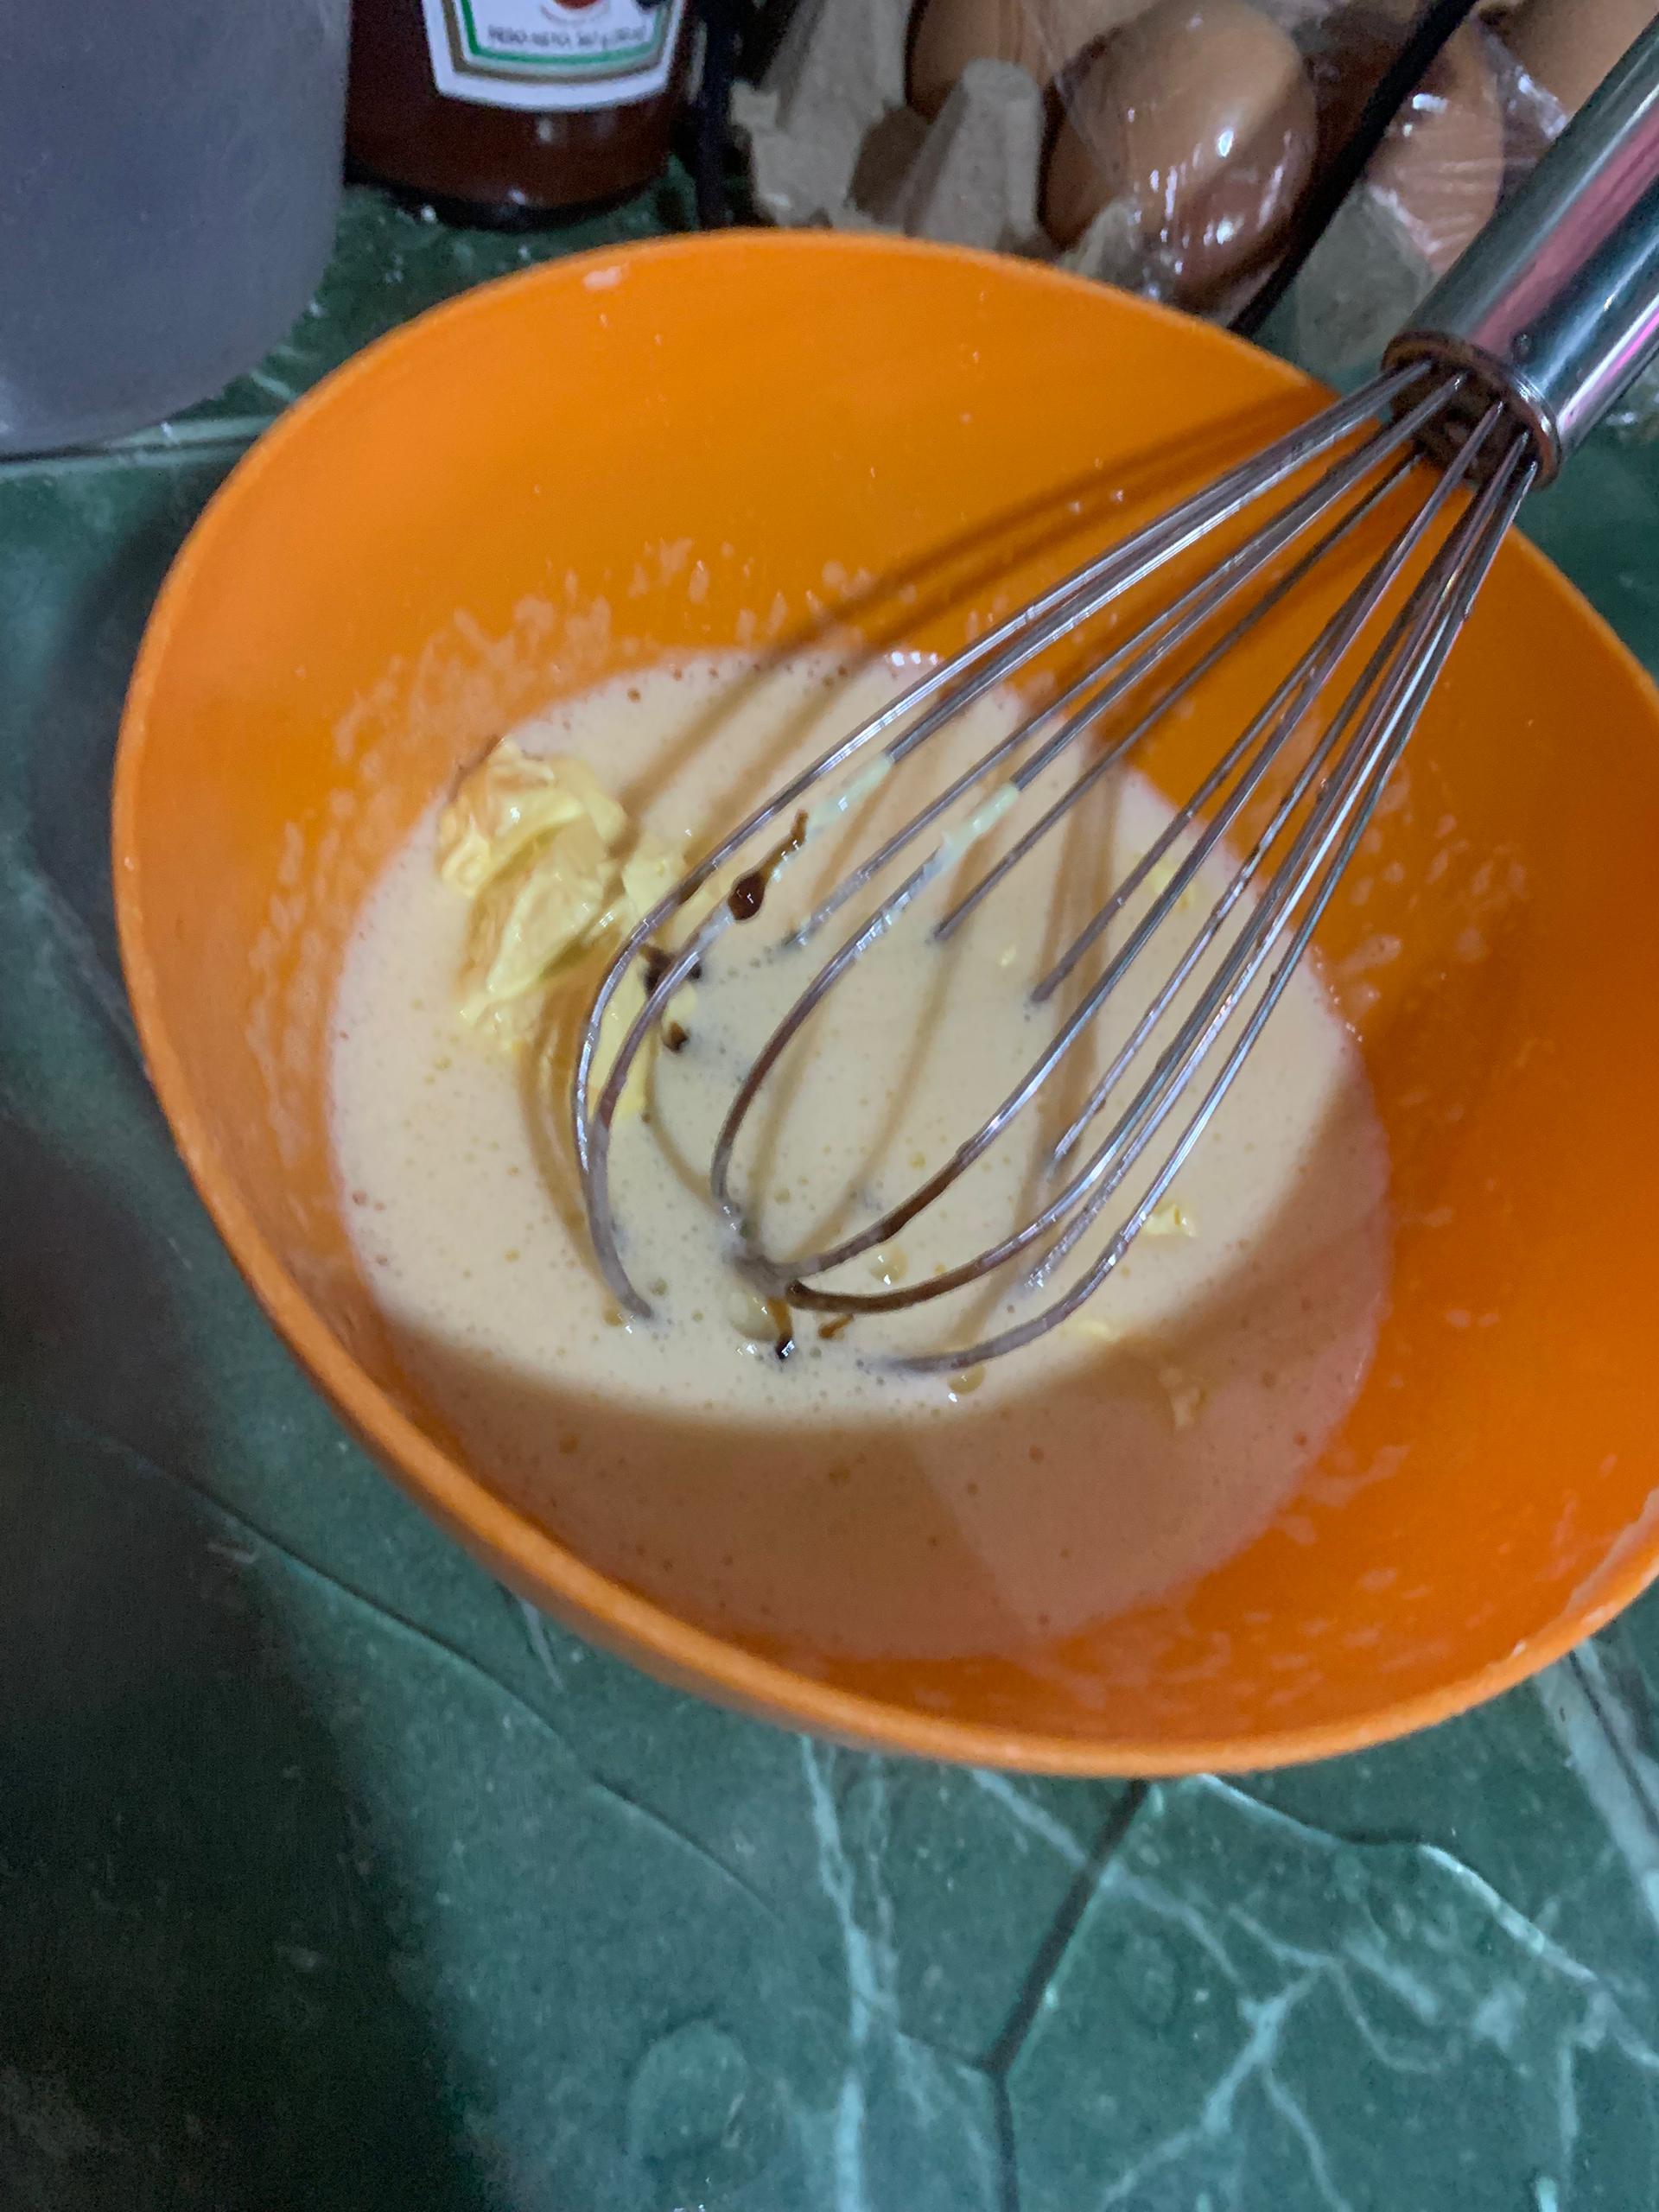.jpeg)|
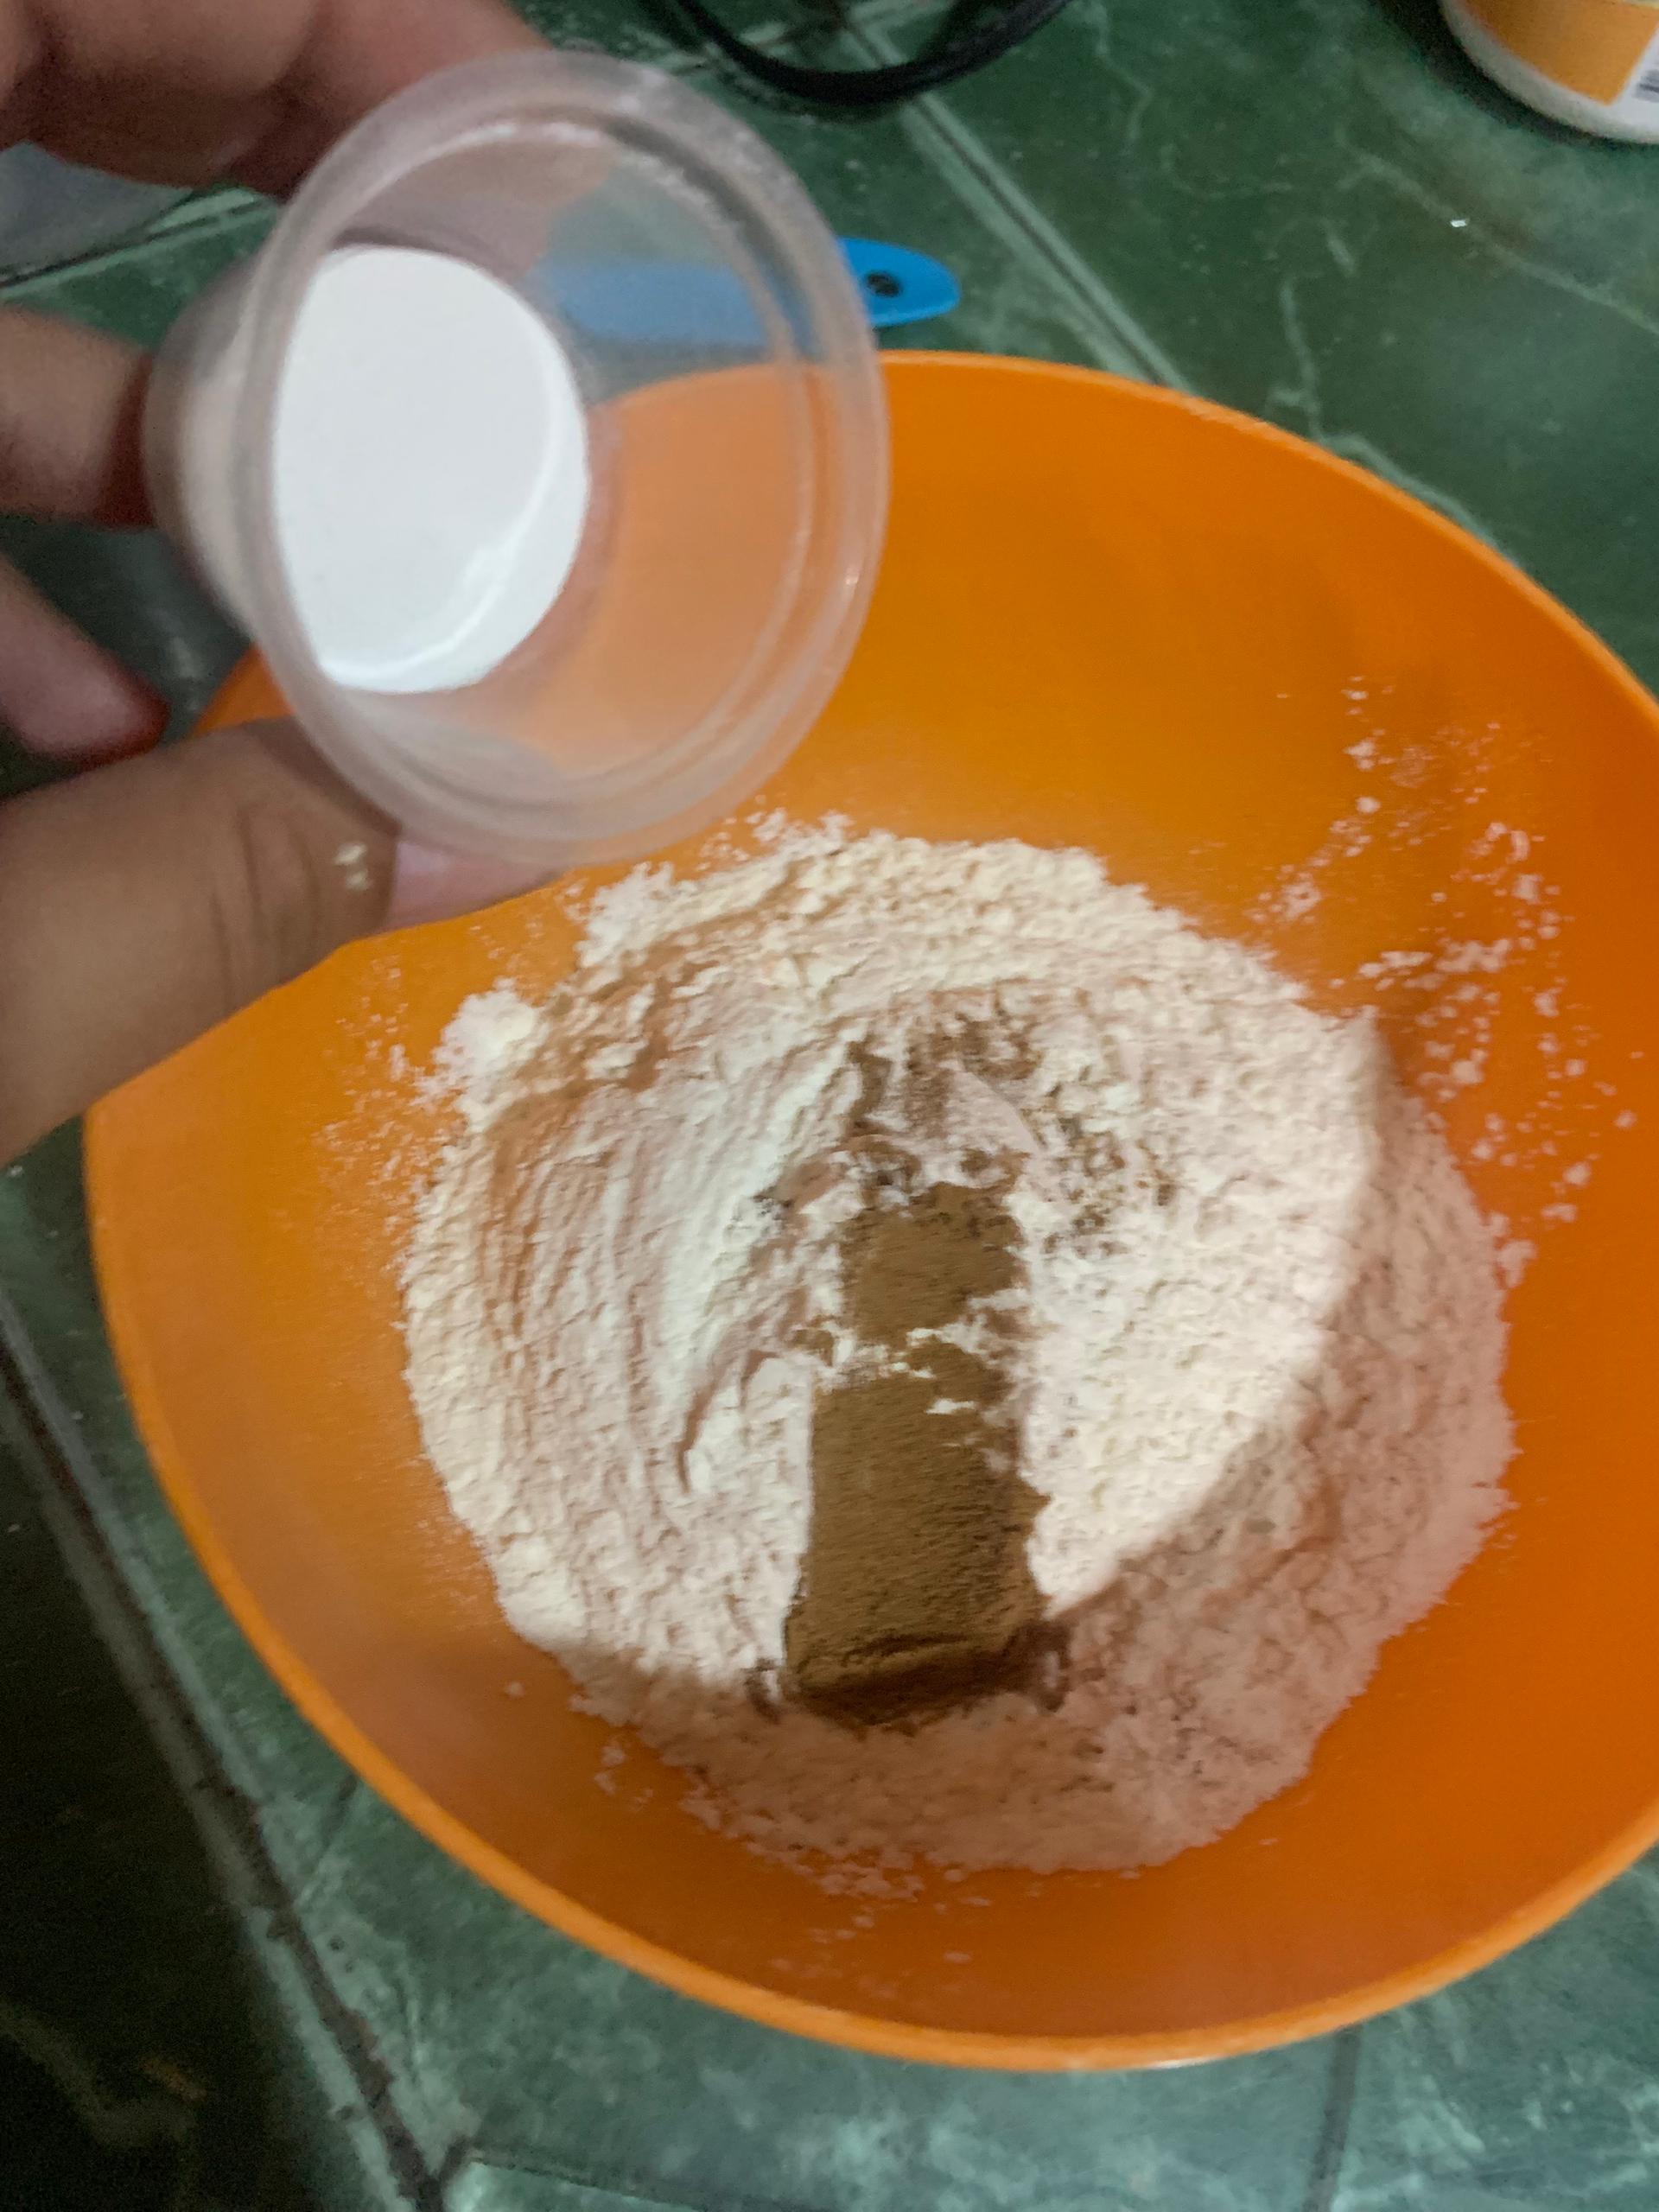
First, place the wheat flour, baking powder, and ground cinnamon (dry ingredients) in a bowl. Mix them well and set it aside to add them to the batter later.
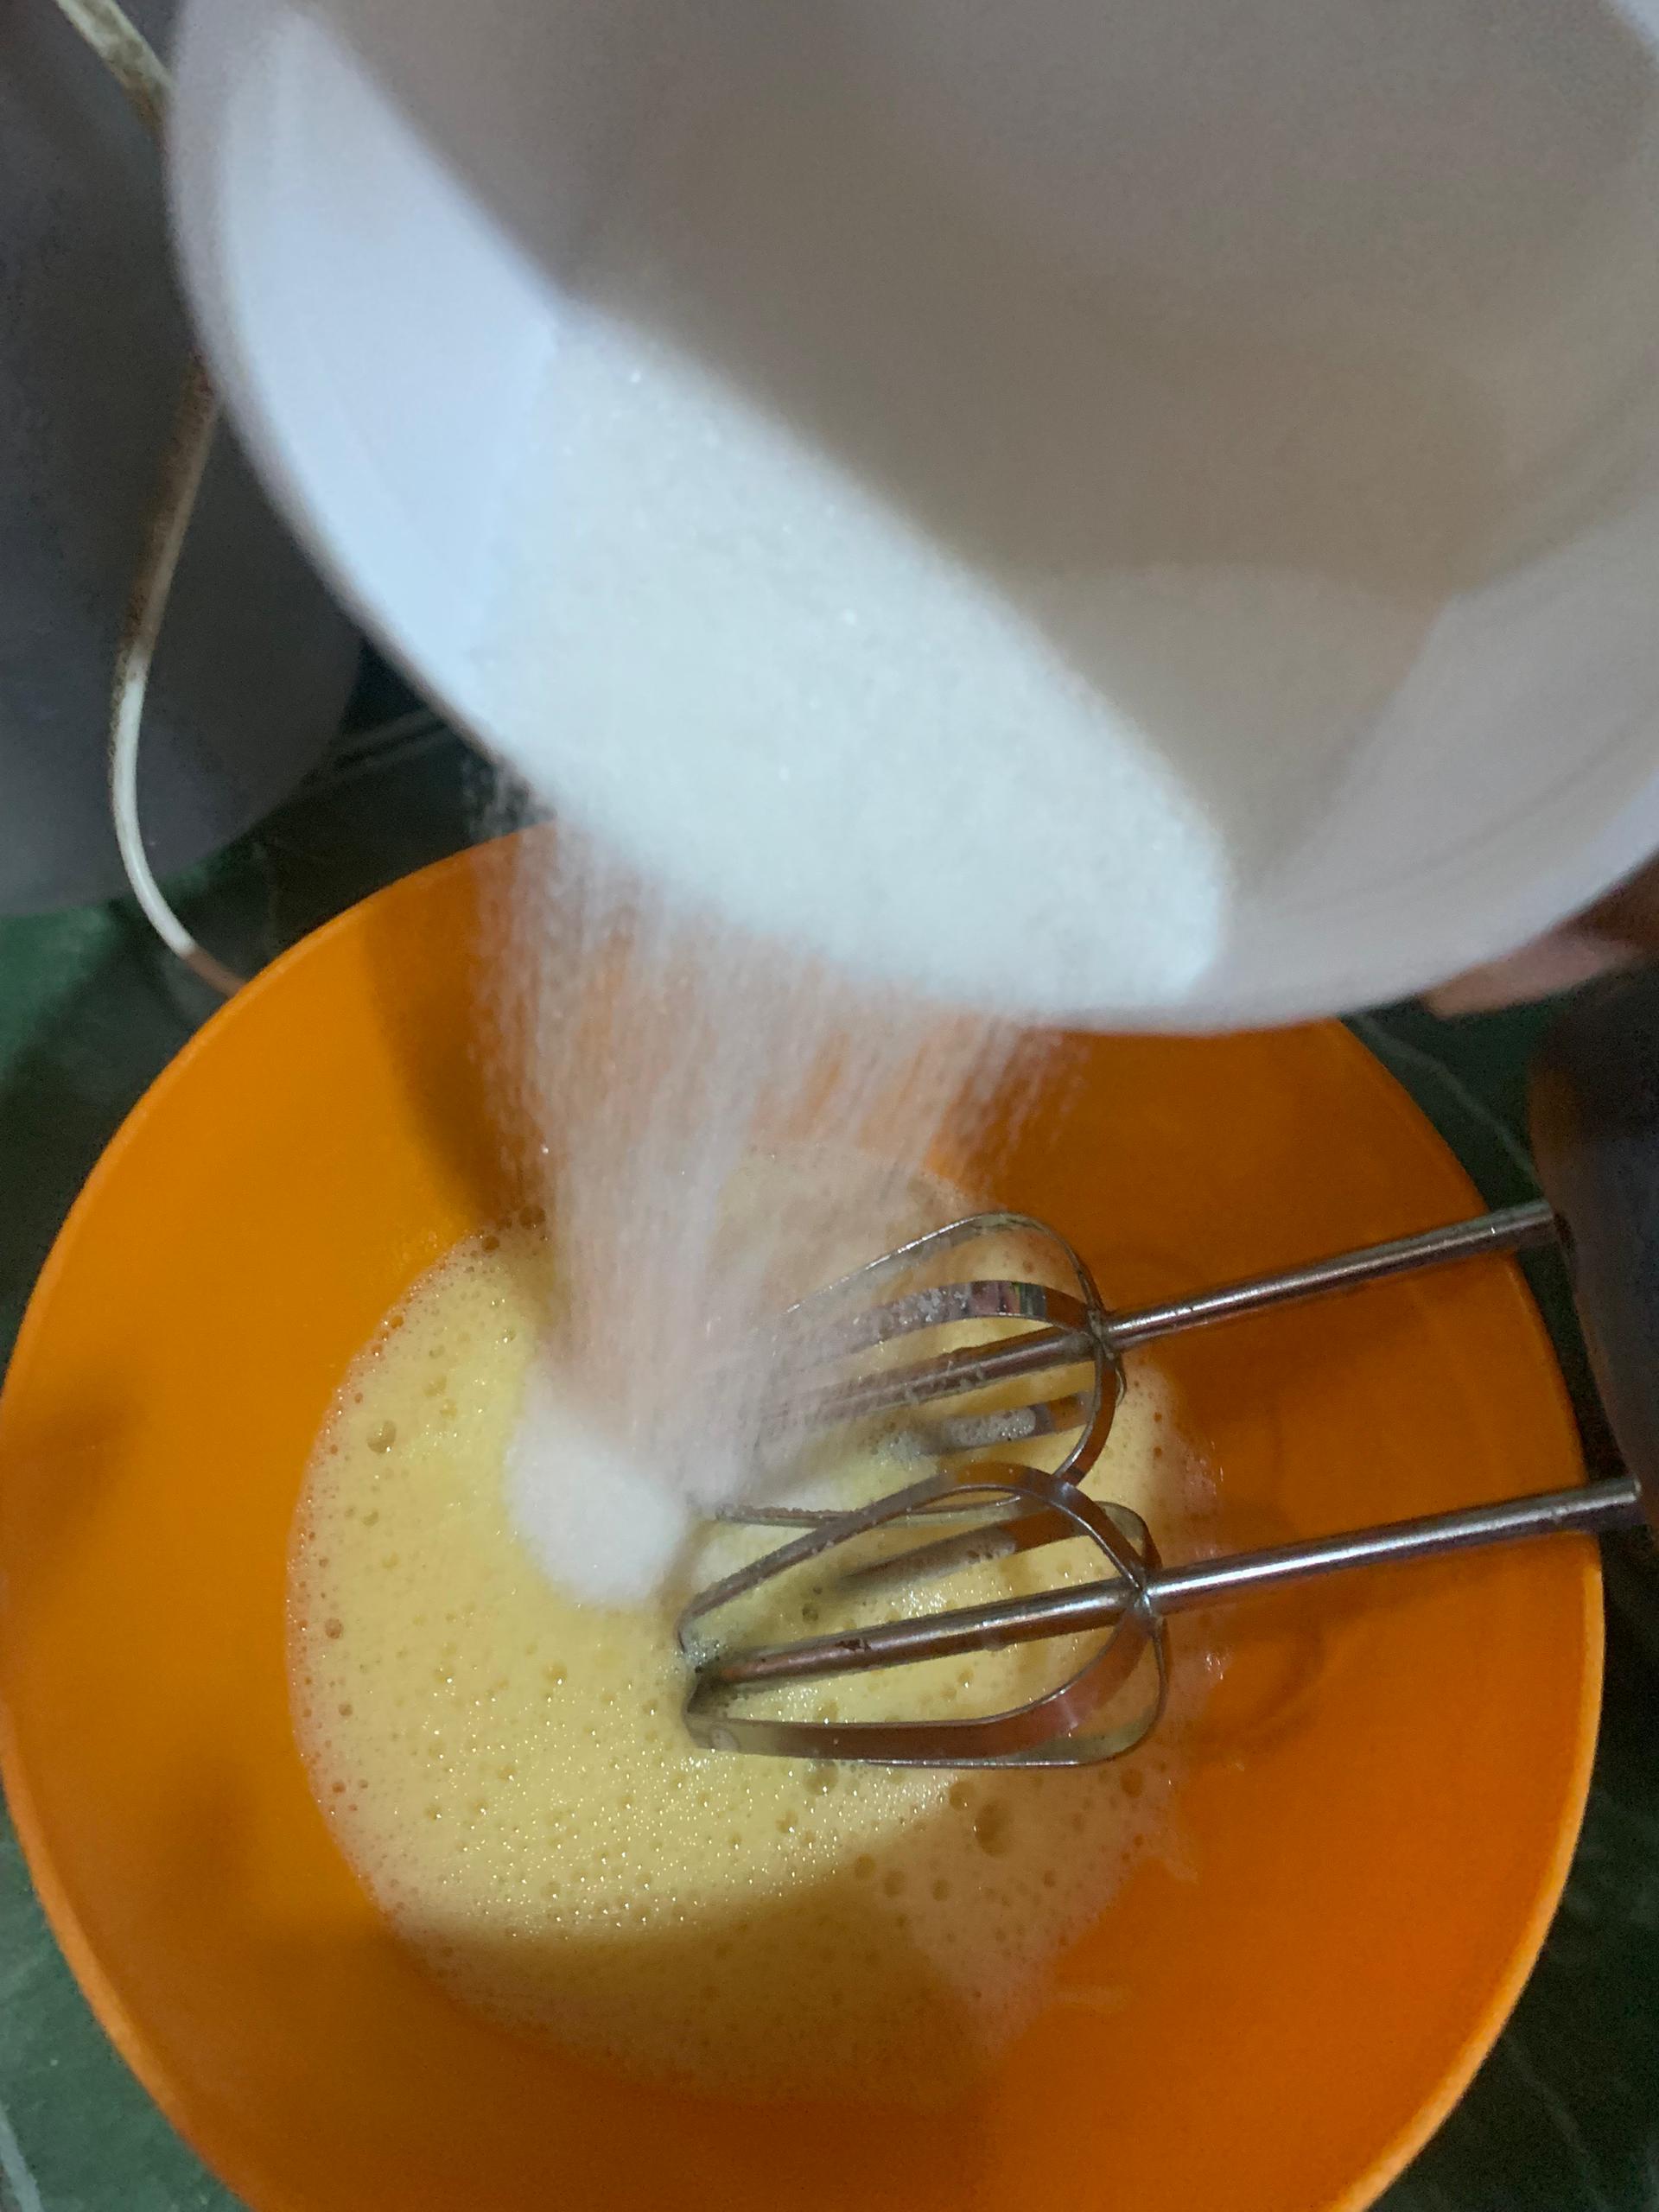
For the mixture for our mini donuts, we'll start by beating the egg very well with an electric mixer or vigorously with a hand whisk, until it becomes slightly foamy and changes color to a lighter shade, or until it doubles in size. Once the egg is well beaten, gradually add the sugar and continue beating at high speed. Continue adding the margarine and a little vanilla extract (I used half a teaspoon) and mix well with the hand whisk.
|.jpeg)||
|---|---|
|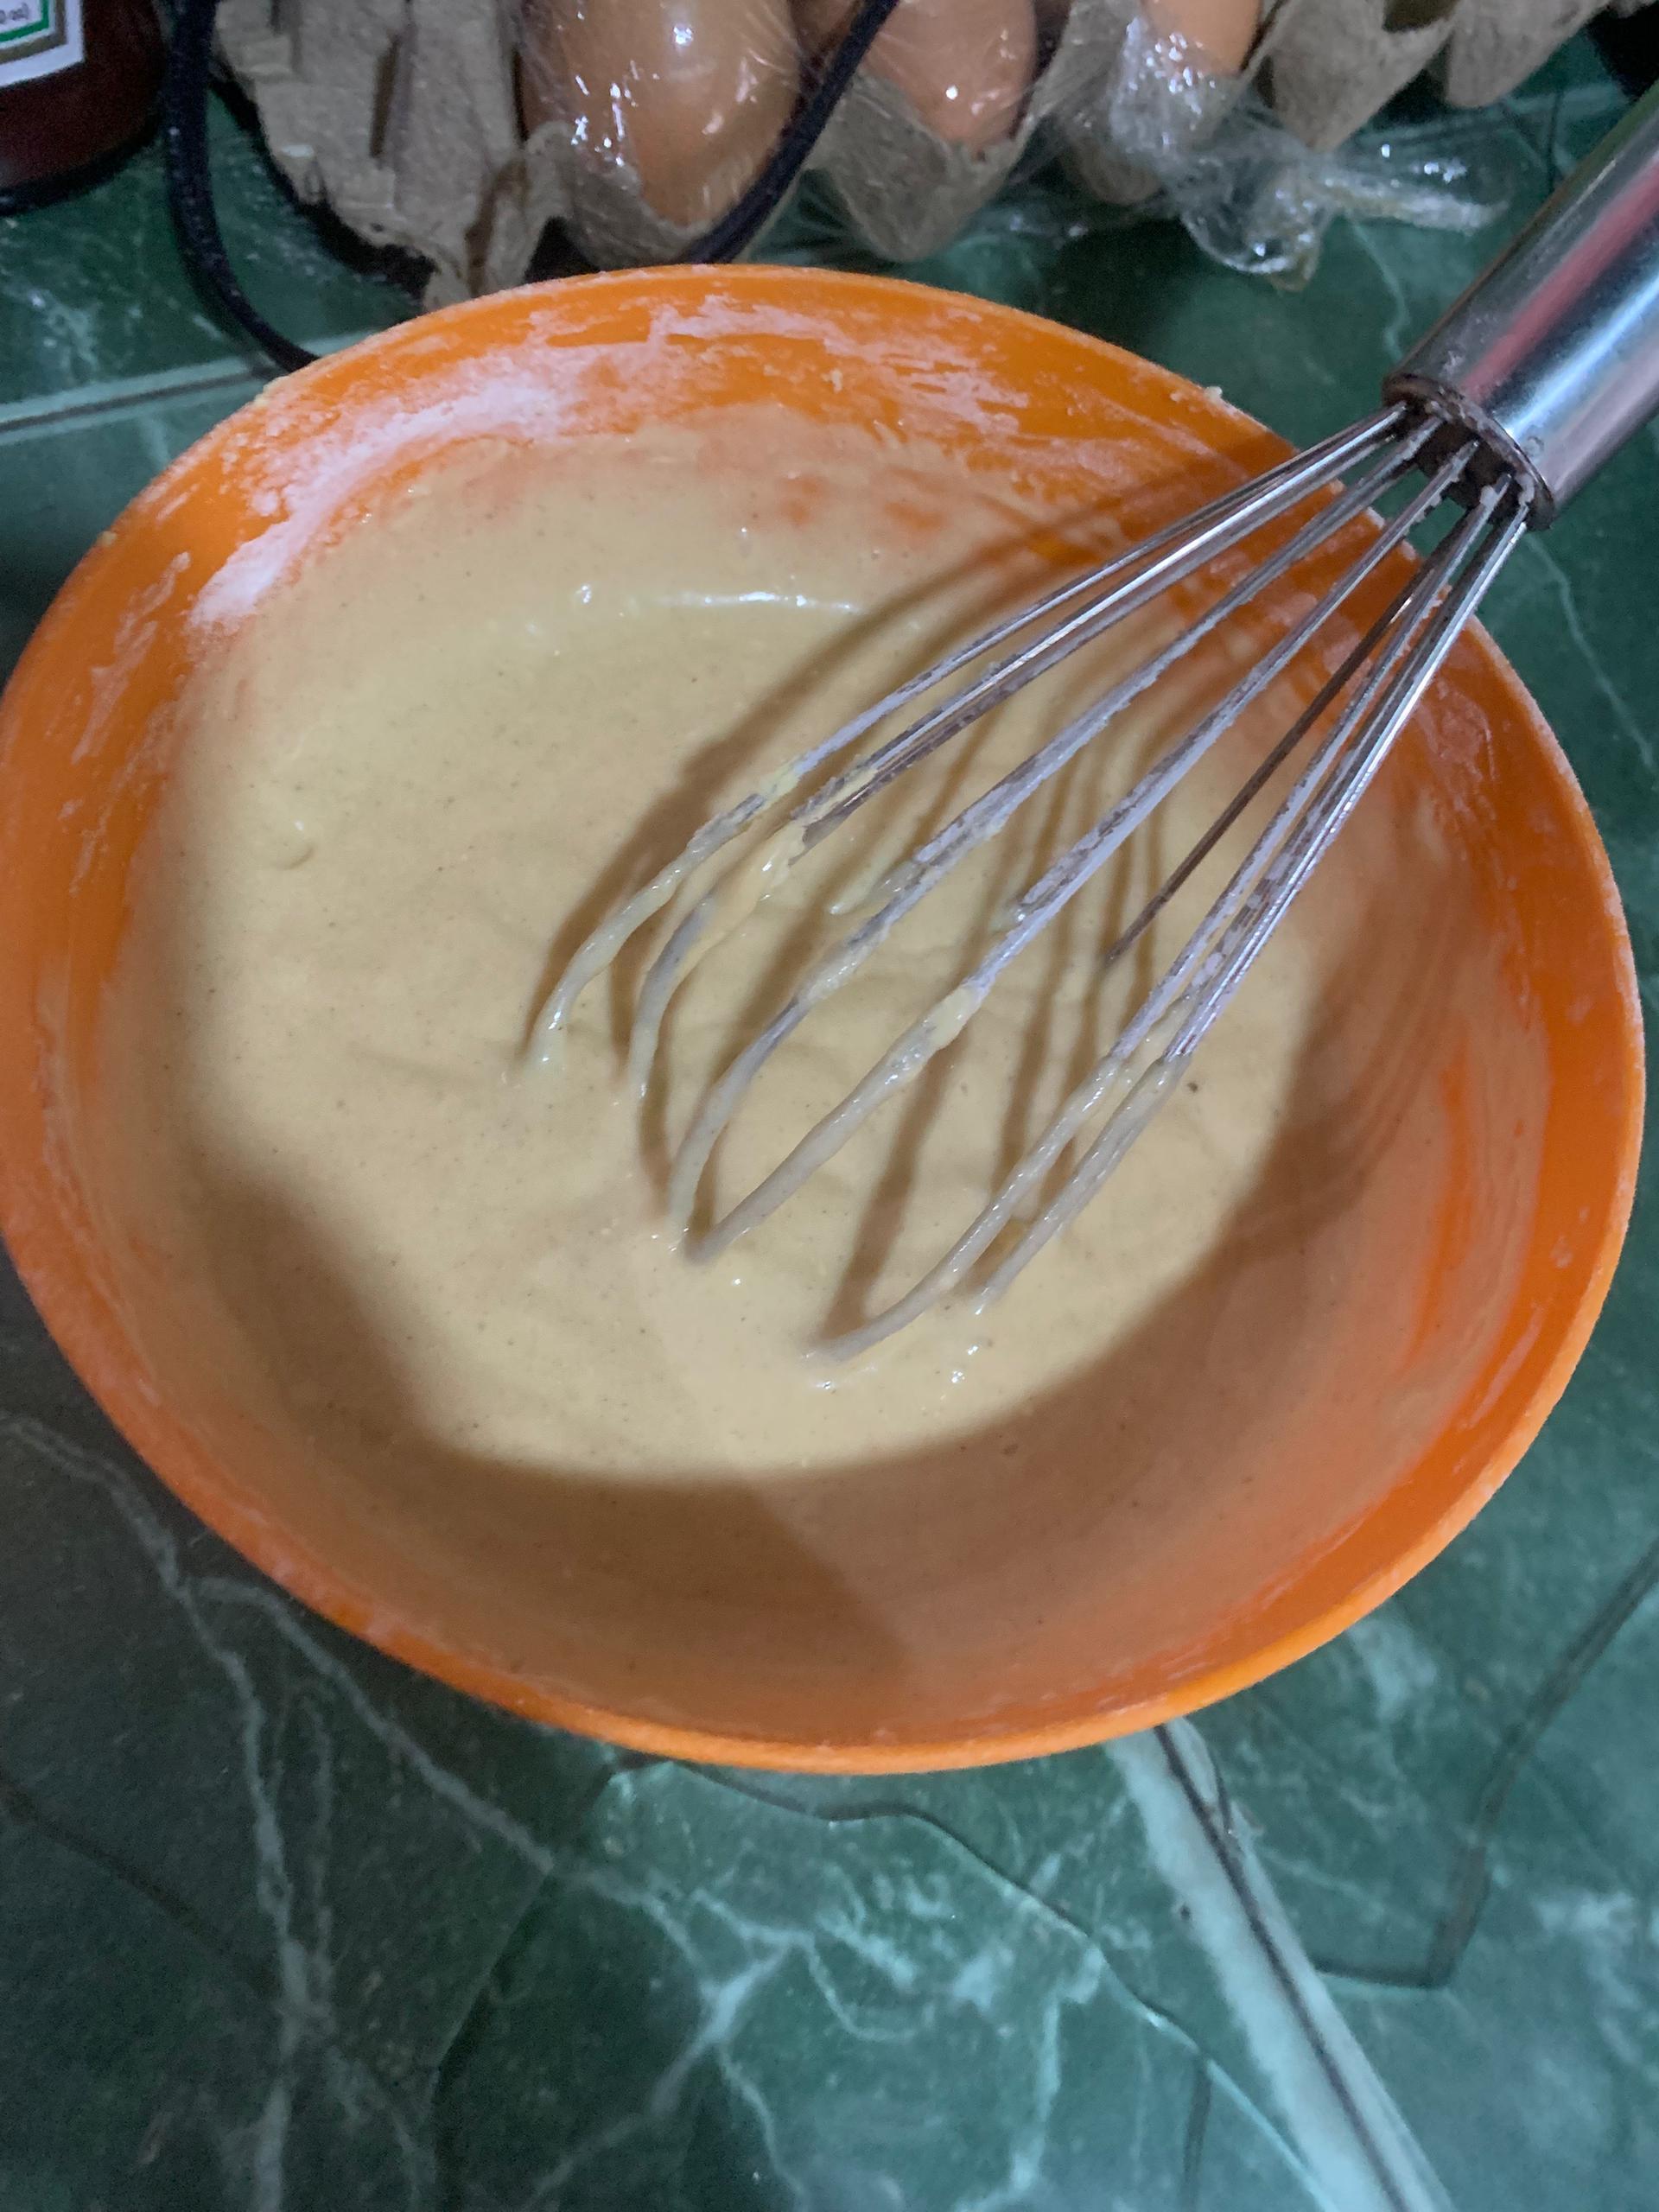|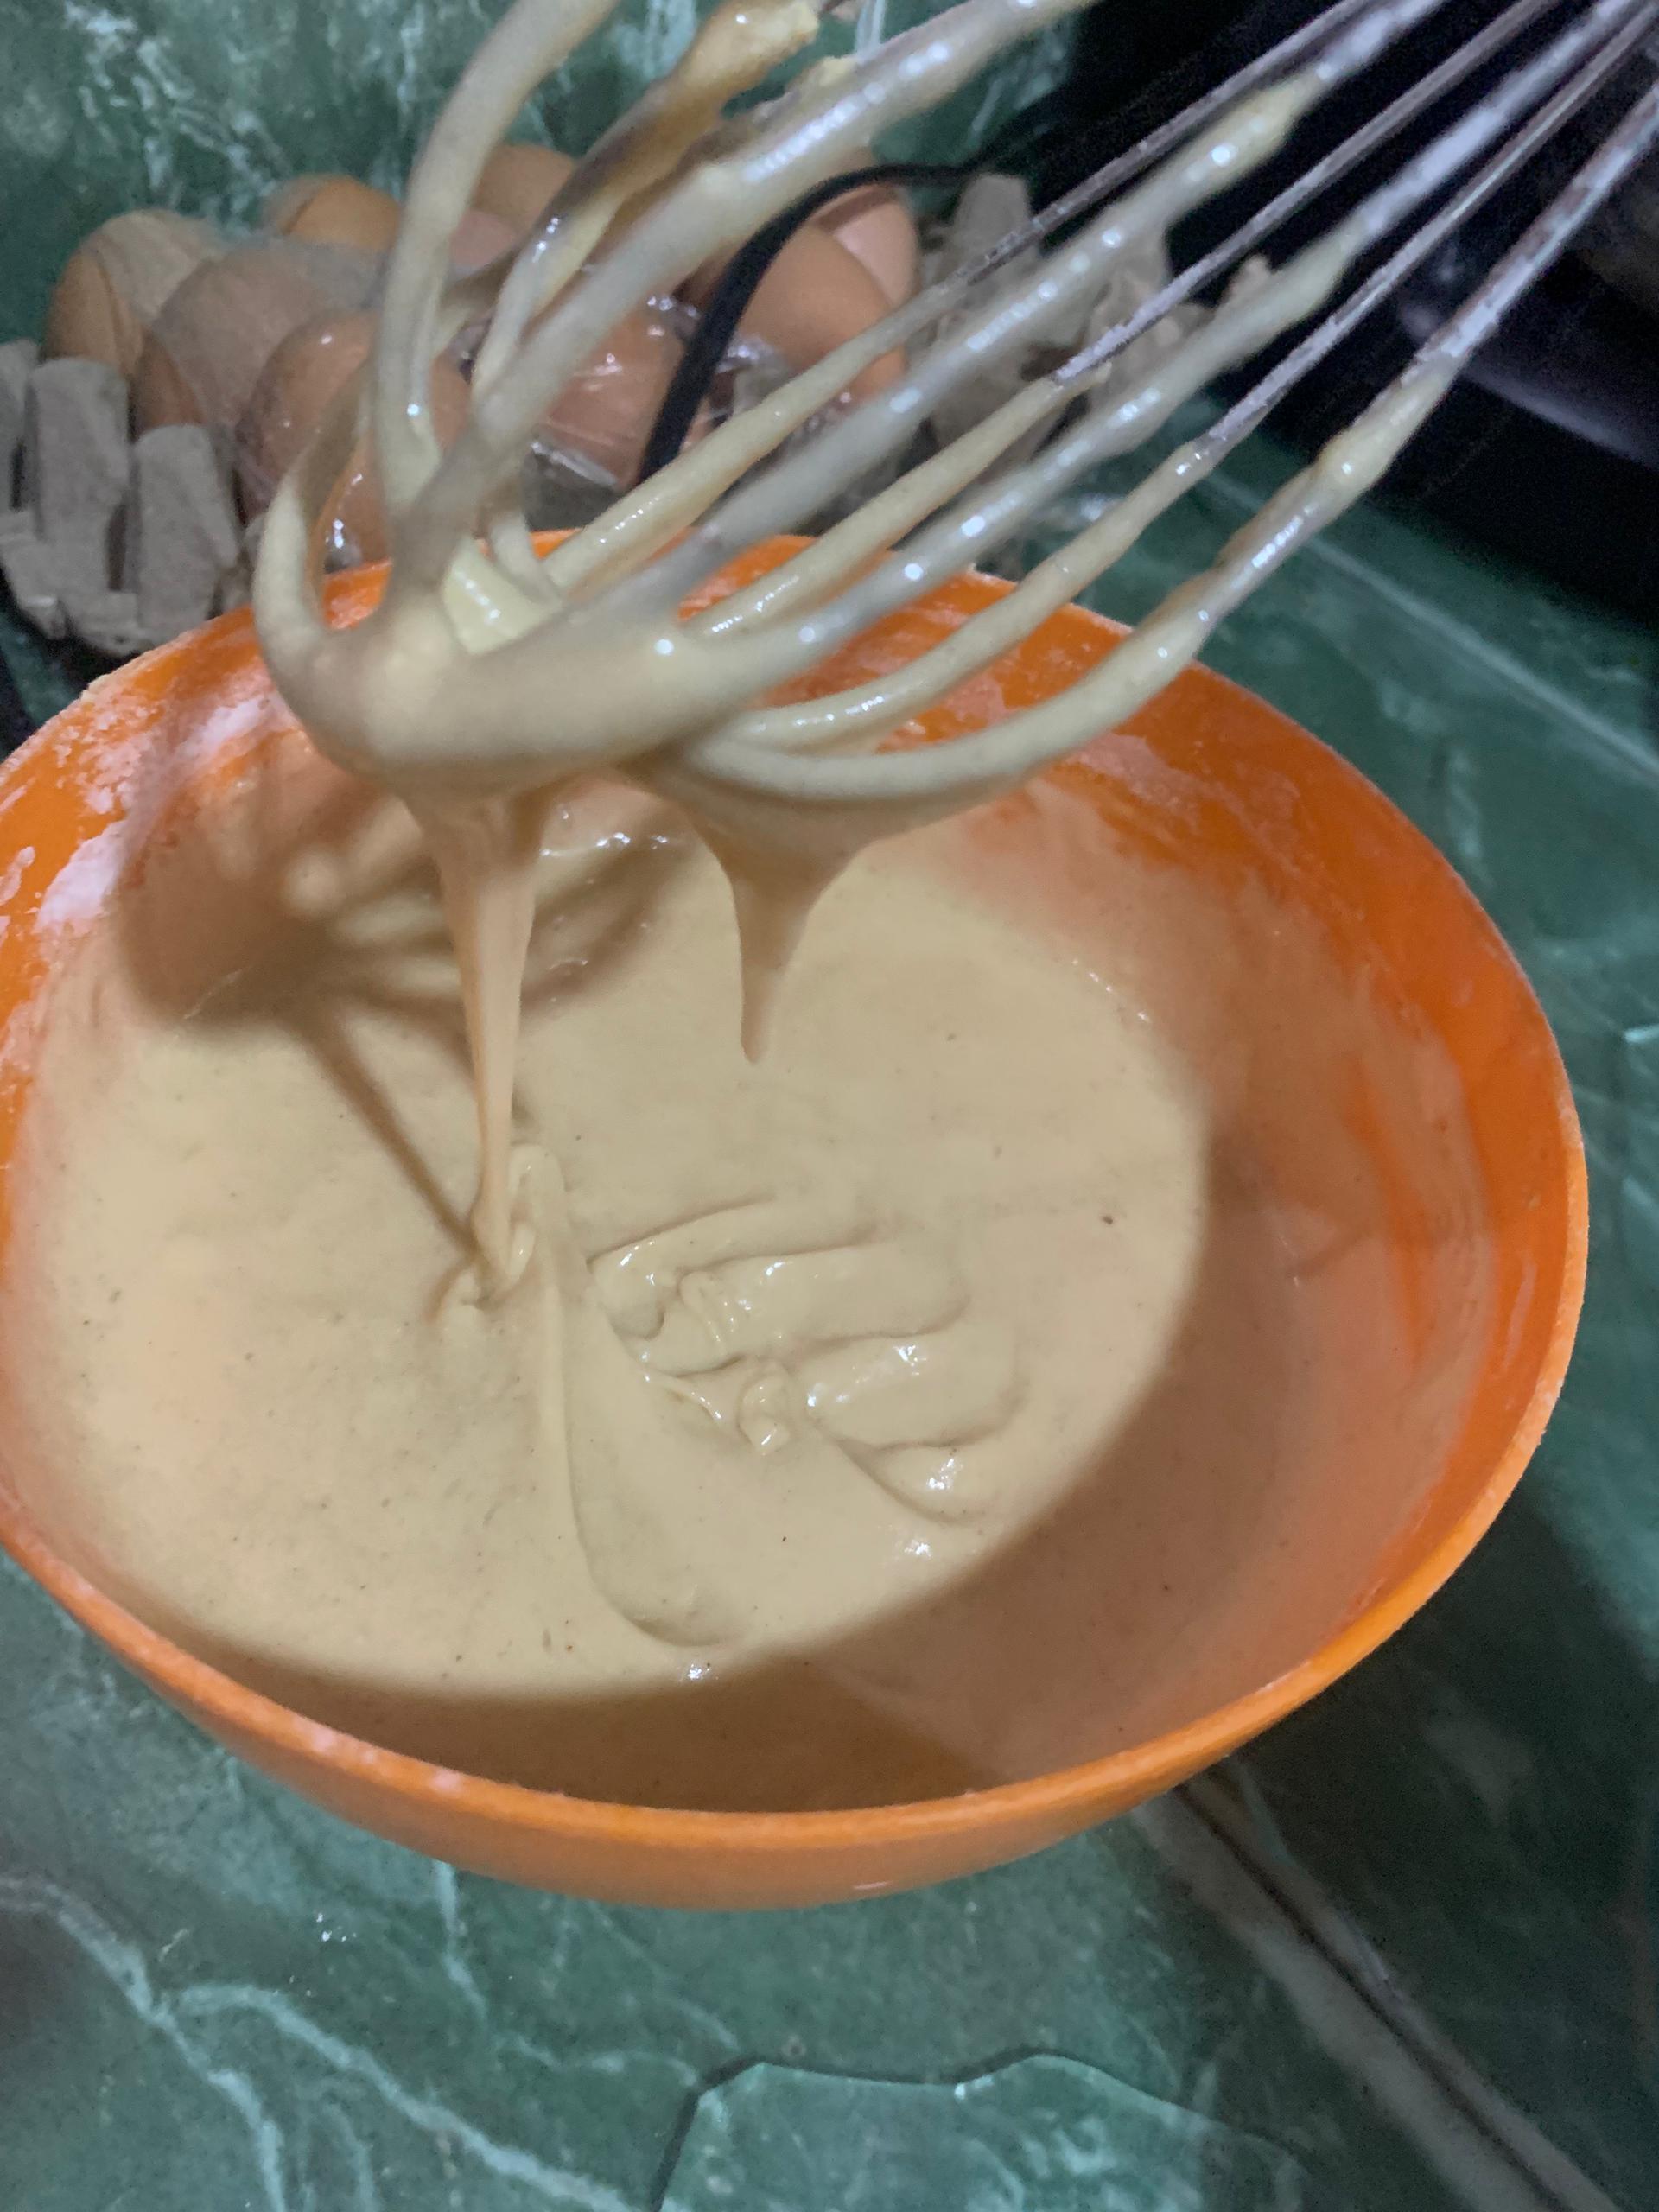|
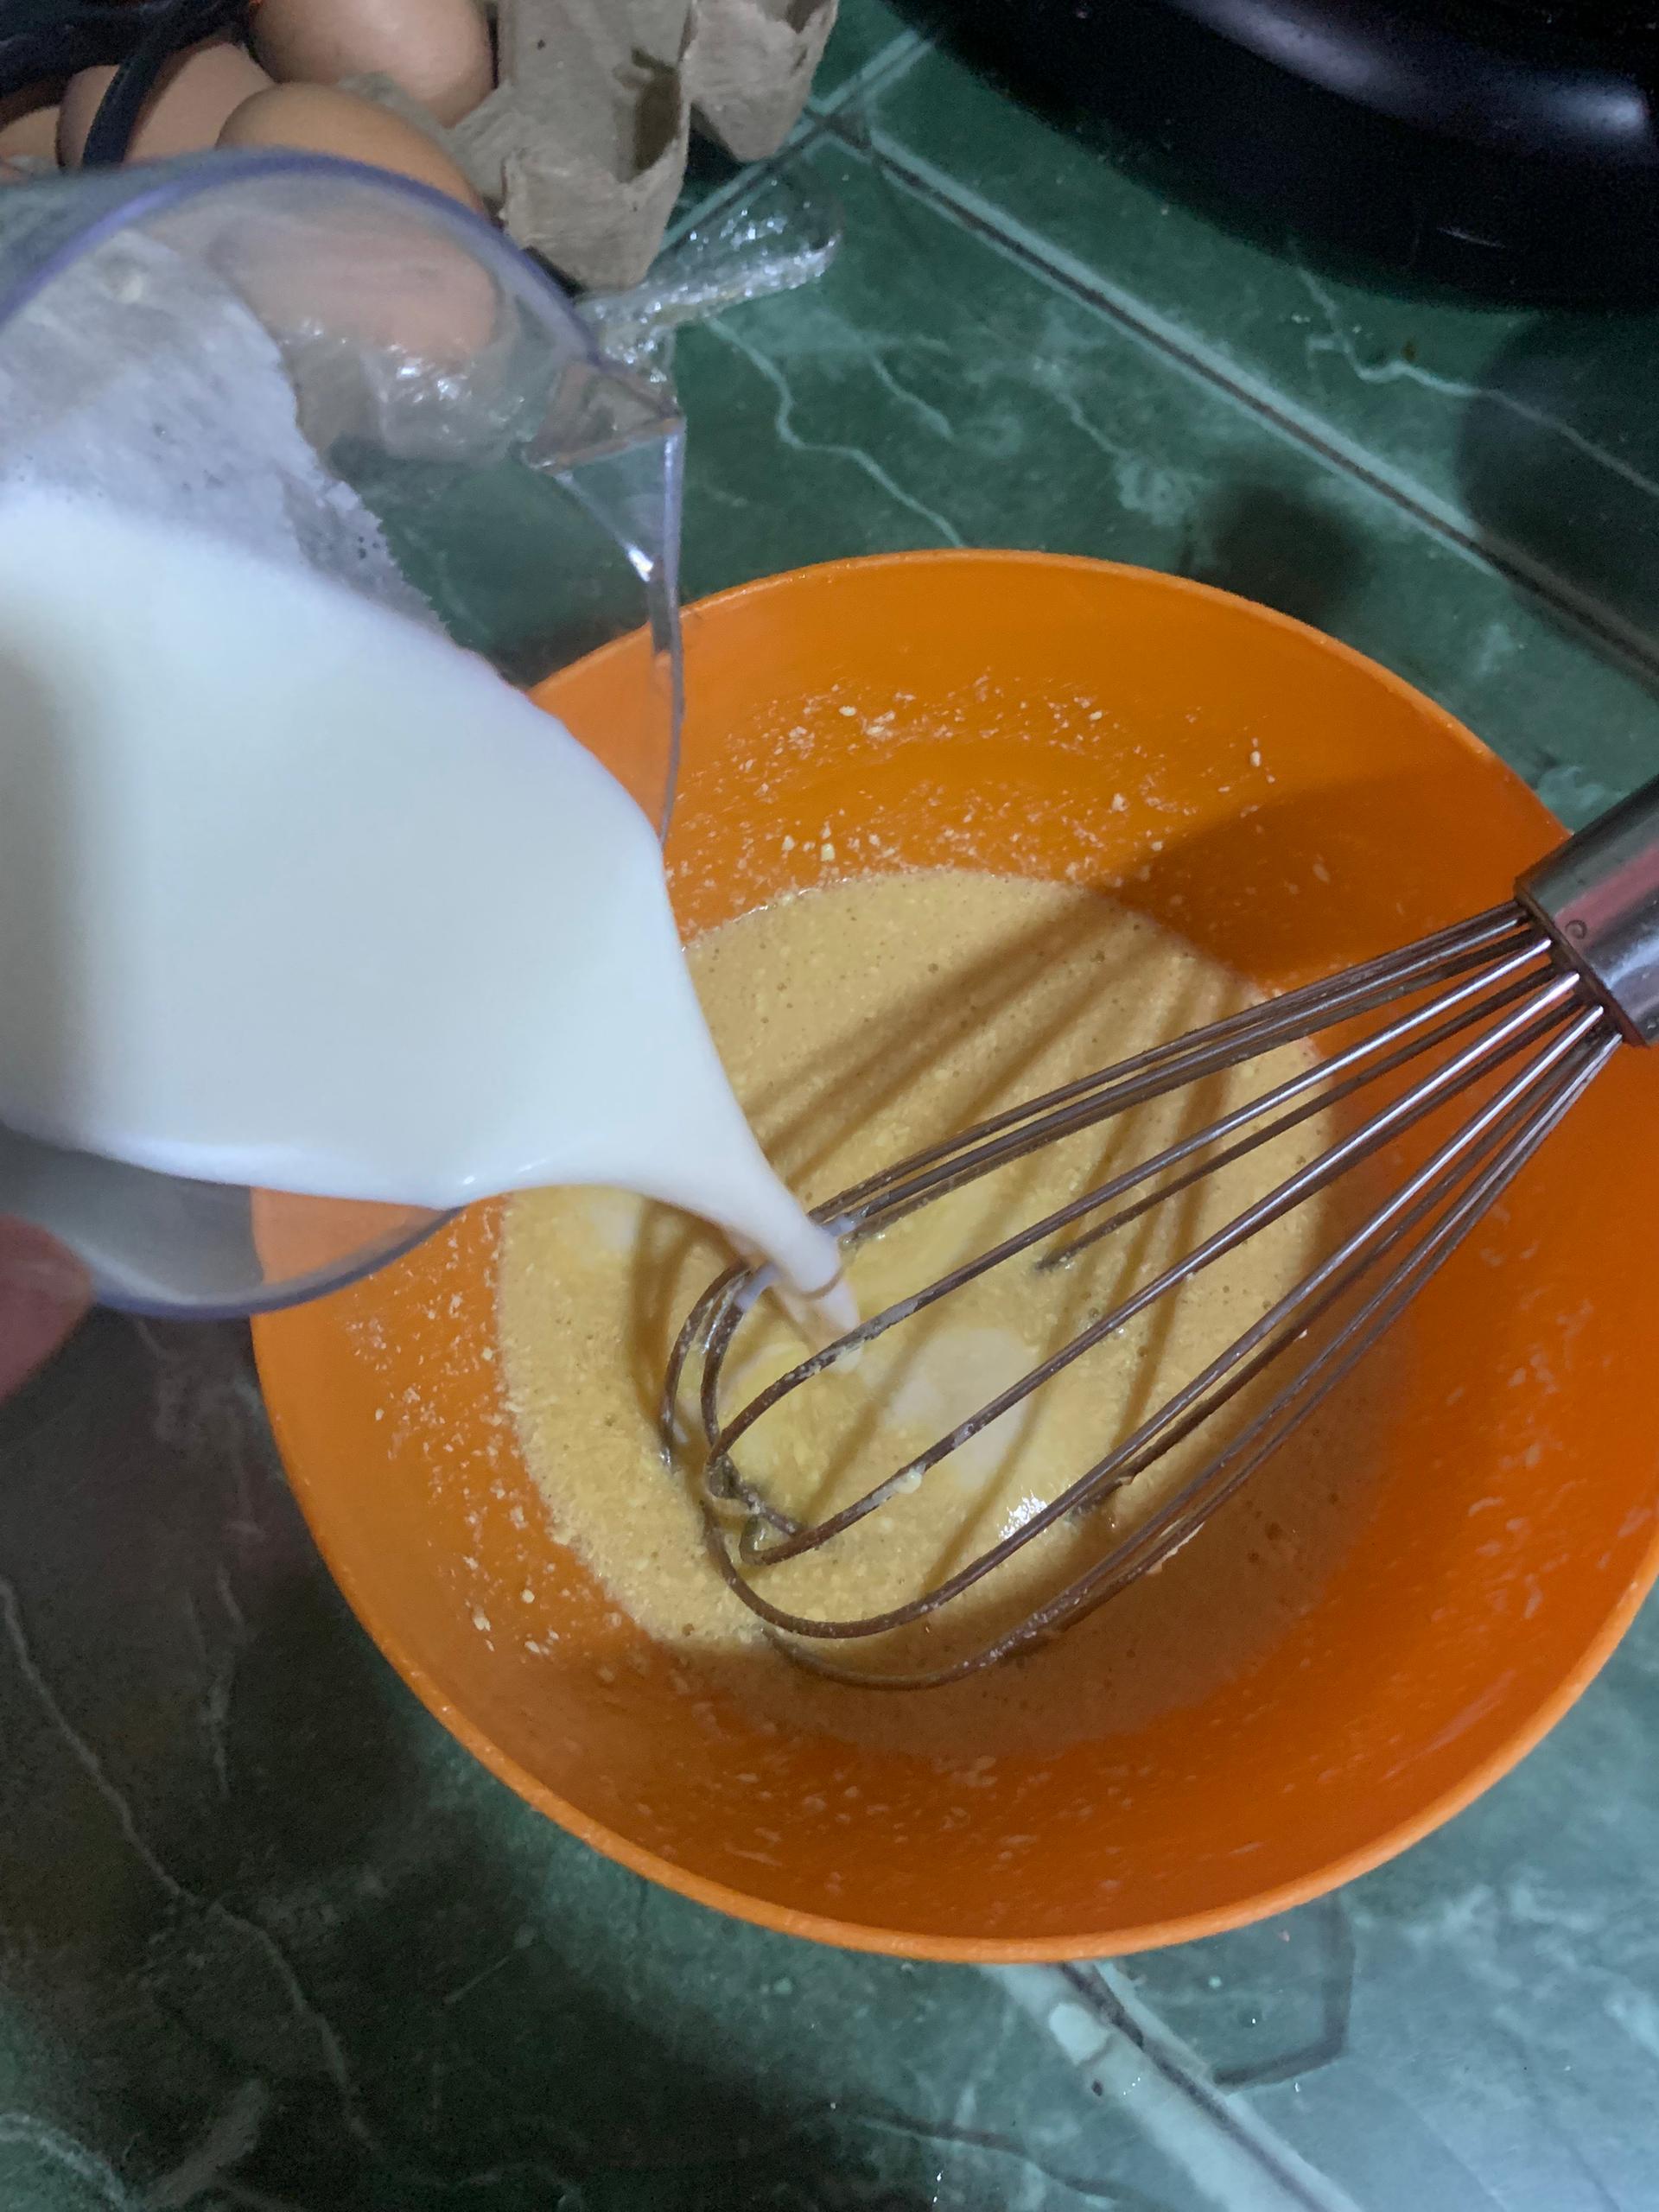
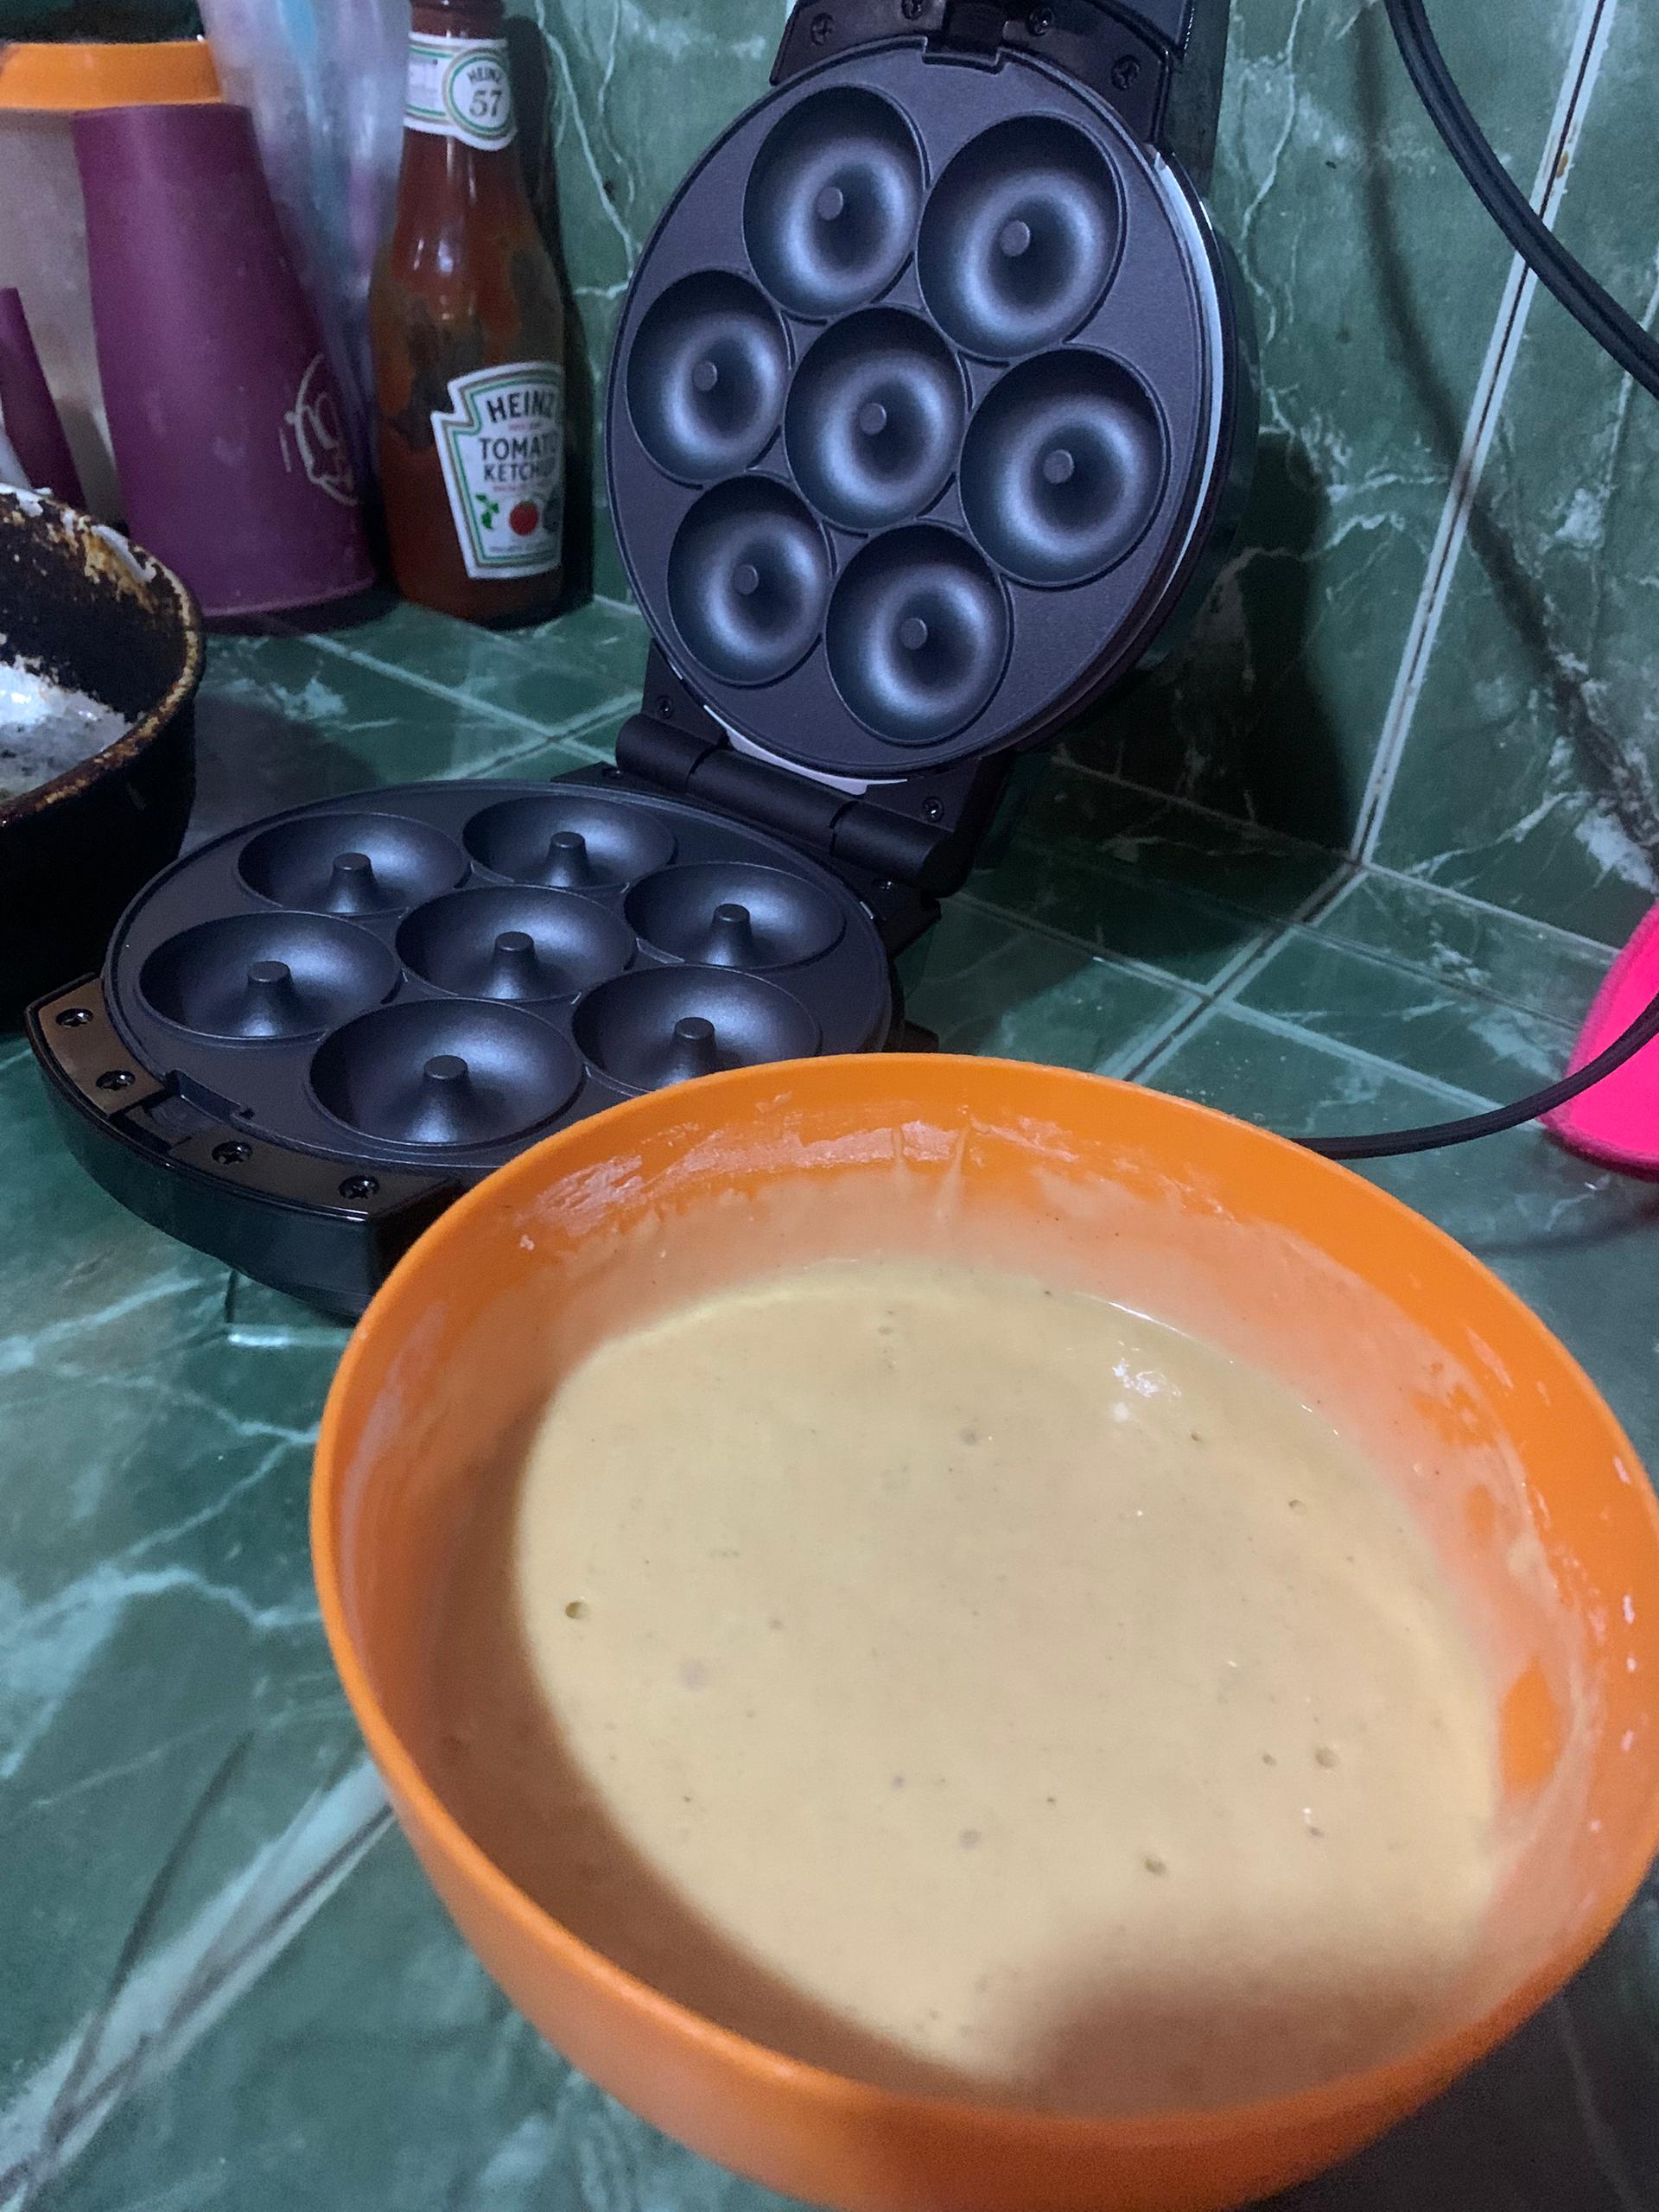
Once the margarine and vanilla extract are well combined with the mixture (no traces of either left), add half of the milk and gradually add the dry ingredients we mixed at the beginning, straining them through a sieve and stirring constantly to prevent lumps from forming. Once we've added approximately half of the dry ingredients, add the remaining milk and continue beating while adding the remaining ingredients. Once the mixture is smooth and free of lumps, it's ready. It should have a very thin consistency, so that when you lift the whisk, it should drip, but not as fluid.
.
.
||.jpeg)|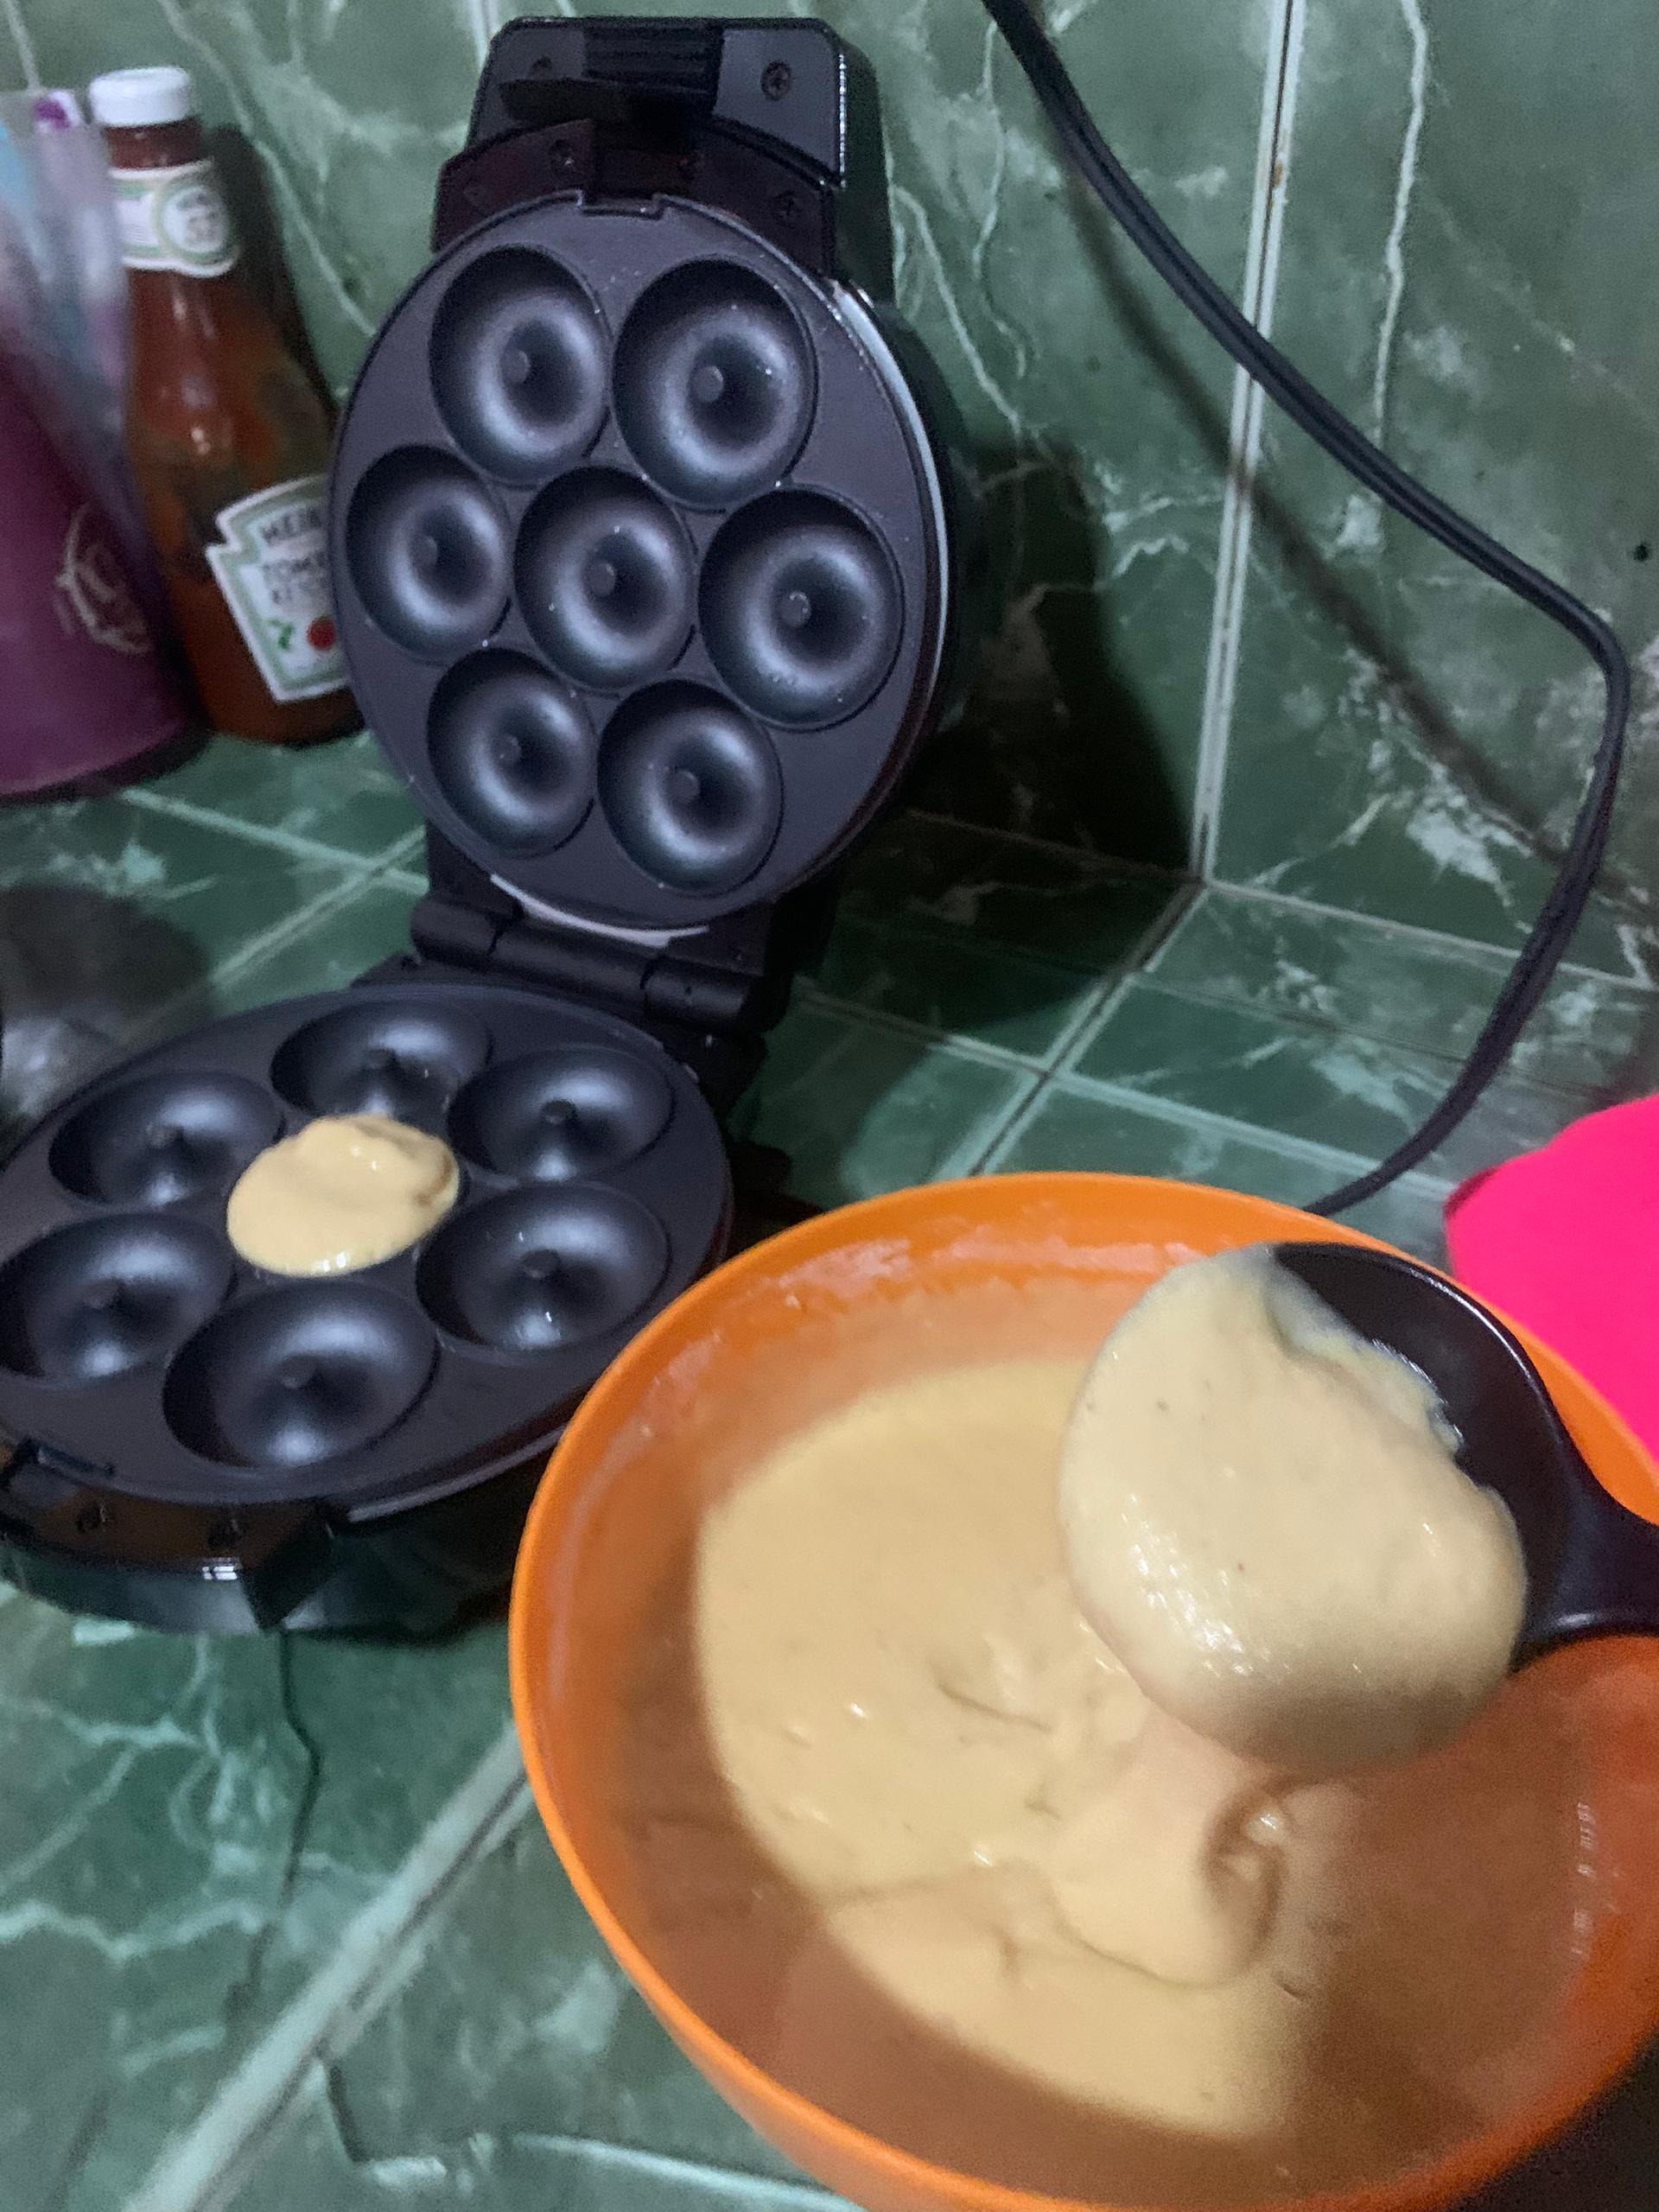|
|---|---|---|
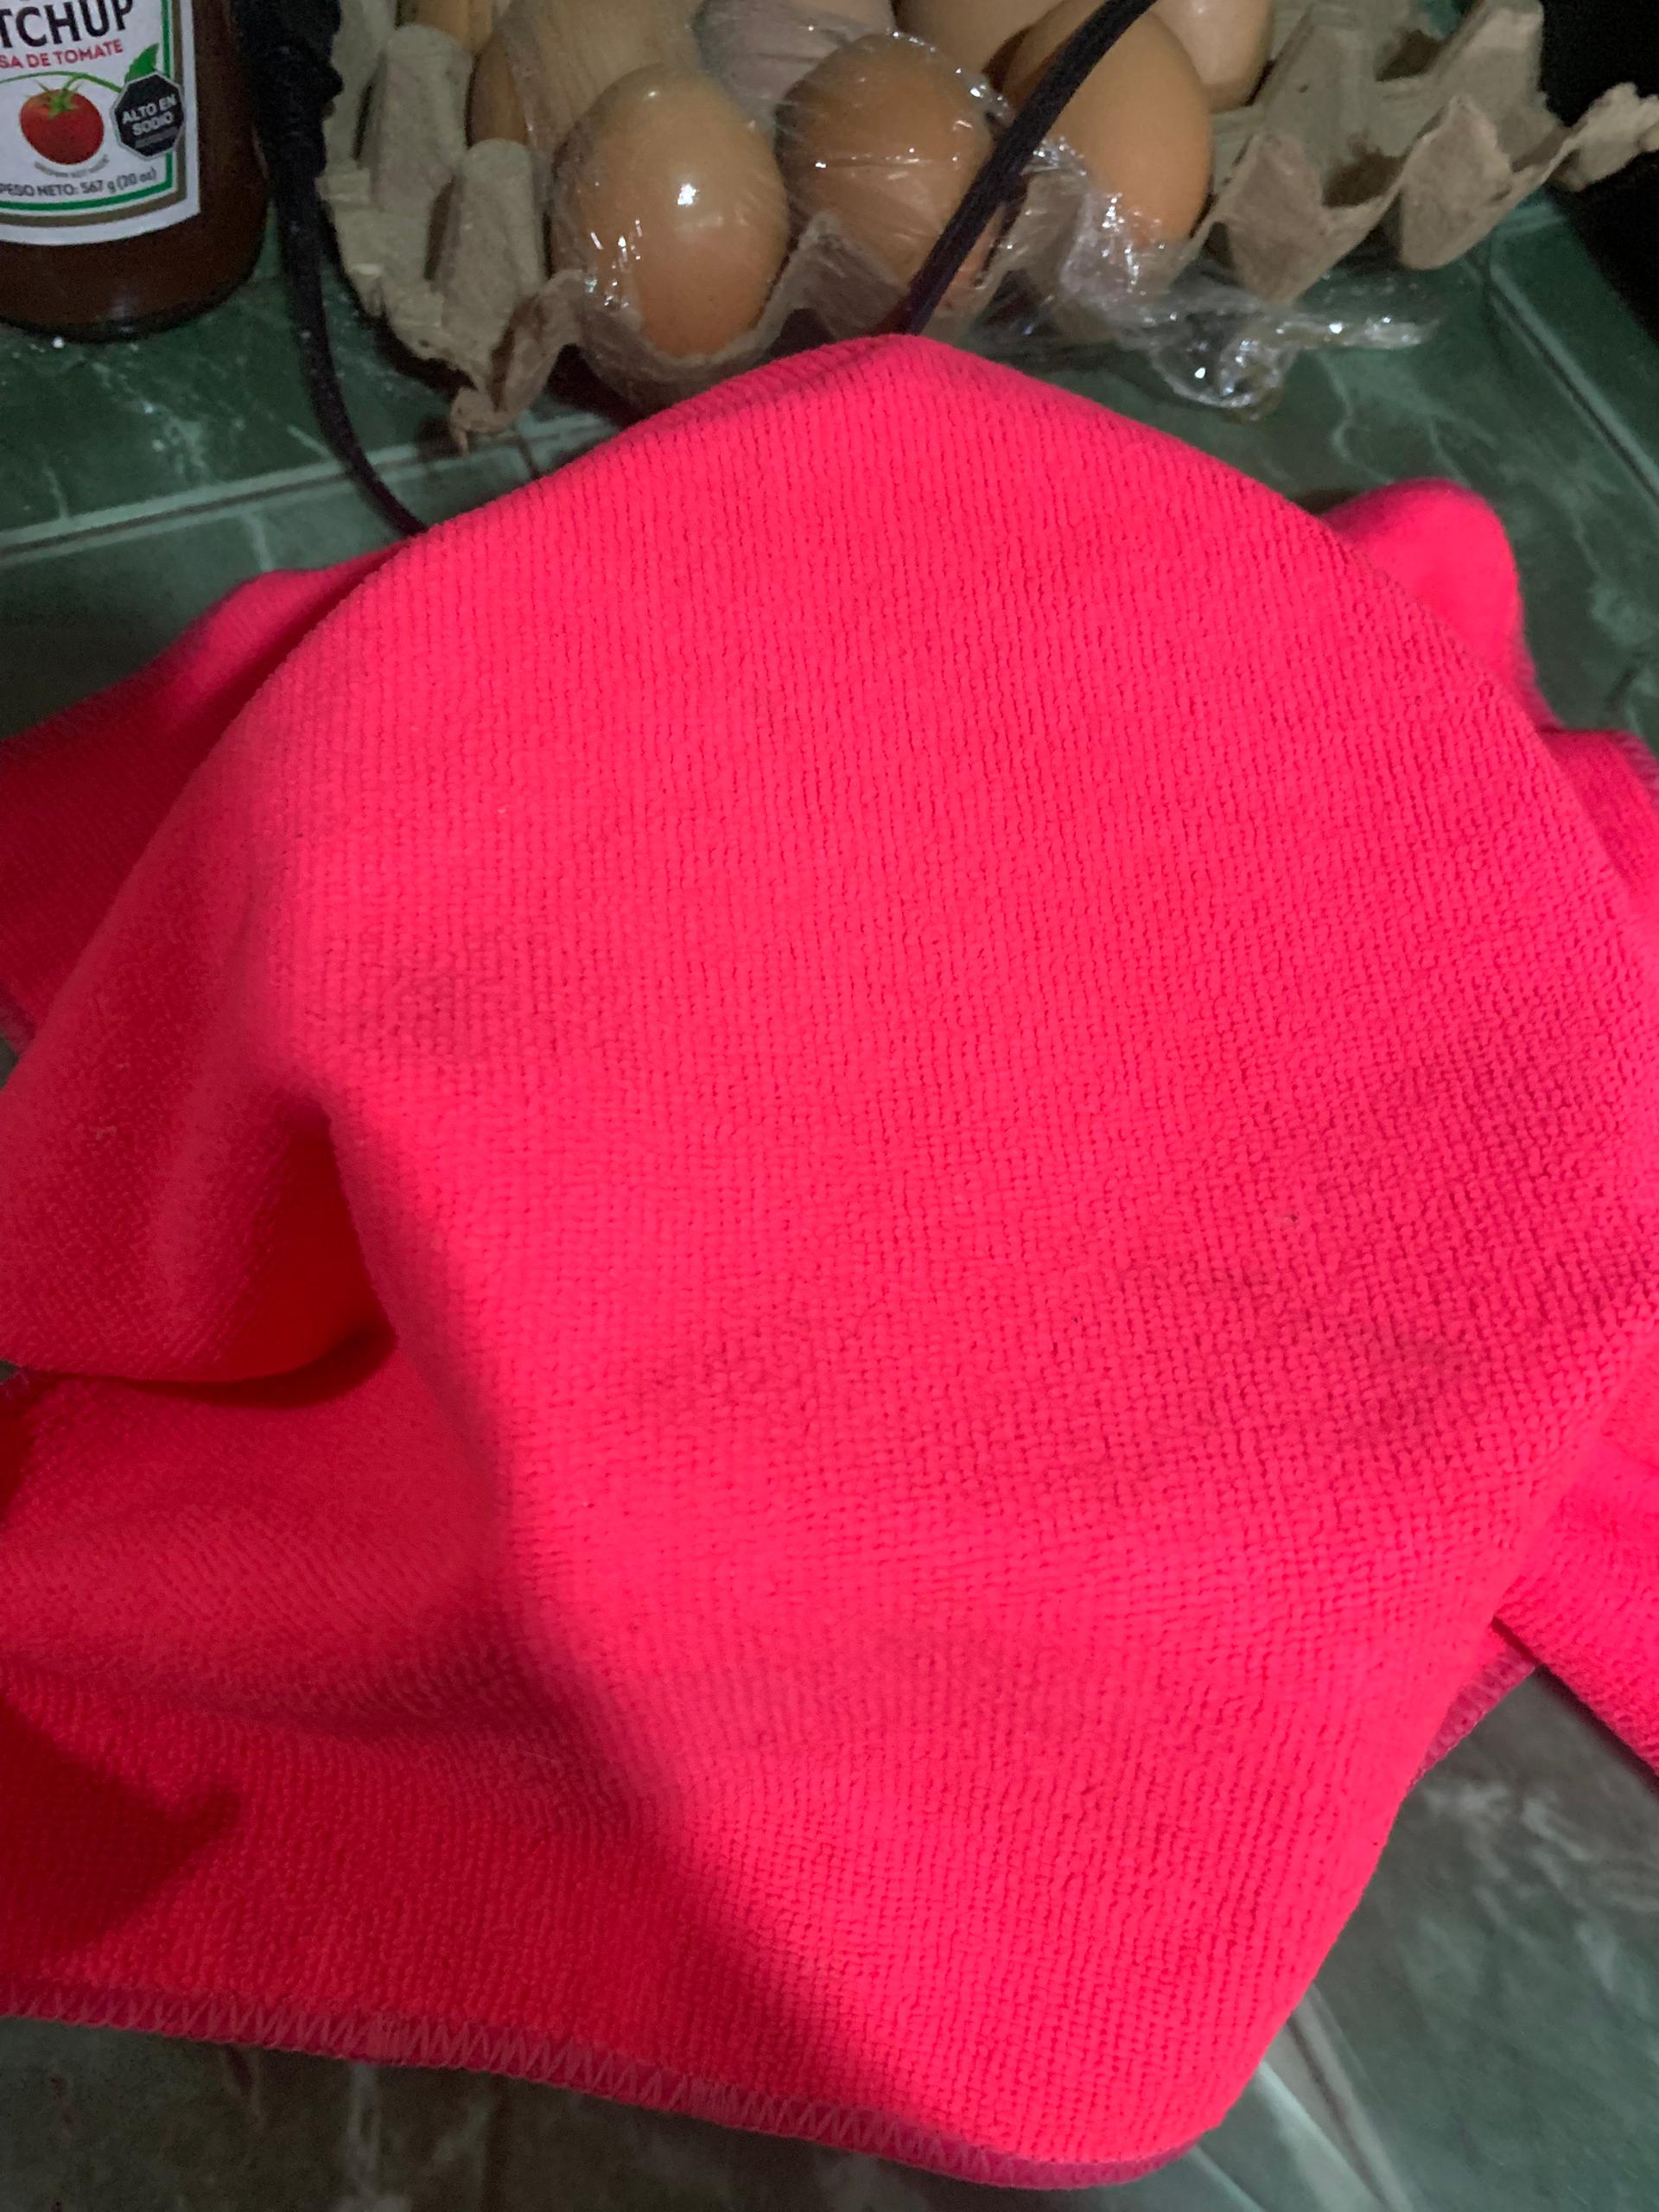
We'll let this mixture rest for approximately 30 minutes, covered with a clean cloth or plastic bag so that the leavening agent from the flour and baking powder can take effect. Once the resting time is up, the mixture will be a little thicker than before and more puffy, even creating bubbles when stirred. This is what will ensure our donuts are perfectly puffed.
|.jpeg)|
|---|
I added a little of the mixture to each of the spaces in the machine using a small ladle, although you can also use a disposable piping bag or a sauce bottle. Each time you have filled all the spaces in the machine, let them cook for approximately 3 minutes, then turn them over and cook for another minute to ensure that both sides are equally golden. You can remove them from the machine with a spoon, a toothpick, or even your hands, depending on how much you can handle heat and how careful you are.
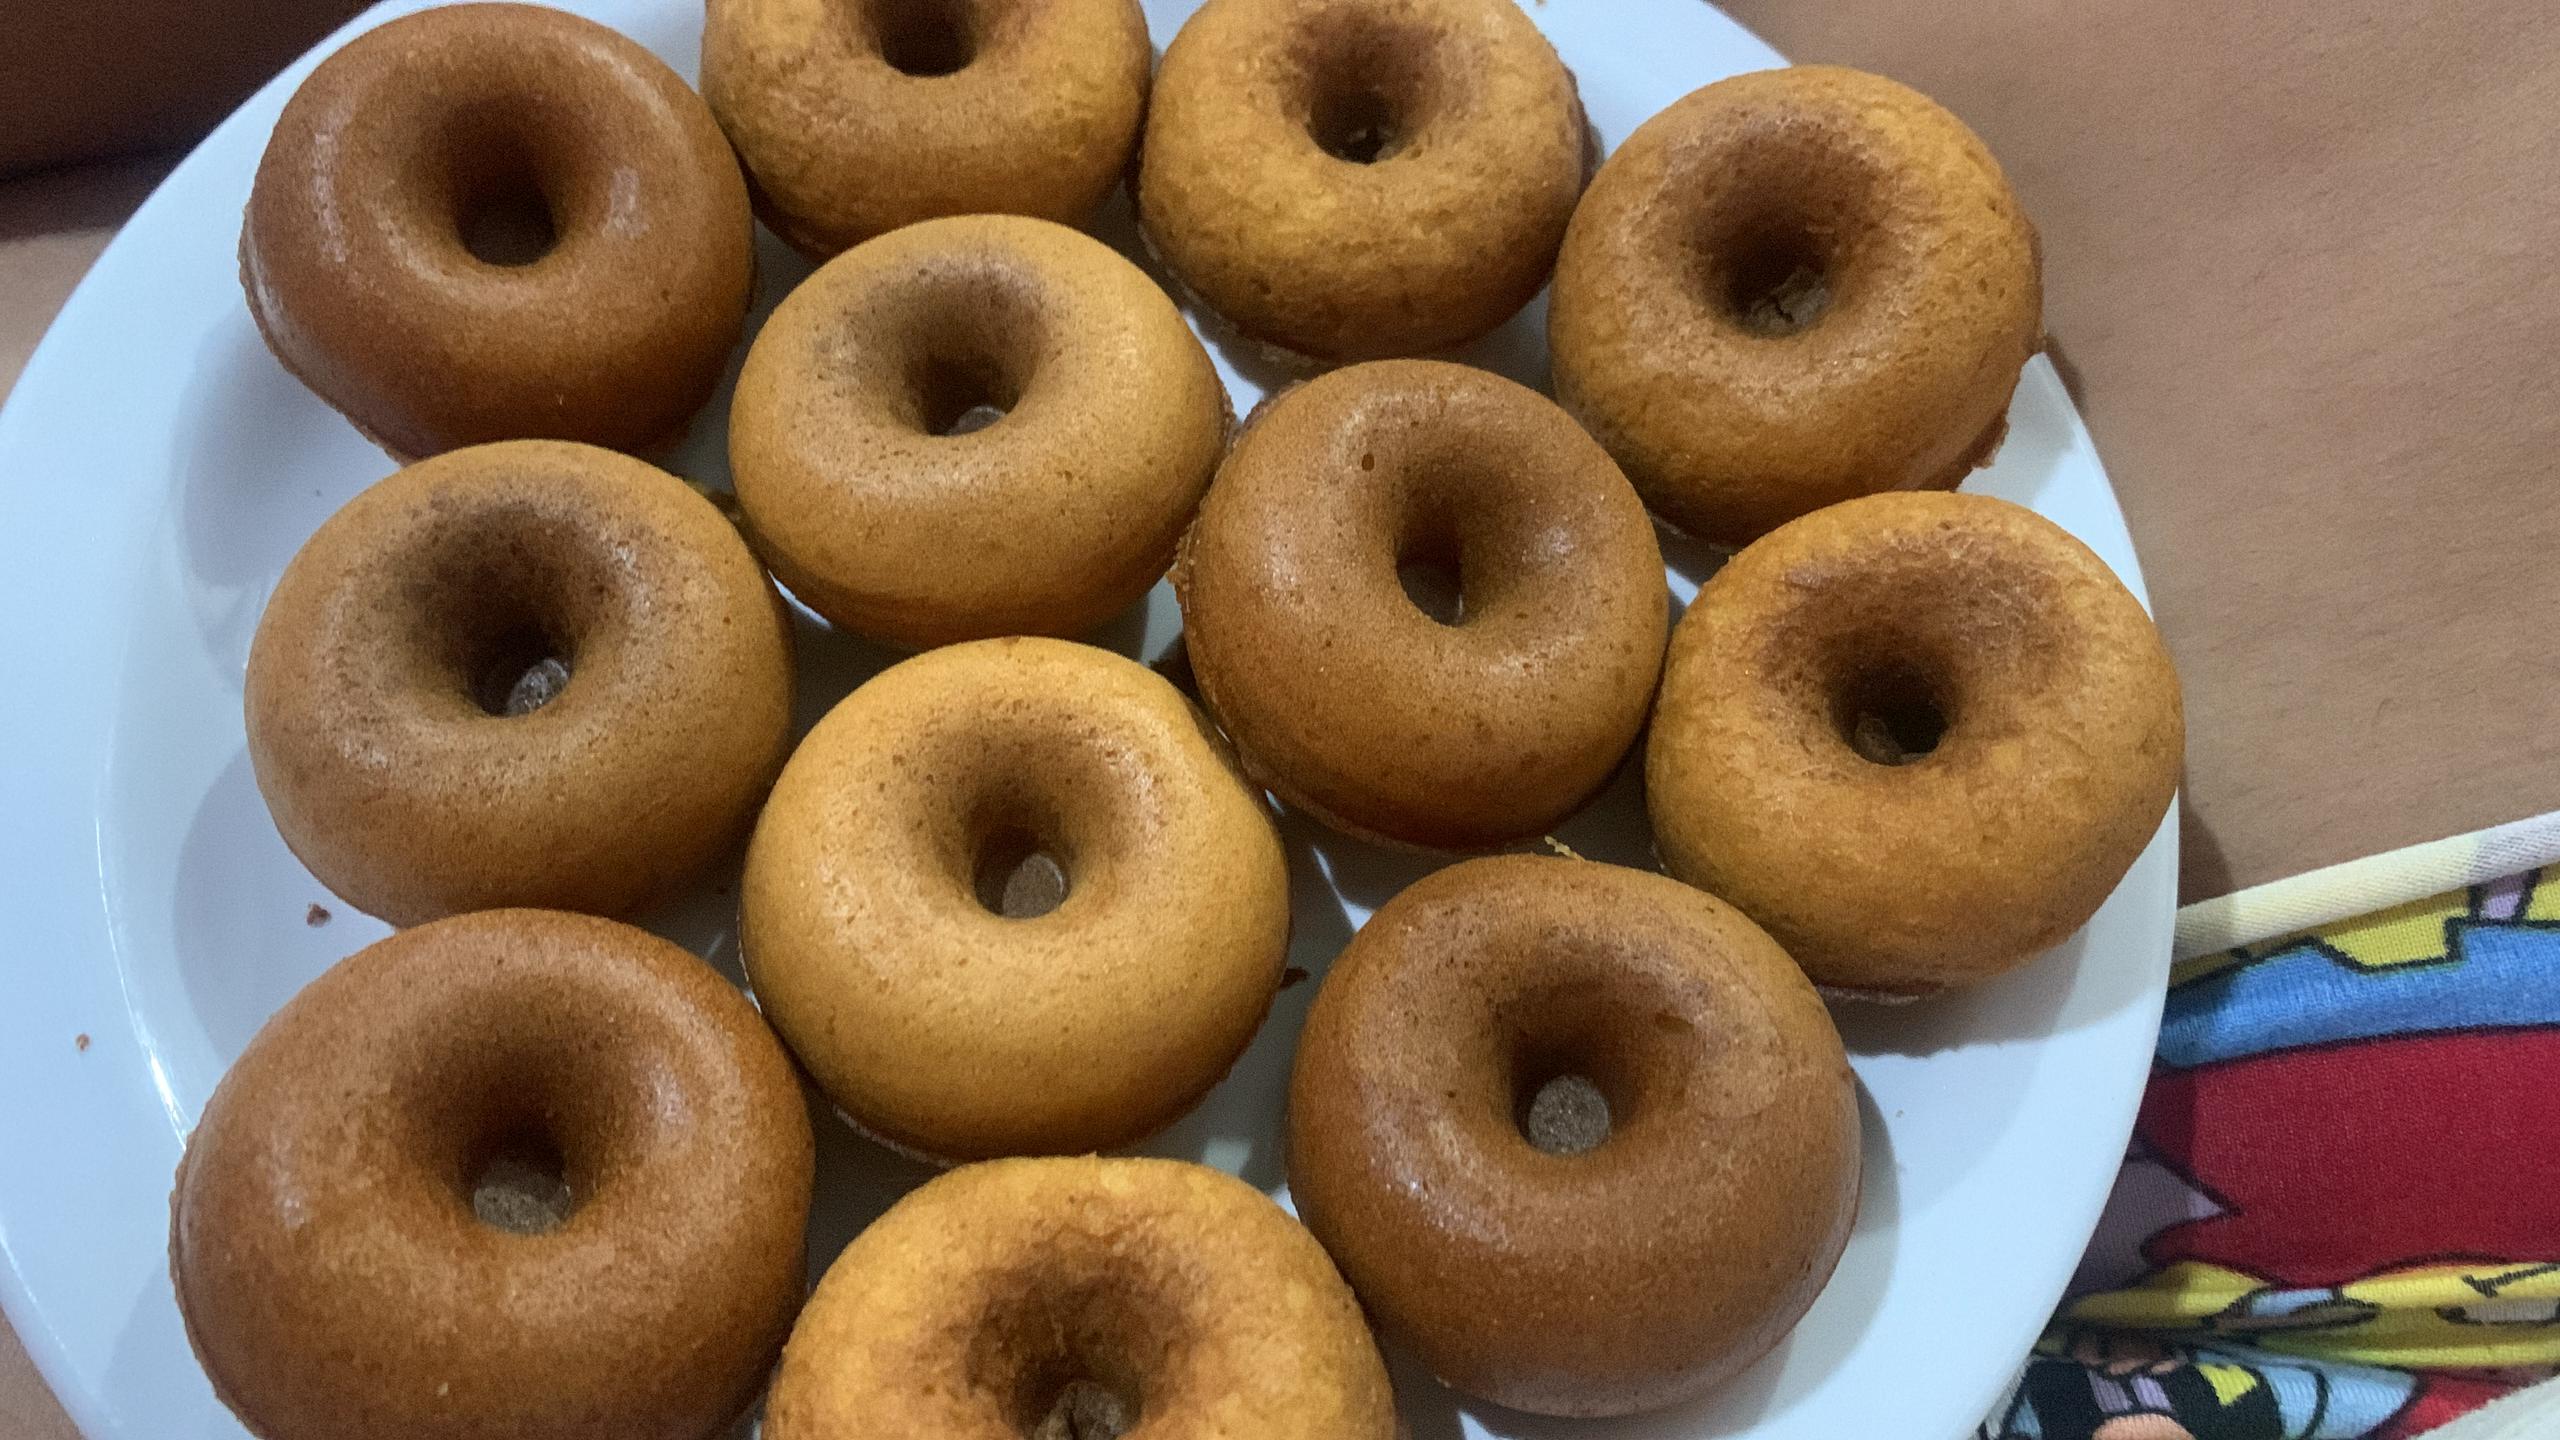
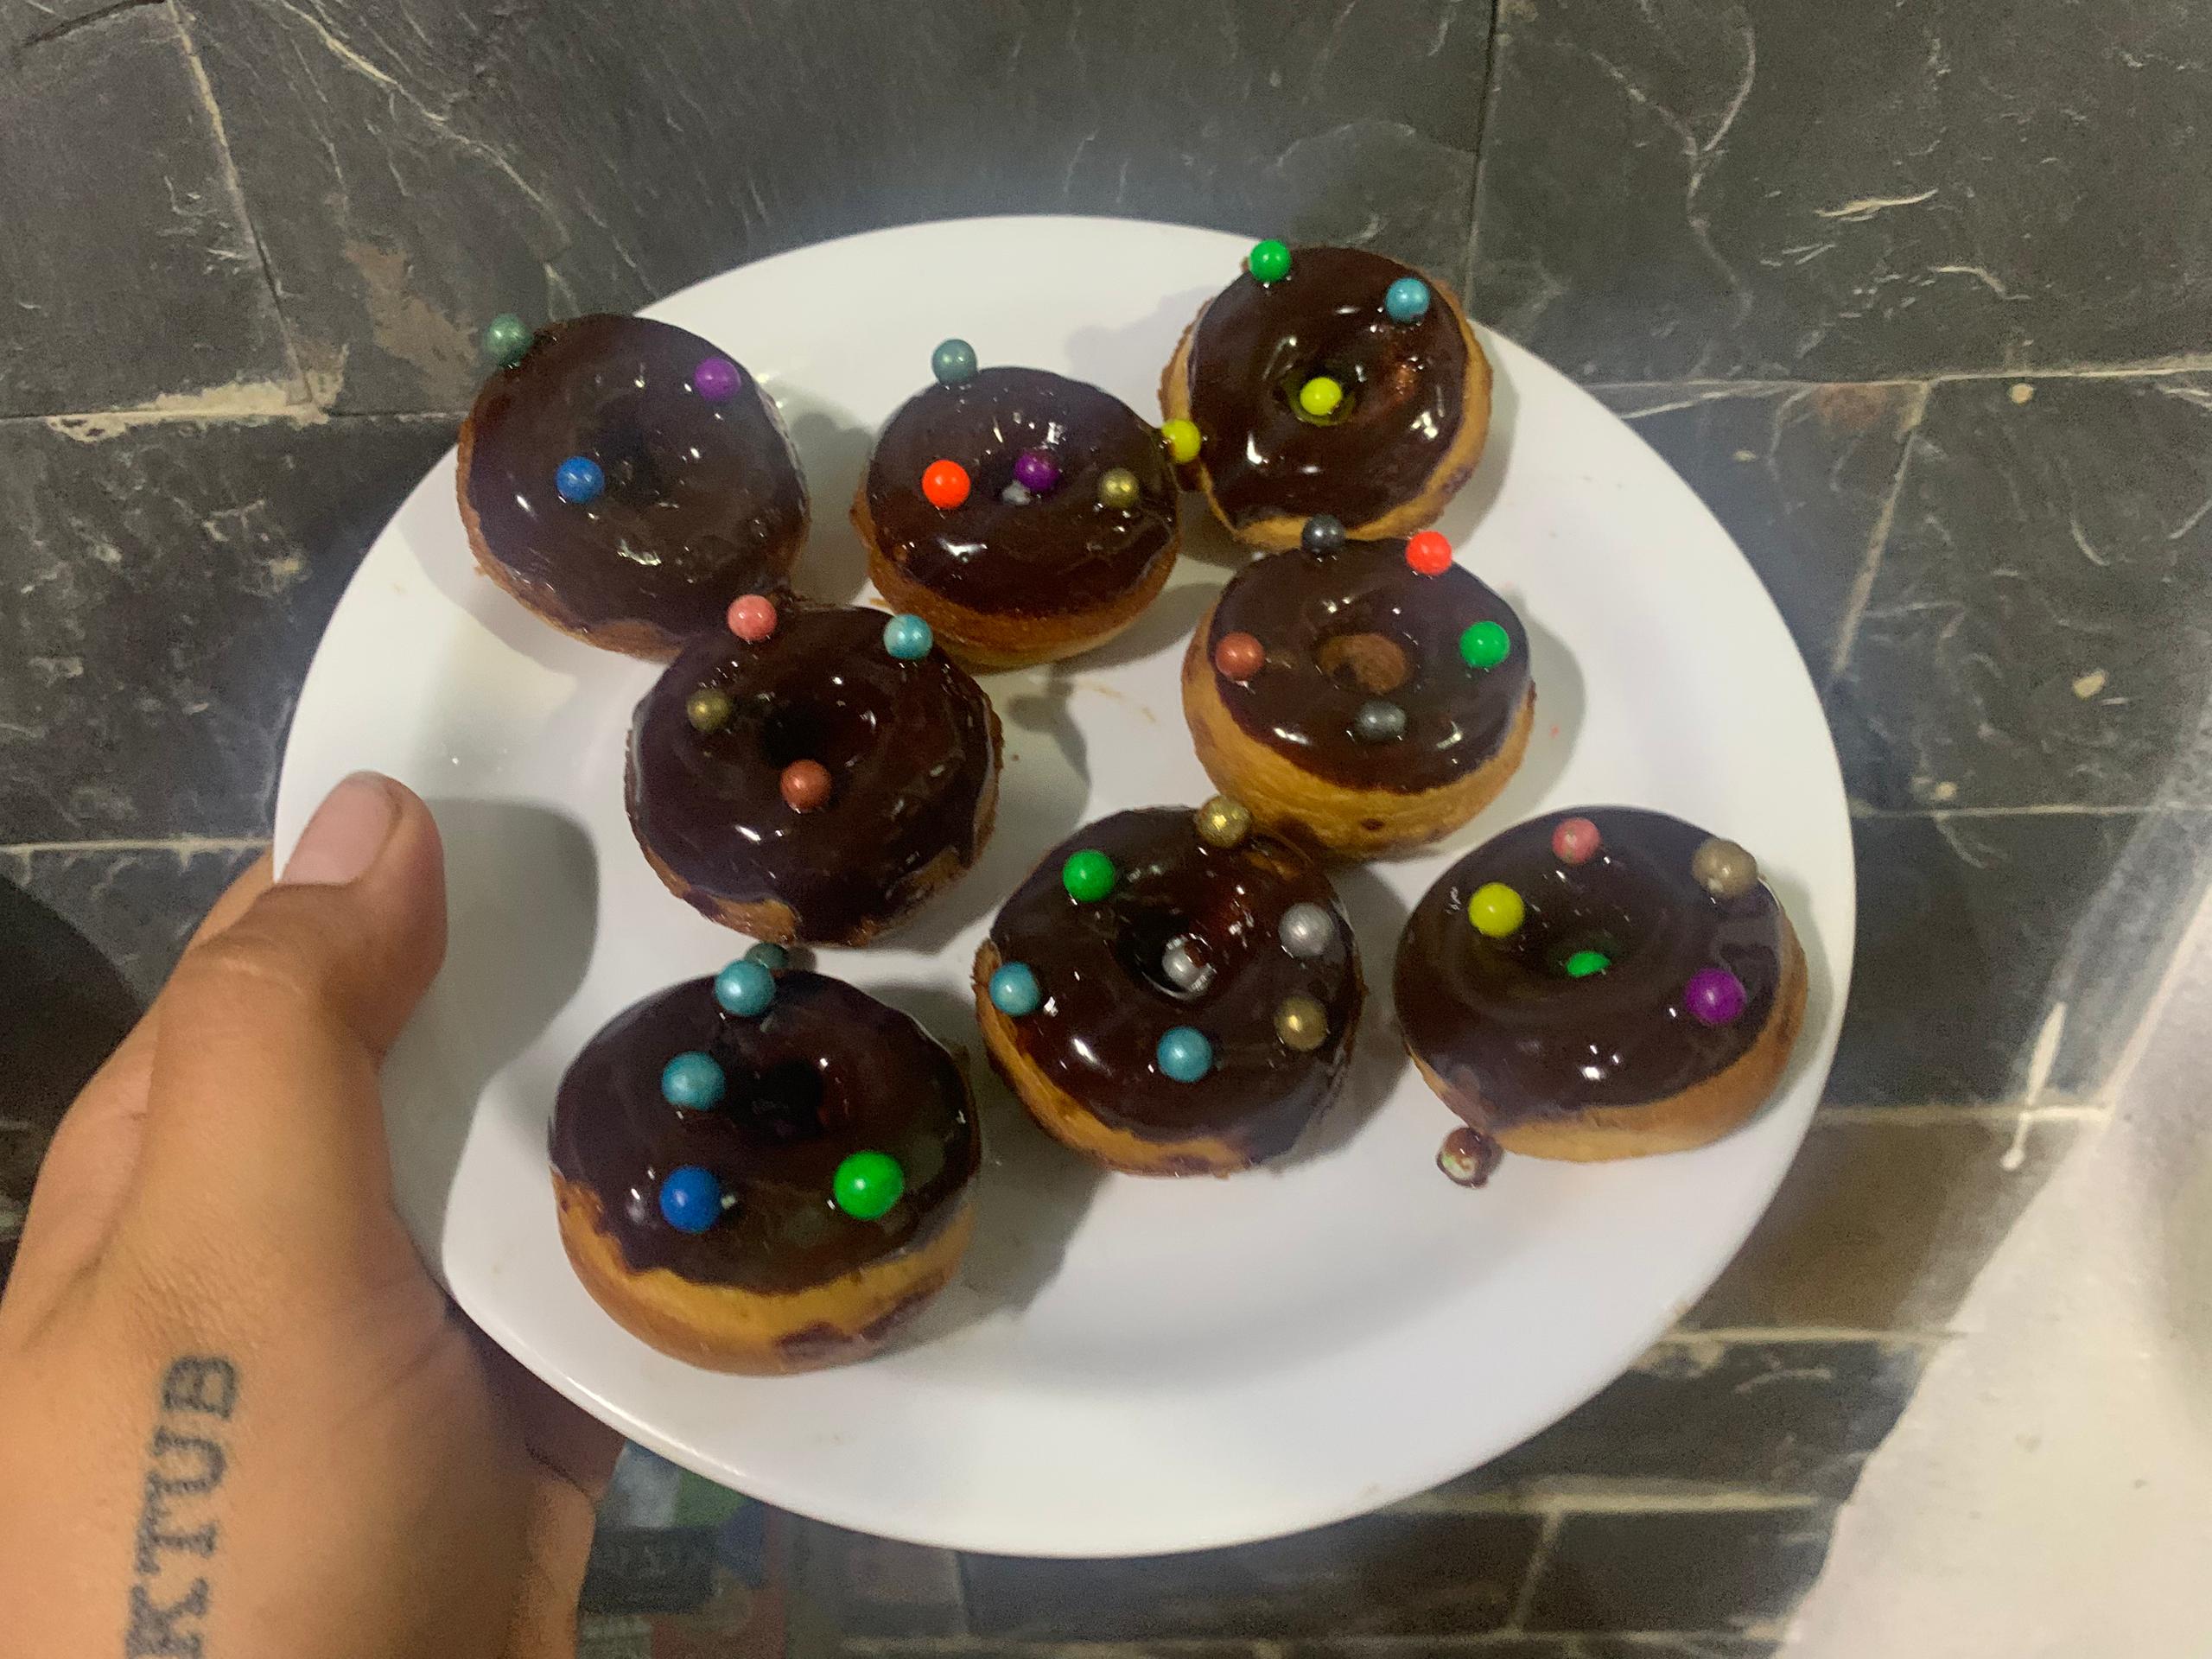
These donuts can be decorated with chocolate coating, chocolate icing, powdered sugar, colored sprinkles, and just about anything else you can think of. They're delicious and great for sharing, for a snack, or they can also be sold as they go a long way. I made them for myself and my family, decorating them with a little chocolate coating and some colored sprinkles I had at home.
||
|---|
---
All photographs in this post are my own, taken with my iPhone XR.
The content of this post is 100% original and exclusive to this platform.
---
---
--- --- .jpg) ---
• ESPAÑOL •
Recientemente compré la maquina de hacer mini donas que actualmente es tendencia en redes sociales, durante un par de días estuve experimentando con diferentes recetas y cantidades de ingredientes hasta que finalmente logré una con la que mis mini donas quedaron super deliciosas y esponjosas, hoy quisiera compartirla con ustedes.
---
||.jpeg)|.jpeg)|
|---|---|---|
|.jpeg)|||
📋Ingredientes:
(Para un aproximado de 18 mini donas 🍩🍩)
✔️ 125 gramos de harina de trigo leudante ✔️ 60 gramos de azucar refinada ✔️ 22 gramos de margarina ✔️ 100 mililitros de leche liquida ✔️ 1 huevo ✔️ 10 gramos de polvo de hornear ✔️ Vainilla y canela en polvo al gusto ---🥣👩🏻🍳 Preparación 👩🏻🍳🥣
|.jpeg)|.jpeg)||
|---|---|---|
|.jpeg)||.jpeg)|
Primero colocaremos en un tazón la harina de trigo, el polvo de hornear y la canela en polvo (ingredientes secos), los mezclaremos muy bien entre ellos y lo haremos a un lado para agregarlos posteriormente a la mezcla.
Lo que será la mezcla para nuestras mini donas la empezaremos batiendo muy bien el huevo con ayuda de una batidora eléctrica o enérgicamente con un batidor manual, esto hasta que se torne un poco espumoso y cambie su color a un tono más claro, o hasta que duplique su tamaño. Una vez veamos que el huevo se ha batido bien, agregaremos poco a poco el azúcar y seguiremos batiendo a una buena velocidad. Continuaremos agregando la margarina y un poco de esencia de vainilla (en mi caso utilicé media cucharadita) y lo integraremos muy bien con ayuda del batidor manual.
|.jpeg)||
|---|---|
|||
Cuando la margarina y la esencia de vainilla se hayan integrado muy bien con la mezcla (que ya no queden rastros de estas), agregaremos la mitad de nuestra leche e iremos agregando poco a poco los ingredientes secos que habíamos mezclado al principio, pasándolos por un colador y revolviendo con movimientos envolventes y constantemente para evitar que se formen grumos. Cuando ya hayamos vertido aproximadamente la mitad de nuestros ingredientes secos, verteremos lo que nos quedaba de la leche y seguiremos batiendo mientras agregamos lo que nos queda. Una vez nuestra mezcla ya no queden grumos ni rastros de ingredientes sin integrar, sabremos que ya está lista, esta deberá quedar con una consistencia muy poco espesa, de forma que al levantar el batidor esta queda goteando, pero no tan fluidamente.
||.jpeg)||
|---|---|---|
Esta mezcla la dejaremos reposar por aproximadamente 30 minutos, tapada con un trapo limpio o una bolsa plástica para que así pueda hacer efecto el leudante de la harina y el polvo de hornear. Una vez pasado el tiempo de reposo la mezcla queda un poco más espesa de lo que nos había quedado anteriormente y como más inflada, creando incluso burbujitas al revolver y esto es lo que hará que nuestras donitas queden bien infladas.
|.jpeg)|
|---|
Yo fui agregando un poco de la mezcla en cada uno de los espacios de la maquina con ayuda de un cucharon pequeño, aunque también se puede utilizar una manga pastelera desechable o un biberón de los que se utilizan para las salsas. Cada vez que hayamos rellenado todos los espacios de la máquina, se dejan cocinar aproximadamente por 3 minutos y luego se voltean y se dejan un minuto más, esto para asegurar que por ambos lados quede igual de doraditas. Se pueden sacar de la maquina con ayuda de una cuchara, un palillo o incluso con las manos dependiendo de cuanto soportes el calor y que tanta precaución tengas.
Estas donitas se pueden decorar con chocolate de cobertura, glaseado de chocolate, azúcar glass, chispas de colores y casi cualquier cosa que se te ocurra. Son deliciosas y además sirven para compartir, para una merienda o perfectamente también pueden ser vendidas ya que rinden bastante. Yo las hice para mí y mi familia, las decoré con un poco de chocolate de cobertura y algunas pepitas de colores que tenía en mi casa.
||
|---|
---
Todas las fotografías de esta publicación son de mi propiedad, tomadas con mi telefono Iphone XR.
El contenido de esta publicación es 100% original y es exclusivo para esta plataforma.
#recipe
#dessert
#english
#spanish
#postre
#receta
Payout: 0.000 HBD
Votes: 1
More interactions (upvote, reblog, reply) coming soon.