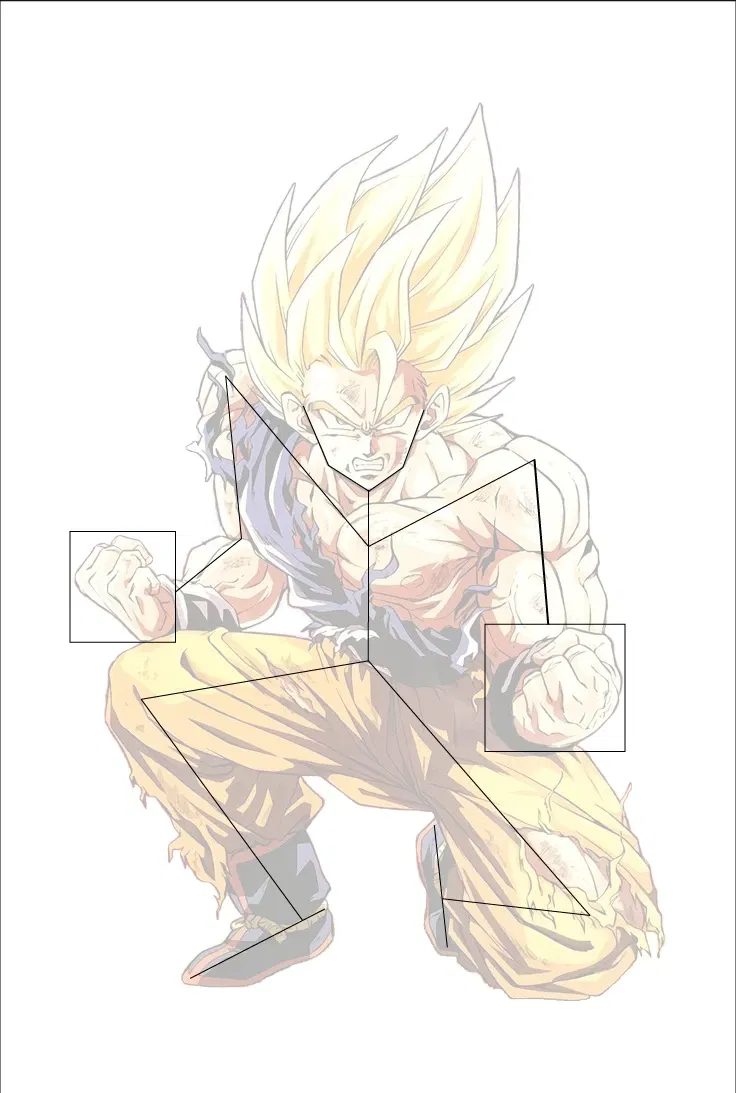

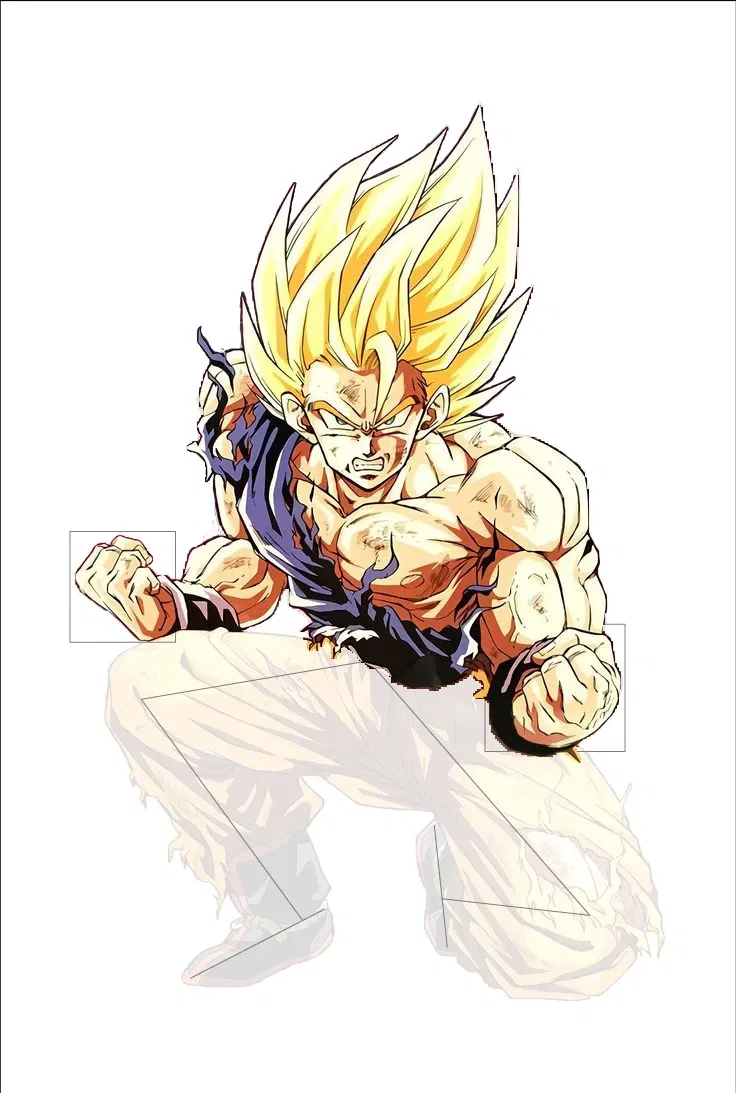

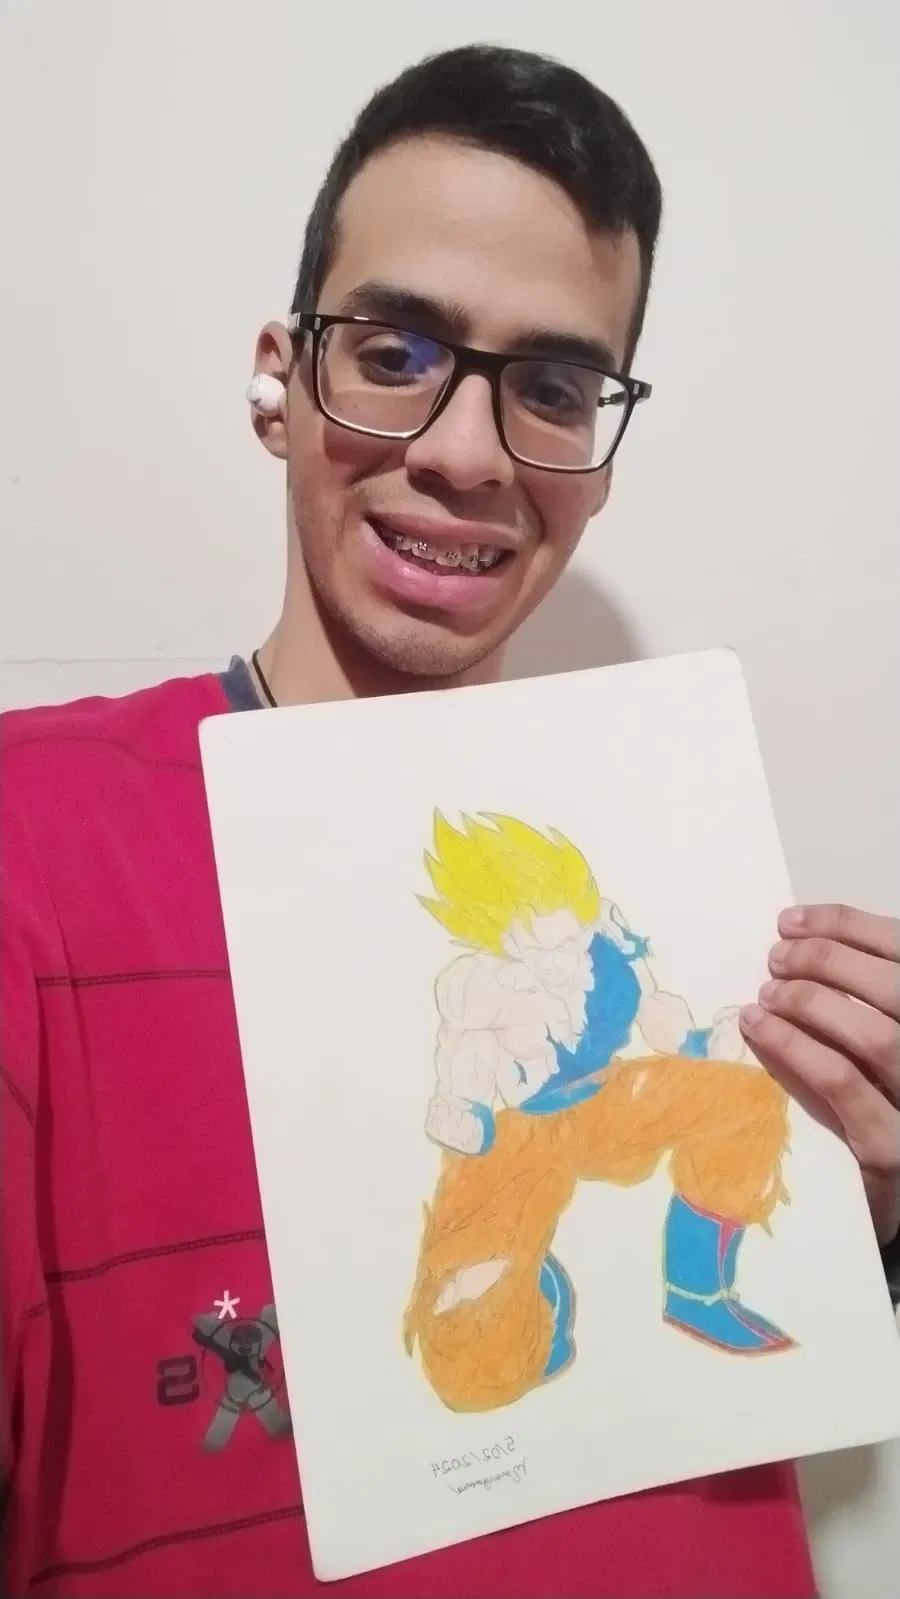
Buenos días. Este dibujo era una tarea del curso y lo elegí porque quería practicar la anatomía del cuerpo humano y así prepararme para futuros dibujos. Debido a que no tomé fotos del proceso de este dibujo, voy a poner una imagen de referencia para que se entienda paso a paso las zonas que hice primero. También, los colores no son exactos porque la imagen que estaba utilizando era en blanco y negro. Aclarado todo esto, comencemos con el dibujo.
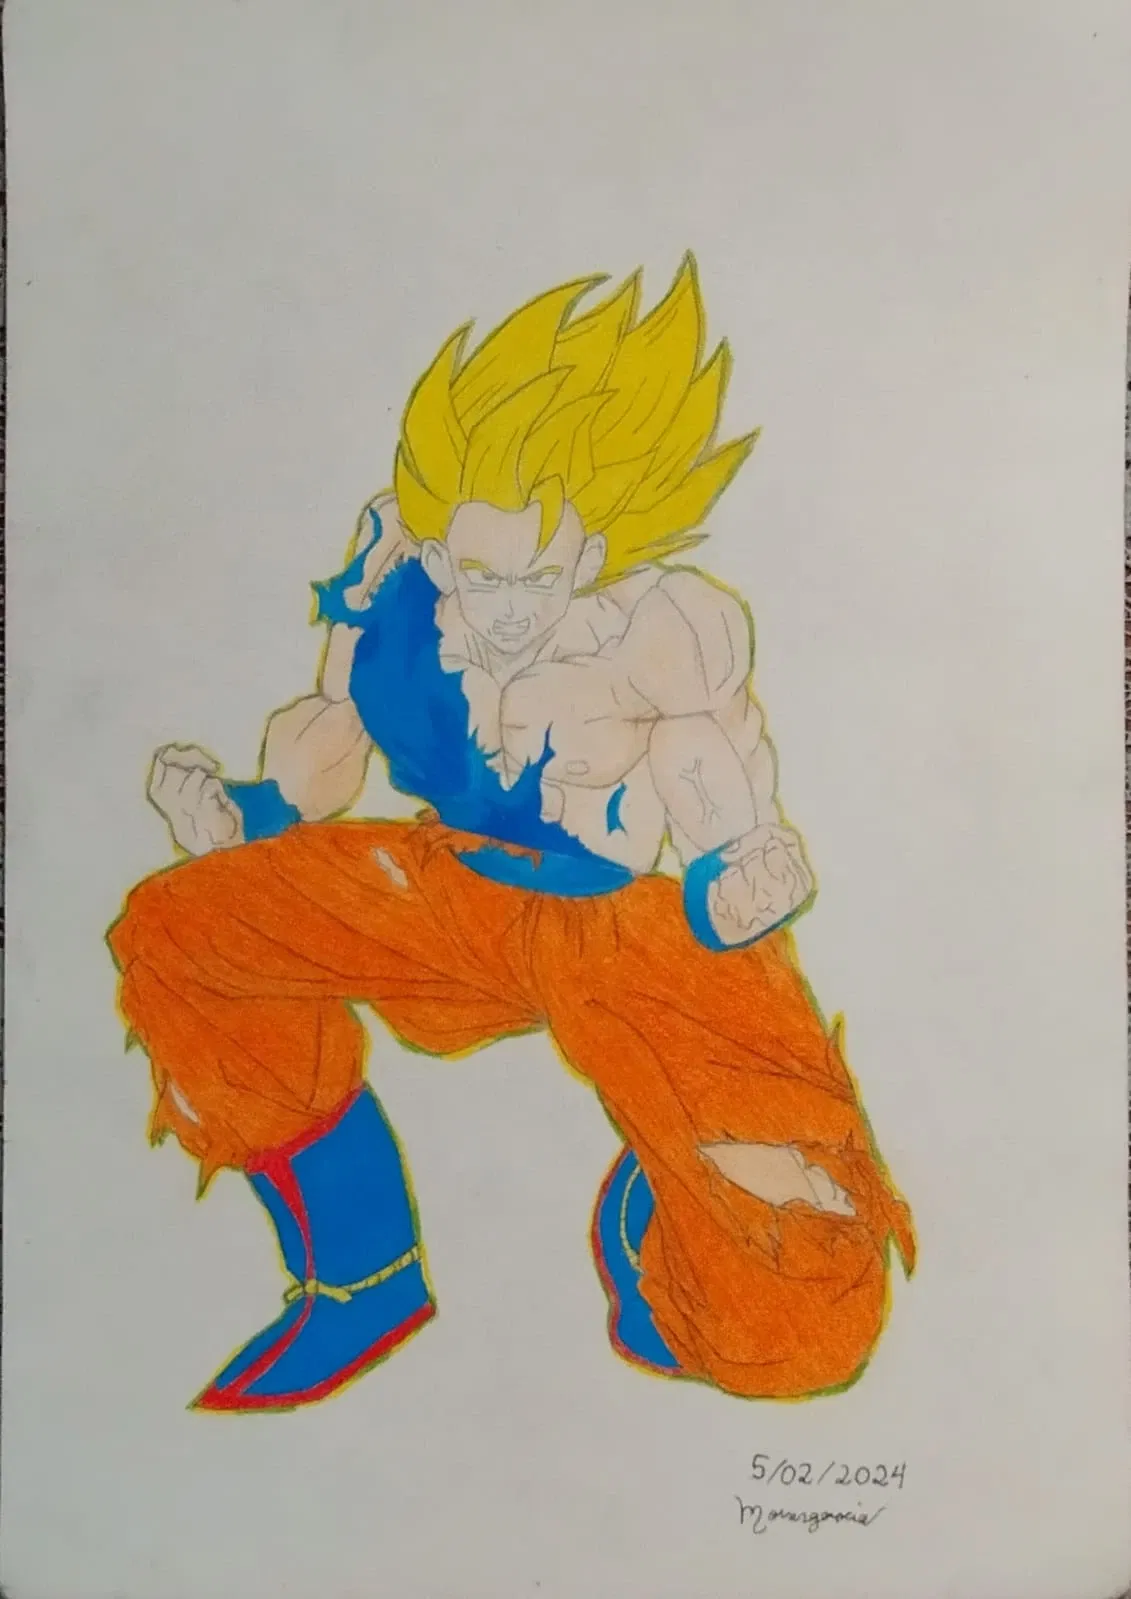
Inicié haciendo la estructura del cuerpo. Con eso, comencé por la parte del pecho, dibujando la camiseta destruida y, a partir de ahí, saqué la forma del pectoral derecho y el hombro. Después, continué con el brazo derecho y la mano. Con esta parte tuve algunas dificultades, ya que mis profesores me comentaban que estaba o muy grande o muy pequeño, aunque esas eran sus opiniones individuales. Después de mucho, terminé con el brazo y empecé con la mano, que no fue tan difícil. El único problema fue que me quedó un poco grande al principio. Luego, comencé con el brazo izquierdo, dibujando el bíceps y el braquiorradial, lo cual fue fácil. Lo siguiente fue la mano, con la que no me salía la forma, pero después de varios intentos lo logré. Una vez terminada la parte del pecho con los brazos, comencé con la cabeza. Para empezar esta parte, hice los ojos. Inicié dibujando la forma de las cejas para después sacar la forma de los ojos. Como tenía el ceño fruncido, hice justo en la parte central de las cejas la forma del ceño. Con eso, terminé de sacar la forma de los ojos, hice el iris y listo. Después, puse la nariz debajo del ceño y la boca, y así la parte de la cara quedó terminada. Faltaba el cabello, con el que no hubo ningún problema. Con esto, la cabeza estaba lista. Para terminar la parte lineal, faltaban las piernas. Empecé dibujando la forma del pantalón con las partes rotas. Poco a poco, cuando terminé esa parte, añadí los últimos detalles del pantalón y comencé con las botas, que terminé relativamente rápido. Con esto, concluí la parte lineal.
Lo siguiente fue la parte del color. Empecé con la piel, a la que le hice pequeños degradados en ciertas zonas del pecho, brazo y cara. Después, continué con la camiseta destruida. Los colores que utilicé fueron un azul claro y uno oscuro para hacer algunas zonas un poco oscuras. Estos mismos colores se utilizaron para las muñequeras y el cinturón. Lo siguiente fue el pantalón y los zapatos. Primero pinté el pantalón, que era de color naranja. Para la parte de los zapatos utilicé los colores azul oscuro, amarillo y rojo. Y para darle un pequeño toque, le puse una pequeña aura de color amarillo dorado.
[ENG] - Drawing N.5 Goku Ssj Namek
Good morning. This drawing was a course assignment, and I chose it because I wanted to practice the anatomy of the human body and prepare for future drawings. Since I didn't take any photos of the drawing process, I'm going to include a reference image so you can understand the areas I did first step by step. Also, the colors aren't exact because the image I was using was black and white. With all that out of the way, let's begin the drawing.
I started by creating the structure of the body. With that, I began with the chest, drawing the destroyed shirt, and from there, I developed the shape of the right pectoral muscle and shoulder. Then, I continued with the right arm and hand. I had some difficulty with this part, as my teachers told me it was either too big or too small, although those were their individual opinions. After much debate, I finished with the arm and started with the hand, which wasn't that difficult. The only problem was that it was a little too big at first. Next, I started with the left arm, drawing the biceps and brachioradialis, which was easy. Next was the hand, which I couldn't quite get the shape right, but after several attempts, I got it right. Once I finished the chest section with the arms, I started on the head. To begin this part, I made the eyes. I started by drawing the eyebrows and then the eyes. Since he had a furrowed brow, I made the brow shape right in the center of the eyebrows. With that, I finished the eyes, made the iris, and that was it. Then, I added the nose under the brow and the mouth, and that finished the face. All that was missing was the hair, which wasn't a problem. With that, the head was ready. To finish the linear part, I needed the legs. I started by drawing the shape of the pants with the broken parts. Little by little, once I finished that part, I added the last details of the pants and started on the boots, which I finished relatively quickly. With that, I completed the linear part.
Next came the color part. I started with the skin, which I added small gradients in certain areas of the chest, arm, and face. Then, I continued with the destroyed shirt. The colors I used were a light blue and a dark blue to make some areas a little darker. These same colors were used for the wristbands and belt. Next came the pants and shoes. First, I painted the pants, which were orange. For the shoes, I used dark blue, yellow, and red. And to give it a little touch, I added a small golden yellow aura.
For the best experience view this post on Liketu