Hello, NeedleWorkMonday digital cologne.
Receive a big hug.
I hope you are well from the other side of the screen.
Hola, colonia digital de NeedleWorkMonday.
Reciban un fuerte abrazo.
Espero que estén bien desde el otro lado de la pantalla.
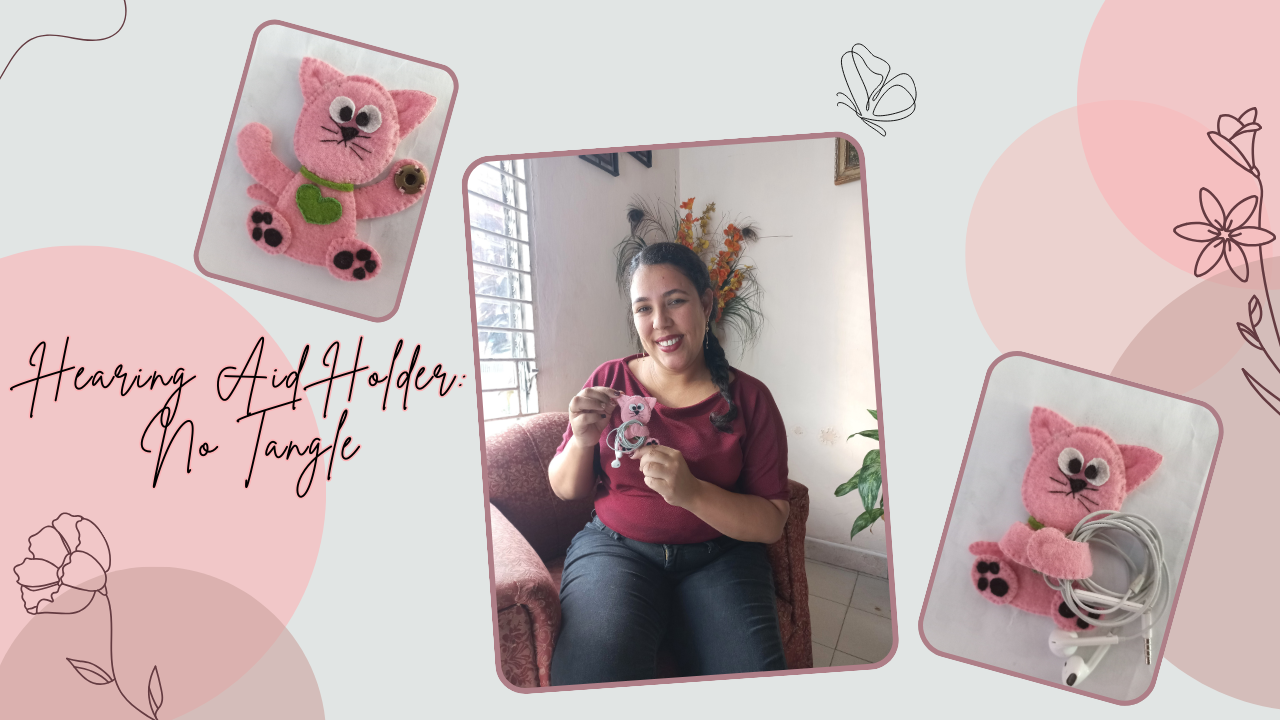
Imagen editada en Canva / Image edited in Canva
Hello my needle and thread friends, this is my first publication in the community, so I hope you like it. Today I want to share with you a very special project. Let's see, there are times when you want to have a nice detail with the person you love and appreciate, isn't it true? Well, it occurred to me to make something special for my daughter-in-law, because she was recently congratulated at work for something she did incredibly well, and I thought it was a good time to surprise her with a little something. Since I know that she always carries her hearing aid in her purse and that it ends up tangled as if it had a life of its own, it occurred to me and I thought, why not make her a nice and practical hearing aid holder.
As I didn't have any model or template, I decided to look for one on the internet and I stumbled upon this page , it is in Portuguese language, but it has many templates, with really beautiful designs (I recommend it). I decided for the design of a cute kitten. Once the first step was over, the only thing left to do was to select the material.
She uses that headphone a lot, not only to talk to her coworkers, but also to relax and disconnect for a while with her music, (here among us, she loves to listen to music). That's why I decided to make it with felt, a material that I like a lot because, besides being soft and good looking, it is easy to wash. I thought it was ideal for her to always have her hearing aid at hand, ready to use and without the hassle of having to untangle it every time.
Hola mis amigos de aguja e hilo, esta es mi primera publicación en la comunidad, así que espero sea de su agrado. Hoy quiero compartir con ustedes un proyecto muy especial. A ver, hay veces que uno quiere tener un detallito lindo con la persona que quiere y aprecia, ¿no es cierto? Pues a mí se me ocurrió hacerle algo especial a mi yerna, porque recientemente la felicitaron en su trabajo por algo que hizo increíblemente bien, y me pareció un buen momento para sorprenderla con un detallito. Como sé que siempre lleva su audífono en el bolso y que termina enredado como si tuviera vida propia se me ocurrió y pensé, por qué no hacerle una porta audífono bonito y práctico.
Como no tenía ningún modelo ni plantilla, decidí buscar alguno por internet y me he tropezado con esta página , está en idioma portugués, pero tiene muchas plantillas, con diseños realmente hermosos (se la recomiendo). Me decidí por el diseño de un tierno gatito. Ya superado el primer paso solo quedaba seleccionar el material.
Es que ella usa ese audífono mucho, no solo para hablar con sus compañeros de trabajo, sino también para relajarse y desconectarse un rato con su música, (aquí entre nos, ama escuchar música la muchacha). Es por eso que decidí hacerlo con fieltro, un material que me gusta mucho porque, además de ser suave y verse bien es fácil de lavar. Me pareció ideal para que siempre tenga su audífono a la mano, listo para usar y sin el rollo de tener que desenredarlo cada vez.
I invite you to join me in the process of creation.
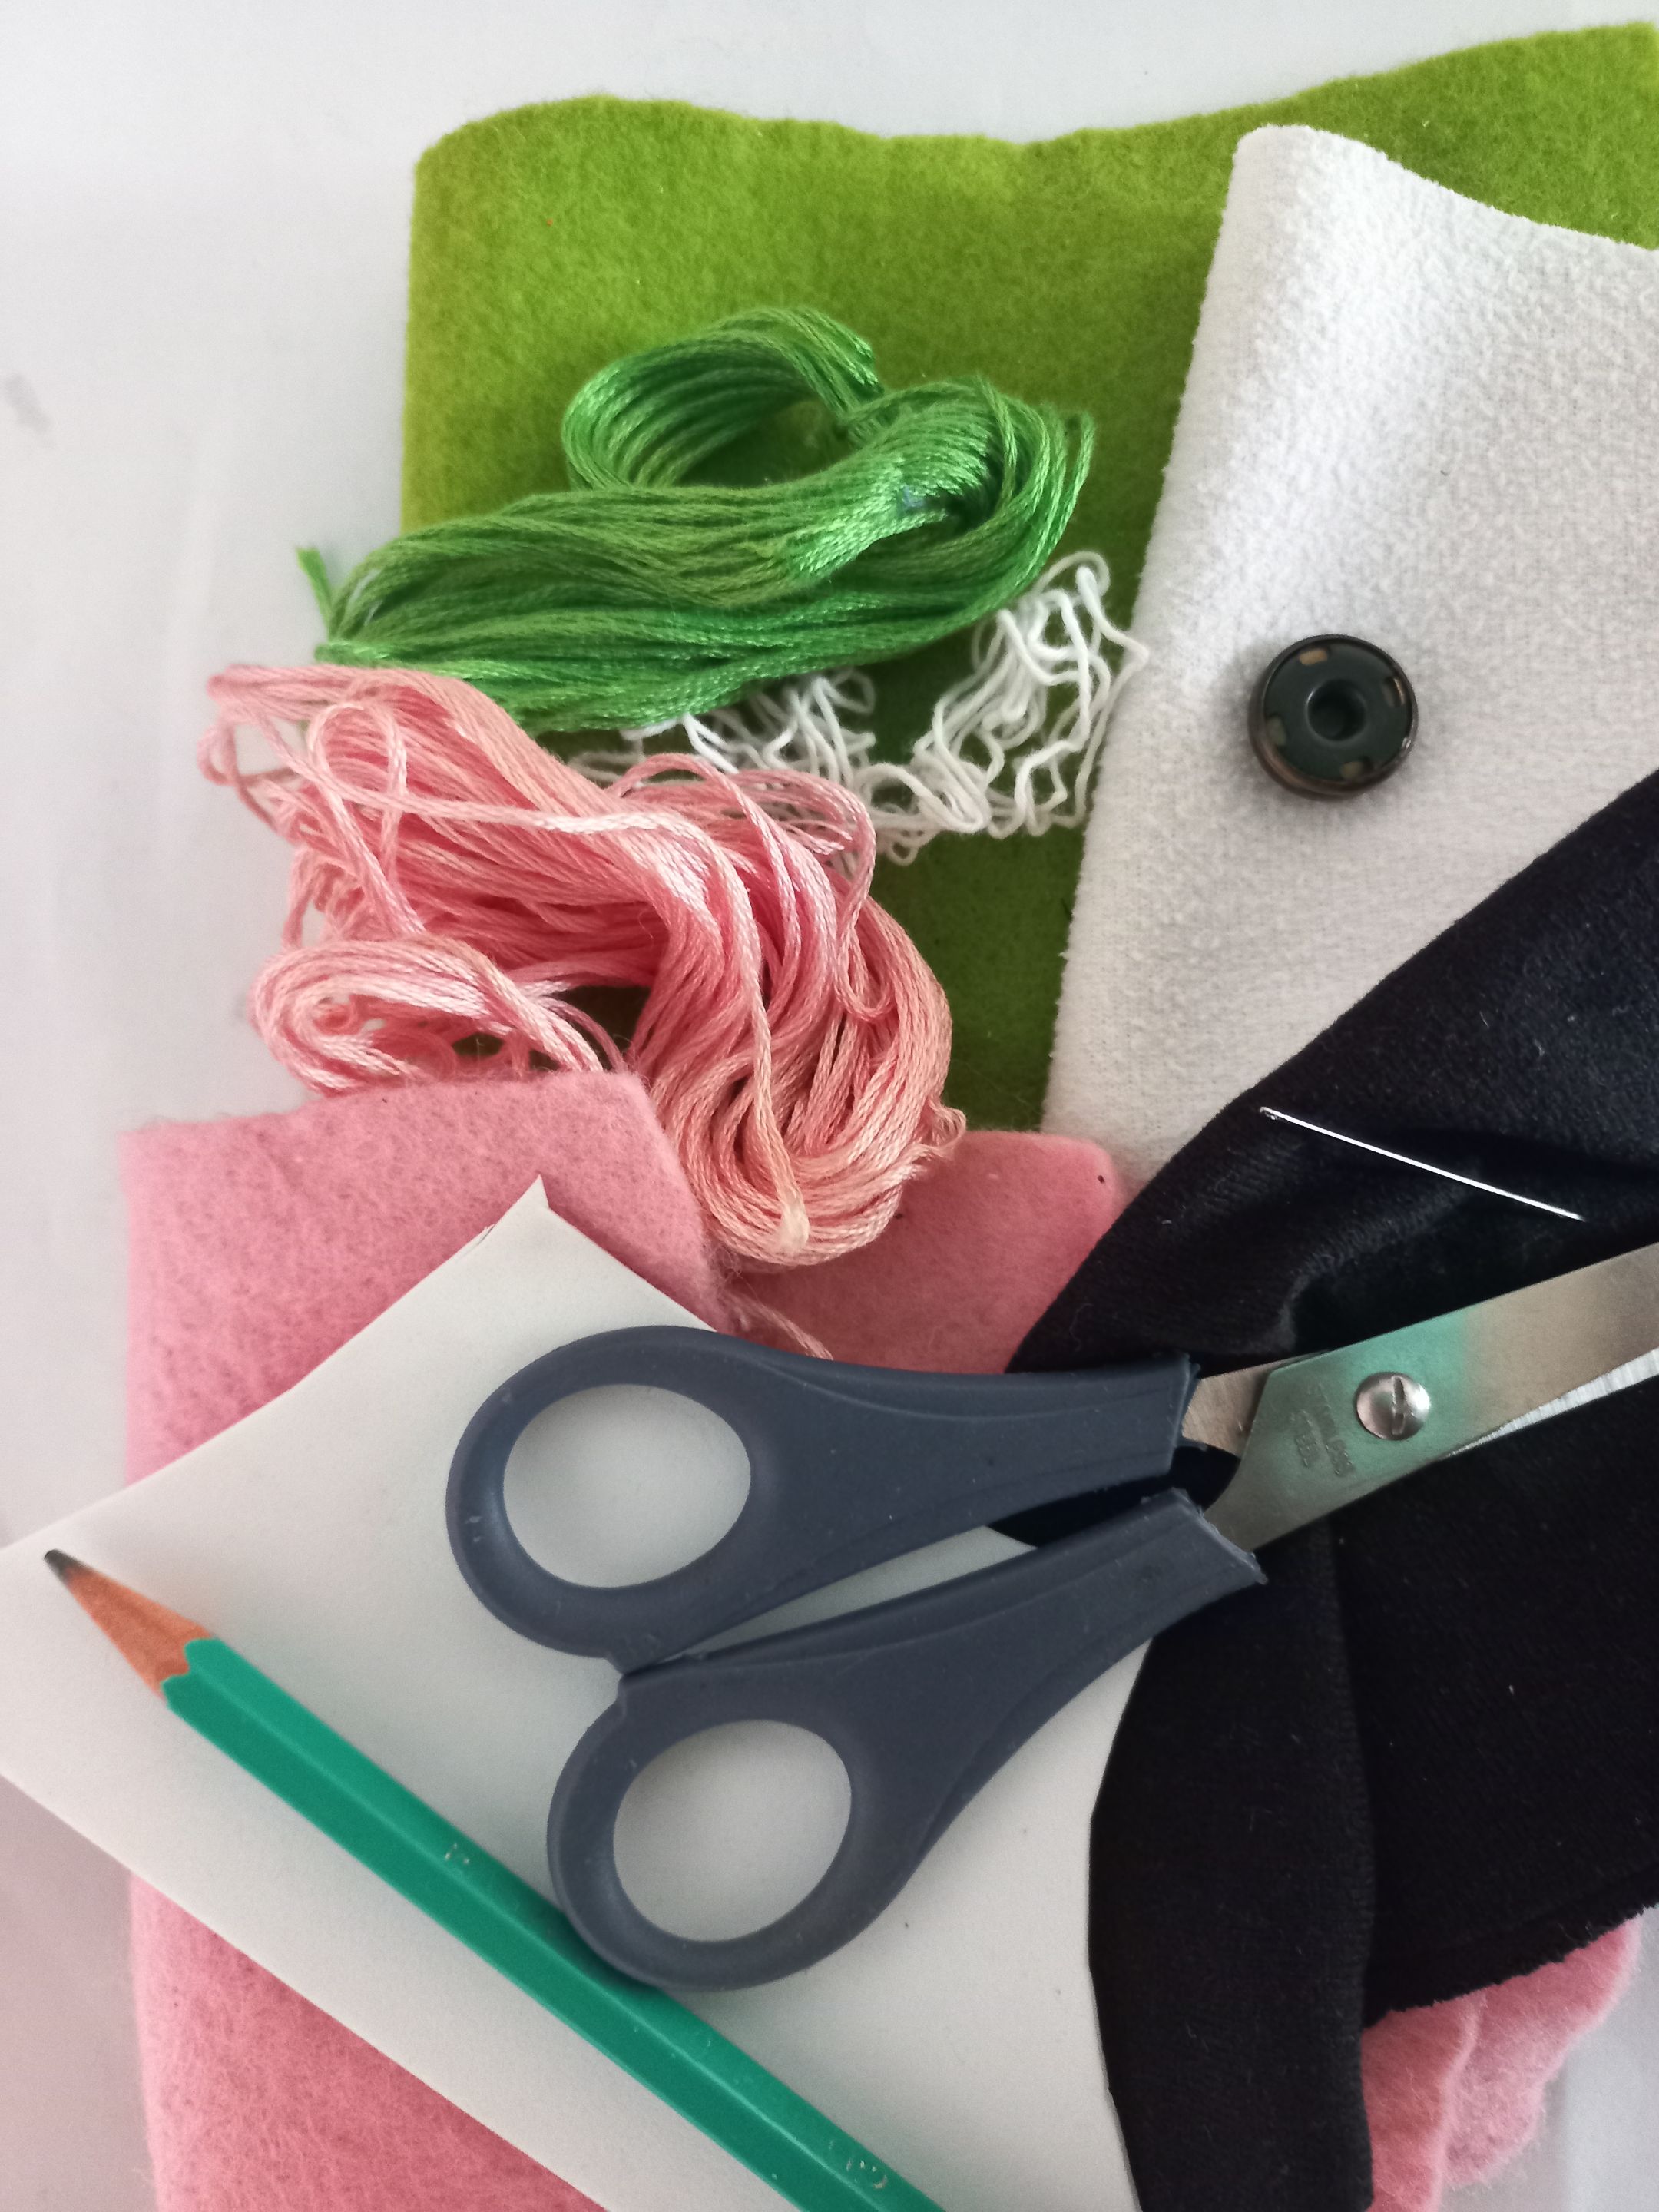
Materials:
1. Felt (in my case pink and green).
2. Piece of cloth or felt (black and white).
3. Embroidery thread according to the selected felt.
4. Piece of foami (can be of any color).
5. Brooch.
6. Needle.
7. Scissors.
8. Pencil.
9. Design (A kitten).
Los invito a que me acompañarme, en el proceso de creación.
Materiales:
1. Fieltro (en mi caso rosado y verde).
2. Retazo de tela o fieltro (blanco y negro).
3. Hilo de bordar acorde con el fieltro seleccionado.
4. Trozo de foami (puede ser de cualquier color).
5. Broche.
6. Aguja.
7. Tijera.
8. Lápiz.
9. Diseño (Un gatito).
Since I didn't have a printer at hand at the time, I managed to trace the template. I don't know if it has happened to you, but sometimes you have to look for quick solutions to continue without mishaps. Anyway, I leave you the official link of the template, which belongs to the page I told you about before, so you can get it directly if you like.
Como no tenía una impresora a la mano en ese momento, me las ingenié y decidí calcar la plantilla. No sé si les ha pasado, pero a veces hay que buscar soluciones rápidas para seguir sin contratiempos. De todas formas, les dejo el enlace oficial de la plantilla, que pertenece a la página de la que les hablé anteriormente, para que puedan obtenerla directamente si gustan.

| https://files.peakd.com/file/peakd-hive/mily0202/23wMuJ32TXu5EuSpCSn8R8CB4hubyucqgHUMb8XLXHv9GiFmGT8pnCyX9kQCV69f2mjYR.jpg | https://files.peakd.com/file/peakd-hive/mily0202/23viR5TkjbegRM9xGMBEAKabMj8tNexmt37oUBug8Z74kRof5qb8T52TkZwj2w6KmDcEx.png |
|---|---|
Now, the first thing we will do is to cut out all the pieces. Select the embroidery thread. And then, it's time to add the foami piece in the middle of the parts that will form the head. It is important to highlight that only the head and the body will have foami, with the purpose of giving a little bit of volume and firmness to our earphone holder.
Ahora bien, lo primero que haremos será recortar todas las piezas. Seleccionamos el hilo de bordar. Y después, toca agregar la pieza de foami en medio de las partes que formará la cabeza. Es importante destacar que solo la cabeza y el cuerpo llevará foami, con el propósito de darle un poquito de volumen y firmeza a nuestro porta audífono.
| https://files.peakd.com/file/peakd-hive/mily0202/23wXC1oQm3RBYFQch1aUNPeB2v9NuBdGDxj4Btu92ViWPfdFBqykUa9YuWaA2XepPdRvo.jpg | https://files.peakd.com/file/peakd-hive/mily0202/23vsX8ECxL8Zgf4BTpzdiSGPnTT7nH2dDJcgauZwmjHcPtXiJJGnkdF34jCLsZquwT2AL.jpg | https://files.peakd.com/file/peakd-hive/mily0202/23xerLcJZ8RHZhBisXodHsRBPxTbGhFQ6w5qs4Y6EitTJkb5jbKk2smXLXHrmGFWimD9c.jpg |
|---|---|---|
To join the pieces, we will use two strands of embroidery thread, using the scallop stitch, which I personally consider ideal for this type of project.
Para unir las piezas, usaremos dos hebras del hilo de bordar, utilizando el punto de bordado festón que personalmente considero es ideal para este tipo de proyecto.
| https://files.peakd.com/file/peakd-hive/mily0202/23tmUThWWkGLXNfsBSucUeEiRXuy18CFMjr5rTfdKsxqhGM9vmQU9tJJmEPARtyq6dGaj.jpg | https://files.peakd.com/file/peakd-hive/mily0202/23xydWKa6D6qC5KahkTfPqRUN3SjuQBKiYnmebcQppNkVSSqVDJBmMe3qvb9EB289UXjZ.jpg |
|---|---|
Now it's the turn of the ears. We are going to sew the edges, leaving the base seamless. At this point, I'm going to give it a touch of my own, because, honestly, in the original design they seemed too flat. We place the middle on the base and give a few small stitches to form a fold. This detail will give them a more feline touch. And now all that's left to do is to attach them to the head.
Ahora es el turno de las orejas. Vamos a coser los bordes, dejando la base sin costura. En este punto, voy a darle un toque muy mío, porque, sinceramente, en el diseño original me parecían demasiadas planas. Ubicamos la mitad en la base y daremos unas pequeñas puntadas hasta formar un pliegue. Este detalle hará que tengan un toque más felino. Y listas solo queda unirlas a la cabeza.
| https://files.peakd.com/file/peakd-hive/mily0202/23x1HcPmD9VxnBBvGAmaWpfT8jQGowpyLajMqW1fLnvU6EAAcipFFLhVquejbCwQcffVt.jpg | https://files.peakd.com/file/peakd-hive/mily0202/23u6G4obxCz37aQ1LTpT5ejjRzCNRuwDAngMUmSrtPv6wKhaX7U2rs8jkNkBu3YqebfS2.jpg | https://files.peakd.com/file/peakd-hive/mily0202/23u6Fi9EeuXJfwqRKYWDHXDGAnAjSQ159NnAewA3w1crtrj3uSpPJVmR3DKVR4ZzjSEMr.jpg |
|---|---|---|
| https://files.peakd.com/file/peakd-hive/mily0202/23wXE5rCKtnVxJazEajpvt3GMArmrB9oCcdh1Fgq2qPaCLisy4kgzwzVaJmADkKLJ1ye4.jpg | https://files.peakd.com/file/peakd-hive/mily0202/23x1HctaJ1U1Ndtc6Ct1DrnLjRowgnLjRAi7dLu6y9sxgALEQuB29B7n29qqAArFoWVsD.jpg |
|---|---|
I continue to add those little details that are not in the original design, but for me will make a big difference. Now we are going to decorate the front of the body with a green felt heart. Since my daughter-in-law loves romantic details, it seemed like the perfect choice. To join it, we use the scalloped stitch, the same one we have been using.
Continúo agregando esos pequeños detalles que no están en el diseño original, pero para mí harán la gran diferencia. Ahora vamos a adornar la parte delantera del cuerpo con un corazón en fieltro verde. Como a mi yerna le fascinan los detallitos románticos, me pareció la elección perfecta. Para unirlo, utilizamos el punto festón, el mismo que hemos estado usando.
| https://files.peakd.com/file/peakd-hive/mily0202/23wr1YDds7uGsk4xcKQe6S9J5gWYxc7xide1etNcYsjZiUnb1CAagNArLGz3Tay5GCUJR.jpg | https://files.peakd.com/file/peakd-hive/mily0202/23xVTm5VF5MgvosY3tMrnwR54Zs2pmCkeGmYURyRgjPmVCYMzZQw8D2QcXq2w8HZgVgjM.jpg |
|---|---|
Finally, we will glue the brooch on the little hands, which will allow us to hold the headset securely and prevent it from getting tangled. For what will be the face, with black thread we will make the moustaches and mouth. We join both the white and black circles to form the eyes, making sure they are well aligned. And to hide the union between the neck and the body, I cut a strip of felt 5 centimeters long by 4 millimeters wide. And that's it, all that's left is to fix all the other parts with stitching.
Ya para finalizar, pegaremos el broche en las manitas el cual permitirá sujetar el auricular con seguridad y evitar que se enrede. Para lo que será la carita, con hilo negro haremos los bigoticos y boca. Unimos tanto los círculos blancos como los negros para formar los ojitos, asegurándonos de que queden bien alineados. Y para disimular la unión entre el cuello y el cuerpo, corté una tira de fieltro de 5 centímetros de largo por 4 milímetros de ancho. Y listo, solo resta fijar todas las otras partes con costura.
| https://files.peakd.com/file/peakd-hive/mily0202/23xApoiqaqDjyK4edk77MEZiJk7fEGbnkitxpBE5nwHRv7KXMEkfbYEbVeu6MGLdeujvT.jpg | https://files.peakd.com/file/peakd-hive/mily0202/23vsWm6Cz1DggTa4VyY539GkQfnsALNGsoH3Xji3KdPsFsJoAKe1nCLZzzDEw5zfqjgYY.jpg | https://files.peakd.com/file/peakd-hive/mily0202/23xAkW8xPfyXe1Ha6QEM6f17arqSNU6wCQhm8EpkXK99cuANEtTgw6R5uwcLDLSn8pg5n.jpg |
|---|---|---|
To be honest, at first I was a little hesitant to add my personal touches. I thought, what if it doesn't fit with the original idea. And in the end, this is not just an earphone holder, but a way to tell you. Look, I'm happy for you and I made this with you in mind.
Si le soy sincera, al principio dudé un poco en añadirle mis toques personales. Pensaba, y si no pega con la idea original. Pero bueno, creo que quedo bien Y al final, esto no es solo un porta audífono, sino una manera de decirle. Mira, me alegro por ti y te hice esto pensando en ti.
| https://files.peakd.com/file/peakd-hive/mily0202/23z7SJJVb48XizN3sbh9ZRRaB2EVxe5fSLW8Q4bYGw74AE5NtBYpCE4qBY64bGKq6sB3w.jpg | https://files.peakd.com/file/peakd-hive/mily0202/23xVVq5nL8HrRs7L4ehP4a4K6gLBWUamb2SCA9xu6NZRC6W8mhAAyqd9VaMVcn13enzQL.jpg |
|---|---|
And here she is showing off her new accessory.
Y aquí esta ella presumiendo su nuevo accesorio.
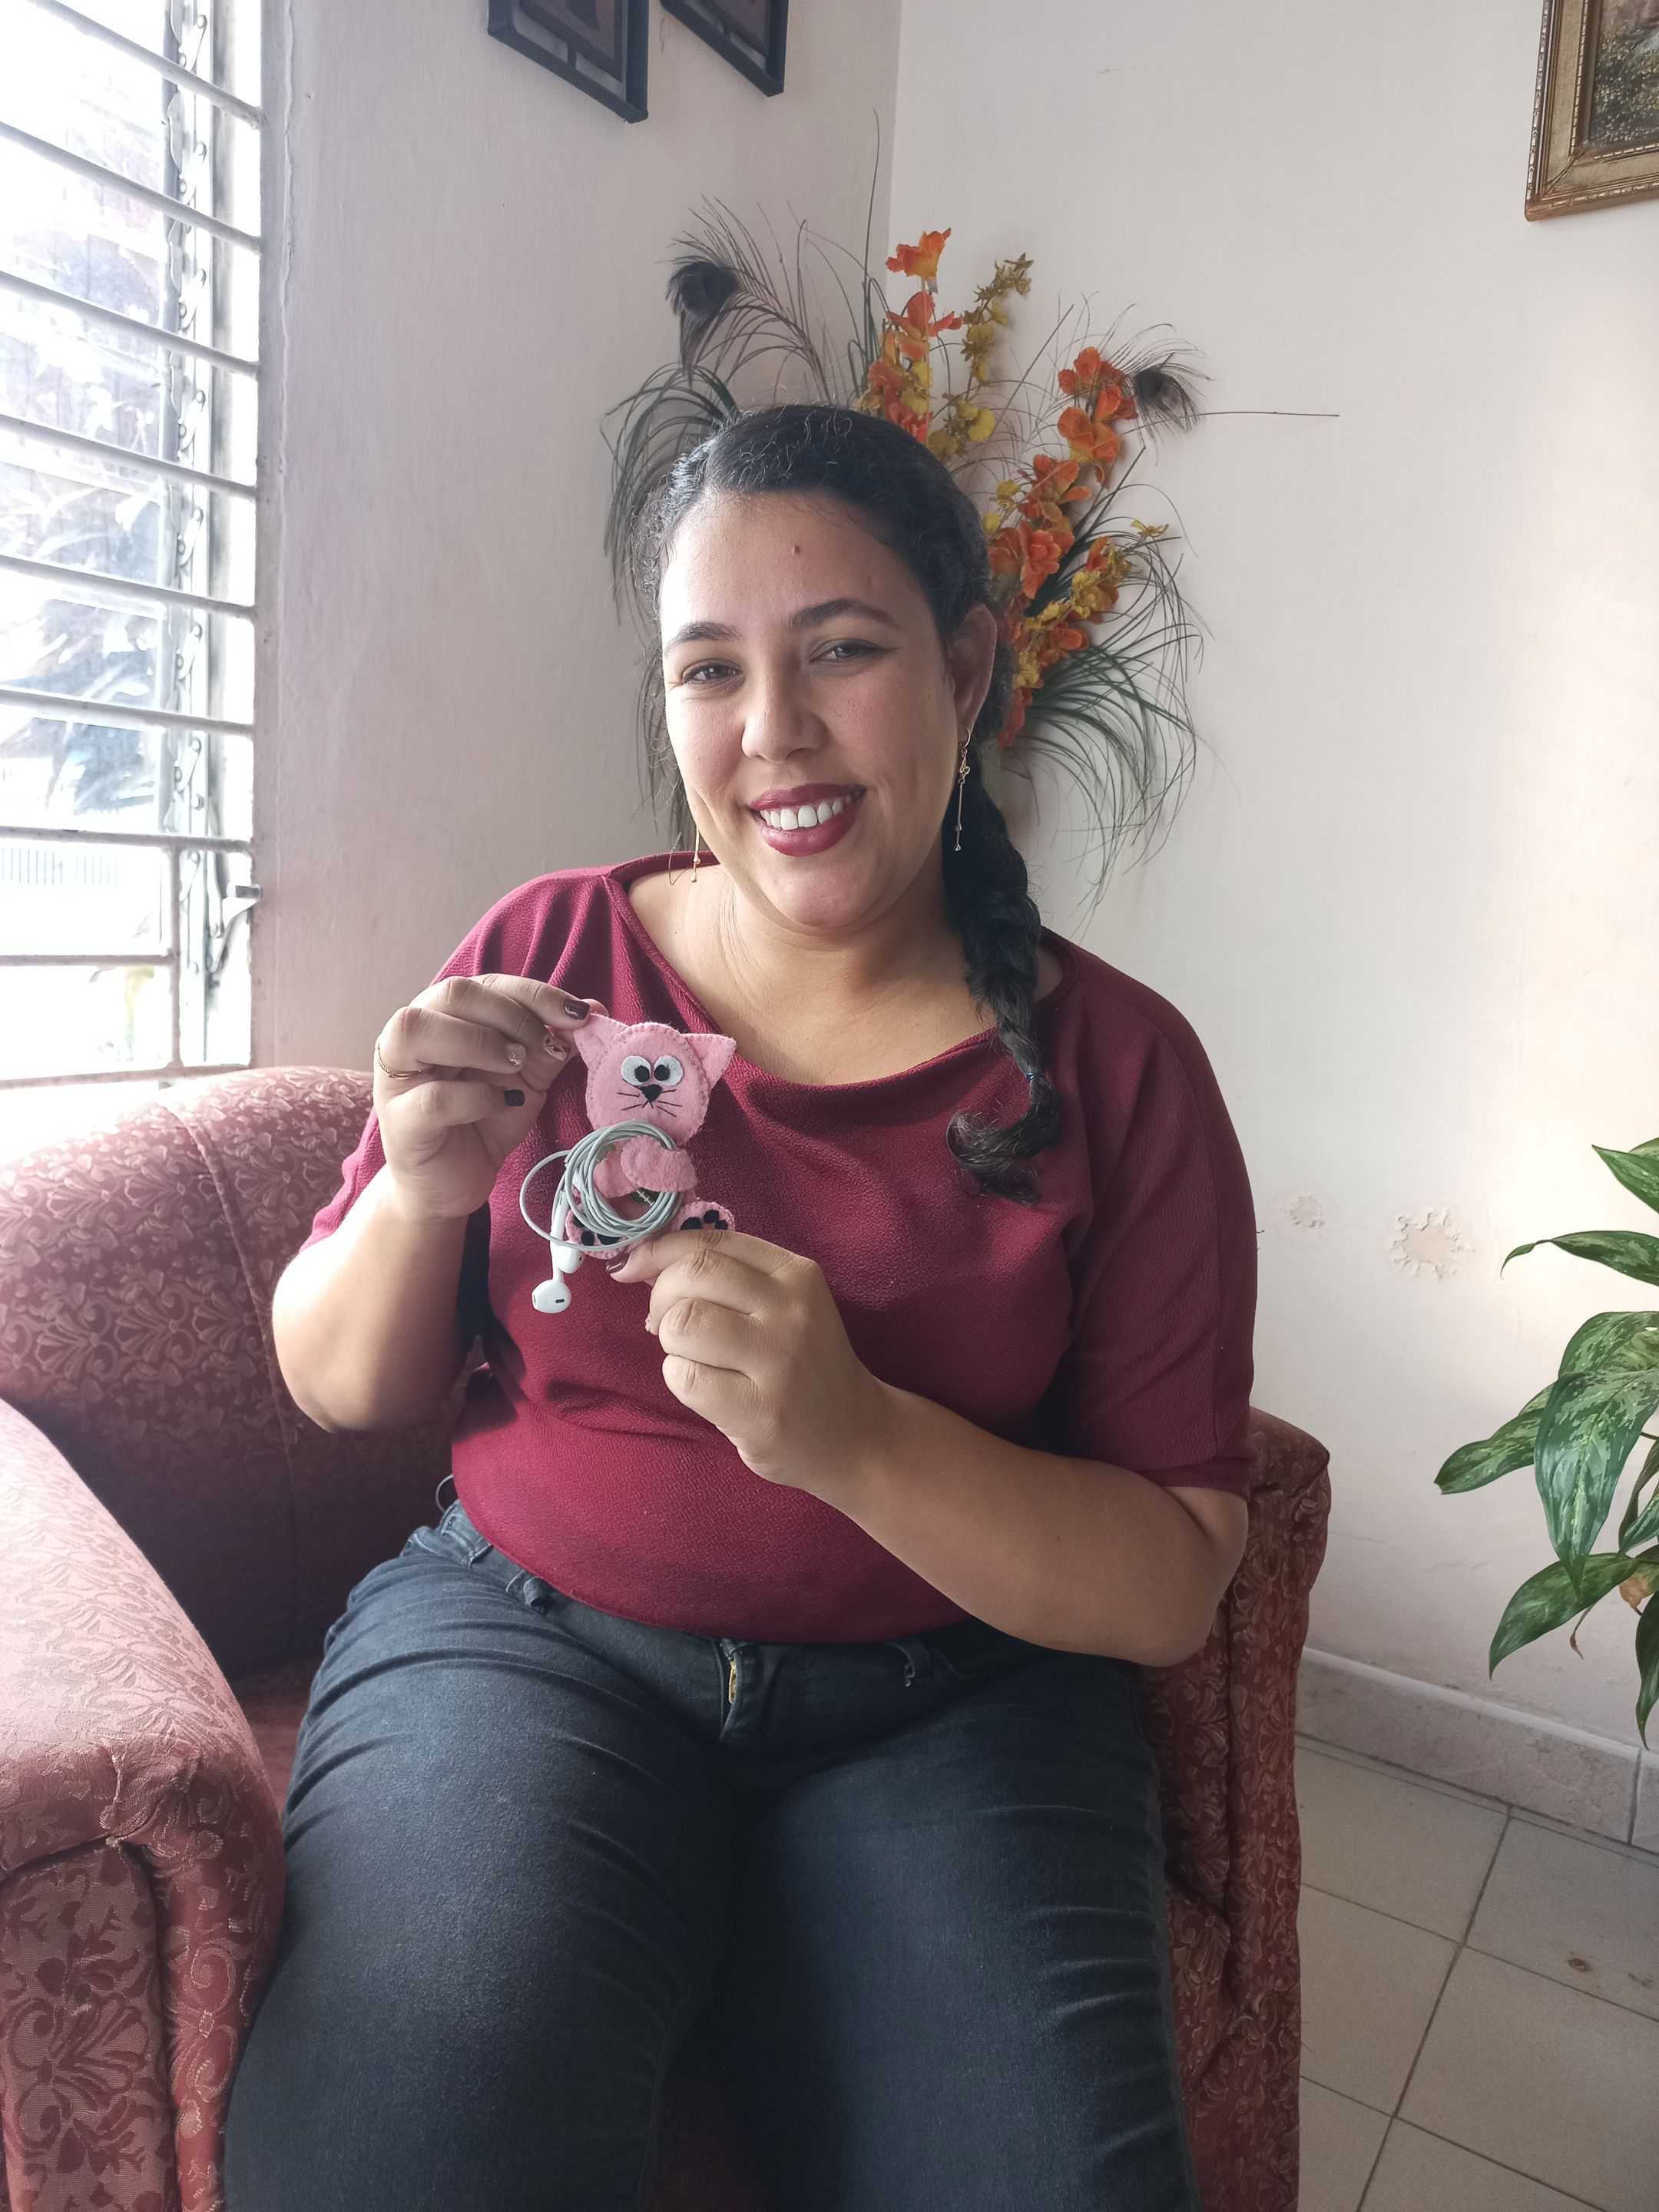
Foto de mi autoría / Photo by me
Traducción: DeepL Translate versión gratuita. / Translation: DeepL Translate Free version.
Traducción: DeepL Translate versión gratuita. / Translation: DeepL Translate Free version.