Hola, colonias digitales que conforman el universo de Hive. Reciban un fuerte abrazo.
Espero que estén bien desde el otro lado de la pantalla.
Hello, digital colonies that make up the Hive universe. Receive a big hug.
I hope you're doing well from the other side of the screen.
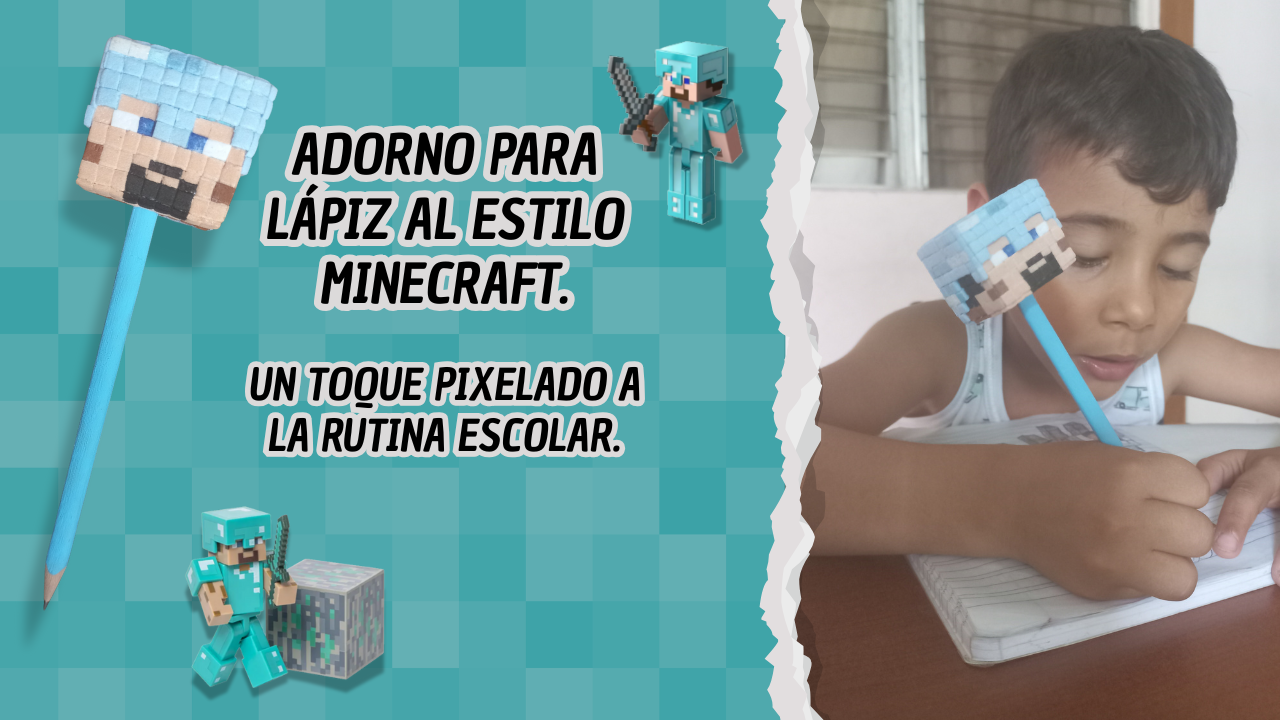
Imagen editada en Canva / Image edited in Canva
Hola, querida comunidad creativa de HIVE. Es un gusto saludarlos y compartirles un nuevo proyecto. Hoy les traigo una manualidad que me hizo reír y a la vez puso a prueba mi nivel de paciencia, (no suelo trabajar con pieza muy pero muy pequeñas): la decoración de un lápiz para mi nieto, inspirado en uno de sus personajes favoritos del juego de “Micras” (como él lo llama).
Él es fanático del mundo de Minecraft. Tanto es así que, para el comienzo de clases, pidió que todos sus útiles escolares tuviesen la temática de ese juego. Y como en esta familia todos nos ponemos creativos cuando se trata de consentirlo, su mamá consiguió la cartuchera perfecta, su tía diseñó las portadas de los cuadernos y a mí me tocó la misión de decorar el lápiz.
Pensando en que es para un niño, decidí usar cartón y foami, creo que estos materiales son resistentes y fáciles de trabajar. Para ser la primera vez que realizo un personaje de este tipo creo que el resultado fue divertido, colorido y con ese toque pixelado que tanto le gusta. Les confieso que ver su carita emocionada fue para mí, la mejor recompensa.
Les invito a que me acompáñenme en el paso a paso para transformar un lápiz común en una herramienta digna de cualquier constructor de Minecraft.
Hello, dear creative community at HIVE. It's a pleasure to greet you and share a new project with you. Today I bring you a craft that made me laugh and at the same time tested my patience (I don't usually work with very, very small pieces): decorating a pencil for my grandson, inspired by one of his favorite characters from the game “Micras” (as he calls it).
He is a huge fan of Minecraft. So much so that, when school started, he asked for all his school supplies to be Minecraft-themed. And since everyone in this family gets creative when it comes to spoiling him, his mom found the perfect pencil case, his aunt designed the covers for his notebooks, and I was given the task of decorating his pencil.
Considering that it was for a child, I decided to use cardboard and foam, as I believe these materials are durable and easy to work with. For my first attempt at creating a character of this type, I think the result was fun, colorful, and had that pixelated touch that he likes so much. I must admit that seeing his excited face was the best reward for me.
I invite you to join me in this step-by-step guide to transforming an ordinary pencil into a tool worthy of any Minecraft builder.
Materiales:
1. Cartón.
2. Cartón flexible (el de caja de cereal o medicamentos).
3. Foami (negro, diferentes tonos de azul y diferentes tonos marrón).
4. Cúter.
5. Tijera.
6. Regla.
7. Silicon líquido.
8. Pinza.
9. Pintura acrílica (Azul y marrón).
10. Pincel.
11. Lápiz.
12. Diseño (Referencia Pinterest )
1. Cartón.
2. Cartón flexible (el de caja de cereal o medicamentos).
3. Foami (negro, diferentes tonos de azul y diferentes tonos marrón).
4. Cúter.
5. Tijera.
6. Regla.
7. Silicon líquido.
8. Pinza.
9. Pintura acrílica (Azul y marrón).
10. Pincel.
11. Lápiz.
12. Diseño (Referencia Pinterest )
Materials: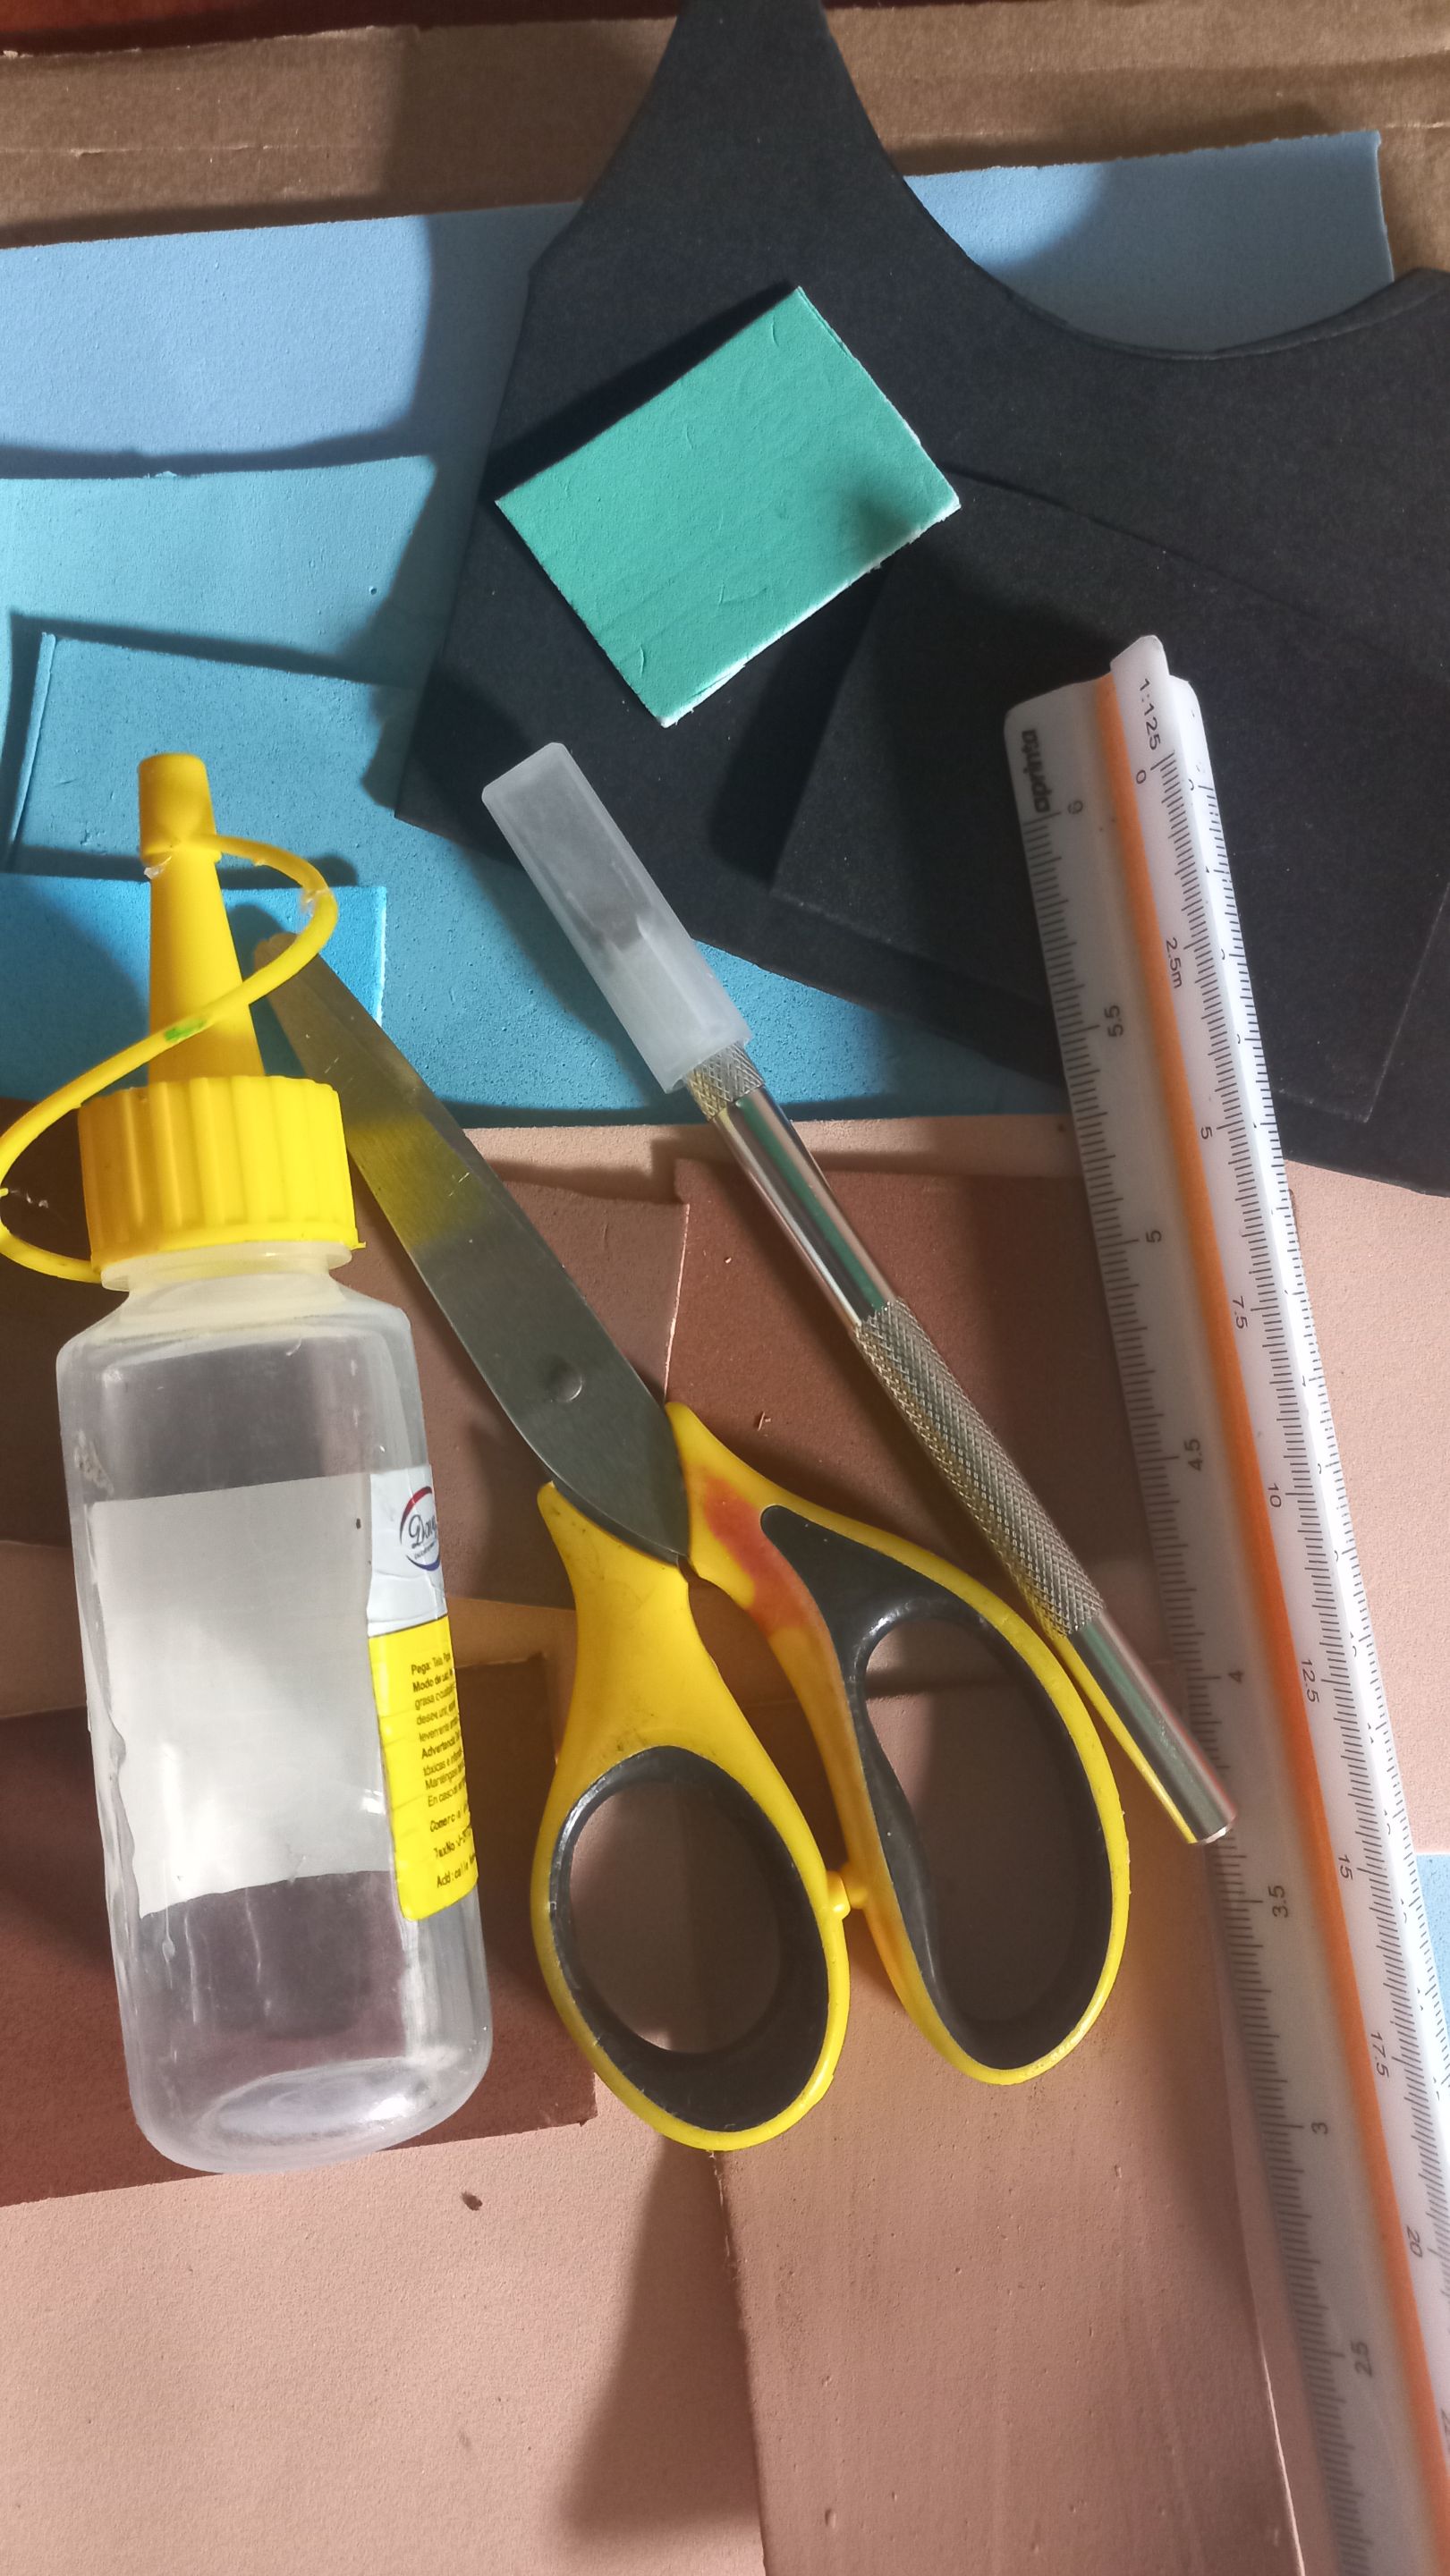 ---
1. Cardboard.
2. Flexible cardboard (like cereal boxes or medicine boxes).
3. Foami (black, different shades of blue, and different shades of brown).
4. Cutter.
5. Scissors.
6. Rule.
7. Liquid silicon.
8. Clamp.
9. Acrylic paint (blue and brown).
10. Paintbrush.
11. Pencil.
12. Design (Reference Pinterest )
Para arrancar este proyecto, lo primero que hago es cortar seis cuadrados de cartón, cada uno de 3 cm de alto por 3 cm de ancho. Utilizo el cúter porque necesito que los cortes sean precisos y limpios, ya que estas piezas formarán el cubo, el cual será el soporte del personaje. Así que me aseguro de que cada lado quede bien definido.

|https://files.peakd.com/file/peakd-hive/mily0202/23wC3QyGip8PZWfg6E4DAWKZu7C8K7XRU9EAhLhUgExMHvTwc1og6ZtCh4Ky86nsWmgzc.jpg|https://files.peakd.com/file/peakd-hive/mily0202/23uQvixXMmFJoTan7WPuhtLWGTDsw2AGc3ov9QxdzhCukxLwxnbyMspyMHY8VucX1fwUF.jpg|
|-|-|
---
To start this project, the first thing I do is cut six squares of cardboard, each measuring 3 cm high by 3 cm wide. I use a craft knife because I need the cuts to be precise and clean, as these pieces will form the cube that will support the character. So I make sure that each side is well defined.
Antes de armar el cubo como tal, tomo una de las piezas que será la base. Ubico el centro y marco un círculo de 0,8 cm de diámetro, que debe coincidir exactamente con la parte del lápiz donde está el borrador.
Una vez listo el agujero, diseño un pequeño cilindro usando cartón flexible. Lo corto de 3 cm de alto por 0,8 cm de diámetro, y lo pego justo dentro del agujero que marqué. Este cilindro será el soporte donde se introducirá el lápiz, permitiendo que el adorno se mantenga firme. Y finalmente pego todas las piezas para armar el cubo.

|https://files.peakd.com/file/peakd-hive/mily0202/23uFY4d7LQkvn4KG4uPqB58R9LA5HyyaBWf2gW6j2km4GZF3rh3ioDSZ5fE5pDCmijXDK.jpg|https://files.peakd.com/file/peakd-hive/mily0202/23tSPviX1bEEtYQCi4Ej5nP3vUBsTfpQSmB2M8UAxXskrEP4DJRt28S2xK5uMSS4xHLrD.jpg|
|-|-|

|https://files.peakd.com/file/peakd-hive/mily0202/23tbqBTbrMLRkCJ6bPs2cpepyAs8m1soFaTTRLypqFLFFrxPevgKU5kpXD1t5XGqU35Dr.jpg|https://files.peakd.com/file/peakd-hive/mily0202/23wqeQqsmSnNMrcruENRYU618ceayqEbVuk8o38qVQF6fnXUuvwRzvcruFTbT7p6hxci5.jpg|
|-|-|
---
Una vez listo el agujero, diseño un pequeño cilindro usando cartón flexible. Lo corto de 3 cm de alto por 0,8 cm de diámetro, y lo pego justo dentro del agujero que marqué. Este cilindro será el soporte donde se introducirá el lápiz, permitiendo que el adorno se mantenga firme. Y finalmente pego todas las piezas para armar el cubo.
Before assembling the cube itself, I take one of the pieces that will form the base. I locate the center and mark a circle with a diameter of 0.8 cm, which must coincide exactly with the part of the pencil where the eraser is located.
Once the hole is ready, I design a small cylinder using flexible cardboard. I cut it to 3 cm high by 0.8 cm in diameter, and glue it right inside the hole I marked. This cylinder will be the support where the pencil will be inserted, allowing the ornament to remain steady. And finally, I glue all the pieces together to assemble the cube.
En esta etapa del proyecto es cuando pongo a prueba mi paciencia y dedicación. Es el turno de diseñar los pequeños cuadritos que darán forma al personaje. Para ello tomo los retazos de los diferentes foamis y trazo una cuadrícula con medidas de 0,4 cm por 0,4 cm. Como podrán darse cuentas son piezas diminutas, pero justamente son ellas las que aportan los matices, ese estilo pixelado y la personalidad al diseño. Cada cuadrito cuenta, cada color tiene su lugar.
Una vez trazados, los recorto con cuidado separándolos según el color. Luego, siguiendo la guía del diseño, comienzo a pegarlos sobre el cubo, poco a poco, como si estuviera armando un rompecabezas en miniatura. Es muy importante en este paso utilizar una pinza para garantizar precisión, ya que las piezas son tan pequeñas que requieren atención milimétrica.

|https://files.peakd.com/file/peakd-hive/mily0202/23zGYLfRkZ7yyMPCcSugcnNC4qnnyMirR78AnTyhXGDzcBp8By2j85yLhVTJJDXJQm9H3.jpg|https://files.peakd.com/file/peakd-hive/mily0202/23tSYTJXEB945P2T5JHoaiEs3GhKtzcVEsXXnc3jxmXu84JmhK7sbVTL58ukV8m786KdE.jpg|https://files.peakd.com/file/peakd-hive/mily0202/23wCBwAzpJn6ubaKqRmJxt5eMjC1372SE1mF9ZoJmXEBGsPfbGo391Zb6QwL4FKMnduZw.jpg|
|-|-|-|
---
Una vez trazados, los recorto con cuidado separándolos según el color. Luego, siguiendo la guía del diseño, comienzo a pegarlos sobre el cubo, poco a poco, como si estuviera armando un rompecabezas en miniatura. Es muy importante en este paso utilizar una pinza para garantizar precisión, ya que las piezas son tan pequeñas que requieren atención milimétrica.
This stage of the project is when I put my patience and dedication to the test. It's time to design the small squares that will shape the character. To do this, I take the scraps of different foams and draw a grid measuring 0.4 cm by 0.4 cm. As you can imagine, these are tiny pieces, but they are precisely what give the design its nuances, pixelated style, and personality. Every little square counts, every color has its place.
Once traced, I carefully cut them out, separating them by color. Then, following the design guide, I begin to stick them onto the cube, little by little, as if I were putting together a miniature jigsaw puzzle. It is very important at this stage to use tweezers to ensure precision, as the pieces are so small that they require pinpoint accuracy.
En el siguiente paso creare la característica más icónica del personaje: y es que tiene una armadura, así que le diseñare el casco.
Para ello, recorto cinco piezas de cartón con la forma que indica el diseño, las pinto en azul y las dejo secar. Estas piezas serán las que darán estructura al casco, así que es muy importante que cada una de ellas encaje perfectamente al pegarlas siguiendo el patrón.
Una vez que la pintura está seca, comienzo a pegar los pequeños cuadritos de foami sobre cada cara del cubo. Este paso crea un efecto de relieve.

|https://files.peakd.com/file/peakd-hive/mily0202/23z74smbzGWnMxCkKNLtxdsYoM9XgQoXs5bqD8xqeJBmTmz3vaJYS4adfxkGbEyGnDCFU.jpg|https://files.peakd.com/file/peakd-hive/mily0202/23tSL4zGF4HVLjyAB9uoYS3T6GWLCGt5aSeb2XLrWr3NMLNzp1YikvzGnFUtm3ureemB5.jpg|https://files.peakd.com/file/peakd-hive/mily0202/23xVP1vxKYzEioyJpgvMzfGUQuUFRTbSi1EgiM7CWha2wQ7aXt8Xs2qr9Qweey7AQ6jAU.jpg|
|-|-|-|

|https://files.peakd.com/file/peakd-hive/mily0202/23vsL1Q7ta6QQsPwyxBwQ8nf5d685DFnizPy9wm8pKxUNzaUaqNvAARpjZJYtQMRJdj2G.jpg|https://files.peakd.com/file/peakd-hive/mily0202/23xedFQEhkKWip7MPL4Num9oT2FK8ULK5xiJFT837oz8D186nYcz1ZdYuxZgNtQDjqZXy.jpg|https://files.peakd.com/file/peakd-hive/mily0202/23xVF1D7vMB7vTkaegbXYPWTncVZeBaXUQuYwiKr5GMc2SsCs6RcXrTawVt1mULi94yxA.jpg|
|-|-|-|
---
Para ello, recorto cinco piezas de cartón con la forma que indica el diseño, las pinto en azul y las dejo secar. Estas piezas serán las que darán estructura al casco, así que es muy importante que cada una de ellas encaje perfectamente al pegarlas siguiendo el patrón.
Una vez que la pintura está seca, comienzo a pegar los pequeños cuadritos de foami sobre cada cara del cubo. Este paso crea un efecto de relieve.
In the next step, I will create the character's most iconic feature: he has armor, so I will design his helmet.
To do this, I cut out five pieces of cardboard in the shape indicated in the design, paint them blue, and leave them to dry. These pieces will give the helmet its structure, so it is very important that each one fits perfectly when glued together following the pattern.
Once the paint is dry, I start sticking the small foam squares onto each side of the cube. This step creates a relief effect.
Antes de finalizar la base del adorno, me aseguro de pintar en tono marrón el interior del cilindro, de manera que al colocar los cuadritos de foami, el fondo no desentone y el diseño mantenga su estética pixelada y bien definida.
Ya solo queda el paso final: tomo el lápiz y lo pinto de azul, para que combine con el personaje. Este toque de color me permite unir todo el proyecto.

|https://files.peakd.com/file/peakd-hive/mily0202/23wC9ykHJK7vBBD8oR4271xy7reaqhtX2YjAXHv9xuVrzo8tPWbs3XSW4QPiJHZRFpxsT.jpg|https://files.peakd.com/file/peakd-hive/mily0202/23uFRu5QqHjQ1H8Gd262nkA7s2Wu1h9vBjiUnZsvThdrWqEqBm4izhDE1CKtaf8E1VWkc.jpg|https://files.peakd.com/file/peakd-hive/mily0202/23xox2iok8Y6M7Q61RFa3kNG65U9MRoCUVUudF2XXLBkSdnowYVp9zgYofkgSiaDeLsX8.jpg|
|-|-|-|
---
Ya solo queda el paso final: tomo el lápiz y lo pinto de azul, para que combine con el personaje. Este toque de color me permite unir todo el proyecto.
Before finishing the base of the decoration, I make sure to paint the inside of the cylinder brown so that when I place the foam squares, the background does not clash and the design maintains its pixelated and well-defined aesthetic.
Now there's just one final step left: I take the pencil and color it blue to match the character. This touch of color brings the whole project together.
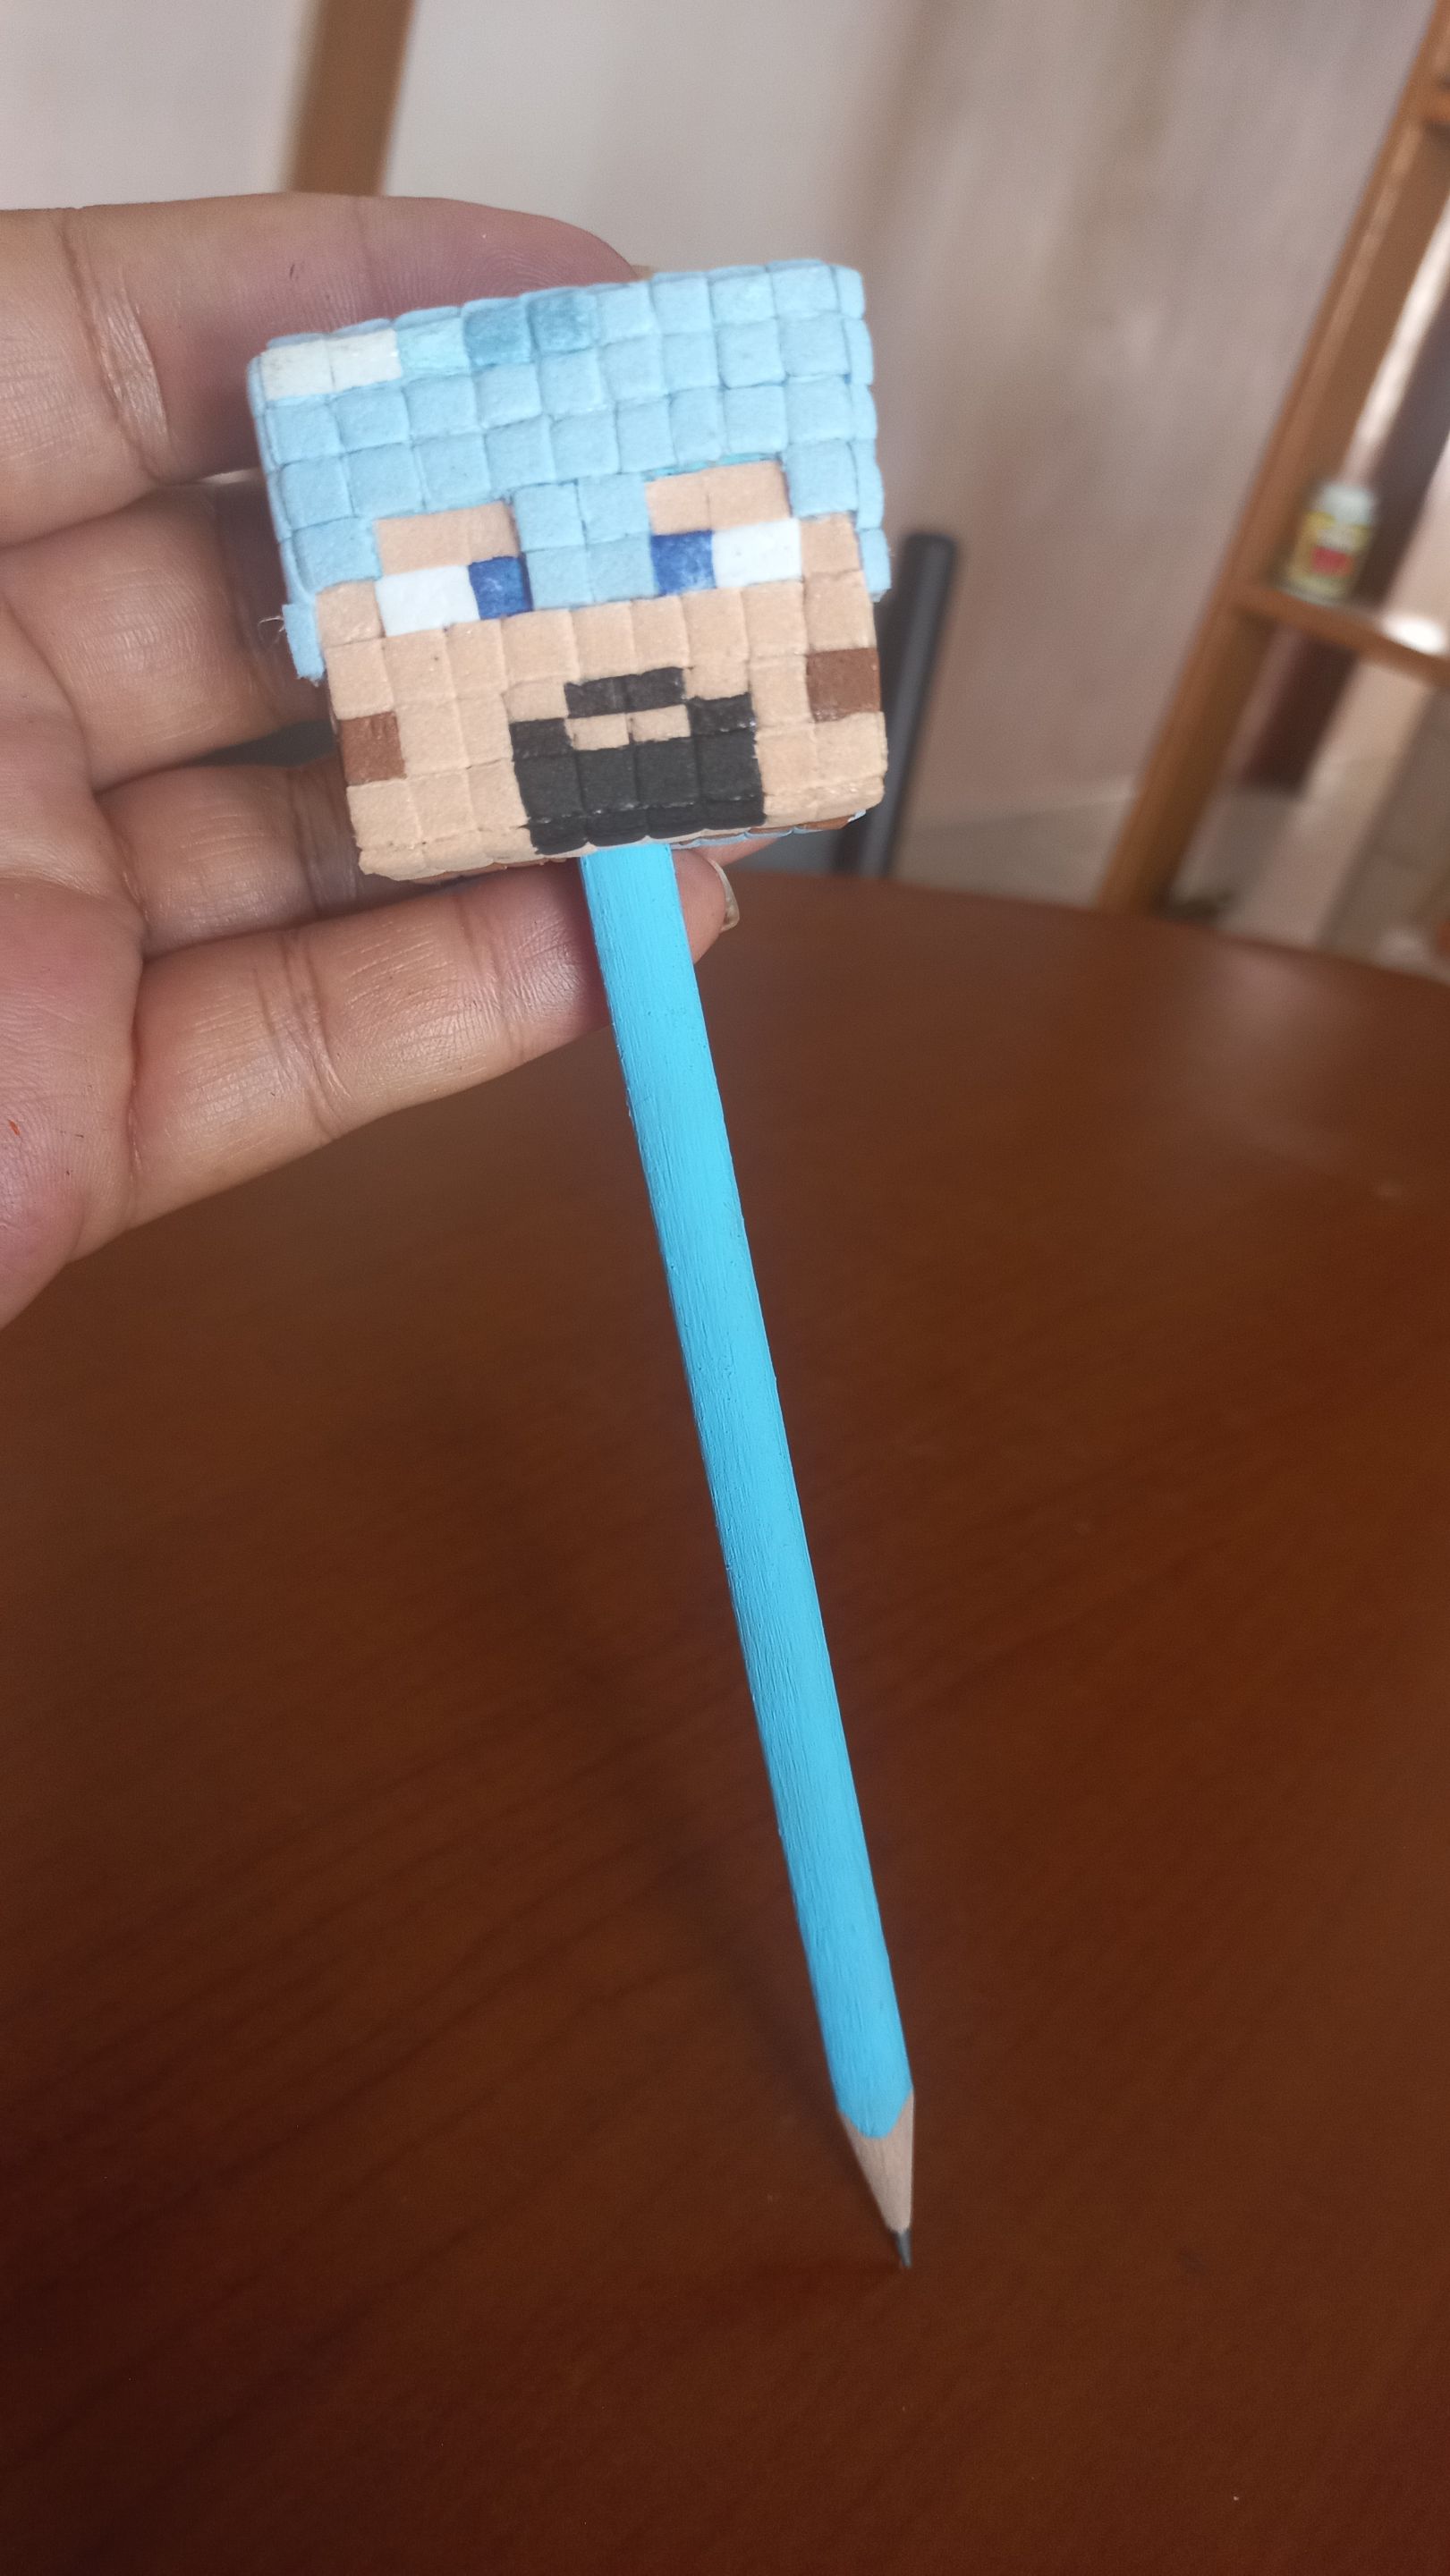
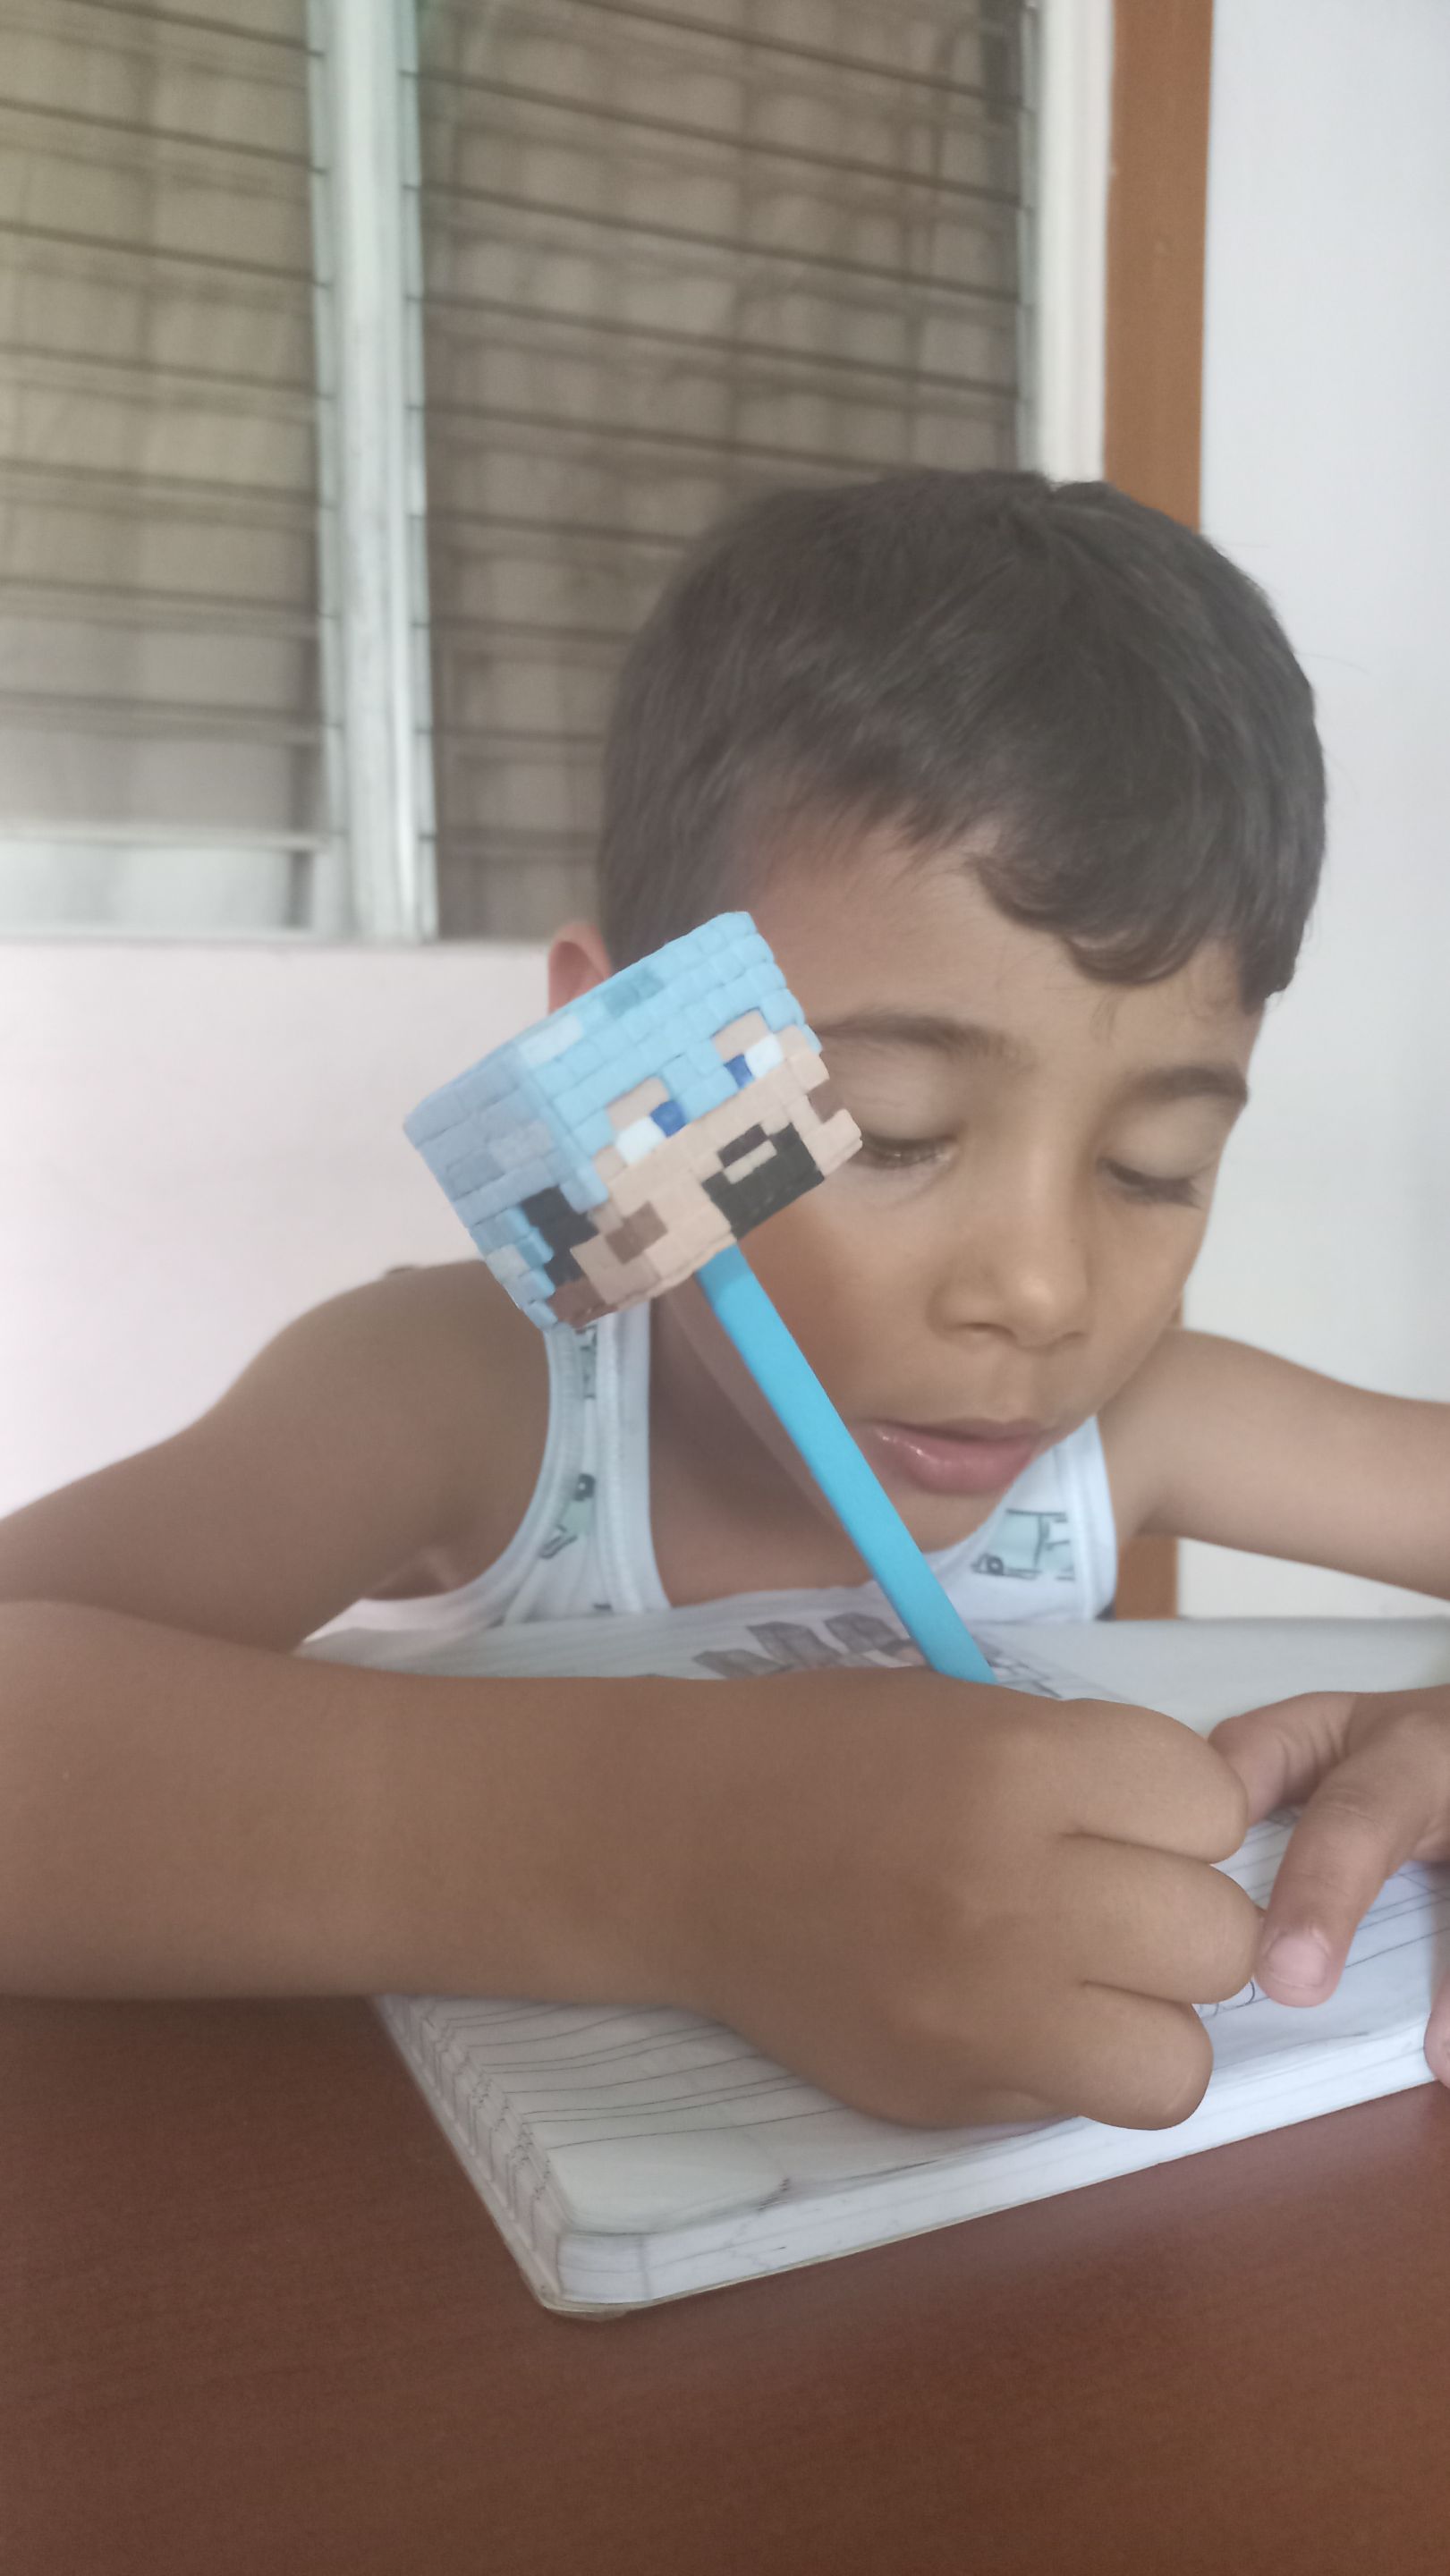
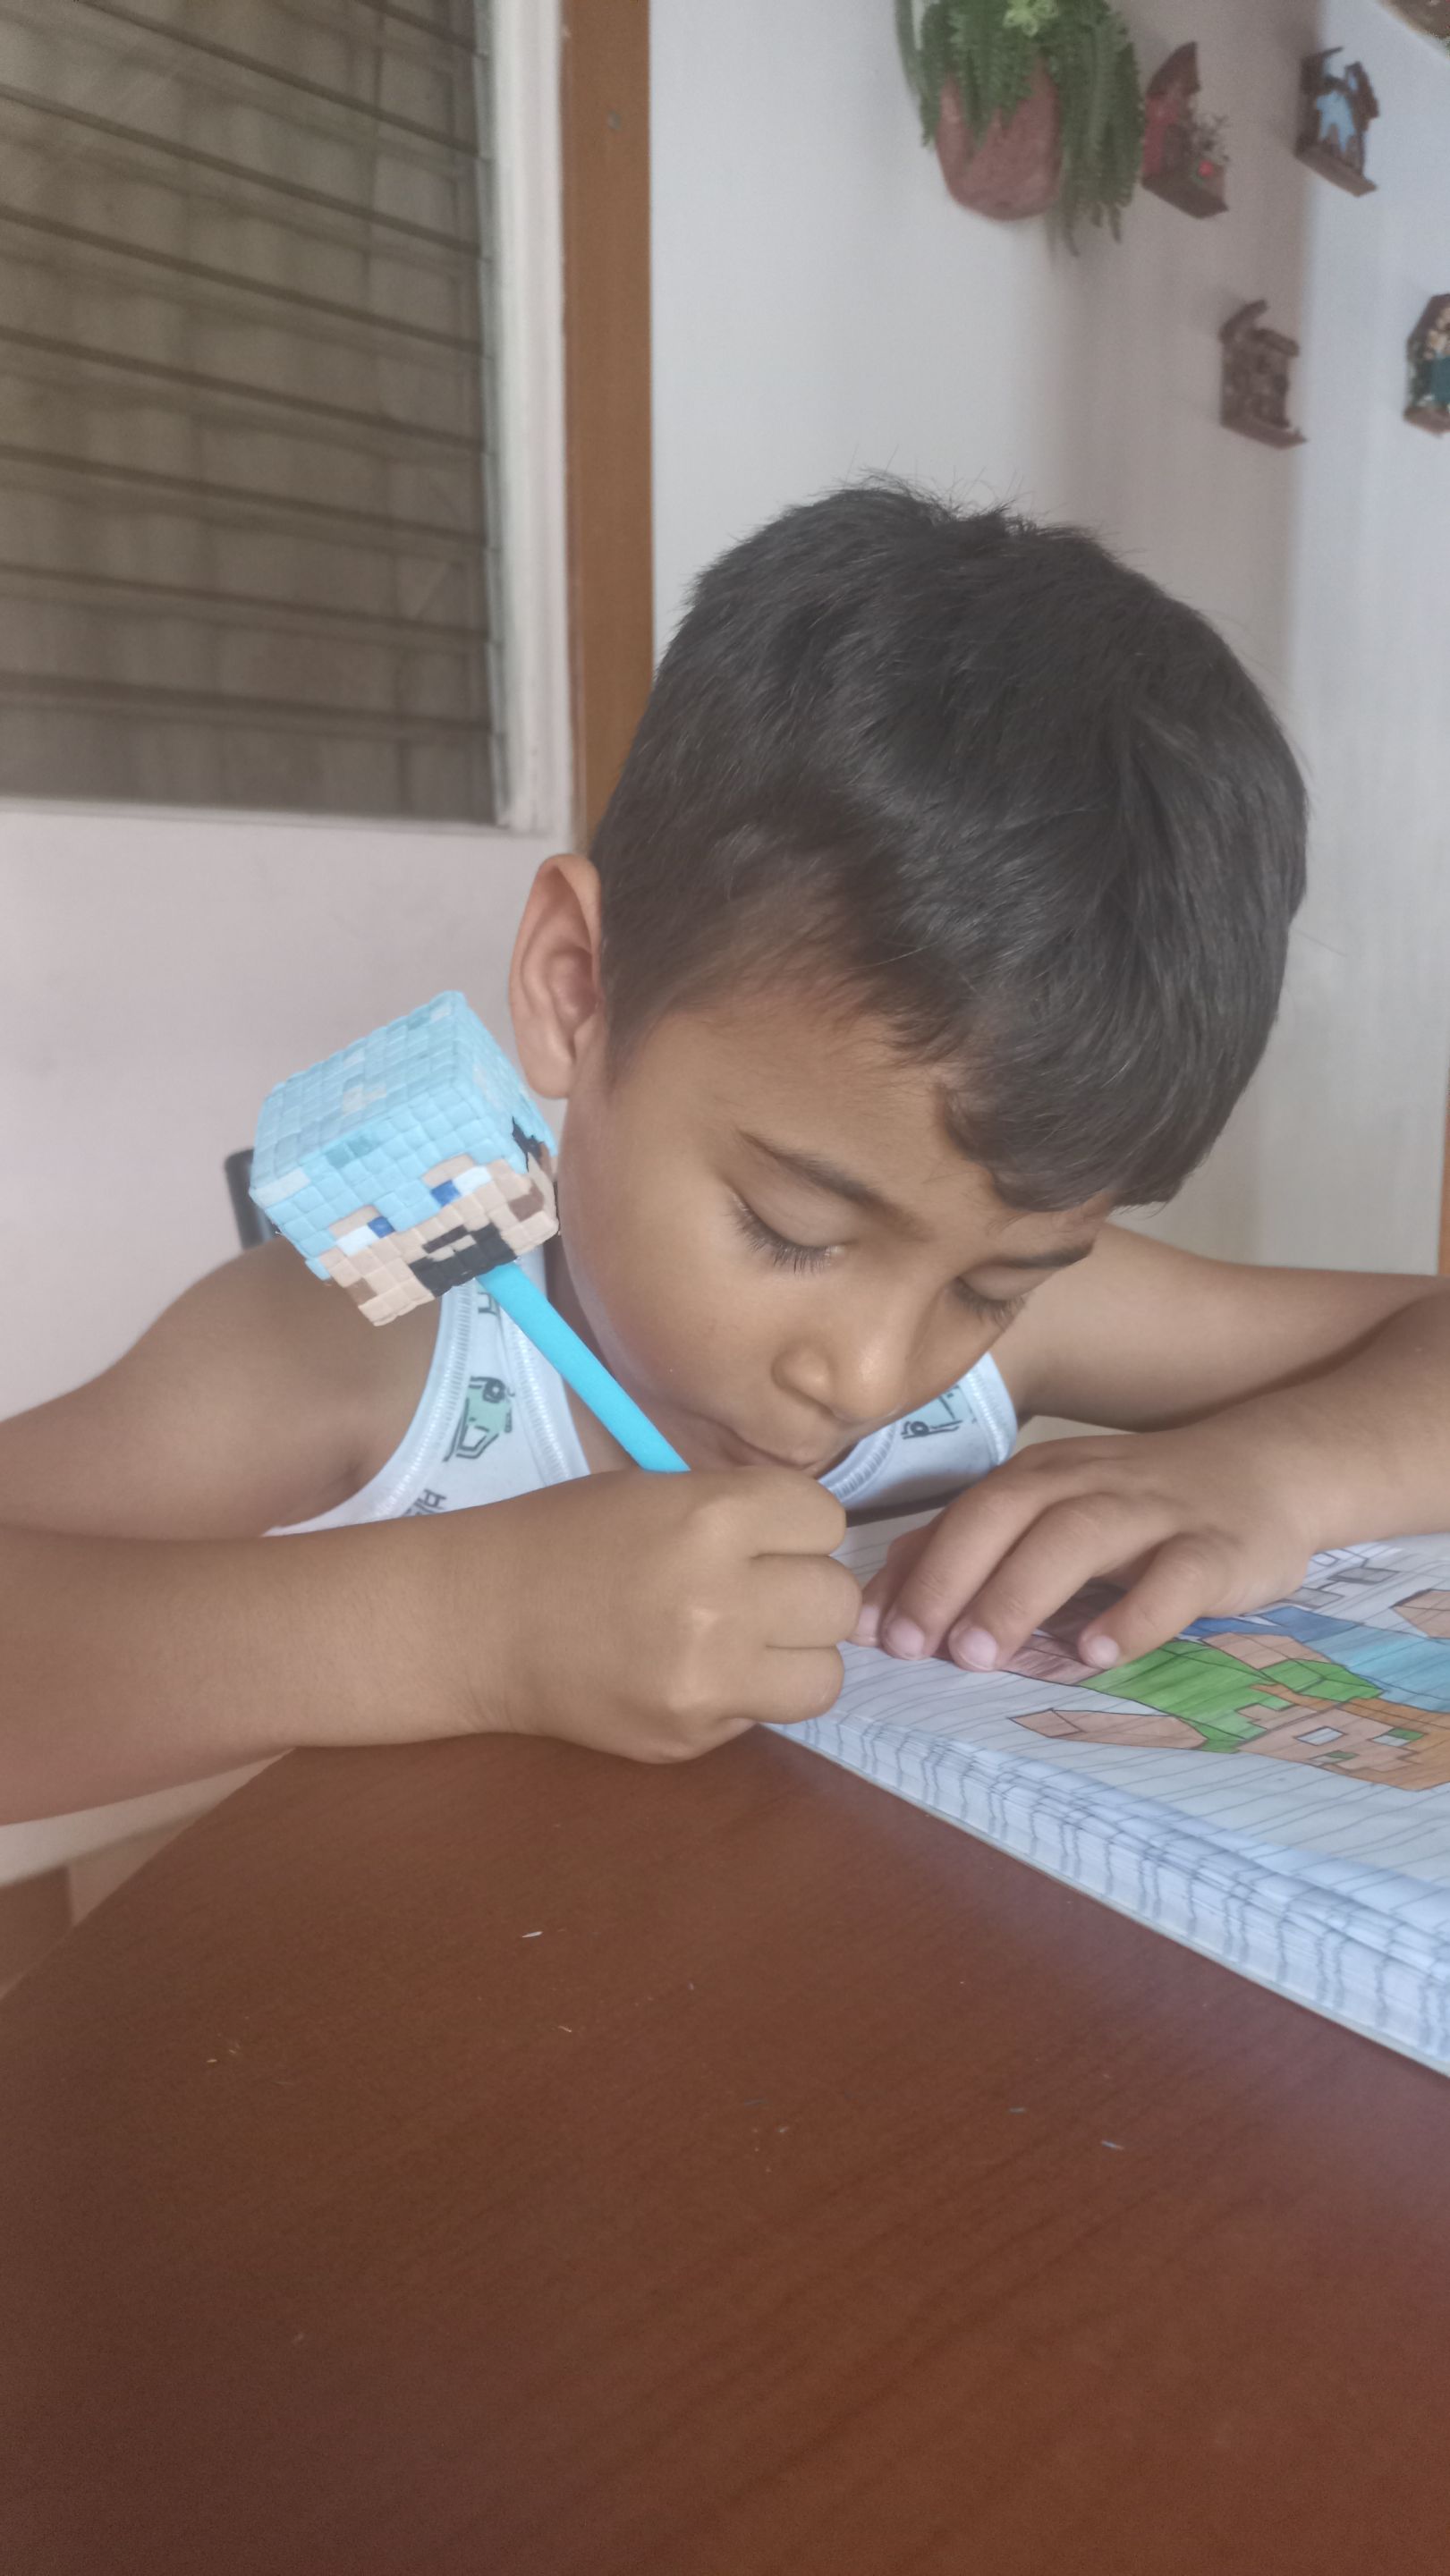
Ahora sí, listo nuestro lápiz gamer con temática de Minecraft. Un lápiz hecho con mucho amor, que acompañara a mi nieto en su nueva aventura escolar.
Gracias por acompañarme hasta aquí. Fue un verdadero gusto compartirlo con ustedes. Los espero en mi próximo proyecto. Saludos.
---
Gracias por acompañarme hasta aquí. Fue un verdadero gusto compartirlo con ustedes. Los espero en mi próximo proyecto. Saludos.
Now our Minecraft-themed gaming pencil is ready. A pencil made with lots of love, which will accompany my grandson on his new school adventure.
Thank you for joining me here. It was a real pleasure to share this with you. I look forward to seeing you in my next project. Best regards.
Foto de mi autoría / Photo by me
Traducción: DeepL Translate versión gratuita. / Translation: DeepL Translate Free version.
---

Traducción: DeepL Translate versión gratuita. / Translation: DeepL Translate Free version.