Hola, colonias digitales que conforman el universo de Hive. Reciban un fuerte abrazo.
Espero que estén bien desde el otro lado de la pantalla.
Hello, digital colonies that make up the Hive universe. Receive a big hug.
I hope you're doing well from the other side of the screen.
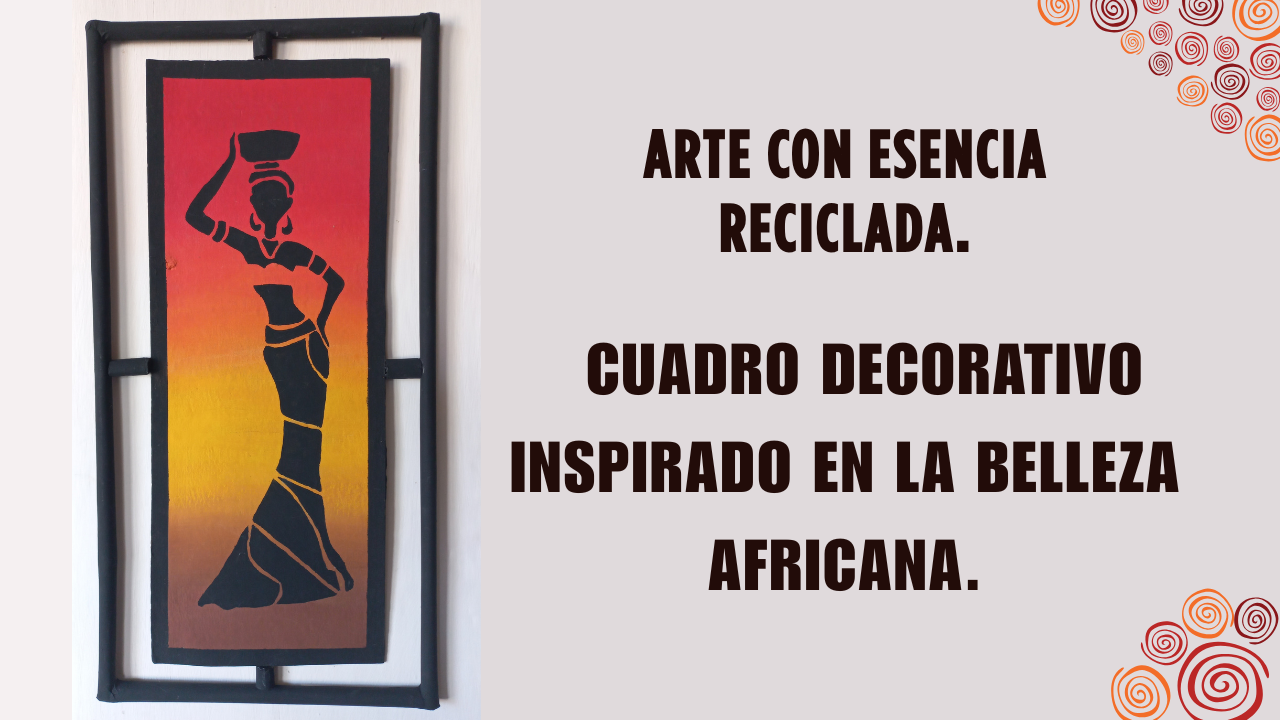
Imagen editada en Canva / Image edited in Canva
Hola, querida comunidad de Hive DIY. Hoy quiero compartir con ustedes un proyecto muy especial, no solo por el resultado final, sino también por cómo surgió la idea. Recientemente, una amiga muy cercana (niña creativa @yagelybr) me regaló unas láminas de cartón gris, también conocido como cartón compacto. Ella sabe cuánto disfruto reutilizar materiales y, por supuesto, compartimos la misma pasión por las manualidades.
Solo imagínense mi emoción. Al ver la robustez y versatilidad de este material, mi mente empezó a volar y enseguida visualicé un proyecto que llevaba tiempo queriendo hacer. Crear un cuadro decorativo con la silueta de una figura femenina africana. Me encanta la fuerza, elegancia y la calidez que transmite esa temática. Es por eso, que sentí que era perfecta para este tipo de proyecto.
Crear con las manos siempre ha sido, para mí, una forma de conectar con lo que me rodea. Y cuando los materiales llegan con cariño, como este cartón regalado por mi amiga, el proceso creativo se vuelve aún más especial. Así que, aquí les muestro el paso a paso, acompáñenme.
Hello, dear Hive DIY community. Today I want to share with you a very special project, not only for the final result, but also for how the idea came up. Recently, a very close friend (creative girl @yagelybr) gave me some sheets of grey cardboard, also known as solid board. She knows how much I enjoy reusing materials and, of course, we share the same passion for crafts.
Just imagine my excitement. Seeing the robustness and versatility of this material, my mind started to fly and I immediately visualized a project I had been wanting to do for a long time. To create a decorative painting with the silhouette of an African female figure. I love the strength, elegance and warmth that this theme transmits. That's why I felt it was perfect for this type of project.
Creating with my hands has always been, for me, a way to connect with my surroundings. And when the materials come with love, like this cardboard given to me by my friend, the creative process becomes even more special. So, here I show you the step by step, join me.
Materiales:
1. Cartón gris.
2. Pintura al frio roja, amarilla, marrón y negra.
3. Pinceles (especialmente uno de punta muy fina).
4. Papel de reciclaje.
5. Silicon líquido.
6. Pega escolar.
7. Cinta de papel (Tirro).
8. Regla.
9. Cuchilla de precisión (cutter).
10. Pali globo o cualquier objeto redondeado.
11. Diseño.
 ---
1. Cartón gris.
2. Pintura al frio roja, amarilla, marrón y negra.
3. Pinceles (especialmente uno de punta muy fina).
4. Papel de reciclaje.
5. Silicon líquido.
6. Pega escolar.
7. Cinta de papel (Tirro).
8. Regla.
9. Cuchilla de precisión (cutter).
10. Pali globo o cualquier objeto redondeado.
11. Diseño.
Materials: |https://files.peakd.com/file/peakd-hive/mily0202/23tvegURGfsLQpLVgT1P5XvPeAfEwSH4MvAn2MqbodwjT12cqxNGbfgf6noi1Qapw93Ye.jpg|https://files.peakd.com/file/peakd-hive/mily0202/23t7euv2zcsg5Natkfh6DTWcnh4aNpwmrYCMtCunsRm6YXCaqxMpqU5xHqtVe4T8b25mv.jpg| |-|-| ---
1. Gray cardboard.
2. Red, yellow, brown and black cold paint.
3. Brushes (especially one with a very fine tip).
4. Recycled paper.
5. Liquid silicon.
6. School glue.
7. Paper tape (Tirro).
8. Rule.
9. Precision blade (cutter).
10. Pali balloon or any rounded object.
11. Design.
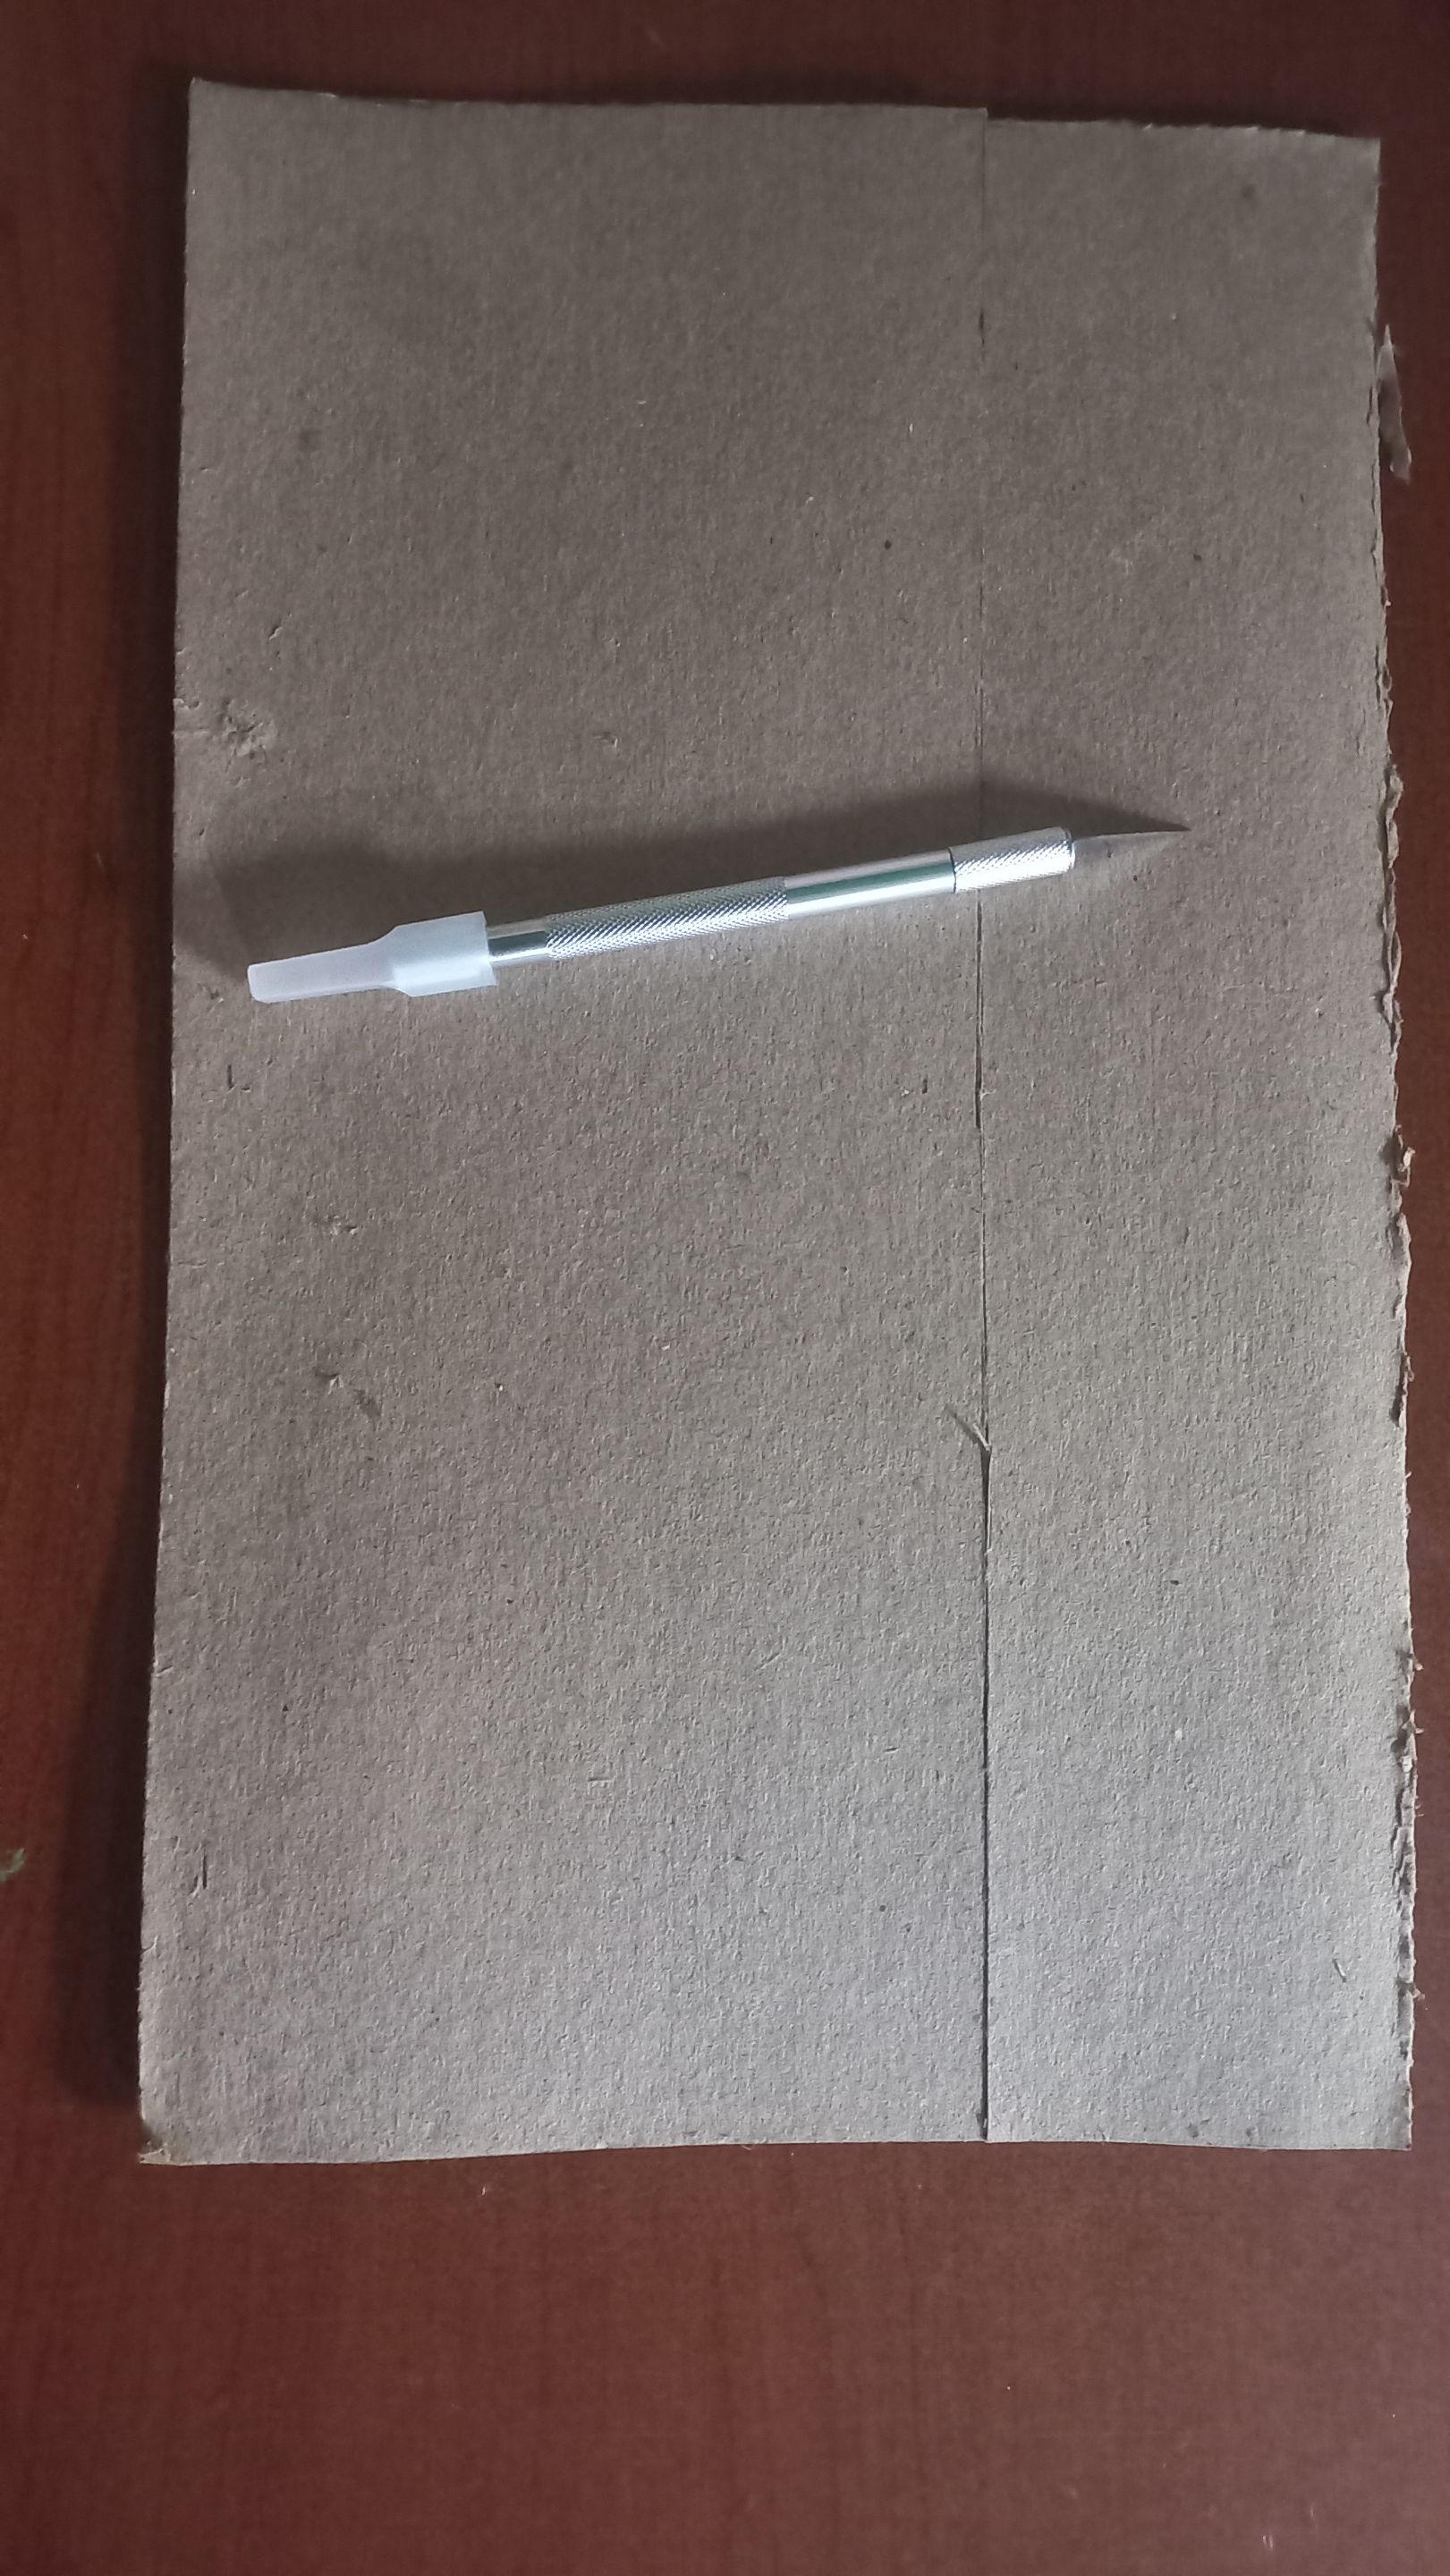
Para comenzar, cortare la pieza principal que dará forma al cuadro. Un trozo de cartón de 36 centímetros de alto por 14 centímetros de ancho. Por ser un cartón bastante duro, utilizare un cutter (o exacto), ya que me permite realizar un corte preciso y limpio sin maltratar el borde. Les recomiendo apoyarse con una regla para guiar el corte.
---
To begin, I will cut the main piece that will give shape to the painting. A piece of cardboard 36 centimeters high and 14 centimeters wide. Since the cardboard is quite hard, I will use a cutter (or exacto), since it allows me to make a precise and clean cut without damaging the edge. I recommend using a ruler to guide the cut.
Una vez cortada la pieza base, procedí a pintarla. Elegí aplicar la técnica de difuminado, que no es otra que crear una transición suave entre un color y otro. En mi caso comencé por el rojo, amarillo y marrón, aplicados en ese orden. Un consejo, cuando lleguen al punto donde los colores se encuentren, procuren que el pincel tenga muy poca, pero muy poca pintura. De esta forma, se logra una fusión sutil sin que se formen bordes duros o manchas.

|https://files.peakd.com/file/peakd-hive/mily0202/23u673TCtrBEd5xjkU4pFiwD2VCmtFG8XHYLo5psuBwYbyQy7uYrT669urLKbL9cWfuDJ.jpg|https://files.peakd.com/file/peakd-hive/mily0202/23vi1fAyBccV1qgiTCF1K5oQcV6ReoUWQo5synncCYyqUwcb56swRogomam2yVLCYnoEq.jpg|
|-|-|

|https://files.peakd.com/file/peakd-hive/mily0202/23wCDviNDivEckYGpk9dczW89gP8cGrFVnt2x27dxaPTJC8a4TUJmJUzPcaZvZ6WNgAhM.jpg|https://files.peakd.com/file/peakd-hive/mily0202/23x1AyhAGCCfdkd6U4FdXU6TiST8zPPg1i6v64nEh9dRw6puiJLn26ss3N7mybhwbEJJE.jpg|
|-|-|
---
Once the base piece was cut, I proceeded to paint it. I chose to apply the blurring technique, which is nothing more than creating a smooth transition between one color and another. In my case I started with red, yellow and brown, applied in that order. A tip, when you get to the point where the colors meet, make sure that the brush has very, very little paint on it. This way, a subtle fusion is achieved without hard edges or stains.
Mientras la base se seca. Es el turno del diseño principal. En este paso, trabajare con precisión, porque cada corte será crucial para que la figura tome forma con claridad. Para ello, vuelvo a utilizar el cutter. Con cuidado y paciencia, empiezo a cortar las secciones más grandes del diseño, Este enfoque ayuda a mantener el control en cada corte, especialmente porque el diseño tiene curvas o detalles sutiles.

|https://files.peakd.com/file/peakd-hive/mily0202/23uQtiTZWSeWEeRL5Sr5x9Xx1JapgvZjJ8BJ4CGZZX5JBHKmsSmeX36zqGZvc3puuZacZ.jpg|https://files.peakd.com/file/peakd-hive/mily0202/23xyWxuk9feHQbeVF4nqTtZBqmRy5WDu3uQCTx8T8GwHvUr11sQz9Y1BJ9sQxLUNsnaET.jpg|
|-|-|
---
While the base dries. It is the turn of the main design. In this step, I will work with precision, because each cut will be crucial for the figure to take shape clearly. To do this, I use the cutter again. With care and patience, I start cutting the larger sections of the design. This approach helps to keep control of each cut, especially since the design has curves or subtle details.
En el siguiente paso. Centro cuidadosamente el diseño sobre la pieza pintada. Una vez ubicado, lo fijo con cinta de papel (tirro), para que no se mueva. A continuación, con un pincel de punta muy fina y pintura negra, comienzo a pintar los detalles más delicados del diseño. Aquí la paciencia es crucial, cada línea, cada curva, cada trazo cuenta para definir la esencia de la figura. Después, cambio a un pincel más grueso para rellenar en negro los trazos más grandes. En este punto es donde el proyecto cobra vida.

|https://files.peakd.com/file/peakd-hive/mily0202/23tvkt7RRUmQUjR2mCKosaLZhXmWKgDkYPKS9tTWcegAunEaJQyvRcW676ETVB4SeEw4v.jpg|https://files.peakd.com/file/peakd-hive/mily0202/23vi3sQQZa7mufuqSC58SMePhJs5gvB21cAgJRJNBkNgZiurhpQGBjJpWSmPoP8fRGufb.jpg|
|-|-|

|https://files.peakd.com/file/peakd-hive/mily0202/23xVPP6GUqoDKZcoM8b2ZVoiJAJAfDEnjkJKuT4r5Z8xSkJVpp8Pd5bLckycvm1H6mLFq.jpg|https://files.peakd.com/file/peakd-hive/mily0202/23vsSuM7AzTT6PBtYRaWR5vUH2Rj3V42sB42iQp3wGE3PFTvtexWmsAhrHQVyKX9He47h.jpg|
|-|-|
---
In the next step. Carefully center the design on the painted piece. Once placed, I fix it with paper tape (tirro), so that it does not move. Next, with a very fine-tipped brush and black paint, I begin to paint the finer details of the design. Here patience is crucial, every line, every curve, every stroke counts to define the essence of the figure. Next, I switch to a thicker brush to fill in the larger strokes in black. This is where the project comes to life.
Para resaltar y definir la pieza estrella, aplico una línea negra de 1 centímetro de grosor por todo el borde. No lo van a creer, pero este detalle tan sencillo transforma visualmente toda la composición.

|https://files.peakd.com/file/peakd-hive/mily0202/23x18nu3Z3p1rtfkY1fKkZHo4pn9QQBQEhHmQba2Pk1HA7in6ASrSkSPzGhwa59awZif4.jpg|https://files.peakd.com/file/peakd-hive/mily0202/23wqnKPJ7XDShRyemt6eMAVYXUsw6vre4jyVfLLLSB7k2QVGA4Hti6psiqV1f31Xrc1z4.jpg|https://files.peakd.com/file/peakd-hive/mily0202/23wqpW8RkHDcorSJhgcchGvtTeSs6iaU3NF9GToipn9VvRGPELPSwUHgREEs87qRd4bbo.jpg|
|-|-|-|
---
To highlight and define the star piece, I apply a black line 1 centimeter thick along the entire edge. You won't believe it, but this simple detail visually transforms the whole composition.
Es el turno de diseñar el marco. En este paso, utilizo hojas de papel reciclado y con la ayuda del pali globo o cualquier objeto redondeado formo unos tubos. Coloco el pali globo en el borde de la hoja y comienzo a enrollar cuidadosamente, asegurándome que quede bien ajustado y firme. Termino sellándolo con pega escolar a todo lo largo. Repito este proceso hasta obtener 2 tubos de 40 cm, 2 de 18 cm, 2 de 1cm y 2 de 2cm. Es muy importante mantener el mismo grosor de cada tubo. Y finalizo pintándolos todos en negro.

|https://files.peakd.com/file/peakd-hive/mily0202/23uQtb8XMA1hGYtwRf5gq4ypMdMptaHEHryWuwBwh9yR7vnjMoMVpcdzvY5qMRy8cRPm5.jpg|https://files.peakd.com/file/peakd-hive/mily0202/23vsNDW7G1RhF65MuNo7Po7iRZYxDd6446wHvyoRiVWWp2VEu9rPF1Vn4ZZCQC7Tfipfc.jpg|https://files.peakd.com/file/peakd-hive/mily0202/23tbnbA8pQvd33JDU2UHAbw9VpczLywkPVmC7faYAs4cfgGwytXtht8PrCWtQrWkypqvg.jpg|
|-|-|-|
---
Now it's time to design the frame. In this step, I use sheets of recycled paper and with the help of the balloon stick or any rounded object I form tubes. I place the pali balloon on the edge of the sheet and start to roll it carefully, making sure it is tight and firm. I finish by sealing it with school glue along the entire length. I repeat this process until I get 2 tubes of 40 cm, 2 of 18 cm, 2 of 1 cm and 2 of 2 cm. It is very important to keep the same thickness of each tube. And I finish by painting them all in black.
Con todas las piezas listas, llegó el momento de armar el marco.
Comienzo por los tubos de 40 cm, a los cuales les ubico el centro y pego con silicón los tubos de 2 cm, justo en ese punto medio. Luego, tomo los tubos de 18 cm y les adhiero en el centro los tubos de 1 cm, siguiendo el mismo procedimiento.
Con las cuatro secciones listas, ensamblo el marco disponiéndolo en forma de rectángulo, colocando los tubos de 40 cm a los costados y los de 18 cm en la parte superior e inferior. Para asegurarme que las uniones sean firmes, las refuerzo con cinta de papel en cada esquina. Finalmente, pinto todo el marco en negro.

|https://files.peakd.com/file/peakd-hive/mily0202/23u67FVc3JZHrFuN78HYkXTorbHD2ZmEAyzxQWUJXNo333rDPtstRr2uWg9UTs6yo91Xy.jpg|https://files.peakd.com/file/peakd-hive/mily0202/23x1KVqbGSh7NAPppfrn95rVwL3cgHpksdkLWY2aZFxSR7yiRU7QqruNUzM4eVt5HFdWg.jpg|
|-|-|

|https://files.peakd.com/file/peakd-hive/mily0202/23vhsdQfh1eCD7U1T5YA3etpvsLDmSUzHPtLPqeVGq8oQUSnS1Eg4Ff4pF6nkeciJ32ye.jpg|https://files.peakd.com/file/peakd-hive/mily0202/23vsNfc6aL2PAh8Nv979rLe7PkyaZcvKAz8DuKsKZNYGuKJQaBtqRtf3V2DpLSVXK6HDN.jpg|https://files.peakd.com/file/peakd-hive/mily0202/23tmUeuLjLTQYKKt5xDJGgu776Uh6WR1VpB4FbwgSFoCxp5DsJ3FTTzNRn2PjehmSAQzU.jpg
|-|-|-|
---
Comienzo por los tubos de 40 cm, a los cuales les ubico el centro y pego con silicón los tubos de 2 cm, justo en ese punto medio. Luego, tomo los tubos de 18 cm y les adhiero en el centro los tubos de 1 cm, siguiendo el mismo procedimiento.
Con las cuatro secciones listas, ensamblo el marco disponiéndolo en forma de rectángulo, colocando los tubos de 40 cm a los costados y los de 18 cm en la parte superior e inferior. Para asegurarme que las uniones sean firmes, las refuerzo con cinta de papel en cada esquina. Finalmente, pinto todo el marco en negro.
With all the pieces ready, it was time to assemble the frame.
I start with the 40 cm tubes, to which I place the center and glue the 2 cm tubes with silicone, just in that middle point. Then, I take the 18 cm tubes and glue the 1 cm tubes in the center, following the same procedure.
With the four sections ready, I assemble the frame by arranging it in the shape of a rectangle, placing the 40 cm tubes on the sides and the 18 cm tubes at the top and bottom. To make sure the joints are tight, I reinforce them with paper tape at each corner. Finally, I paint the entire frame black.
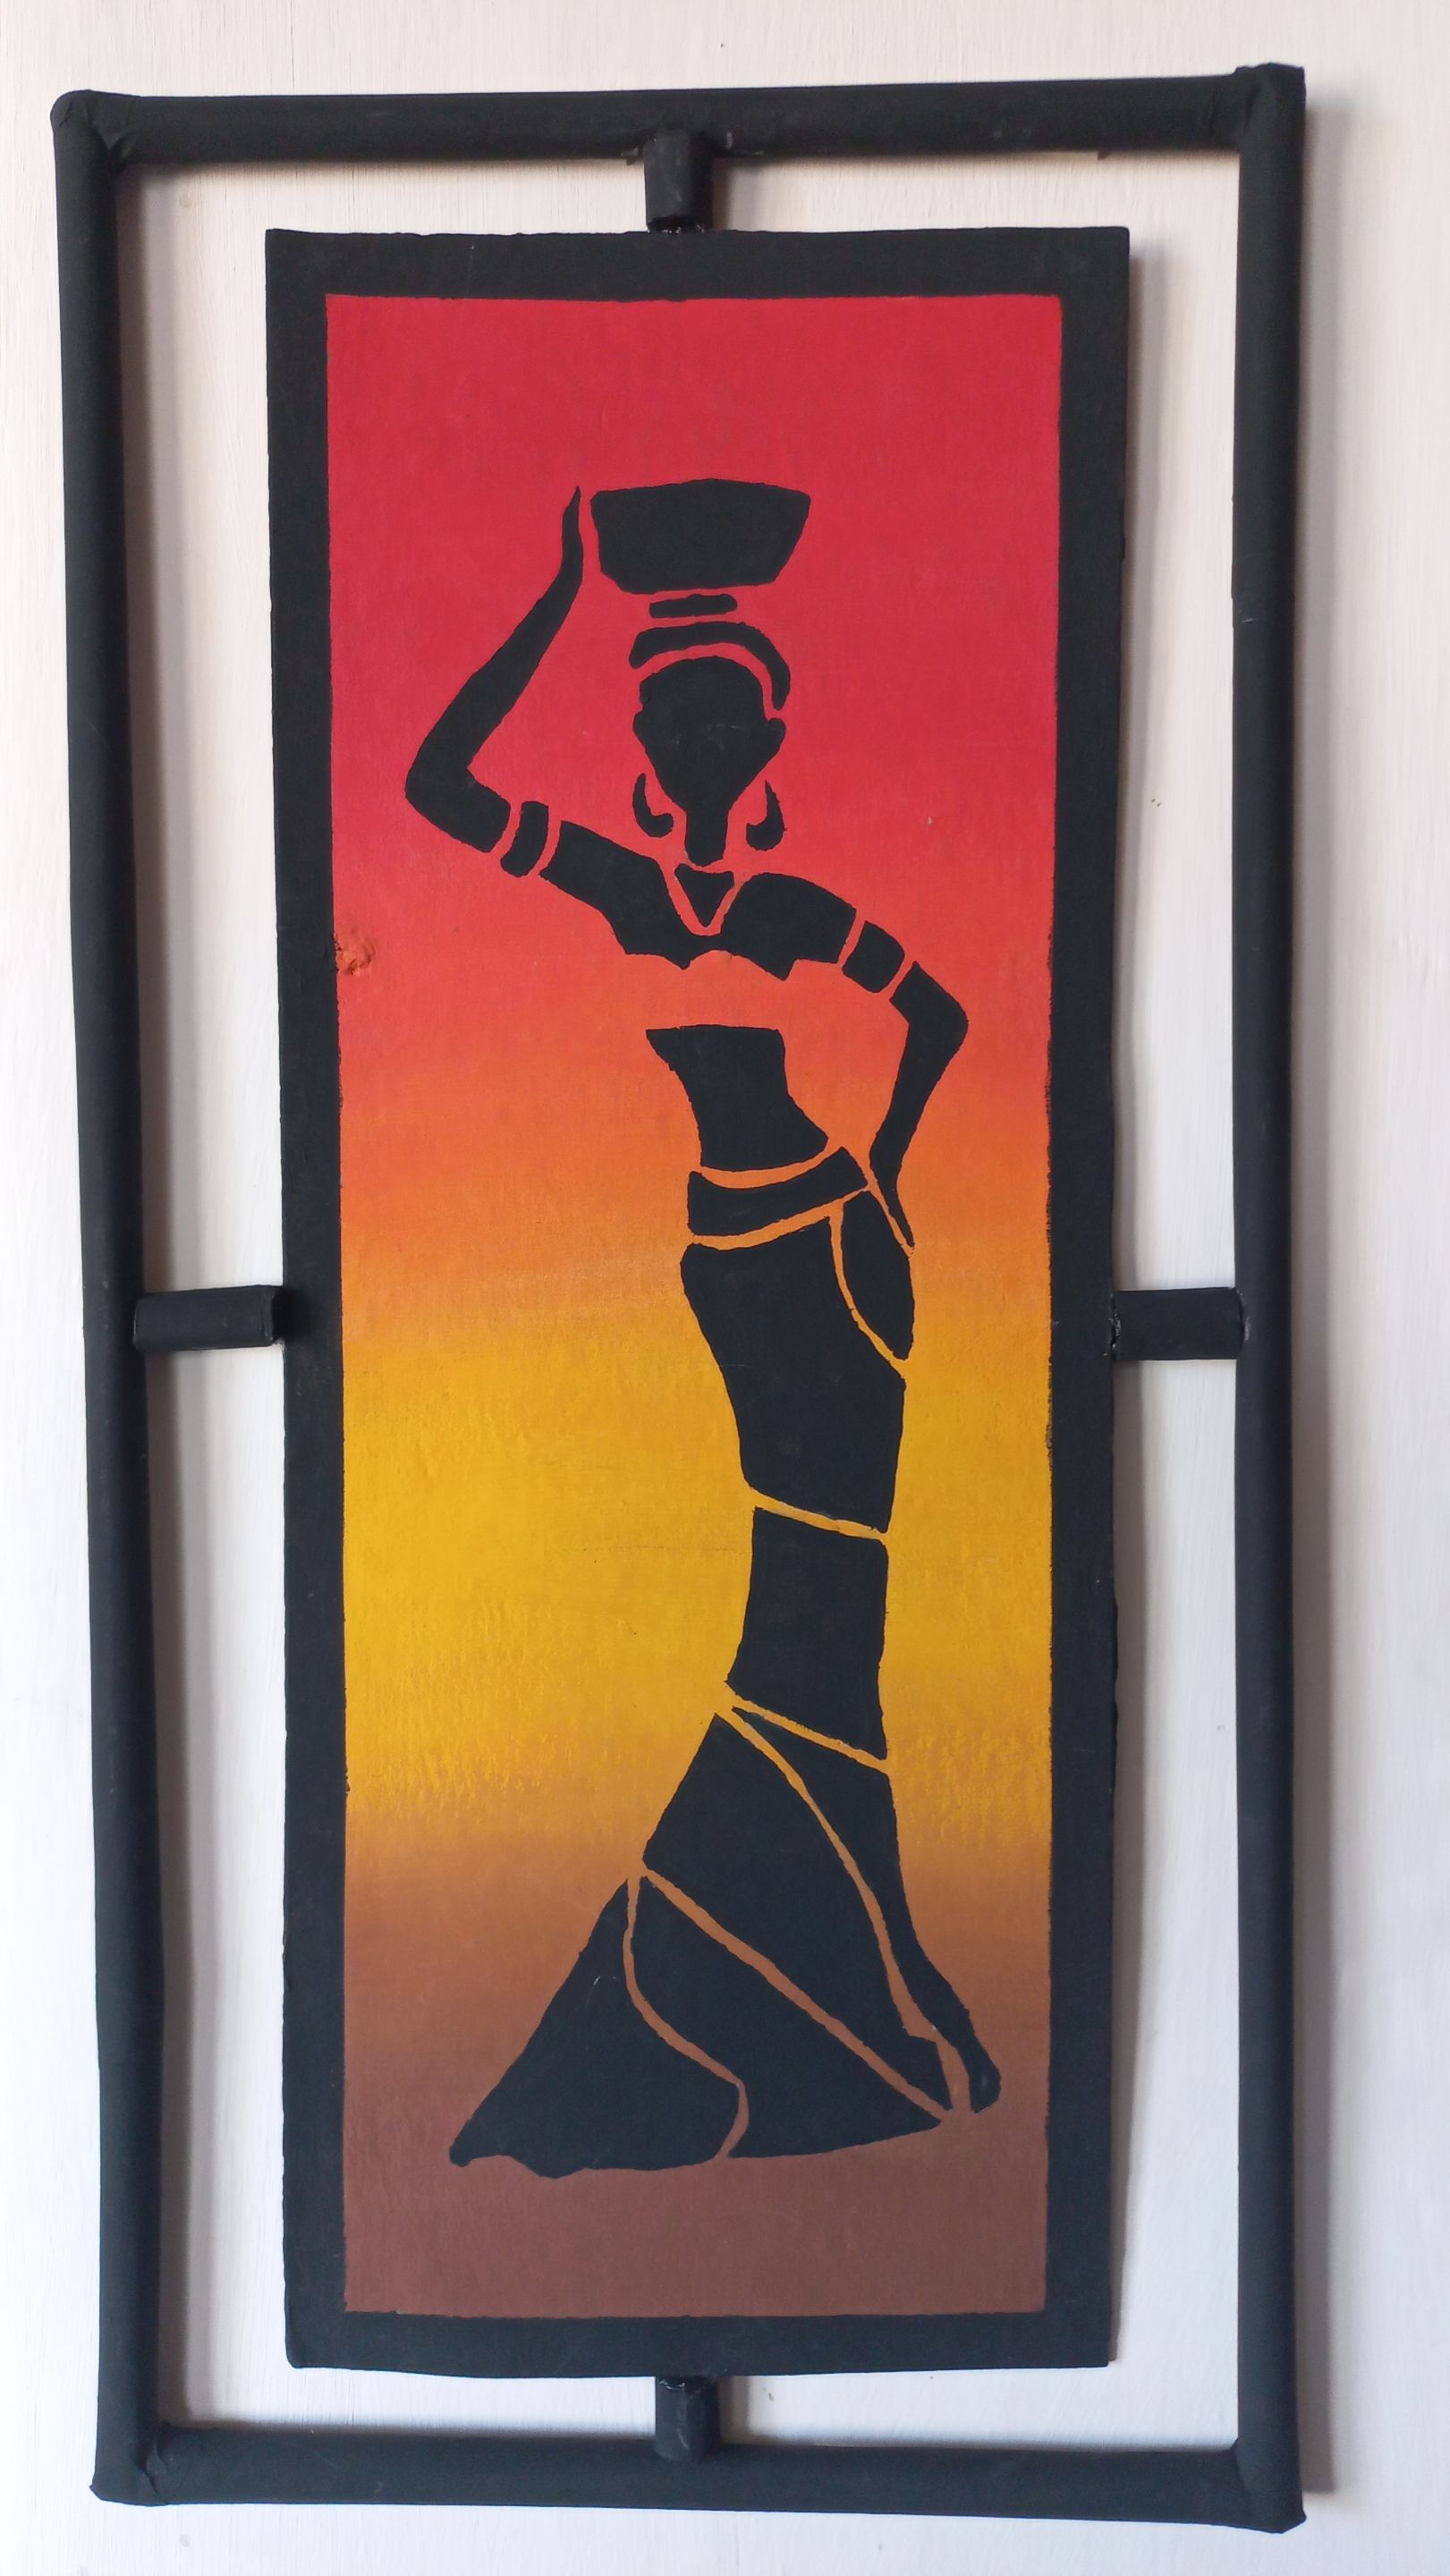
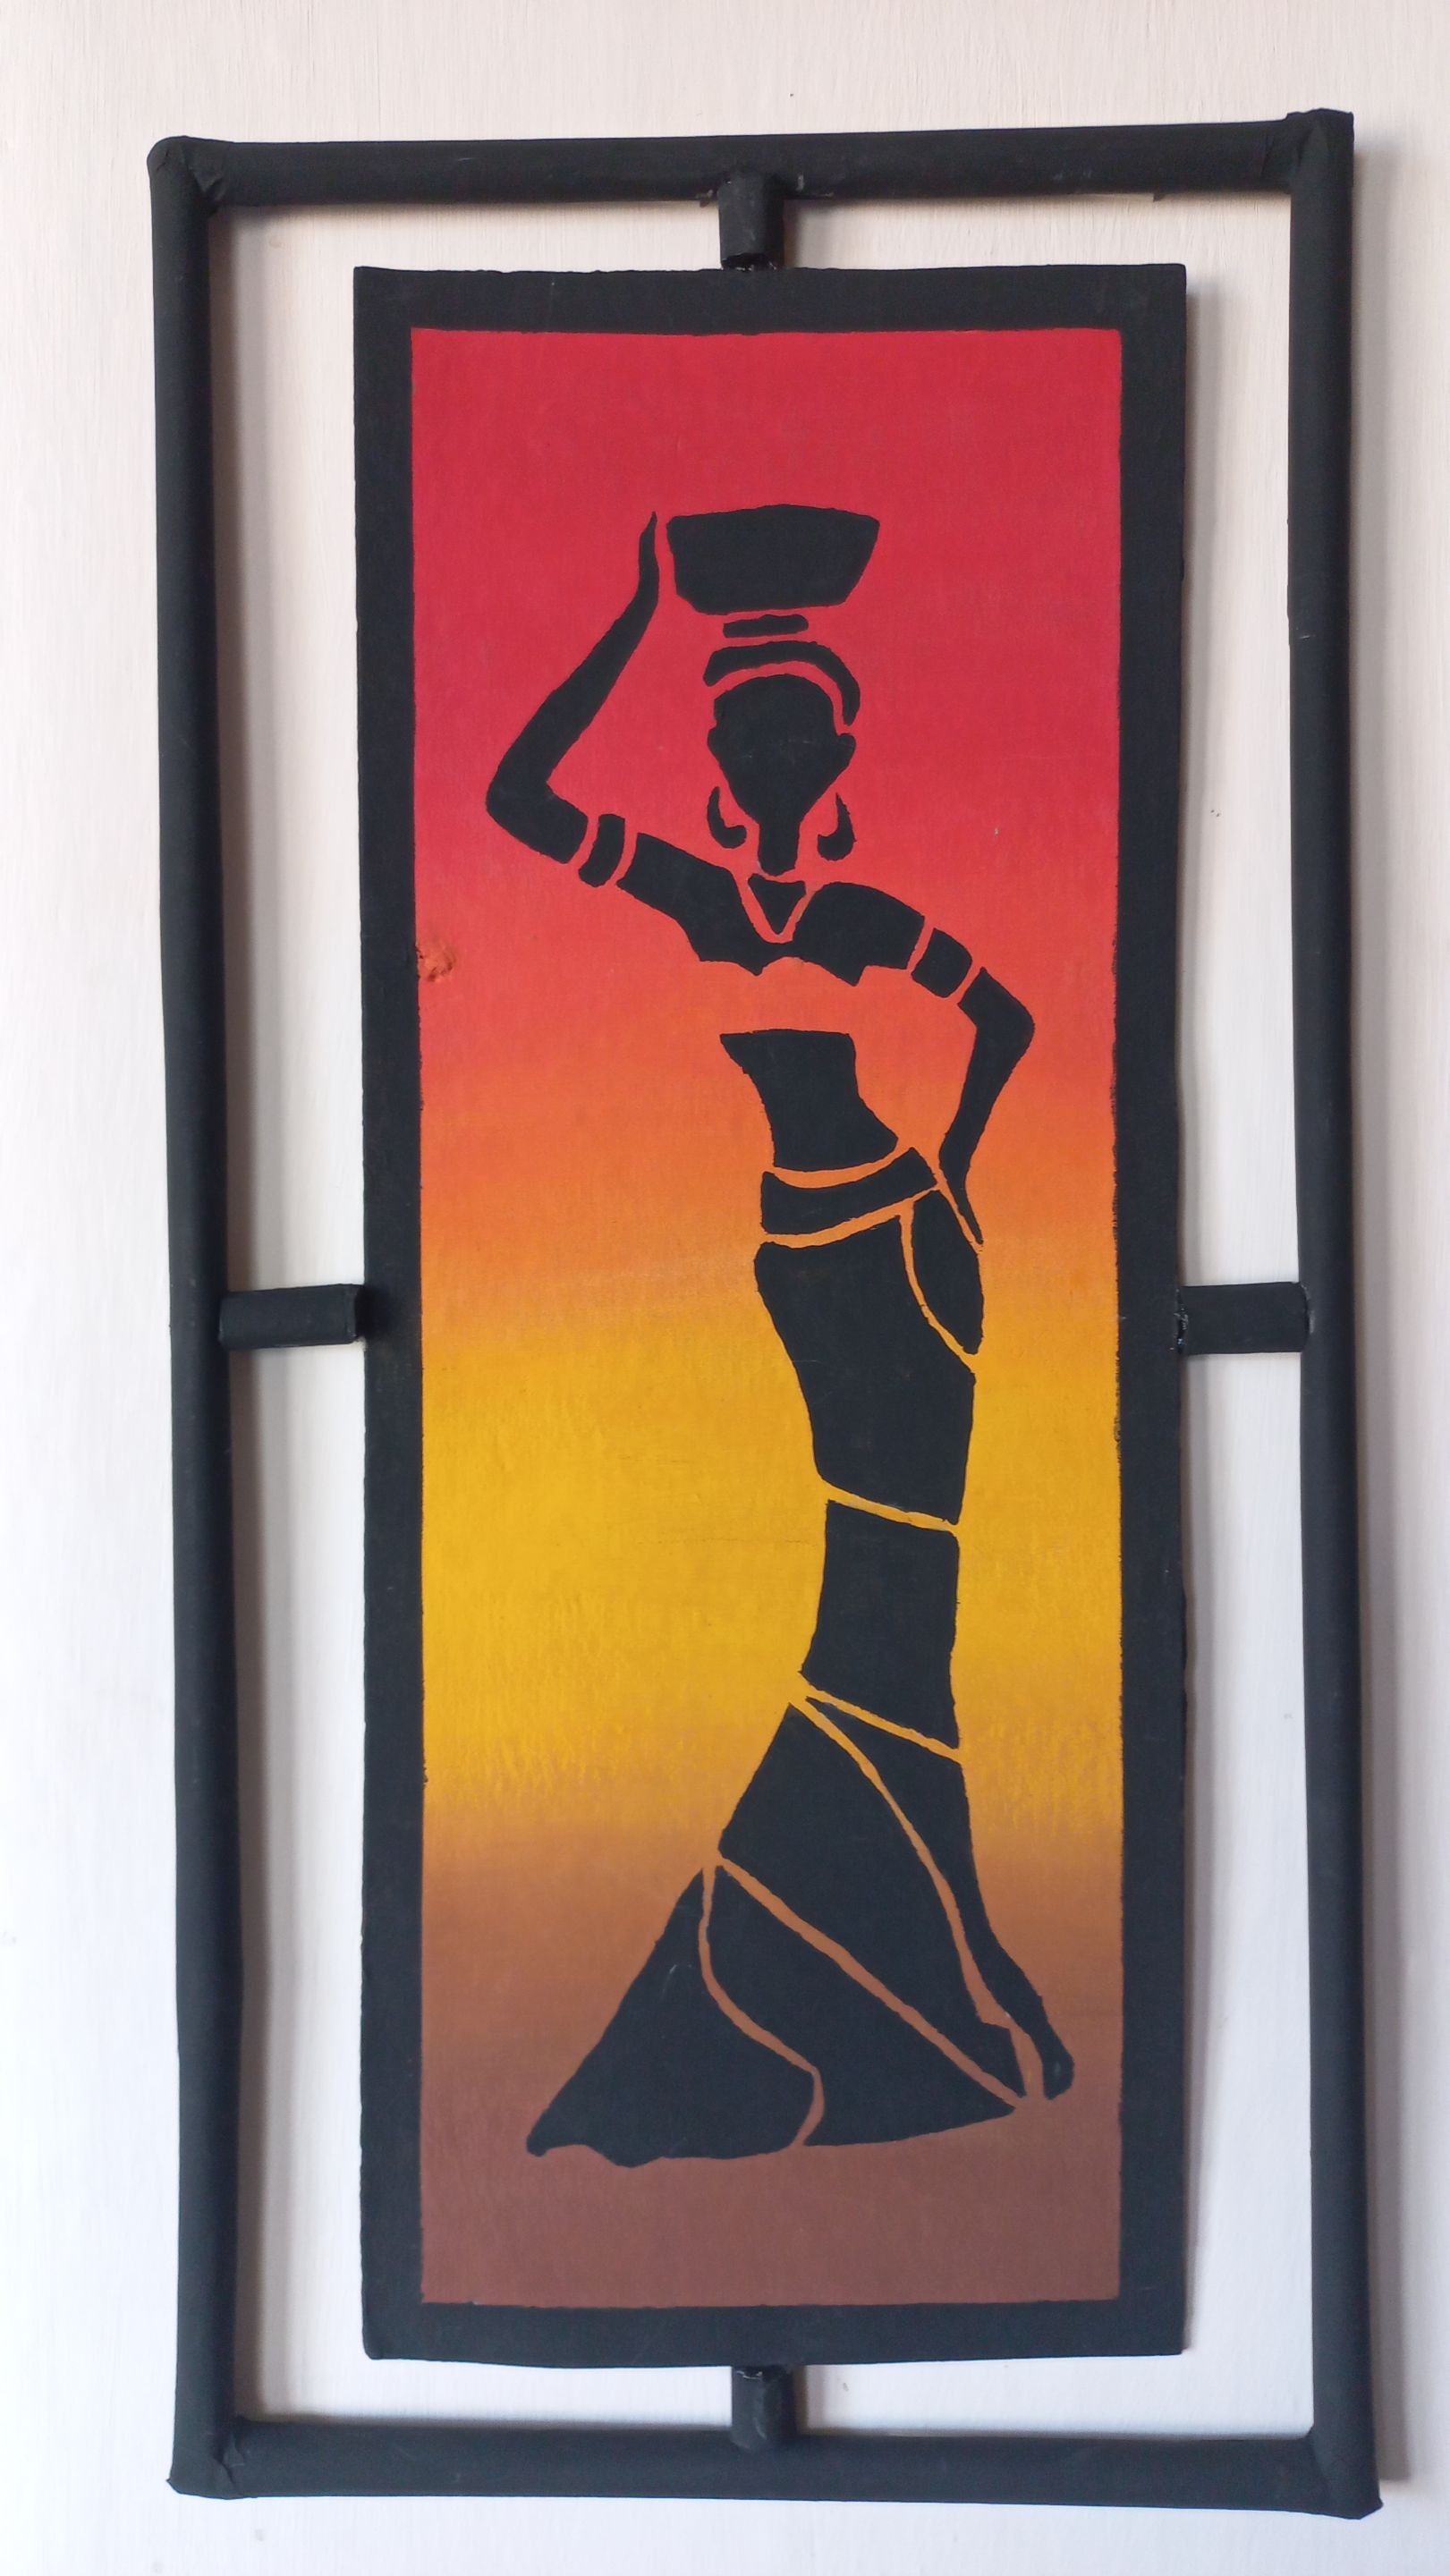
Finalizo el proyecto colocando y pegando la pieza principal en el centro del marco.
Cada detalle de este cuadro decorativo nació de un regalo espontáneo. Porque cuando unimos creatividad con intención, el resultado siempre habla por sí solo. Gracias por acompañarme.
Cada detalle de este cuadro decorativo nació de un regalo espontáneo. Porque cuando unimos creatividad con intención, el resultado siempre habla por sí solo. Gracias por acompañarme.
I finish the project by placing and gluing the main piece in the center of the frame.
Every detail of this decorative painting was born from a spontaneous gift. Because when we combine creativity with intention, the result always speaks for itself. Thank you for joining me.

 ---
Foto de mi autoría / Photo by me
Traducción: DeepL Translate versión gratuita. / Translation: DeepL Translate Free version.
---

Traducción: DeepL Translate versión gratuita. / Translation: DeepL Translate Free version.