Hola, colonias digitales que conforman el universo de Hive. Reciban un fuerte abrazo.
Espero que estén bien desde el otro lado de la pantalla.
Hello, digital colonies that make up the Hive universe. Receive a big hug.
I hope you're doing well from the other side of the screen.
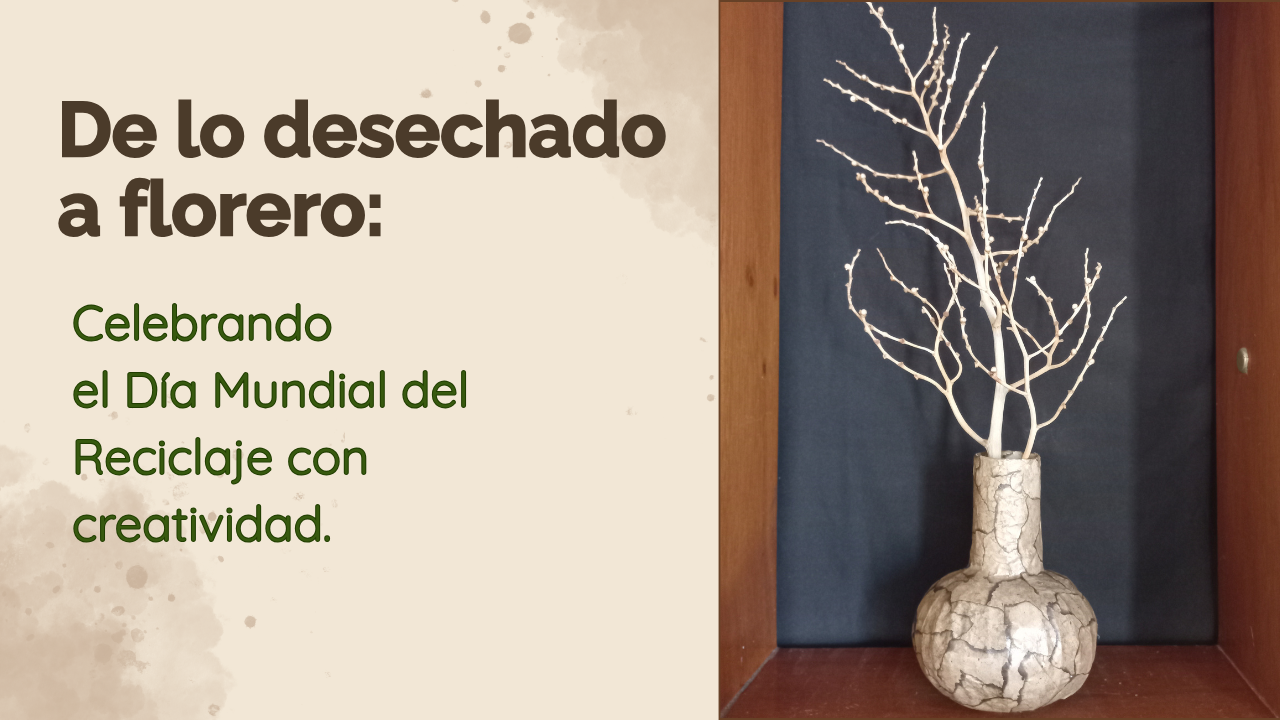
Imagen editada en Canva / Image edited in Canva
Hola, querida comunidad creativa de HIVE DIY. Les comento que hace poco se celebró el Día Mundial del Reciclaje, me lo recordó la publicación de la amiga @zhanavic69(gracias por eso). Así que decidí conmemorar esta fecha especial de una manera muy personal. Creando un florero, donde aproximadamente el 80% de los materiales son reciclables. En verdad es una ocasión ideal para darles una segunda oportunidad a esos objetos que muchas veces terminan en la basura.
Me gustaría que me acompañaran en este proyecto sencillo y divertido, ya que mi idea nace del deseo de aportar un granito de arena al planeta y demostrar que, con un poco de imaginación, lo que parecía inservible puede transformarse en algo bonito y útil. Espero que se animen a hacerlo o que al menos los motive a mirar los desechos con otros ojos.
Sin más preámbulo les invito al paso a paso.
Hello, dear creative community of HIVE DIY. Let me tell you that recently World Recycling Day was celebrated, I was reminded of it by friend @zhanavic69's post(thanks for that). So I decided to commemorate this special date in a very personal way. By creating a vase, where approximately 80% of the materials are recyclable. It really is an ideal occasion to give a second chance to those objects that often end up in the trash.
I would like you to join me in this simple and fun project, since my idea comes from the desire to contribute a grain of sand to the planet and show that, with a little imagination, what seemed useless can be transformed into something beautiful and useful. I hope you are encouraged to do it or at least that it motivates you to look at waste with different eyes.
Without further ado, I invite you to step by step.
Materiales:
1. Cinta de papel (tirro).
2. Lápiz.
3. Pega escolar.
4. Pincel.
5. Cinta métrica.
6. Regla.
7. Encendedor.
8. 2 rollos de papel higiénico vacío.
9. Bolsa de papel.
10. Cartón.
11. Tijeras.
12. Rama seca.
13. Pega de contacto.
14. Perlitas pequeñas (este adorno es al gusto).
15. Silicon líquido.
1. Cinta de papel (tirro).
2. Lápiz.
3. Pega escolar.
4. Pincel.
5. Cinta métrica.
6. Regla.
7. Encendedor.
8. 2 rollos de papel higiénico vacío.
9. Bolsa de papel.
10. Cartón.
11. Tijeras.
12. Rama seca.
13. Pega de contacto.
14. Perlitas pequeñas (este adorno es al gusto).
15. Silicon líquido.
Materials: |https://files.peakd.com/file/peakd-hive/mily0202/23uQpV7N8Ph6NDoojoqnDCXDPwNw4bg4VscWHPMwJ2Nx3GMX37cmo4H4XFqw3uWdBhZhw.jpg|https://files.peakd.com/file/peakd-hive/mily0202/23tmFzhUWm44wH42h88YstjukxaJ3uzorC6PRH6brne2oCmVwmnsbQX2deGbKHHEkfpY4.jpg| |-|-| ---
1. Paper tape.
2. Pencil.
3. School glue.
4. Brush.
5. Tape measure.
6. Rule.
7. Lighter.
8. 2 rolls of empty toilet paper.
9. Paper bag.
10. Cardboard.
11. Scissors.
12. Dry branch.
13. Contact adhesive.
14. Small pearls (this decoration is to taste).
15. Liquid silicon.
Para el primer paso tomé un rollo de papel higiénico y, con mucho cuidado, lo corté en uno de sus extremos. La idea es que encaje perfectamente dentro del otro rollo y así formar un cilindro de 16 centímetros de alto.

|https://files.peakd.com/file/peakd-hive/mily0202/23xAVJygRDf33VrT3ykRhCVpFVCHx21YyCSFeBUANuhUbs4FC1mdfV18CHakD4LoQdRNu.jpg|https://files.peakd.com/file/peakd-hive/mily0202/23tmMzkrZSkhQgi7AKbn5h3PQZKV6wVgzYQkSwRmp63rwHzbfH1JLTqh3NAkHdrwQUzSE.jpg|
|-|-|
---
For the first step I took a roll of toilet paper and, very carefully, cut it at one end. The idea is that it fits perfectly inside the other roll to form a cylinder 16 centimeters high.
Luego, tomé un pedazo de cartón y corté un círculo de 8 centímetros de diámetro. Marqué la mitad y lo dividí en dos partes. Este molde lo transferí varias veces al cartón para después recortar cada pieza con cuidado.

|https://files.peakd.com/file/peakd-hive/mily0202/23u6BUoQ8qtu9XbpzGcW85c8e4Vq4UHxF6qa4Rta83cQ95mpKn1HpP5TNEb1677gWJscL.jpg|https://files.peakd.com/file/peakd-hive/mily0202/23w2q3wCqGc8C5QZJdHoughdwBGpz8ZJcSAnSFD69ThQgUbMFEyC23fGENJ2arobXrWUy.jpg|
|-|-|
---
Then, I took a piece of cardboard and cut a circle of 8 centimeters in diameter. I marked the middle and divided it into two parts. I transferred this mold several times to the cardboard and then carefully cut out each piece.
Con todas las piezas listas, es el momento de ensamblarlas. Fui pegando cada una al cilindro con la ayuda del silicón líquido, asegurándome de que quedaran perfectamente alineadas con la base. Este paso es muy importante ya que es el que le da estabilidad y uniformidad a la estructura.
Una vez completado todo el diámetro del cilindro y después de que el pegamento se secó, procedí a forrar toda la pieza con cinta de papel (tirro). Es importante cubrir cada rincón para reforzar la pieza.

|https://files.peakd.com/file/peakd-hive/mily0202/23uQrLwWfY2pcDQYJ8ASfPoXLqnNinw1MLuBvaEefMi5N51JsE3eYA5GMNWgD7u8wgkZF.jpg|https://files.peakd.com/file/peakd-hive/mily0202/23yJJKYzRwXfo6Ji7a5bQVccgazcTGMw1iqMVt52HtJm7UY42Fz1GWRqhkpQVaHWgnQcc.jpg|
|-|-|

|https://files.peakd.com/file/peakd-hive/mily0202/23uQrRrDtWQJaivWUvqkqkEG7avWseQ39Mw8sjxMyMb4KzszxbCyc2Z5BTtnvZXMKyjaa.jpg|https://files.peakd.com/file/peakd-hive/mily0202/23uQnVonDsFjxtuBXzyTL1bSuu6swcwjKavMCCbL8nfH9wtaYAB7uK2JJJCbLQoYAPica.jpg|https://files.peakd.com/file/peakd-hive/mily0202/23wqgVUesUwcioSyGQtAqG5JqiZhYarL84r97s4aQC6et73AWmEbUL37Sa7DJScsXKkm4.jpg|
|-|-|-|
---
Una vez completado todo el diámetro del cilindro y después de que el pegamento se secó, procedí a forrar toda la pieza con cinta de papel (tirro). Es importante cubrir cada rincón para reforzar la pieza.
With all the pieces ready, it's time to assemble them. I glued each one to the cylinder with the help of liquid silicone, making sure they were perfectly aligned with the base. This step is very important because it gives stability and uniformity to the structure.
Once the entire diameter of the cylinder was completed and after the glue dried, I proceeded to line the entire piece with paper tape (tirro). It is important to cover every corner to reinforce the piece.
En el siguiente paso le doy textura al florero, tomo la bolsa de papel y la corto en trozos. Luego, con la ayuda del encendedor, quemo los bordes de cada pieza para crear ese efecto rústico tan especial.
Después, preparo una mezcla de 70% de pegamento escolar y 30% de agua, que servirá para pegar los papeles al florero. Con el pincel, fui colocando cada trozo, asegurándome de que el diseño quedara uniforme. Mi truco para lograrlo es pegar los papeles en una sola dirección, en mi caso, opté por hacerlo de derecha a izquierda, lo que le dio un patrón armonioso. Una vez seco, apliqué una segunda capa de pegamento para reforzar el diseño y darle un ligero brillo que realza los detalles.

|https://files.peakd.com/file/peakd-hive/mily0202/23xVEbdw4786B2VxuerDxBj4pwwT4S5FkQMFXCGiUUU8ZXAtxA1ZXZXgcvm3CYhSajXhi.jpg|https://files.peakd.com/file/peakd-hive/mily0202/23wgWHhnhEBhfMkeSEHU7nGVcPW3rSkvGiekKU2YW82bwD1RETWgxMeqvAkGXa9Zn5Z8m.jpg|
|-|-|

|https://files.peakd.com/file/peakd-hive/mily0202/23yJEERoqiTEiF3Z4vE6GgFrD9zvL2FvR85yt8w8729JpcrrvSAEYkwZF6dkXMGvhjXJw.jpg|https://files.peakd.com/file/peakd-hive/mily0202/23vsJF82Q19yLM44iAag7tZKFfm4x5pVP2sYW1PT8cs5sNqiixxm3oFLLxr2sNWWZ3KHE.jpg|
|-|-|
---
Después, preparo una mezcla de 70% de pegamento escolar y 30% de agua, que servirá para pegar los papeles al florero. Con el pincel, fui colocando cada trozo, asegurándome de que el diseño quedara uniforme. Mi truco para lograrlo es pegar los papeles en una sola dirección, en mi caso, opté por hacerlo de derecha a izquierda, lo que le dio un patrón armonioso. Una vez seco, apliqué una segunda capa de pegamento para reforzar el diseño y darle un ligero brillo que realza los detalles.
In the next step I give texture to the vase, I take the paper bag and cut it into pieces. Then, with the help of the lighter, I burn the edges of each piece to create that special rustic effect.
Next, I prepared a mixture of 70% school glue and 30% water, which will be used to glue the papers to the vase. With the brush, I placed each piece, making sure that the design was uniform. My trick to achieve this is to glue the papers in only one direction, in my case, I chose to do it from right to left, which gave it a harmonious pattern. Once dry, I applied a second coat of glue to reinforce the design and give it a slight sheen that enhances the details.
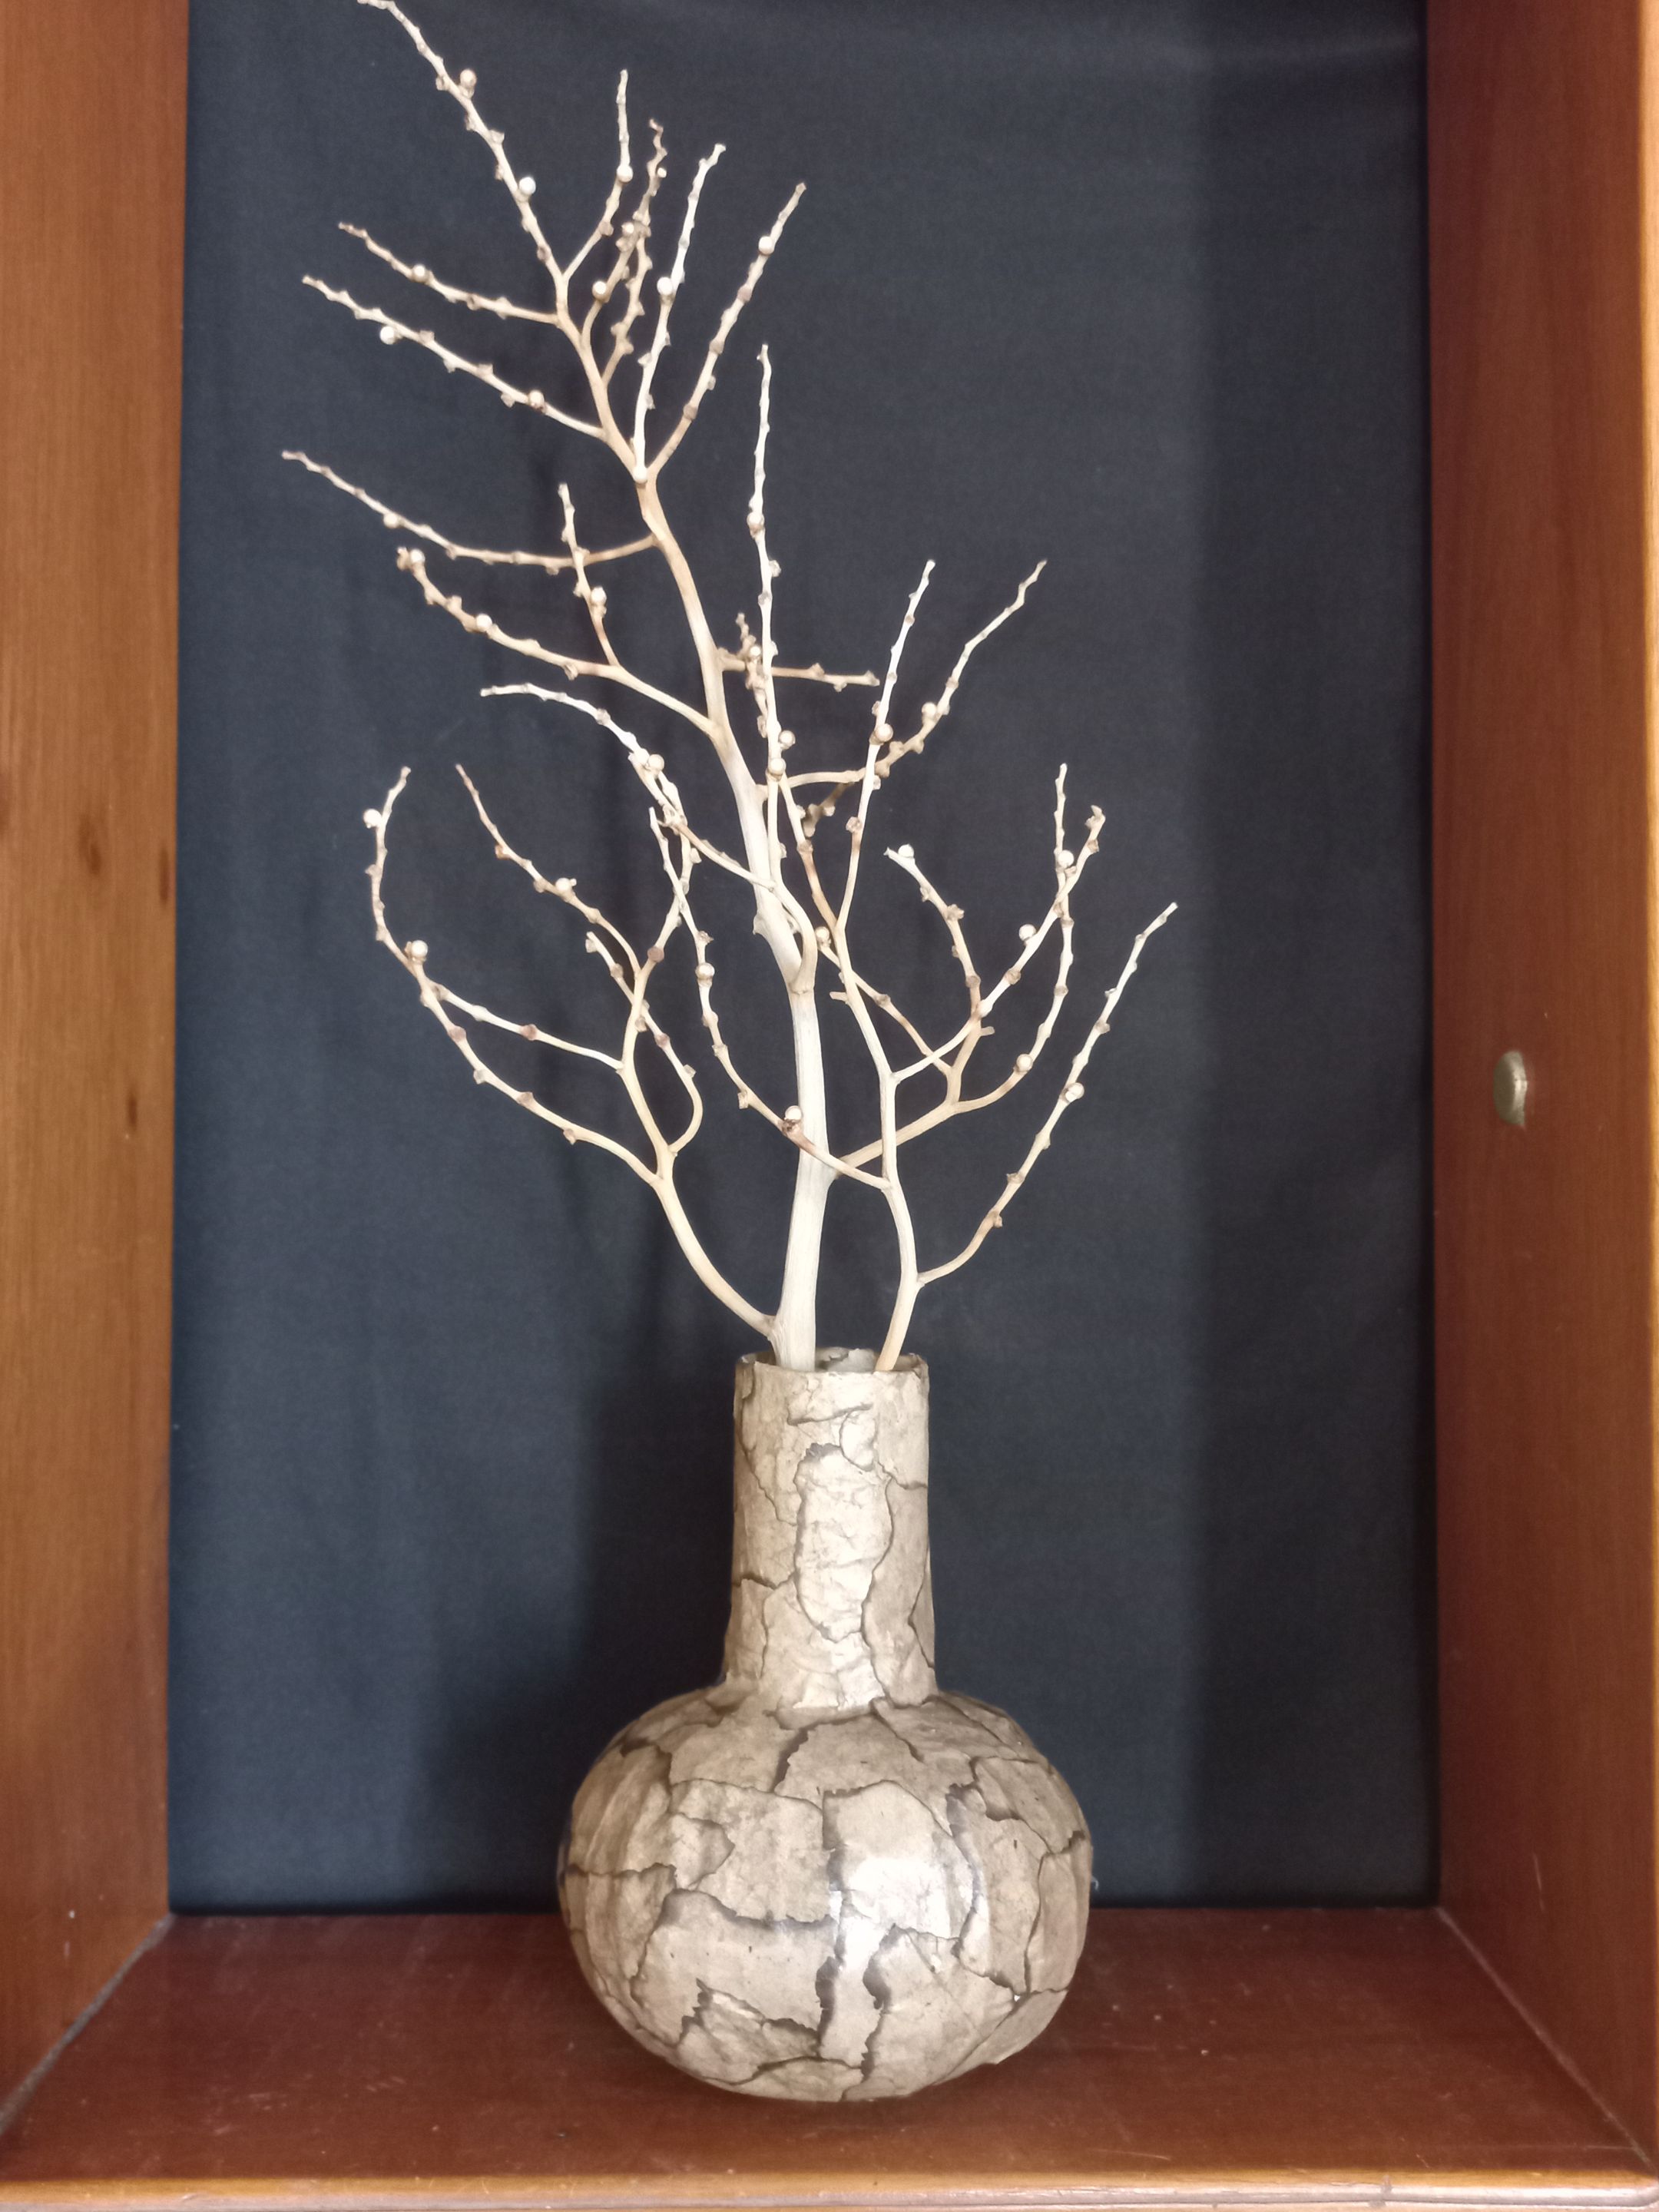
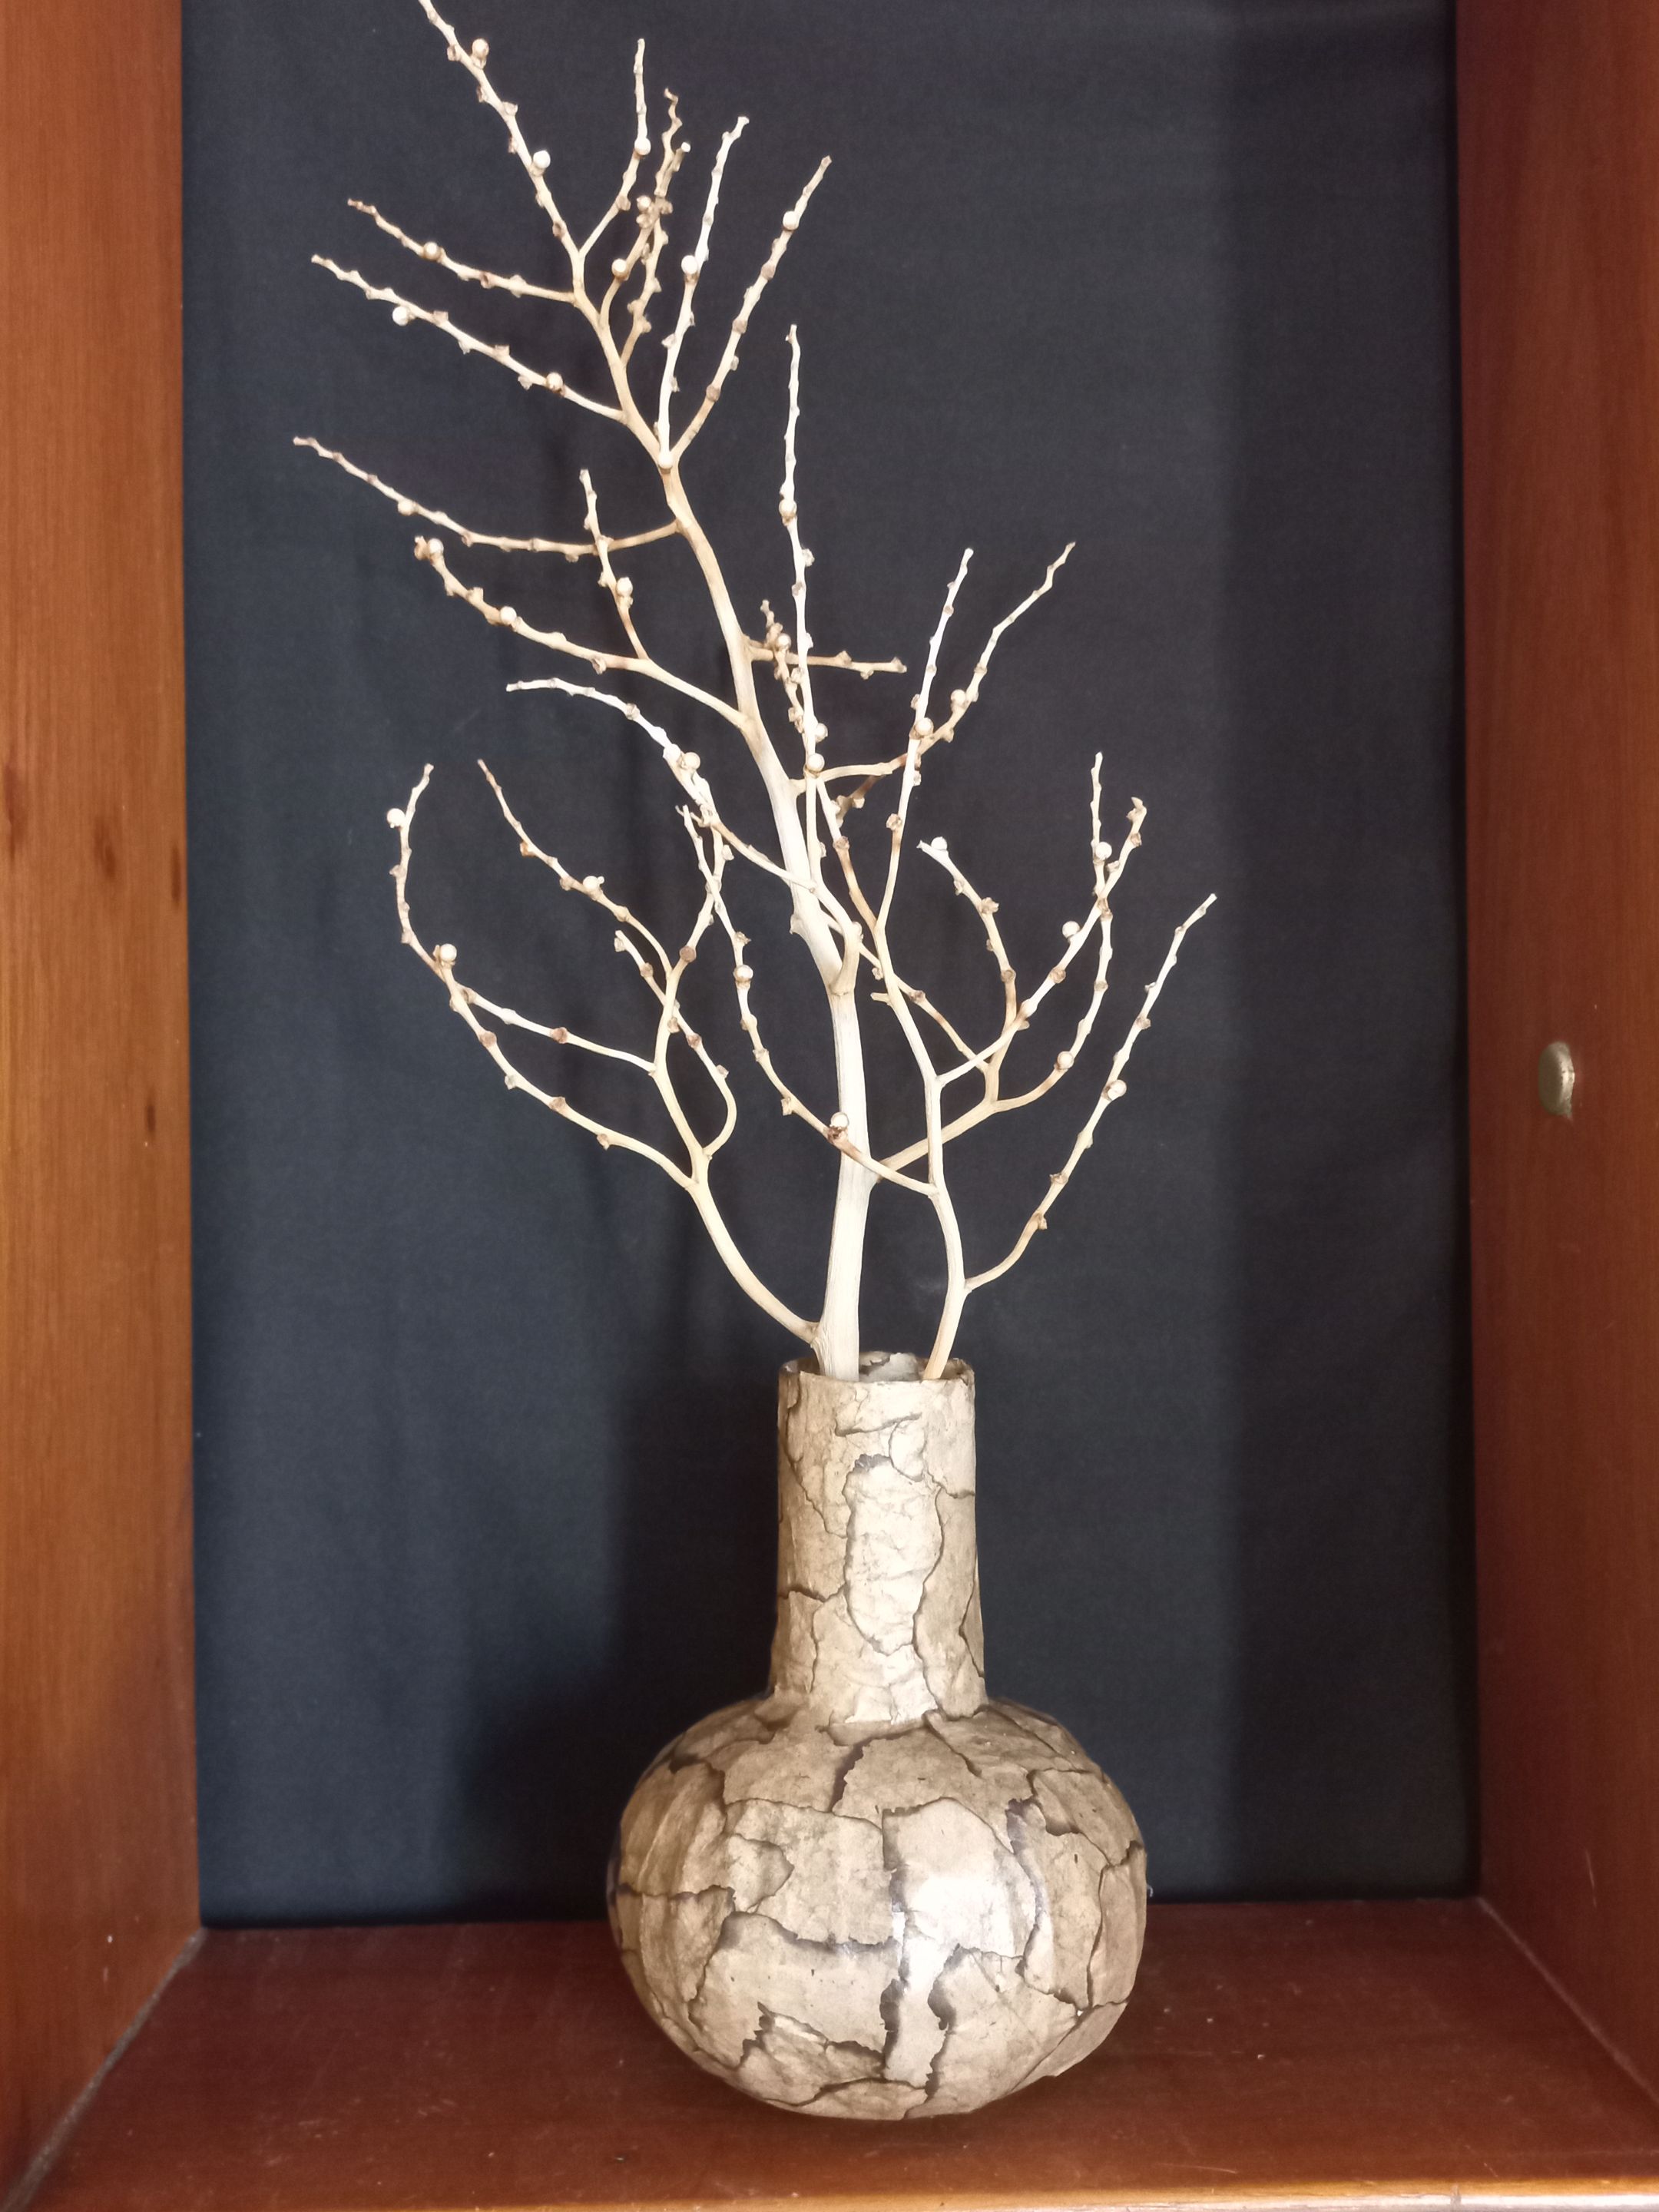
El siguiente paso es muy sencillo. Tomo la rama seca y la corto según mi gusto. Para luego con la pega de contacto fijar las pequeñas perlitas, dándole así un acabado muy personal. Ahora, solo queda integrarla al florero.

|https://files.peakd.com/file/peakd-hive/mily0202/23u5zYsxU9x5YgYs7g8jg8yPbXULco1GLqcAteLW9VHqn6vPFwWeFQUmJhmu6BSbn95zn.jpg|https://files.peakd.com/file/peakd-hive/mily0202/23vi1noq9cUaX6EXEfd76TWzhf5wZRsj85njTvc1sEmCGPA5D7vNexD8geTvrWzkcRCrn.jpg|
|-|-|
---
The next step is very simple. I take the dry branch and cut it according to my taste. Then I use the contact glue to fix the small pearls, giving it a very personal finish. Now, it only remains to integrate it into the vase.
Y listo, vemos como nuestro florero hecho con materiales reciclados cobra vida.

---
And that's it, we see how our vase made with recycled materials comes to life.
Foto de mi autoría / Photo by me
Traducción: DeepL Translate versión gratuita. / Translation: DeepL Translate Free version.
---

Traducción: DeepL Translate versión gratuita. / Translation: DeepL Translate Free version.