Good #needleworkmonday morning everyone! I know I'm crazy for giving away trade secrets, but today I'm doing a tutorial for making your own quilted placemats!
If you can sew a straight seam on a machine, you CAN make these! There are far more fabric options out there than there are placemat options out there, so why not get what you REALLY want to dress up your table?
For 6 placemats, you will need: - 2.5 yards of woven fabric (I prefer 100% cotton). If using 2 different fabrics, then you need 1.25 yards of each one. - 1.25 yards low loft batting or thin fleece - Matching thread - Sewing needle, washable marker or chalk pencil, pins, ruler, scissors. - Sewing machine--unless you're super squirrelly and want to hand sew, in which case, go for it ;)
Measure and mark 12 rectangles on your fabric (6 on each piece if using 2 different fabrics), with the dimensions 17.5 inches long and 12.5 inches tall. Obviously, you can adjust those measurements to your own preferences. It is easiest to use a large clear ruler. Cut out the rectangles.
Measure 6 very slightly larger rectangles on the batting or fleece, and cut them out. (I like to just lay the fabric rectangles on top and cut around them, with about 1/8 inch of extra fleece peeking around the edges.)
Lay out the fleece rectangles with whatever fabric you want to be sewed with quilting lines, and determine what type of quilting lines you'll do. I normally prefer straight crisscrossing lines, but this time I got ambitious and tried free drawing some loops.
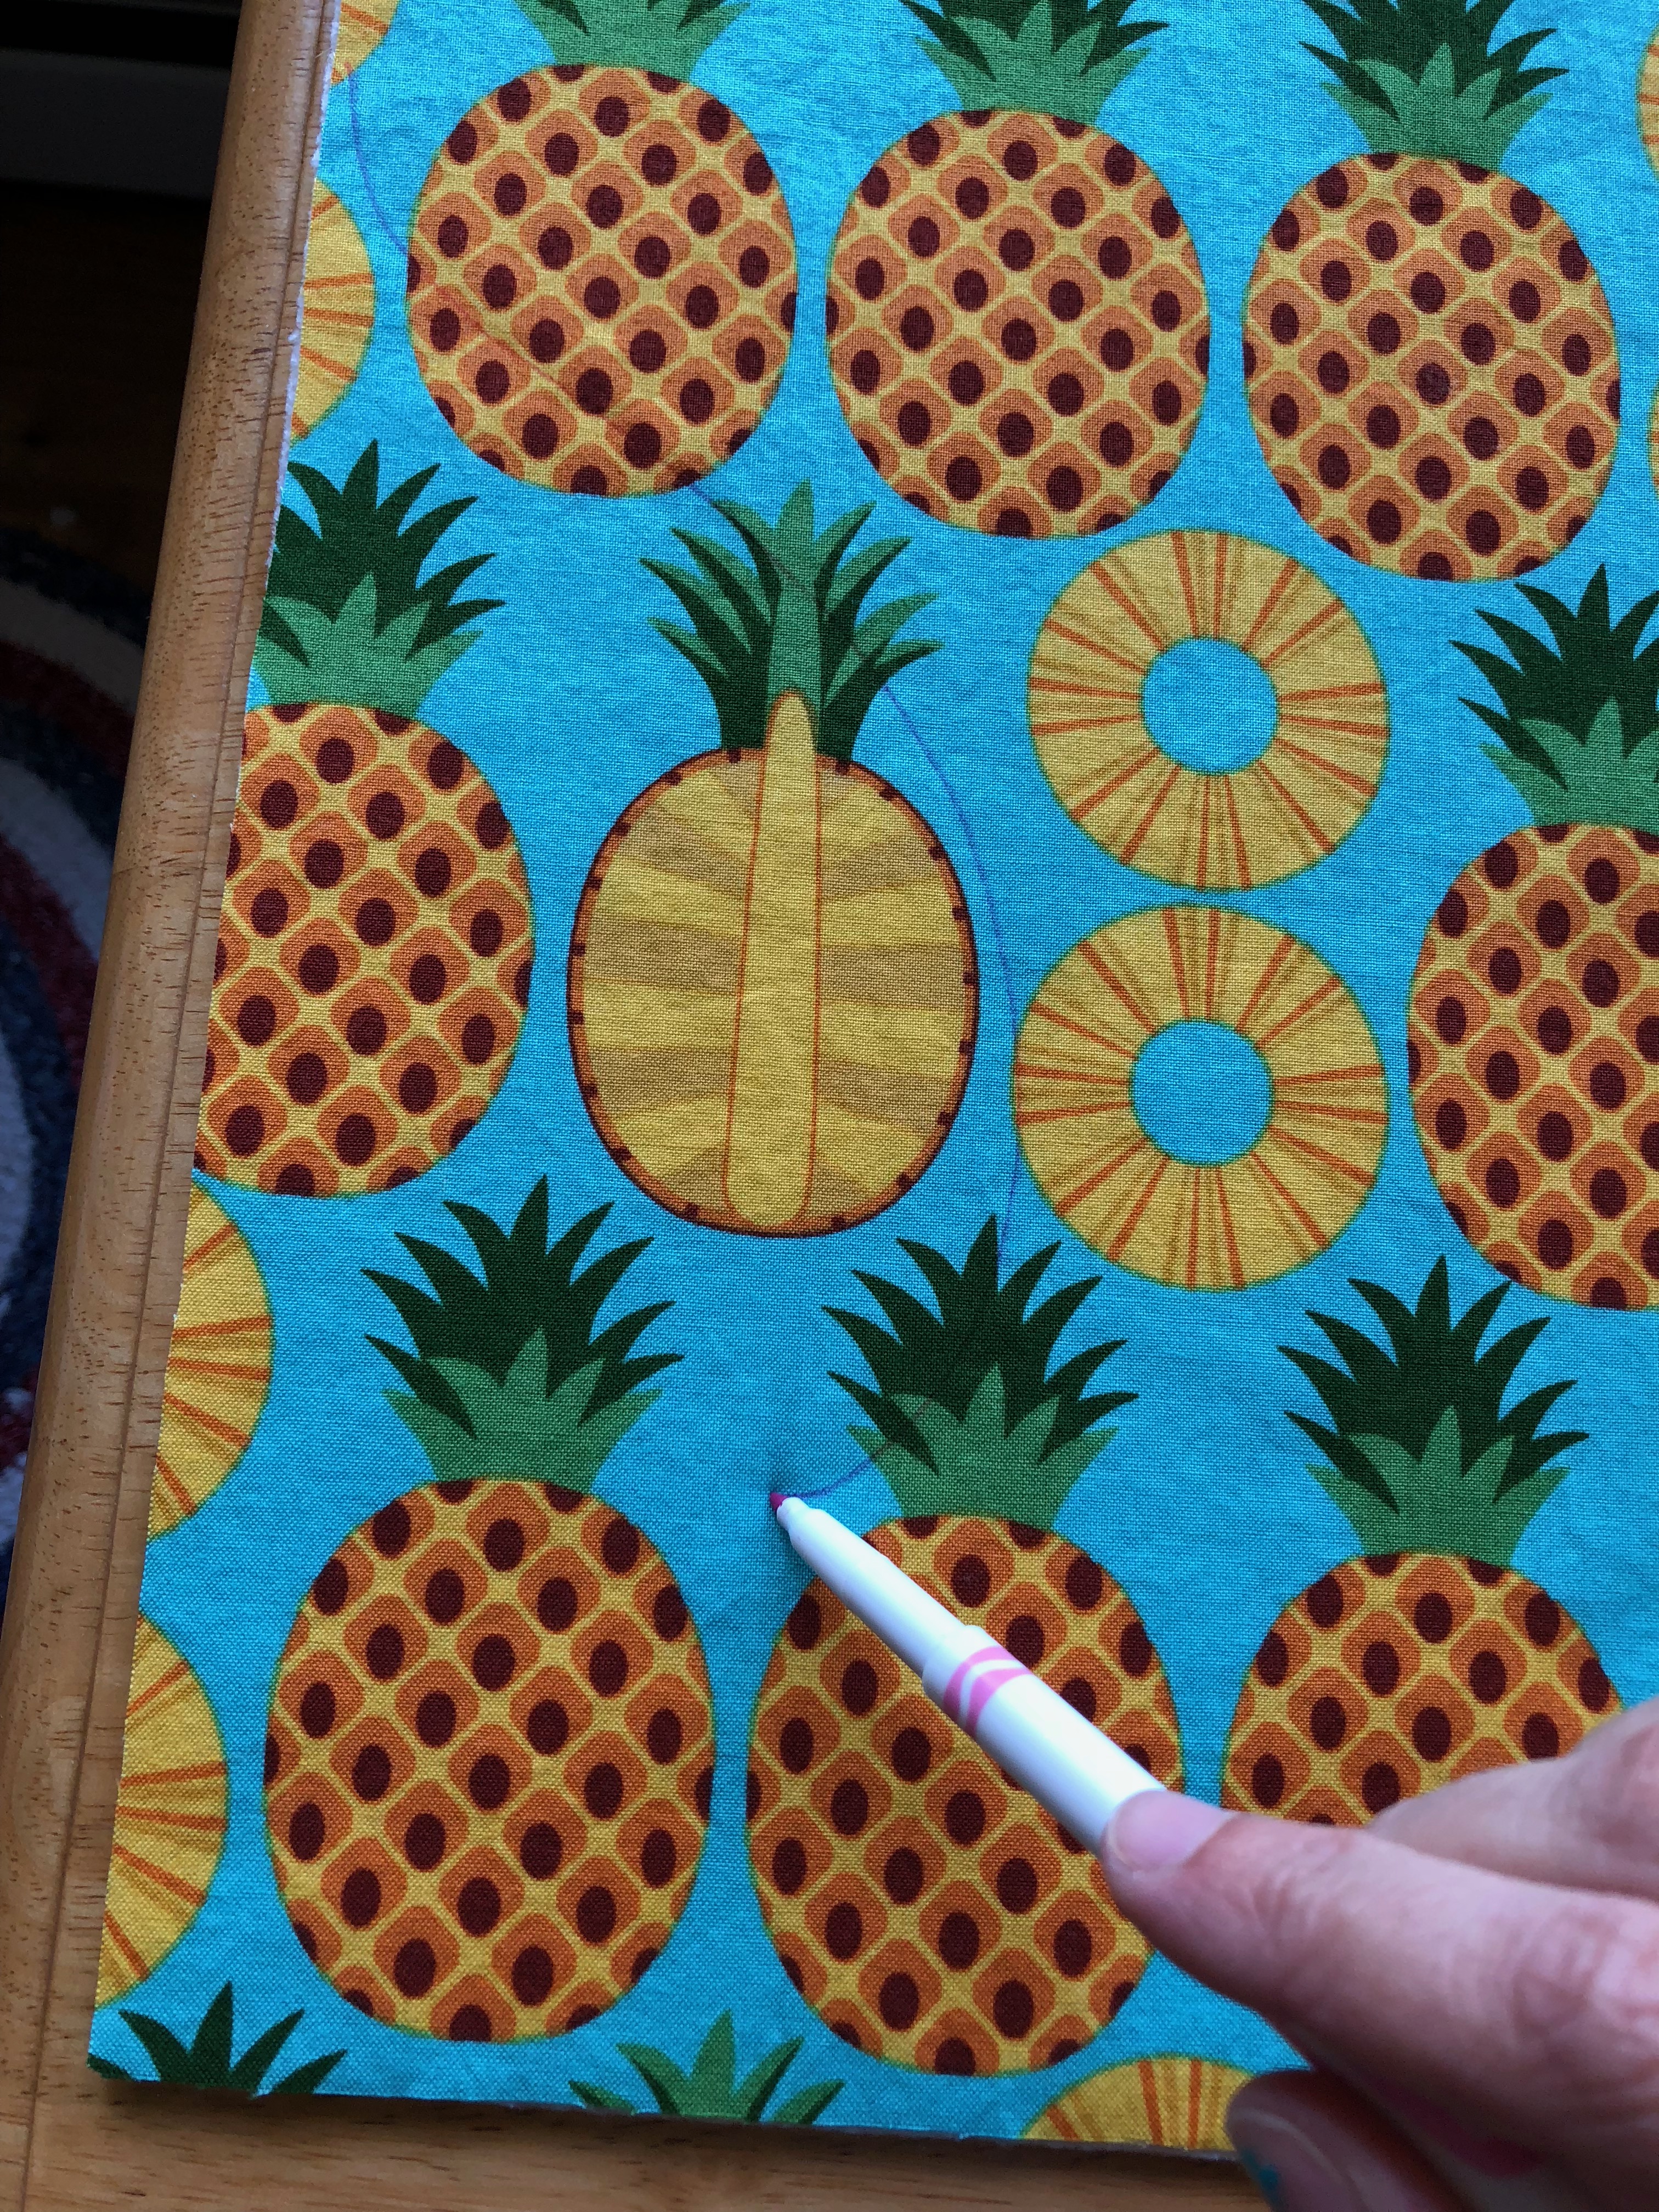 I prefer using a Crayola Ultra Washable marker for marking lines. Just have Shout or an equivalent stain remover on hand for helping wash the lines out when you're all done.
Draw the lines you want to stitch with your marker or chalk pencil, and then securely pin the fabric to the fleece. Use lots of pins! Careful not to place any where you'll be sewing.
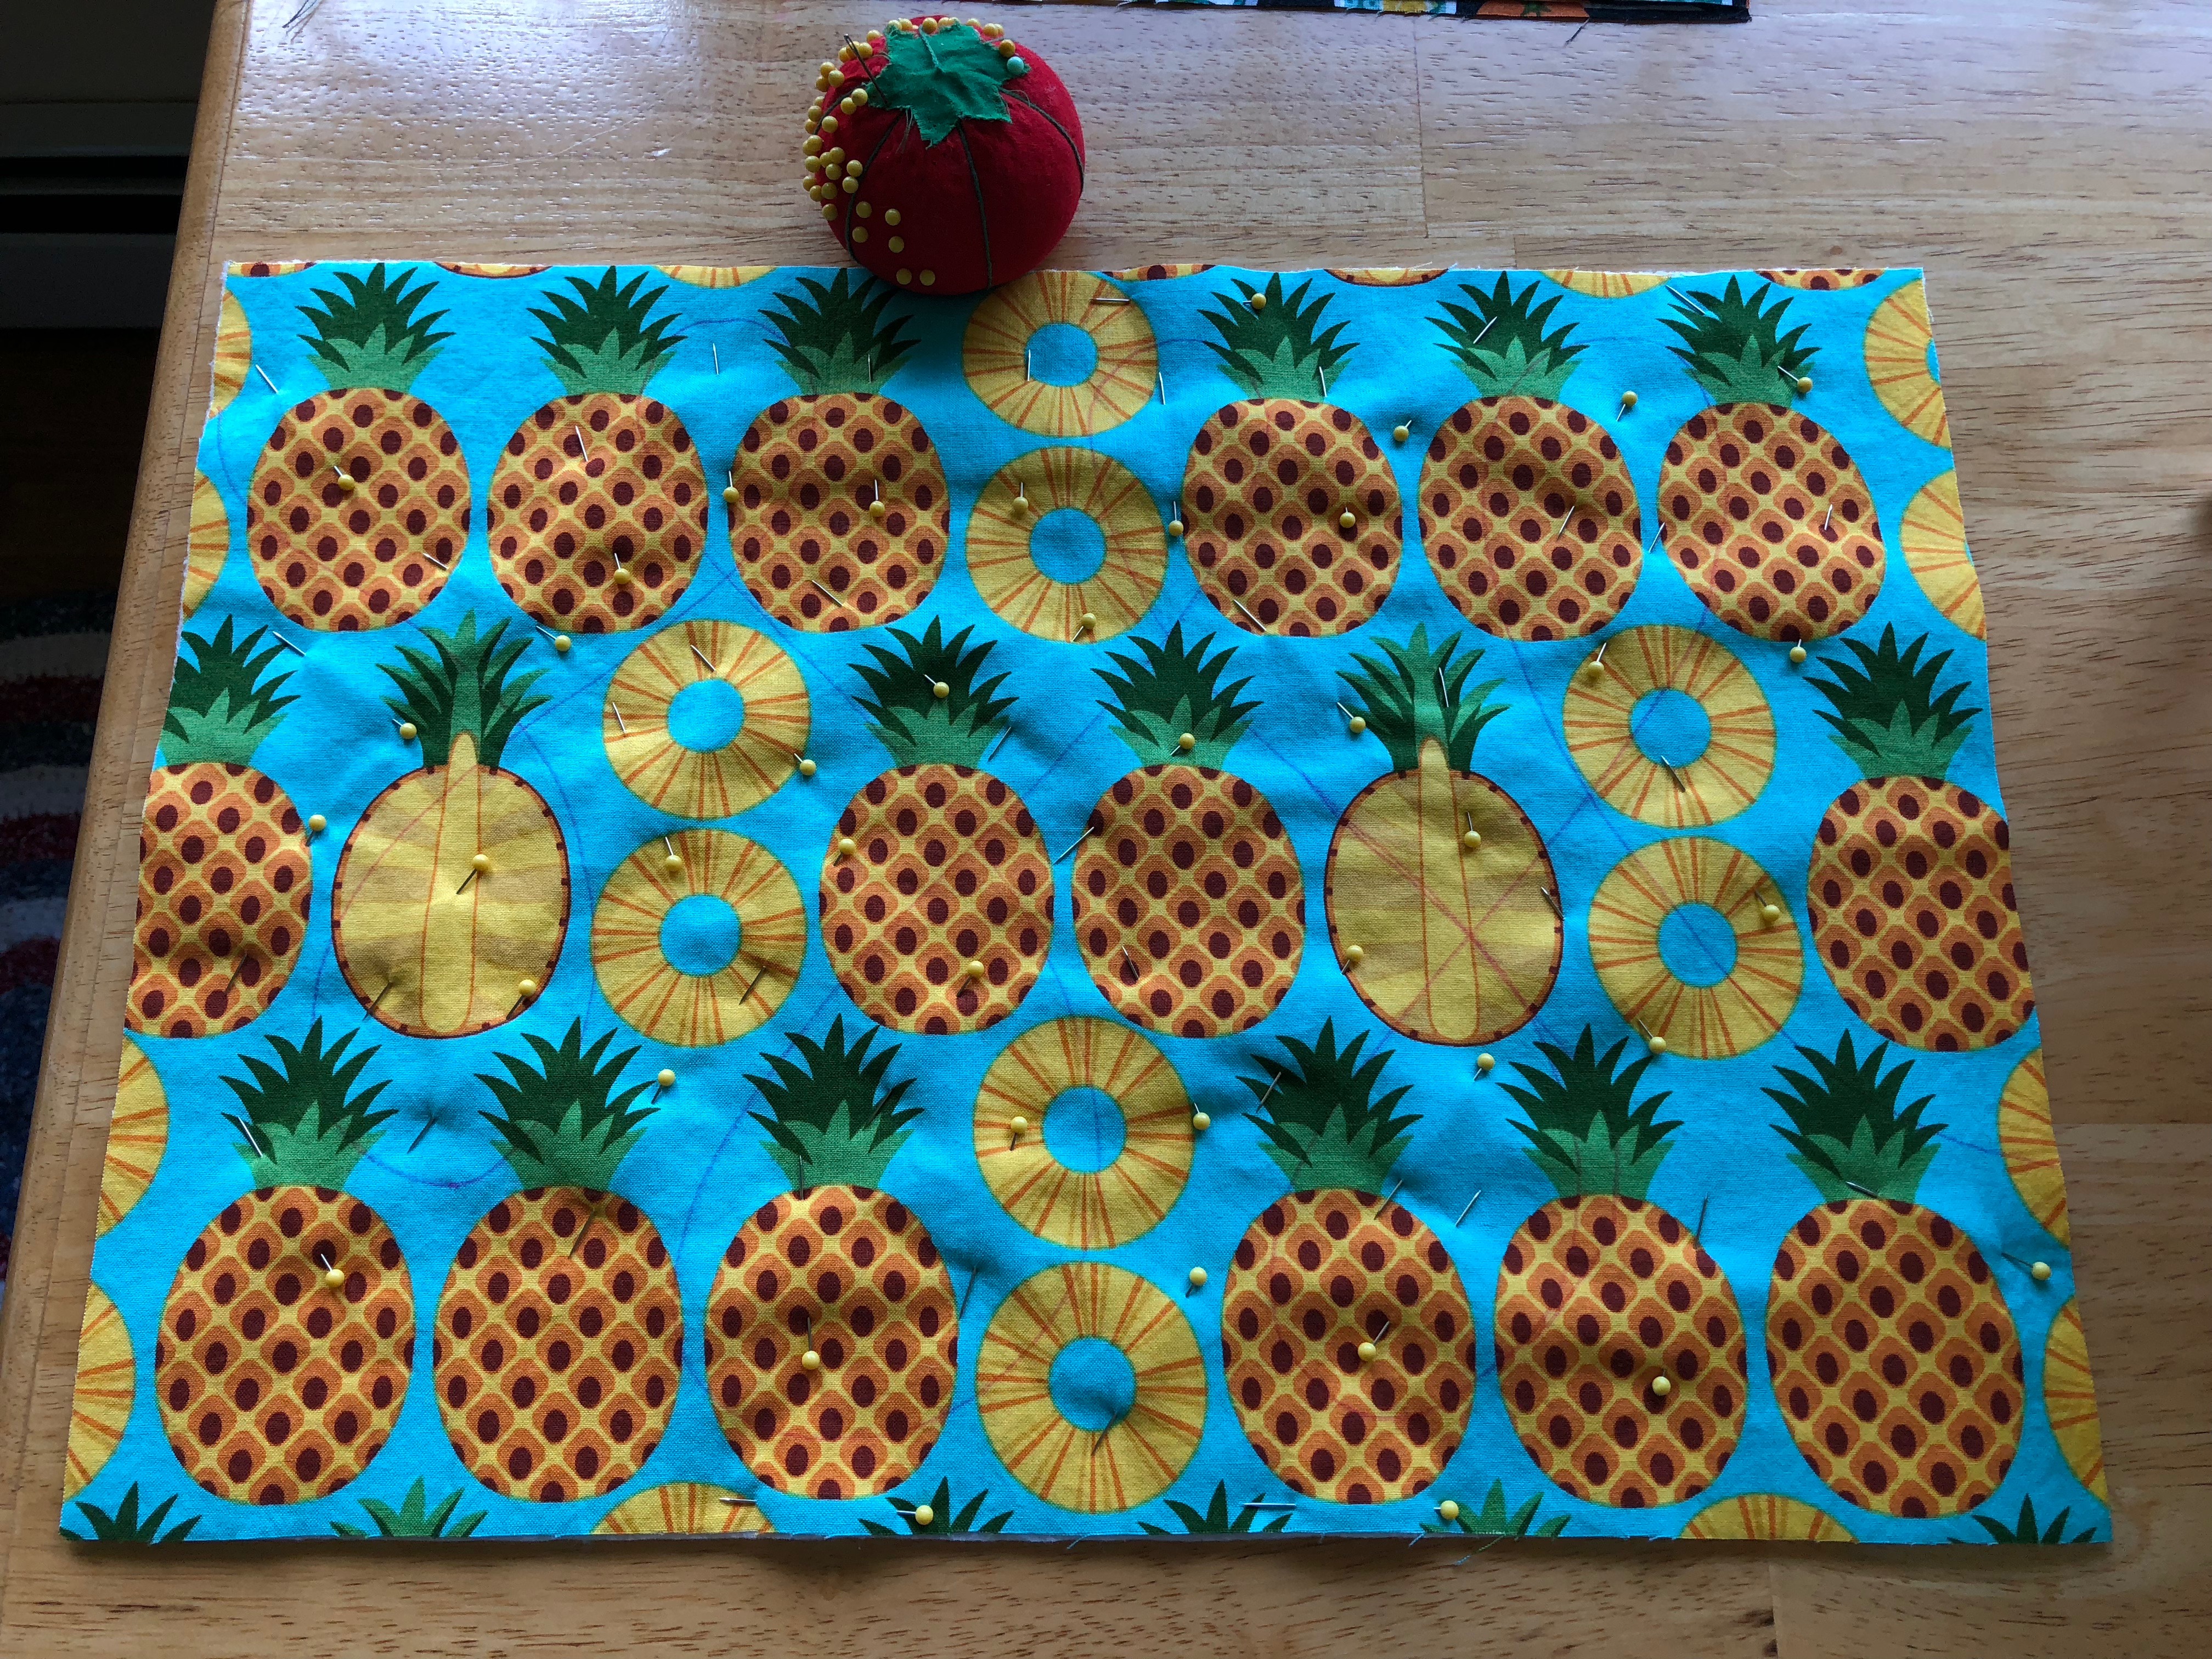
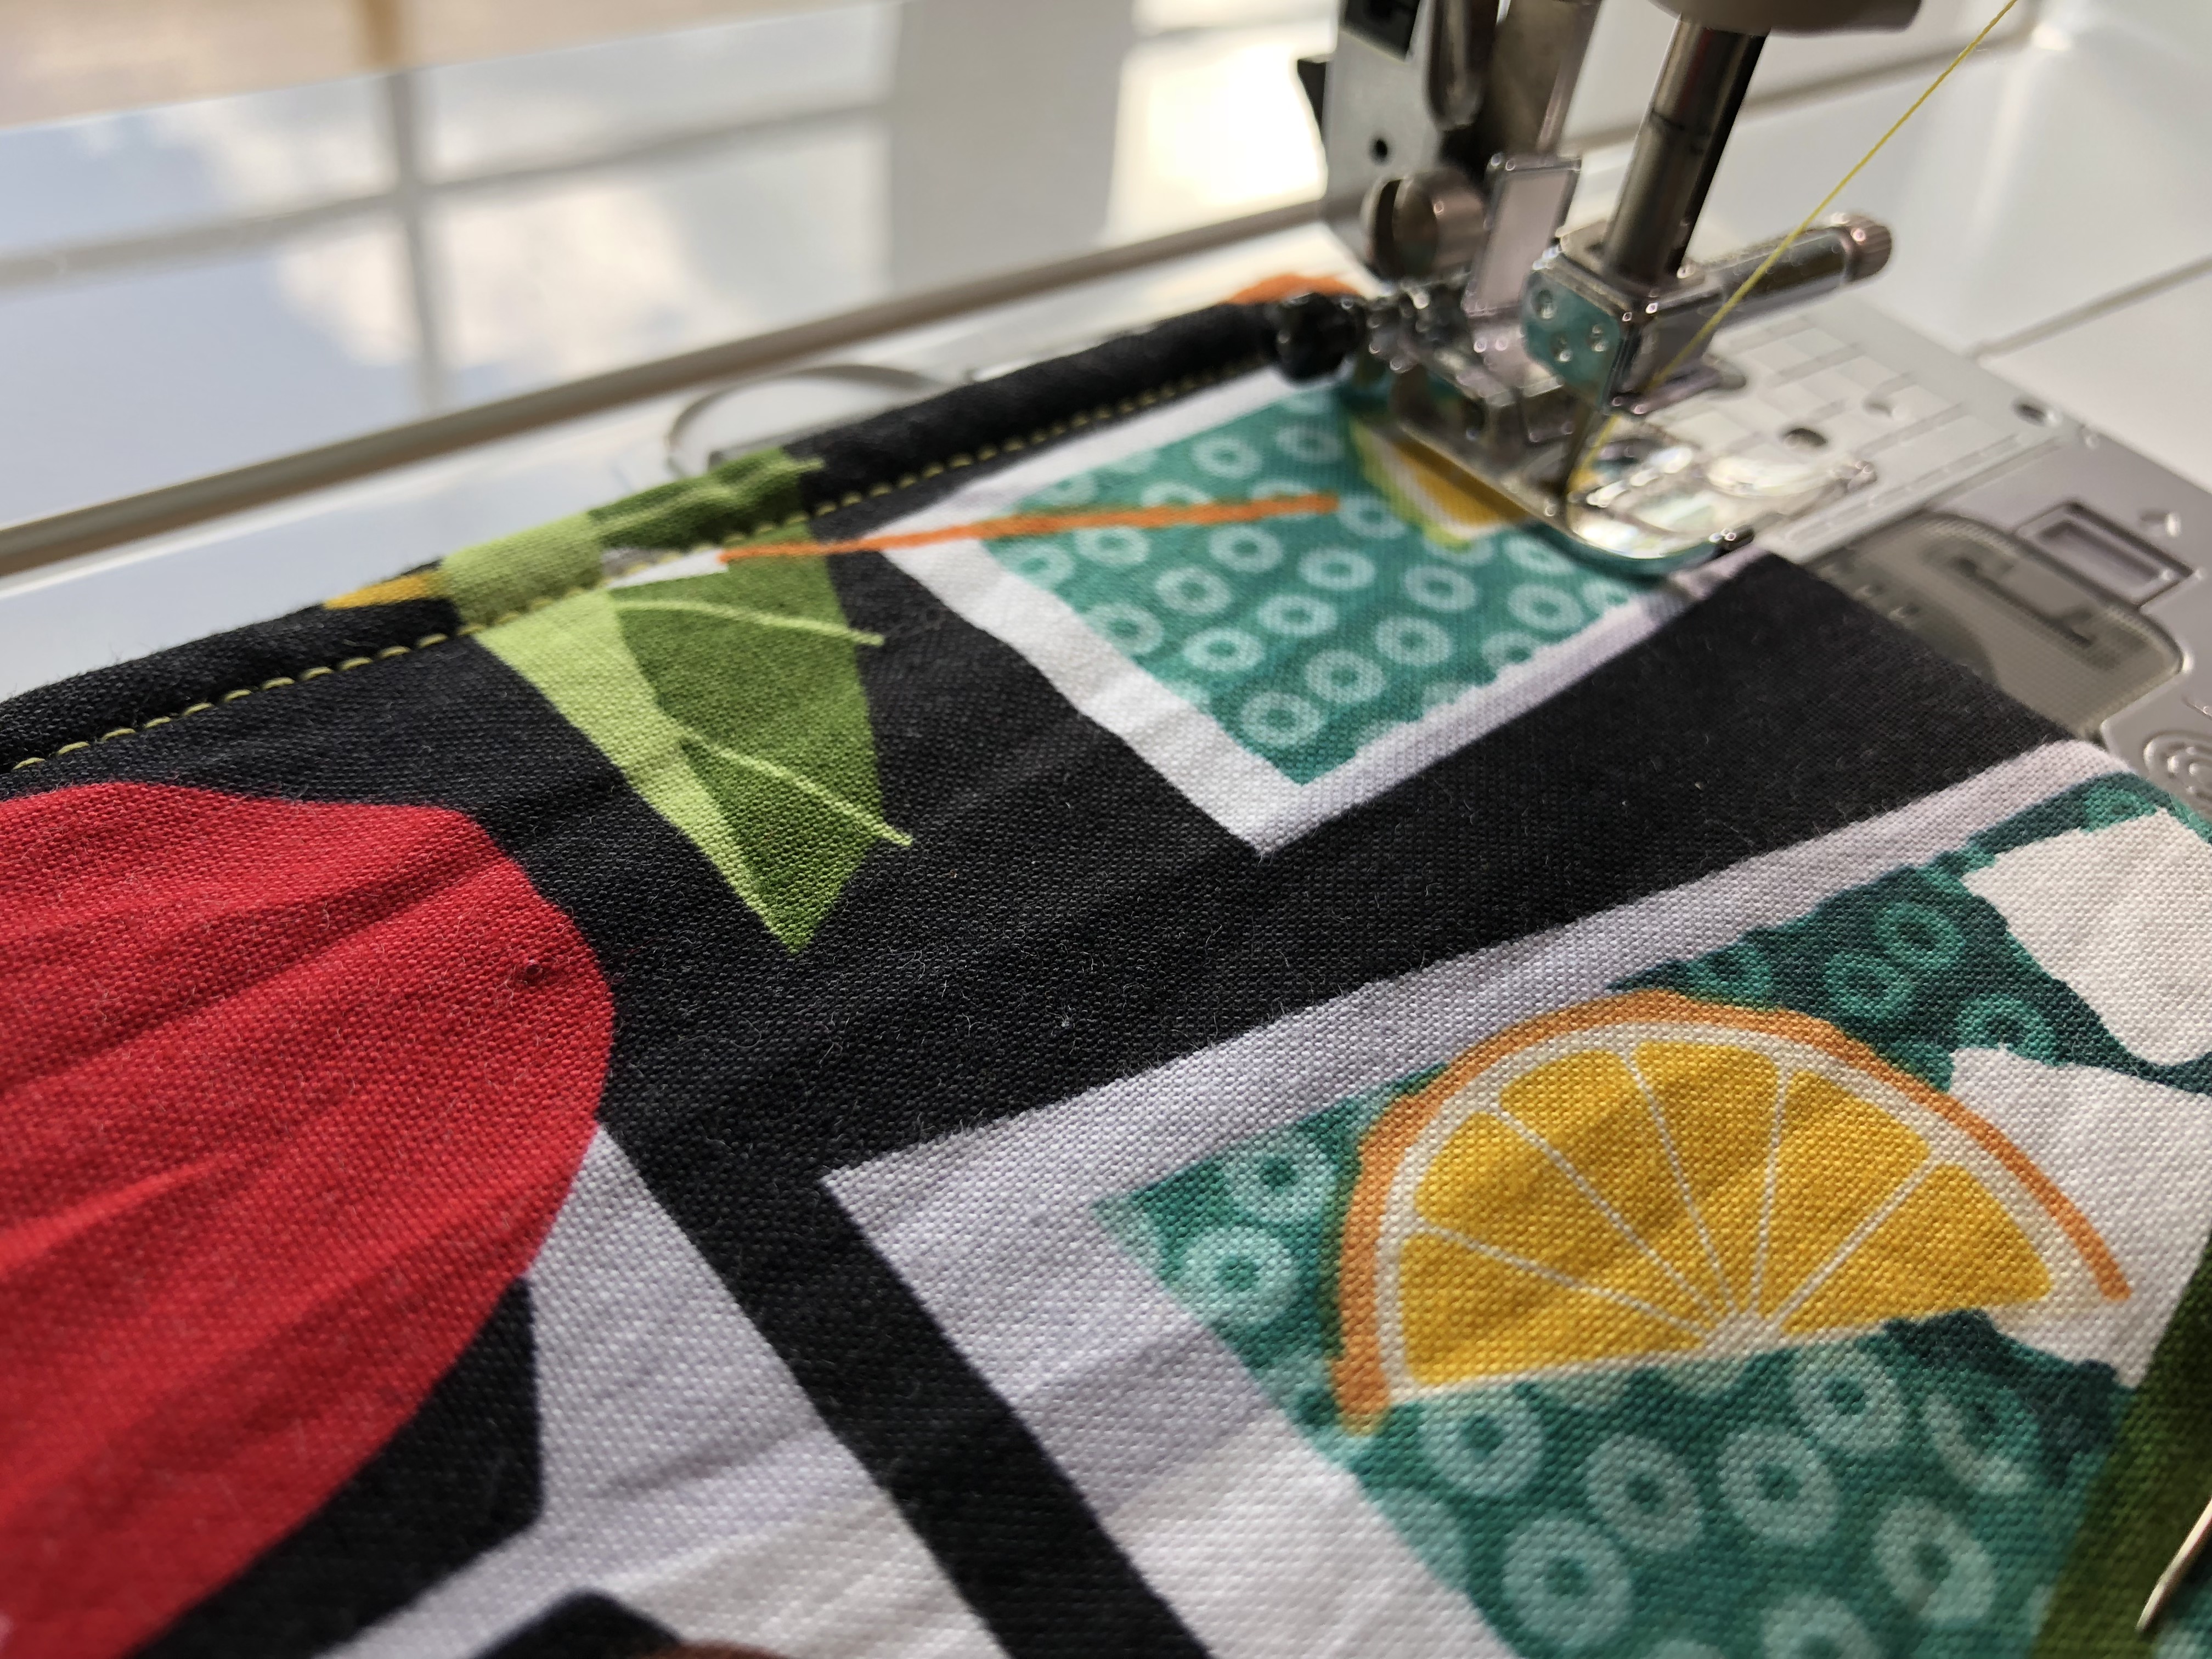
Quilt the fabric and fleece together, taking your time and "easing" any excess fabric under the presser foot, so as not to create any puckers.
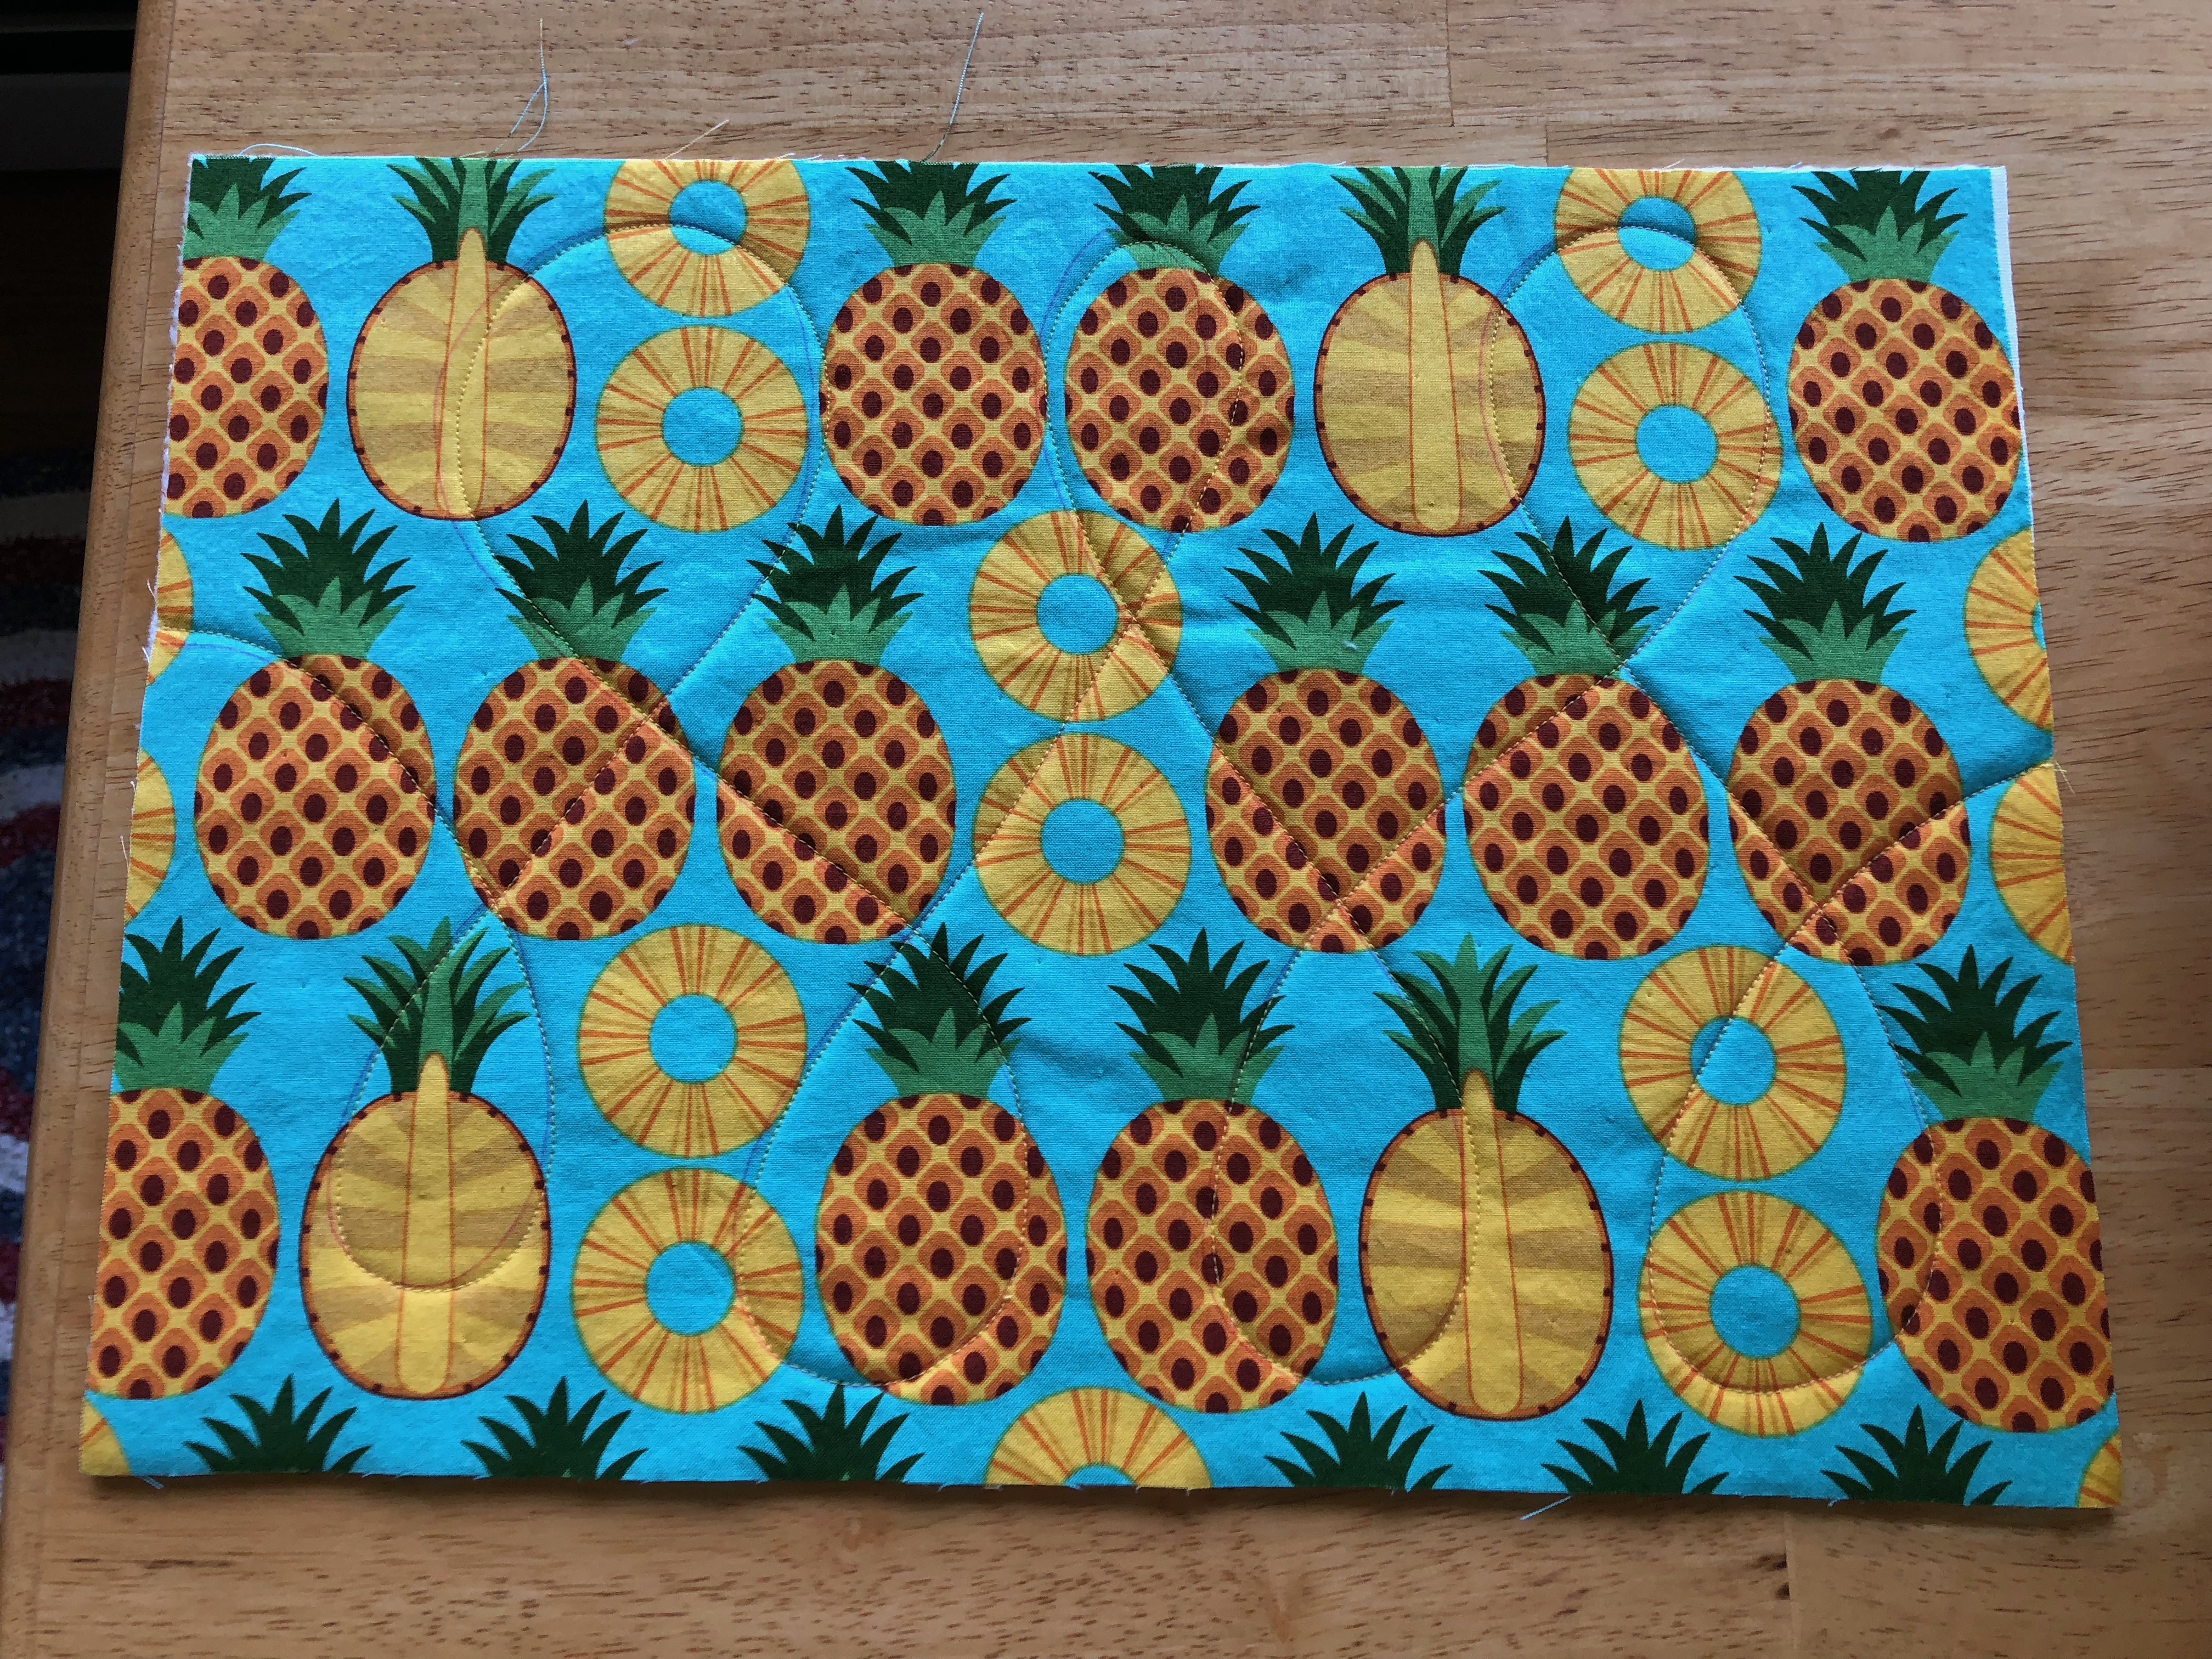 No big deal on a freestyle design if you don't follow your marked lines exactly.
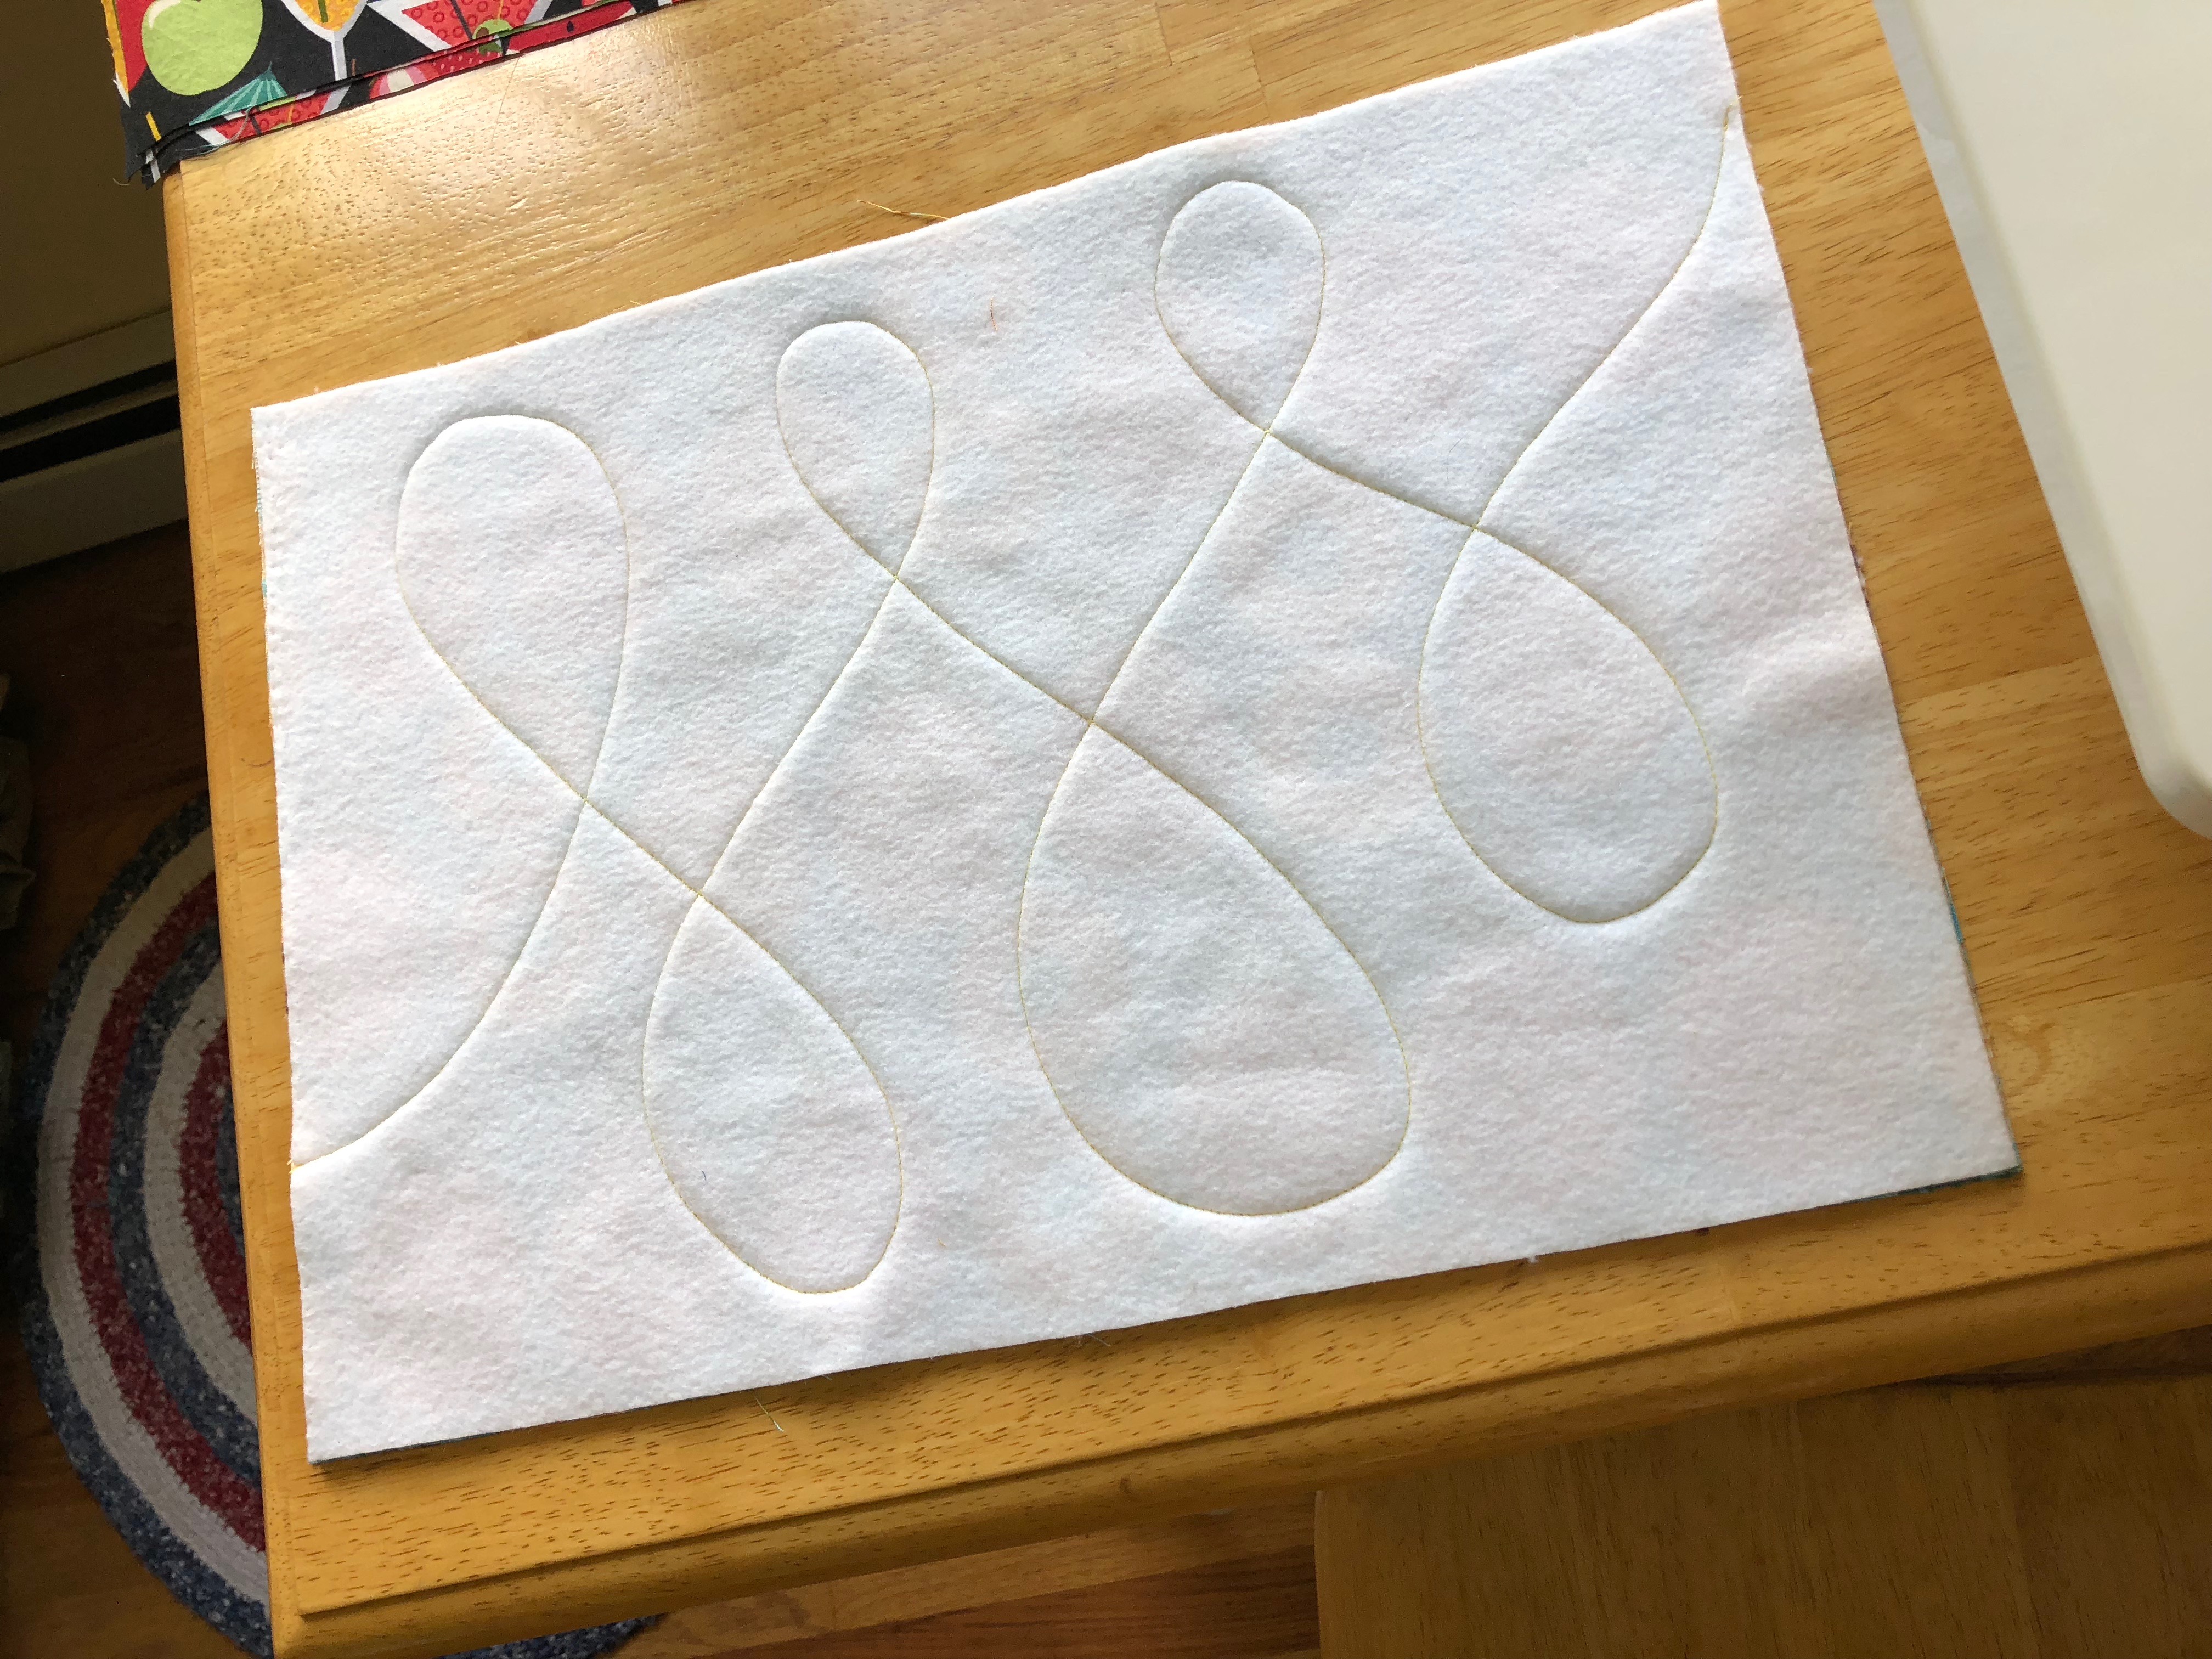 View on the fleece side.
Now take your other piece of fabric, that will be the reverse side of your placemat, and place it right side down on top of the fabric you just quilted. So you should have 3 layers: fabric right side down, fabric right side up, and fleece. Pin all along the edges.
Sew edges together, using a 1/4 inch seam allowance; but do not finish sewing in the same spot that you started. Stop sewing about 3 inches from where you started, and backstitch (as always!)
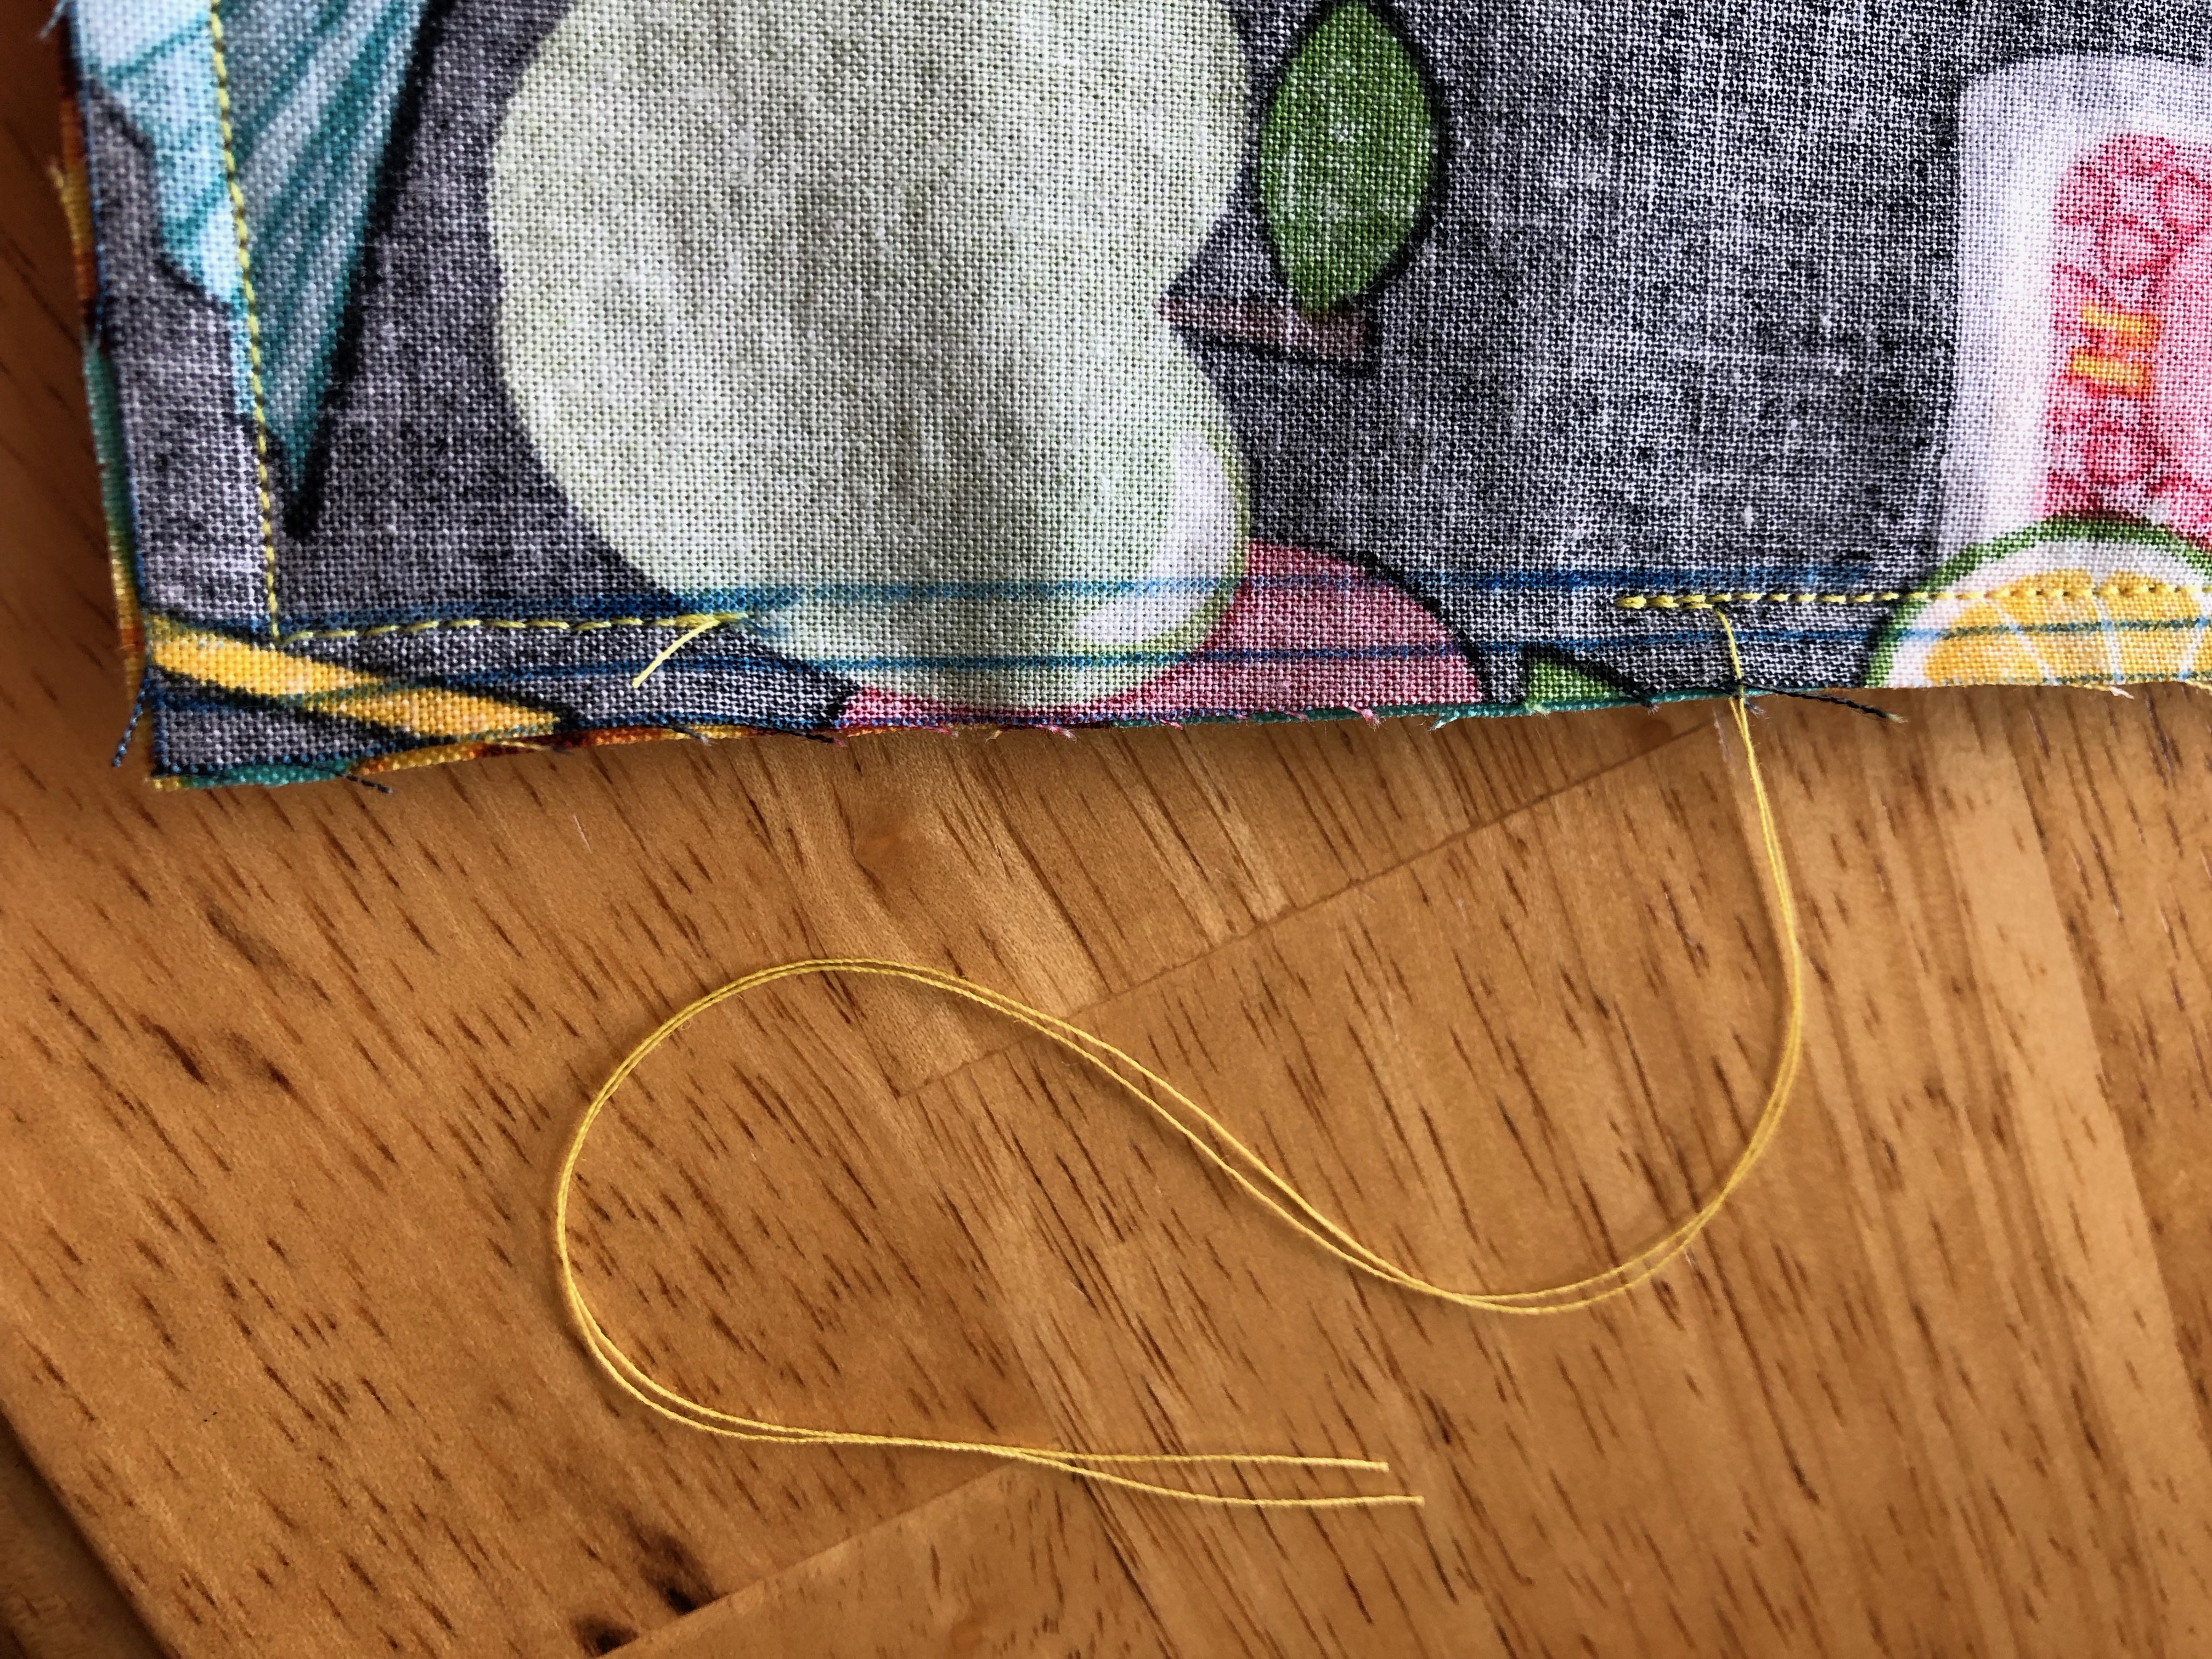 Note that I also used a marker to draw a line 1/4 inch in from the outside edge, and purposely left long tails on the threads from sewing the seam. This will be useful later.
Trim off any excess fleece along the edges, so that all the fabric and fleece edges are even. Clip the corners off, cutting right outside your stitching line and making sure you don't cut the threads. (This will keep your corners from being all bunchy once you turn the placemat right side out.)
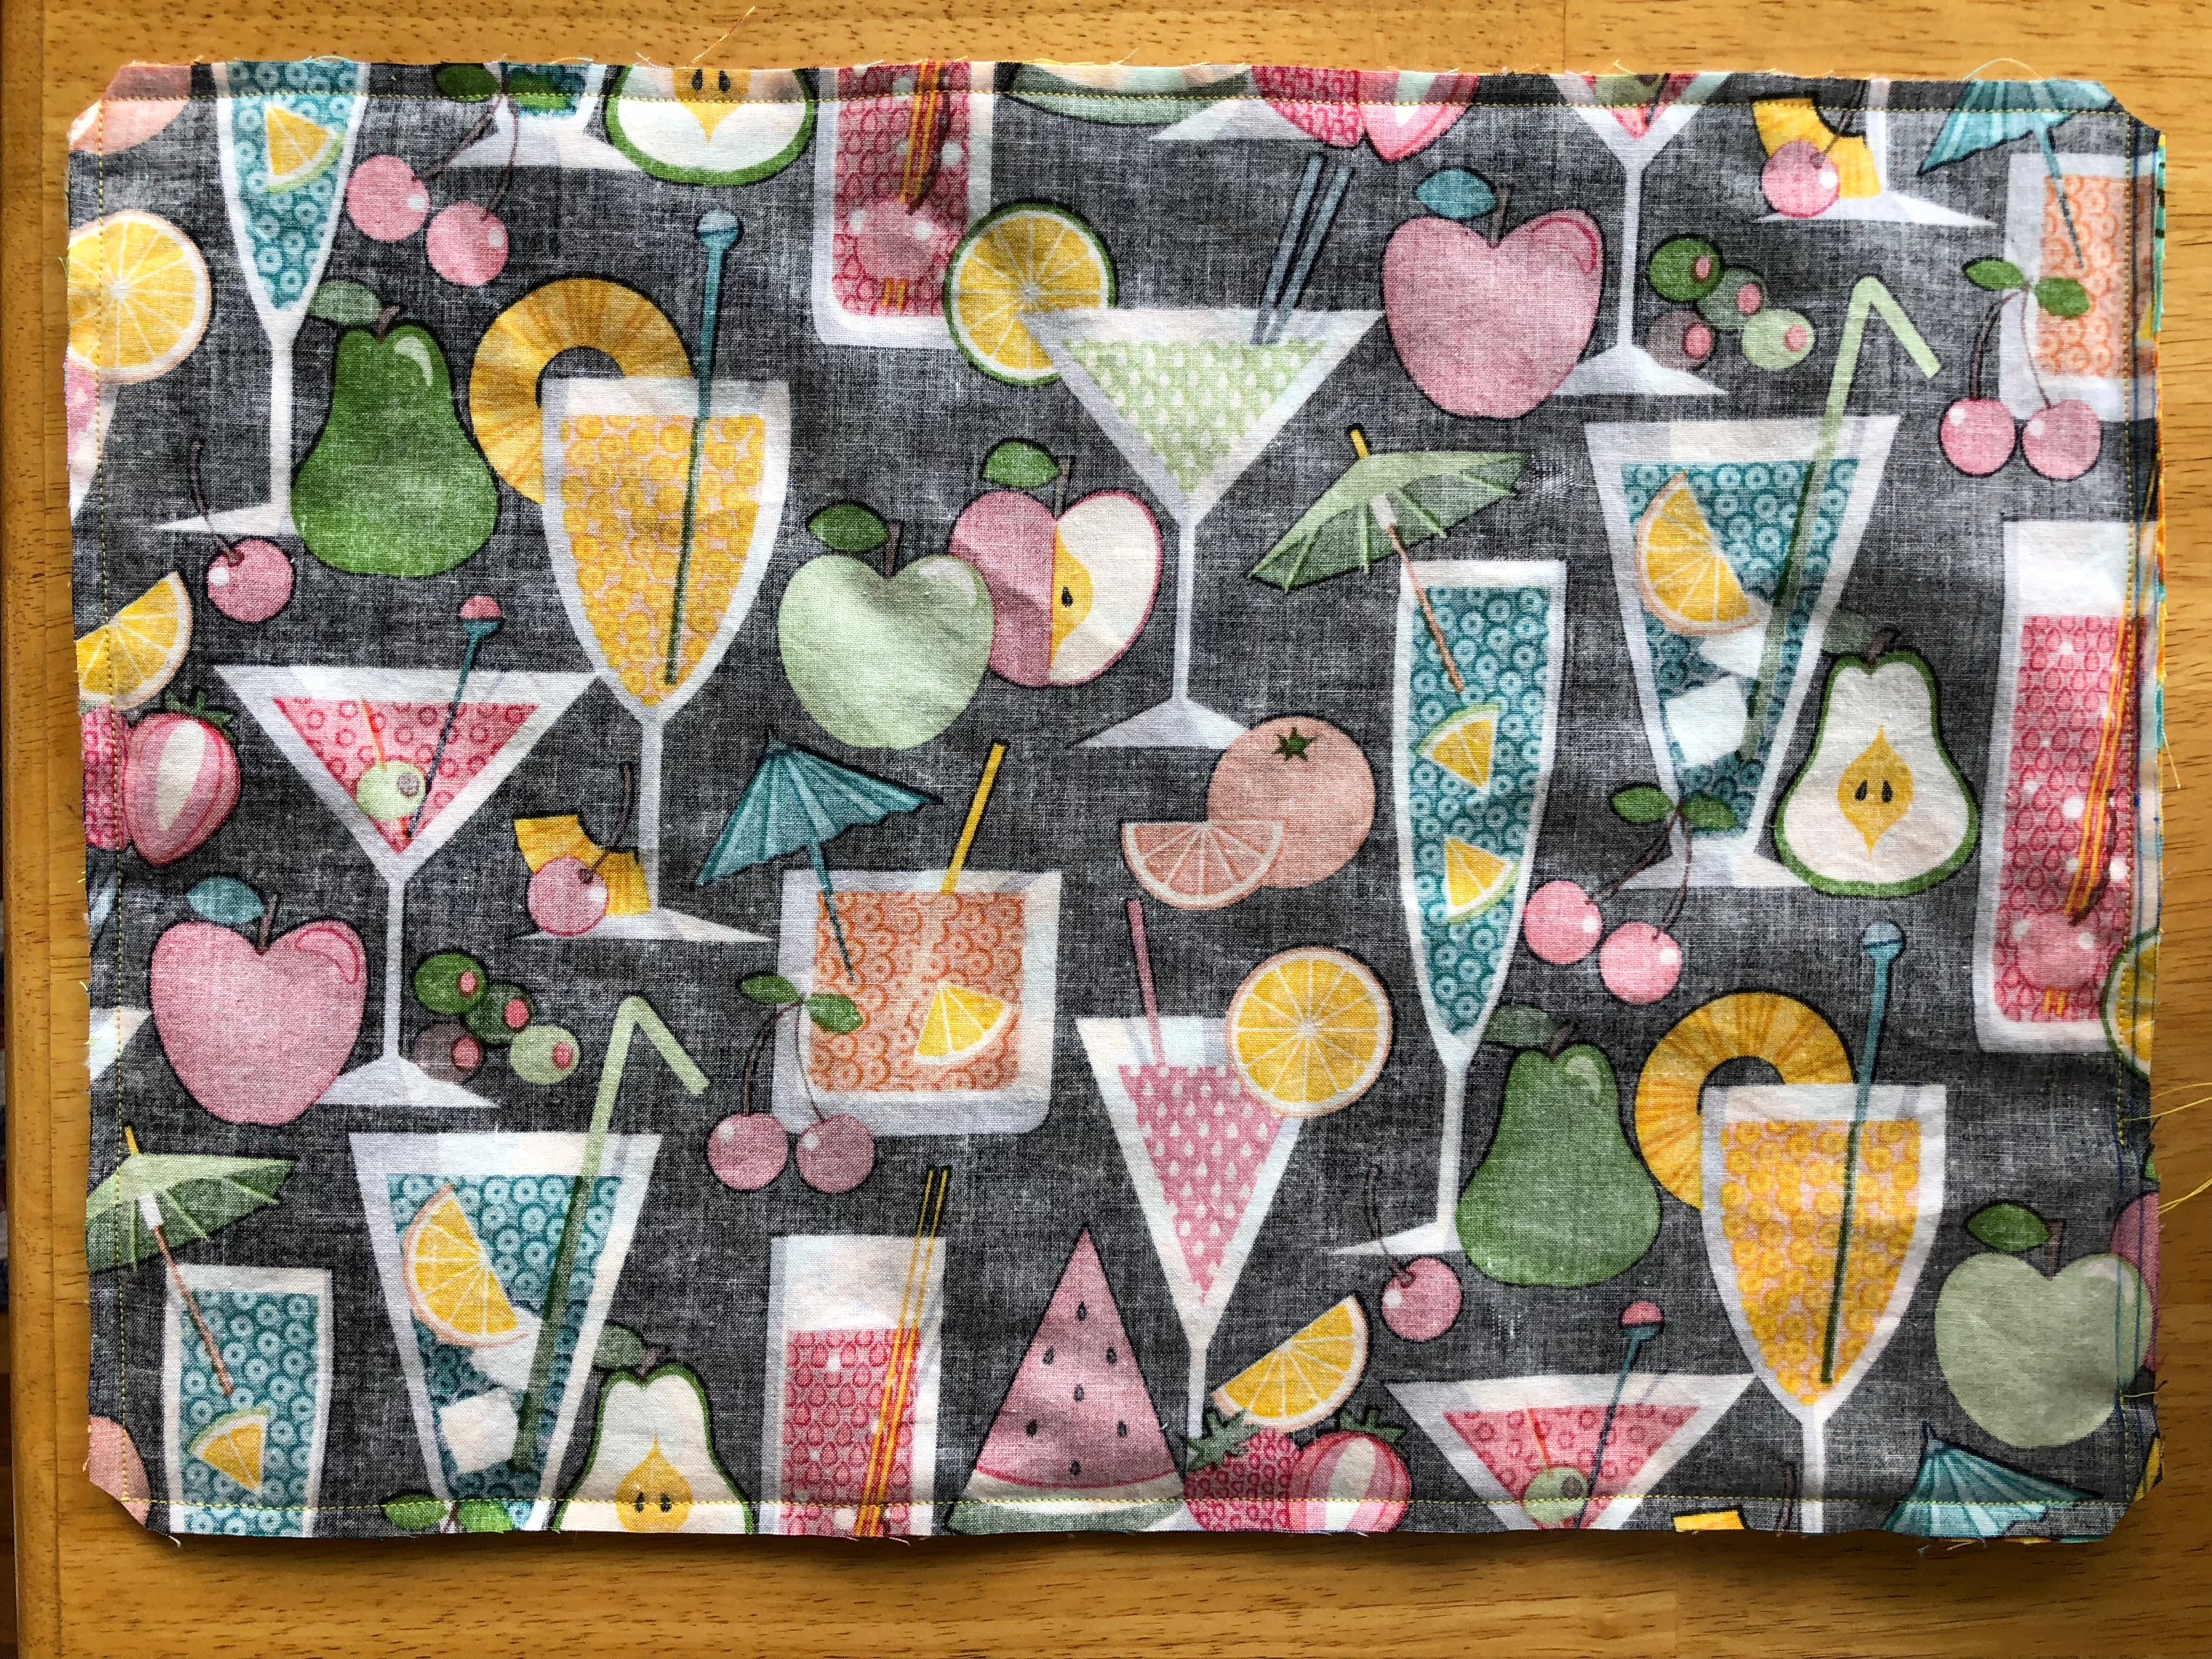 On the bottom right you'll see where I left the opening in the seam.
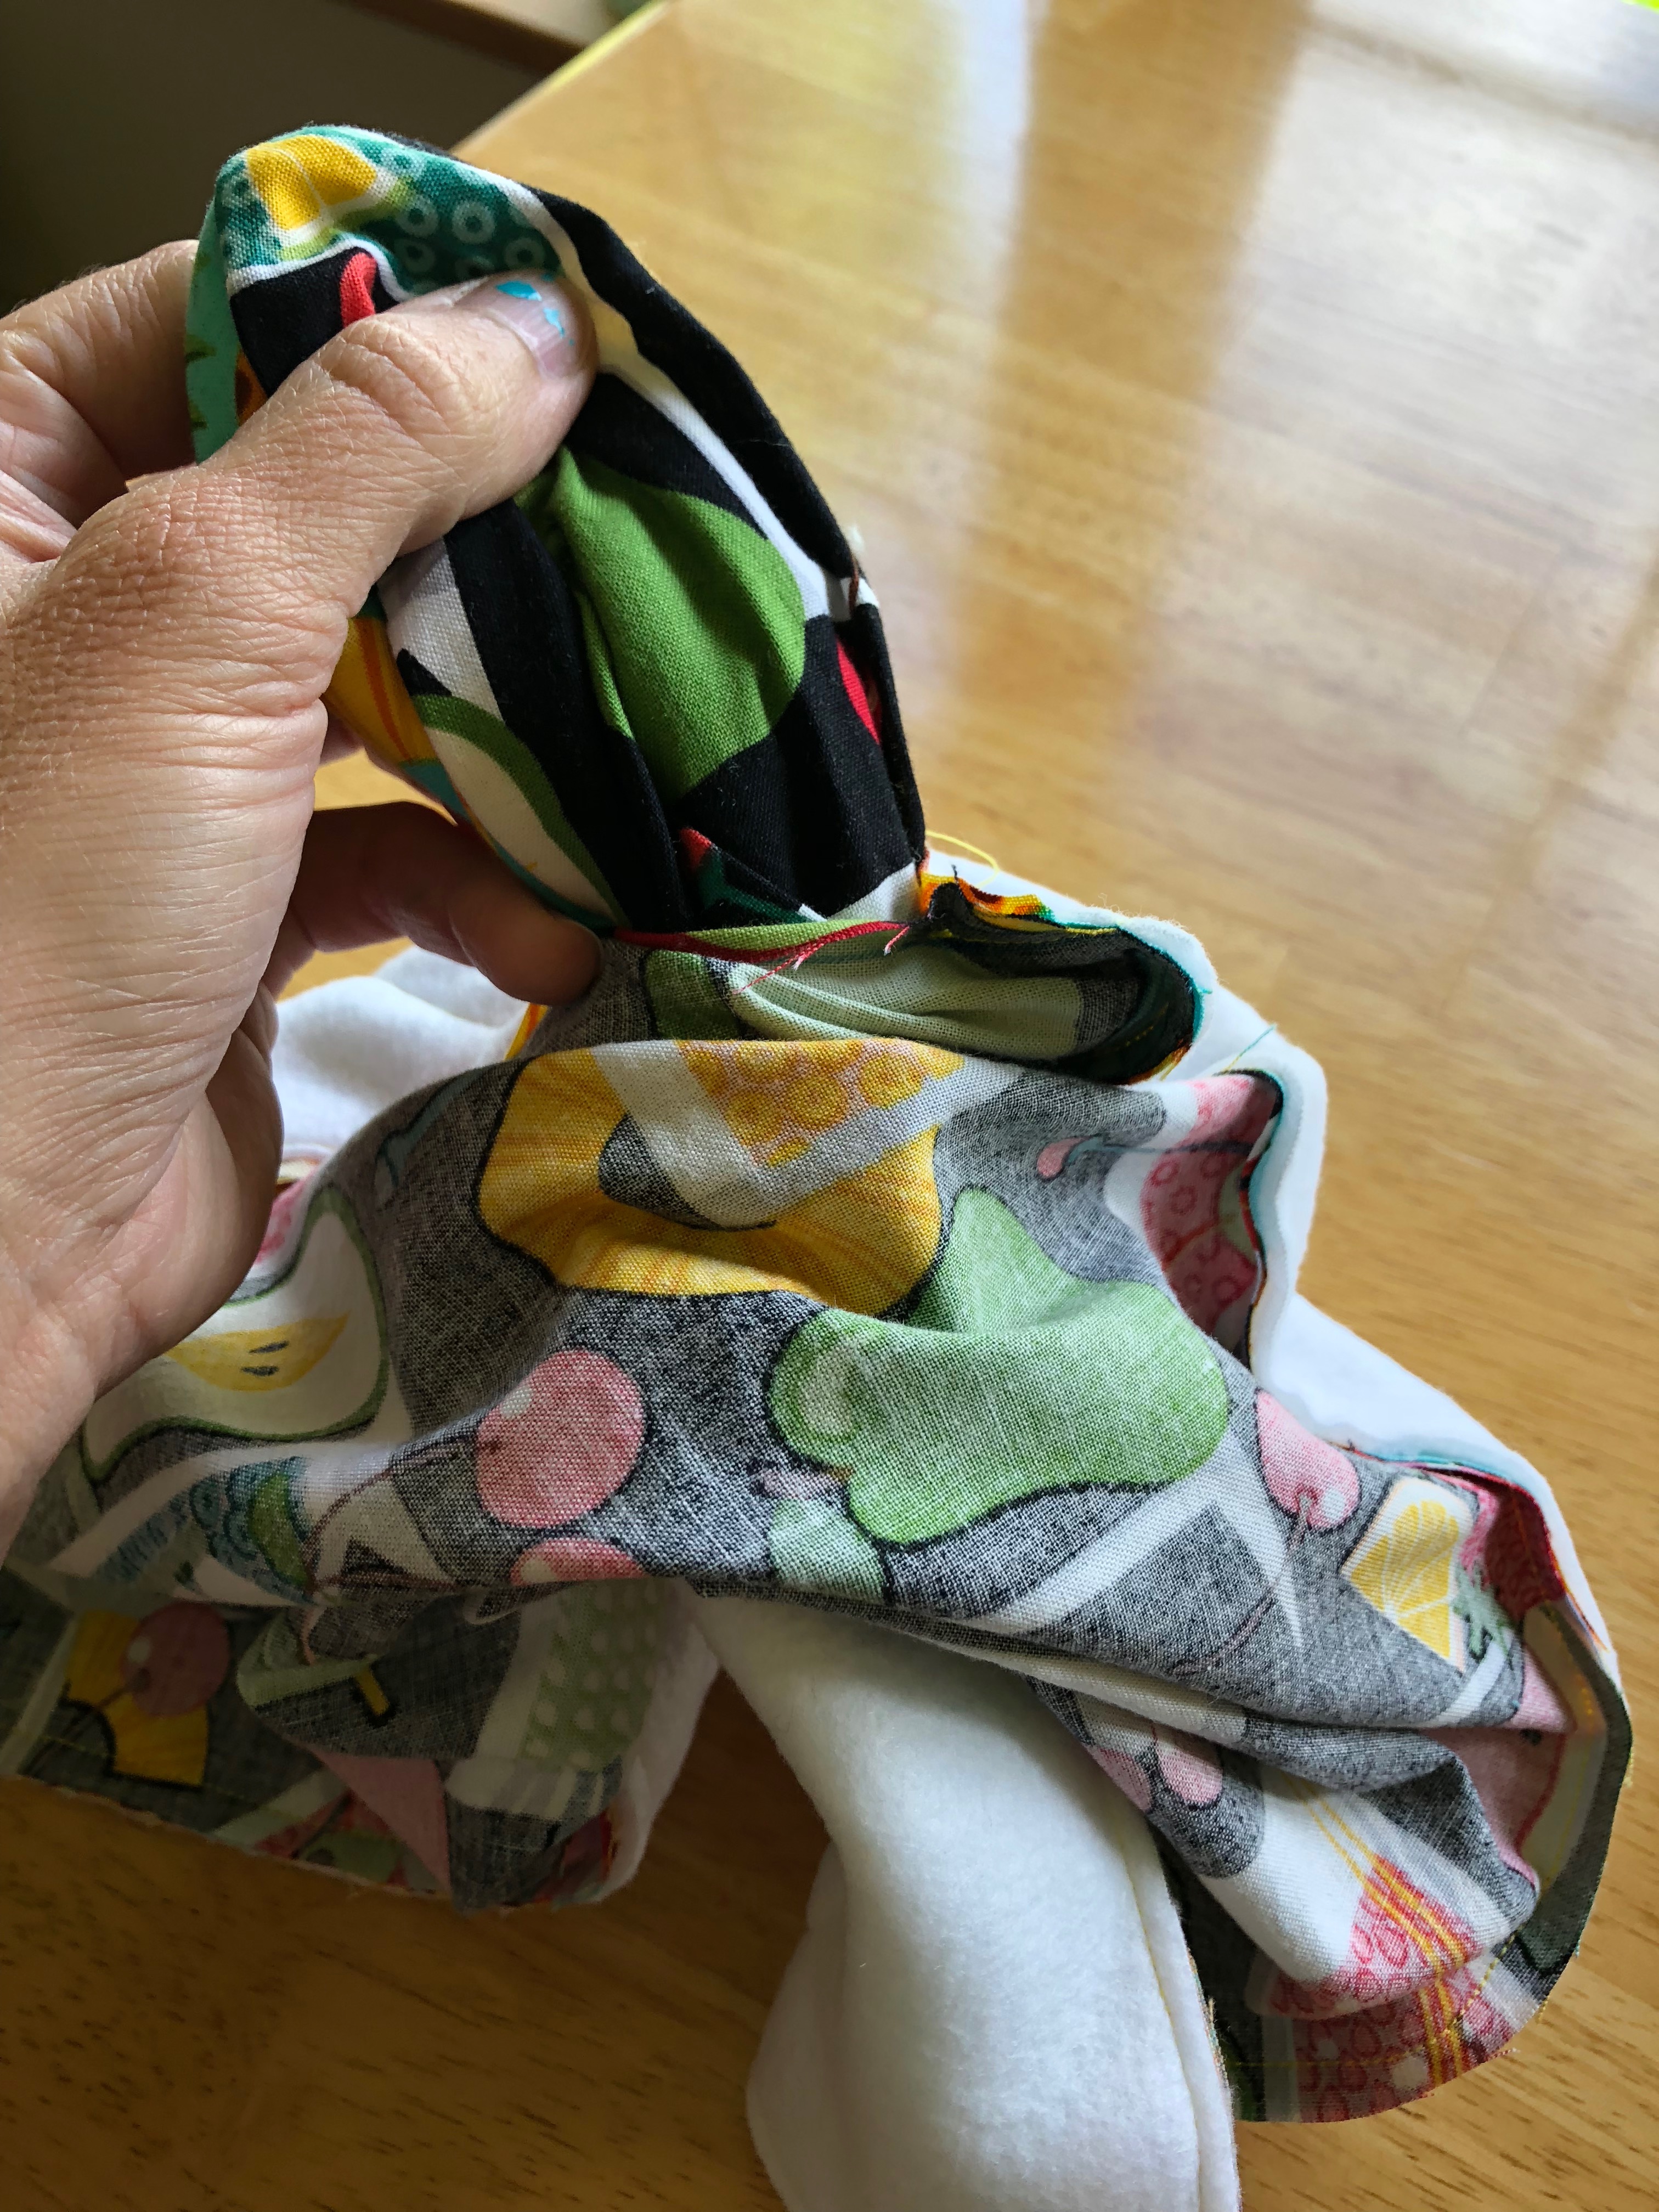
Stick your fingers through the opening, grab the opposite corner from the inside, and pull it through the hole so that the placemat turns right side out. Wiggle the fabric through gently, a little here and a little there if it's a tight squeeze, because you don't want to rip your fabric or hear threads popping!
Flatten the placemat and smooth the seams. You may have to roll the seams between your fingers to ensure you've gotten them as flat as possible. You also may need to use a pin or needle to pull the extra fabric out of the corners.
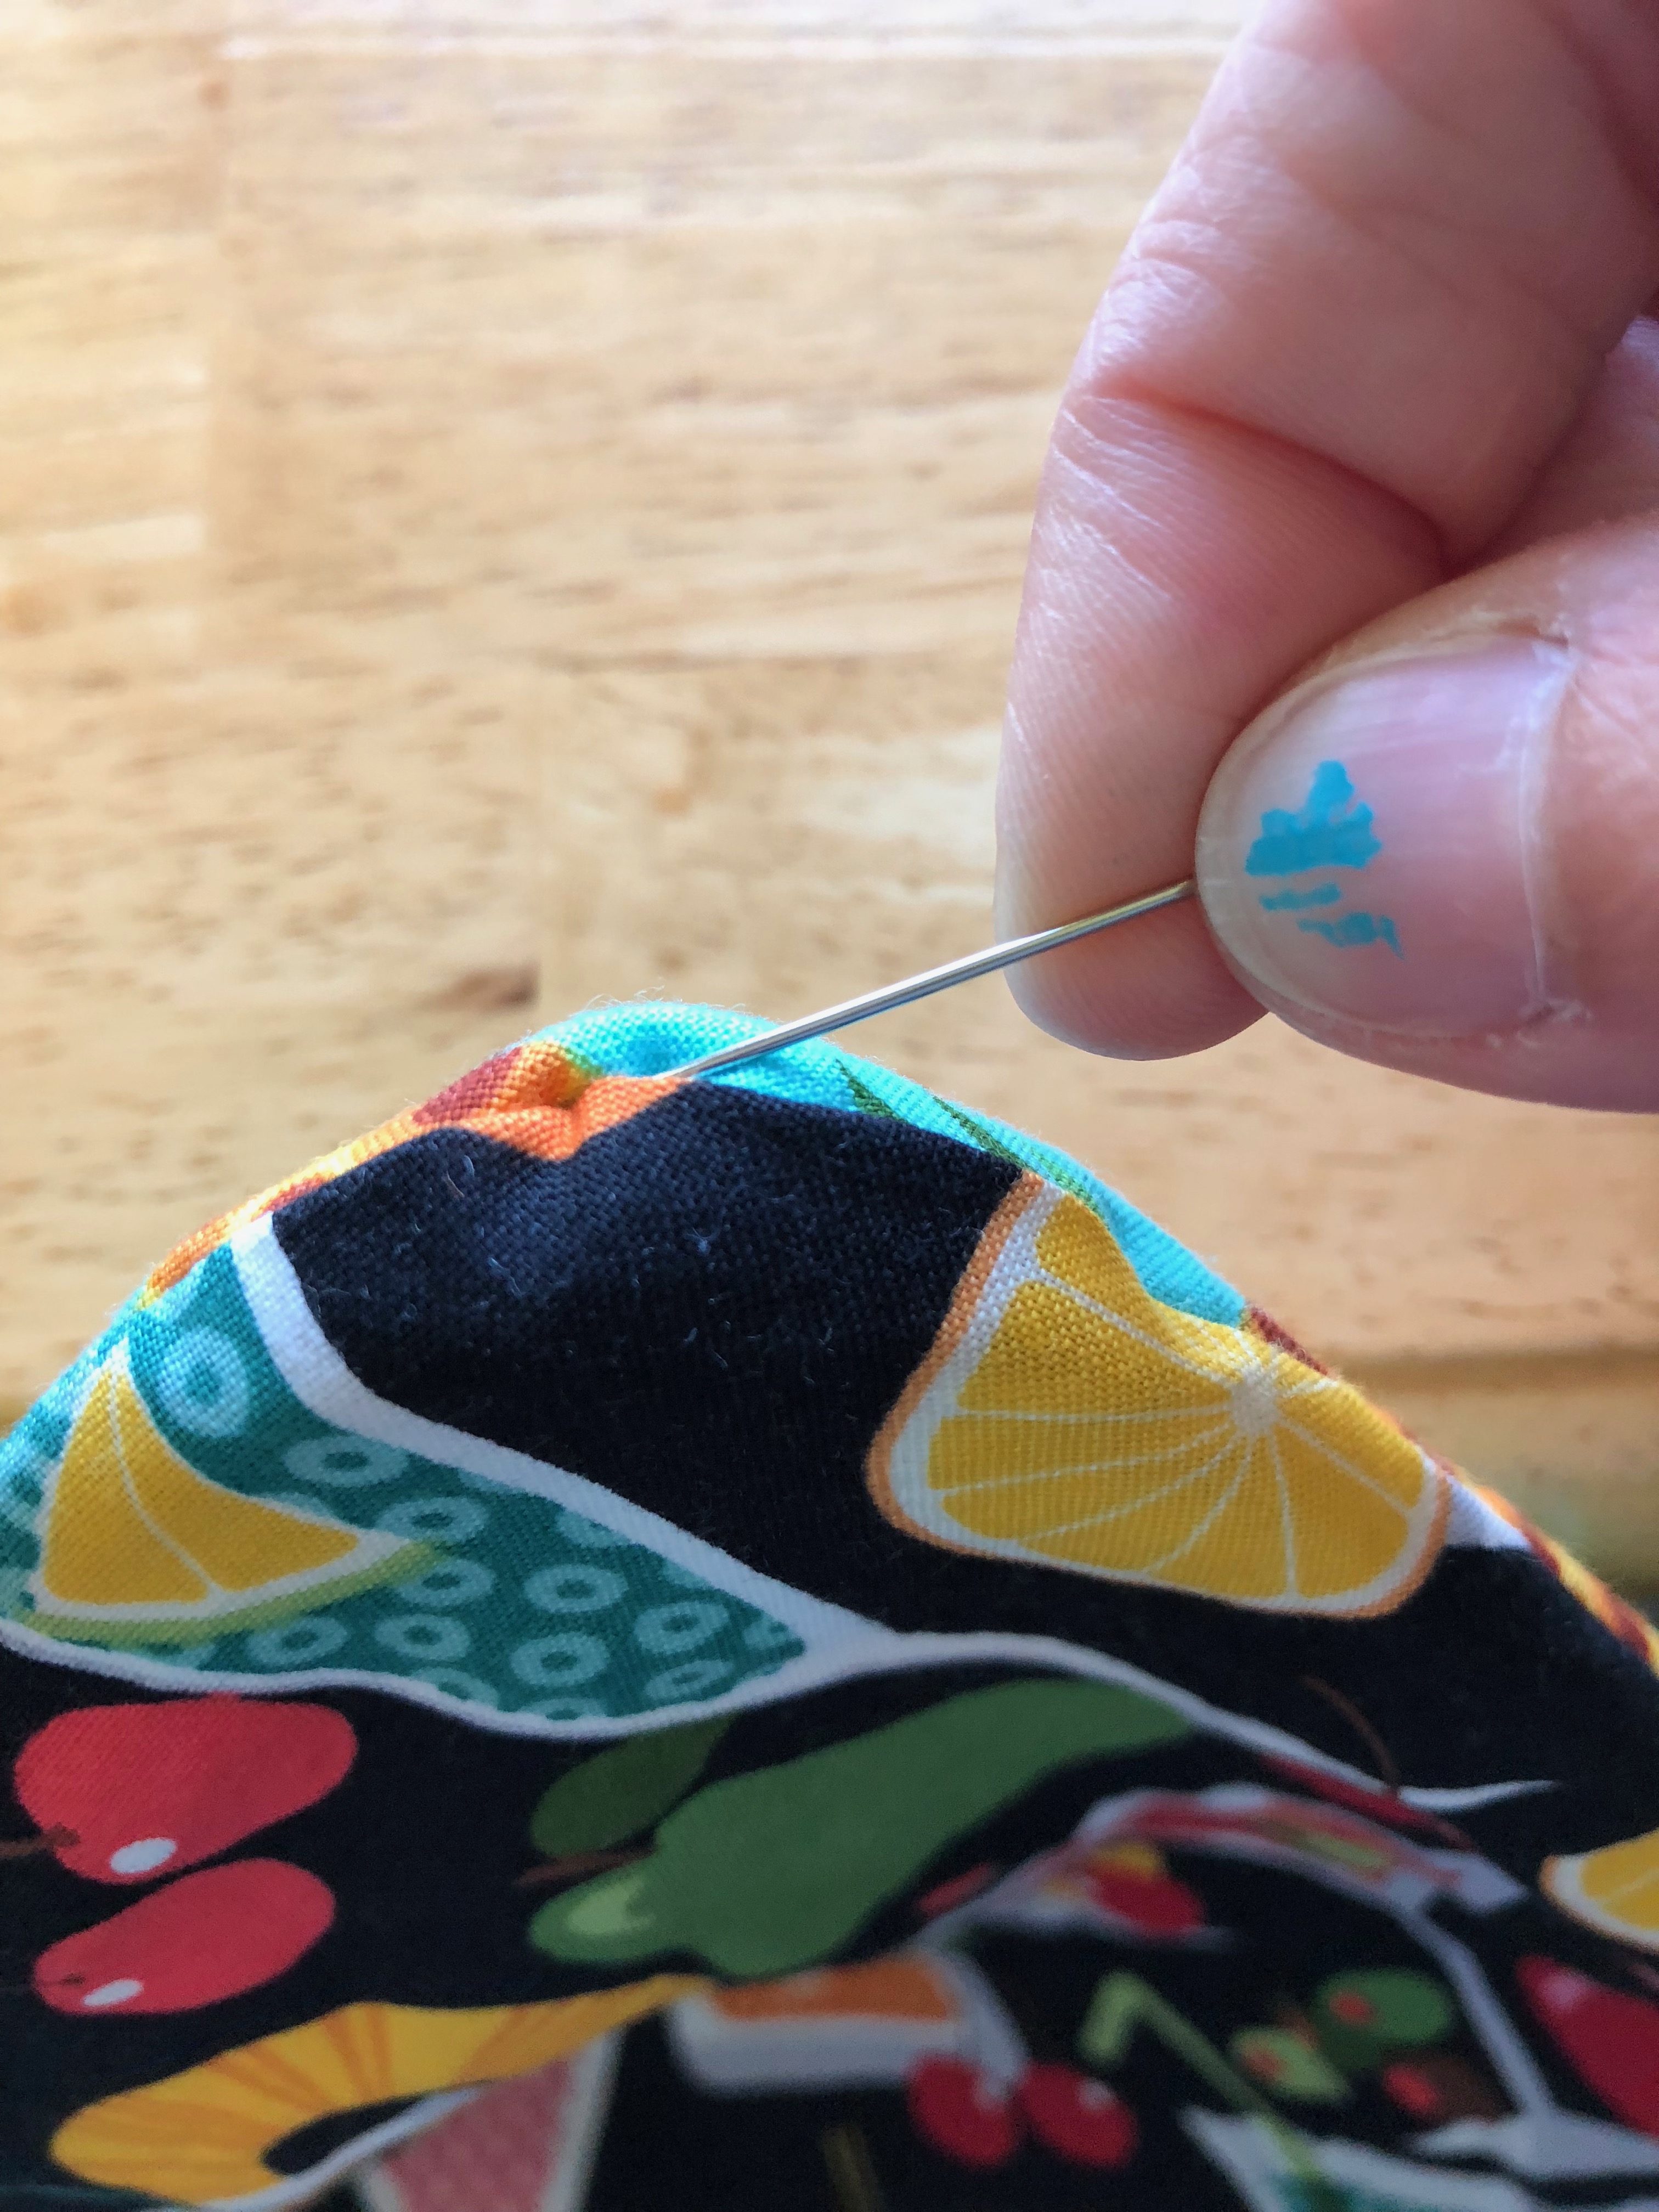
Sew the opening along the side closed. I use a ladder stitch since the stitches will be completely invisible from the outside. Remember the extra long tail of the two threads from sewing the seam on the sewing machine? Just pick those up, thread your needle with them, and start sewing, since they're already attached to the placemat on one side!
 Having the 1/4 inch line marked makes it easier to keep the handstitched seam nicely in line with the machine-sewed seam.
Stick a few pins along the edges and topstitch 1/4 inch all the way around the placemat's edge. This will help ensure the seam allowance on the inside stays in place, and keep the edges neat.

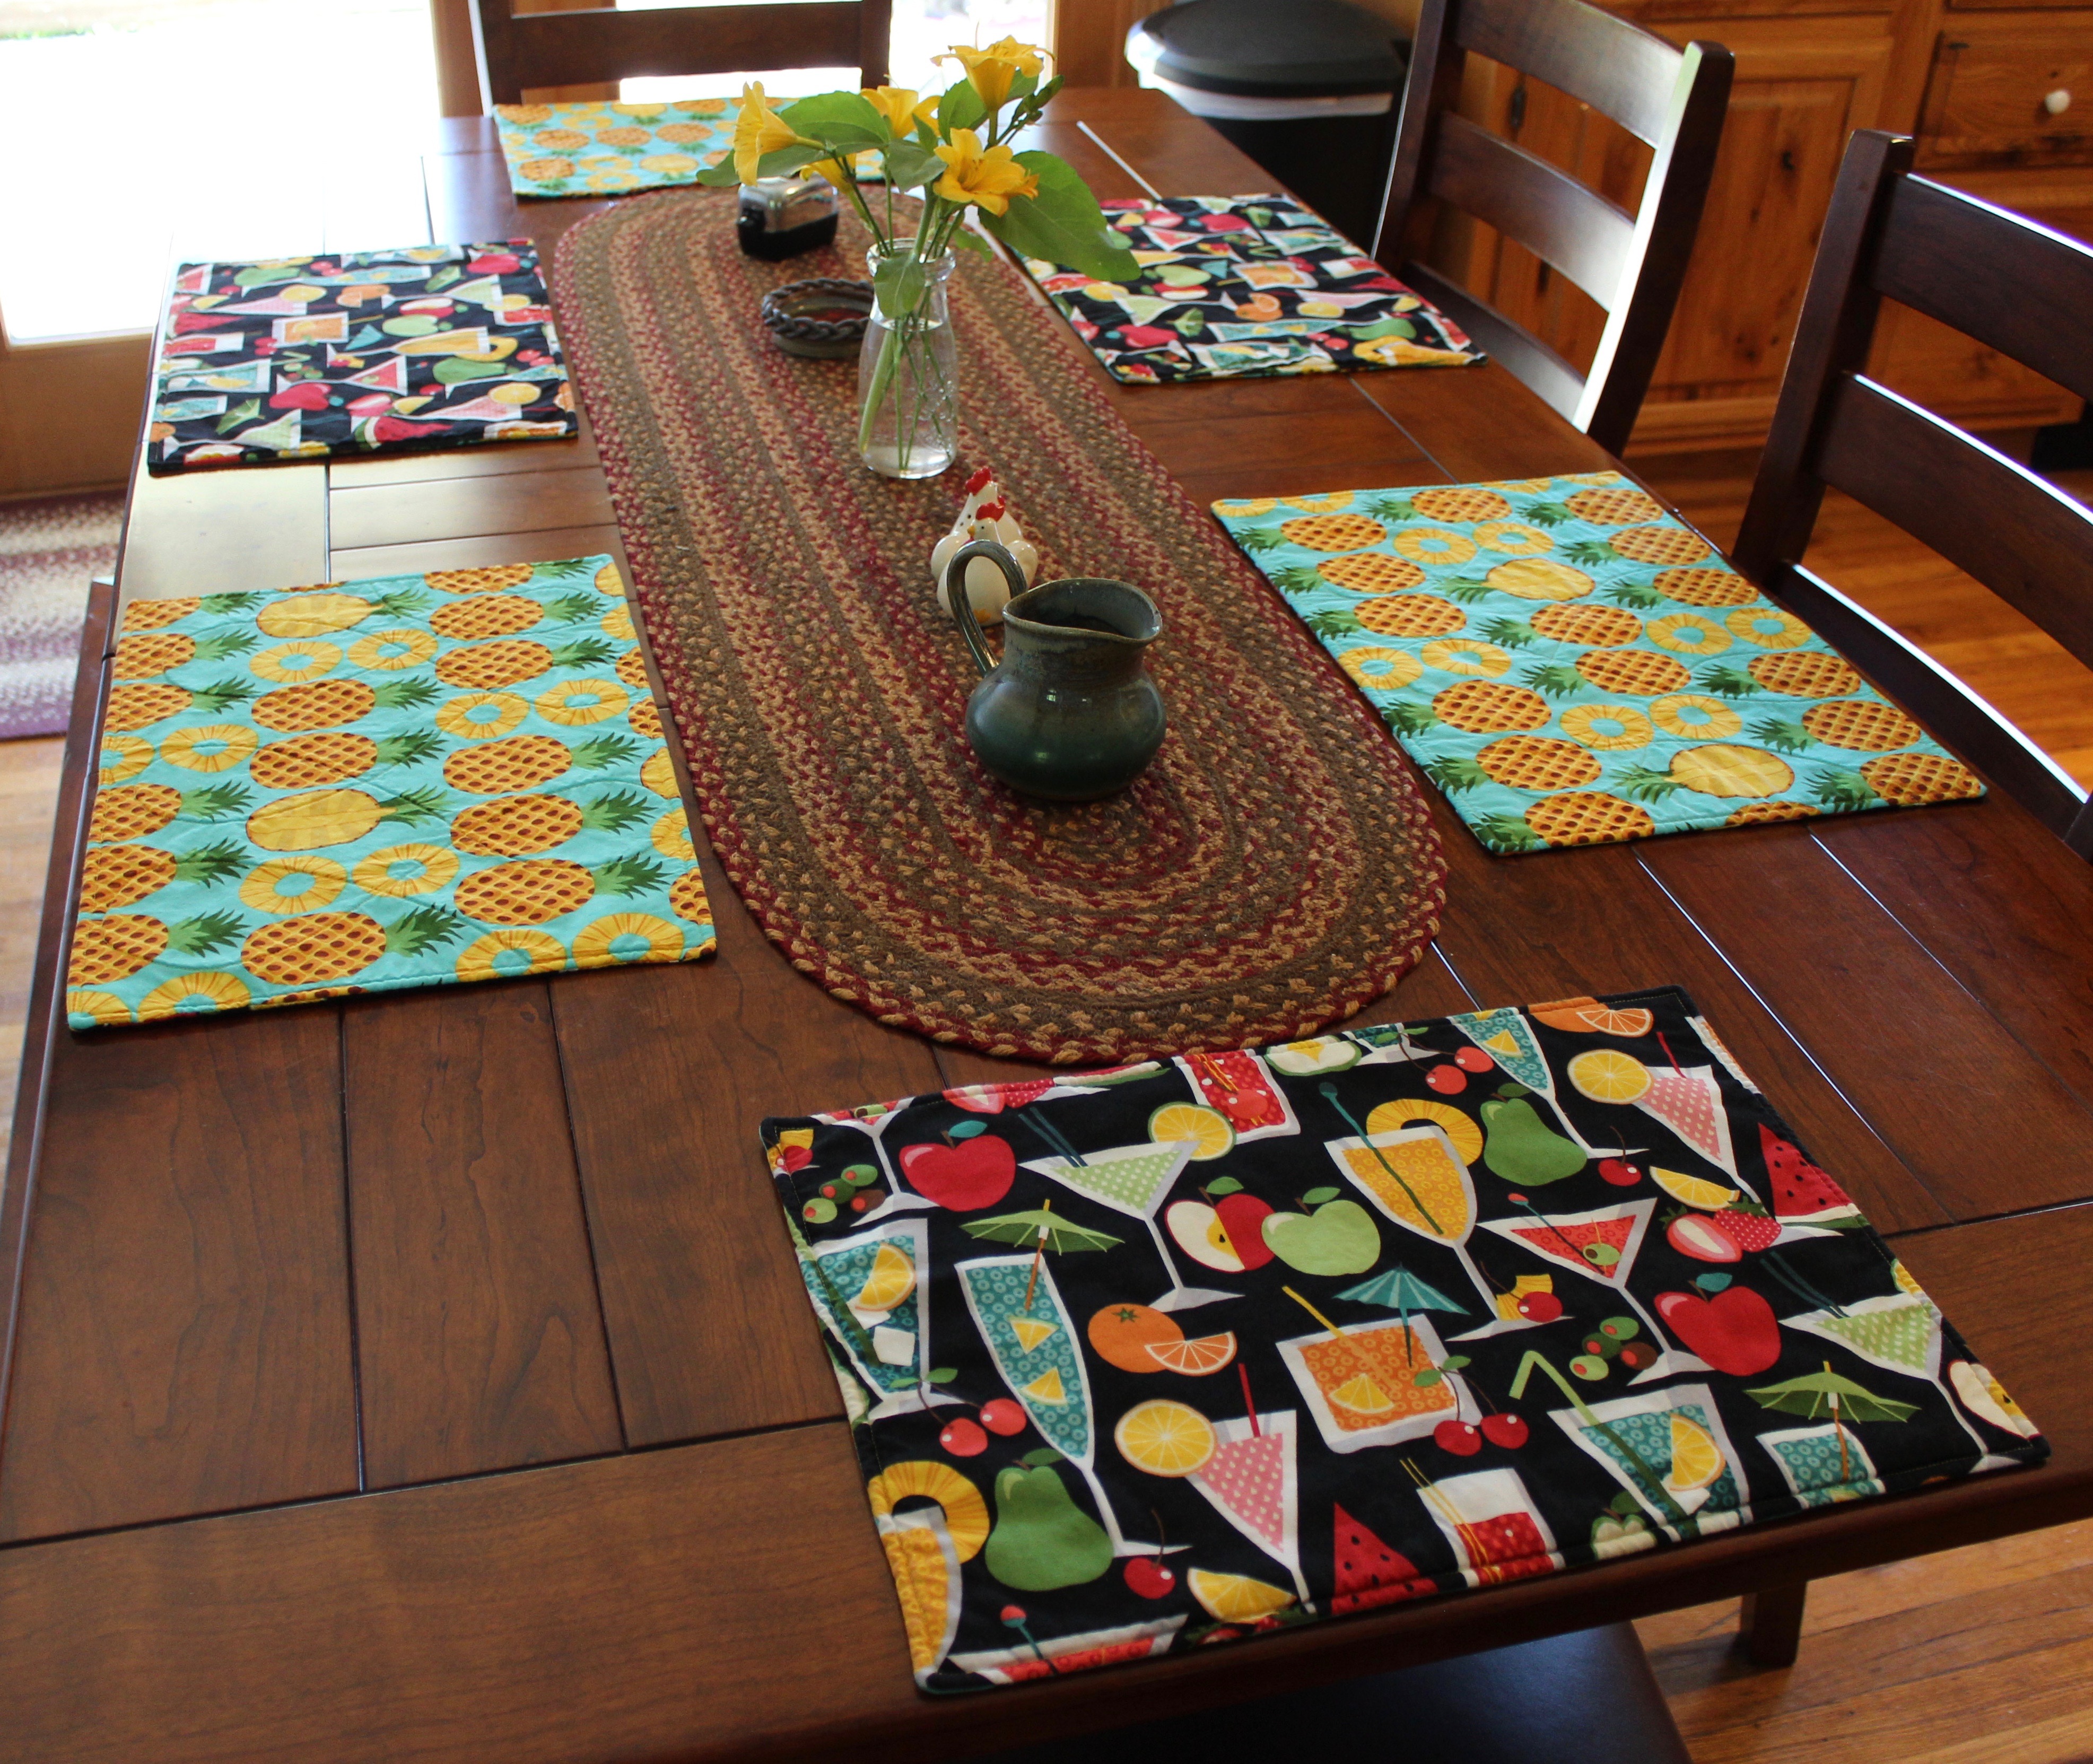
Ta Daaaaaaa!!!! You're done! Easy, wasn't it?! Now just do it 5 (or however many) more times!
Why shop around when you can customize something for yourself? Or, if you don't feel like sewing, you can just buy this set my Etsy shop :)
Now I just need to make a set for my OWN table!! Happy #Needleworkmonday everyone!
https://steemitimages.com/0x0/https://cdn.steemitimages.com/DQmc3QnvESqqyhfRQnDyNYGjPh9W6oBx4rKmgDU9kmKNKeG/image.png!