**
🇪🇸Spanish🇪🇸
**
¡¡HOLA!! Feliz inicio del mes de octubre, que sea de cosas bonitas para todos nosotros. Esta vez regreso a la comunidad para mostrarles como realice una portada para el cuaderno de Geografía, Historia y Soberanía Nacional de mi hija, ahora que ha comenzado una nueva etapa escolar, debe tener una libreta para cada materia, por esta razón y como mamá presente hemos compartido la elaboración de estas portadas porque son unos 13 cuadernos, lo que se convierte en mucho trabajo.
Esta portada preferí hacerla yo, porque mi hija estaba teniendo problemas por lo largo del título, al final no supo cómo ubicarlo y tampoco quería que lo abreviara, así que asumí la tarea de hacer esta portada por ella, que además es la primera que hago, en mis tiempos de estudio no tenía estos detalles en mente.
*
Materiales
*
Cuaderno de tesis, Hoja blanca tipo carta, lápiz de dibujo HB, Creyones de madera, Marcador negro punta fina, marcadores de colores, borrador, sacapuntas, pegamento en barra, tijeras.
*
Procedimiento
*
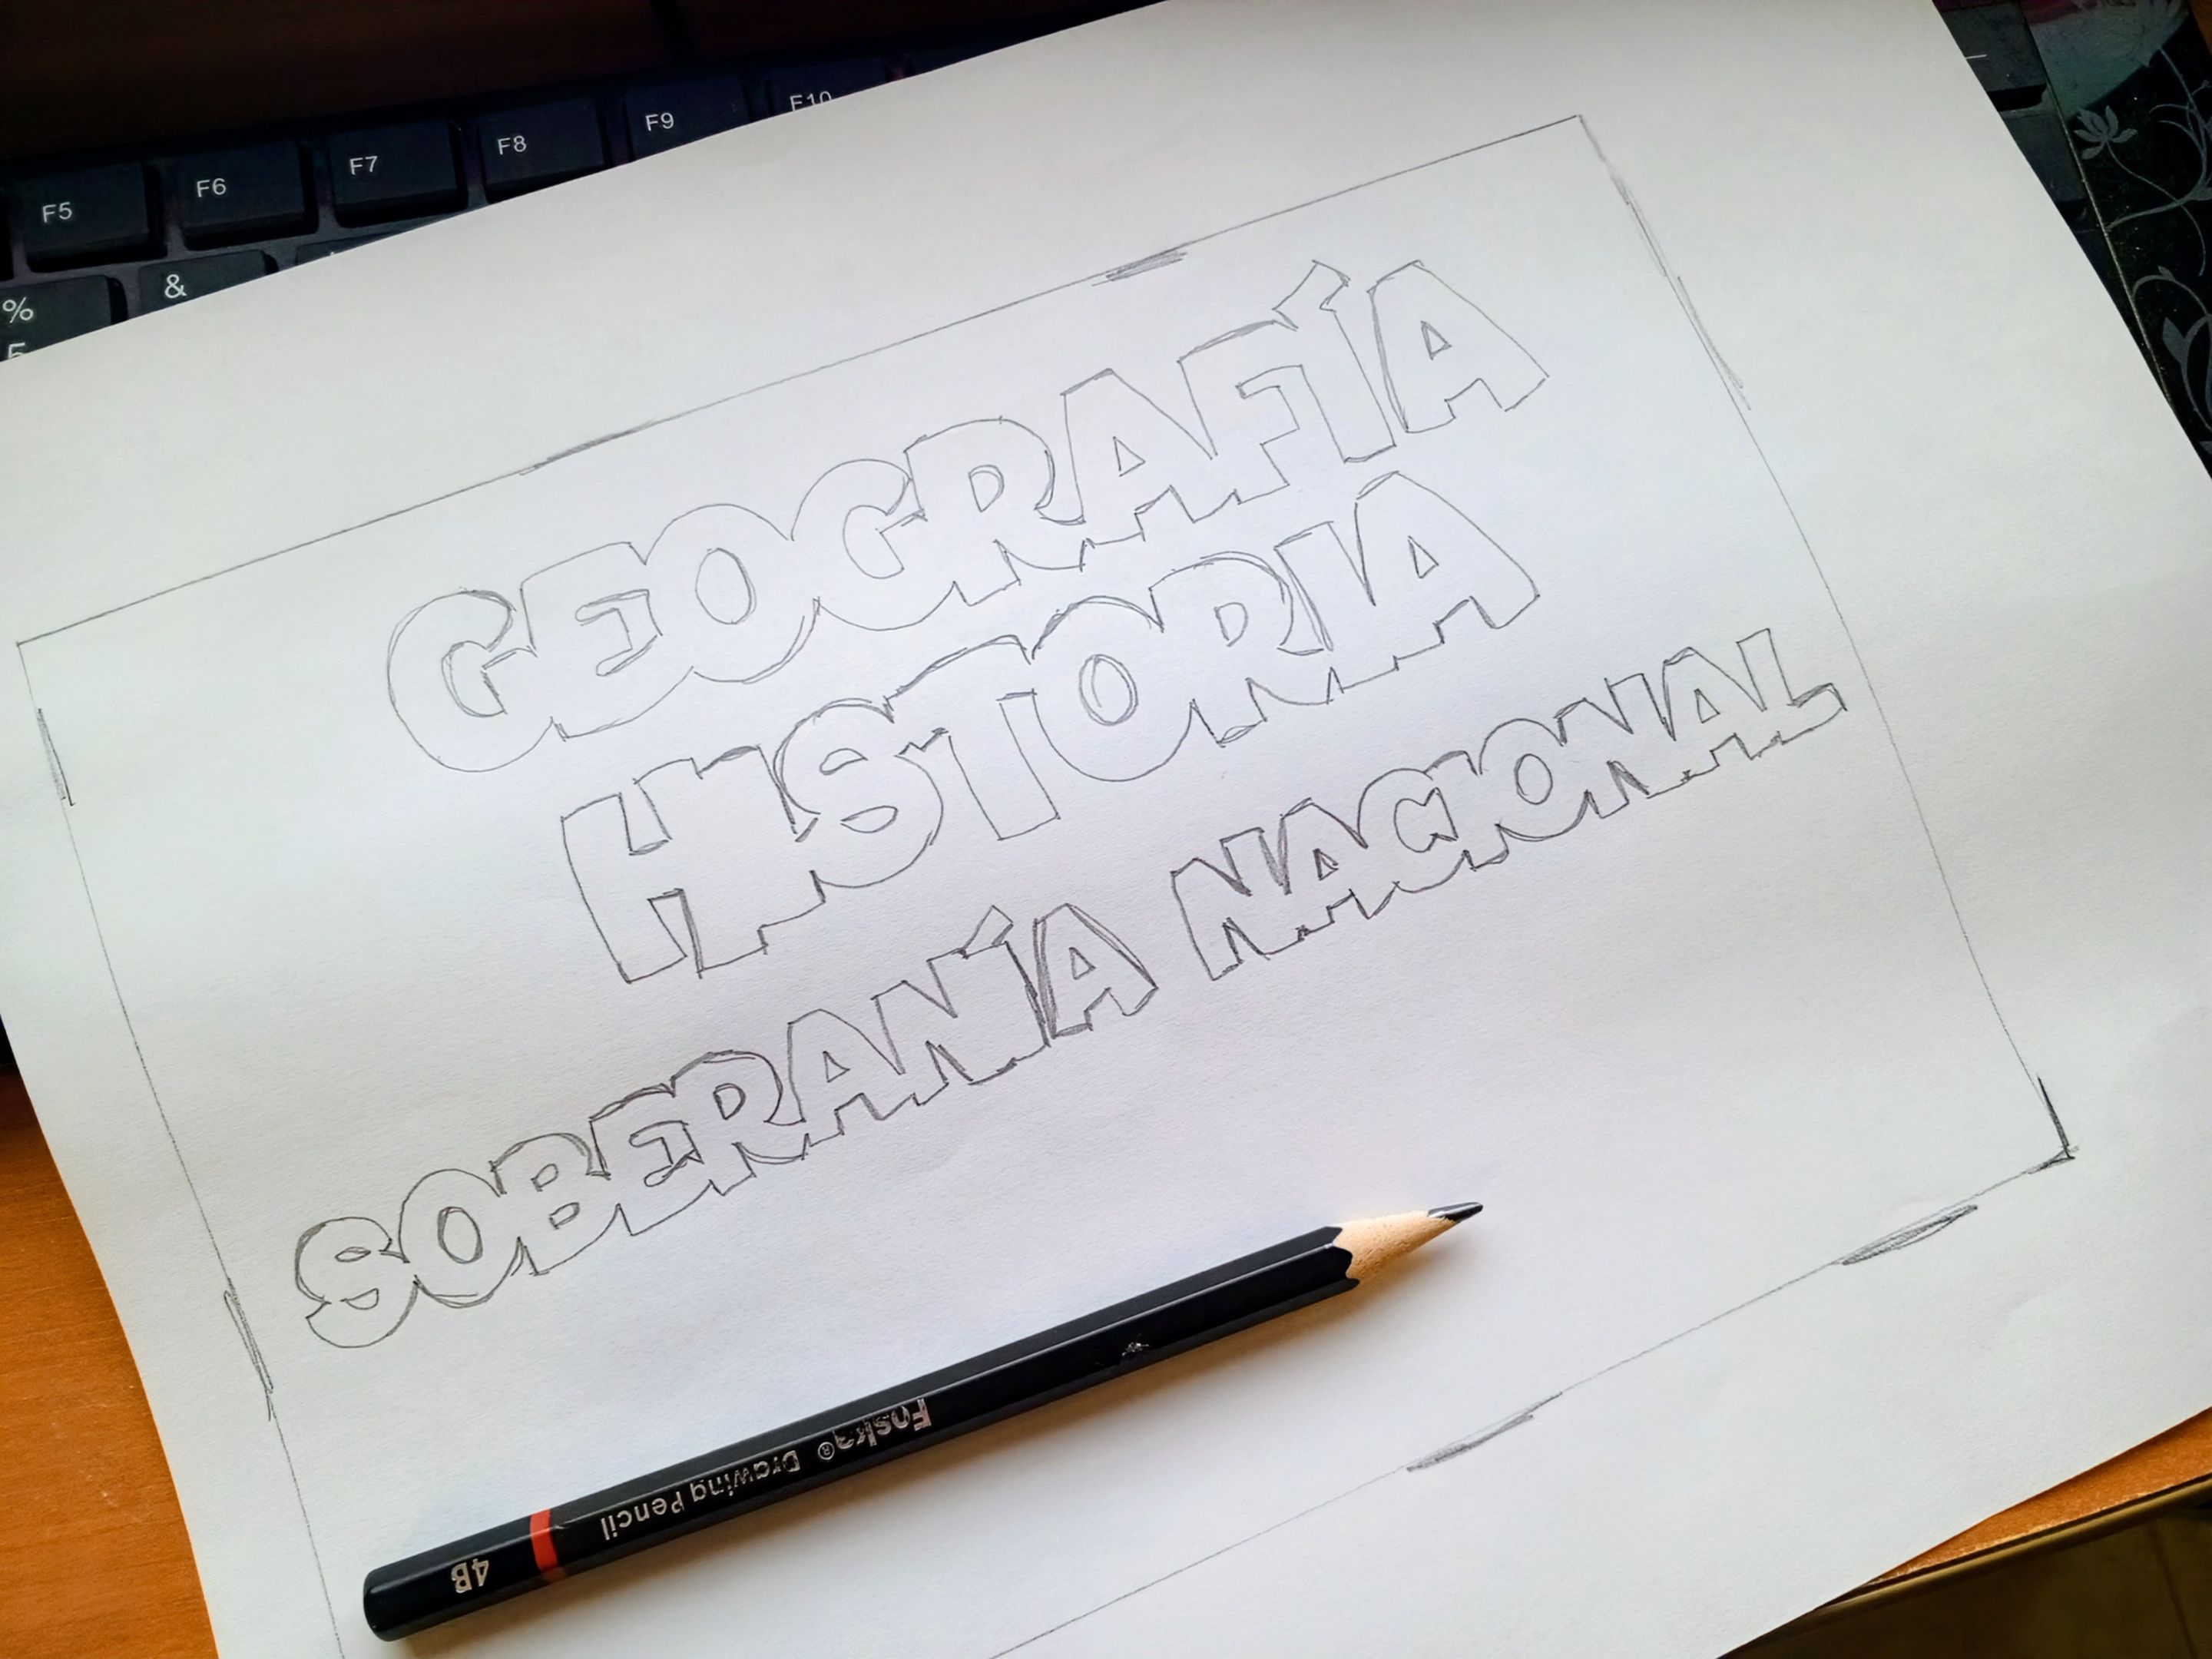
1. Lo primero que hice fue abrir un documento en power point para seleccionar la fuente y trabajar desde allí todos los detalles de la portada. La fuente que más me gusto fue BOUNCY BLACK PERSON, este tipo de letra la había descargado previamente de una página en el navegador llamada Dafont. 2. Teniendo la fuente, lo siguiente es escribir el nombre de la materia, de acuerdo al espacio disponible o tamaño del cuaderno, en ese sentido ya había tomado las medidas.
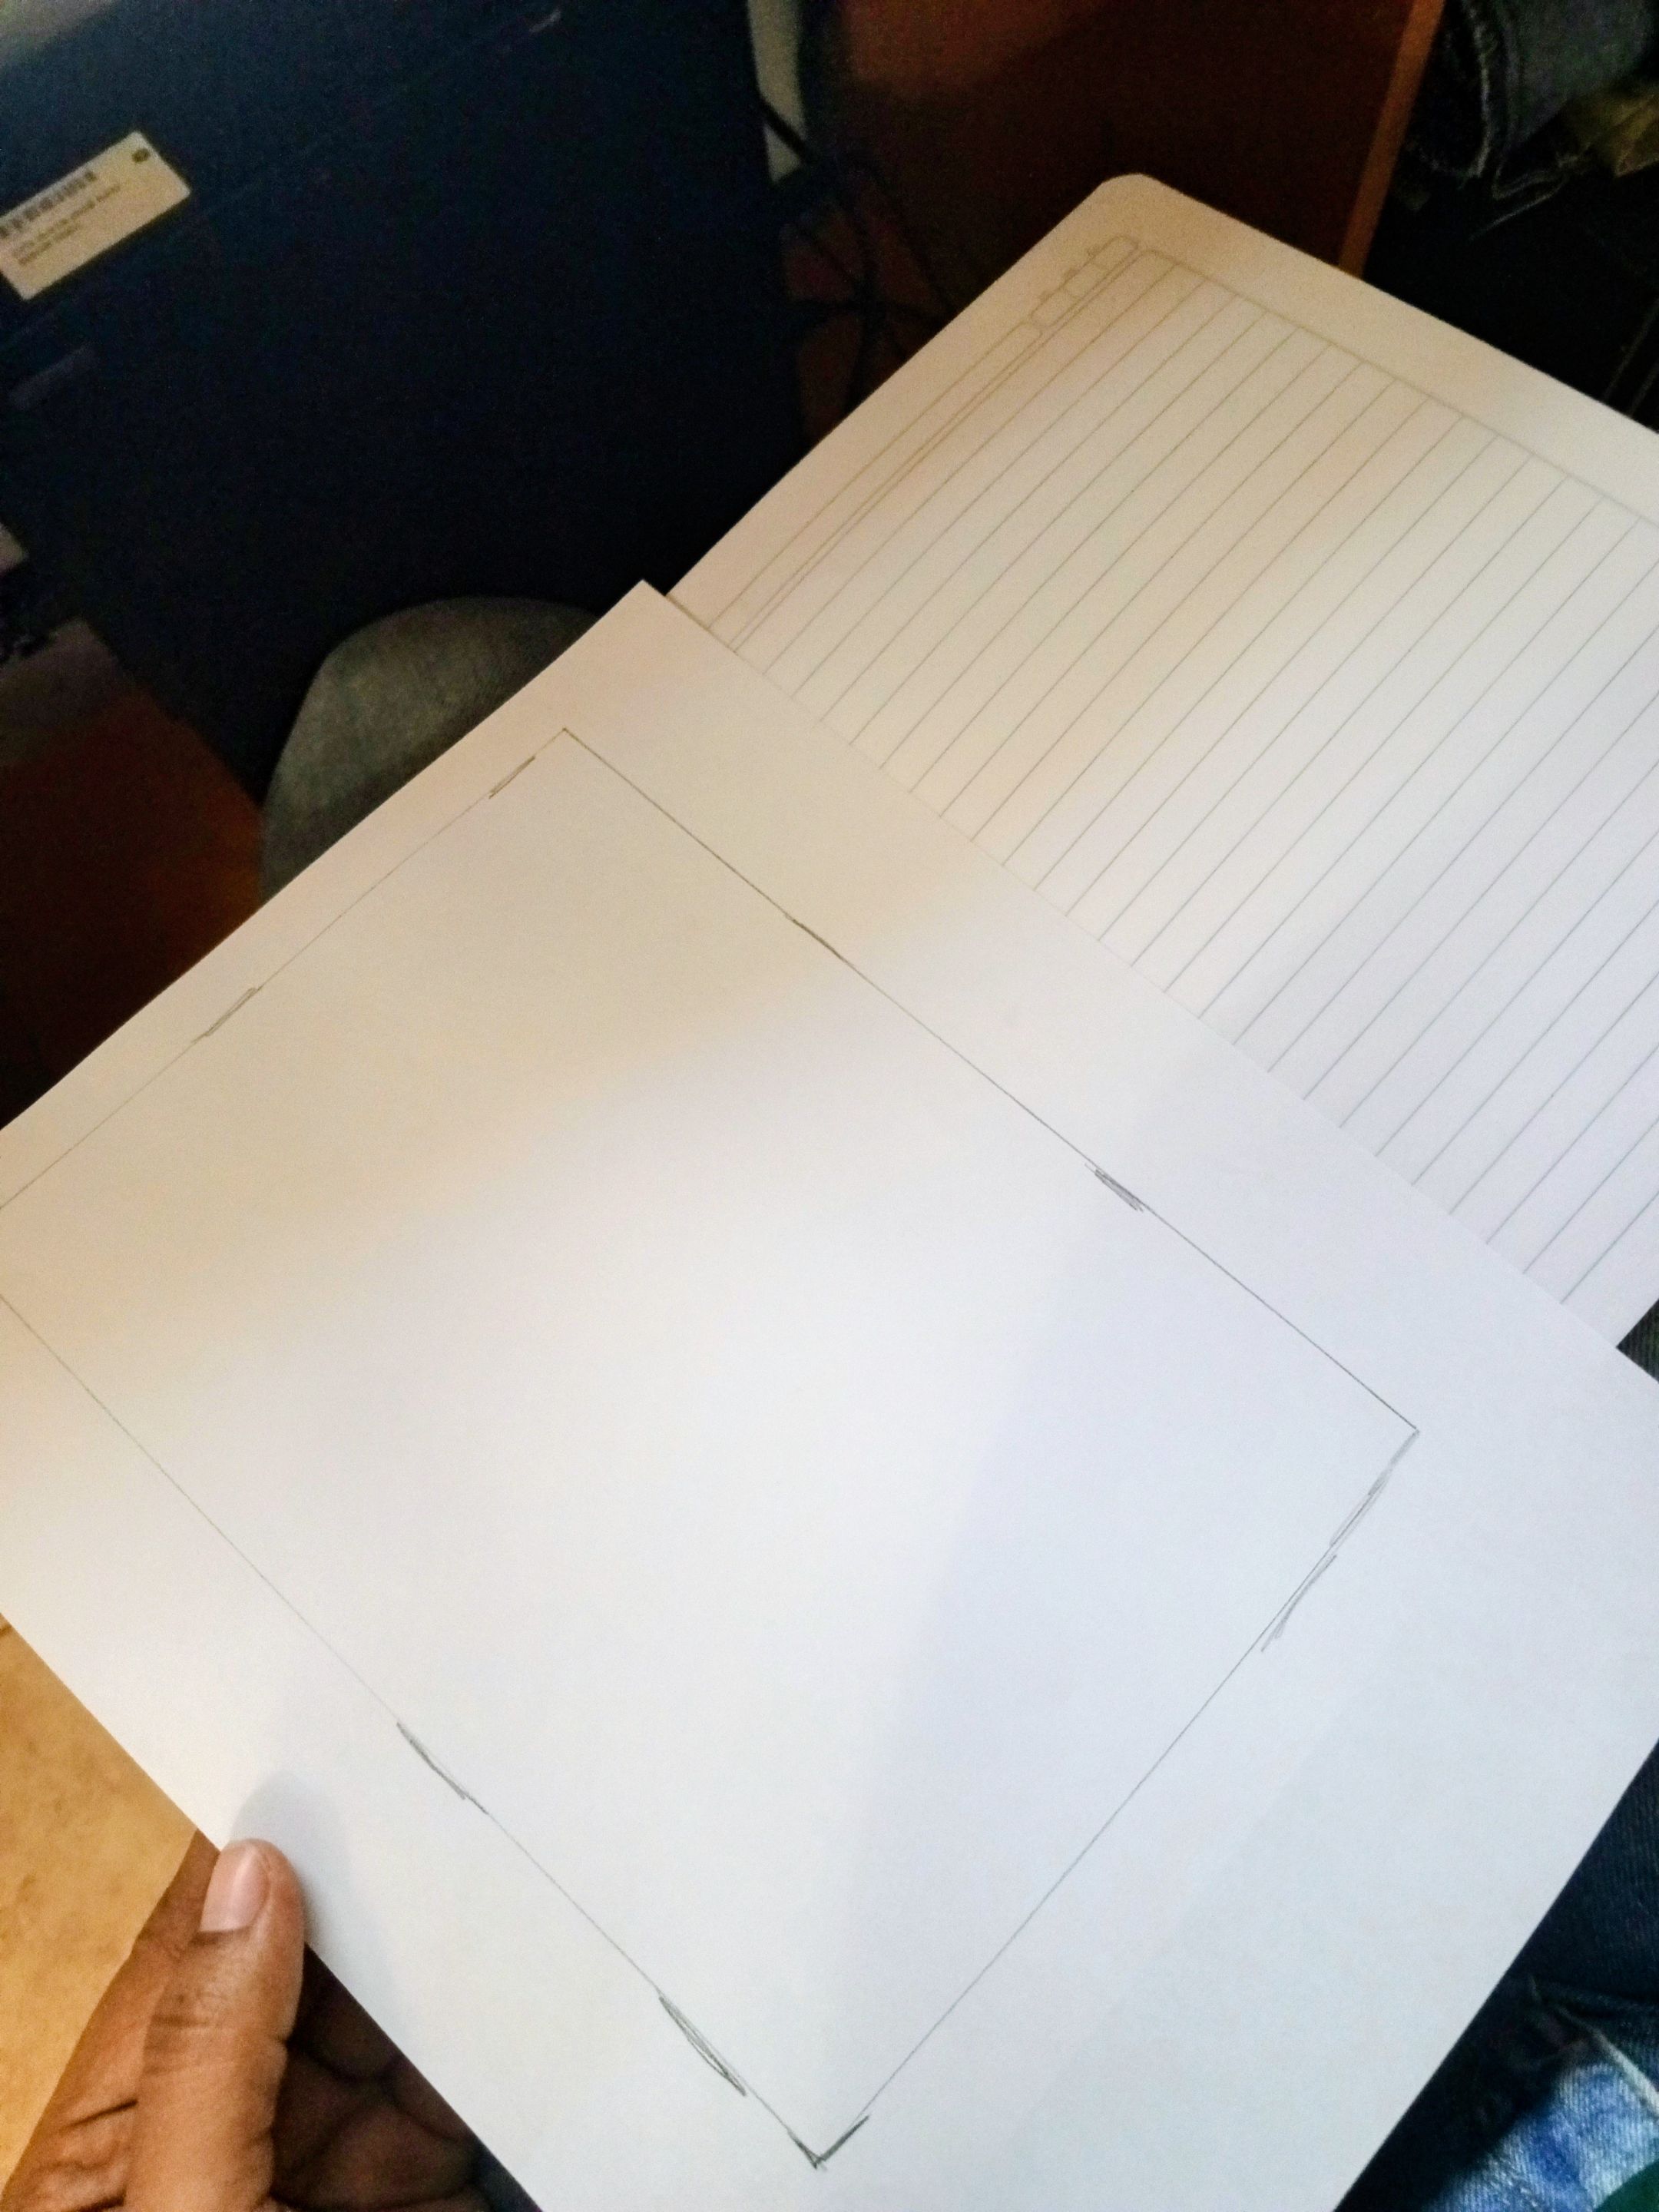
3. Para copiar la letra o imágenes desde la pantalla de la computadora, trabaje en un marco que realice en una hoja blanca y no directamente en la hoja tesis del cuaderno, esto me permitió hacer el proceso más fácil. 4. Este procedimiento lo aplique para copiar las letras y las imágenes que le agregue a la portada, considerando también que las imágenes tuviesen relación con la materia.
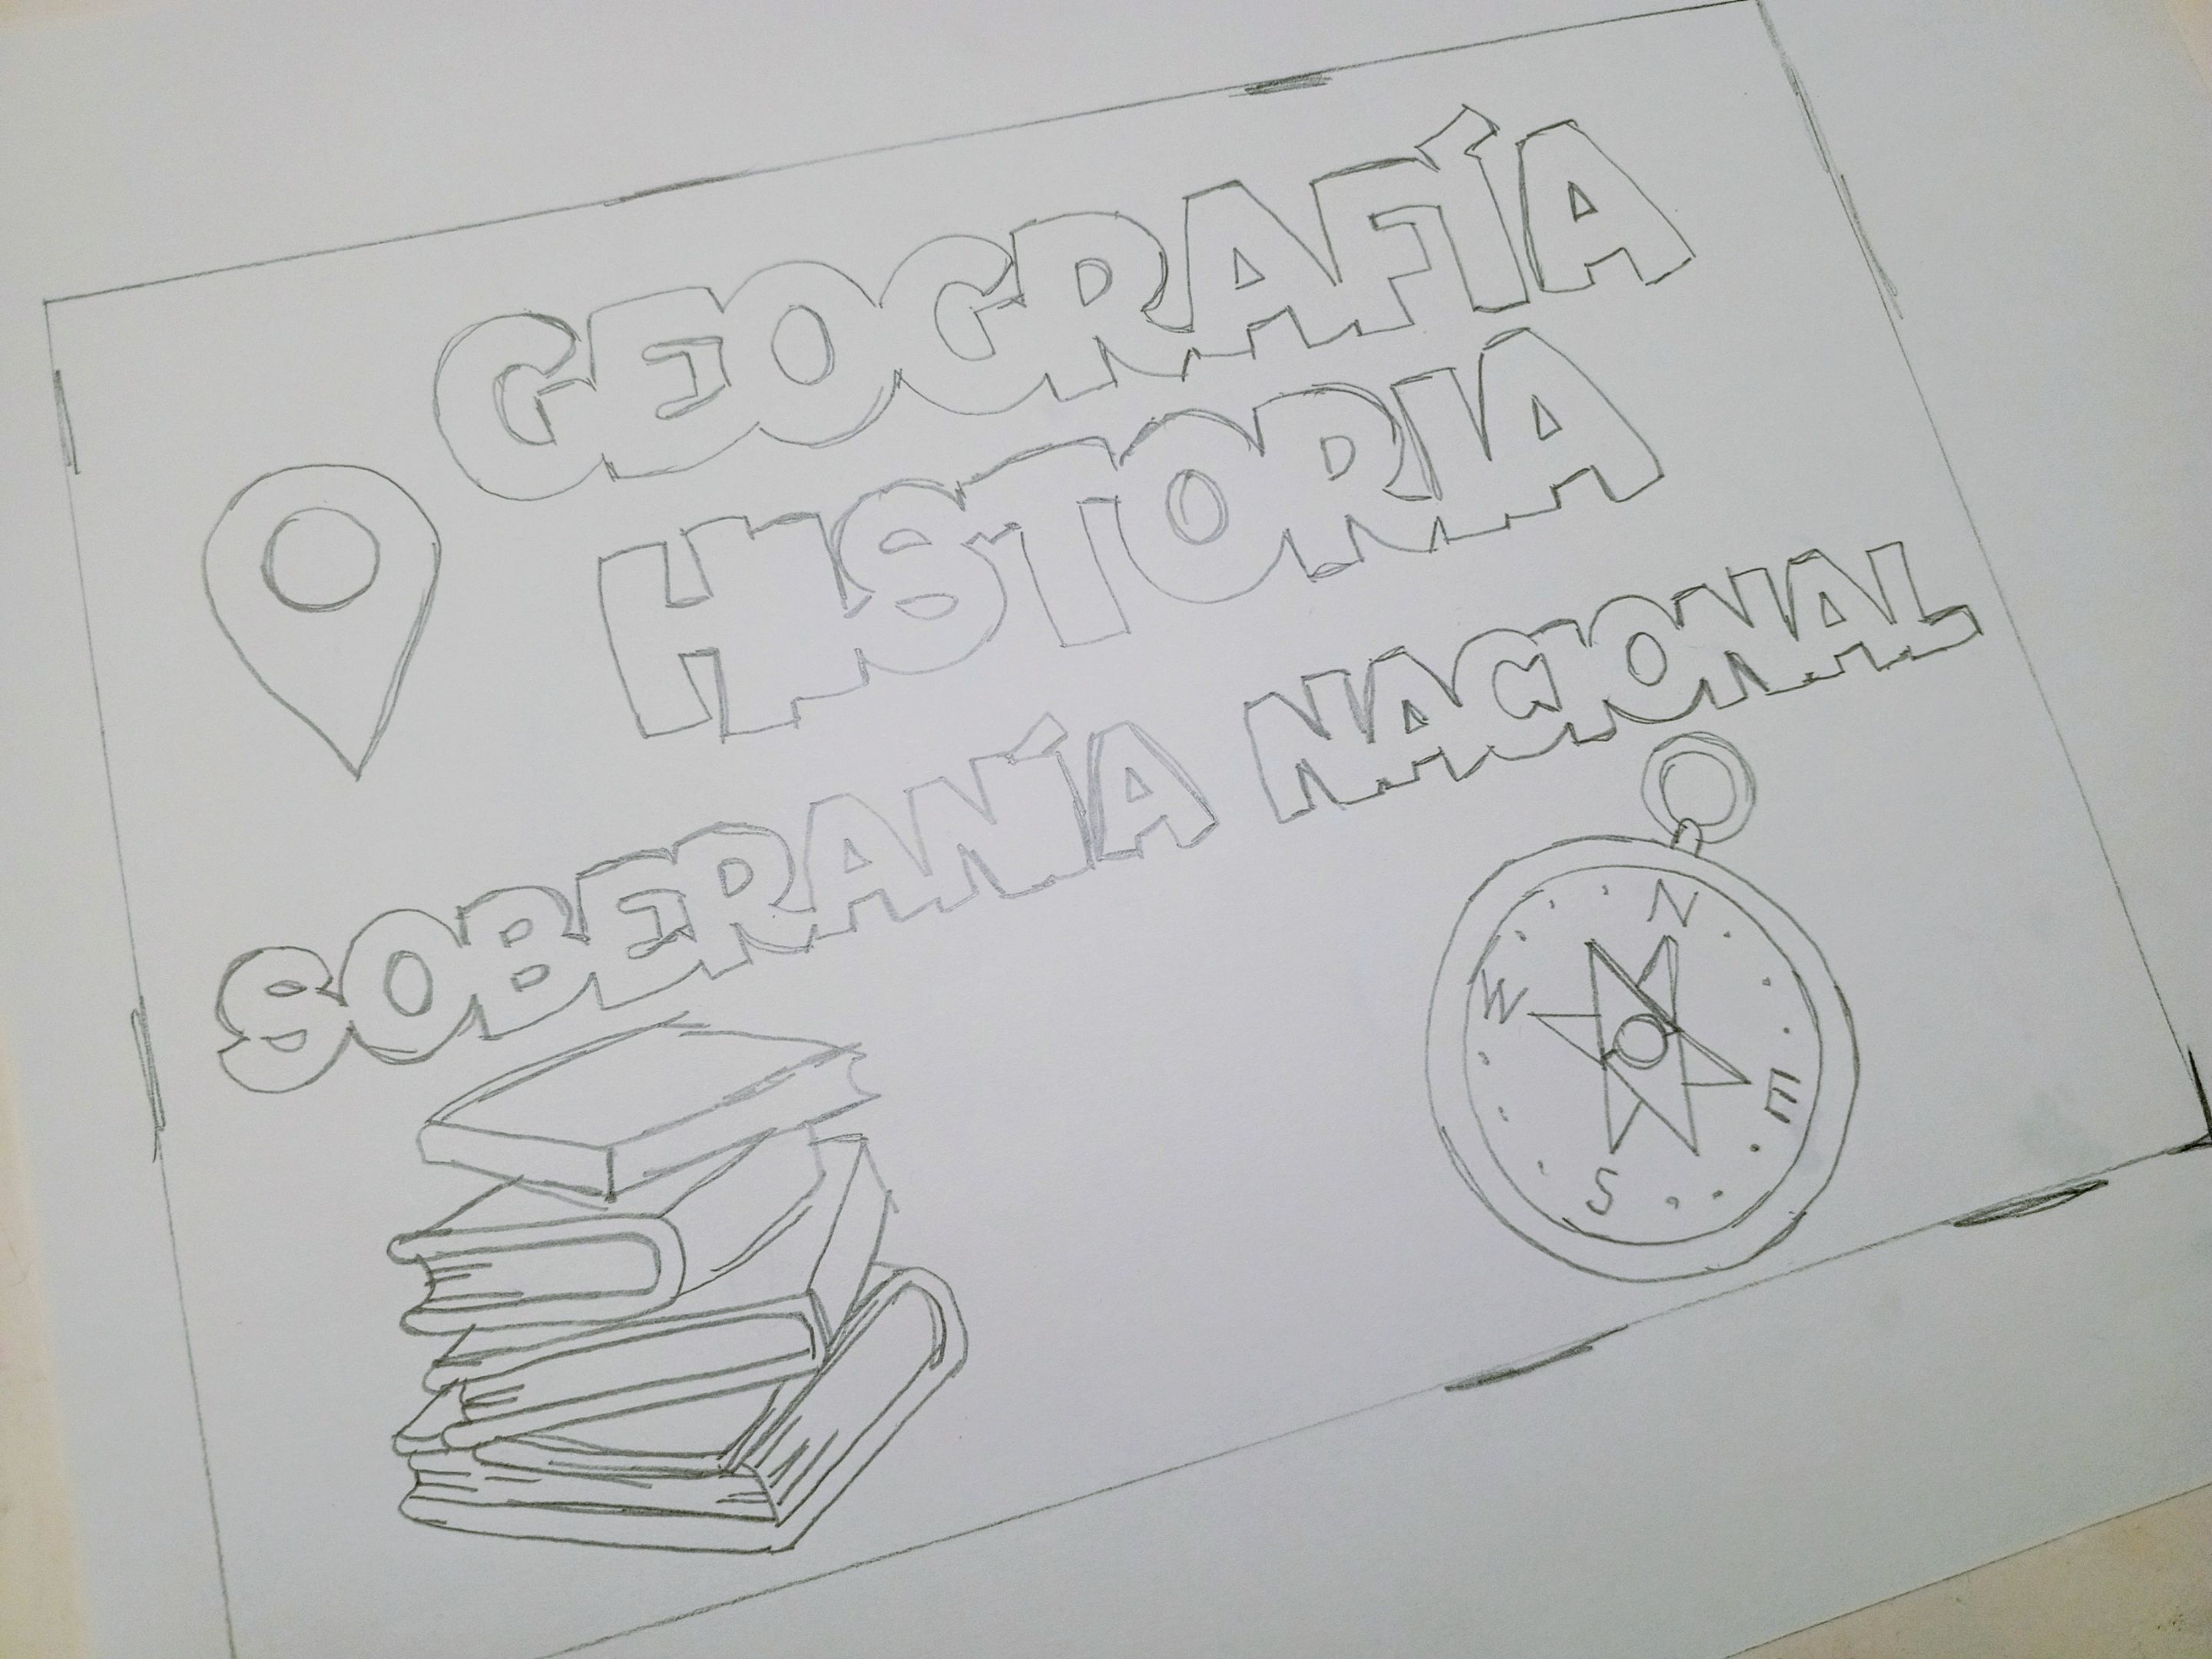
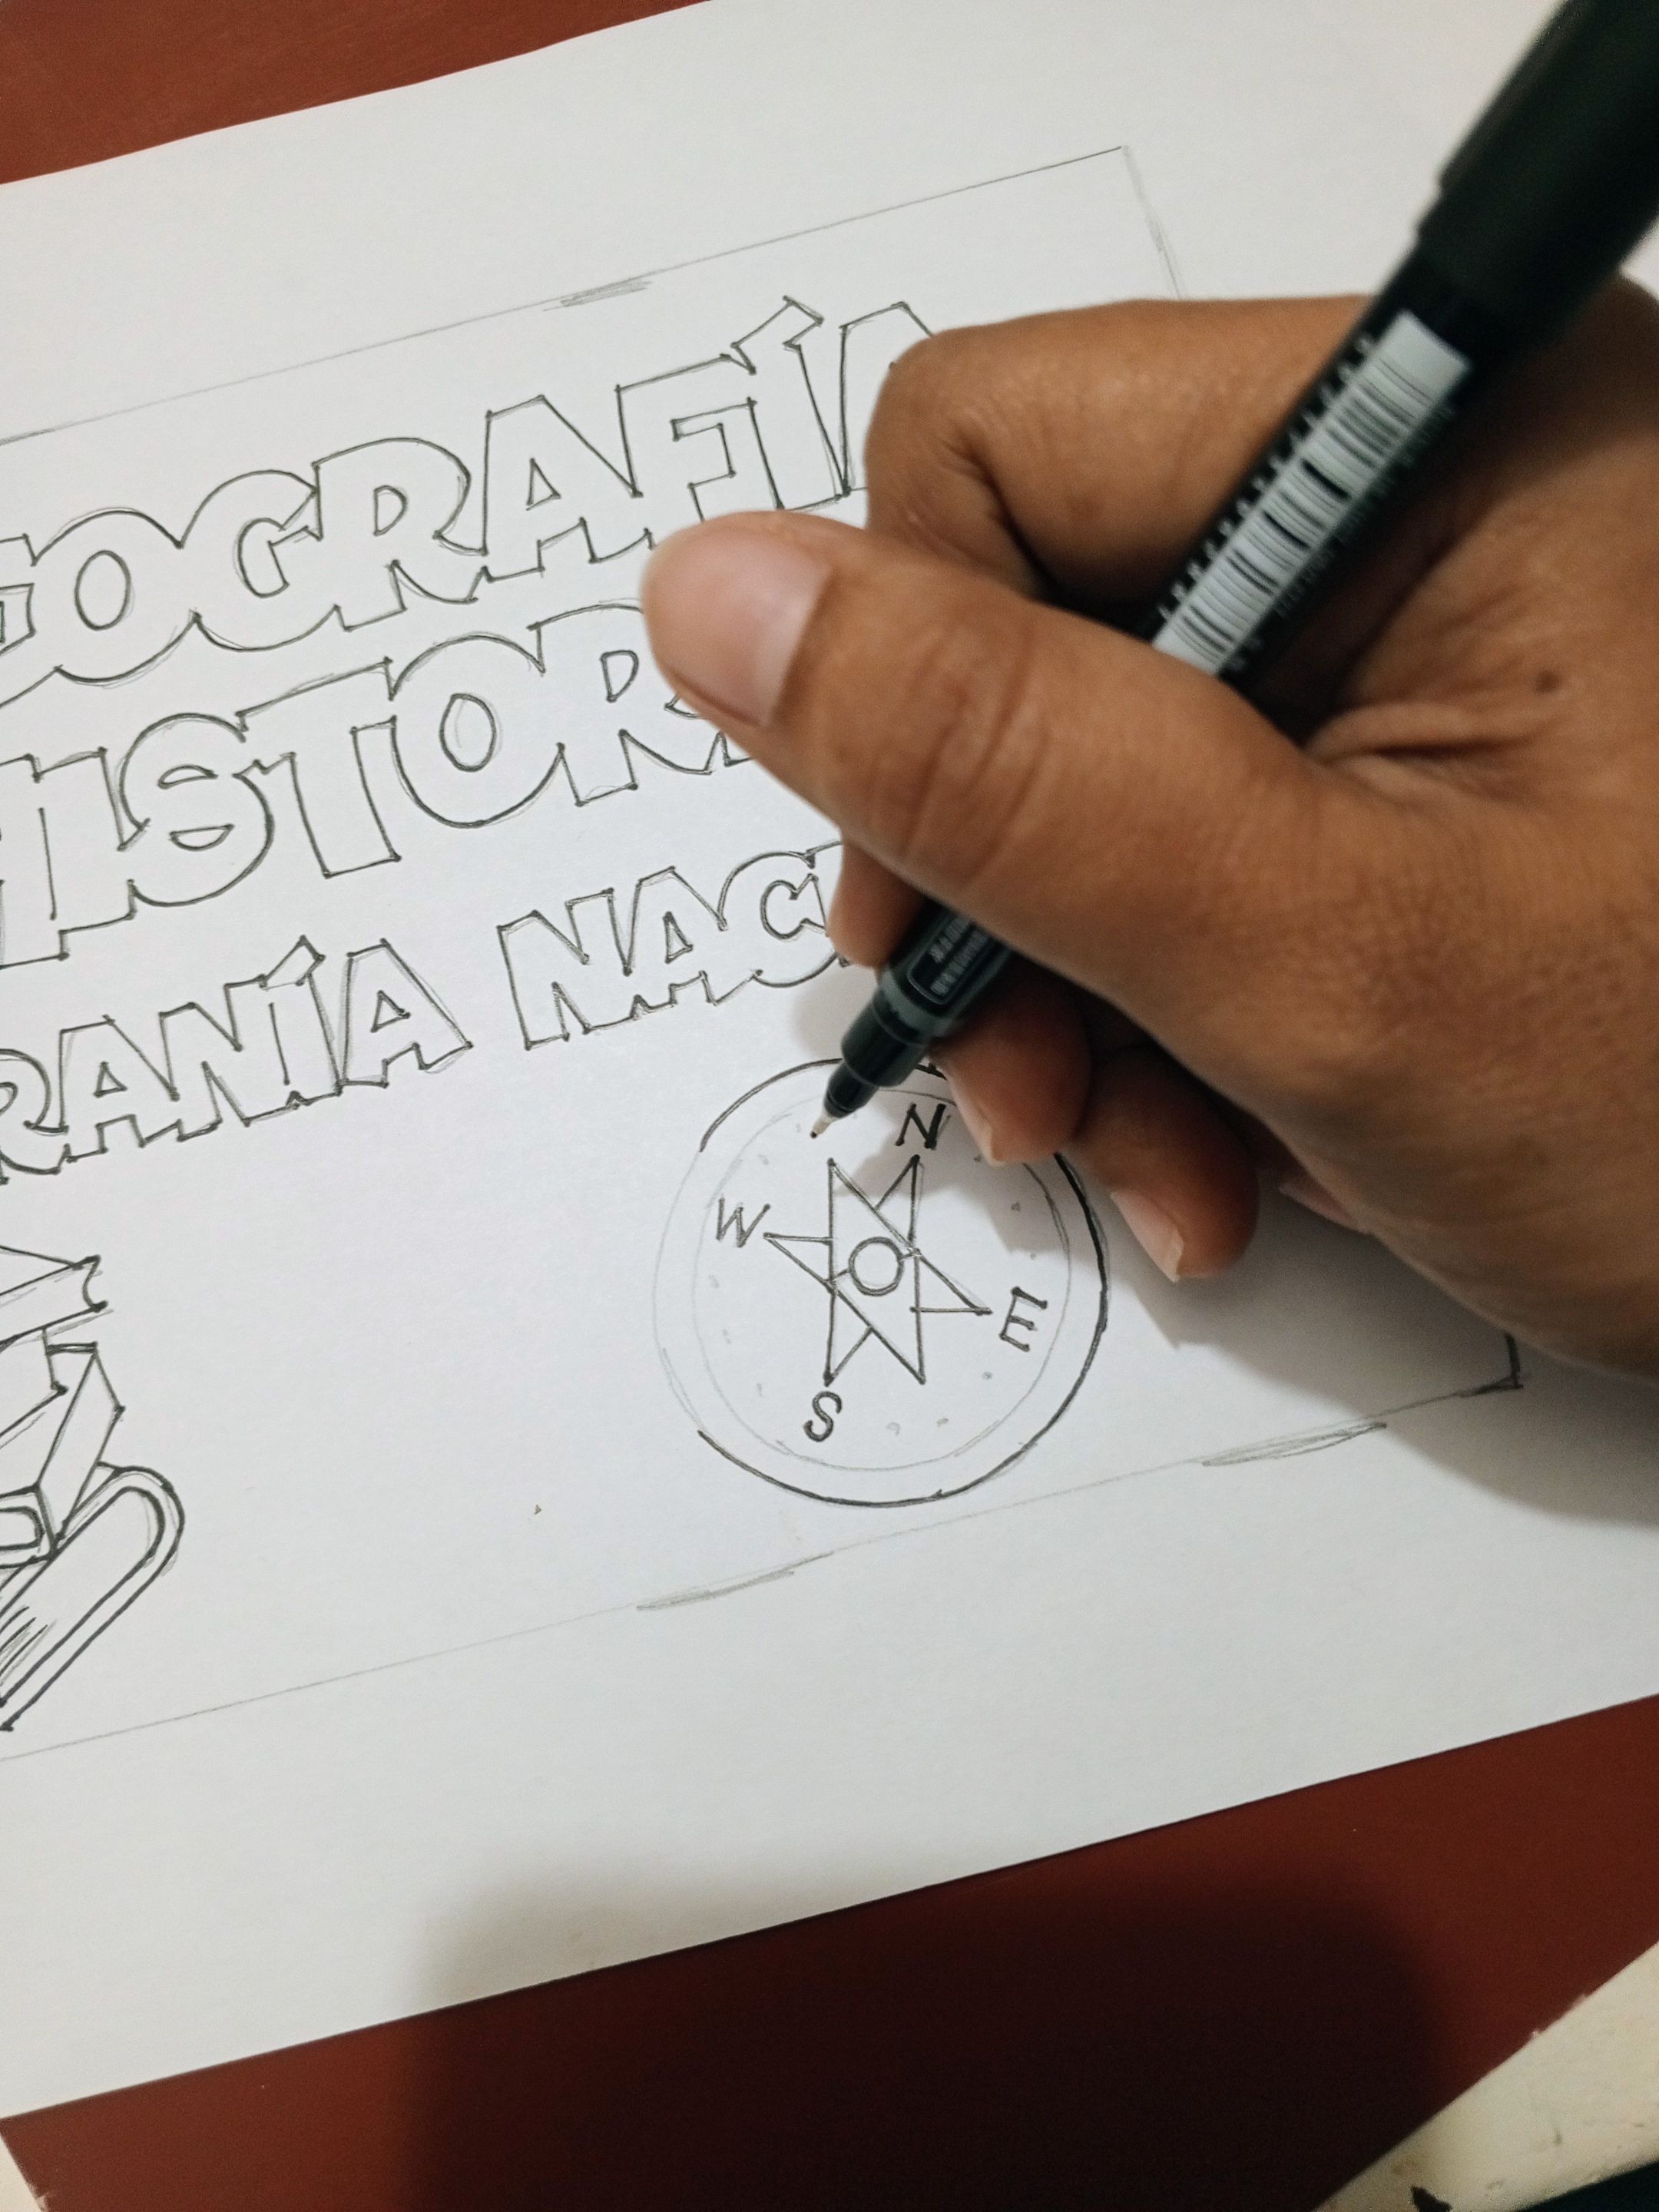
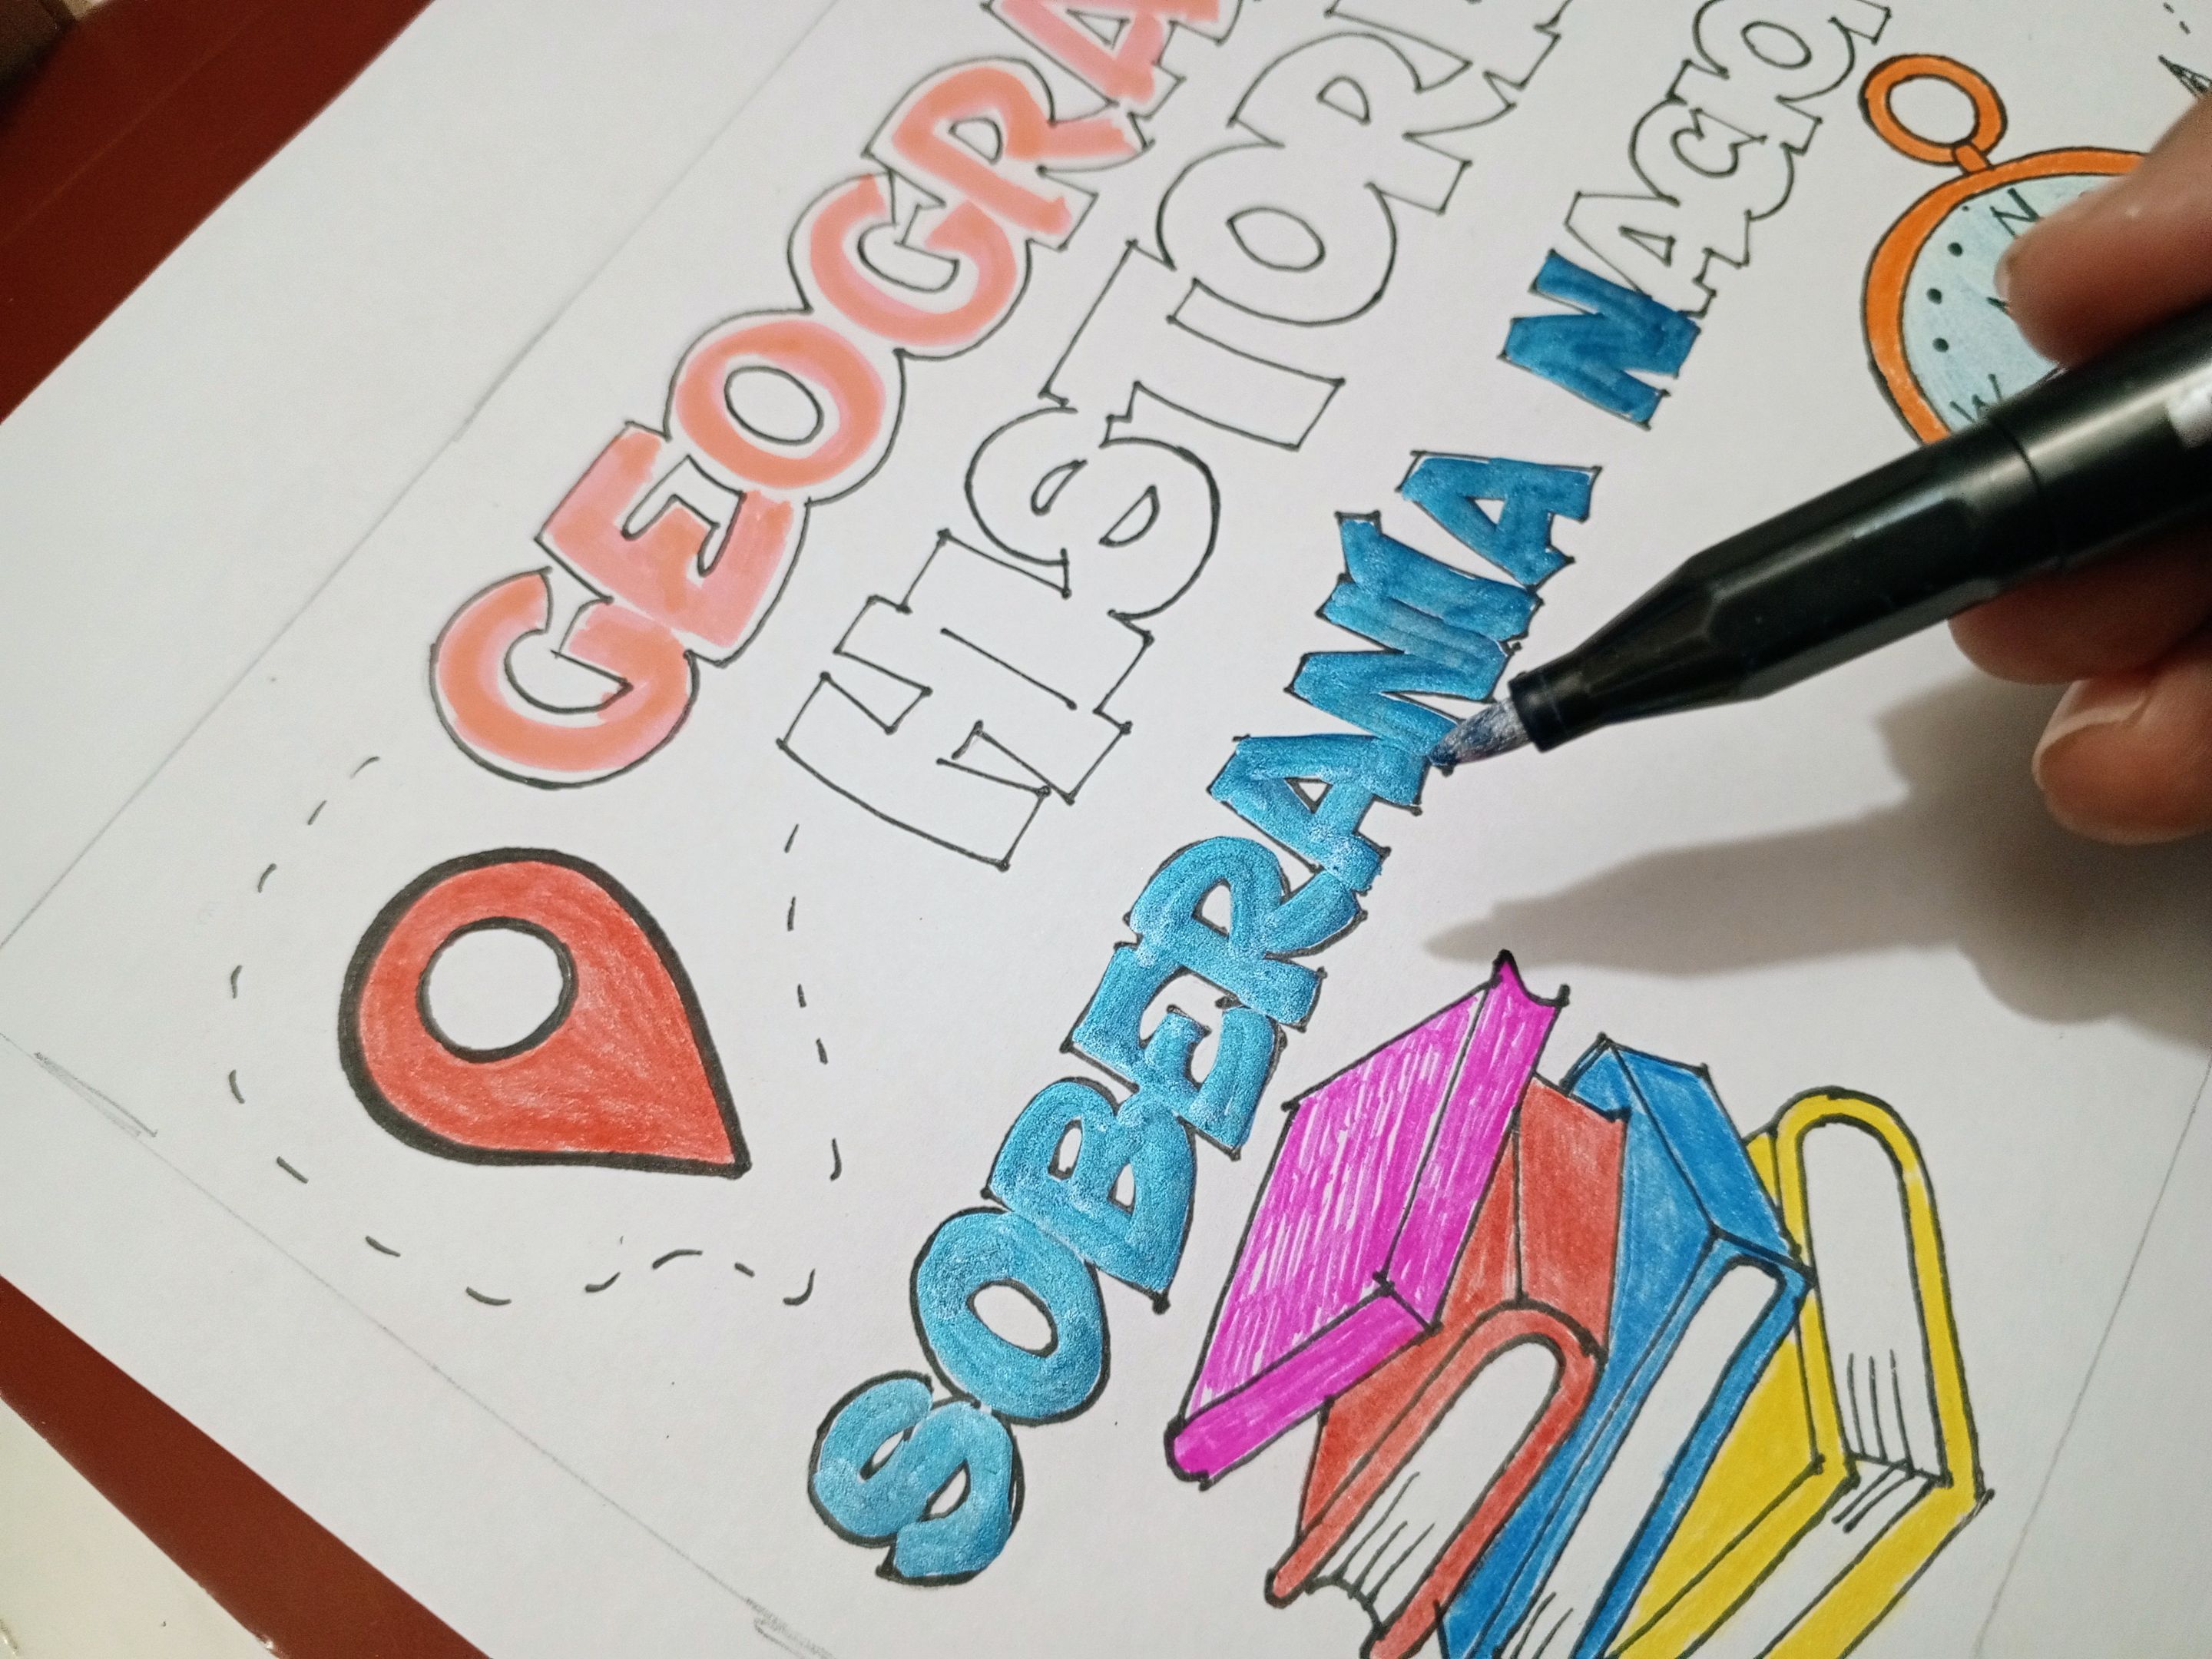
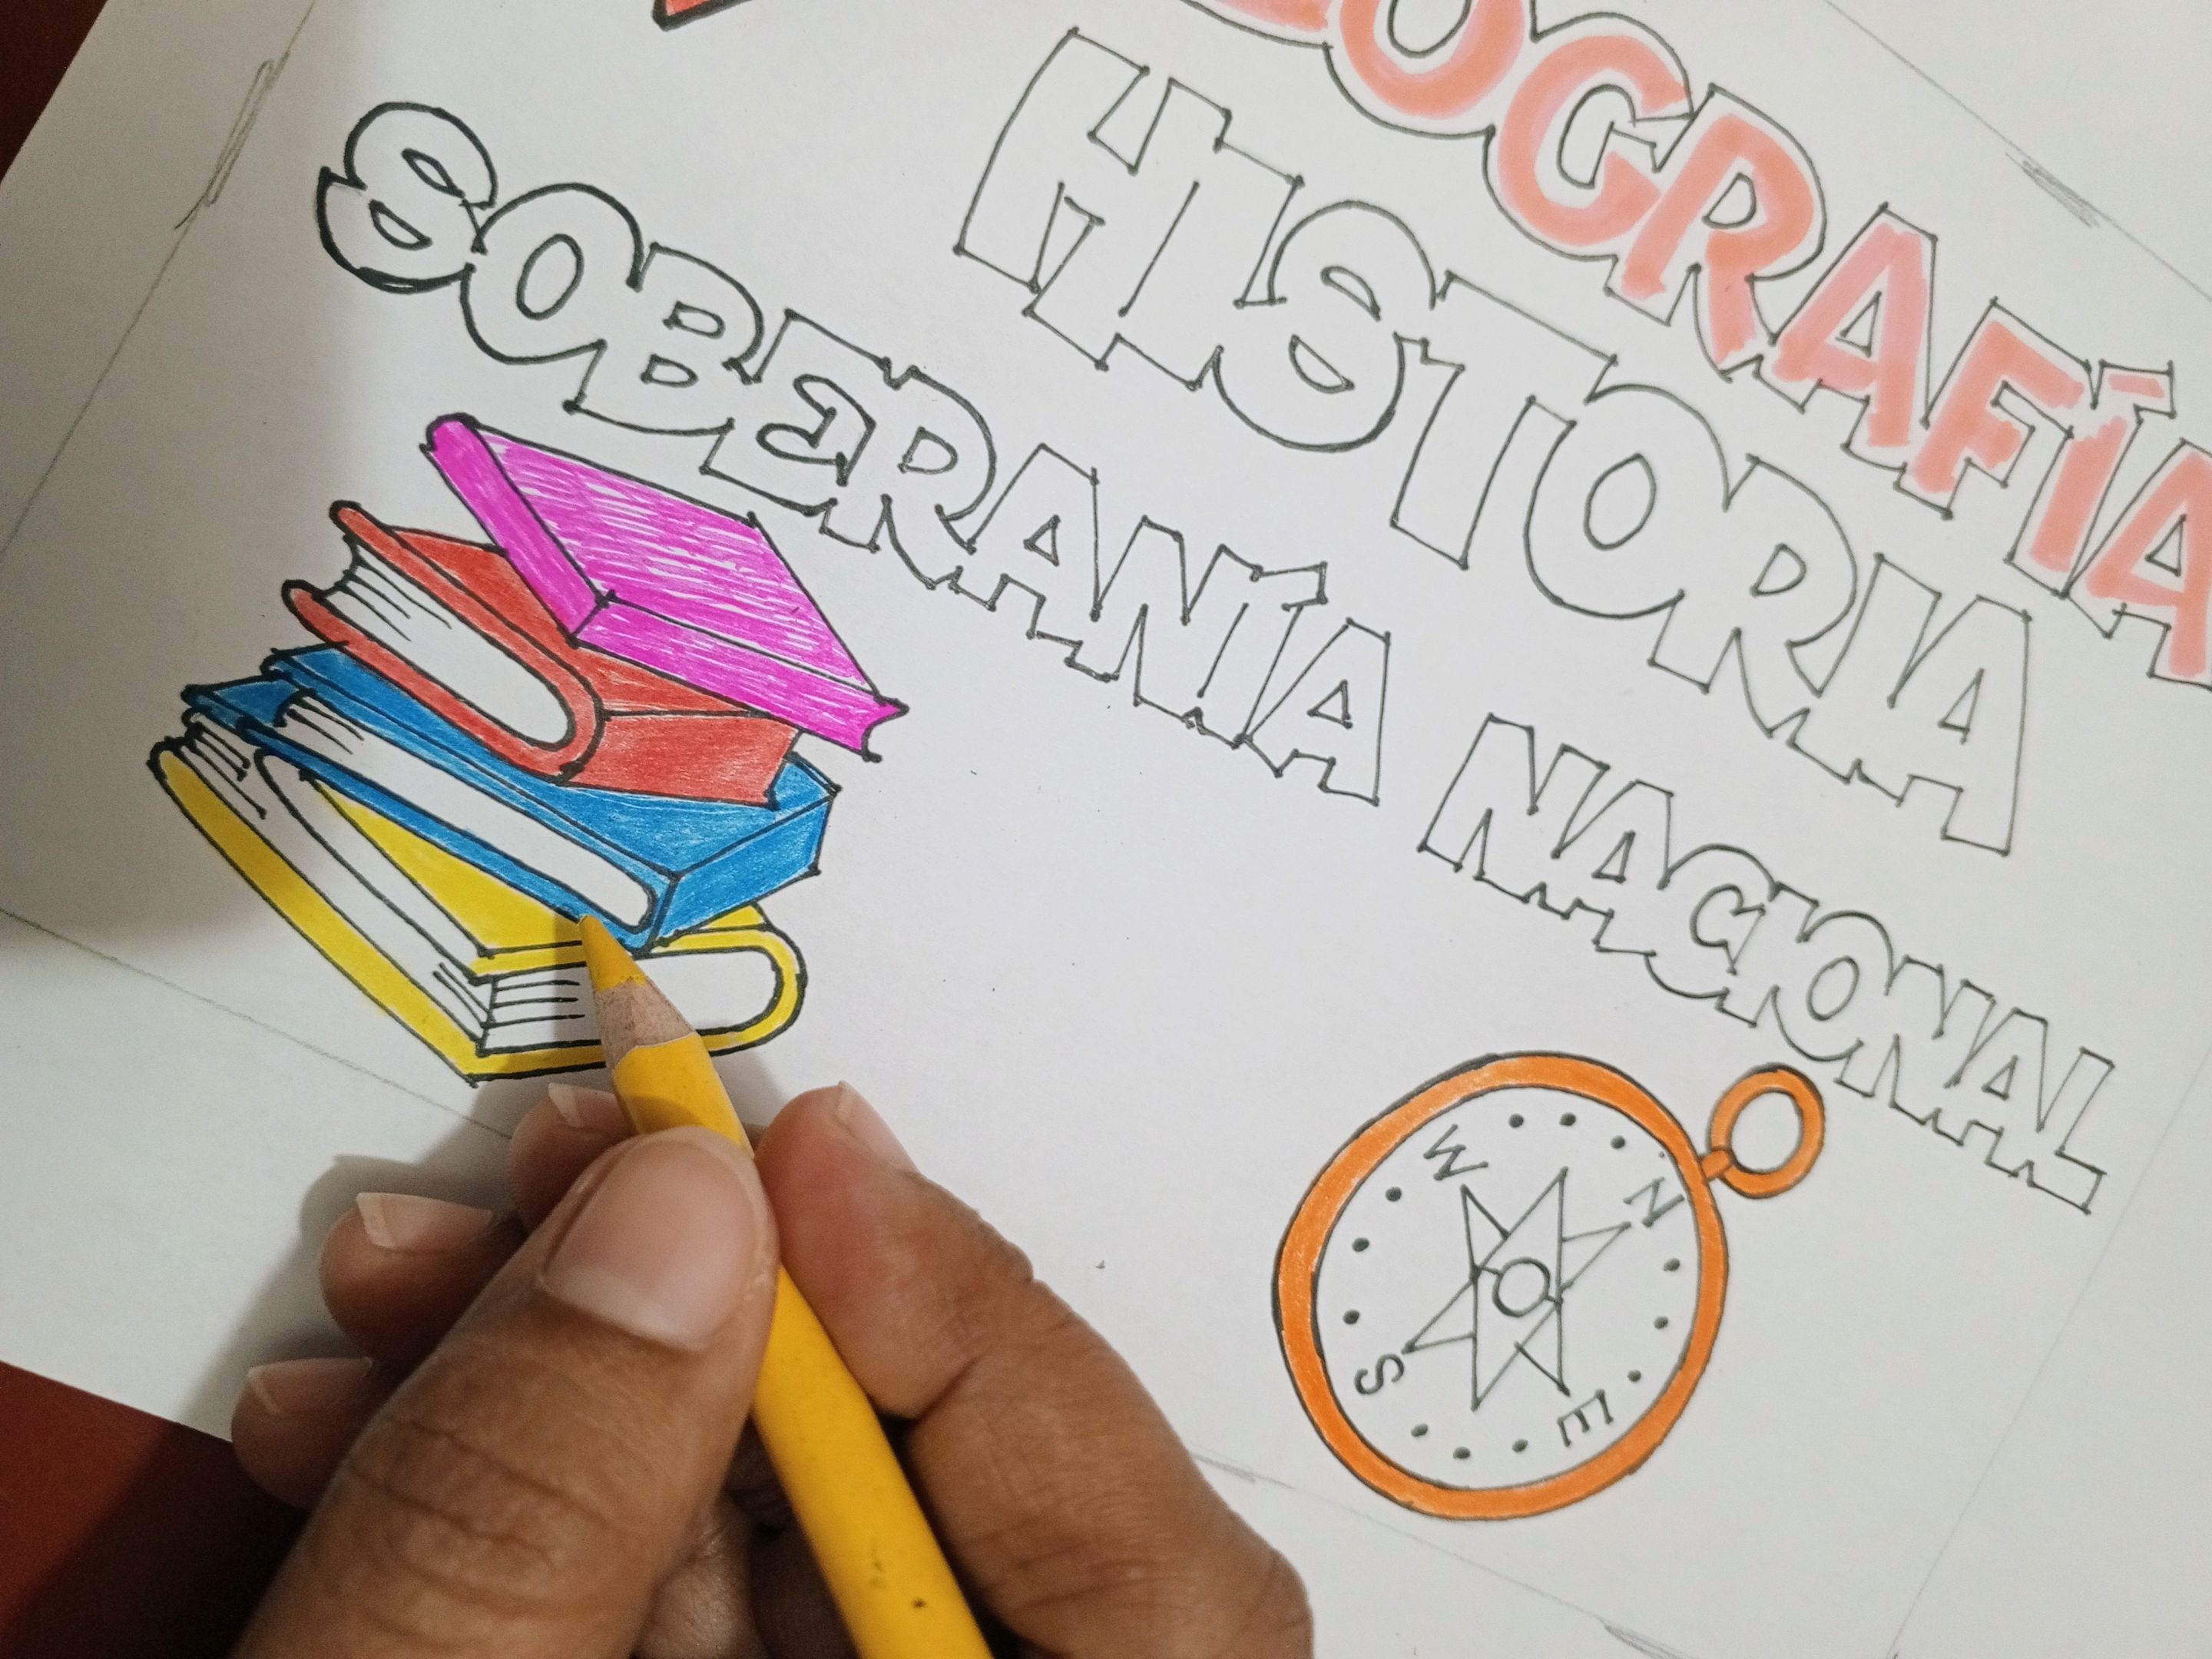
5. Listo todo el proceso de copiado desde la computadora, llego el momento de darle vida creativa a las letras con color, en este particular primero realice un delineado con marcador negro punta fina, y para el color en el interior de las palabras utilice creyones de madera, y marcadores. 6. Teniendo lista las letras, vamos a trabajar con las imágenes, elegí una brújula, unos libros y un icono de ubicación, me parecieron ideales para esta portada, les agregue los colores de mi preferencia.
7. En este punto solo queda sumar detalles a la portada para hacerla más especial, por esta razón incluí unas líneas punteadas como guía de ruta, una mini rama, nada exagerado pero bonito, lo último fue agregarle los datos personales de mi hija, mas un poco de color al fondo de la portada con los residuos de las puntas de los creyones que obtuve con el saca puntas. Recortar y pegar en la primera hoja del cuaderno.

Esta experiencia elaborando portadas personalizadas me ha parecido súper divertida, es una actividad que vengo compartiendo estos días con mi niña, ambas estamos haciendo las portadas en el mismo momento, además que así se motiva más a realizarlas. En estos tiempos existen muchas ideas para realizar este tipo de portadas otros las sacan de plantillas que solo necesitan cambiar nombres y materias, el caso es que mi hija prefiere sus portadas de esta forma, las que ella realizo tiene sus dibujos animados preferidos, y las más complicadas que yo vengo realizando tienen imágenes relacionadas con las materias, ambas llevan un proceso creativo, y estilo personal, igual de hermosas.
*
Es todo por esta experiencia o tutorial. Gracias por visitarme.
*
**
🇺🇸 English🇺🇸
**
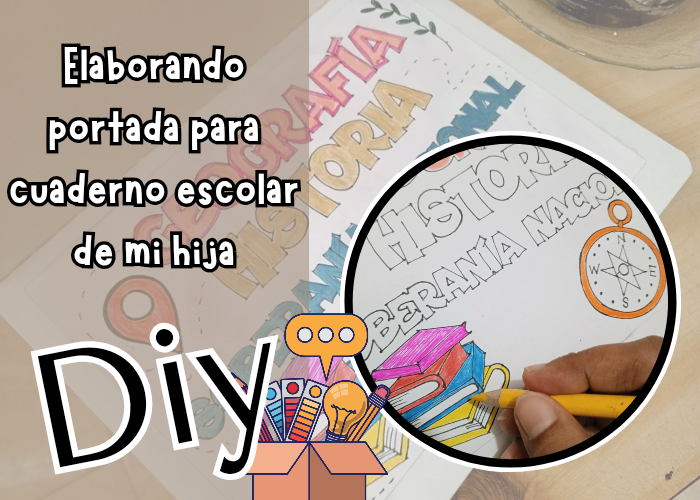
HELLO!! Happy start of the month of October, may it be full of beautiful things for all of us. This time I return to the community to show you how I made a cover for my daughter's Geography, History and National Sovereignty notebook. Now that she has started a new school stage, she must have a notebook for each subject. For this reason, and as a present mother, we have shared the making of these covers because there are about 13 notebooks, which becomes a lot of work.

I preferred to make this cover myself, because my daughter was having trouble with the length of the title. In the end, she didn't know how to place it, and she didn't want me to abbreviate it either. So, I took on the task of making this cover for her. It's also the first one I've made. Back in my school days, I didn't have these details in mind.
*
Materials
*
Notebook thesis, white letter-size paper, HB drawing pencil, wooden crayons, fine-point black marker, colored markers, eraser, pencil sharpener, glue stick, scissors.
*
Process
*
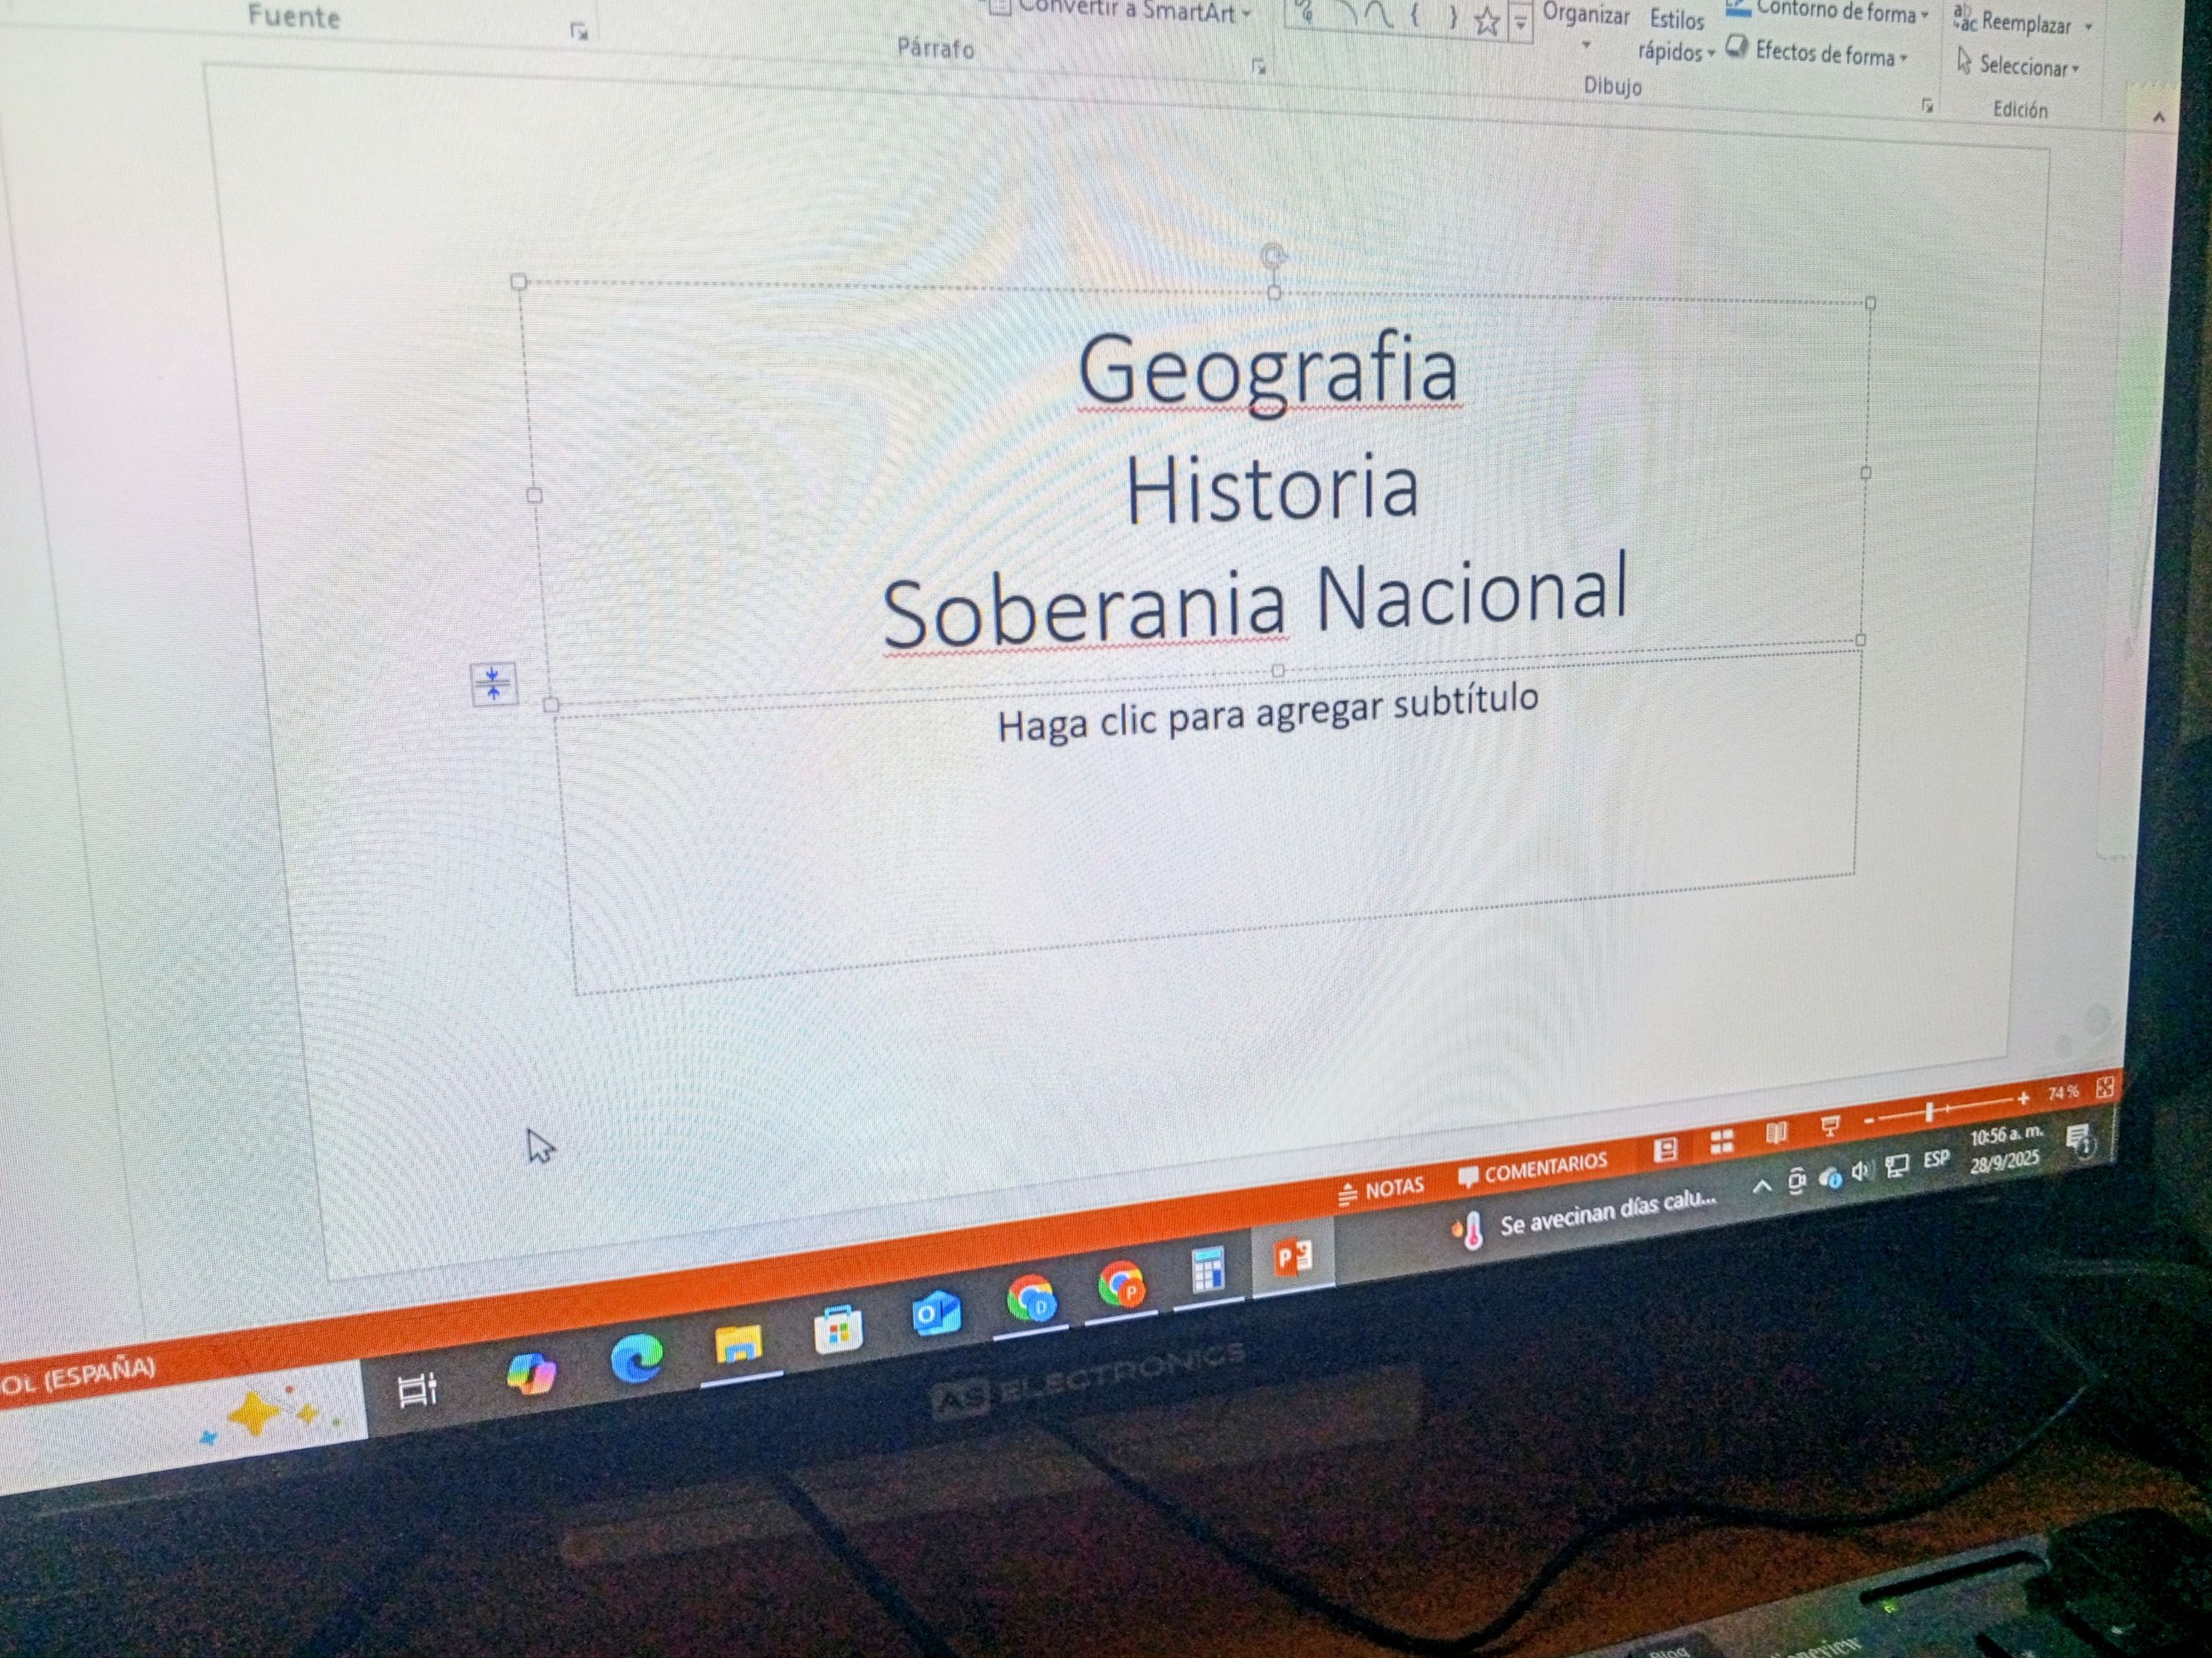
1. The first thing I did was open a PowerPoint document to select the font and work from there on all the details of the cover. The font I liked the most was BOUNCY BLACK PERSON; I had previously downloaded this typeface from a website called Dafont. 2. Once you have the source, the next step is to write the name of the subject, according to the available space or size of your notebook. I've already taken the necessary steps for that.


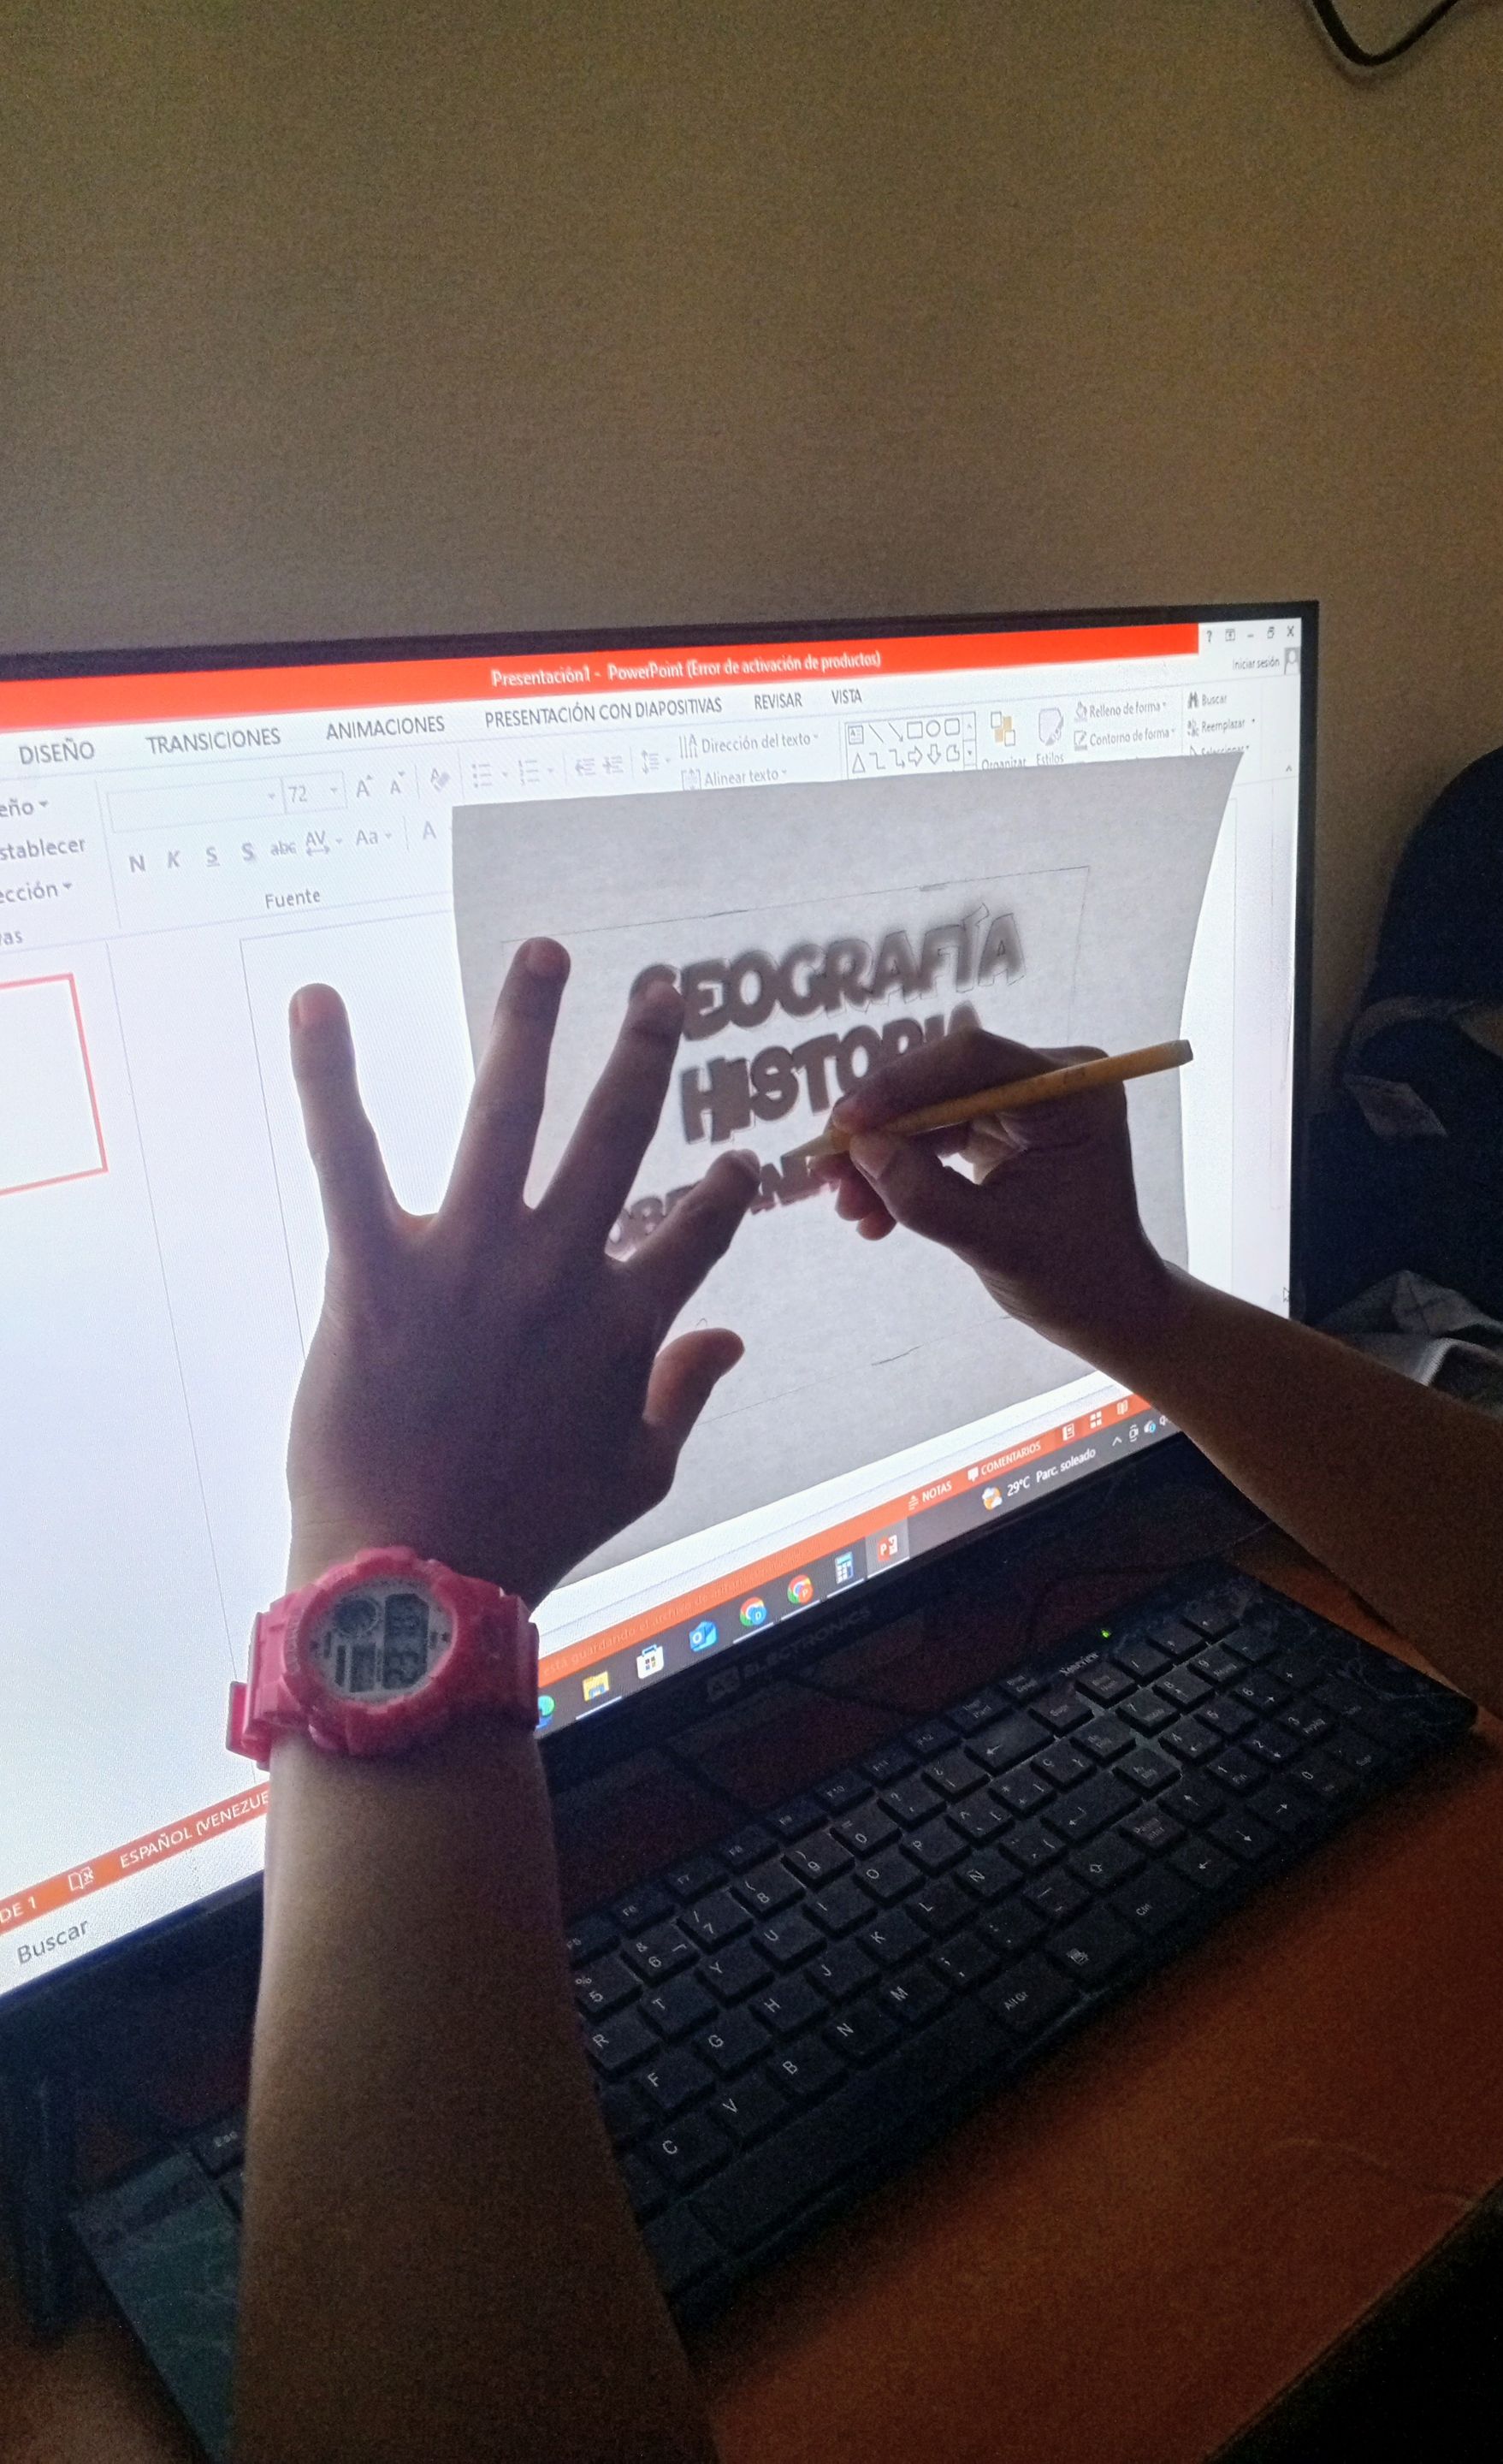
3. To copy the lyrics or images from the computer screen, I worked within a frame I made on a blank sheet of paper and not directly on the thesis page of my notebook. This made the process easier. 4. I used this procedure to copy the lyrics and images I added to the cover, also considering that the images were related to the subject matter.

https://files.peakd.com/file/peakd-hive/natica83/EoCmZ 2u8MhBVdtF8GNsRPH7cSbxMjgiPK4QPy4WGcGP8CRuMTuUTeHVvWRzZycgVB6j.jpg

5. Once the entire copying process from the computer is complete, it's time to bring the letters to creative life with color. In this case, first outline them with a fine-tipped black marker. To color inside the words, use wooden crayons and markers. 6. With the letters ready, let's work with the images. I chose a compass, some books, and a location icon. They seemed ideal for this cover. I added my favorite colors.

https://files.peakd.com/file/peakd-hive/natica83/Eow K4cUeJANC6qoLRso16e3ENk4cuA6VBC2FxeSCkzCDLVWBvBdkiHJyZFXj3xHabMC.jpg

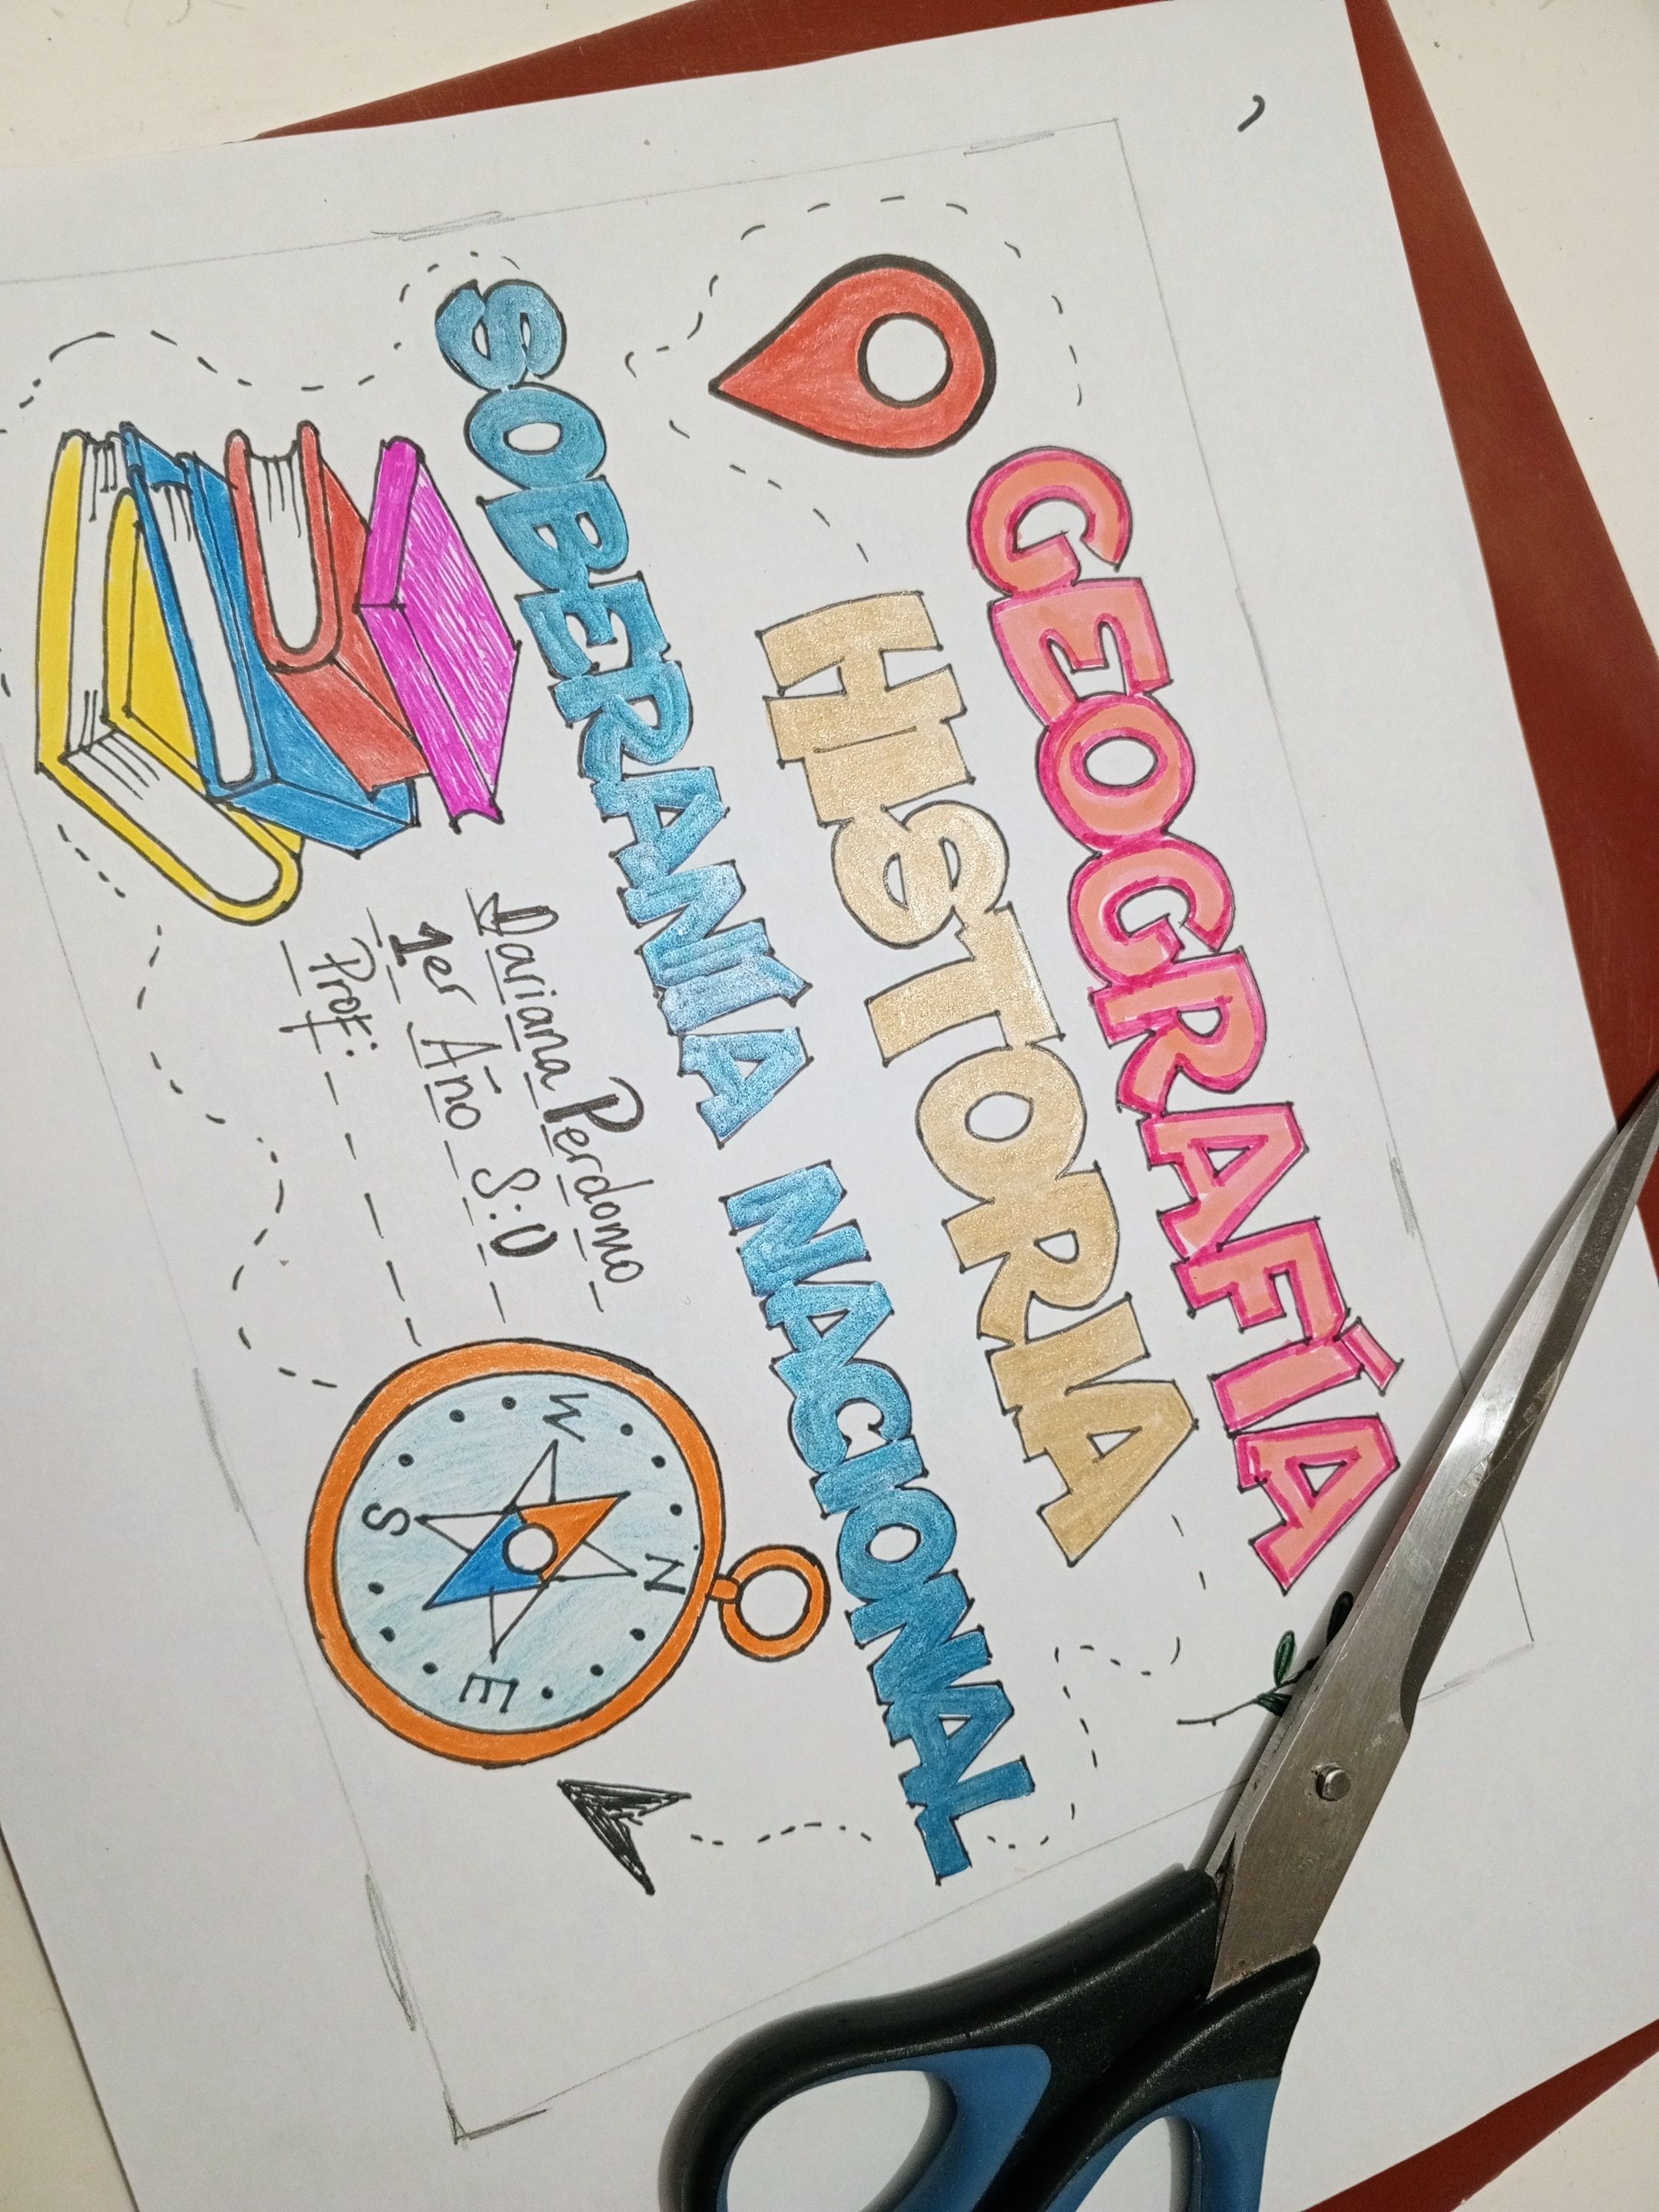
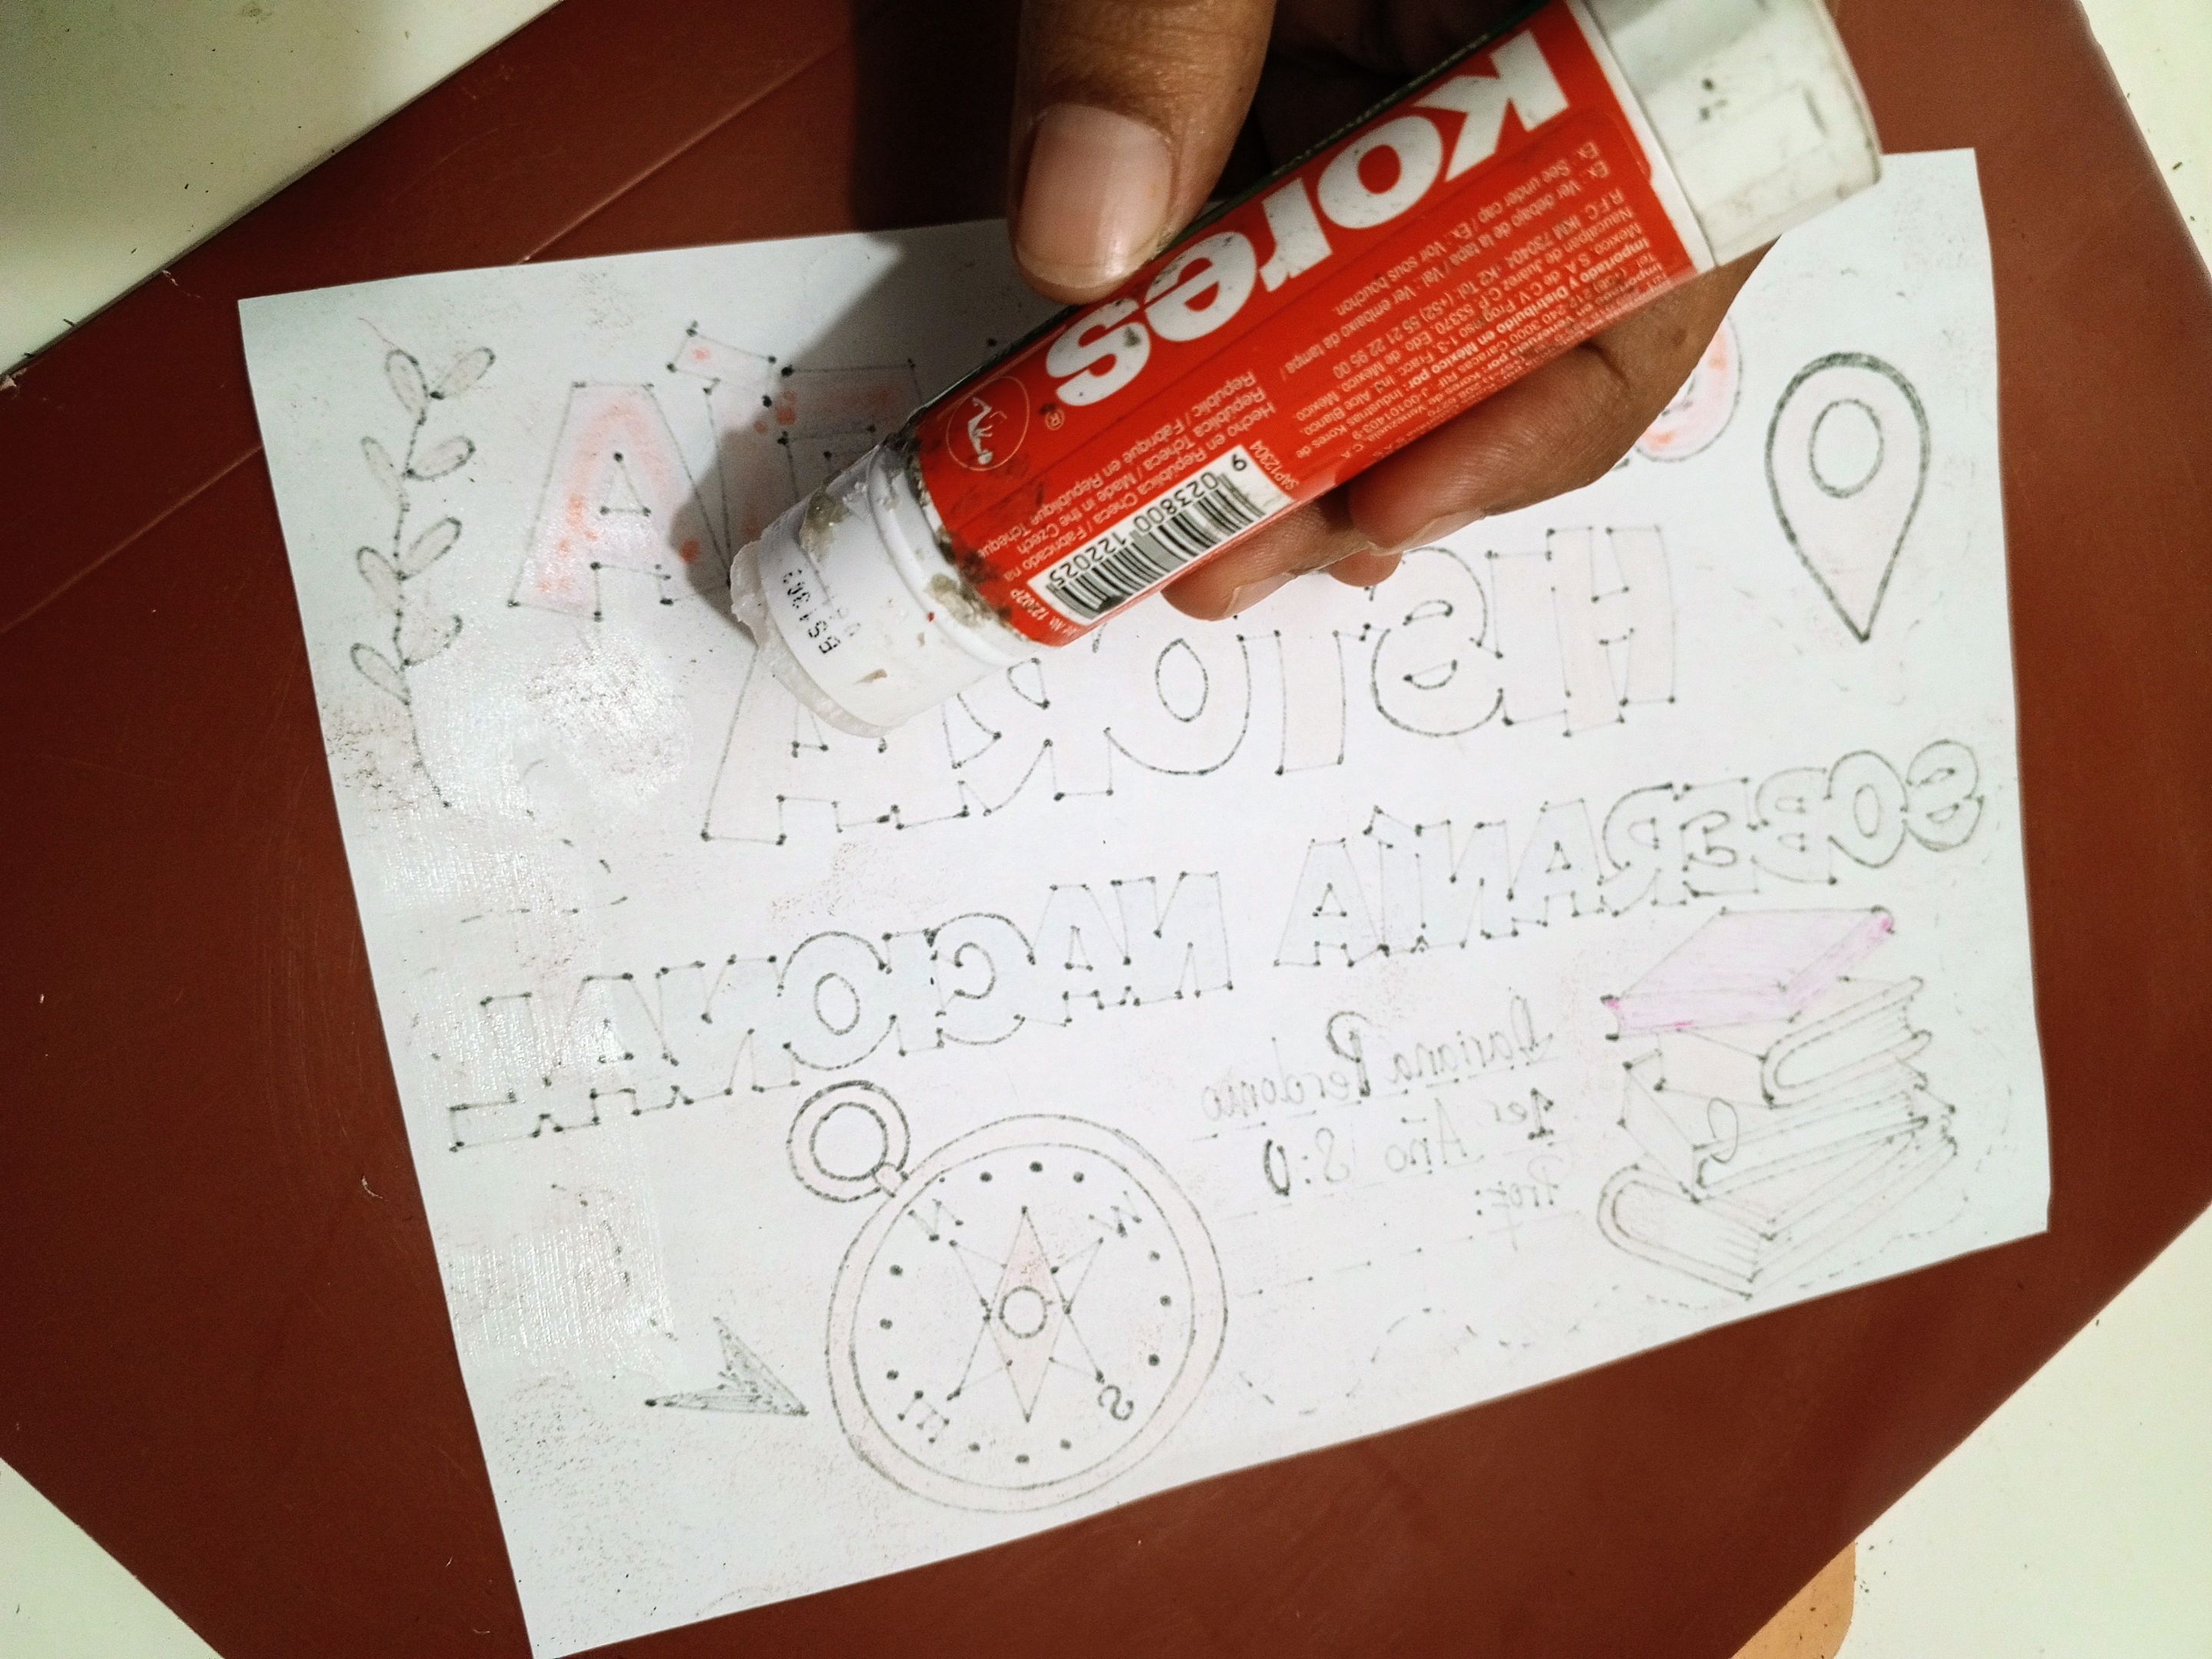
7. At this point, all that's left is to add details to the cover to make it more special. For this reason, I included some dotted lines as a route guide, a mini branch—nothing exaggerated but nice. The last thing I did was add my daughter's personal information, plus a little color to the background of the cover with the crayon tip residue I got with the sharpener. Cut and paste it on the first page of the notebook.

https://files.peakd.com/file/peakd-hive/natica83/ EowJYa3uLopoWqbnw7nocX4vTveezGEQjwMdzSU8mBqm2QoLNSQ8QJuCvsepAofGZeT.jpg

This experience making custom covers has been super fun for me. It's an activity I've been sharing with my daughter these days. We're both making them at the same time, and it motivates her more. These days, there are many ideas for making these types of covers; others get them from templates that only require changing names and subjects. The thing is, my daughter prefers her covers this way. The ones she makes have her favorite cartoons, and the more complicated ones I've been making have images related to the subjects. Both require a creative process and personal style, and are equally beautiful.
*
That's all for this experience or tutorial. Thanks for visiting.
*
*
Creditos - Credits
*
Traductor English translator
Stickers realizado en Bitmoji | Stickers made in Bitmoji.
Fotografias capturadas con mi teléfono Tecno Spark 10 pro | Photos captured with my Tecno Spark 10 pro phone.