***
***
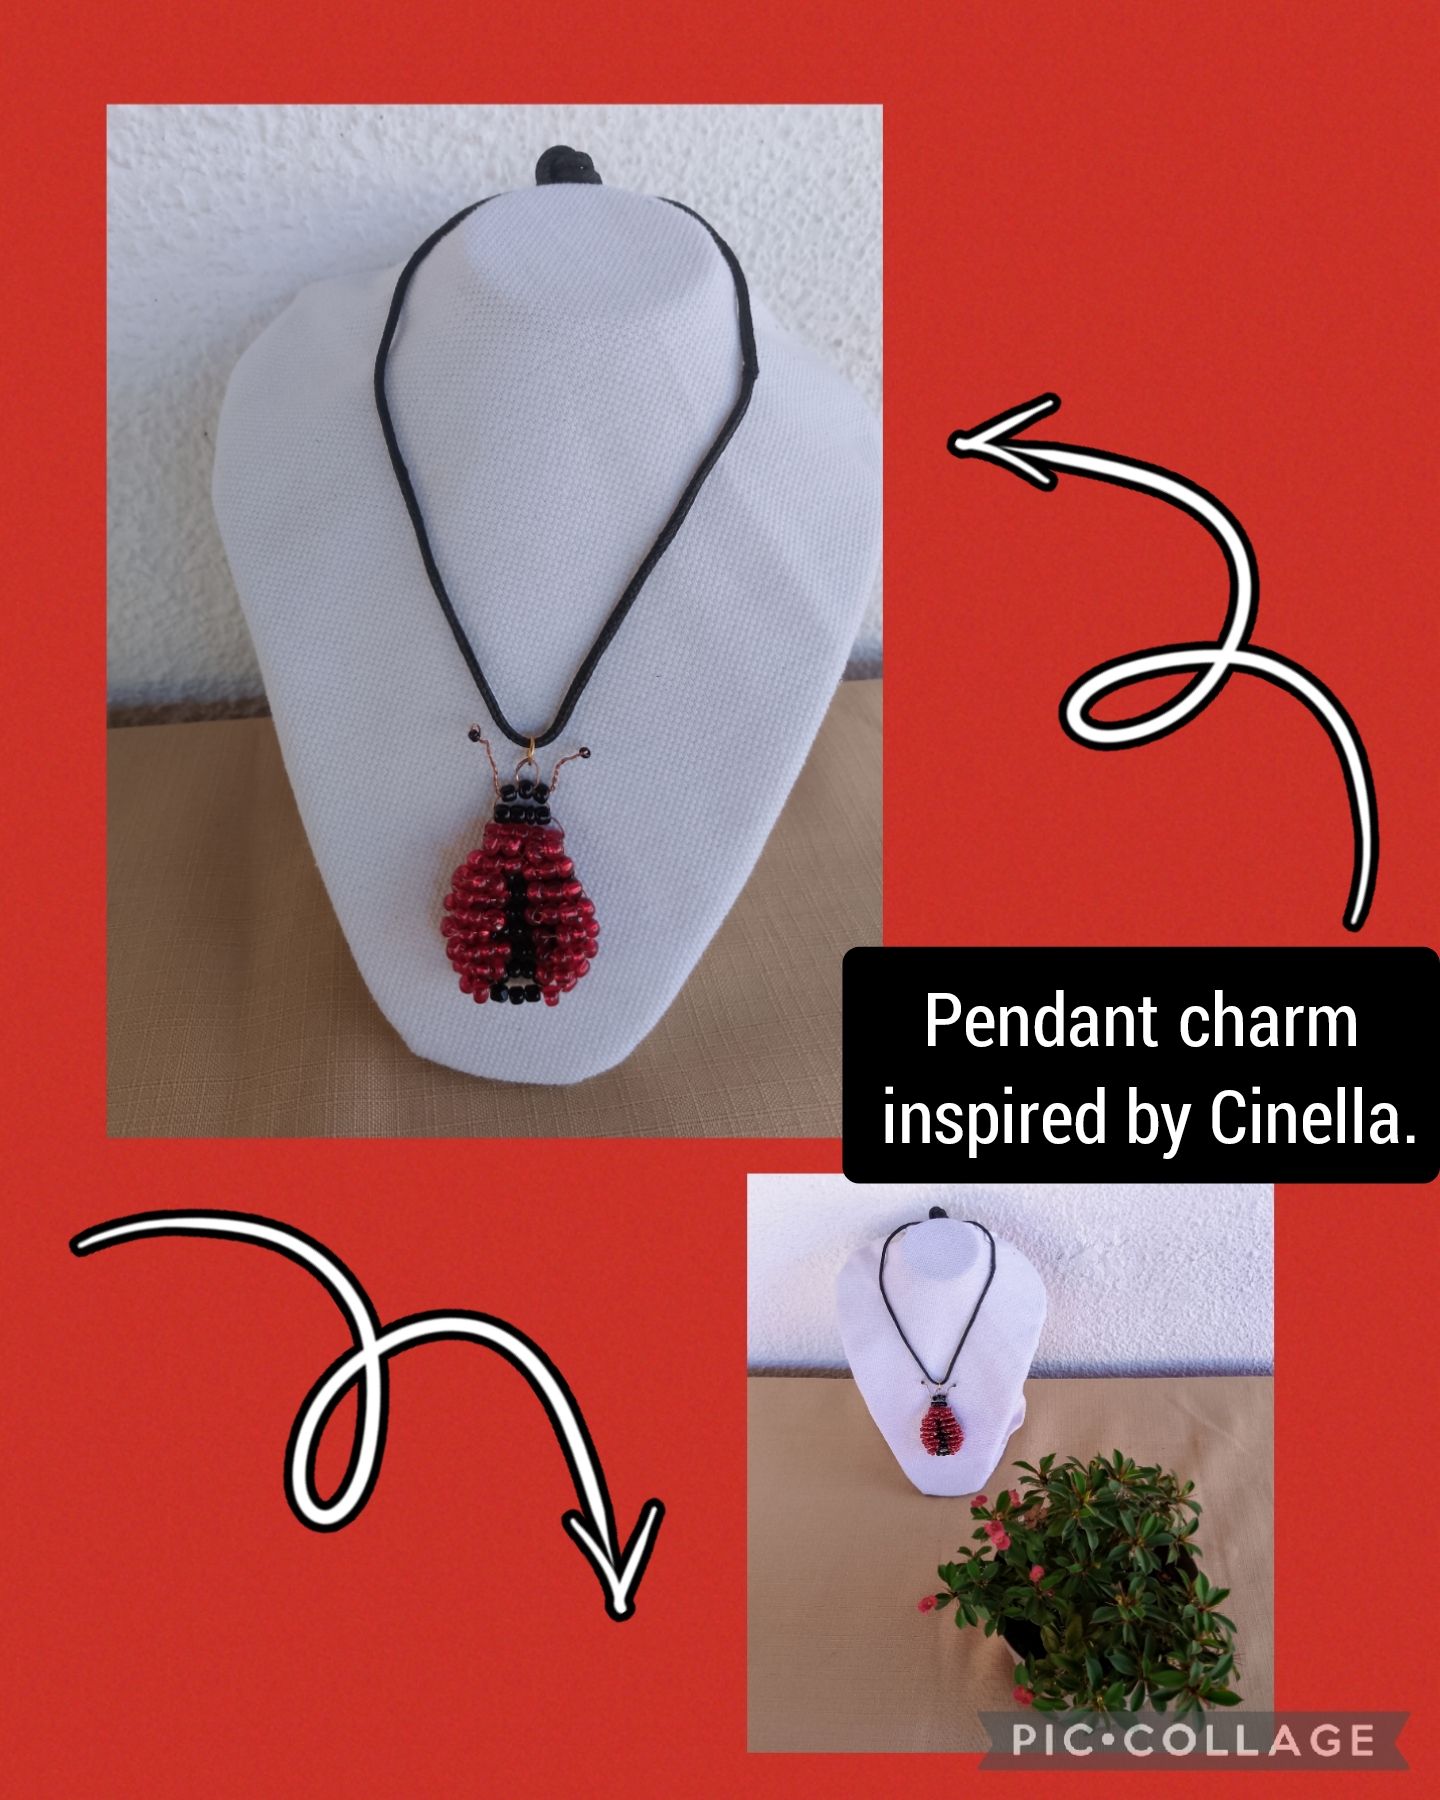
Hello my dear friends of Hive and @Holozing community, this is my first time here, I have been delighting myself with the beautiful characters of the community. And as a good crafter I made a creative task inspired by cinella to share with you. Stay with me and enjoy the step by step.
>Hola a mis queridos amigos de Hive y comunidad de @Holozing,está es mi primera oportunidad por aquí, me he estado deleitando con los hermosos personajes de la comunidad. Y como buena artesana realicé una tarea creativa inspirada en cinella para compartirla con ustedes. Quédate conmigo y disfruta del paso a paso.

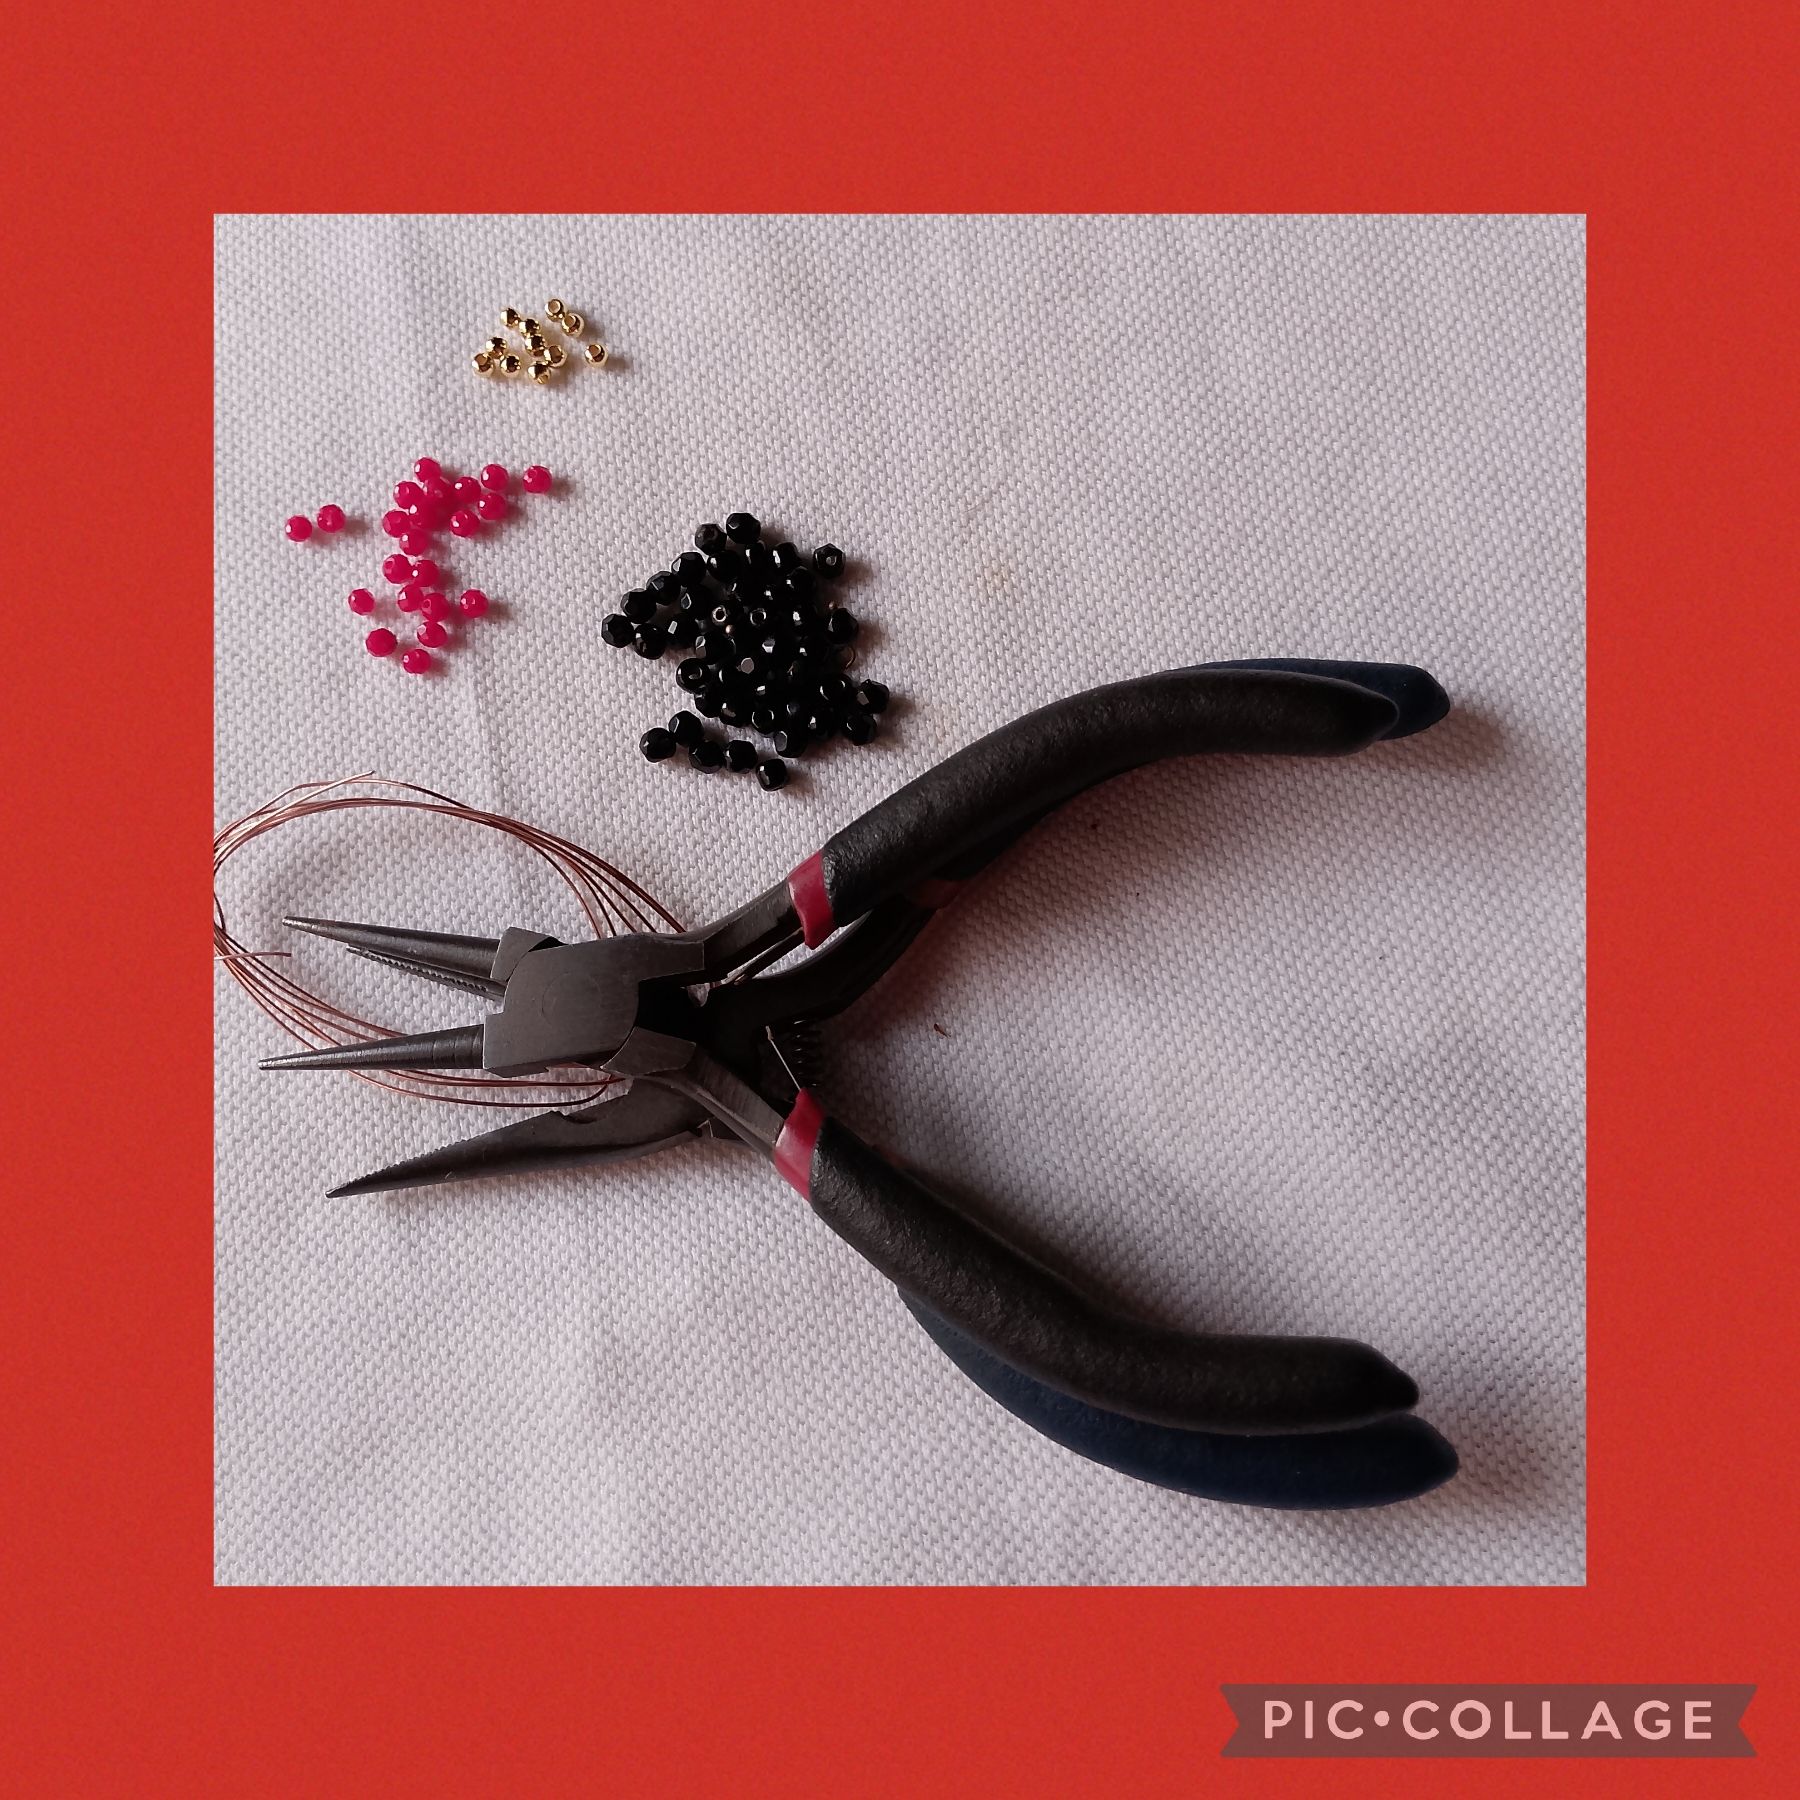
>To make this Ladybug, I used these materials:
✓ Black Mustacillones.
✓ Red mostacillones.
✓ Five millimeter copper wire.
✓ Tweezers.
✓ Ruler.
✓ Black cord.
✓ Hoops.
✓ Two blacks mustard.
Para realizar esta Mariquita, usé estos materiales:
✓ Mostacillones Negros.
✓ Mostacillones Rojos.
✓ Alambre de cobre de cinco milímetros.
✓ Pinzas.
✓ Regla.
✓ Cordón negro.
✓ Argollas.
✓ Dos mostacillas negras.

I began the elaboration of this craft, cutting a copper wire of 0.5 millimeters and a length of fifty centimeters. Now at one end I will insert eight black beads that I place in the middle of the wire, with the tip of the other end I cross five of the beads and so I have a line of three and another of five black beads.
>Comencé la elaboración de esta manualidad, cortando un alambre de cobre de 0,5 milímetros y de una longitud de cincuenta centímetros. Ahora por uno de los extremos insertaré ocho mostacillones negros que los coloco en la mitad del alambre, con la punta del otro extremo cruzo cinco de los mostacillones y así tengo una línea de tres y otra de cinco mostacillones negros.
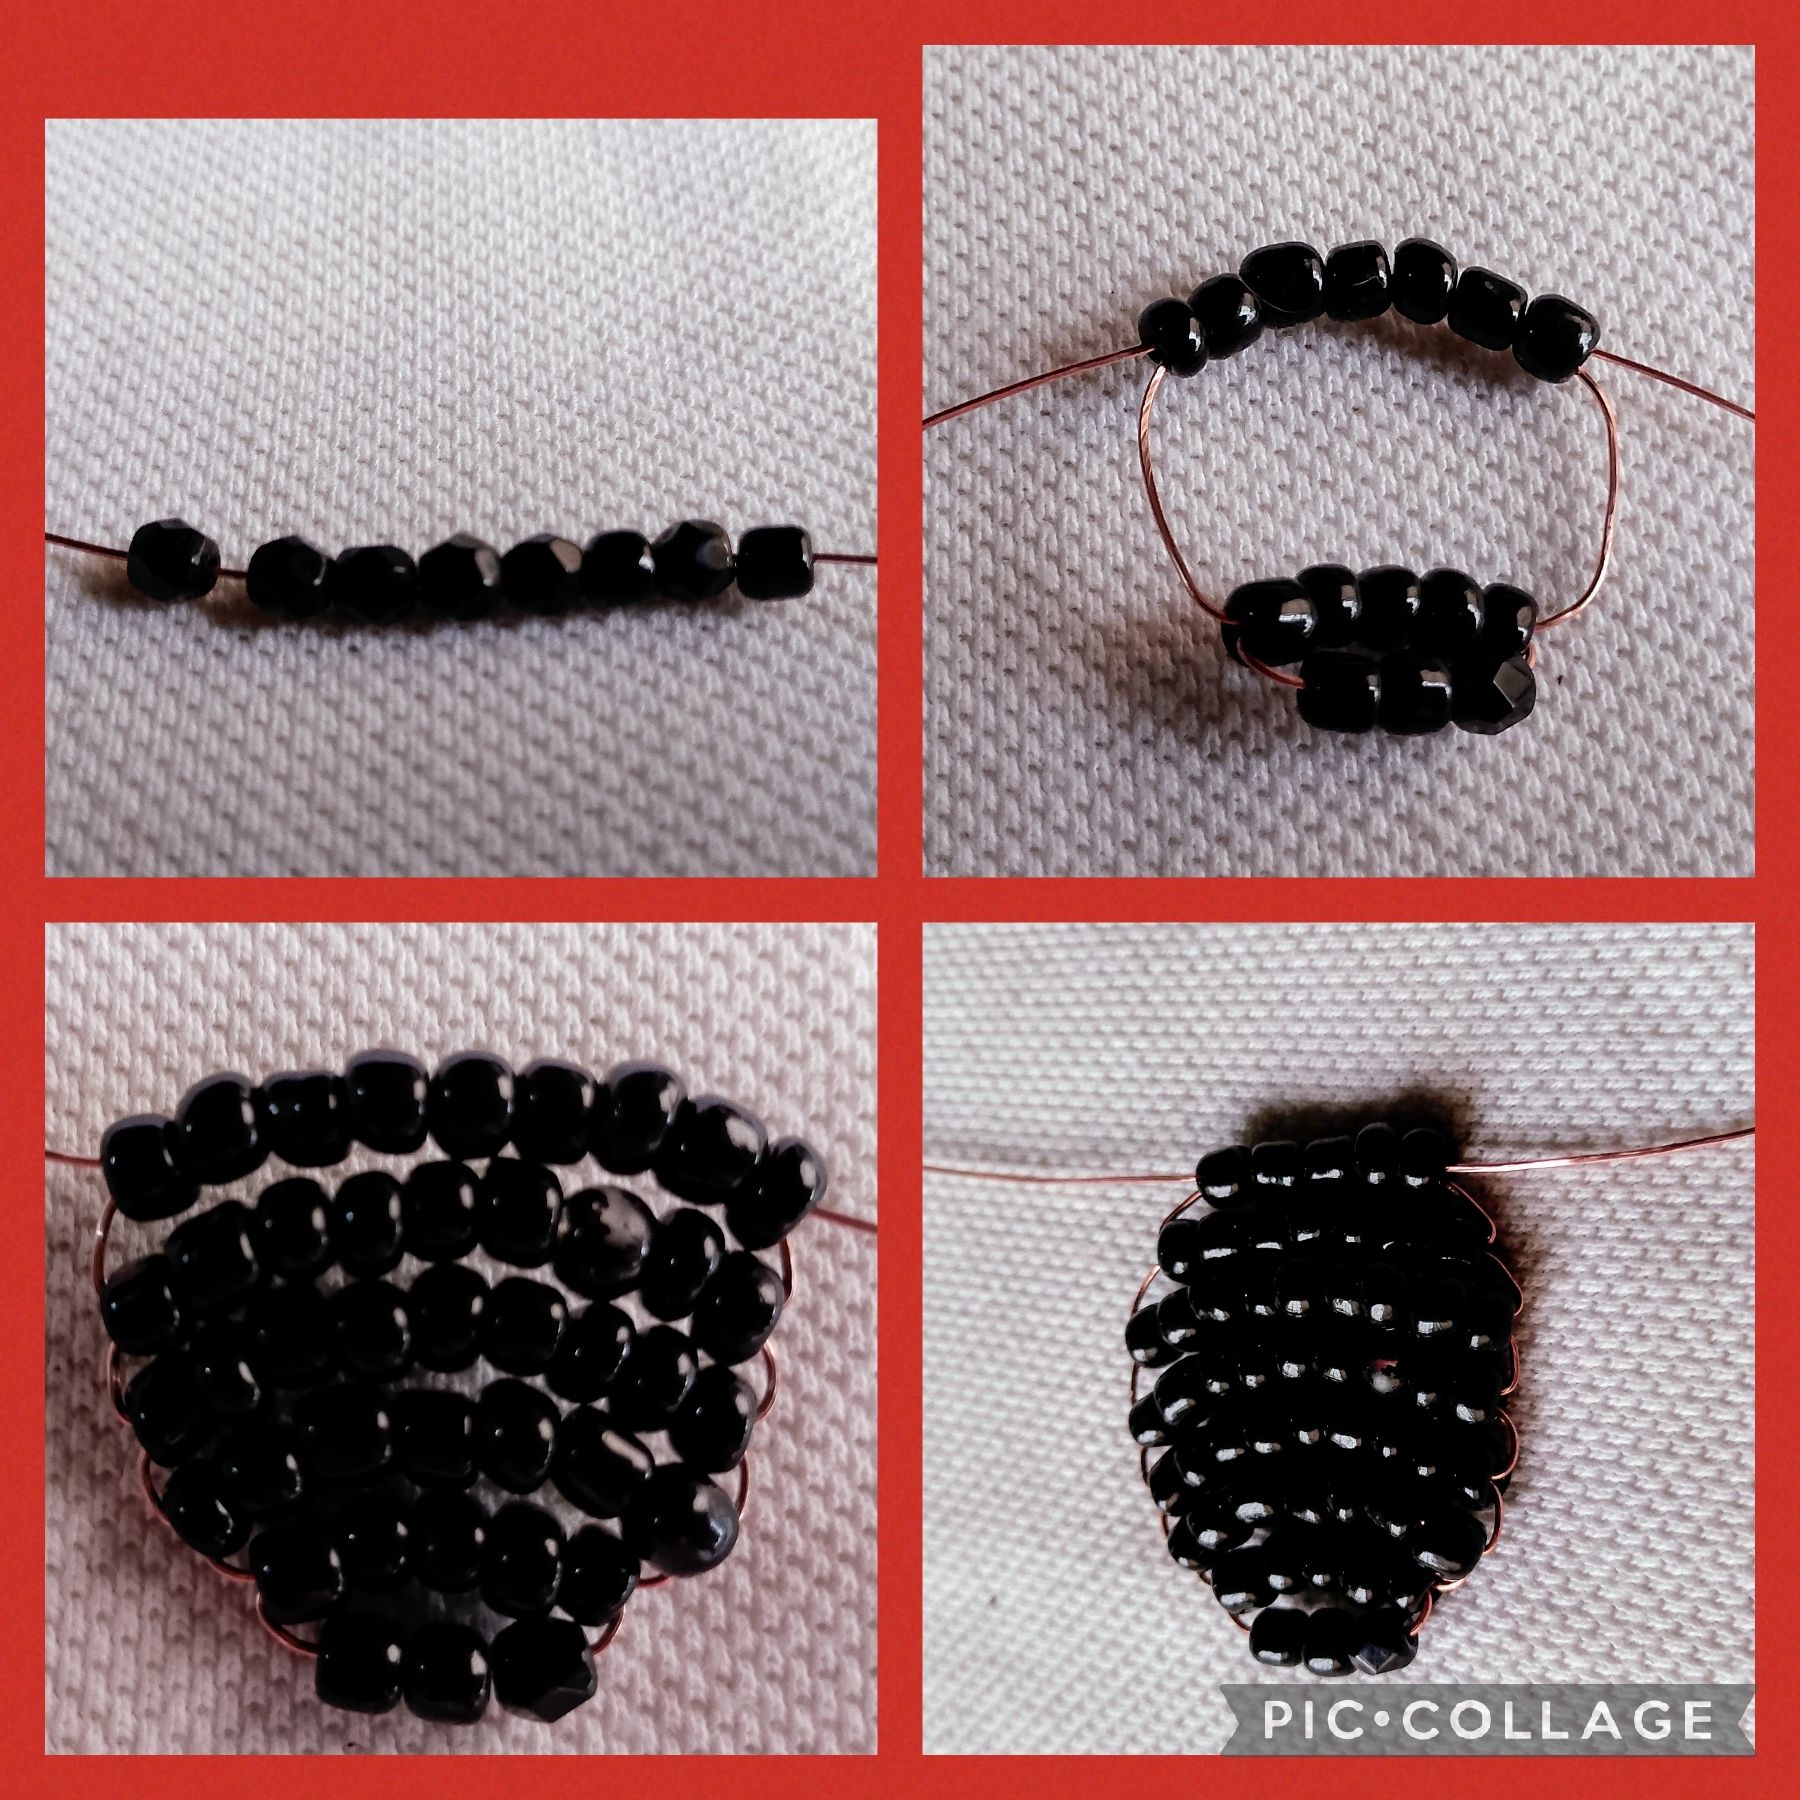

I continue and now insert seven black beads and cross them to form a third row, the fourth and fifth rows are made by increasing two beads in each row for nine beads.
Now in this row I make a decrease and make it of seven single crochet stitches, I make another row of five black single crochet stitches.
Then I make the next round of five red singlets and continue with two rounds of three blacks.
>Continúo y ahora inserto siete mostacillones negros los cruzo para formar una tercera vuelta, la cuarta y quinta vuelta las elaboro aumentando dos mostacillones en cada una para nueve mostacillones.
Ahora en esta vuelta realizo una disminución y la hago de siete mostacillones, realizo otra vuelta de cinco mostacillones negros.
Luego realizo la siguiente vuelta de cinco mostacillones rojos y sigo con dos vueltas de tres mostacillones negros.
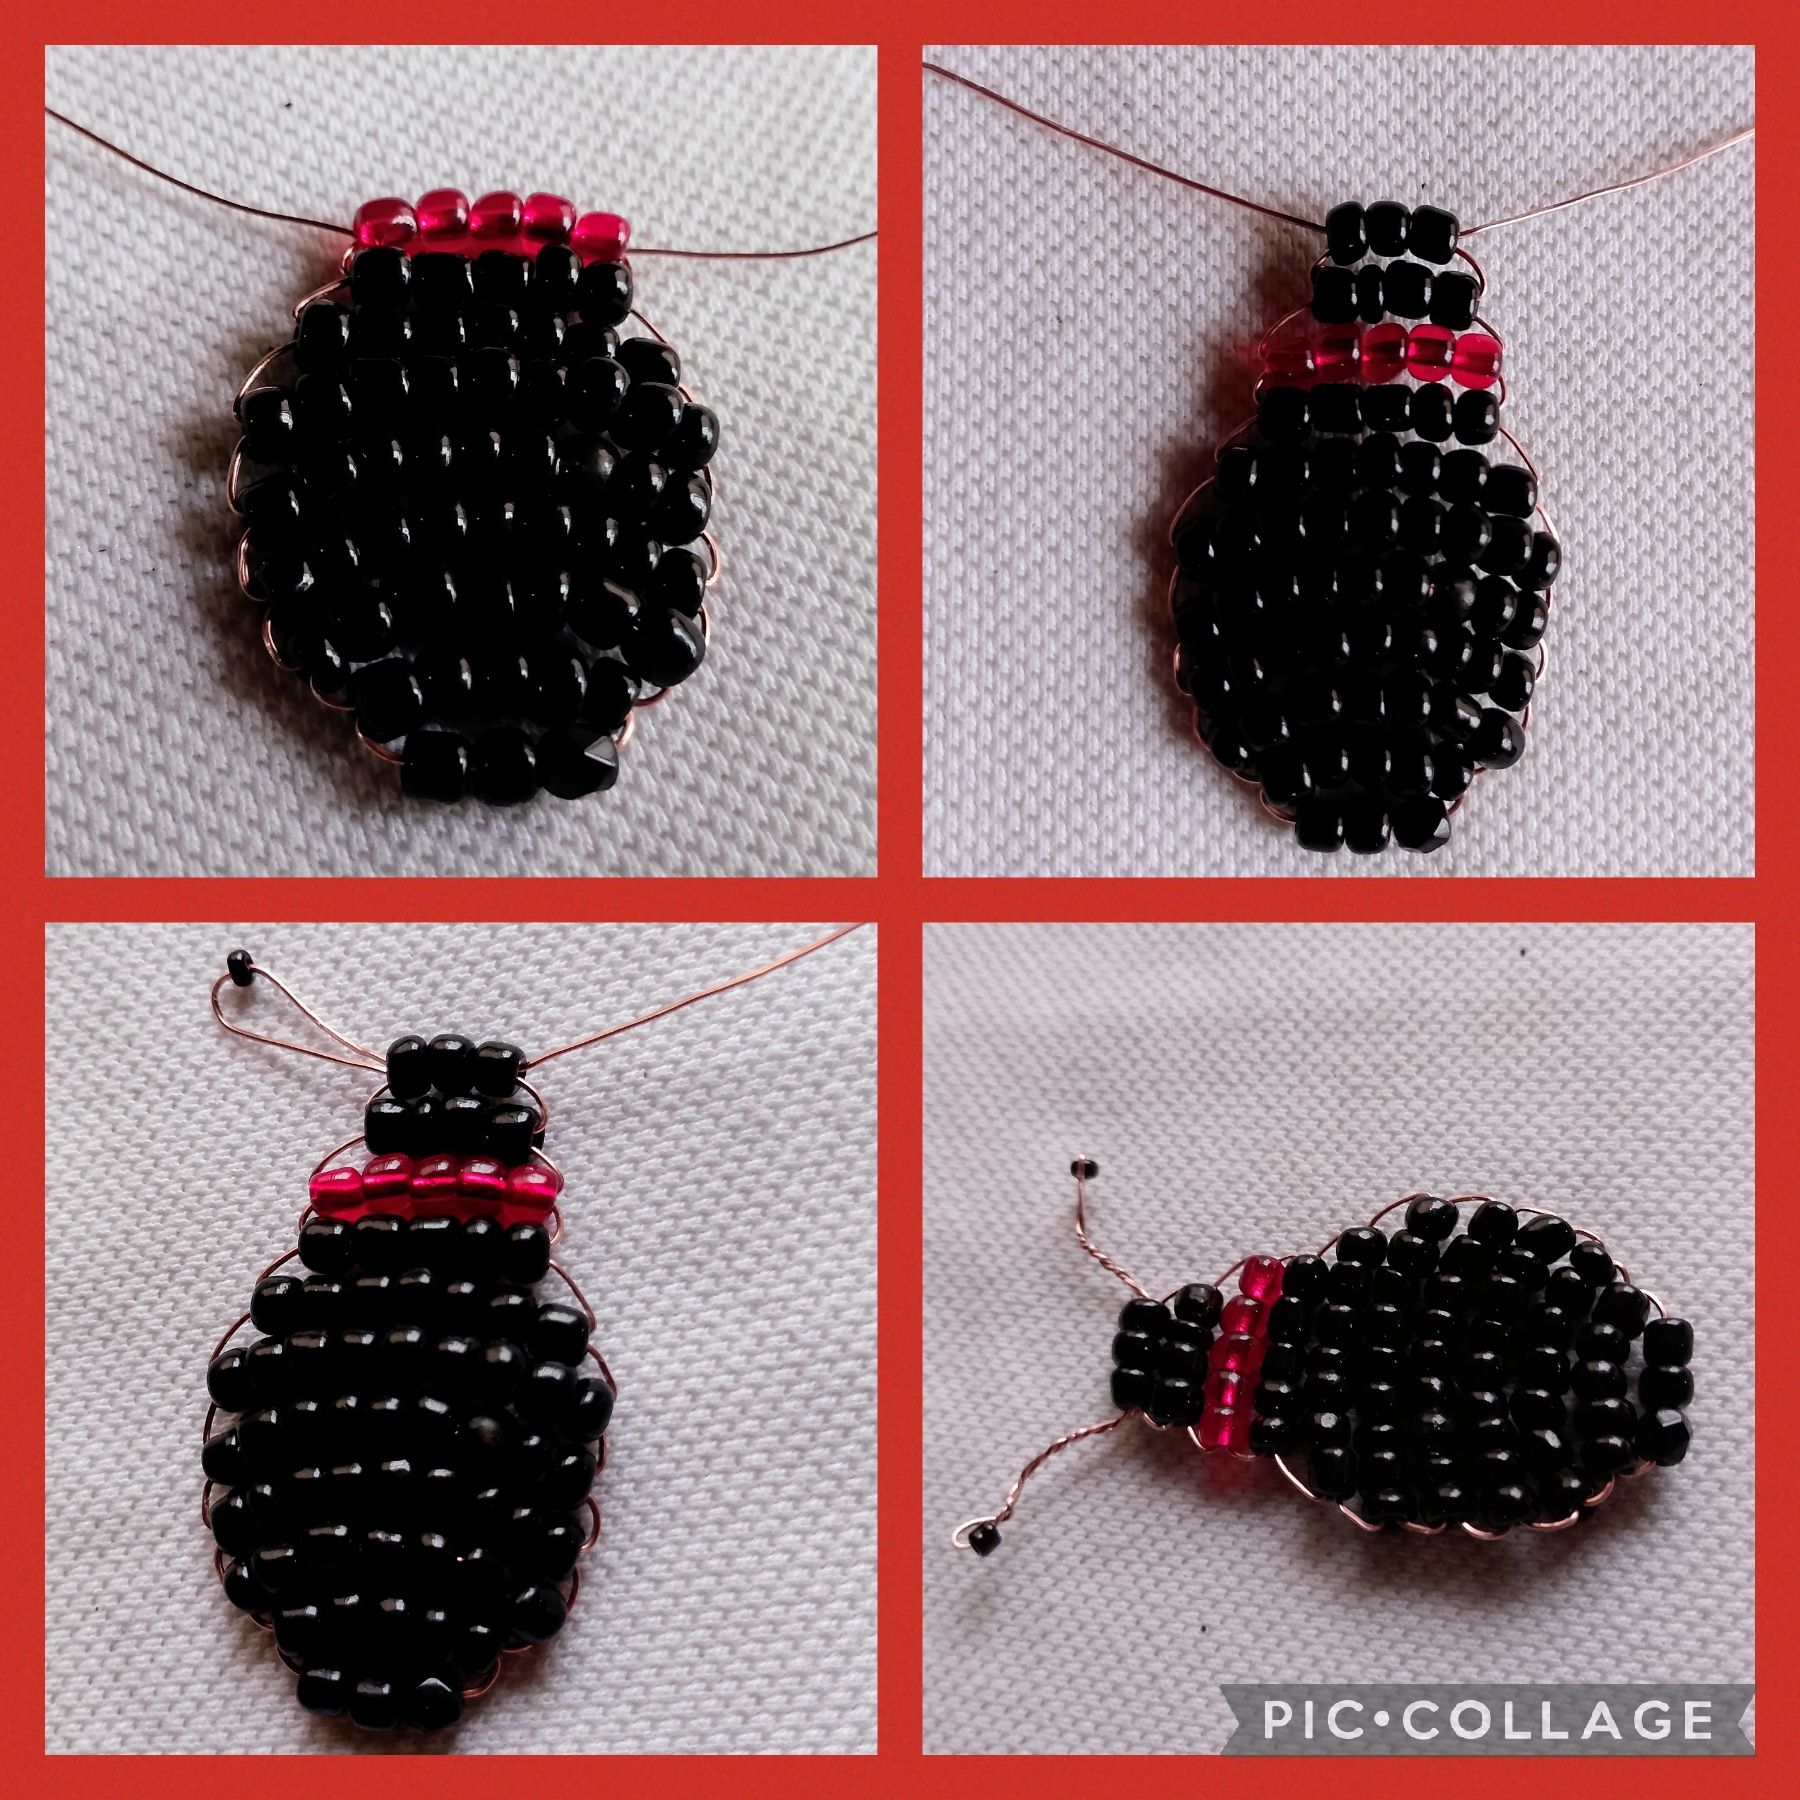

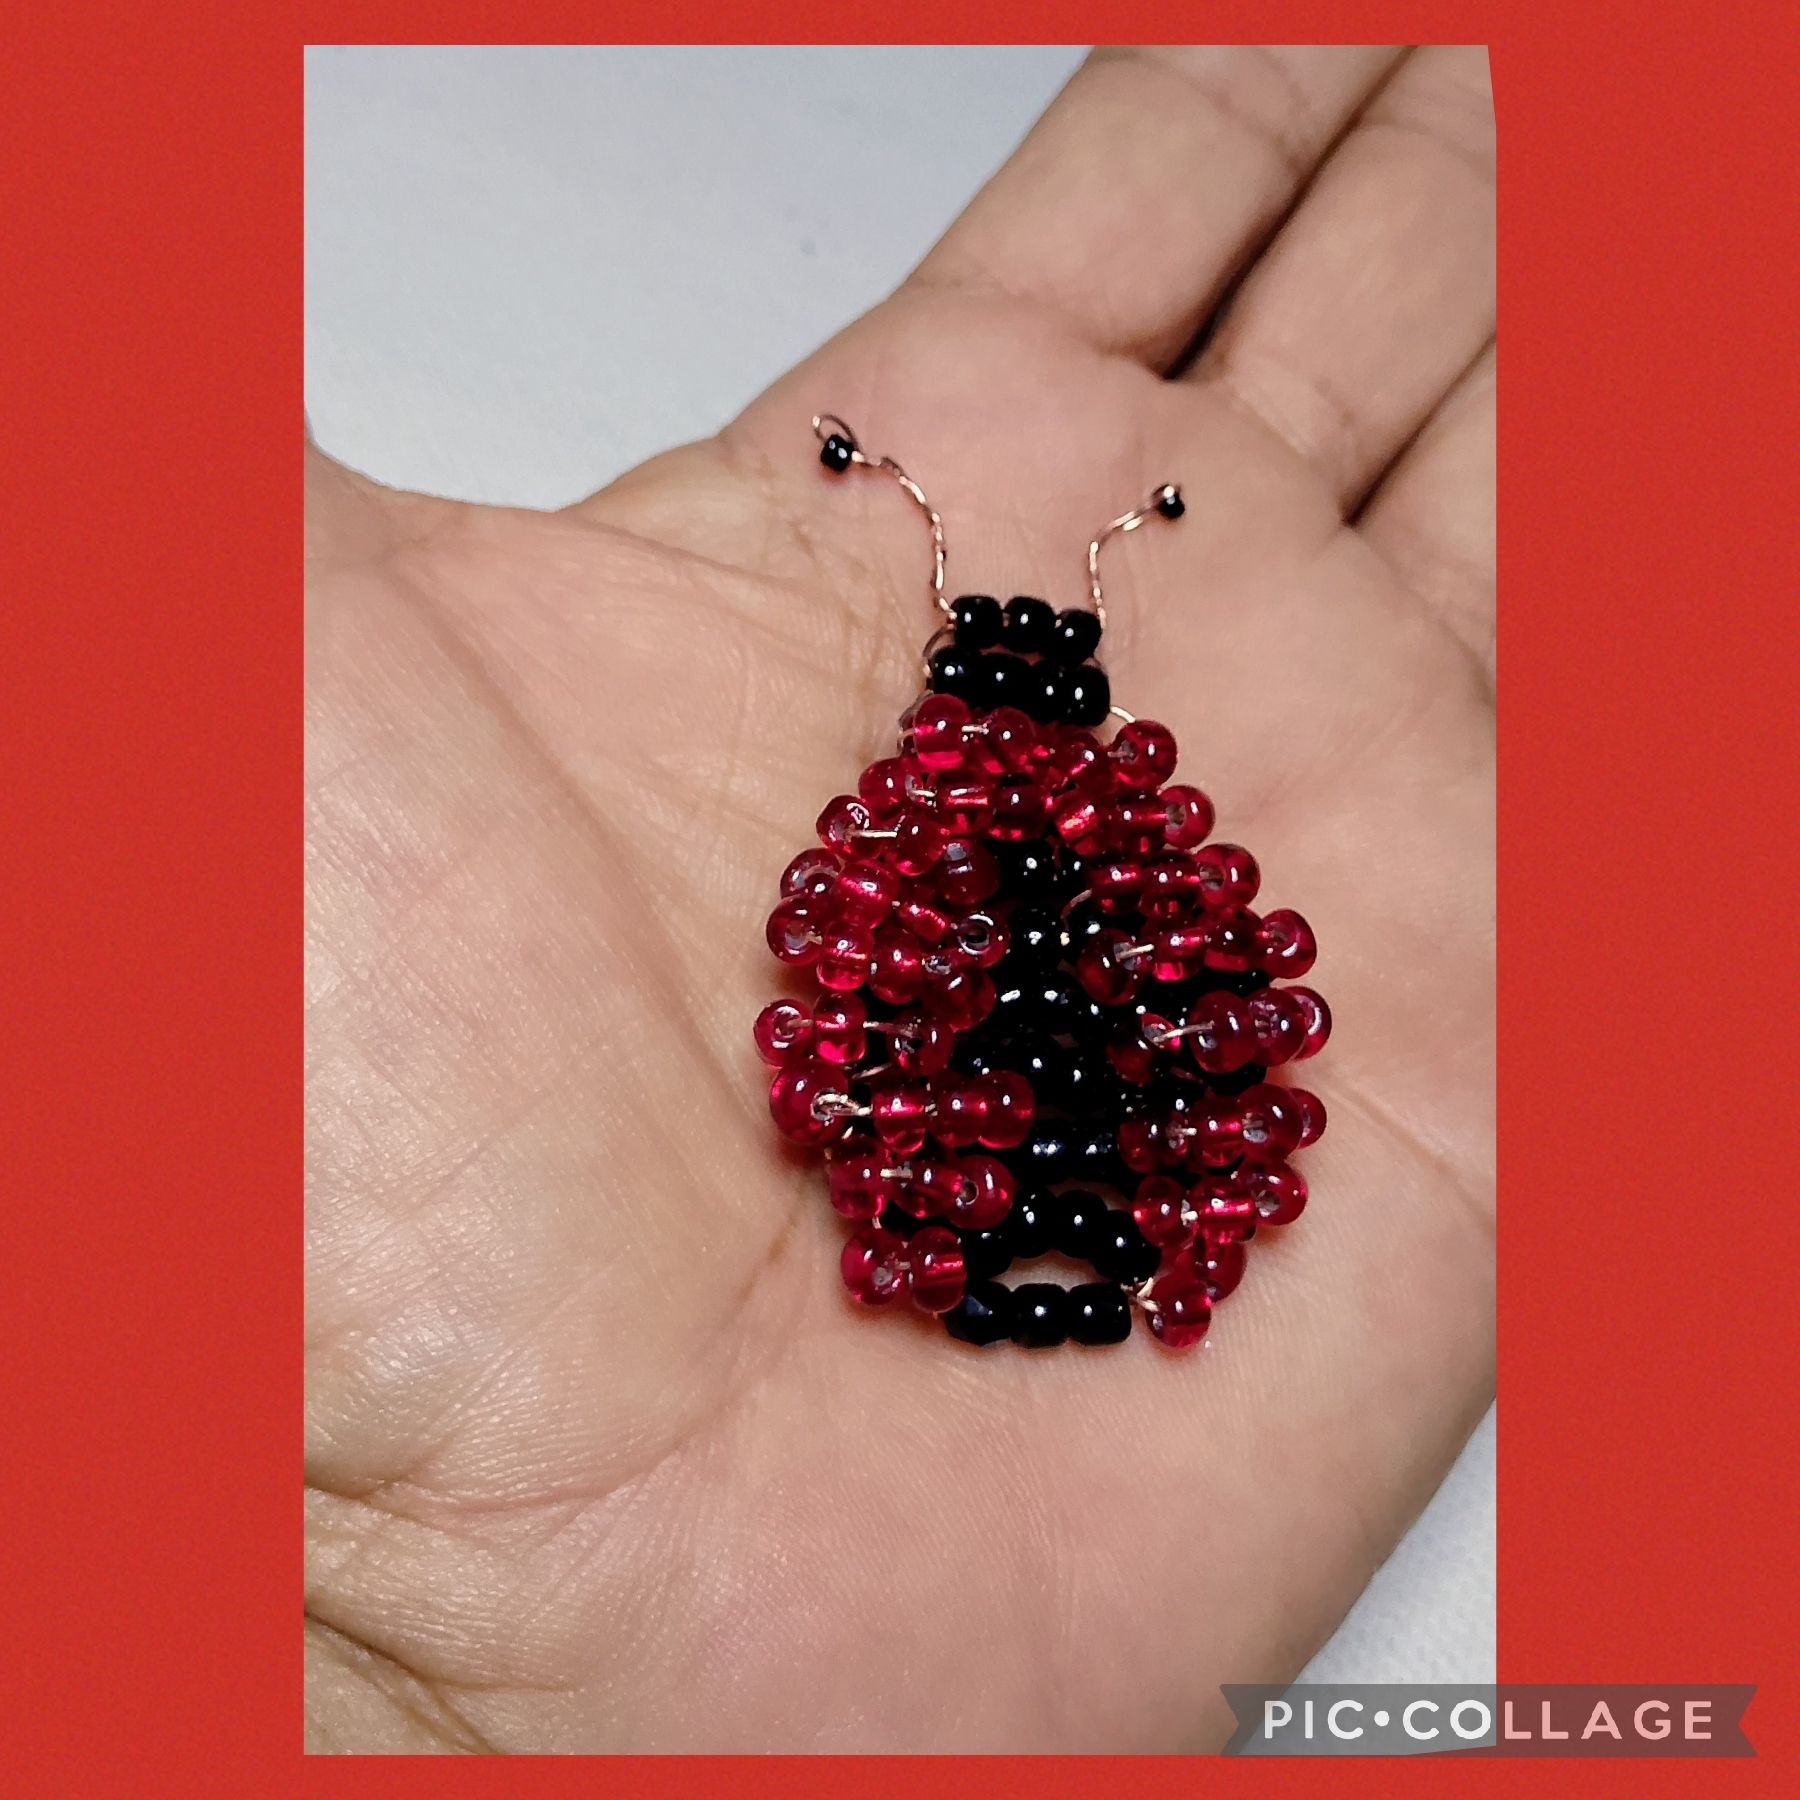
To finish this first part of my Ladybug, that is the body; I cut the excess wire using the tweezers leaving four centimeters on each side, insert a black bead in each end, fold the wire in half, pass it through the first black bead and make a soft twist, doing the same procedure on the other side, and so is what we call antennae.
>Para terminar está primera parte de mi Mariquita, o sea el cuerpo; corto el excedente del alambre usando la pinza dejando cuatro centímetros de cada lado, inserto en cada punta una mostacilla negra, doblo el alambre a la mitad, lo paso por el primer mostacillón negro y hago un entorchado suave, realizando igual procedimiento del otro lado, y así queda lo que llamamos antenas.
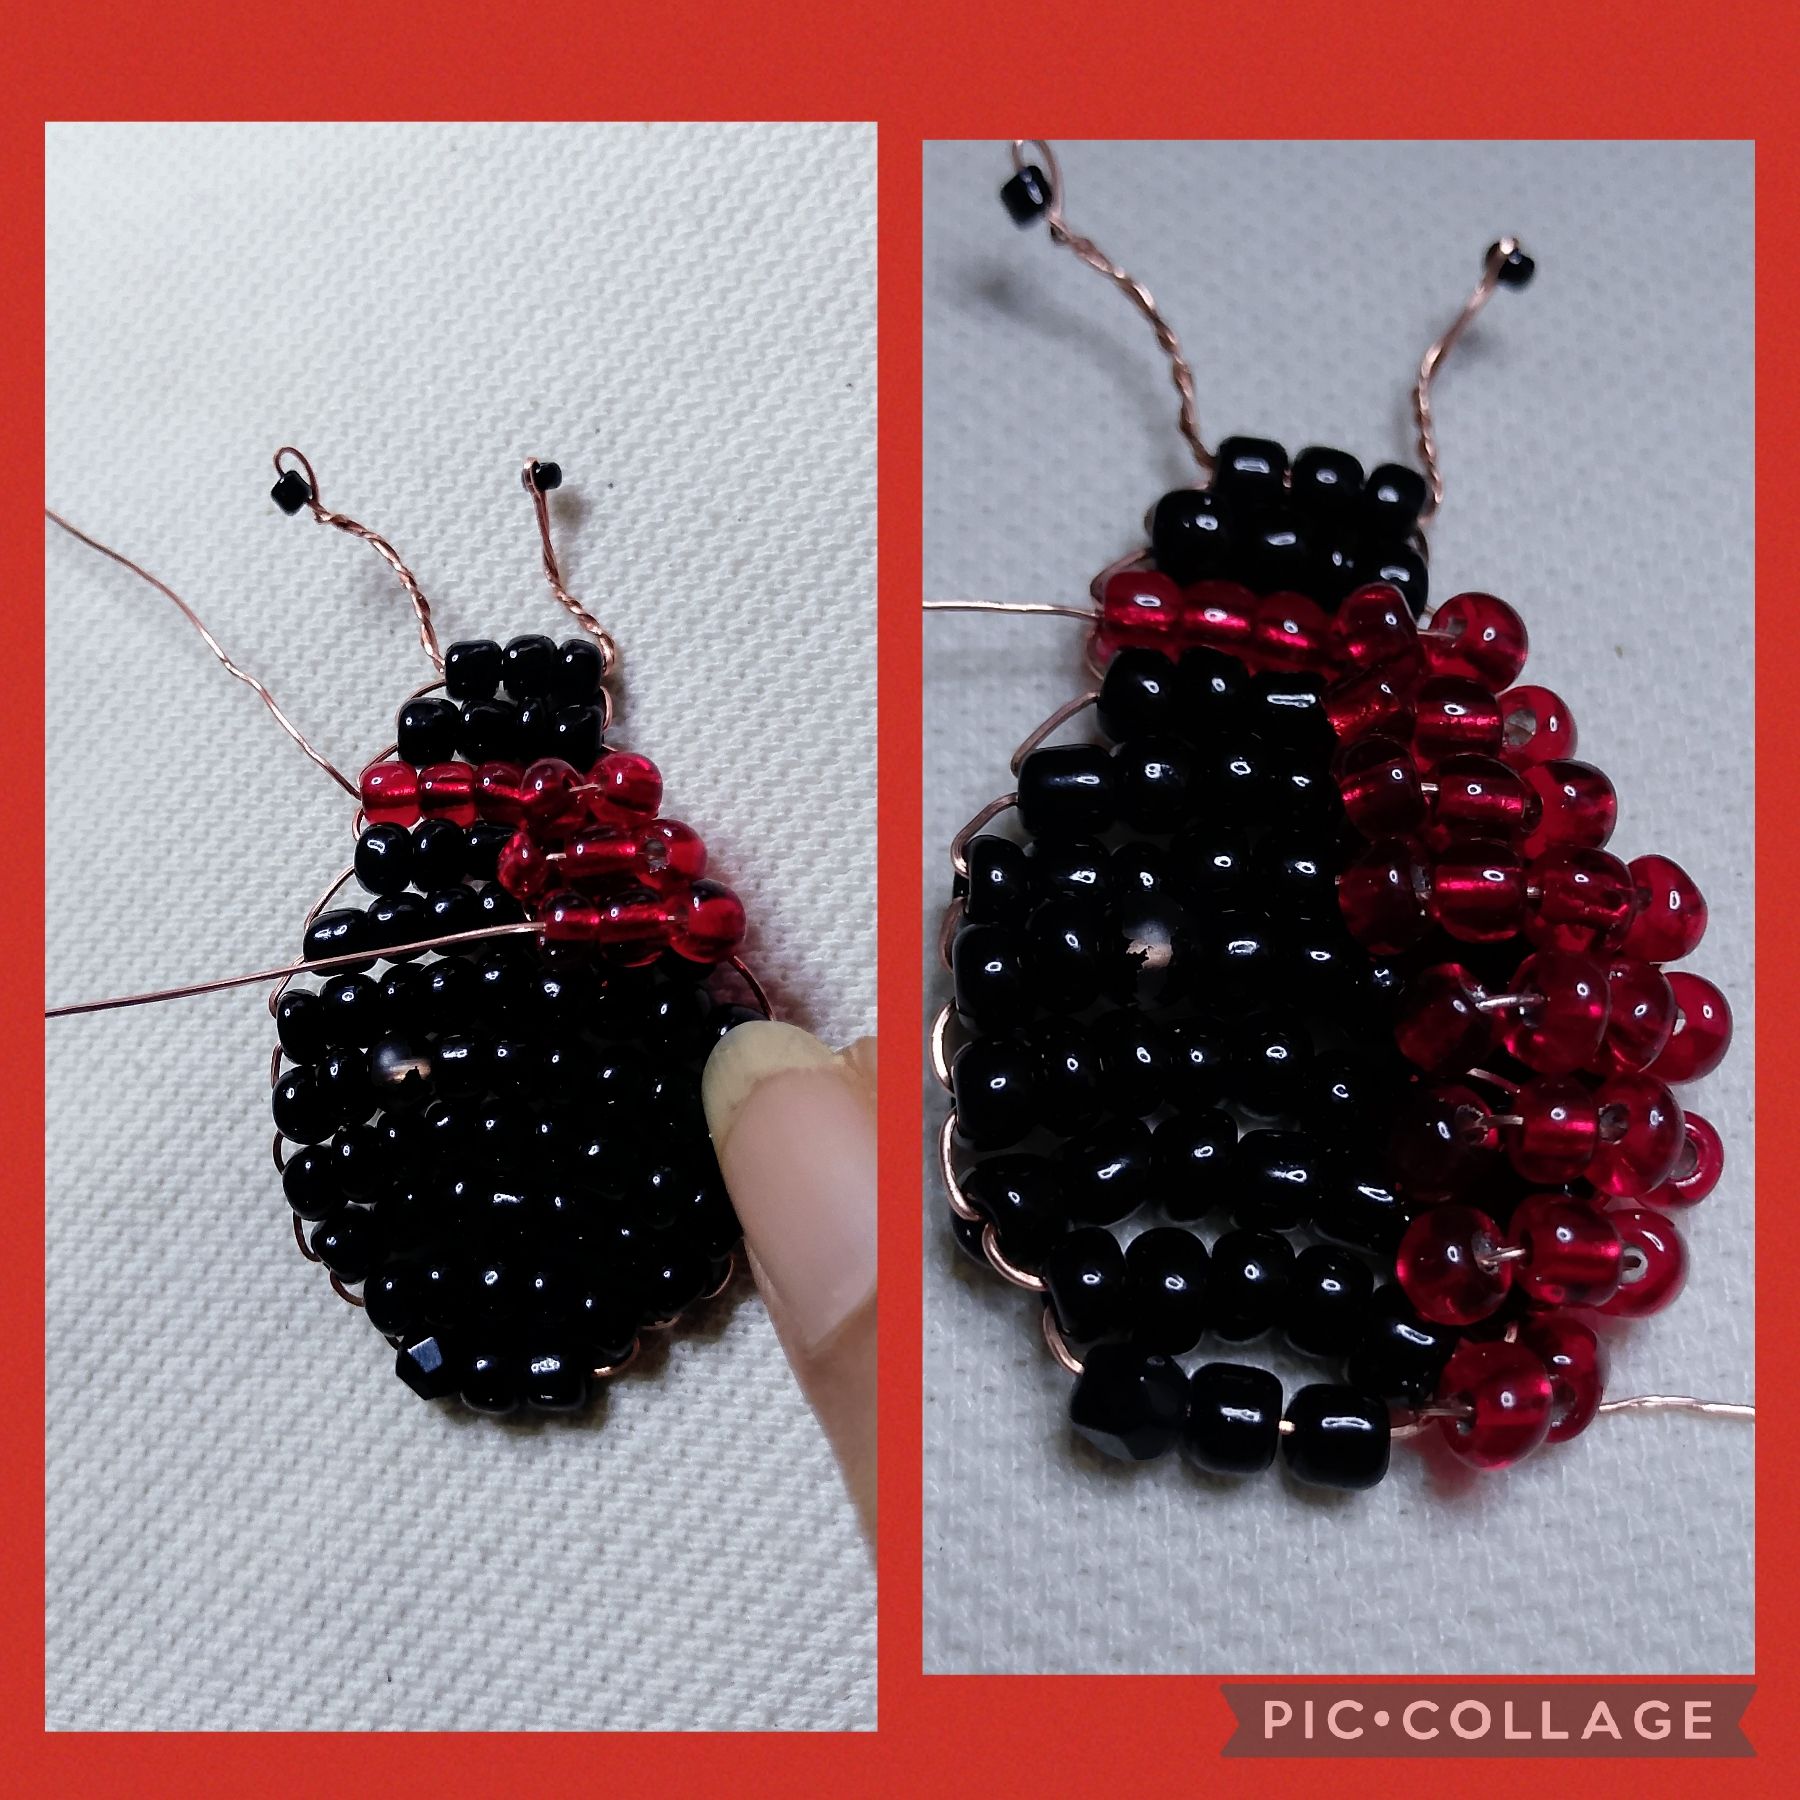

Now I am going to make the wings in this way: I take a fifty centimeters wire and pass it from side to side through the five red beads, here I am going to work separate wires, I am going to start on the right side; but you can do it by any of the ends, I will insert two red beads that I adjust well so that they are on top of two of the red beads, I take the tip of the wire and cross it through the two black beads of the bottom that is what forms the body. I continue working this wing and now I insert three red beads and cross them over the three black ones at the bottom, again I insert three red ones and cross them over the black ones and continue this procedure with three lines of four red beads, then I decrease and make a round of three, and finish with a round of two, I use the pliers, I pull and adjust well, with the round tip pliers I make a triple ring that I flatten with the pliers and lose between the beads to leave a good finish.
>Ahora voy a realizar las alas de esta manera: tomo un alambre de cincuenta centímetros y lo paso de lado a lado por los cinco mostacillones rojos, aquí voy a trabajar alambres separados, voy a comenzar por el lado derecho; pero lo pueden hacer por cualquiera de los extremos, insertaré dos mostacillones rojos que ajusto bien para que queden encima de dos de los mostacillones rojos , tomo la punta del alambre y la cruzo por los dos mostacillones negros de la parte de abajo que es lo que forma el cuerpo. Sigo trabajando está ala y ahora inserto tres mostacillones rojos los cruzo por los tres negros de la parte de abajo, de nuevo inserto tres rojos y los cruzo por los negros y sigo este procedimiento con tres líneas de cuatro mostacillones rojos, luego disminuyó y realizo una vuelta de tres, y finalizó con una vuelta de dos, uso las pinzas , halo y ajusto bien , con la pinza de punta redonda hago un anillito triple que aplanó con la pinza y pierdo entre los mostacillones para dejar un buen acabado.

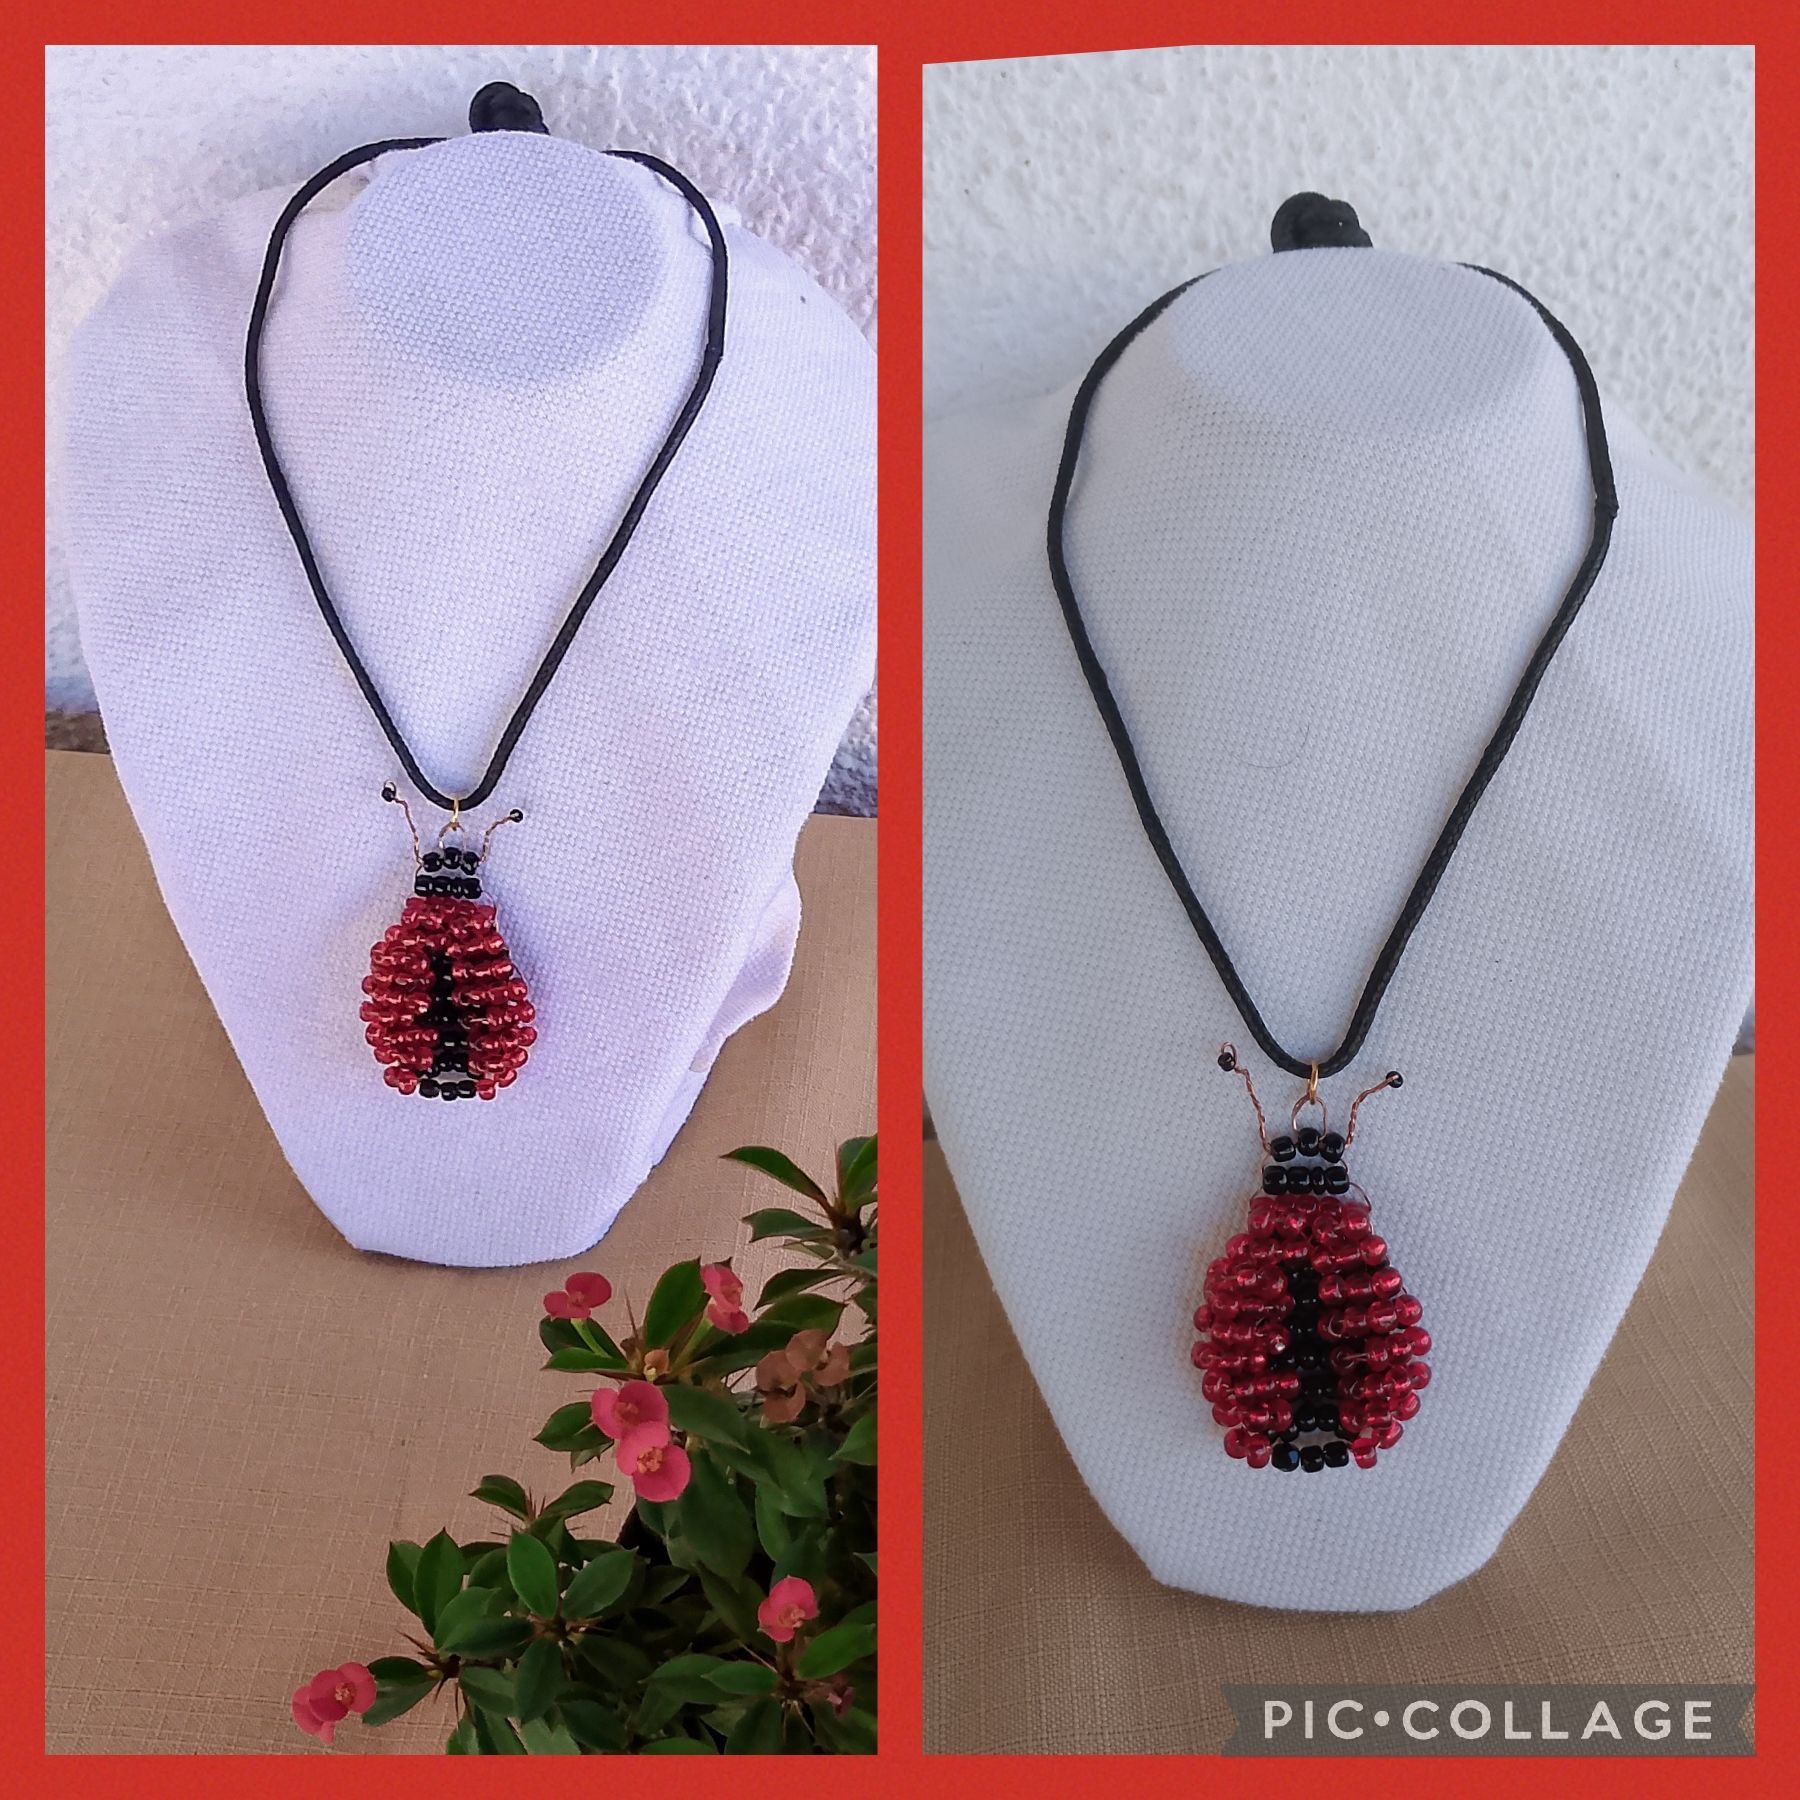
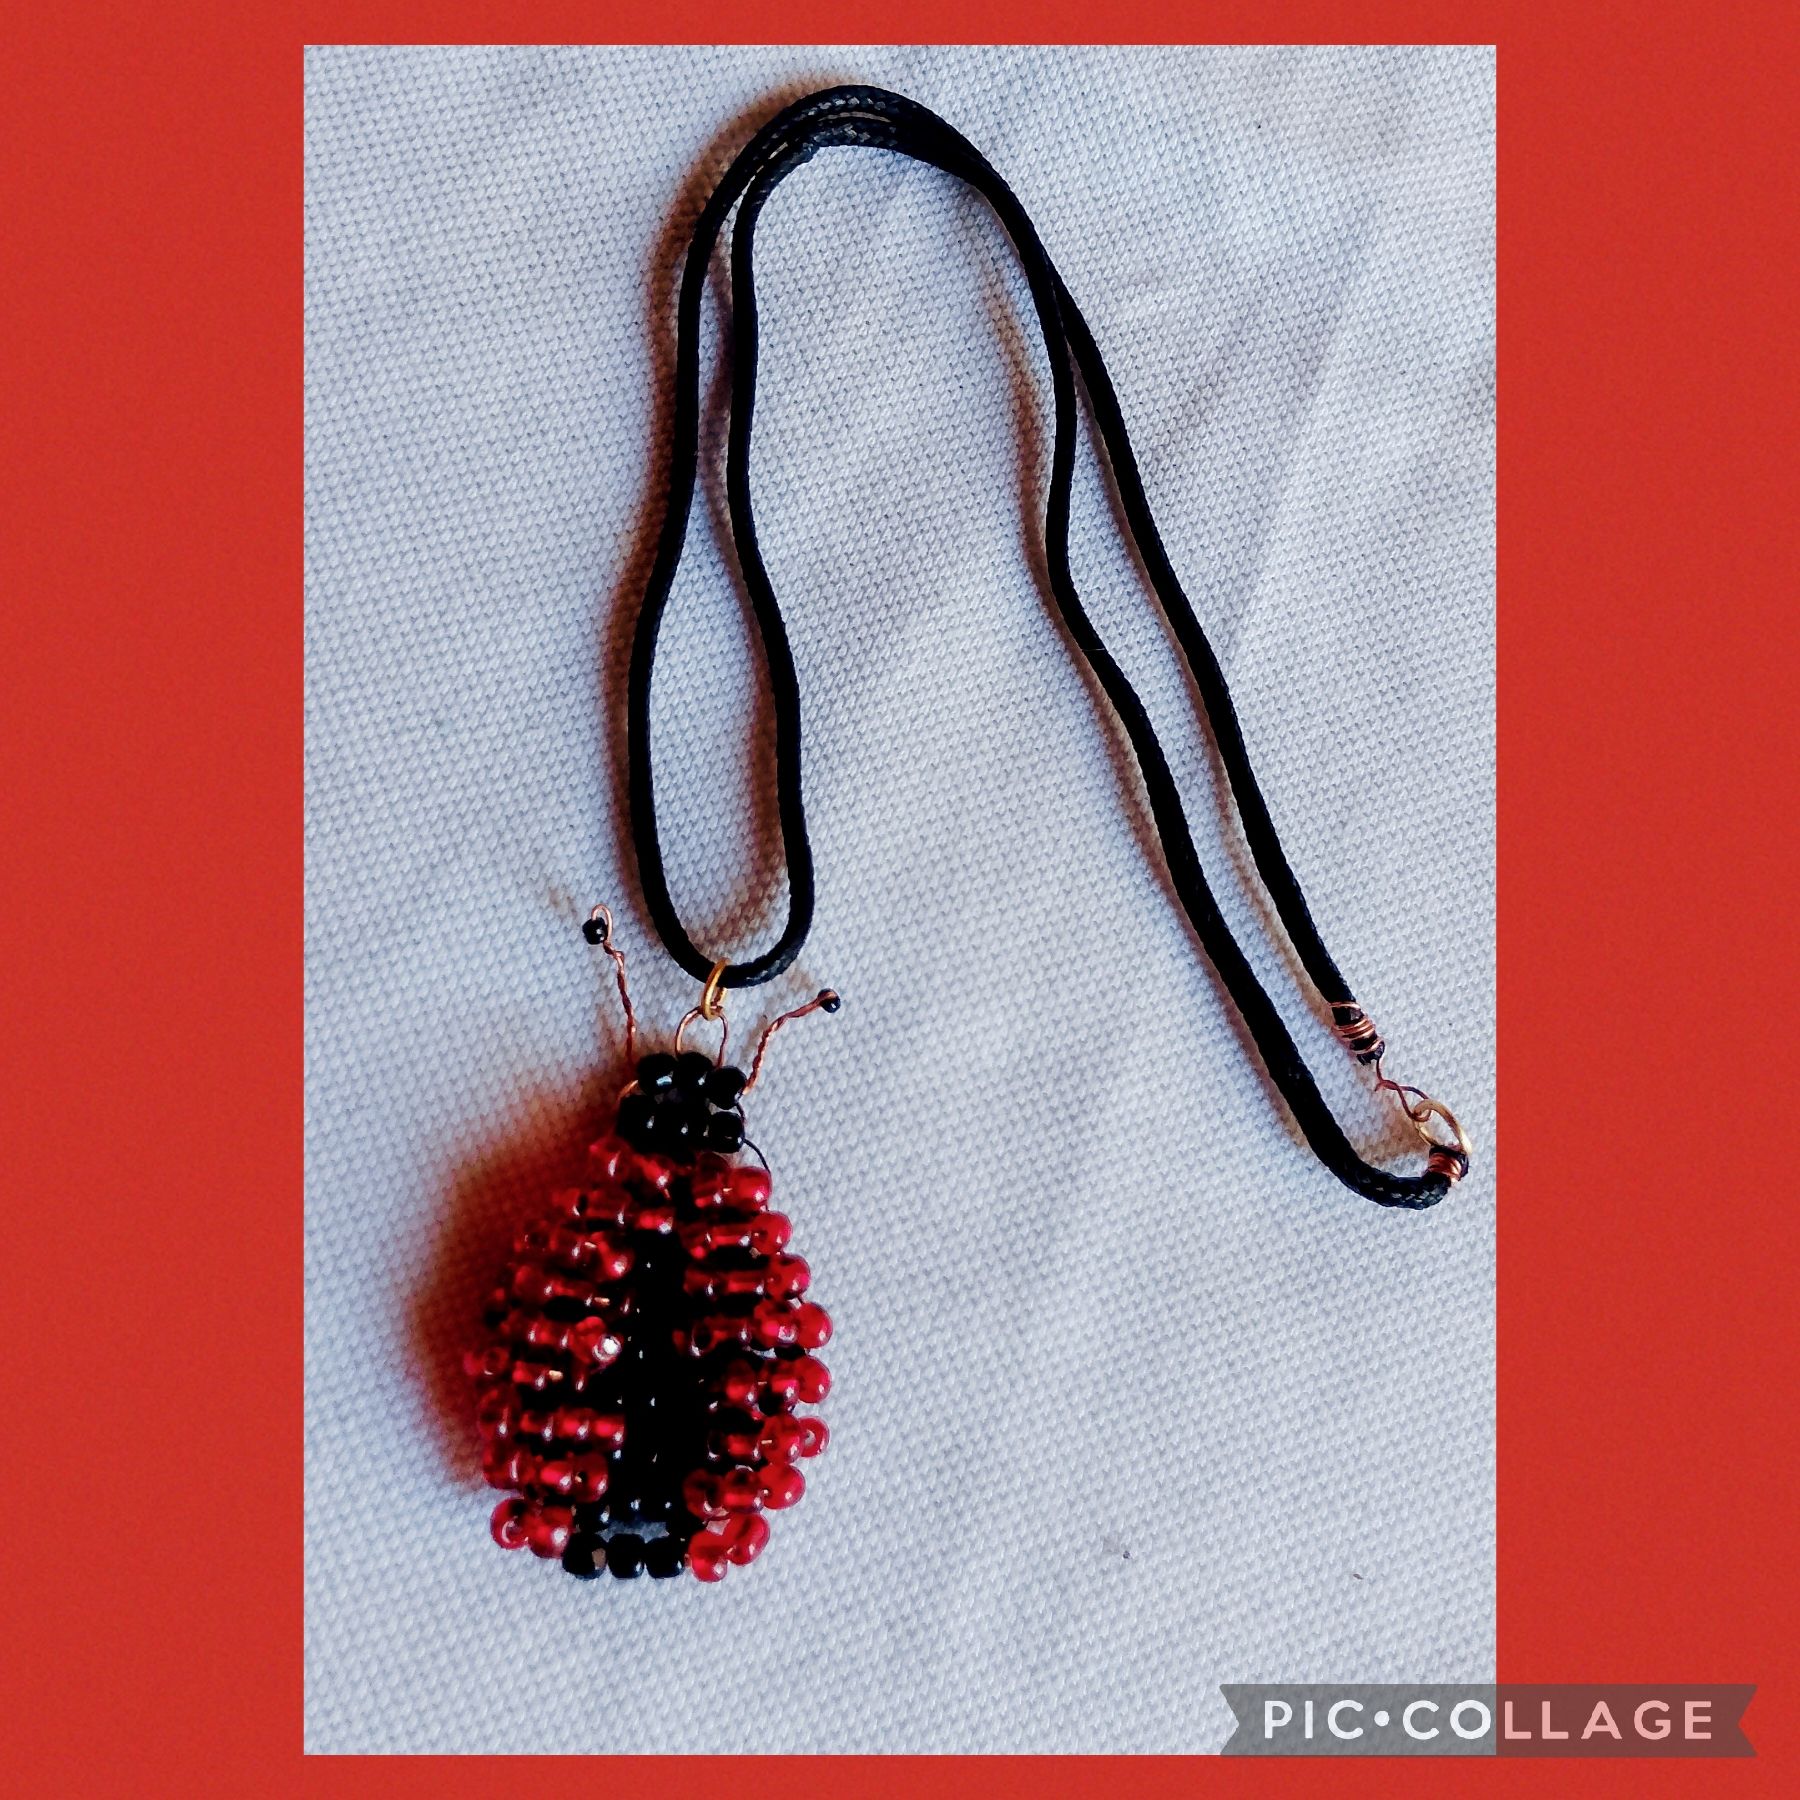
Now to form a pendant with my Ladybug pendant, I place a ring in the second black bead on the top of the top where I pass a black cord of forty centimeters, here I use a lighter to seal the ends, then I make the terminals, on one side I place a ring and on the other side a clasp that I made with the same wire.
>Para la otra ala realizo un procedimiento igual para este resultado.Ahora para formar un colgante con mi dije de Mariquita, coloco una argolla en el segundo mostacillón negro de la parte de arriba donde paso un cordón negro de cuarenta centímetros, aquí uso un encendedor para sellar las puntas, luego realizo los terminales, de un lado coloco una argolla y del otro un cierre que realizó con el mismo alambre.

The images and writing in this tutorial are my exclusive property. The photos were taken with my Tecno Spark Go 20 cell phone and edited with a free app.
Use Google Translate to translate the text.
>Las imágenes y redacción de este tutorial son de mi exclusiva propiedad, las fotos fueron tomadas con mi teléfono celular Tecno Spark Go 20 y las edite con una aplicación gratis del mismo.
Para traducir texto use Google traductor.

Pendant Charm Inspires by Cinella [Eng/Esp]
@nhaydu
· 2025-06-22 23:43
· Holozing Community
#holozing
#fanart
#spanish
#hivecreator
#tutorial
#diy
#creativecoin
#manualidades
#game
#handmade
Payout: 0.000 HBD
Votes: 25
More interactions (upvote, reblog, reply) coming soon.