Hello, creative friends, I was organizing my clothes, since I have them all over the place and I thought of making a chest to keep them in, so I don't run the risk of losing them. So I'm going to show you the chest I made in the shape of a book. It's a bit simple, but it turned out very nice.
Hola, amigos creativos, estaba organizando mis prendas, ya que las tengo muy regadas y se me ocurrió hacer un cofre para guardarlas, así no corro el riesgo de que estas se me extravíen. Así que a con continuación les voy a mostrar el cofre que me hice en forma de un libro. Es un poco sencillo, pero quedó muy bonito.
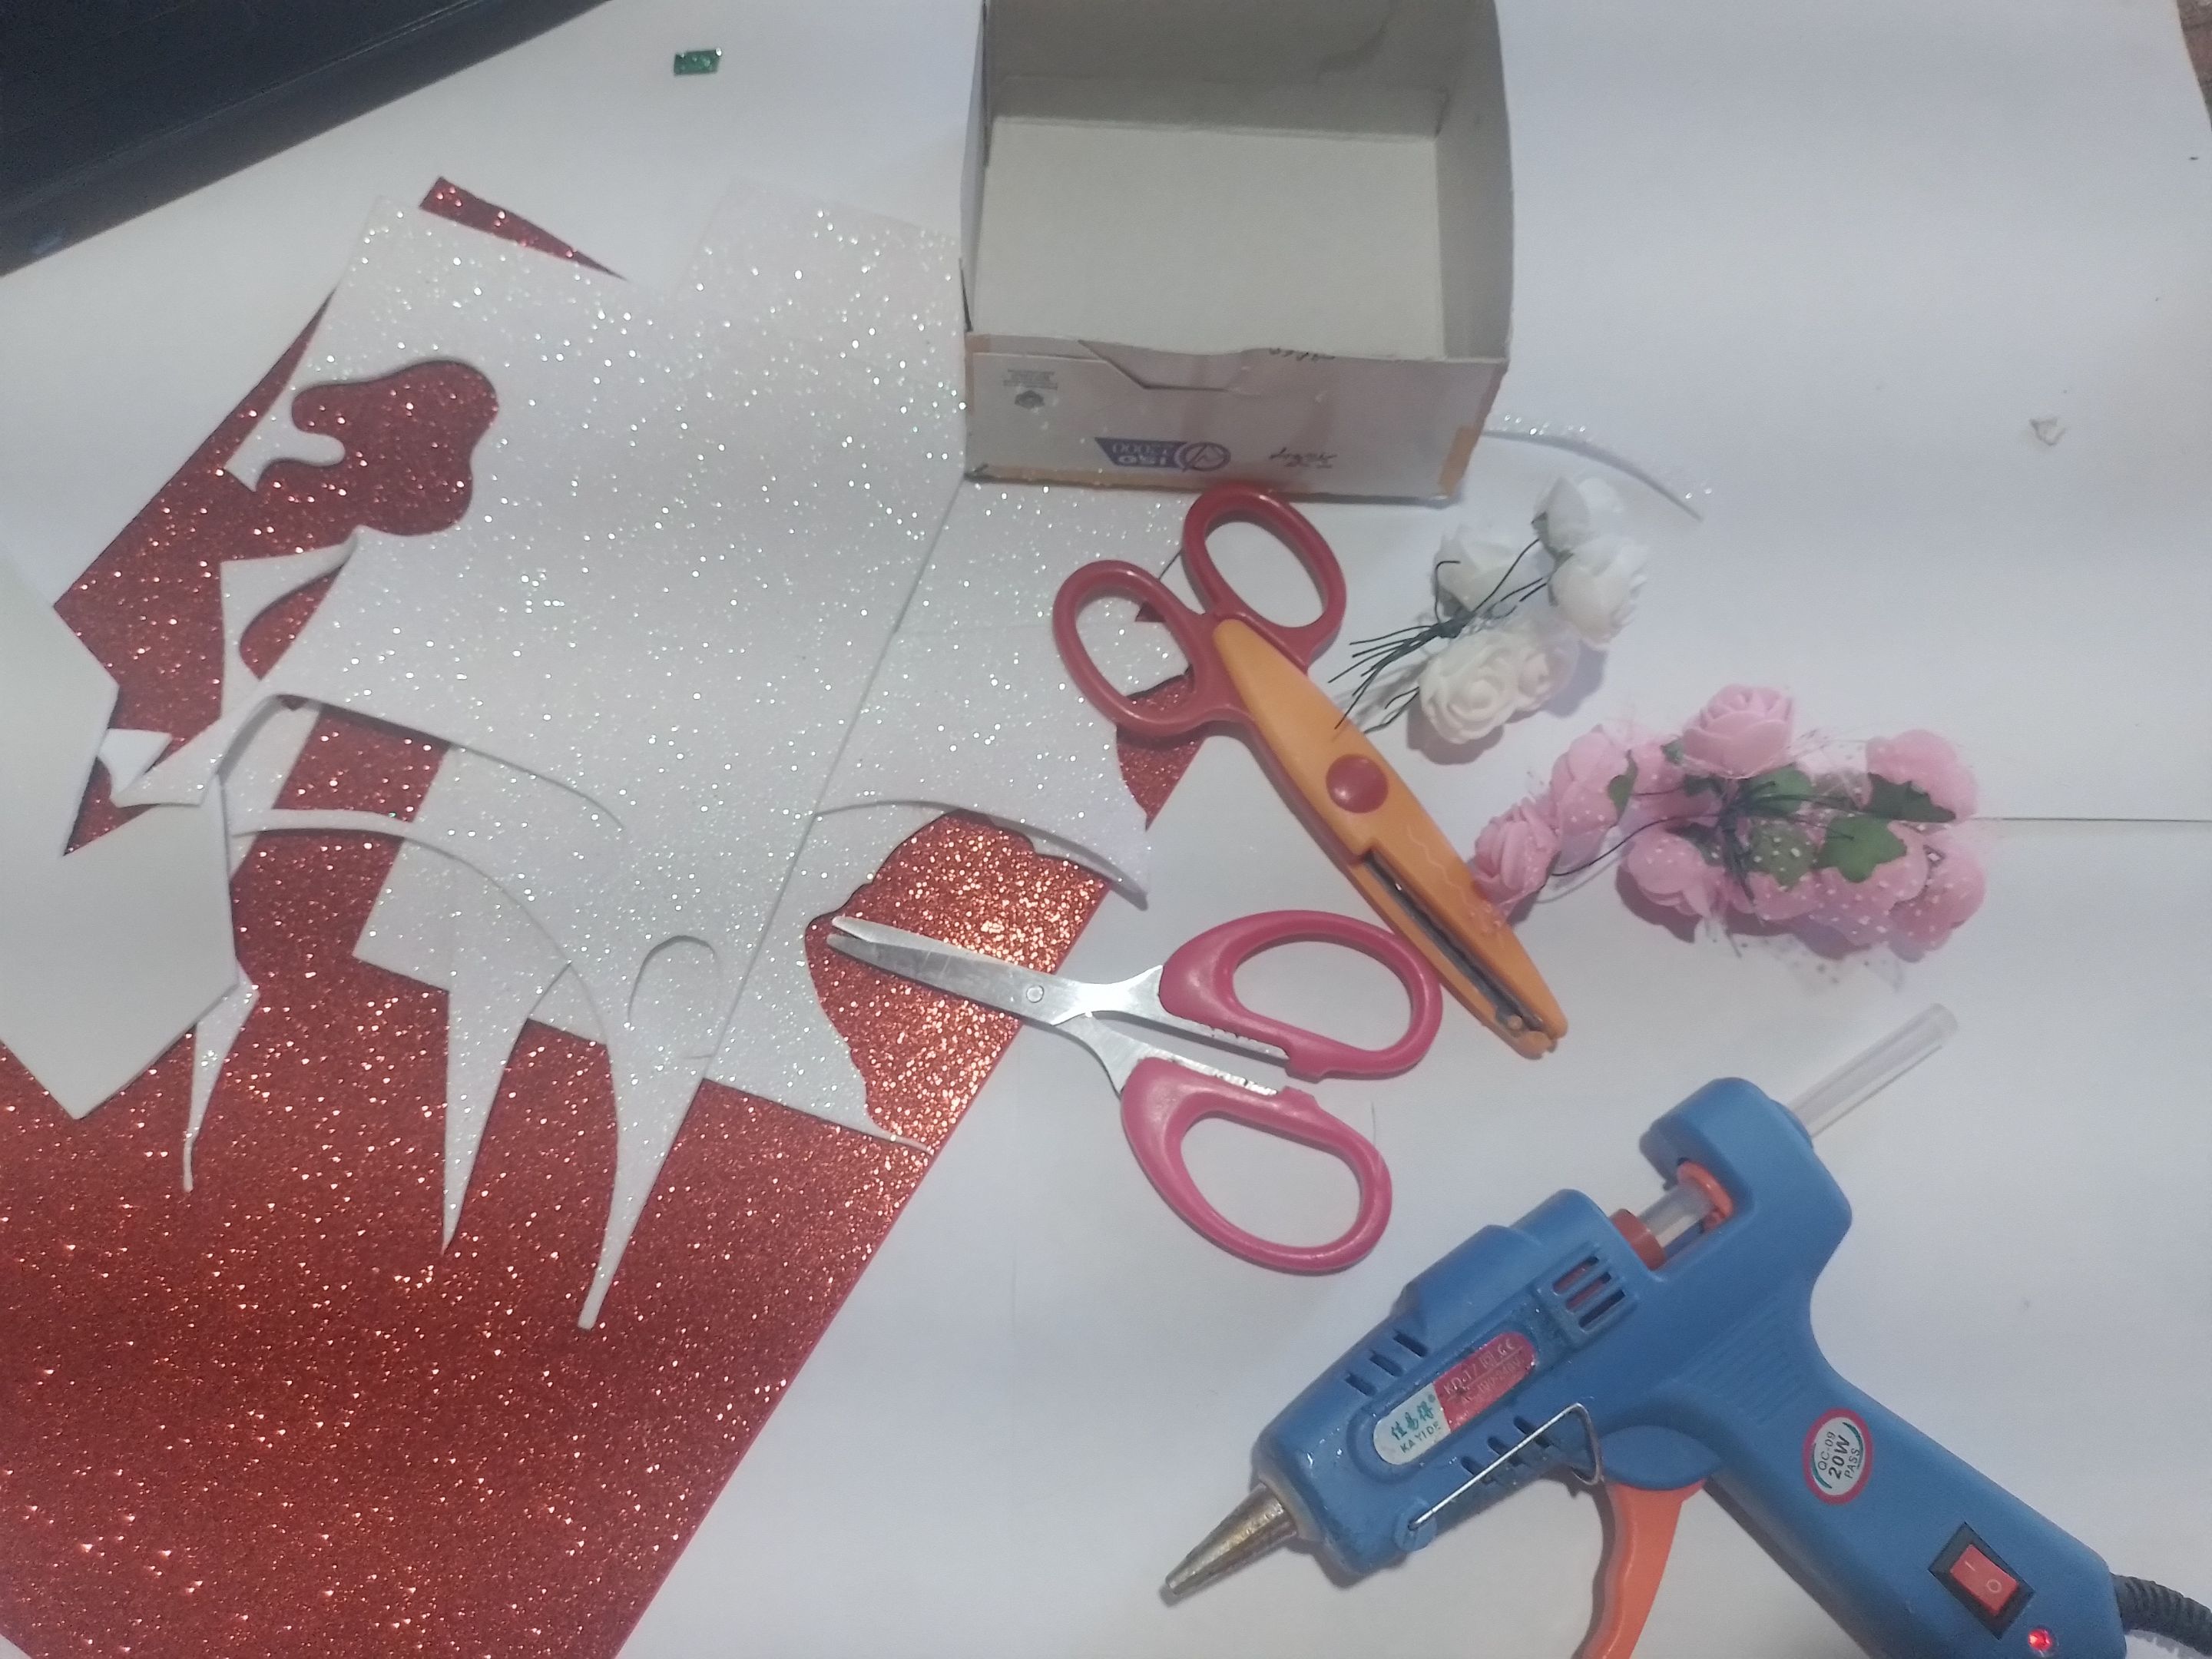
- A medium cardboard box.
- Silicone gun.
- Fomis of different colors.
- Small flowers.
- Scissors.
- Una caja de cartón mediana.
- Pistola de silicona.
- Fomis de diferentes colores.
- Flores pequeñas.
- Tijeras.
| https://files.peakd.com/file/peakd-hive/norychacon/EoCk6BWEsS11oGy6vCkucgpwP66WGYDzRYgwSzG4xj4Y11uo2sWtVSftcw8YrJW5n24.jpg | https://files.peakd.com/file/peakd-hive/norychacon/EoyRSWmGRVxhKkJStVvR239J7ox2hUAS5oD72UWvK14n42MHVquBZjCYRbeCDEAdDys.jpg |
Step 1- Glue three of the edges of the box on a white glitter fomi.
Paso 1- Pegamos tres de los bordes de la caja en un fomi de brillo blanco.
| https://files.peakd.com/file/peakd-hive/norychacon/EokeX65n3gNdBJh93QJG3ABw8LNwuHTAdrWKKRG4nc5WLLXhbnNrfMsukFSYpfLbwzp.jpg | https://files.peakd.com/file/peakd-hive/norychacon/EouAbHG34YjrU3KYv5a4qHoStmNdAGaXu9grZfKVXf158q5RdQ7m6TJ6XRBy2N43NFw.jpg |
Step 2- With the scissors we cut off the excess from the top.
Paso 2- Con la tijera recortamos el sobrante de arriba.
| https://files.peakd.com/file/peakd-hive/norychacon/EouB8K1UyJGKEPdMLVjNkYKiCQGw8ZnTzSWa5SpjGPV8VzP6CBxmpWk9uavCN4STsyy.jpg | https://files.peakd.com/file/peakd-hive/norychacon/Ep5ofj18nNSH1tC7weNYES1dg2FhzMYWQ2NAtBe2hnAsQ3JfuQbhBStSfp5M5pYSsXe.jpg | https://files.peakd.com/file/peakd-hive/norychacon/Eq11bPva4frh7EuKkfZfwemXnR1QjPaGPvHAM5wHoecSREpHiGE3q3FUtmHkqgewors.jpg |
Step 3- Mark a large rectangle on the top of the red fomi with the box and cut them out with the scissors.
Paso 3- Marcamos con la cajita un rectángulo grande arriba del fomi rojo y los recortamos con la tijera de forma.
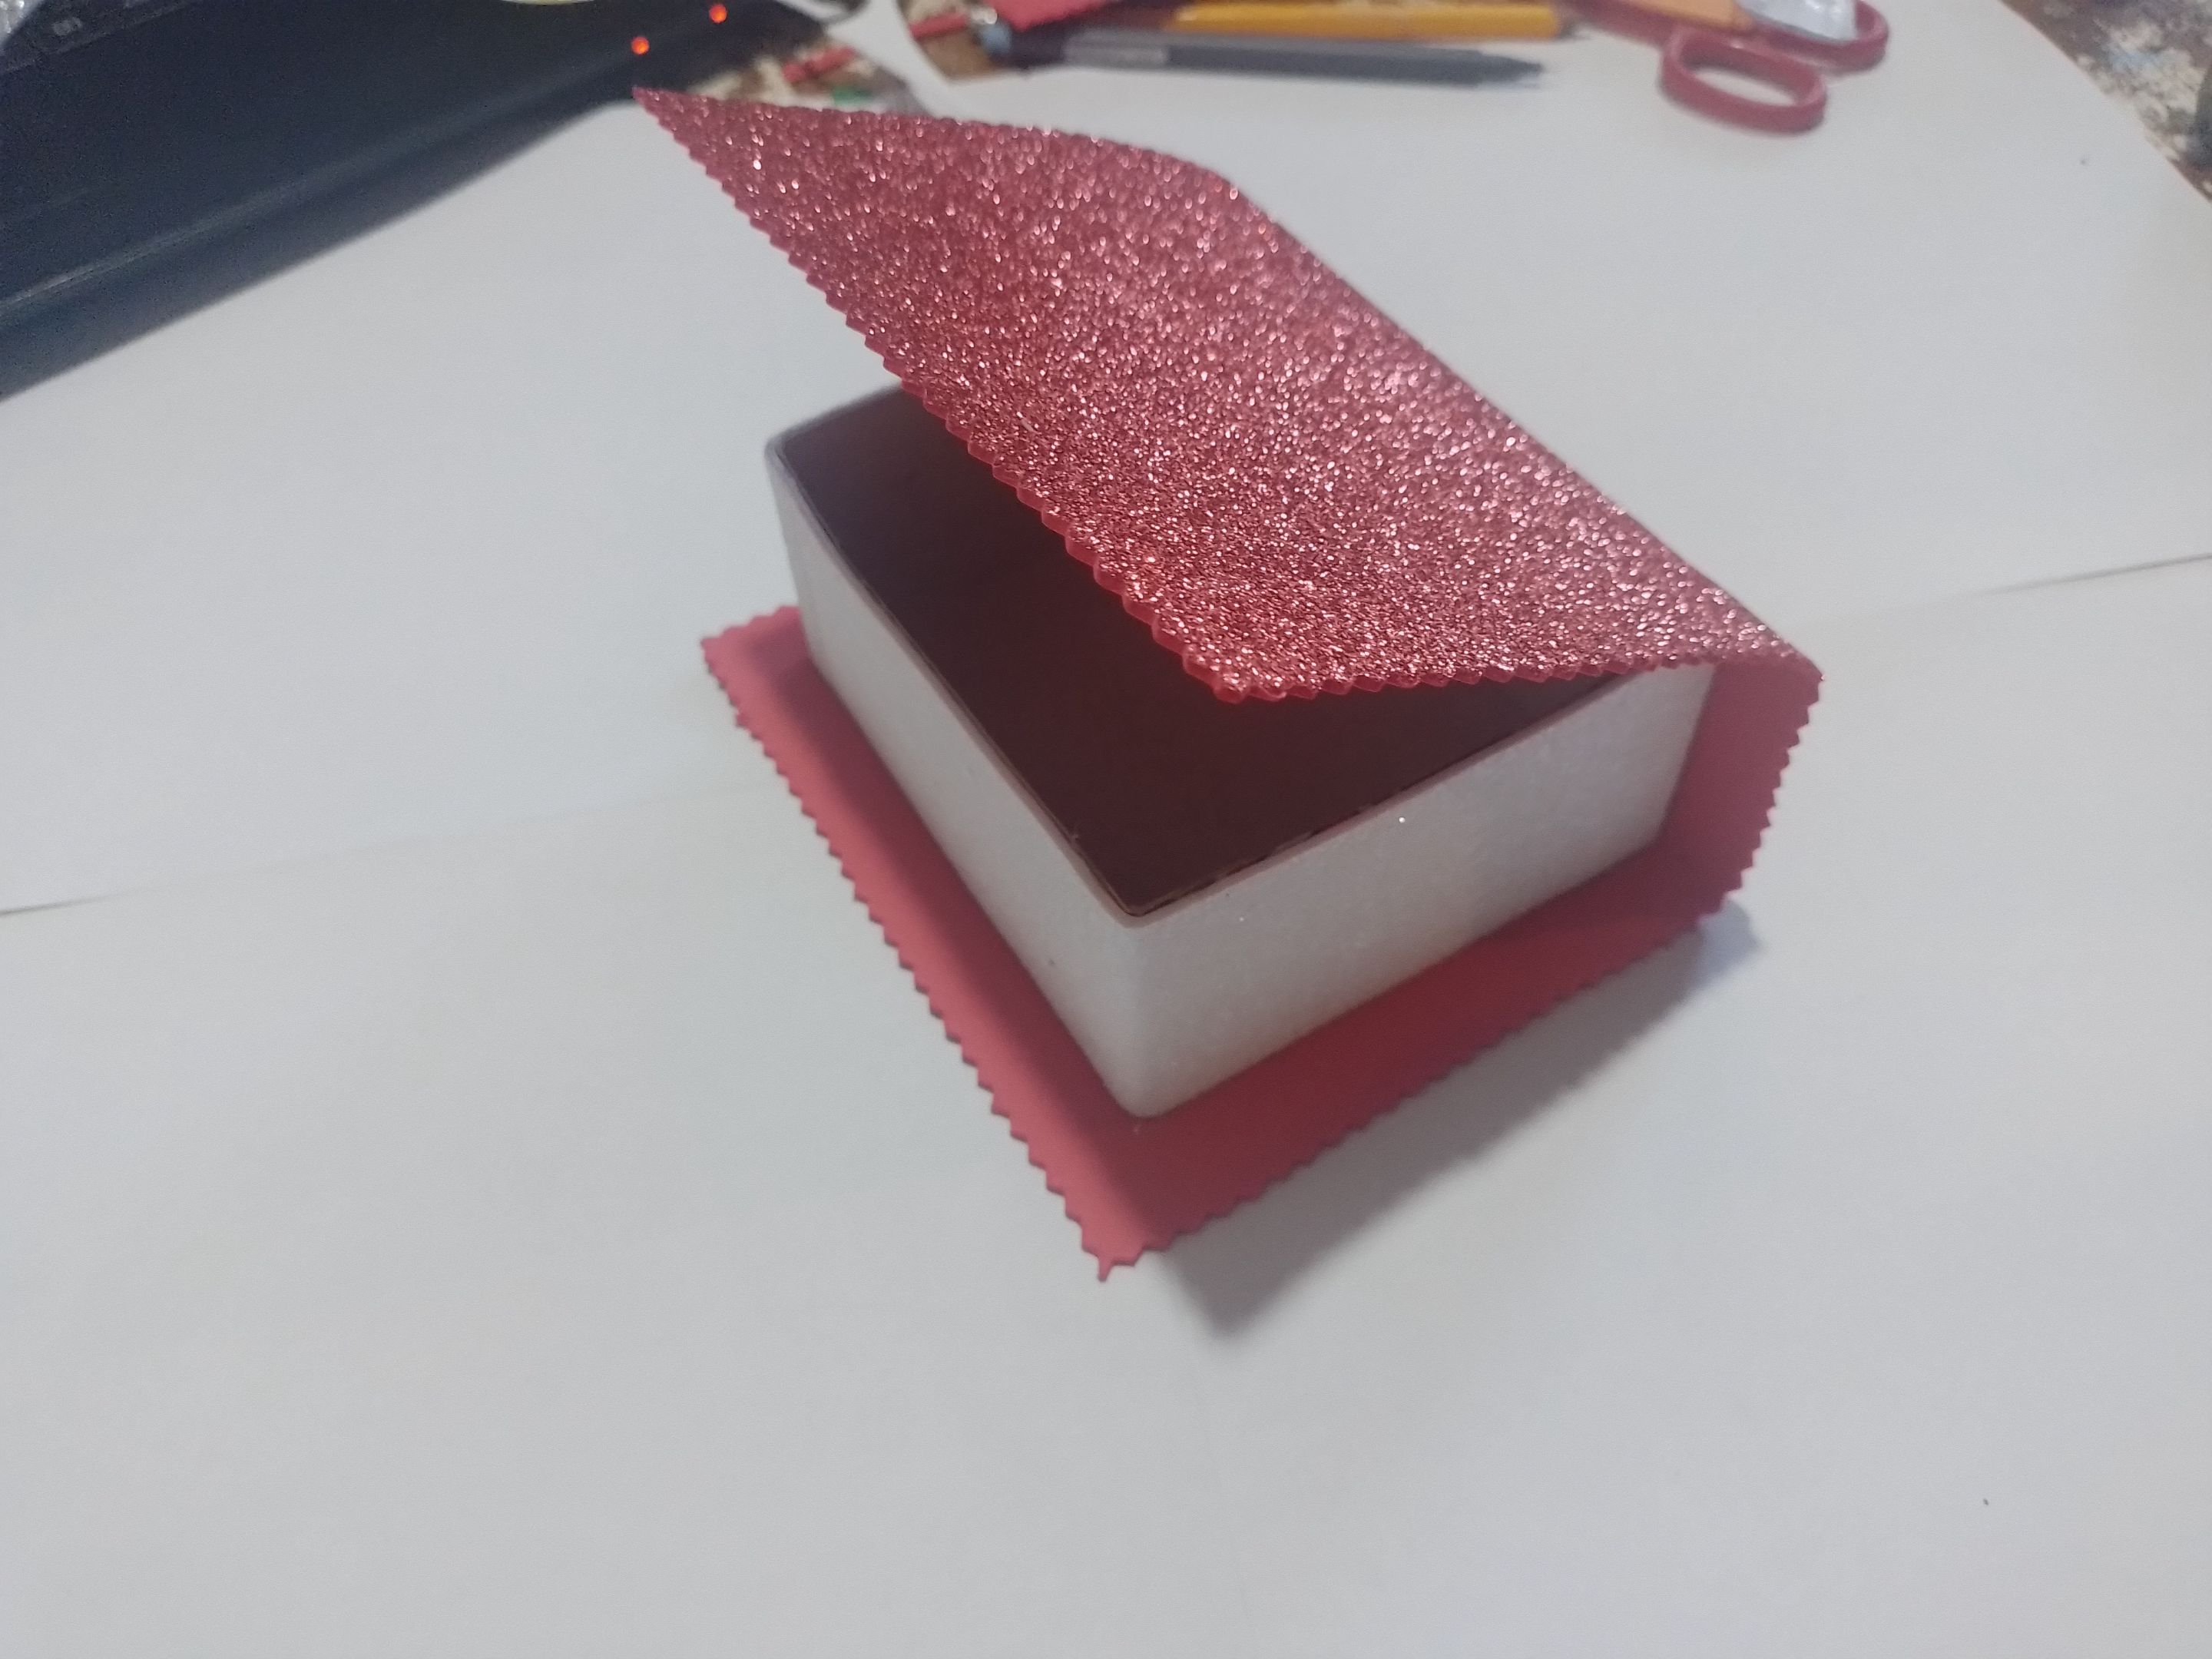
Step 4- Measure the rectangle more or less in half and glue the box in the shape of a book.
Paso 4- Medimos el rectángulo más meno por la mitad y pegamos la cajita en forma de un libro.
| https://files.peakd.com/file/peakd-hive/norychacon/EouACZhnNppLjbagBKBveBJZJkTWj7ro5kYS3GJGBjSEgpdQHZM1EN1uP5z6pdT9C9v.jpg | https://files.peakd.com/file/peakd-hive/norychacon/Eoc9UE5GBkbcmjpkyNLefcD8UY6Qrzrt5jUa4jYkyumn2QGch41Kq5orJze36qeFLyV.jpg |
Step 5- Then we cut out a smaller rectangle with the shape scissors.
Paso 5- Luego recortamos con la tijera de forma un rectángulo más pequeño.
| https://files.peakd.com/file/peakd-hive/norychacon/EowJ1L8HDjPP15o2shR46SUQE5UsbkG2kBRpwup2t7GohiGaKAZxwUXbKj5bg5Yv18e.jpg | https://files.peakd.com/file/peakd-hive/norychacon/EpGTC4nemtCau9jih2iRBwcNN8P5zkhncbEAi4xDbgw9pjQ1EiMk1T7Ee5WPUyne4sZ.jpg |
Step 6- We glue a piece of the smaller rectangle to the bottom of the box and fold it upwards, leaving an excess.
Paso 6- El rectángulo más pequeño lo pegamos un pedazo en la parte de abajo del cofre y lo doblamos hacia arriba, quedándonos un sobrante.
| https://files.peakd.com/file/peakd-hive/norychacon/EoyRthjSt6Dp3yLyriGZyfkYPM7nbnxkUQLVo6GMp1szH12DLUpXC5vtzCyZUrXUCnk.jpg | https://files.peakd.com/file/peakd-hive/norychacon/EoAcgzMKkgDYHrrMiKiZ2KP3dzLBGQ2JmUKDCKQUD6mKX6qwH2KKxWjatBTEioE8Ed2.jpg |
Step 7- We cut another rectangle again, but even smaller, but this time with the normal scissors.
Paso 7- Volvemos a recortar otro rectángulo, pero aún mas pequeño, pero está con la tijera normal.
| https://files.peakd.com/file/peakd-hive/norychacon/EonnvoyFWokFDeAzN1FBVXQFy2tqhrguYJVSTThPigiswZBHFZgsdCbJ5MwzNkv1XcX.jpg | https://files.peakd.com/file/peakd-hive/norychacon/Eq11BvStDj1j3U2rH7zChcDuFhJxBgCZhcqbn5c8Aq1pw8UxGQSCp2NPpKLz76FCGwe.jpg | https://files.peakd.com/file/peakd-hive/norychacon/EpVE1hPZ84FZpvJN62kiZSyS4nebHqPASCwQBsCXf6YJMwfw1as6fdceforgoUAkh87.jpg |
Step 8- We glue that piece of fomi on the top, leaving the middle without silicone so that the piece cut out before enters into this and we whistle closure.
Paso 8- Pegamos ese trozo de fomi en la parte de arriba, dejando el medio sin silicona para que el trozo antes recortado entre en este y nos silba de cierre.
| https://files.peakd.com/file/peakd-hive/norychacon/EoyRQXqVki21Eb8FDrLC8bxGAwY7t6yZYVbBb5VSyAGVv1XGsg68vPAgtFqefHg7YVb.jpg | https://files.peakd.com/file/peakd-hive/norychacon/EpGTYhTLepTuJdF9pYcEcN3RPzWZV4PV4ZHVjk9WH7iqrSK59ybUcBGA9eQbMFgCVVA.jpg | https://files.peakd.com/file/peakd-hive/norychacon/EpVEUzHmwgdfPRYz8Yx3ATJs7rKi6CftYBDAdHqGp9rPJuHxh5TbbaoaiUgEQVNLu1B.jpg |
Step 9- And finally, to decorate it, we glued three little flowers on the top of the closure to make it look pretty.
Paso 9- Y por último, para decorarla, le pegamos tres florecitas en la parte de arriba del cierre para que este quede bonito.
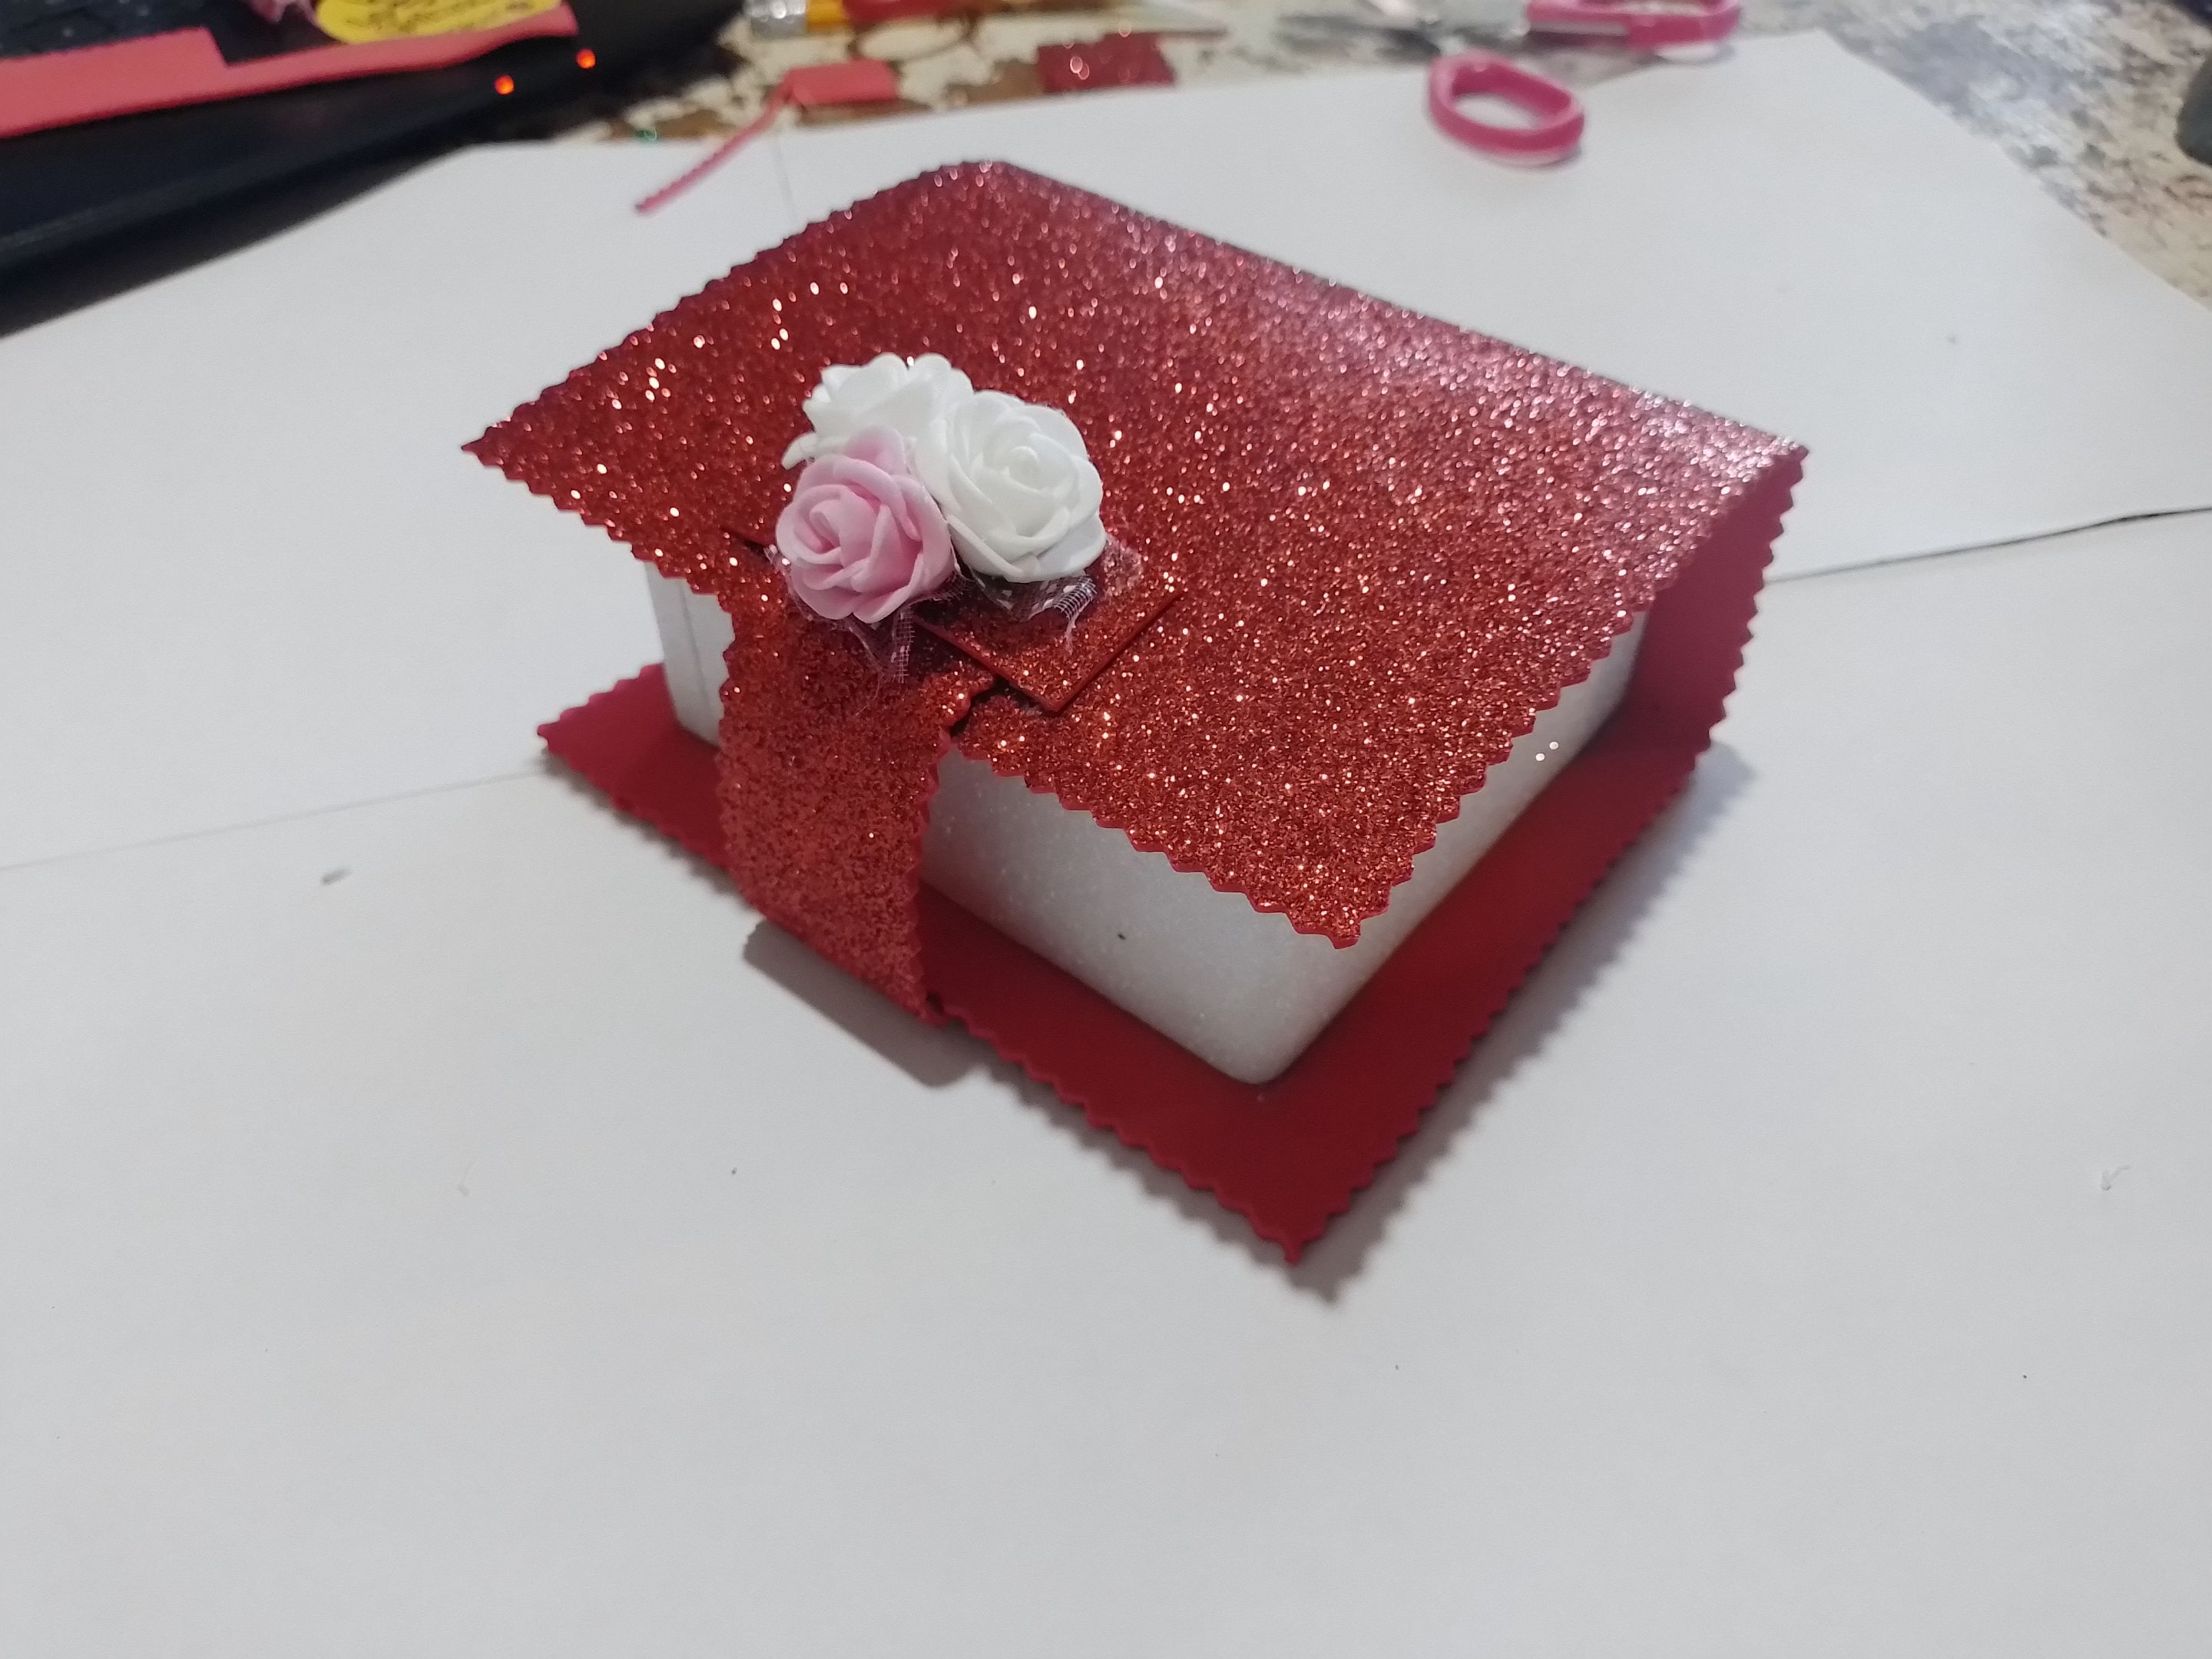
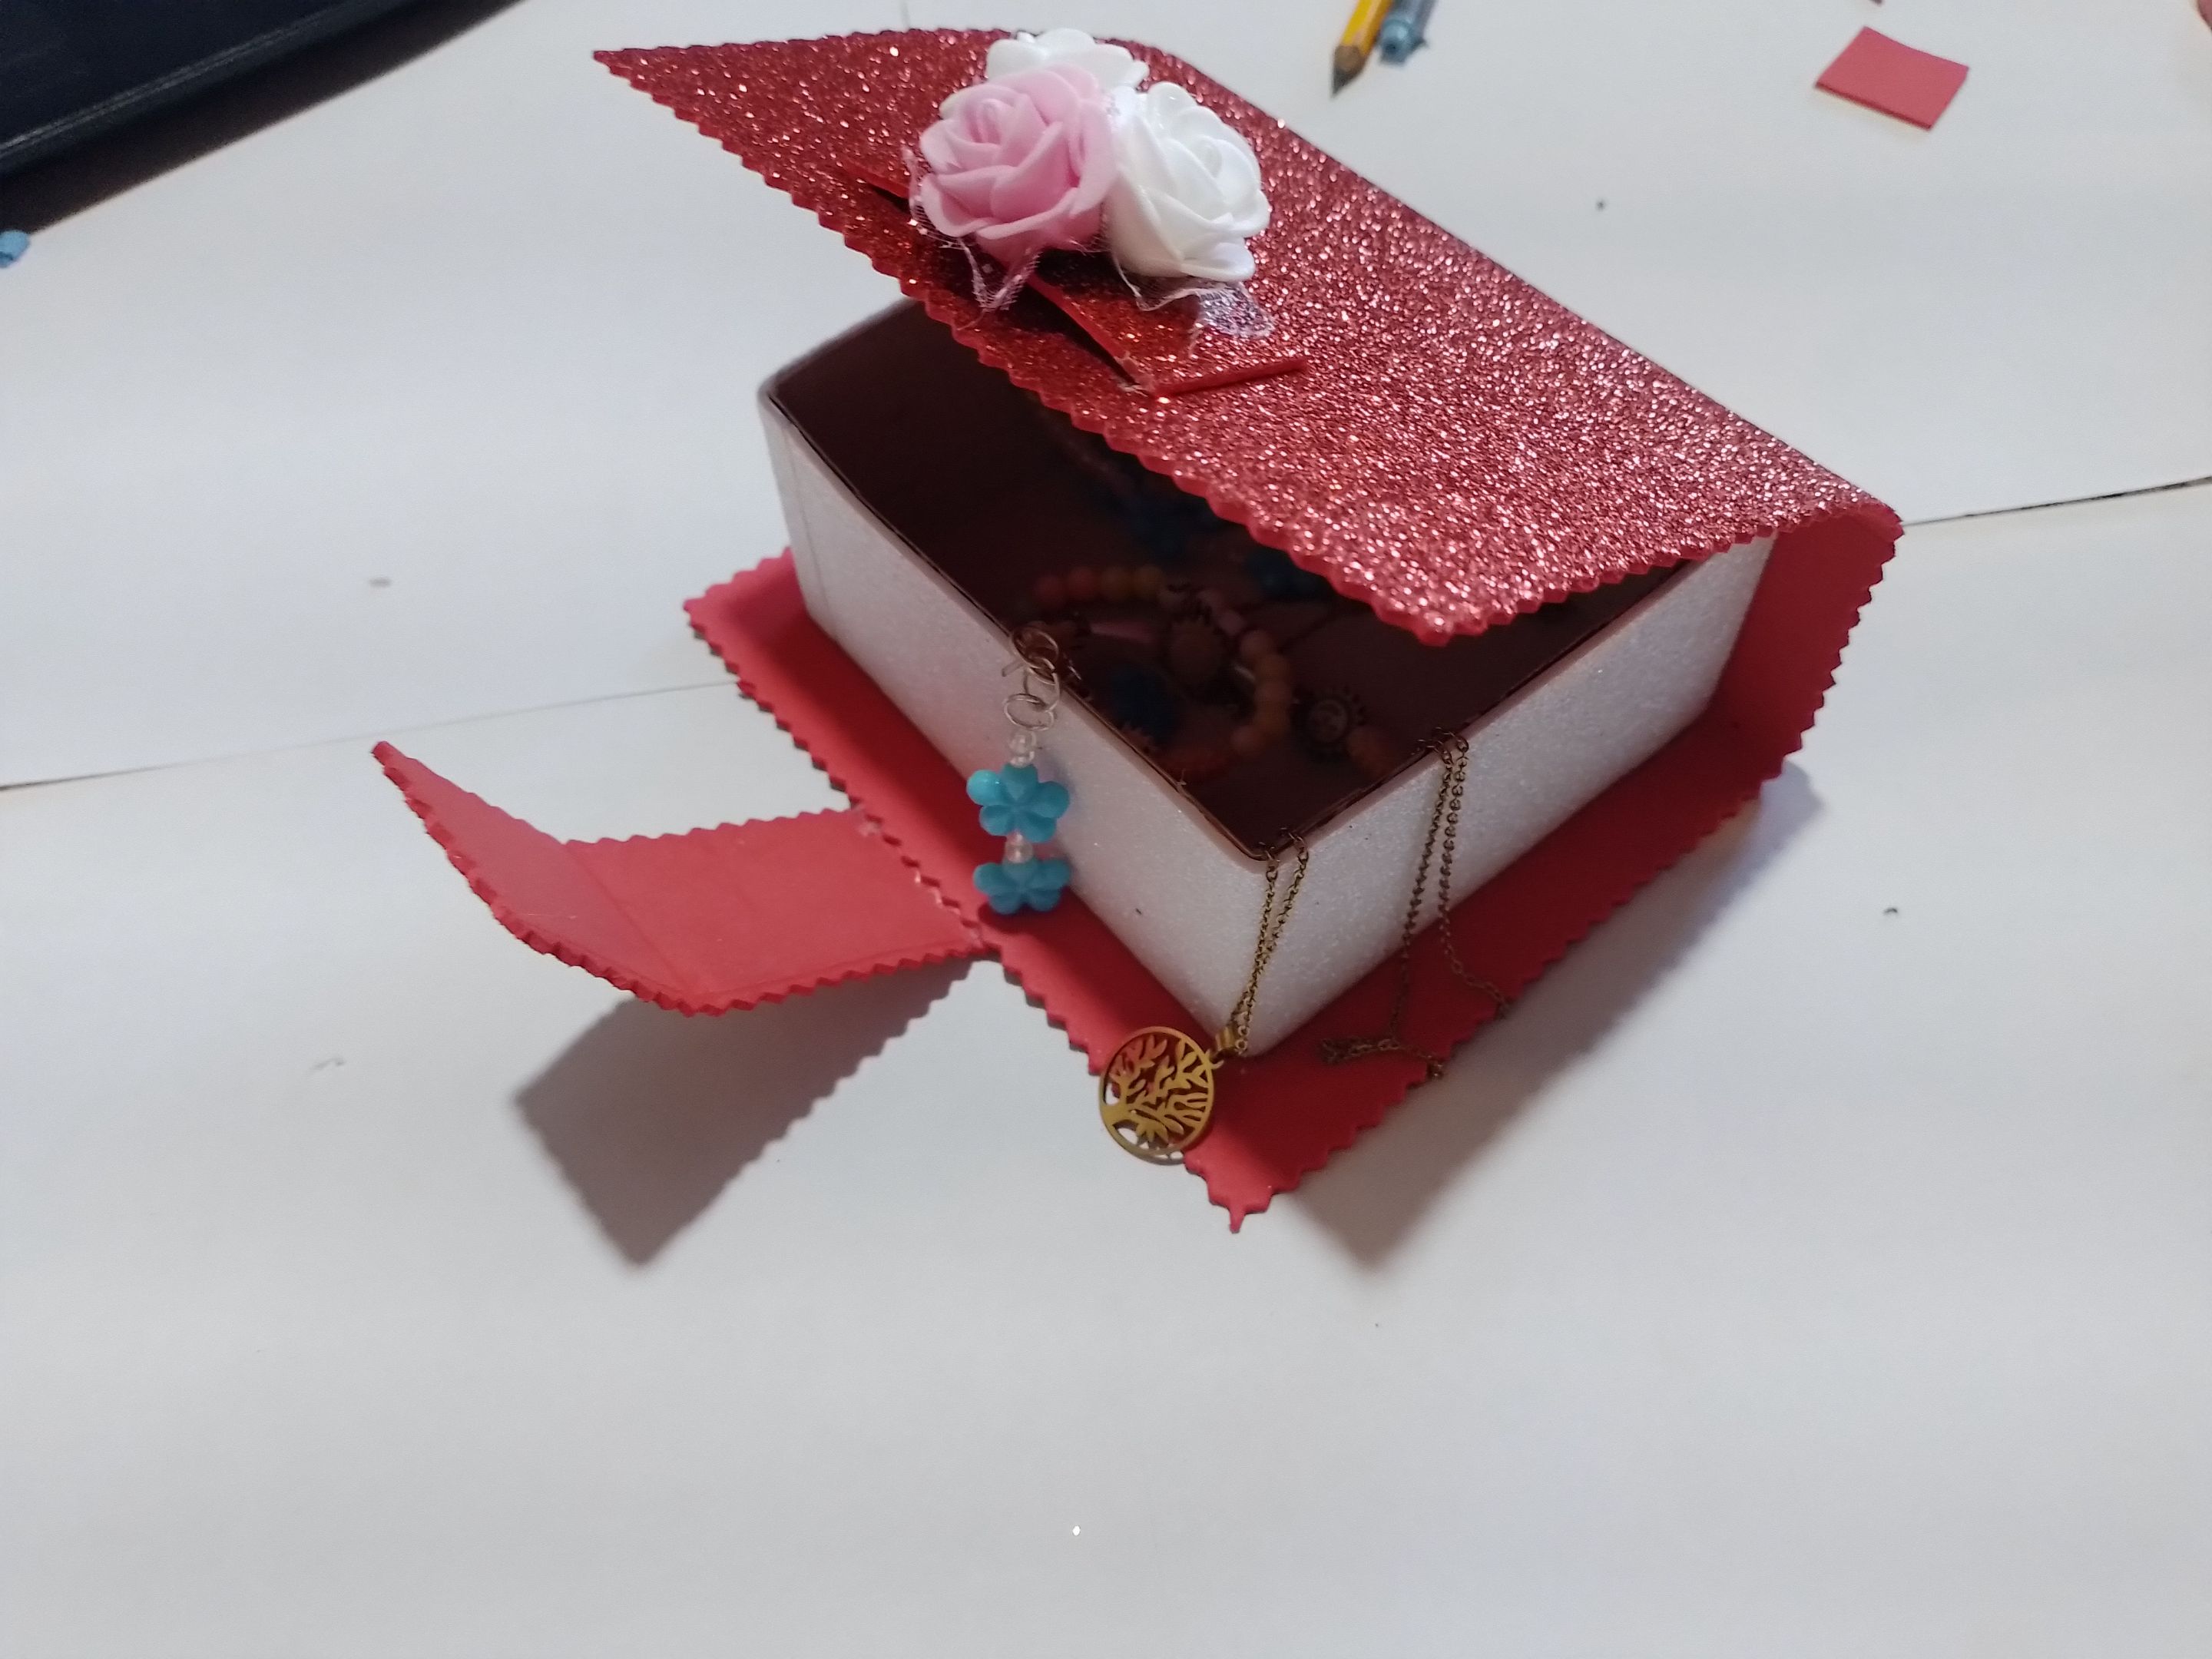
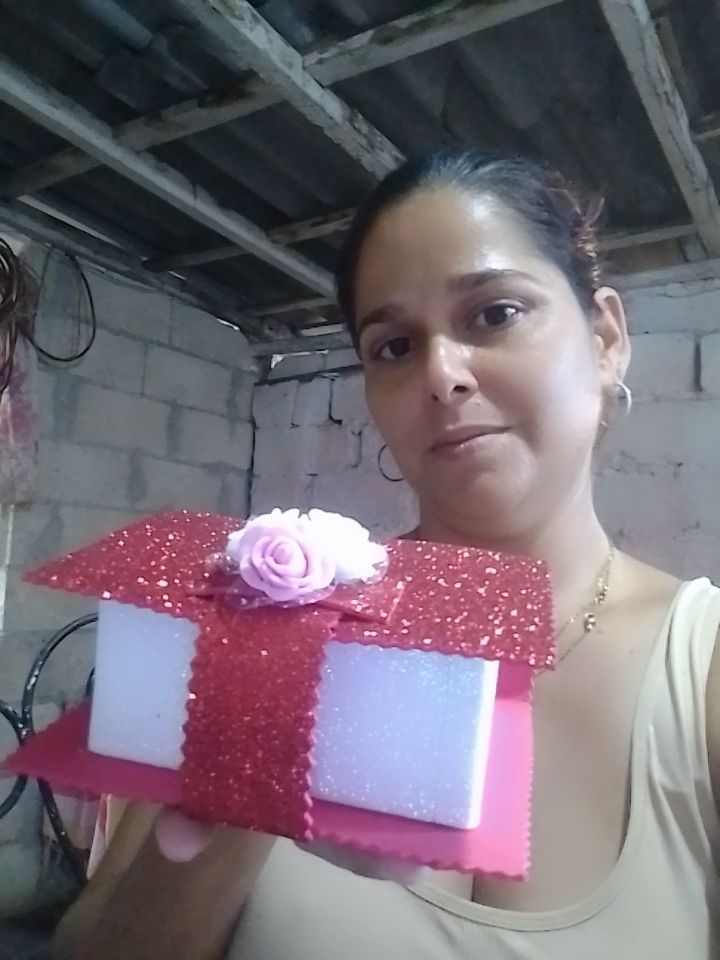
So we got the chest, I hope you liked it and give you new ideas in your creations.
Así nos quedó el cofre, espero que les haya gustado y les den nuevas ideas en sus creaciones.
Photos of my property taken with the phone Cover made in Canva Translated by DeepL