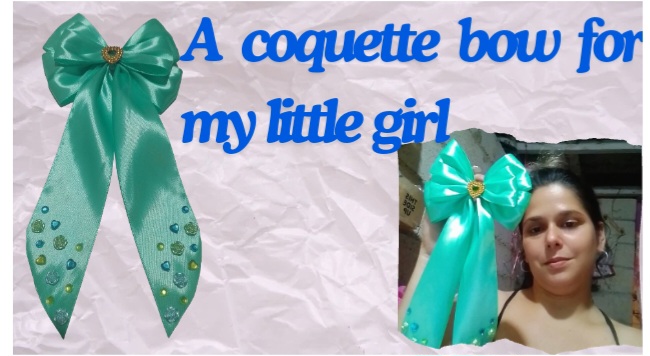
Hello creative friends, as always I like to make hair ornaments for my girls and they love it and they are very happy.
Hola amigos creativos, como siempre me gusta hacerle adornos para el pelo a mis niñas y a ellas les encanta y se ponen muy contentas.
Previously I had made a headband for my little girl, now it's time to make something nice for my other little girl and since she loves bows I wanted to make her a coquette bow and she loved the idea.
Anteriormente le había hecho un cintillo a mi niña pequeña ahora le toca hacerle algo bien bonita a mi otra niña y ya q a ella le gusta mucho los lazos le quise hacer un lazo coquette y a ella le encantó la idea.
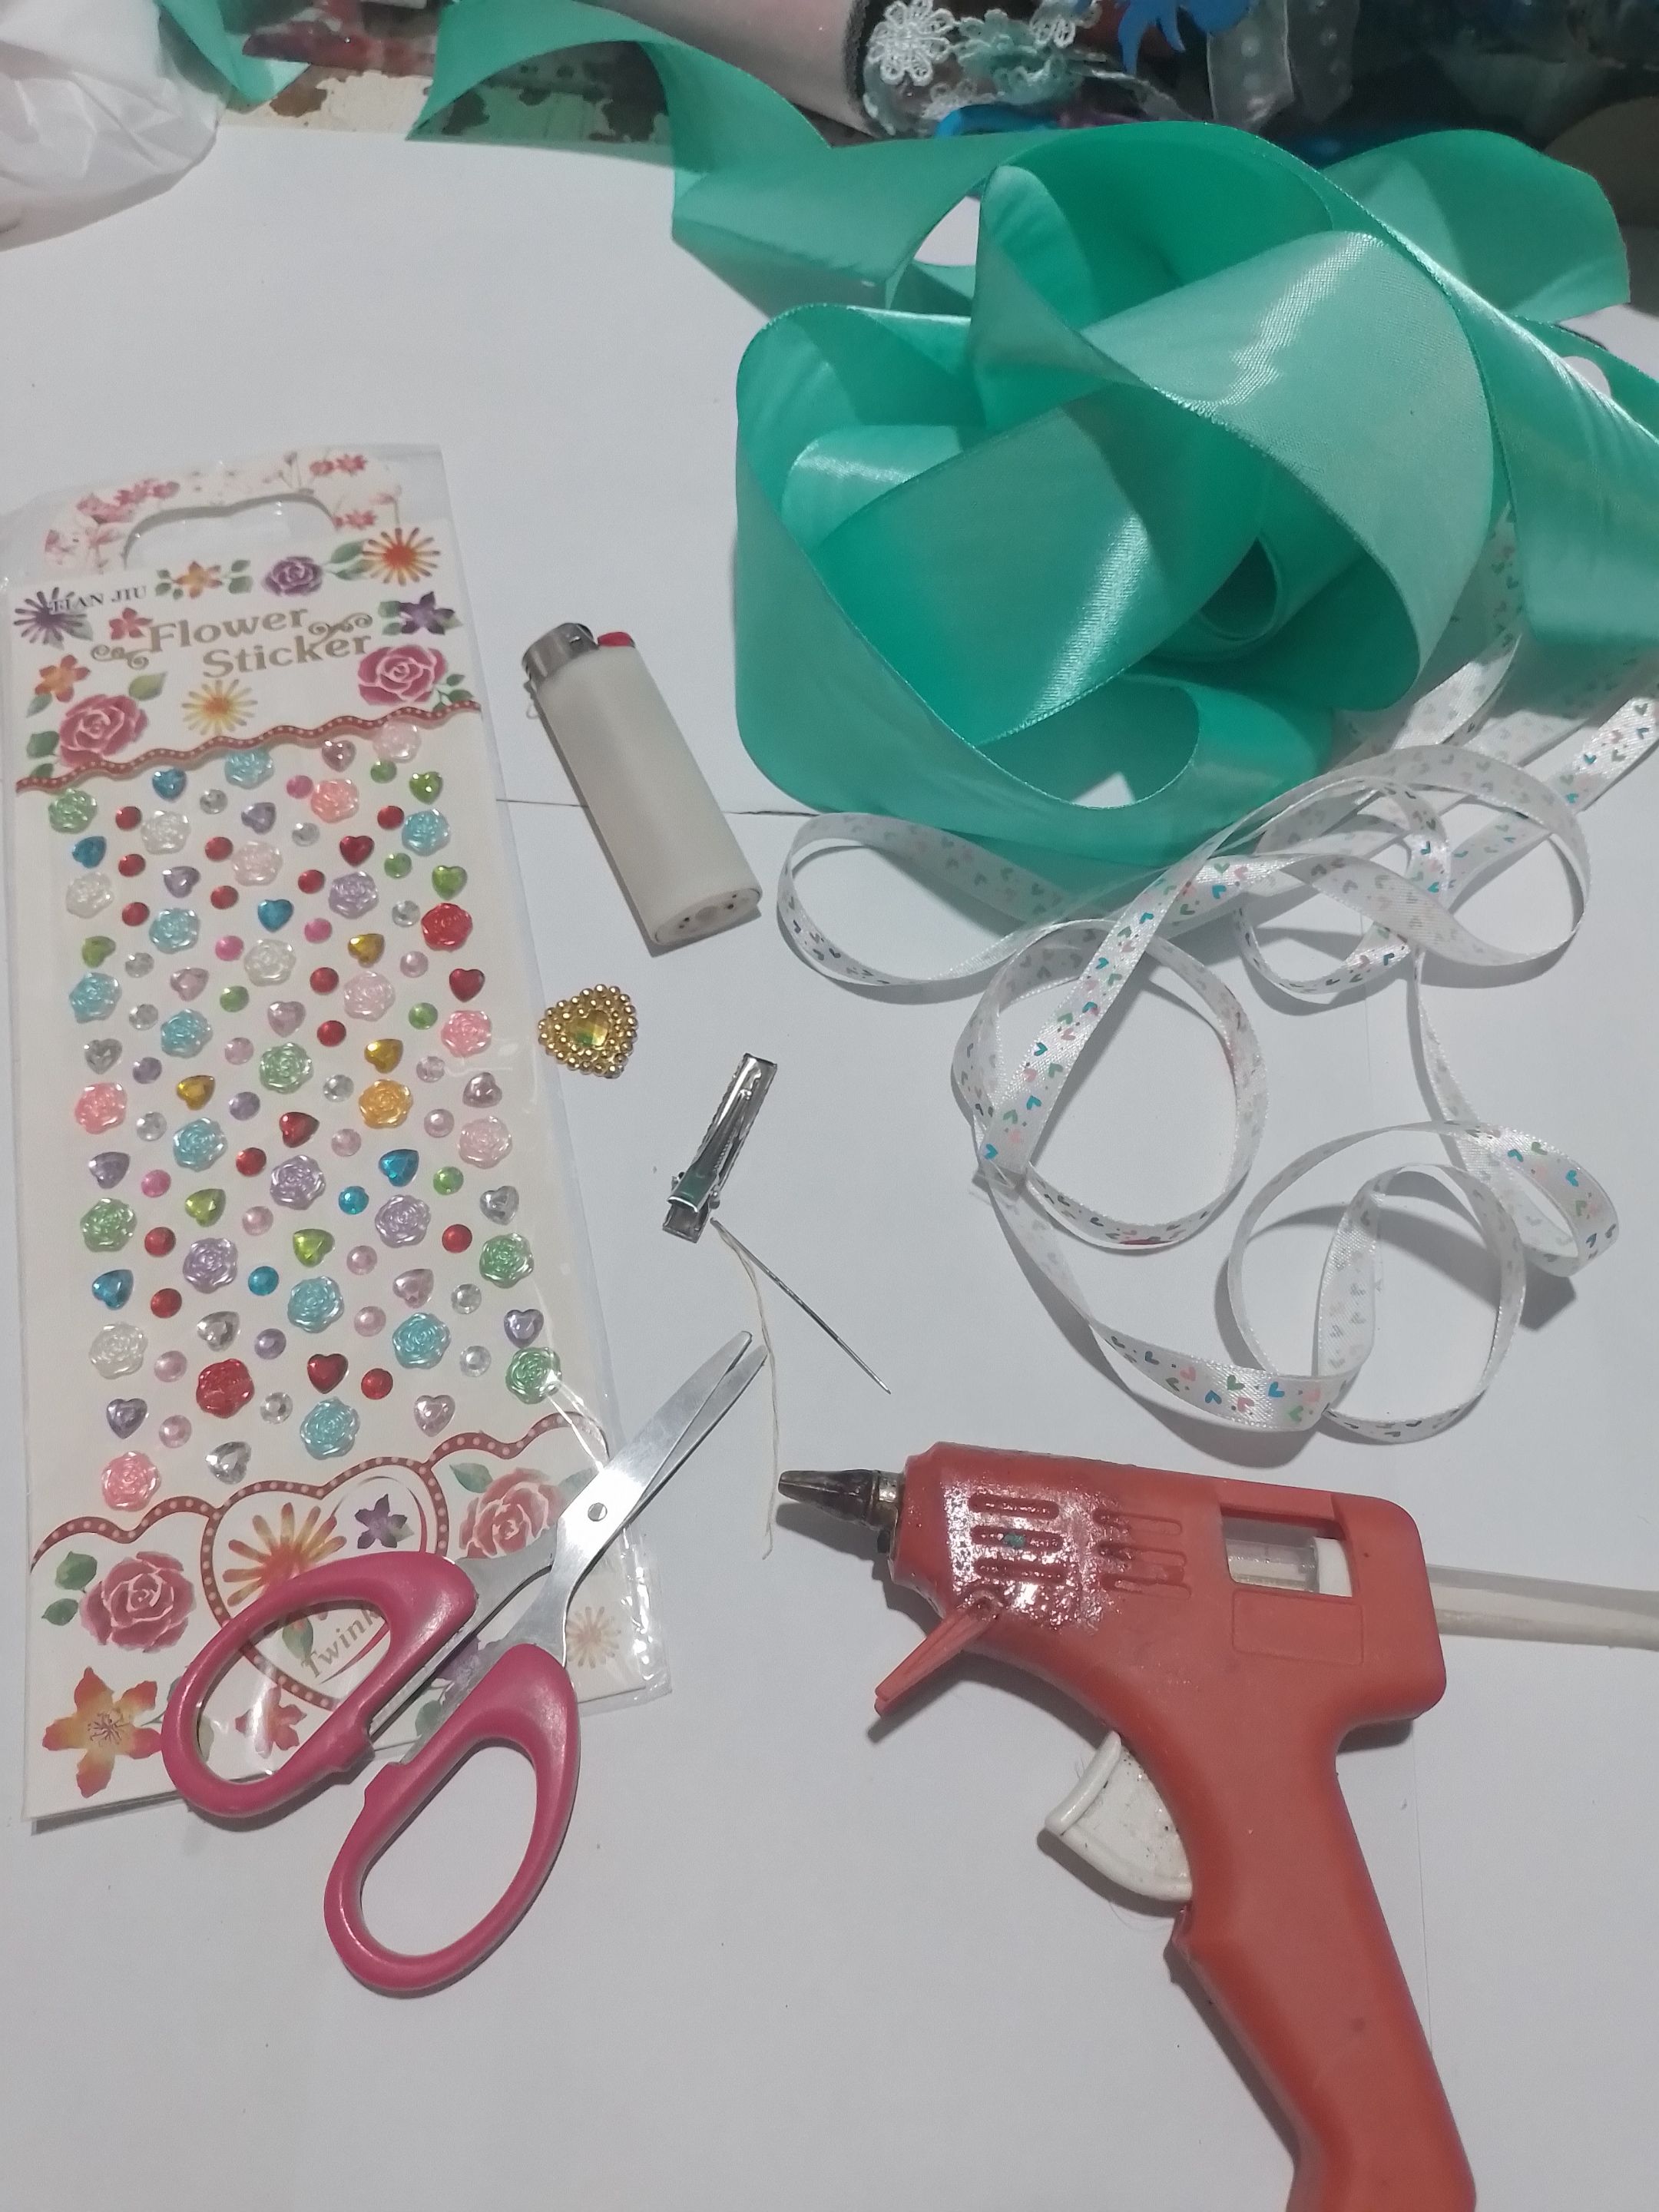
- 5 cm satin ribbon
- 1 cm thin satin ribbon
- Silicone gun
- Silicone sticks
- Scissors
- Hand needle
- Phosphor
- A buckle
- A heart center
- Beads
- Cinta de satín de 5 cm
- Cinta de satín fina de 1 cm
- Pistola de silicona
- Barras de silicona
- Tijera
- Aguja de mano
- Fosforera
- Una ebilla
- Un centro de corazón
- Perlas
| https://files.peakd.com/file/peakd-hive/norychacon/23xAY3Szy7mA4ZQPNBy3H3rZbKf2xiDGsuPvE9Ng9bwu16WUwLn4Qd9Broddivhym8mjn.jpg | 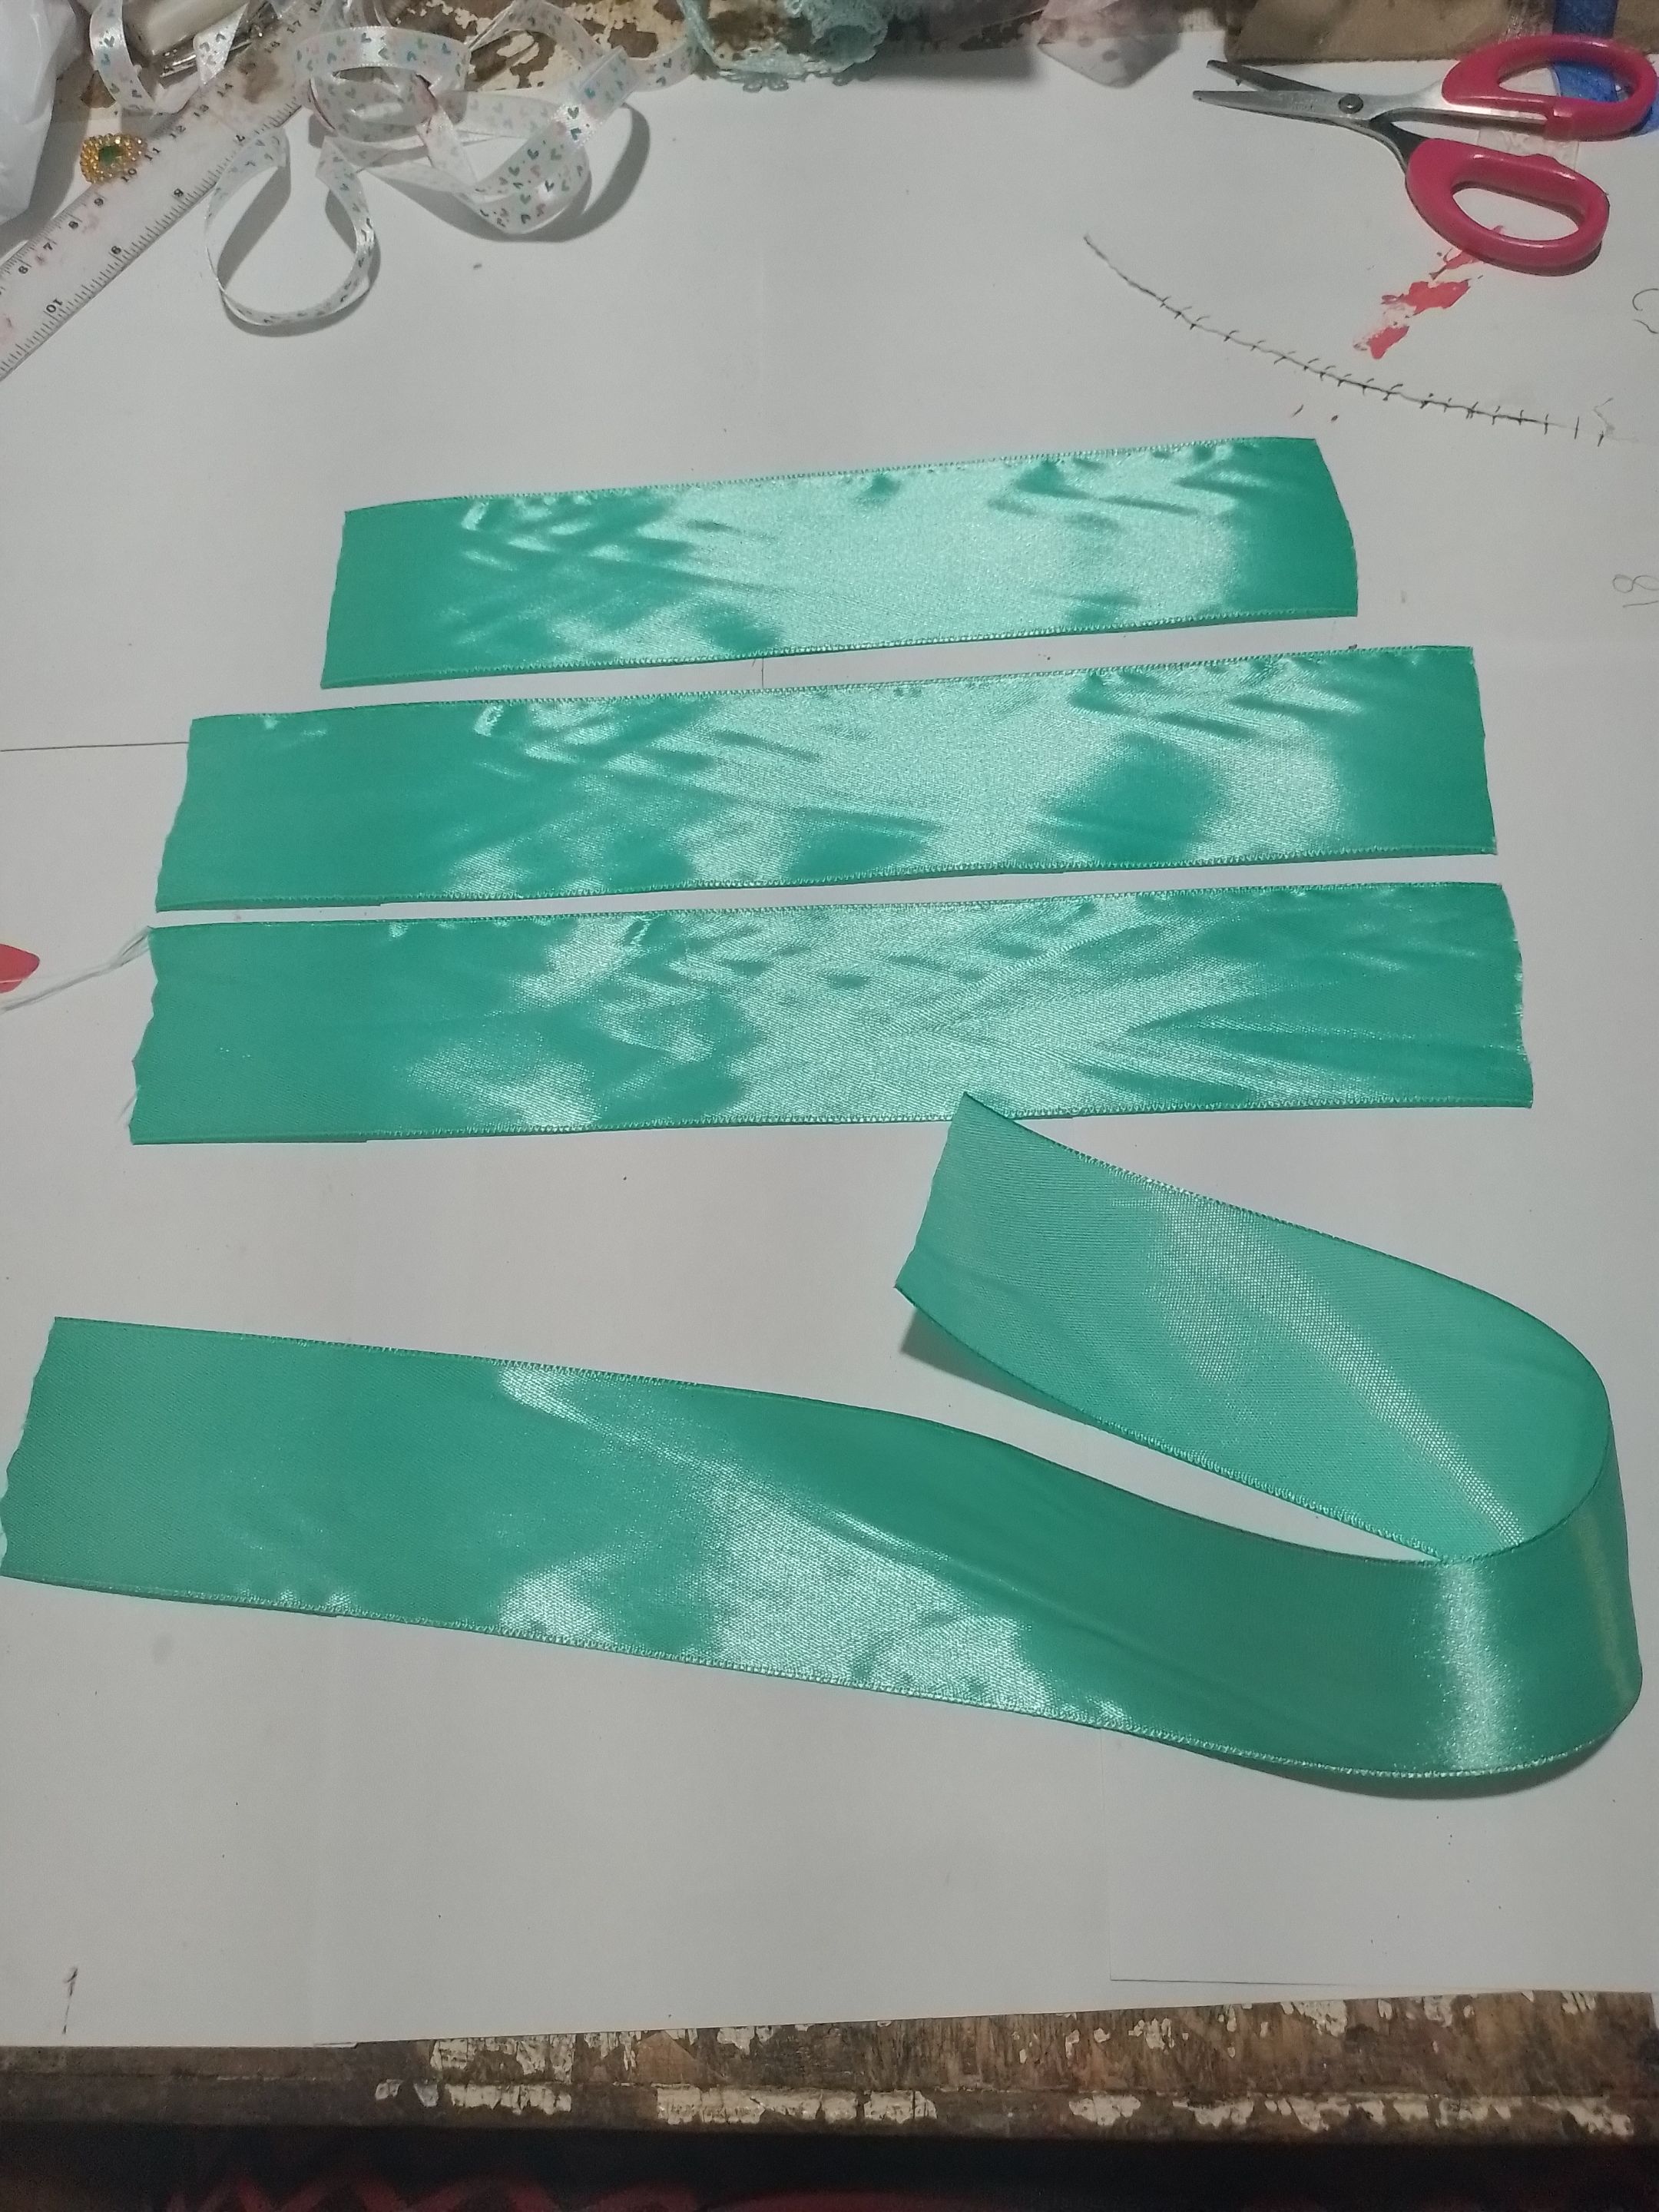 |
Step 1- First we cut two pieces of satin ribbon of 30 cm, one piece of 40 cm, and one of 24 cm and burn the ends with the phosphor.
Paso 1- Primeramente recortamos dos trozos de cinta de satín de 30 cm, un trozo de 40 cm, y uno de 24 cm y le quemamos las puntas con la fosforera.
| https://files.peakd.com/file/peakd-hive/norychacon/EpA3yHLy7FtmueYqyWCfFigmxjYakqDKqEdH2YTWZcXhNU53fZU9BQ8DuL2cdhNqd14.jpg | https://files.peakd.com/file/peakd-hive/norychacon/EopuMSPM8i2waxZGz8J4ZadjEuy2f3MEyBVkoZuZ3g26rXdtzM6CqzmXgJQS9QyGJvP.jpg | https://files.peakd.com/file/peakd-hive/norychacon/EoptrBmZ84xEvnSbwWCPr84mQGmos21zhTa42fatADhX5wNKA27Qdatfxxr4RzJR5bs.jpg |
Step 2- The two pieces of 30 cm are joined in half after opening the ends together and forming a loop.
Paso 2- Los dos trozos de 30 cm los unimos por la mitad después de aberlos unidos las puntas y formado un lazo.
| https://files.peakd.com/file/peakd-hive/norychacon/EopuQAbJYT1ZzHFdmvaYPtVw1nuDa87UpSzDW8w3Ea7jSTJ6Fy4XPQ1hEnH3xN3HWH6.jpg | https://files.peakd.com/file/peakd-hive/norychacon/EoCjzcScRT4Z8xr3zyAoYd5YH43etaBHUsswJ28NAoppkqQFWN2qiL3RQtaHToyBXyk.jpg |
Step 3- Then we make the 24 cm ribbon into a smaller loop.
Paso 3- Después la cinta de 24 cm la haceemos en forma de un lazo más pequeño.
| https://files.peakd.com/file/peakd-hive/norychacon/Eou8JvuFqYHSTCRdtQRt5dEn3xX4Pt8mvigKDa6jqTYGZ5Lv8fTyoi18m3a4HeWArwy.jpg | https://files.peakd.com/file/peakd-hive/norychacon/EoiY4cieUZeAaT4rhHrSwv3wEDLnPSnynZcYMsJLriUeGrfmjUuZ65ewjb8AoyTbbtV.jpg |
Step 4- The 40 cm sine is joined with the largest loop.
Paso 4- La sinta de 40 cm la unimos con el lazo más grande.
| https://files.peakd.com/file/peakd-hive/norychacon/23xyZT5BQxTkid3zMGSzTgzWorSimZezoqZpgbA94Ju3AEe4jKbq3MkFJovXXBYMEHD5G.jpg | https://files.peakd.com/file/peakd-hive/norychacon/23y8vFVBtckFyqGNB4HpTPWRj83uTafjPXn18pwYKiMdCPqSKbGvyYtqDUVAb19EjBSBS.jpg |
Step 5- The small ribbon is glued on top of the two ribbons that were previously joined.
Paso 5- El lazo pequeño lo pegamos encima de los dos lazos que habiamos unidos anteriormente.
| https://files.peakd.com/file/peakd-hive/norychacon/23vi3k4NCqDjpT6nMXJnk2kcxyjTVFPXQvnEk1NXeG5KzCtpudWhiEV6YQ7bbNXQxg1dd.jpg | https://files.peakd.com/file/peakd-hive/norychacon/23wCCA91P6gjmvmPG1qfJA1BvcmLYBPGF2Ej43eSr6vPte7BEhkgm6JQGLmdq1ogsTopt.jpg |
| https://files.peakd.com/file/peakd-hive/norychacon/23vi1xzYULibf6BQsoV8yLMM3vY8QuDXSjXxxtqwWMY2qrXPxxWBVRvBQfKgerrPP2aCB.jpg | https://files.peakd.com/file/peakd-hive/norychacon/23w2qVRt6u8WBjZYNNgBCMDtagbJ9PZXWHMRwnQ9324TxyZFPm9K7Lyv59mmQBSWi3Atd.jpg |
Step 6- With the scissors we make a nice shape to the tips of the ribbon and we burn them with the phosphorous.
Paso 6- Con la tijera le hacemos una forma bonita a las punta del lazo y las quemamos con la fosforera.
| https://files.peakd.com/file/peakd-hive/norychacon/23wqnxTHxH5kVXfkxEqS3qGbeUL5GMCq5hYjyoaNn66mQZGtWt7UL1J34vLbuSGa3Ntz5.jpg | https://files.peakd.com/file/peakd-hive/norychacon/23wWy7iDPEFxpfomitguiJpJGmHyRS7epVseaCZPP1Ng5EBBbuKZKNkarWdCXp2GwZoQy.jpg | https://files.peakd.com/file/peakd-hive/norychacon/23x16pCKDUw1zVAQ5CBTVwK94h2kxVk82p3BQ7HuoePhGhTvp69aUVRt3dBuajqBaiLqX.jpg |
Step 7- with the fine screwdriver we join the loop in the center of the loop with the buckle, gluing it with the silicone gun.
Paso 7- Con la sinta fina unimos por el centro el lazo con la ebilla pegandola con la pistola de silicona
| https://files.peakd.com/file/peakd-hive/norychacon/23xVMbxGaZa5viJs67mgJyLerz1D9u5UKb73bwjG2RxwZ97Tm2BK1G9K5SXNSvk9D7LDF.jpg | https://files.peakd.com/file/peakd-hive/norychacon/23wX1UZNog4CsCdRWGyewuqWZfHaWMPuHsx6HTeUNxMdZNXfZia7isjkeHJ9TJNhjBfTv.jpg |
Step 8- Glue the heart-shaped center.
Paso 8- Le pegamos el centro en forma de corazón.
| https://files.peakd.com/file/peakd-hive/norychacon/23uFXnN61qcRvfGbPRRDuGpacbHWEt6D8AErr6u1axtezHR6jc1cHJhuG8SoGNDfUSocf.jpg | https://files.peakd.com/file/peakd-hive/norychacon/23wgMz6DdkrjxxU57teSBHzo75niwR7VW3fJXXdUBMfVr8CbbfXBsWEhganGMZ3CmRjos.jpg |
Step 9- Finally with the pearls we decorate the ends of the ribbon in the way you like the most, I did it with flowers and medium pearls.
Paso 9- Por último con las perlas decoramos las puntas del lazo de la forma que más le guste yo lo hice con flores y perlas medianas.
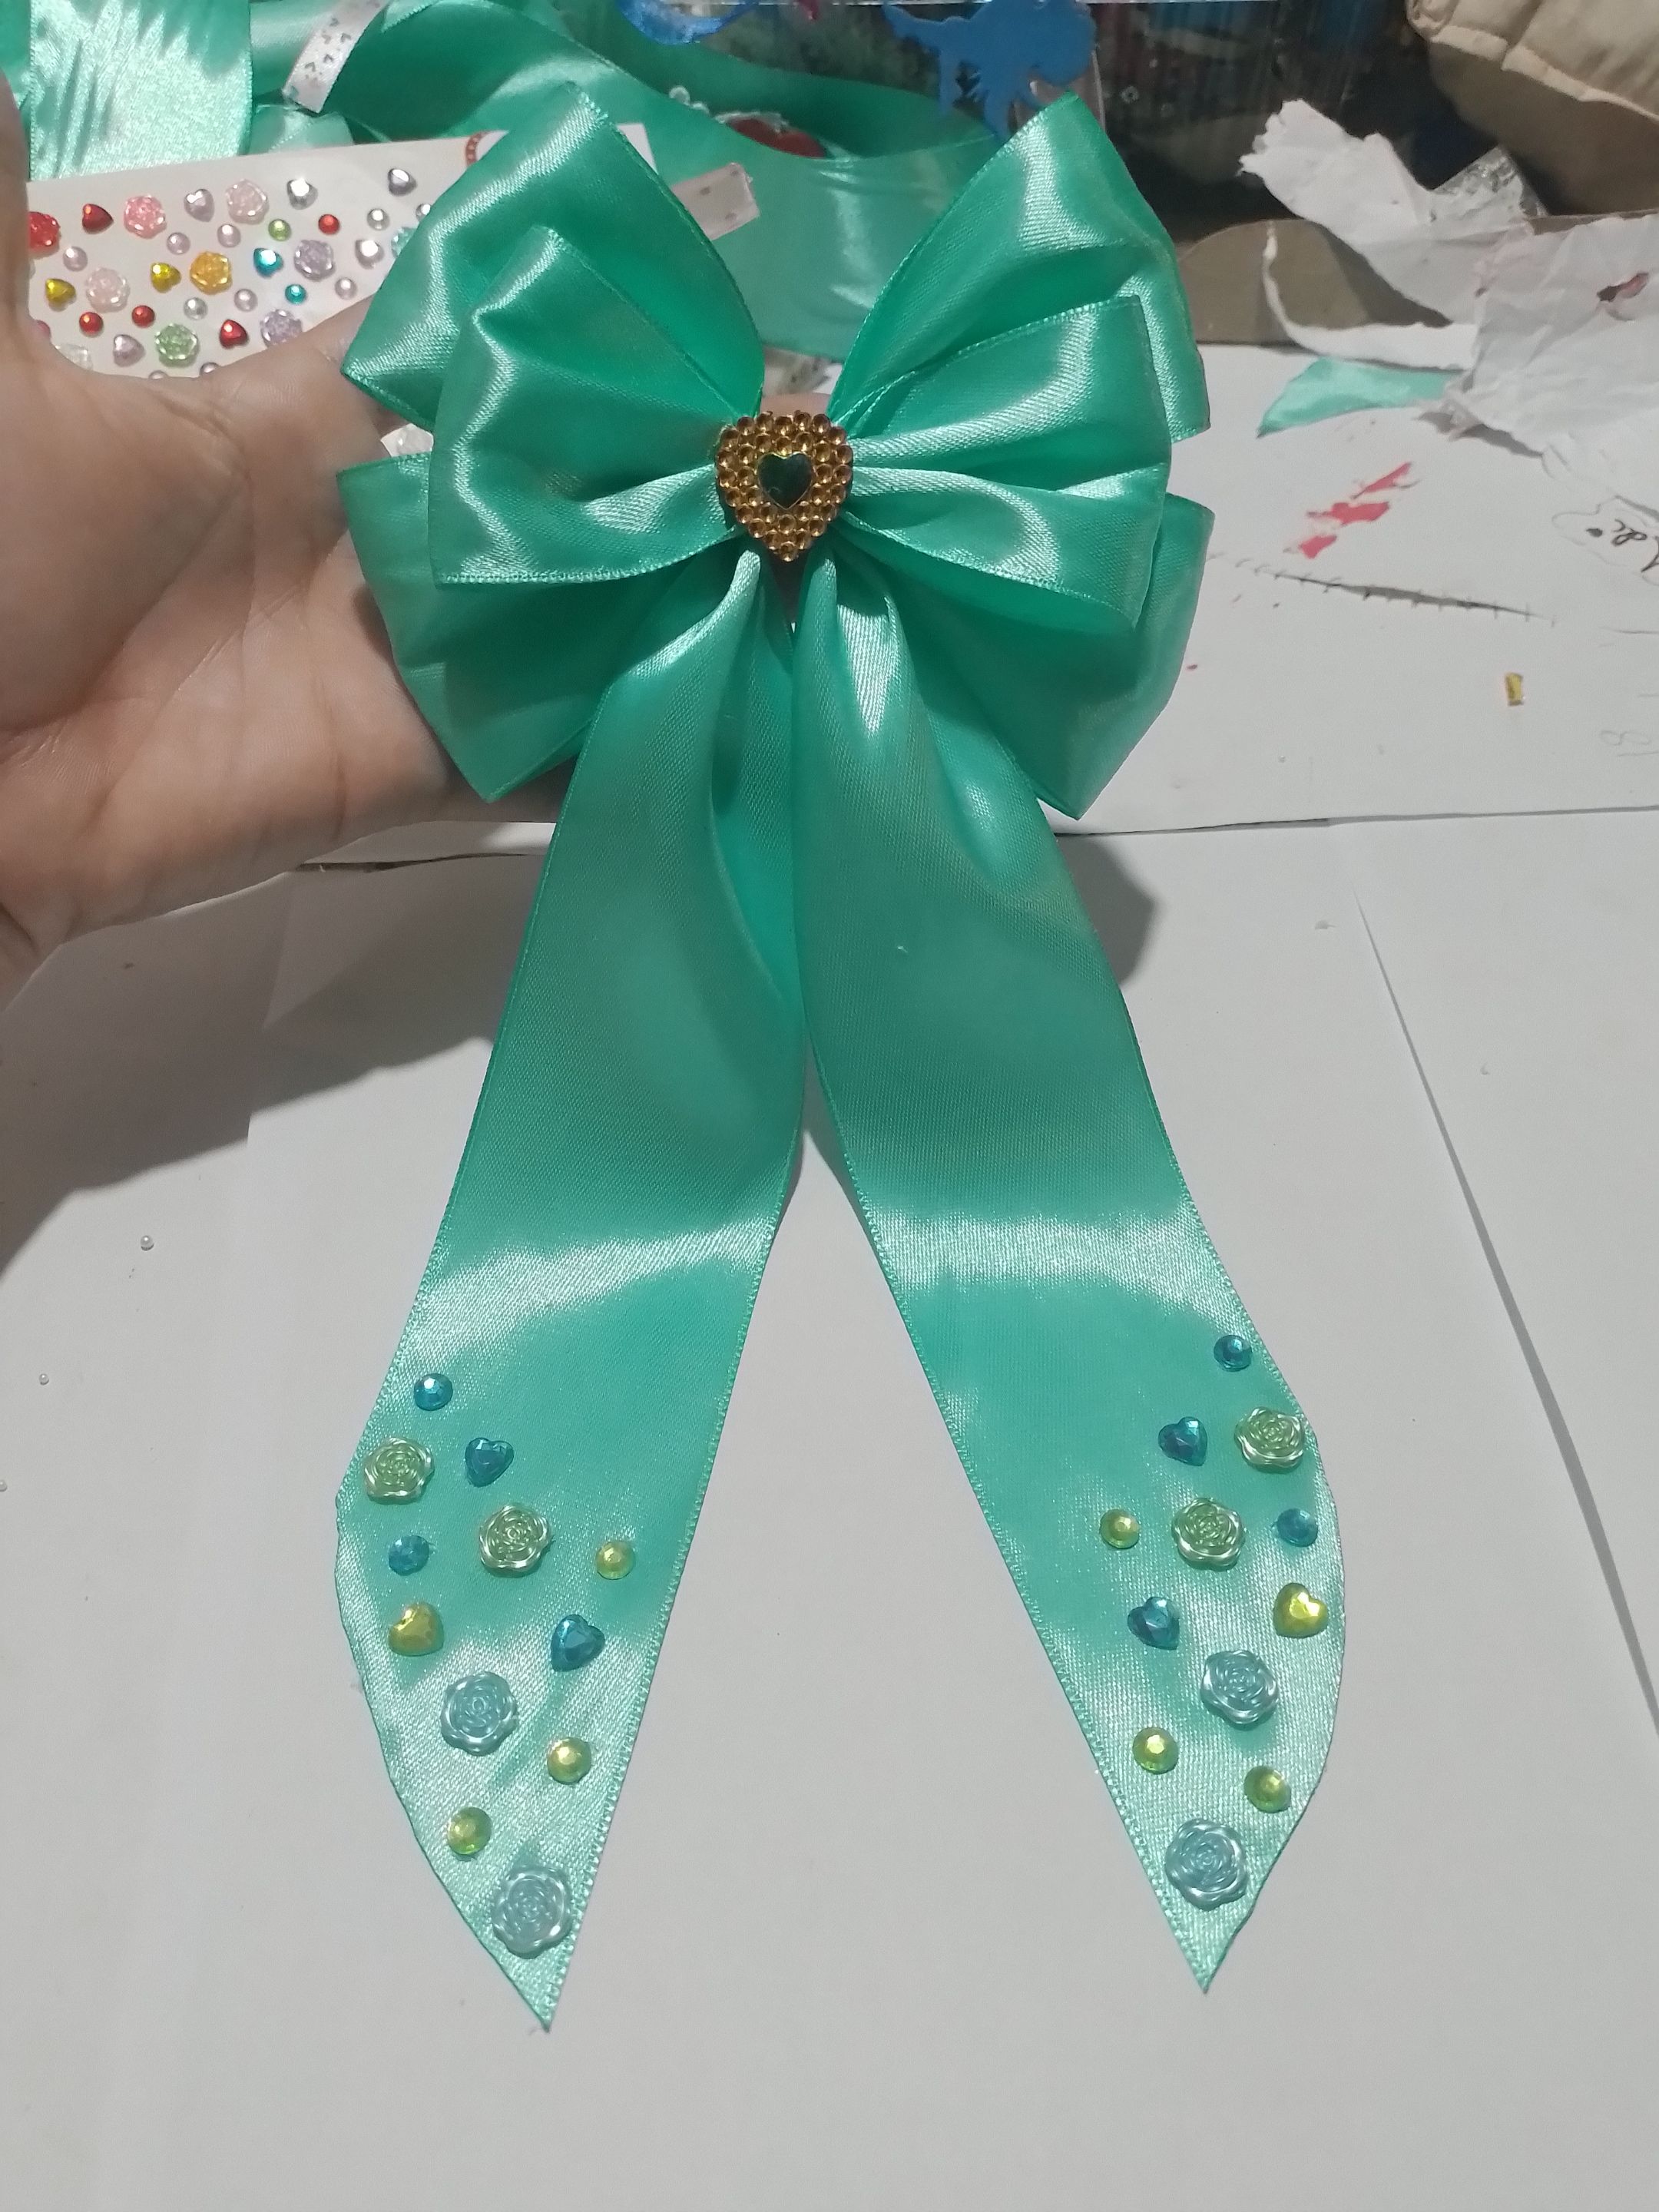

And this is how we got this beautiful coquette bow, I hope you like it.
Y así nos quedó este bello lazo coquette espero les guste.
Photos of my property taken with the phone Cover made in Canva Translated by DeepL