
Hello creative friends, a client wanted to give a detail to a friend for her birthday and asked me to make a keychain in the shape of a backpack and that had glitter to make it a little flashy.
Hola amigos creativos, un cliente quería darle un detalle a una amiga por su cumple y me pidió q le hiciera un llavero en forma de una mochilita y q tuviera brillo para q fuera un poco llamativo.
Next I will show you step by step how to create the keychain which was very nice and the customer loved it very much.
A continuación les mostraré con el paso a paso como cree el llavero el cual quedo muy bonito y al cliente le encantó mucho.
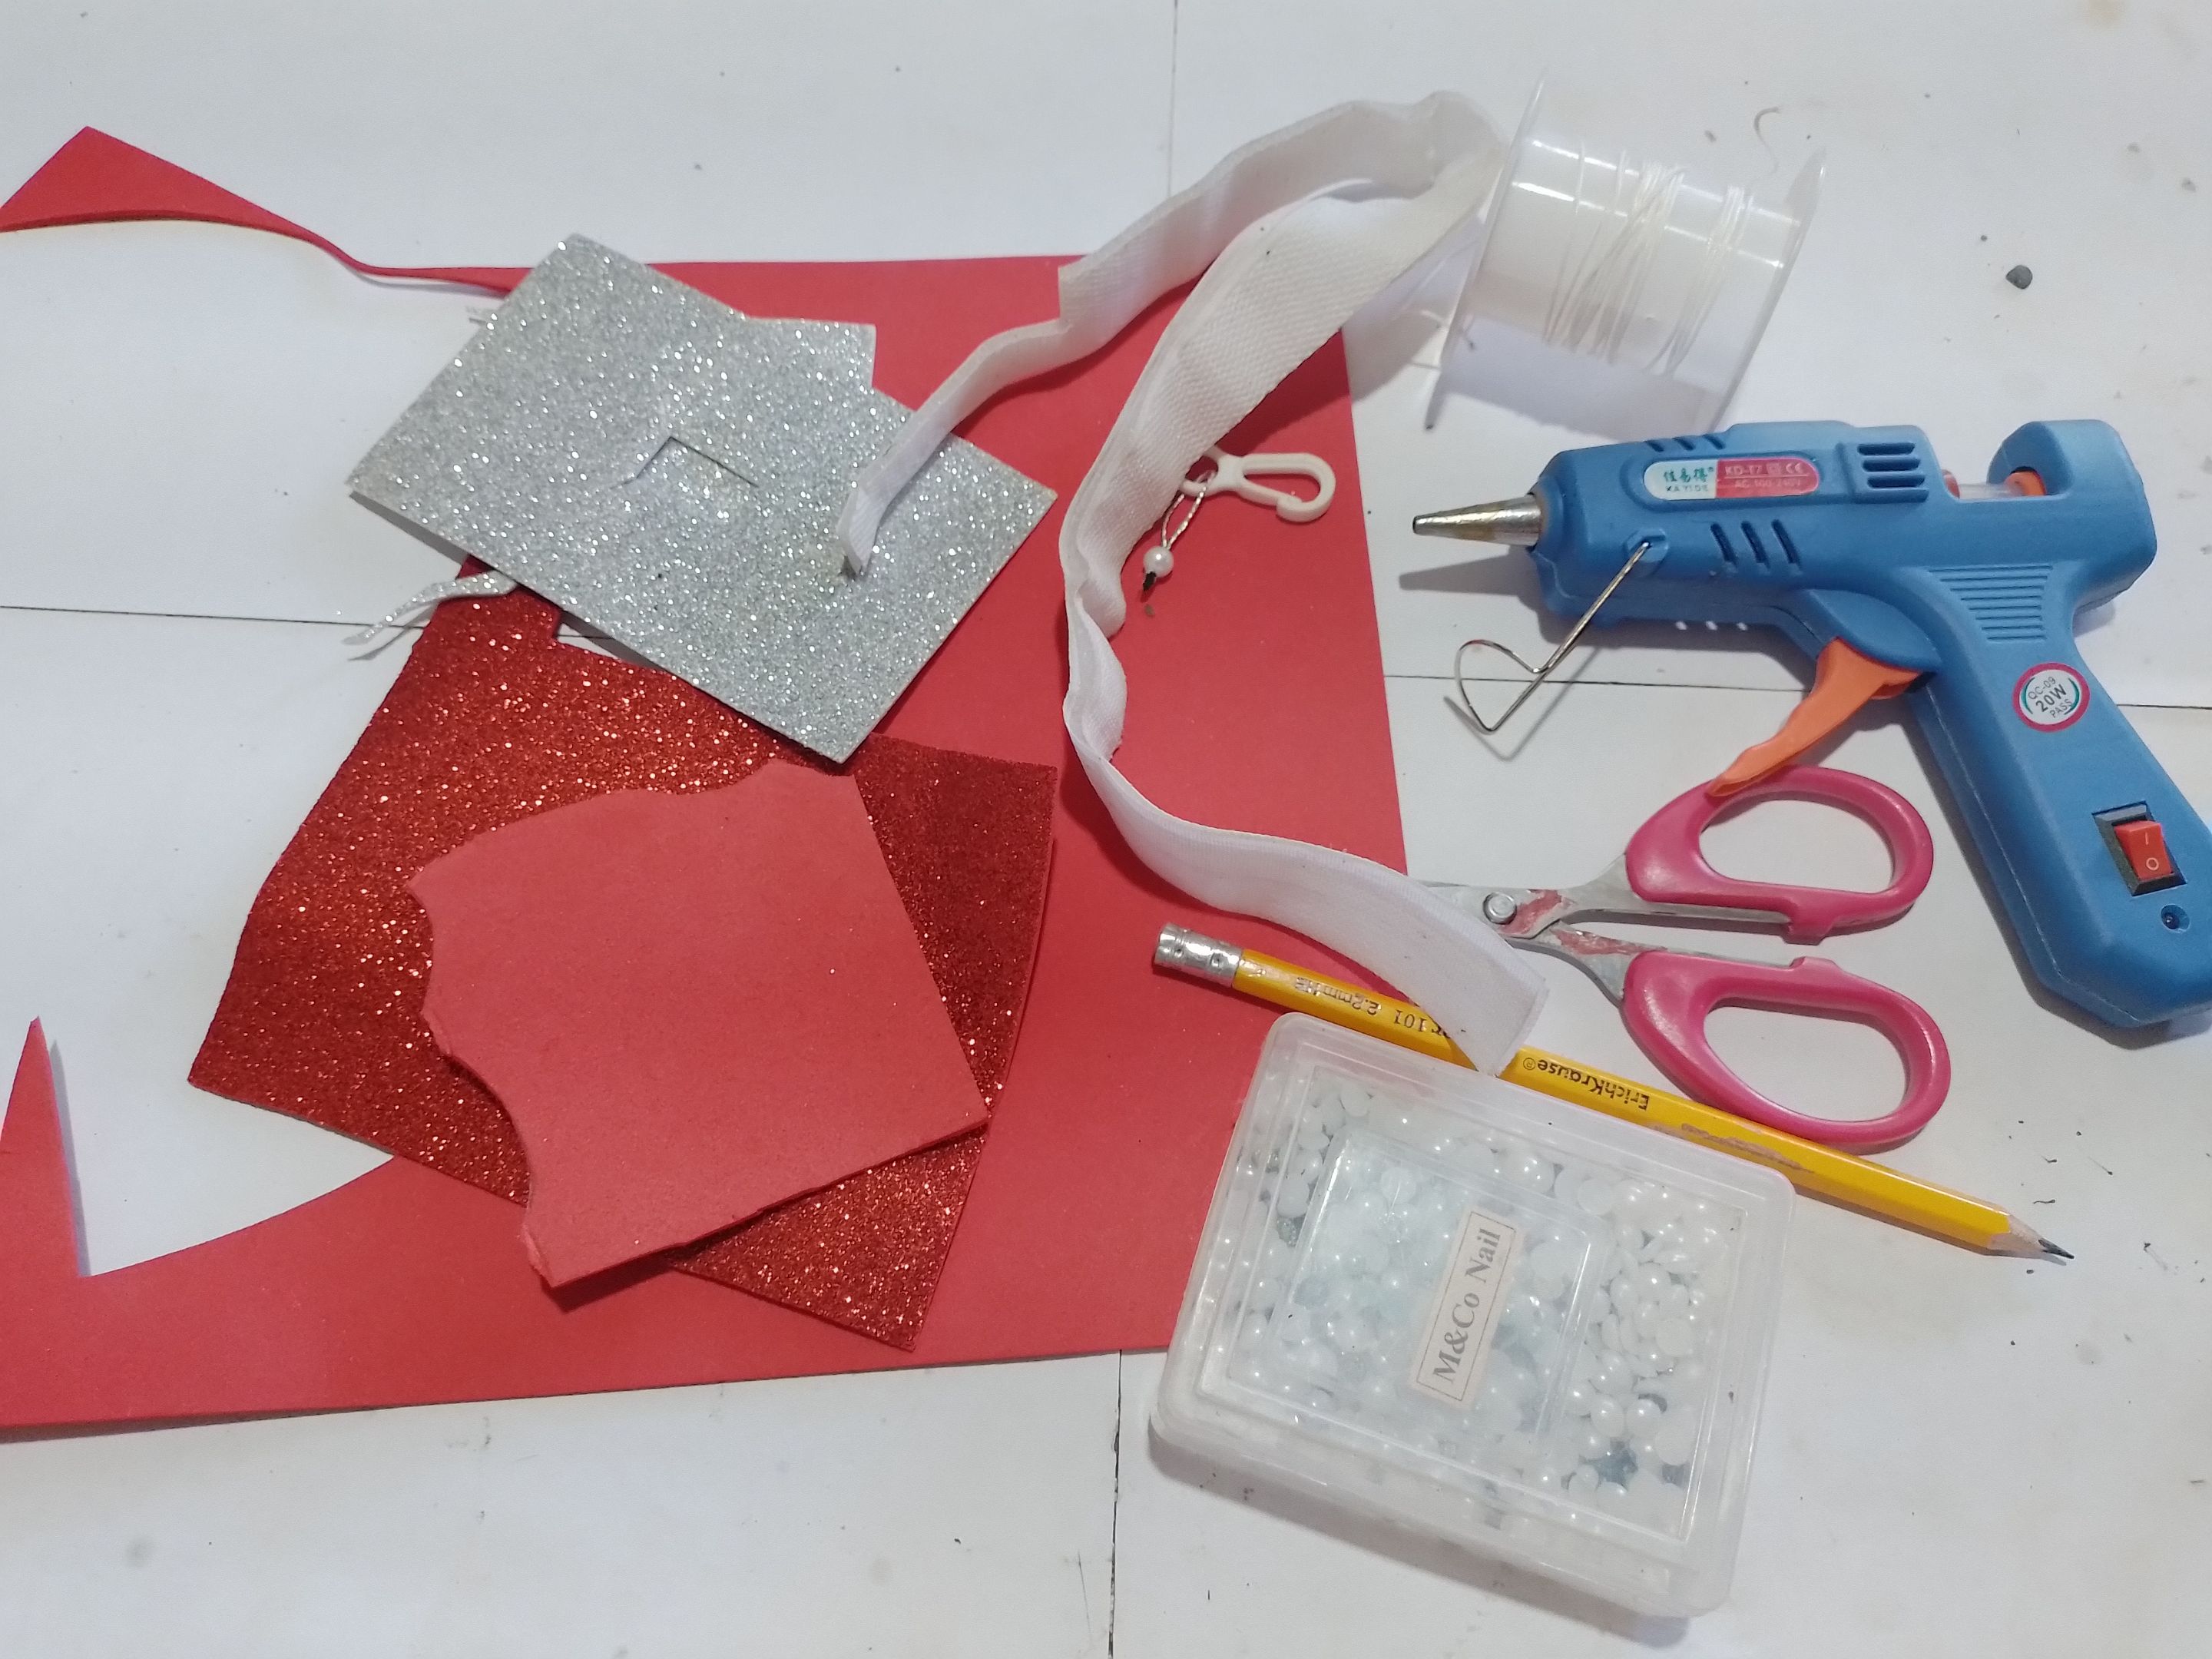
- Silicone gun
- Silicone sticks
- Glitter Foami
- Chinese thread
- Beads
- Scissors
- Pencil
- Belcro
- Key ring fitting
- Pistola de silicona
- Barras de silicona
- Foami de brillo
- Hilo chino
- Perlas
- Tijera
- Lápiz
- Belcro
- Erraje de llavero
| https://files.peakd.com/file/peakd-hive/norychacon/EpNqKucdCLQULpkXhZy8PJZuBvTKNWv6dfSiSbfKrQNj6Ts3jhmzr8V1PhRsNnBBuVm.jpg | https://files.peakd.com/file/peakd-hive/norychacon/EouB8QEP9QX7vHebnzq3T3ugmd6NZ37YoohzEaCre96wi7LPeqqweUr1goUPD2uxsb2.jpg | https://files.peakd.com/file/peakd-hive/norychacon/Eoc9rwWNe11Bf9RkZwDGPN4yVn1SbAurBorrPxiq9hFgN53zLKnXfxLjB4sbvZGUWjy.jpg |
Step 1- First draw and cut out an oval on the red glitter foami.
Paso 1- Primeramente dibujamos y recortamos un óvalo en el foami de brillo rojo
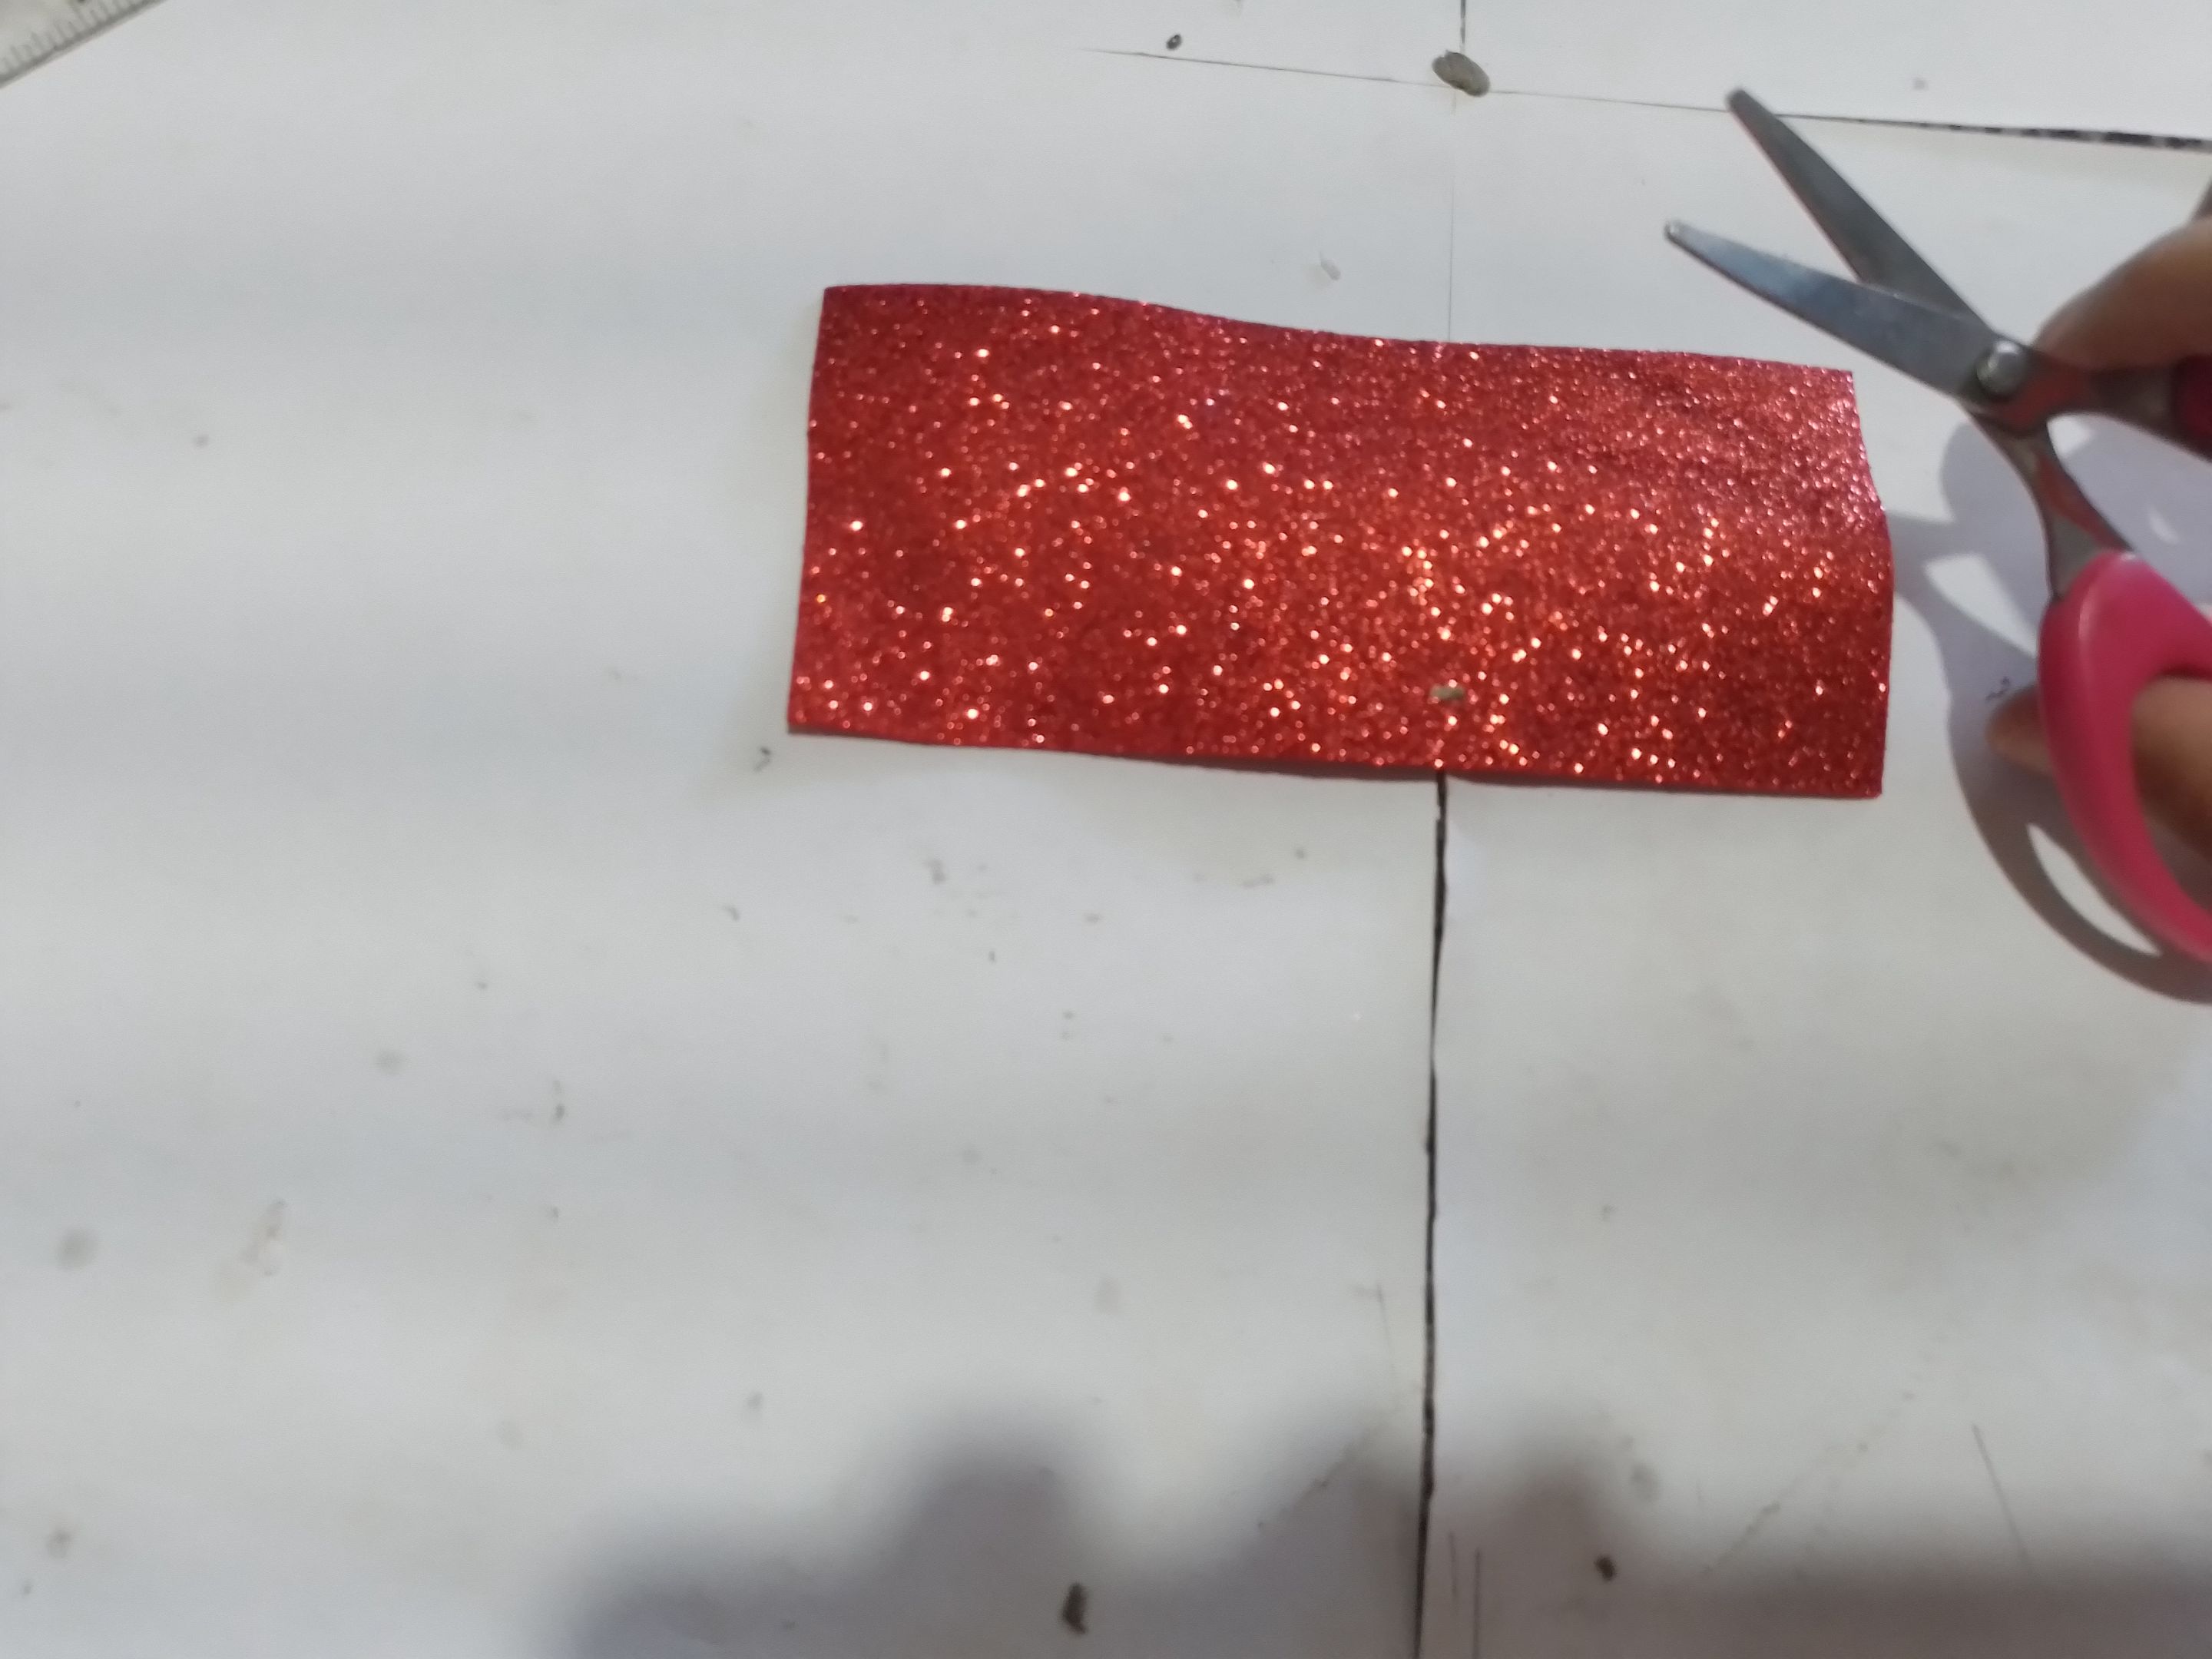
Step 2- Cut a wide strip of the same red glitter foami.
Paso 2- Recortamos una tira ancha del mismo foami de brillo rojo
| https://files.peakd.com/file/peakd-hive/norychacon/EpVD6vMvtj1RAeGQq89yE5JsVrPtDZCF1gTH7LT3sUEdamFVSpcP2kCnpRw1qpQSdMP.jpg | https://files.peakd.com/file/peakd-hive/norychacon/EpLhwokTLw9vrrbVCzKM6UTYeDcqxcvWYKcw8v7w4sRbiWVCnuzqjqgCLFnyzyFgpwe.jpg | https://files.peakd.com/file/peakd-hive/norychacon/EpLhxMeCGjjtQ4T6YsHmEZSEBrfZ5C1aQkivpxdGFtR14gnnQWPkg5HoCmmsnqYiAiF.jpg |
Step 3- Glue all around the bottom edge of the strip the oval that we had previously made in this way.
Paso 3- Pegamos por todo el borde de abajo de la tira el óvalo q anteriormente habíamos hecho de esta forma.
| https://files.peakd.com/file/peakd-hive/norychacon/EpEL9Wh2s3pgFw77aaCw4mMGJchPph7jEcmaEURJuXkmh8j83xXHefJpE6RMR4tvoLS.jpg | https://files.peakd.com/file/peakd-hive/norychacon/EppN7AhBedqDBoJtryQhQTmA18hSWzWpRcSVuAhgWCF8PXWzPxsmQCjpXxycLaXzeZR.jpg | https://files.peakd.com/file/peakd-hive/norychacon/EpQxnqKYc4tojcbojZvvyk65MeYkdndDvfPEA29D4B2WEHo19K7cXX8fCu3njuSrRKw.jpg |
Step 4- At the top we open some holes and place the Chinese thread forming the mouth of the backpack.
Paso 4- En la parte de ariba le abrimos unos huequitos y colocamos el hilo chino formando la boca de la mochilita.
| https://files.peakd.com/file/peakd-hive/norychacon/EoiXbJzy85trcMu1WFxFpNqe5AAUWV2DWdDohRcYNx3sMP4wBM9X4ymeQKc2zyrwL2H.jpg | https://files.peakd.com/file/peakd-hive/norychacon/EoyRrsqDQJQvuExnEpEitkxTEq1DaJGNcYJNWYT9tXDVgpZZrnqWA3Epgrs5C989Jwg.jpg |
| https://files.peakd.com/file/peakd-hive/norychacon/EpNpuSq44khDoRevo39RPvXnsWWmQT2dWfpWCpkMMYzYz8DAEQriyxLe2Cj7jfdqY5a.jpg | https://files.peakd.com/file/peakd-hive/norychacon/Ep7wXZn2bhApWN82fcf4rFMzwEwnFRwoZ4qqJ56ryAnXcbDPkdsuvMn82NVFCy9CUeC.jpg |
Step 5- On the silver glitter foami we cut out a strip for the backpack cover, and glue it.
Paso 5- En el foami de brillo plateado recortamos una tira para la tapeta de la mochila, y la pegamos.
| https://files.peakd.com/file/peakd-hive/norychacon/EoK8F2aZLmuMwPCTtiaTD7uj11r2SFAx8PdcdtxyghWvusHzX27jSj9wjVgJ4WUjd7f.jpg | https://files.peakd.com/file/peakd-hive/norychacon/EpA4ugWUw4Zv7sfmSJuPPQbipy111ge6LA3w8yzUp7hpngF3sGpHnHDJnevcxzUKYjc.jpg | https://files.peakd.com/file/peakd-hive/norychacon/Ep7wXZn2bhApWN82fcf4rFMzwEwnFRwoZ4qqJ56ryAnXcbDPkdsuvMn82NVFCy9CUeC.jpg |
Step 6- With the belcro we cut a small piece and we glue it to the flap of the backpack to open and close it.
Paso 6- Con el belcro recortamos un pedasito pequeño y se lo pegamos a la tapeta de la mochila para q abra y cierre.
| https://files.peakd.com/file/peakd-hive/norychacon/EpEKmt2jhMRDBc8S2StnonLG7EptbFK7jugW8FAxREmmwwZ741UHU2gnmgEmY8WNN21.jpg | https://files.peakd.com/file/peakd-hive/norychacon/EpGT9RHVYpYZv9q36yvZrqhxkaey9WgX5JB4x4VNEq5HXbB3JrgDgBirkbVXdudw6C4.jpg |
Step 7- Then with some pearls we decorate the whole bottom of the backpack.
Paso 7- Luego con unas perlas decoramos toda la parte de abajo de la mochilita.
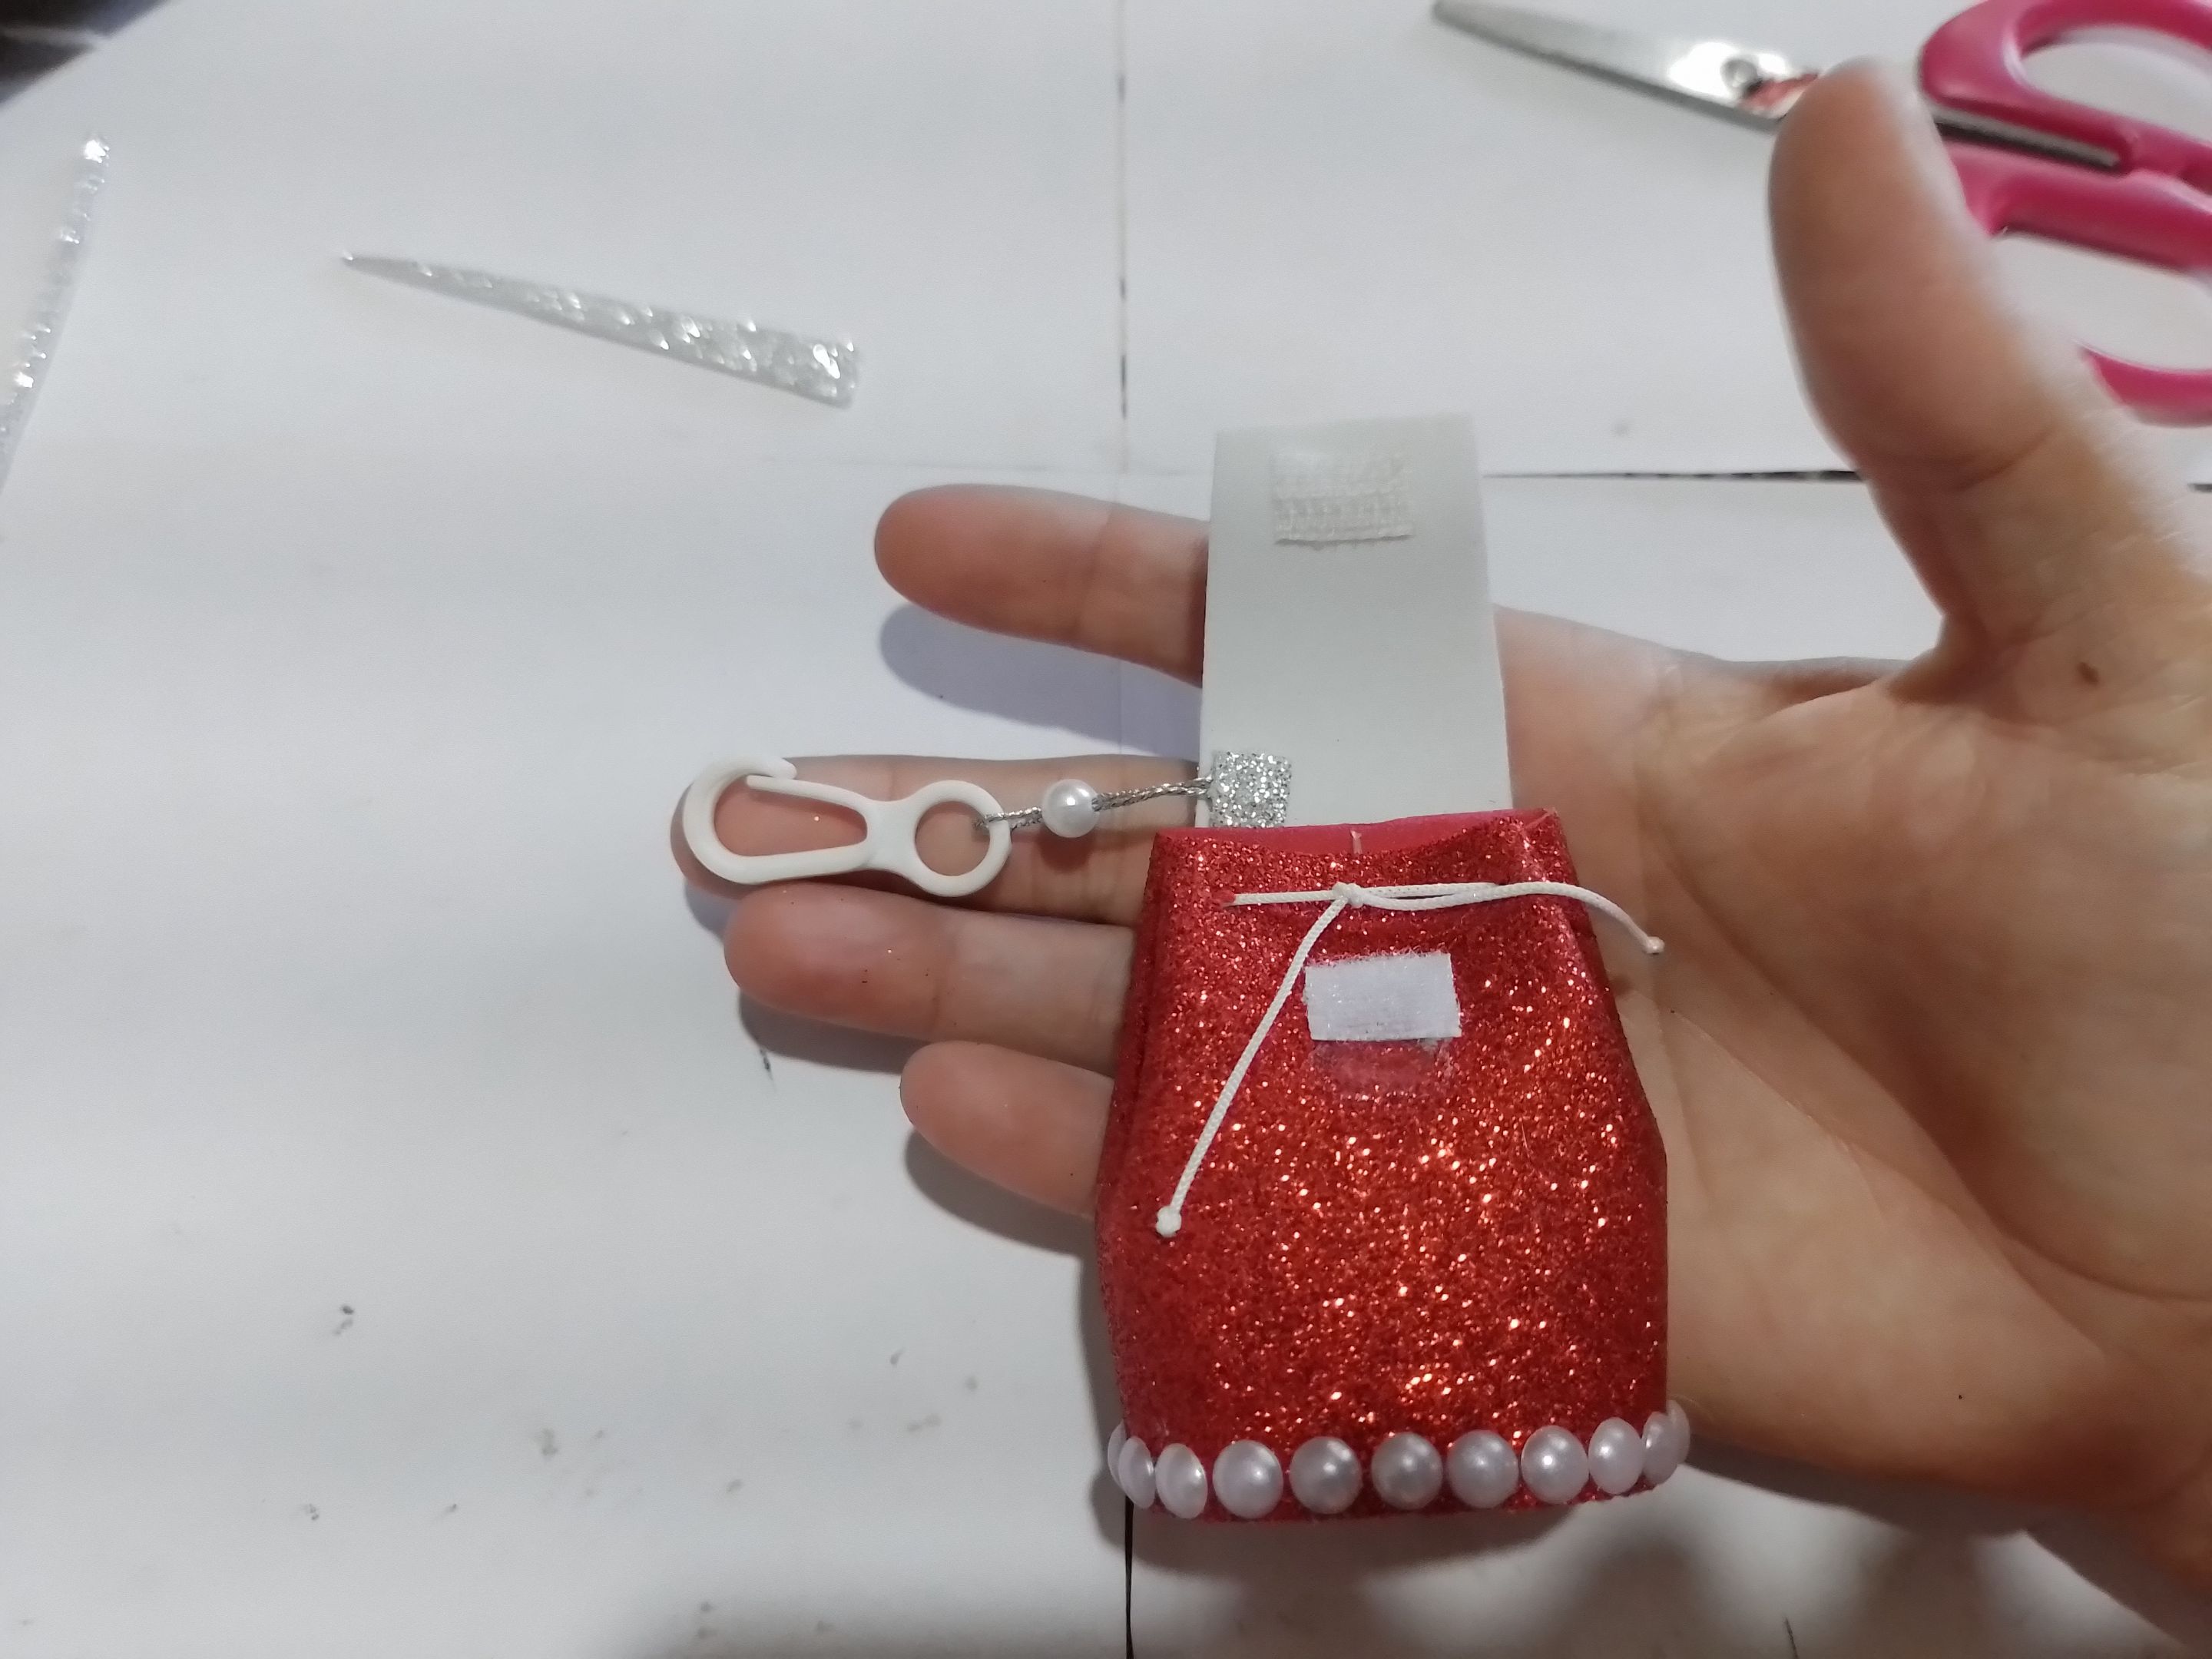
Step 8-We glue the rim of the cap to it.
Paso 8-Le pegamos el erraje de llabero en la tapeta.
| https://files.peakd.com/file/peakd-hive/norychacon/EptcTzTmnmD5hCex8Tmnb1N3xMbH5ARjEHKs7B8DywY9oW1fXmp6kL5G7GhFTziYTXu.jpg | https://files.peakd.com/file/peakd-hive/norychacon/EpxsDdK8uuxxrszNRCayd8v8FiFzun32B3DF7HwiAr5CVZ5Tfz1fmZD5qdnWCVPUBVS.jpg |
| https://files.peakd.com/file/peakd-hive/norychacon/EppN8F7riwEQX9fdNvpao4wTbPRL3SjMmM4WS8D26ua9yM8bLrwiULoTiMEL9aPQR9T.jpg | https://files.peakd.com/file/peakd-hive/norychacon/EpQxmr7oGGUFaiFzttsAzXrZtJVqZxyoZCj4eAAzZ3TPfnEAhtVc2qiMBzRDWq3MH7Q.jpg |
Step 9- Draw and cut out a small heart in a silver glitter foami and glue it on the front of the backpack.
Paso 9- Dibujamos y recortamos un corazón pequeño en un foami de brillo plateado y lo pegamos en la parte de alante de la mochila.
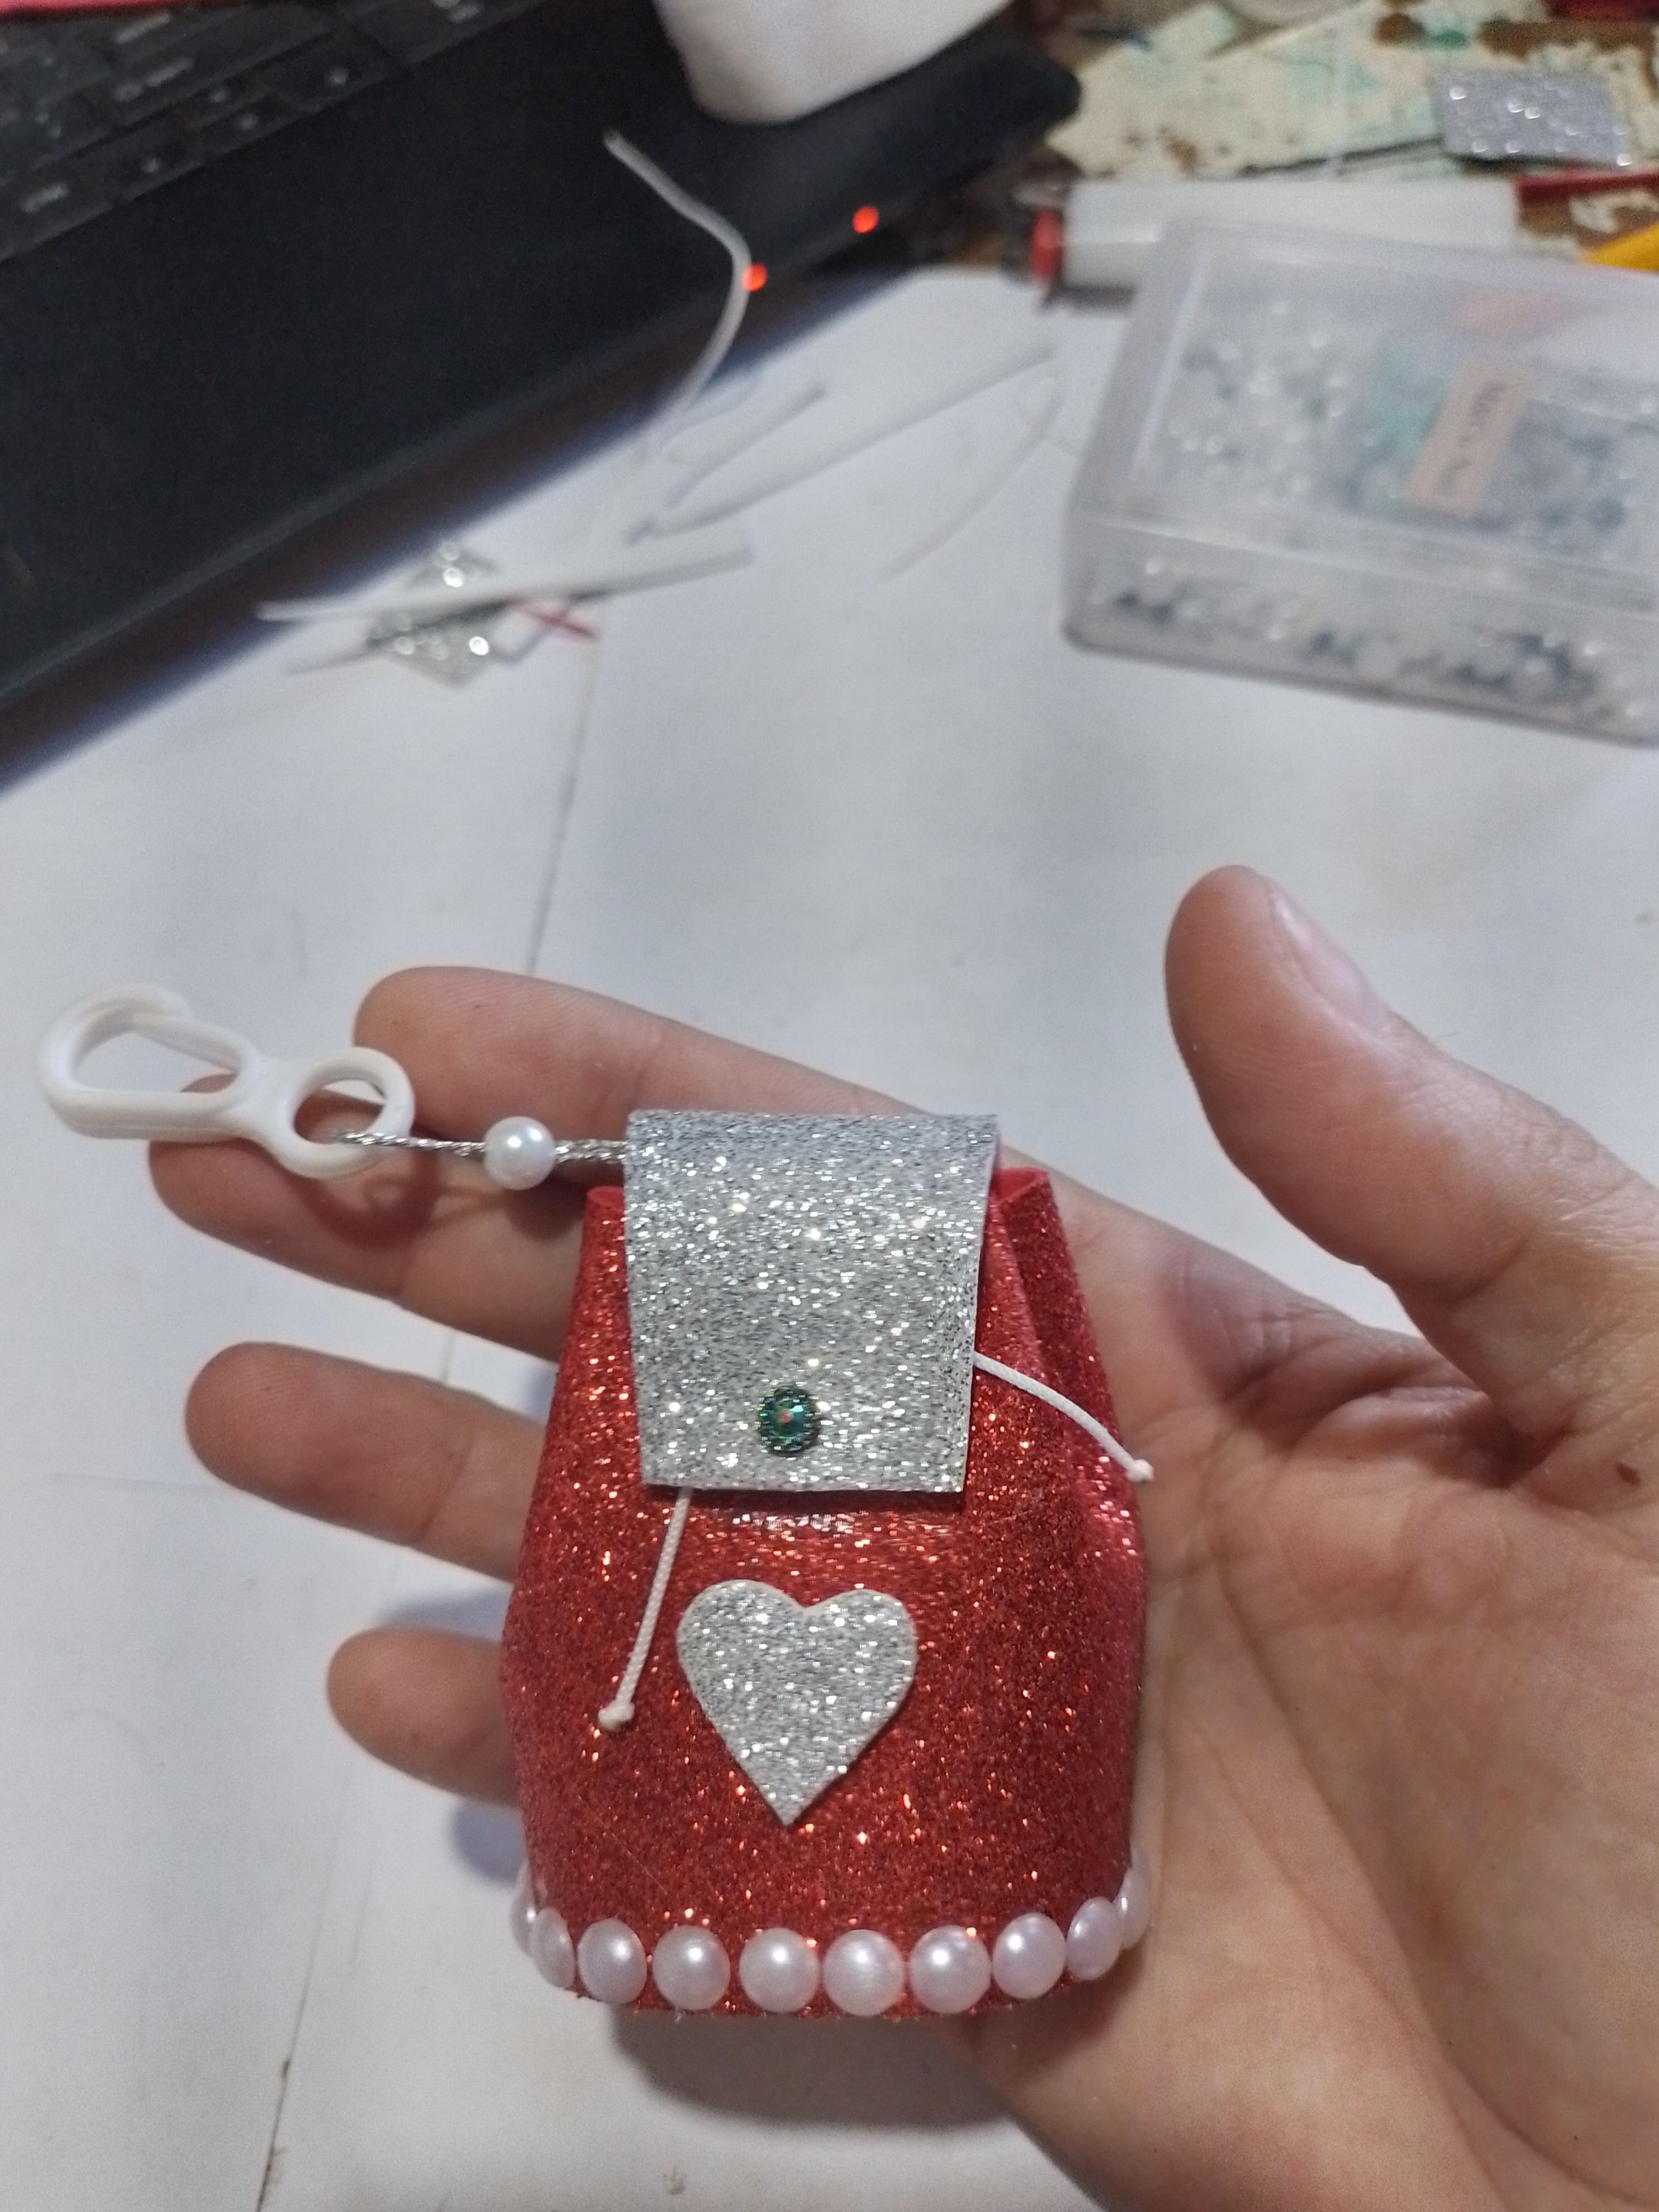
Step 10- And we glue a small pearl on the cover to finish.
Paso 10- Y le pegamos una perla pequeña en la tapeta para terminar.
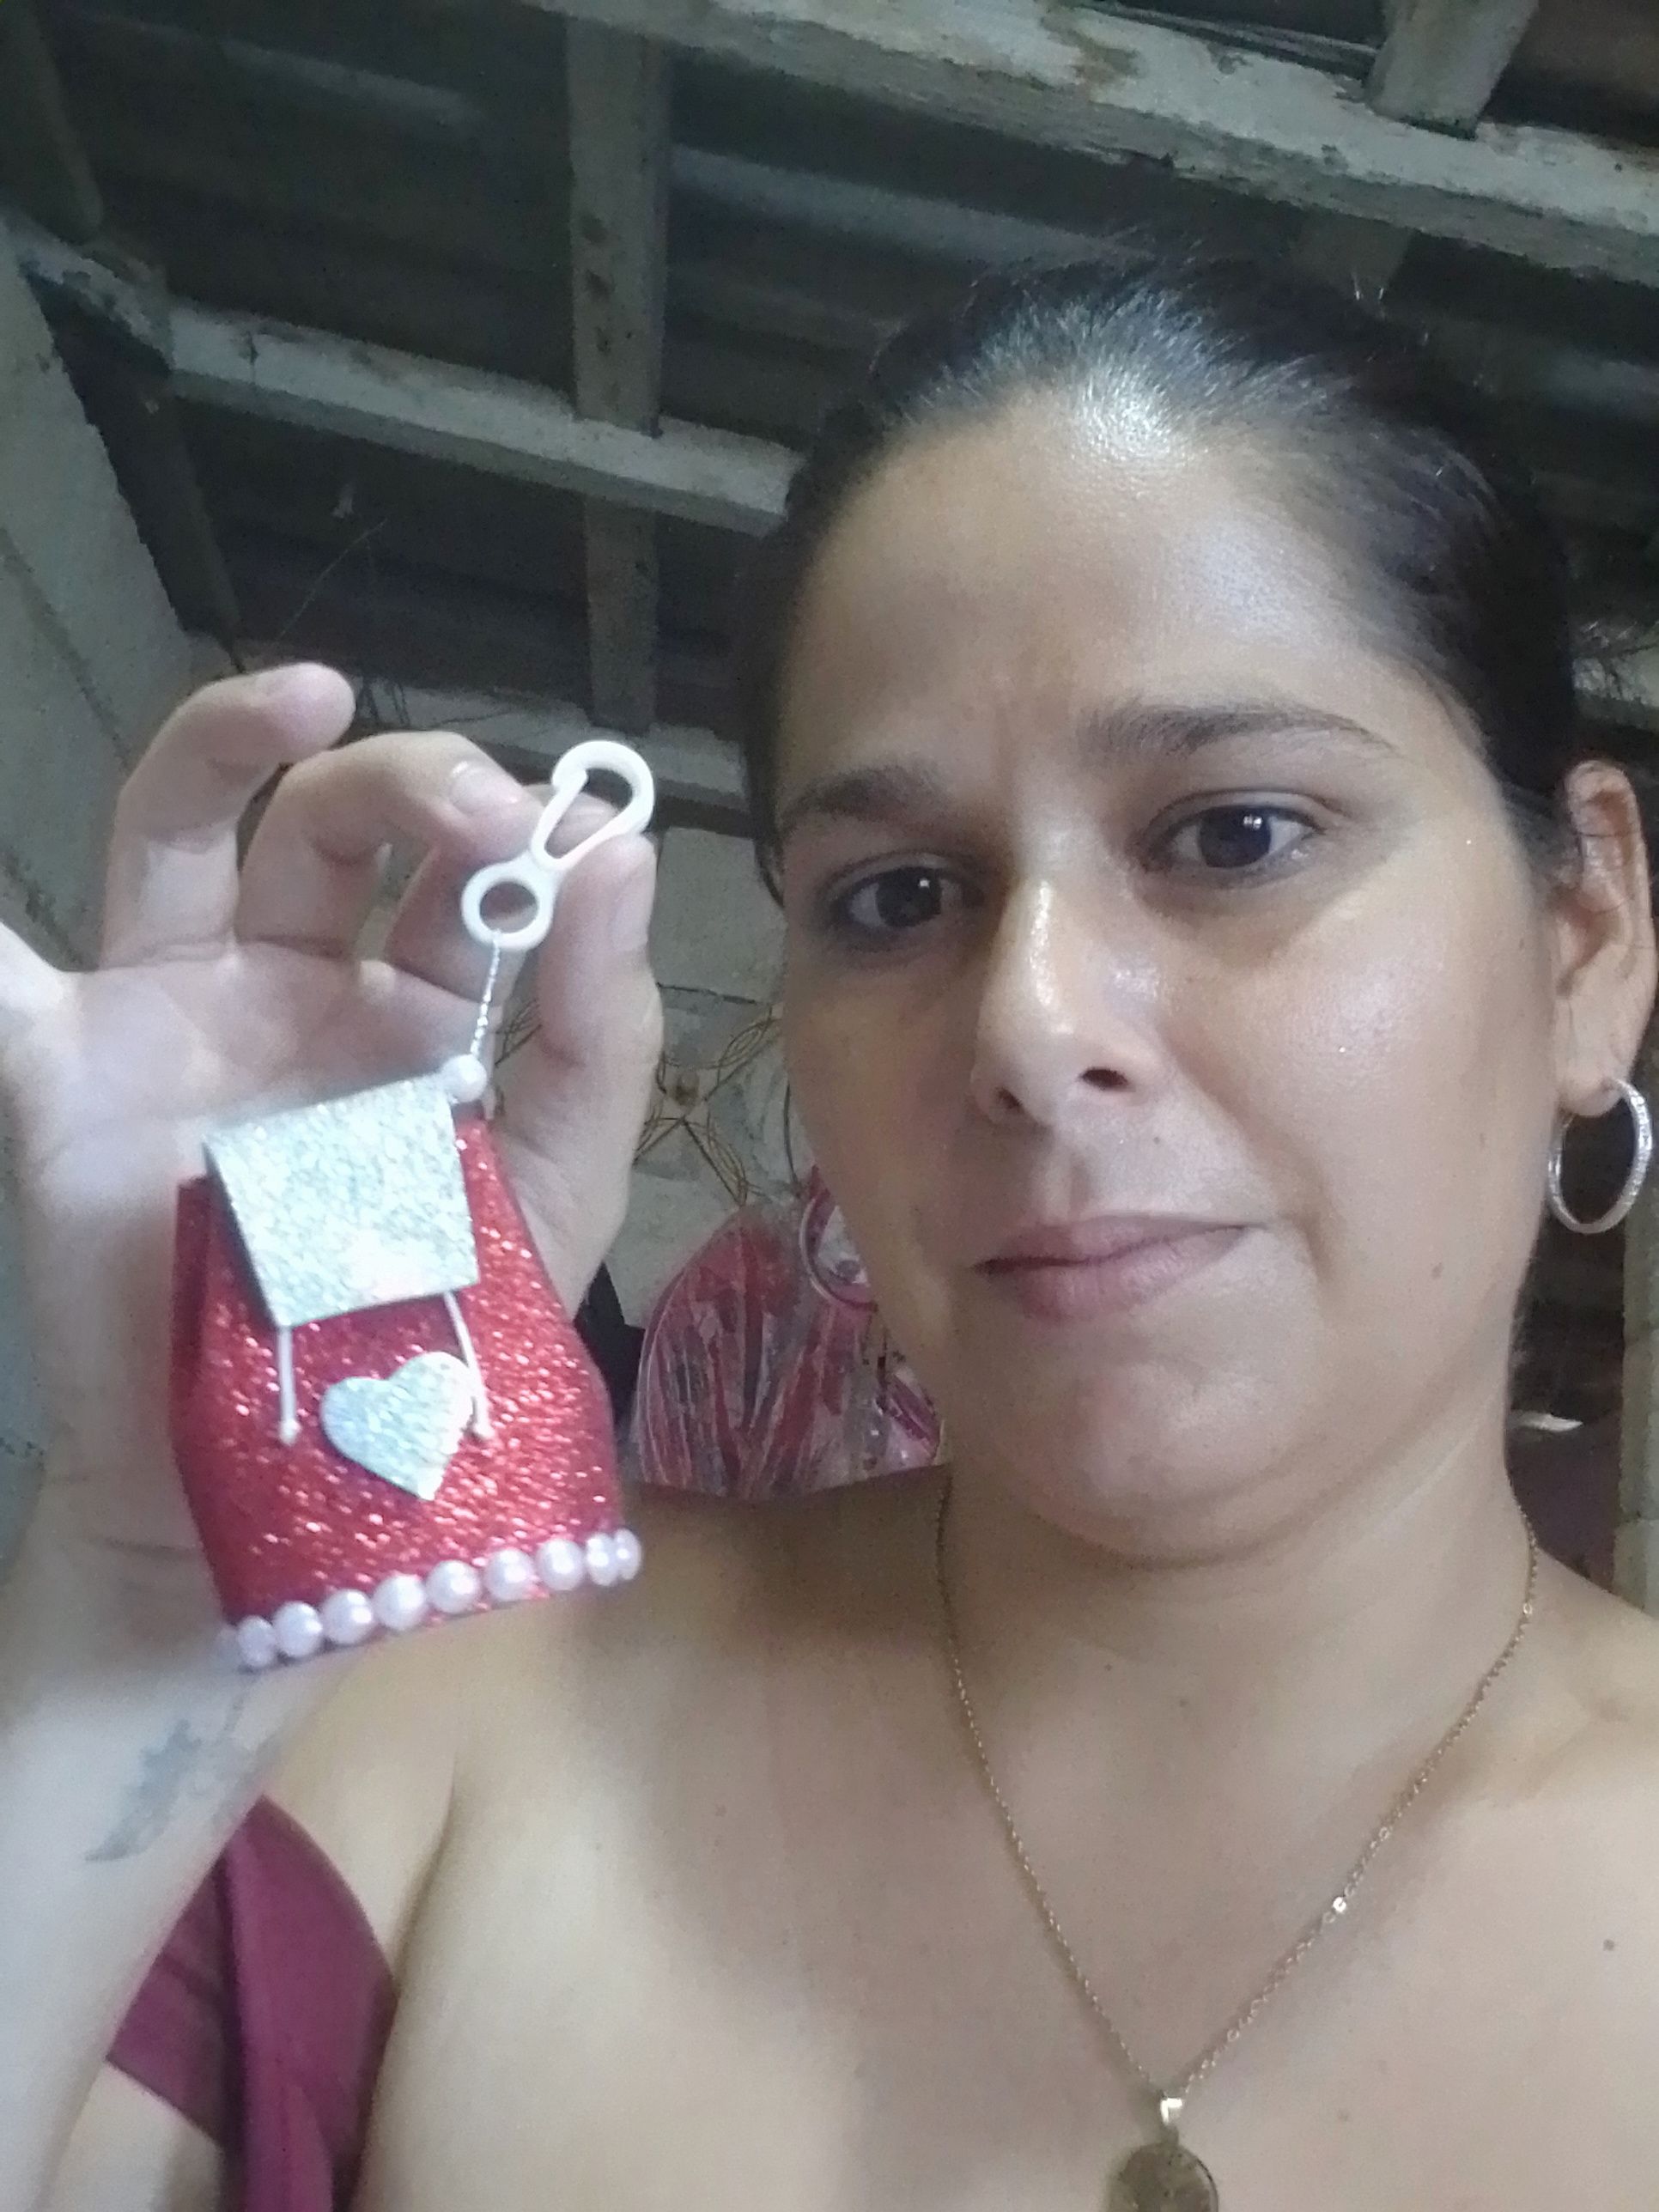

And so we got the keychain made of foami I hope you like it and try it at home because it is very easy to make.
Y así nos quedo el llaverito hecho de foami espero les guste y lo prueben en casa ya que es muy sencillo de hacer.
Photos of my property taken with the phone Cover made in Canva Translated by DeepL