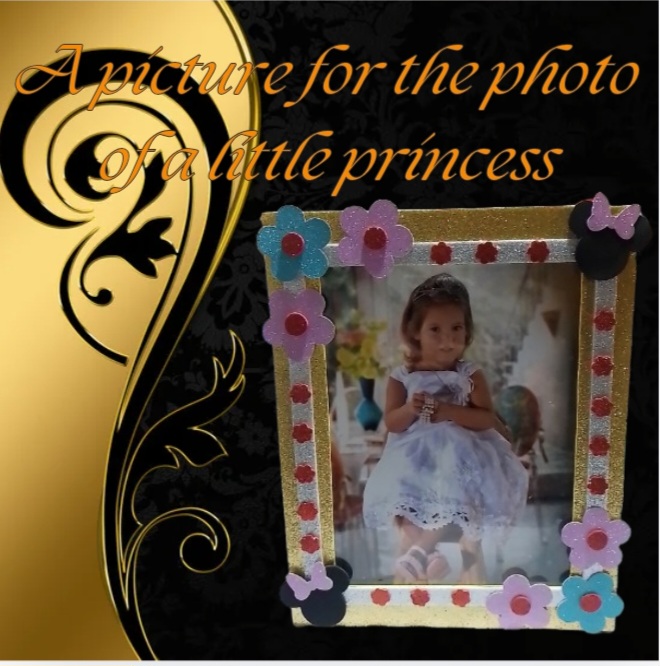
Hello creative friends, once again I want to show you my crafts, because I really like what I do, besides doing it with love and passion. I want to show you the picture I made for a coworker to put the picture of her princess on the wall, this is simple but very nice.
Hola amigos creativos, una vez más les quiero mostrar mis manualidades, ya que me gusta mucho lo que hago, además de hacerlo con amor y pasión. Les quiero mostrar el cuadro que le hice para que una compañera de trabajo pusiera la foto de su princesa en la pared, este es sencillo pero muy bonito.
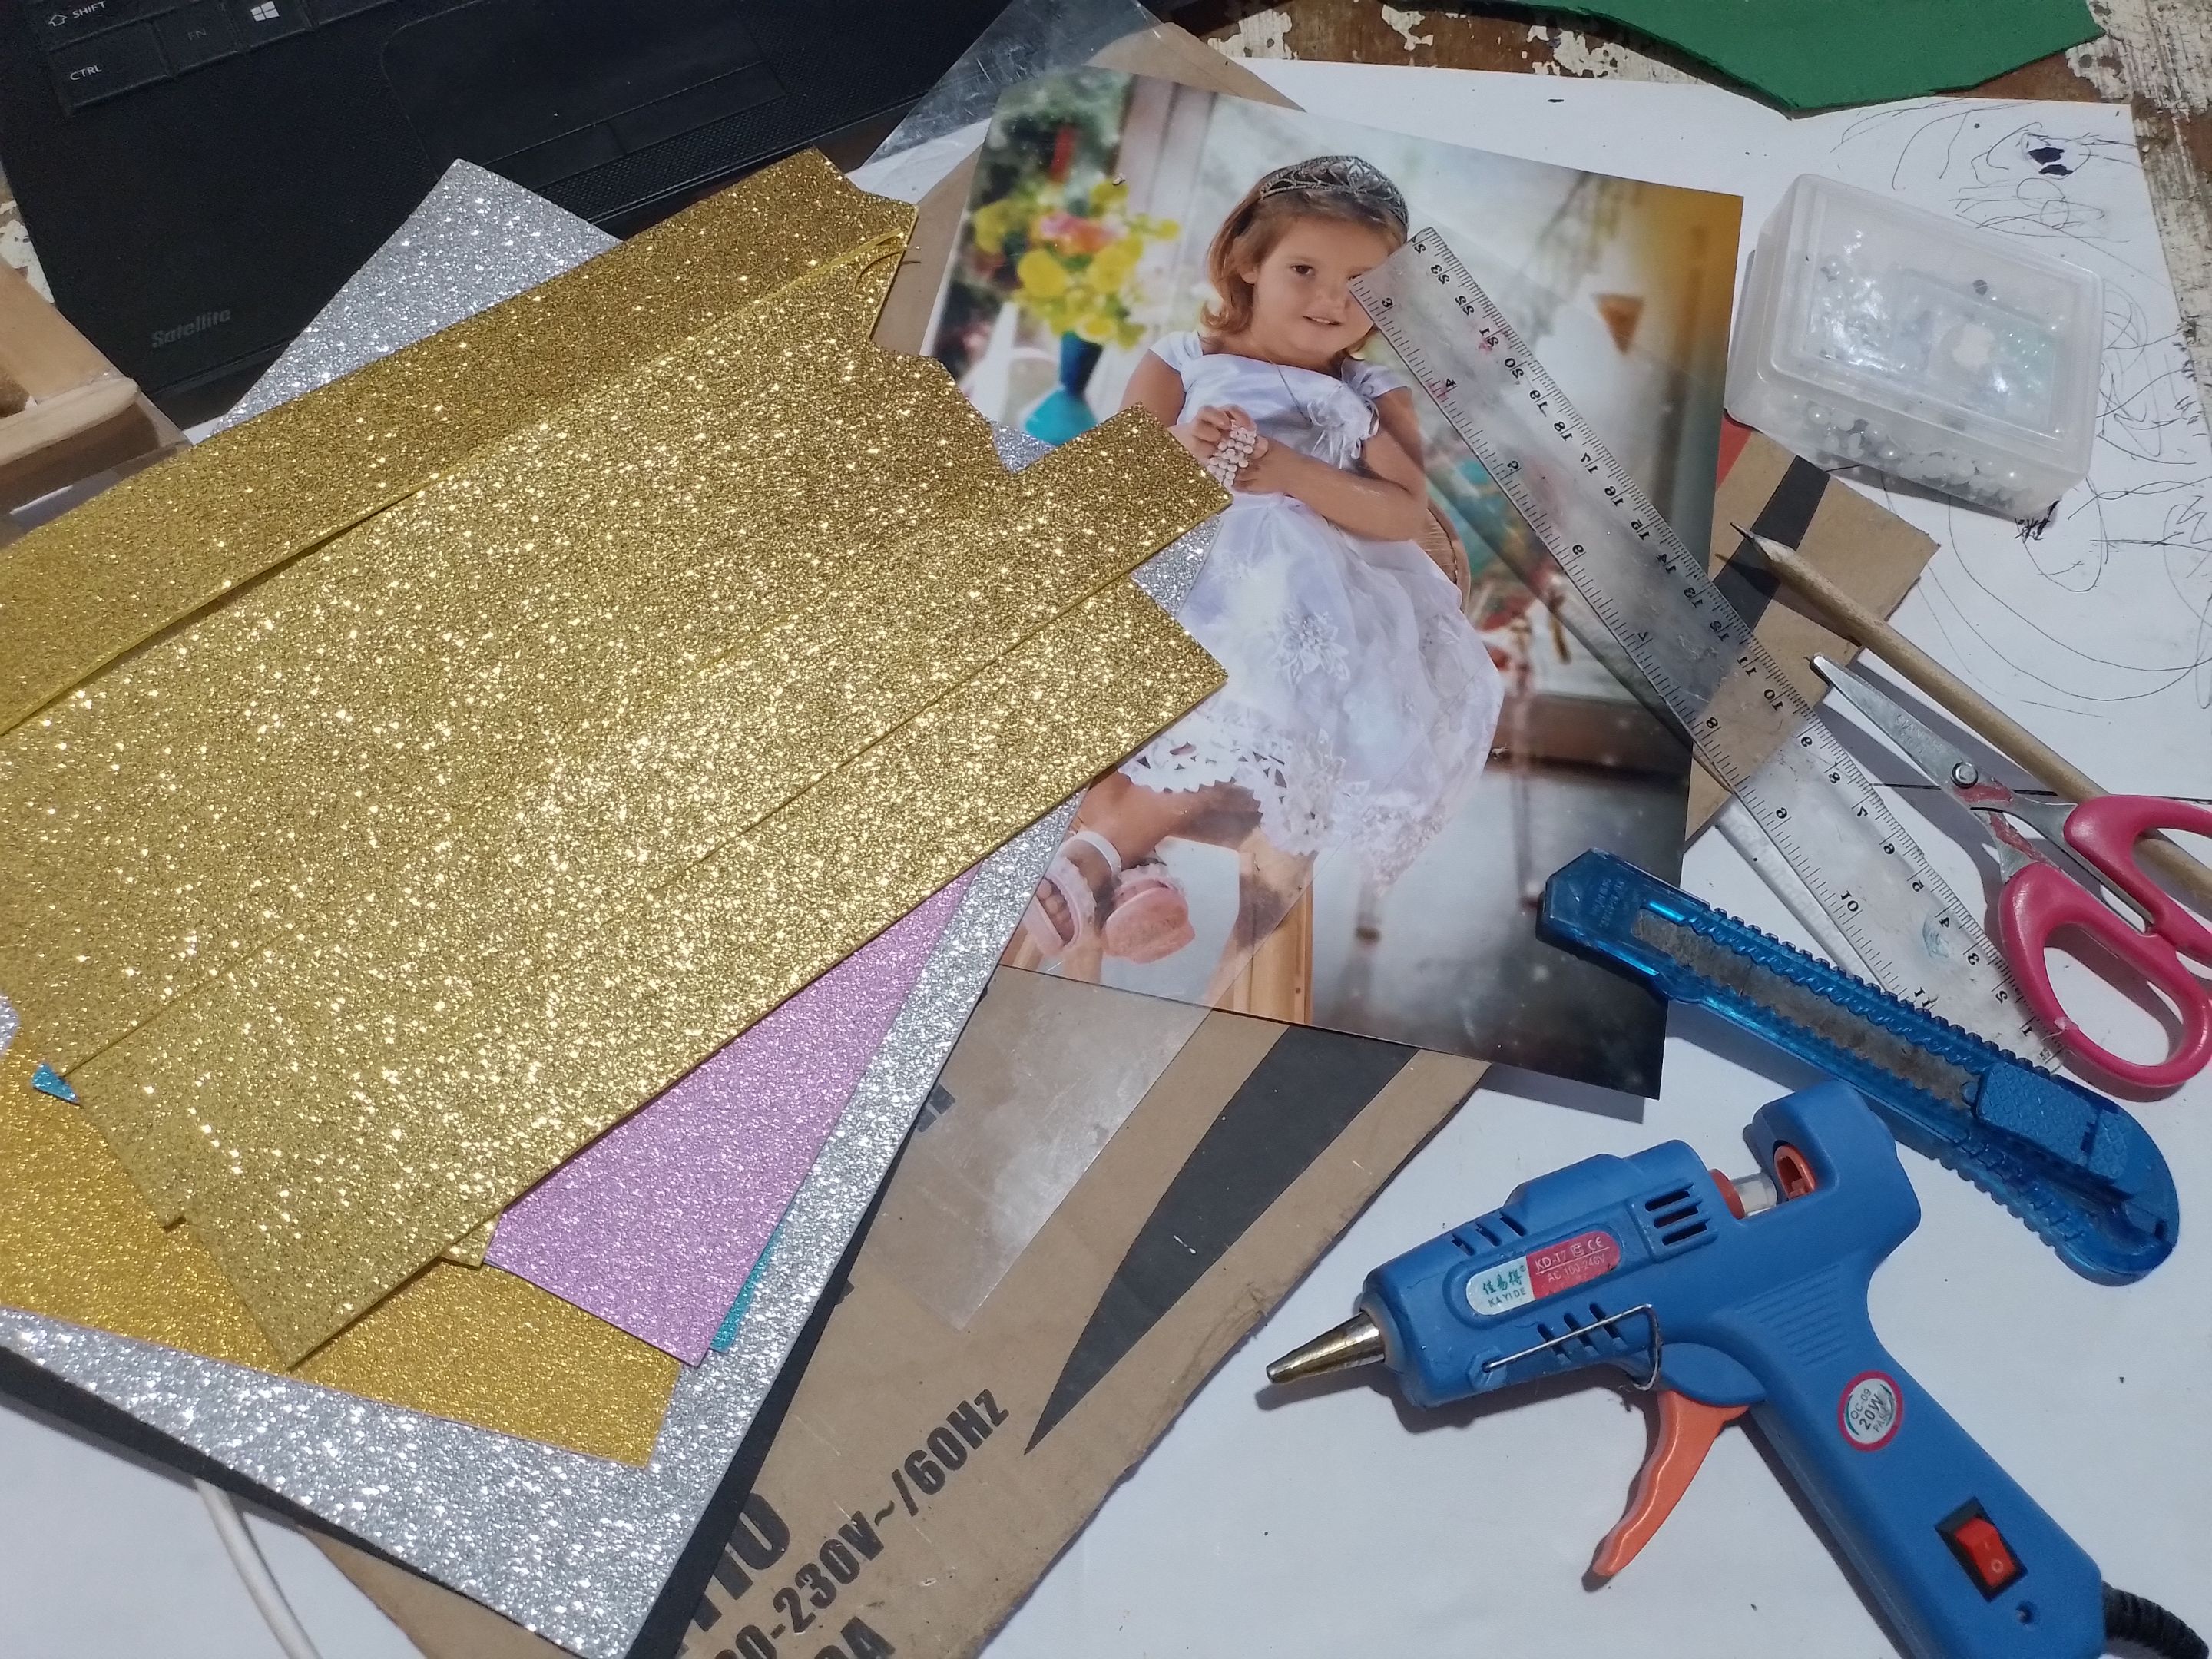
- Silicone gun.
- A piece of cardboard
- A sheet of acrylic.
- Scissors.
- Fomi of various colors.
- Glitter cardboard.
- Ruler.
- Pencil
- Photo of the girl.
- Cutter.
- Red pipe cleaner.
- Pistola de silicona.
- Un trozo de cartón
- Una lámina de acrílico.
- Tijera.
- Fomi de varios colores.
- Cartulina de brillo.
- Regla.
- Lápiz
- La foto de la niña.
- Cúter.
- Limpia pipa rojo.
| https://files.peakd.com/file/peakd-hive/norychacon/EoeEvhn6AVkCTTgUo17ZhrH595VVCyDSr6Jqn4dvQ5yfmS1b93rWsTyEXat6hYmCmWP.jpg | https://files.peakd.com/file/peakd-hive/norychacon/Ep1Xr3pL4WUFRxmSNzQj7nUVB8UNZCuawrVqXxEYhbn2wW5Mztiz82kTpUGzivTLxcJ.jpg | https://files.peakd.com/file/peakd-hive/norychacon/EoyQyDjv3QRgoVRKbdtfr4ixktG4GkzbR4TvBfFTUoWm53dhcDXQqyUcXZuxCn4bURW.jpg |
Step 1- On a piece of cardboard we mark some stripes of 3 cm more than the size of the photo. And cut the excess with the cutter.
Paso 1- En un trozo de cartón marcamos unas rayas de 3 cm más que el tamaño de la foto. Y le cortamos el sobrante con el cúter.
Step 2- Glue the acrylic sheet on top of the cardboard, except for the top part, which will be used to insert the photo.
Paso 2- Pegamos la lámina de acrílico encima del cartón, menos la parte de arriba que esta nos servirá para introducir la foto.
| https://files.peakd.com/file/peakd-hive/norychacon/EpJa5zLNbRvHdFvNXoLsNGgnD6FNrhK5RjNVHmWmeC5XdMxMGPKExMbM14dTStBoZum.jpg | https://files.peakd.com/file/peakd-hive/norychacon/Ep1YtSUUKofwh1onUfCqdHQF89LhanQHEAuqzTTHyBBnDJ6jfkicC4za76mfnUuu14v.jpg | https://files.peakd.com/file/peakd-hive/norychacon/EoCiabVAiLyeAYXMBdMHtx85b8q54XsyLPWUTMCwL3GeeKZz5JPjaFKLV6dePs253uu.jpg |
Step 3- On the golden fomi we mark and cut out strips of almost 4 cm wide.
Paso 3- En el fomi dorado marcamos y recortamos unas tiras de casi 4 cm de ancho.
| https://files.peakd.com/file/peakd-hive/norychacon/EoErV2yguai911mKq8isLHY6noy5j2YTS94uep6AxBEcXznRnyefPcFgSSU6fgSne9y.jpg | https://files.peakd.com/file/peakd-hive/norychacon/23wX1YqR5RooKSKK4mVMRsCf3zSvVmbAhdx4d4xYNLC4NdW6JyRQVSNV4NaQNcKFBbm2S.jpg | https://files.peakd.com/file/peakd-hive/norychacon/Eos2MAxZ46z9o5PbhsieunbPxJrQHcibZqbqiYpFyxG4kgwq7SUuMke35oLbLwLVVZb.jpg |
Step 4- Then we glue them along the edge of the cardboard to make it the frame of the photo.
Paso 4- Luego las pegamos por el borde del cartón para que este sea el marco de la foto.
| https://files.peakd.com/file/peakd-hive/norychacon/Ep3fqcSJBUJRM8VZPYoezdHvphJKWhB3BTADgTEyYUorPoSL2sxTrtUBKzC9h2n3ncq.jpg | https://files.peakd.com/file/peakd-hive/norychacon/EoputUP6YqwfMJPBBCT2zSz5tYtjAxjJykGZ1NRRNXrGzZCVvHQWsqguSW87Q2xHepF.jpg | https://files.peakd.com/file/peakd-hive/norychacon/EnyxjXdUD96ffGcNSYh3tJRhiKH9kfuhCRkjPk9HgkBPPmUuvybSmFKnhX6CSPbi172.jpg |
Step 5- We mark 1.5 cm strips on the silver-colored fomi and cut them out.
Paso 5- En el fomi de color plateado marcamos unas tiras de 1.5 cm y las recortamos.
| https://files.peakd.com/file/peakd-hive/norychacon/Eos2DX2JuKse7x7nk2AdBu4ZDDWFGLYjt5s2g2X9DGHMFeM1D3xr5Z6DdkS8uU5JgZu.jpg | https://files.peakd.com/file/peakd-hive/norychacon/EoCbusHuRHoPerH5rZuNgYZGczNNpaZwVYih4fK6vBejdk84FoVHF321W4KpVCDxUfR.jpg |
Step 6- Glue the silver strips on top of the gold strips in this way.
Paso 6- Pegamos las tiras plateadas encima de las doradas de esta forma.
| https://files.peakd.com/file/peakd-hive/norychacon/23xySzUbnkHShwAsKpZTNBRqcXjhXXXVRDSUkFujkh8oiRh3XRT2F1tpWQLZPzoM8Q4nB.jpg | https://files.peakd.com/file/peakd-hive/norychacon/EpzzAeNbMH8nwA4kLsaHPy6b7srkQ8zUhxGgzrz5fXFmCPyVkMp9GFU9DYAkf9Wvkh2.jpg | https://files.peakd.com/file/peakd-hive/norychacon/Ep7vxvkACyuEzUkPGp1ih8zsqZ4D6N7gDQJPfsAfNCCrtGQmhvNp9zzyUPwnocSMCUi.jpg |
Step 7- On the black fomi we mark some little heads of the most popular cartoon, Minnie Mouse. And cut them out.
Paso 7- En el fomi negro marcamos unas cabecitas del animado más popular, Minnie Mouse. Y las recortamos.
| https://files.peakd.com/file/peakd-hive/norychacon/EpQxEqUiszMPTyKRJwMN8H2mQDhStrRjoMTJsNev8eU4fx1QWhqaFw7TrNH3f4rv1Bw.jpg | https://files.peakd.com/file/peakd-hive/norychacon/EpNprcf3aQnMLr7ehPmFub2tLFQ2gX5MY6WYSGwe6gSuJk4cUy5djURLySABcj8DwGP.jpg | https://files.peakd.com/file/peakd-hive/norychacon/EoyRrqjJaPpGa3QARGeV1pcVpAydEgxmucKhhf6ZAoD2pW93HbrgPg5s7vkntzrSrWL.jpg |
Step 8- On the pink cardboard we draw some bows and cut them out.
Paso 8- En la cartulina de color rosado dibujamos unos lazos y los recortamos.
| https://files.peakd.com/file/peakd-hive/norychacon/EpLhrpA4AYo86hHR7NykXAWKneUPq8RL42JL57VDBRVpXcxBjJjPk6mhk6zJb1V3VF6.jpg | https://files.peakd.com/file/peakd-hive/norychacon/EonnWMWRtZ7g6vsdRoLCC82ZN1kR7CAJ5nNKEgeYWib6vGhkytNBd47PV9UMYUpkU5x.jpg |
Step 9- Then we glue the ribbons on top of Minne's head. And put them aside.
Paso 9- Luego pegamos los lazos encima de la cabecita de Minne. Y los ponemos a un lado.
| https://files.peakd.com/file/peakd-hive/norychacon/Ep3gGdLRDc4KLTfiUmDRJtSTHAzBH5iSph1Wi9WPSaKWn9uQyVeYpFbSuwQpKKN8gnF.jpg | https://files.peakd.com/file/peakd-hive/norychacon/Ep3gDoiYX7YePeNjmAWti6Jot8uMiH2W6ibf49tHZZrdKahgke44DX8jYjAr5TTSaUf.jpg | https://files.peakd.com/file/peakd-hive/norychacon/EoGzKaH4VDDBfpBUzffNCziwUvy4cM7X5KWwiqW4yXH1CzN1ZqZrPEackXyMj24paNj.jpg |
Step 10- On the pink and blue cardstock we mark 6 flowers and cut them out.
Paso 10- En las cartulinas rosadas y azulita marcamos 6 flores y las recortamos.
| https://files.peakd.com/file/peakd-hive/norychacon/Eou9kNC56p5WEgRAsGFW5EAoXmZoi6T4XghxvqzJPApK4u2t4TQvCSPbyFNFE3Du9q4.jpg | https://files.peakd.com/file/peakd-hive/norychacon/Eos3i6hQrgbR5bAy5LjwF5QnSPhXDAyFtXXCY1bKWDpGMbKSBqPjevXFJi3Thpu7ykt.jpg |
Step 11- We glue the ornaments we made on the frame of the picture, the little heads of Minne in two corners and 3 little flowers in one corner and the other 3 in the other corner.
Paso 11- Pegamos los adornos que hicimos en el marco del cuadro, las cabecitas de Minne en dos esquinas y 3 florecitas en una esquina y las otras 3 en la otra esquina.
| https://files.peakd.com/file/peakd-hive/norychacon/EpT66E9pYB5bsWVVkA8UbHXyA59ETiHhMMZfLRfoosDZu7K9DCBfnMyQQNASU3mWbHt.jpg | https://files.peakd.com/file/peakd-hive/norychacon/Eokf4KZbzCQEGMttHVQeRcL5BaZiGxBAW7udcVi8MjUh1figJeekCdoMxwZeiWU3SSj.jpg | https://files.peakd.com/file/peakd-hive/norychacon/EoyRPfj1VZkxwghi3LyYuFyfah38dbAJtGU7FpFsRkCEtZFpKPzqqiGQ2jxsHeK8rEB.jpg |
| https://files.peakd.com/file/peakd-hive/norychacon/EowJ3KA5T97CFVToBJPeZC6oqr797pVEG1dWzsSeVfamQ2jsfVeKp4LMv7GeieUbMC3.jpg | https://files.peakd.com/file/peakd-hive/norychacon/EoiWjPdZdLds7E5EkmgMvo9ML43r4378675w7U8PWnPua4eZNpyAQCSHcTrbfahLBwf.jpg |
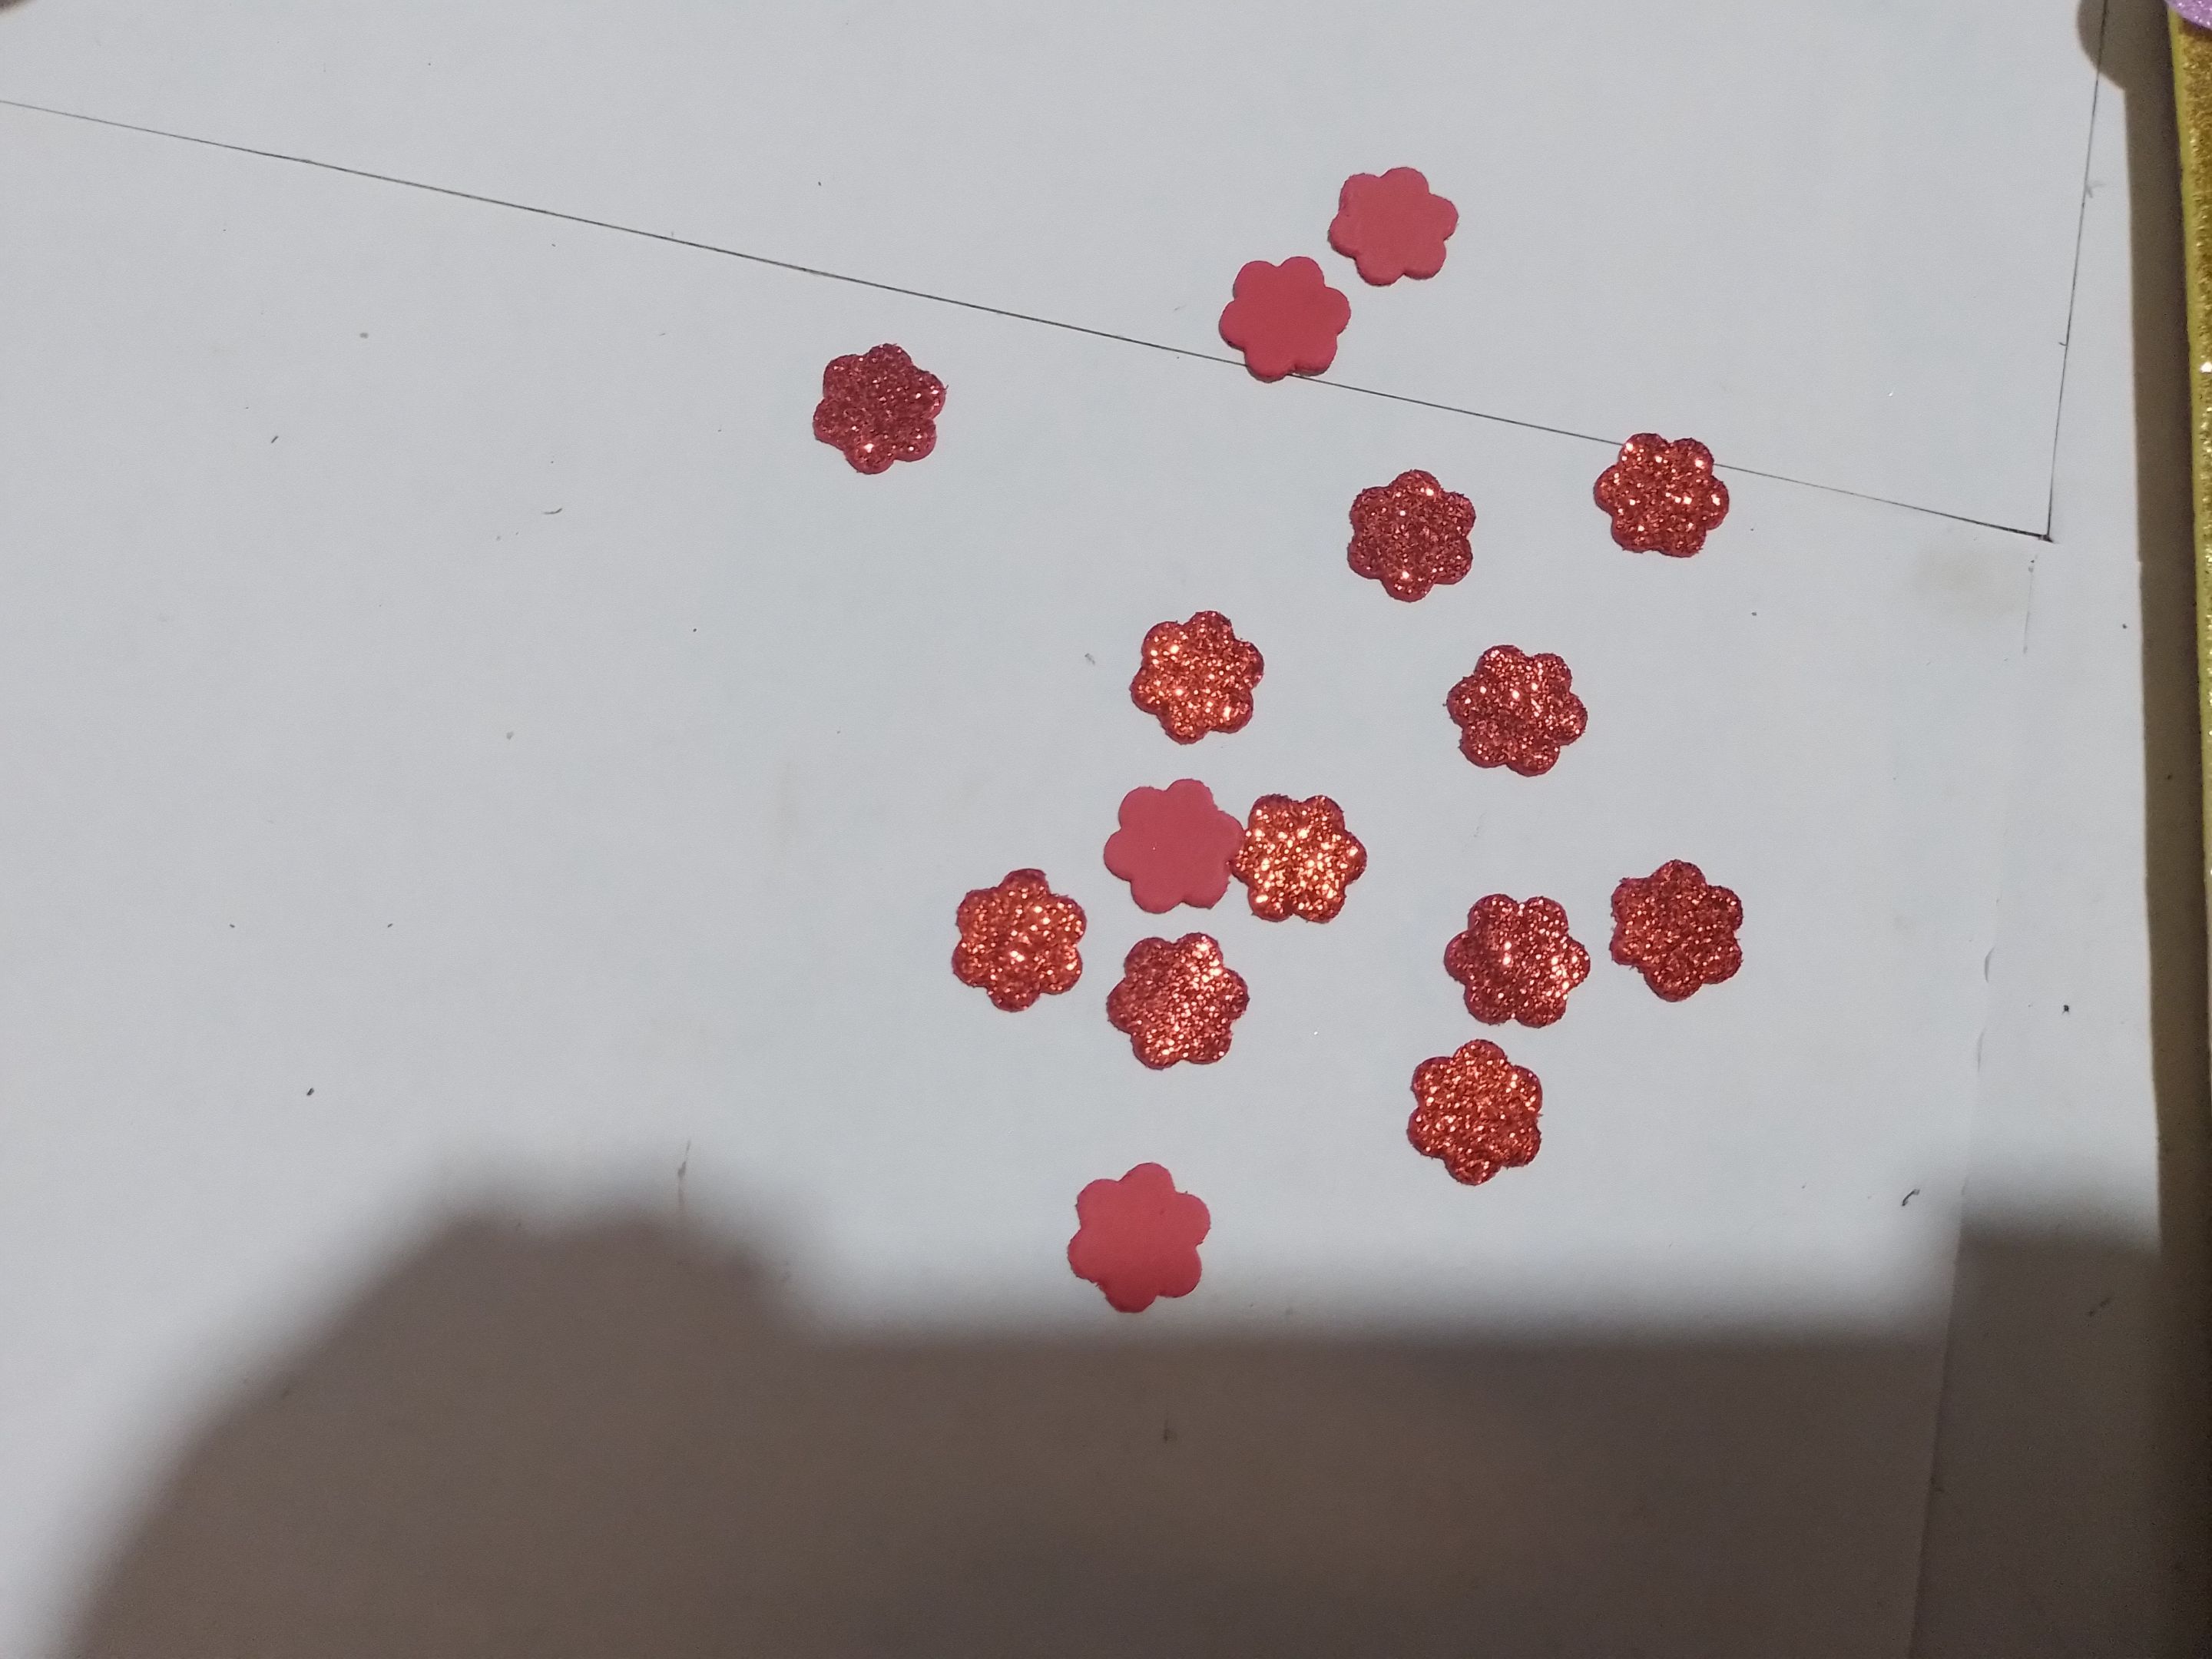
Step 12- Draw some small circles on the red fomi, cut them out and glue them in the center of the little flowers.
Paso 12- En el fomi rojo dibujamos unos círculos pequeños, los recortamos y los pegamos en el centro de las florecitas.
Step 13- Then, on another piece of red fomi, draw some small flowers and cut them out.
Paso 13- Luego, en otro pedazo de fomi rojo, dibujamos unas florecitas pequeñas y las recortamos.
| https://files.peakd.com/file/peakd-hive/norychacon/EonnWM7JgB59SoJWT96BYcHq32JRe6sB6ASCEJQKakC4YkYm8g2k97NTVsB91cBZcfm.jpg | https://files.peakd.com/file/peakd-hive/norychacon/Eoke9bG8H7VMTLhDqZNSNoo1WoiL9L5ssNQN8R923Sa1U1gSVmL78kp2TEcoKB58Z86.jpg |
Step 14- Glue the small flowers on the silver strips of the frame.
Paso 14- Pegamos las florecitas pequeñas en las tiras plateadas del marco.
| https://files.peakd.com/file/peakd-hive/norychacon/EoyRxS744w7ysJagQsapZkpygxPnrucNULeMchbkBz7eMxadE3FD5yvrXjEwVdDVu2y.jpg | https://files.peakd.com/file/peakd-hive/norychacon/EpVD4qhQ7LYZqcXG8jcVrpWp9UKVfmJZHGj2E1fpttYv5VPJGFAGw3weRczSKd9Y6xs.jpg | https://files.peakd.com/file/peakd-hive/norychacon/EpNpQ5aadtnRpGT6VqTfS55iuw8BxeBx8D54wb6jAQea37Tz2udeZjeEbE46DE2muwN.jpg |
Step 15- cut out a small piece of pipe cleaner and glue it to the back of the frame to hang it.
Paso 15- recortamos un pedazo pequeño de limpia pipa y lo pegamos en la parte de atrás del cuadro para guindarlo.
| https://files.peakd.com/file/peakd-hive/norychacon/Eoc81hAN3eRU1FNR5rjbZaWy4cf6it3ZCaaNxXLnTazM6dgcFLVQijmfMtrhNyPMtUk.jpg | https://files.peakd.com/file/peakd-hive/norychacon/Eo4DQp87pFXj4ZAz36feVMvoQ7h76F7BJT65UDuTFDwVzbrnzHGAHkEzTAf8d54b7Dc.jpg |
Step 16- Finally, we are going to place the photo of the girl inside the frame.
Paso 16- Por último, vamos a colocar la foto de la niña adentro del cuadro.
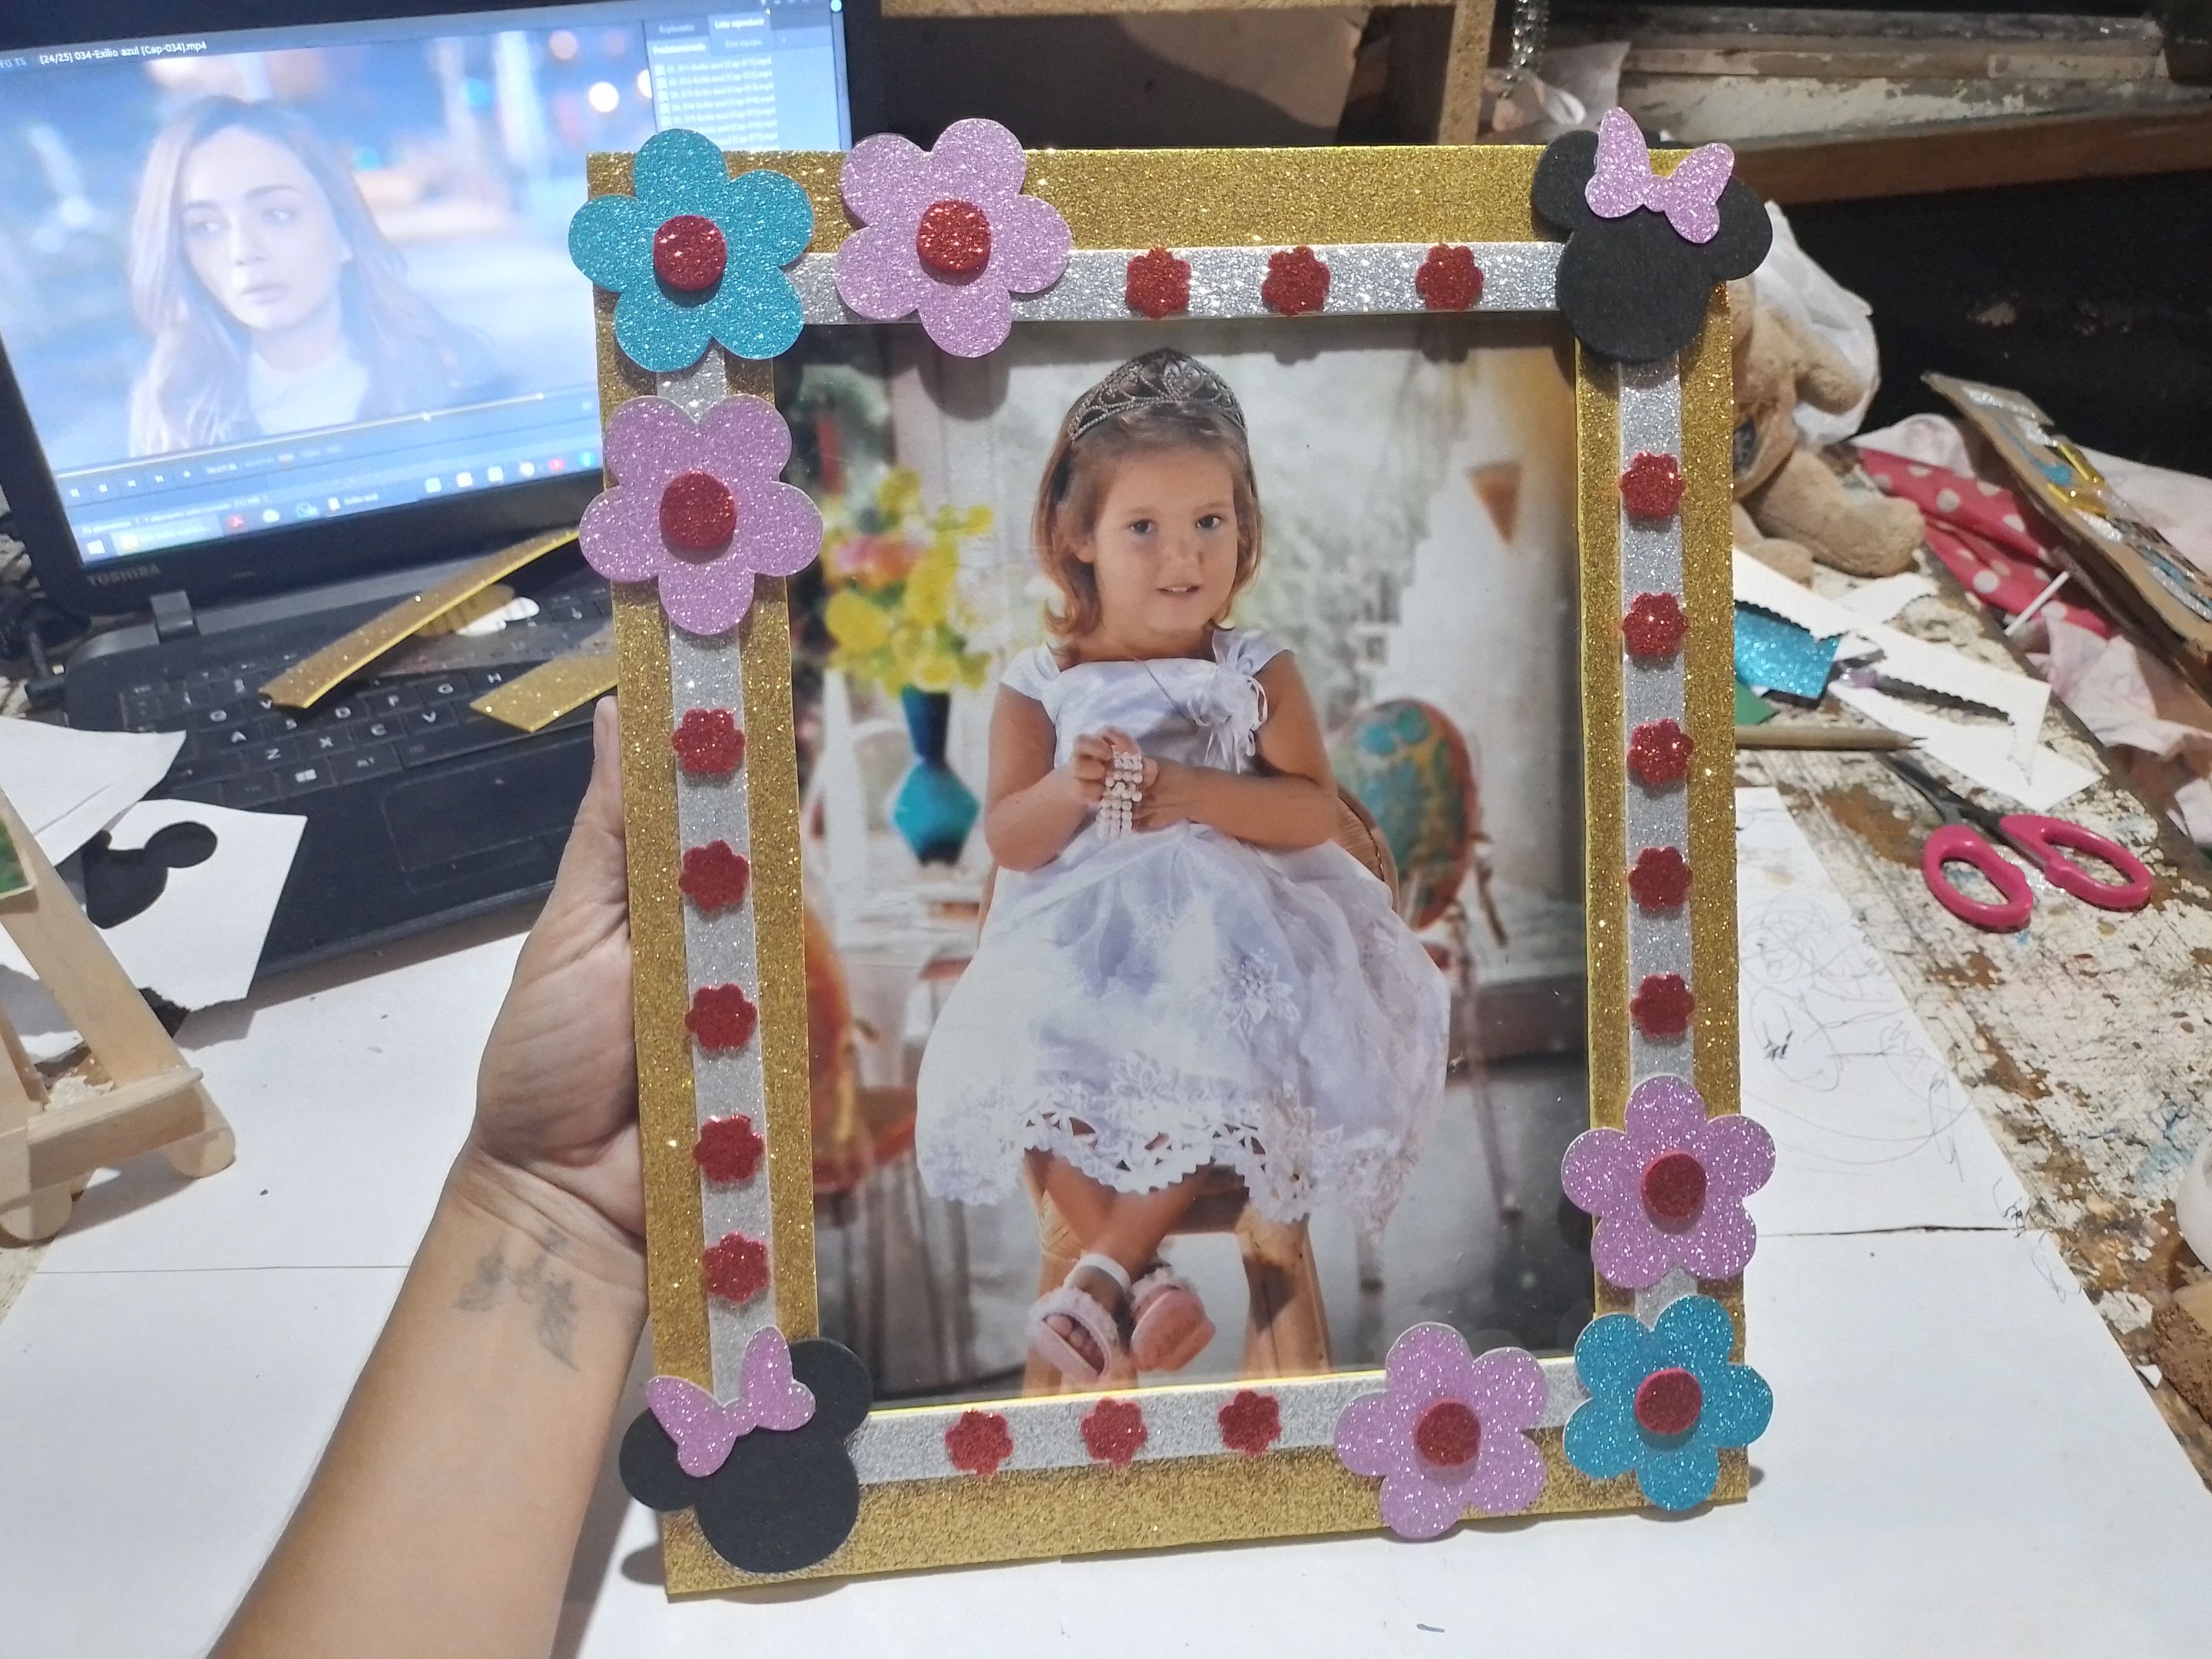
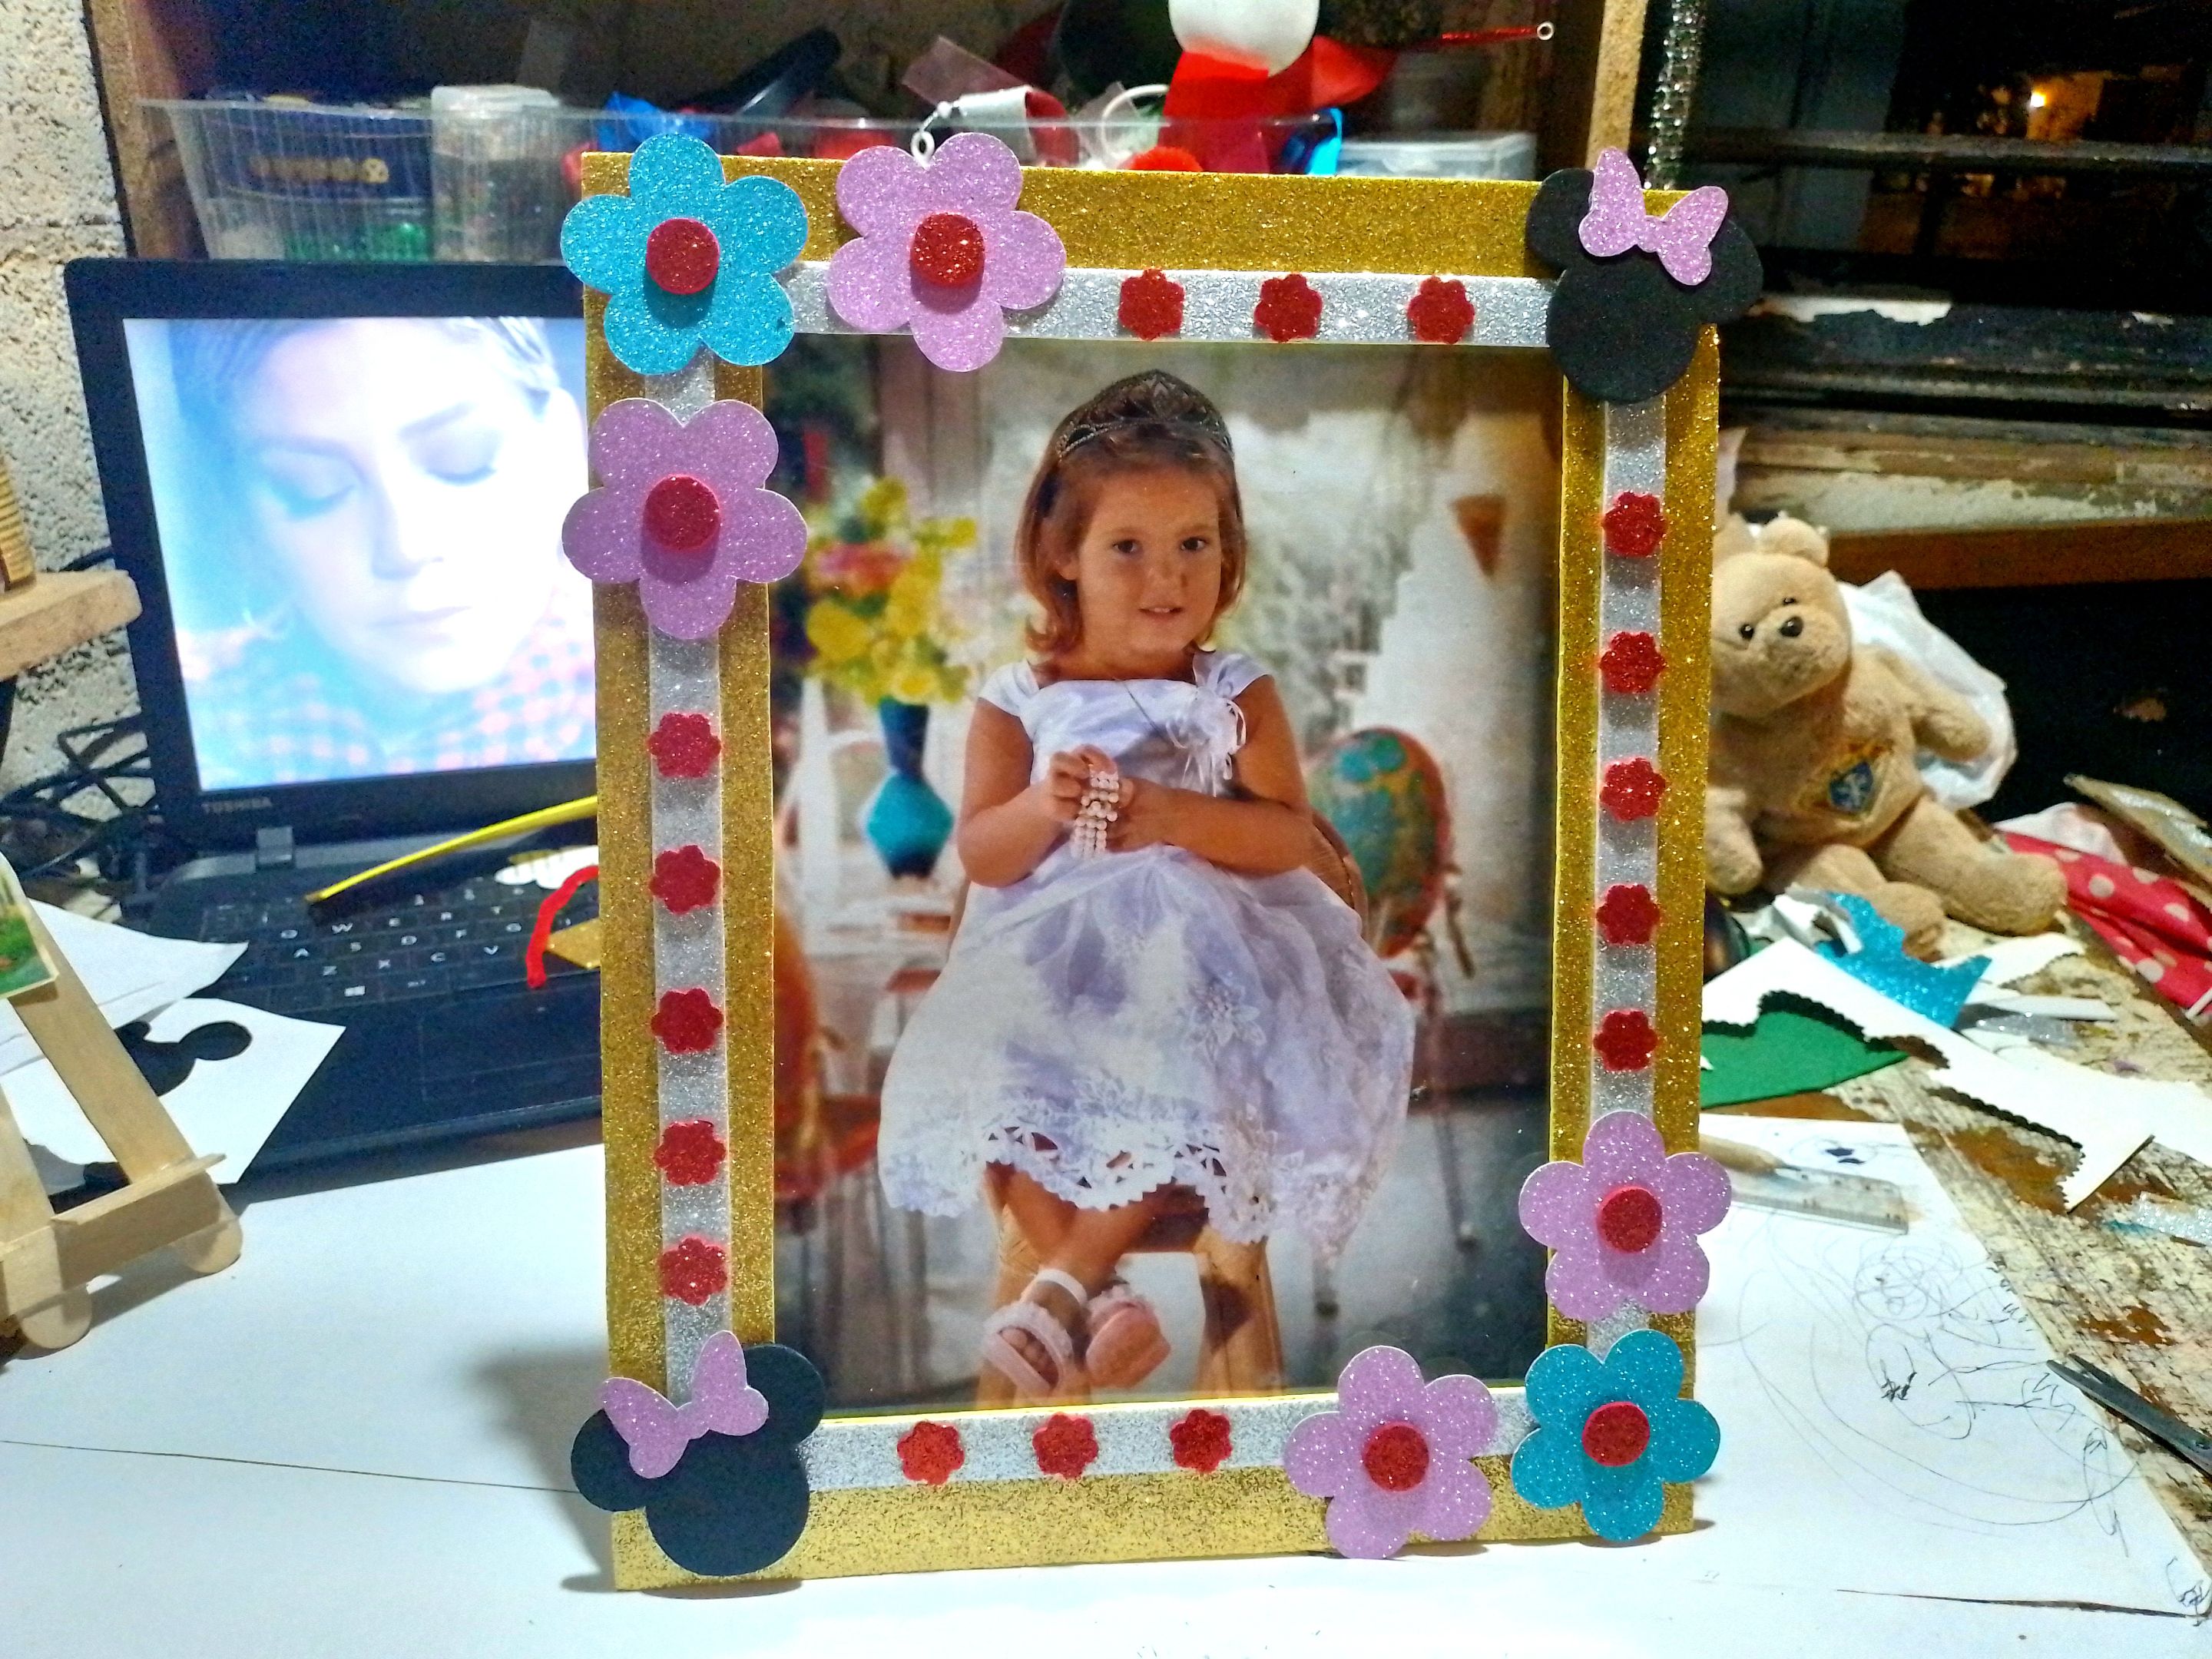
And so we got this simple, but beautiful painting for a very pretty princess. I hope you liked the result.
Y así nos quedó este sencillo, pero bello cuadro para una princesa muy linda. Espero que les haya gustado el resultado.
Photos of my property taken with the phone Cover made in Canva Translated by DeepL