Hello creative friends, after a while without publishing, today I am with you again. On other occasions I have told you that I am a fan of plants and sometimes I create them out of fomi to make them eternal and beautify my home. Today I bring you a pink rose in which I loved the final result and I hope you like it too.
Hola amigos creativos, después de un tiempo sin publicar, hoy estoy nuevamente con ustedes. En otras ocasiones les he comentado que soy una persona fanática a las plantas y en ocasiones las creo de fomi para que estas sean eternas y embellecer mi hogar. Hoy les traigo una rosa rosada en la cual me encantó el resultado final y espero que a ustedes les guste también.
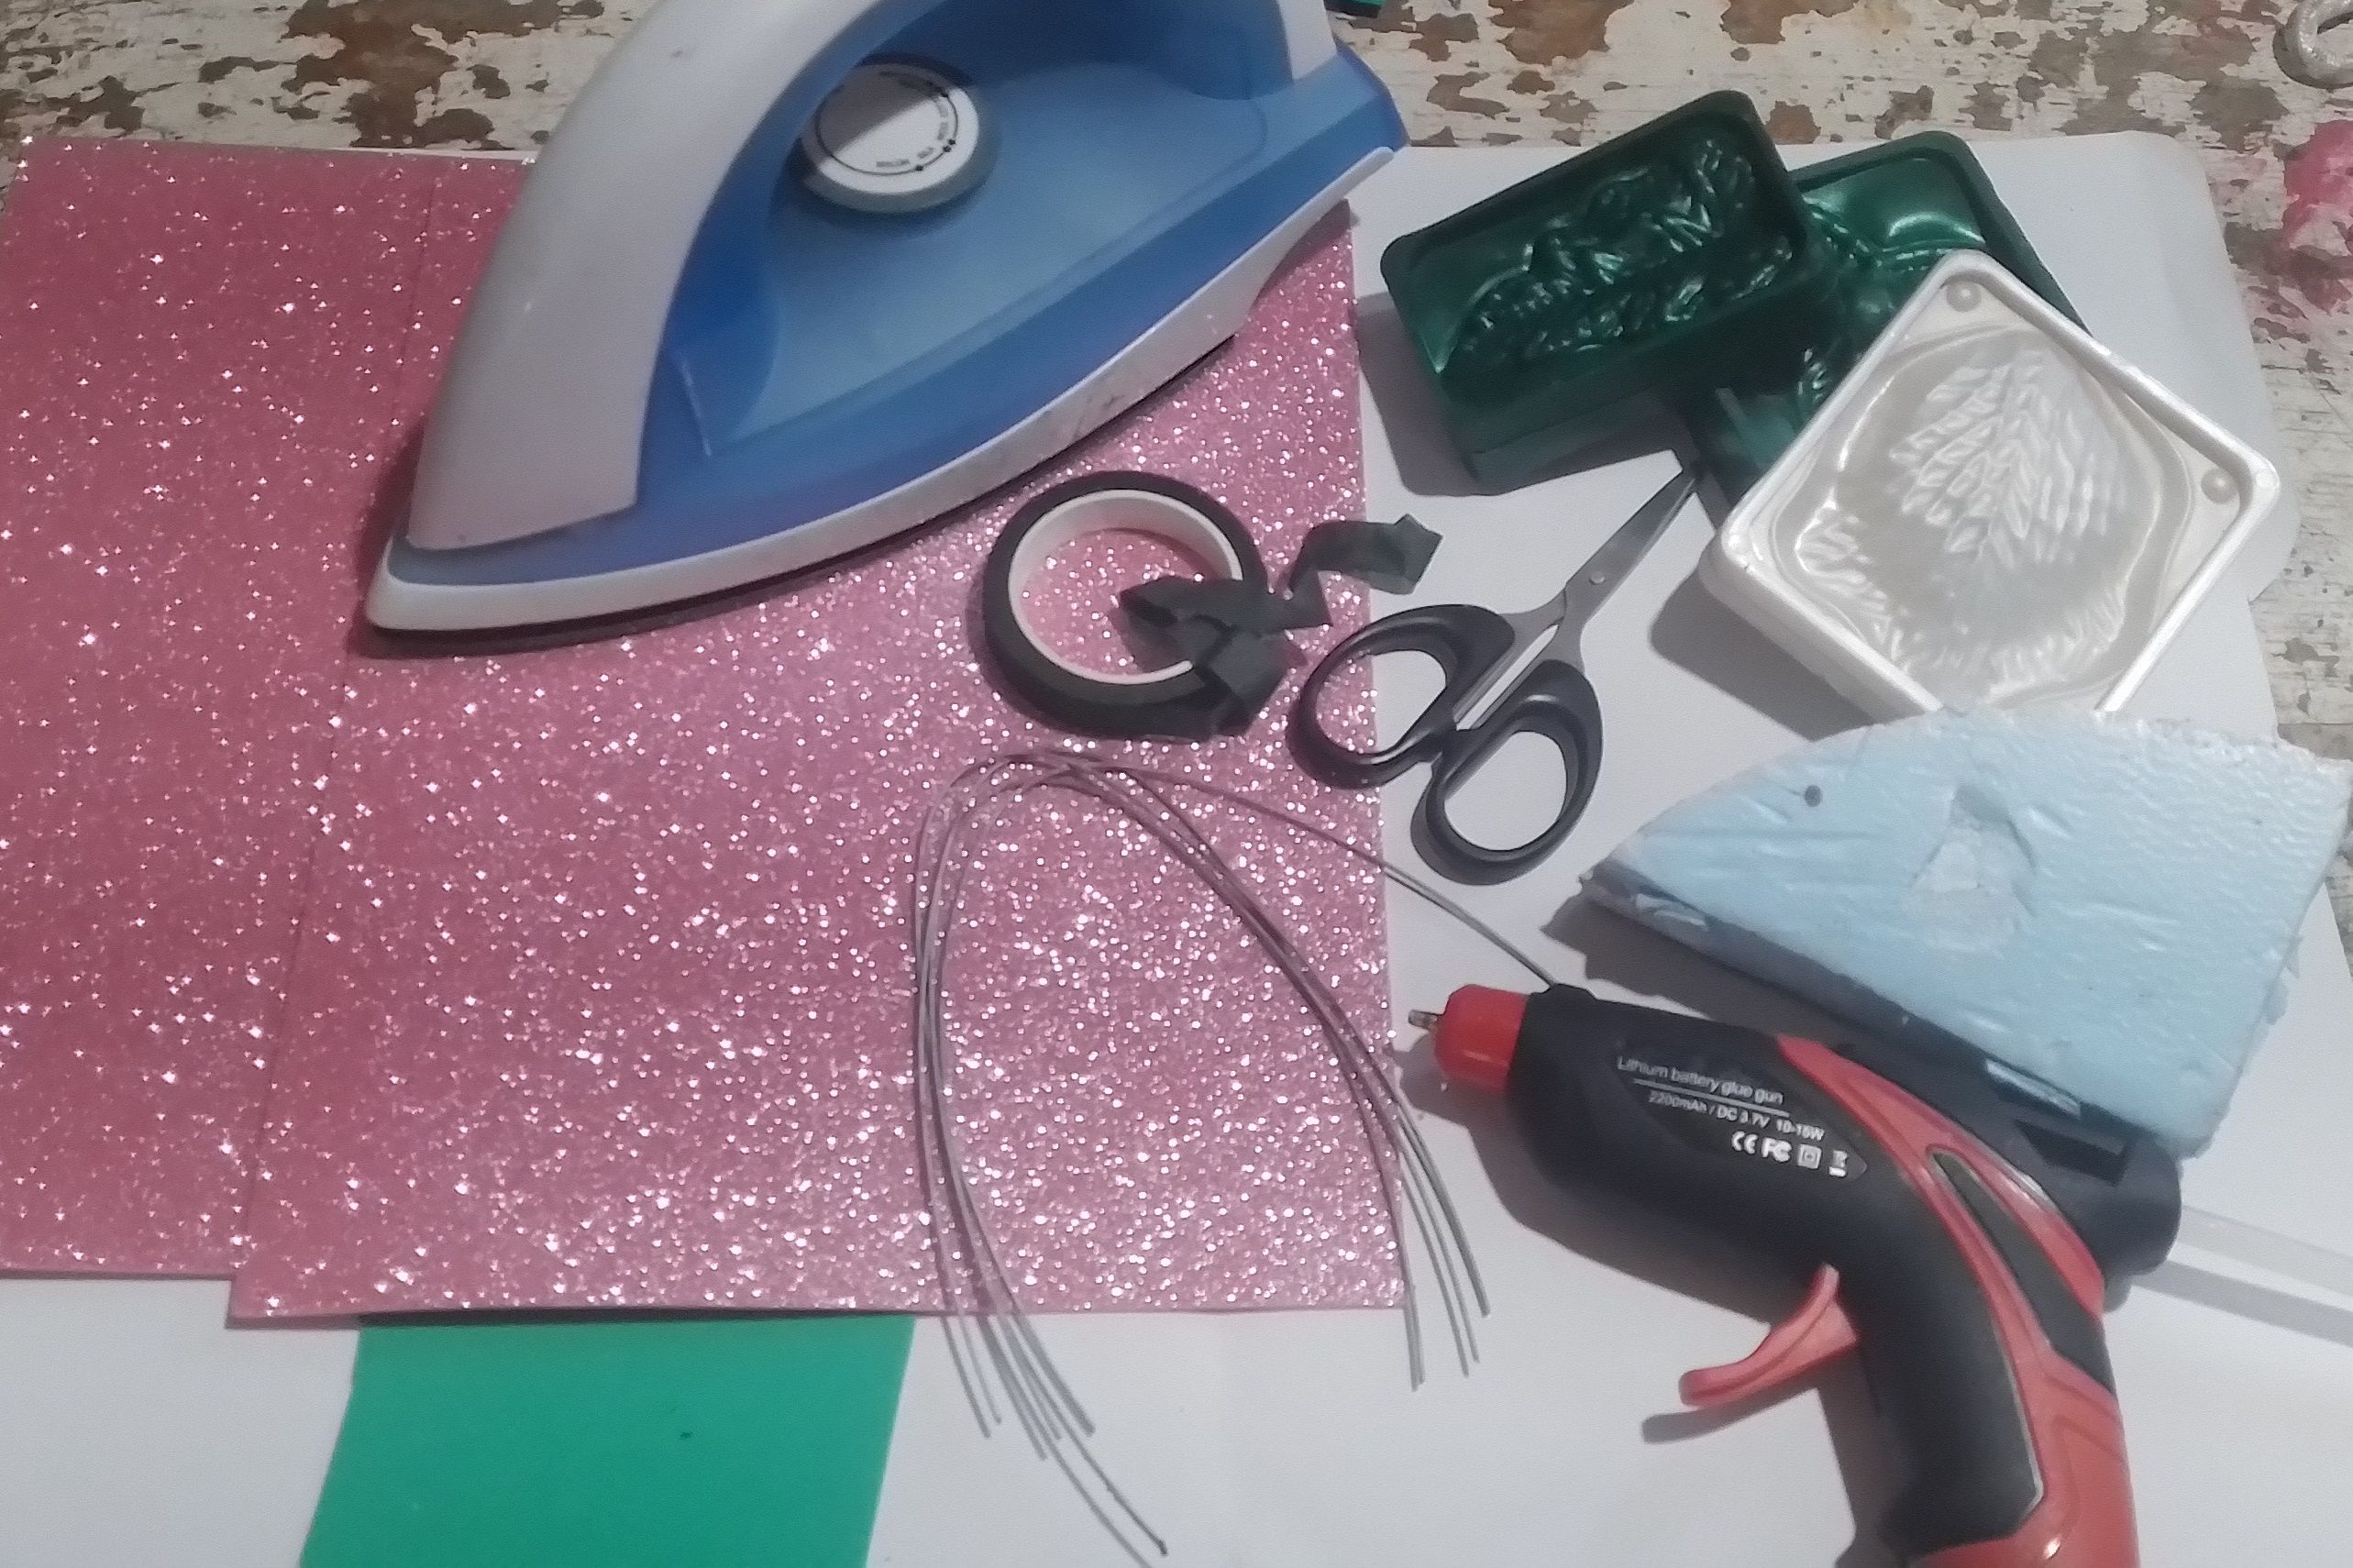
- pink and green fomi
- A sheet
- Floral teipe
- Thin wire
- Plastic molds
- A piece of foam
- Scissors
- Silicone gun
- Silicone sticks
- fomi rosado y verde
- Una plancha
- Teipe floral
- Alambre fino
- Moldes plásticos
- Un pedazo de espuma
- Tijera * Pistola de silicona
- Barras de silicona
|  |  |
| 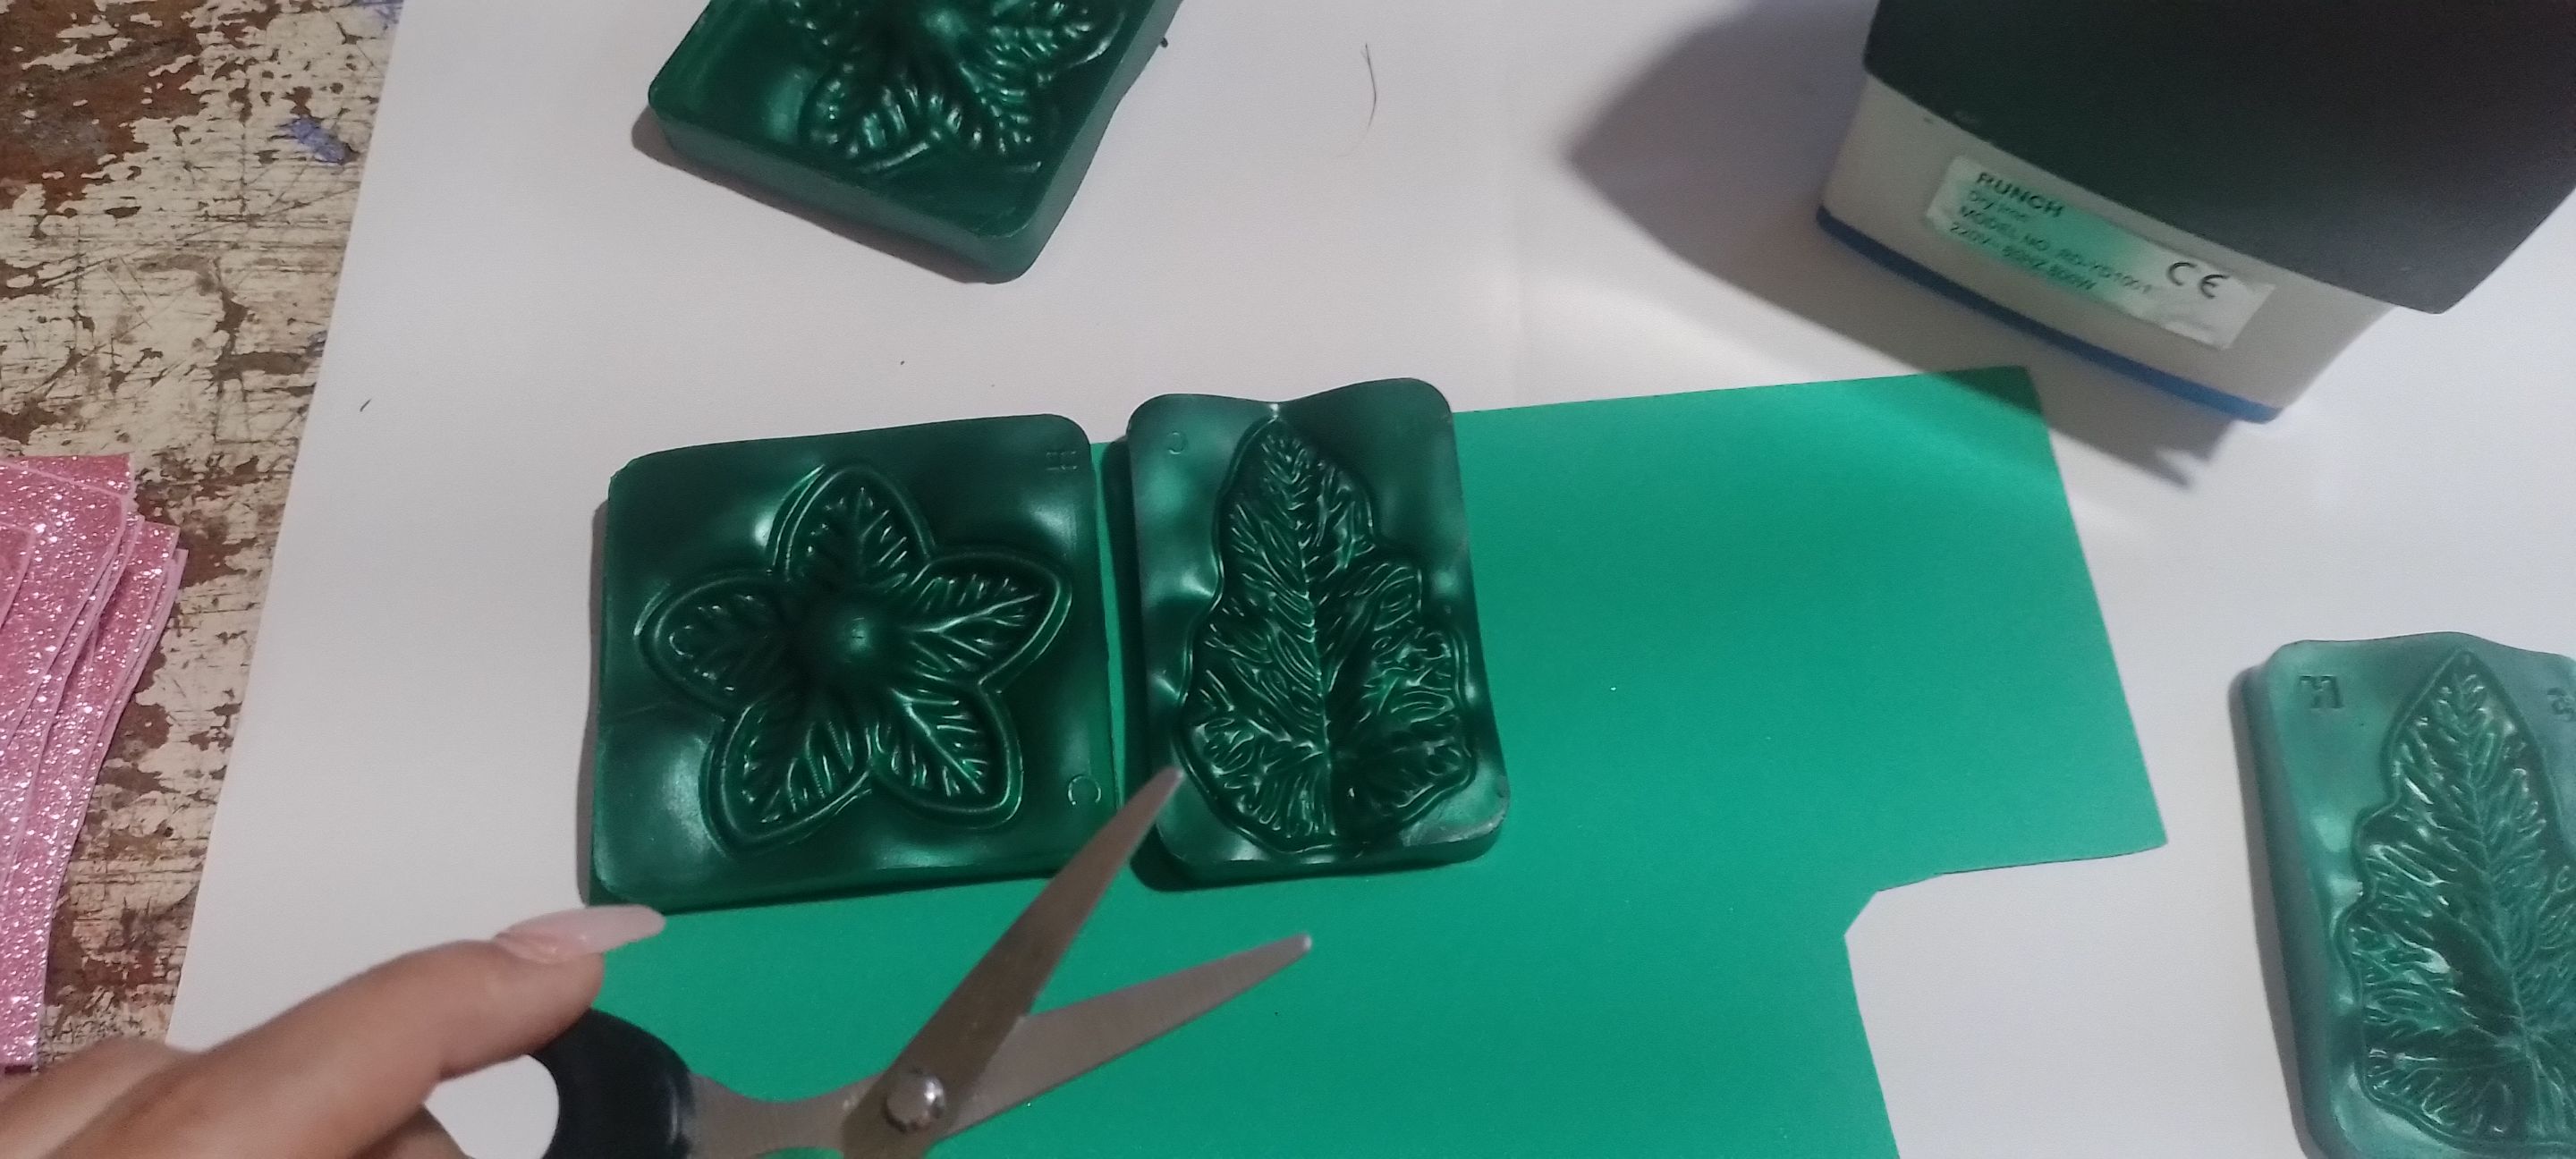 | 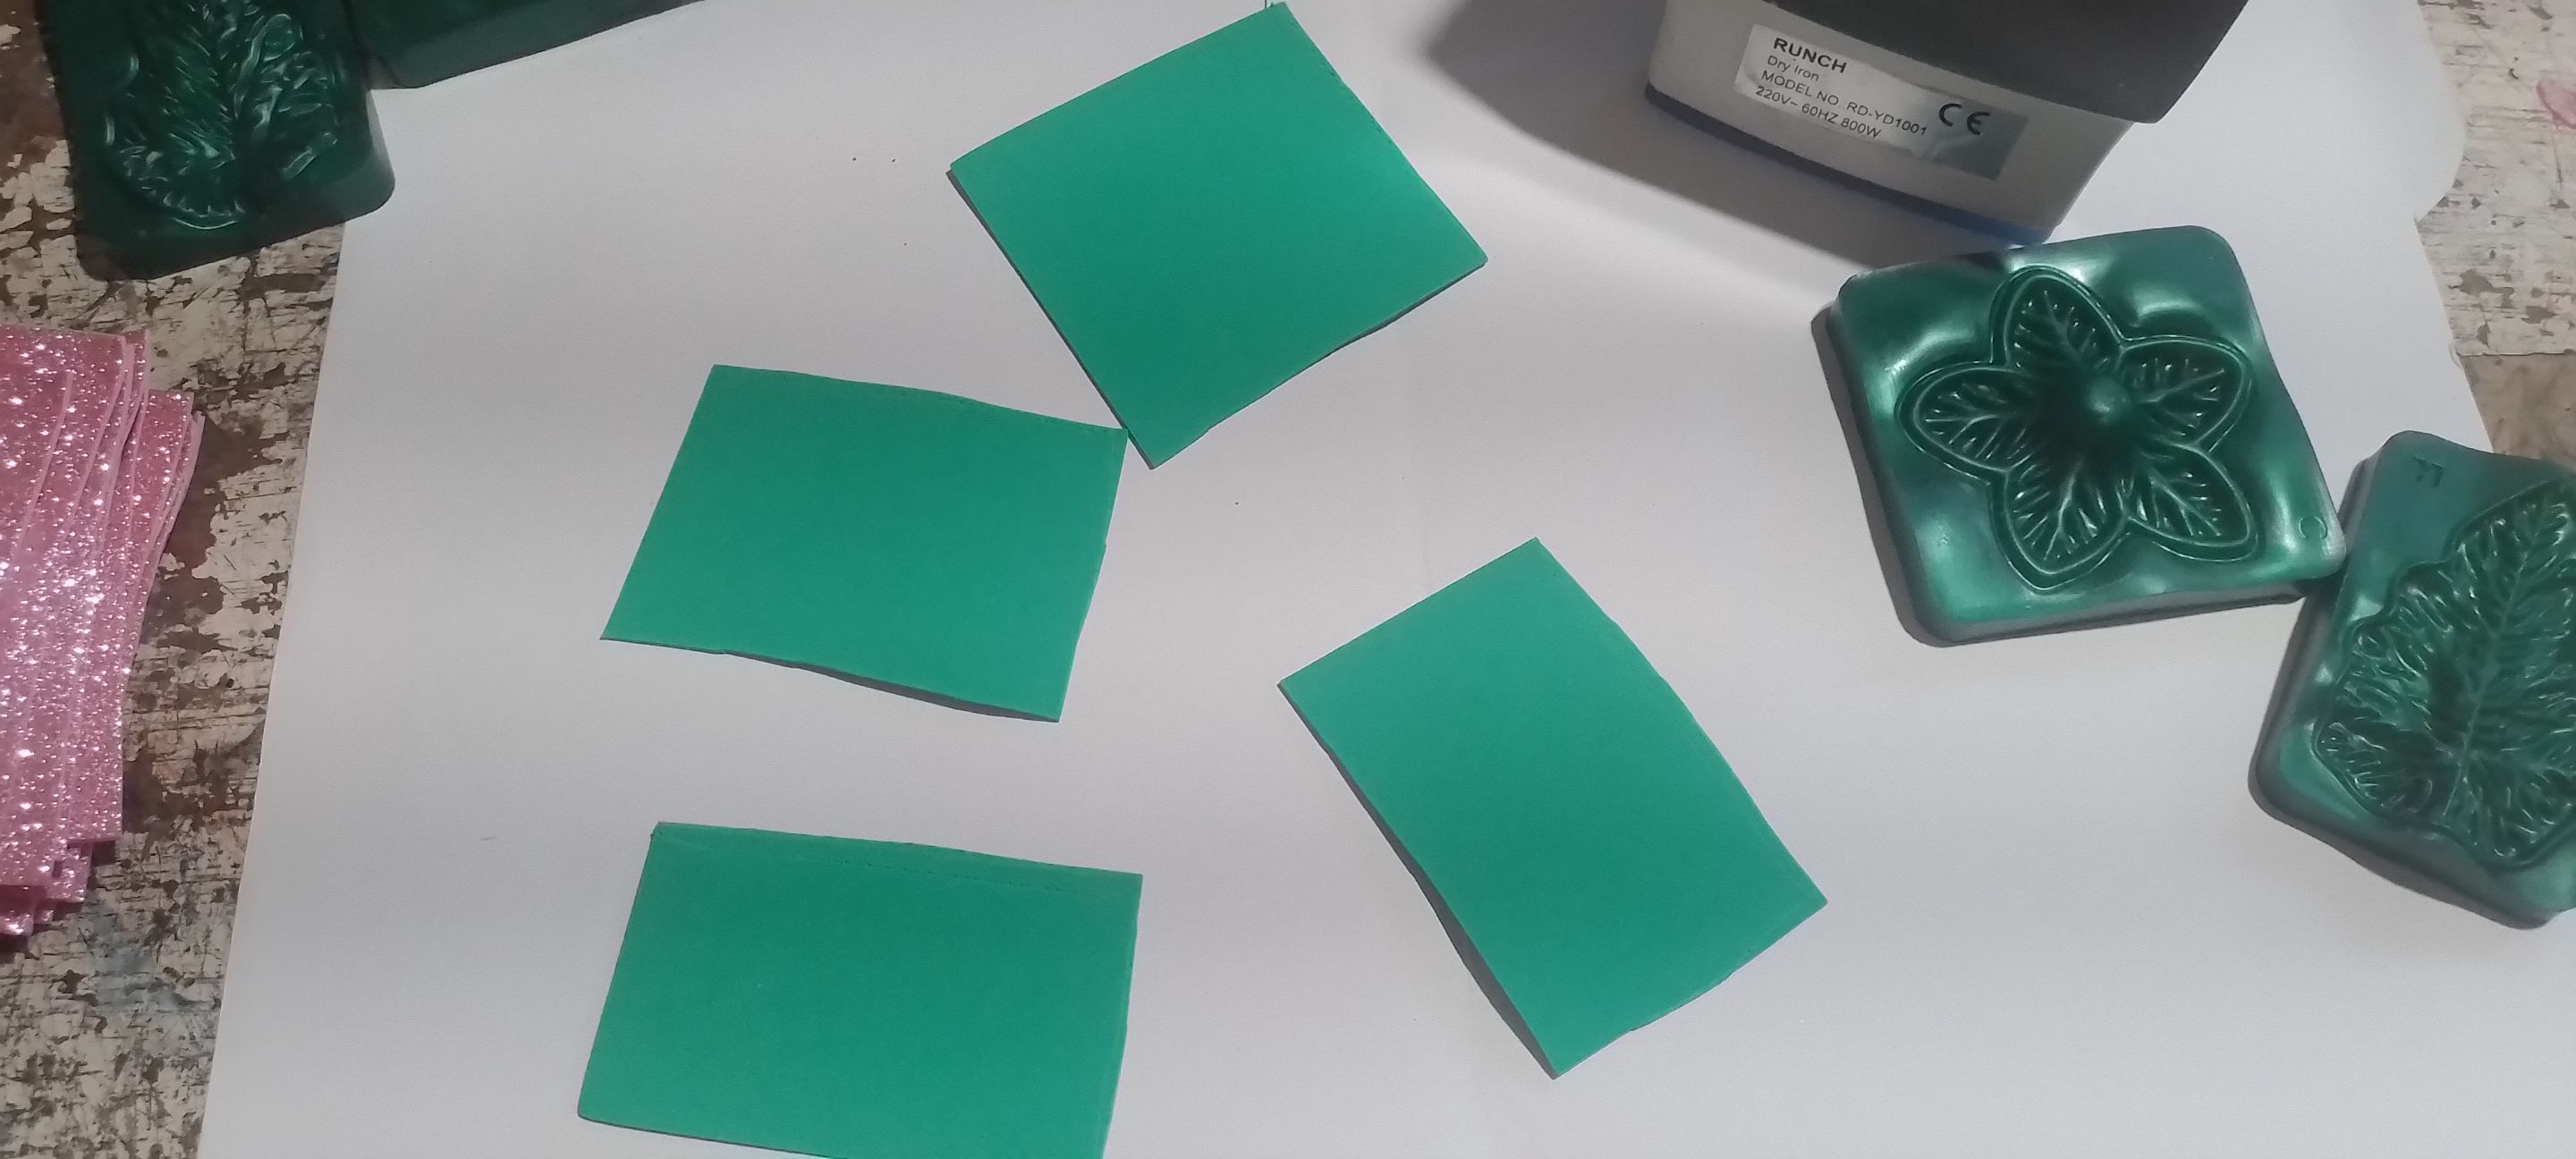 |
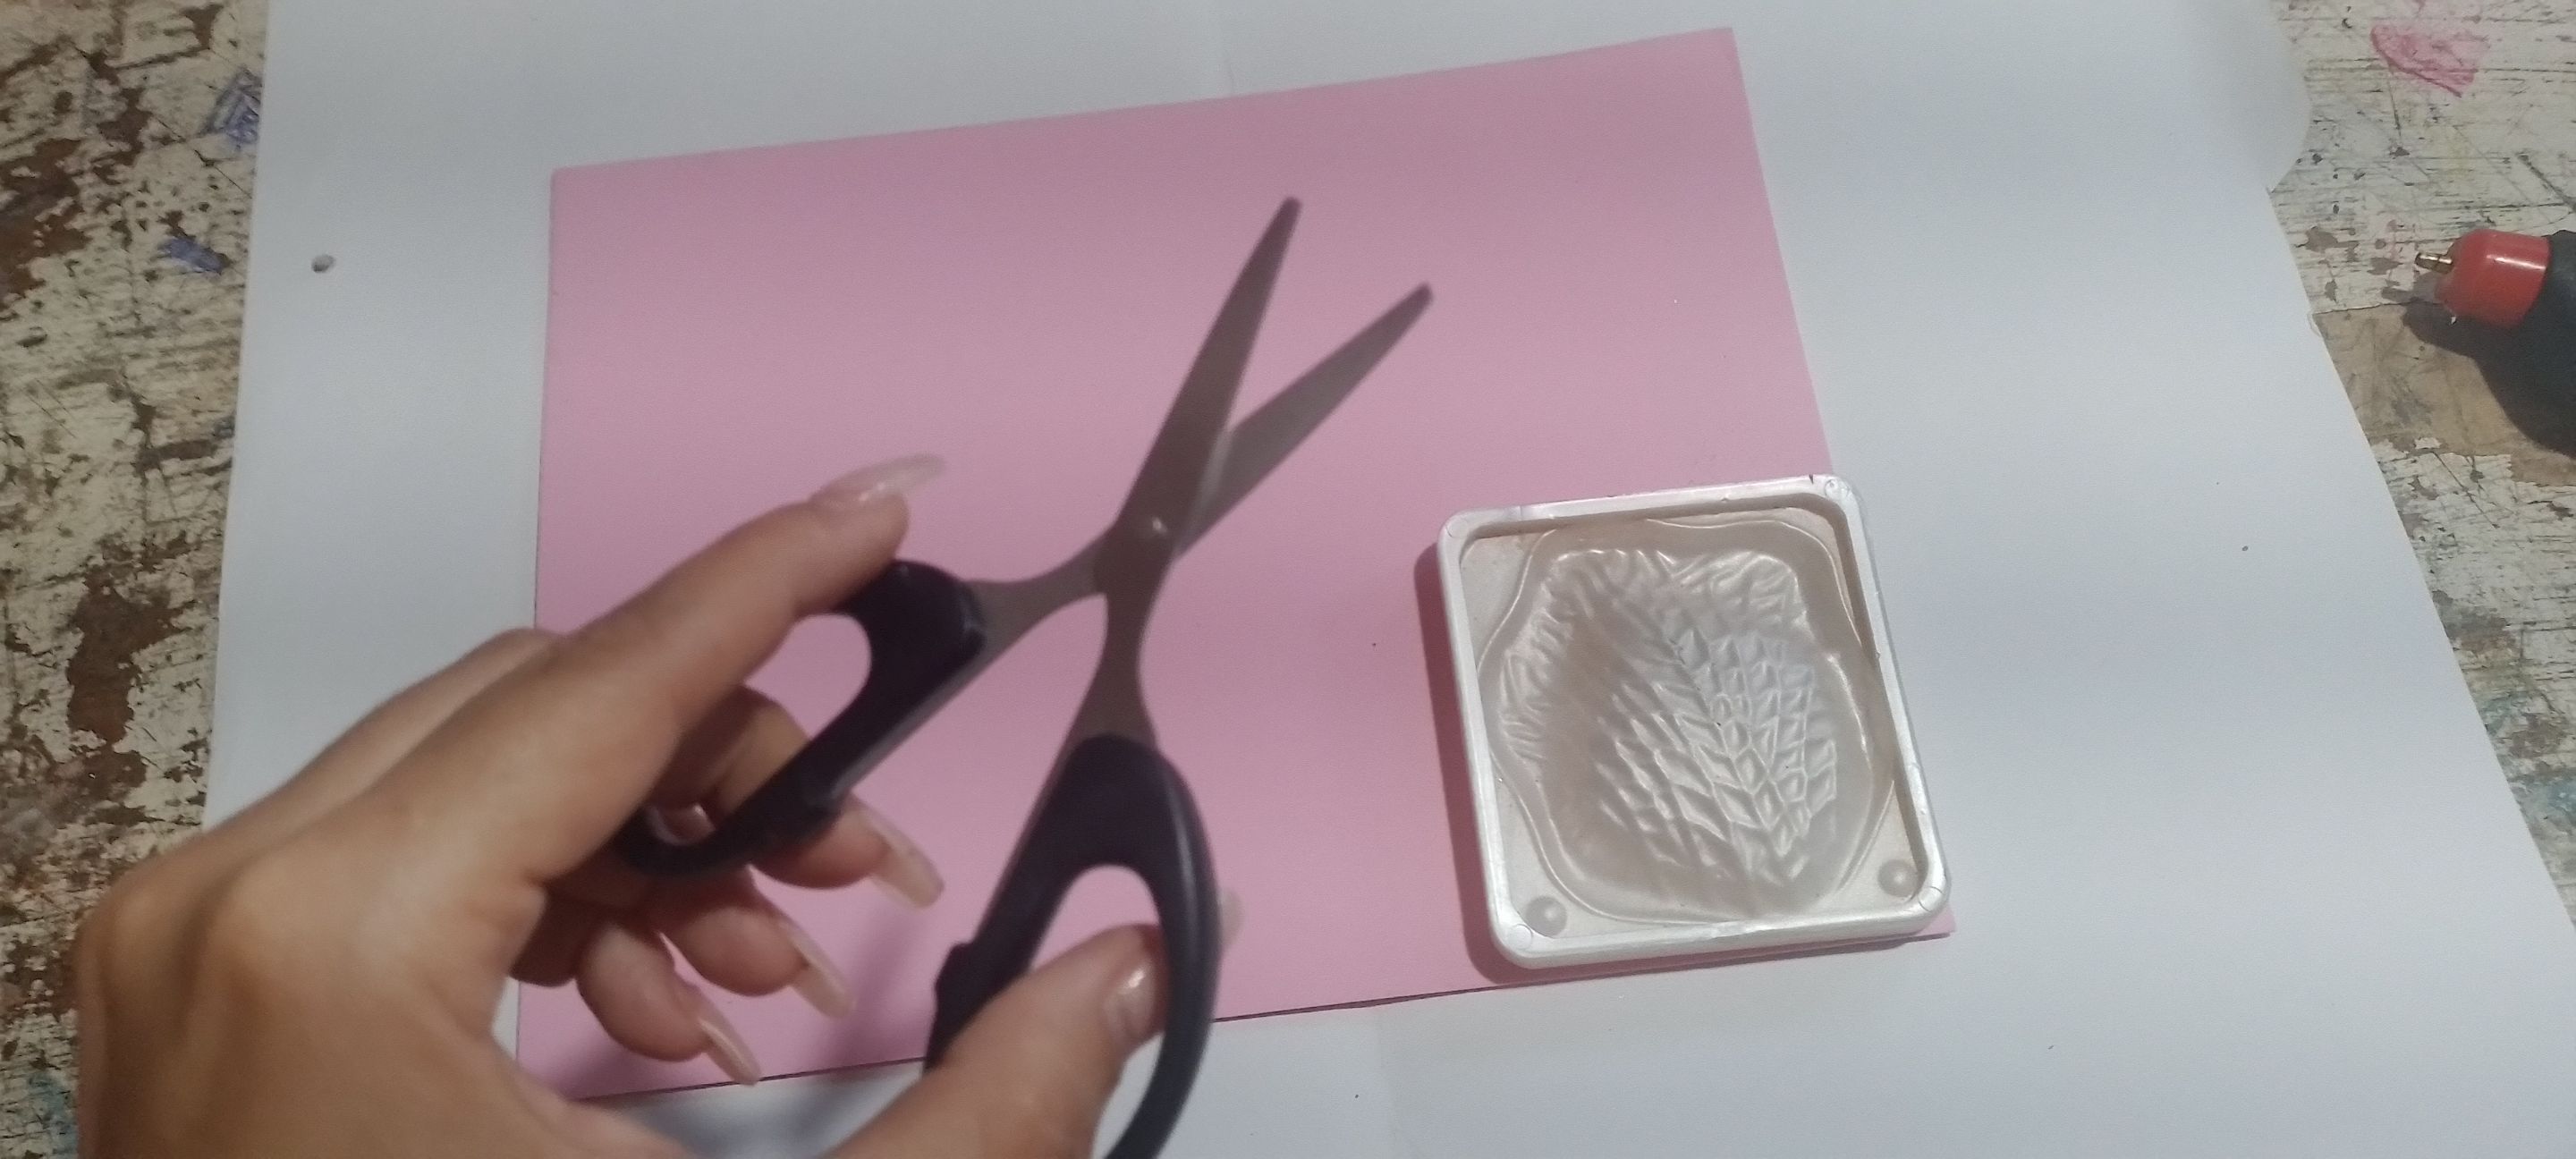
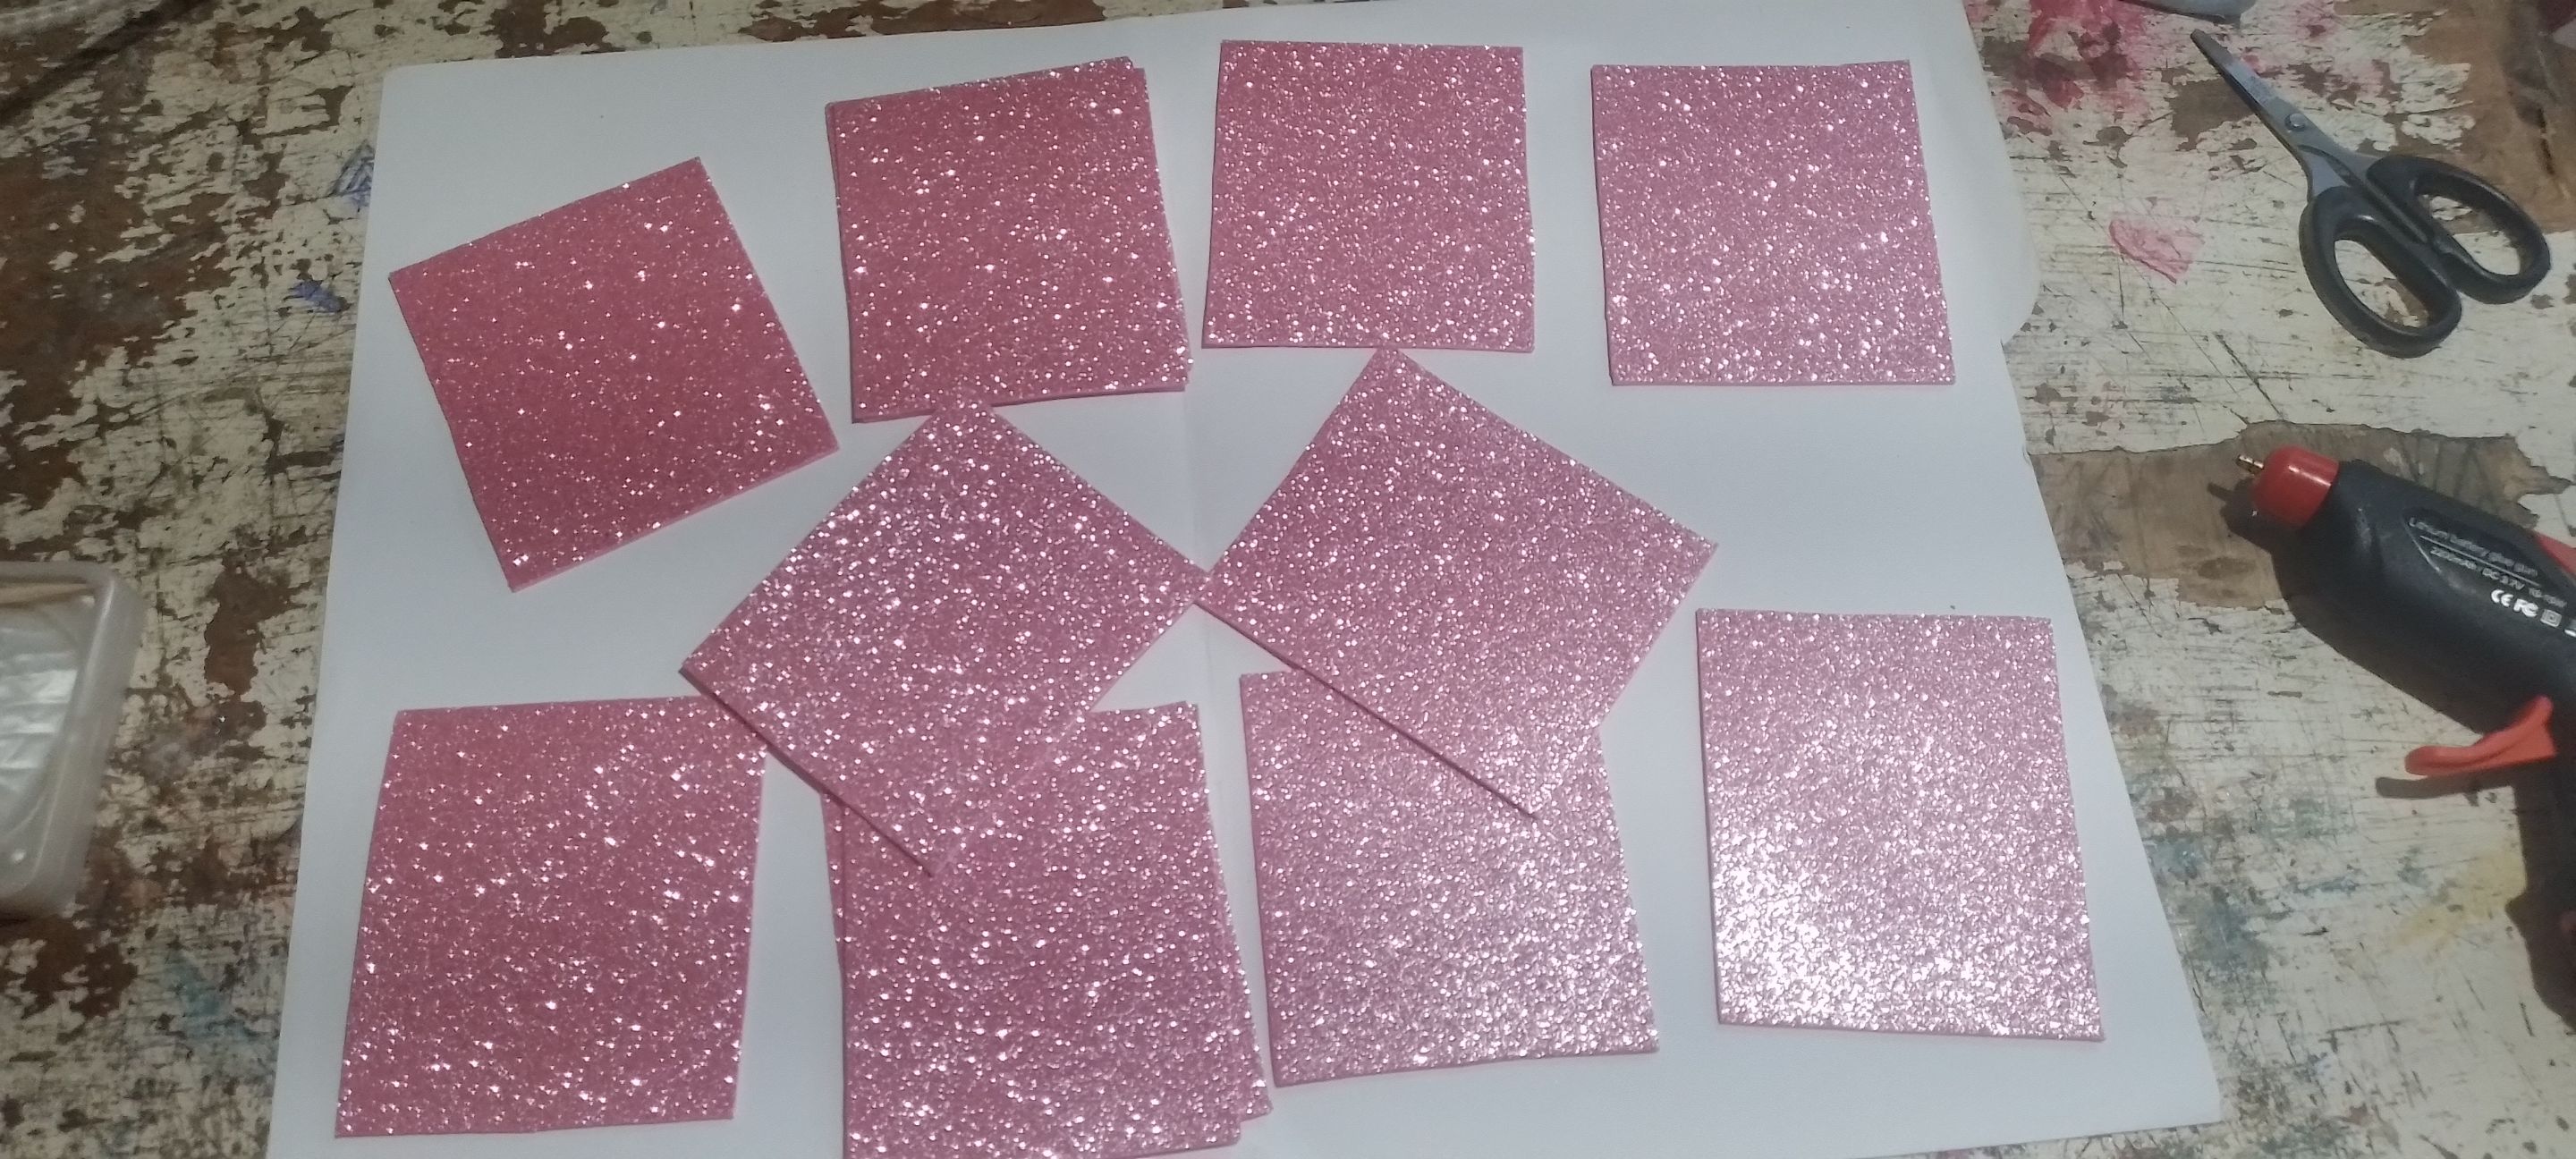
Step 1- First we cut some pieces of fomi of the size of the chosen molds which in this occasion are the rose petal and the leaves.
Paso 1- Primeramente recortamos unos trozos de fomi del tamaño de los moldes escogidos que en esta ocasión son el pétalo de rosa y las hojas.
| https://files.peakd.com/file/peakd-hive/norychacon/EoptKbJoS13rQkjyGy6oSV4DAk3uj9qEZe3dMRh9xeoHZDuFju9mQSX62VzT6bYn5iH.jpg | https://files.peakd.com/file/peakd-hive/norychacon/Eoc7wqWdyzFeJF5fK3oDimdXSUwLcFMMfDN6oKqZ8p4mwoXRvRV9LZhLAWvFZBUqyT1.jpg | https://files.peakd.com/file/peakd-hive/norychacon/EoeGqmJDgccbzgB1pPwbEXYwRegY5gyo2yK5jqexsSvE4hDQ1THDN3ChgS3TYowP1q6.jpg |
| https://files.peakd.com/file/peakd-hive/norychacon/EoiVj6Pm5muRPNWduuFctxgsRkZ6oKSuwKqBWoNW1cZhhXybQdMKsgciUkzSMTkgLvp.jpg | https://files.peakd.com/file/peakd-hive/norychacon/EpEJmYod8wHTsMbzWM19nXxUMjTkQGA54c4mW7G3cAYdN6BAEf8LVBTugVBmMTJVB2J.jpg |
Step 2- Then we heat it in the plant and mold it with the molds, placing the hot fomi in the center of the mold and pressing the two parts until it takes its shape.
Paso 2- Luego lo calentamos en la planta y lo moldeamos con los moldes, colocando el fomi caliente en el centro del molde y presionando las dos partes hasta que esté coja su forma.
| https://files.peakd.com/file/peakd-hive/norychacon/EoGyw4hZQ4kKE1aQrWDLXHbw2R9aUjLDY8bqnhakbR2jYEgP36JuqbpvZjUvrpebX26.jpg | https://files.peakd.com/file/peakd-hive/norychacon/Eo6LouVbxmiAFcupsSbZoZMhpEWKgJLFDdCJSmypyyw5oYGaQ5Gr4qX5X8tZdsUBx9h.jpg |
Step 3- Once the molding is finished, we cut out all the parts along the contour of the shape.
Paso 3- Ya terminado de moldear, todas las partes las recortamos por el contorno de la forma.
| https://files.peakd.com/file/peakd-hive/norychacon/EoCk6BgJksTmJ2phqBrcbNkzGTnMM2wBo8dTL1DU4d9vZMPSVpJtQgSVrA6DrFb2Y7u.jpg | https://files.peakd.com/file/peakd-hive/norychacon/Ep1Yqhd6gszWgdDpCs4953tfzBeYMHYhohjRUoiVE9BjcJSyjqxGecR4tip8U8fBk8s.jpg |
| https://files.peakd.com/file/peakd-hive/norychacon/EoAceFedmnHRRnoFEr574eRi6VkhYJLBkyMB2F4LSgrPKtFjAZgzmRMSq34kJ5x3cFZ.jpg | https://files.peakd.com/file/peakd-hive/norychacon/Eoc93HpZv3zvbuYLs5as16D7SU7v3pywyXpg6C9bW8RCbdx3nbgLVtbPWdPbTQT9zGG.jpg |
Step 4- With the piece of foam we cut a cone so that it serves as the center of the flower and takes a nice shape. We take a thin wire and glue it to the bottom of the cone.
Paso 4- Con el pedazo de espuma cortamos un cono para que este nos sirva de centro de la flor y coja una forma bonita. Cogemos un alambre fino y lo pegamos en la parte de abajo del cono.
| https://files.peakd.com/file/peakd-hive/norychacon/EoGzQH9RcVwv1W4axddJMTyfw89gvaMrn96FfHfnMepkiyf8AQPE9Rvtg231Z3dREwP.jpg | https://files.peakd.com/file/peakd-hive/norychacon/EoEs3PB88Rae5BTaXwKRTaidWA5XozzwYazzEHKH3jj3TZVomgNVBbSL8x2umtbUr2F.jpg |
| https://files.peakd.com/file/peakd-hive/norychacon/EoEsPnHZYCX8KKtXTUbCpgFYE9vxfeSQraKpdQYBLC7YU17cWWgv344zxtU3U5J8QM8.jpg | https://files.peakd.com/file/peakd-hive/norychacon/EoEryLny5e2S33ura2u1pufQ3RgfYJTm1PyYhkdb3qxeLLAhz4KYkPSW4A4aCS3mLWS.jpg |
| https://files.peakd.com/file/peakd-hive/norychacon/Ep3ffoFmJsejiLMELvsGQ4WFm7PzVDKFaqNyXmAeYm5LQtEUp8x6CbX9BoHjysq2KLe.jpg | https://files.peakd.com/file/peakd-hive/norychacon/Ep7w4uk9mQW7uEFN9Sr6dCQQ5pUZ87EcsaGnLL4cNCC2ep5Fj9gmUL8TX1UKD7x6fAA.jpg | https://files.peakd.com/file/peakd-hive/norychacon/Eos3Dr7jateSCqUWbtsCw5RrJ7vmD96KcvpS6vZ1gSuBUEiZiJZVYcictXY9gdSyKZE.jpg |
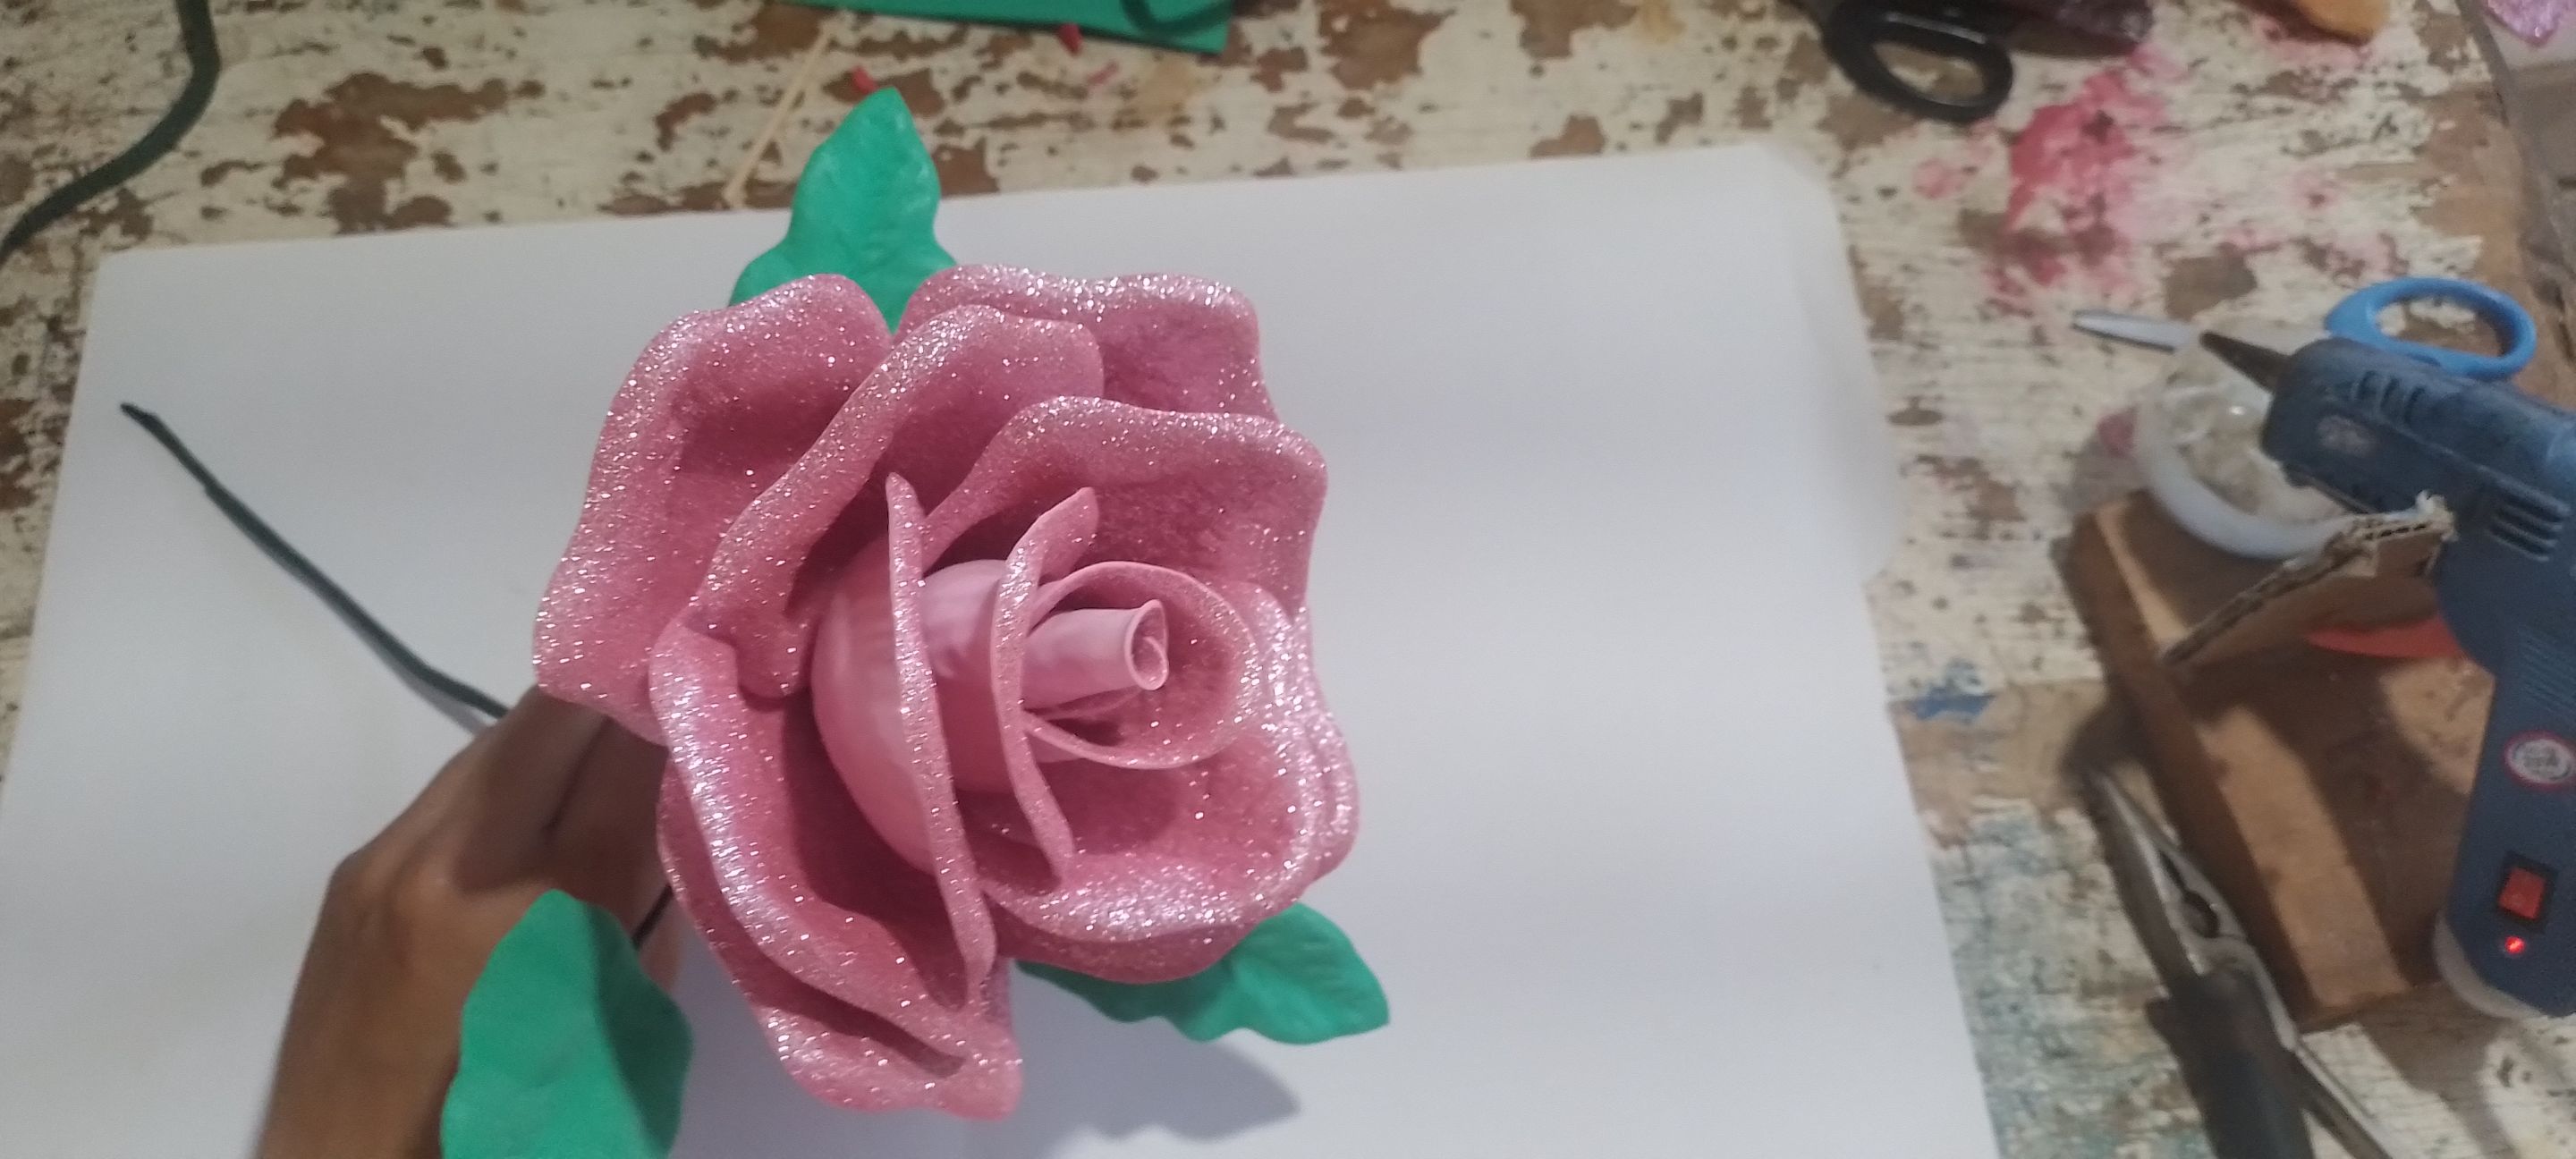
Step 5- Then we glue a petal around the cone creating a button and then glue all the petals giving the shape to the rose. When we are ready to glue the rose, we glue the star-shaped leaf we made on the bottom of the rose.
Paso 5- Posteriormente pegamos un, pétalo alrededor del cono creando un botón y después pegamos todos los pétalos dándole la forma a la rosa. Cuando temimos de pegar la rosa, le pegamos en la parte de abajo la hoja en forma de estrellas que hicimos.
| https://files.peakd.com/file/peakd-hive/norychacon/EoEs3PXg5jV7Euu3jZsayCpnqXG1Td1wpMC77dYaUuxWFsoP5VuRzeJC4qHwzjDMRBn.jpg | https://files.peakd.com/file/peakd-hive/norychacon/EonmyLeMmqKQDrMBqsG2kNHerywY79h1GcqiJhNTJmDVrjhKyMmvMiu6KmWTG7WMnZr.jpg | https://files.peakd.com/file/peakd-hive/norychacon/EoiXEz9vN6DuX35YGdZe8AAoTDsAtBS3pWAZ6DF4pPQk2aWqSwj64CWMkBJnAW99Wjm.jpg |
| https://files.peakd.com/file/peakd-hive/norychacon/EoiXDgfGkhXabCbMaFgL1qtnSp7gvkKQPHxD2GVqZhfvG9ZatVWmx7MCqBvH66ikEb2.jpg | https://files.peakd.com/file/peakd-hive/norychacon/EoK7pZPuuSZ9NbzrvxT44oBKripmGDwZ3U5y6zPYC4sKDFwJTGk4Km3k9vQjnxtvaHA.jpg |
Step 6- We take three thin wires and glue them on the back of the leaves and wrap floral teipe to create the imitation of the stems.
Paso 6- Cogemos tres alambres finos y los pegamos en la parte de atrás de las hojas y le envolvemos teipe floral para crear la imitación de los tallos.
| https://files.peakd.com/file/peakd-hive/norychacon/Ep1YGd1iNdQsnbrh2qTiAn5ML55QTh1MgnzanjYmZxmkx1UkL9r3zAzXUDg7rwn8xGi.jpg | https://files.peakd.com/file/peakd-hive/norychacon/EoiWkPoZddNoXKATAYrJcUrk8Qynd8Pg2KsEceU7He6ak8WUVYtKG2oogLLXT2MBCkk.jpg | https://files.peakd.com/file/peakd-hive/norychacon/EouAEqgTGZqQSWyk9yTigi8XVea5uQue61owYDHtQgTg6PUiUBfdSMcoikzJUwG2a3A.jpg |
Step 7 To finish, we wrap the stem of the rose with the floral teipe and we place the leaves.
Paso 7 Para finalizar, envolvemos el tallo de la rosa con el teipe floral y vamos colocando las hojas.
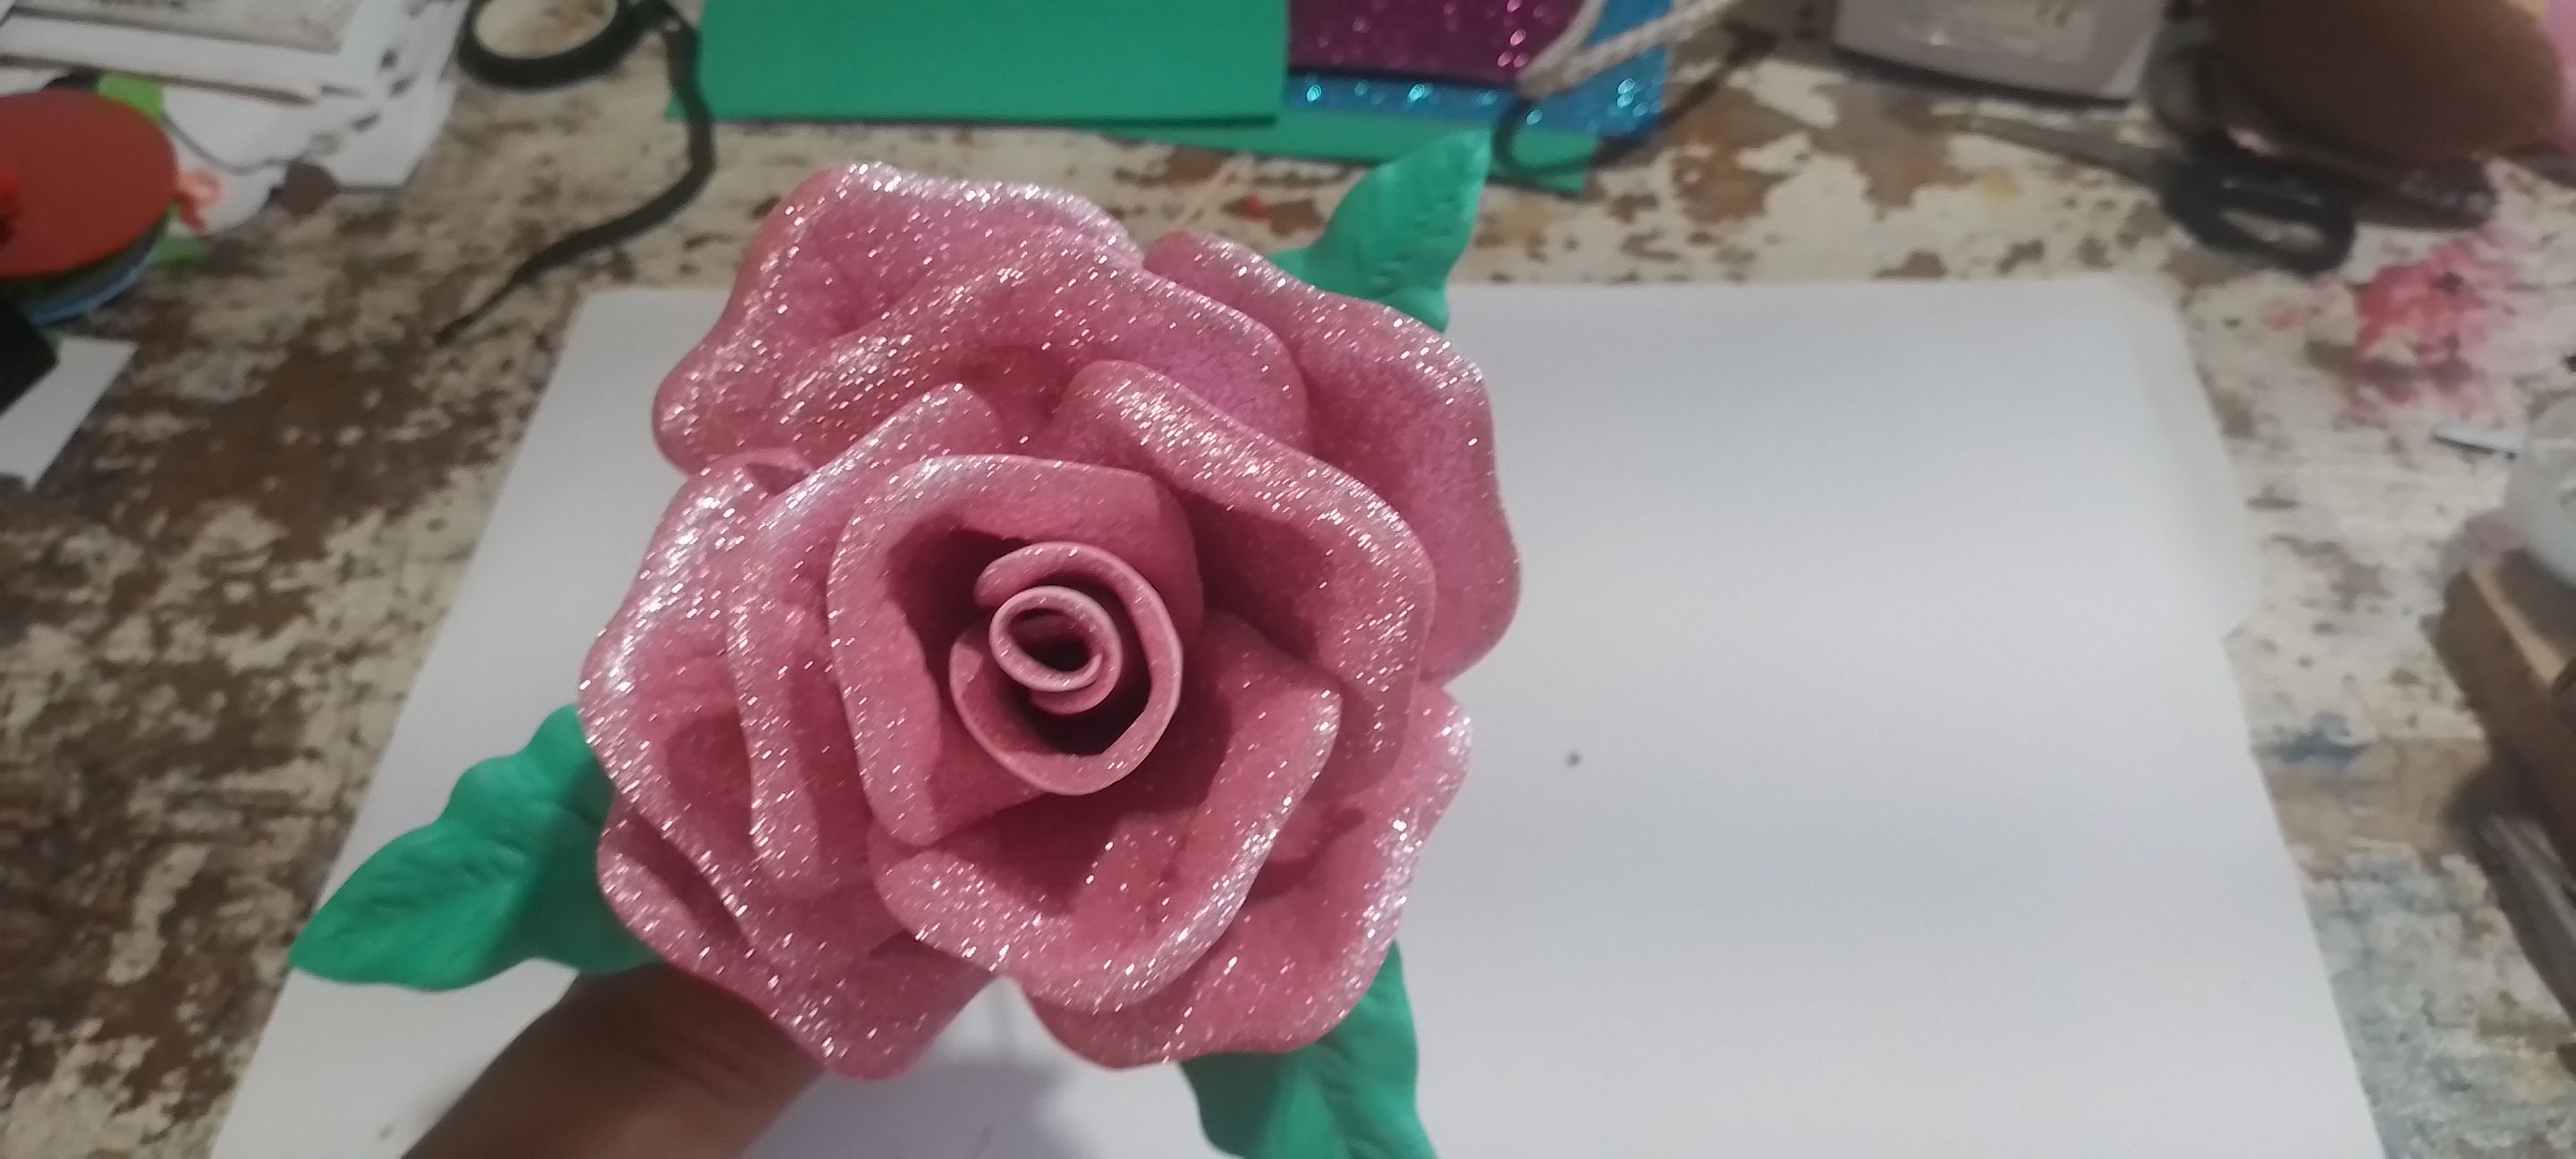
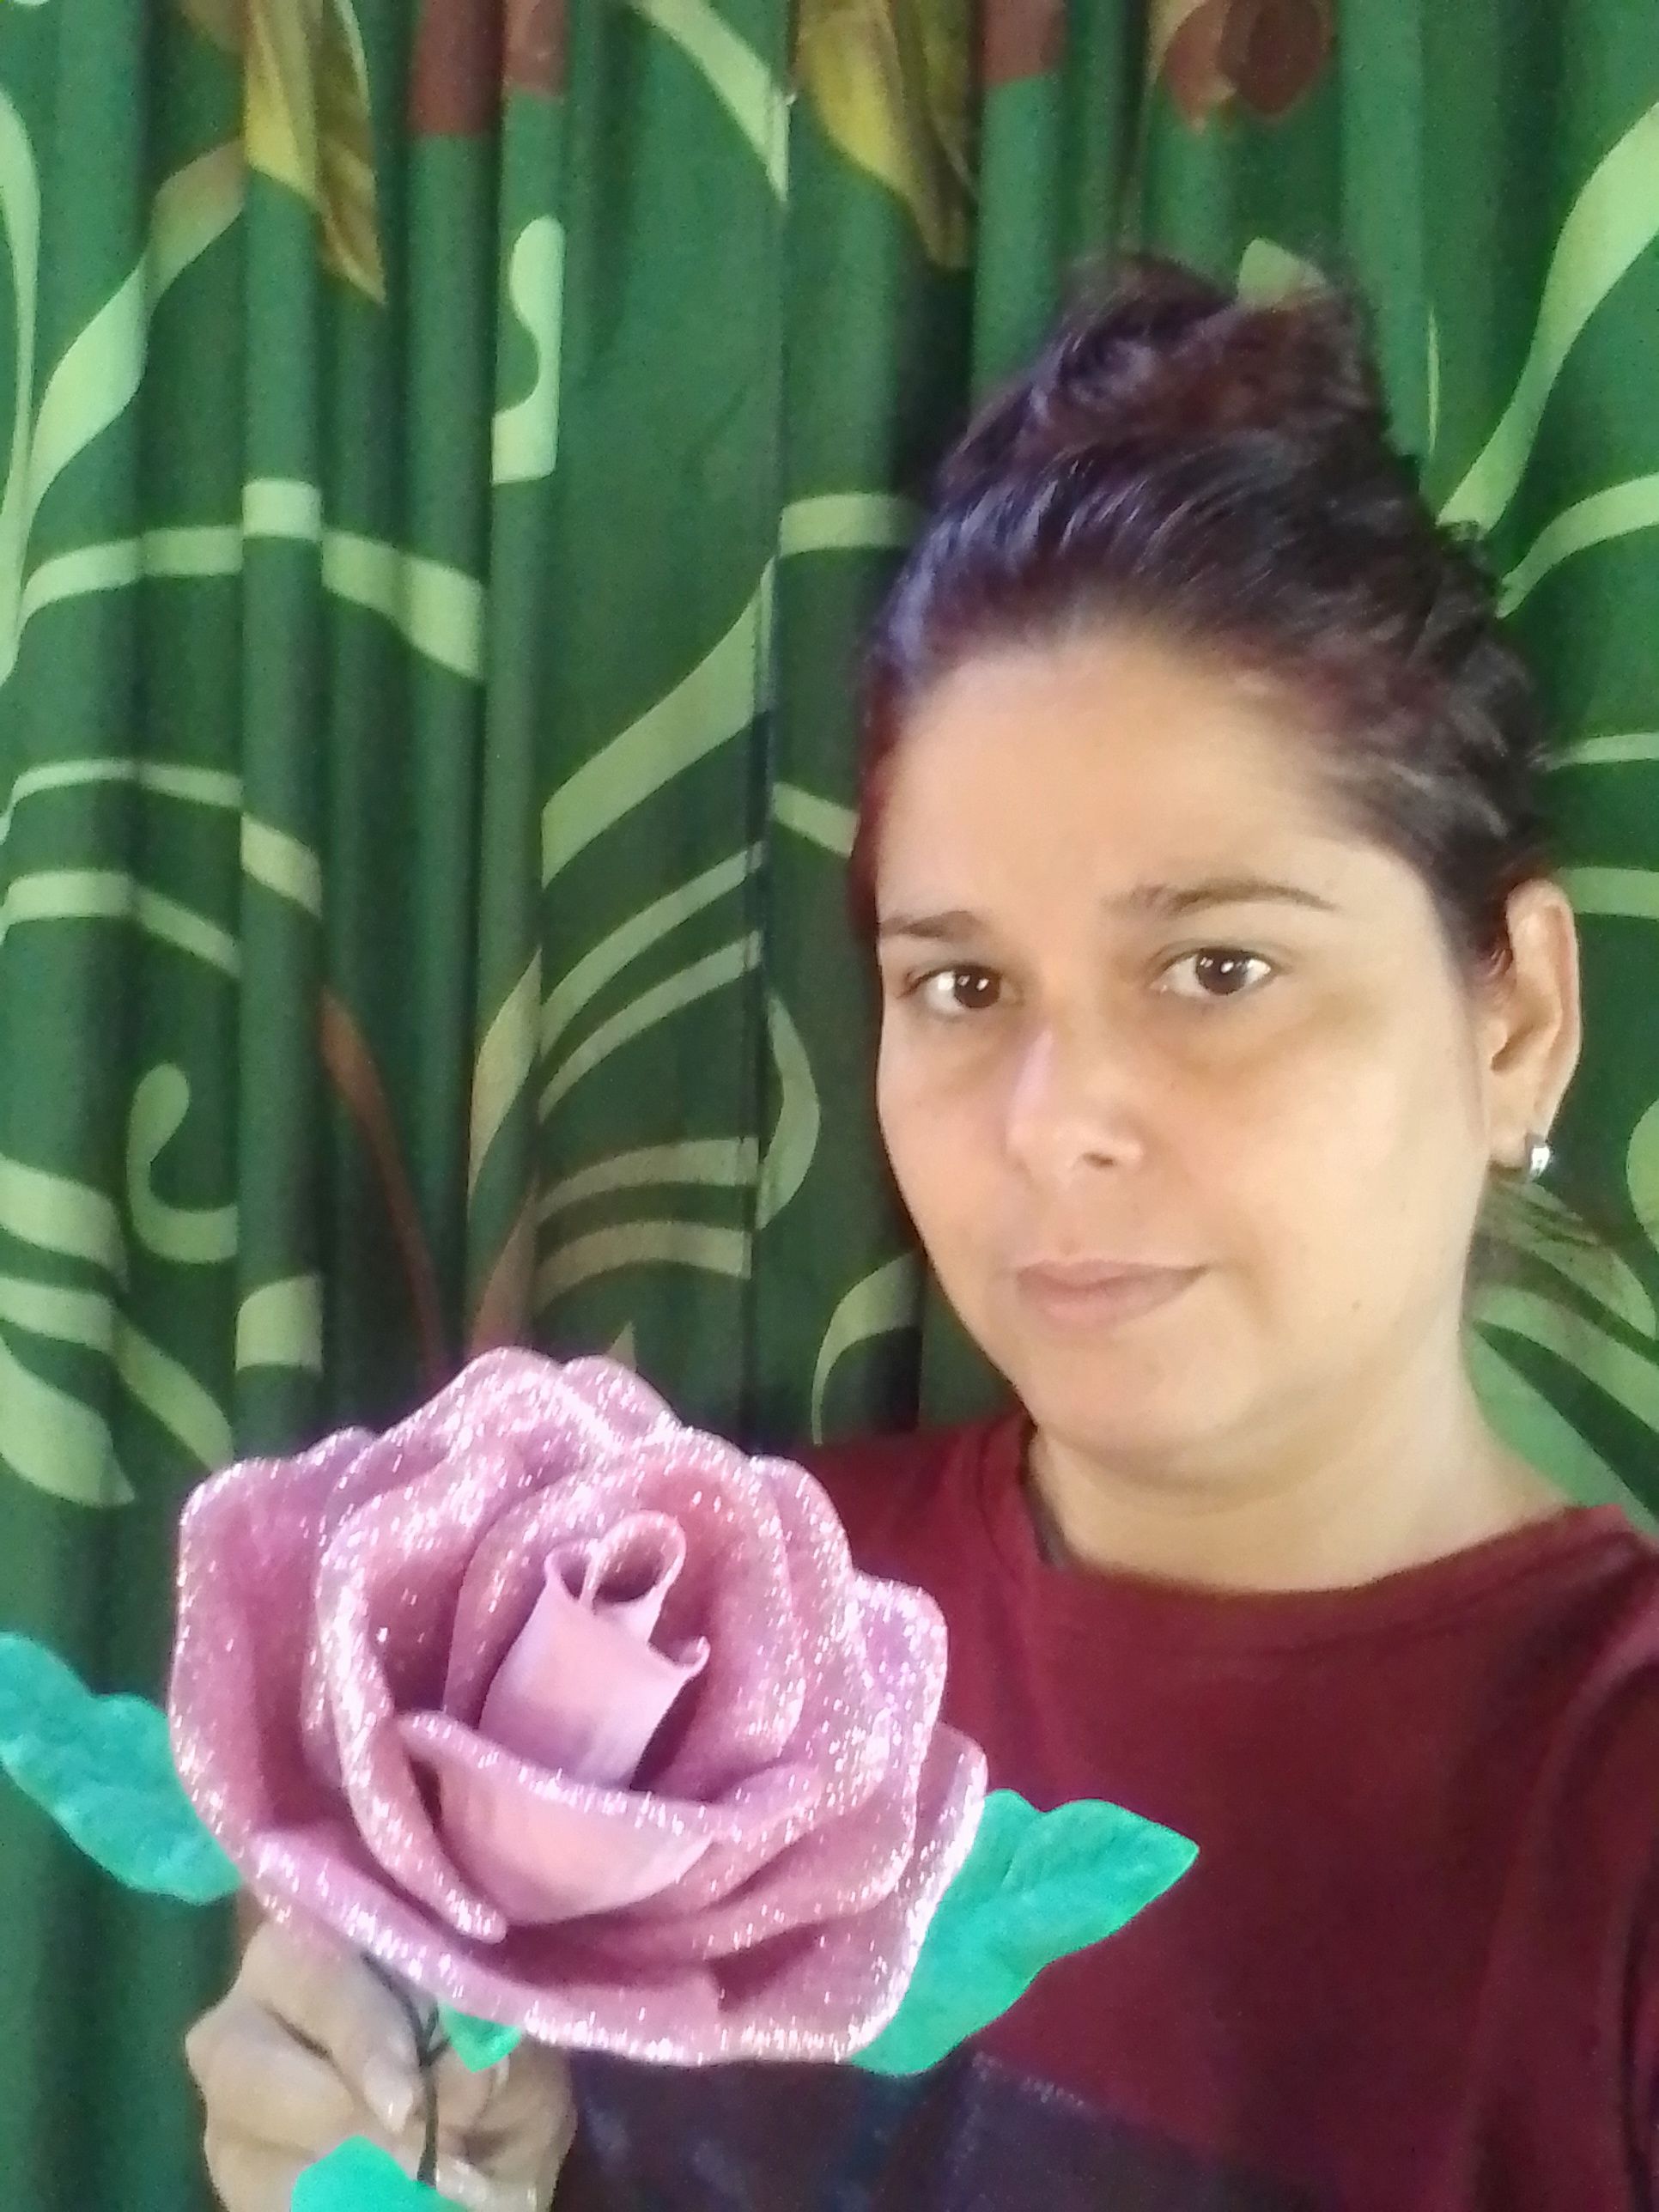
And this is the final result, I hope you like it and try it at home.
Y este es el resultado final, espero que les guste y lo intenten en casa.