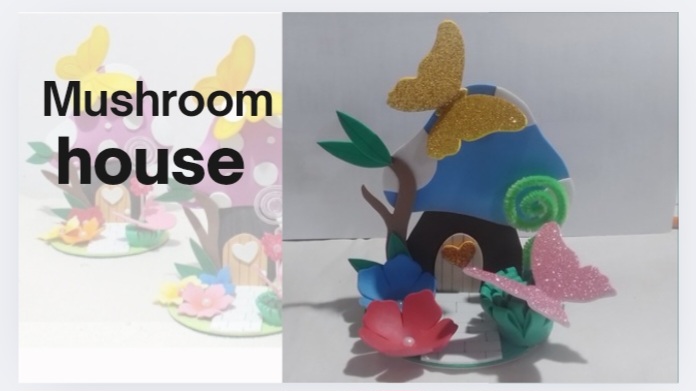
Hello, creative friends, the whimsical Smurfs' Mushroom Houses have captured the hearts of everyone for decades. The origins of the mushroom houses are shrouded in a bit of mystery and various views and theories have emerged over the years.
Hola, amigos creativos, las caprichosas Casas hongos de los Pitufos han capturado los corazones de todo el mundo durante décadas. Los orígenes de las casas hongos están envueltos en un poco de misterio y a lo largo de los años han surgido varios puntos de vista y teorías.
That's why today I want to show you a new creation I made based on these animated mushroom houses, since a very important date is approaching and I like to give my creations as gifts to my family so they can keep a souvenir of me.
Por eso hoy les quiero mostrar una nueva creación que hice basándome en estas casas hongos de los animados, ya que se está acercando una fecha muy importante y me gusta regalarle mis creaciones a mi familia para que conserven un recuerdo mío.
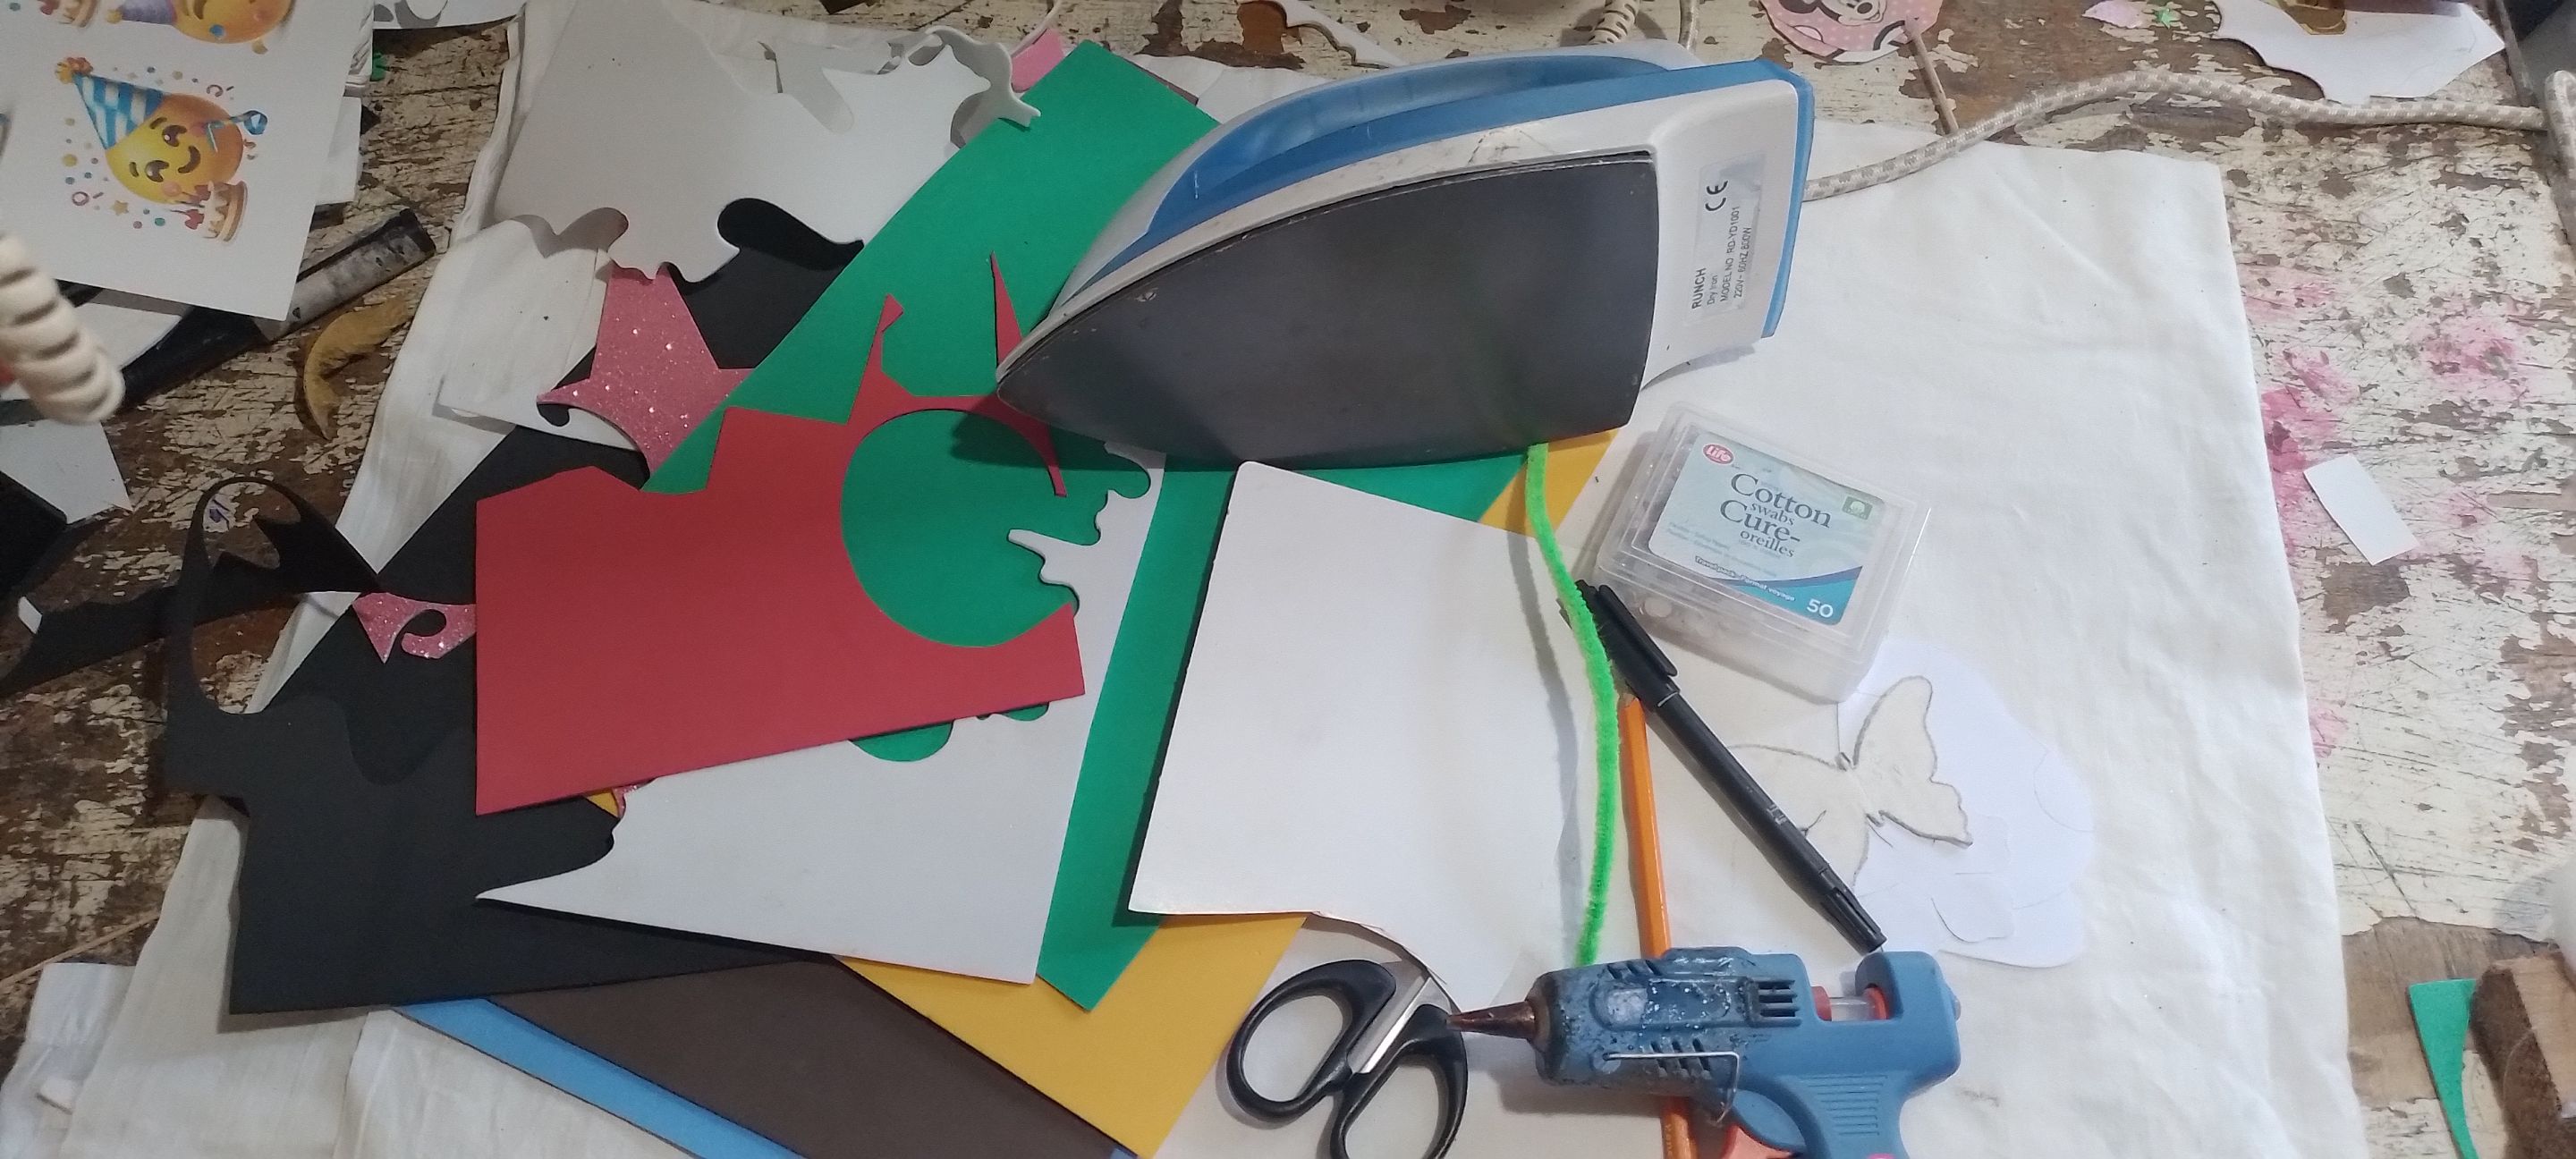
- Fomi of various colors.
- Cardboard
- An iron
- Pipe cleaner
- Black marker
- pencil
- Scissors
- Pearls
- Skewer
- Silicone gun.
- Silicone sticks
- Paper molds
- Fomi de varios colores.
- Cartulina
- Una plancha
- Limpia pipa
- Marcador negro
- lápiz
- Tijera
- Perlas
- Brocheta
- Pistola de silicona.
- Barras de silicona
- Moldes de papel
<
| https://files.peakd.com/file/peakd-hive/norychacon/Ep3fqccP4btVw9J9xB3jHVAQ5YgKewPg3nXEksdrNNsUCCfWPG1ppbRmPjYh8awDhJU.jpg | https://files.peakd.com/file/peakd-hive/norychacon/Eos2oPAa6tY3vrz6hMGygyax1t7QZS2U1YKLiXzXKzpS4X9dFtMFc86LZ9AZyKWgZVr.jpg | https://files.peakd.com/file/peakd-hive/norychacon/Ep5oDcWdzGFtNrYeF6t8ZjGiDwViYXLRyVJQZzVARWCmtDP6nUahPwSwfXMneRaCT1t.jpg |
Step 1- First of all, we draw a medium circle on the cardboard and cut it out to shape the base of the model we are going to make.
Paso 1- Primeramente, en la cartulina dibujamos un círculo mediano y lo recortamos para darle la forma a la base de la maqueta que vamos a hacer.
| https://files.peakd.com/file/peakd-hive/norychacon/Ep3eG7ehMWBzx93PJyHbXa9oqyc46WgNFt71qM6qxL4FmBeEY2DEDfxEtv5kNMQaA1S.jpg | https://files.peakd.com/file/peakd-hive/norychacon/EpnDFCRf9J8959xSimd3r1Pny3GauWJDjhczZX3nsFc8V1kk1qn6ENLoXLPegYz7ZW1.jpg | https://files.peakd.com/file/peakd-hive/norychacon/EpA3Xjudvg5FDwsE6XUmUUeP9zEeYBJTeugycH4mfAfgsiYzM6RsWL2eajk62W5B1Mm.jpg |
Step 2- Then we glue this base on a green fomi, cut it out and put it aside for later use.
Paso 2- Luego esta base la pegamos en un fomi color verde, la recortamos y la ponemos a un lado para luego utilizarla.
| https://files.peakd.com/file/peakd-hive/norychacon/EpCBKQoByxbuCszB36xdjjpfMNrF5fbBT6UzJ5ZwLhGucnWRT2wHvpuV9DhoWGTJu5P.jpg | https://files.peakd.com/file/peakd-hive/norychacon/EpT4hX4Vf2QLNdZGT5BGXcK3r6q93azvWjyLiG49kjD4oxs8S7BCn3dXCeMbpoarqnG.jpg |
| https://files.peakd.com/file/peakd-hive/norychacon/EpLfRbEcmma7RnjHz3FjxdZRjDPPYuHq7yBpmrjyKiQnZmvDH18FT2bsRBf1VEVKHhs.jpg | https://files.peakd.com/file/peakd-hive/norychacon/EoiWcJgd1FjPGQWqWr9cKfwsPK6puTKhYTHhP9YaHKoqkNQyrCiS5aU7ubHpd7TTKtn.jpg |
Step 3- With the molds we made out of paper taken from a photo of the telephone, we mark it on a dark brown and a blue fomi, and we cut out all the parts. It is very important that the colors we choose match so that our creation looks beautiful
Paso 3- Con los moldes que hicimos de papel sacado de una foto del teléfono, lo marcamos en un fomi color carmelita oscuro y en otro azul, y recortamos todas las partes. Es muy importante que los colores que escojamos combinen para que nuestra creación quede bonita
| https://files.peakd.com/file/peakd-hive/norychacon/Ep5neSCxWPZp9kugAP3EV7ji77H8oPCAx1ukhDCmS3KJ11qB5opxDTpJY4ppRnCDaVw.jpg | https://files.peakd.com/file/peakd-hive/norychacon/EowH1THHGmMaWK5e45egj3uybhmWHavdNPuLWEVRVVHPphW1xwrQjhPa3VrBxQuAC9L.jpg | https://files.peakd.com/file/peakd-hive/norychacon/Ep3fD2yijcZUjw8pTfMazwdYHJ4mMMMyihm2KVsZzVk7vLocrq3nfuQmucStj3FZqGU.jpg |
Step 4- Then we mark the decorations of the door and the points of the mushroom and cut them out. For this we chose the flesh colored fomi for the door and white for the dots.
Paso 4- Después marcamos las decoraciones de la puerta y los puntos del hongo y los recortamos. Para esto escogimos el fomi color carne para la puerta y el blanco para los puntos.
| https://files.peakd.com/file/peakd-hive/norychacon/EoeFx1nnbo2RGKMcmZBYDryh92WVnLAMFZUKF4ChuAnLnXGj1FJmVBAxQ5yiEUjLRkH.jpg | https://files.peakd.com/file/peakd-hive/norychacon/EoyQWgZGMtXRNfWzQw3qokk2uREmxdeW9rrooWQ3nZX6h4qB64tpbeRmzijqZ6Wx33Z.jpg |
| https://files.peakd.com/file/peakd-hive/norychacon/EoyQW2dCJadmim7V8YxHgJNwTmptVG249RtbtogffhvHotsHczBaU1AJJoXaWVqXNnb.jpg | https://files.peakd.com/file/peakd-hive/norychacon/EopuLSzG5GmTaDT1WTLFkQ344JAD8DzyyfVaqTBGVejkFzAVCanVMBrL1JR66xiSPb3.jpg |
Step 5- Now we are going to glue all the parts of the mushroom forming a little house and we do it carefully so that the silicone does not spill out and stain the decoration.
Paso 5- Ahora vamos a pegar todas las partes del hongo formando una casita y lo hacemos con cuidado para que la silicona no se derrame por fuera y nos manche la decoración.
| https://files.peakd.com/file/peakd-hive/norychacon/EpJZ8VhTNPcT1tSy7Lp2QjzNcrXzxeunWaFRusNaDHdr1iKai65TPrNpkUpbQMhYxPN.jpg | https://files.peakd.com/file/peakd-hive/norychacon/EogPJTvQBT86ic1gWFW2cTHSxiZMjsd5hm9UM54cyYDbp9gZ4t5oj6YNY8o8TugoDxW.jpg |
Step 6- Once the door is glued, we make some stripes with the black permanent marker to make it look like a real door.
Paso 6- Ya pegada la puerta, le hacemos unas rayas con el marcador permanente negro para que esta se parezca a una puerta de verdad.
| https://files.peakd.com/file/peakd-hive/norychacon/Eonmw9xv4kB36bPLBQ7CB2kjQiP2ysJXiKHP5AQFFfiNgGWEWLvXzjJySyBcPXwaV5S.jpg | https://files.peakd.com/file/peakd-hive/norychacon/Eos3h8g4ZTTud9fkJ2M43qKxBLTCYY1eQdEQH8ySCgjAAp4XLkUi3mpZAgtkcfLoF9A.jpg |
| https://files.peakd.com/file/peakd-hive/norychacon/Eou9fYYbhcKs3gfwJDRfnZNCrBDcqMXTC32fPZCZrbNv84TbbxVutpaofKBdmMeUqVR.jpg | https://files.peakd.com/file/peakd-hive/norychacon/EonkaCpEHj6NQ2NoBwmwtvR2Cs5LA4gPoh4zkBx5zwxPPJyWn3bWFxcMAK4Hzrpr8SL.jpg |
| https://files.peakd.com/file/peakd-hive/norychacon/EpA3Spu2oHLu3AfnBVcB9zAGKSLGik8b2RKZRHdFYdx4EQzFFFsnxAjzsS5aeSwjMTo.jpg | https://files.peakd.com/file/peakd-hive/norychacon/EpEGuZvjFph1qGCvNSrjej6ZHU7b166275WrM5hGeFrPmsiEt7mpzKnSirweK5UiYQ9.jpg | https://files.peakd.com/file/peakd-hive/norychacon/Eonn24yZwCRs8i6RQia5S2qePNYqYqNGKB3gnNAvLgZXGGReGybL8jg33tMr3FHUJg4.jpg |
Step 7- Once finished forming the mushroom, we put it aside and mark the decorations that we are going to put around it. This time I chose two flowers, one red and one blue, two butterflies in gold and pink and a tree trunk in carmelite color and green leaves. We cut everything out and then glued it together.
Paso 7- Ya terminado de formar el hongo, lo ponemos a un lado y marcamos las decoraciones que vamos a poner por el alrededor. En esta ocasión yo escogí dos flores, una roja y una azul, dos mariposas de color dorado y rosado y tronco de un árbol en color, carmelita y sus hojitas verdes. Y recortamos todo para luego pegarlo.
| https://files.peakd.com/file/peakd-hive/norychacon/Ep1VzuY78Se5Qtzr1PDfXC1RUusYE6LVhvYub7fztGUwQgbgDDmrBBuraEYTV6b1HuU.jpg | https://files.peakd.com/file/peakd-hive/norychacon/EoyQV2eh77YS5rmP5L6UoQf939GvzjBB8DVc2d8YqyBS71AYeLE5PWP8tRe1GwPRxkX.jpg |
| https://files.peakd.com/file/peakd-hive/norychacon/EoGyoyy9EA4gnCjN23envZBF968PJjvvkN3u6G5xhoXBEbvAW8AeMo3H5z4yA3wJXGG.jpg | https://files.peakd.com/file/peakd-hive/norychacon/EoptKbrBT6BMAxJAf5stKSFyXRRe8UqmZNmsz1QtFWbPURNmQtYnvwTQfaKkS968Gz5.jpg |
| https://files.peakd.com/file/peakd-hive/norychacon/EoptotfstNR848dDBveRAteDHWieVyvNq9UXHf75madHP9ZyPp5GUx9DZBN7NCHd78u.jpg | https://files.peakd.com/file/peakd-hive/norychacon/Ep7udAVG8cZfieMzKcMr4bNmbdGAZgEi1d17KaMdF7Ez5GsHfwhiAZRfGvnDGYoJCYh.jpg | https://files.peakd.com/file/peakd-hive/norychacon/EpQwJzoNEkLeWyS4jsWRpNvmiagWEpcBnigQewcf7Ek95JGnMd4D47dAk8zRofsGMJ2.jpg |
Step 8- Cut out a green rectangle and glue the edges and then with the scissors make some small cuts at the top as bangs. Then, with the gun, we glue making the shape of a snail, until a circle is made to form a lawn.
Paso 8- Recortamos un rectángulo de color verde y pegamos los bordes para luego con la tijera hacer unos cortes pequeños en la parte de arriba como flequillos. Luego, con la pistola, vamos pegando haciendo la forma de un caracol, hasta que queda hecho un círculo para formar un césped.
| https://files.peakd.com/file/peakd-hive/norychacon/EpNoTbHpgR4FZ6baFmB3XzbLnKs5rn7weXnb3Pbhq8v9Z4fFgrXokKYq4BCCCHAKPsk.jpg | https://files.peakd.com/file/peakd-hive/norychacon/EogPoR1BsJs2axcT6aS3ngMgntwCikNd1NWczpU8zEBDShJMSQC5iYeJwXzd7HvpdcJ.jpg |
Step 9- With the hot iron, we heat the flowers to give them a nice shape.
Paso 9- Con la plancha bien caliente, calentamos las flores para darle una forma bien bonita.
| https://files.peakd.com/file/peakd-hive/norychacon/EowGXB9YjB4rTyMGQJbVeXbmRiiqdR2Soq4CyS62GHUofK1ucfUUMKR4aDBBkYw5o3g.jpg | https://files.peakd.com/file/peakd-hive/norychacon/Ep3fM7nHnxEmN5ZMd7ZZ7NcvjhAhgP35jawTFGhAa6xU2A2y76EUxQyKNYe8arBFqQJ.jpg |
| https://files.peakd.com/file/peakd-hive/norychacon/Eou8dGSneVzpvvJ3YGR551ntbAbhQEQwecCP2LP7rVAERAUJC96VEJ547LuEuGgo6qe.jpg | https://files.peakd.com/file/peakd-hive/norychacon/Ep7v9Vhd7hRrEy9bHSoTNkQNeThFvrGA2xhA8mMxDepNgQhVCkDHjPoKjXANaBzmHjr.jpg |
Step 10- When we have all the parts done we will begin to glue everything and give it the shape we want, for this we will take the base that we put aside, a skewer and the mushroom house and cut the skewer the size of the house and glue it on the back and then glue the mushroom on the base but not in the center, but a little back.
Paso 10- Ya cuando tengamos todas las partes hechas vamos a comenzar a pegarlo todo y darle la forma que queremos, para esto vamos a coger la base que pusimos a un lado, una brocheta y la casita hongo y recortamos la brocheta del tamaño de la casita y la pegamos en la parte de atrás y luego pegamos el hongo sobre la base pero no en el centro, sino un poquito para atrás.
| https://files.peakd.com/file/peakd-hive/norychacon/EoeExSWWrjwBicxN2vwWoKFACRxHFYLQhoDD7yP8BtrqJbEi41iPMvXYR22RmzZZDkg.jpg | https://files.peakd.com/file/peakd-hive/norychacon/EoyQ2PoGrXZ6Ry4poAwfQ56hsmrMWbvM9SV8S5jKh9a8uVEyXmyvmoaE74Lcwen7UfS.jpg | https://files.peakd.com/file/peakd-hive/norychacon/Eos1rtW6FJvQhZc2oJ1d8M1uvFS5SjrpJ18RaRDis59gizgLnfYiw4x7mHMoXYhKnSC.jpg |
Step 11- Once the mushroom is glued on the base, glue the decorations, glue a butterfly on top of the mushroom and a small heart on the door.
Paso 11- Ya pegado el hongo en la base, pegas las decoraciones, pegamos una mariposa encima del hongo y un corazón pequeño en la puerta.
| https://files.peakd.com/file/peakd-hive/norychacon/Eoc7yiuKmb5VWcaTtPpVKeXf9SVWaoxXRD72QixhJmsR1VAPddsCgYY3Dk3S9D676Yy.jpg | https://files.peakd.com/file/peakd-hive/norychacon/EoyPyf5TDxTAdHXyiHcEN47Yq38EtZJCp3euUF9aKmoiZejmscEa8WpExg7sKvZkEgr.jpg |
| https://files.peakd.com/file/peakd-hive/norychacon/Eou9E1AErU8eJuAL5Qs4s9HvexAuMDdcX9TZK3gr164qfA3TMsbBSy19MTMcRCcYzN3.jpg | https://files.peakd.com/file/peakd-hive/norychacon/EoK7imSfcTdFJM544fr7n5dmMzxutcyfAGwmtR9g3Az1zt2taKJd6tuh9wszD9SbJih.jpg |
| https://files.peakd.com/file/peakd-hive/norychacon/EoCk5B4gGrEiJutjKZhEZAzA5pPejpyiQyB4kmTUQpt2CHtM5moM83W5szX9En9dsfD.jpg | https://files.peakd.com/file/peakd-hive/norychacon/Ep5oAt5pDqwHuNJdEsc8rmzFSH9Nv2yg5mwsD2hdt2rDhx3eiL9UnLtJBRZEPtTz24m.jpg | https://files.peakd.com/file/peakd-hive/norychacon/Eoc81hS5jjiX13St2Et46zhzUX9HnQ4hcXEdkPB8u4ZPQgWWgCa9Hvdtvakg2n4pDPb.jpg |
Step 12- Glue the tree to the side of the mushroom with the leaves and then twist, like a snail, one end of the pipe cleaner. We glue it to the other side of the mushroom with the grass that we had previously made, and on top of the grass we glue the other pink butterfly.
Paso 12- Pegamos el árbol al lado del hongo con las hojitas y luego enroscamos, como un caracol, una de la punta de la limpia pipa. Lo pegamos al otro lado del hongo con el césped que habíamos hecho anteriormente, y encima del césped pegamos la otra mariposa rosada.
| https://files.peakd.com/file/peakd-hive/norychacon/EopuLM3fcdHJZKBX7Cd63LhJeJnn9CM7SEoUen5xDA6cuSEoM1xqChNsCLjRmwkm2TD.jpg | https://files.peakd.com/file/peakd-hive/norychacon/EpA3zvoMwLuQMjRgbheJ58hbRUGCRF5LAnp7xCBH1WffueKXptDX2zbnmVLza4YPEwi.jpg | https://files.peakd.com/file/peakd-hive/norychacon/Ep1ZNj1FVfWN3kmBrkaoHH1bWvAqMsdx2DwT5egit278Zfgna4nUHZN2D1wjpNB9tLj.jpg |
Step 13- In a white fomi we cut out a small rectangle and with a black marker we draw some stripes to make it look like bricks.
Paso 13- En un fomi blanco recortamos un rectángulo pequeño y con un marcador negro le dibujamos unas rayas para que este parezca ladrillos.
| https://files.peakd.com/file/peakd-hive/norychacon/EowHcqyrwy63sp4y6YhVxRgjfHrmoqzj1eFPyFzdiZVAdaHWDEdYWrgi7FM5VZdXZyP.jpg | https://files.peakd.com/file/peakd-hive/norychacon/Ep7w3HhFkDuFjfJb6j55XZQNMDbdJ3ubbDKBGWGjPHLTKuqppcAEFsWhPhgAEW9fcrF.jpg | https://files.peakd.com/file/peakd-hive/norychacon/23yTfCFF2cVt8R4PGf3rMS9P4A4Y38pD7nRRF2Et6qTLDFqGmWZJAEDaLoK385UprfQDd.jpg |
Step 14- Finally, we glue the aisle in front of the door and trim the excess, then glue the flowers next to the aisle and glue a pearl in the center of the flowers.
Paso 14- Por último, pegamos el pasillo delante de la puerta y recortamos el sobrante, luego pegamos las flores al lado del pasillo y le pegamos una perla en el centro de las flores.
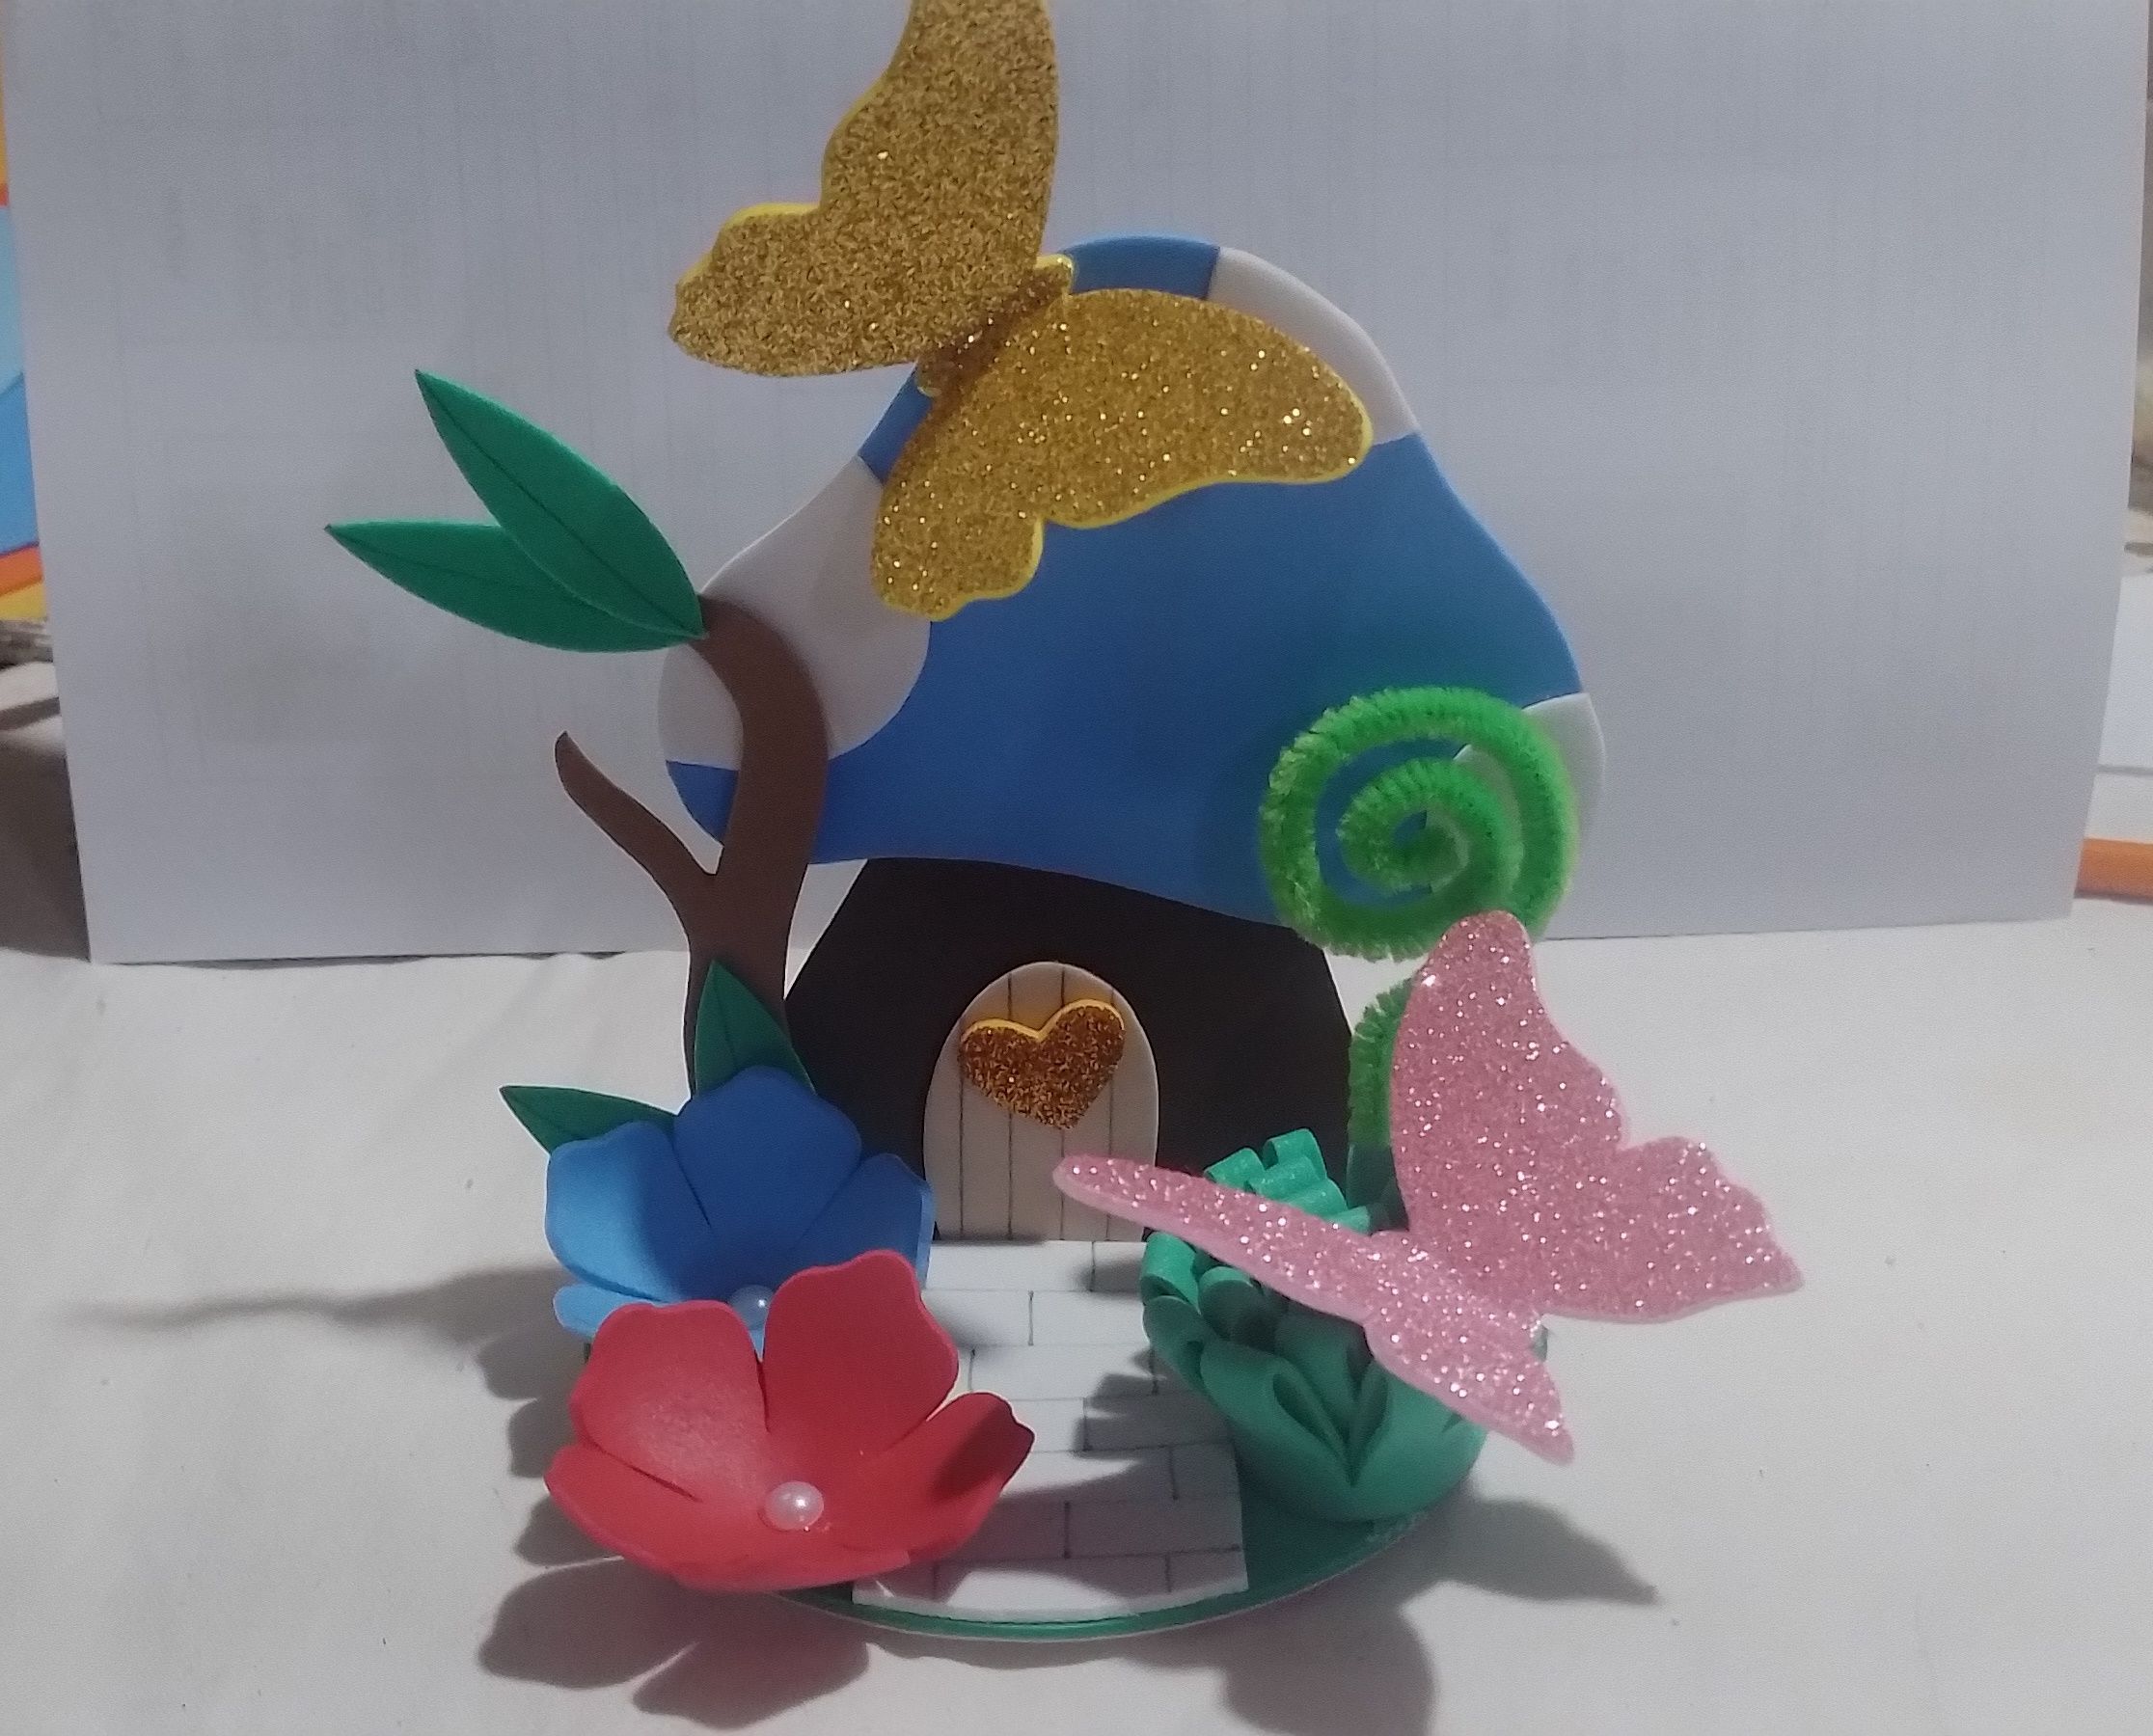
And so we get the final result. I hope you like the tutorial and it will be useful for your new ideas.
Y así nos que el resultado final. Espero que les guste el tutorial y les sirva para sus nuevas ideas.
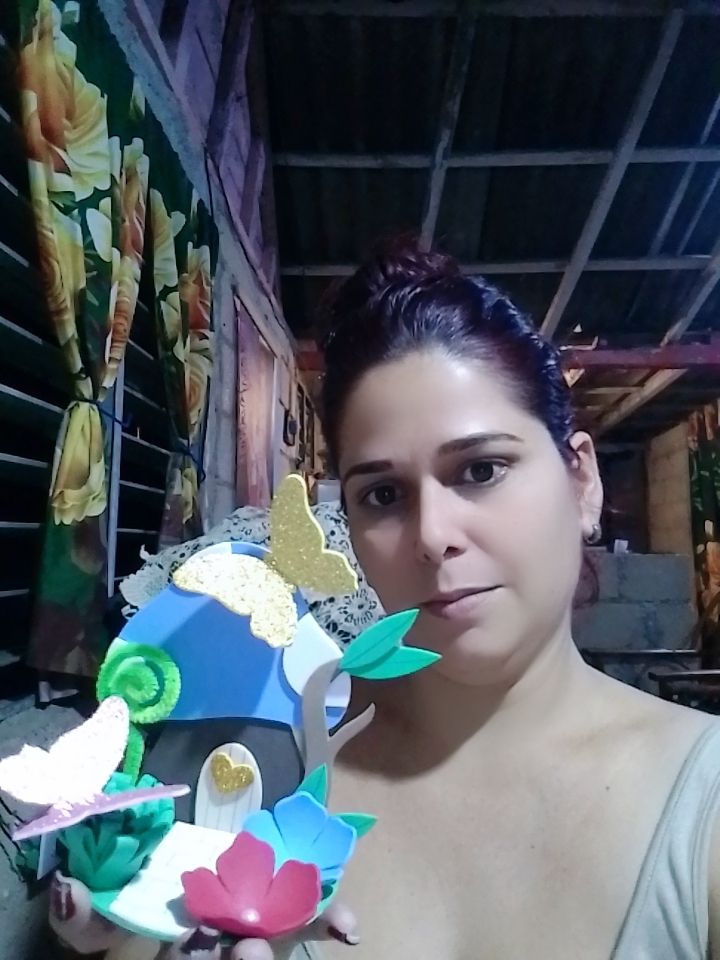
Photos of my property taken with the phone Cover made in Canva Translated by DeepL