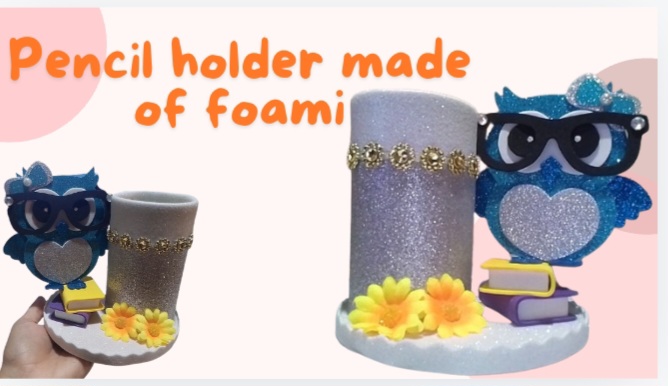
Hello creative friends, as I always tell you, I like to decorate with my crafts the environment where I am. Some time ago I made a pencil holder for my office, but I wanted to renew it and give the old one to a coworker who wanted one for her donkey.
Hola amigos creativos, como siempre les comento , me gusta mucho adornar con mis manualidades el ambiente en el que me encuentro. Ya hace un tiempo hice un portalápiz para mi oficina, pero quise renovarlo y el viejo regalárselo a una compañera de trabajo que quería uno para su burro.
Next I want to show you the new pencil holder I made for my office, simple but beautiful. I really loved the final result.
A continuación les quiero mostrar el nuevo portalápiz que hice para mi oficina, sencillo pero bonito. Ya que me encantó mucho el resultado final.
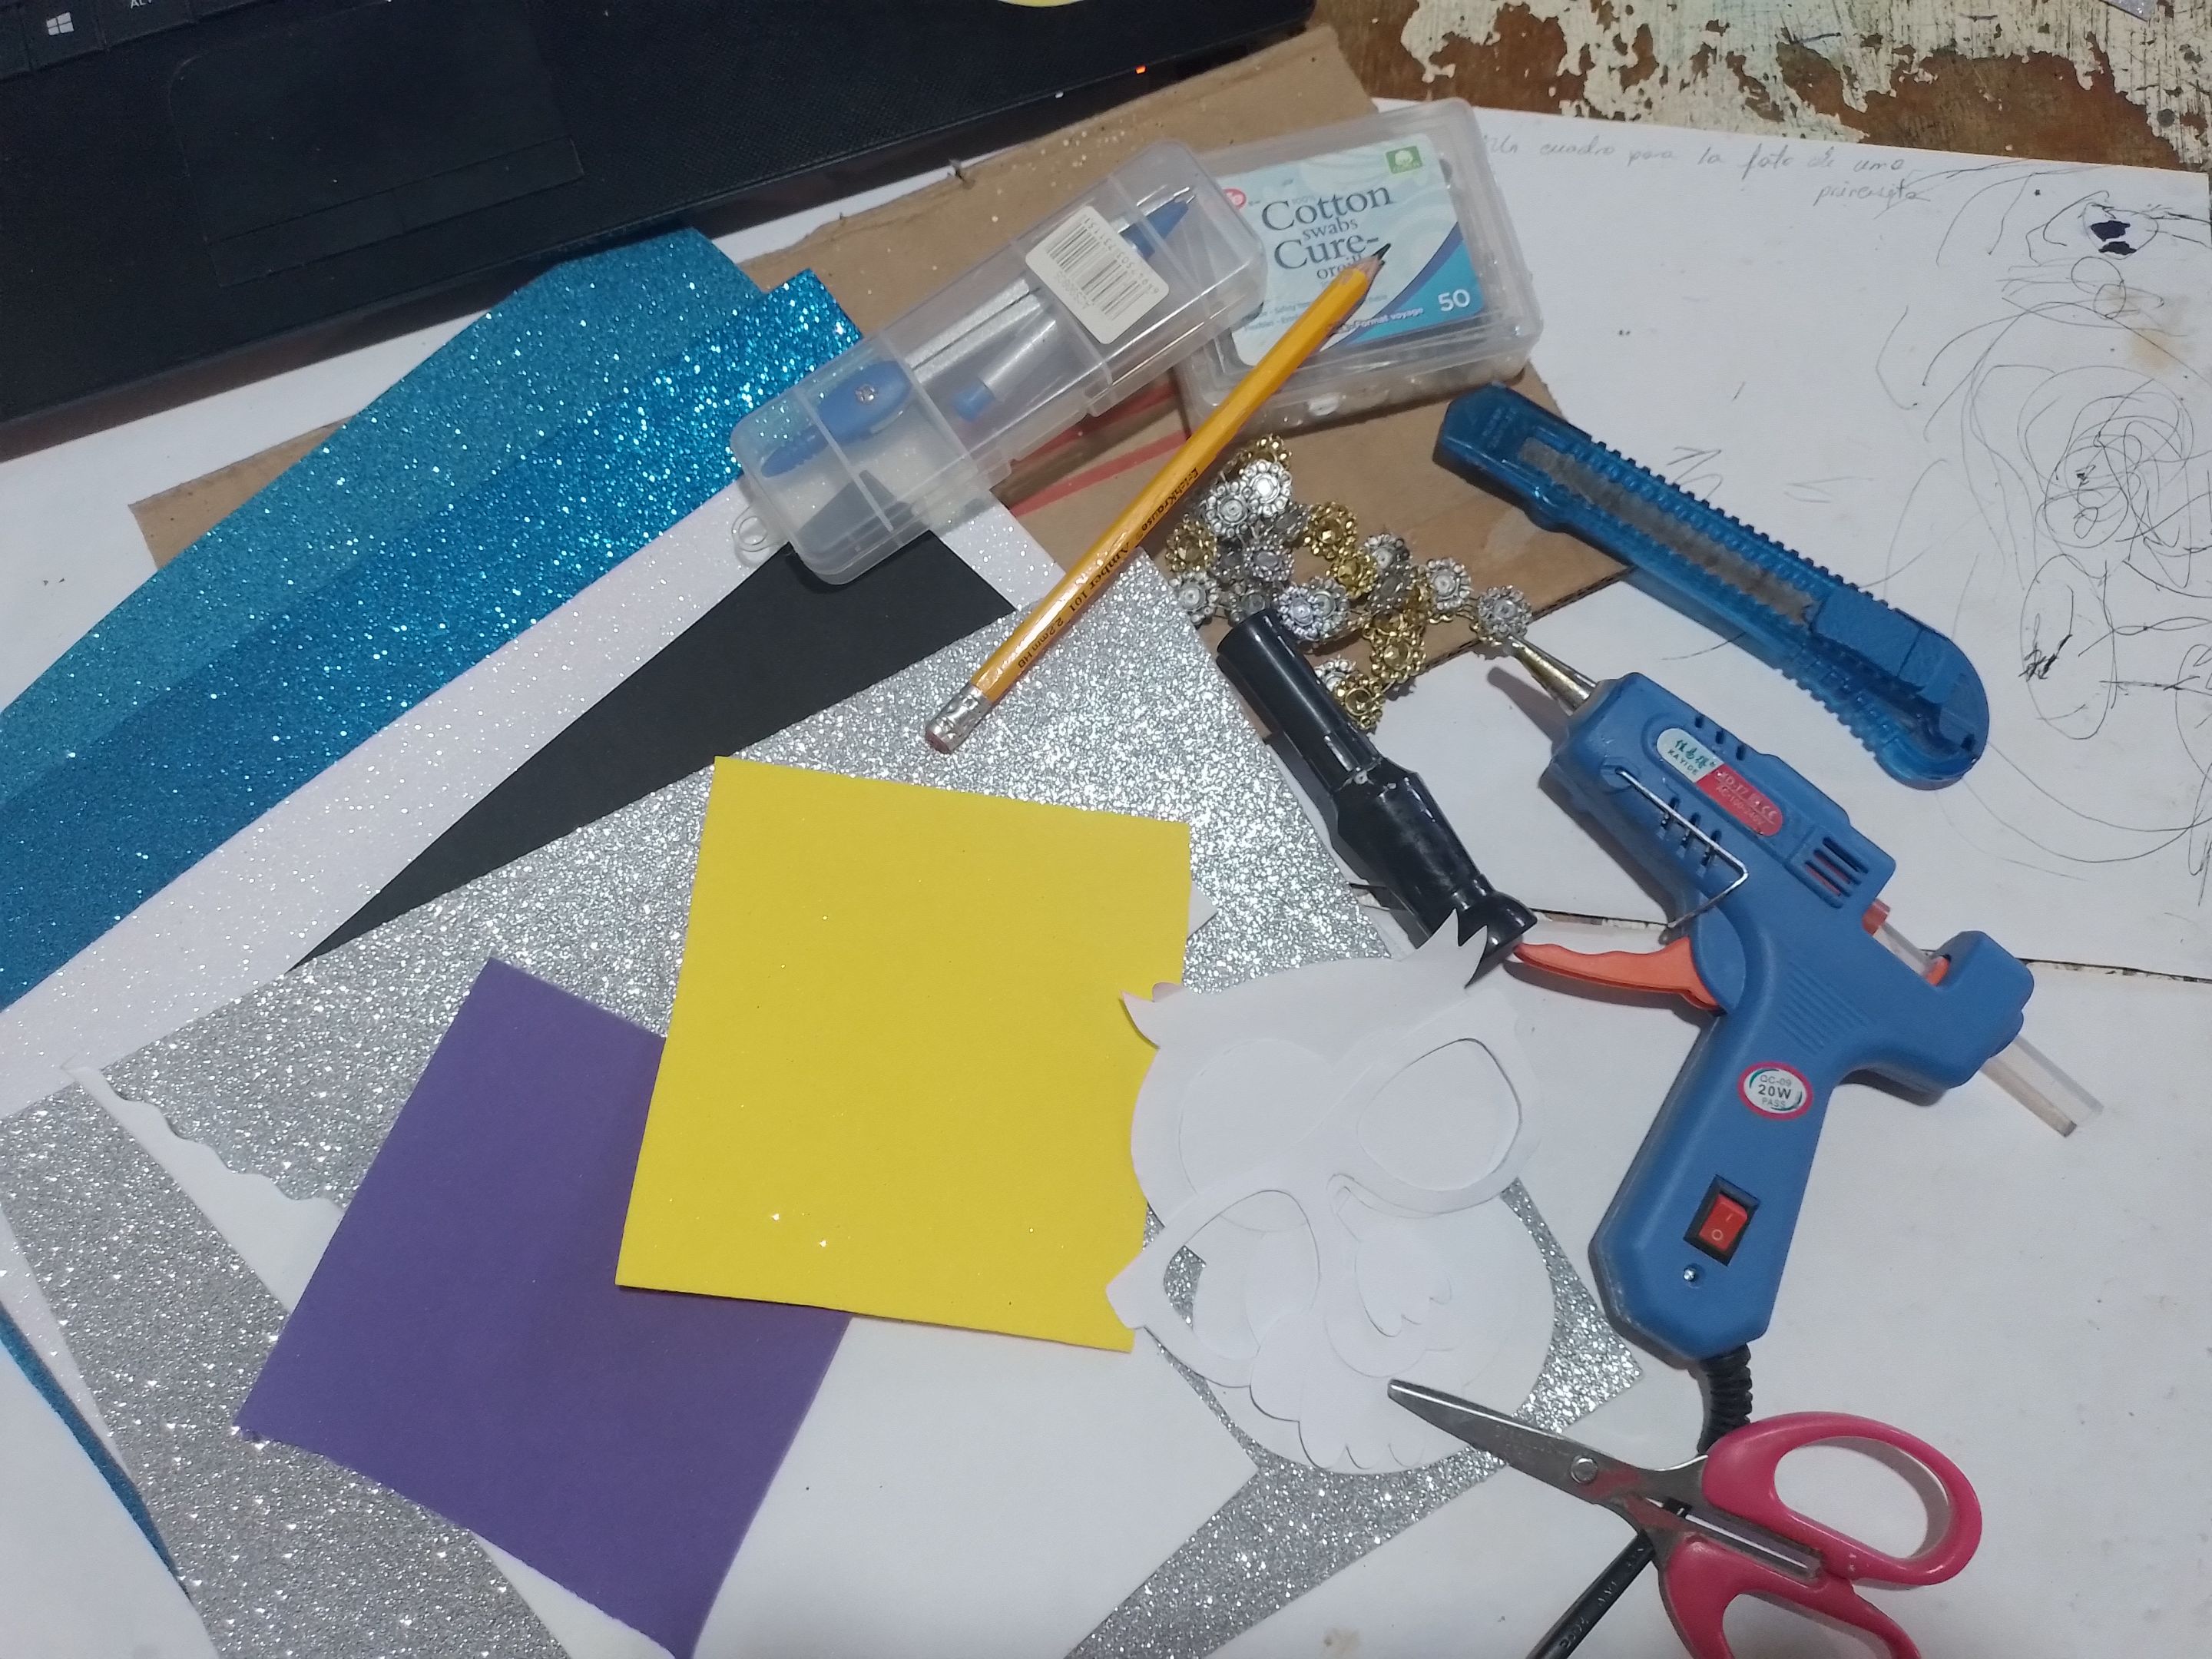
- Silicone gun.
- Fomis of various colors.
- Scissors.
- Cutter.
- Pencil.
- Compasses.
- Beads.
- Piece of cardboard.
- Decorative strip.
- White paint.
- Molds.
- Two medium-sized flowers.
- White cardboard.
- Pistola de silicona.
- Fomis de barios de colores.
- Tijera.
- Cúter.
- Lápiz.
- Compas.
- Perlas.
- Un trozo de cartón.
- Tira decorativa.
- Pintura blanca.
- Moldes.
- Dos florecitas medianas.
- Cartulina blanca.
| https://files.peakd.com/file/peakd-hive/norychacon/EpJZ5ervyX5sC8FAG67aTAeRTGRutpCmkDqQFzrGwfH5gJoayVo86jaPkY4E4E7SPwu.jpg | https://files.peakd.com/file/peakd-hive/norychacon/EpLhU4mTx6H1GJM1pamxKRGLeE74Jb7A4nQUDc5ovjKuw8SK3FcaxLpSFc4rm96eA6y.jpg | https://files.peakd.com/file/peakd-hive/norychacon/EpGSe45RfL9rzexrsckABBhwZNaatmaoLrAA5yy7PE9LZDFEgU7Mn47VQc1GH6fdcH6.jpg |
Step 1- With the compass we draw a circle on the cardboard and cut it with the cutter.
Paso 1- Con el compás dibujamos un círculo en el cartón y lo cortamos con el cúter.
| https://files.peakd.com/file/peakd-hive/norychacon/EogQC7dBbW6w6r3ZW9uPciERzsJtgS8iLkeUpRYD4jjpXu4NPmyZWQ7Z4Y8Ls2ugAqV.jpg | https://files.peakd.com/file/peakd-hive/norychacon/Ep3gJhfKQk4SPnhY5kdxhaM9JFkYYhzfA4d6JaNPRRjaRngf2uAW9YGH87NsMEXJtBT.jpg | https://files.peakd.com/file/peakd-hive/norychacon/EoCj7cbj3MzLCNy1QphZjR5gWPnsC4jLGmYTx8BcL4Yk5oJH5QEDVTP1uZ1J7yFxMXY.jpg |
Step 2- Glue the cardboard circle on the white fomi and cut it out. And this will be the base of the pencil holder.
Paso 2- El círculo de cartón lo pegamos en el fomi blanco y lo recortamos. Y este será la base del portalápiz.
| https://files.peakd.com/file/peakd-hive/norychacon/Ep3gFsRTbLr8XXVDNww5QfNmnfsTxCXq7z4khMmSAShJ9qy1Qx1xMAzVKRHAcfDrNyi.jpg | https://files.peakd.com/file/peakd-hive/norychacon/Ep5of4ewevUPij7SBNDr1RvrfwMse4hfXZ5zuDnyrWoaEMeHvwr39Atr76eoBK8WVMt.jpg | https://files.peakd.com/file/peakd-hive/norychacon/EoyQQfAH739C8D7EXyFYwLA4Uup6uSyP6A6GcKSAYA93isaCRdysPR1bkW8u73NURjB.jpg |
| https://files.peakd.com/file/peakd-hive/norychacon/Ep7vX2hX93ysUwr4mTStCgXjUbHLaNuVvHQuc4S2y2MNyRKTpfGo1mWyWjRgeA4afPd.jpg | https://files.peakd.com/file/peakd-hive/norychacon/EoK8Jq1fXxYYagQEYyrKiQbitXdj3xfTwXhUjEuPFvCDNMWTv2USAzxLD62VUEy3ZrQ.jpg |
Step 3- Then, on the white fomi, cut out a strip with the scissors and glue it around the circle.
Paso 3- Luego, en el fomi blanco, recortamos con la tijera de forma una tira y la pegamos por el contorno del círculo.
| https://files.peakd.com/file/peakd-hive/norychacon/EpLhU4mTx6H1GJM1pamxKRGLeE74Jb7A4nQUDc5ovjKuw8SK3FcaxLpSFc4rm96eA6y.jpg | https://files.peakd.com/file/peakd-hive/norychacon/EoCjzbvCybhxiyftNH6PPvhvmyvK6HAgEUeJJy6vApbPC9dq5idynABcun2nqTNF8JY.jpg | https://files.peakd.com/file/peakd-hive/norychacon/EpLhWFvLG4XLcDyTdXozReQUbwJS3idNthYUwkz4cPxFVUCkeE1GjzohBdsVYWv6C8Y.jpg |
| https://files.peakd.com/file/peakd-hive/norychacon/EpLhTRMgc5PMJzAX13cTHMBUazXHAtQiyS4X21rcQf9fyHsLoA1hh9jysx3zYffSZR1.jpg | https://files.peakd.com/file/peakd-hive/norychacon/EoCjzbvCybhxiyftNH6PPvhvmyvK6HAgEUeJJy6vApbPC9dq5idynABcun2nqTNF8JY.jpg |
Step 4- On another piece of cardboard cut 4 small rectangles and glue two of them to make them fatter.
Paso 4- En otro trozo de cartón cortamos 4 rectángulos pequeños y pegamos dos para que sean más gorditos.
| https://files.peakd.com/file/peakd-hive/norychacon/EowHxxahSVnG3jFqyf64D2WucmYDvCs6HD97dbNCPJgt9jboyoYpZ5EfYFhv5TnC6Ba.jpg | https://files.peakd.com/file/peakd-hive/norychacon/EogQHhTA76oEPdxfSJodi1mgVETpt2kvmRu72LxFnGcUPsqLb2oWg4azwTPTvy4XLG2.jpg | https://files.peakd.com/file/peakd-hive/norychacon/Eoc926xsDokNghMXoR5dbTkXgcDL9ENFjGvEgqFeovixPqmkcw69trUTEKXaDAQ7615.jpg |
| https://files.peakd.com/file/peakd-hive/norychacon/EpCCJr2kSrPeCtVxH8t6txHikVSL68bPYospsBf7oTNYq7EAqTZHFs4SbbhPPHxuNnk.jpg | https://files.peakd.com/file/peakd-hive/norychacon/Ep3gAYCowhqU8G1Jp6wJcfAW3DLSFAzZjRqmPB8drMGKYV7v8mSA21bk8oVPiqnnTwz.jpg | https://files.peakd.com/file/peakd-hive/norychacon/Eos3EvzTzngfwEJSMGMyTFzjxASmYuWpT9kytNDEu8c7v1oSxoYiBiJY9nfagREYqM8.jpg |
Step 5-On the white fomi we draw and cut out 2 white strips and glue them along the edge of the rectangles we made.
Paso 5-En el fomi blanco dibujamos y recortamos 2 tiras blancas y las pegamos por el borde de los rectángulos que hicimos.
| https://files.peakd.com/file/peakd-hive/norychacon/EpA4N7t4QmHRYuZoVoi8Ud4CT2cvnHskMjoBWniSuNrFmz8pNzDXhsNP1z4D78L4k4b.jpg | https://files.peakd.com/file/peakd-hive/norychacon/Eos3krWM9ogzcrL13mtBPsTDhbUWhsWd1A2Rq98Gqfr5vFEj2ci4hDfjnc3dSKmk9hH.jpg |
| https://files.peakd.com/file/peakd-hive/norychacon/Ep7wTem8x7jmuodZNYiK6MstmbNCUizukMUdyGsBfpq9PiceVRx9icpRrUhx5XEaD2G.jpg | https://files.peakd.com/file/peakd-hive/norychacon/EoEsPo5LPGWFQNxDPksDoym83Fk87pHb6Mp8WmszpDwUdwbFB8iRyQDjSJm5ckpFoUG.jpg |
Step 6- In two different colored pieces of fomi we cut out two larger rectangles and glue the small rectangles that we had previously made forming a booklet. And put them aside.
Paso 6- En dos trozos de fomi de diferente color recortamos dos rectángulos más grandes y pegamos los rectángulos pequeños que habíamos hecho anteriormente formando un librito. Y los ponemos a un lado.
| https://files.peakd.com/file/peakd-hive/norychacon/Eo8UoWbGcKMXVzfeLZiPDApN79939ewqB8sNR8Kj3E1SYD6Pc1Mq2PAGBeKnkZS3jPs.jpg | https://files.peakd.com/file/peakd-hive/norychacon/Eo6MMasswQp2vNkYWudrNtZ3nBJXHJufM13wXePHm43iAszUZxWxtrrzdfx6rEgE3yJ.jpg |
Step 7- Draw a large rectangle on a piece of cardboard and cut it out. And glue at one end forming a cylinder.
Paso 7- Dibujamos un rectángulo grande en una cartulina y la recortamos. Y pegamos a un extremo formando un cilindro.
| https://files.peakd.com/file/peakd-hive/norychacon/EopupdaXyV9eDSbwjAdbSPHnE5GXVNYJGrvTUKKn6C5kKMD8pHgqgxjTPYUy7gKymhv.jpg | https://files.peakd.com/file/peakd-hive/norychacon/EoyR3EDmNQrm1i7A5Pi5AX26PYeXtnU5jm4VgHvMh1BEEmBDC9Wx2fYq7928rk34JGt.jpg | https://files.peakd.com/file/peakd-hive/norychacon/Ep7ve19i95BnsJqgmQXz5FkkkSeigmbEyHMWtm4HkS5sBa5vnZfLsB8yu6hMjtYMPWQ.jpg |
Step 8- Then, in a silver fomi, we roast a rectangle and cut it, then we glue it on the cylinder we made with the cardboard. We leave a piece of cylinder without fomi and glue a piece of white fomi to combine it.
Paso 8- Después, en un fomi plateado, asemos un rectángulo y lo cortamos, después lo pegamos en el cilindro que hicimos con la cartulina. Dejamos un pedazo de cilindro sin fomi y le pegamos un trozo de fomi blanco para combinarlo.
| https://files.peakd.com/file/peakd-hive/norychacon/Eos3Ew9CZW4DZewAQV562ezVZ1zrMRftdCmRTNpSJG28D372h3XseFupVZk3thhQBkx.jpg | https://files.peakd.com/file/peakd-hive/norychacon/Eos3HfUNGEQcTZhFWBDpuHkujPGGvDbWpMST3X62fr1R7C6vYxMLQ35R6xZhe2EDmR7.jpg | https://files.peakd.com/file/peakd-hive/norychacon/Eos3Jju42bngBPrE315uH9mxLkYmYi7yD6pFamM2HGDjmPY9QvXDXN2XzTtvhPqdB5w.jpg |
Step 9- Glue the decorative strip along the seam of the tie of the two fomis.
Paso 9- Pegamos la tira decorativa por el vivo del empate de los dos fomis.
| https://files.peakd.com/file/peakd-hive/norychacon/EoGzQHSqtFia2tokokRUxjVhf21SFNroUCqLN4fZF5jiURAMwNENCrk5WuwaM6VfGm1.jpg | https://files.peakd.com/file/peakd-hive/norychacon/EoeGNZDbrTh4m293M51Eb5Ef1L6v1tWPbqdjEhA7bn1LCf7CsYjJatZ5S5jFrAyj4g3.jpg |
| https://files.peakd.com/file/peakd-hive/norychacon/EowH9ZeezC6Hucj8meeh1Uhy8Tfc7xSuXHBuy4htPQhHT8jaKemn3DWsnXgKX2R4sEf.jpg | https://files.peakd.com/file/peakd-hive/norychacon/EpCBuUjxWQTMWeW1iZTPKe68TnQ86LGgQUGLDLbtwDqa1oNWZWrk7XFzxrG6Uo9NExe.jpg |
Step 10- Glue the decorated cylinder on top of the base. And also glue the previously made booklets to one side.
Paso 10- Pegamos el cilindro decorado encima de la base. Y también pegamos a un lado los libritos hechos anteriormente.
| https://files.peakd.com/file/peakd-hive/norychacon/Eq7MRVab4yWAhce76wgvnMcu3GNcykpZGCsq2Ti47LvVXQ24nGKUJLbkyM7NMBWFjxN.jpg | https://files.peakd.com/file/peakd-hive/norychacon/Eptb4QMYJMhDjENu3ZmTKAYk9gVwZgeQ2KGKR3NEUfDu7e78Dxv8DnZnc7MfndMEN2q.jpg | https://files.peakd.com/file/peakd-hive/norychacon/EoeGKWkpo8rCH6bpchyian2PNW1dsH6X3xVdqdJf5QjthuRyNNHiXmoJM1R6htRiL6V.jpg |
Step 11- With the molds of an owl, we mark on the fomi each part in the corresponding color or you want to do it, and cut these parts.
Paso 11- Con los moldes de una lechuza, marcamos en el fomi cada parte en el color correspondiente o que desea hacerlo, y recortamos estas partes.
| https://files.peakd.com/file/peakd-hive/norychacon/EpCBpg1YGQFcS5JPdaTYZ74iRaZgQwHbC2ZLrxgKU5VVL4fLuYKKUdVLiu2dkXYP8xG.jpg | https://files.peakd.com/file/peakd-hive/norychacon/EonnWMBf1E9qSGipA2YmabKUmrMXpJ541Fxqursp64pioVMq8G21uDYhxwFAGqeyvH2.jpg |
Step 12- Then we glue the parts together to form the owl.
Paso 12- Luego vamos pegando las partes hasta formar la lechuza.
| https://files.peakd.com/file/peakd-hive/norychacon/EpLh3AYcRDyAkgWkAW4dLrrEDH7LTxNfjVn9PRtZPmK4dViJHLfJzYDzeGubeBy5H3E.jpg | https://files.peakd.com/file/peakd-hive/norychacon/Ep3gEuXB2X6b75CmJfYESYHykPnv5vCmJWyjZ2txBRoVbByuz4ZaDha9UL5brTCCNss.jpg |
| https://files.peakd.com/file/peakd-hive/norychacon/Ep3fpRkgTDkXQhBZxLeusXVRdovnDy4nxpz689t2RfNBezgEdTSokHcGUnYFvRsgVyW.jpg | https://files.peakd.com/file/peakd-hive/norychacon/Eos2pT2Psx3nyTqQVjhBVqfpZzrqywh8SyfFFjMGHMtW5nHdmjybkm2yqegrgZnqK6i.jpg |
Step 13- On the ends of the mirror we glue a pearl and in the center of the ribbon and with the white paint we roast the glitter of the eyes.
Paso 13- En las puntas del espejuelo le pegamos una perla y en el centro del lazo y con la pintura blanca le asemos el brillo de los ojos.
| https://files.peakd.com/file/peakd-hive/norychacon/EoeFuFaD6jxP5GQdwo2XFjfNwo9dAz1J3y5yMea931DcQtBdutRyHL1Xjf9tpVDS8P6.jpg | https://files.peakd.com/file/peakd-hive/norychacon/EoK7MGYiwjjWmYqADrzHGMxZT3M2rrh8AikfCapk7cQPMWHwdrEy182bi5vRkdHbfQL.jpg | https://files.peakd.com/file/peakd-hive/norychacon/Eos2D5AMWsGR5c5C5Y9tymnvoAE5Kif4bVrW4bdKfCskvYb5hZxHtoPYiqRrG3UQ96p.jpg |
Step 14- Finally, we glue the owl on top of the books. And on the front of the pencil holder we glue two little flowers to decorate it.
Paso 14- Por último, pegamos la lechuza encima de los libros. Y en la parte de alante del portalápiz le pegamos dos florecitas para adornarlo.
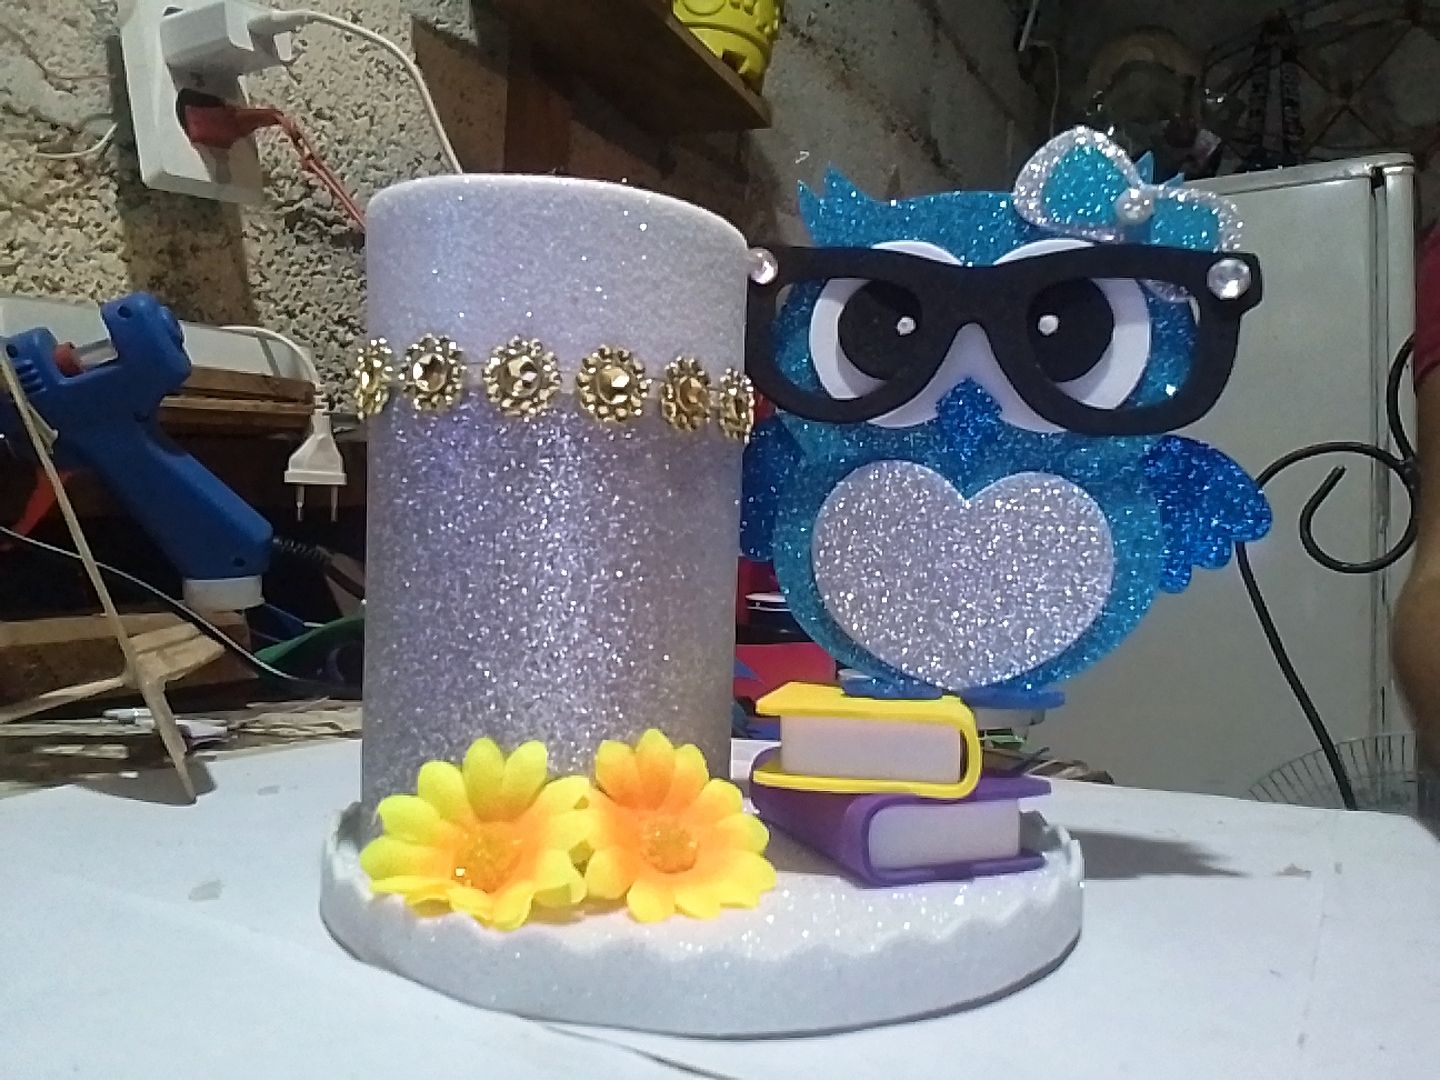
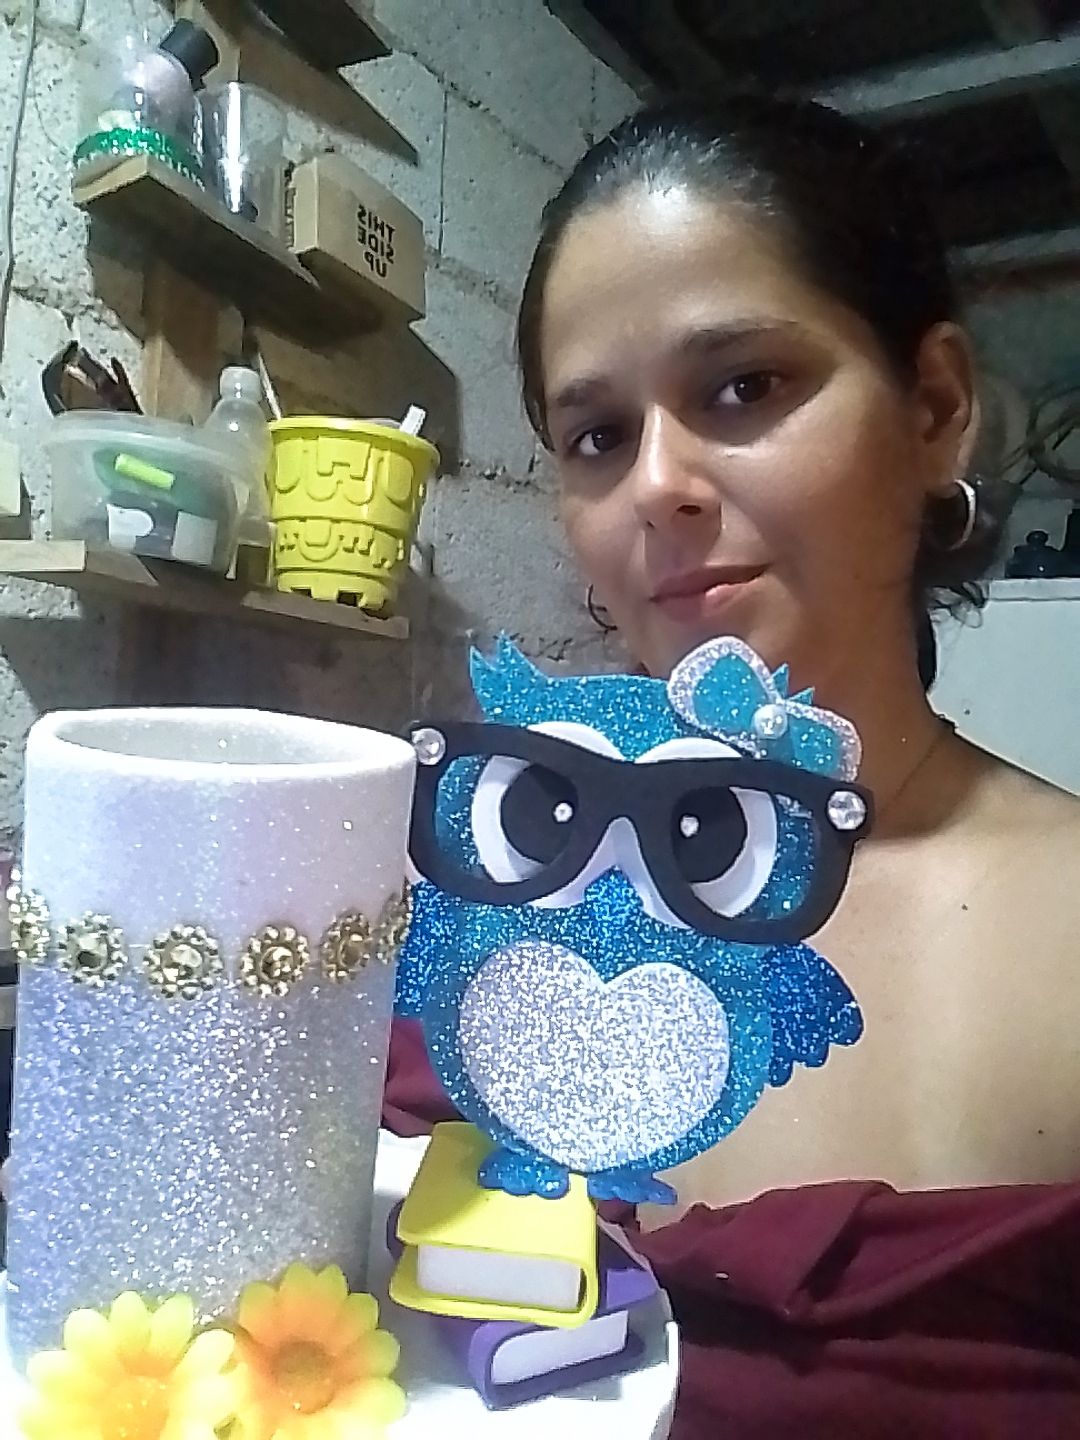
And so we are left with this beautiful pencil holder, I hope you liked it until next time.
Y así nos queda este bello portalápiz, espero que les haya gustado hasta la próxima.
Photos of my property taken with the phone Cover made in Canva Translated by DeepL