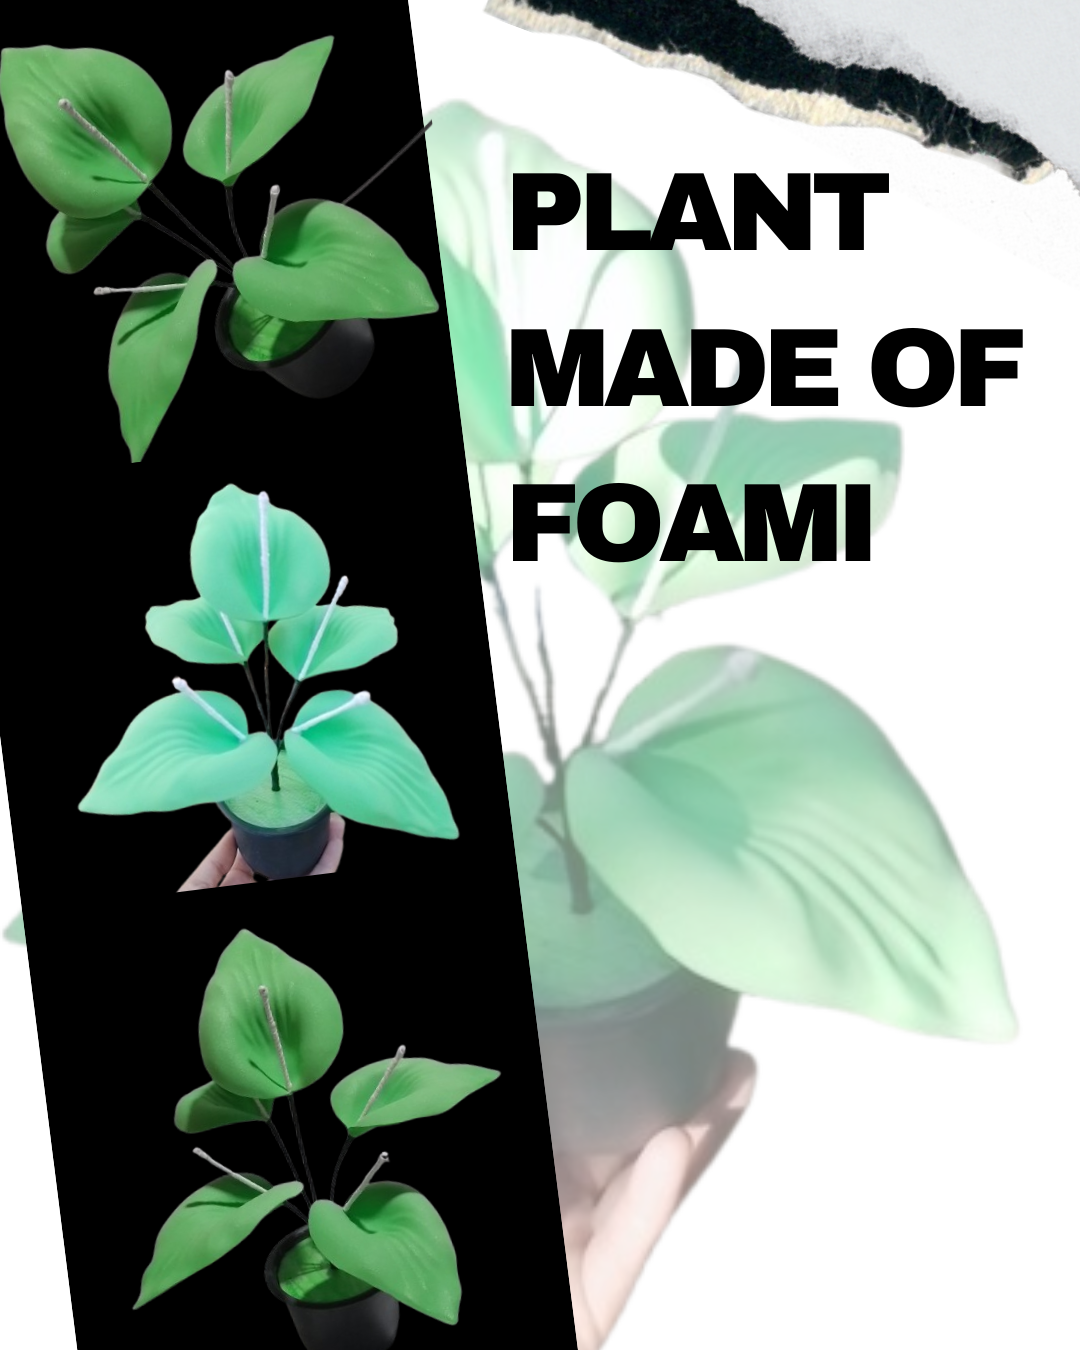
Hello, good morning, friends of the community. After being away for a while, today I want to show you a plant I made for a friend for her birthday, since she loves plants. Plants not only beautify our home and surroundings, but also nourish our souls.
Hola, buenos días, amigos de la comunidad. Después de estar un tiempo fuera, hoy les quiero mostrar una planta que le hice a una amiga para su cumpleaños, ya que a ella le encantan las plantas. Las plantas no solo embellecen nuestra casa y entorno, sino también nutren nuestras almas.
I want to show you the step by step of this beautiful plant, for if at some point you are looking for what to give and whose person lives in love with plants, here I leave the tutorial, I hope you like it.
Les quiero mostrar el paso a paso de esta bella planta, para sí en algún momento están buscando qué regalar y cuya persona vive enamorada de las plantas, aquí les dejo el tutorial, espero que les guste.
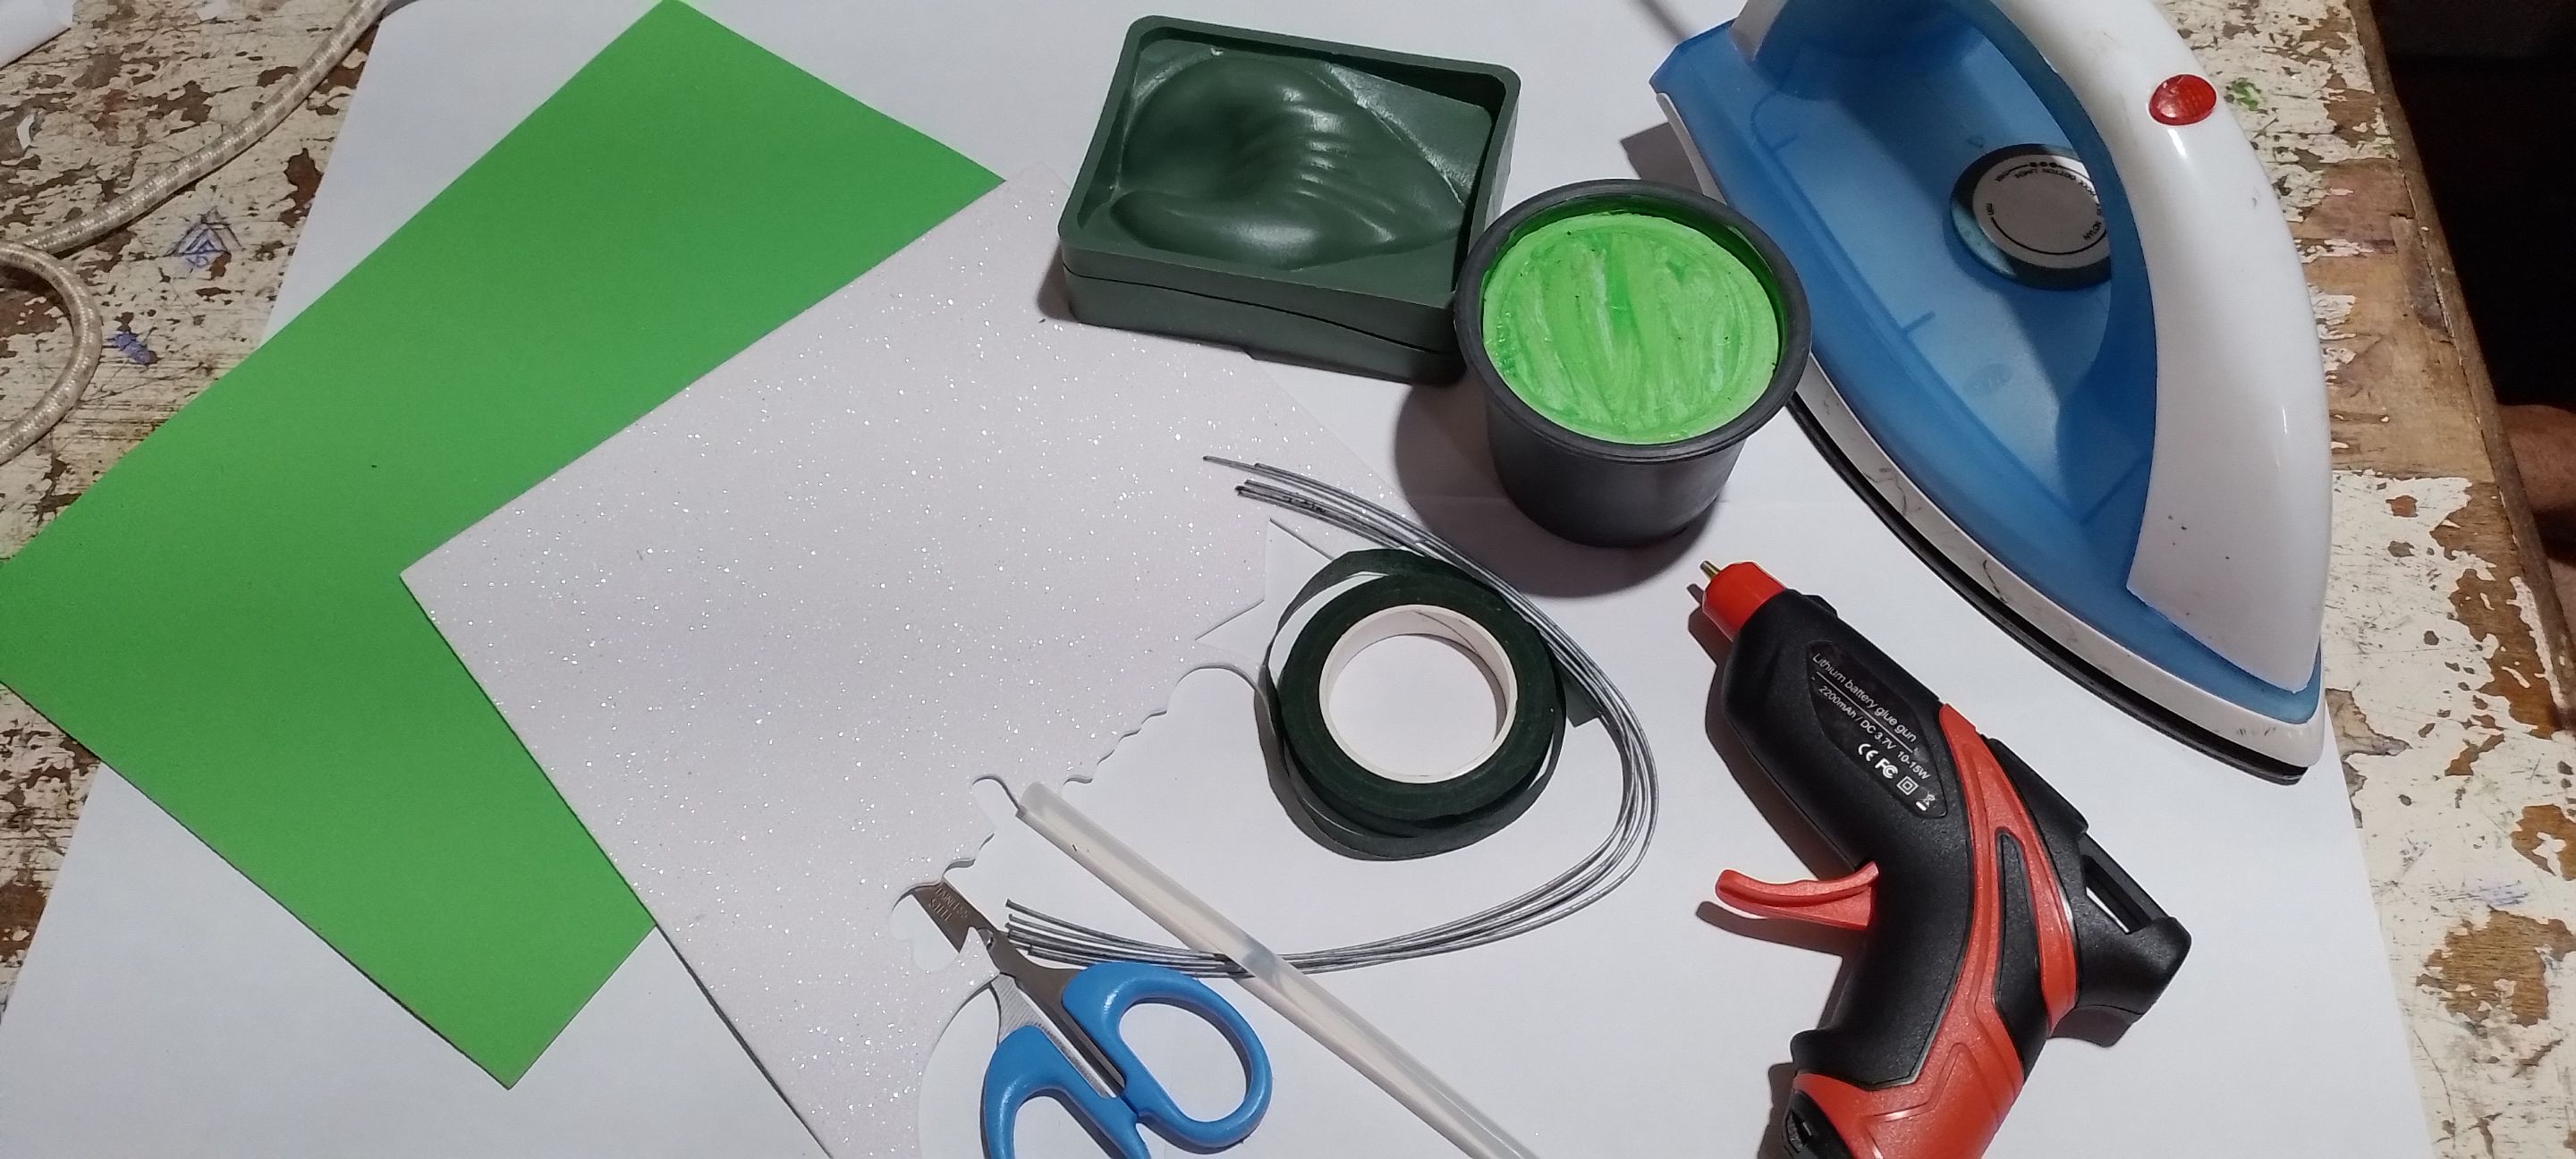
- White and green fomi.
- Molds.
- Iron.
- Floral tissue.
- Wire.
- Scissors.
- Silicone sticks.
- A small flowerpot.
- Fomi blanco y verde.
- Moldes.
- Plancha.
- Teipe floral.
- Alambre.
- Tijera.
- Barras de silicona.
- Una maceta pequeña.
| https://files.peakd.com/file/peakd-hive/norychacon/Eoke234atkBXRkqYQoV7huRw4znB3eCbN5txiHvmC8BV7r4LF2WsV2AfZGk8qK15J7S.jpg | https://files.peakd.com/file/peakd-hive/norychacon/Ep3eikzwQfaWhHYKbojTnG4TrsDFog58BrPPfZ25uBonuQaMSPFHH7BfoP9hjCSN6FW.jpg |
Step 1: First cut the green fomi into 5 medium-sized rectangles and place them on the hot plate.
Paso 1: Primeramente recortamos el fomi verde en 5 rectángulos medianos, lo ponemos encima de la plancha caliente.
| https://files.peakd.com/file/peakd-hive/norychacon/EpLgVxCsnjMzQcQaa6F7P6ytDKZXzbLokJ86V4WmG5VMtYHGAkxdv2u3S6XLJD1M5nH.jpg | https://files.peakd.com/file/peakd-hive/norychacon/Ep3fqeJEKv4w7X4nkXK2ZZdq4U3EEAHitQZ6EP6DS3BuHbXZWUPqoNBkdYf4iKXrVJH.jpg |
| https://files.peakd.com/file/peakd-hive/norychacon/EopuuSBhnxftEvnEKwYbefGs6UQjvsP3JRWrizJ38TmFqXbRotJZfZnVwKrXqB15XEp.jpg | https://files.peakd.com/file/peakd-hive/norychacon/Ep7v8WirXbuRtVaFuiqBgTgbm2mwe9QAp5zHokv7adQFJdY6yNxw5rERwMVx4gn2x5h.jpg |
Step 2: when the fomi is hot, we put it inside the mold and press it until it is cold, and the marked and shaped sheet comes out, so we do it with all the pieces.
Paso 2: cuando el fomi esté caliente, lo ponemos dentro del molde y presionamos hasta que ya esté frío, y ya sale la hoja marcada y con la forma, así lo hacemos con todos los trozos.
| https://files.peakd.com/file/peakd-hive/norychacon/EoptutAGZRCQaj27NcR52yoGpH7TV229kM3CkDQq6VMtkNQCvAYgvCfvKmtHatjxiEb.jpg | https://files.peakd.com/file/peakd-hive/norychacon/Eoptx54o9WXFB7zfc5JHEvKHYeCc7Gg16asPmYGerMZ1Tw3zzZhfm5gMfLorgFKKE8A.jpg |
Step 3: Then we cut the excess of the mold of the leaves of the plant, and put it aside.
Paso 3: Posteriormente recortamos el sobrante del molde de las hojas de la planta, y lo ponemos a un lado.
| https://files.peakd.com/file/peakd-hive/norychacon/EonnNBQMLAMWwMmm68dshr2Coo4Hguy6ttzp1AHjJqcyoWYzakmkkPRfjpAu1SvSxbU.jpg | https://files.peakd.com/file/peakd-hive/norychacon/Eos3JjebnQc6TbaFMkX5JfhjrBJWW7vwJkF4XqW5abfWj51p8PDwYtdHpCDwdfWRvtK.jpg |
Step 4: With the silver fomi we cut 5 thin strips.
Paso 4: Con el fomi plateado recortamos 5 tiritas finas.
| https://files.peakd.com/file/peakd-hive/norychacon/EnyyCjfKTPJvTVLdLwDDb2hLs4DZiMGJXbTstCTcb8GFJbP3teQjyy5z1gA7xHrkmHE.jpg | https://files.peakd.com/file/peakd-hive/norychacon/EoAcfyqCTdhs6mnQjQKboukADjddjvD5LDRjmN71zE64kcN2xHwjFxGmkgniYKgNWAF.jpg | https://files.peakd.com/file/peakd-hive/norychacon/Eo8VHo3GjLna3q5z8R2tnBUou4wBis6wyz3z1CXq3CG9PsuFWij4yCjcD1bWasc9qKZ.jpg |
| https://files.peakd.com/file/peakd-hive/norychacon/Eos3JjaGBwkadNyrDRZxKnVGPfnpCJznCfSFvBSgkQeVDb76pKXhkWrk2aR5Wphhmfw.jpg | https://files.peakd.com/file/peakd-hive/norychacon/Eo273UigxpvW3bppdtnKU8qj4jxAXCY4EwXNYdoXWvn8j6126QhhZZYBtU7FrcBH57B.jpg |
Step 5: Wrap these strips around the tip of the wire.
Paso 5: Estas tiritas las envolvemos en la punta del alambre.
| https://files.peakd.com/file/peakd-hive/norychacon/EoeGNa1qAoSMj93FuSnb82SmdGw9FVkiJ2LNYoMP7TKwowsdZJ5YKWiewRzBxafJvdm.jpg | https://files.peakd.com/file/peakd-hive/norychacon/EoeGGgBypDZXQRzuiLsYa43ft6ZtPEbBqg7TGiT647tNdc6bsVETscc5HqUC1qpD1T2.jpg |
| https://files.peakd.com/file/peakd-hive/norychacon/EokeZ4fSRpmXhf5KCXdiJk3y1a5F7gY1fTkWs7iYoQ8eUjw6yKYXeL7rW1aNHWaQqAa.jpg | https://files.peakd.com/file/peakd-hive/norychacon/Eos3jDjtaQVgJXukxSJZ3kc3eVMsnFC3tYuZxNX1Lk5SaFGxPotsABCkXLhYBbxmt39.jpg |
Step 6: Glue the wires at the bottom of the sheet, leaving an excess upwards, and this excess is where we glue the strips of white fomi. Repeat this with the 5 leaves.
Paso 6: Pegamos los alambre en la parte de abajo de la hoja, que nos quede un sobrante hacia arriba, y este sobrante es donde pegamos las tiritas del fomi blanco. Y esto lo repetimos con las 5 hojas.
| https://files.peakd.com/file/peakd-hive/norychacon/EowJ78WhQUcmt86ije85ihitqrzhRSzZwy4m3MUC94ZUhXbSonFJSupWTQMgCiudbS5.jpg | https://files.peakd.com/file/peakd-hive/norychacon/EonnWMBe1XbVFmBJhPjiQvcnLMpPNuETuFduHXxvqaUk2xQZ54g8jWkvx3MkkEPfauU.jpg |
Step 7: With the floral teipe we wrap it around the bottom of the wire to form the stem. And we do this with the 5 pieces.
Paso 7: Con el teipe floral lo envolvemos en la parte de abajo del alambre para formar el tallo. Y esto lo hacemos con las 5 piezas.
| https://files.peakd.com/file/peakd-hive/norychacon/Ep1XosA15FRZCwbuLLdDyyJRMCyLZNtos5DLdWyMKcWvzEVYt8eNW4j17CBYjWaKdUy.jpg | https://files.peakd.com/file/peakd-hive/norychacon/EopuKUziEcLJbiV4Btgw8Wpg4HjxH8Rpb2SxoQwyuC2JUU5Z444GMFSThGcwtrJGabQ.jpg | https://files.peakd.com/file/peakd-hive/norychacon/Eoke5sBPfewnos3Pa96TSH1eWSmWNVGLmxr256ifQcMc2aAGGHodc8XT93vNsGRWrqE.jpg |
Step 8: Place the plant in the center of the pot and open the leaves to make it look pretty.
Paso 8: Colocamos la planta en el centro de la maceta y le abrimos las hojas para que esta nos quede linda.
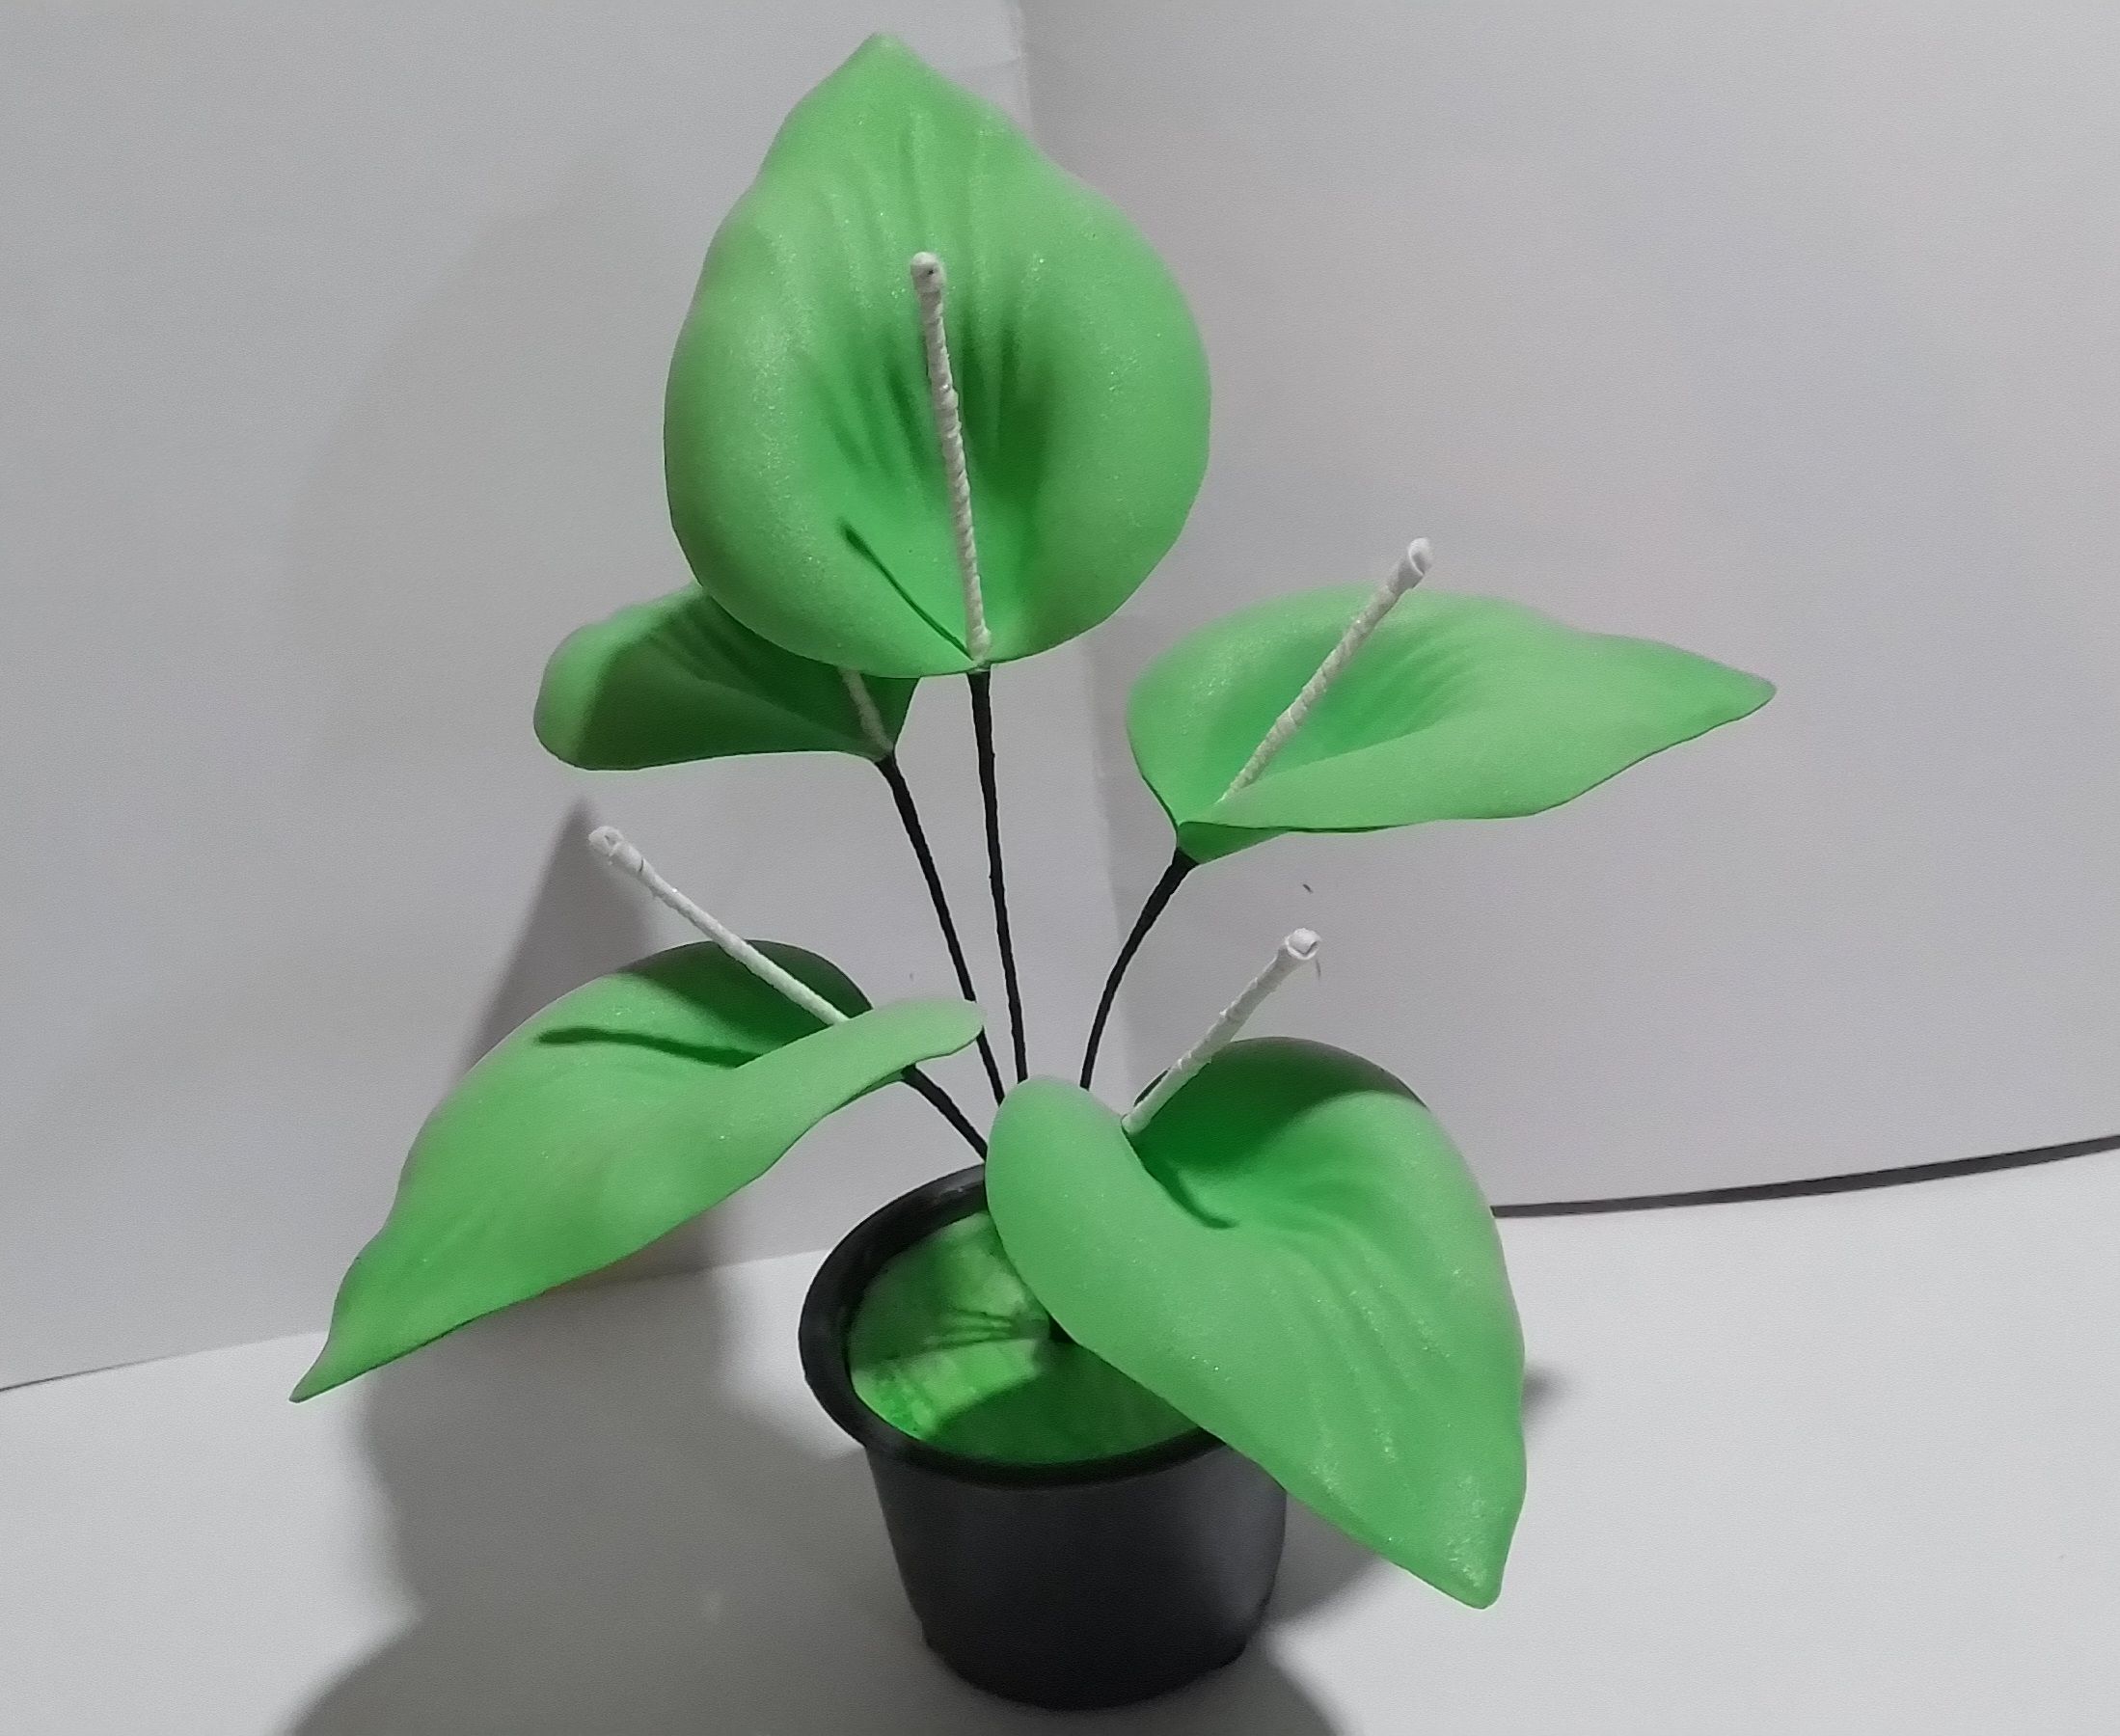
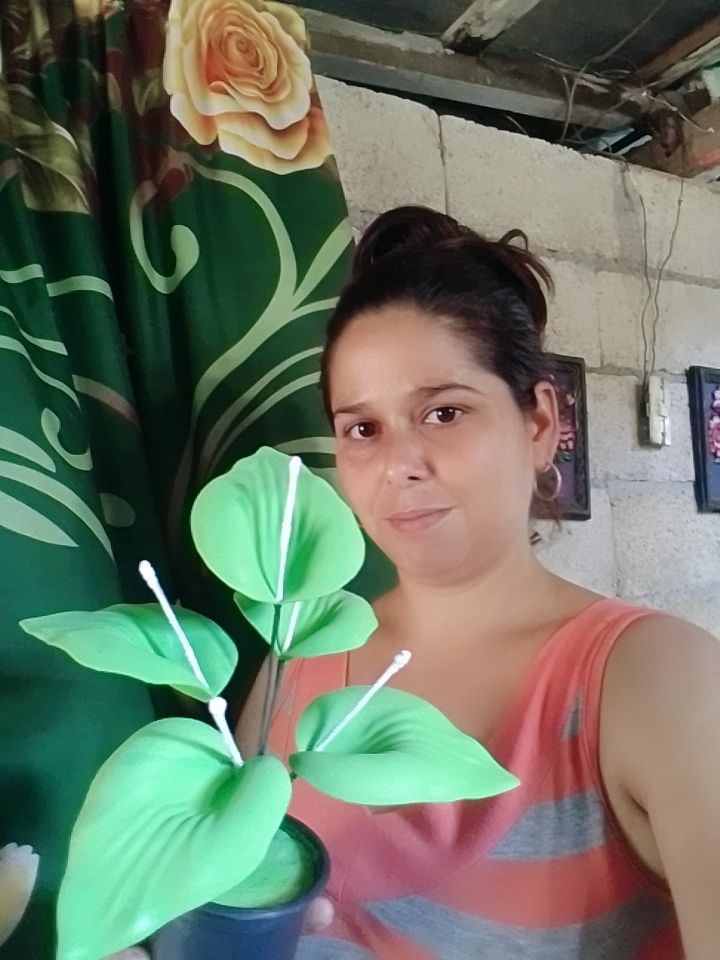
And this is how we got this beautiful plant, which is known by many people, but here I show you a mini to beautify our homes. I hope you like the result.
Y así fue como nos quedó esta bella planta, la cual es conocida por muchas personas, pero aquí les muestro una mini para embellecer nuestros hogares. Espero que les guste el resultado.
Photos of my property taken with the phone Cover made in Canva Translated by DeepL