This is going to be a 2 part blog- as I am going to be showing how I decorated the mug with polymer clay and how I reinforced it.
Polymer clay decorating on mugs is not a new thing. It gives me immense personal satisfaction to be able to do this as people get to use this everyday. But this is rife with challenges:
-
Making sure that it adheres to the mug. Polymer clay is completely different from ceramic clay( which is usually used for making mugs/ utensils).Making sure that it adheres to the surface is really challenging if you factor the materials between the surface, glaze used to finish the item and the type of polymer clay used.
-
Cracks/ breakage Since I need to reinforce the material after I am done with the design, cracks and breakage from the piece is usually a risk I take. This might set me back as to start all over as the design is irreparably damaged. Sometimes, it sets me back as to start from the very beginning.
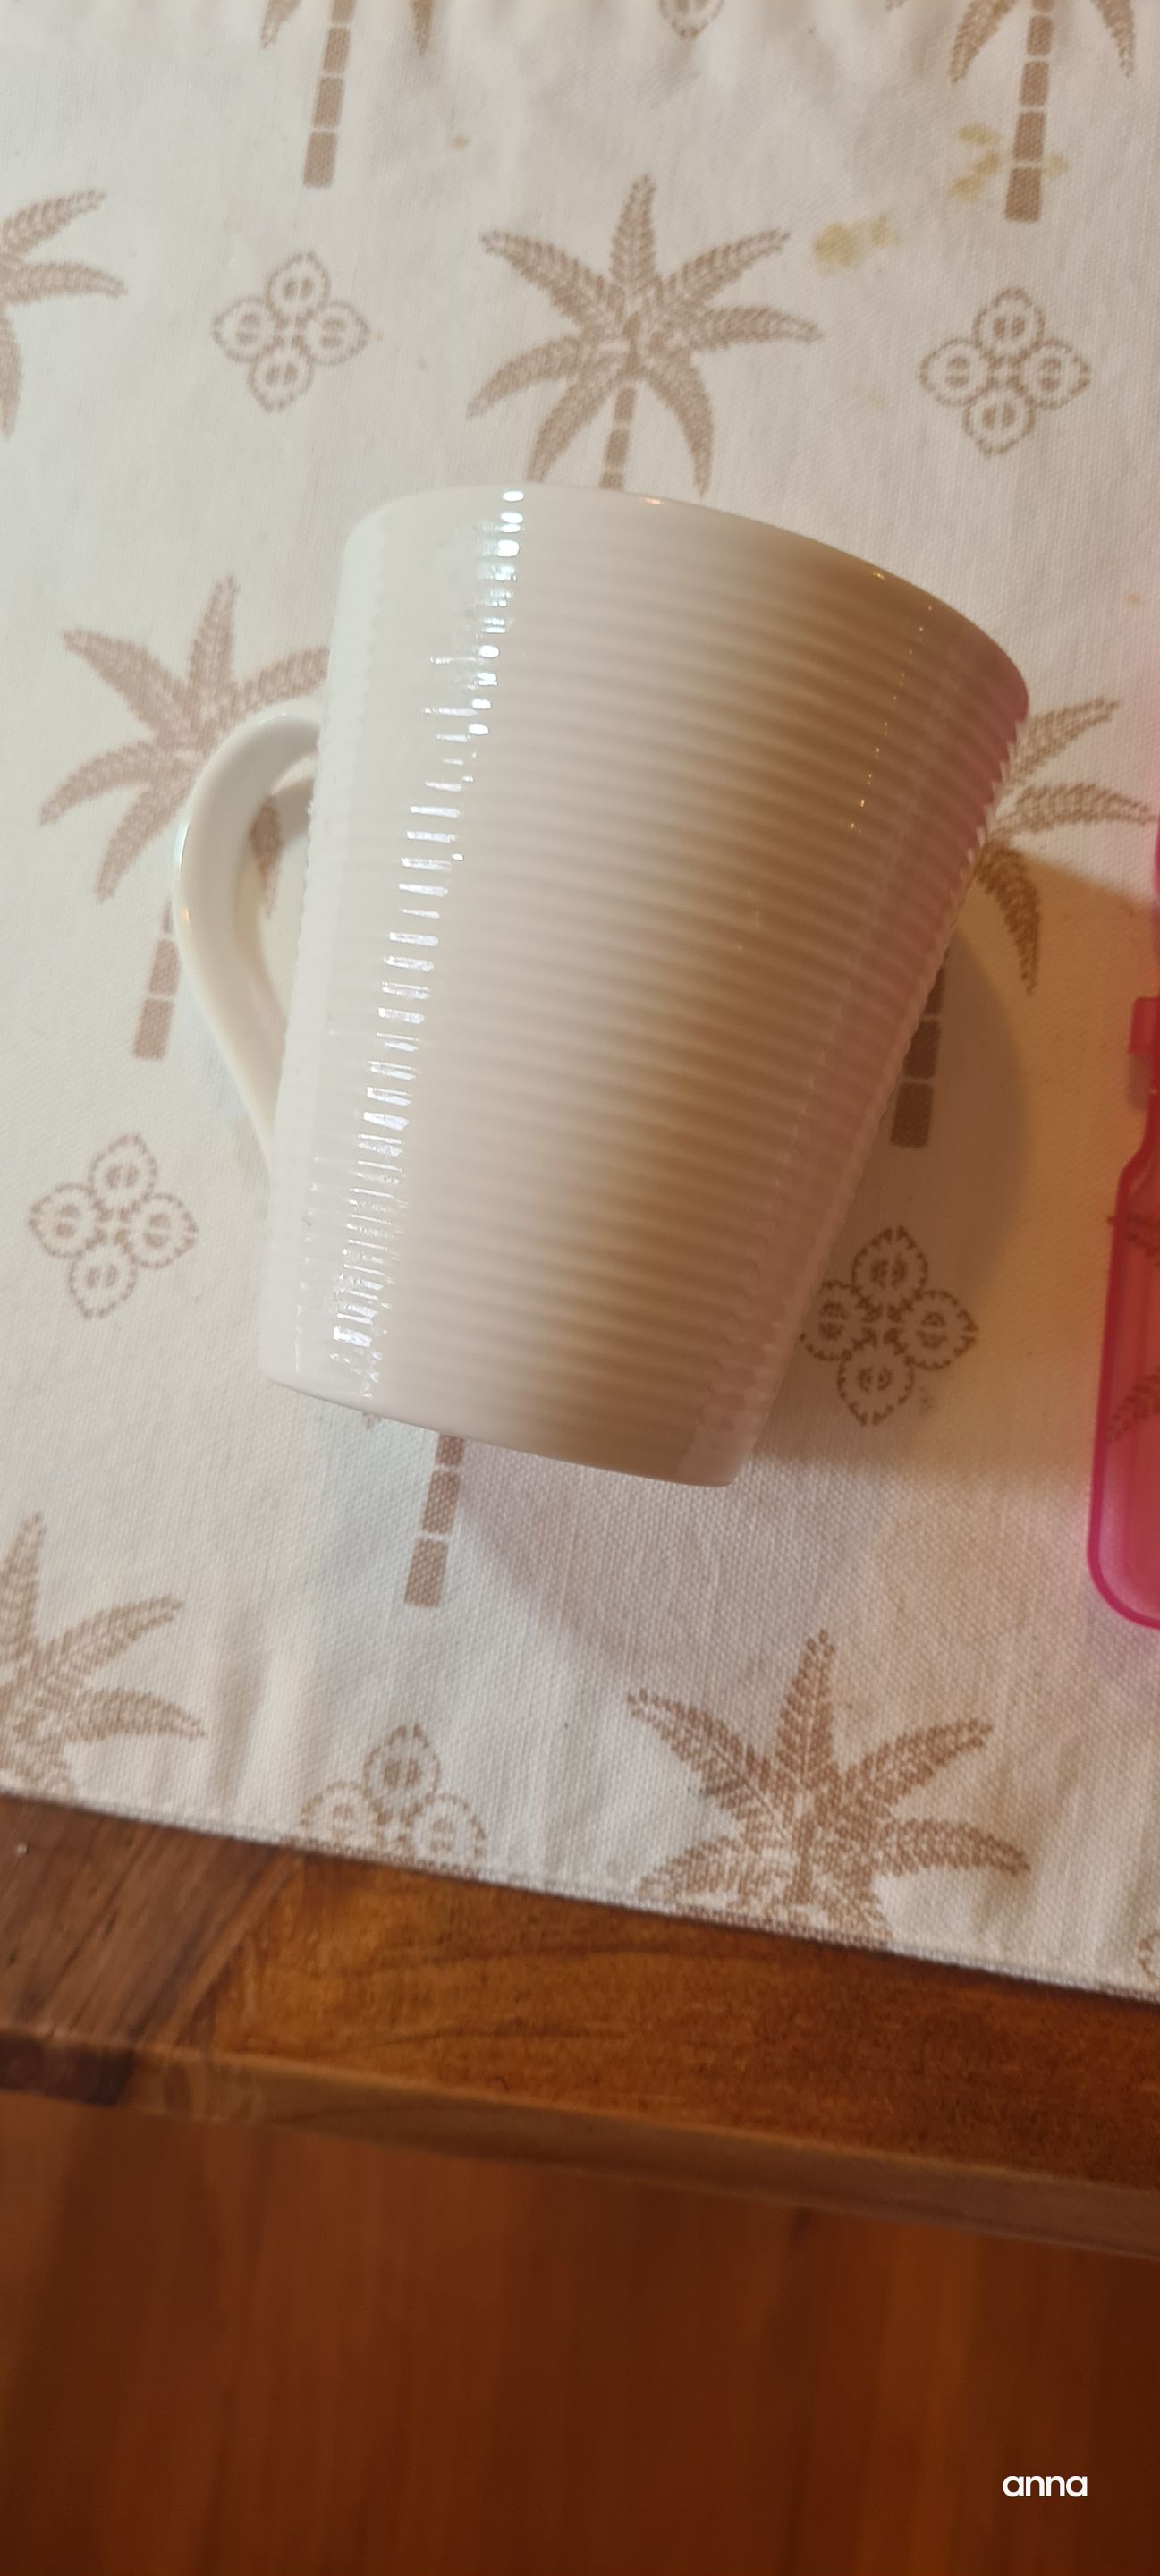
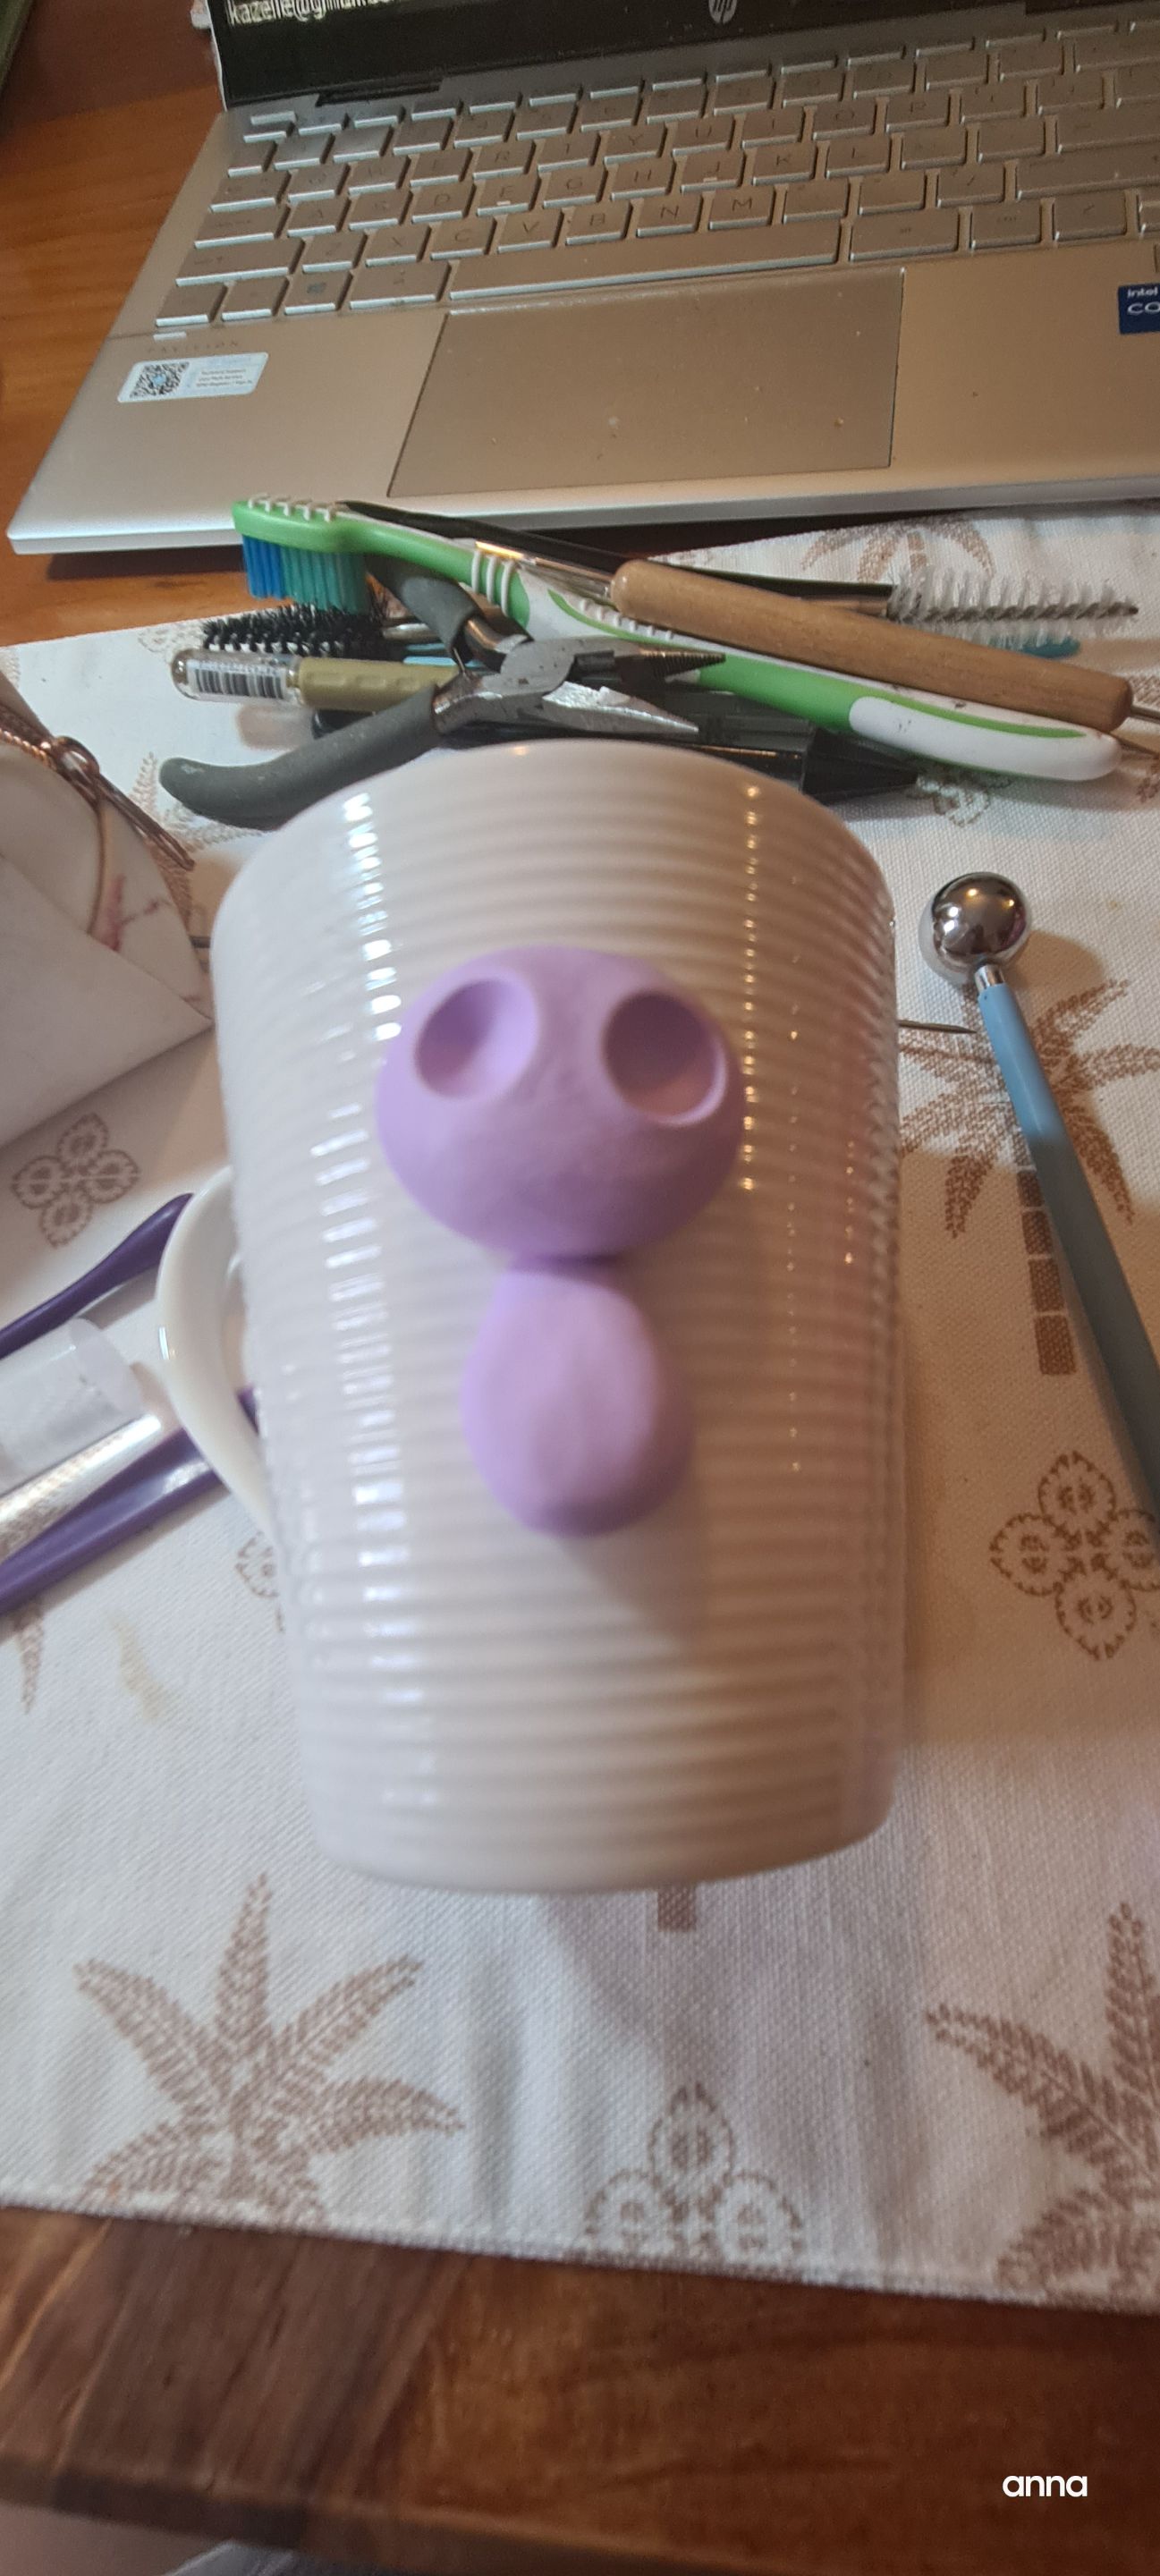
Let's start with a clean mug.There is no specific way of doing this but I usually wash the mug with soap and water( same like you're washing your usual kitchen utensils) and, I airdry or wipe it down. This depends again on the time frame, stains/ corruptions on the surface.
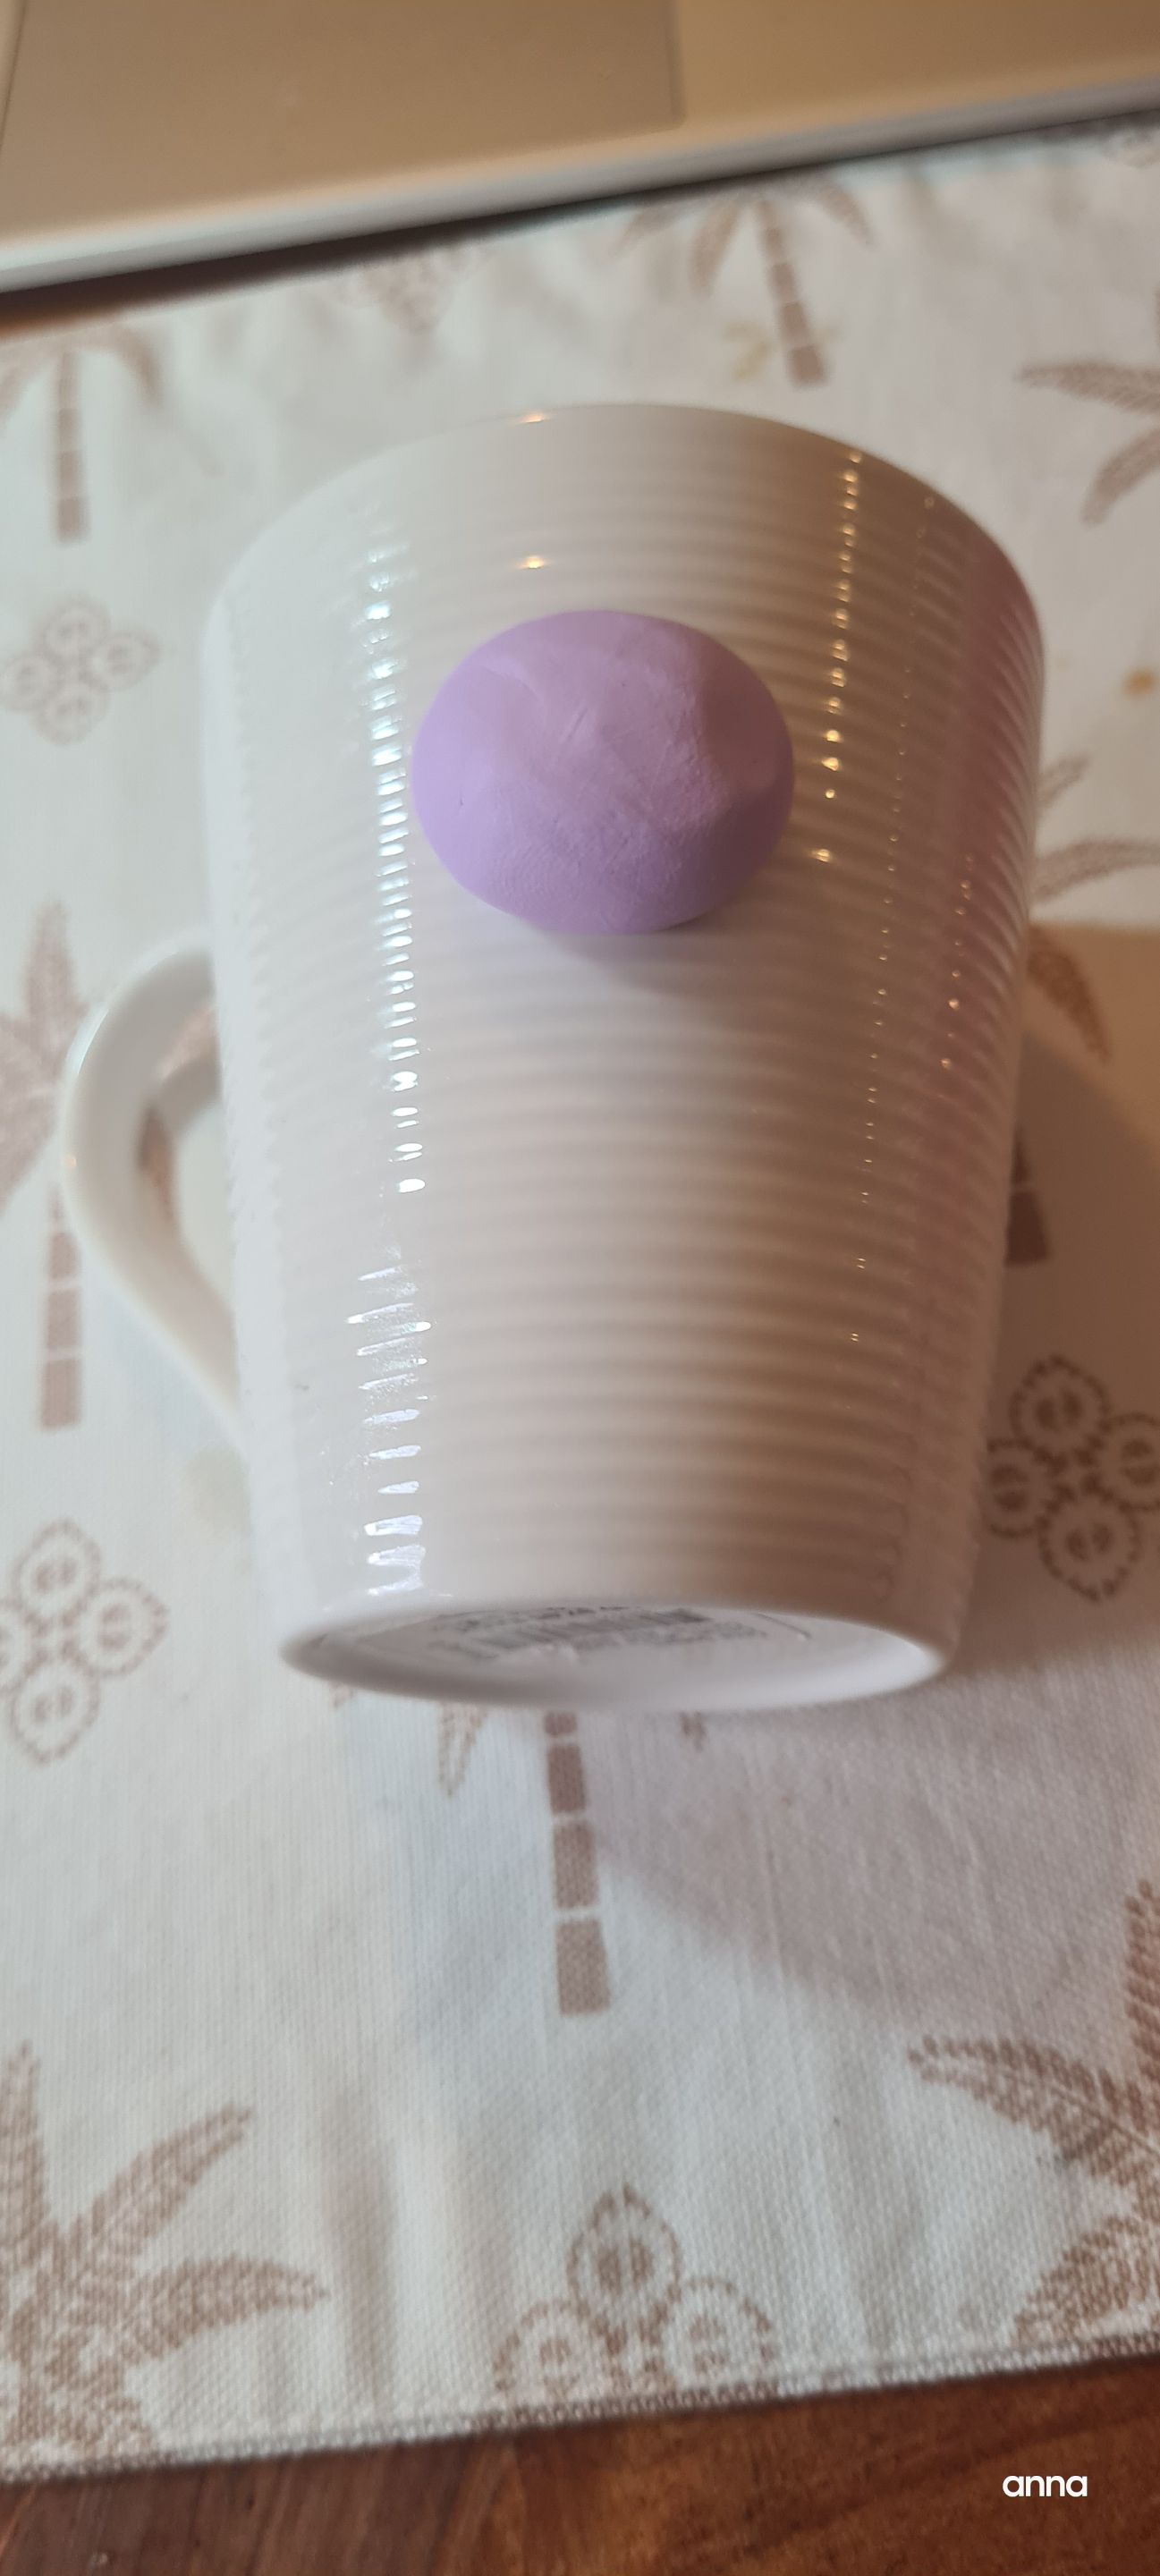
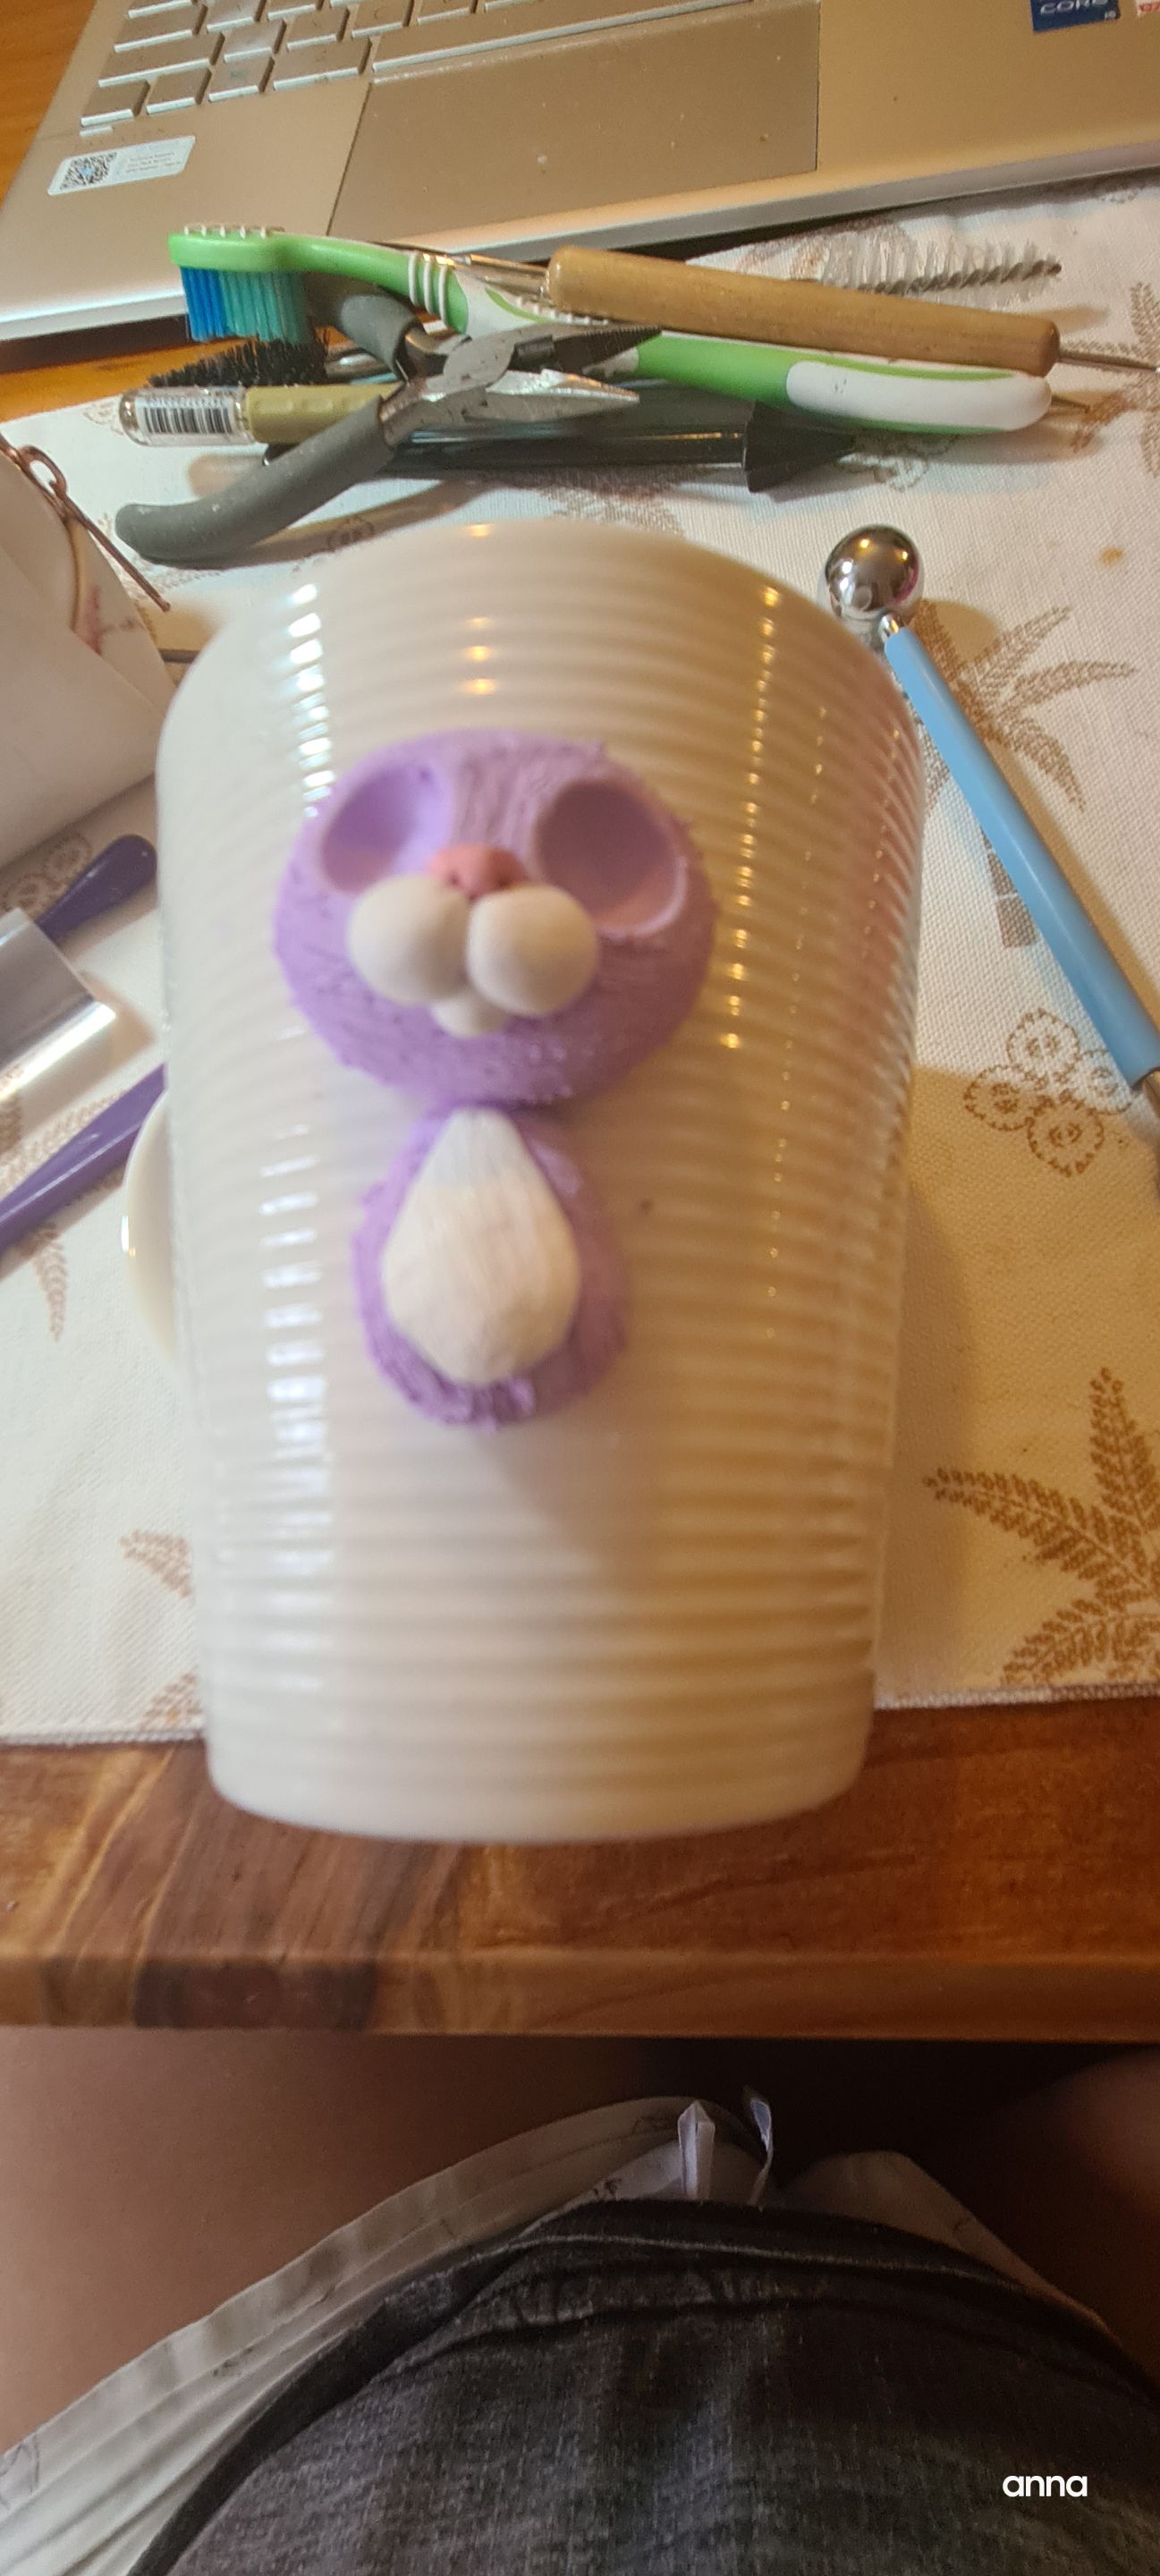
Start making the base on the mug.
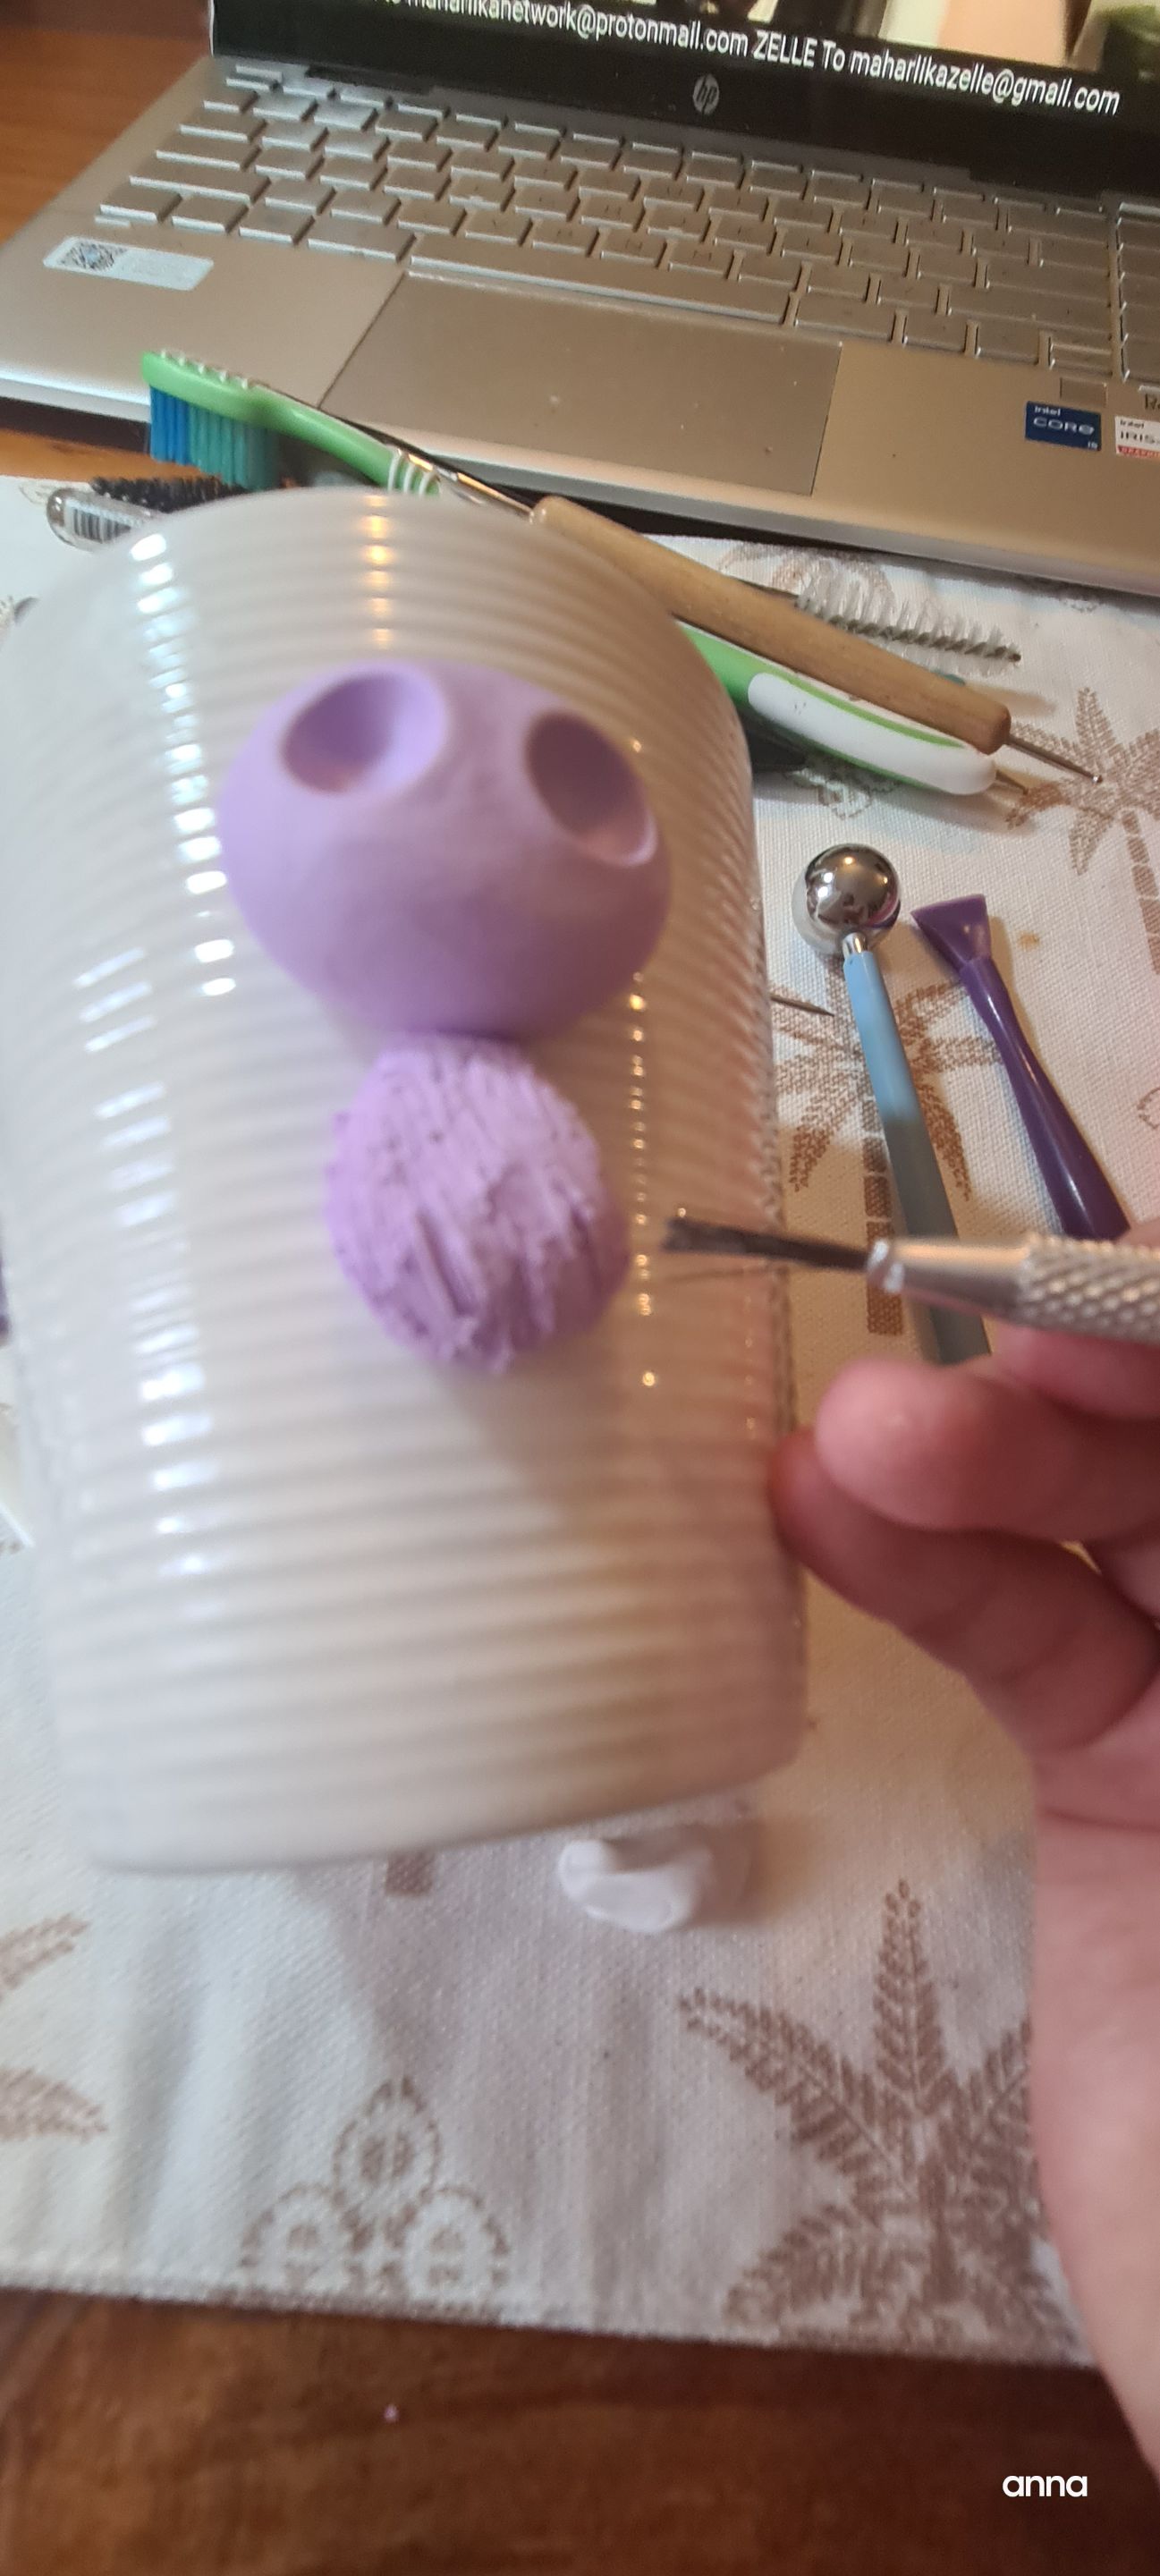
Start making details.

You can see me making my first details on the pieces using my tool.
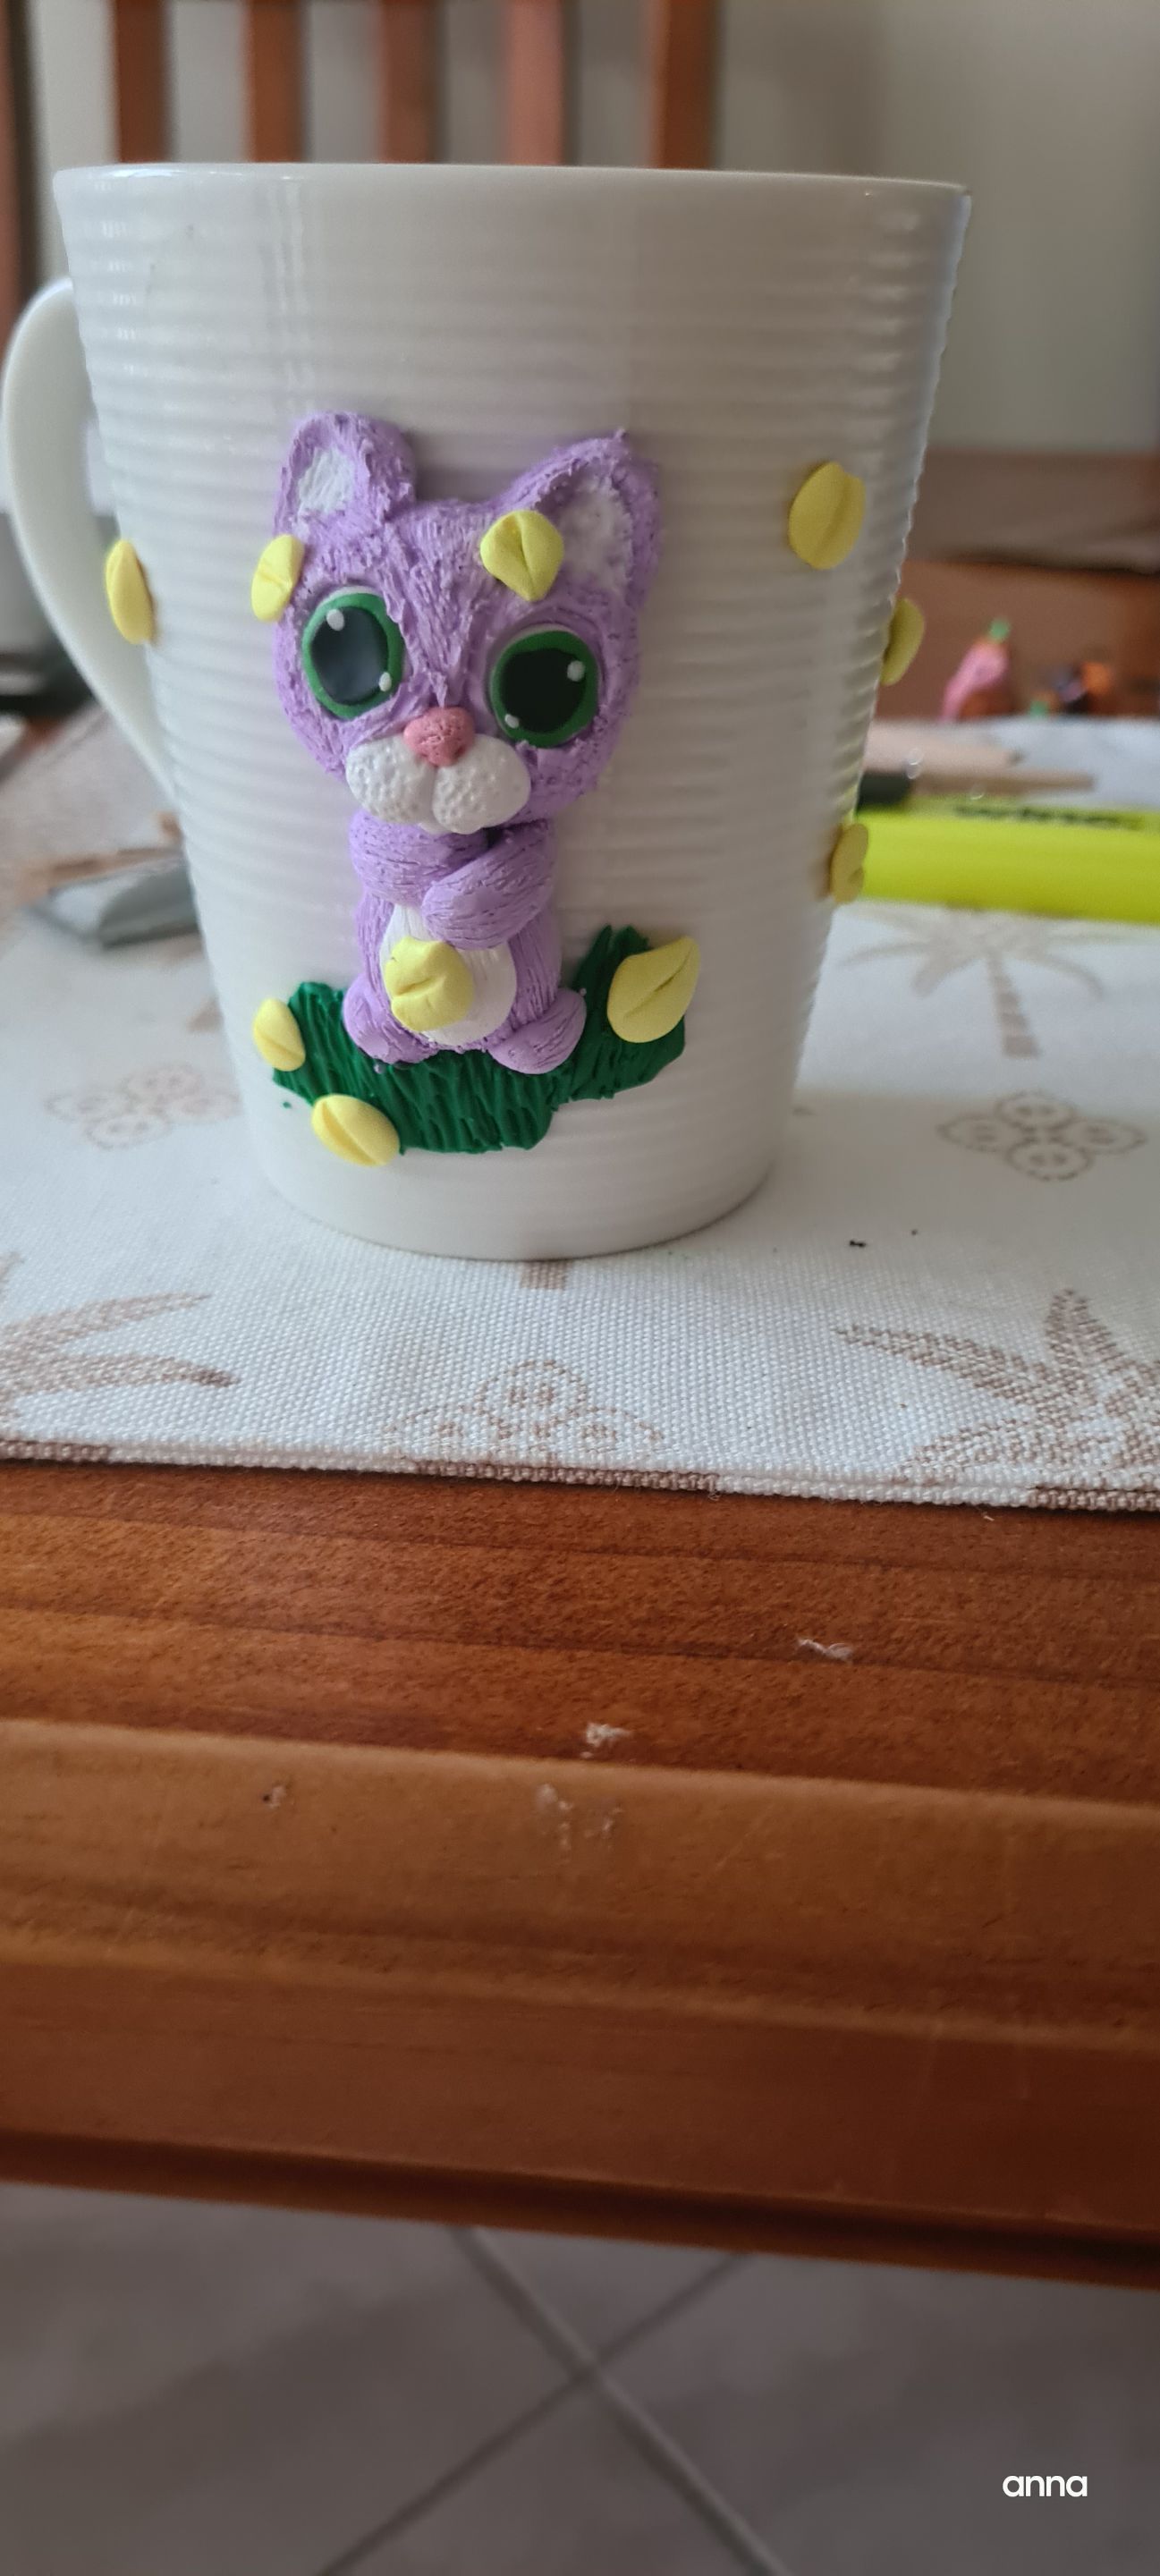
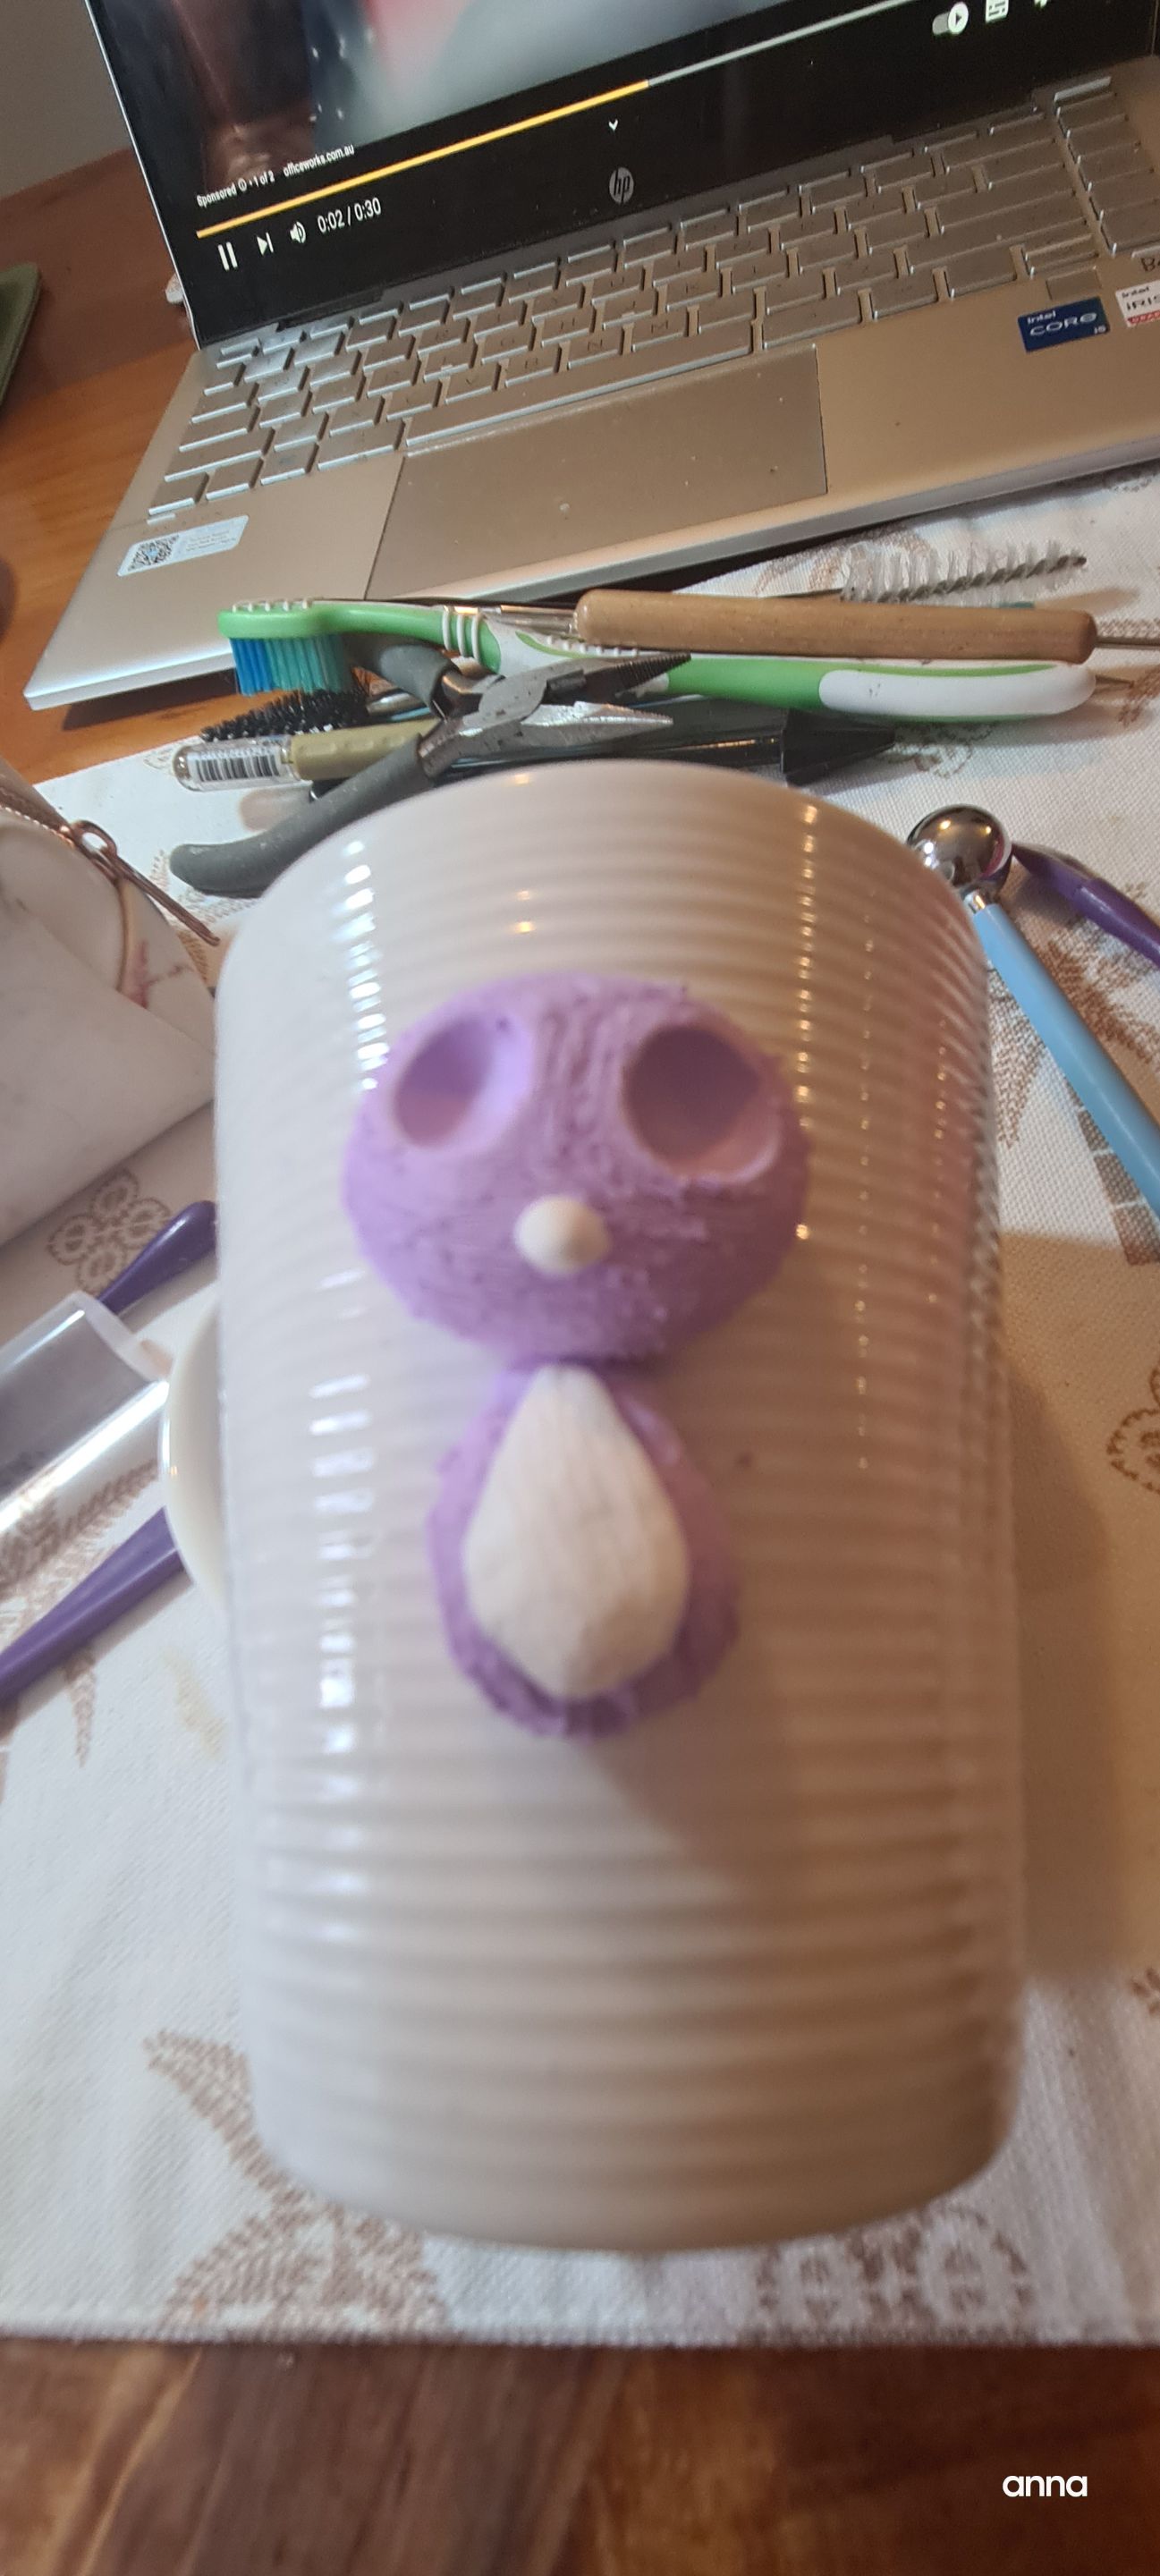
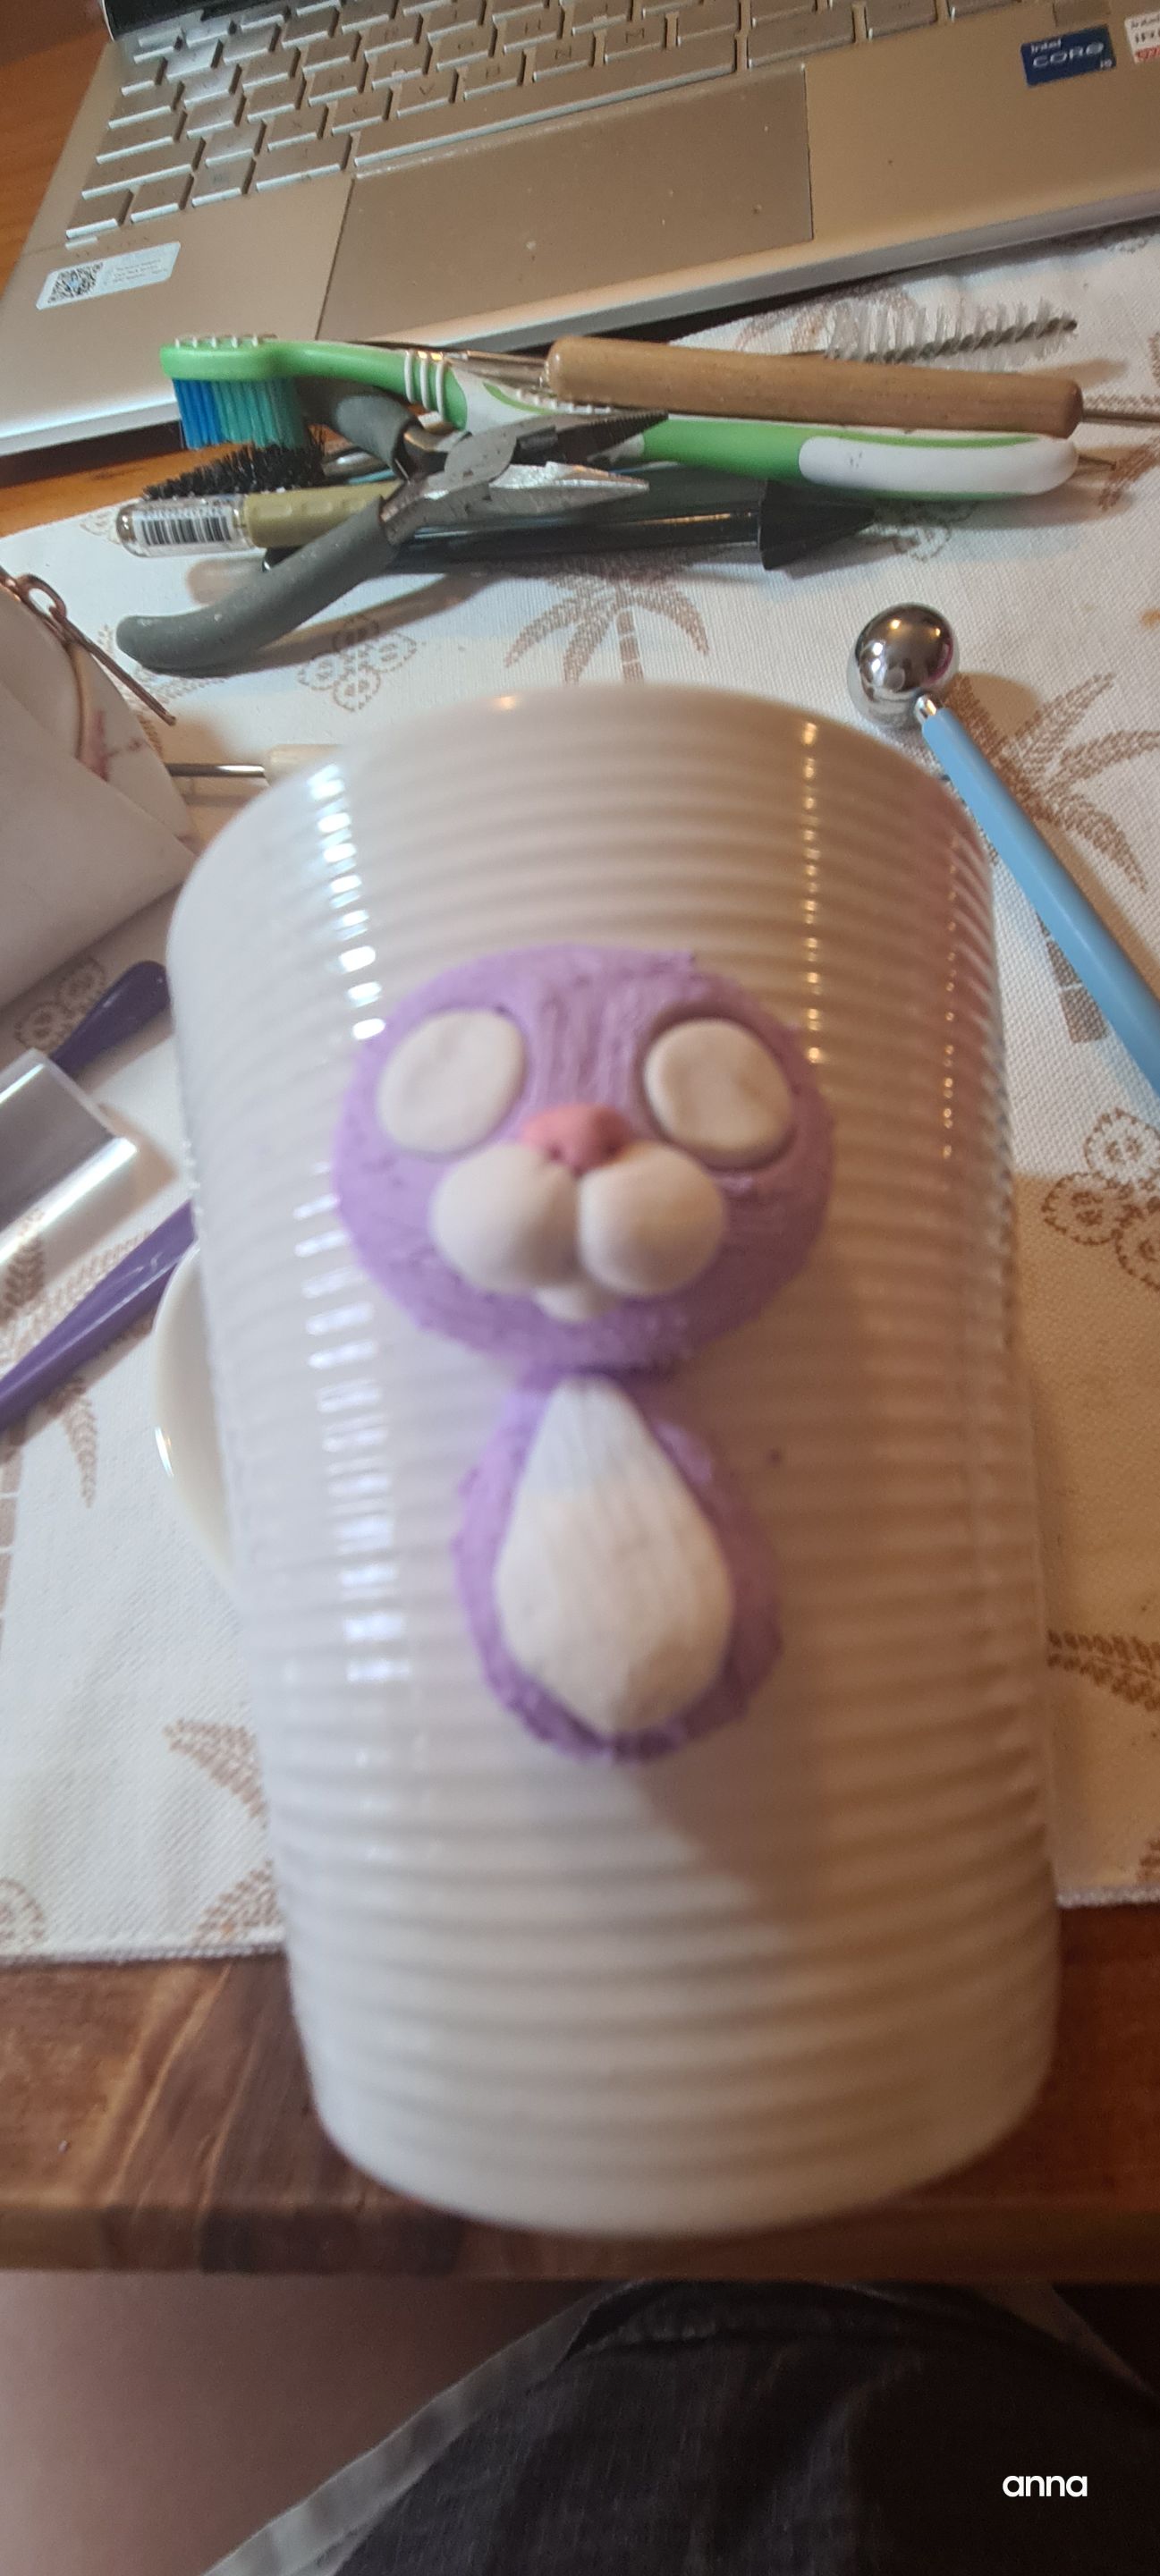
Further details made. These are just white clay shaped and attached to accommodate the desired details I wanted.
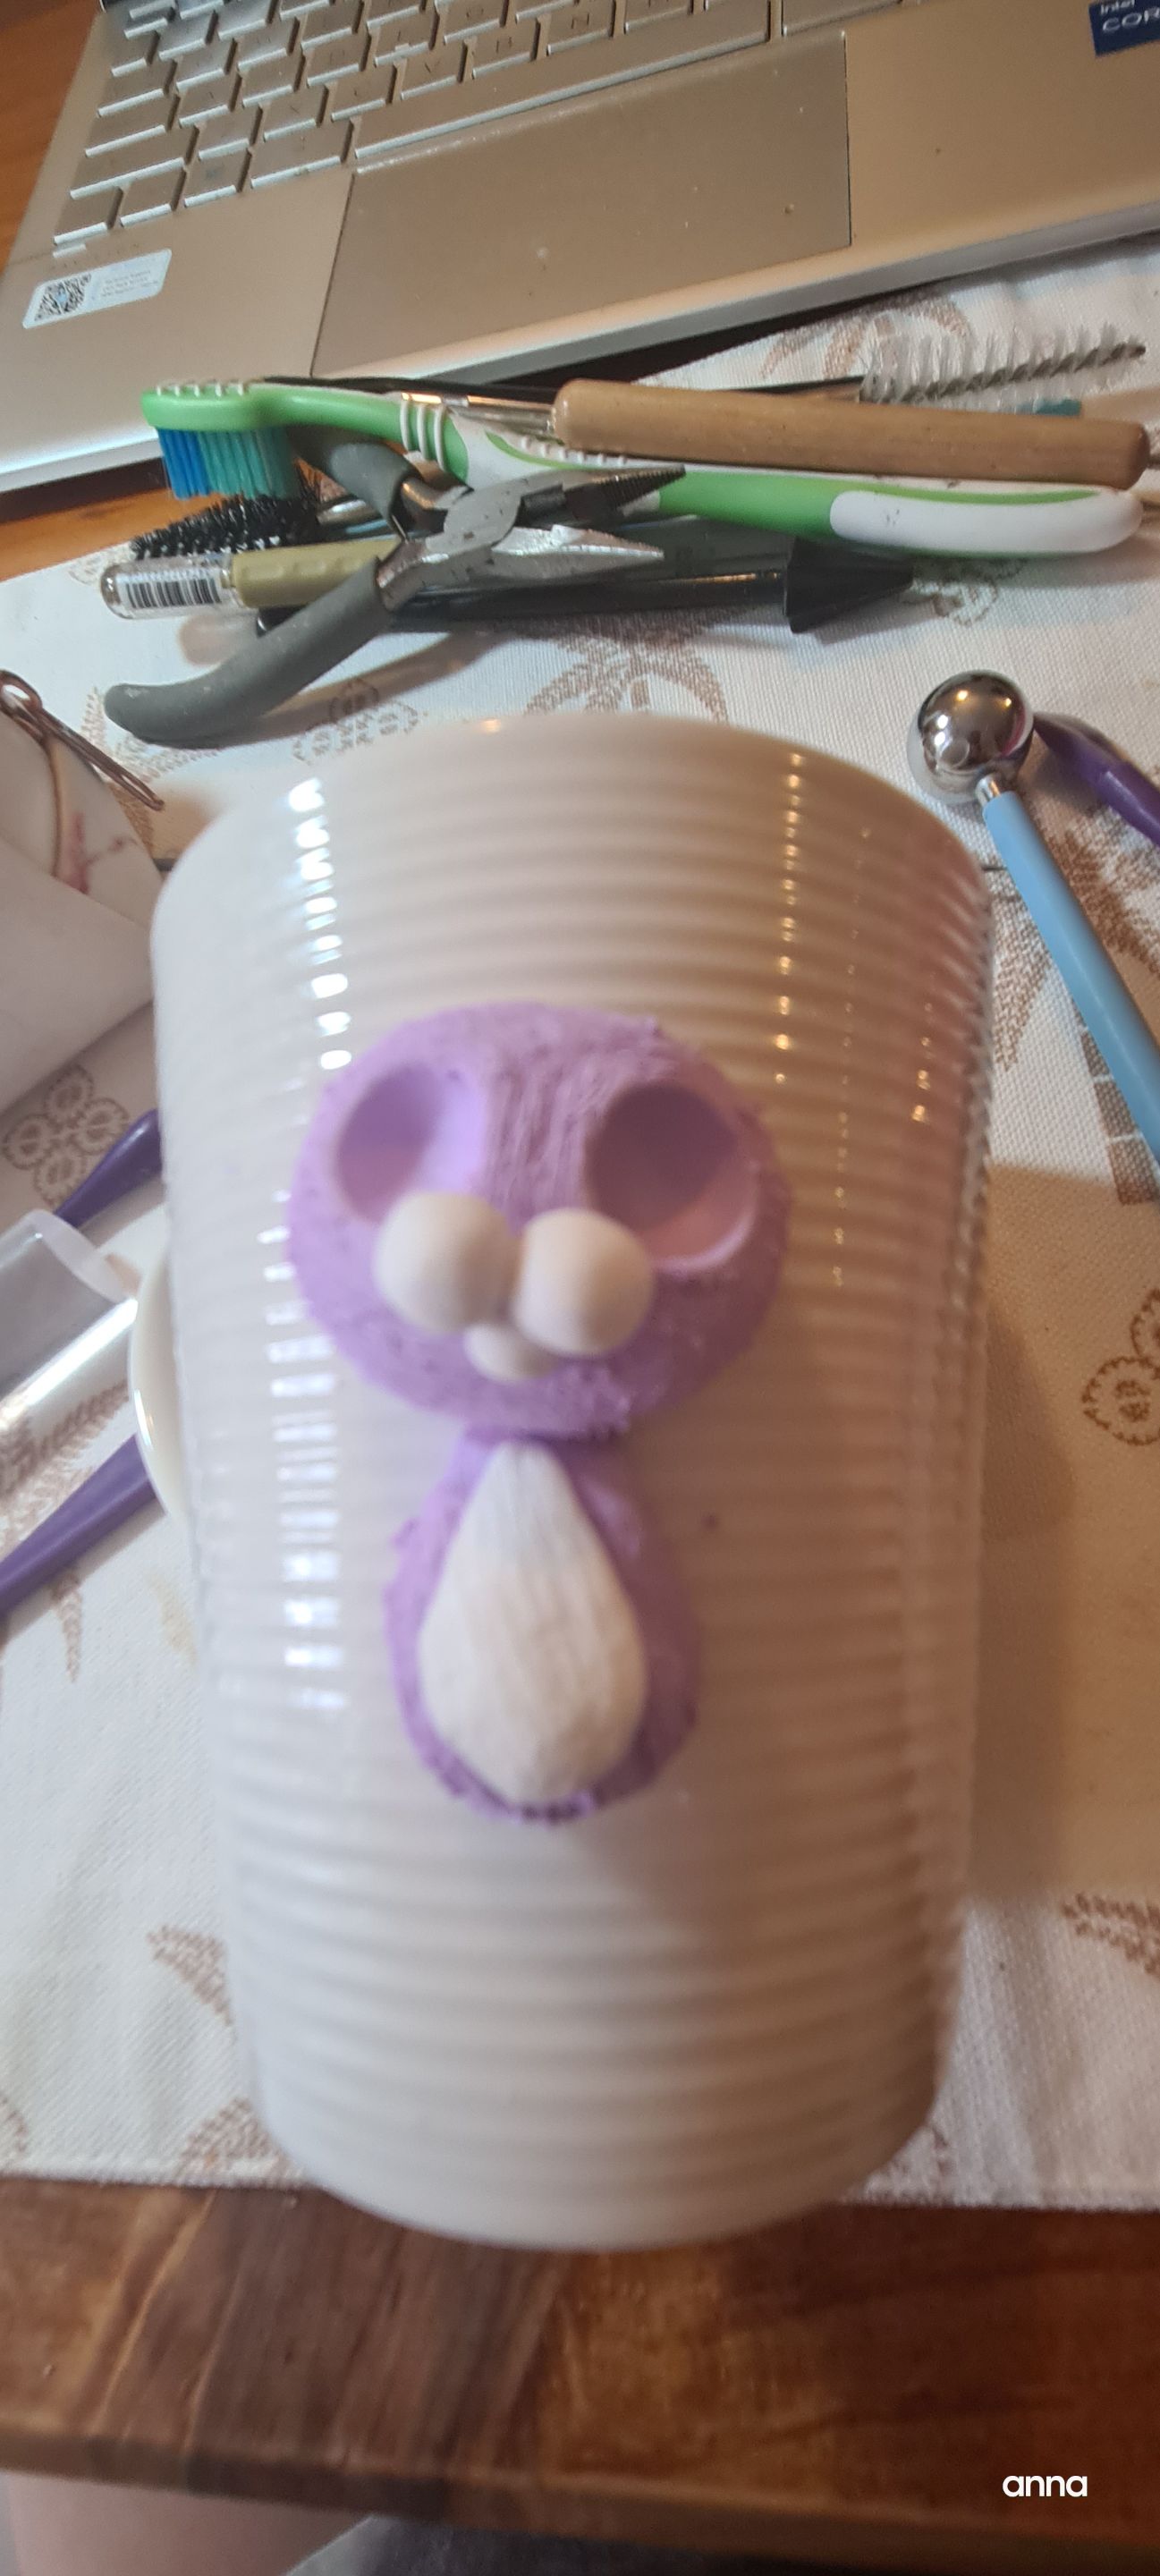
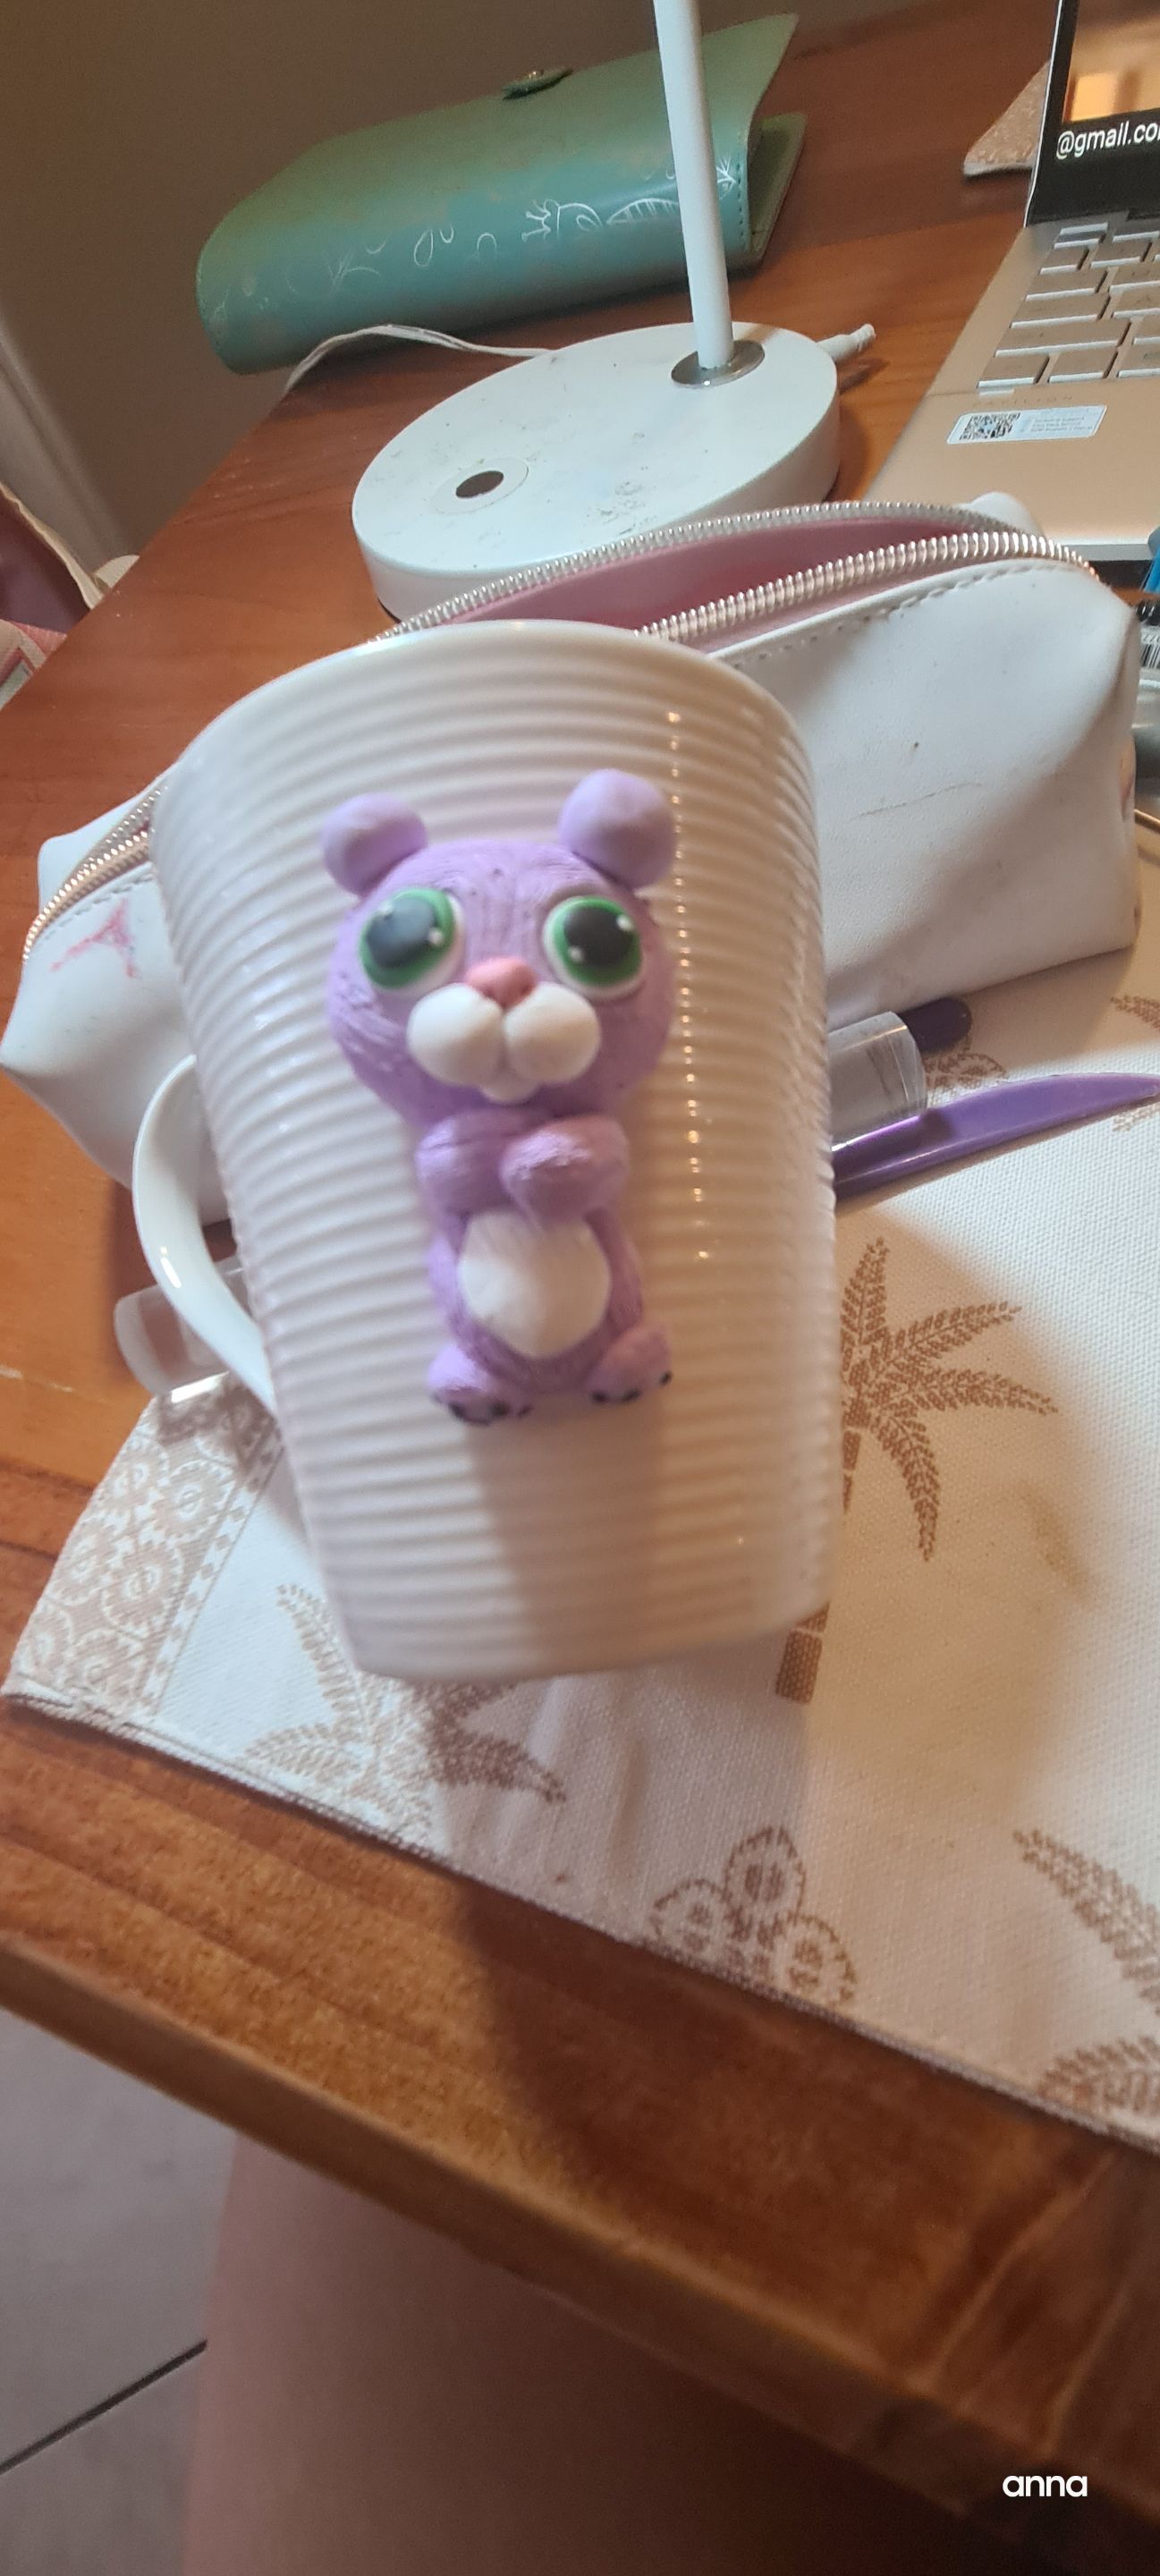
In this picture, you can definitely see how the details are finally completing the whole look. This is no different from making pieces from actual figurines. Its basically making figurines on a mug.
Make the eyes.
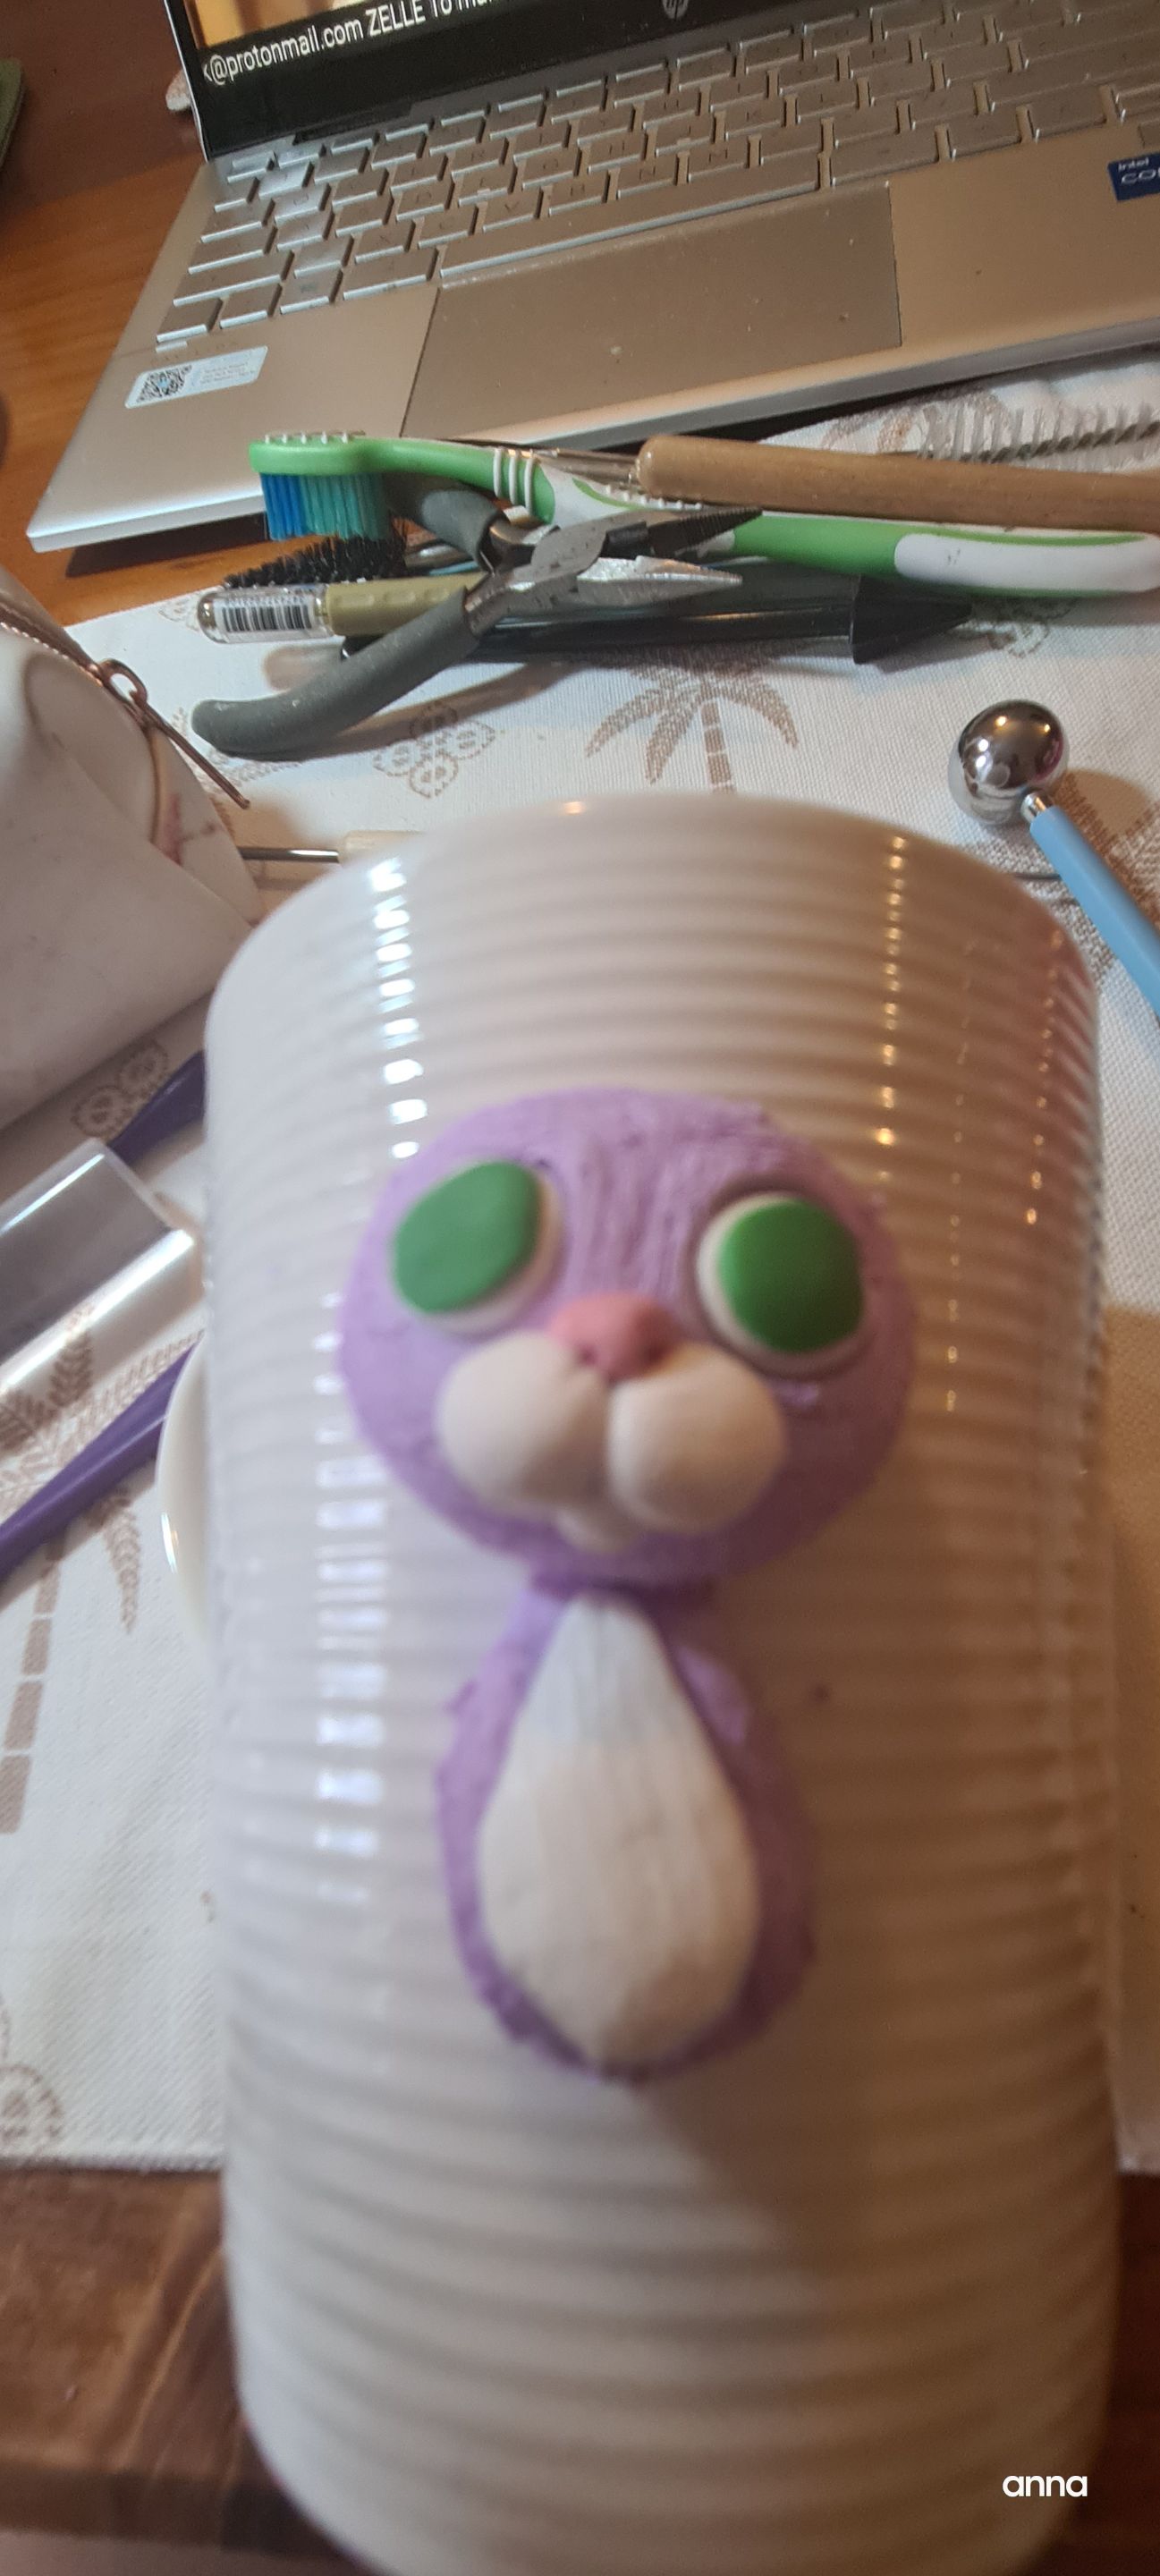
The eye detail was white( that was the one you guys saw applied on the eye socket first), green, black and specs of white to complete the look.
This is the closed up of the unbaked version.
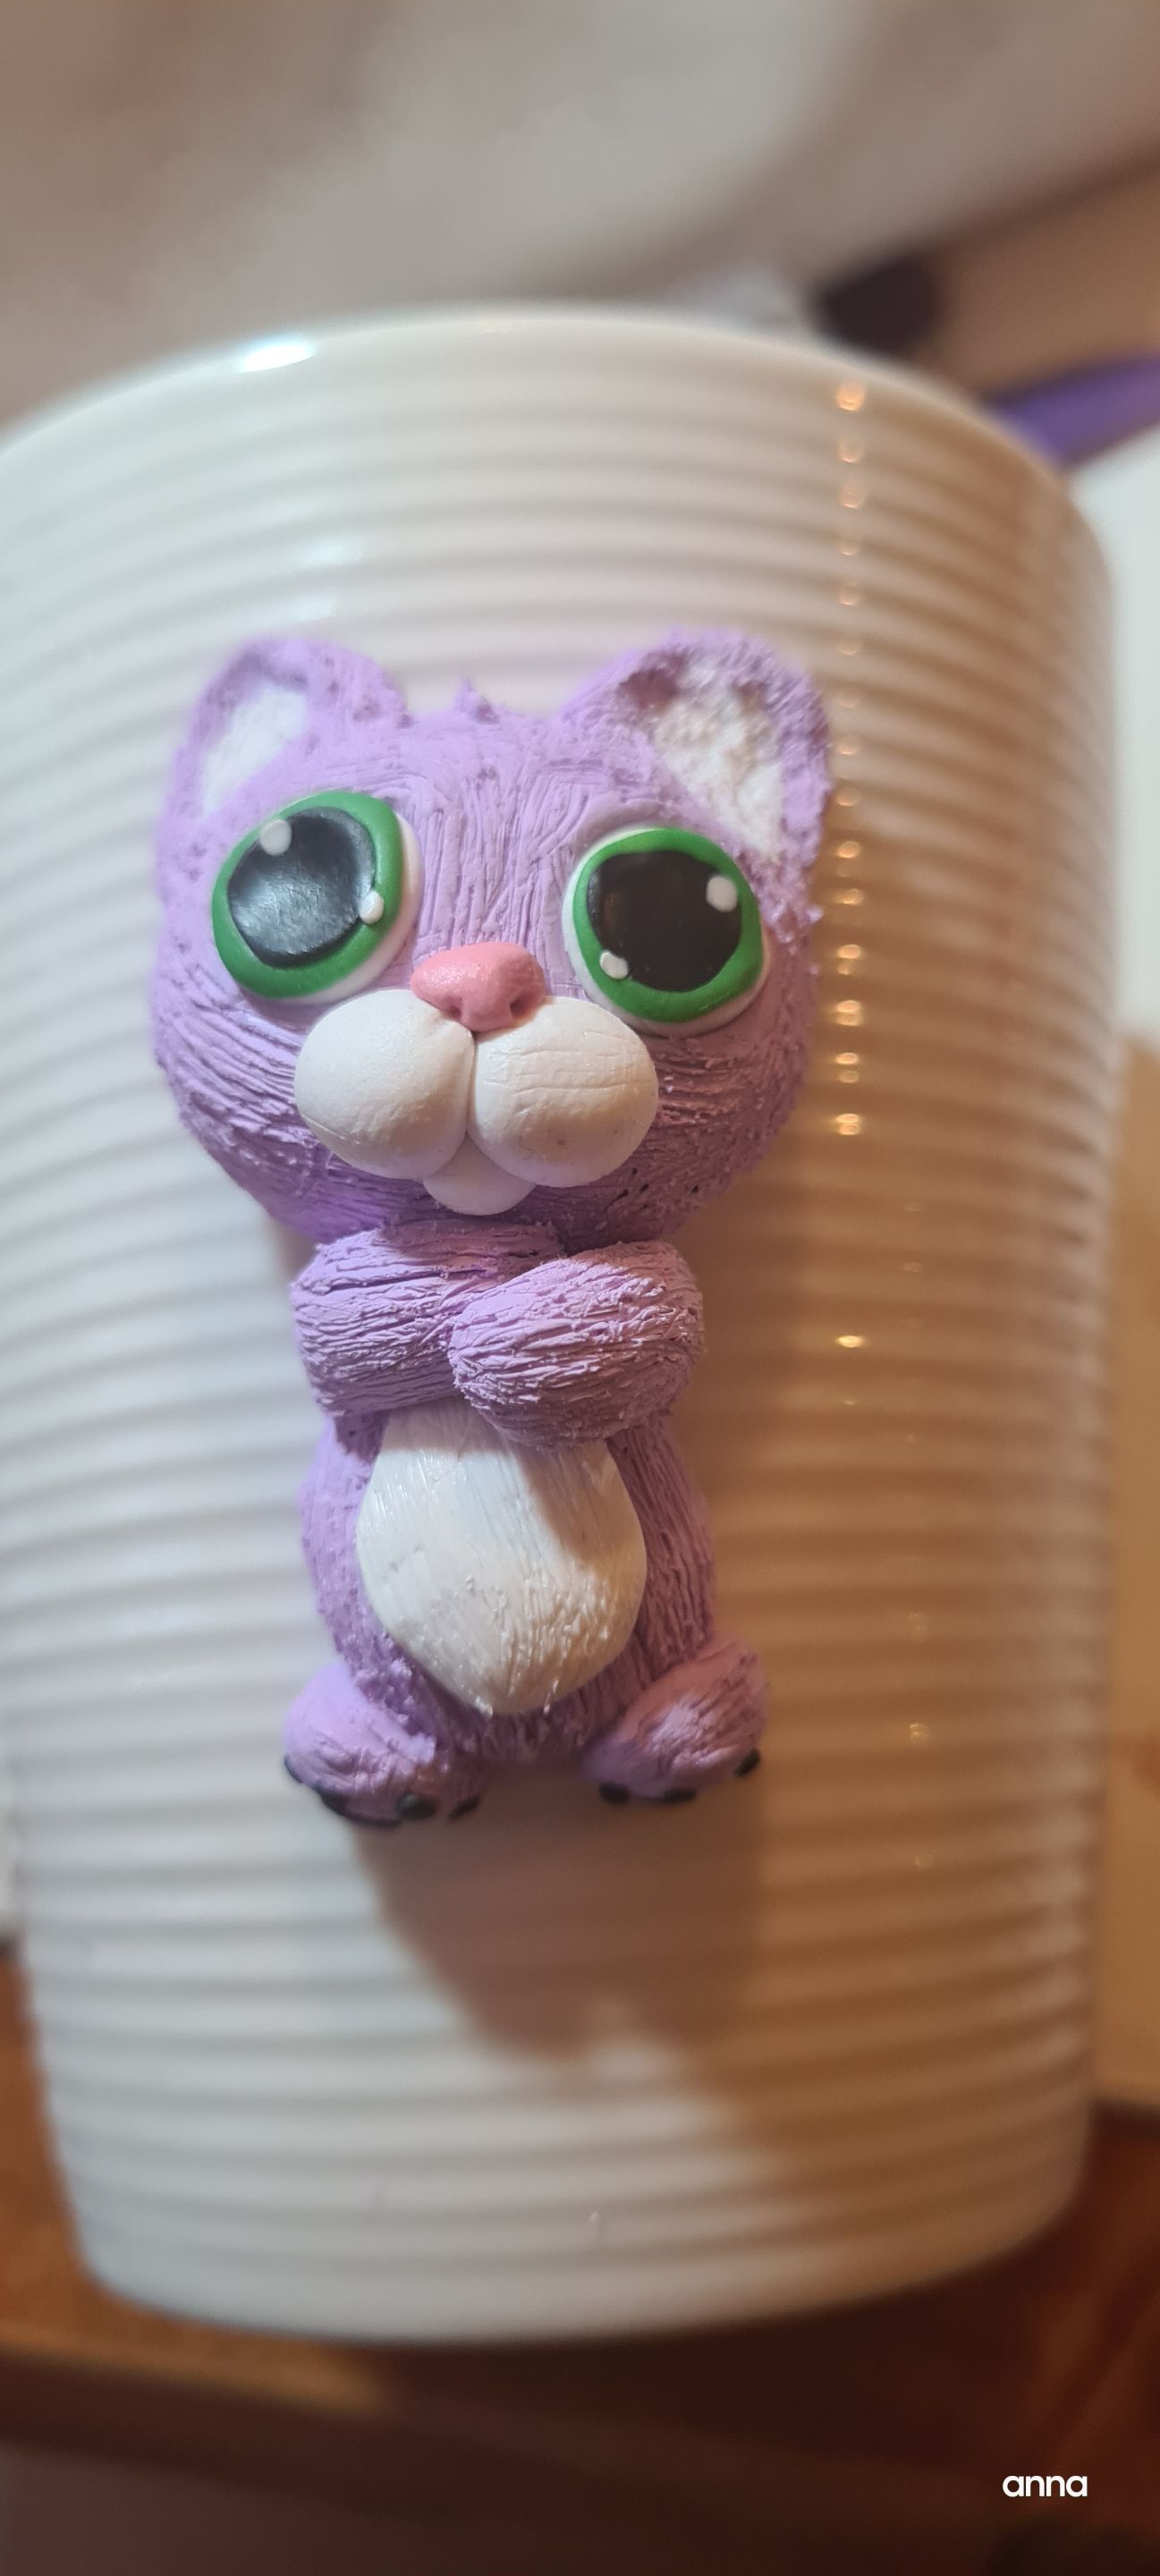
Another view.