One of the things that I had been dreaming about is making chubby animals. Yeah, I was able to make that before in my previous posts but, it did not give me as much exhilaration as these pieces do to me. They are yet to be glazed.
This post was supposed to be done yesterday but it took quite awhile for these pieces to cool down in my oven. By the time I checked on them, it was already too late so here I am today.
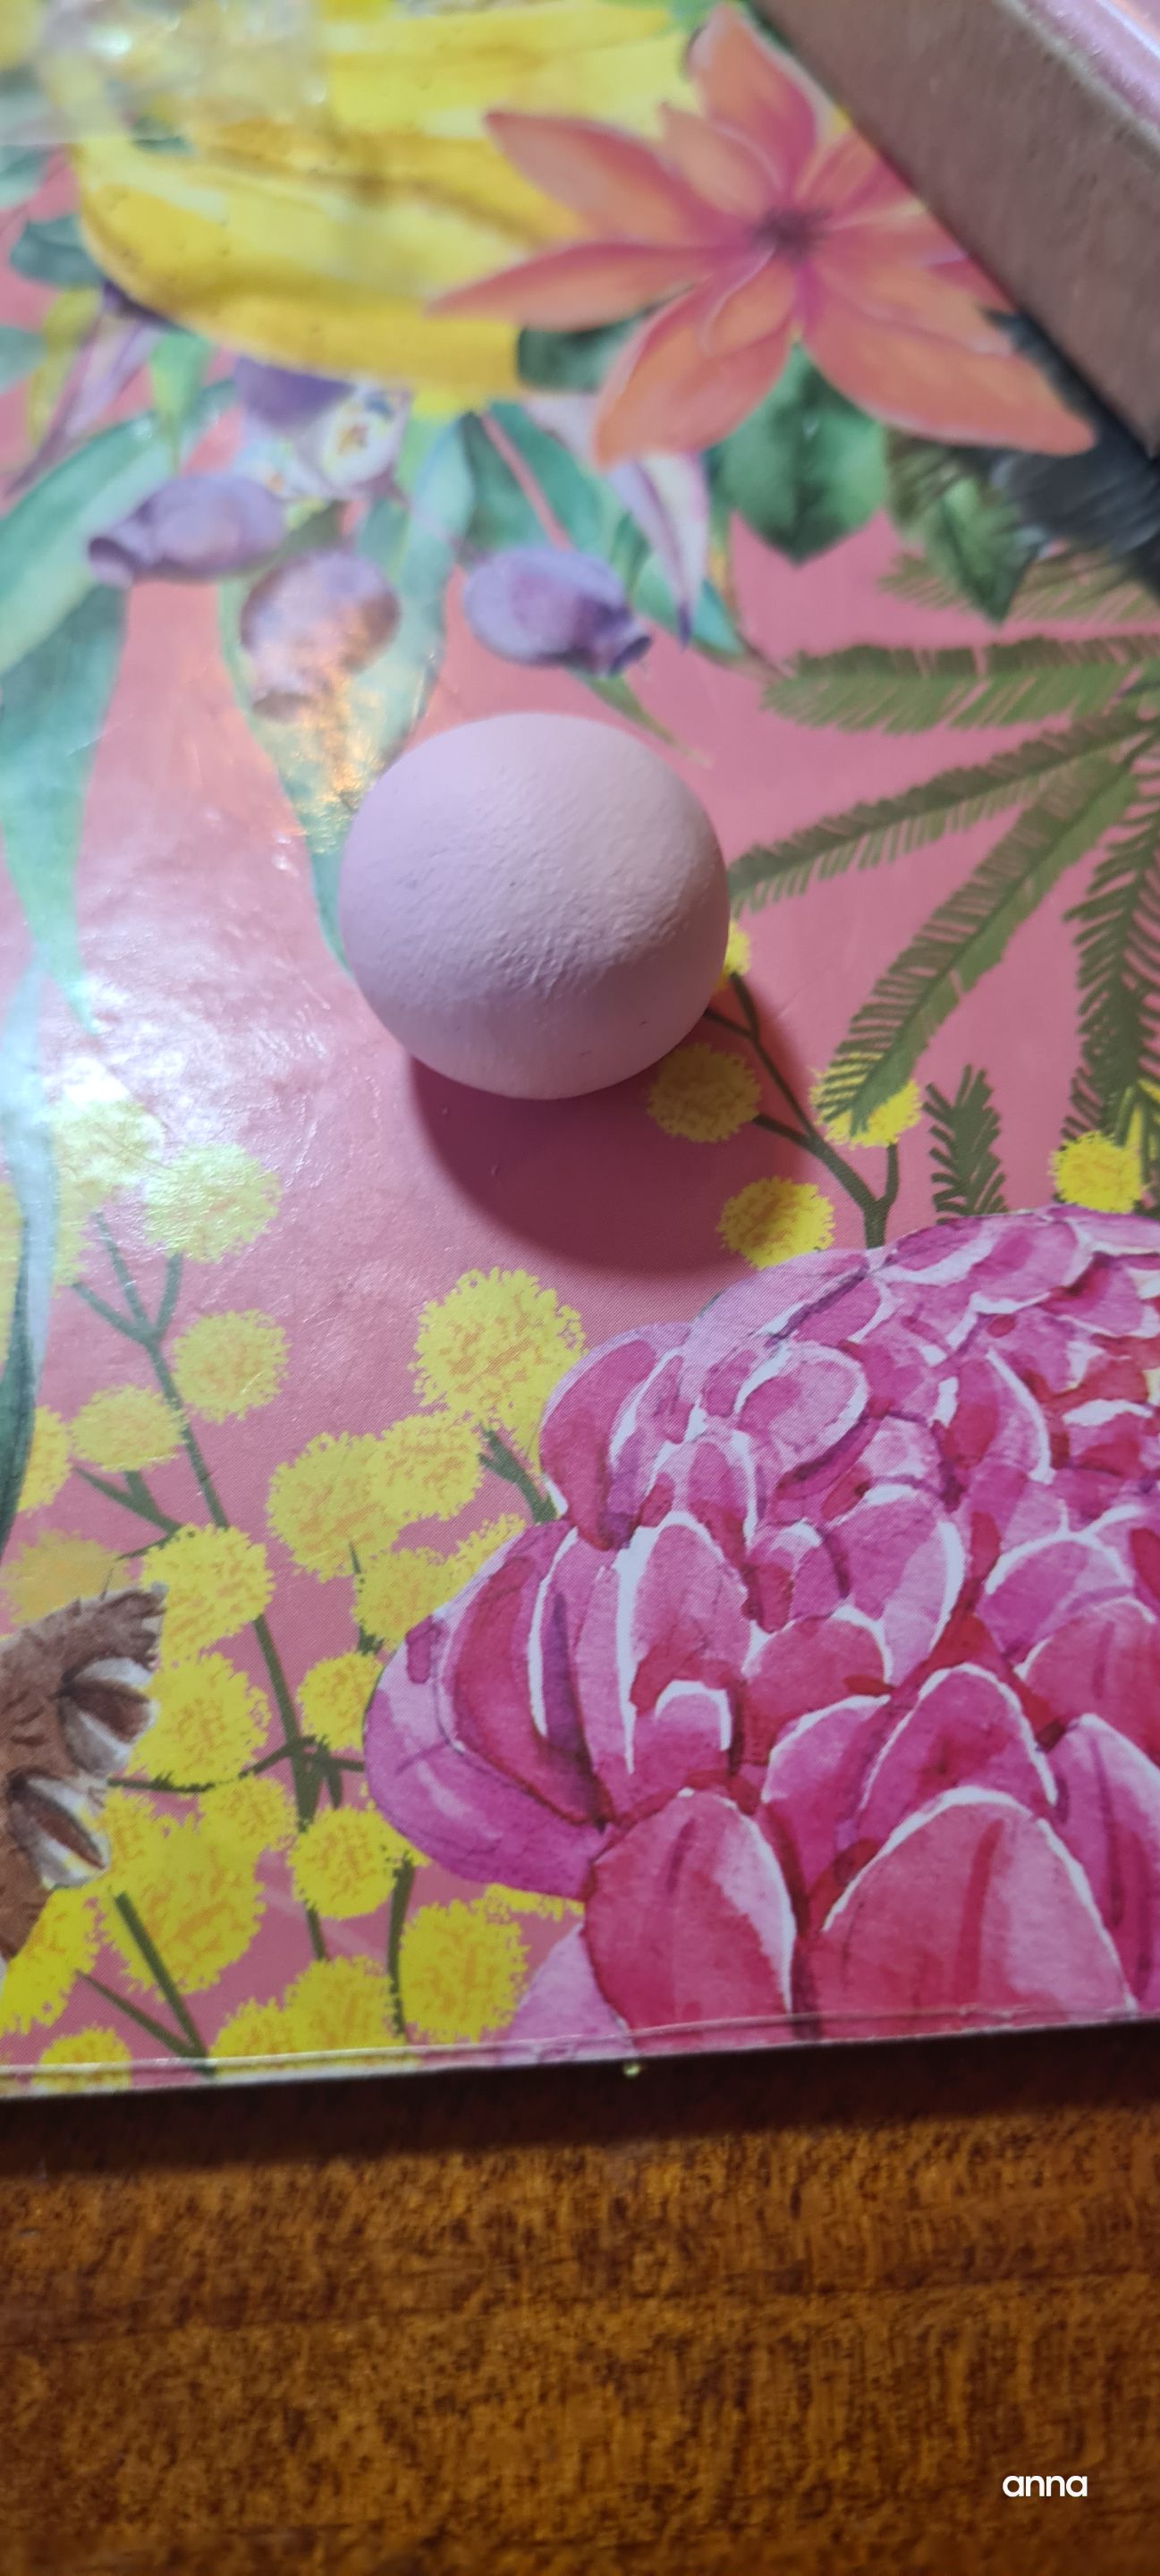
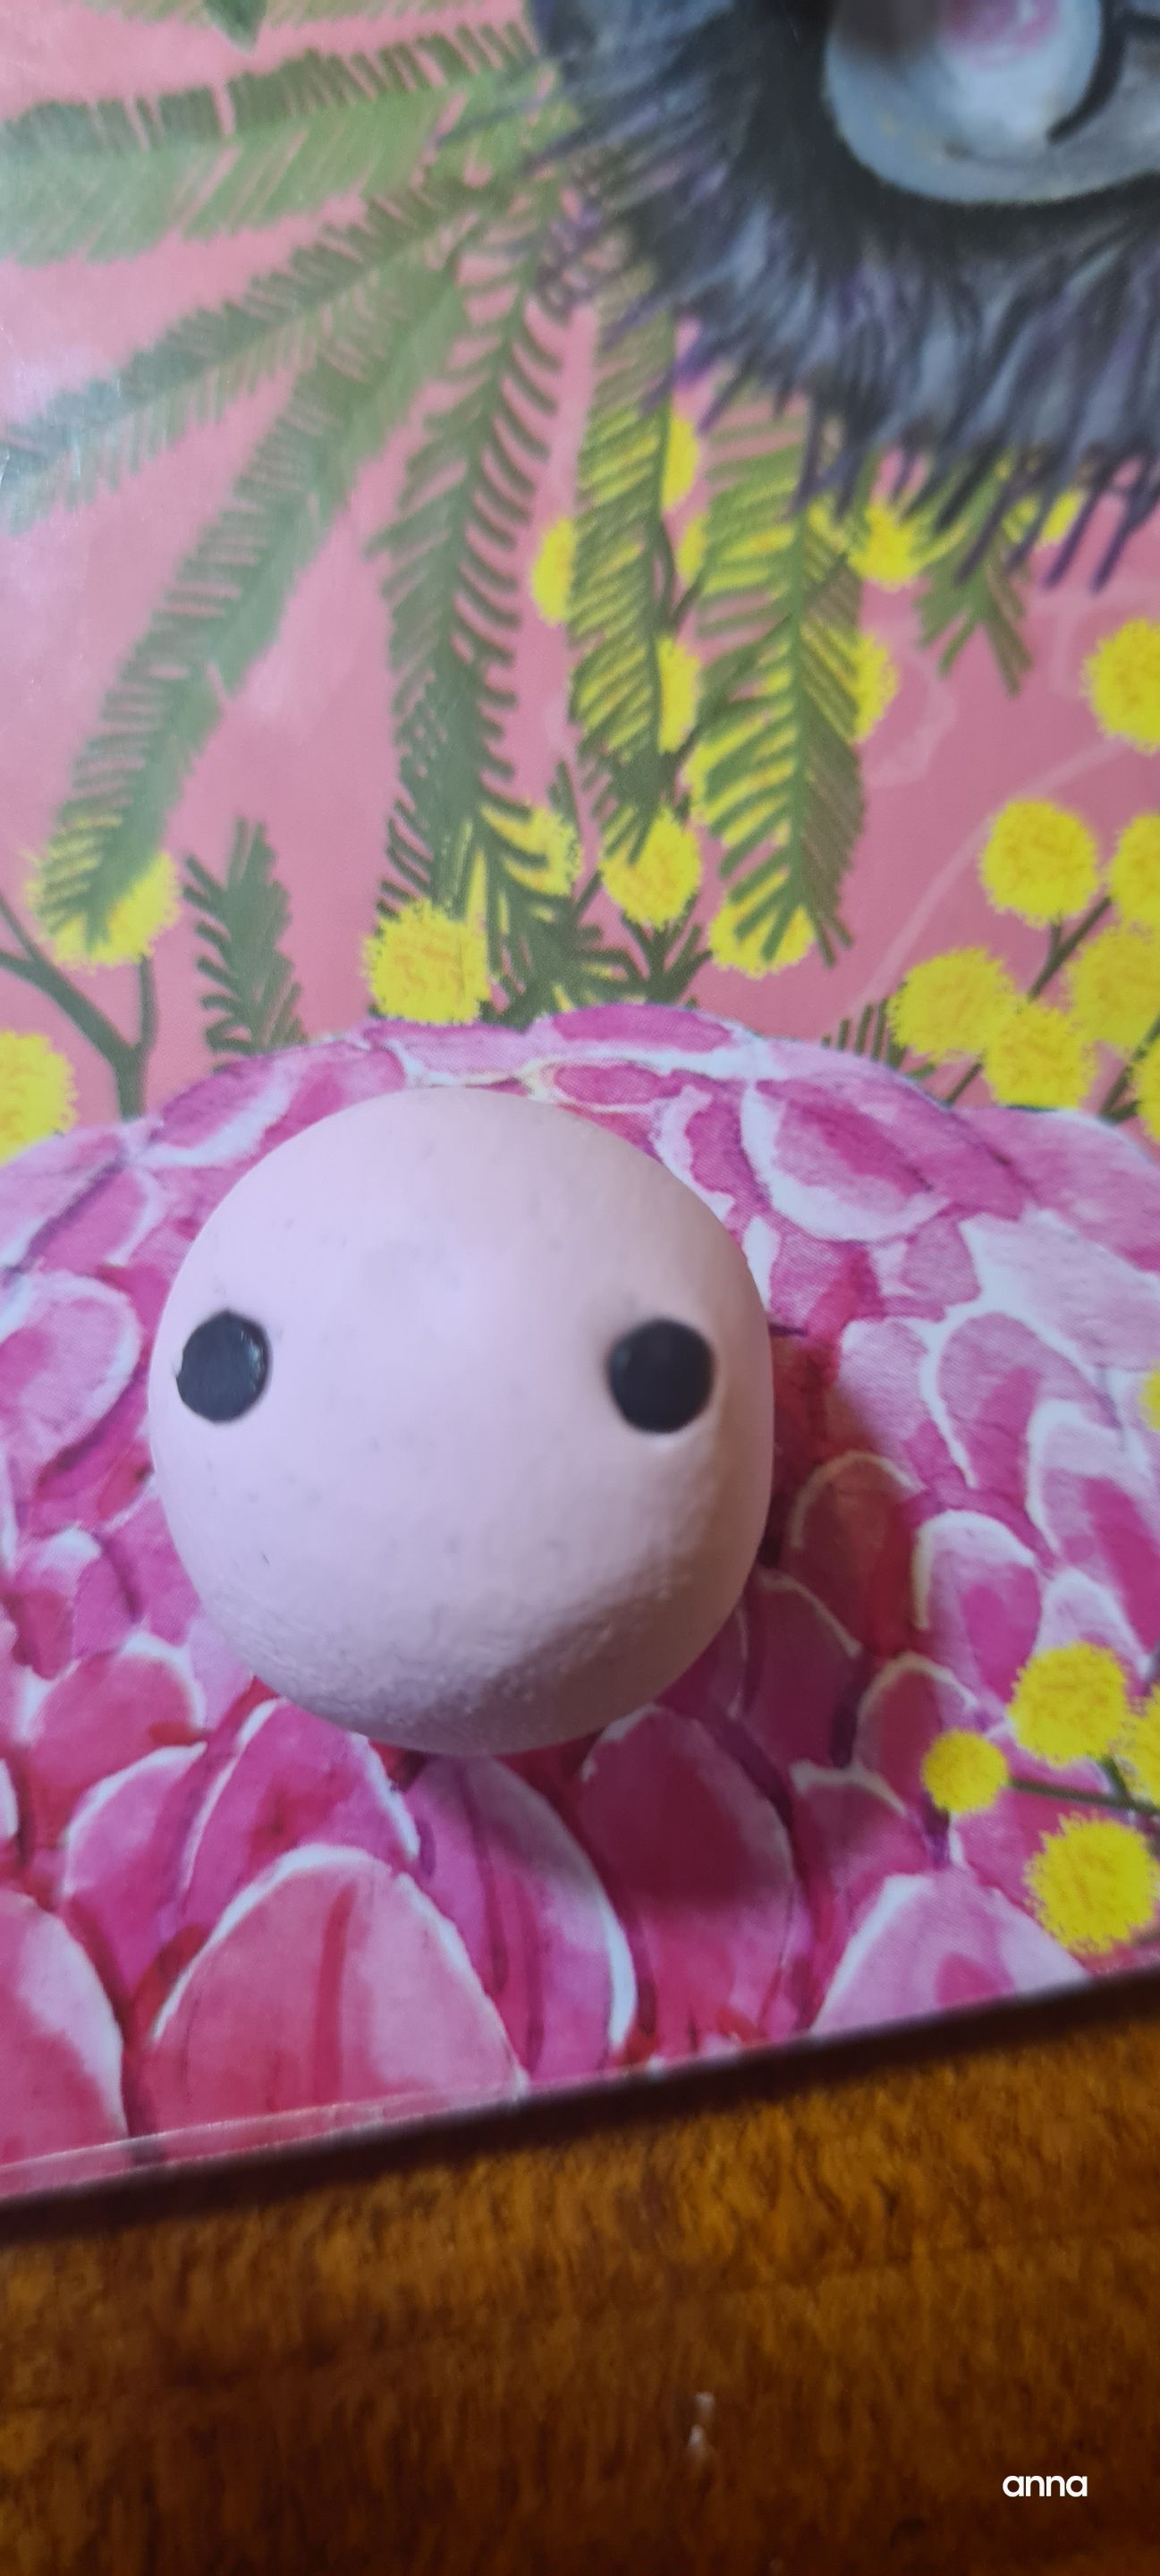
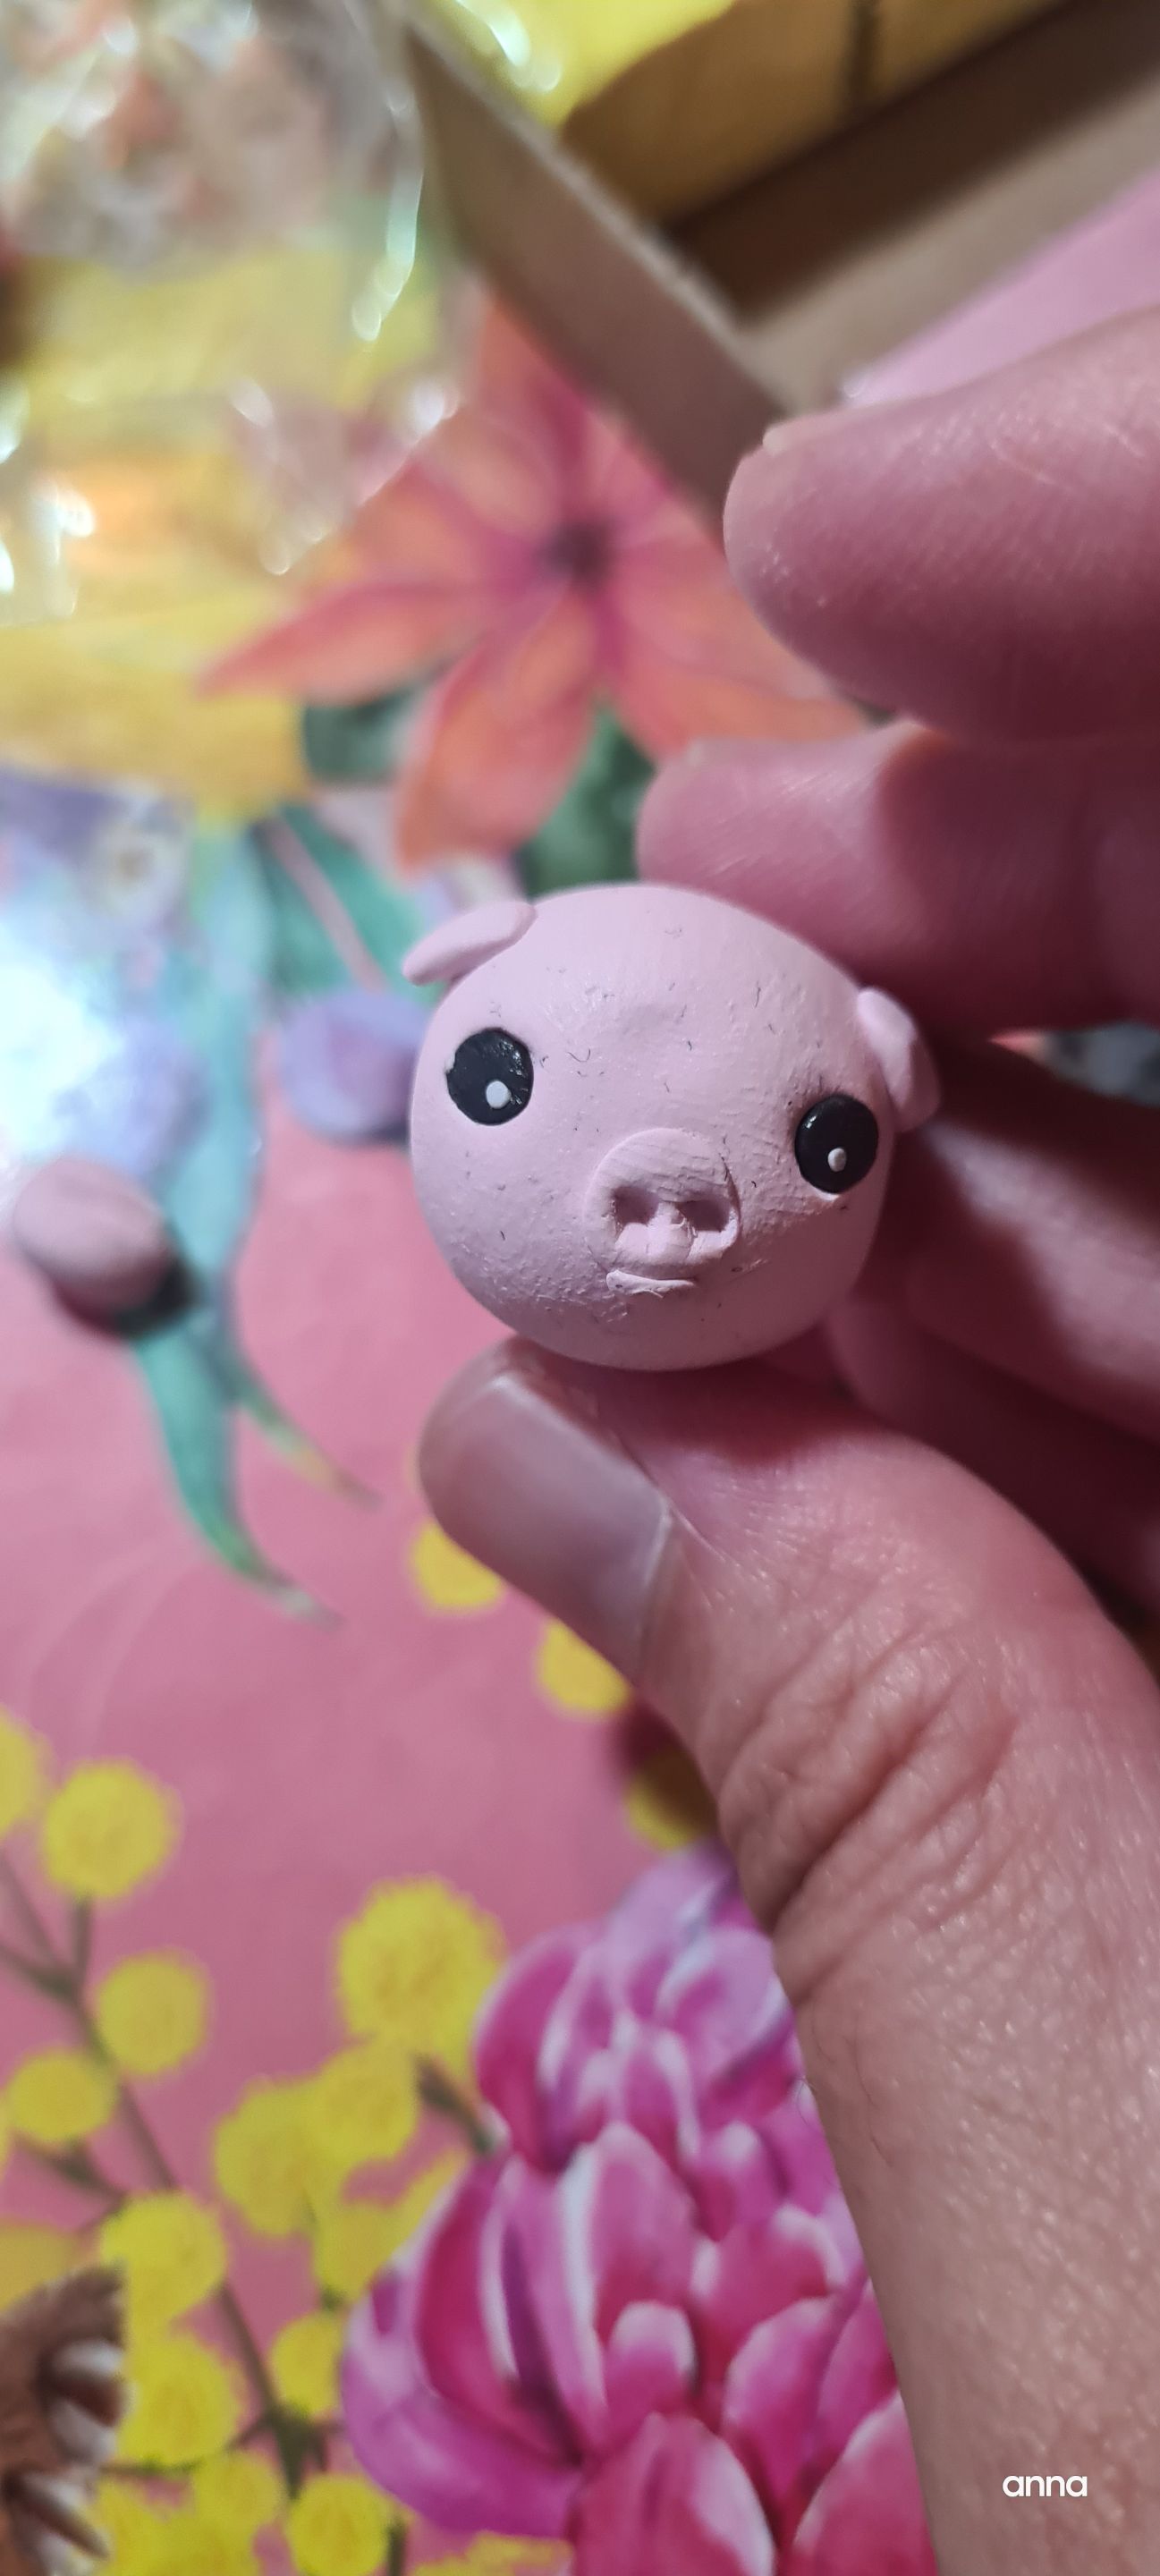
To start making them, make one round clay.
Use any tool to make the initial eye sockets.
Add the eyes.
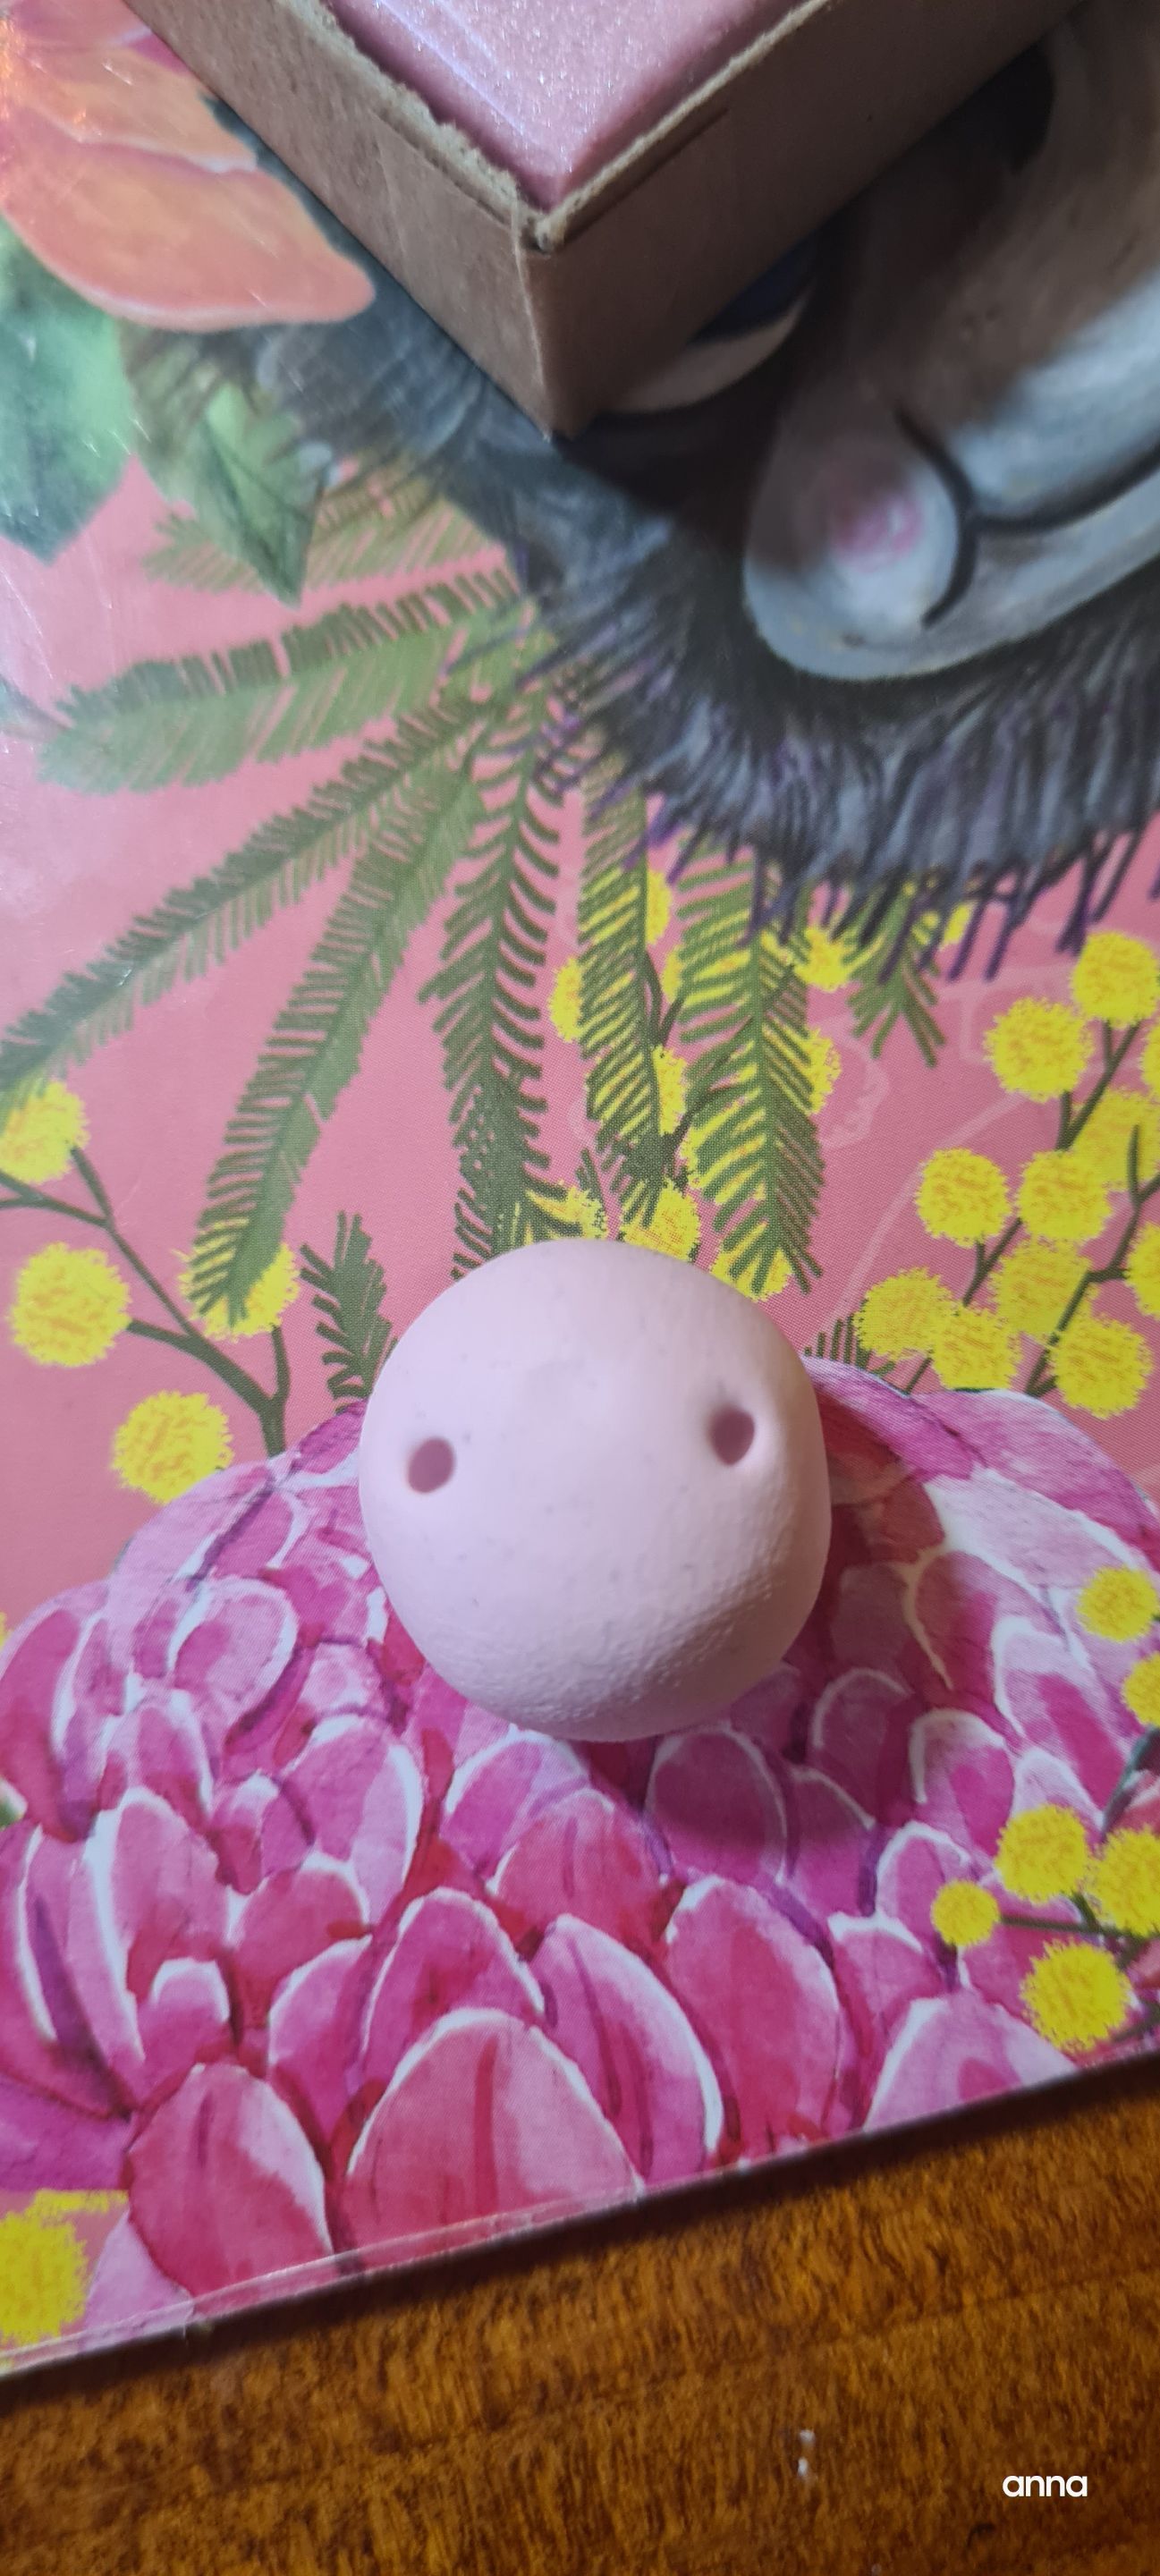
Then the nose.
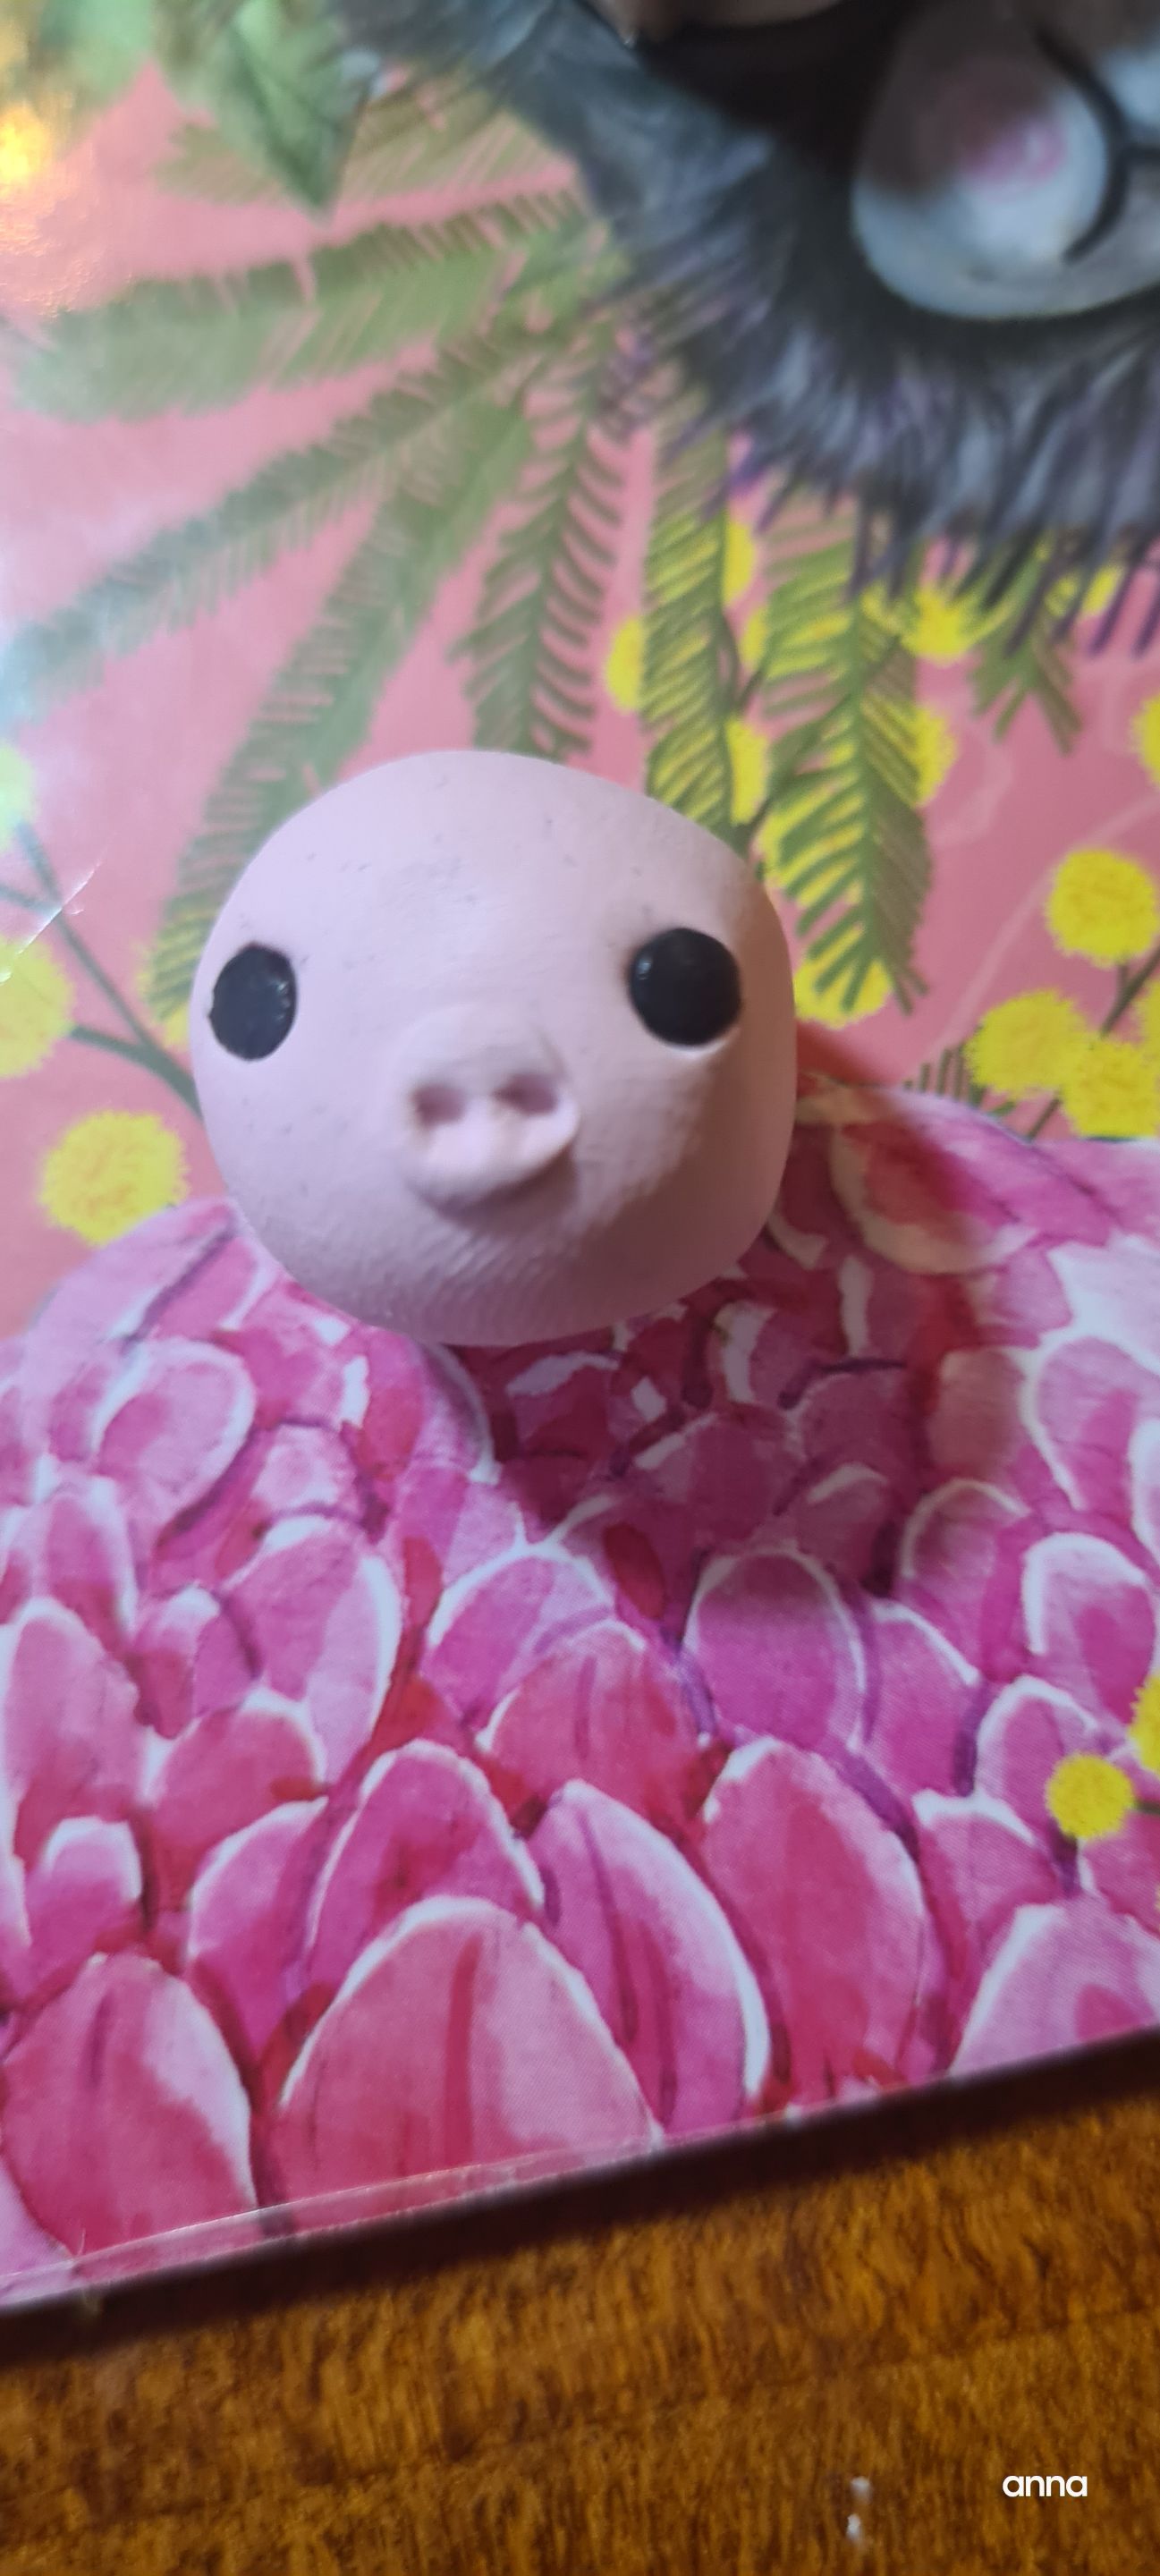
Here we are with the mouth detail.

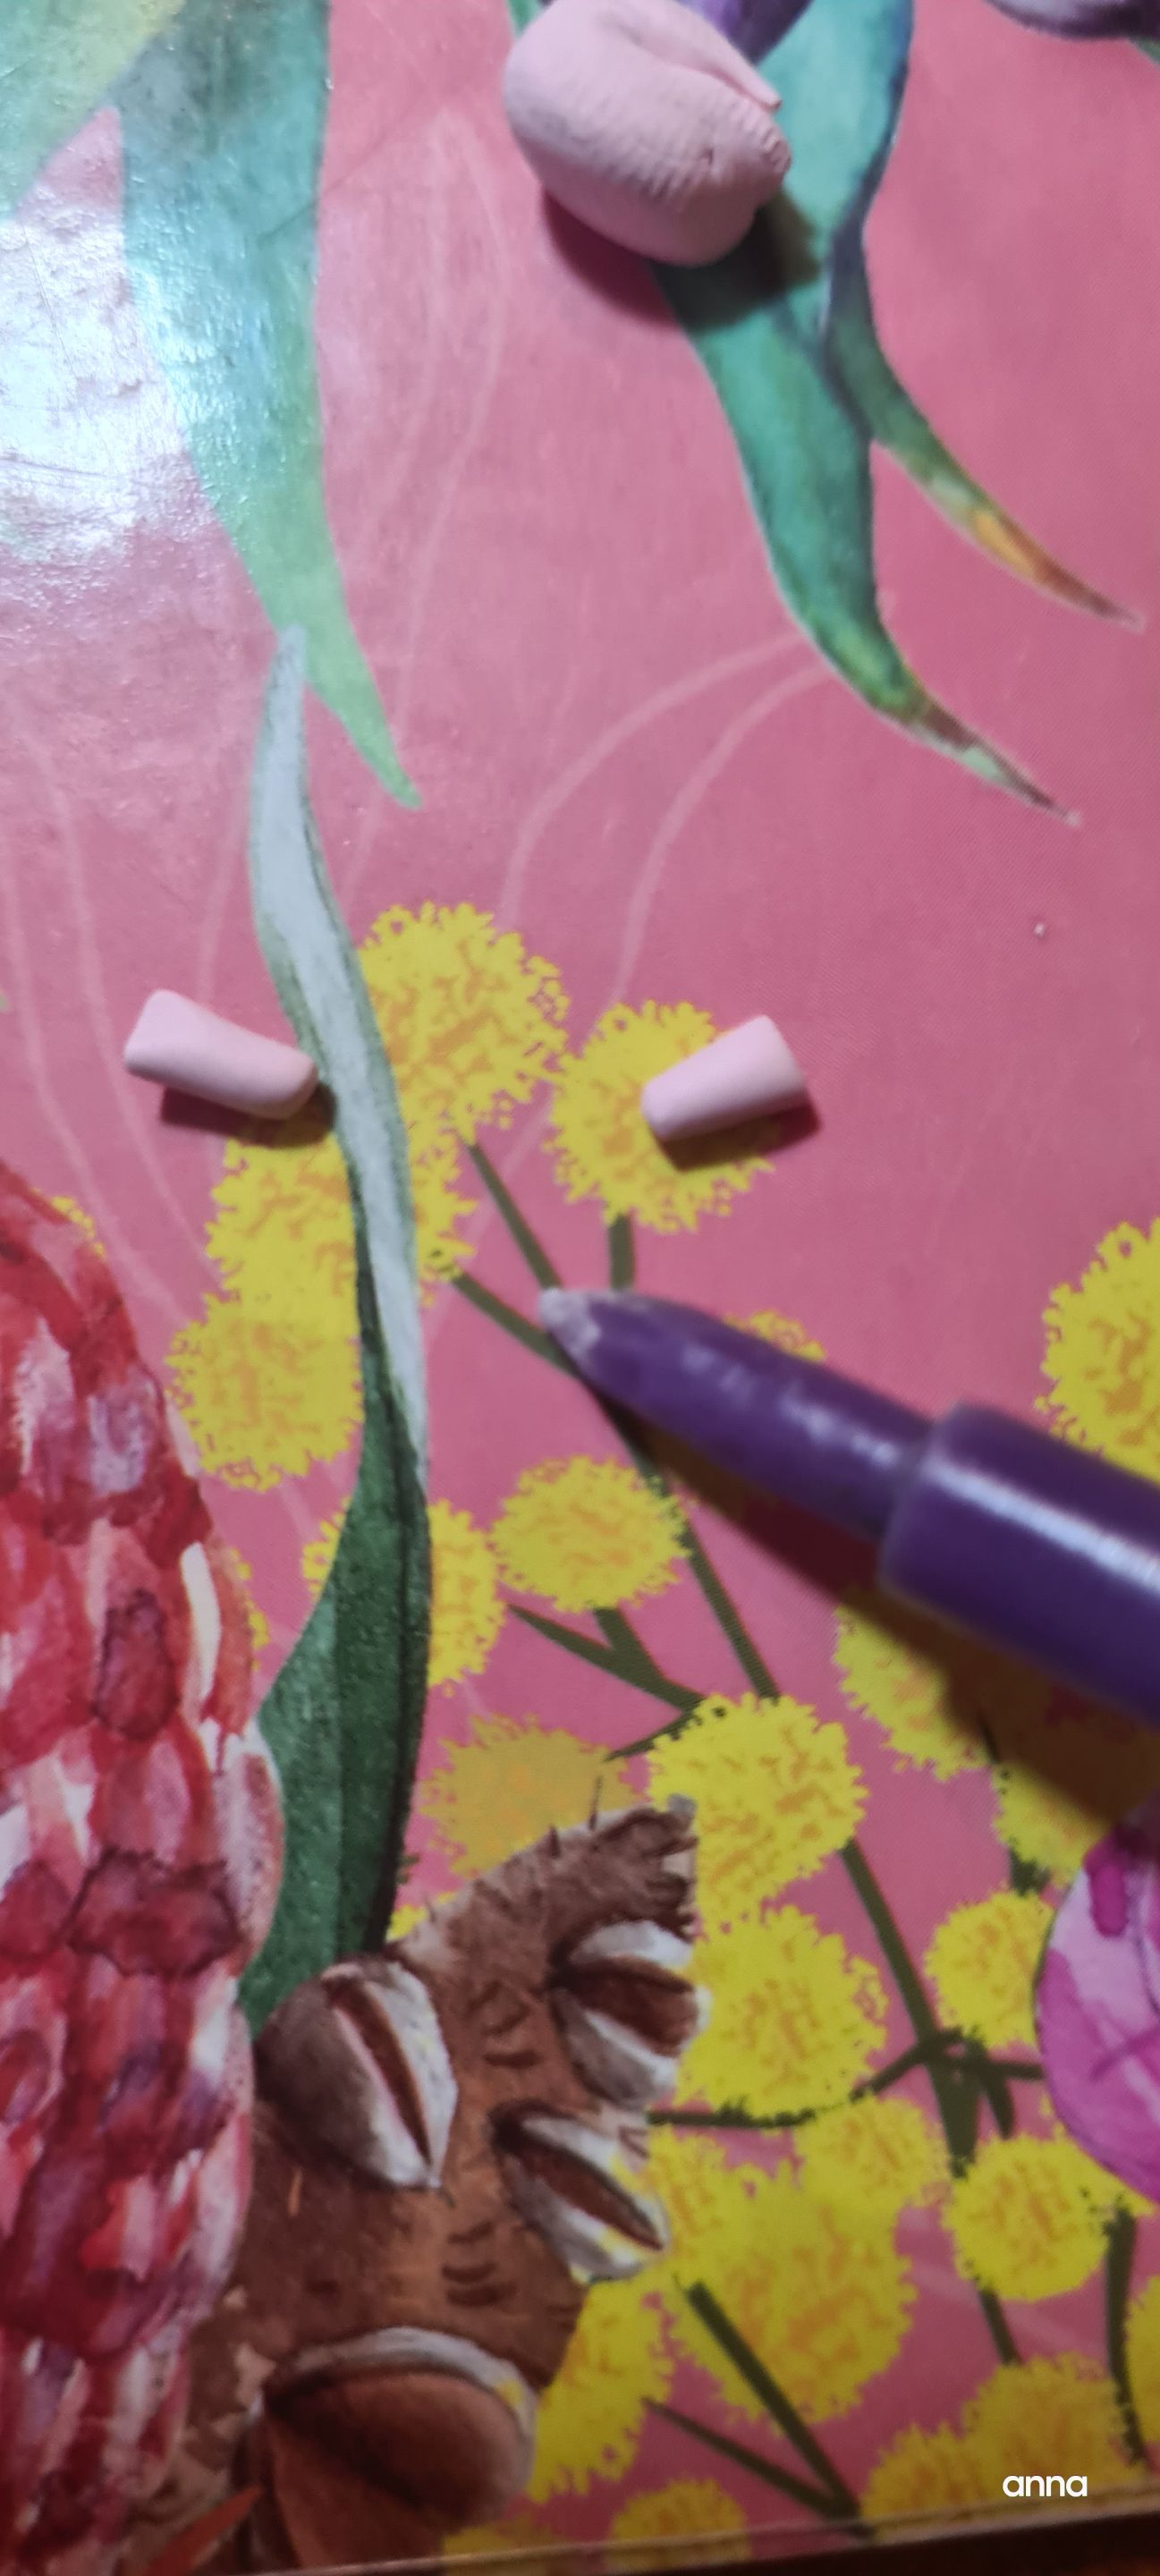
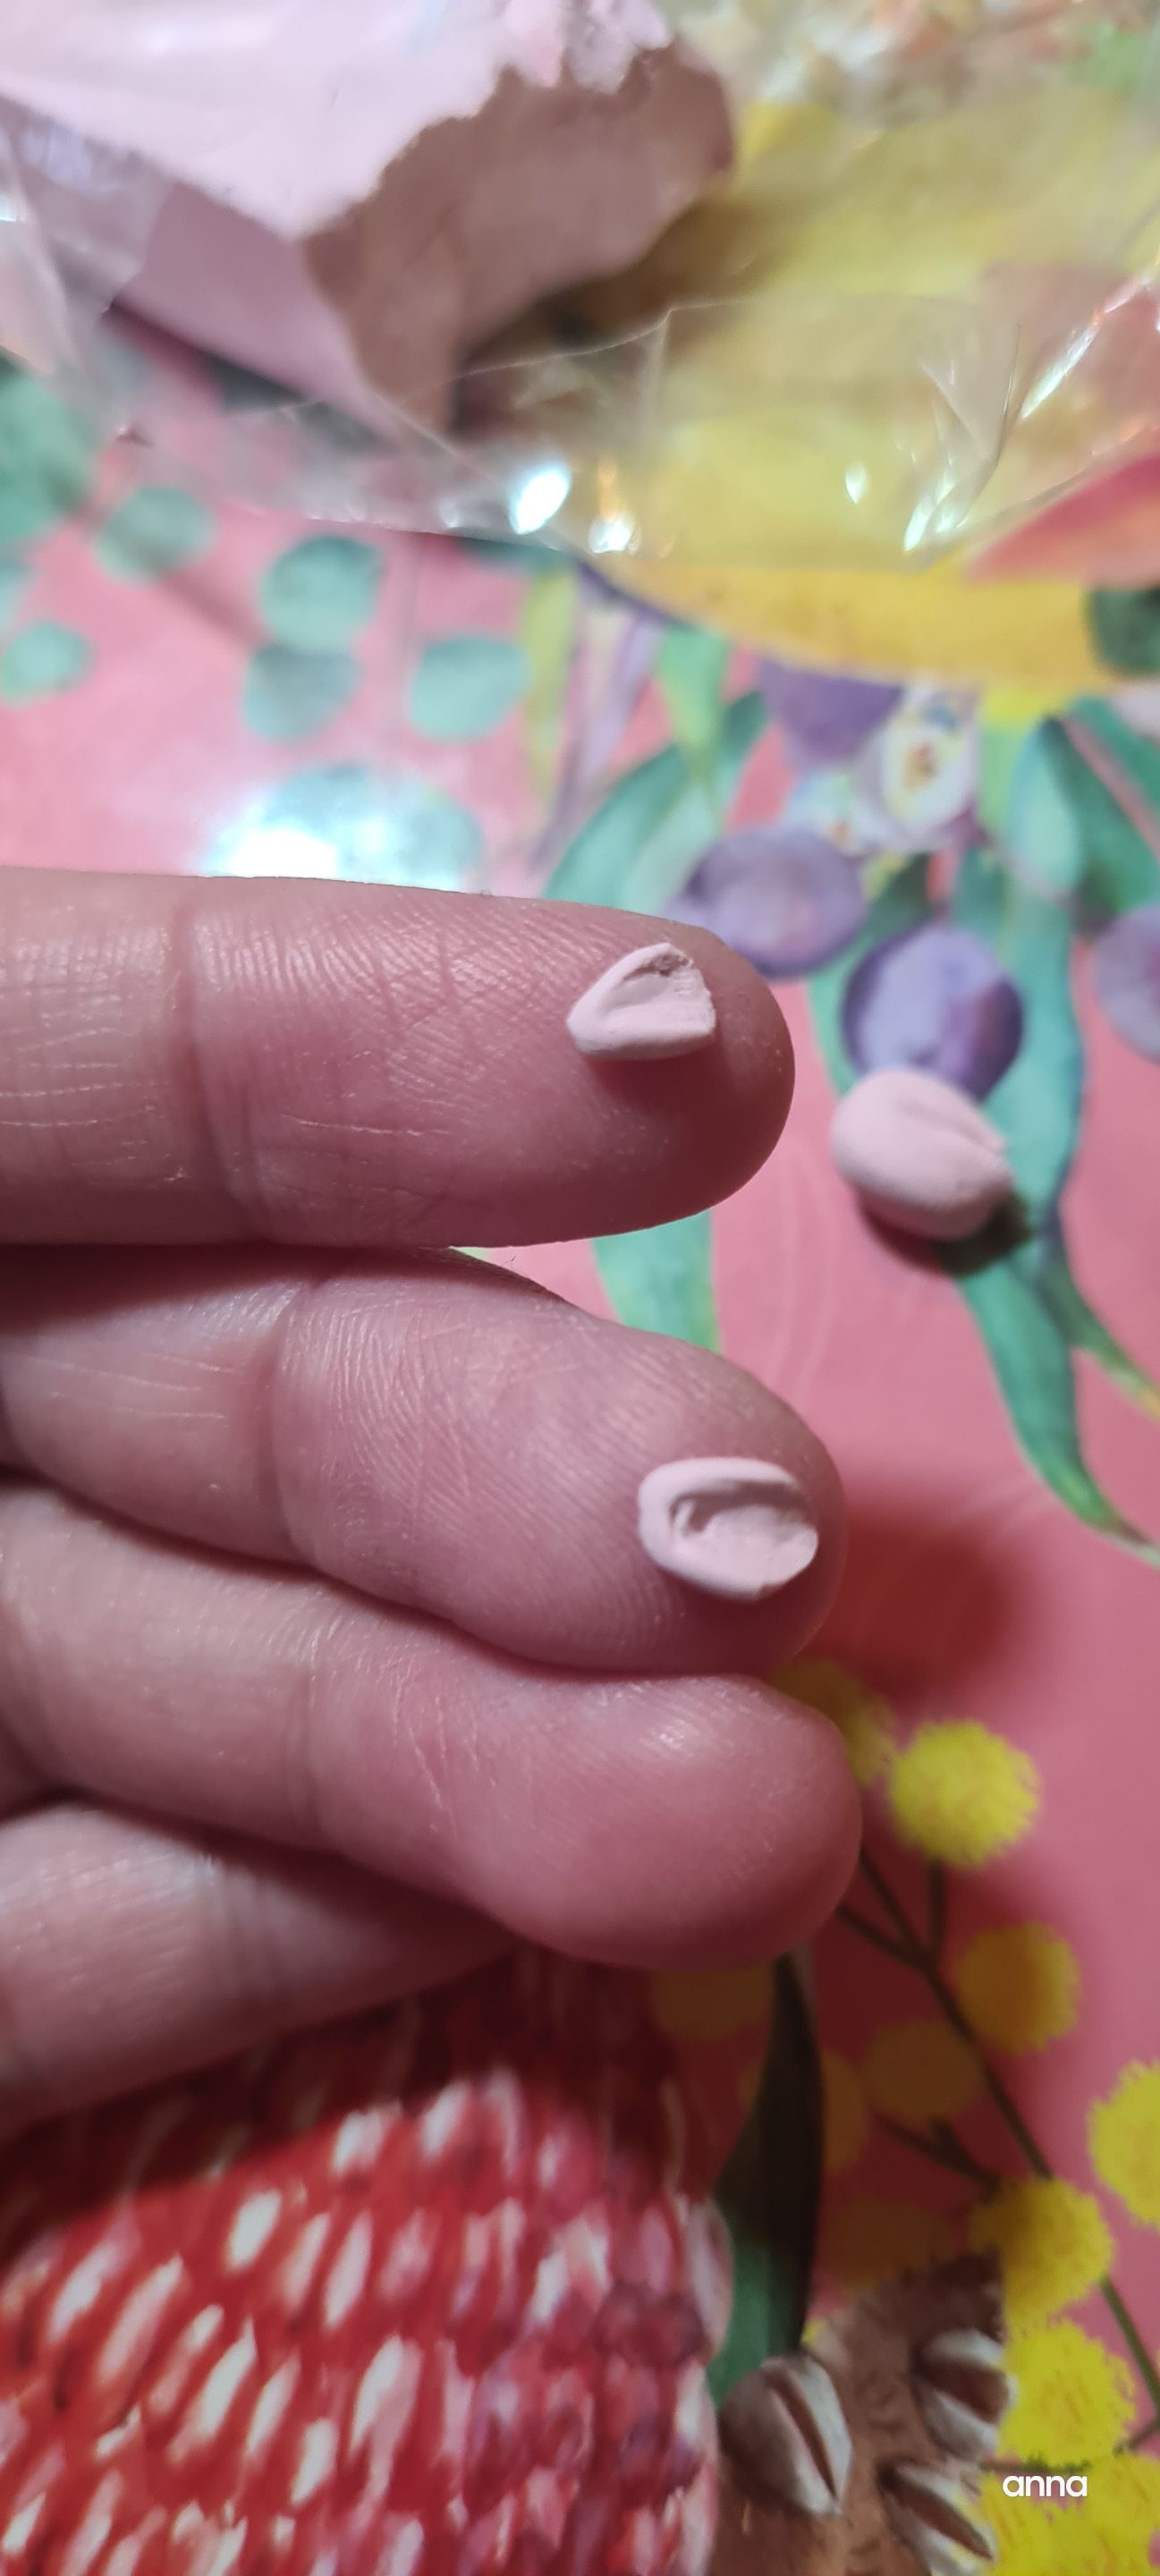
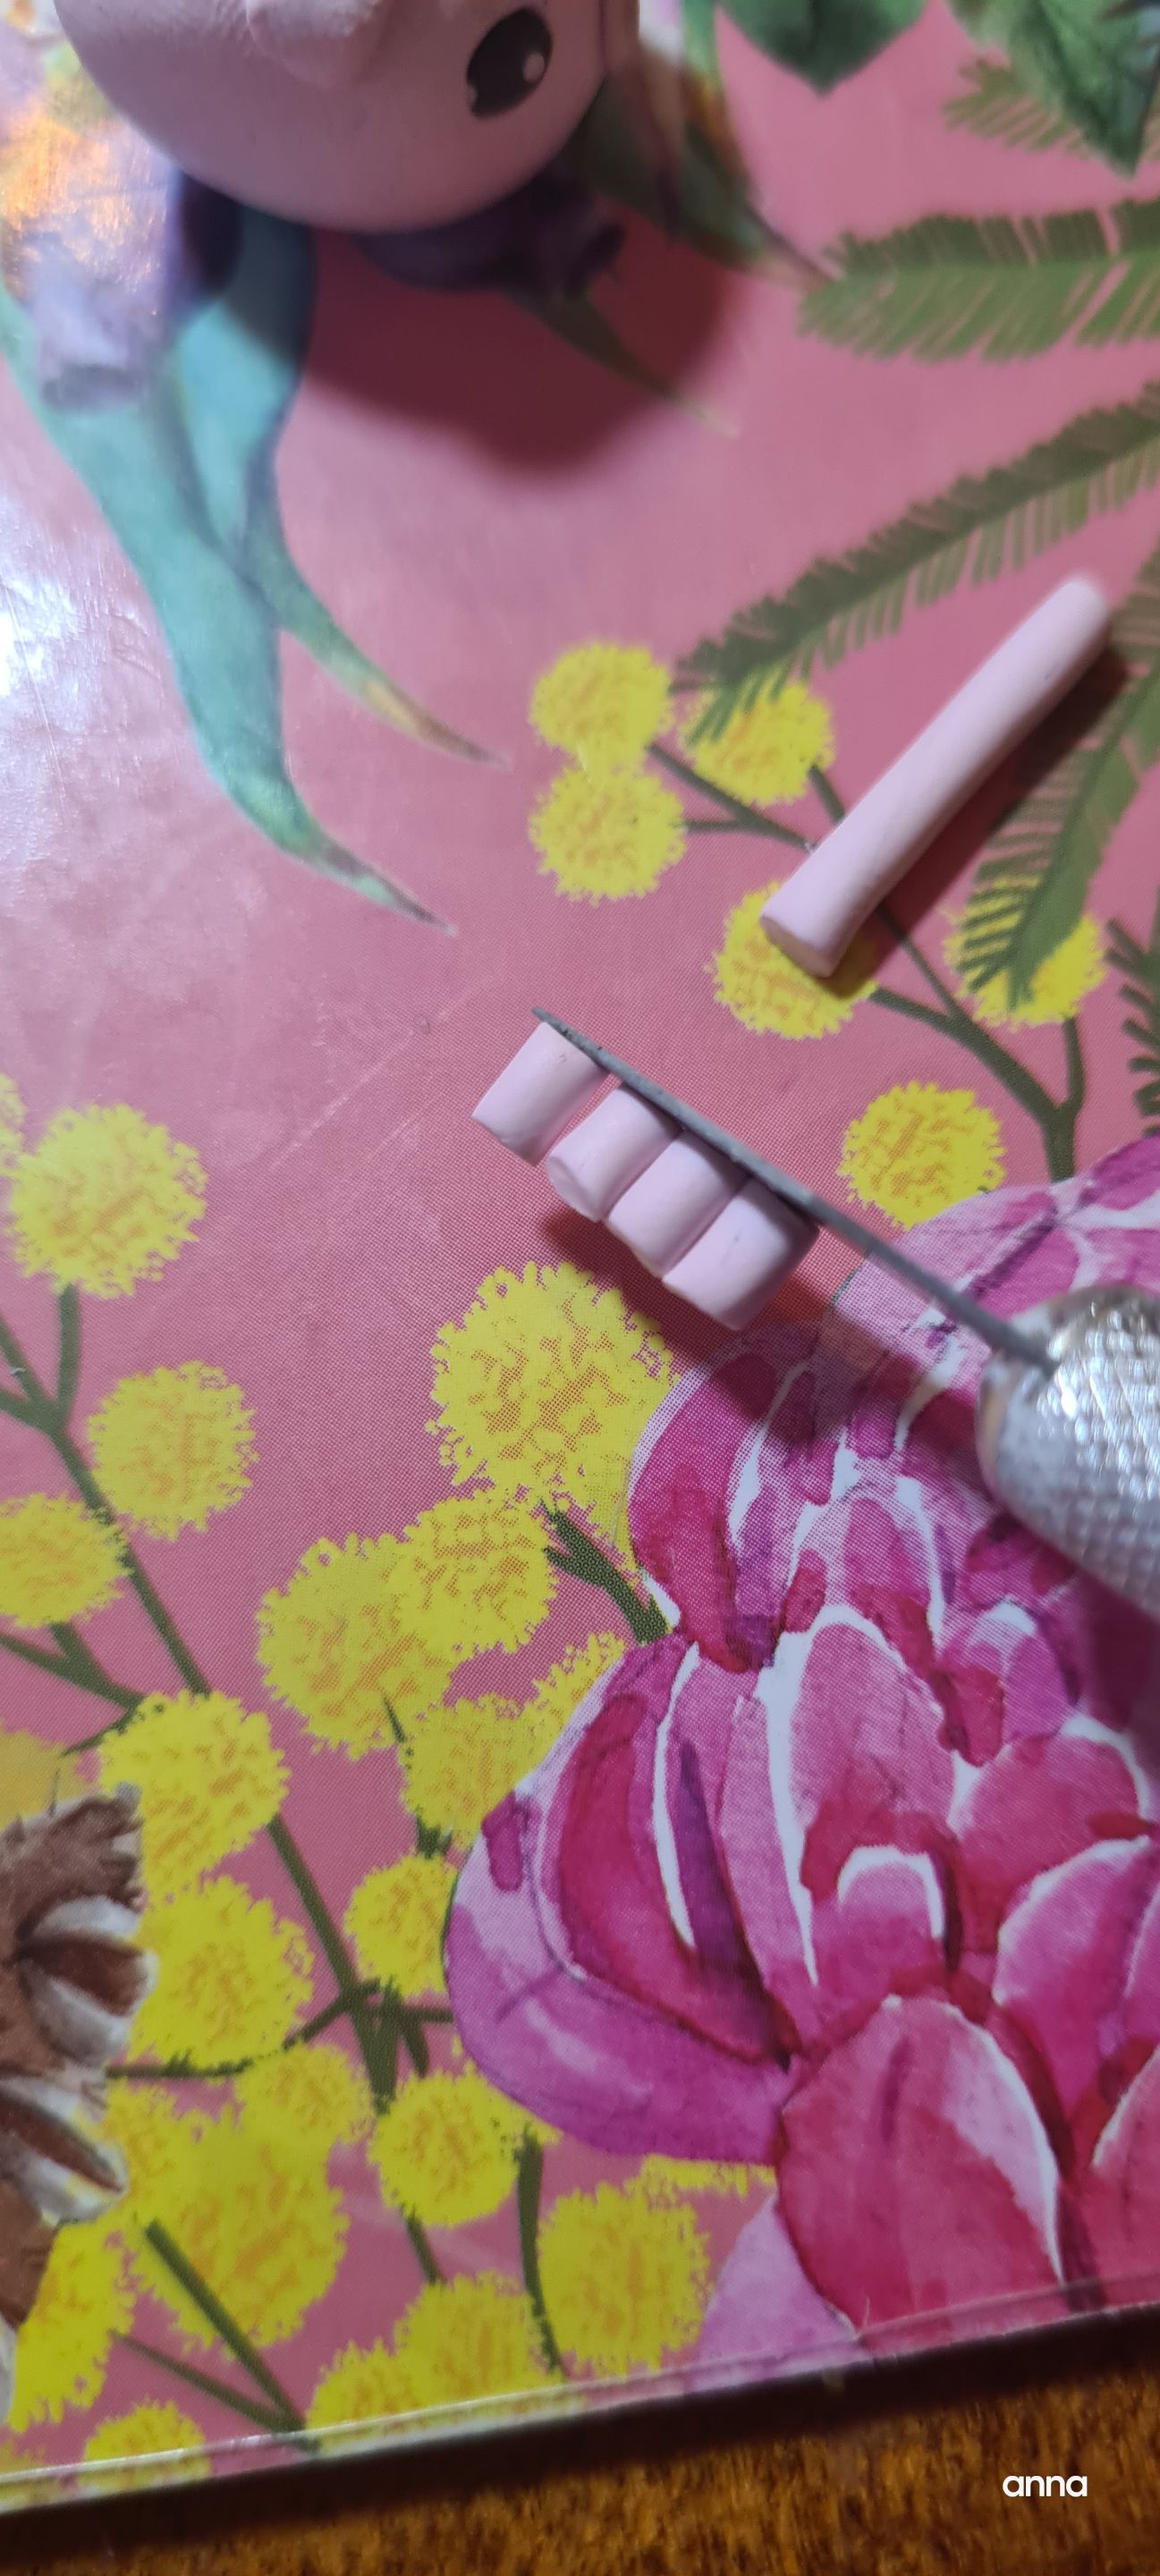
These 2 lumps of clay will be the ears. Using this tool, I made the indentation to make the details.
Here we are.
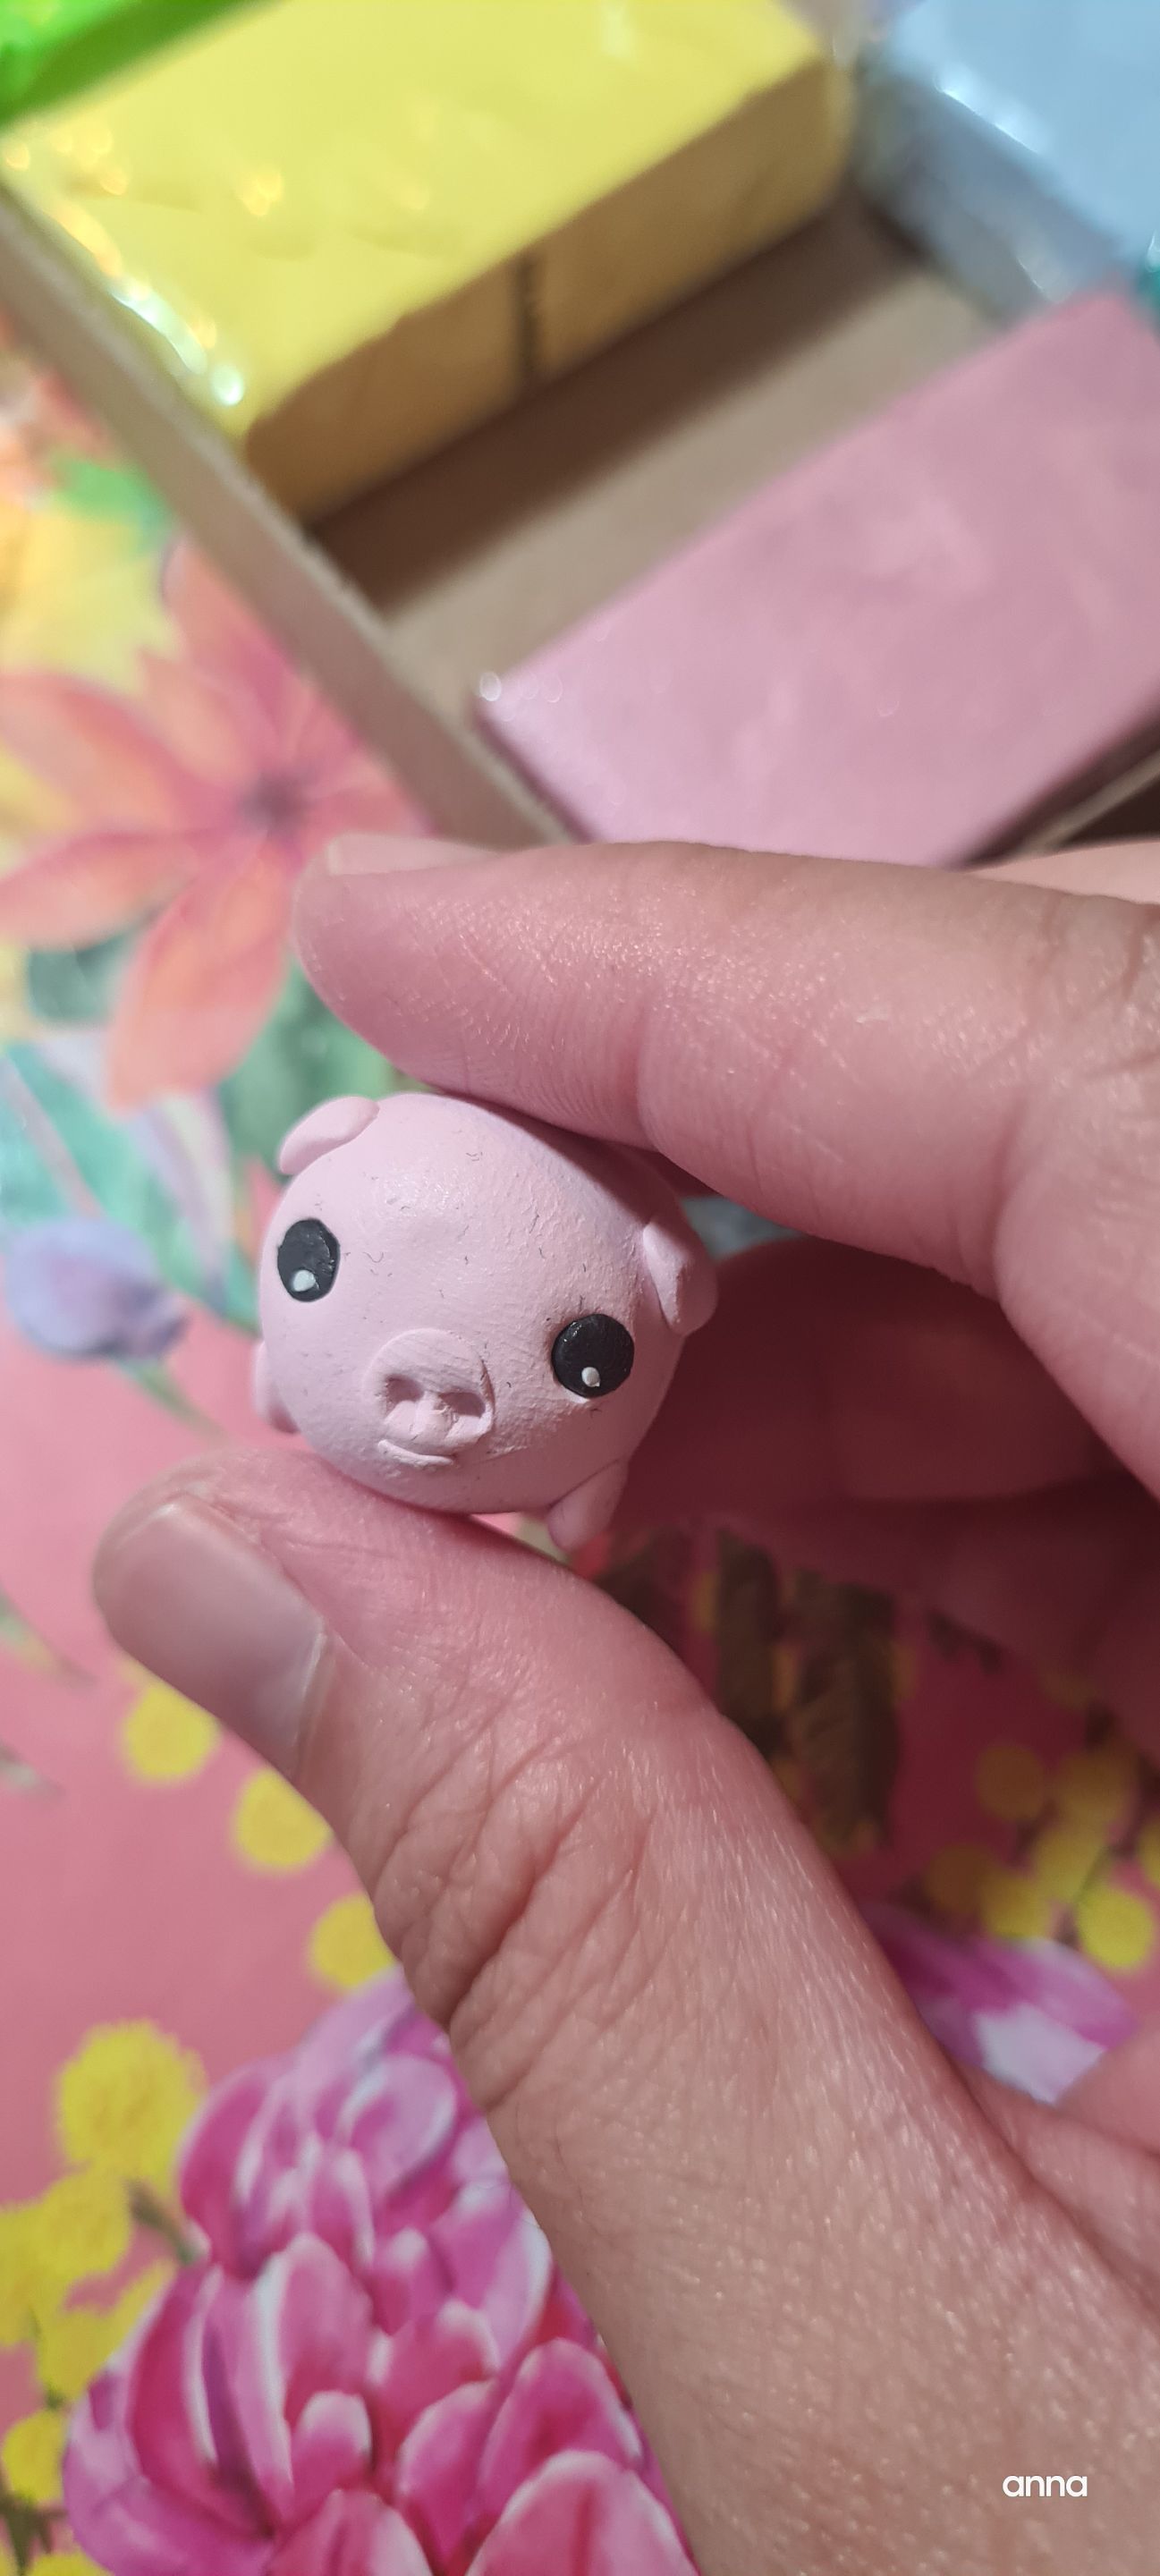
Attach to the pig.
Now for the legs. Since this is a chubby animal, we want to make it as round as possible. Which means that even the legs should be small to give it a chubby appearance.
Attach the feet to the pig.
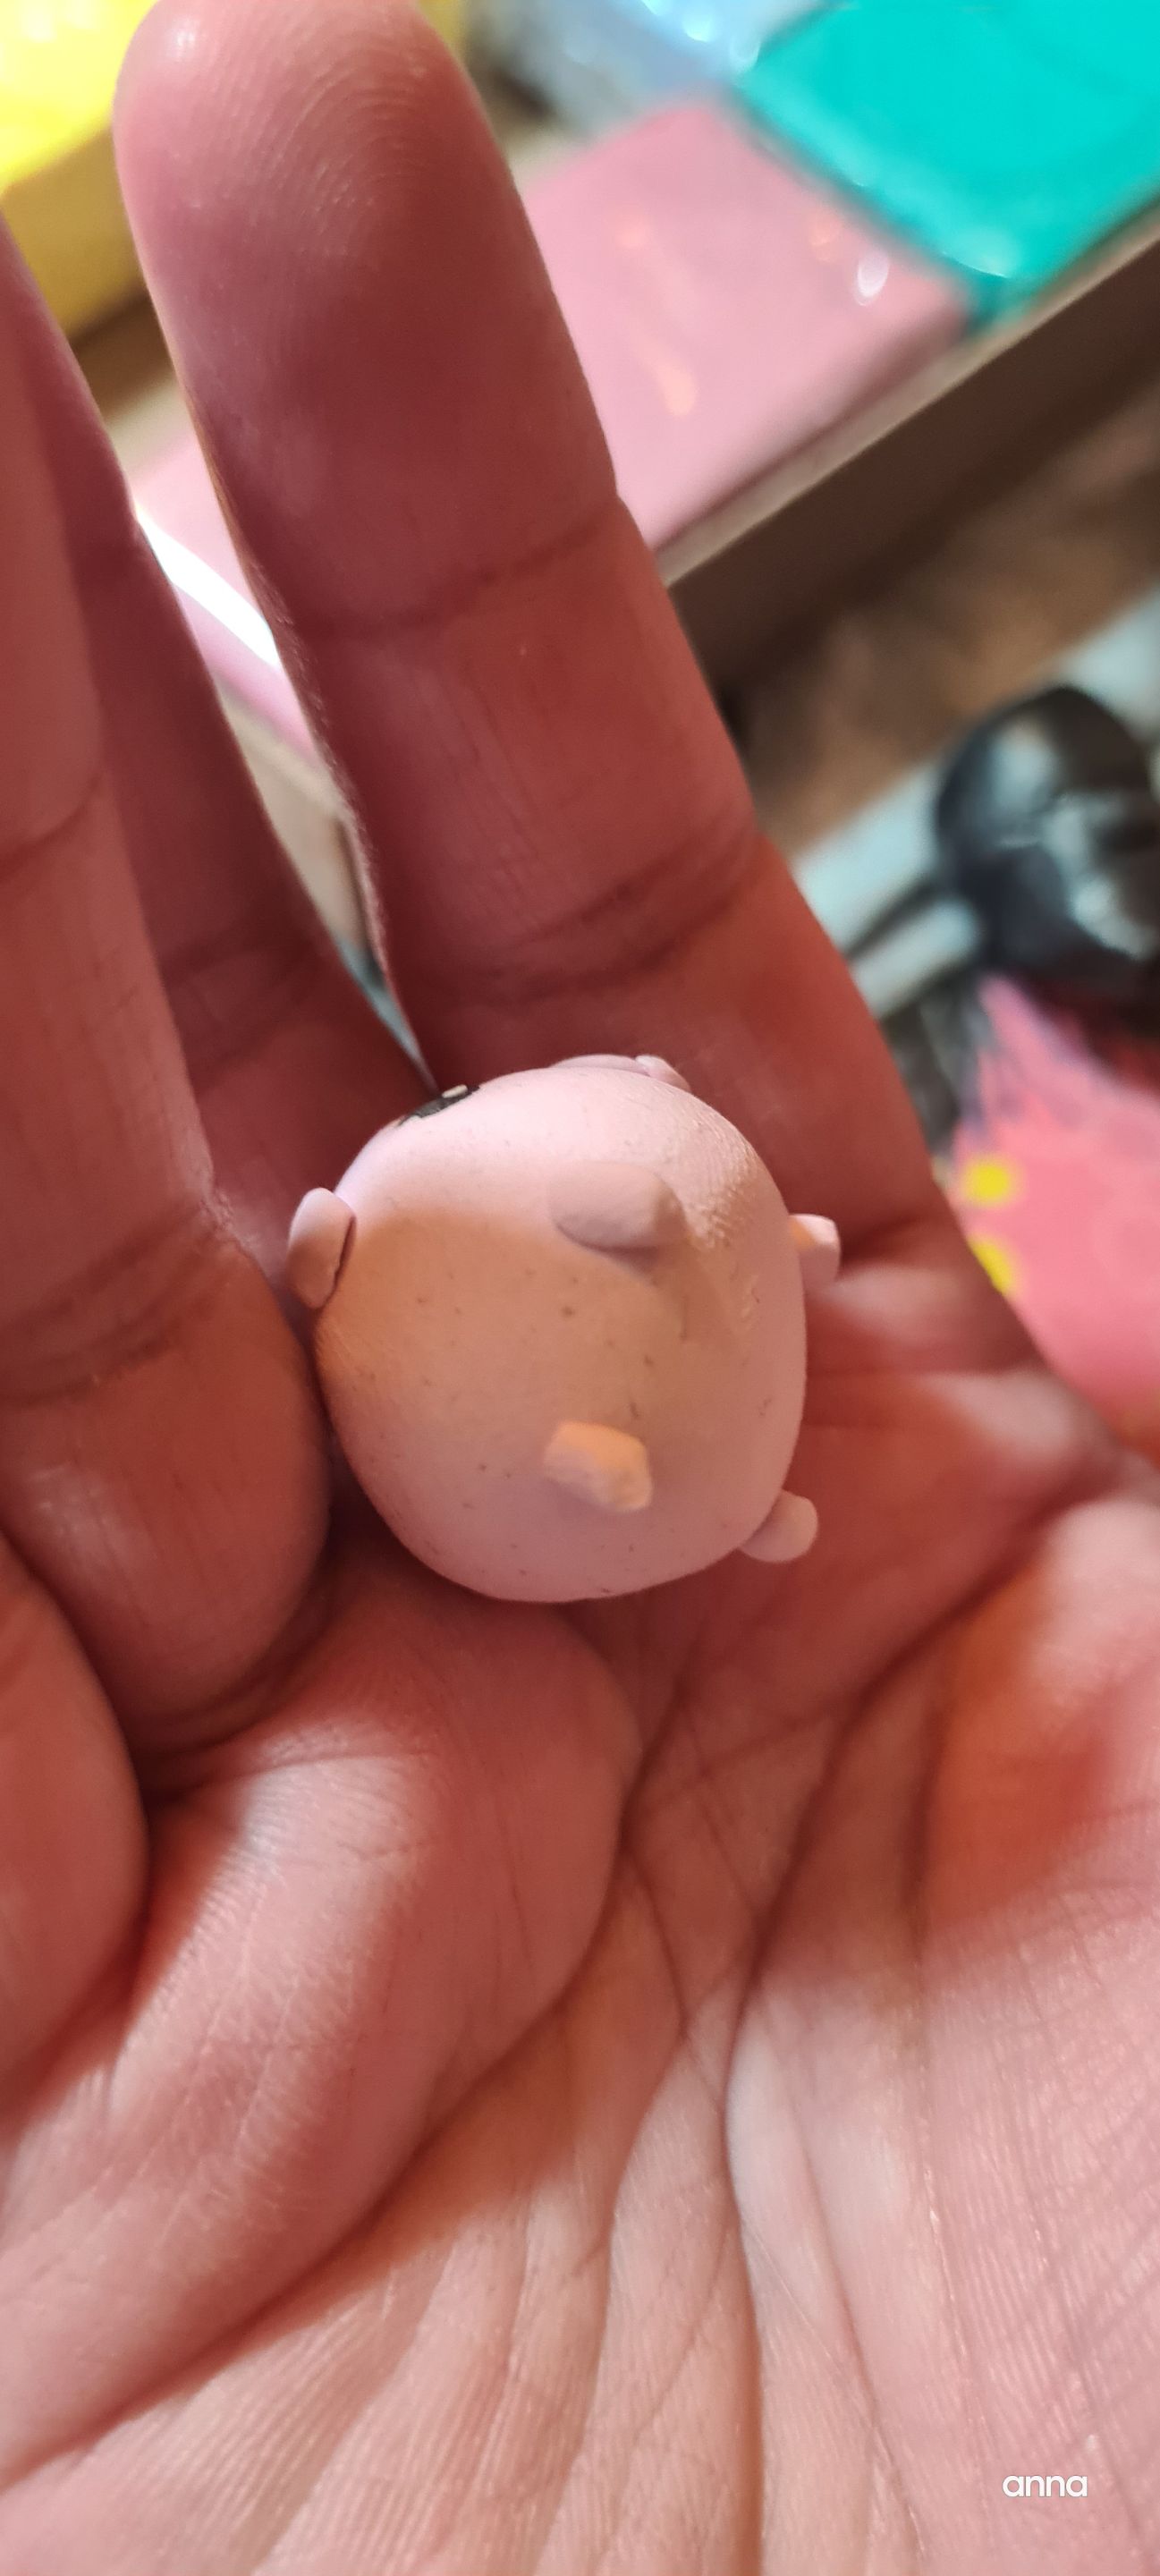
Bottom view. The tail is just a piece of snake clay curled up at the rear.
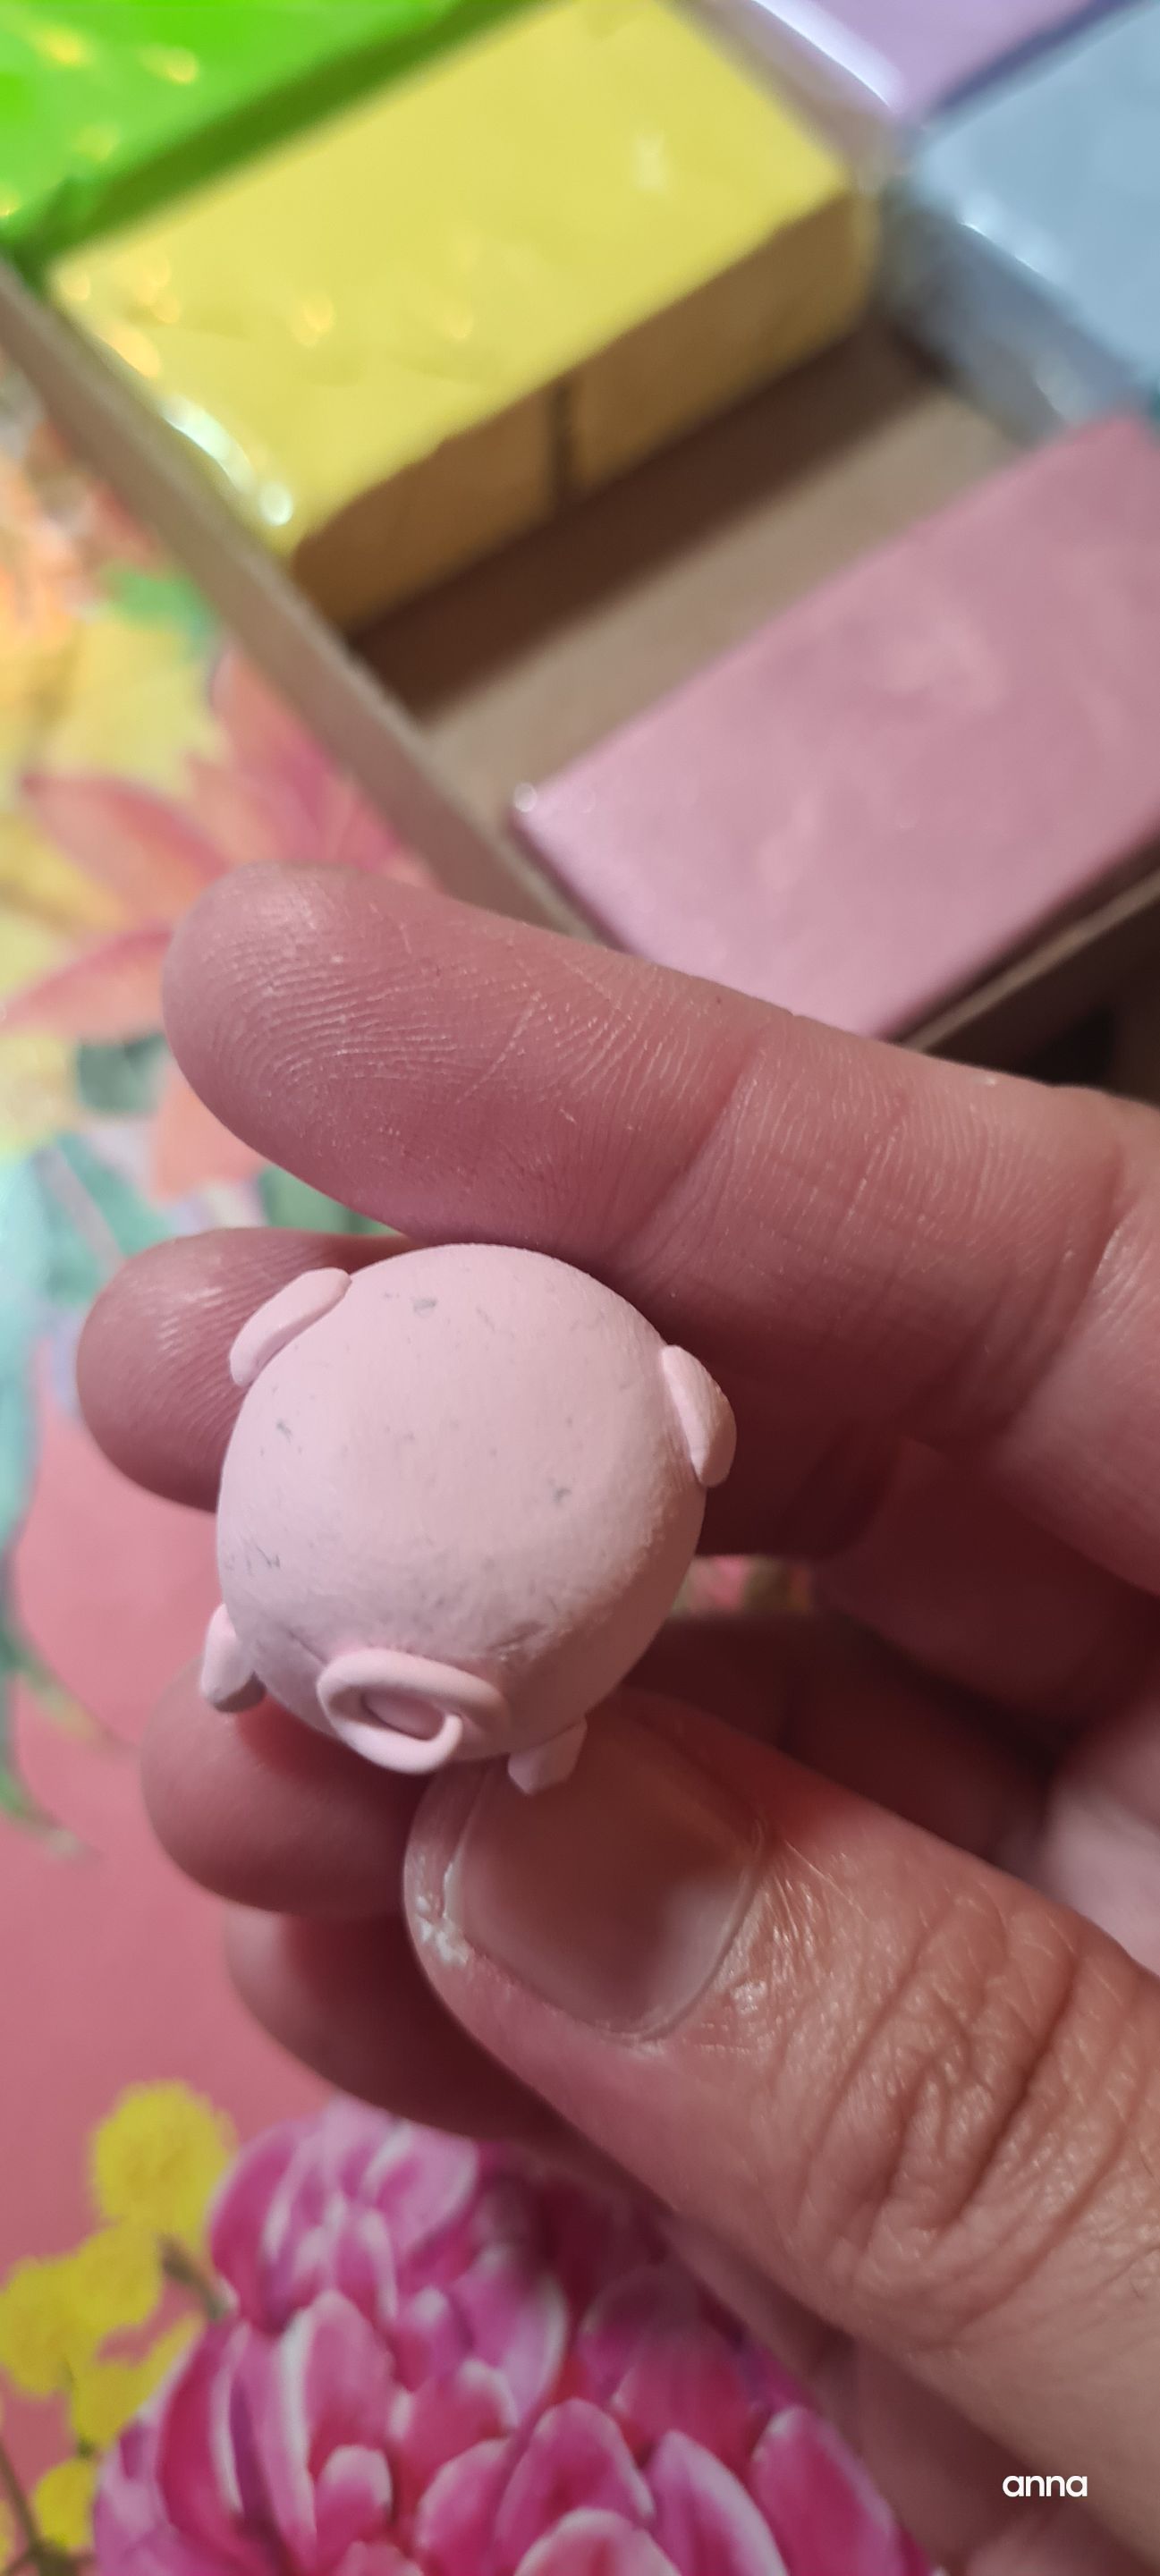
Another view. This is a prebake piece.
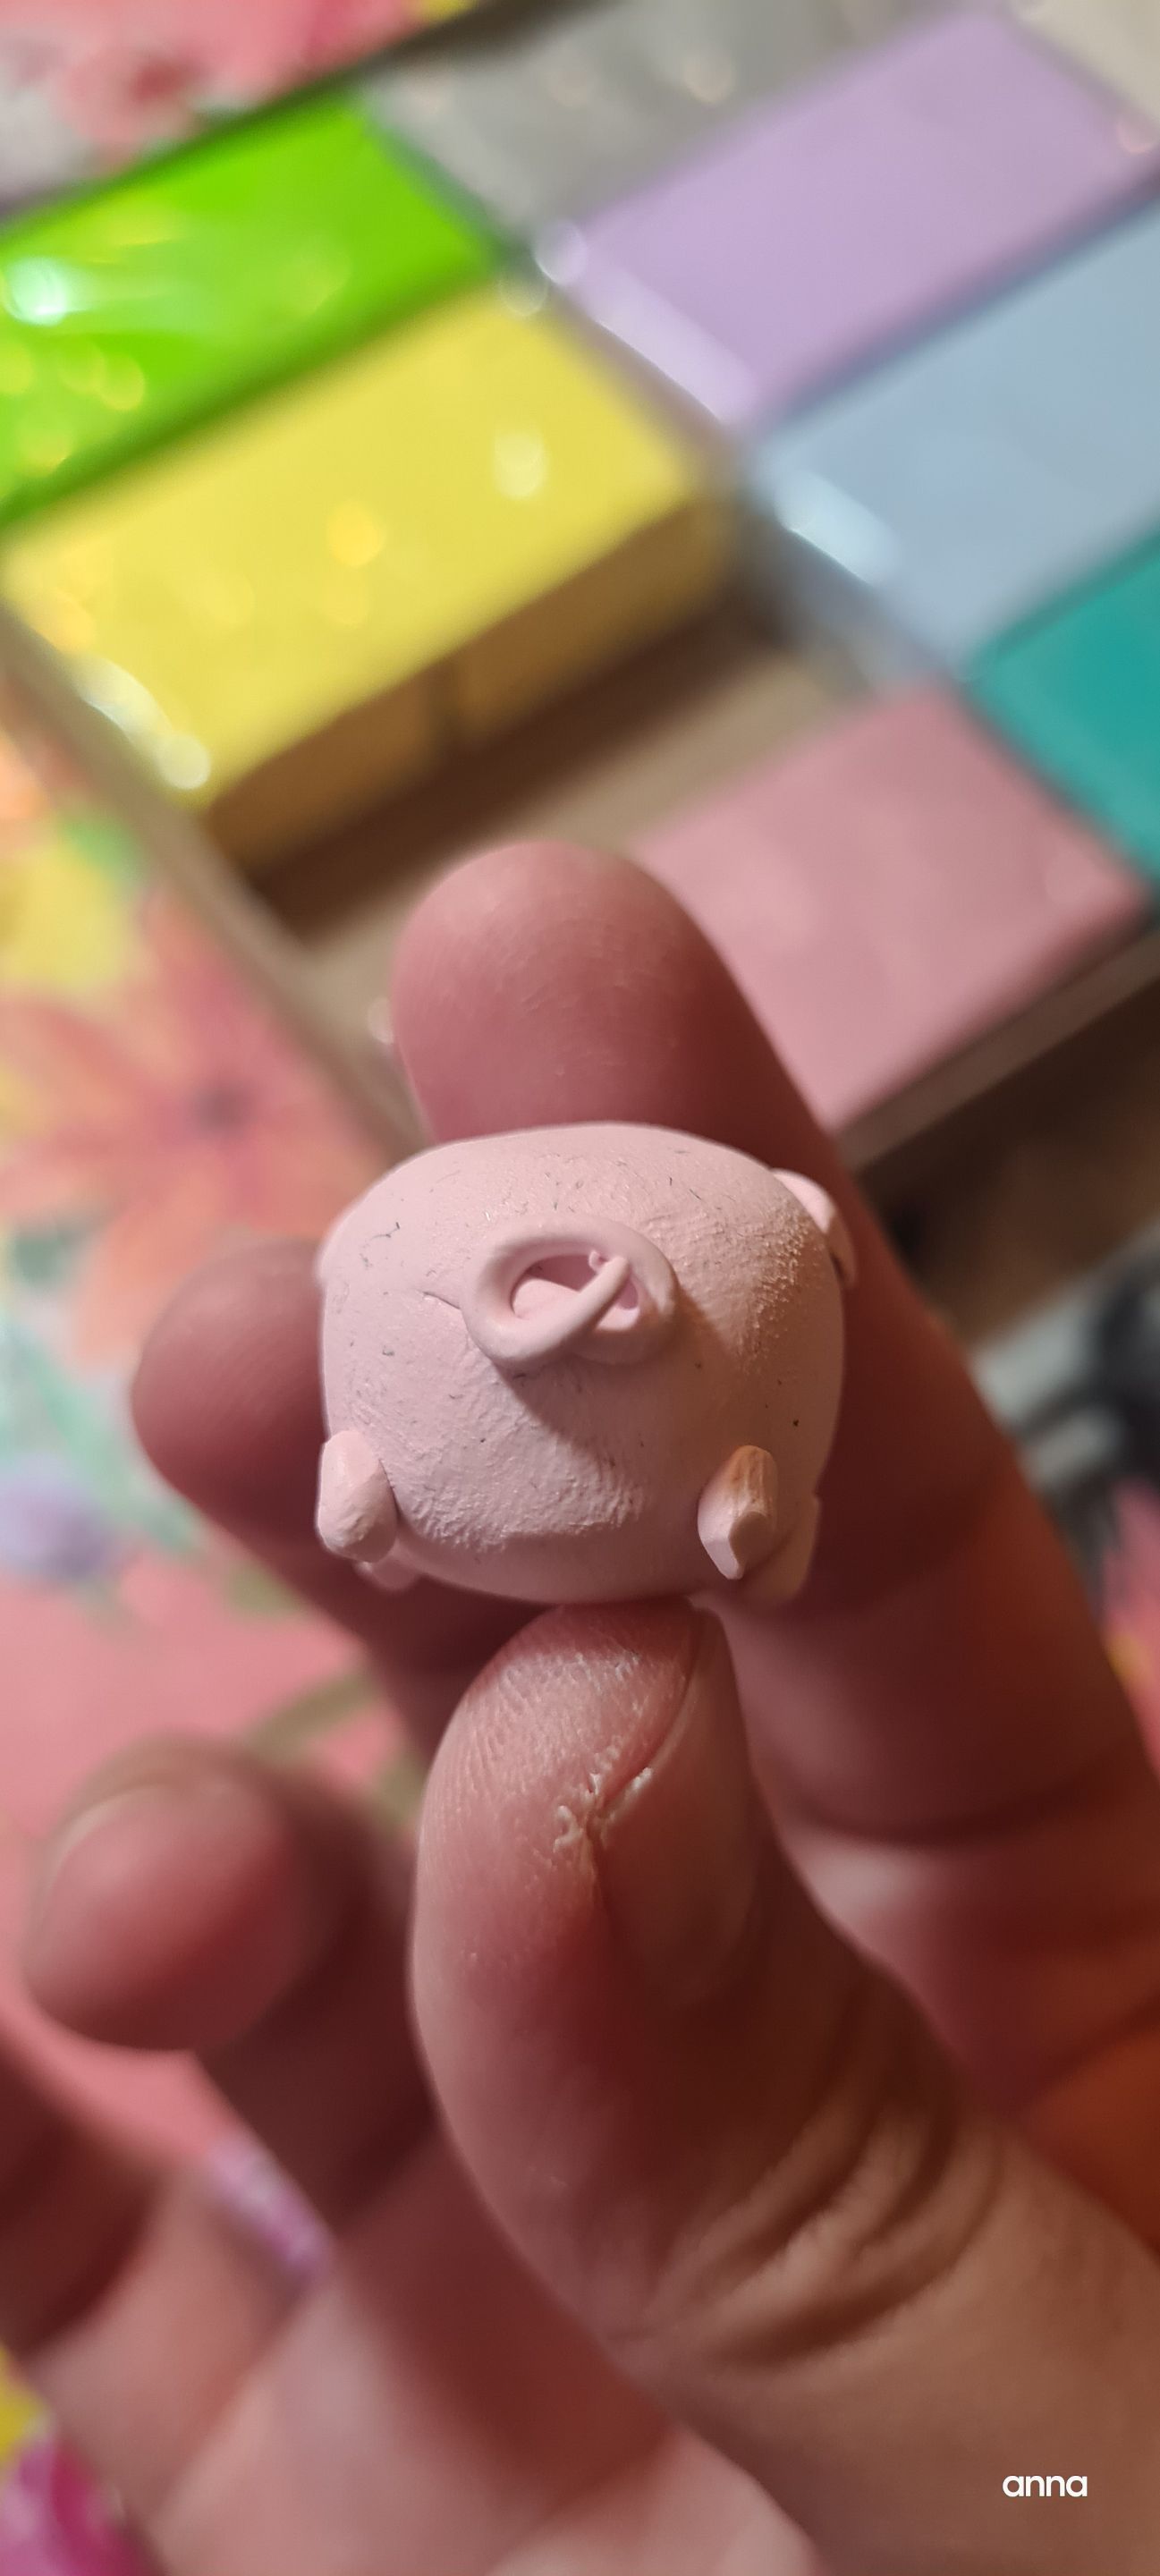
Back side. With all the finger prints.
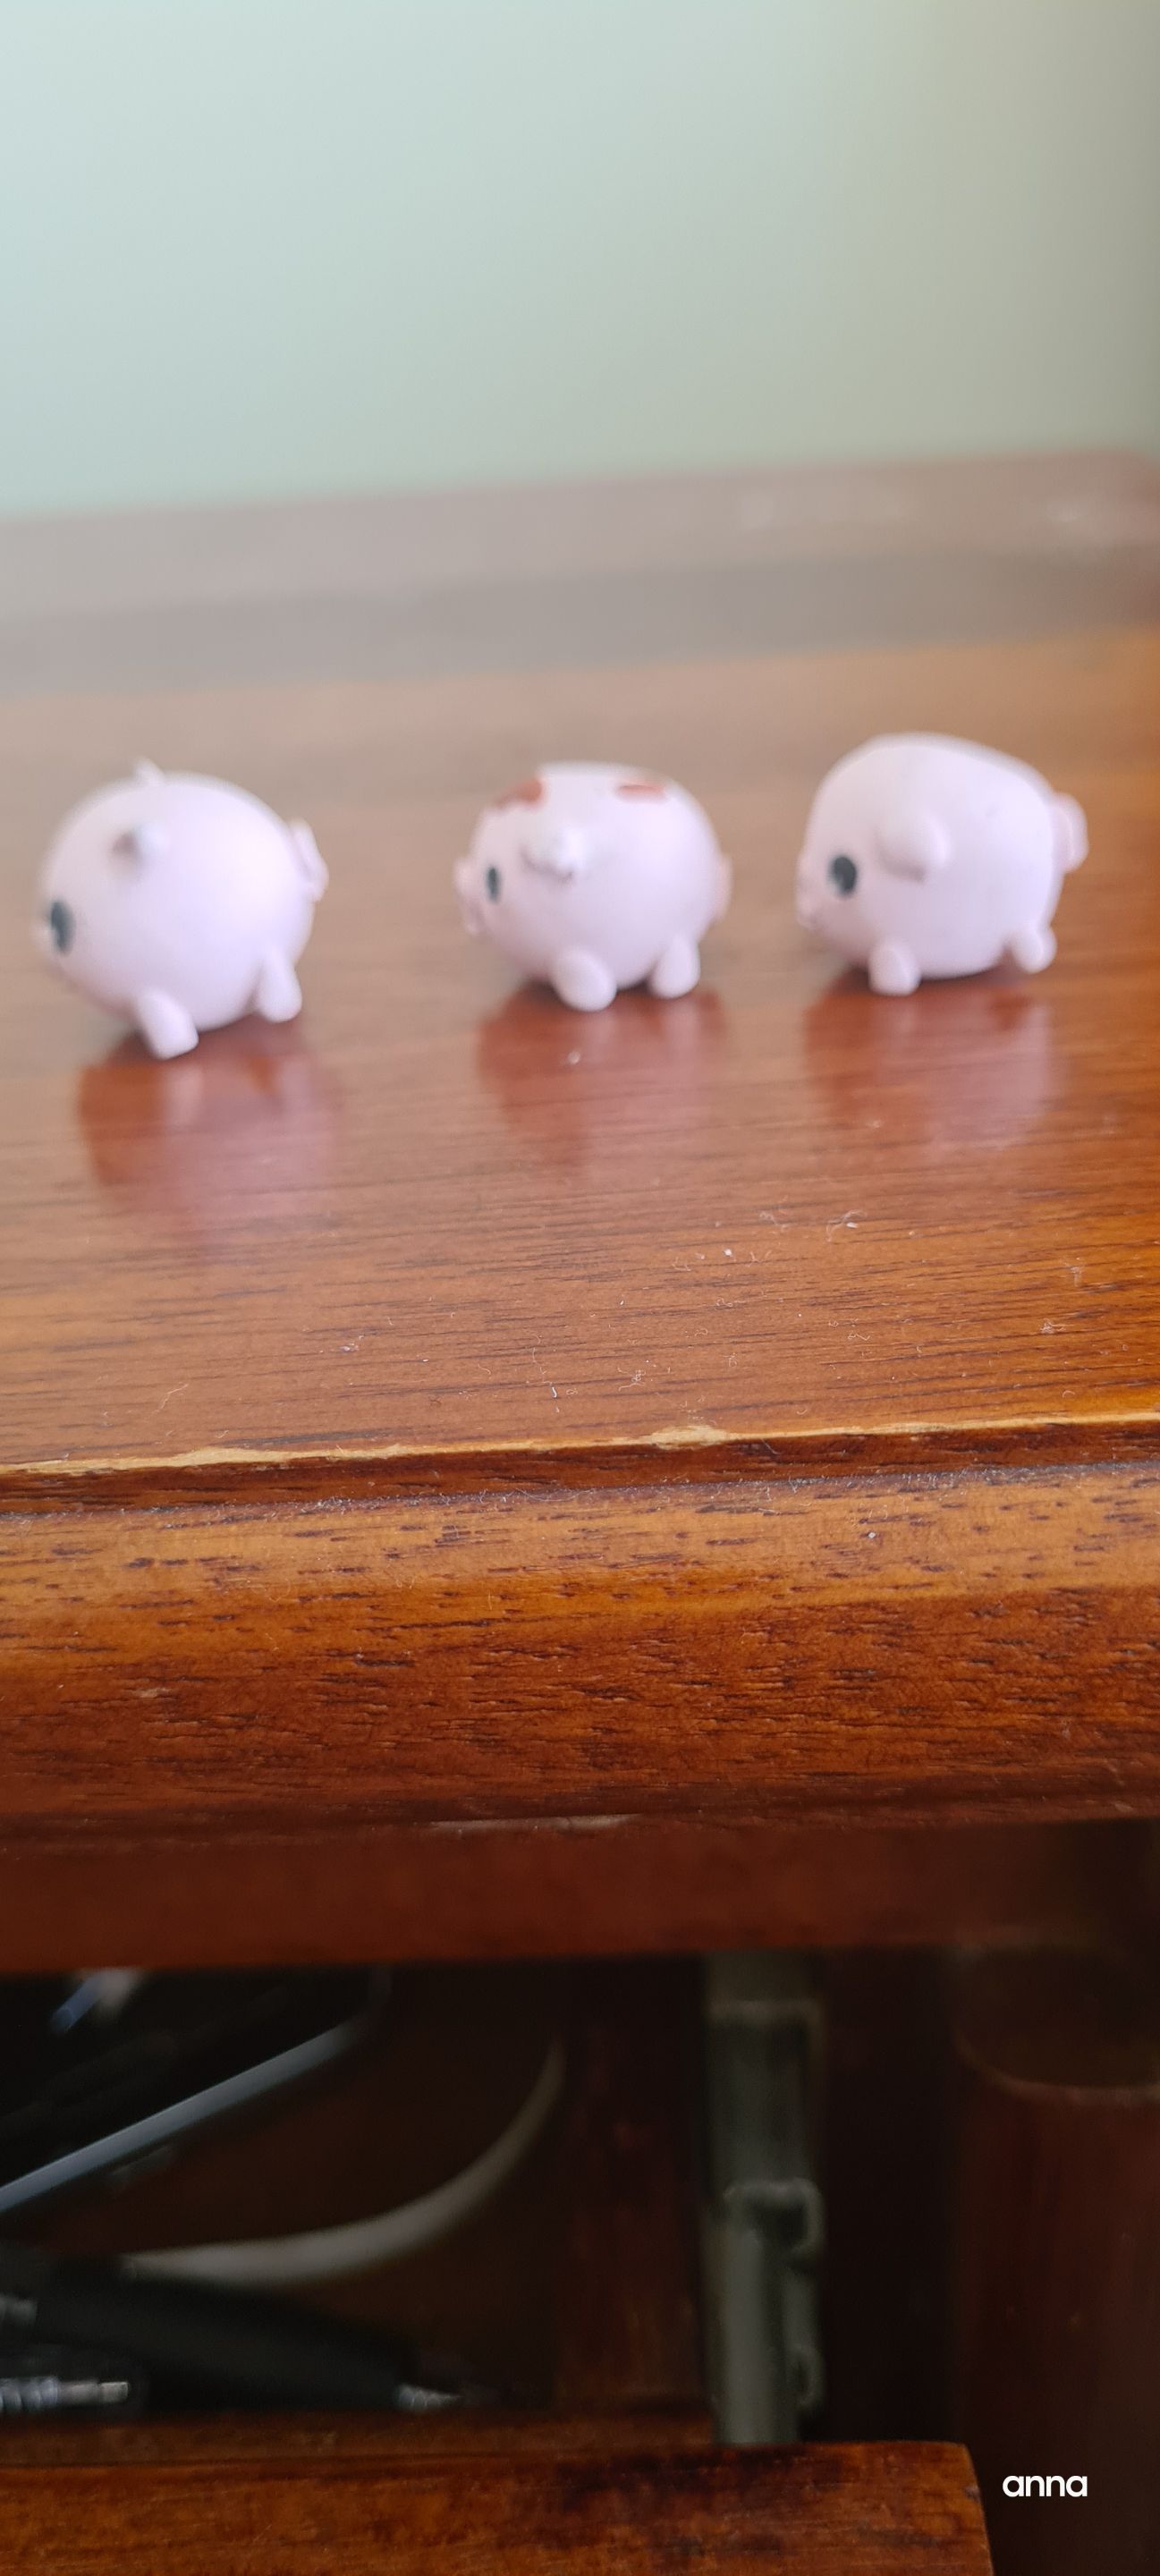
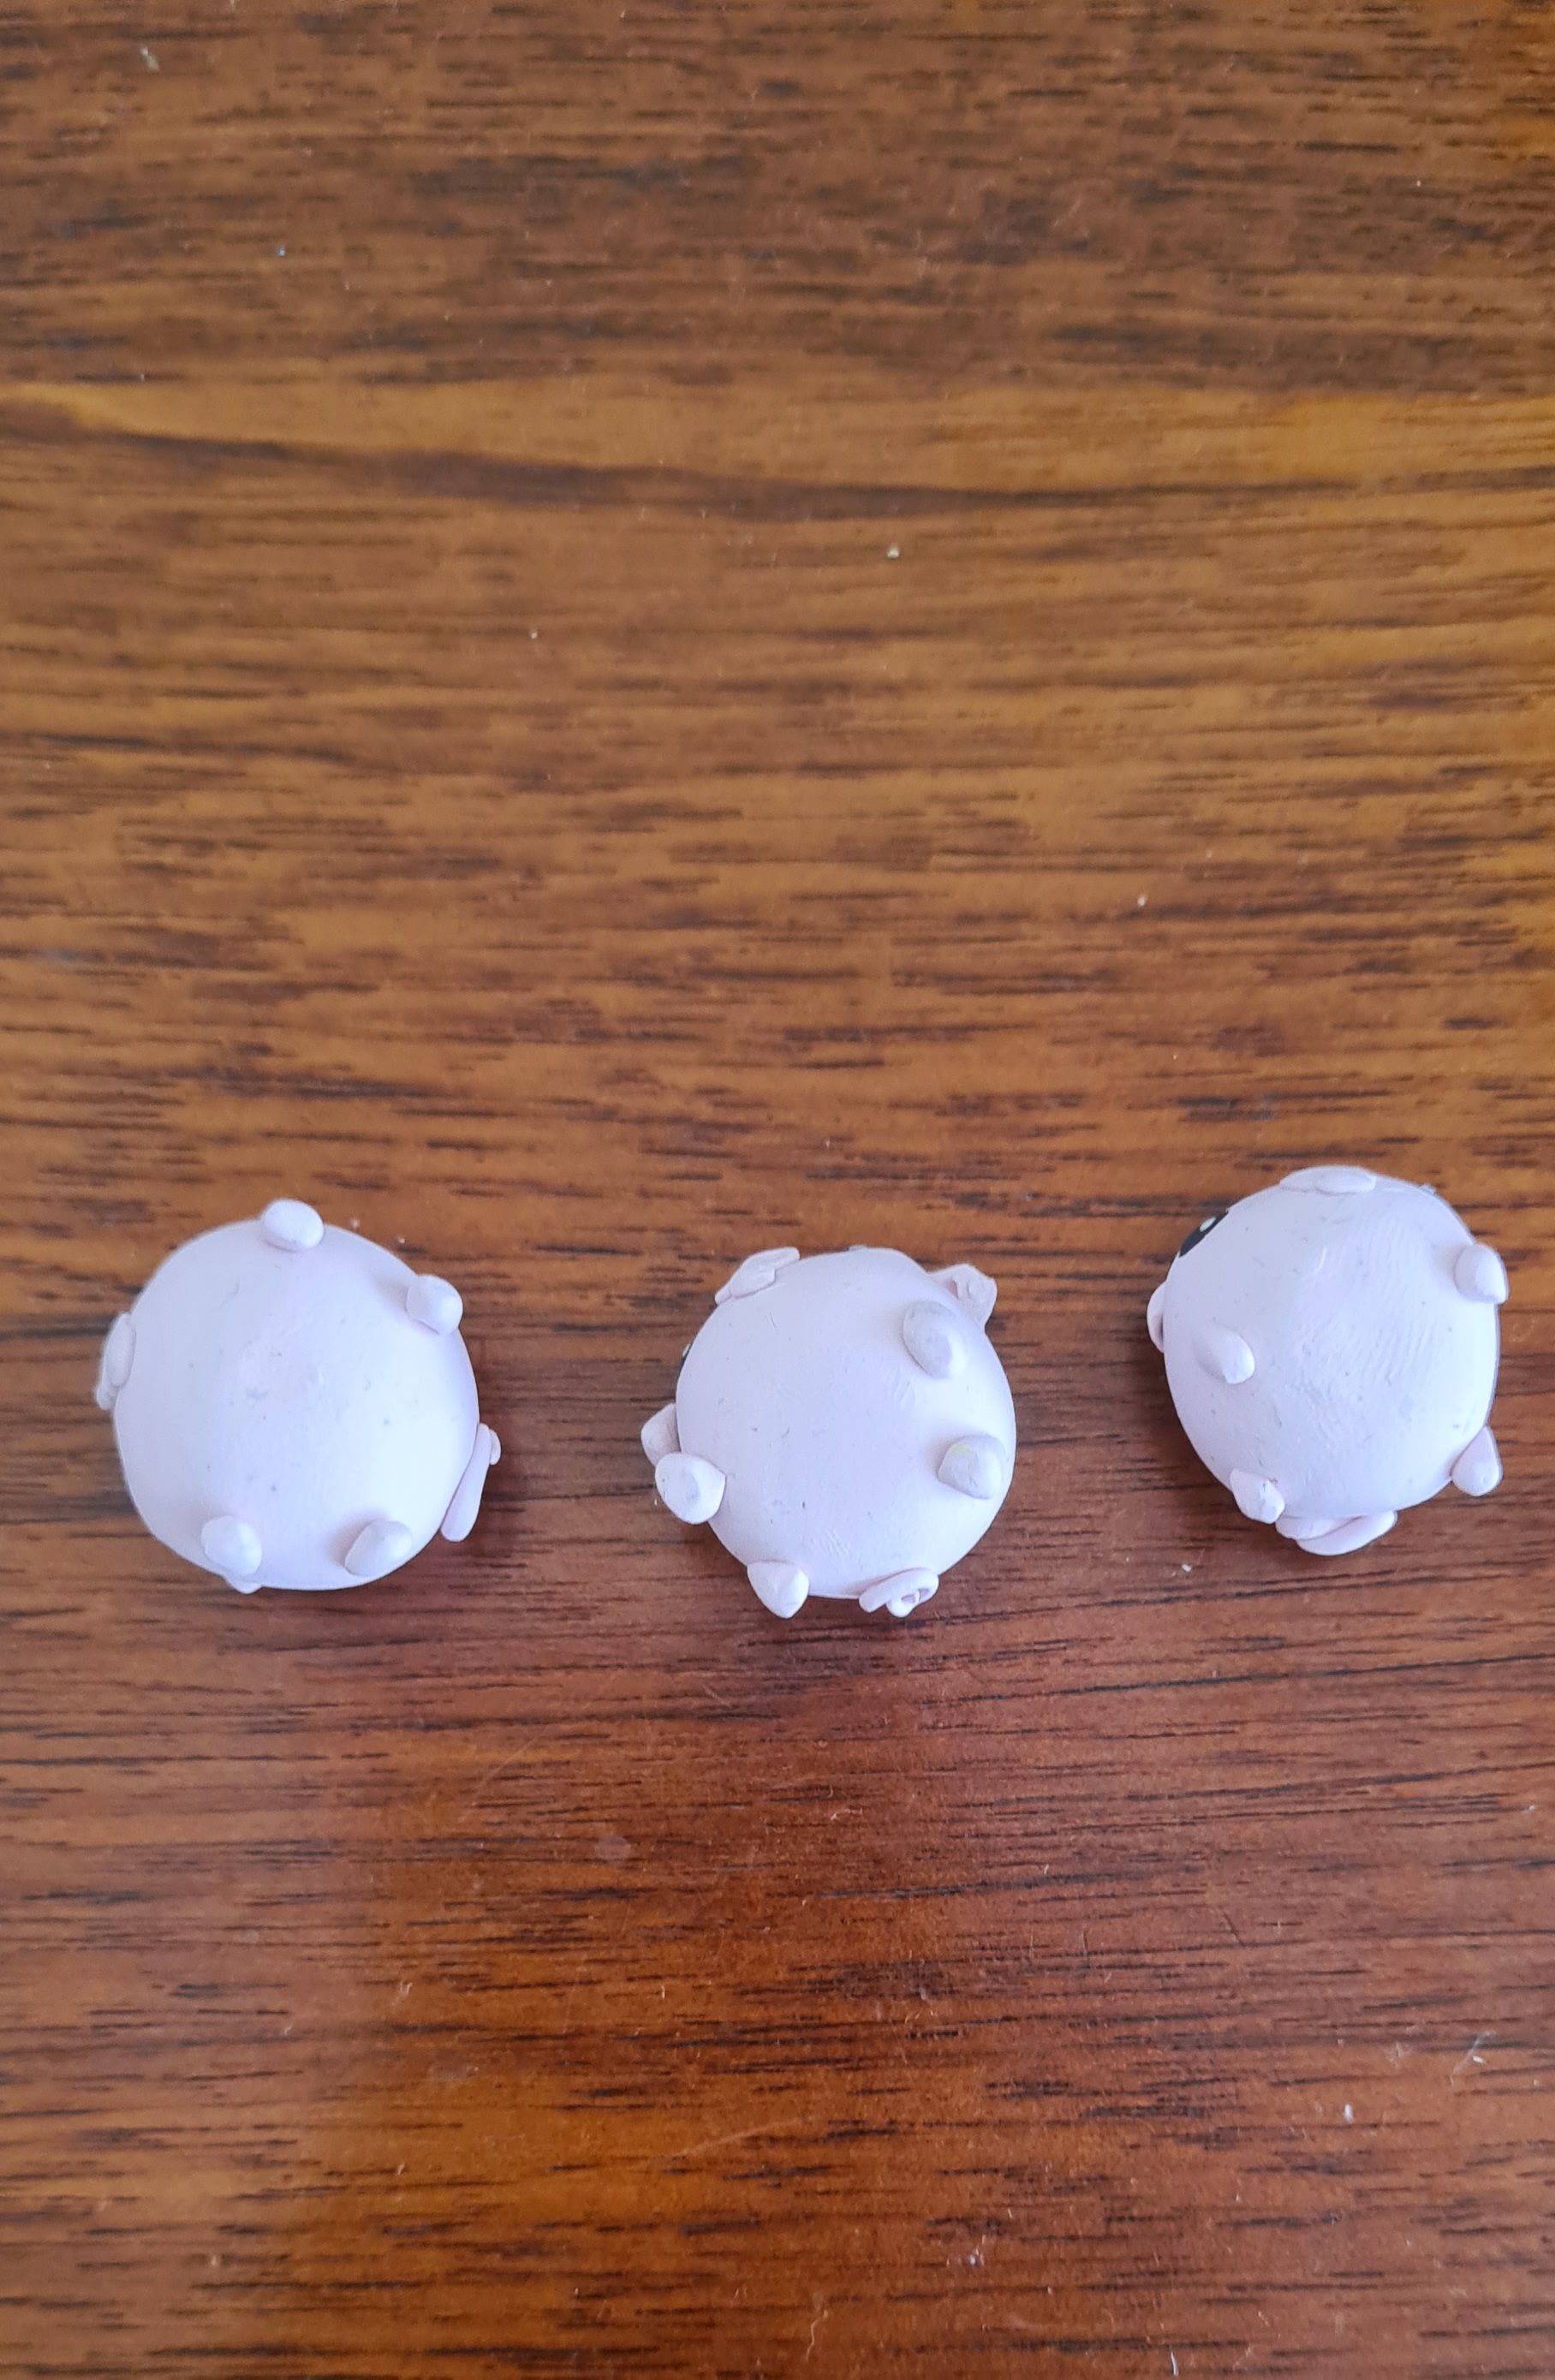
I made 3 pieces and here is the bottom view.
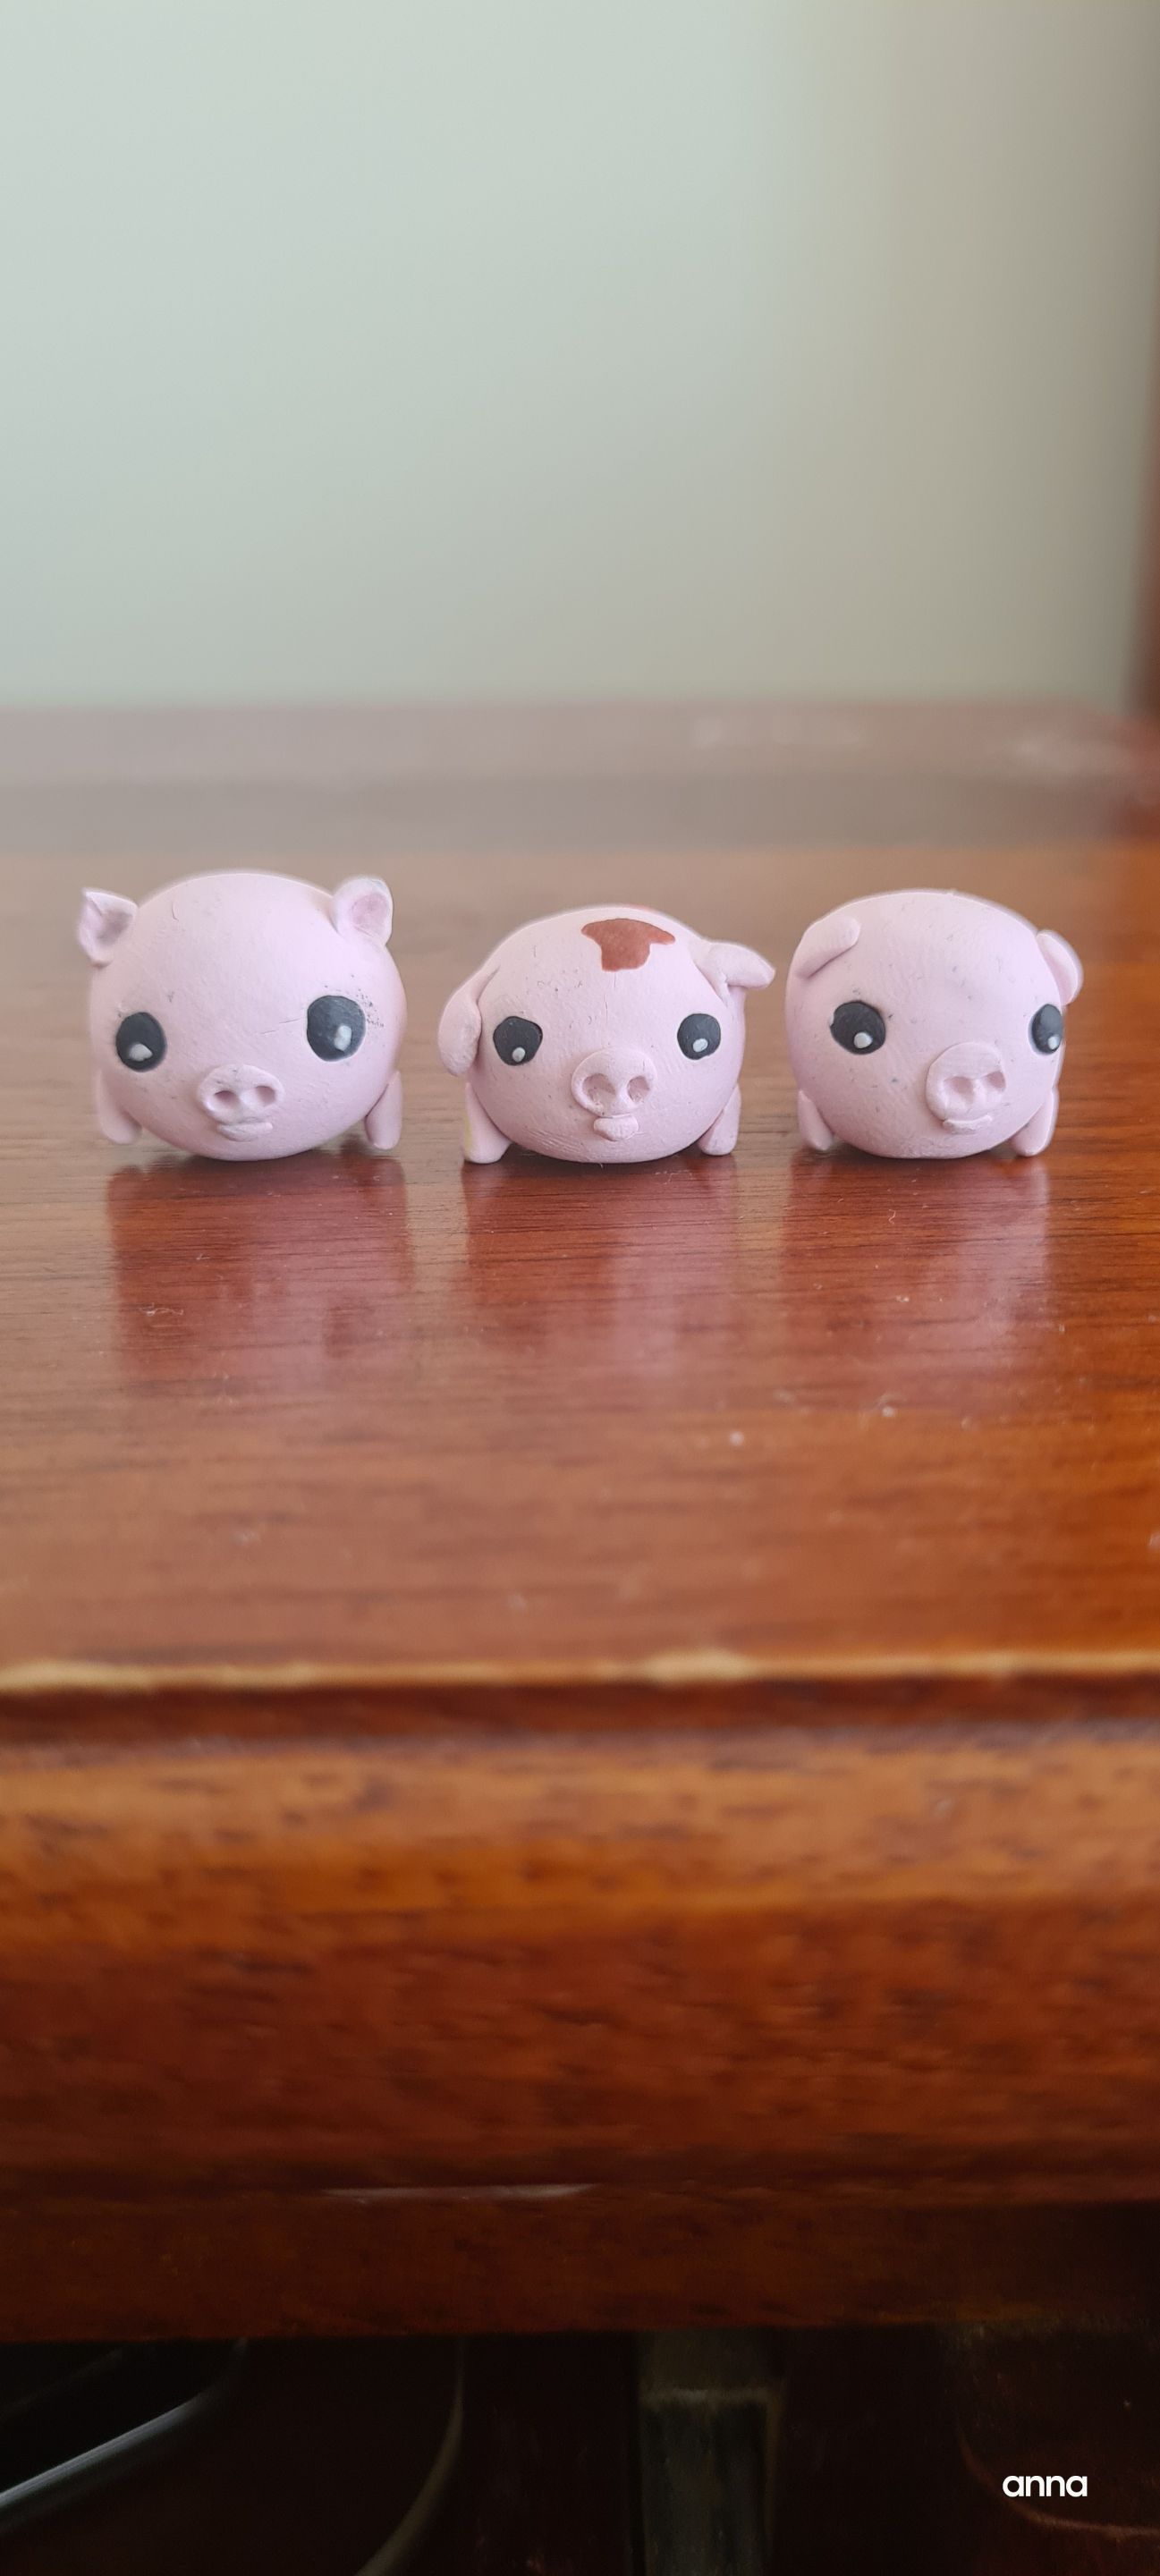
Front view. Yes. I tried to make them as similar as possible. But I free hand these pieces so yeah, there are a lot of differences with the sizes and details- even if I made them one after the other.
Back view.
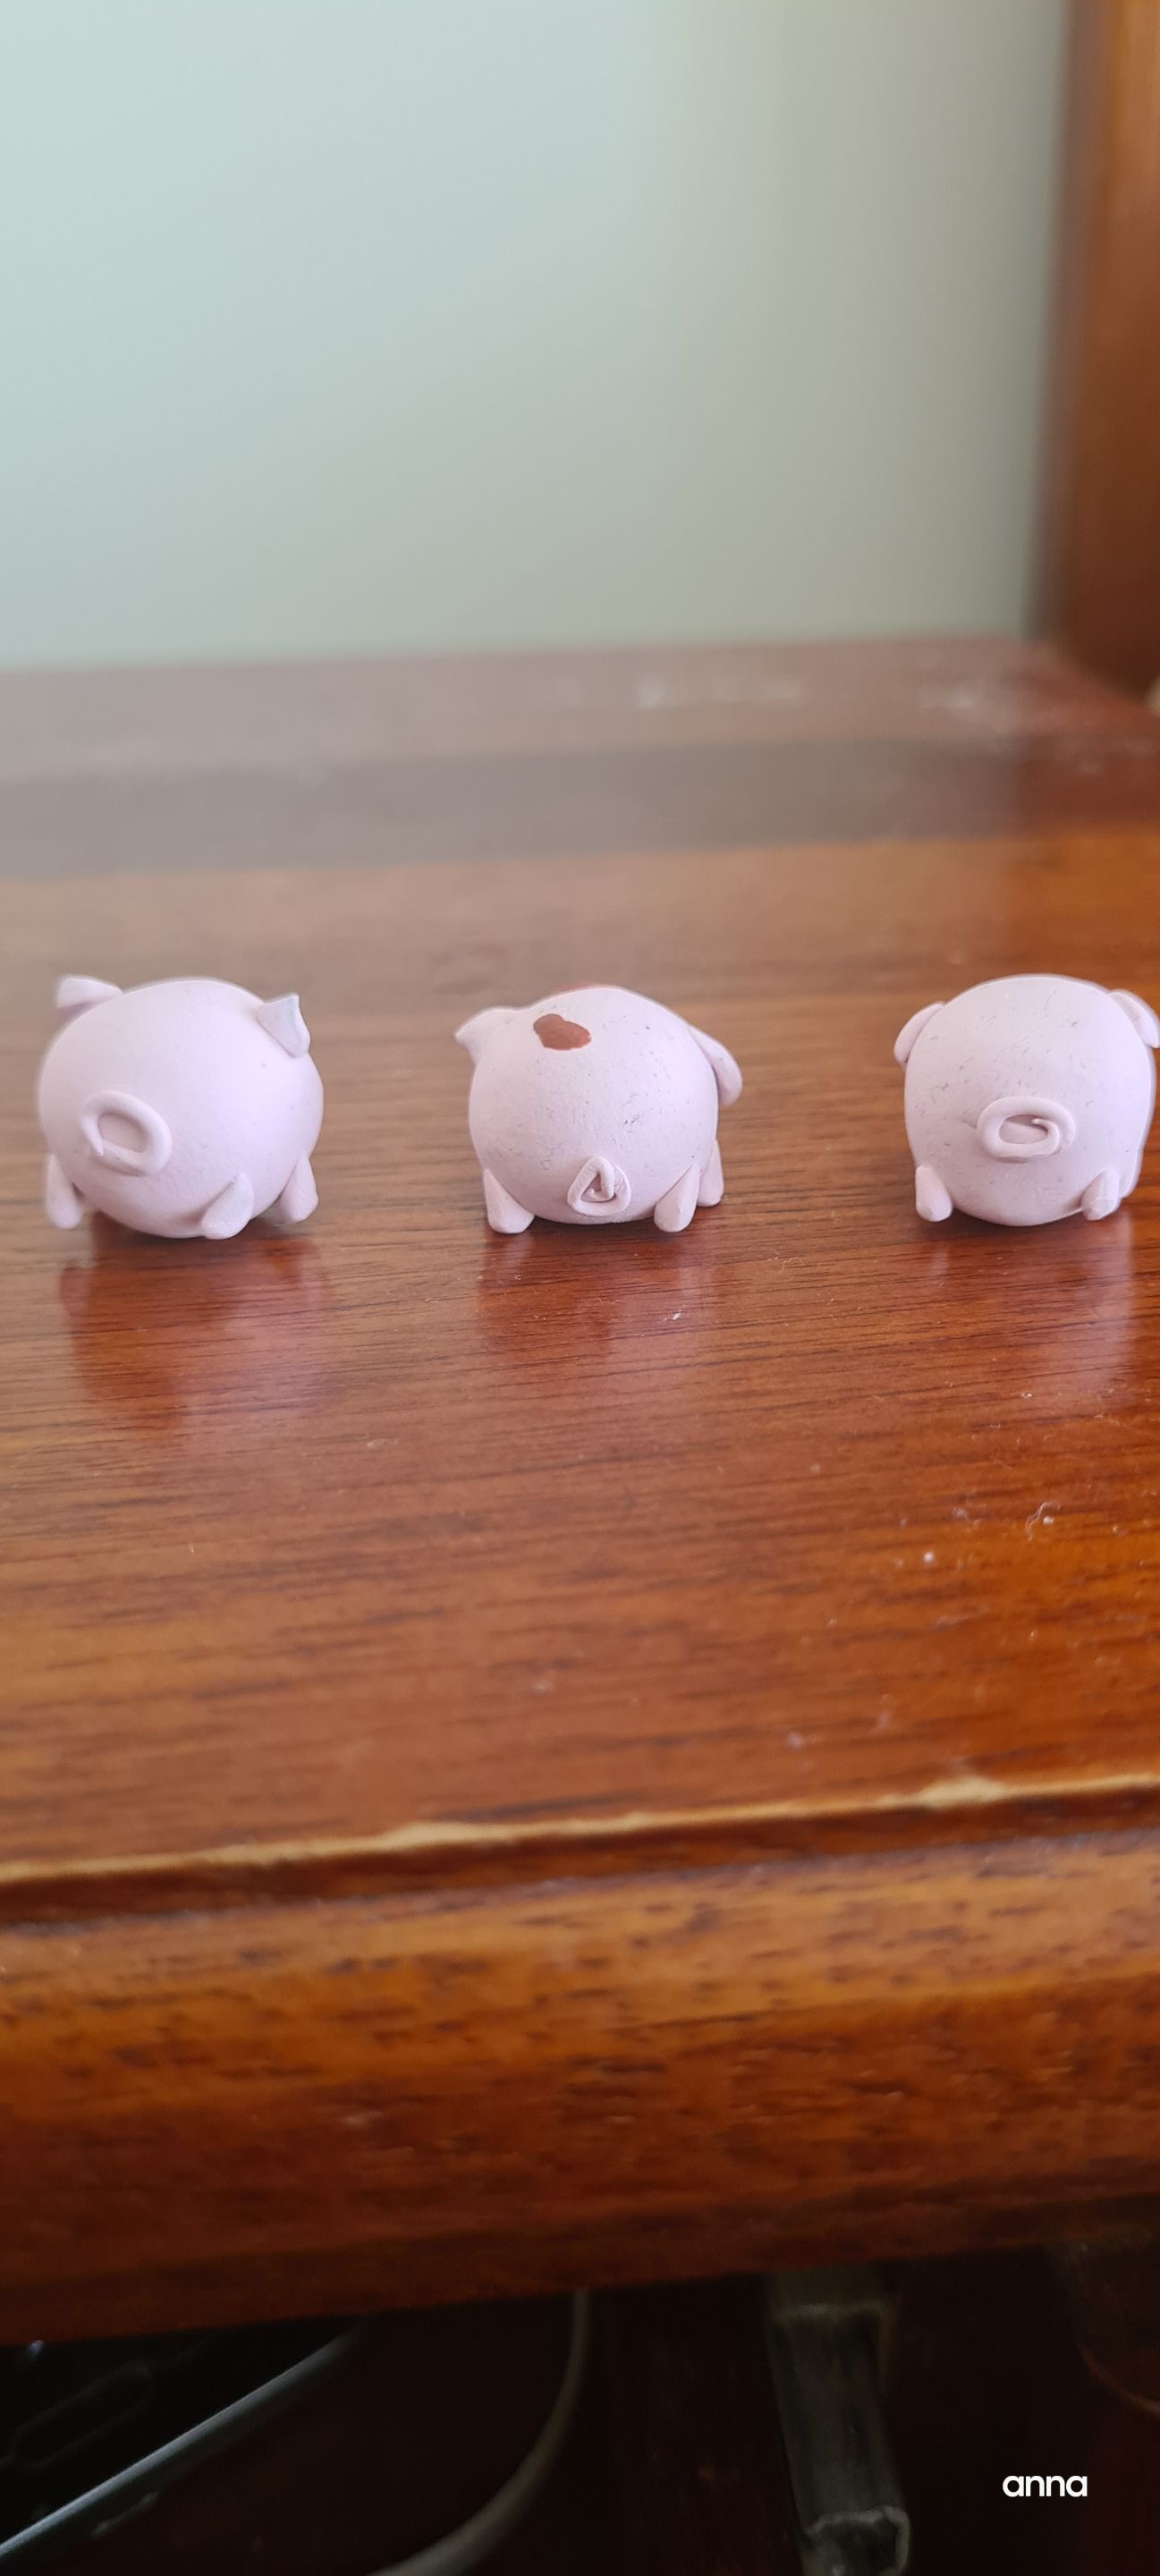
Side view- I enjoyed making them immensely. I am having fun taking pictures.