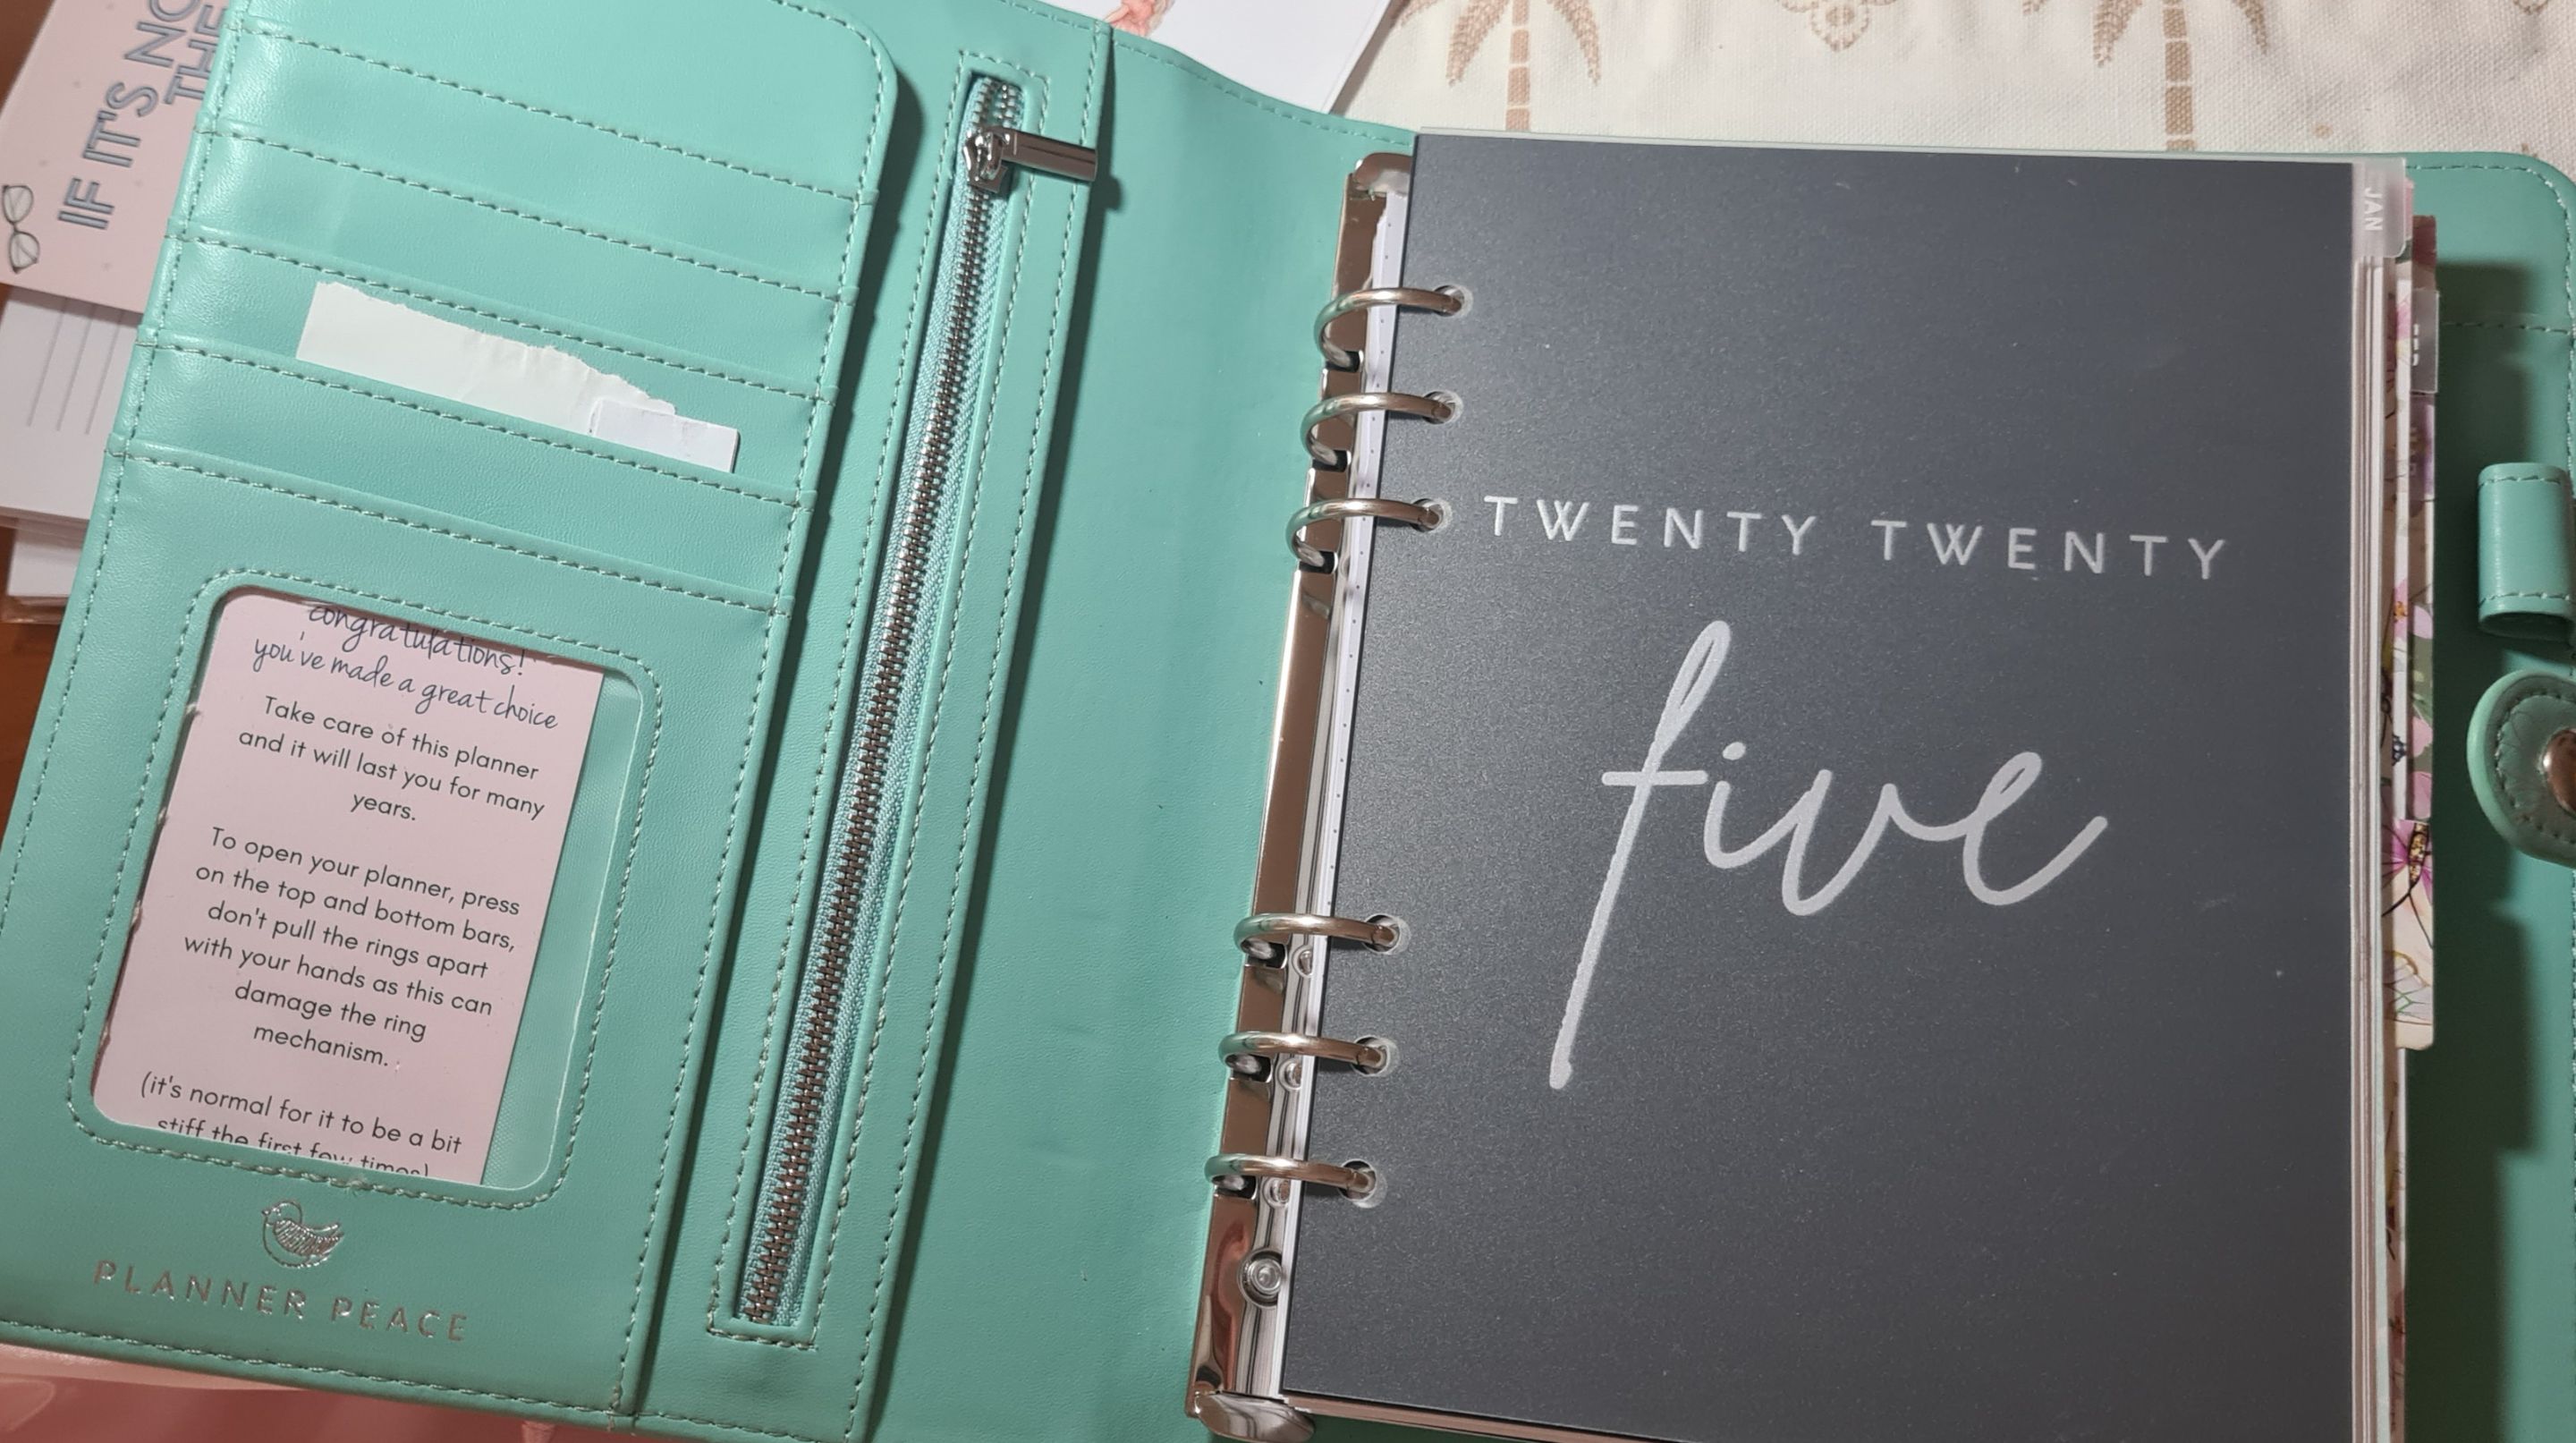
I had been using this new refillable planner for nearly one month now. I have totally relied on it that I have started organizing a lot of my tasks like, my budget, to do lists, tasks for the week, shopping lists, projects to name a few. In addition to the usual calendar, daily and weekly tasks.
Most of the time, its difficult for me to flip through to the right page. I decided to improvise and create my own dividers.
If I will buy these, it might cost me give or take 5 dollars and above. In addition to that, I have to wait for a few days to receive it.
So I decided to make my own.
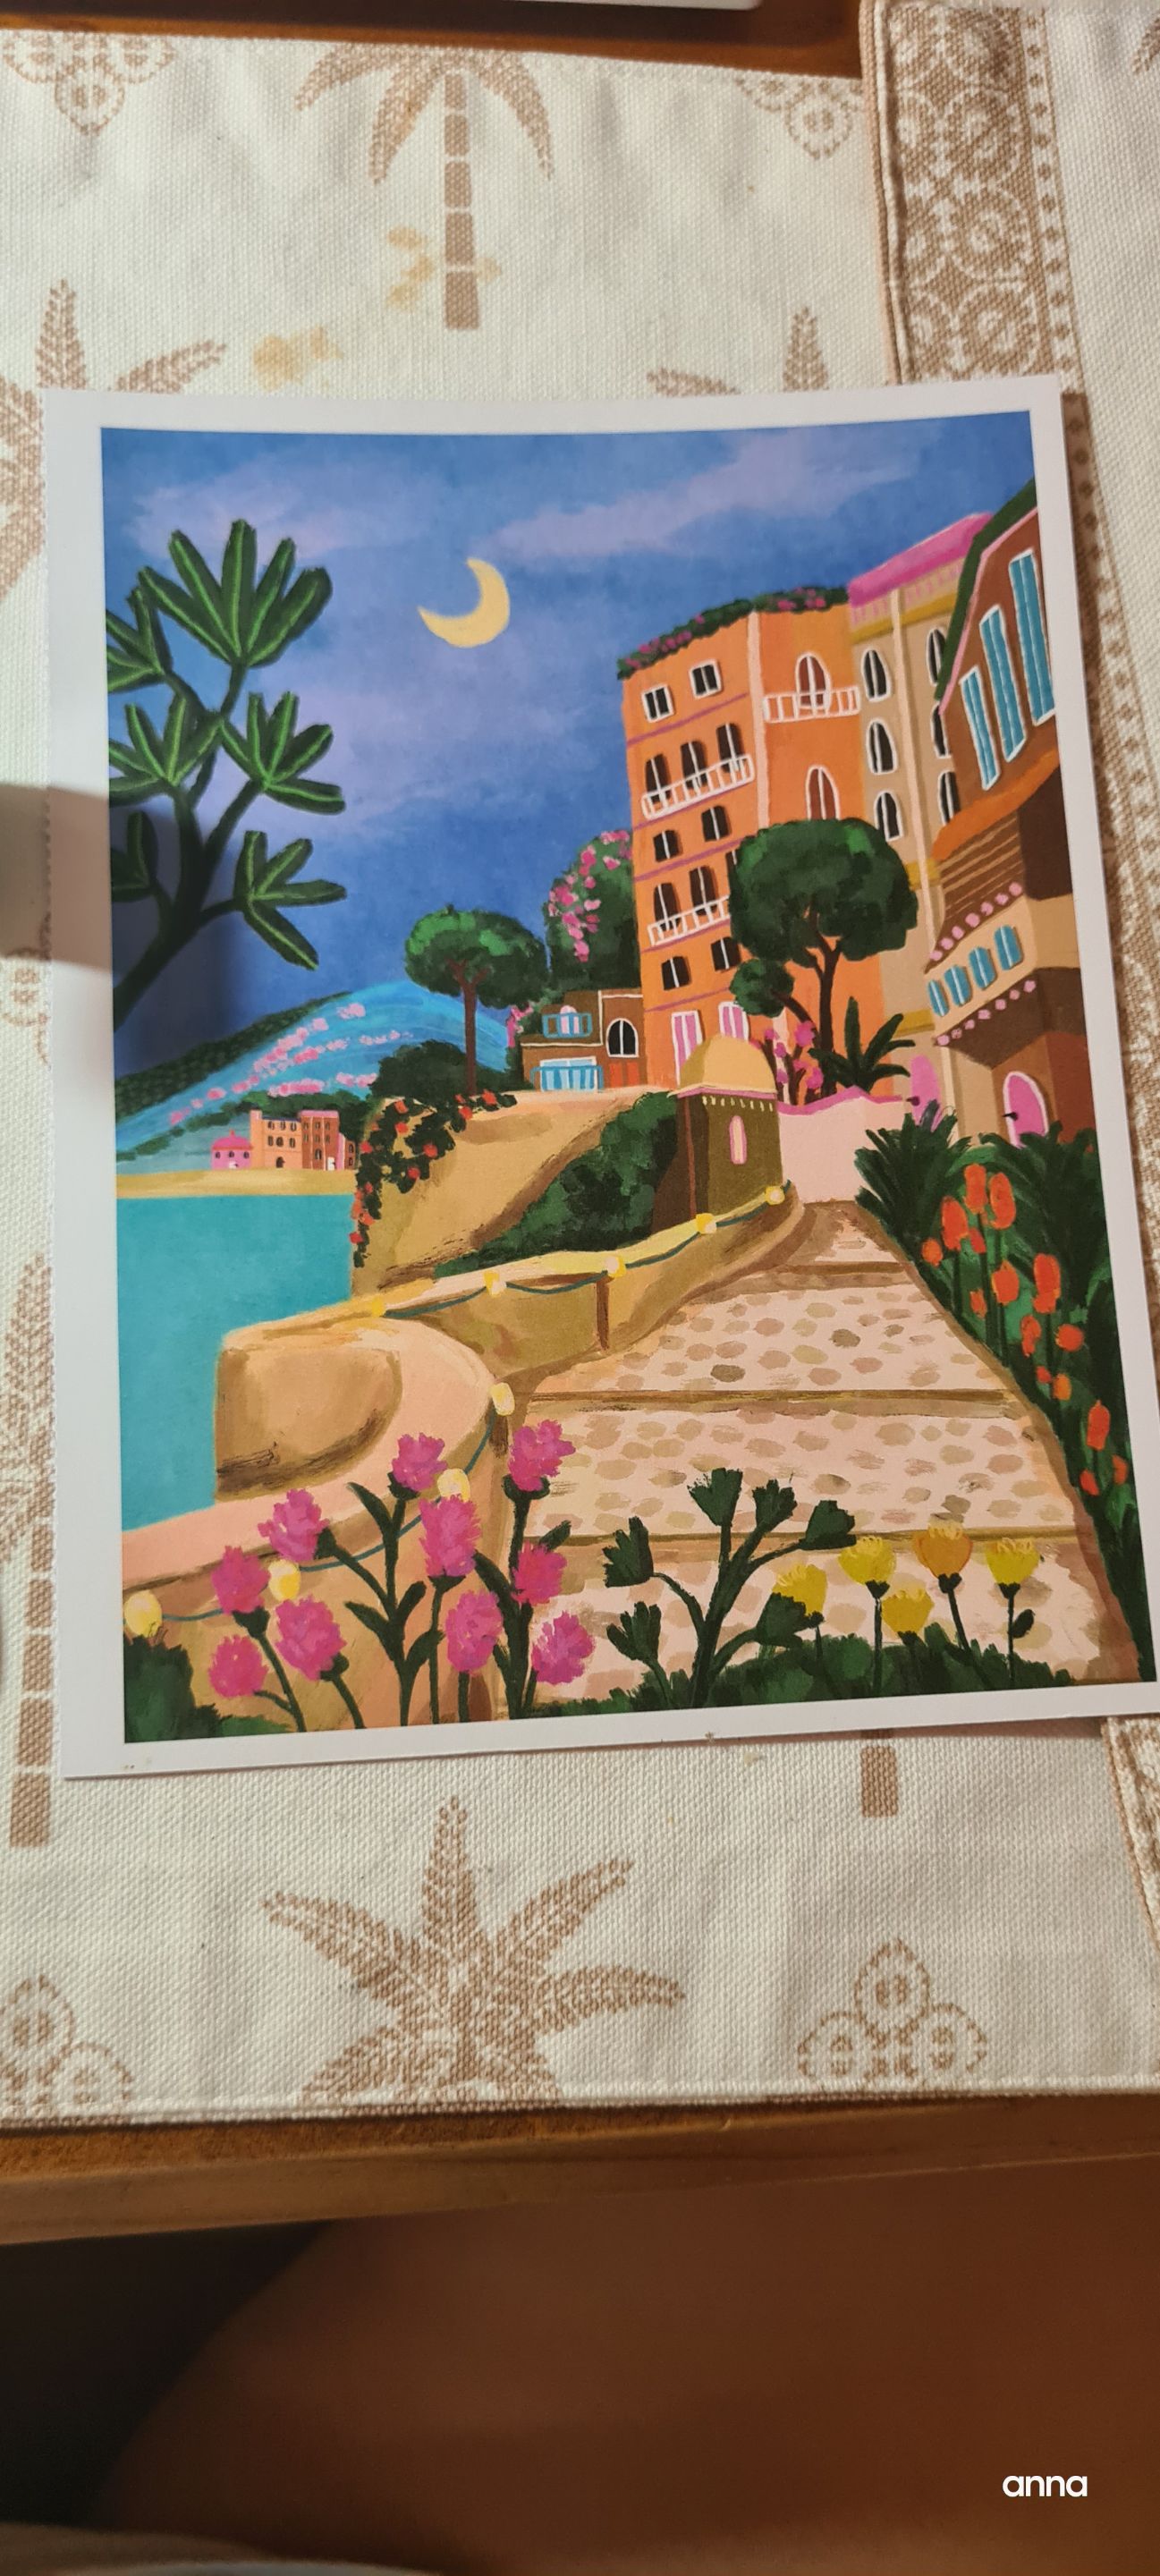
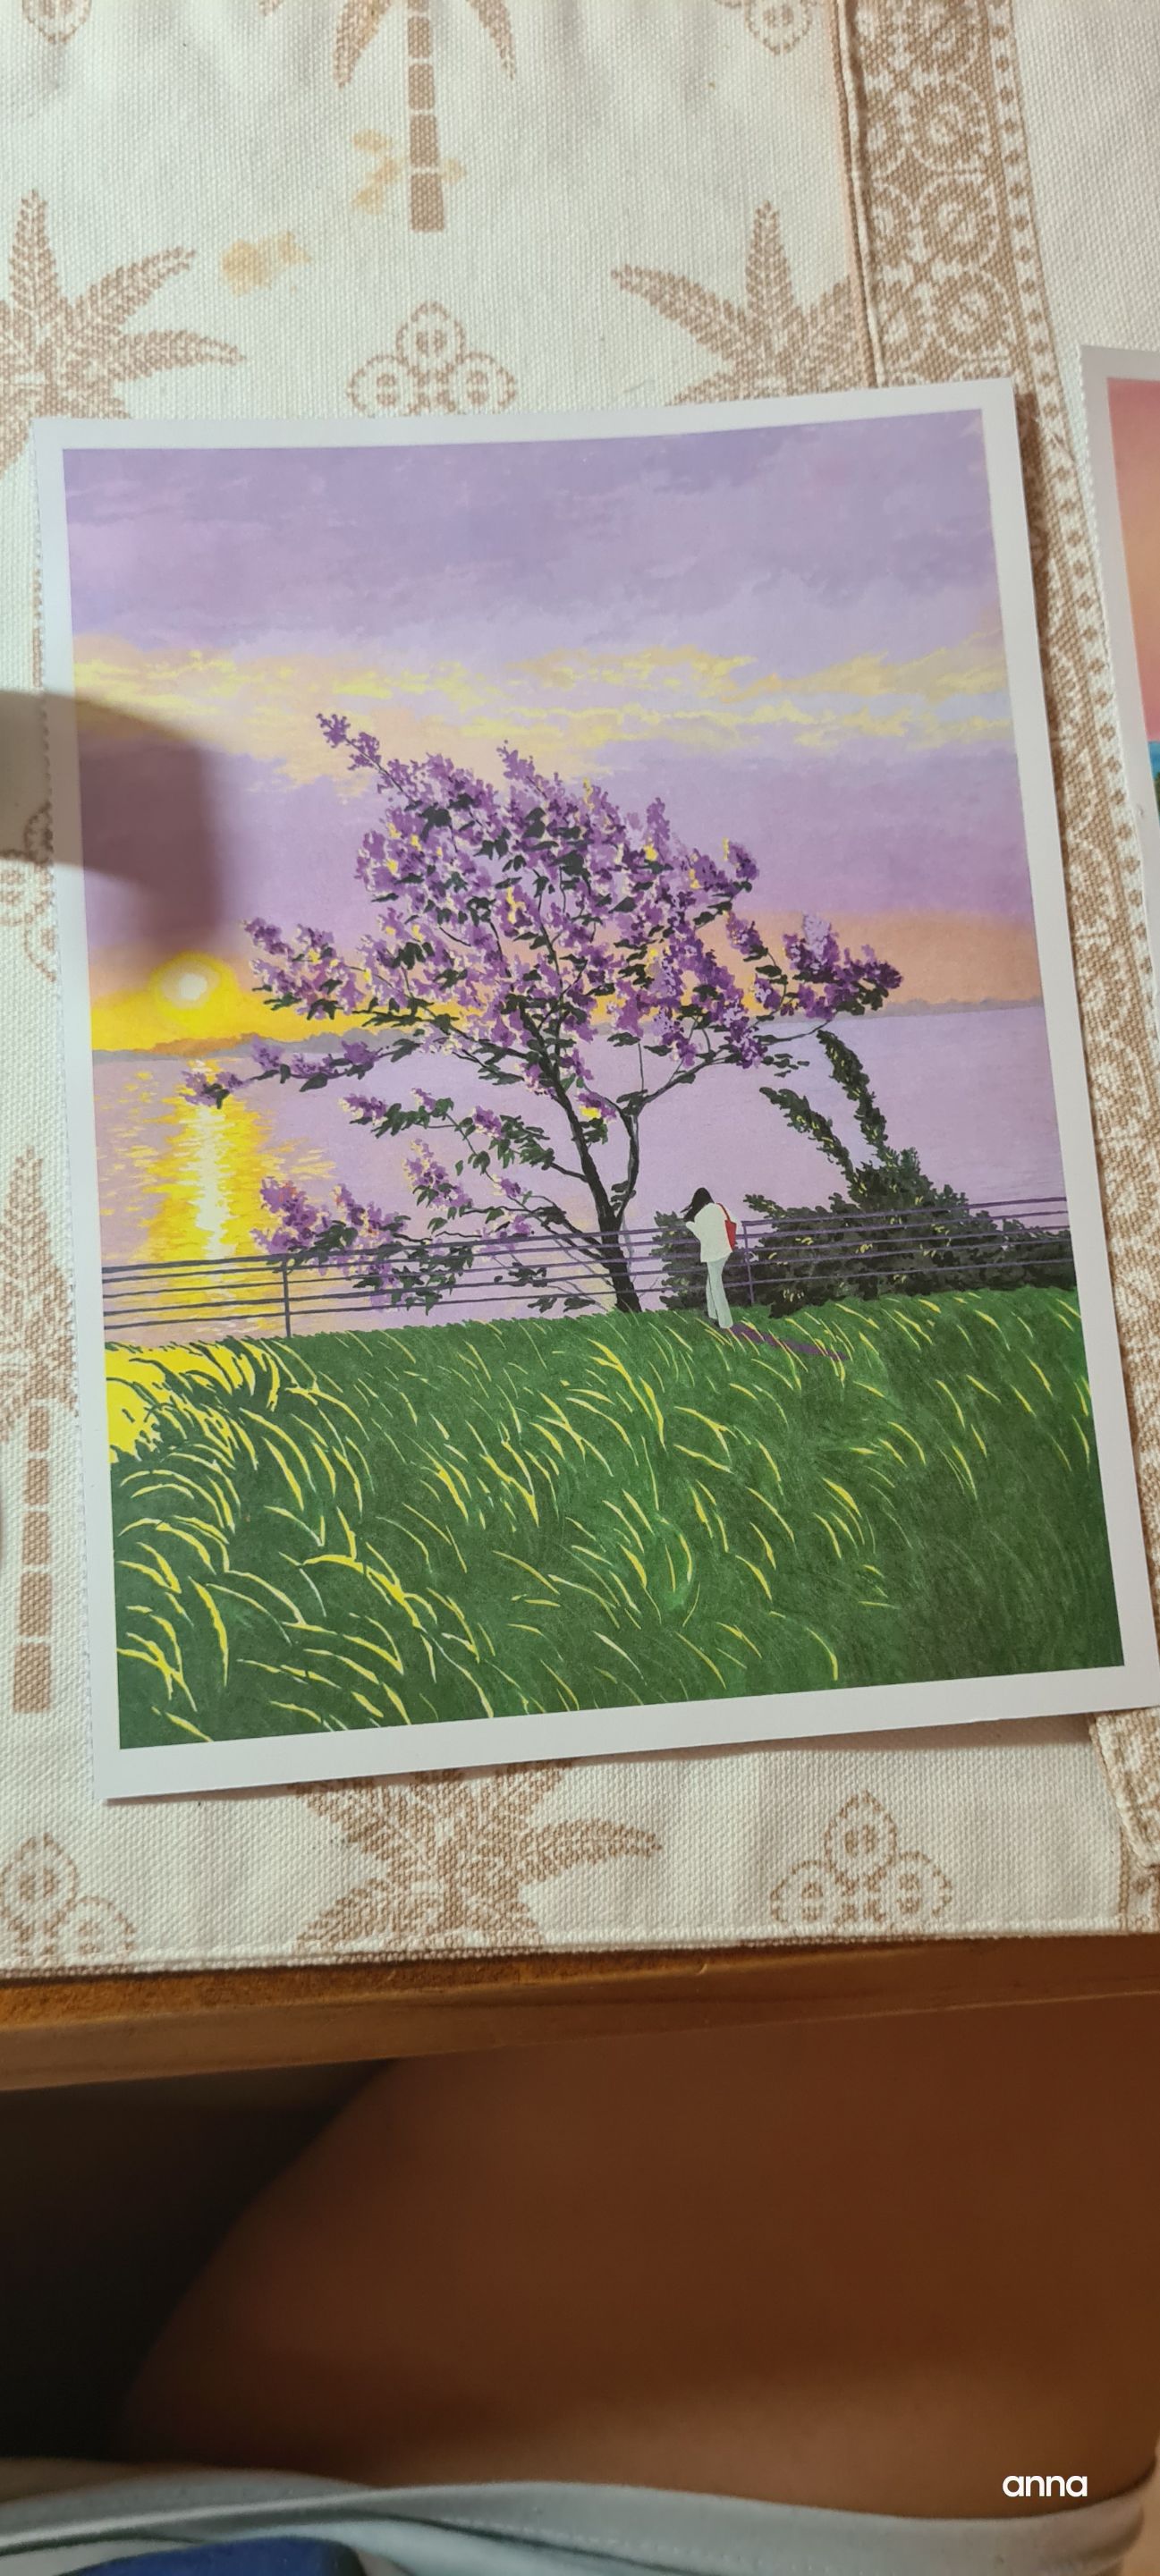
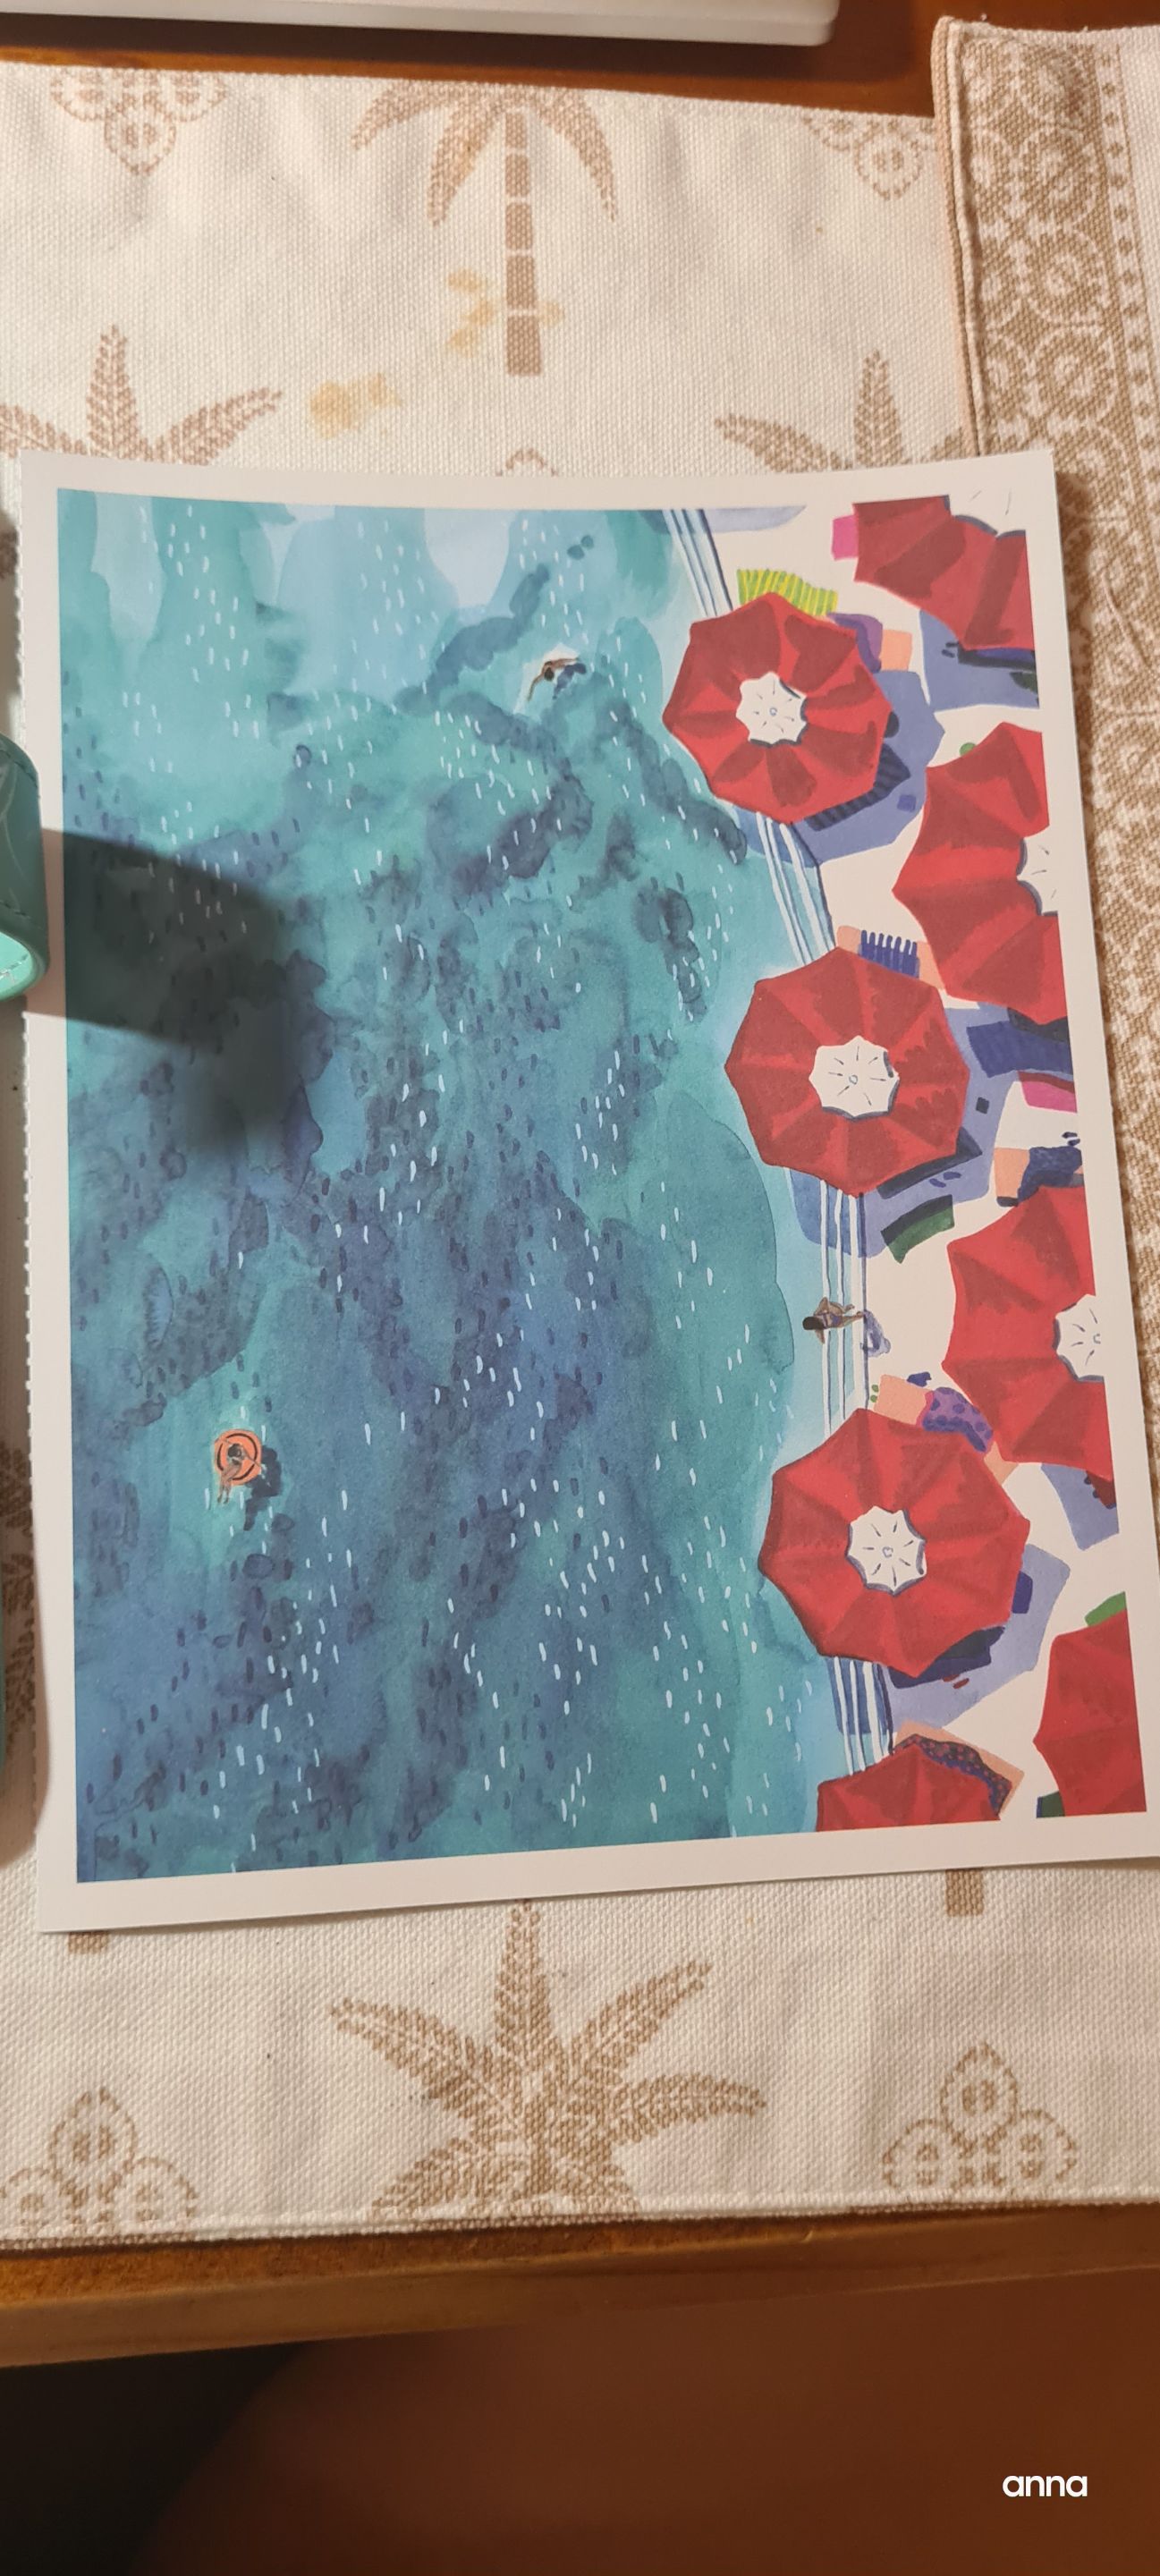
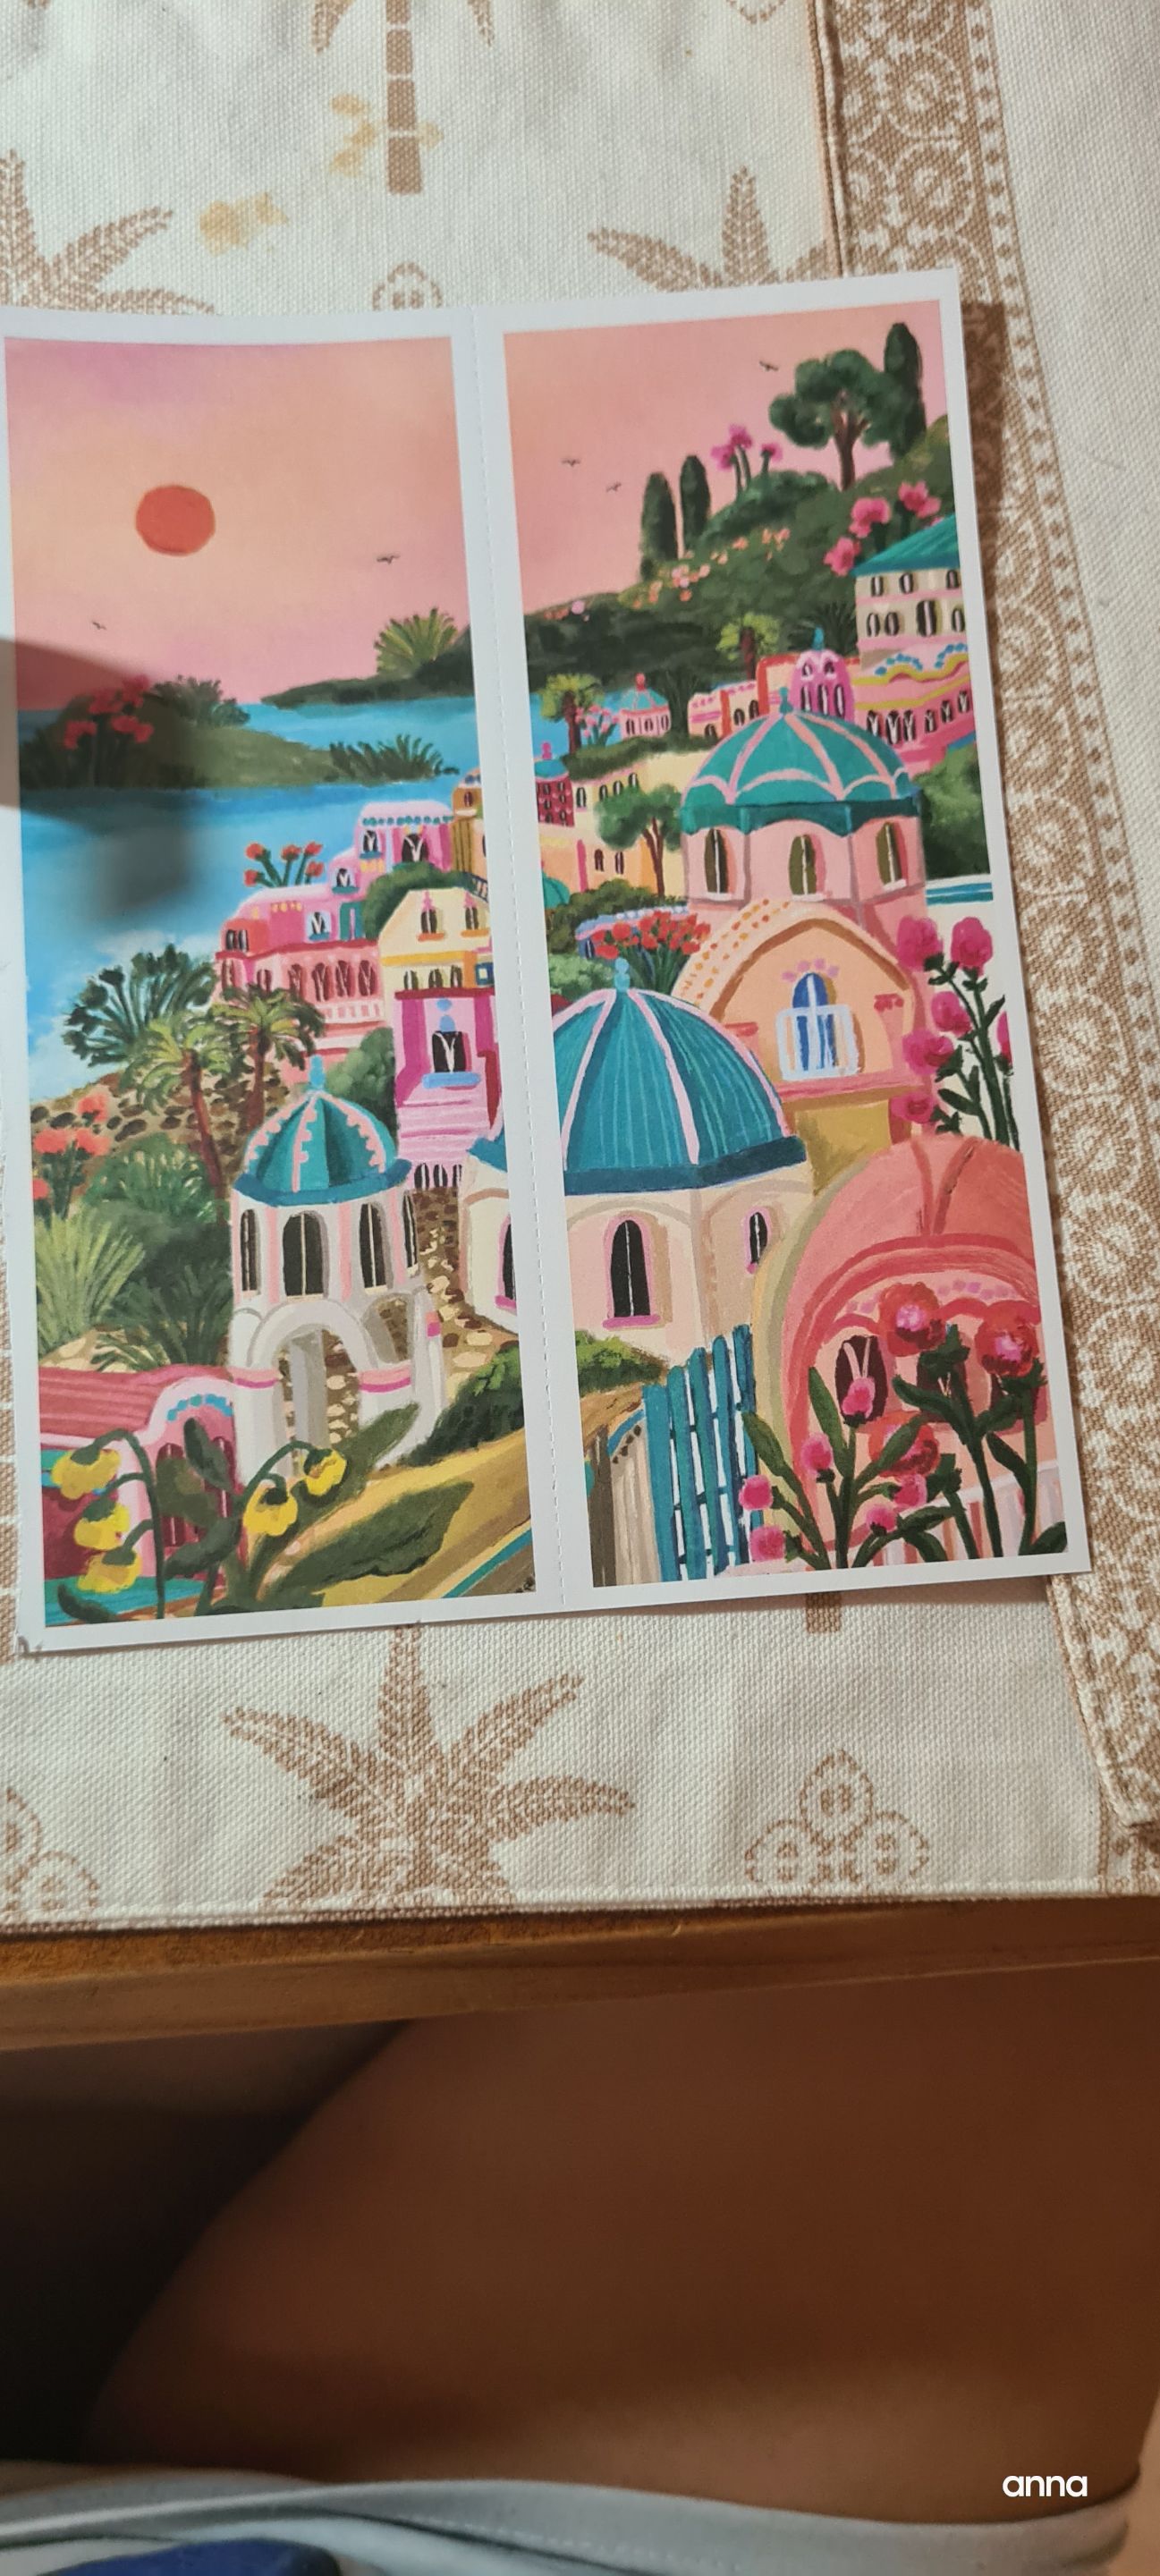
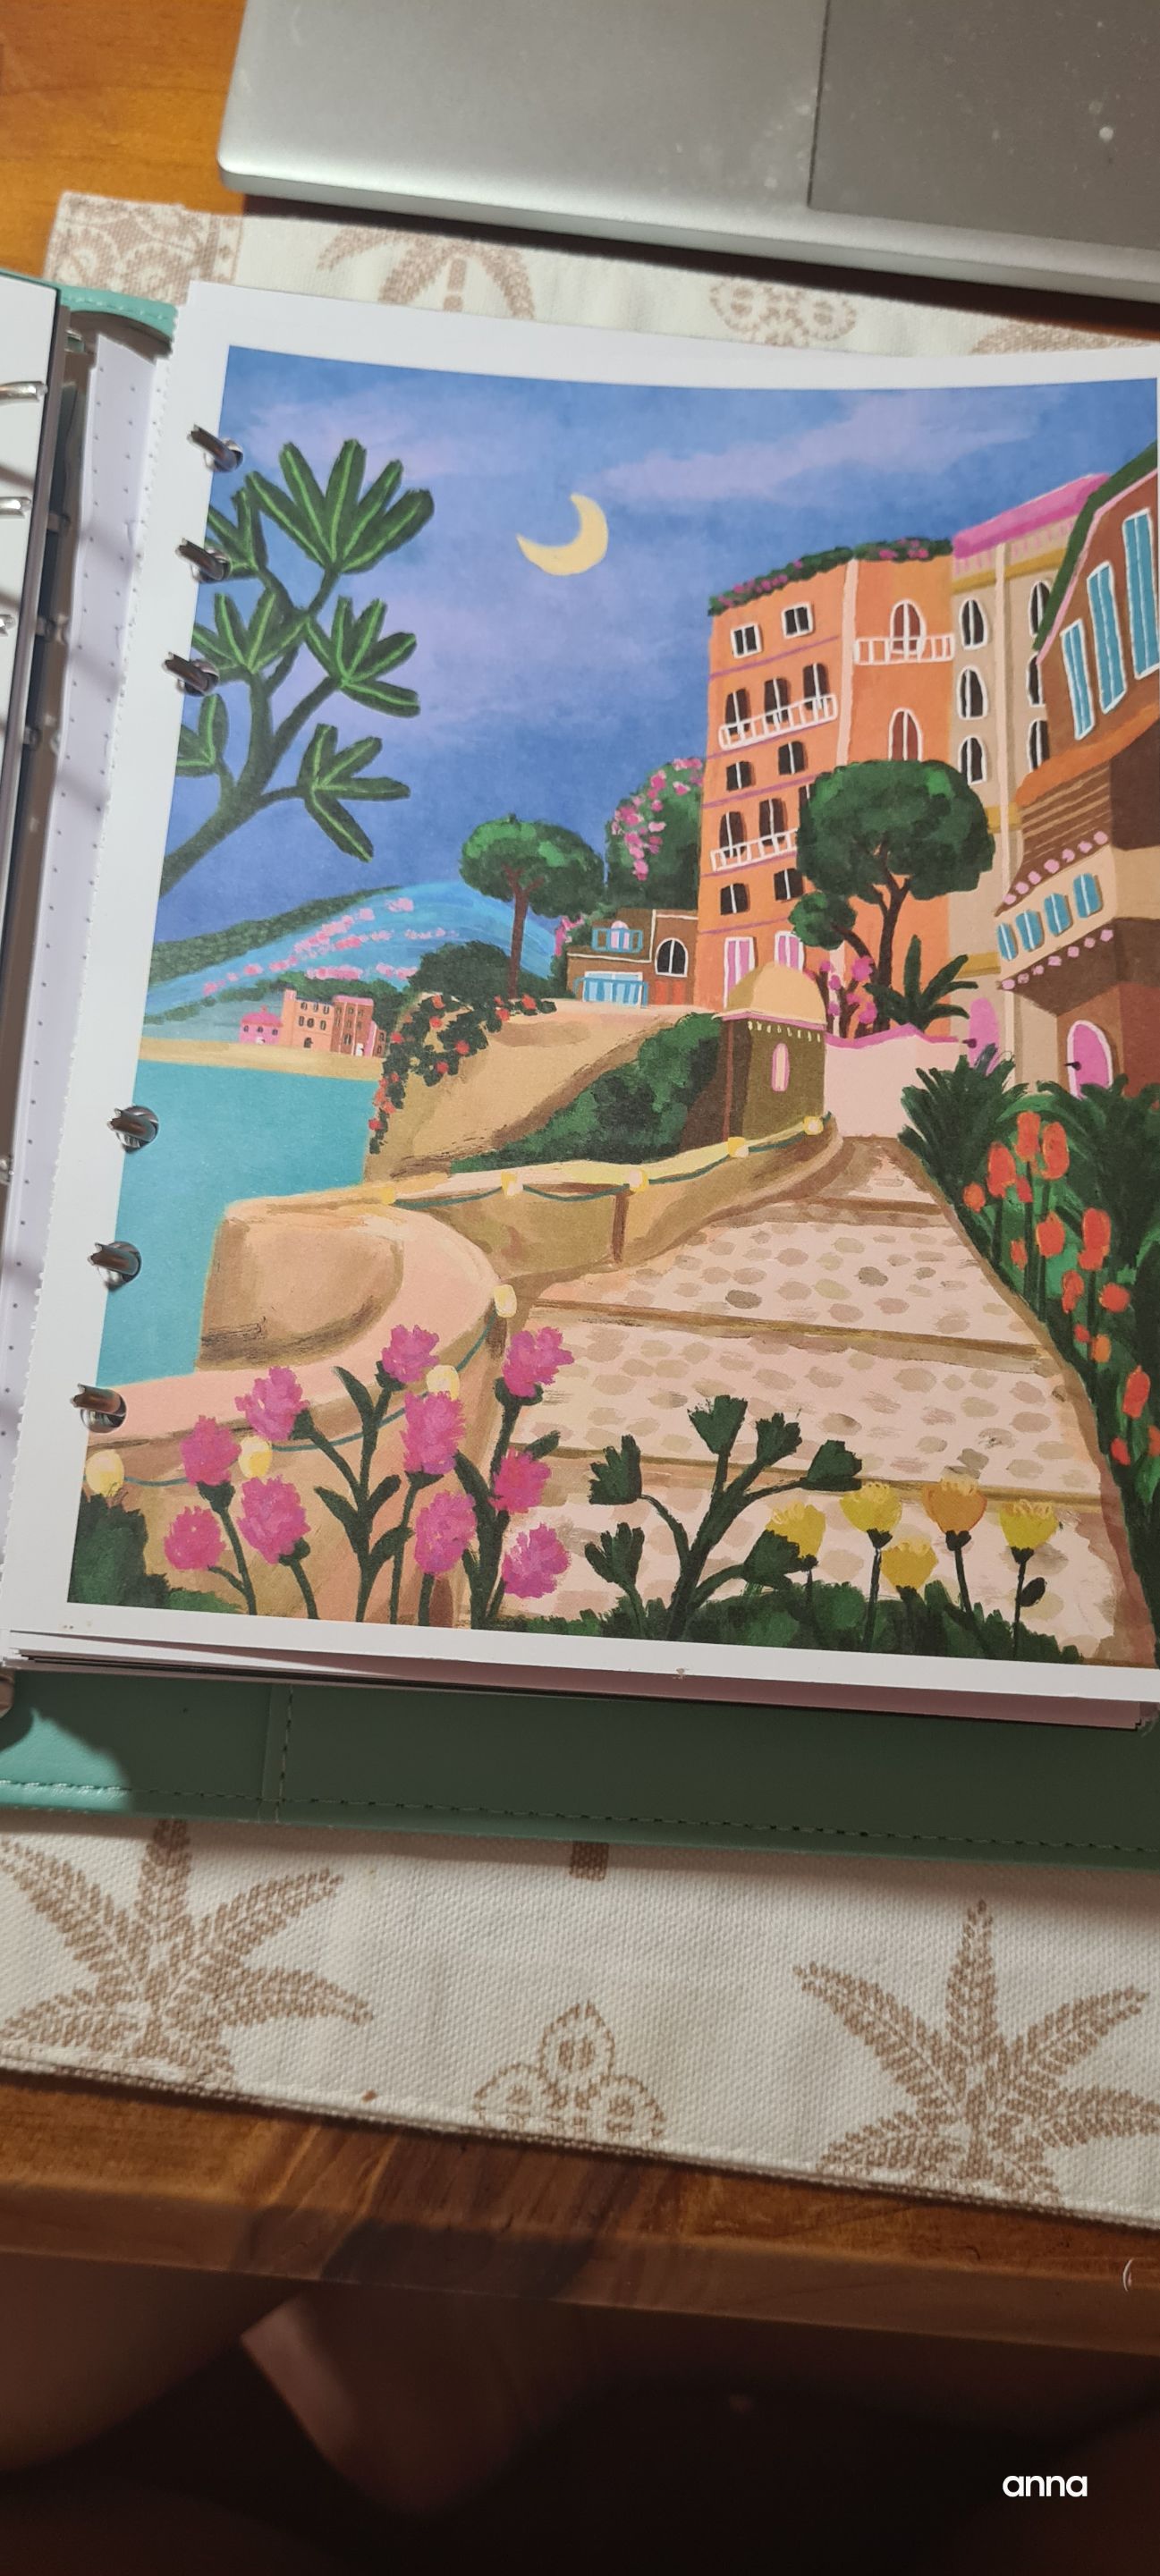
I started by choosing card stock pictures- these are from my breathe Magazine series.
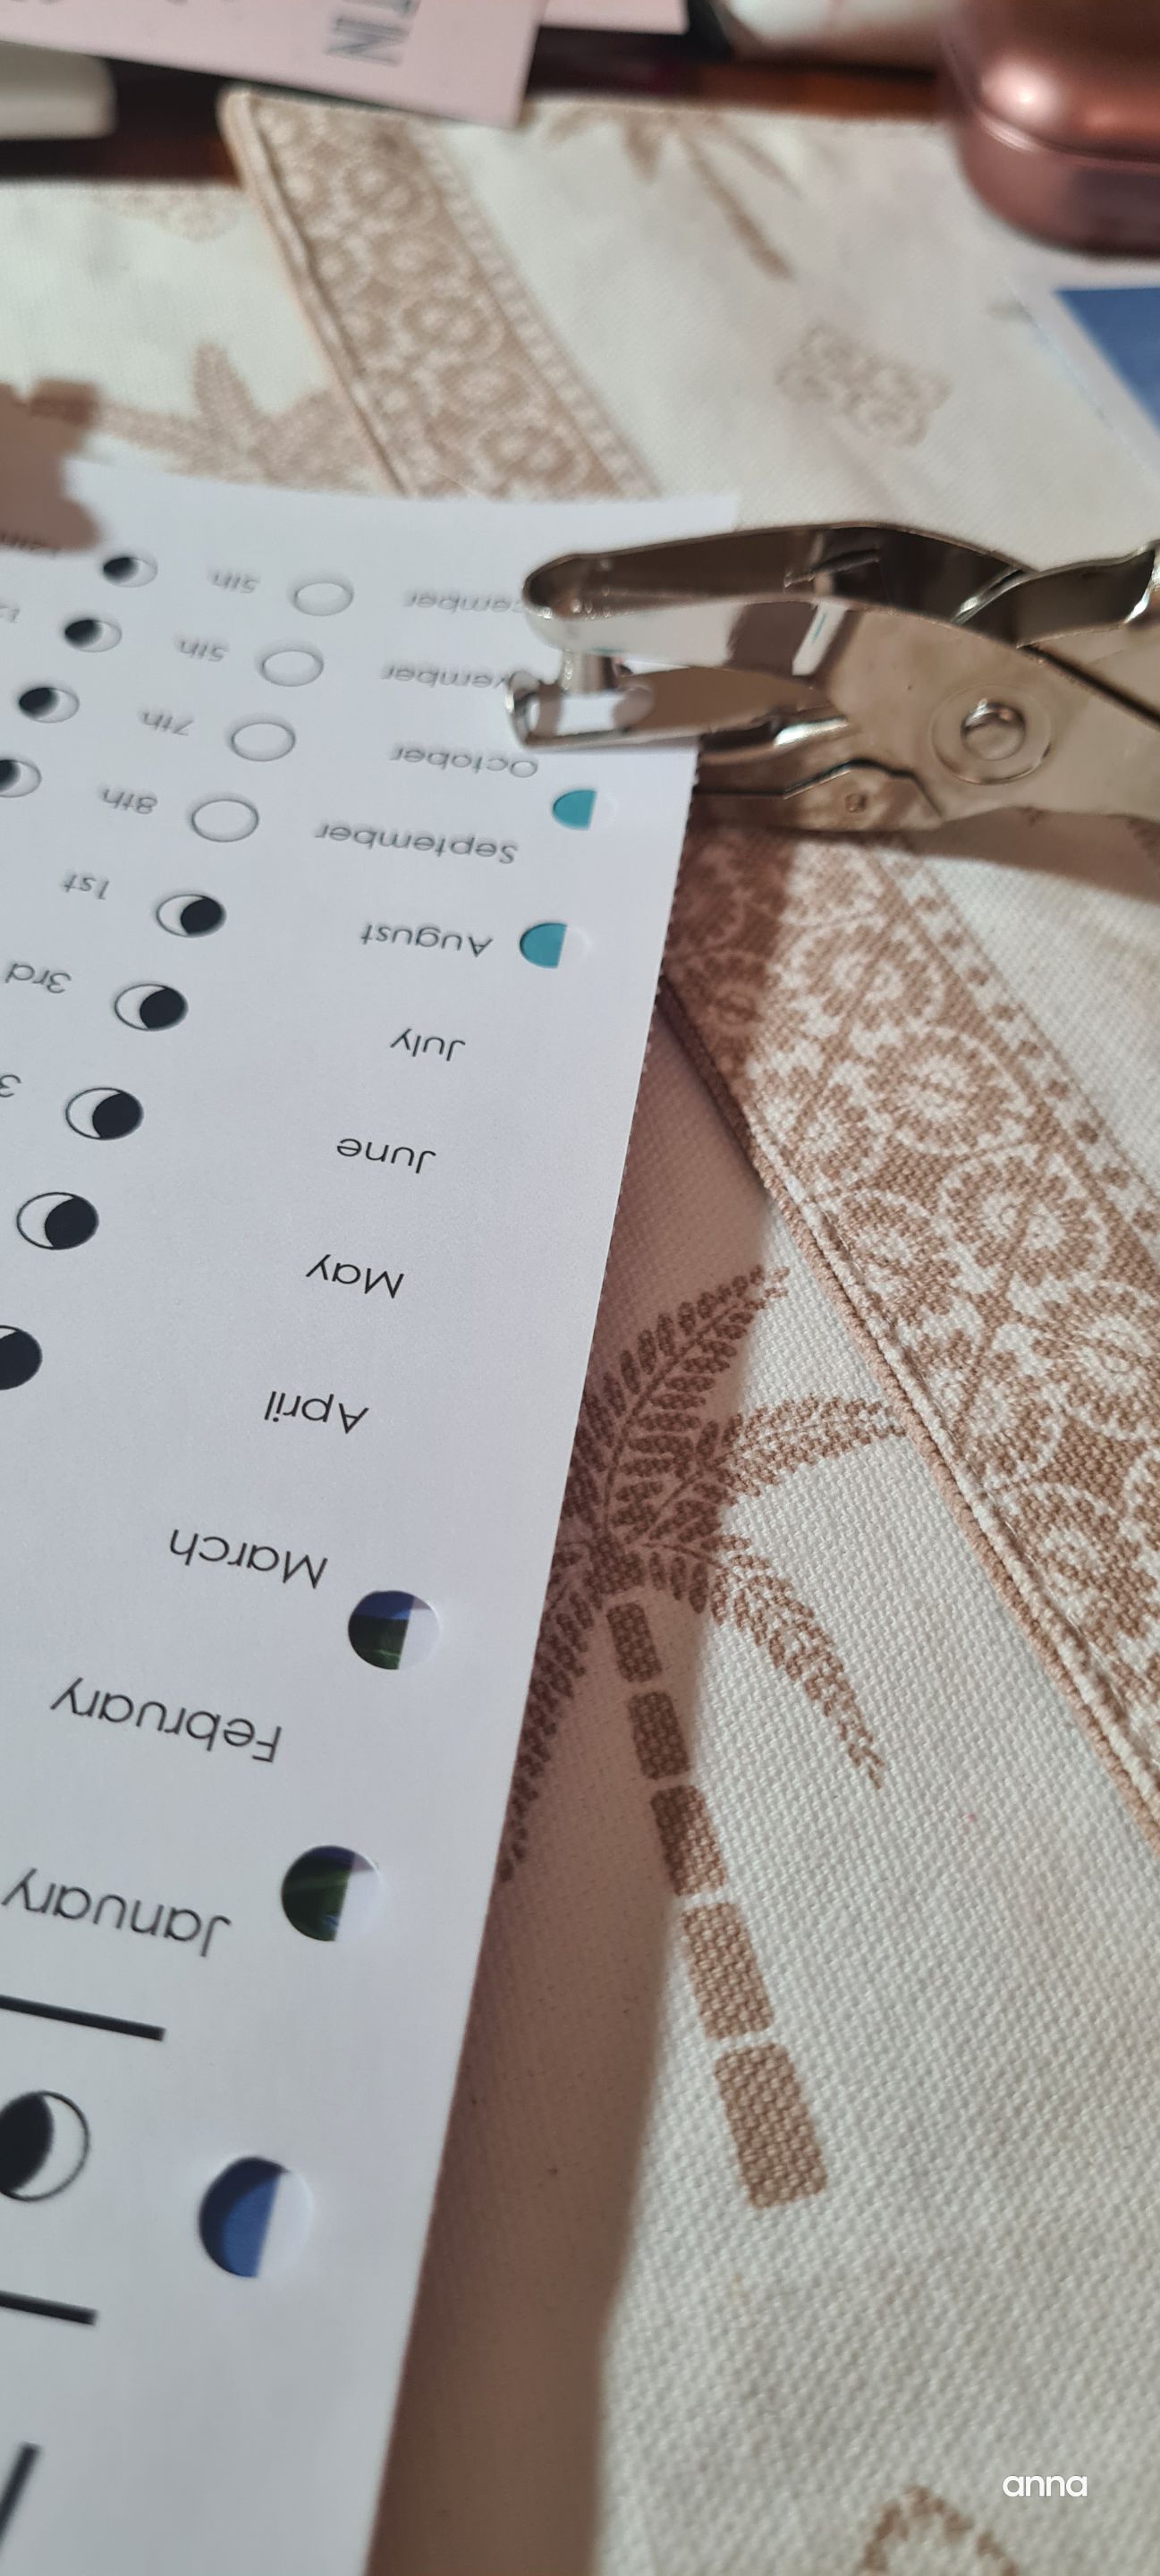
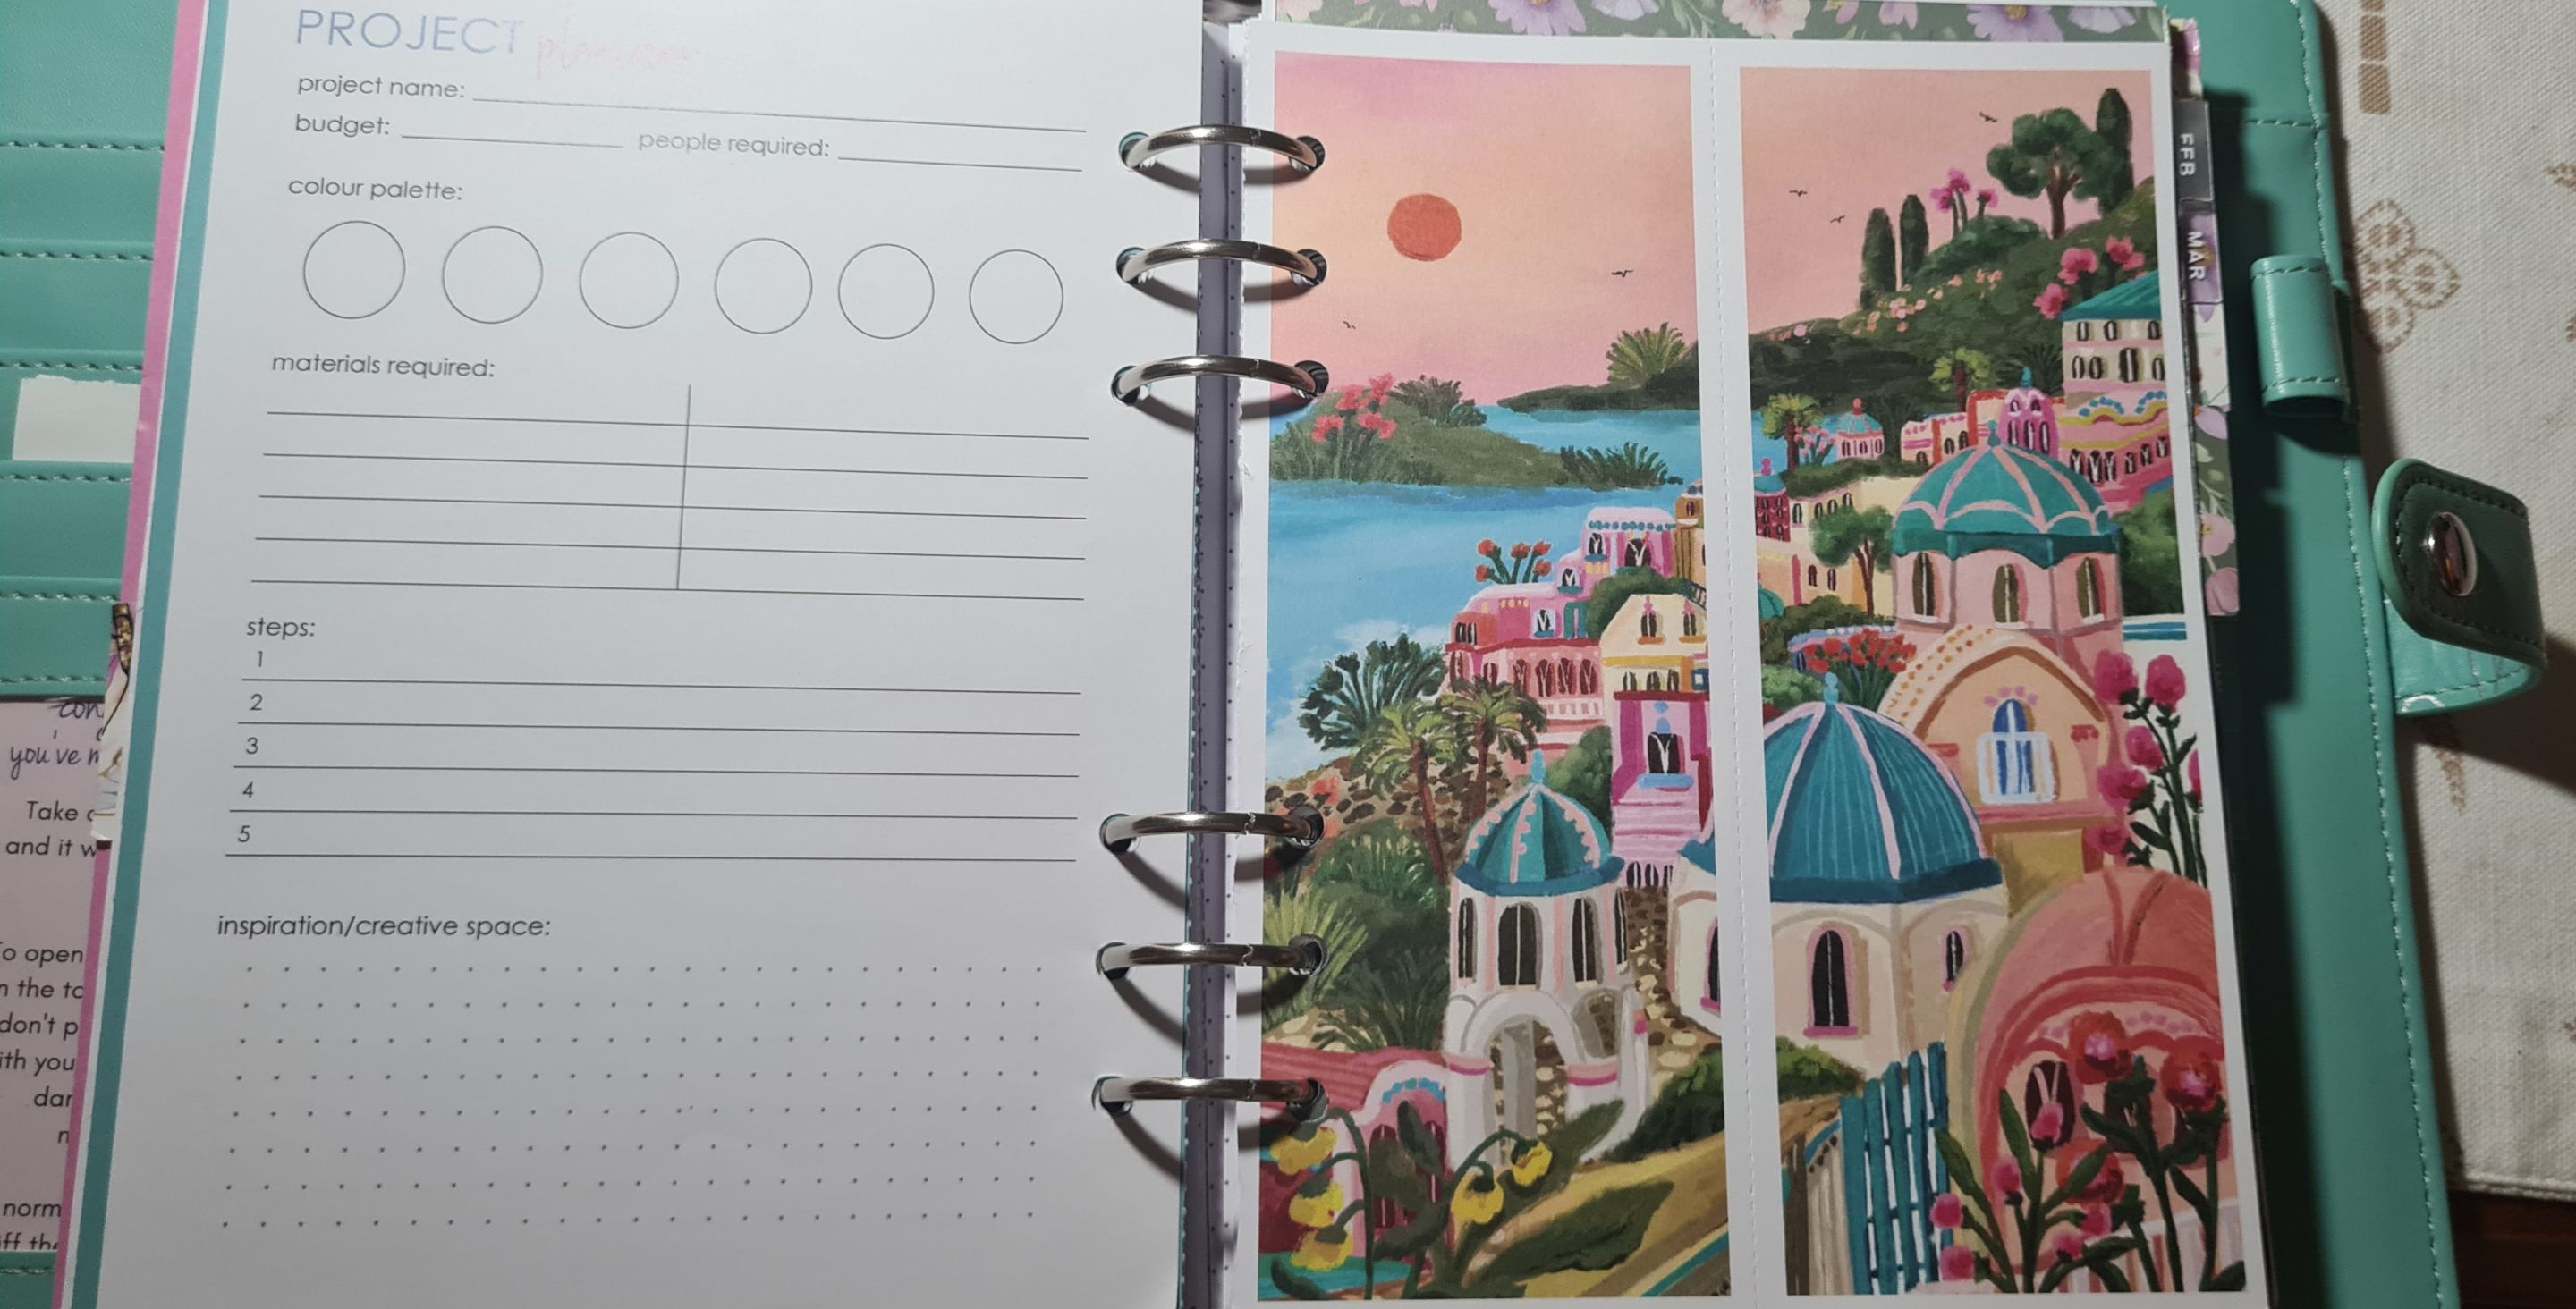
I used one of the current pages in my planner to create holes on the pages.
I secured it with some paper clips. This is how it looks like.
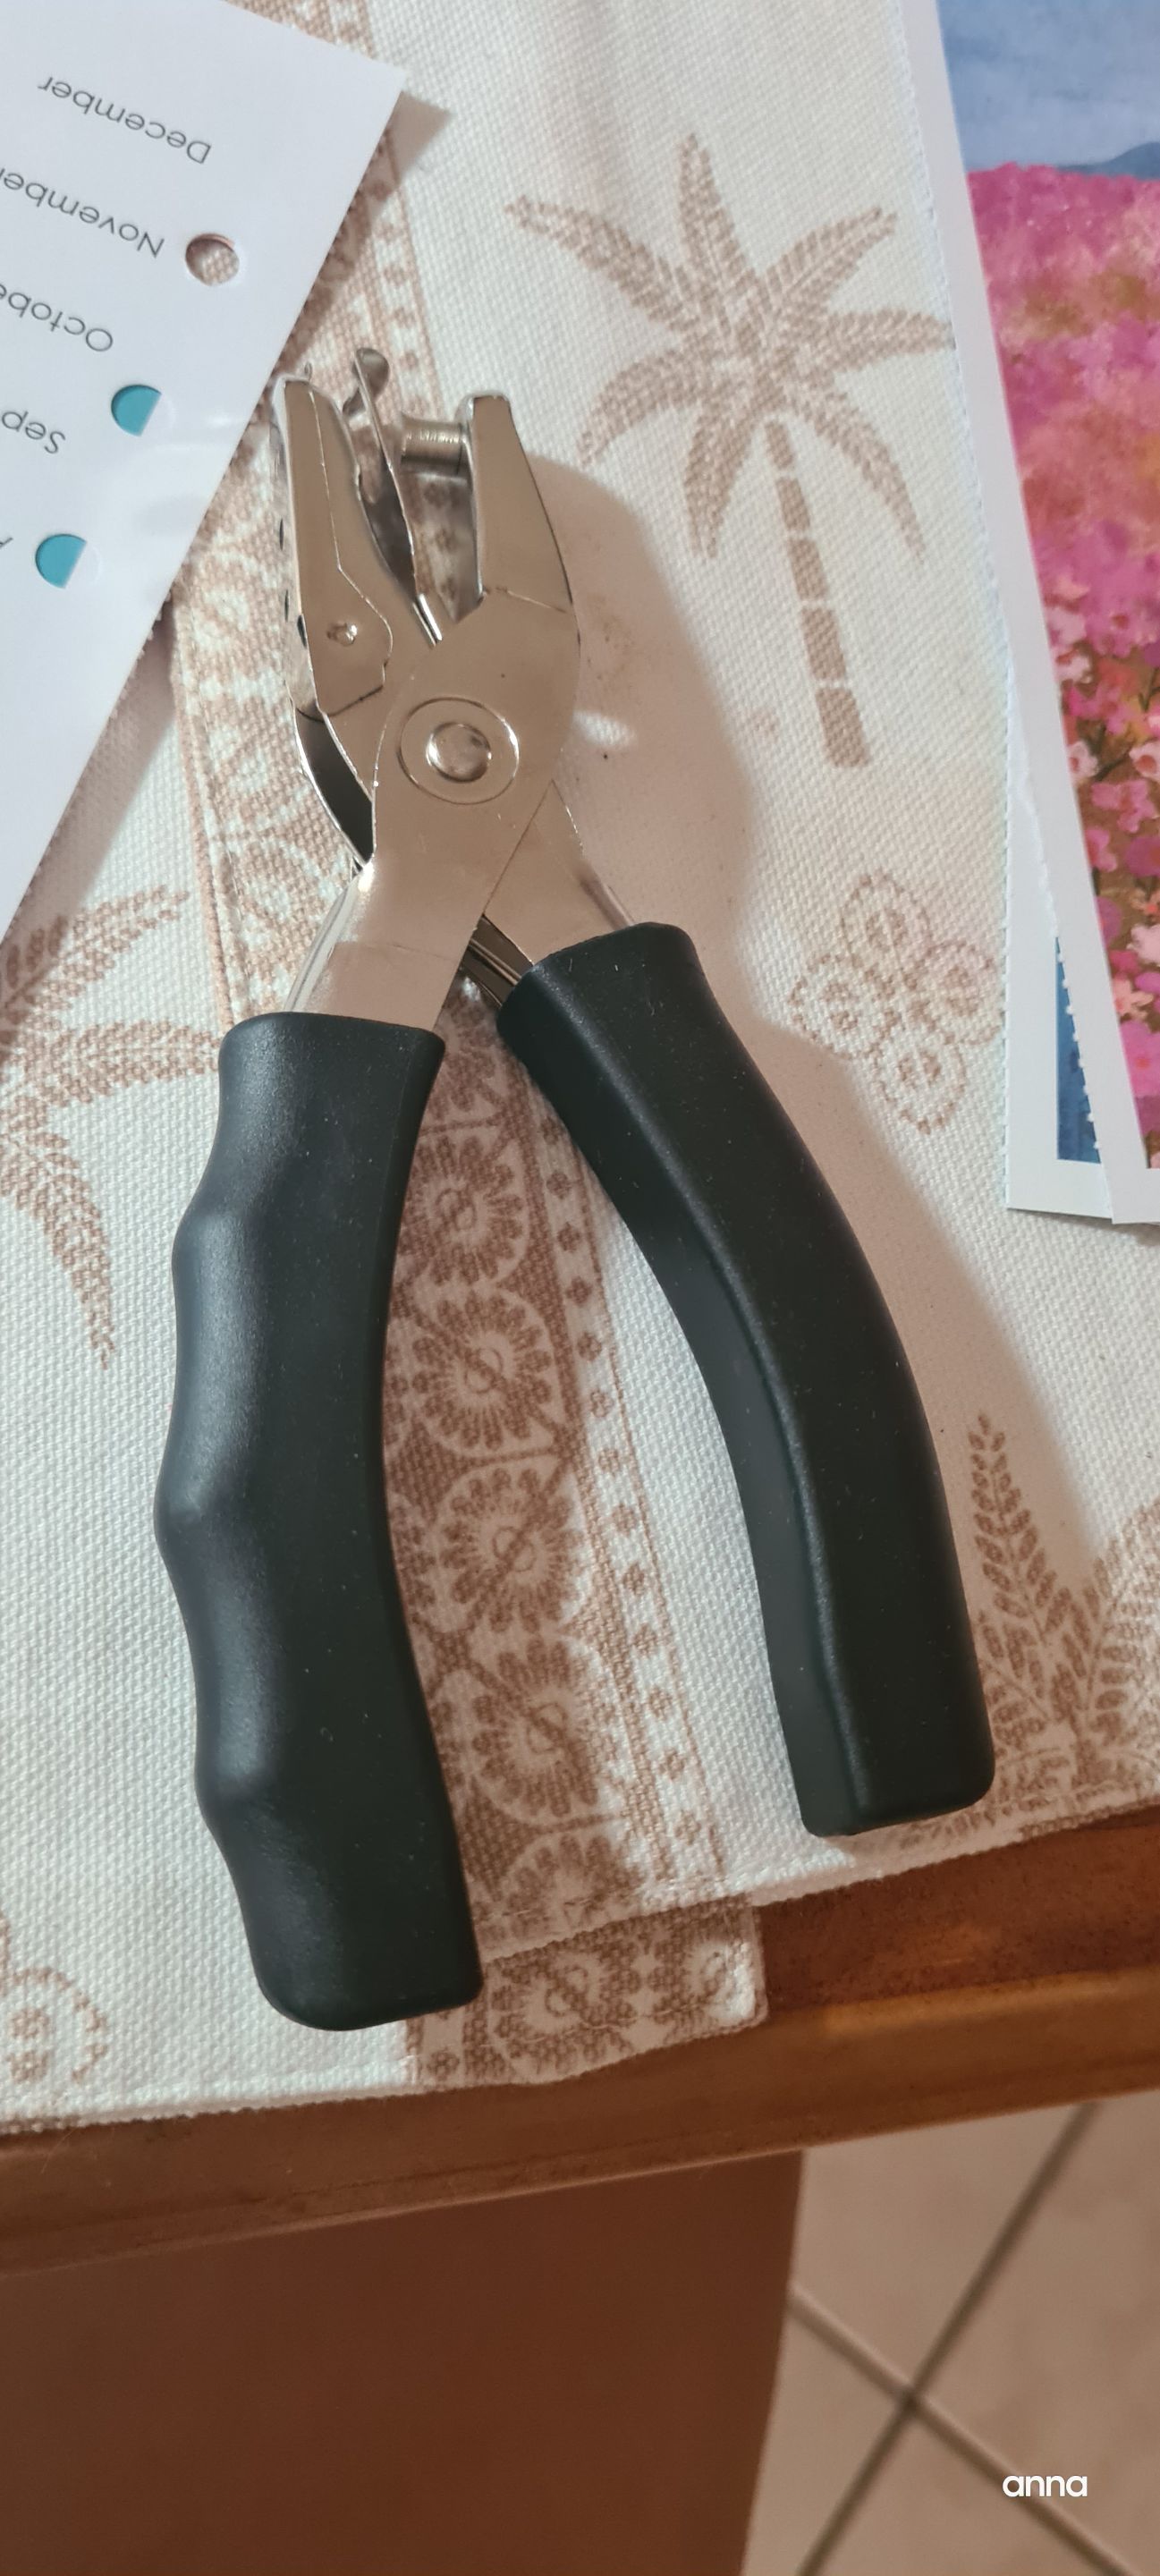
And this is the paper puncher I used- I just bought this one from office works I think for like 5 dollars.
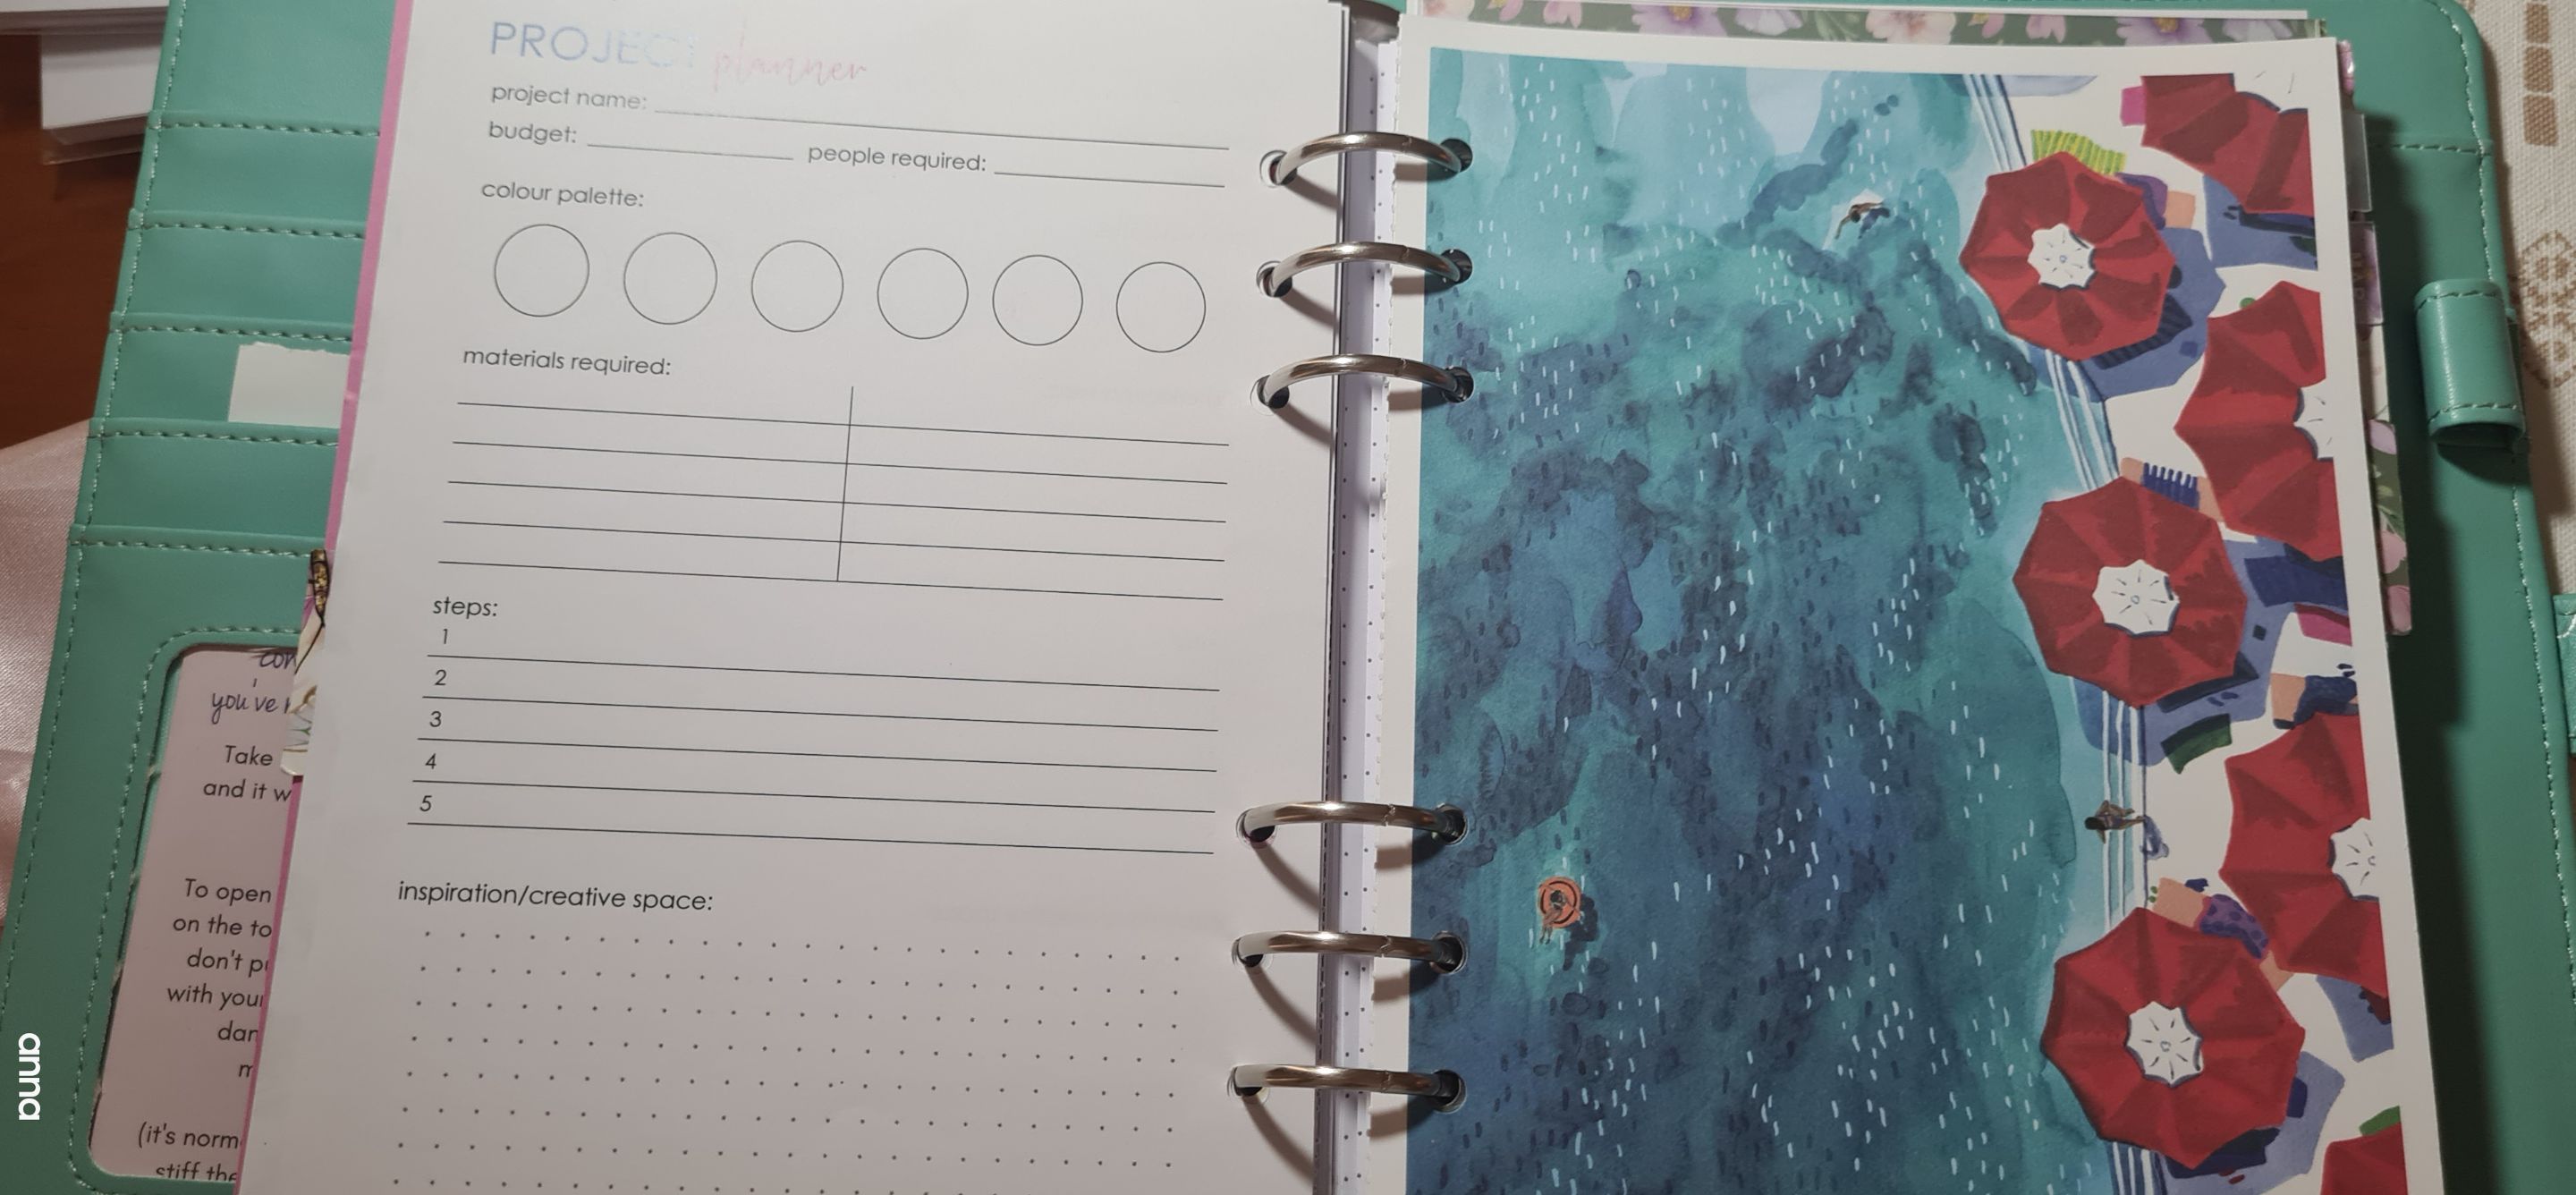
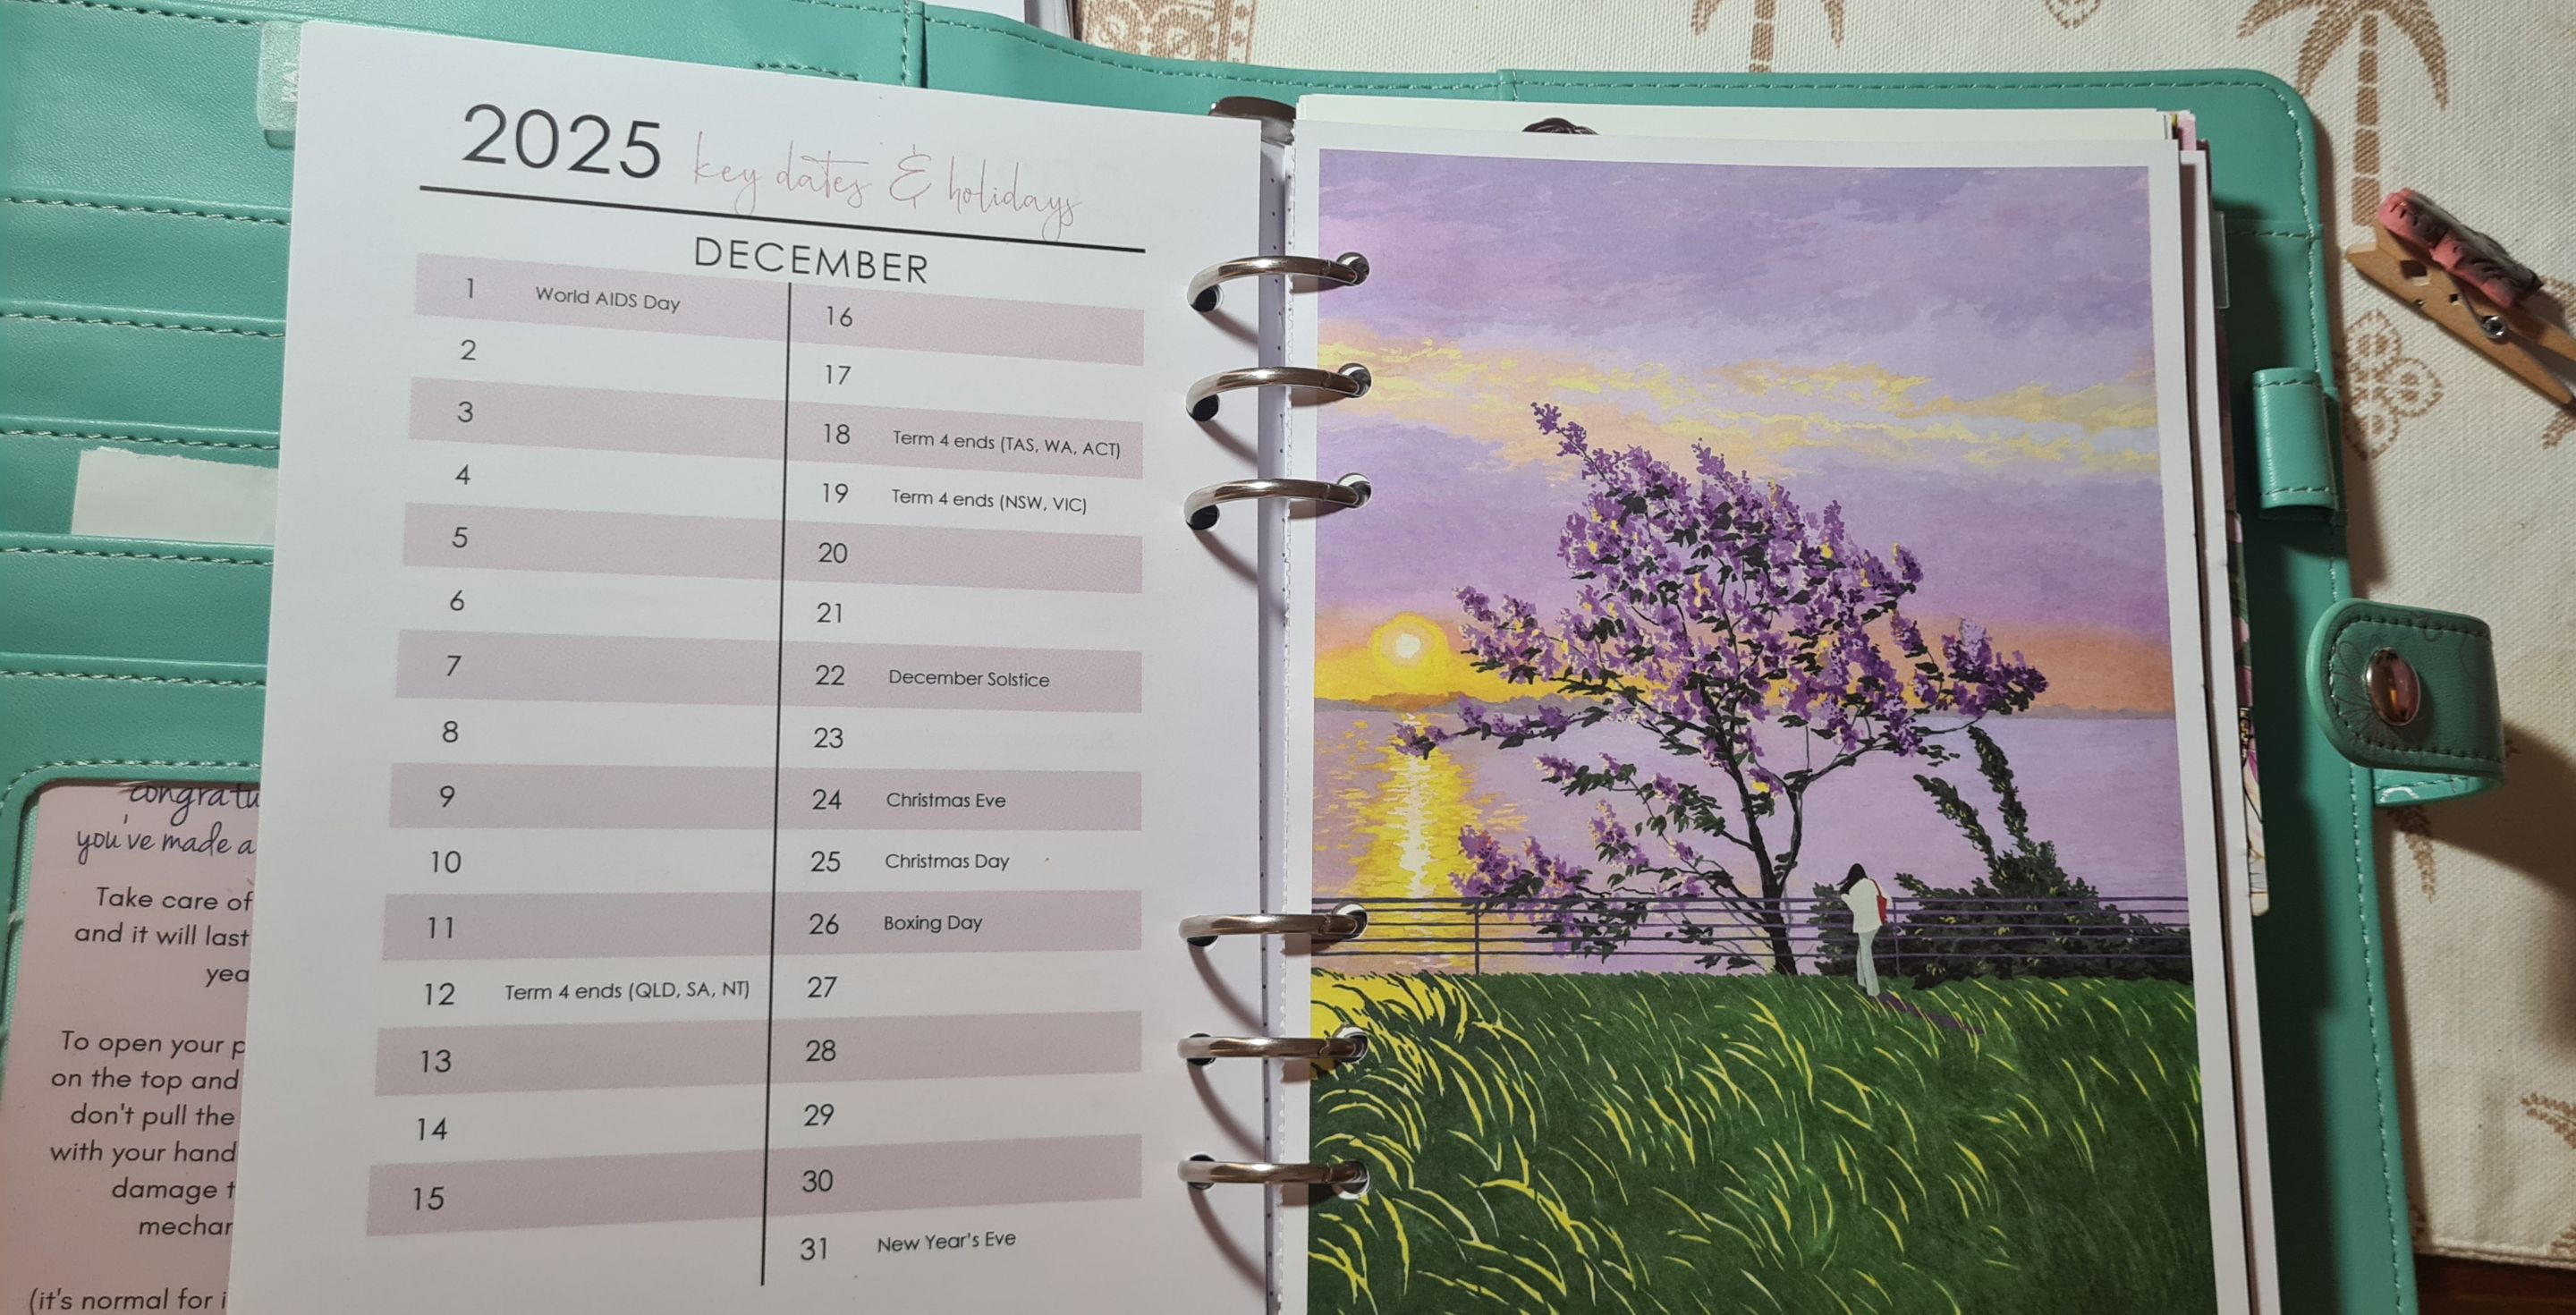
These are the final looks. I started using them immediately and they do look great!
I know. I know. I should have just bought new ones to use but with the current situation here, I think that I should do my best to help save up a few dollars to use it somewhere else.