This post is a big lesson of humility on my part. When I was starting to use some clay cookie cutters, I have always ignored the manufacturer's instructions which is to soak the cutter with a bit of water and dish soap before using it on a clay. I finally did it here.
I was still unpacking my stuffs from my transfer- which was like a month ago. I decided to throw away some of my cutters but before that, I need to justify the reason- since I did use good money to buy them.
So I decided to "follow" the manufacturer's instructions and got good results.
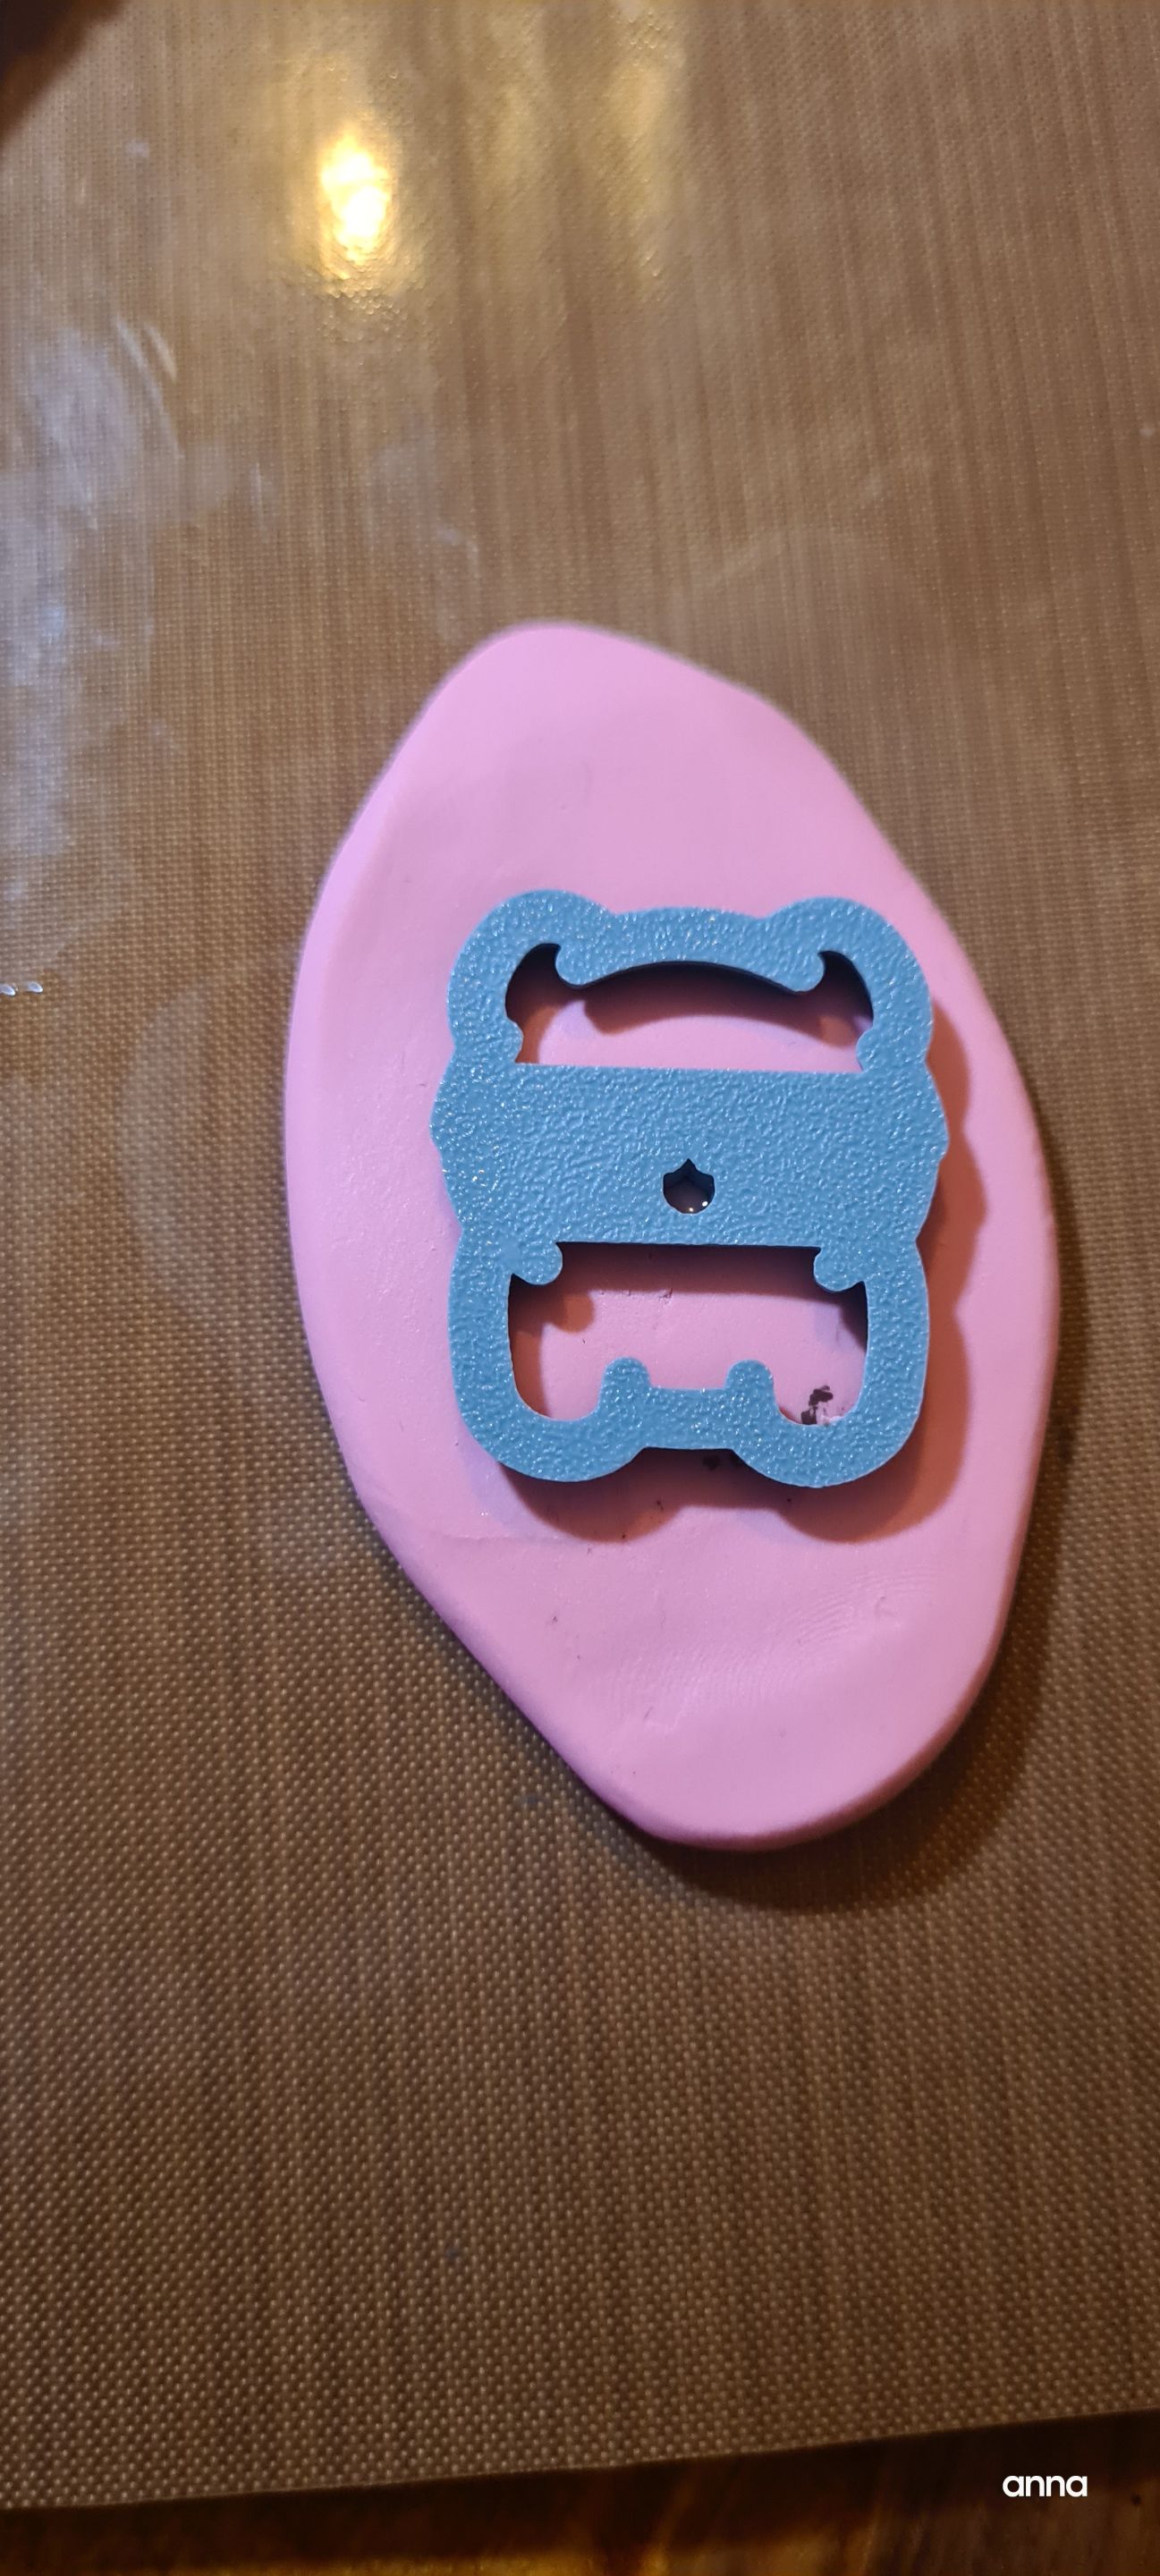
I started by lining up my clay cutters.
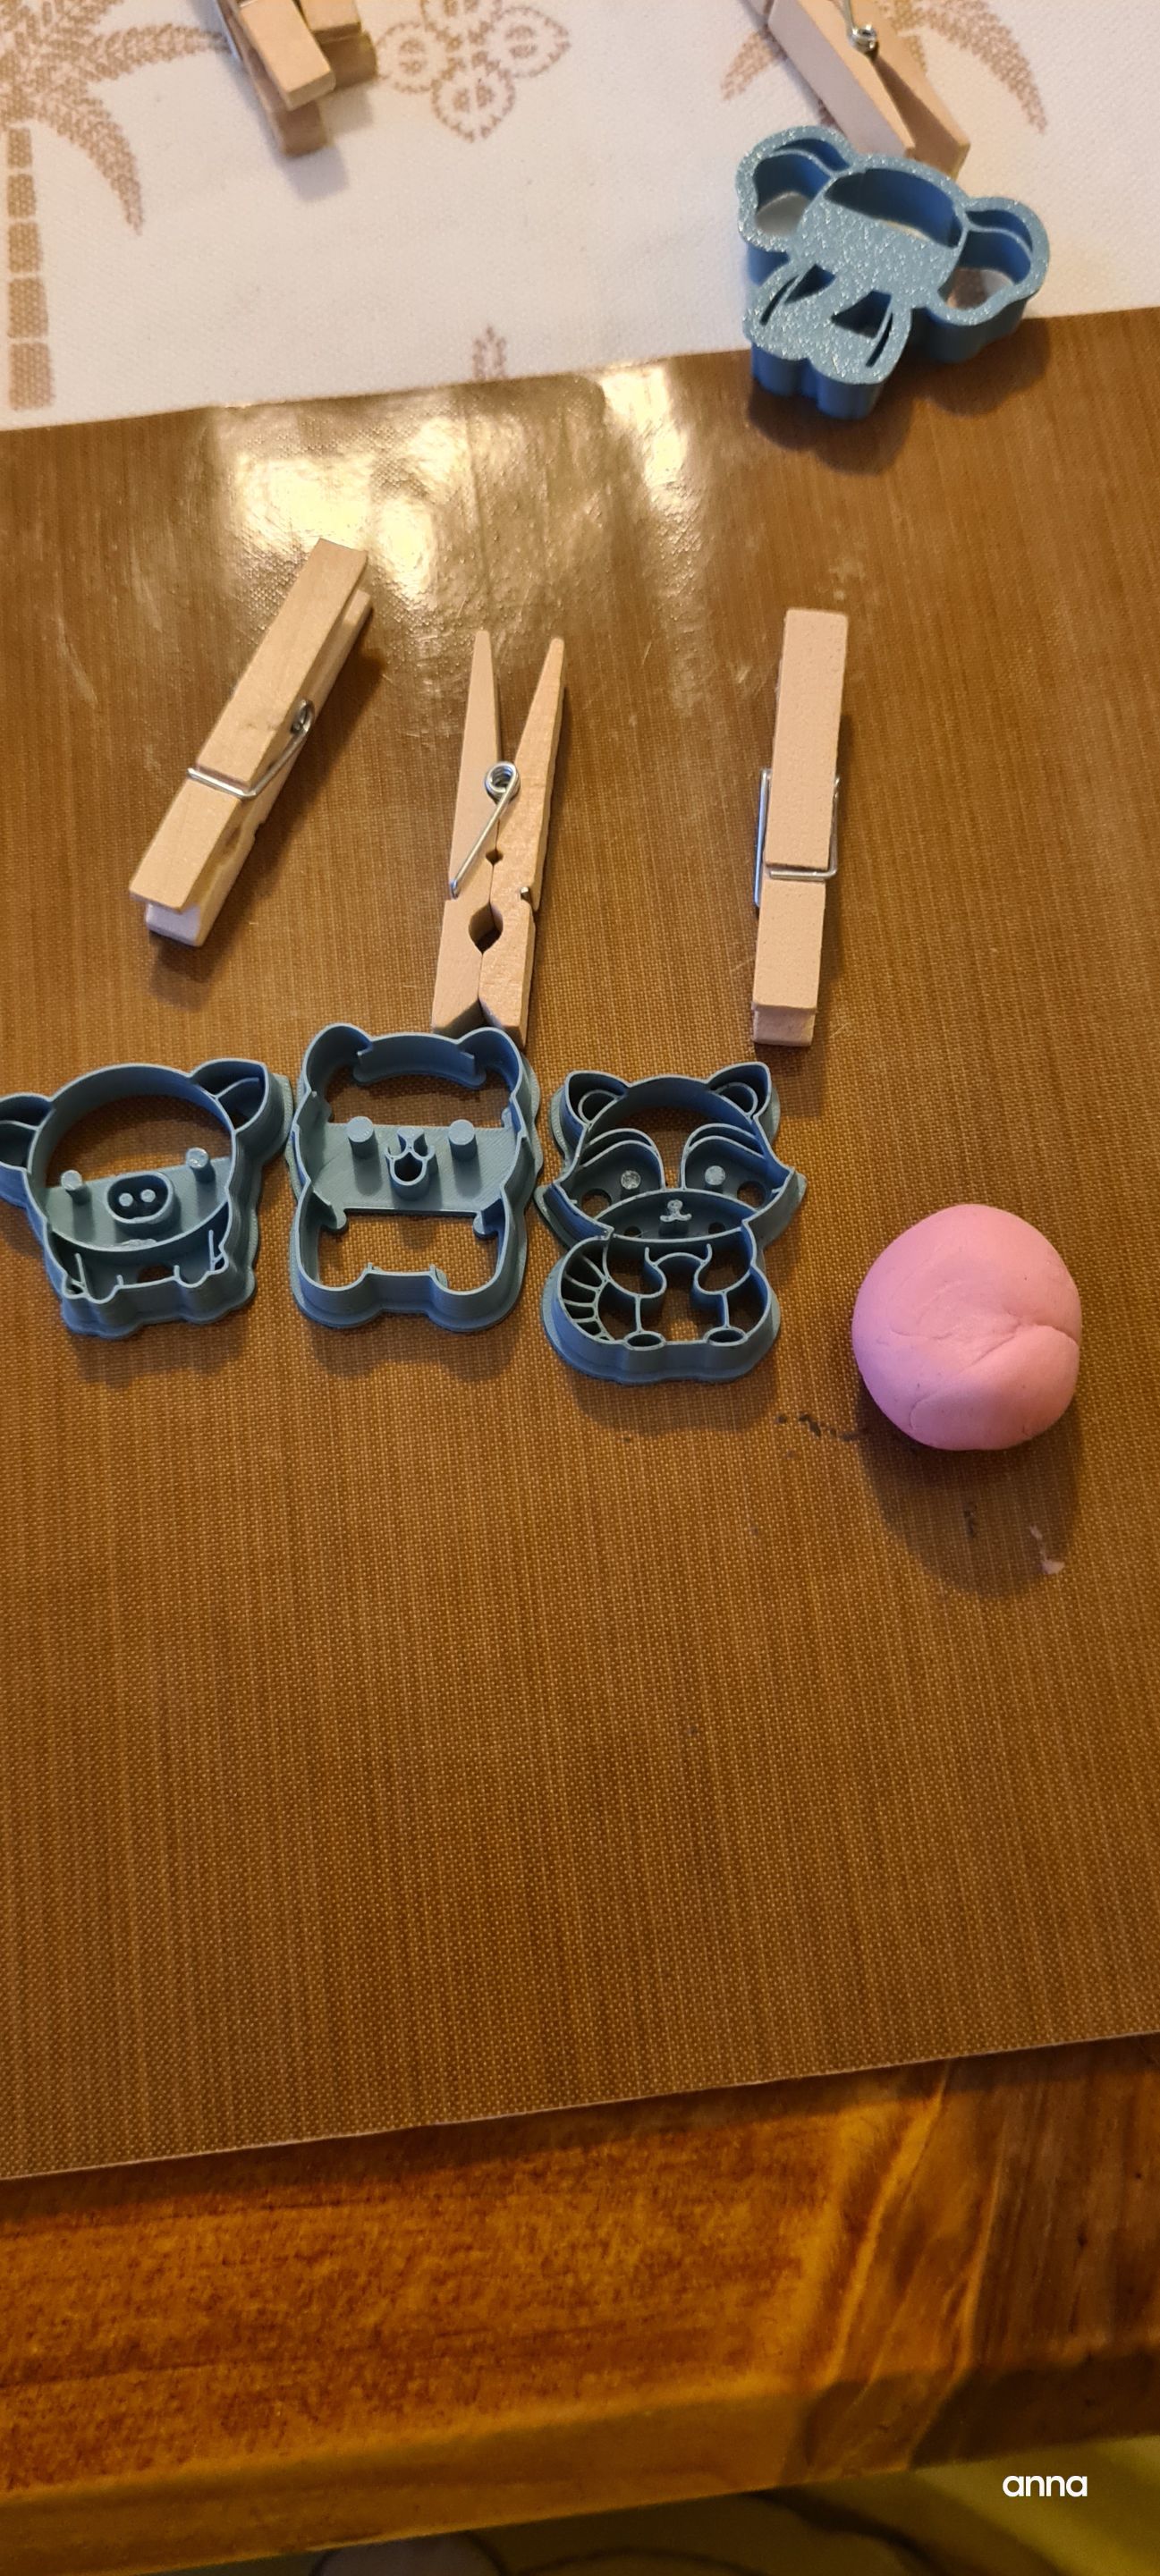
I dipped the thing with a mixture of water and dish soap- there is no specific proportion so I just added a few drops here.
Flatten the clay and cut the shape.
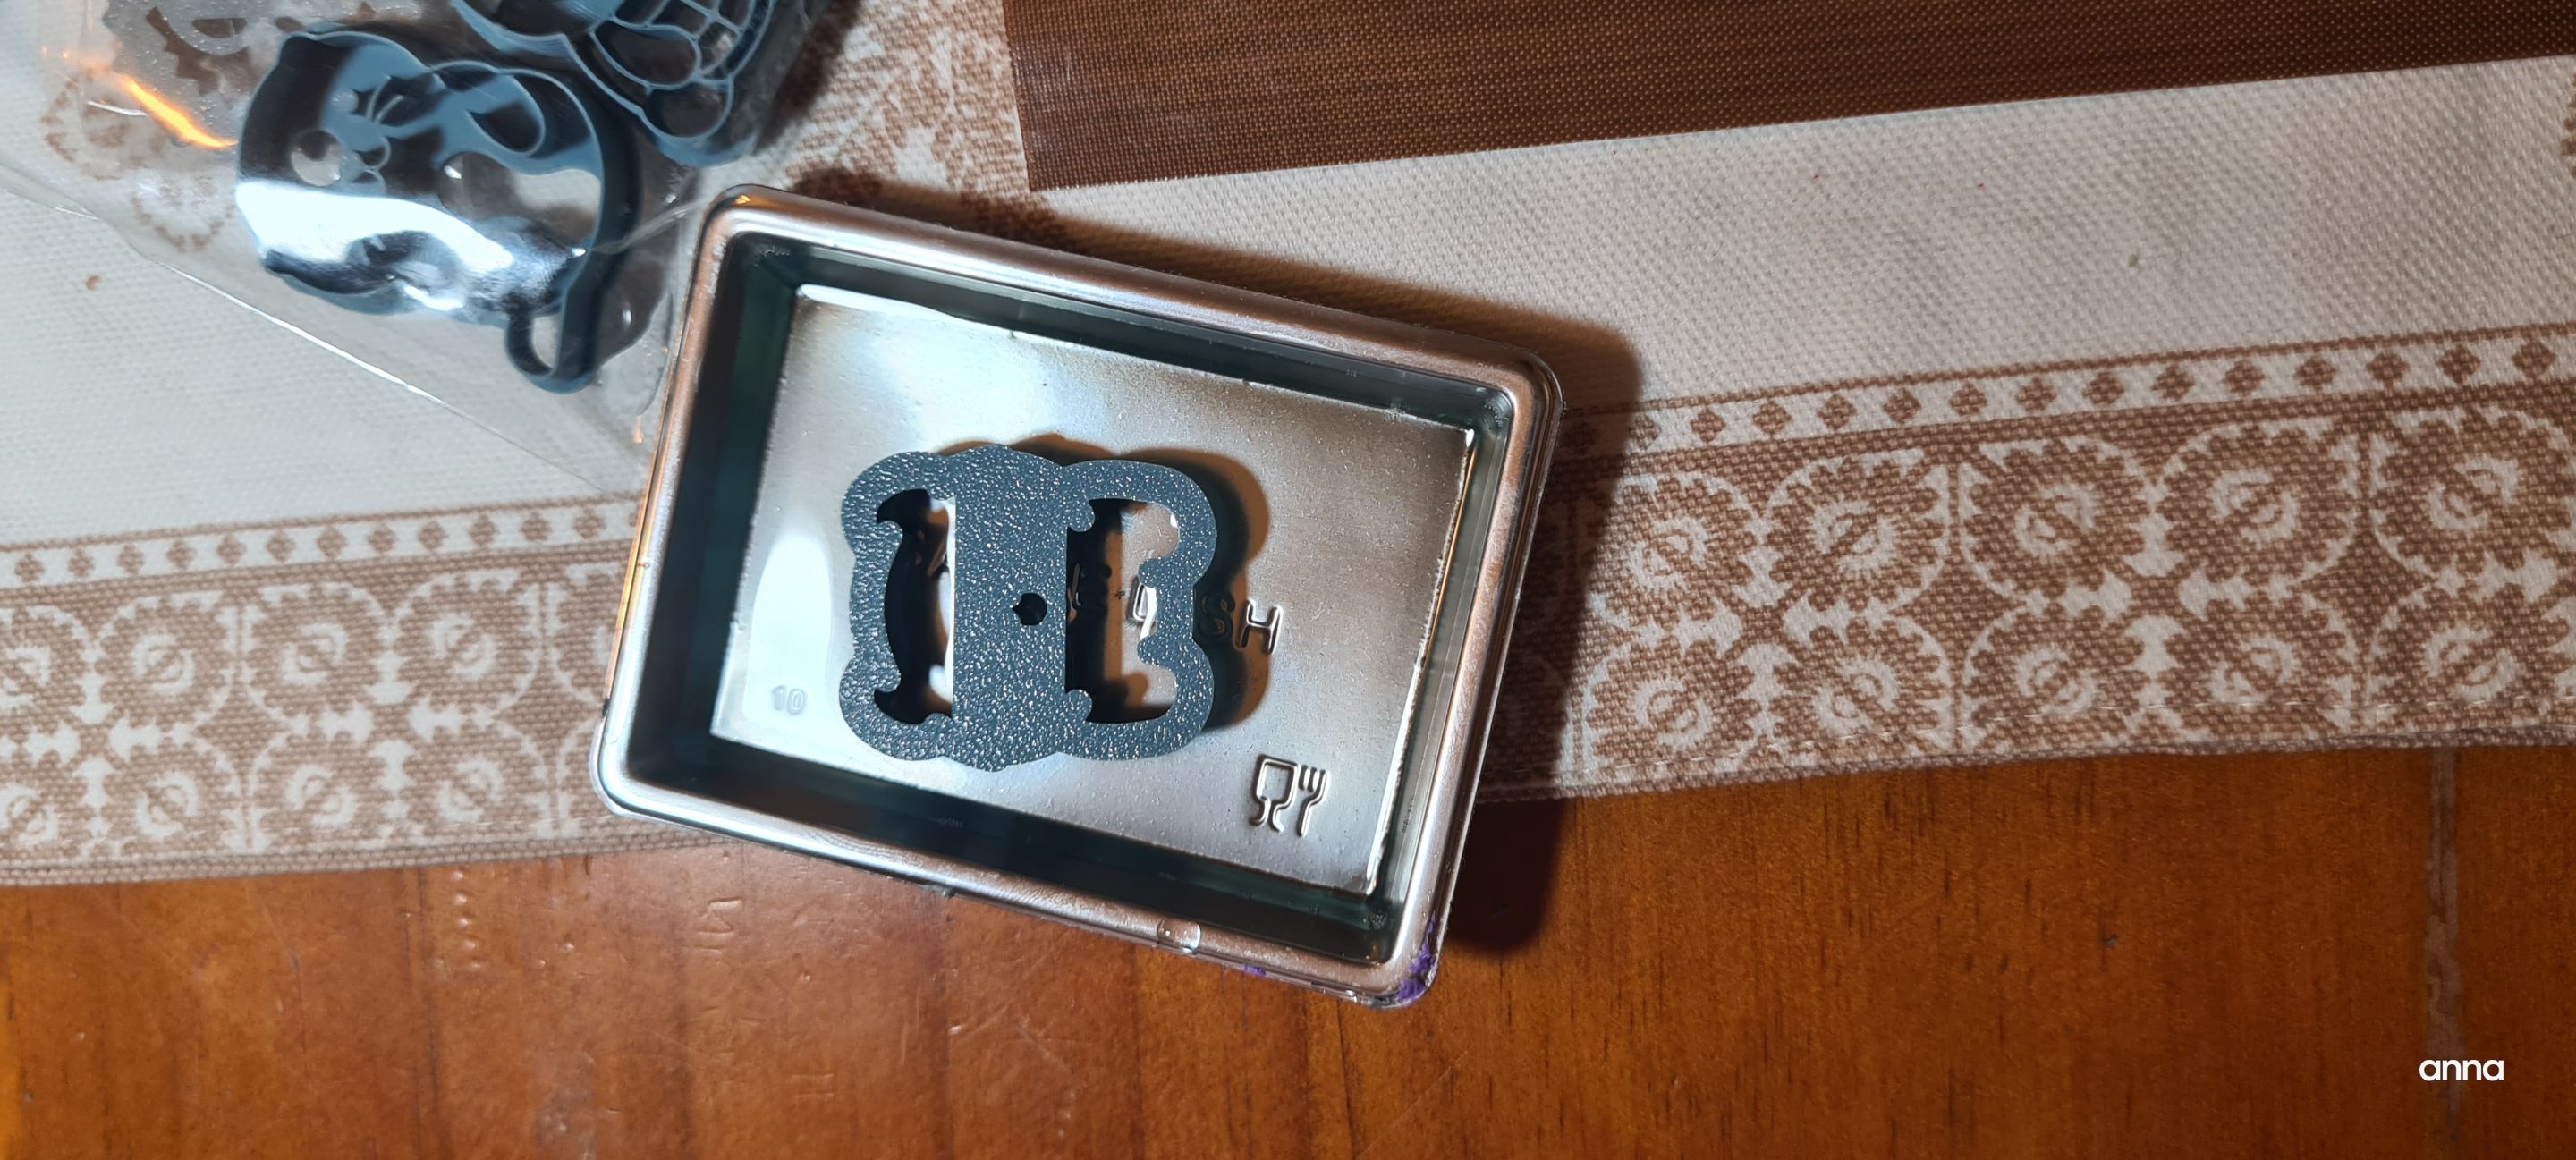
This is how it should look after.
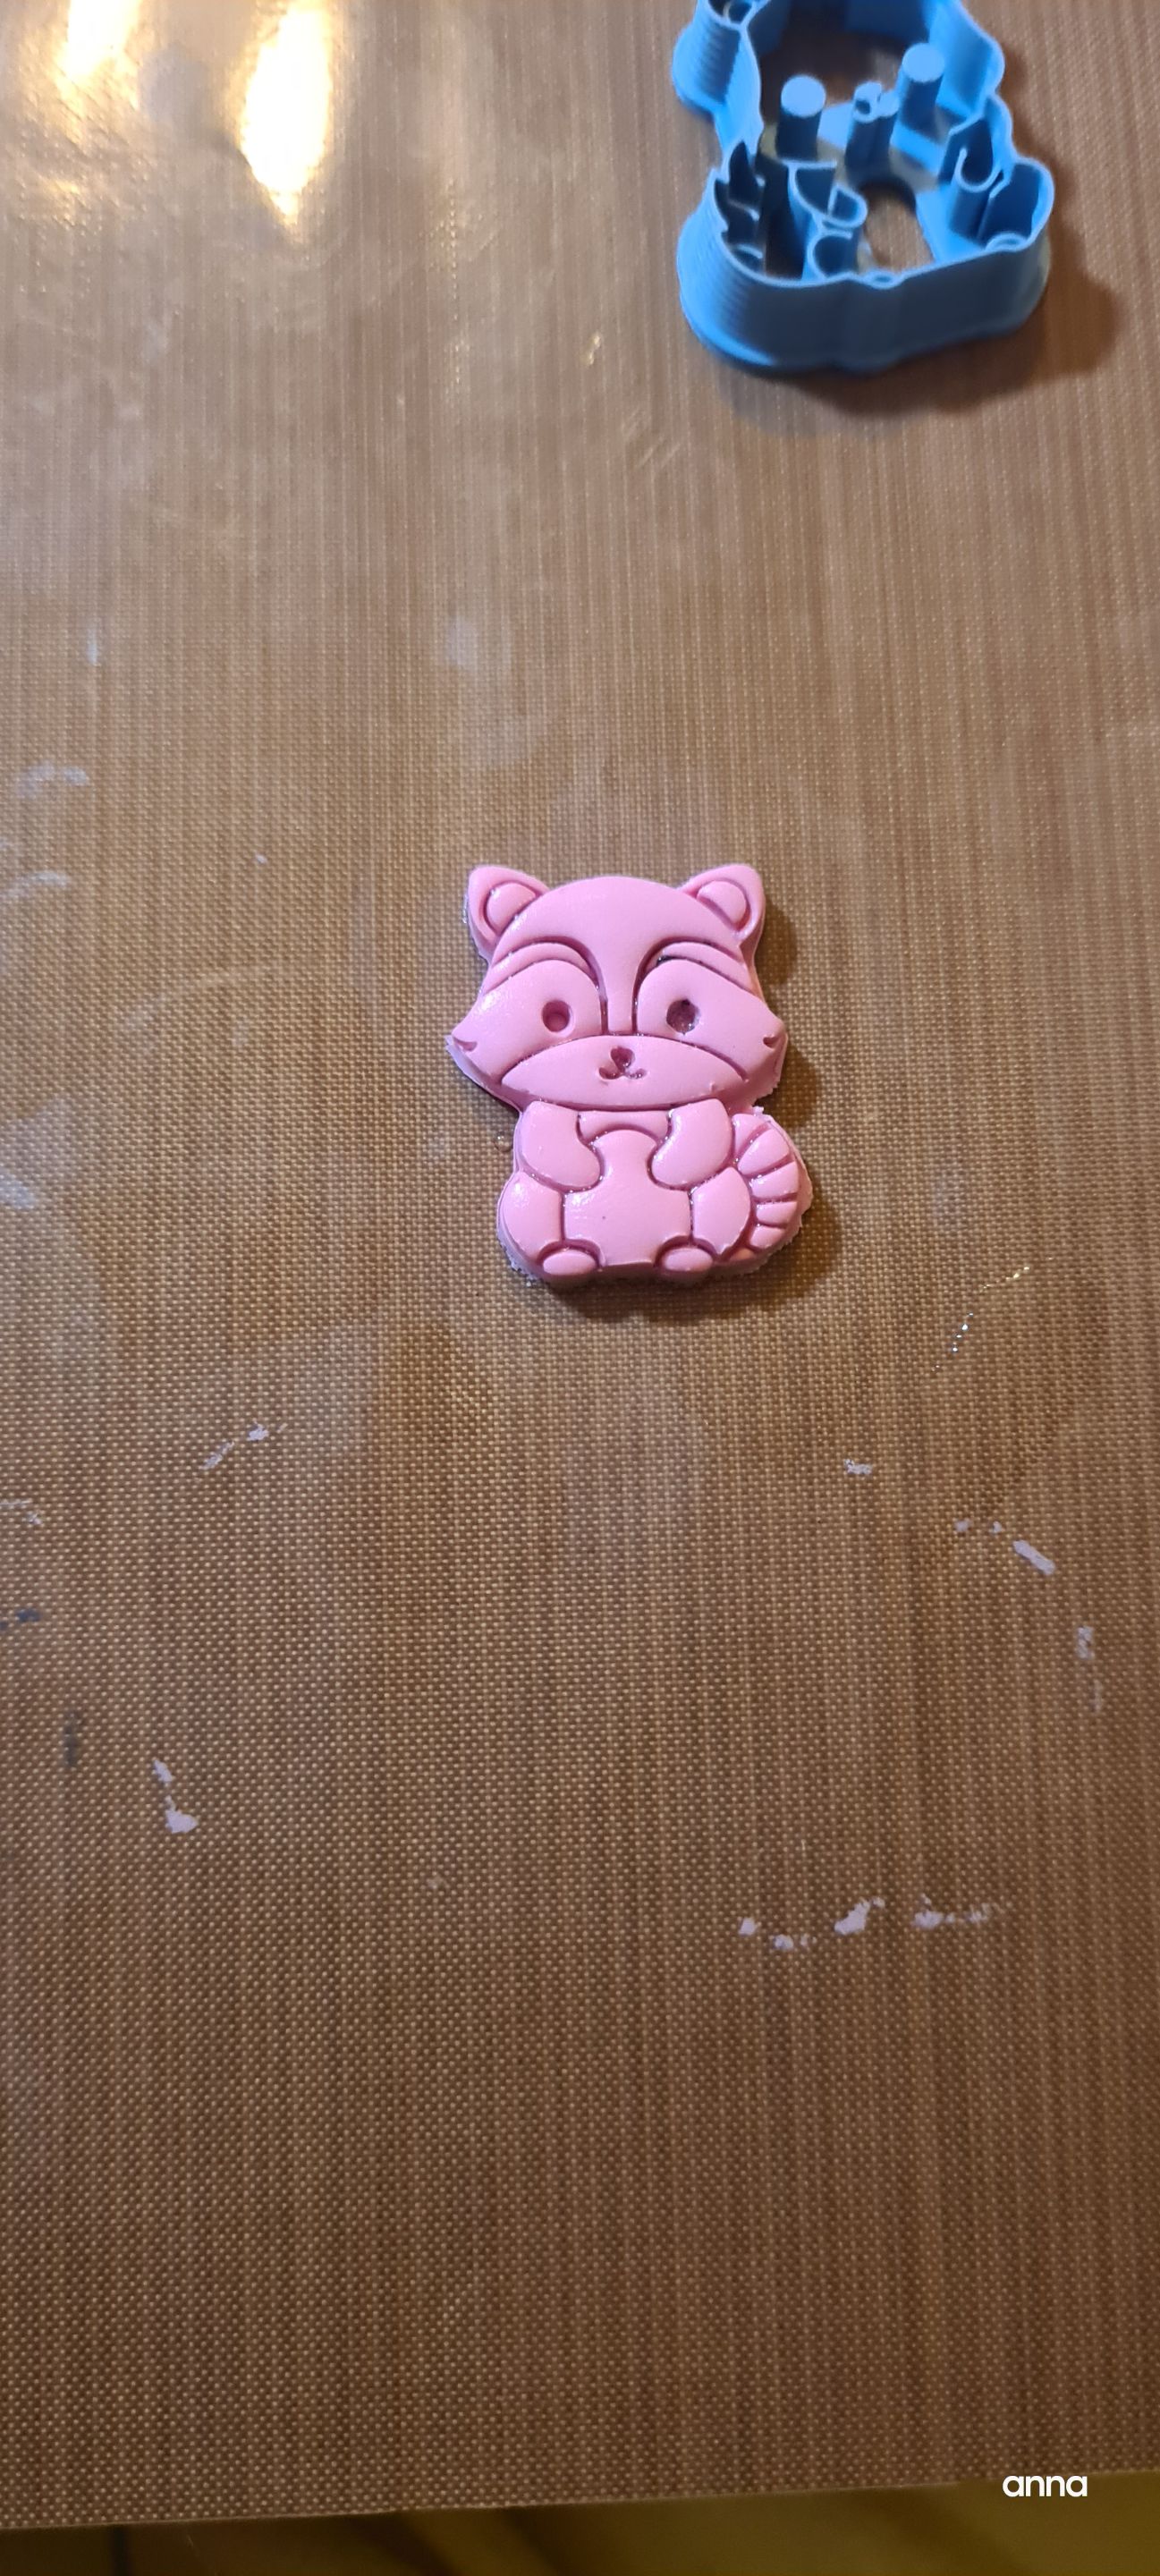
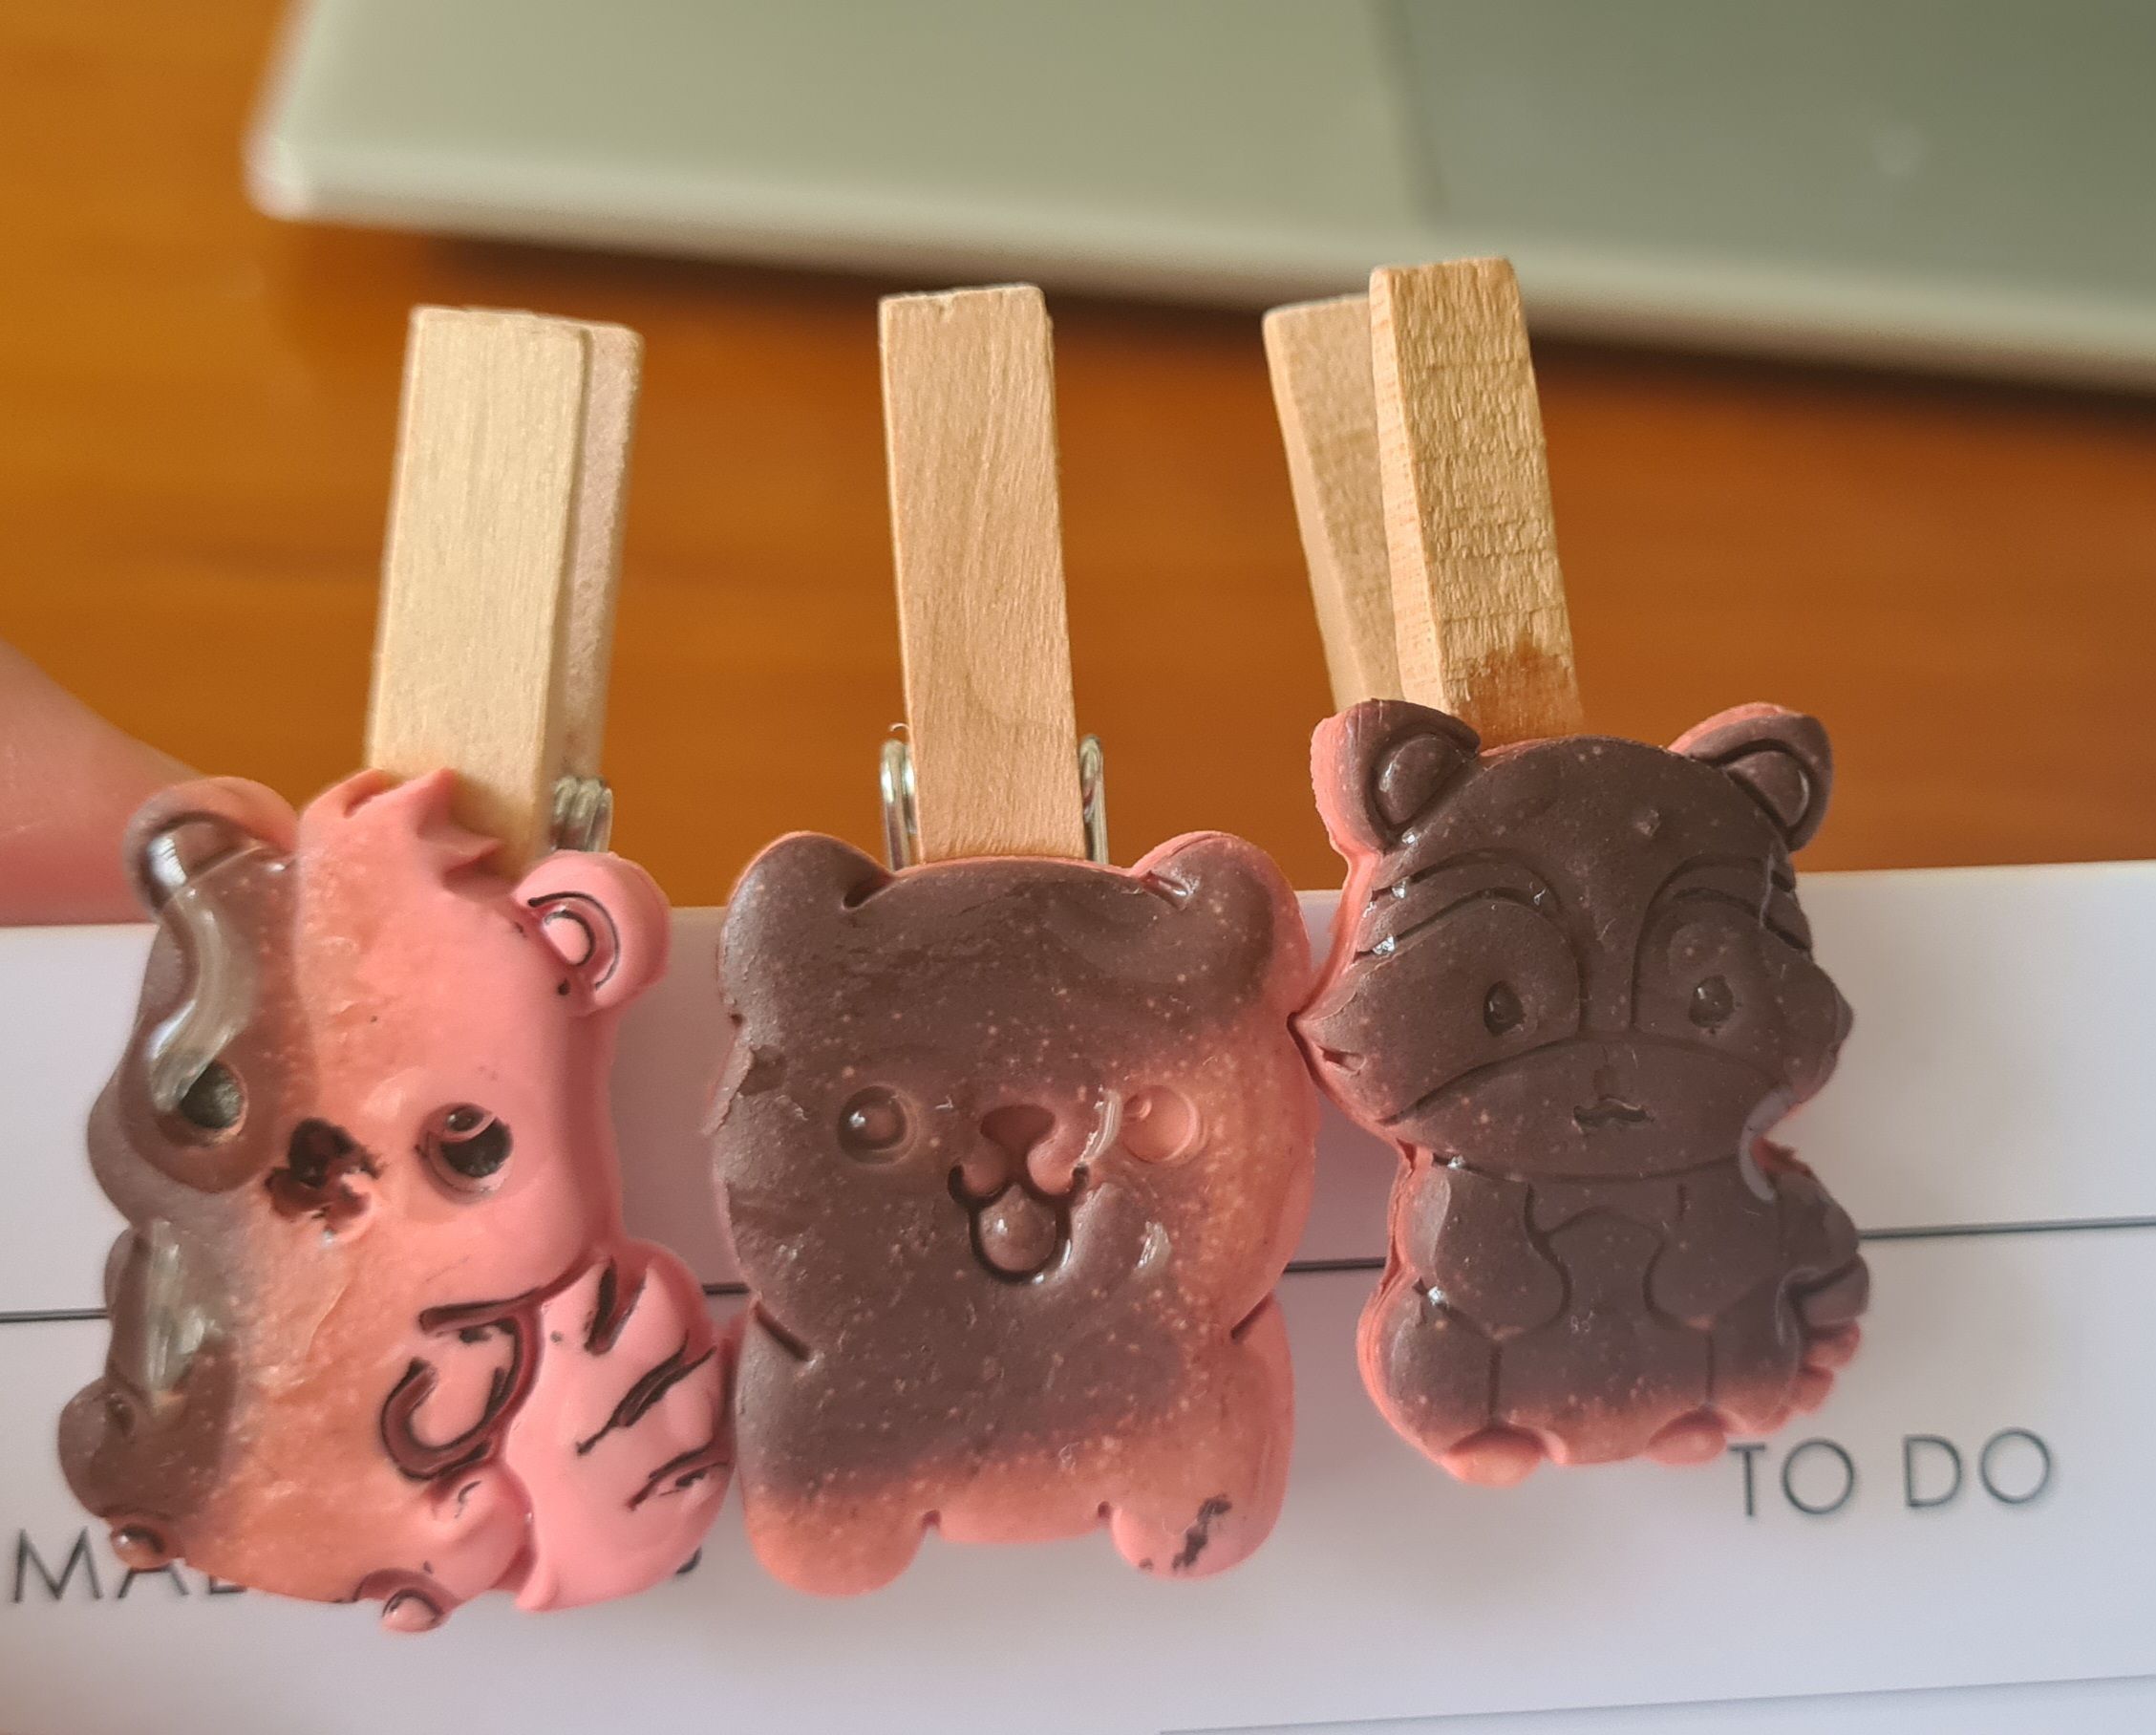
Unfortunately, I accidentally baked it in a high temperature resulting to this. Yeah, a part of me wanted to throw this away but let's be honest, they look really cute.

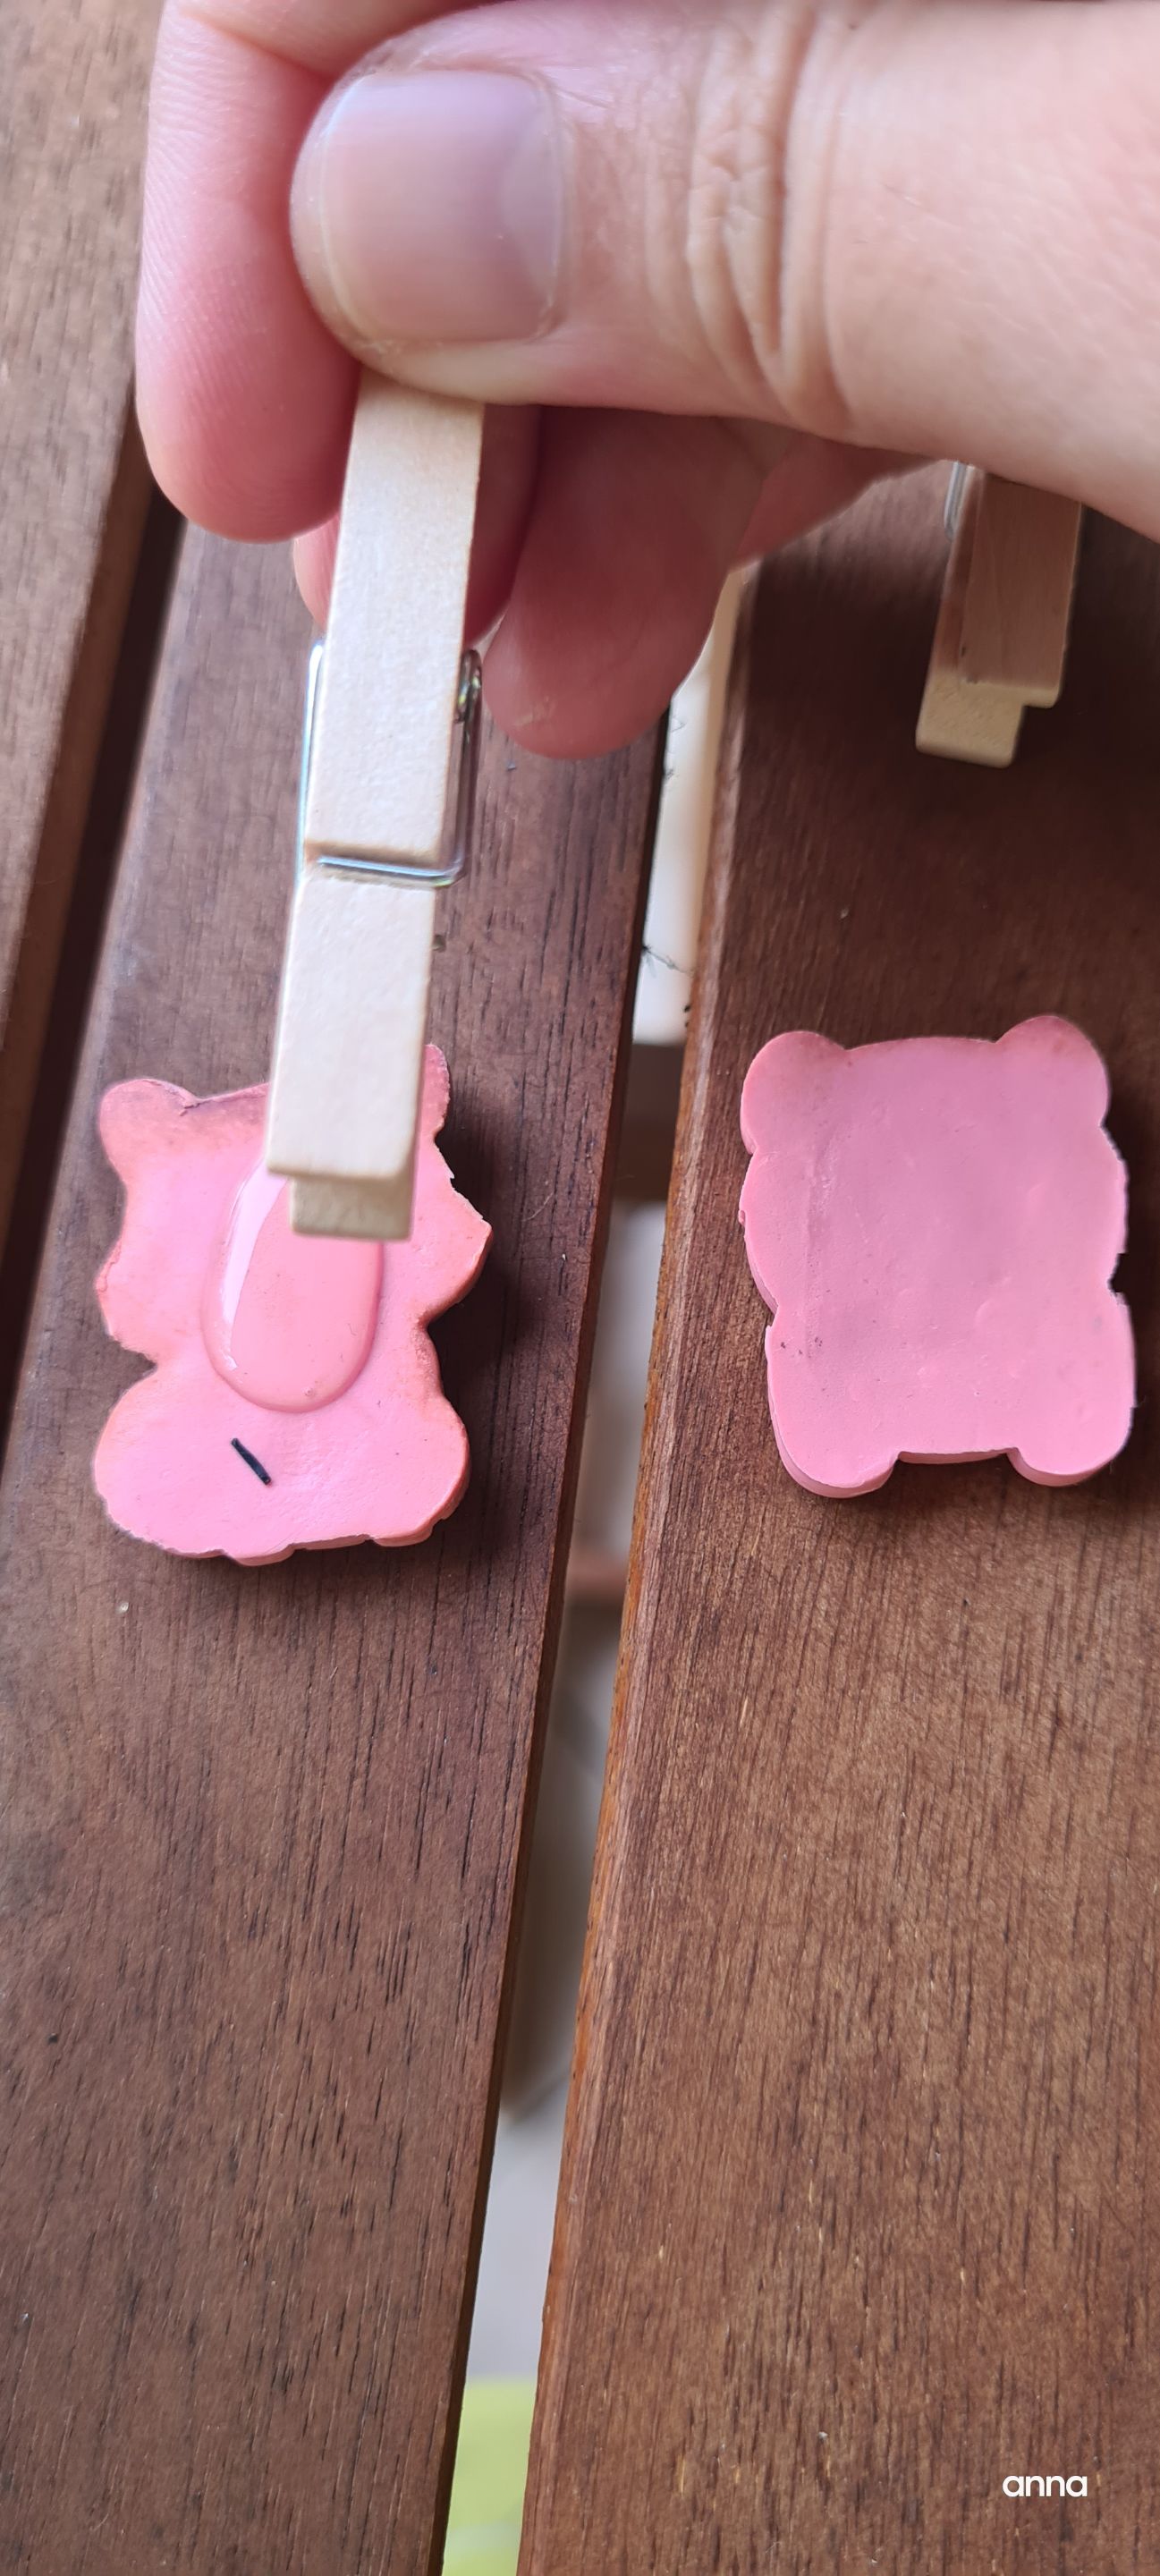
So here is how I attached the clips at the back. I did have a super glue. Unfortunately, I can't find them so I decided to use resin as an alternative.
Its summer here in my place. I decided to make use of the sun to cure my resin.
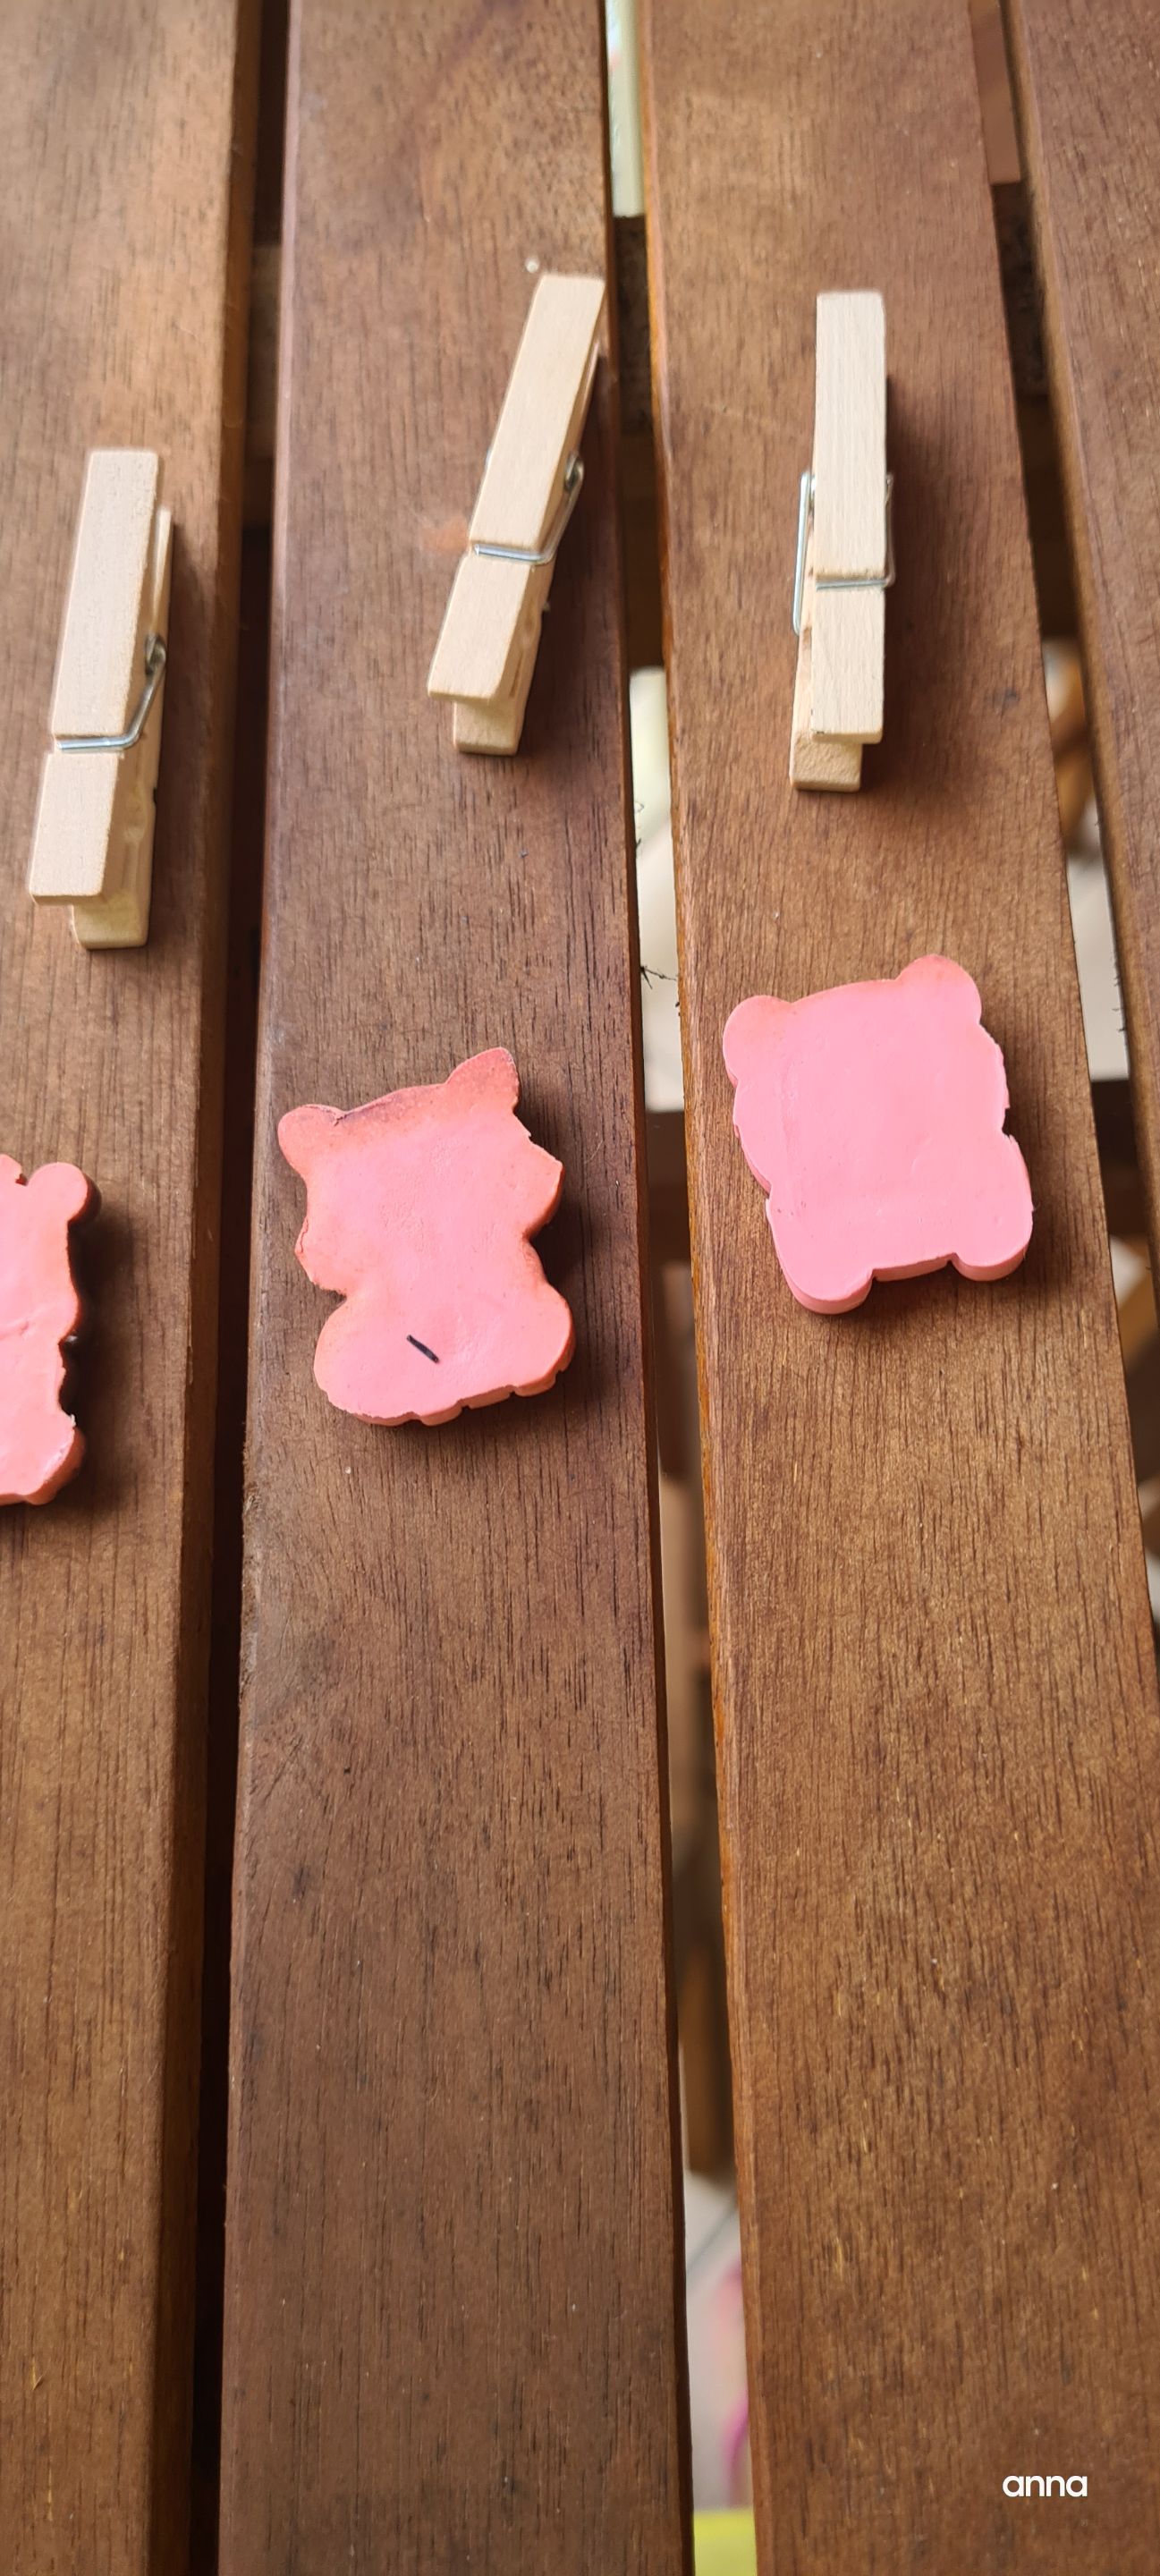
Apply a dab of resin at the back.
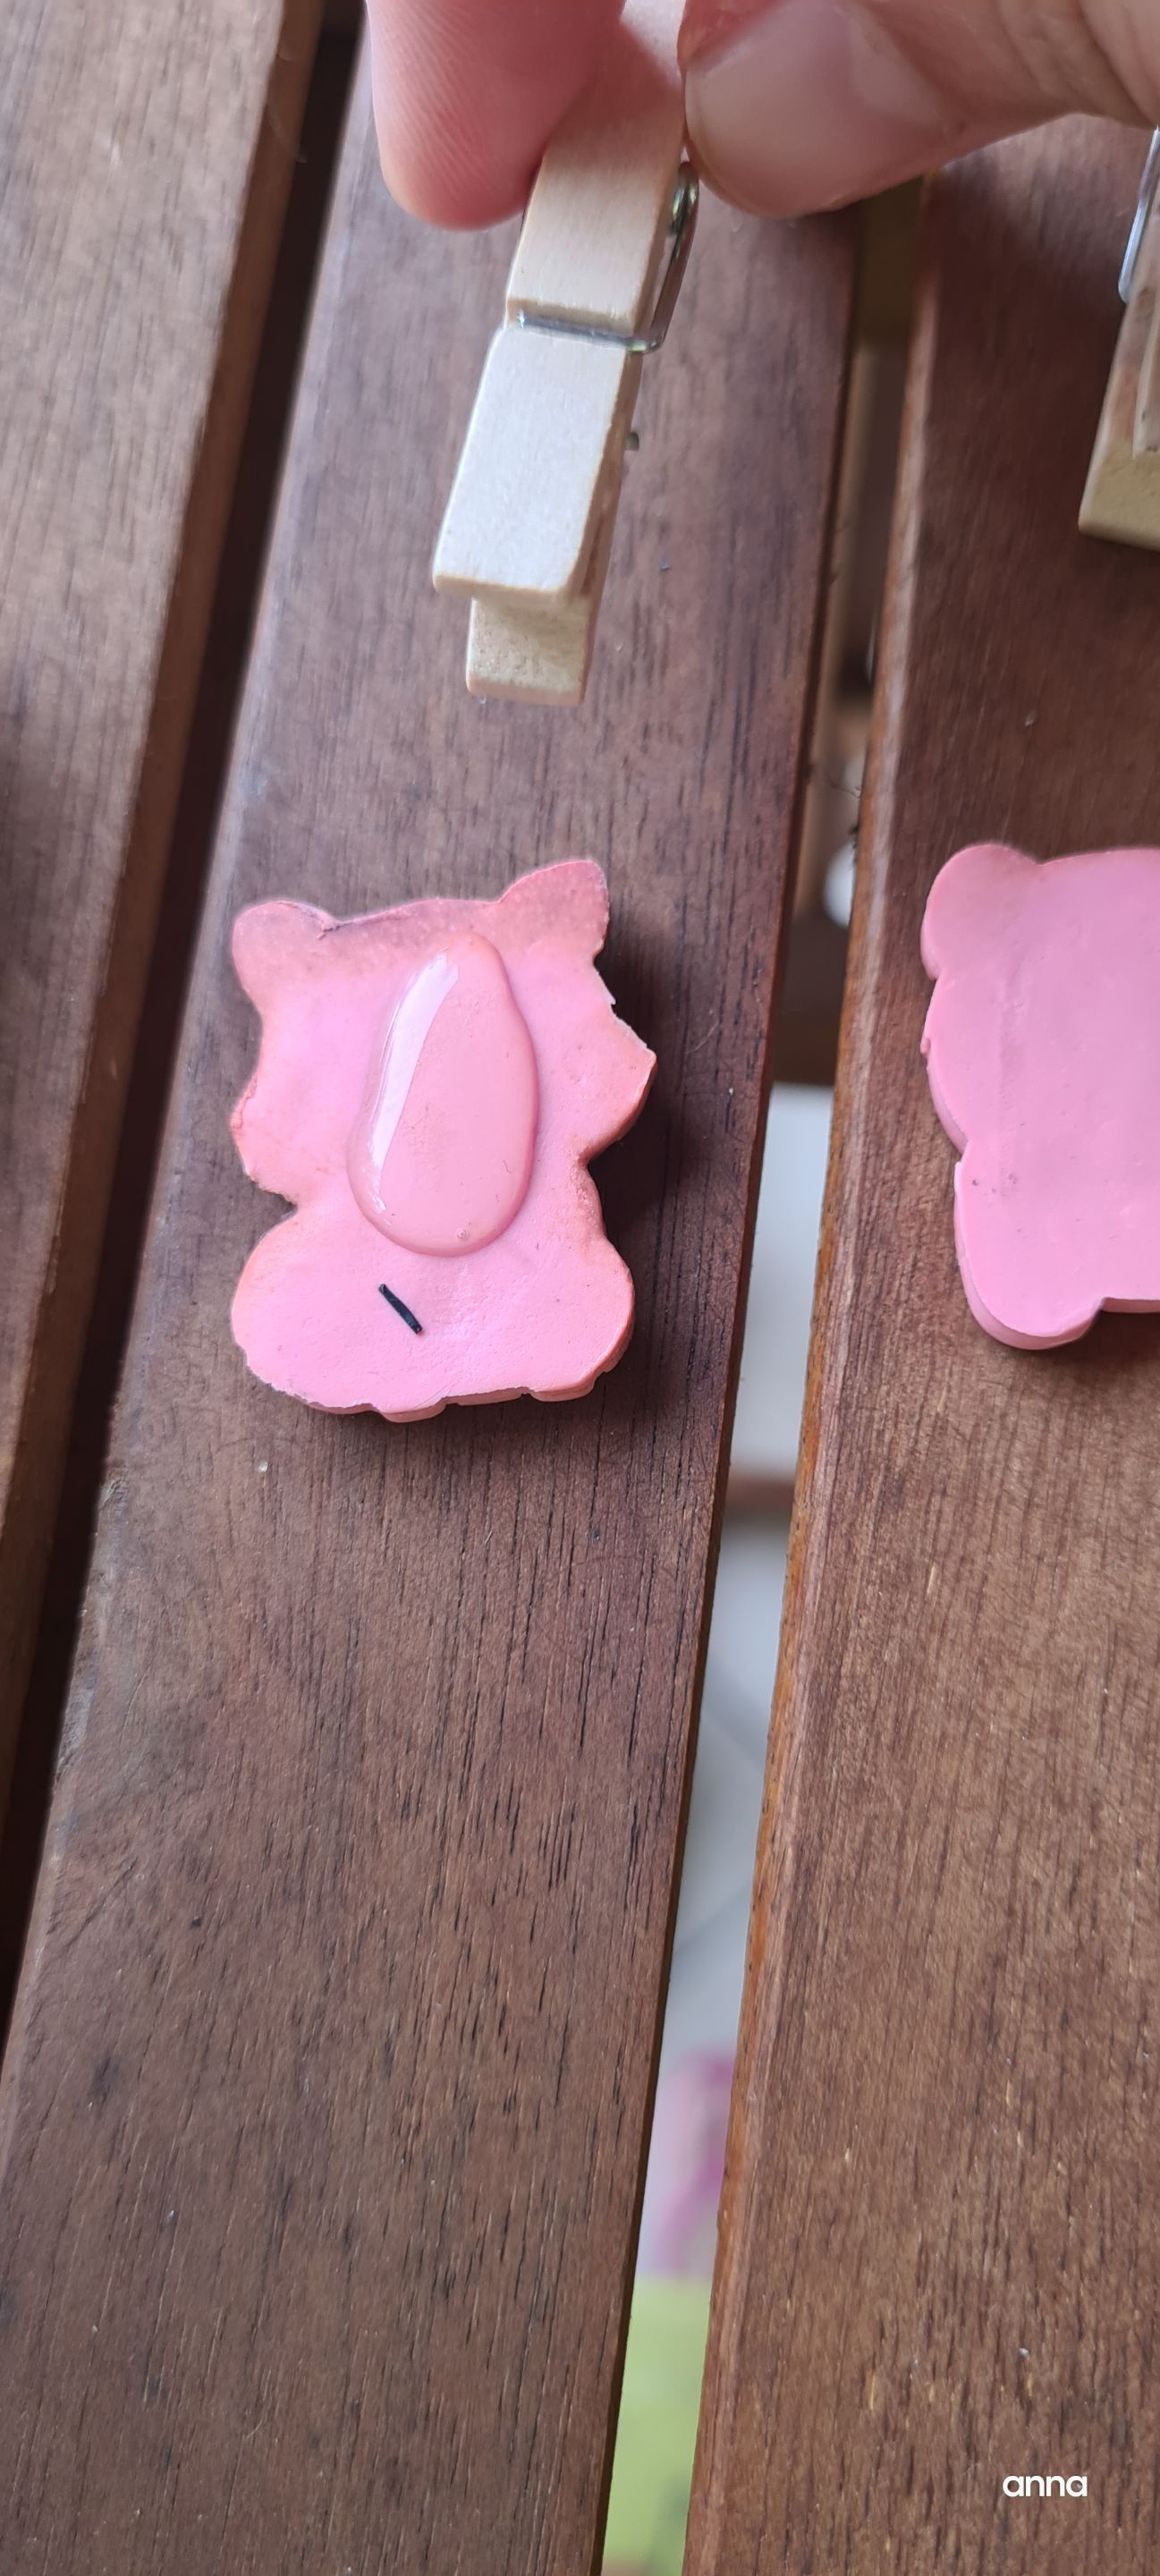
Then place the clips. It does not matter where exactly. I could have placed the pieces on top of the clips but because I am concerned its going to break from the constant tension( from opening the clips), I did decided to just attached it at the bottom most part.
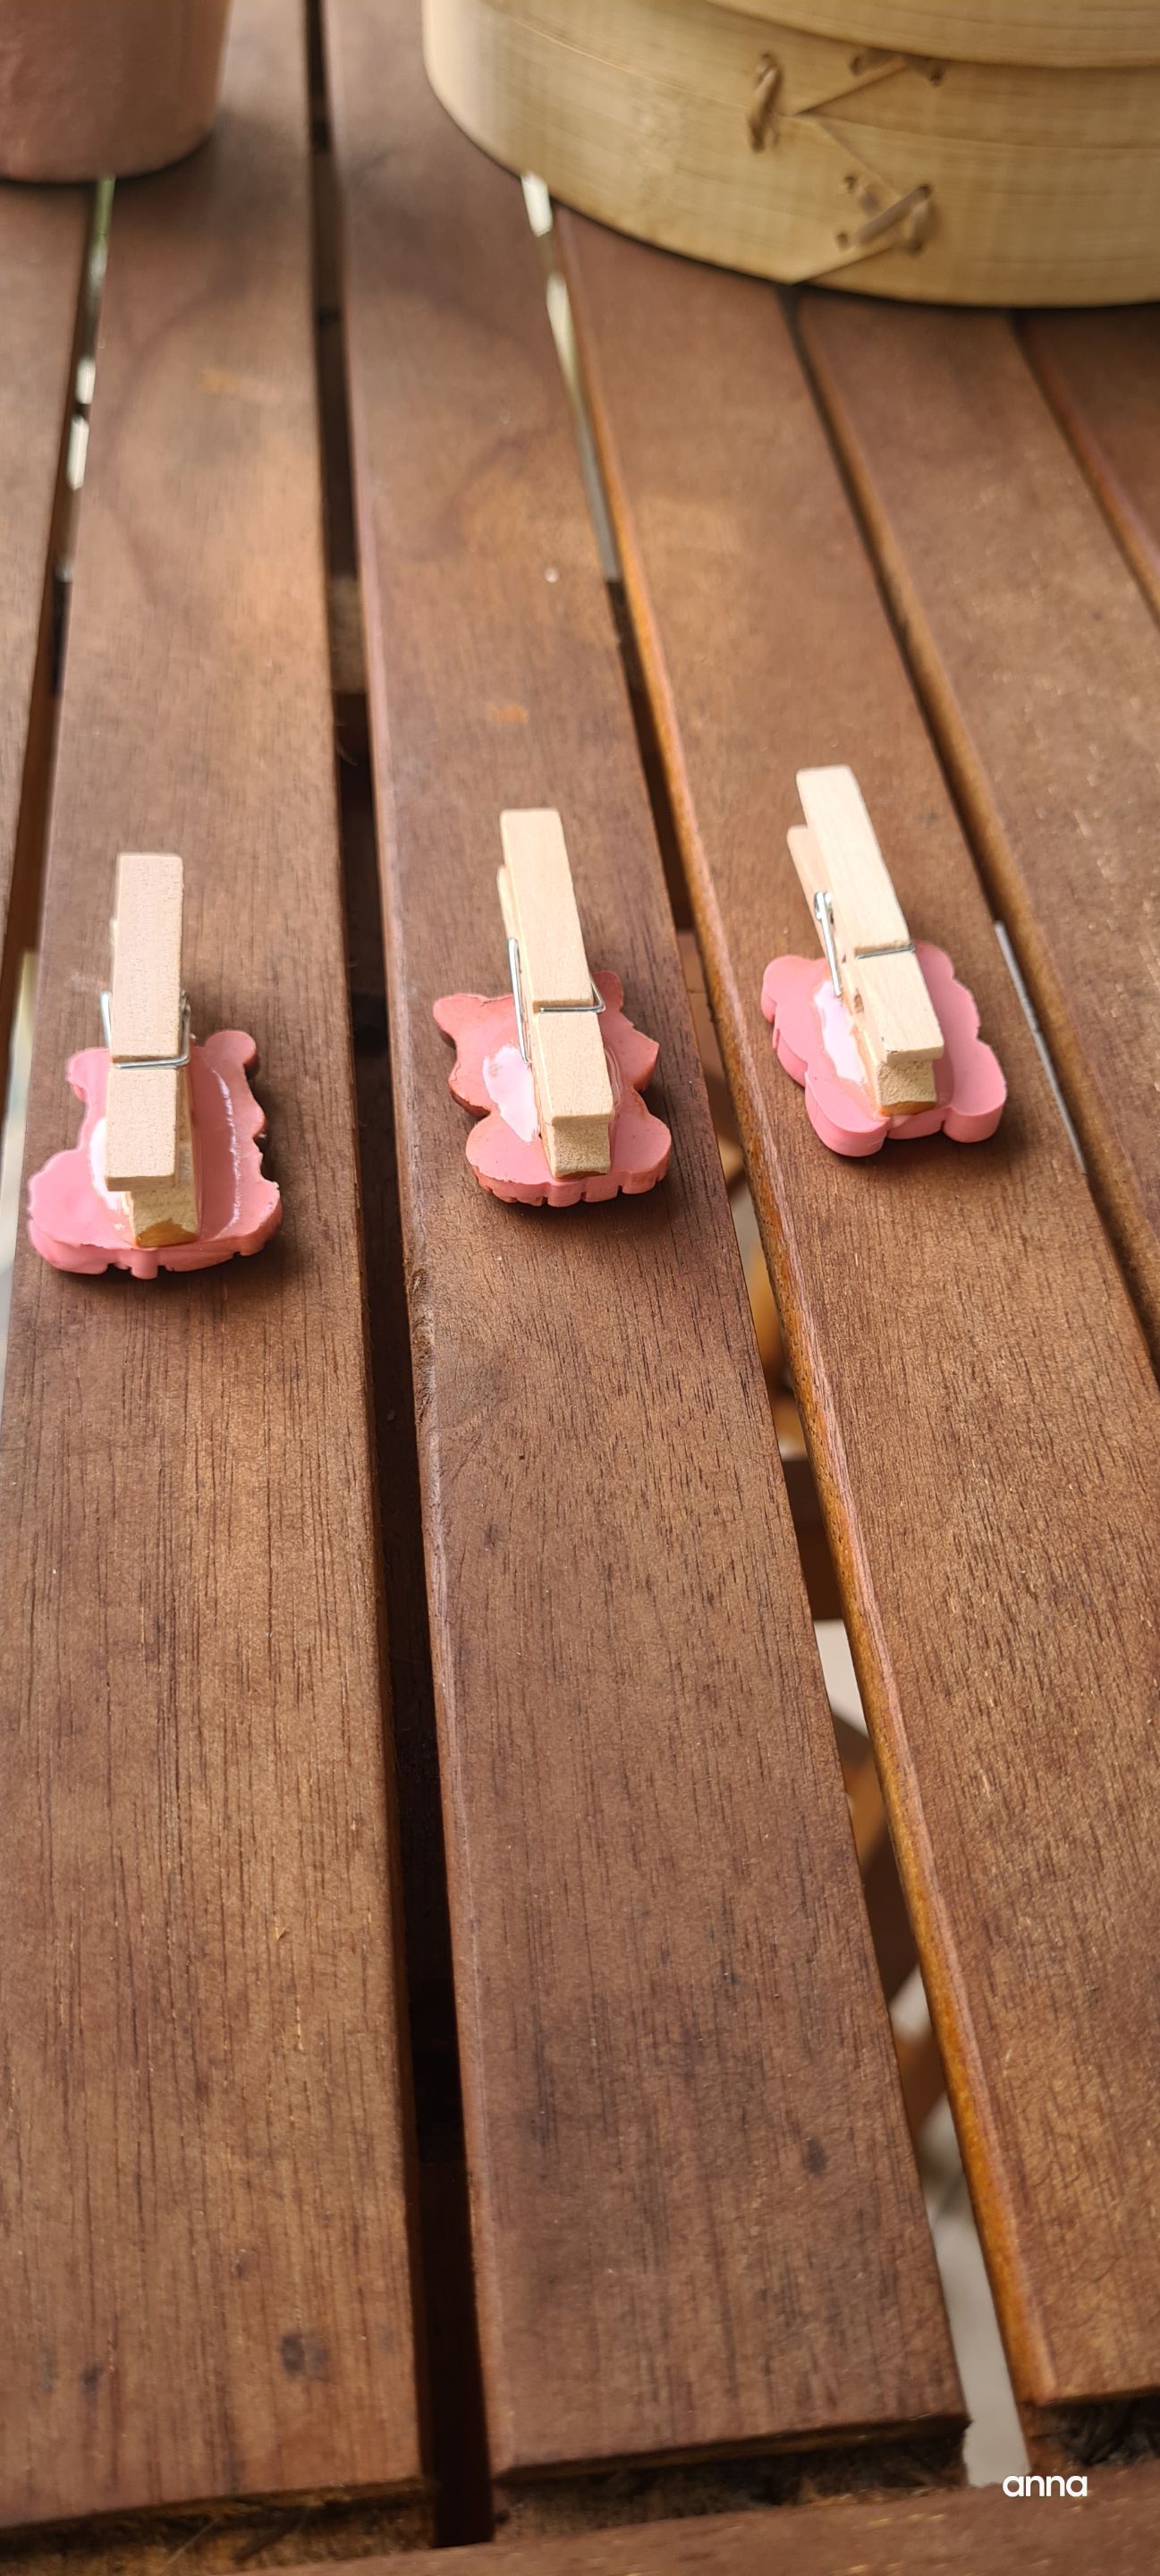
 Ensure that the clips and figures does not interfere on its function which is to clip papers together. Leave it outdoors for as long as you wanted it to. I left mine for nearly a day while I carry on with my life.
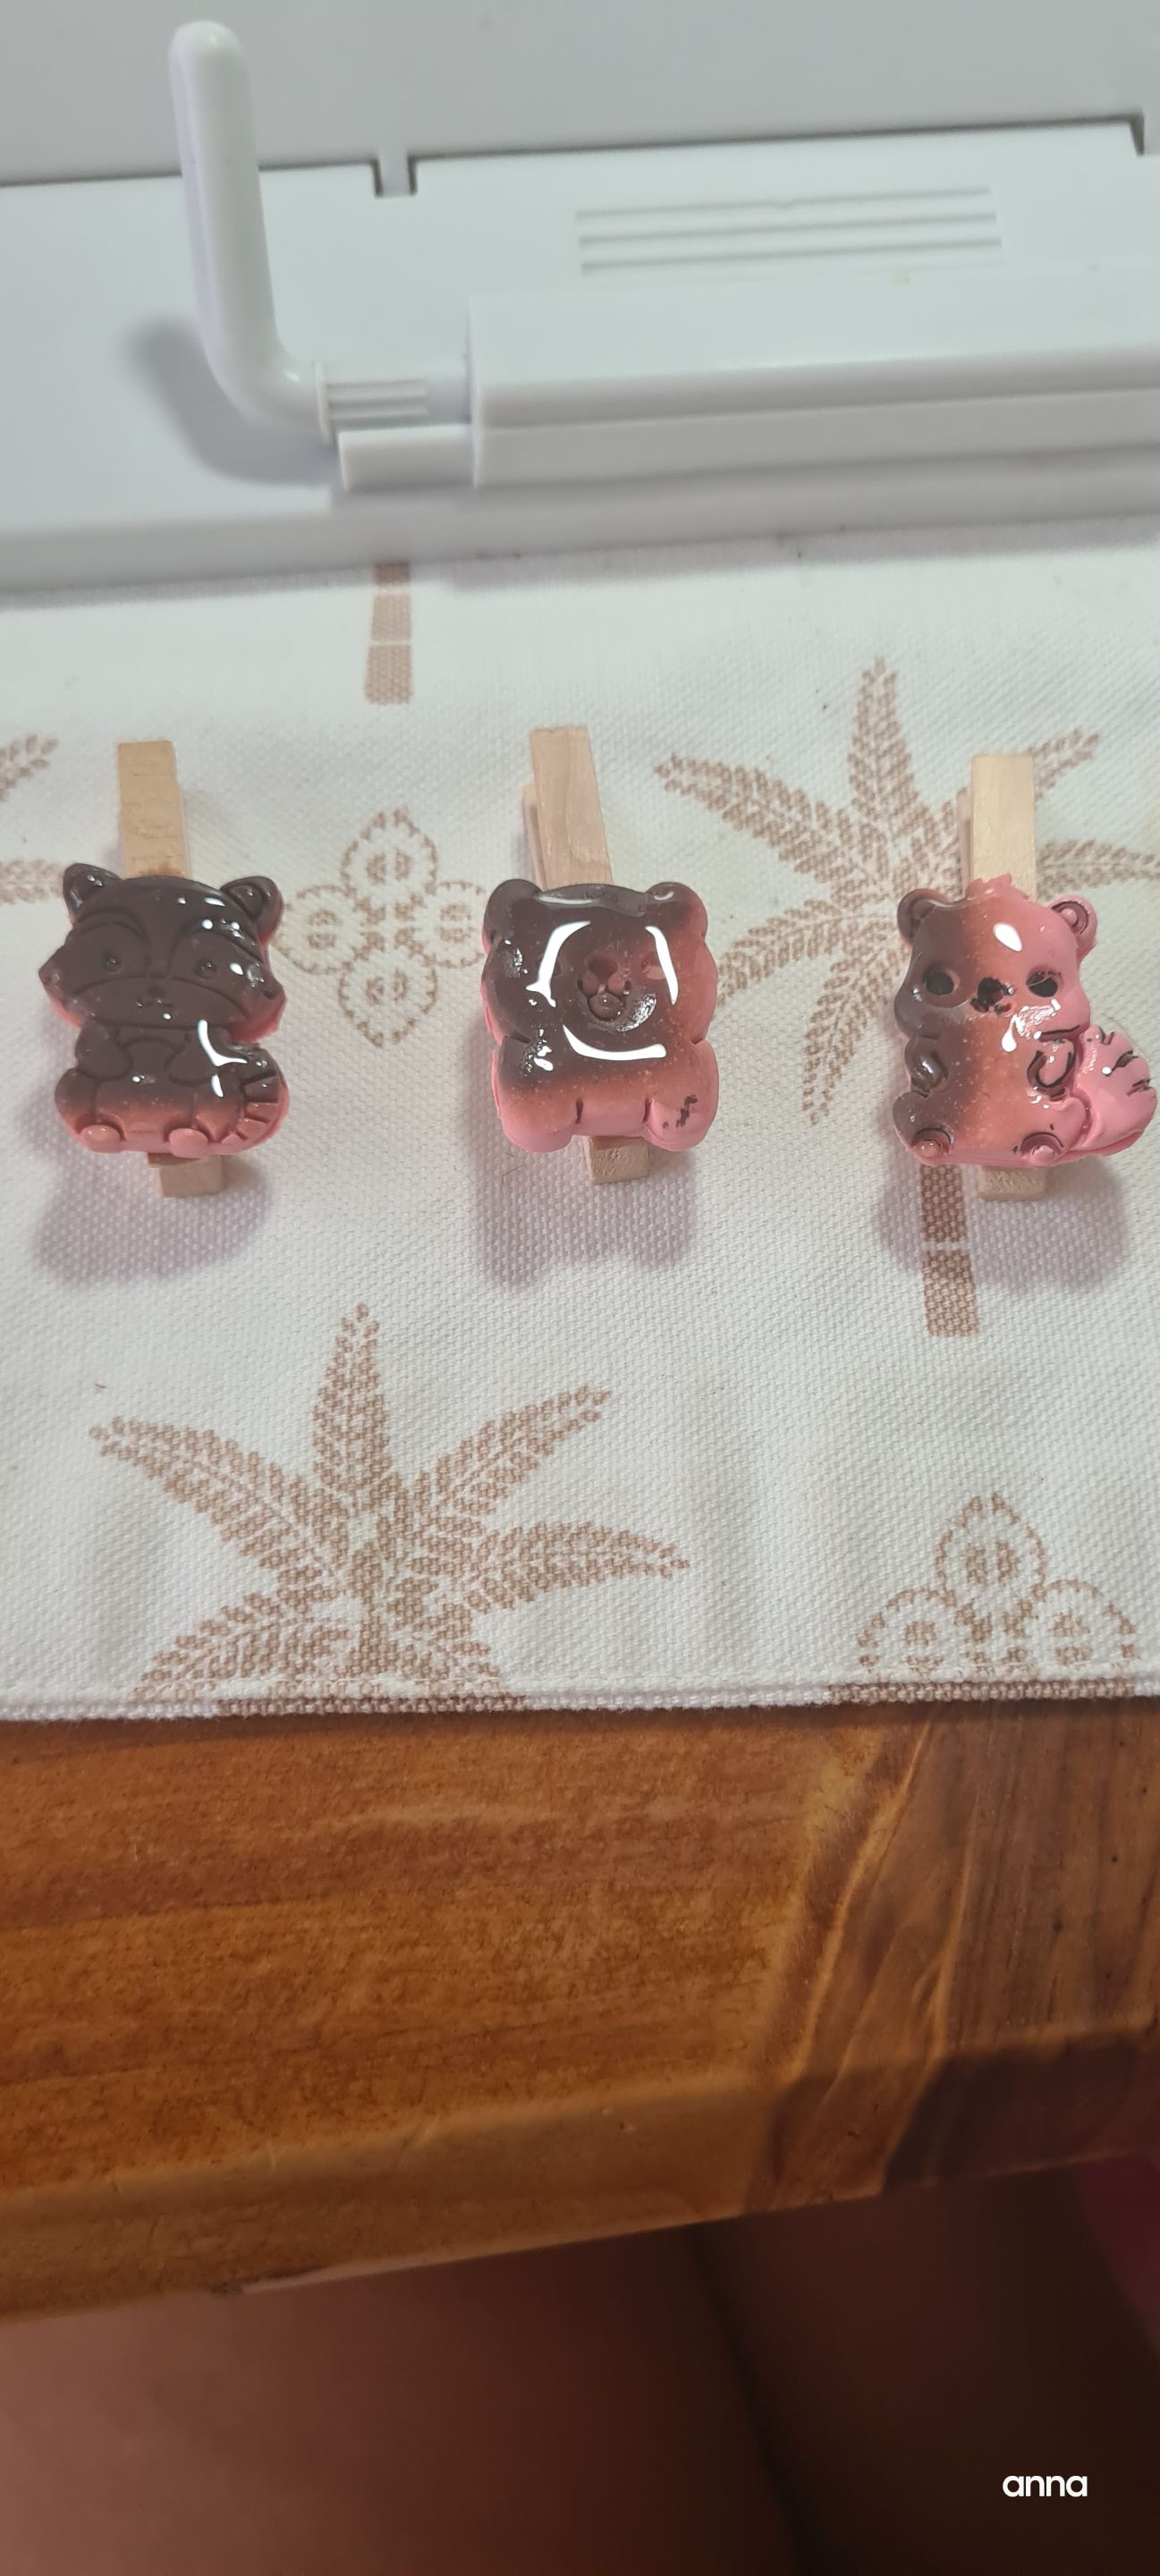
This is how it looks like when its done.
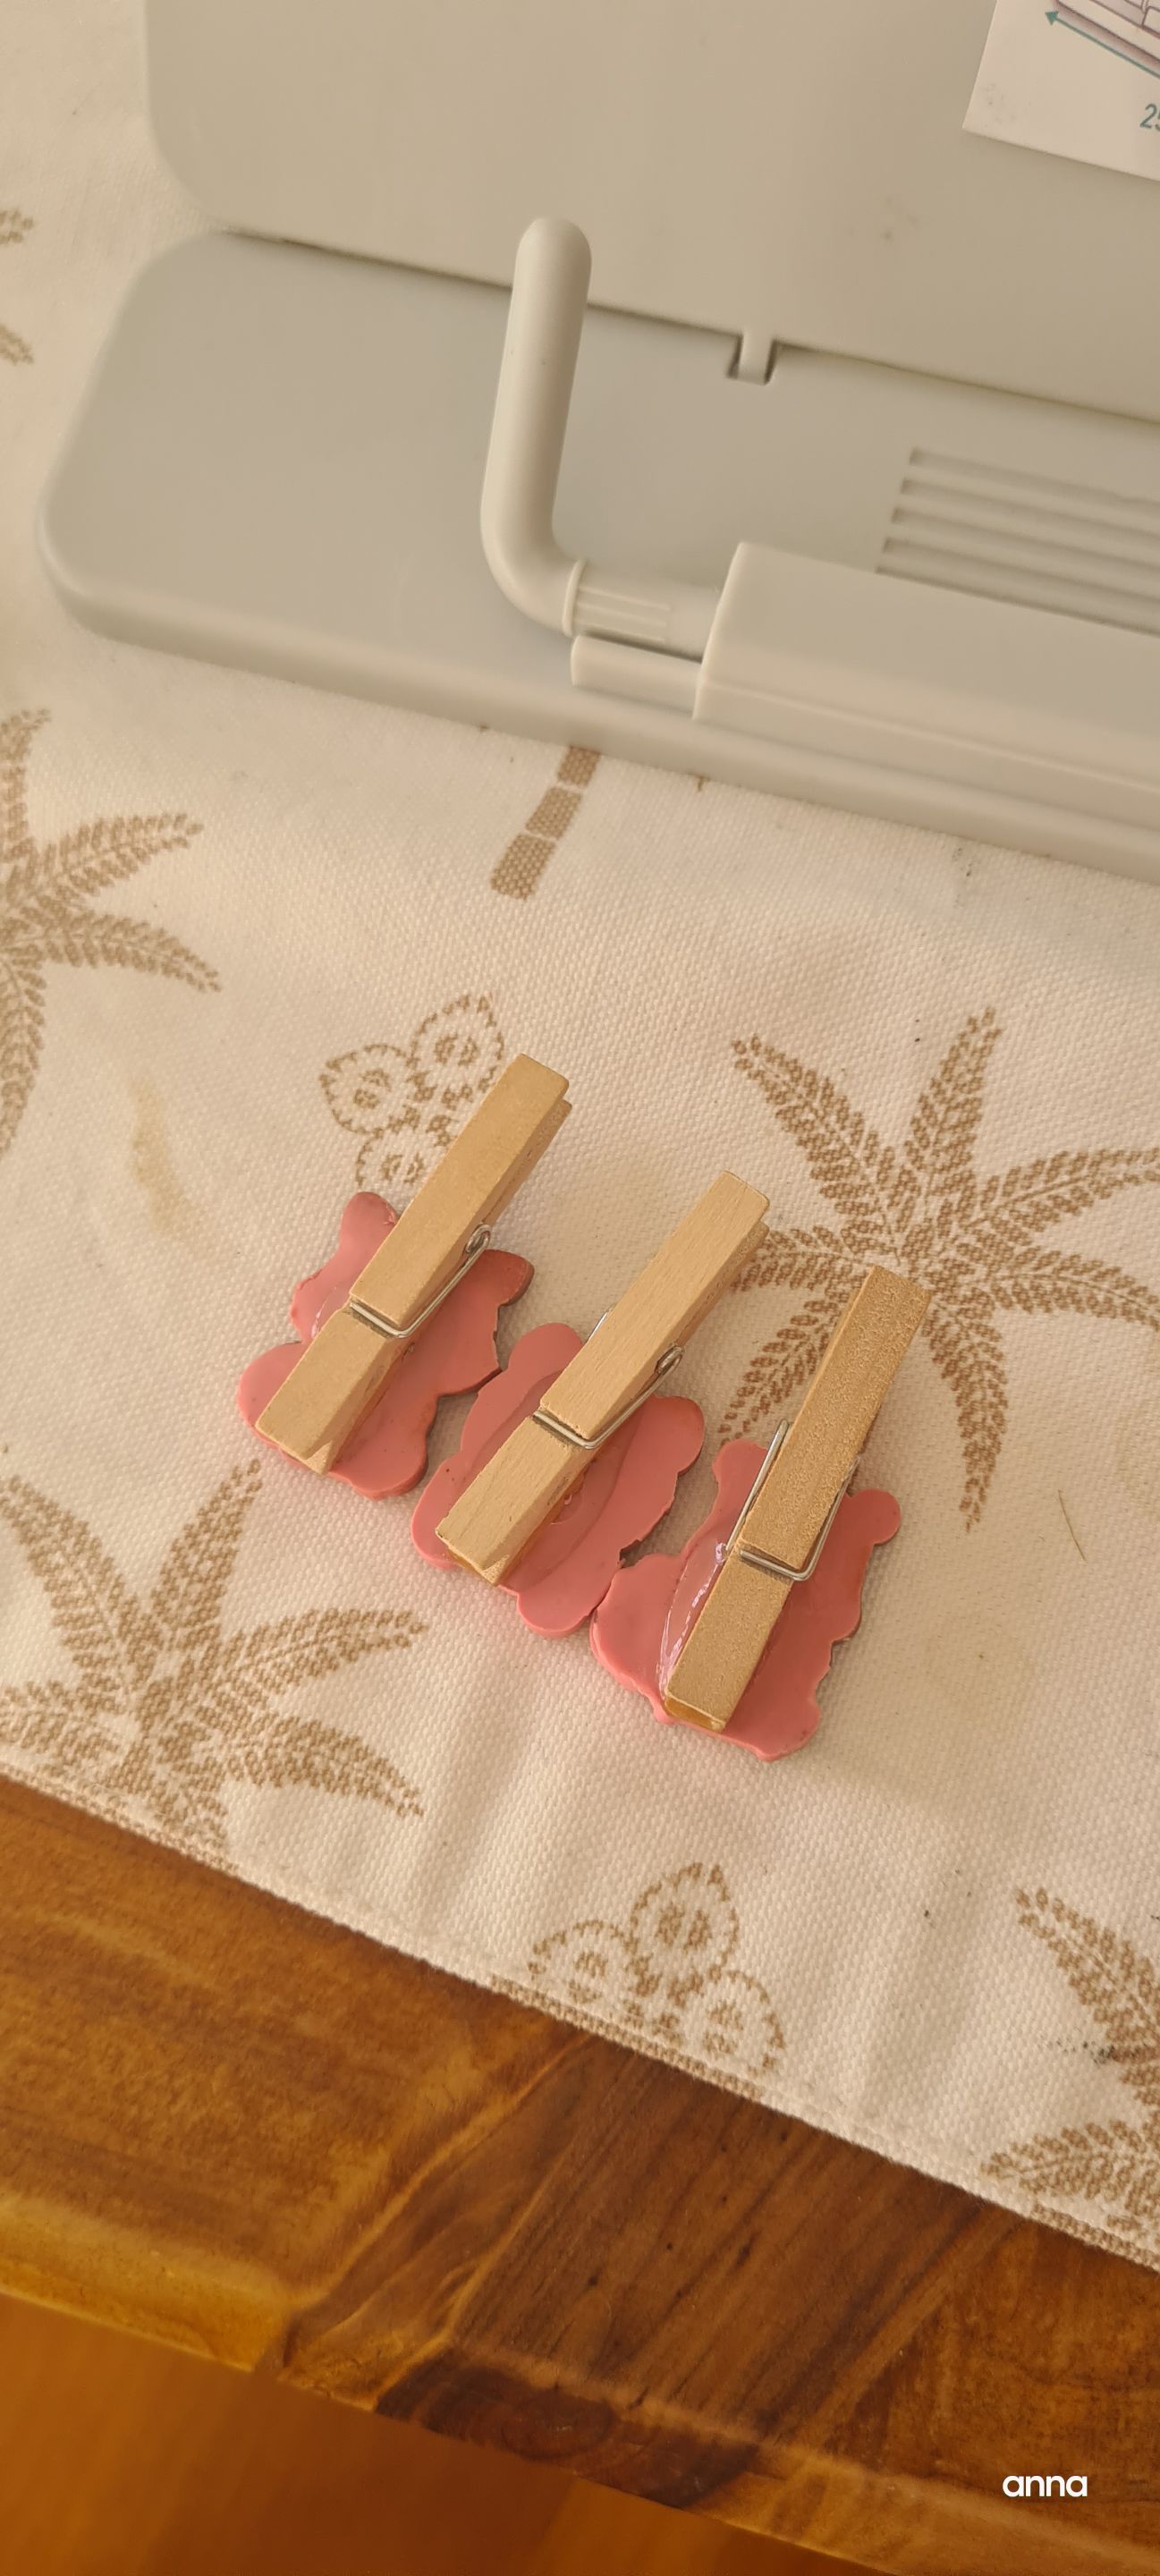
At the other side....
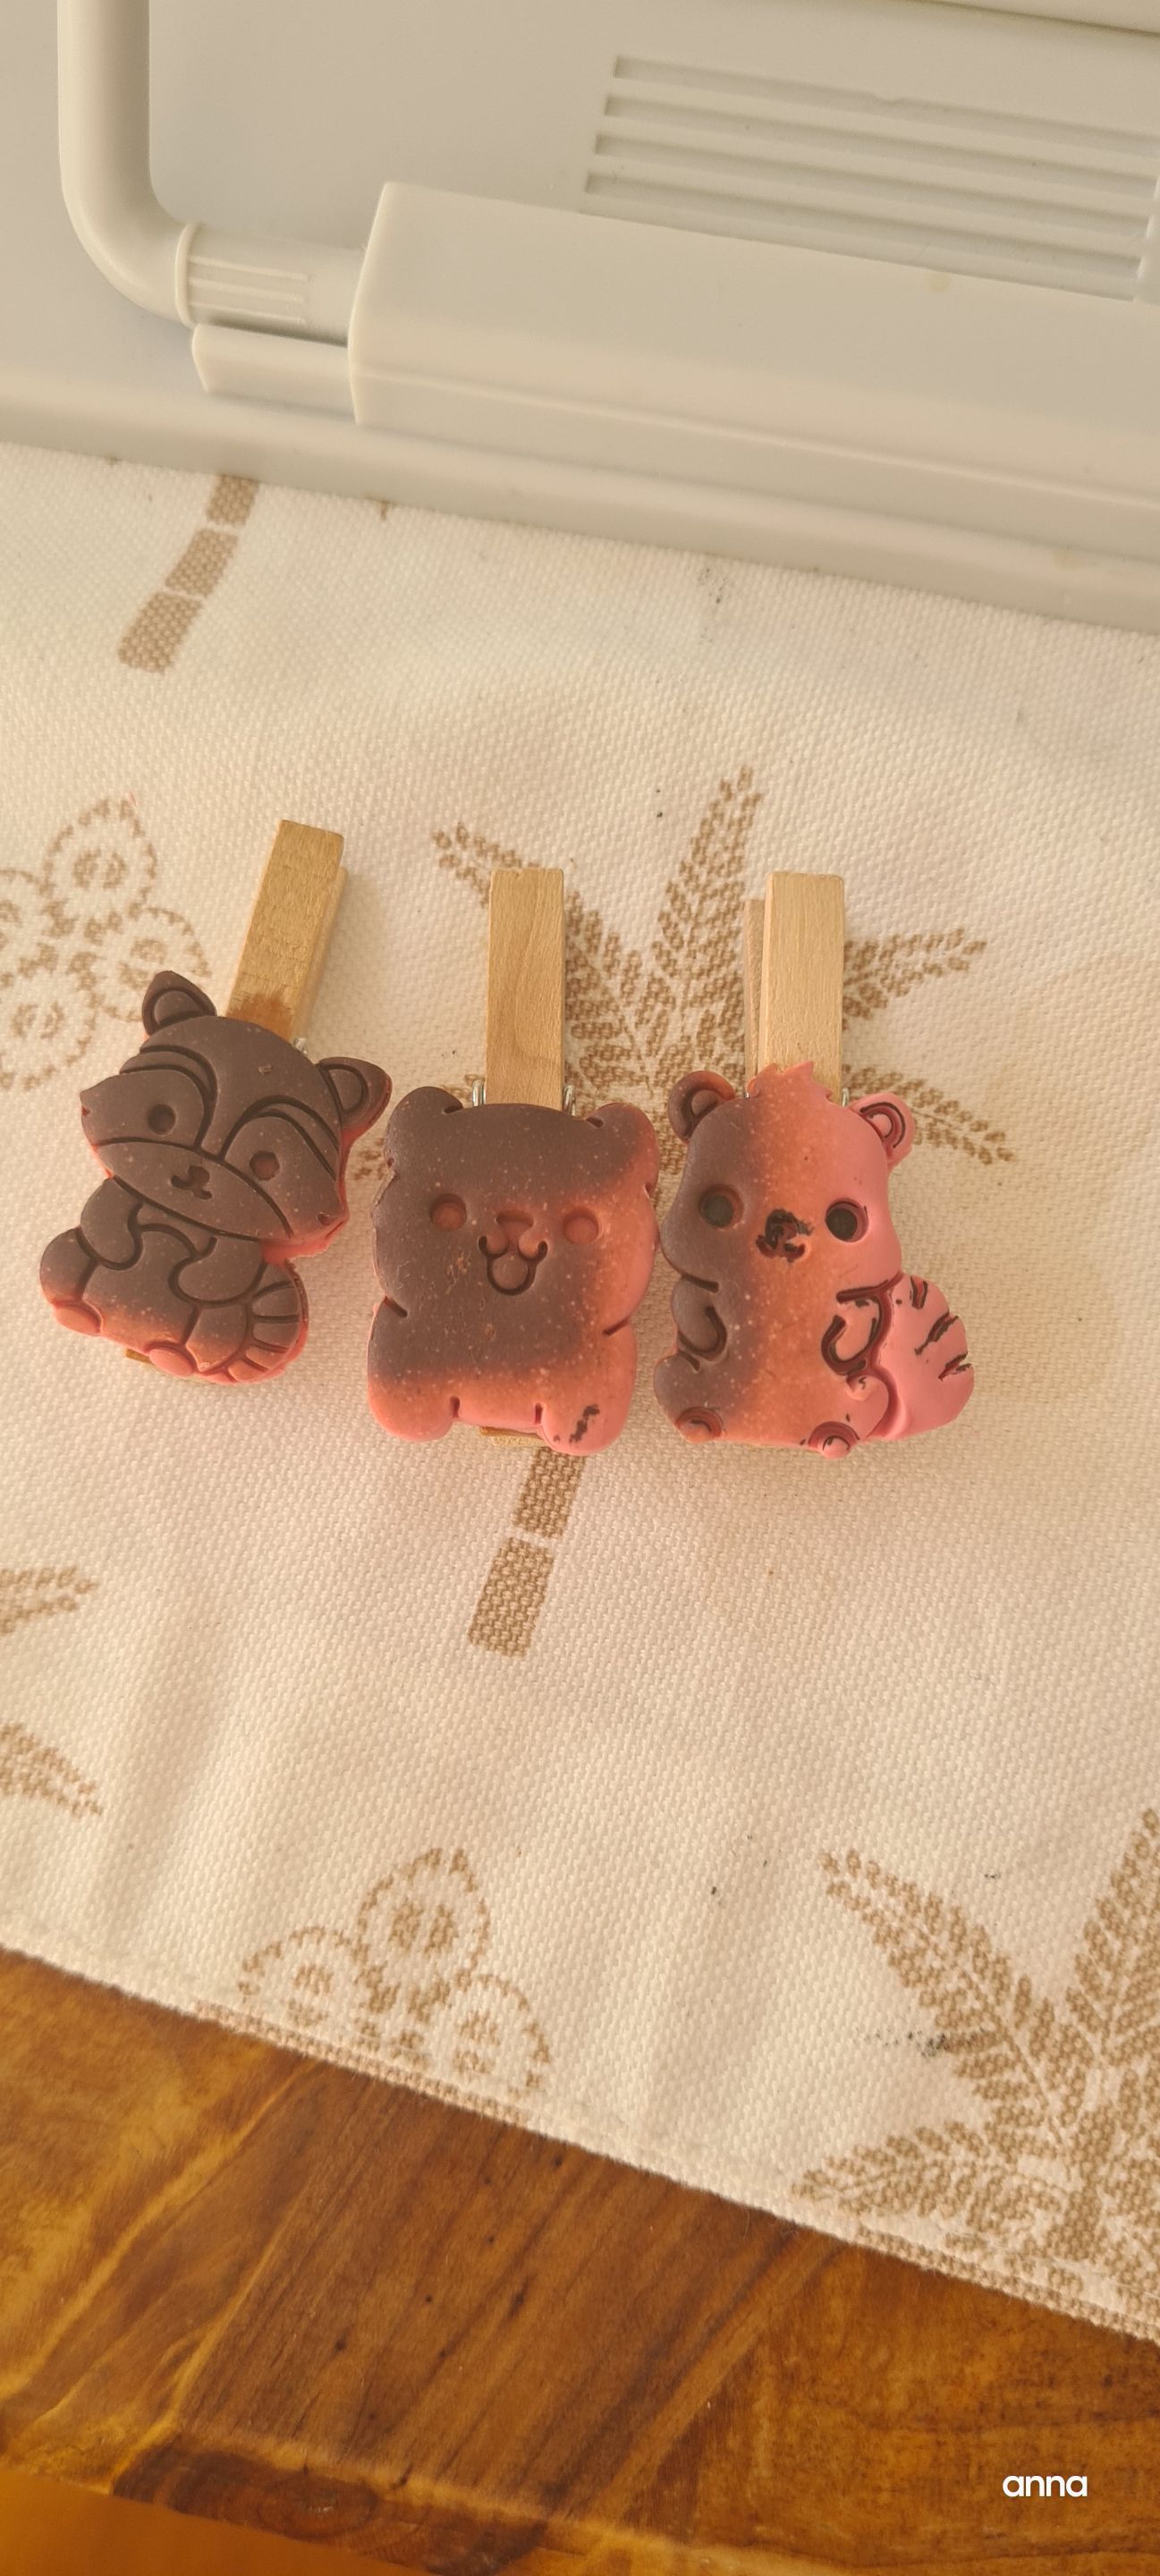
Finally, I lightly glazed it with UV resin just to make it more attractive. Why I kept them- I just find them very appealing and cute. Besides, the burnt effect makes them more interesting to use. Probably another conversation starters.
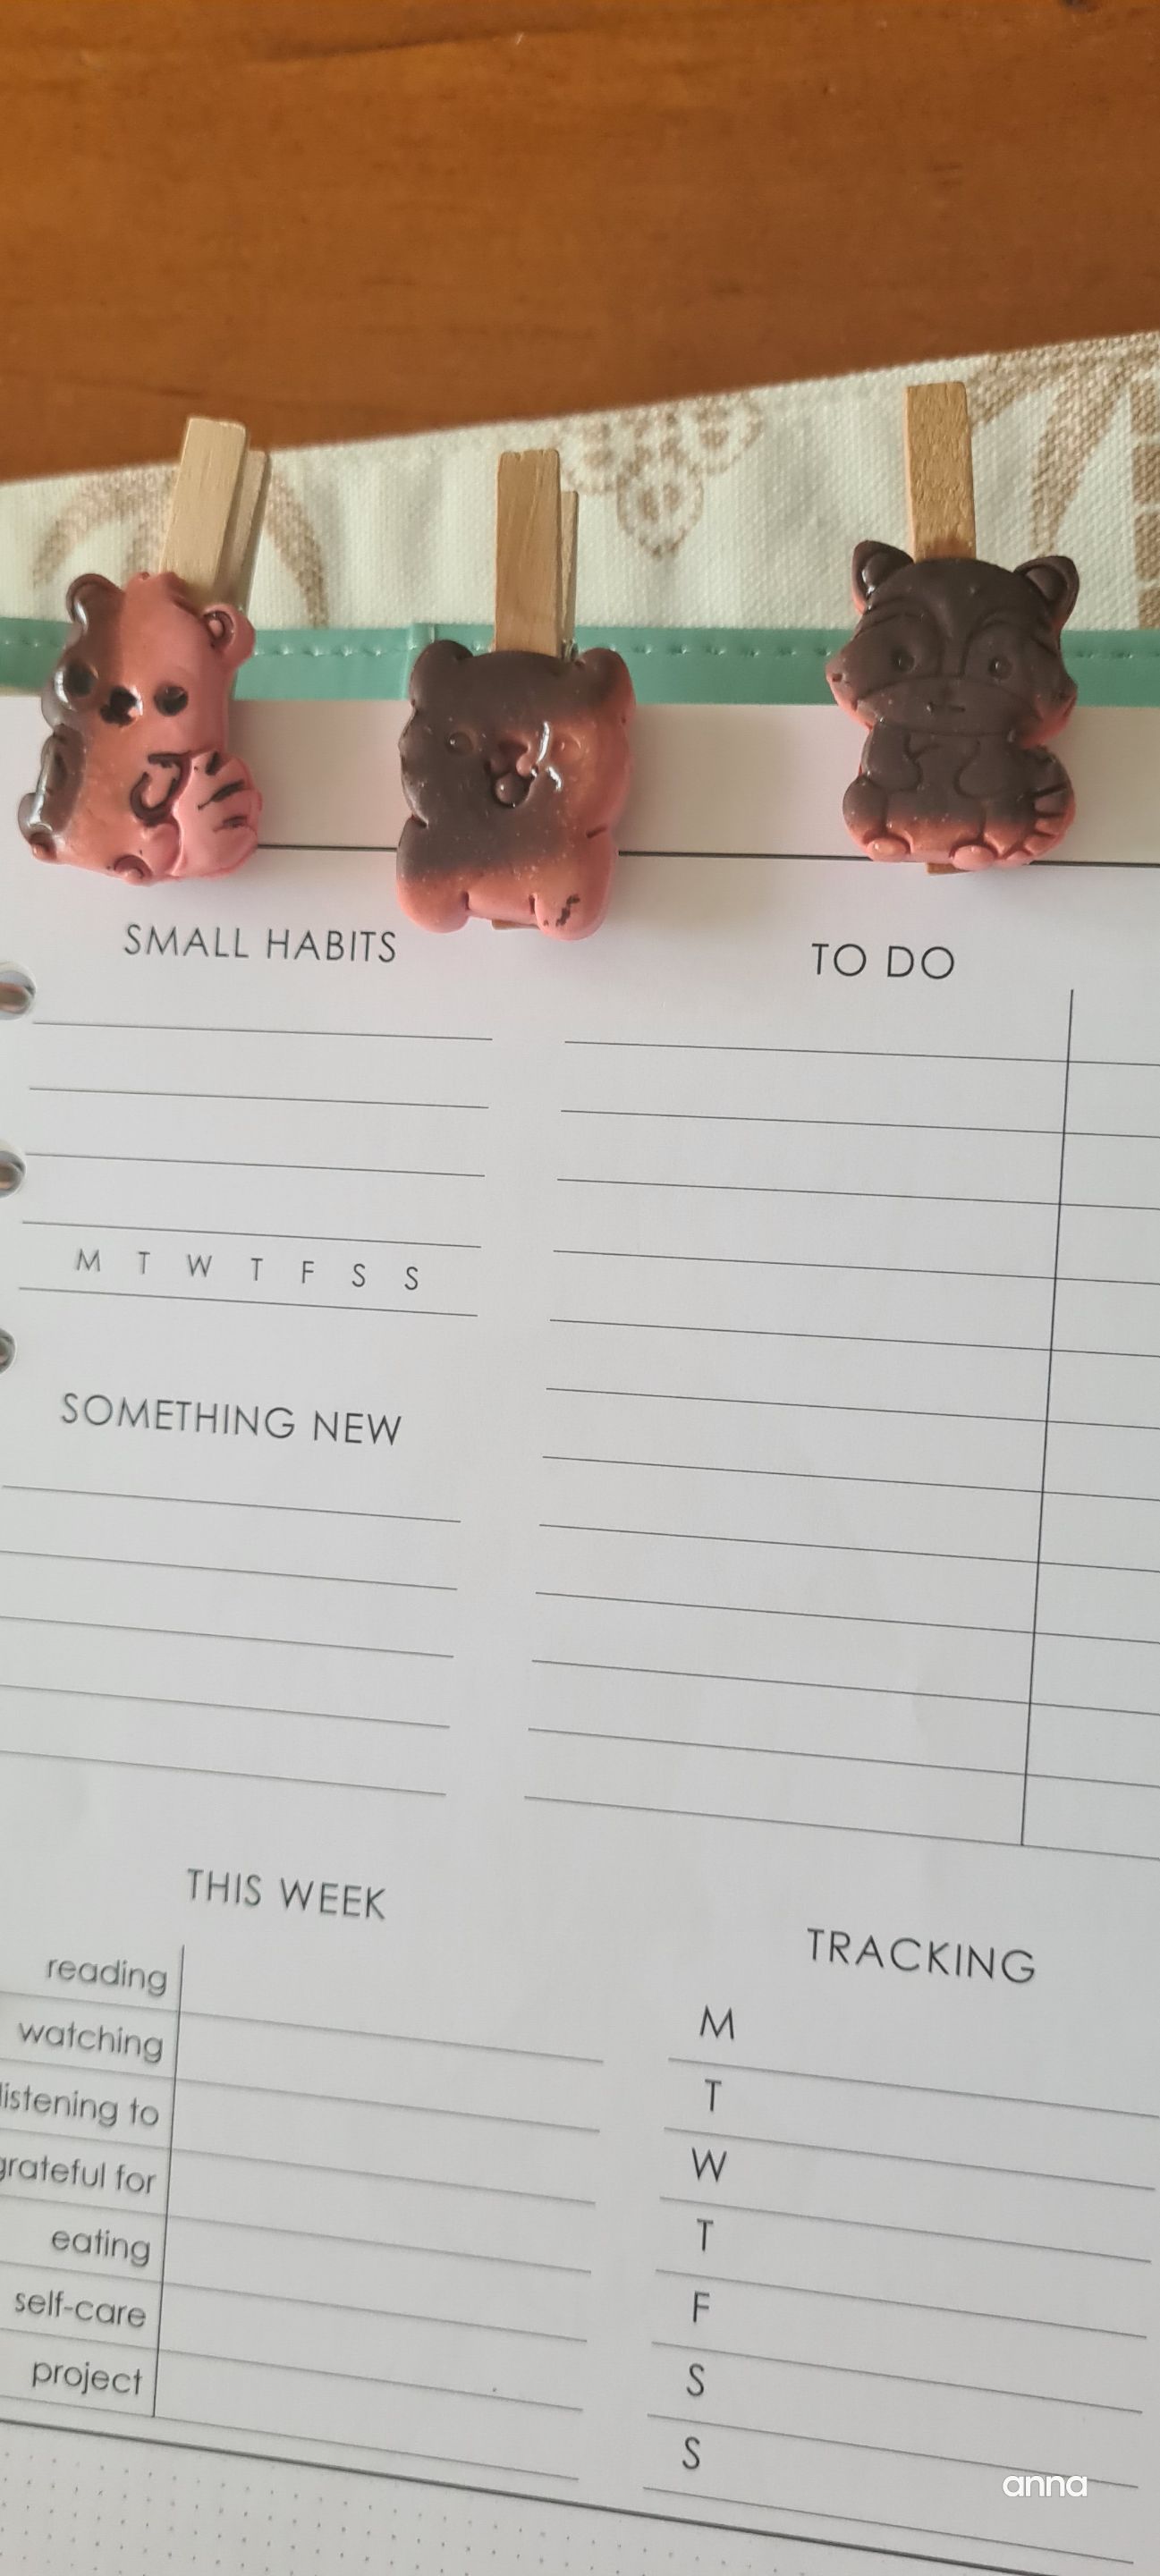
Here is another look on the final product with glaze.