BEARDSNEST MANOR - Construction Of The Chicken Pen - Phase 4 - The Final Steps!
Hi all! It's been a while and lots of things are happening down at Beardsnest Manor! We have finished the chicken coop and already moved onto new and exciting projects! But today I want to close the chapter to our chicken coop construction! It's been an ongoing project of ours for a few months!
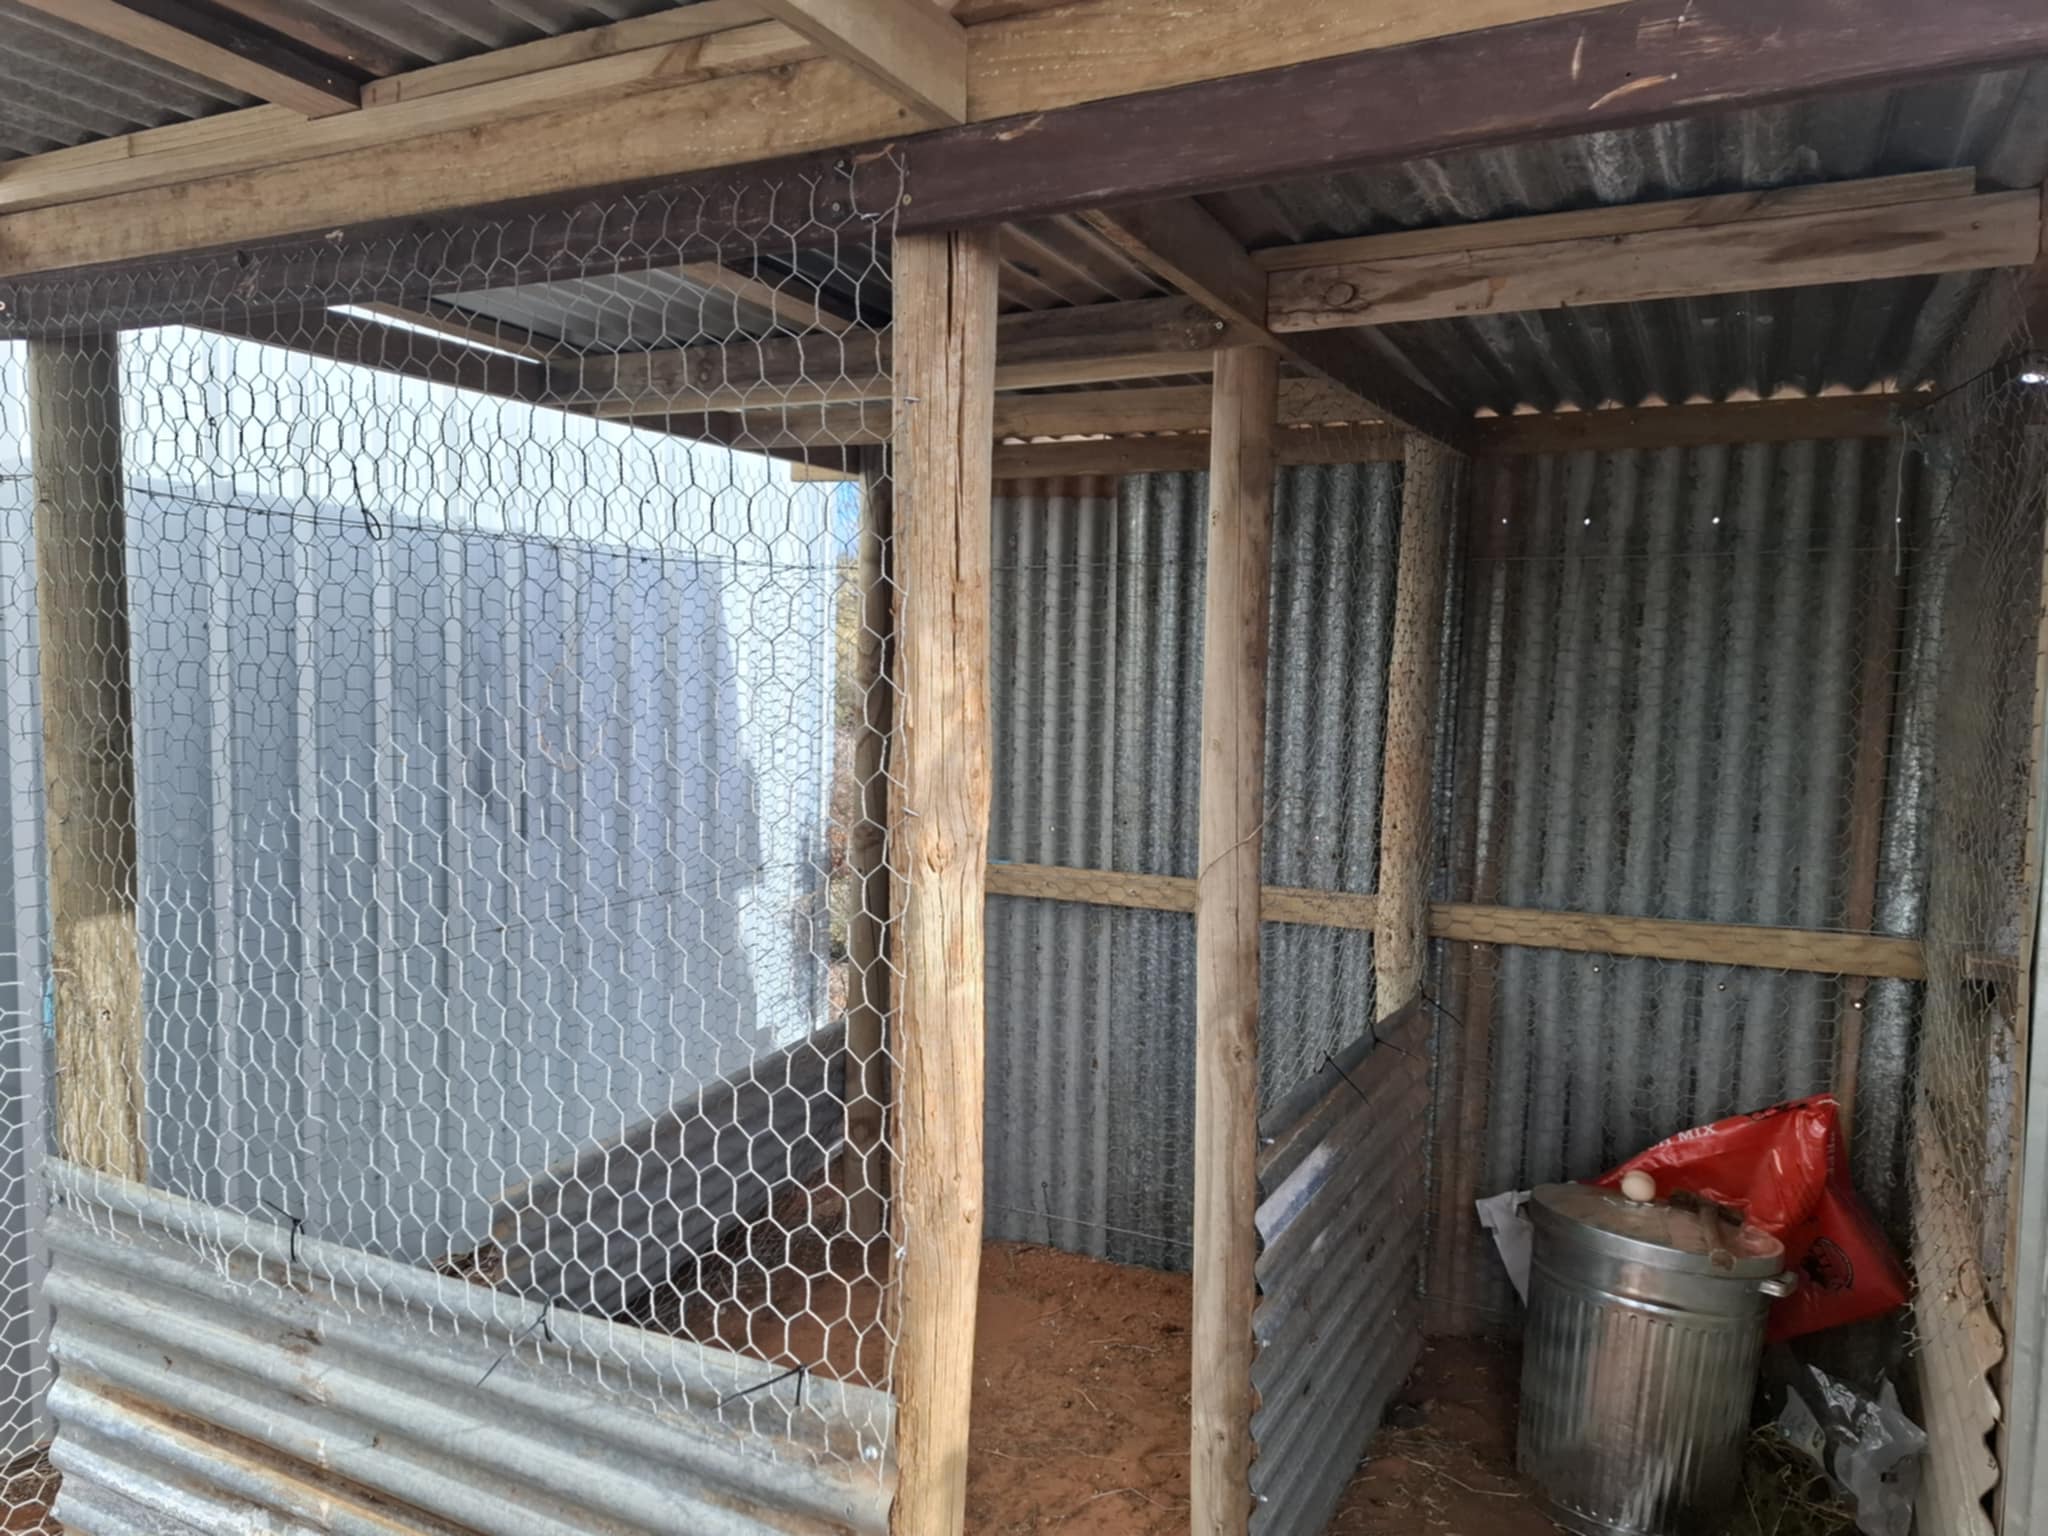
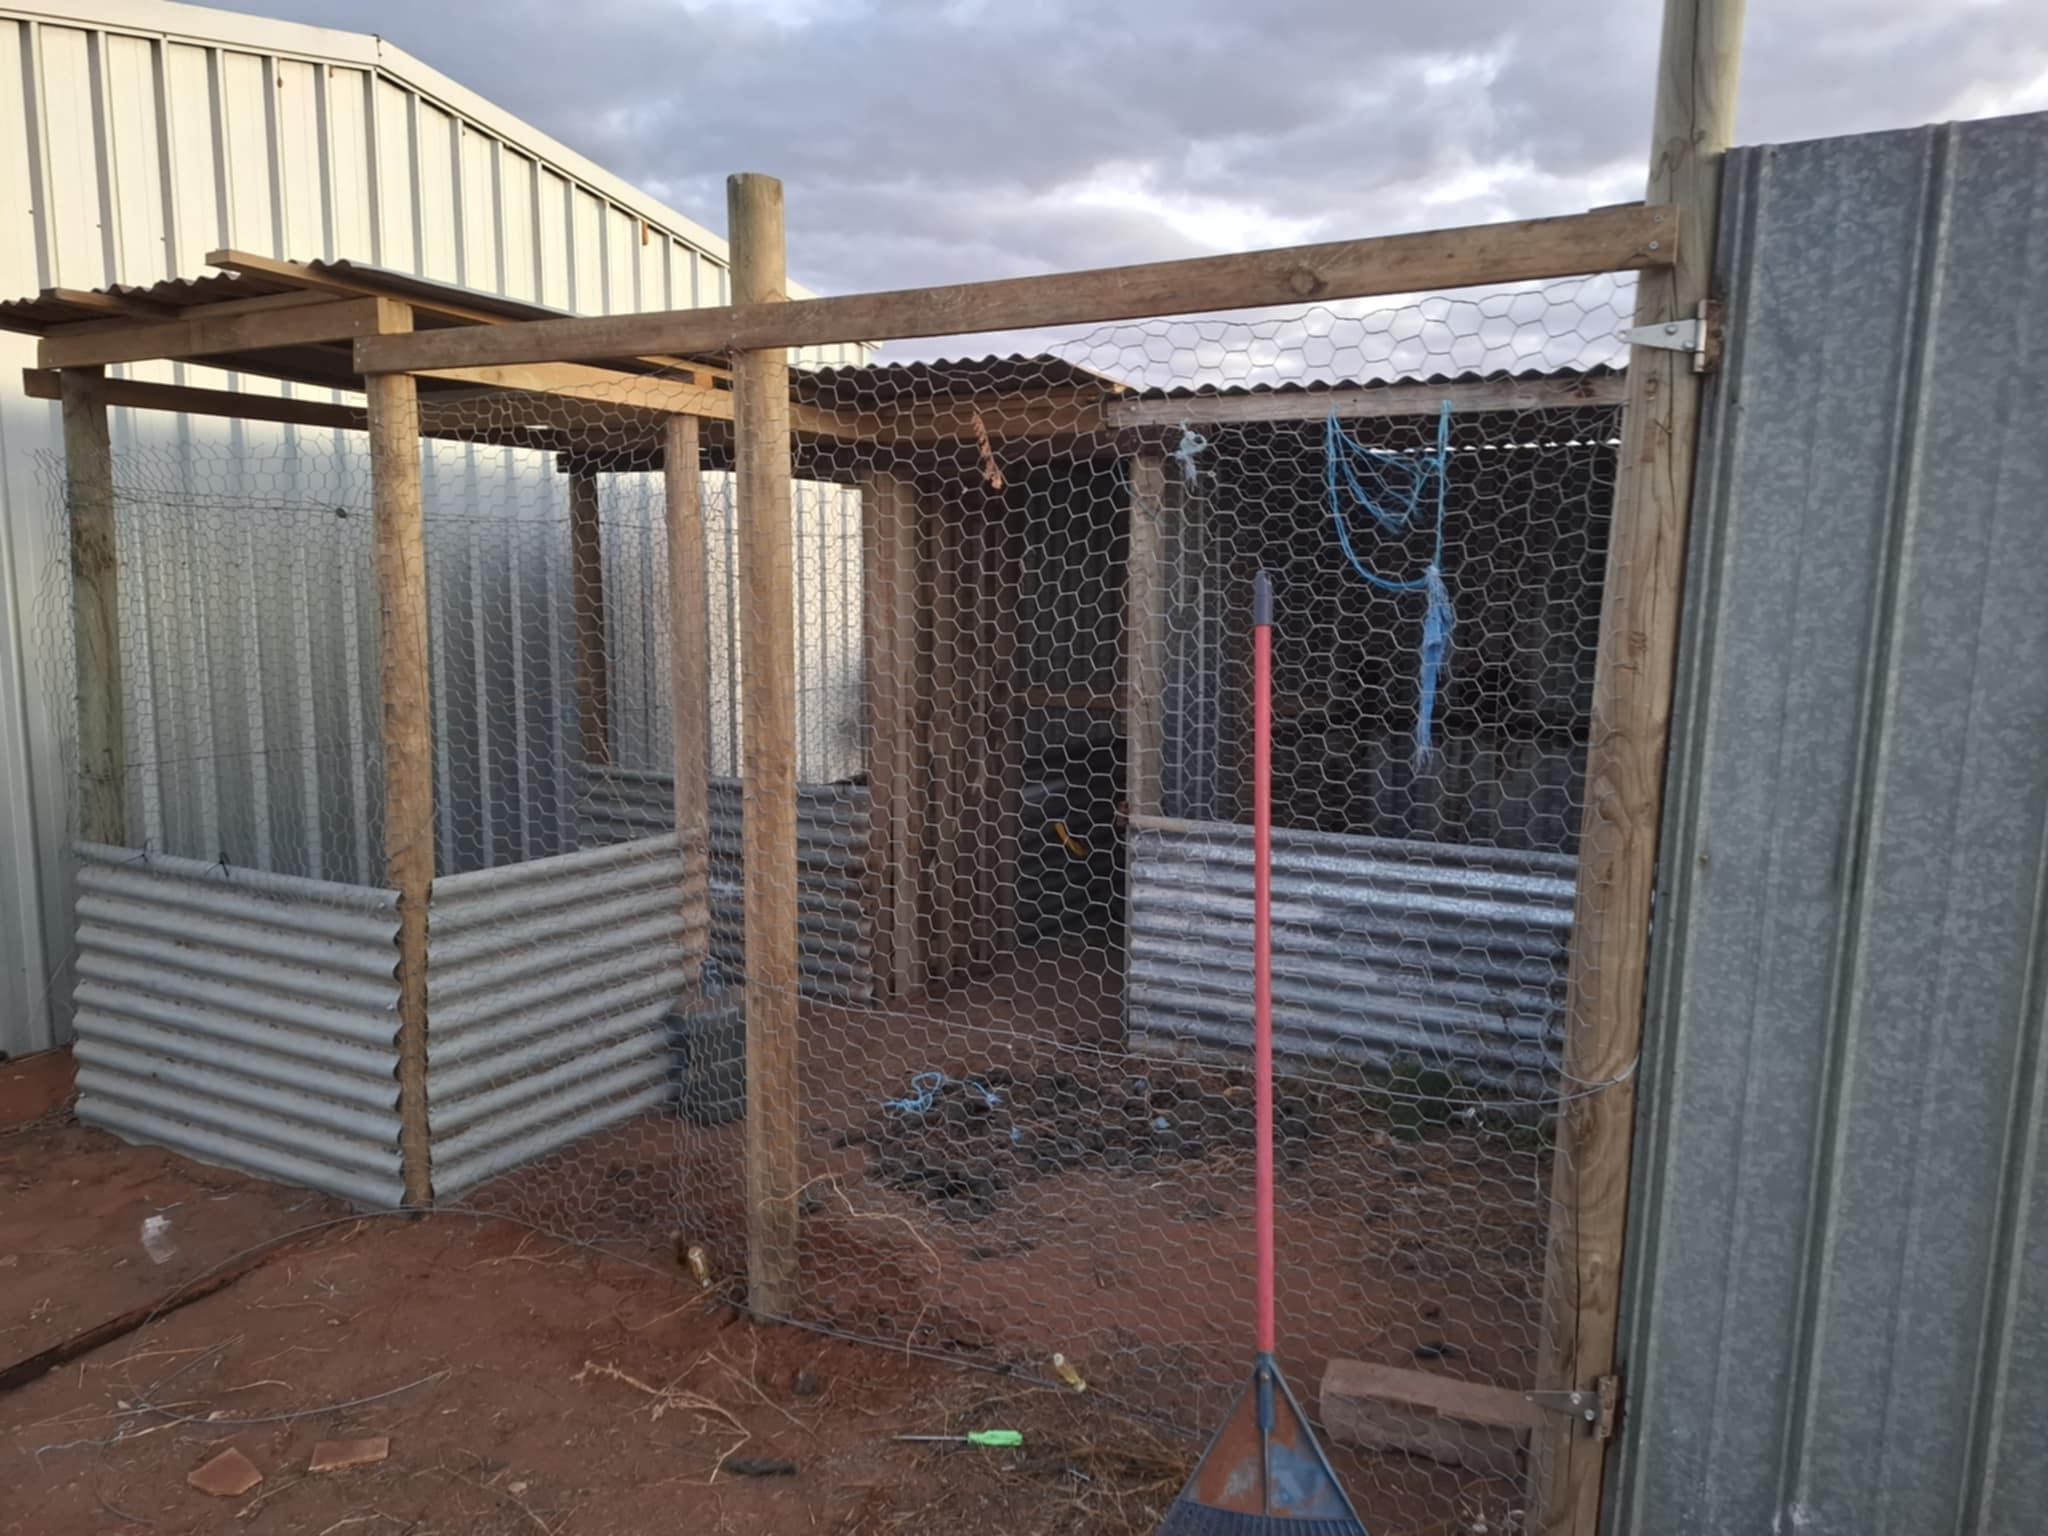
Step 1 - Tin sheeting the exterior and interior
The first step was to use an ankle grinder to measure out the sheets required to install. After cutting the sheets, I installed them after digging a small trench to partially bury 10cm underground. This is to prevent foxes and snakes penetrating the pen!
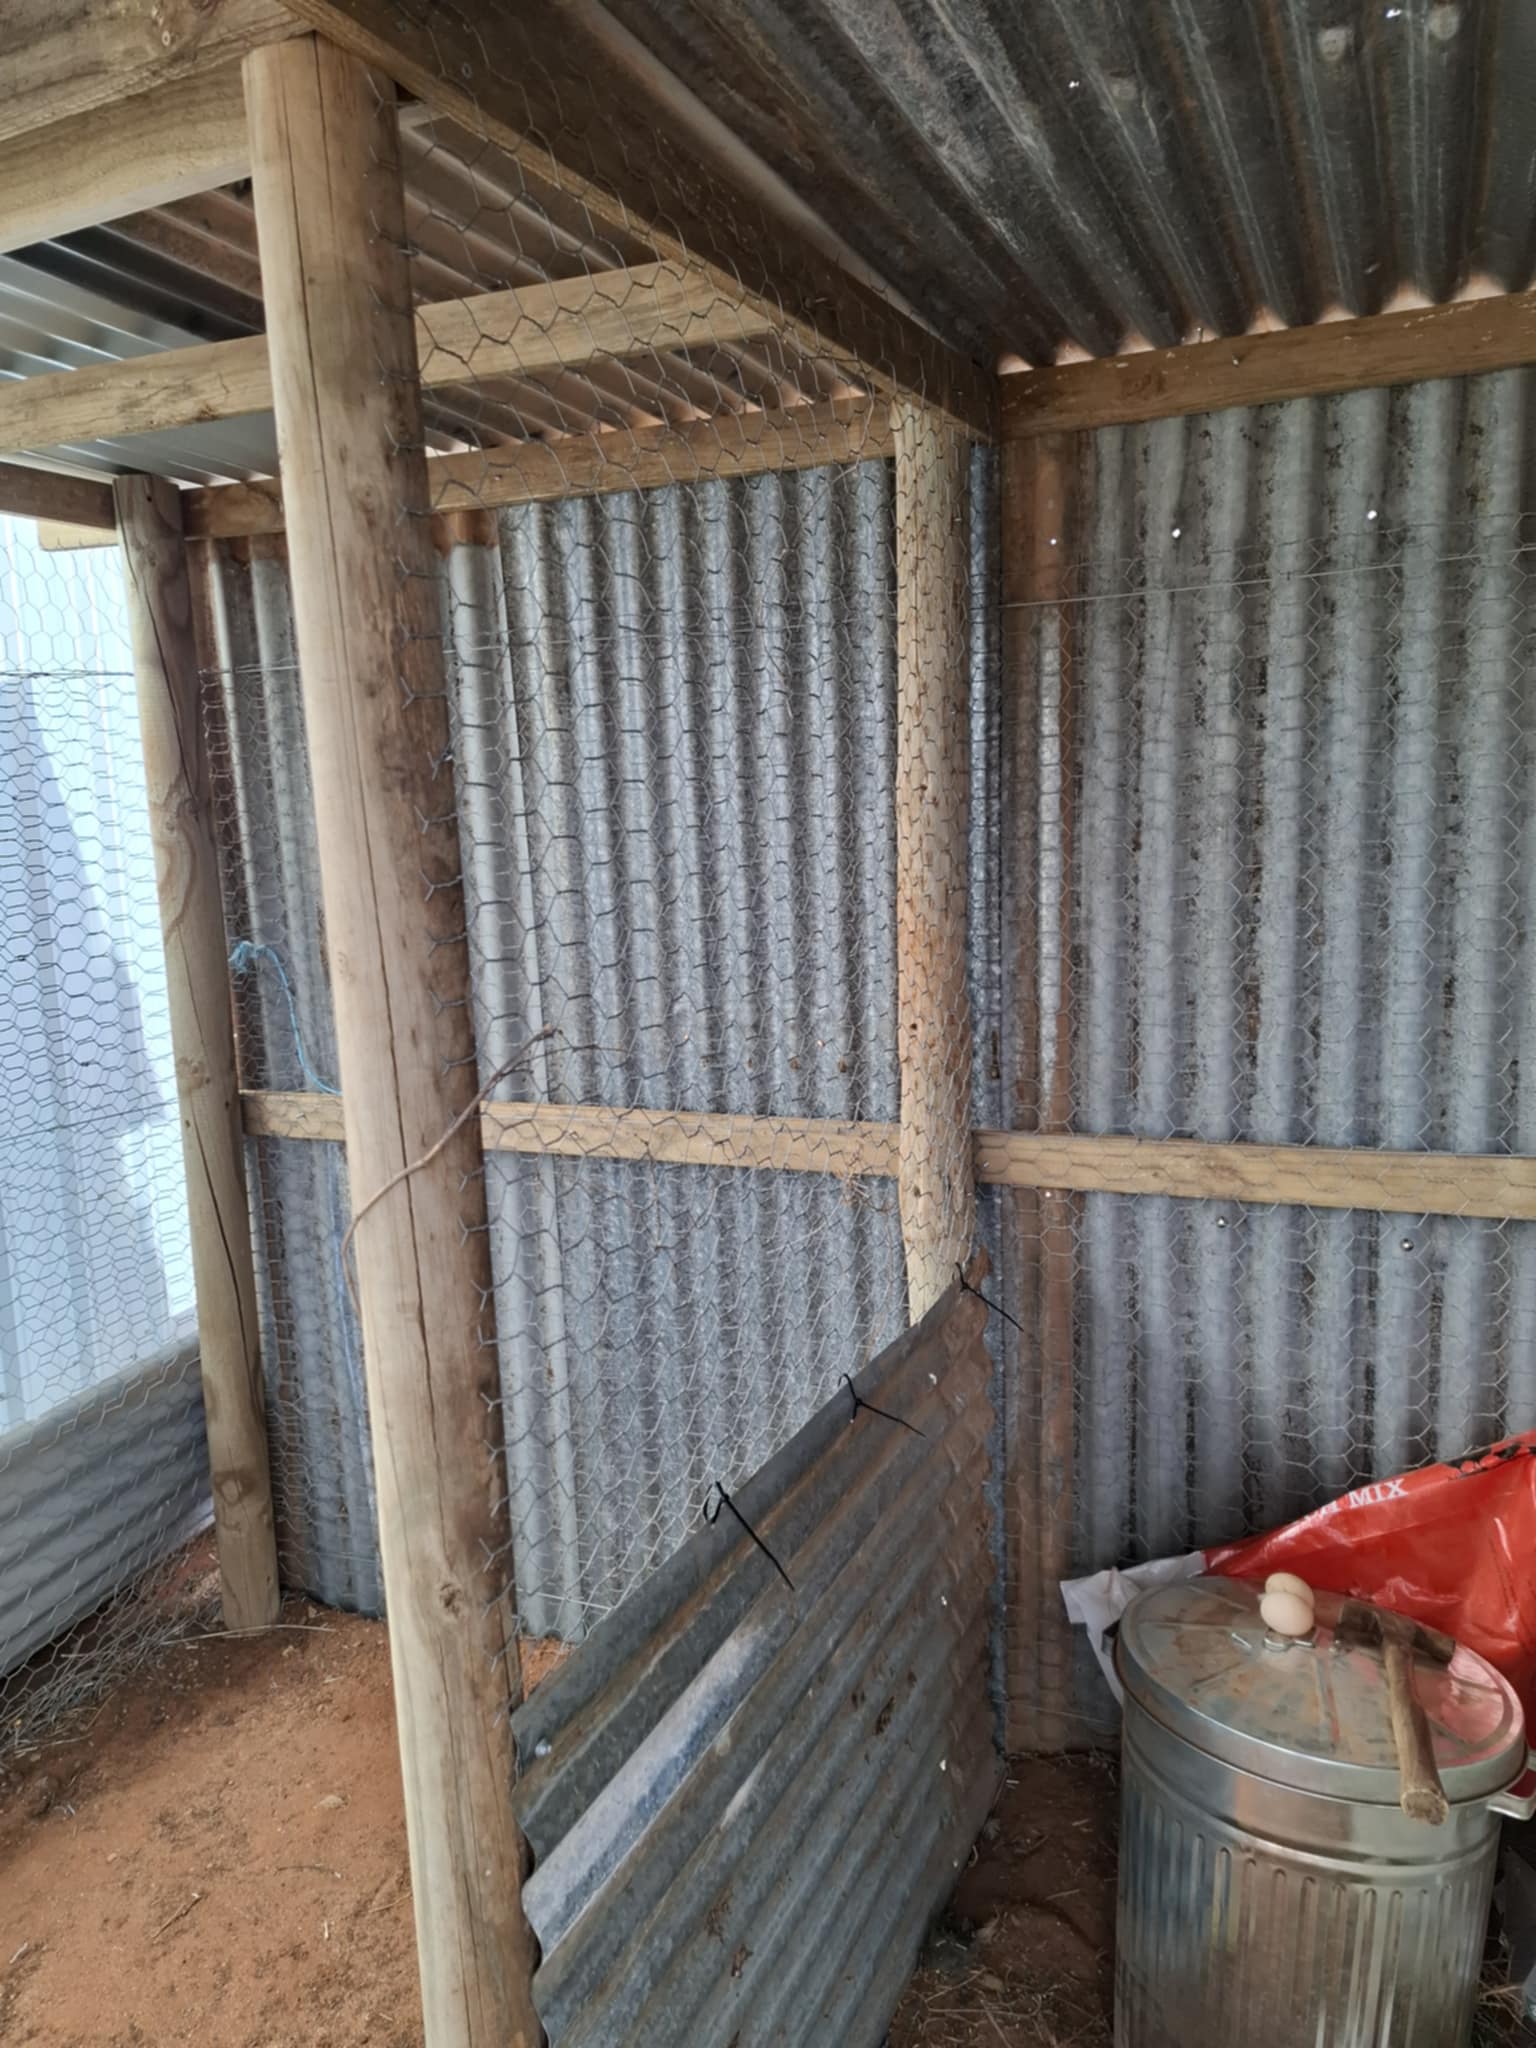
Once these were nailed in with roofing timber screws, I set about the task of cutting some of the remaining chicken wire to build a fence and seal the interior pens.
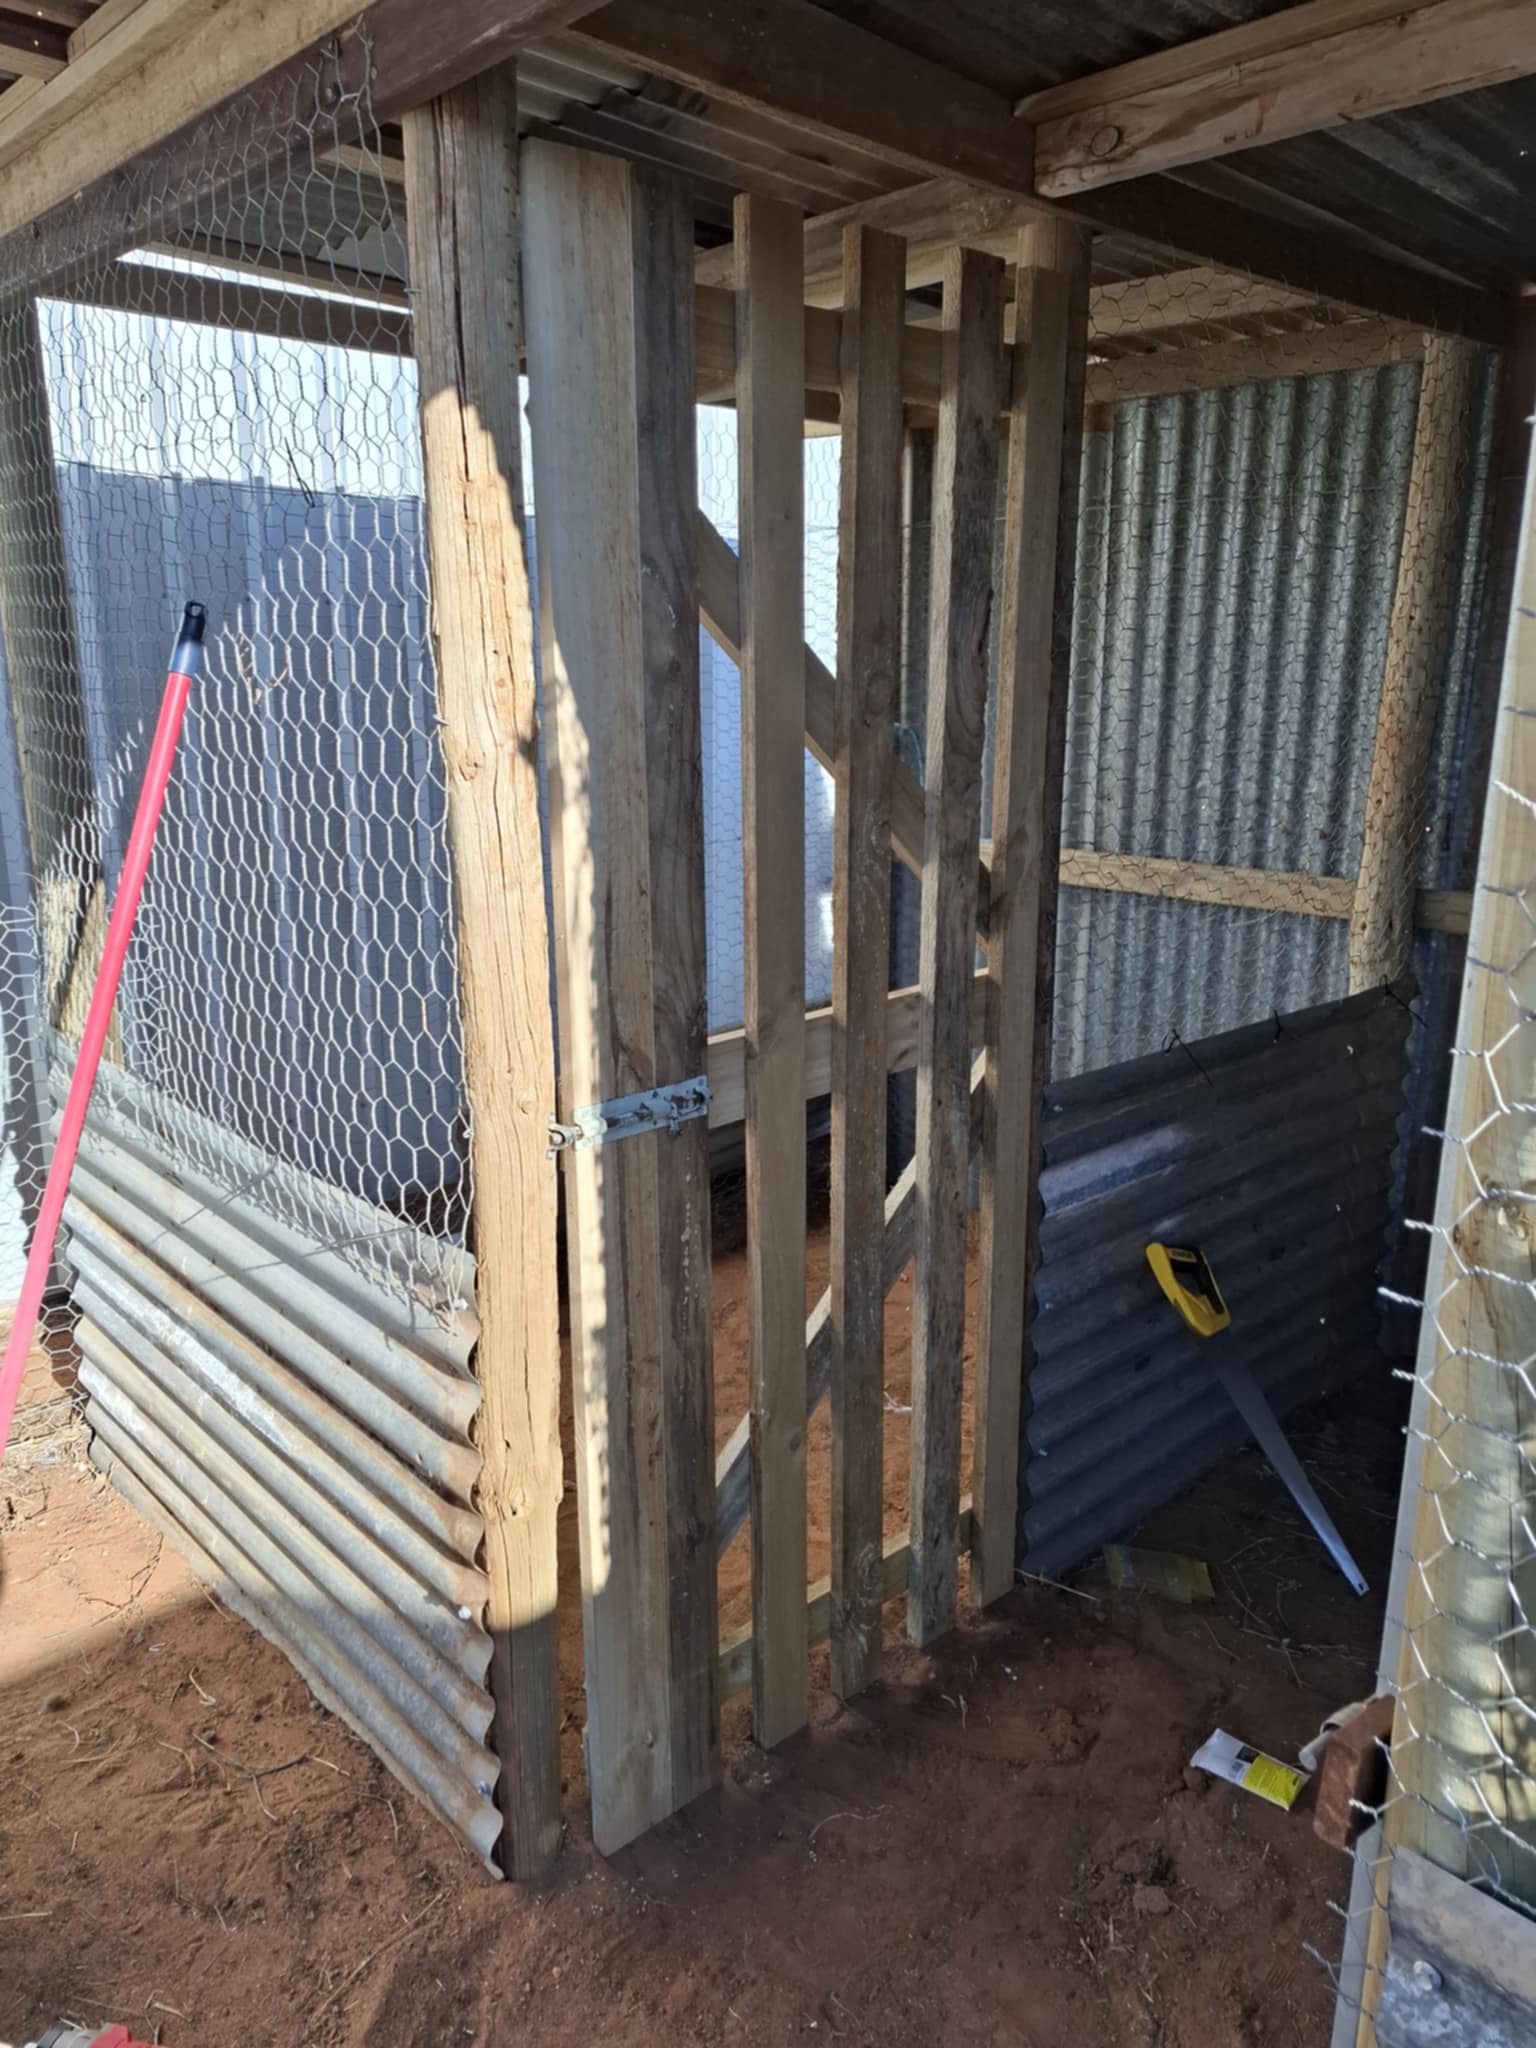
Step 2 - Building A Chicken Coop Door On A Budget
One thing we are all noticing is the cost of everything in todays world. A standard shed or coop door can cost anywhere between $100-$300! But never fear I found a way to build one for as little as 1/4 of the cost and a couple of hours of effort!
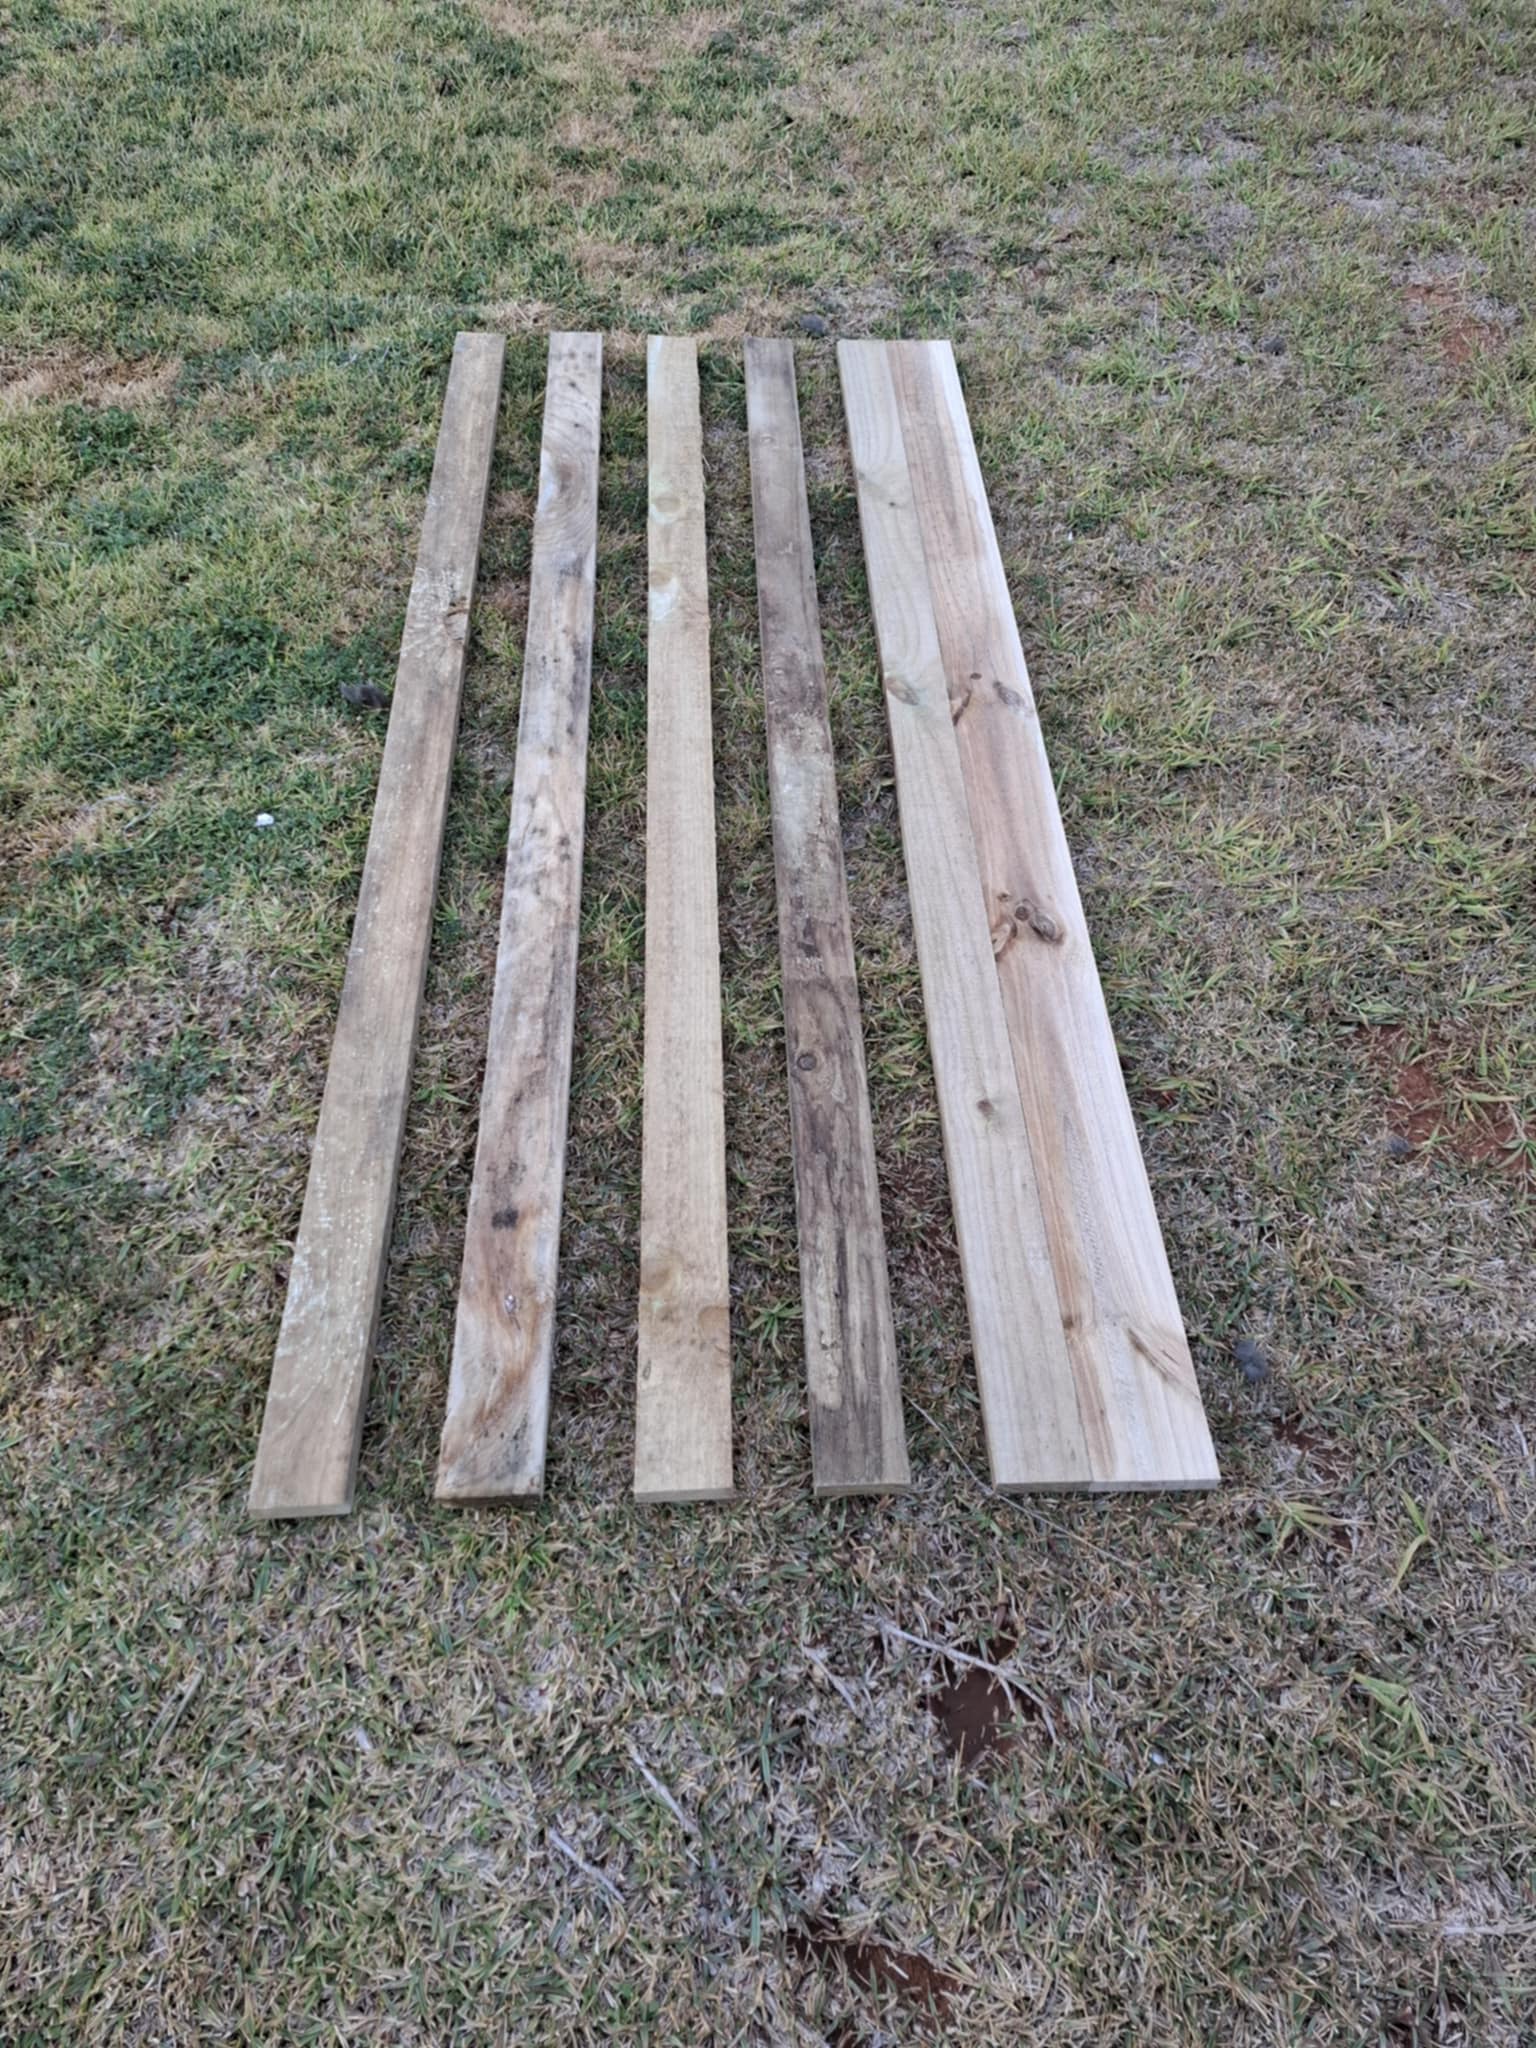
Step 2.1 Using a simple saw and tape measure I cut several lengths of wood to 1.8m using and additional thicker piece to sure up where I would use the latch. Note this is the backside of what will be the door and reversed.
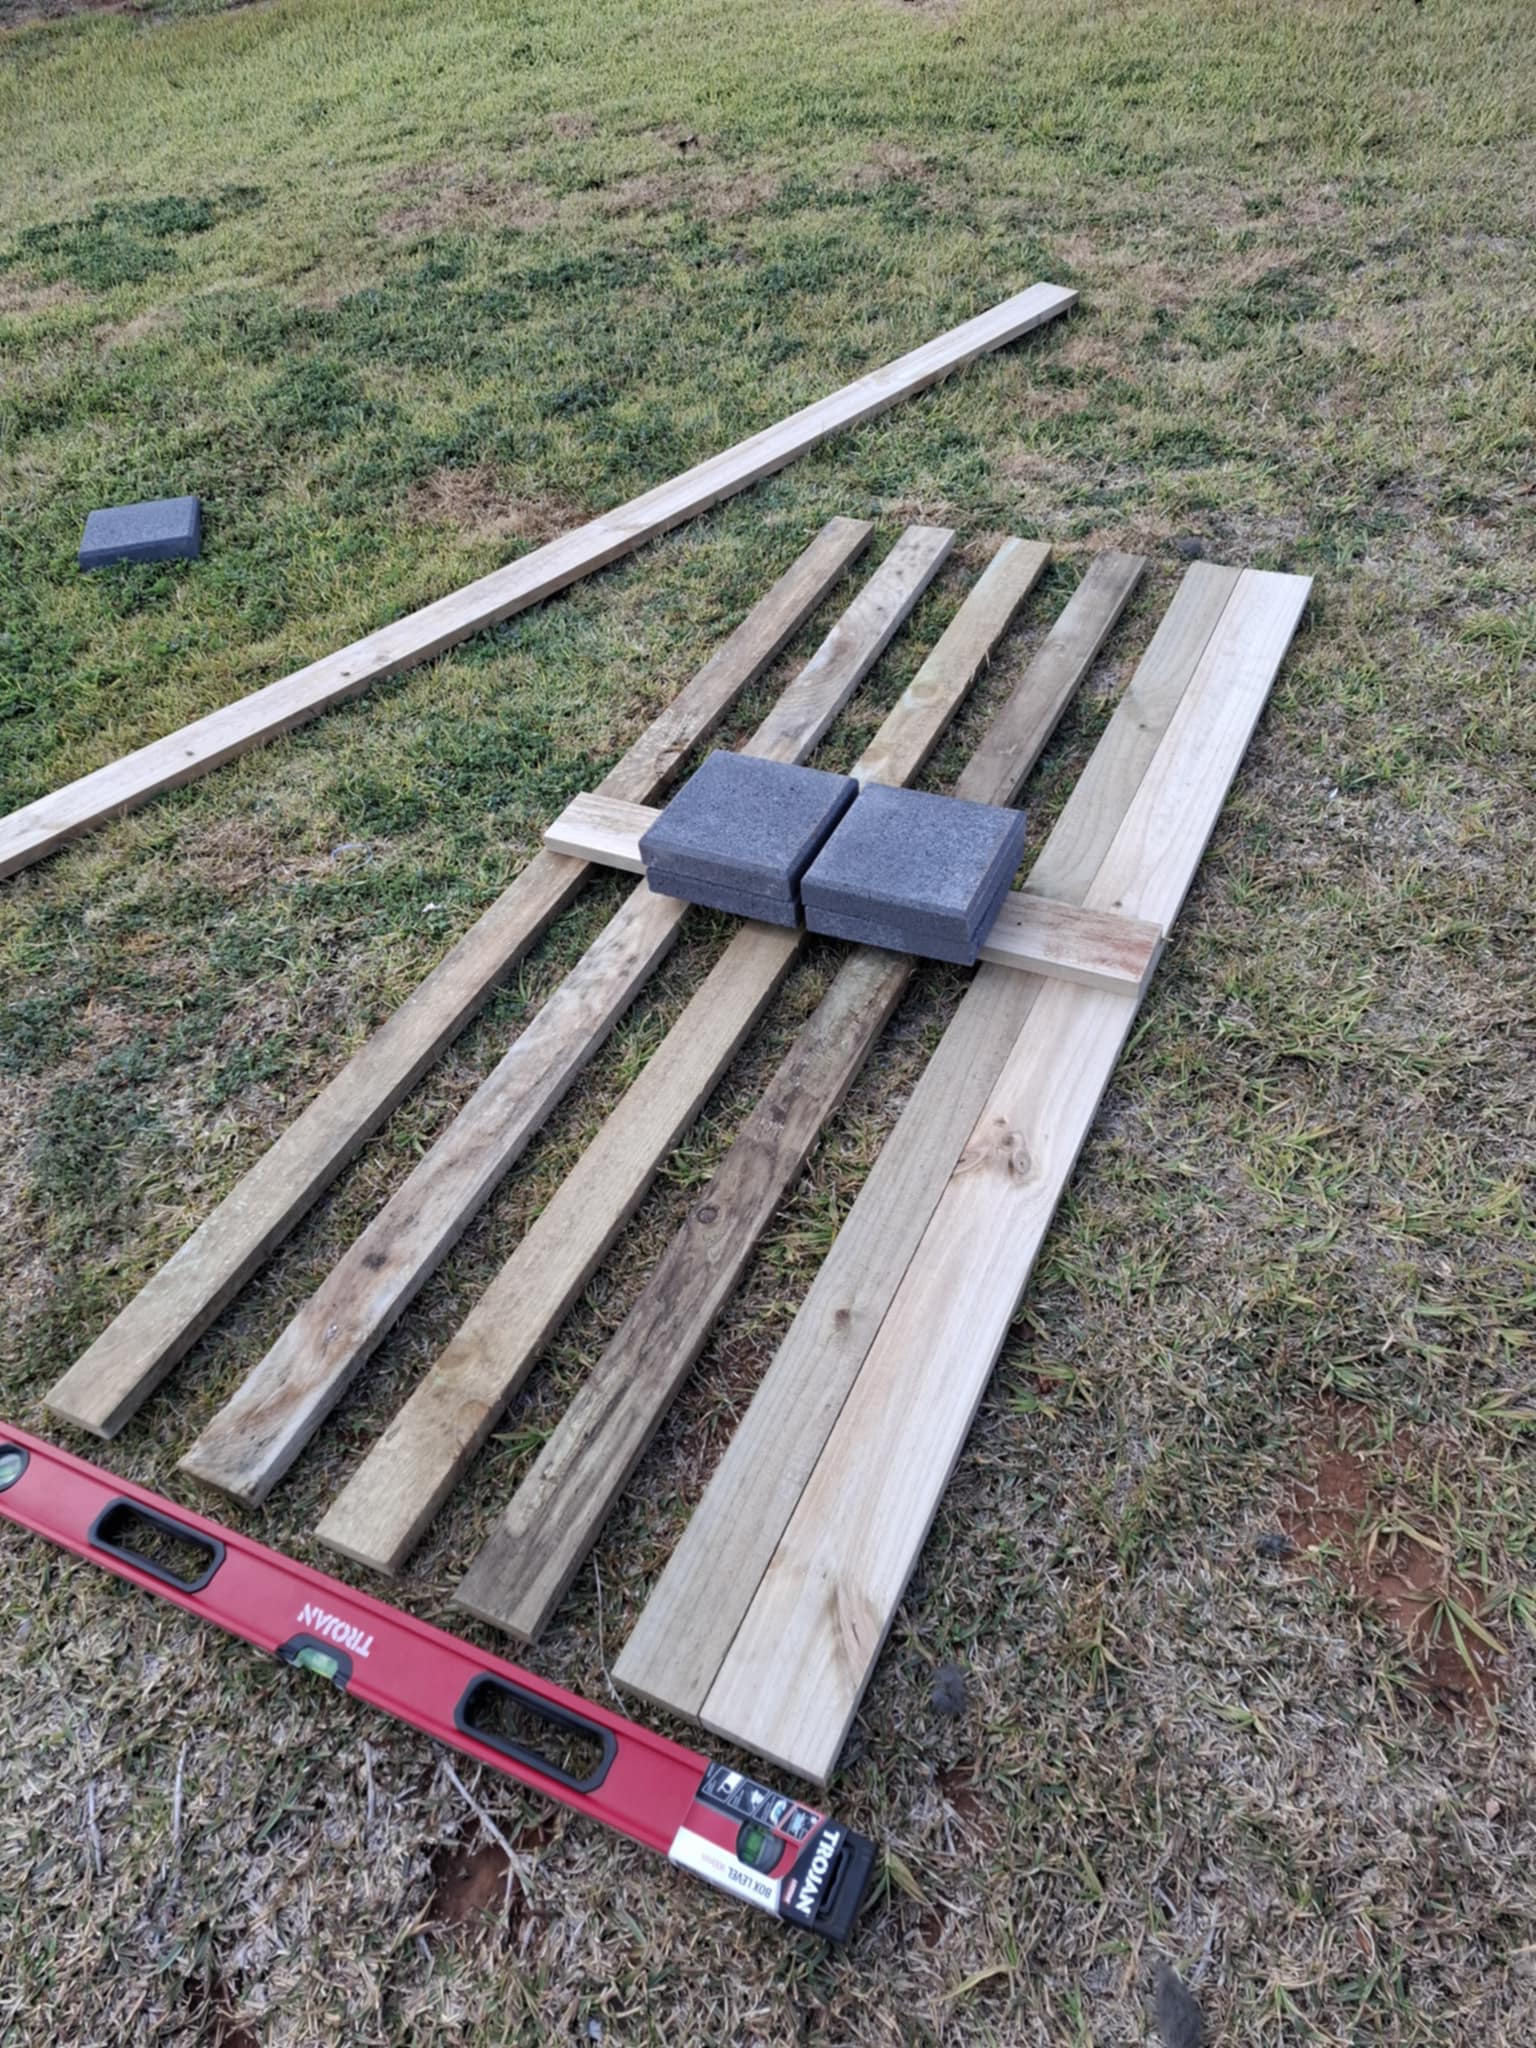
Step 2.2 The center beam was also a thicker offcut and would serve at the location of the lock in reverse but also to hold the pre-measued 80cm width of the door.
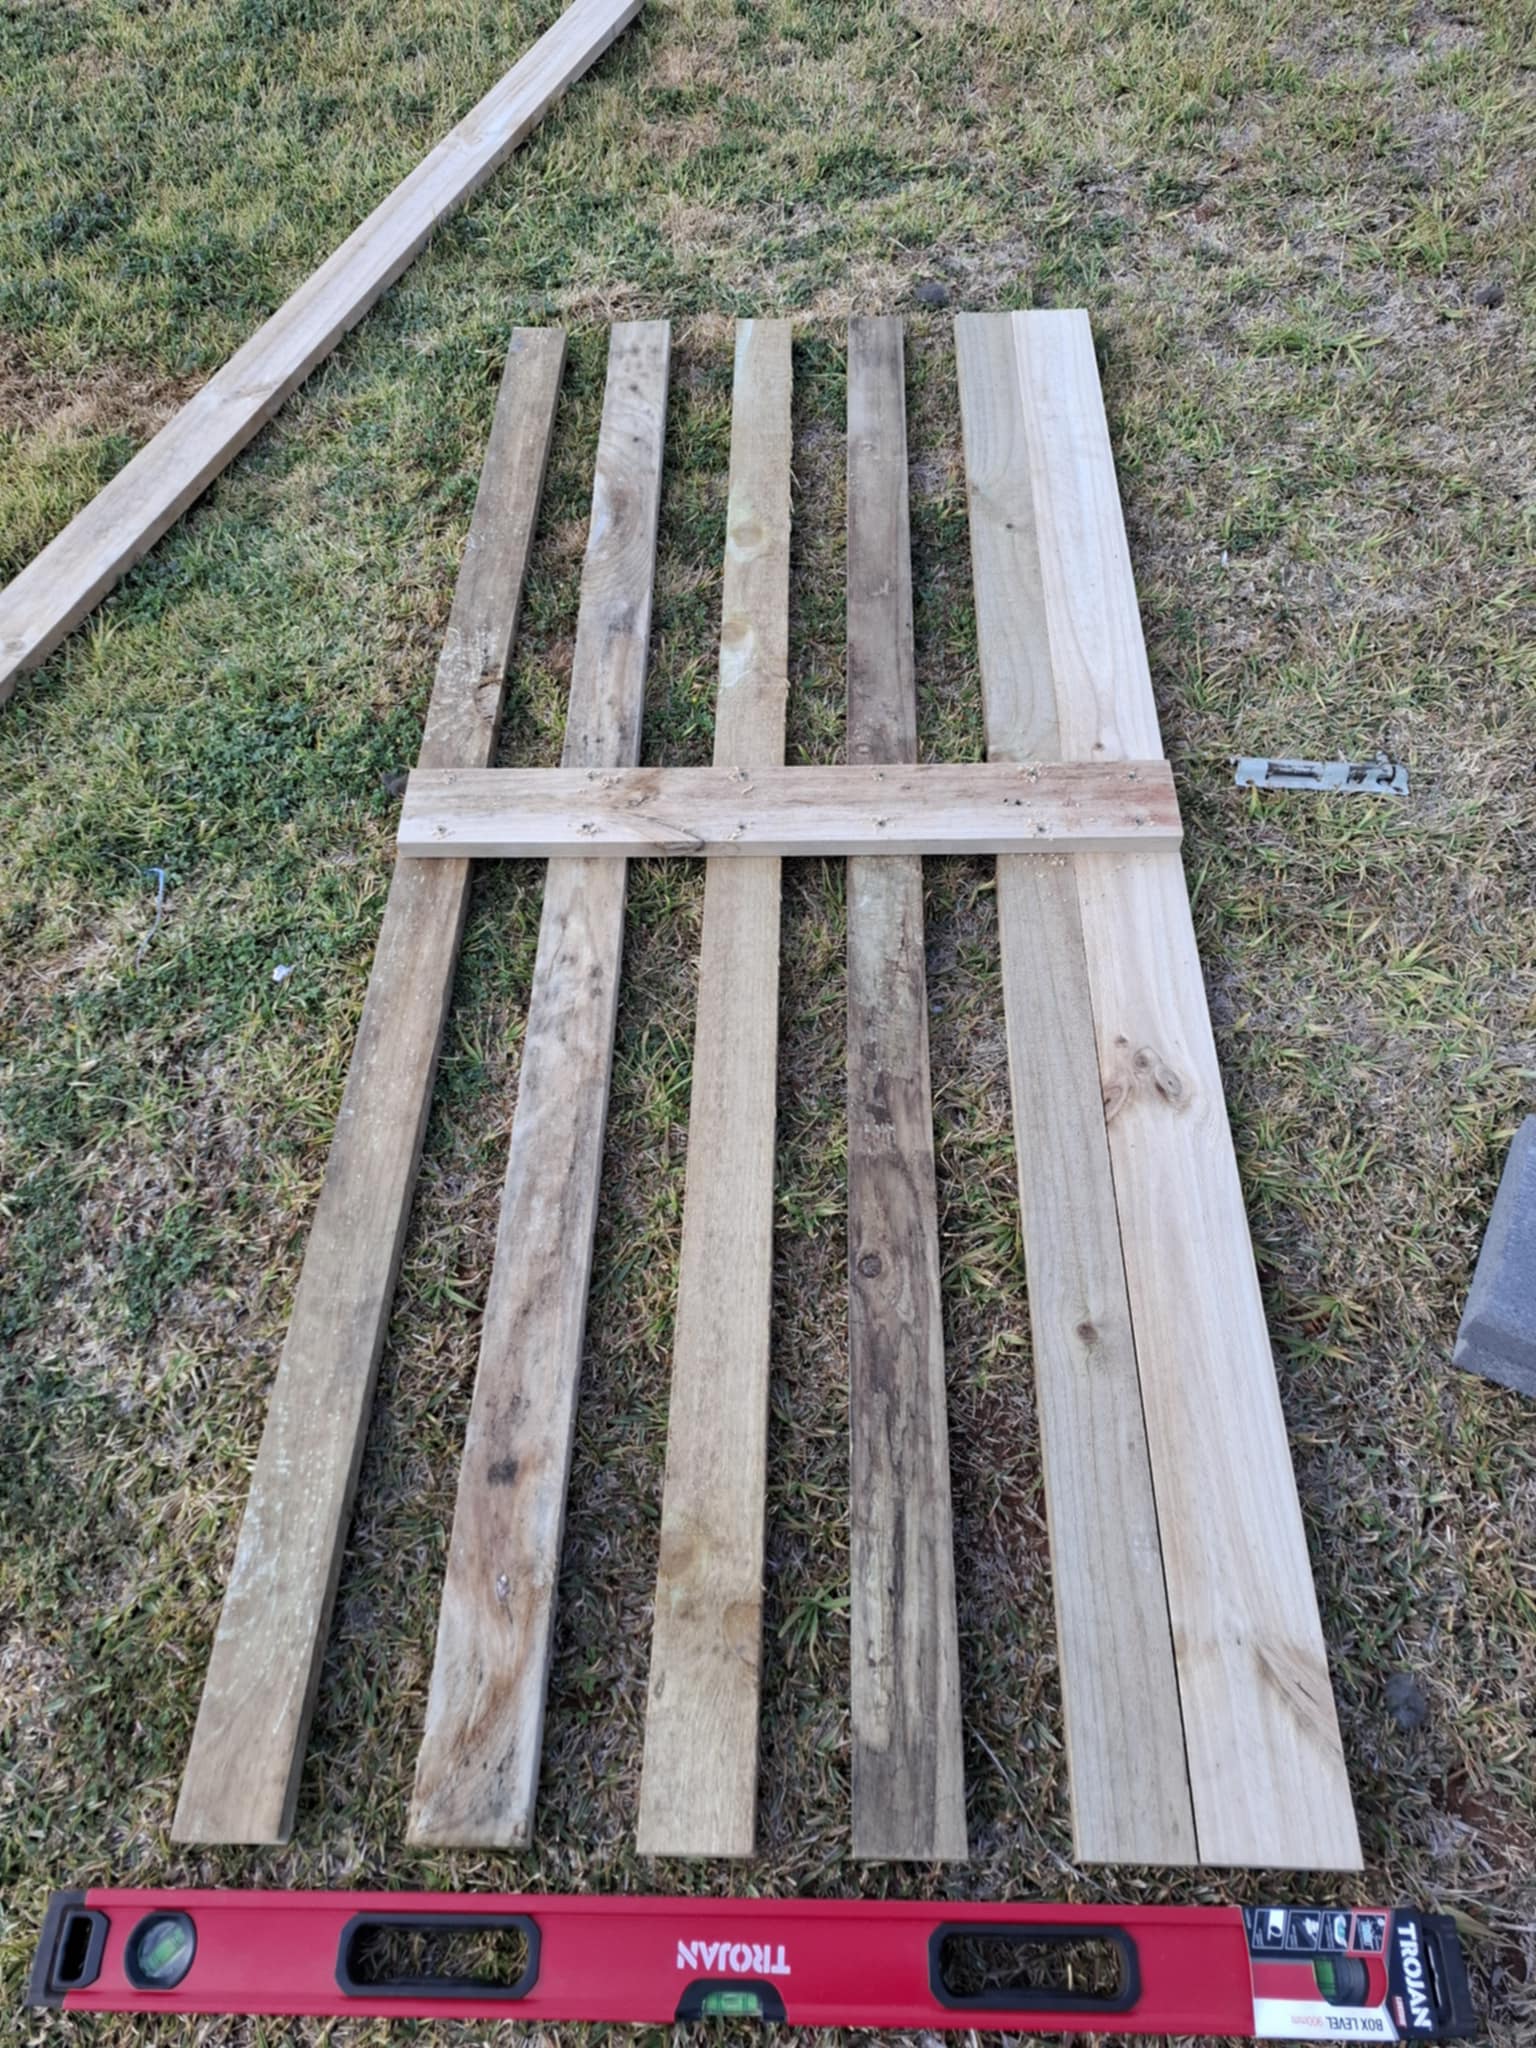
Step 2.3 Using some more planks, I was able to secure the top and bottom and using some additional supports. I carefully created a couple of angled planks to make the door solid.

Step 2.4 The easier part of making a door is the hinging. Using some 85mm loose pin hinges, I seated the door!
Step 2.5 Once the door was hinged, using an old lock and some pipe saddle, I created the lock! Sure it's not perfect, but it was a proud moment for me!
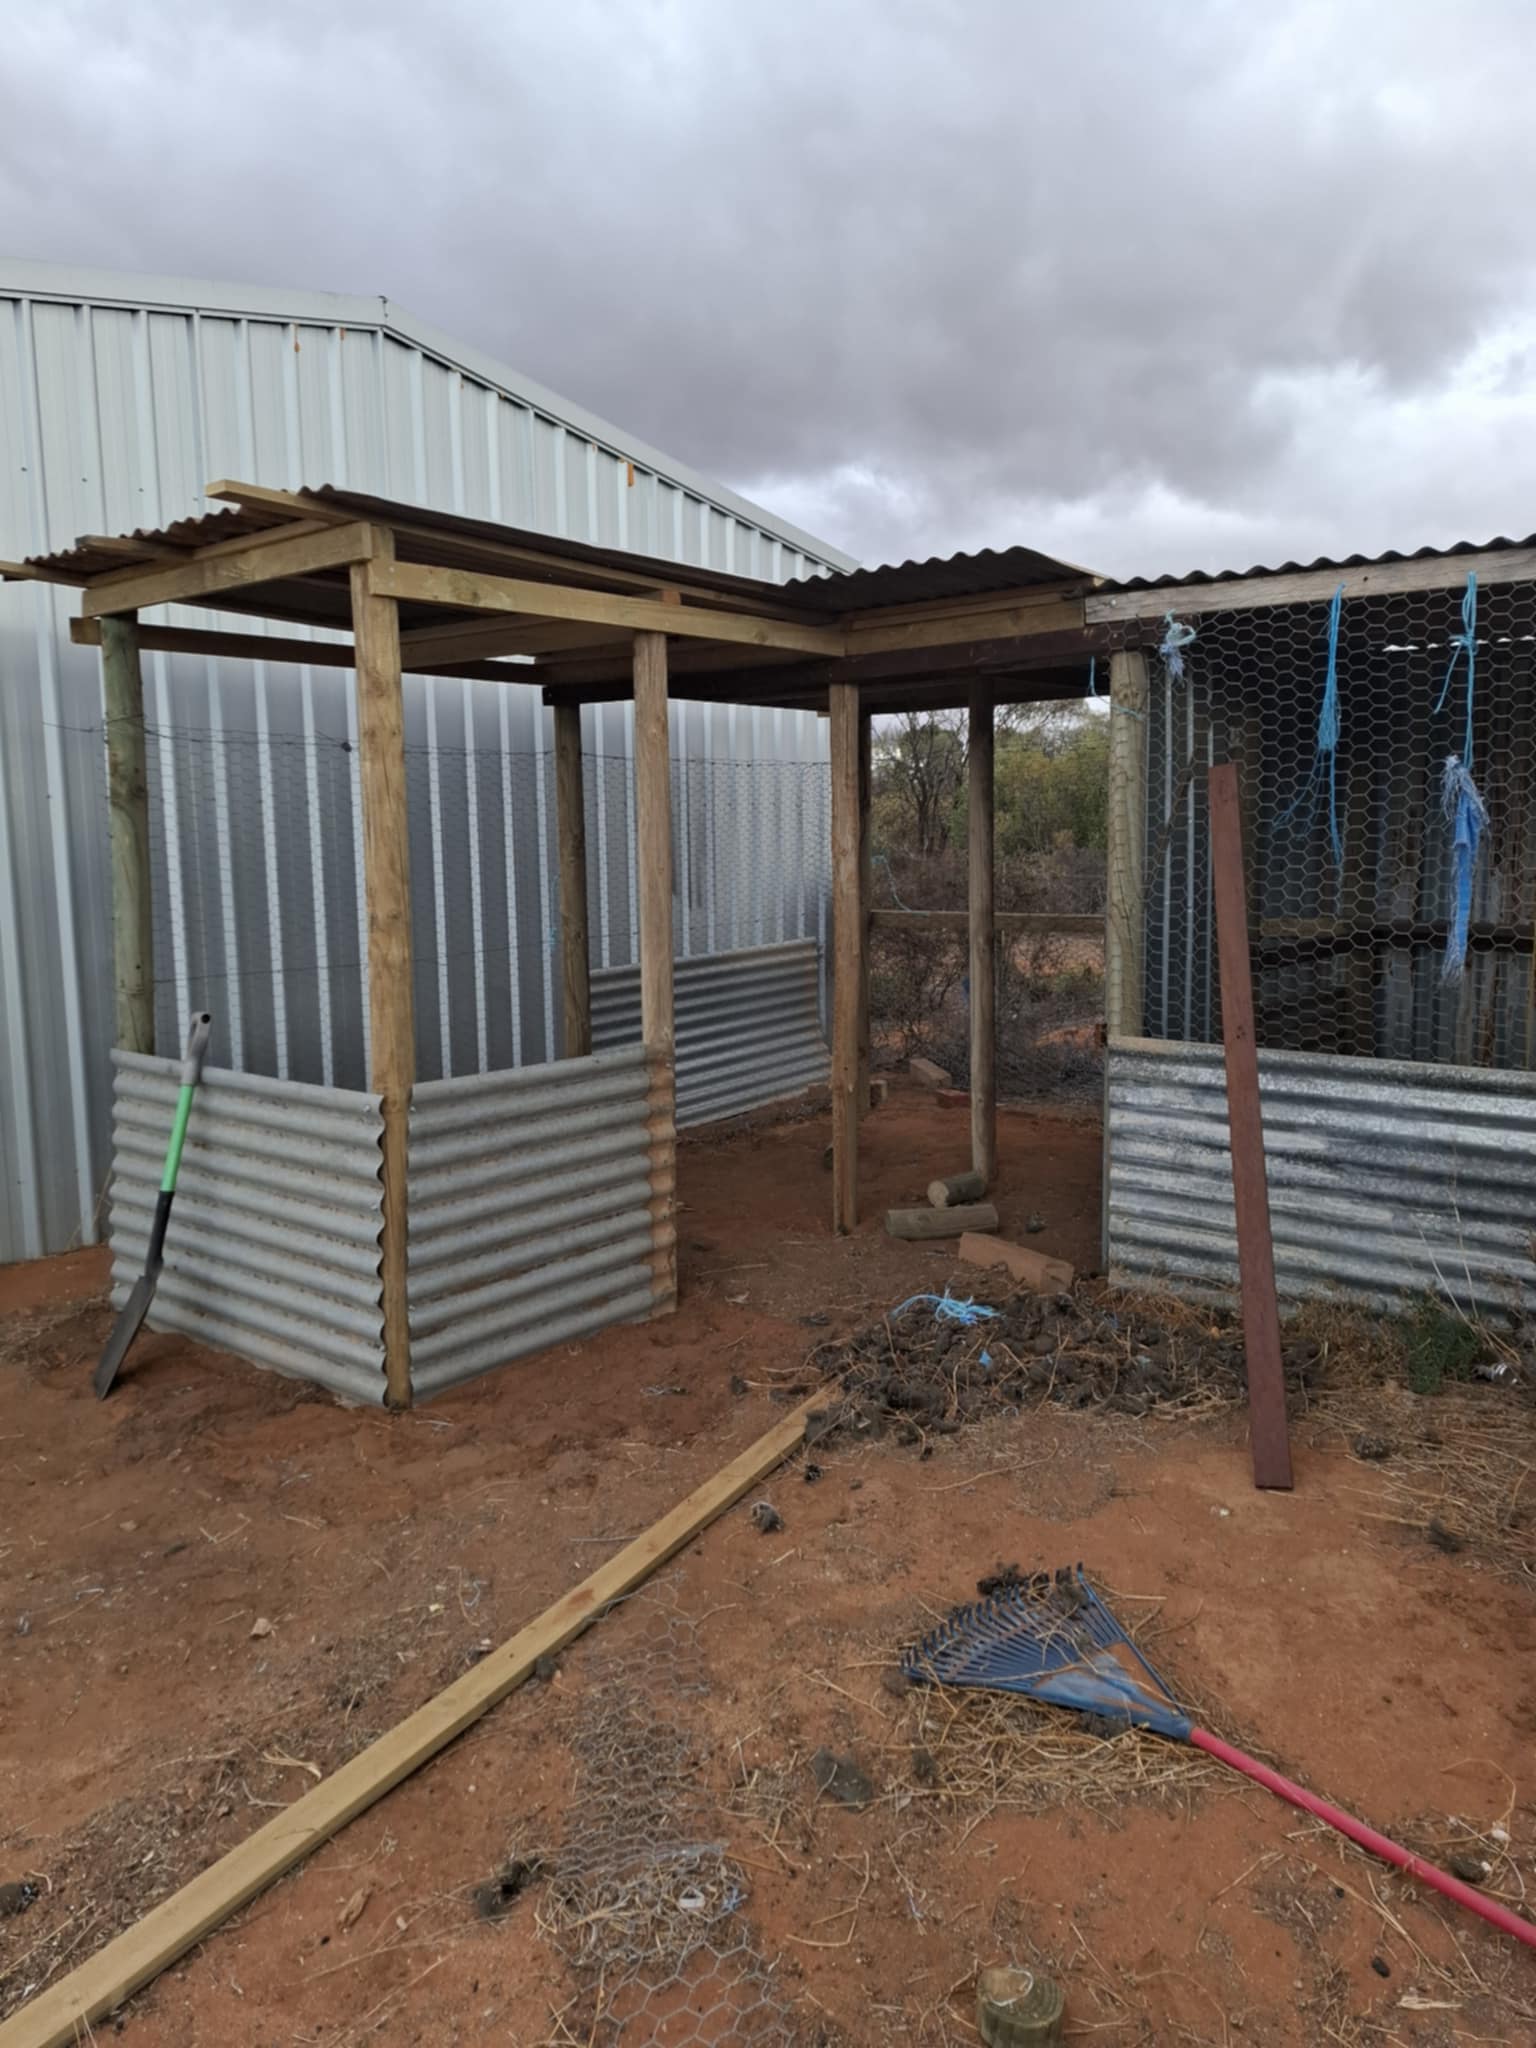
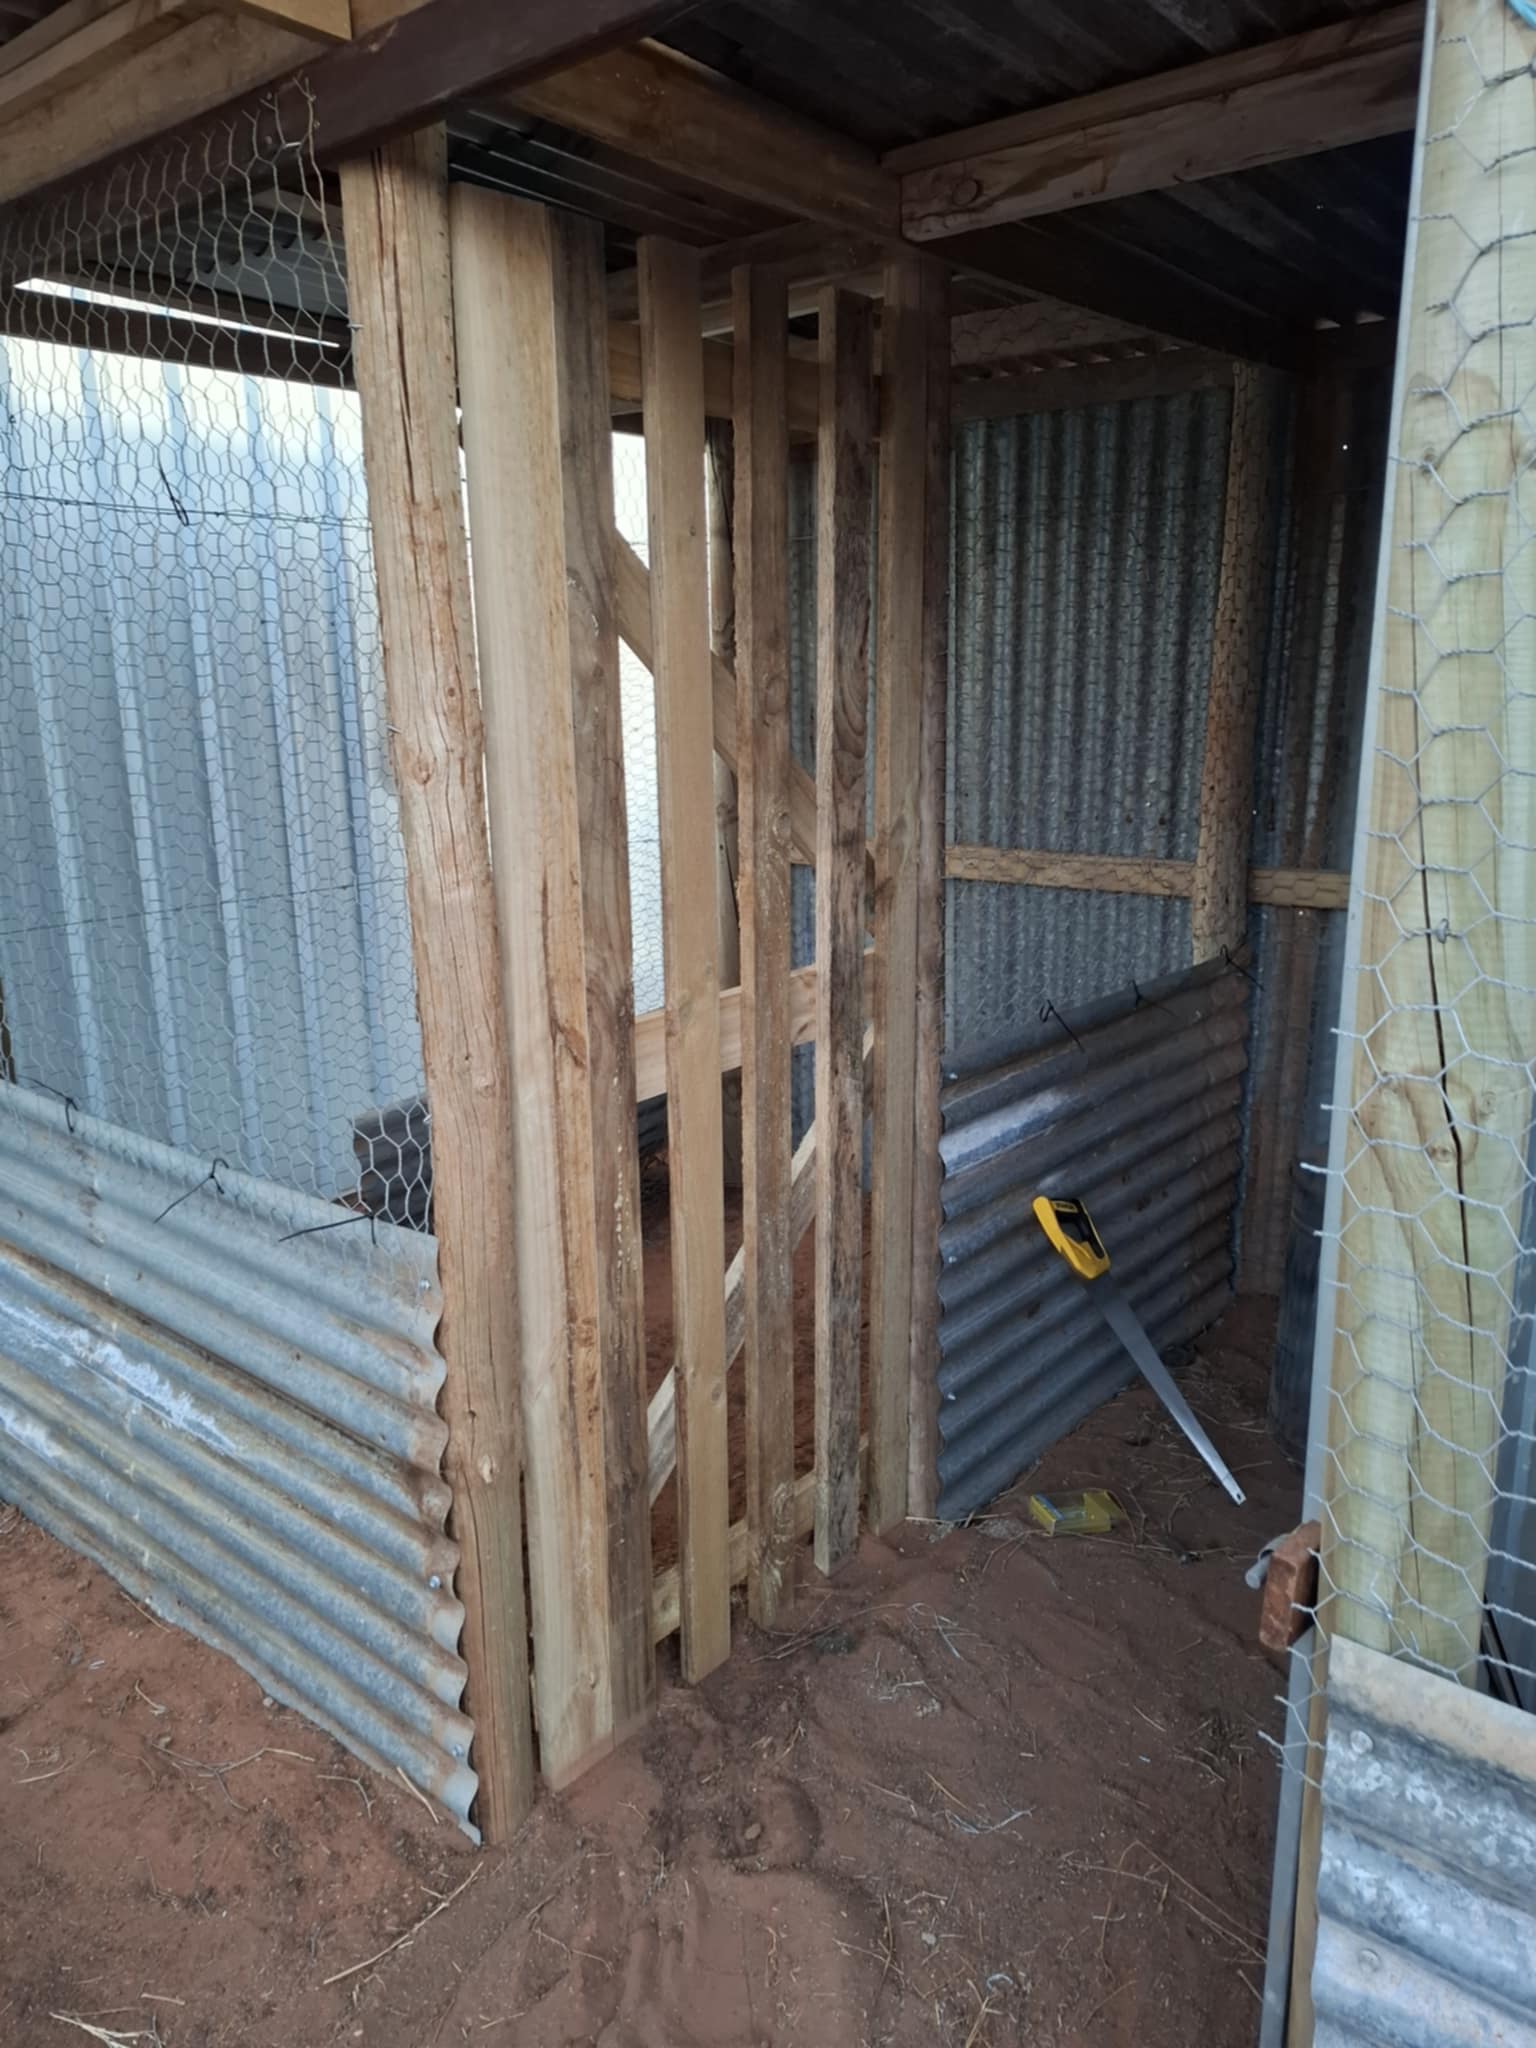
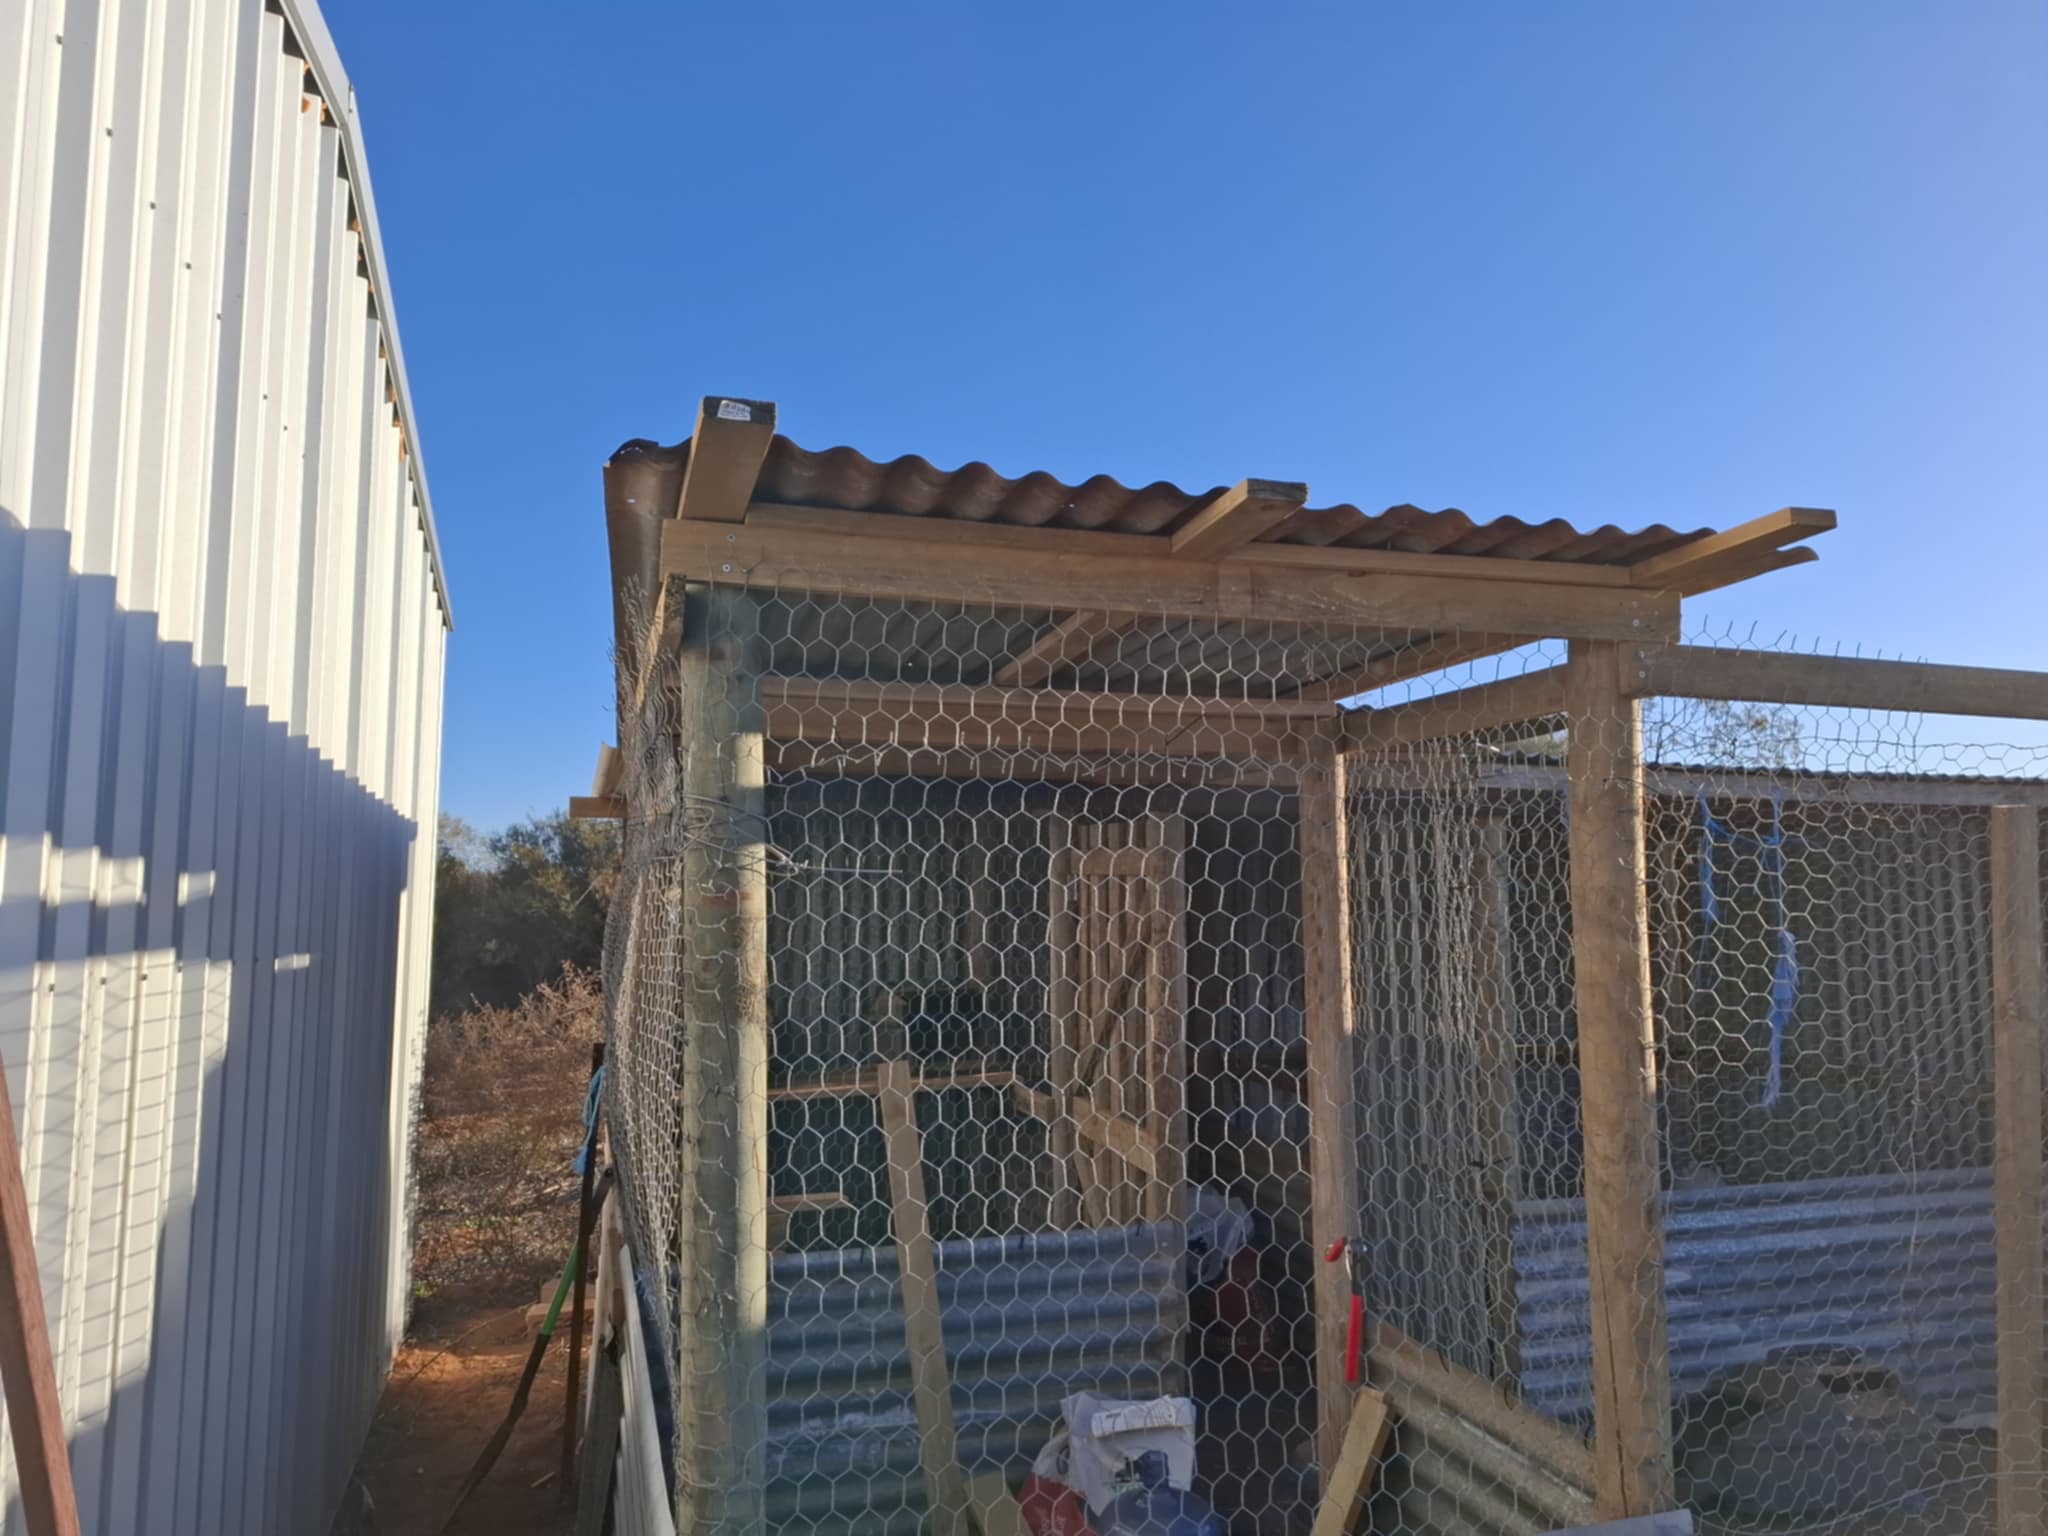
Step 3 - Framing, Sheeting and Wiring The Exterior
The final steps on the outside included creating a frame, hinging the exterior entrance, wiring. All these processes have been covered in previous posts if you want to learn how to!
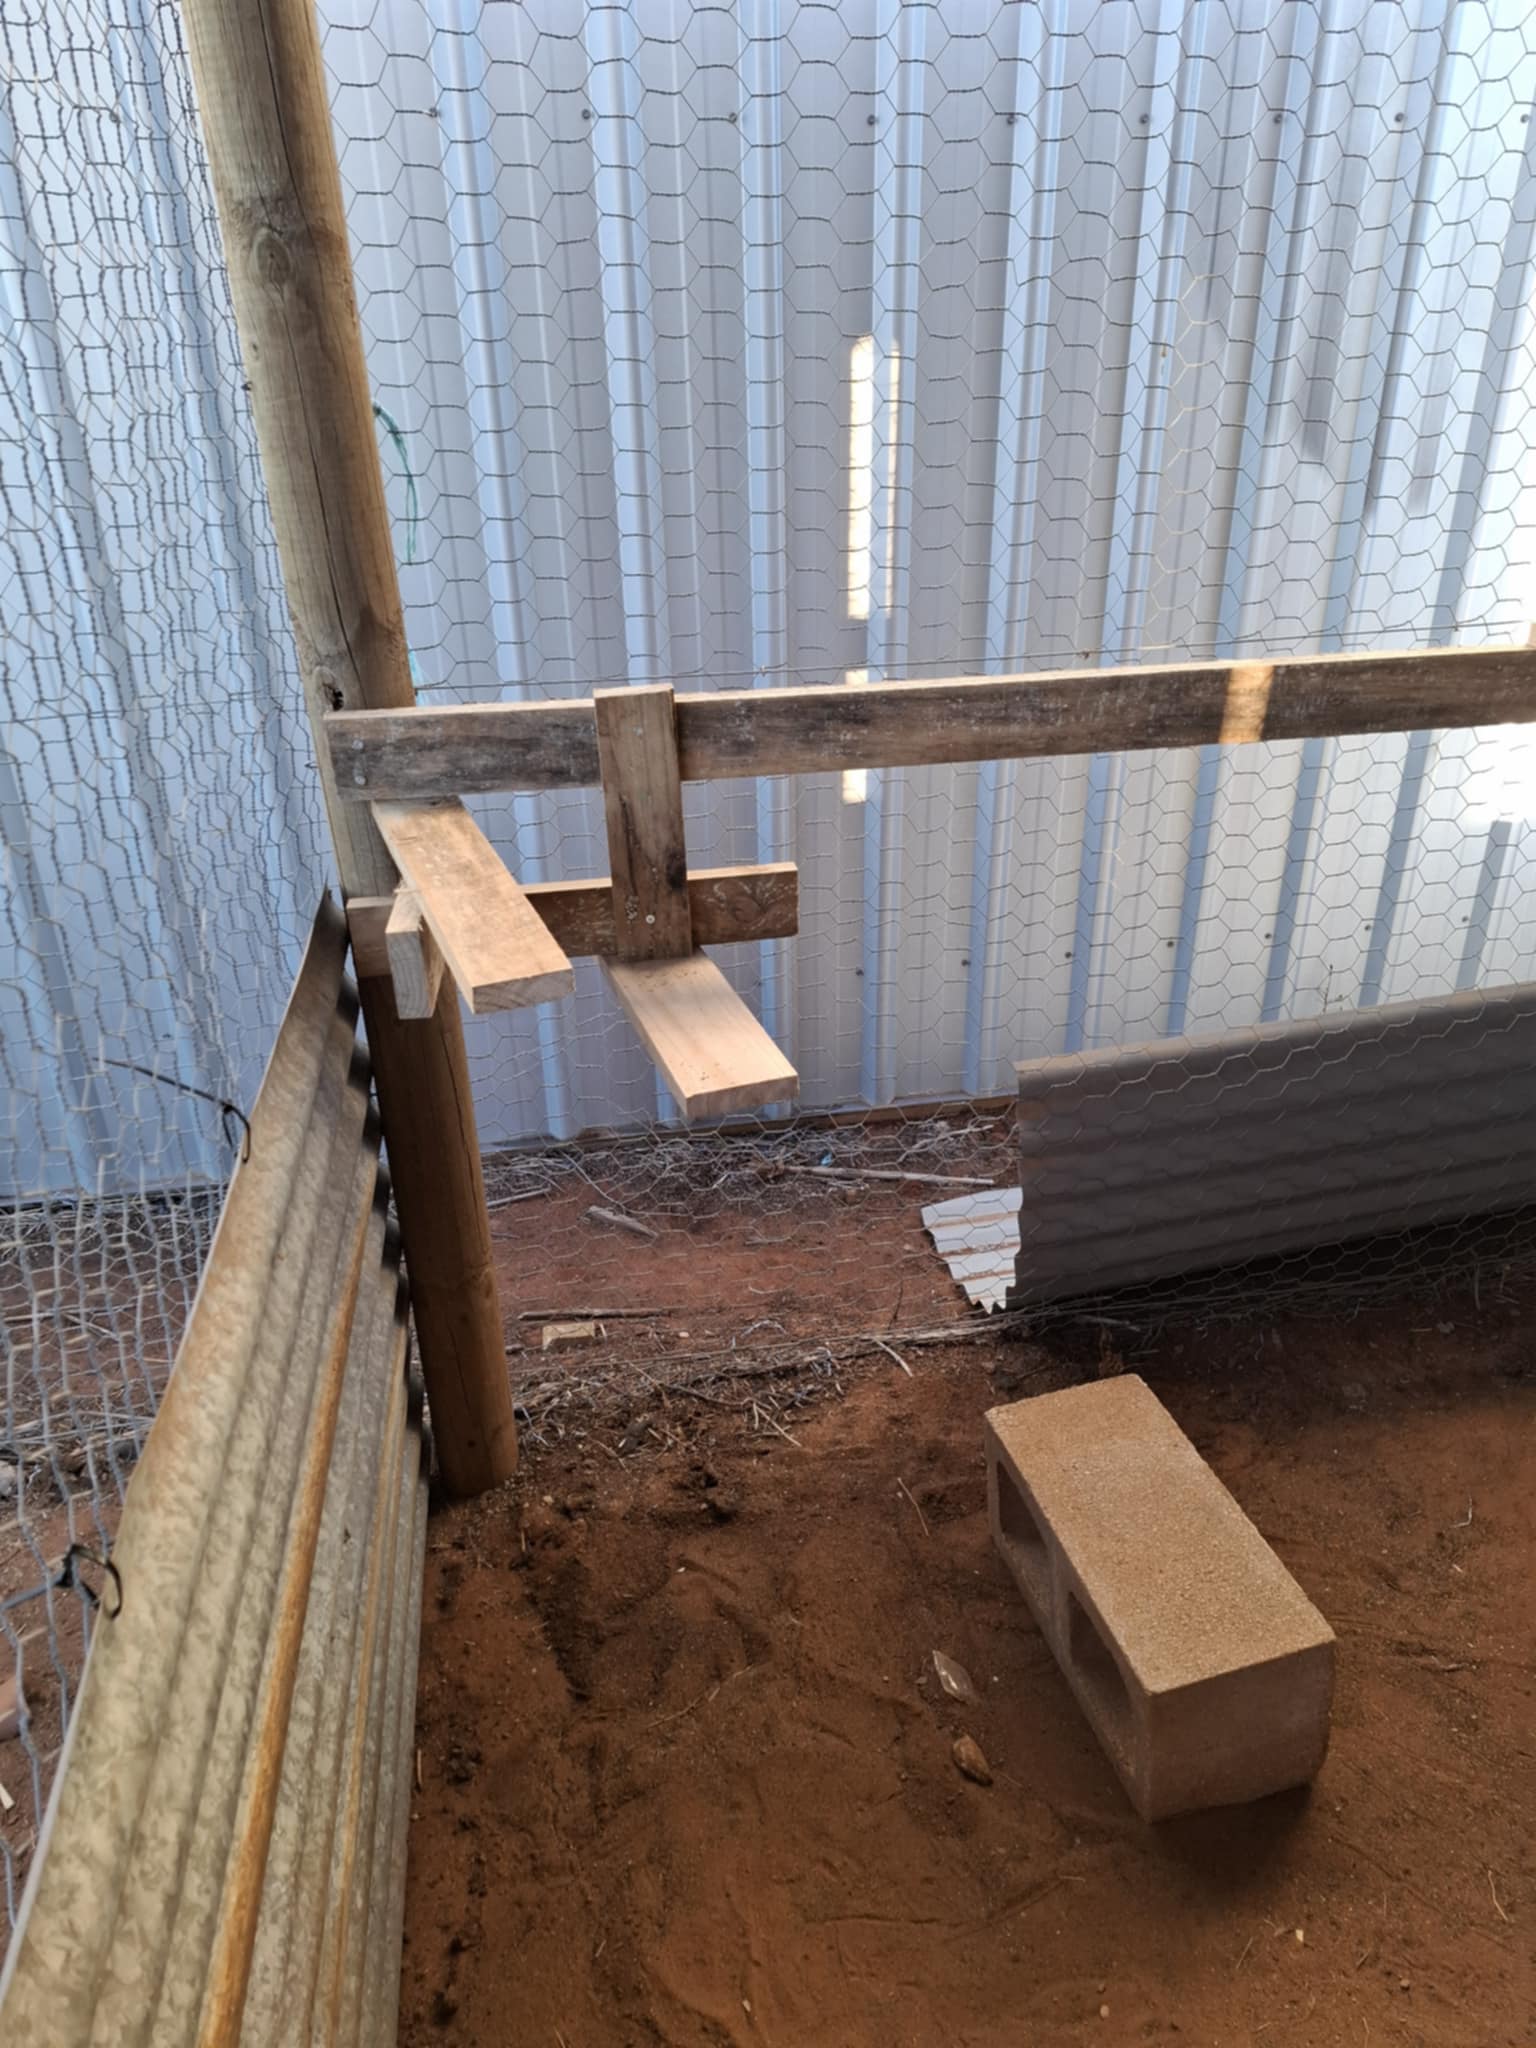
Step 4 - Dressing The New Pen
The final steps were to cut some pieces of wood and build some layer and a sleeping perch for future chickens who will call this pen home!
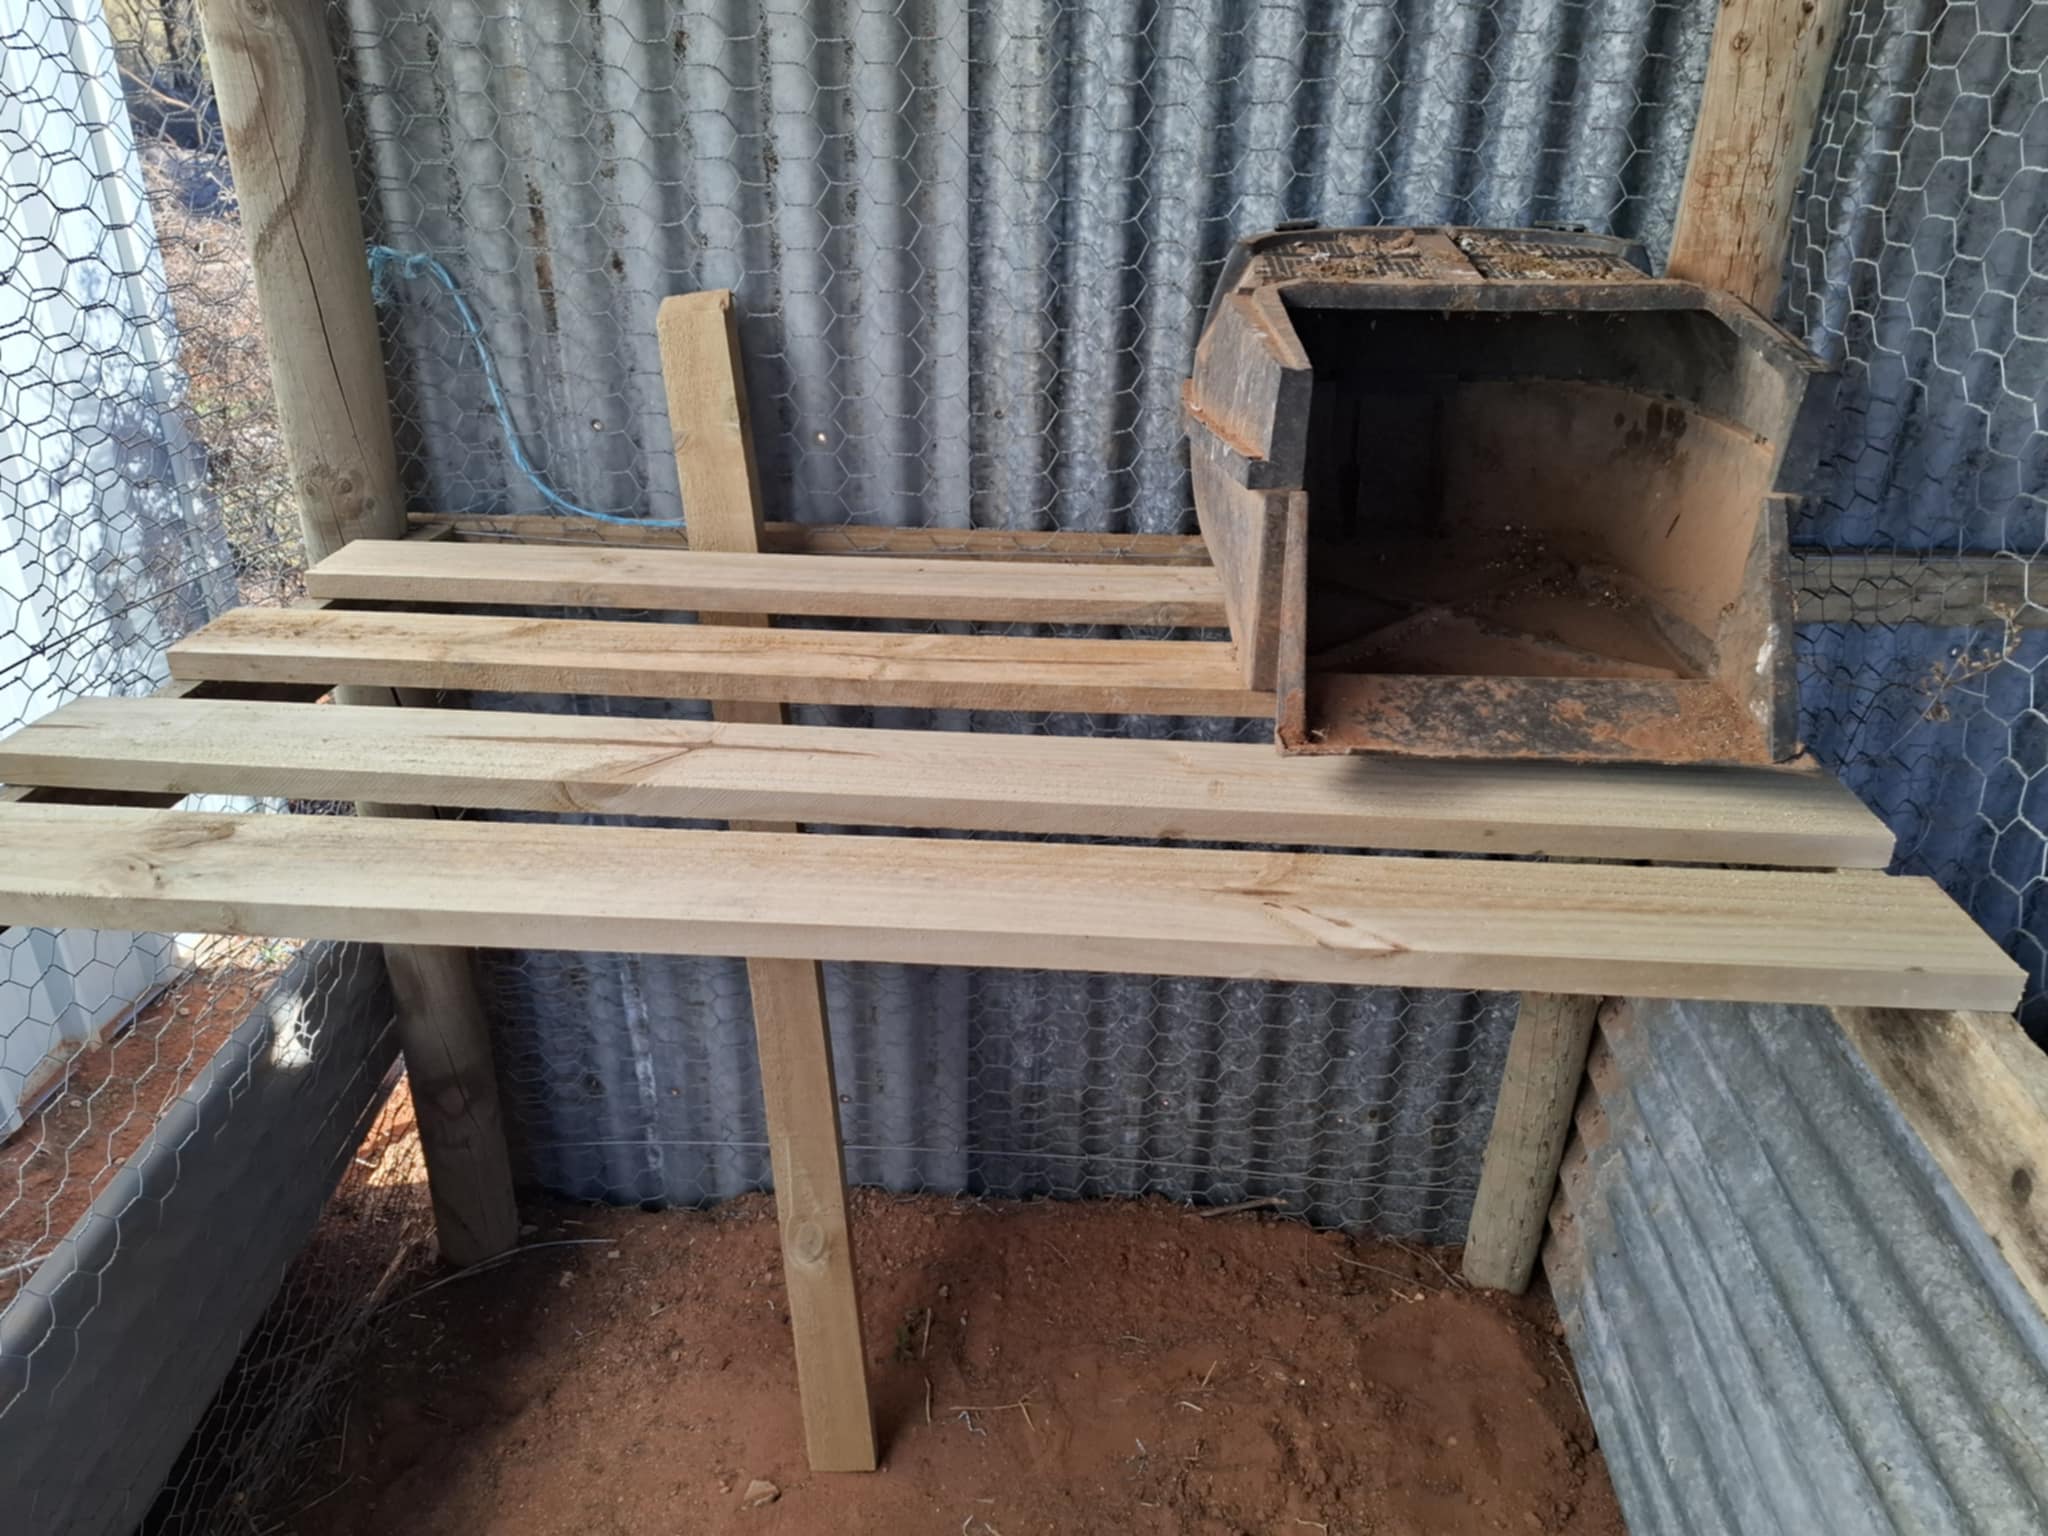
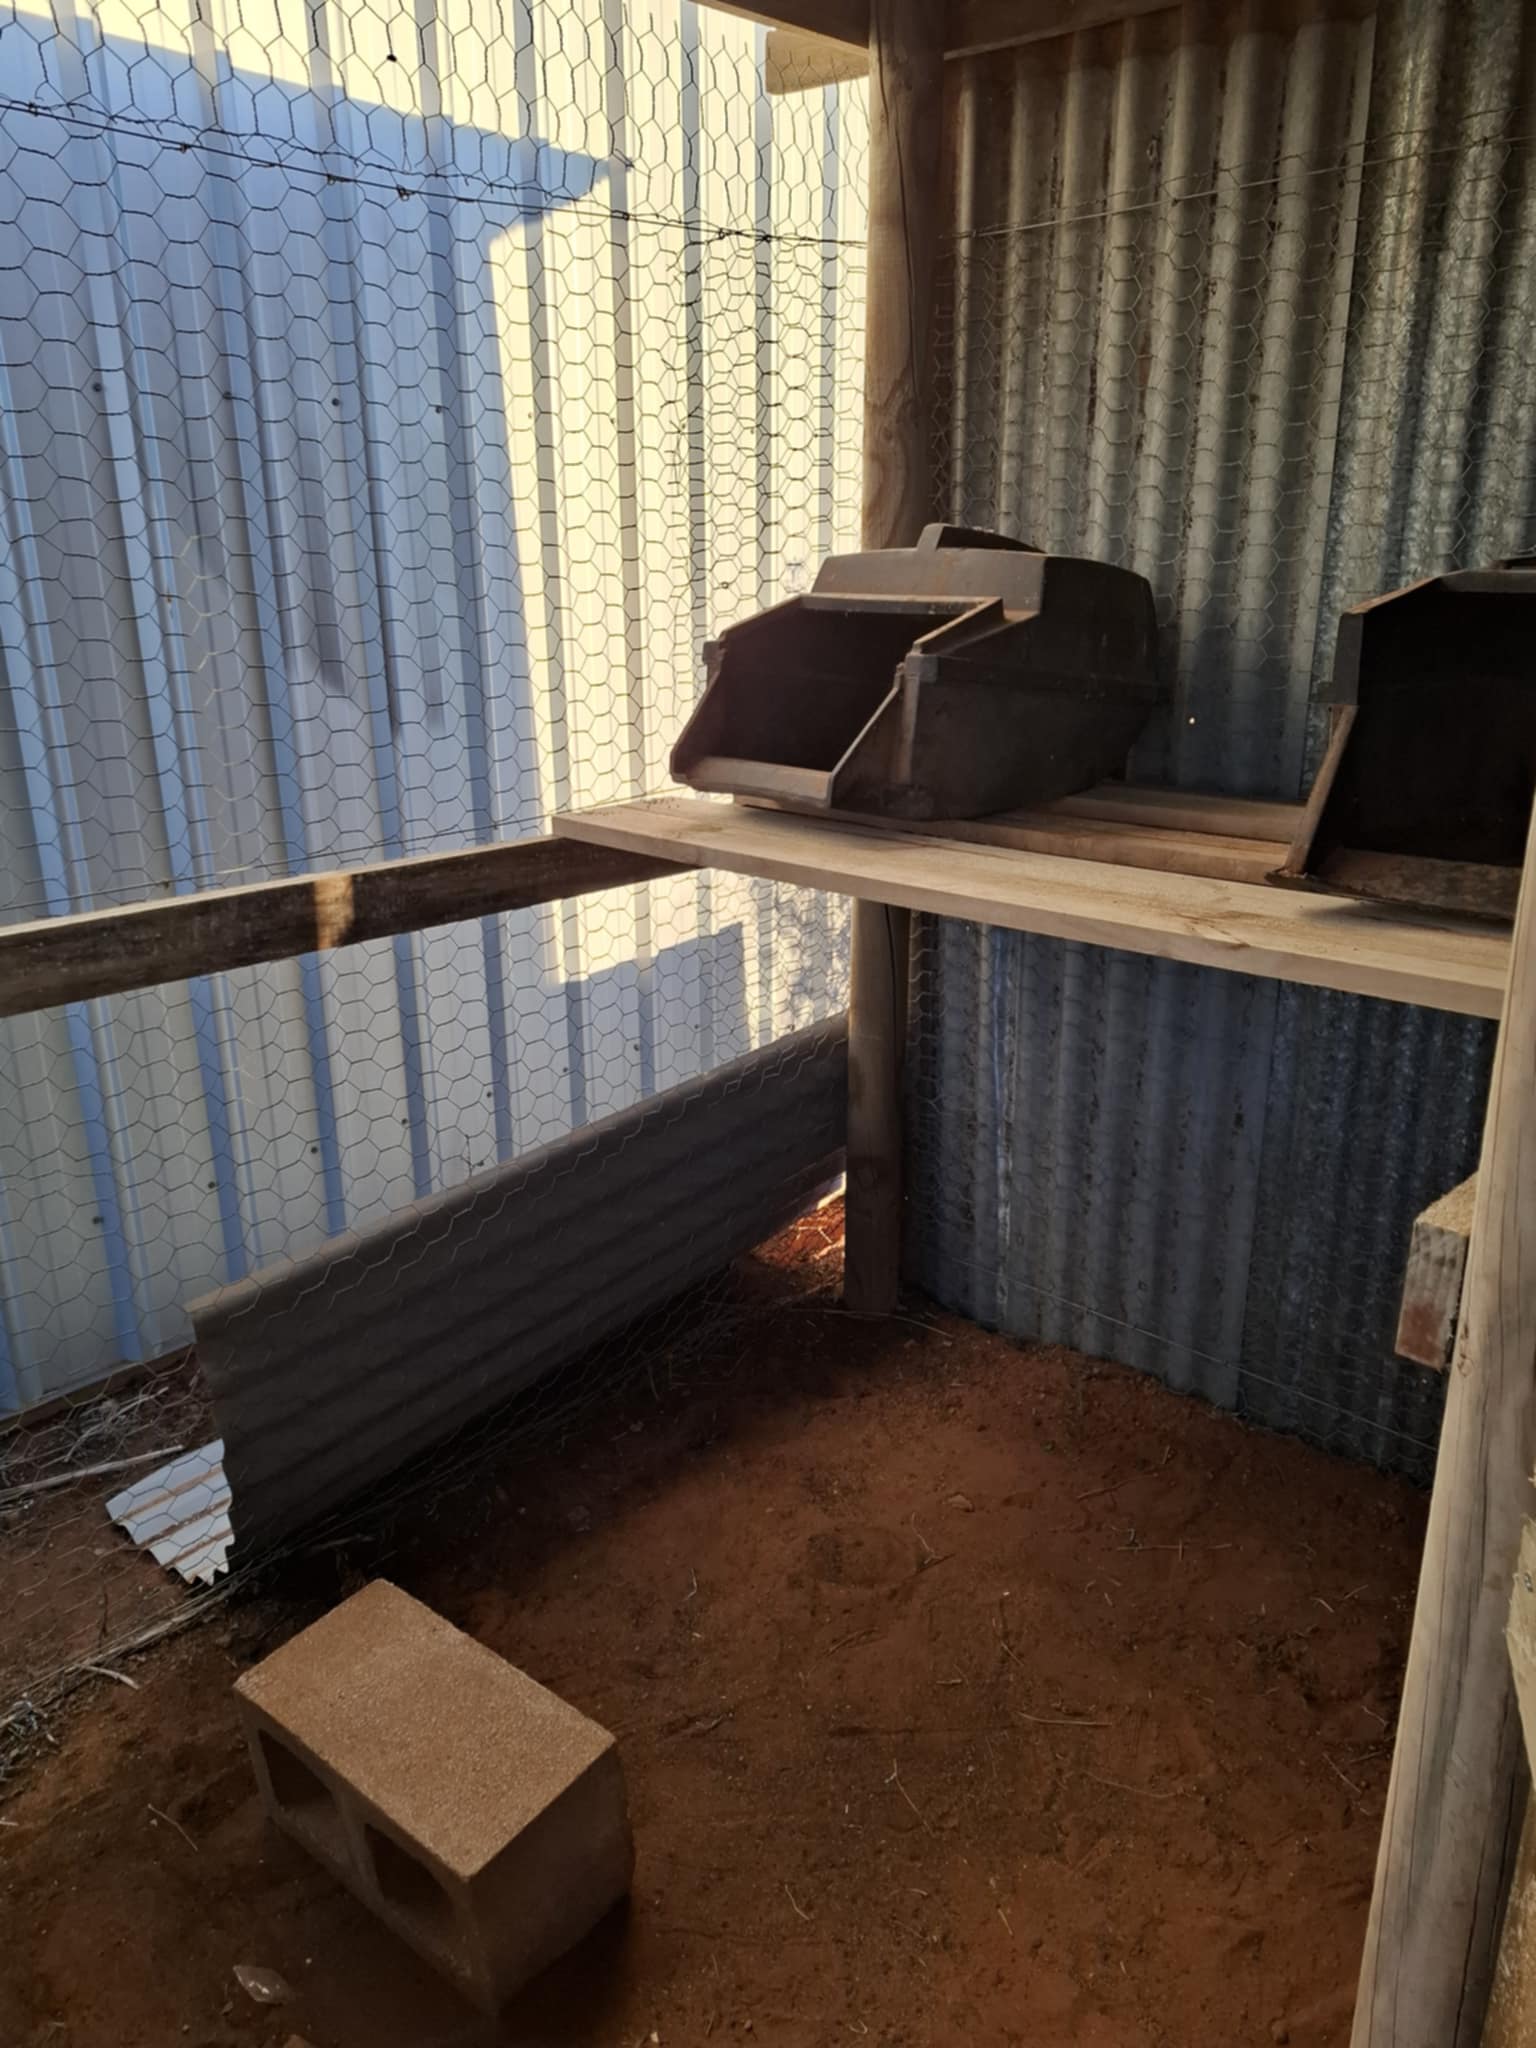
Using some offcuts, I come up with the idea to build a staircase. It is important to provide a platforms for chickens who wish to explore the upper regions of the pen!
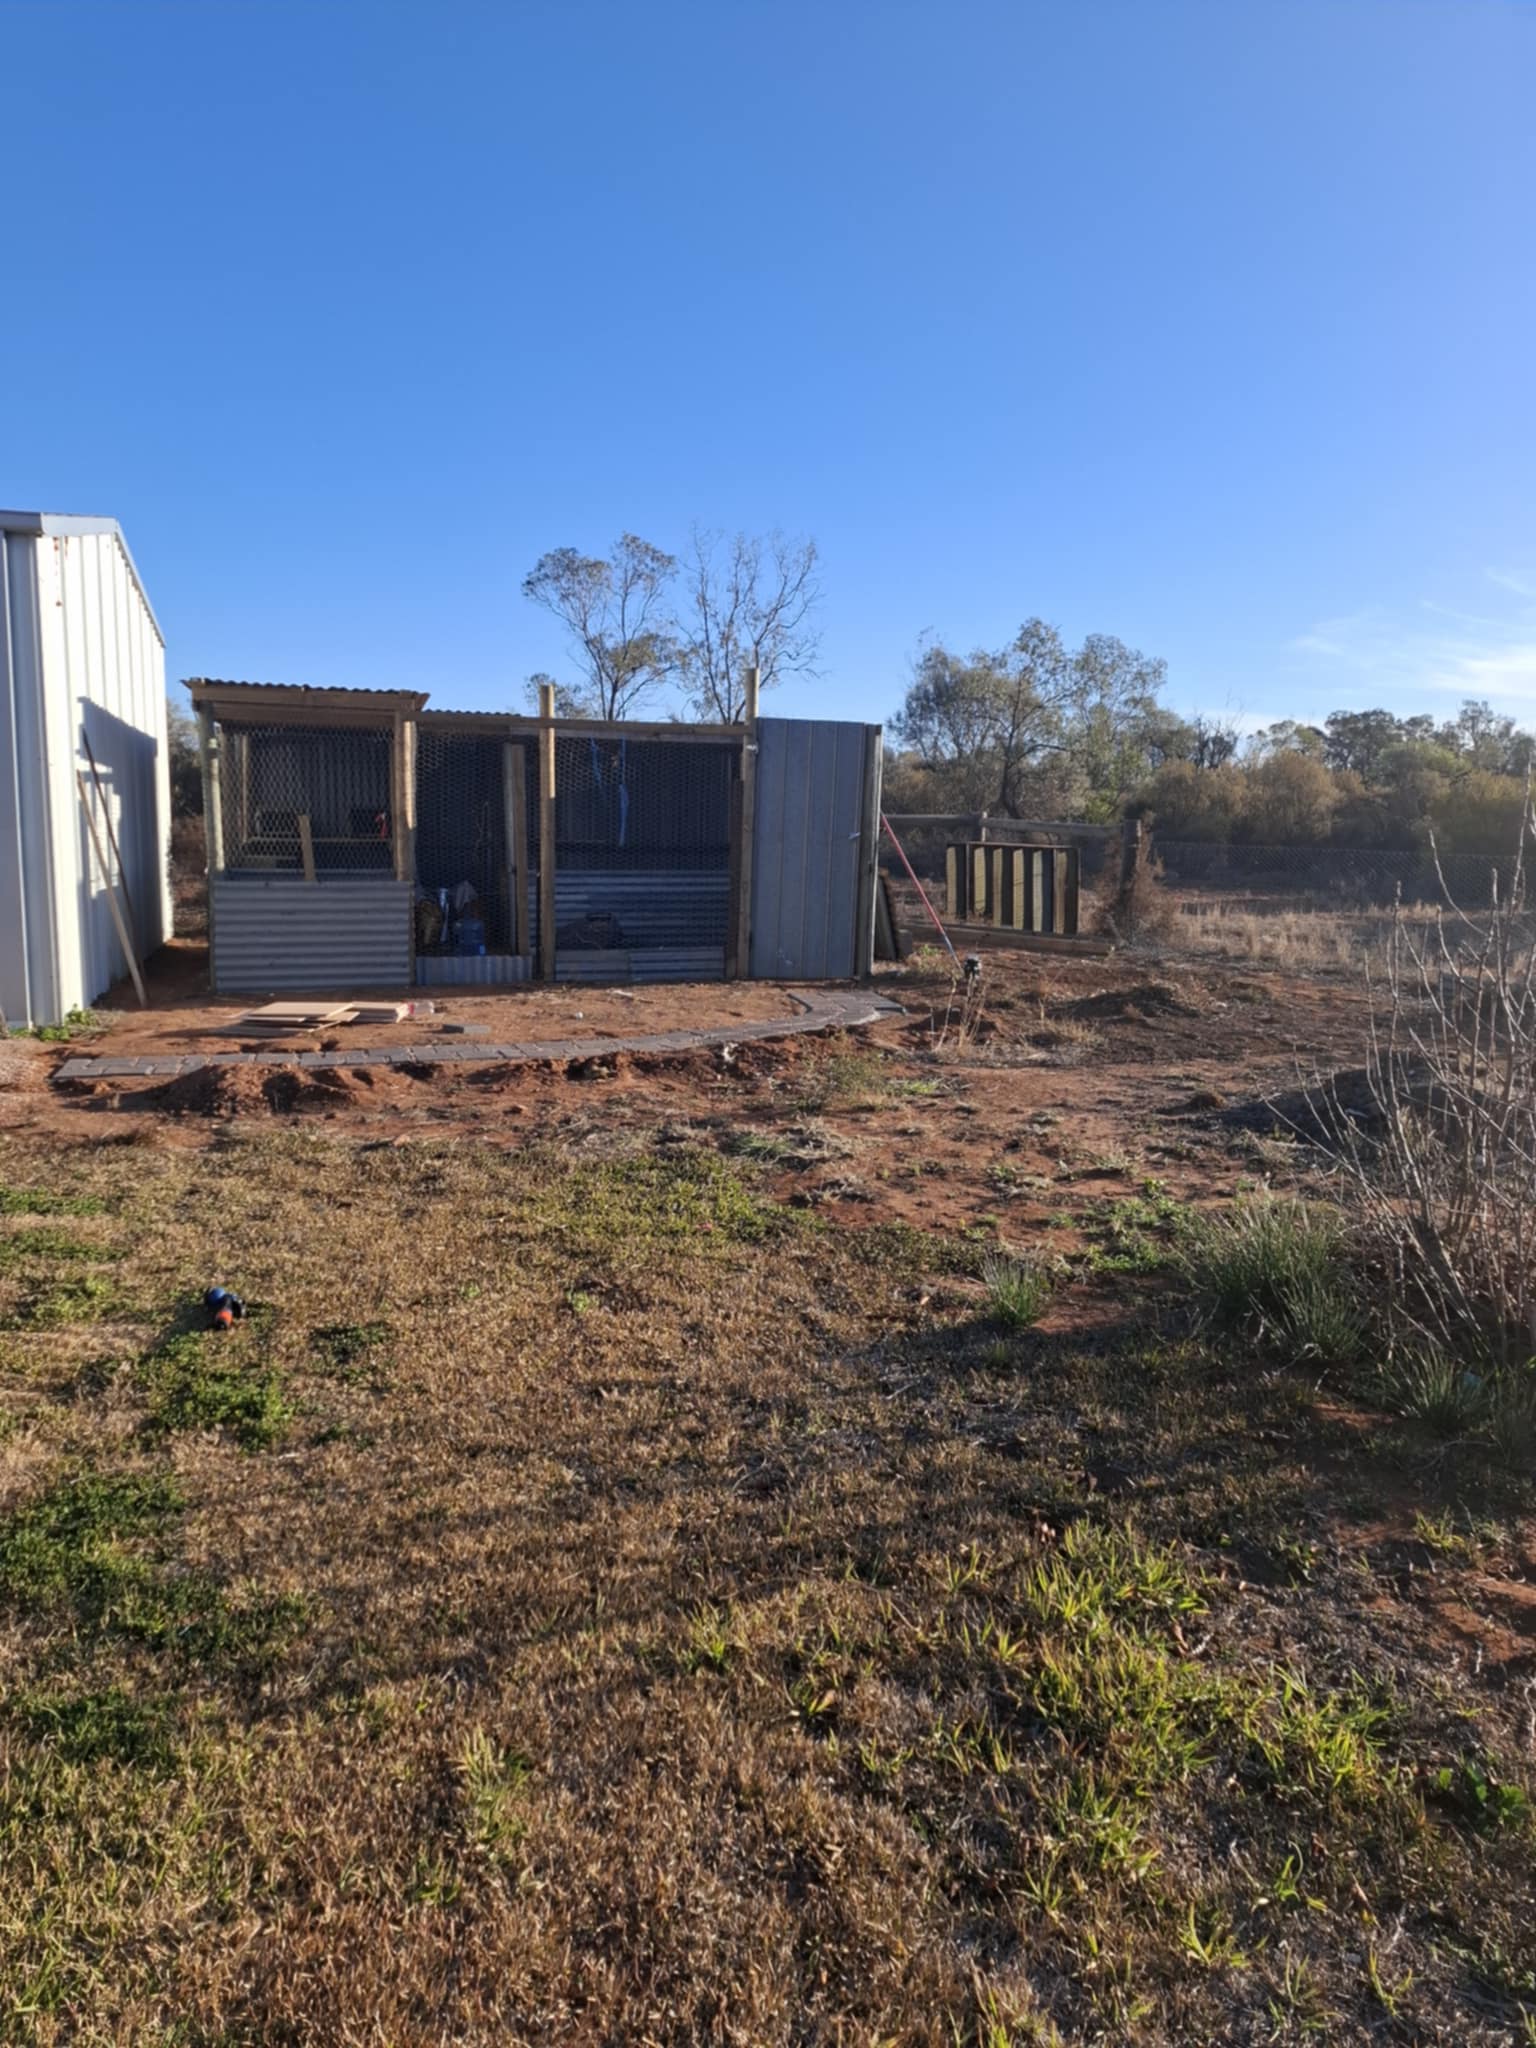
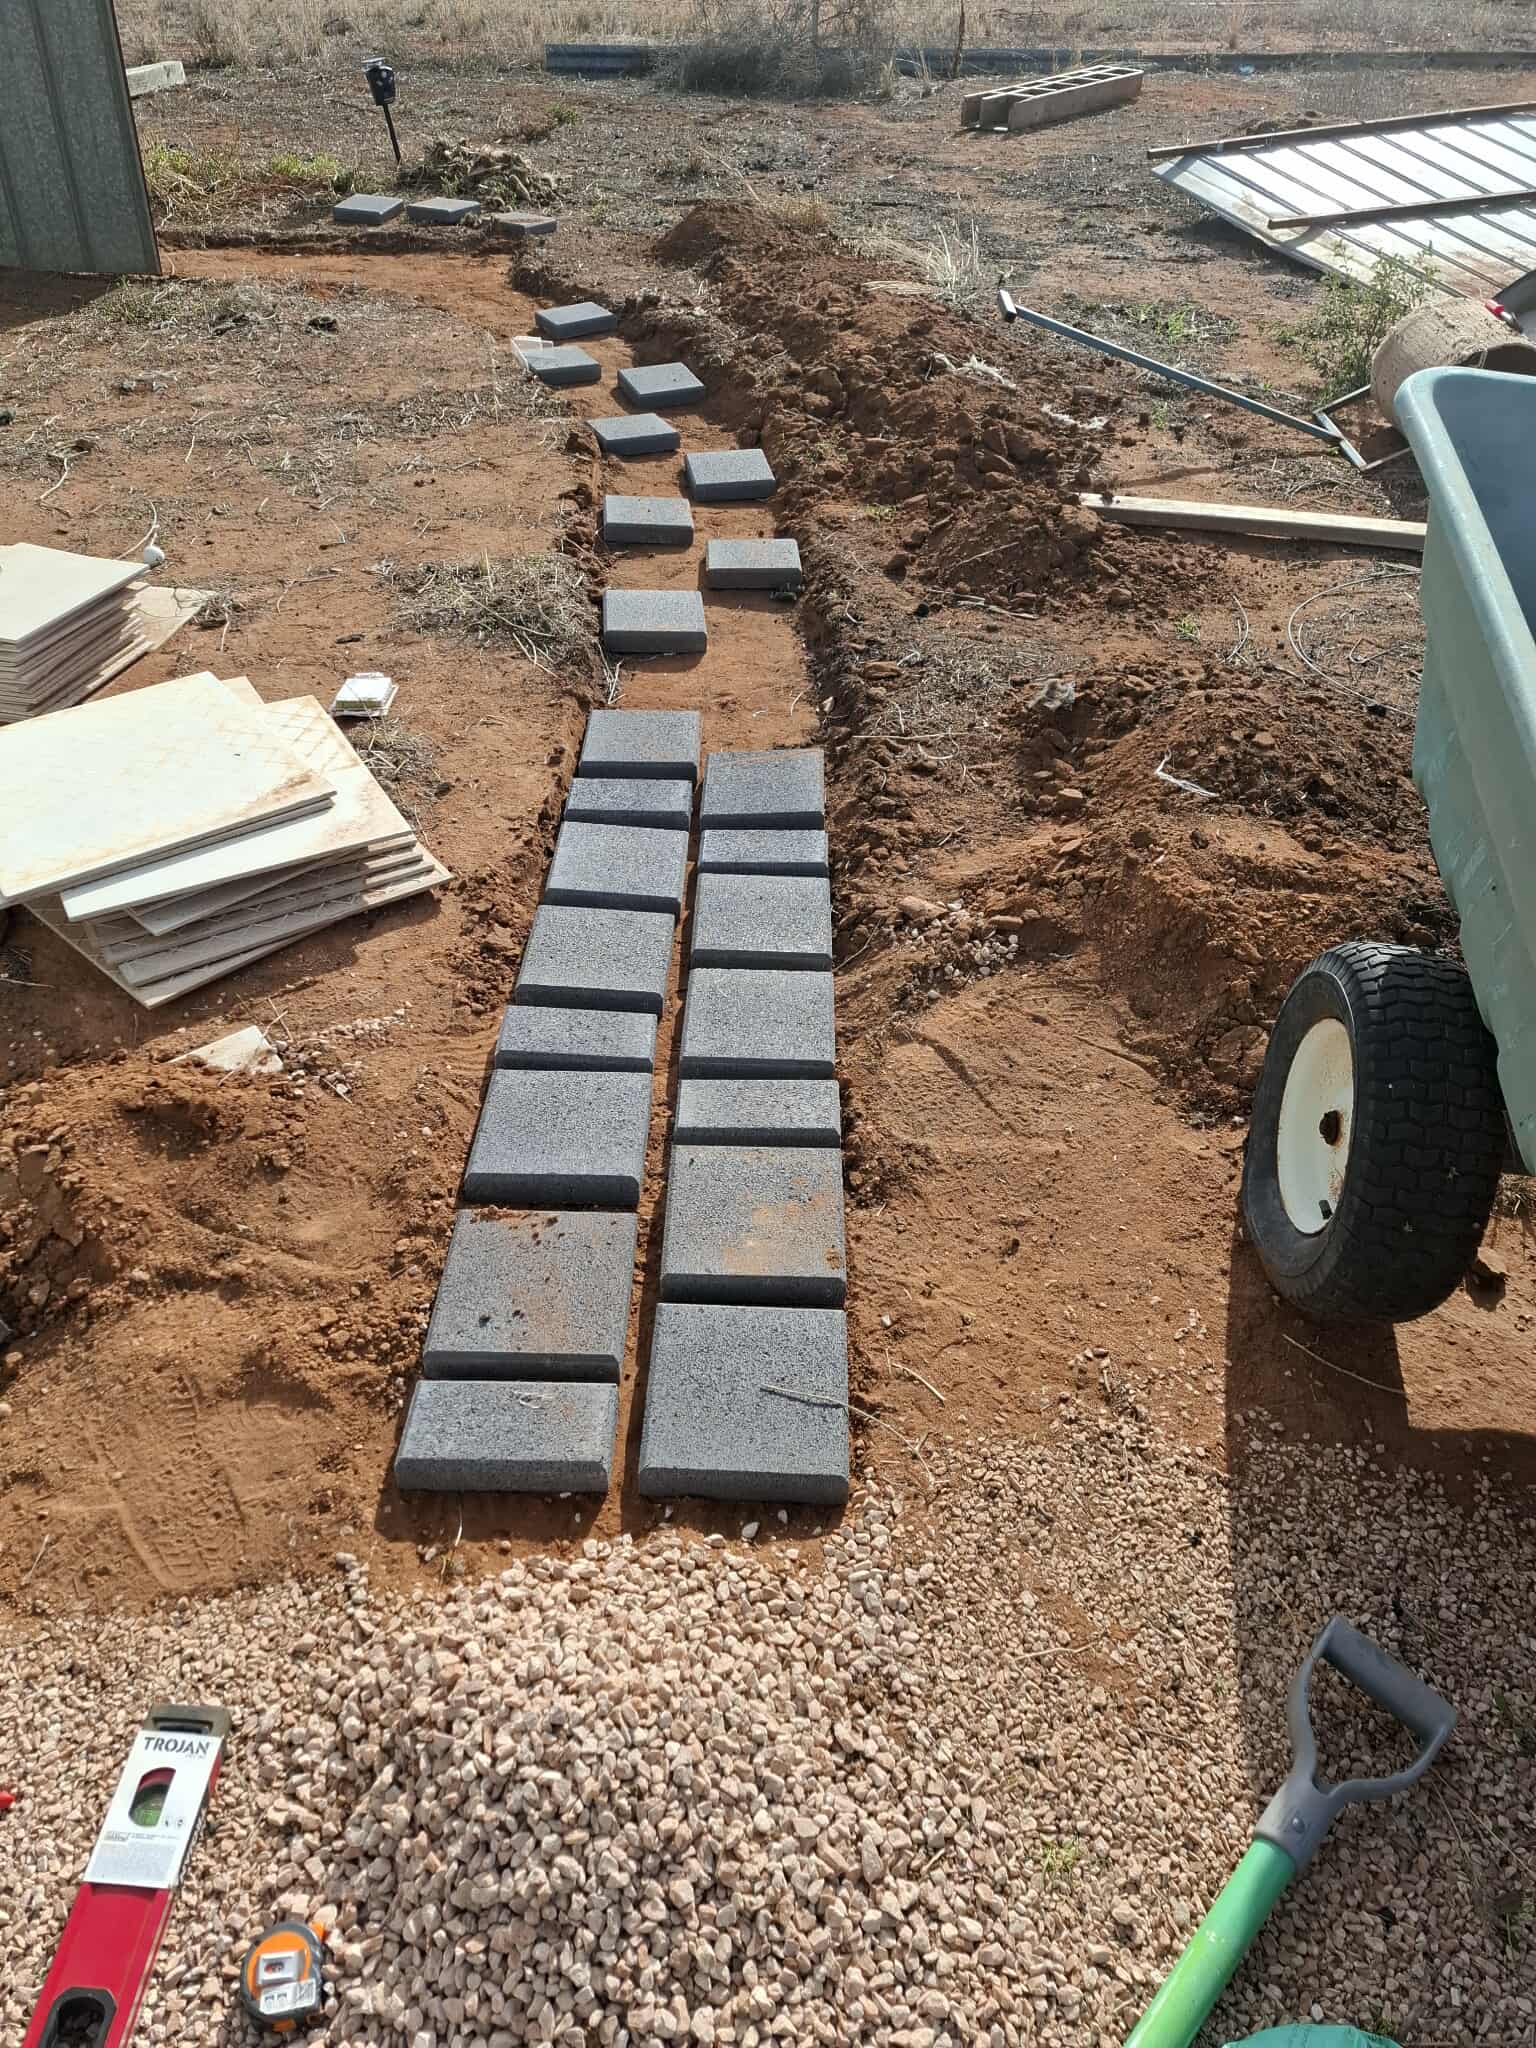
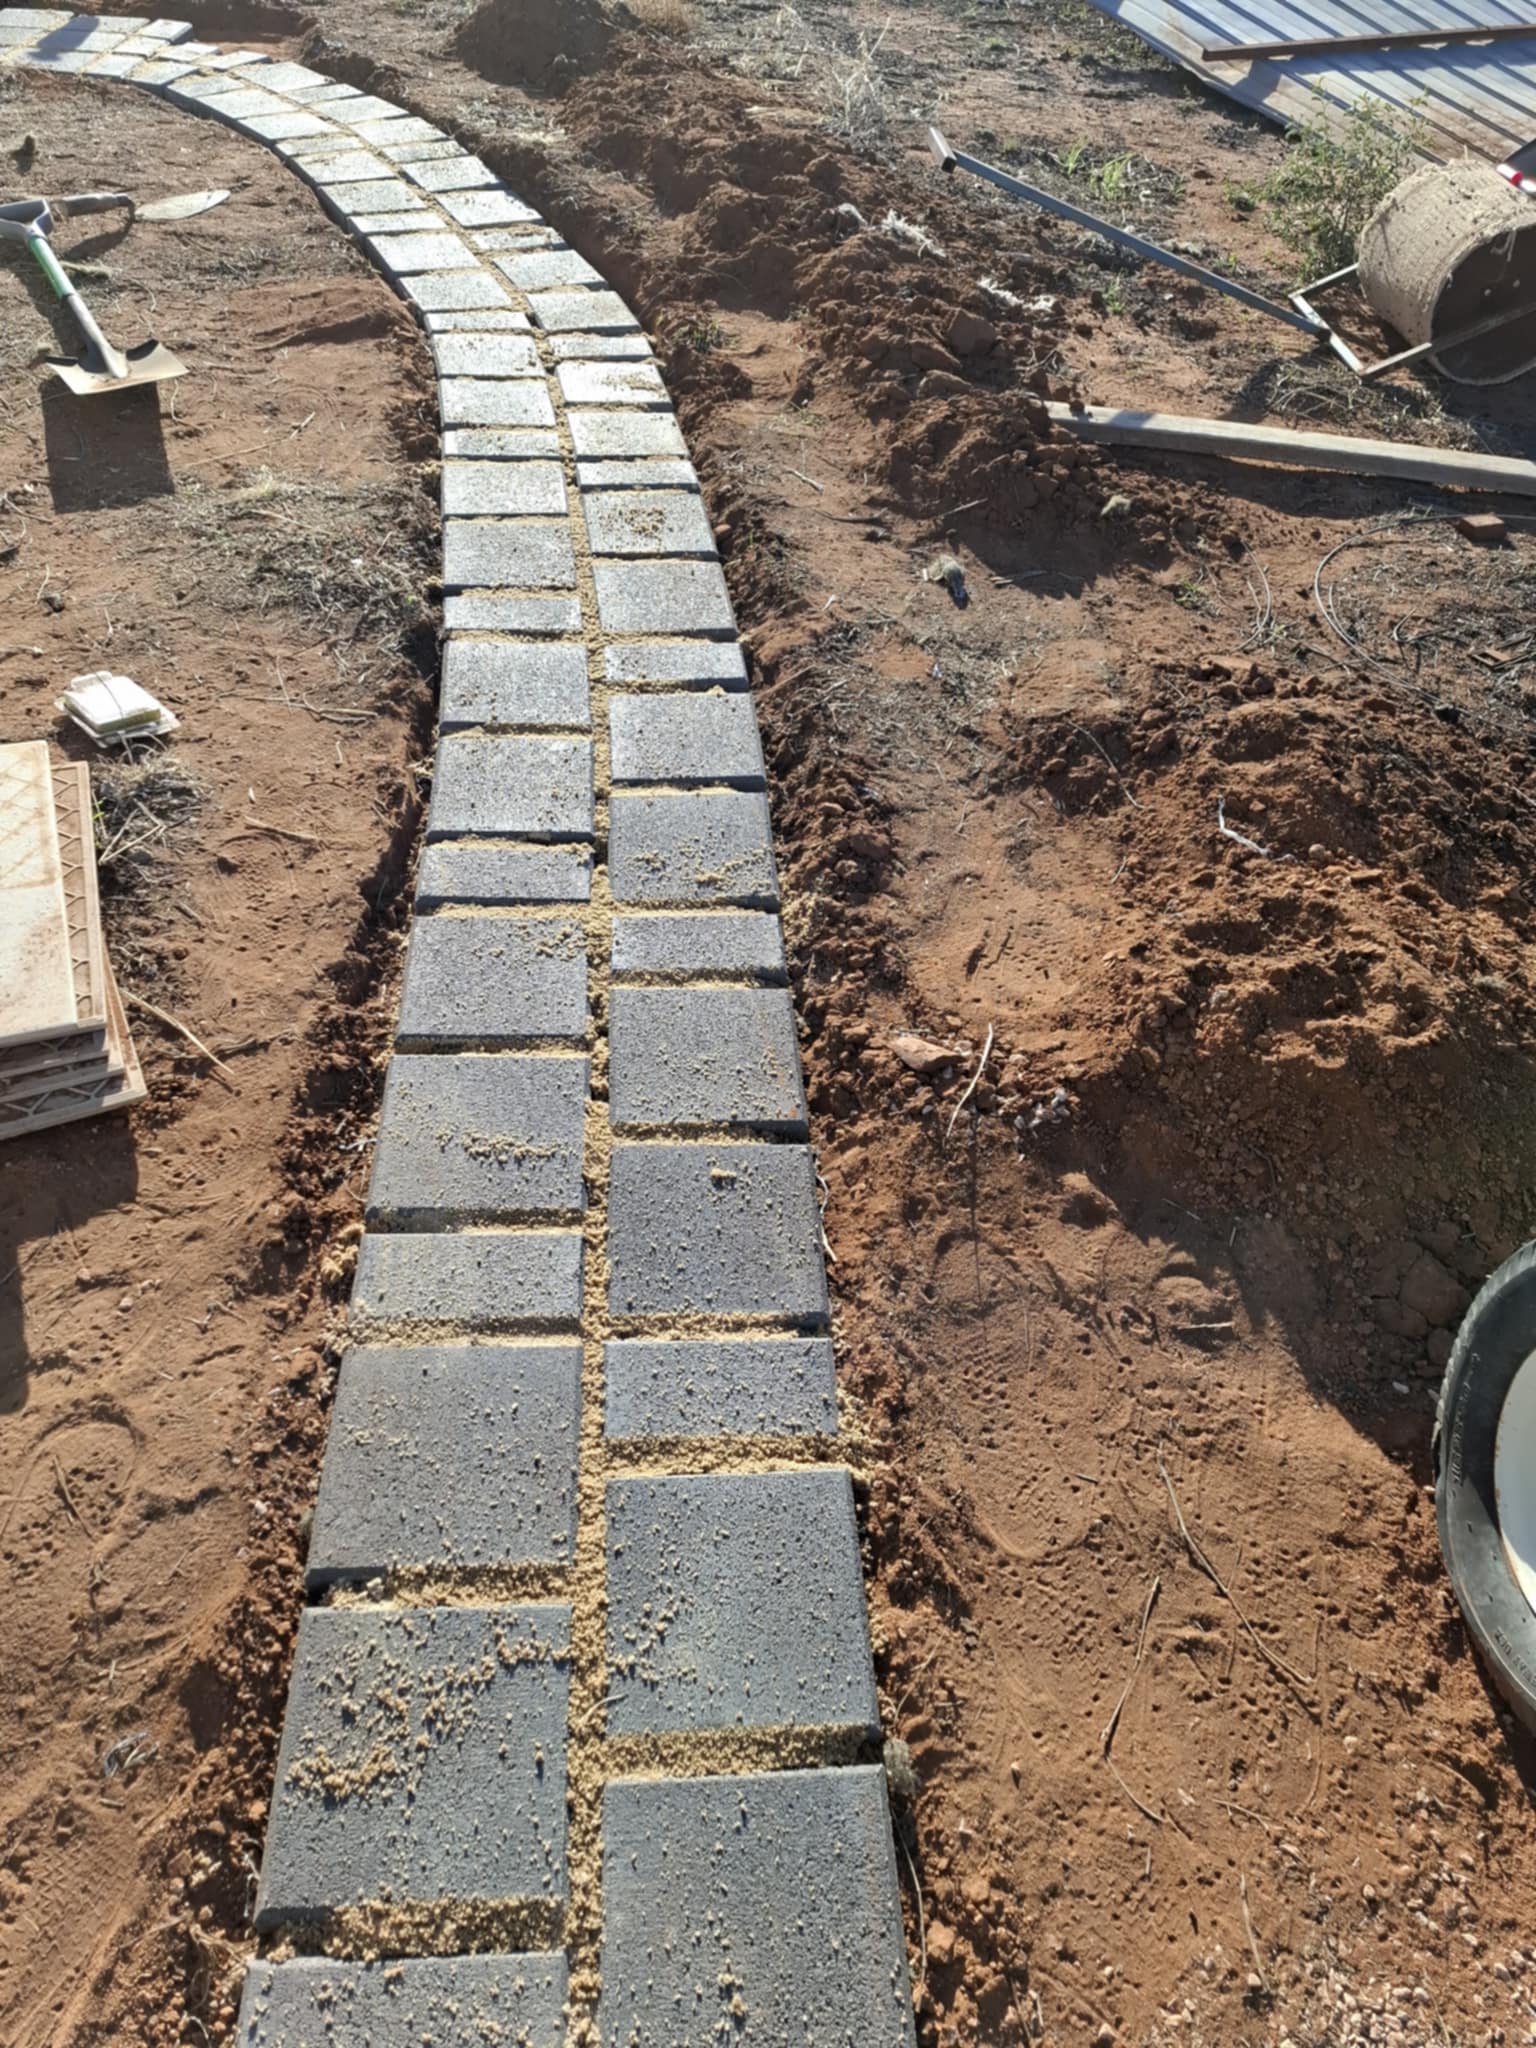
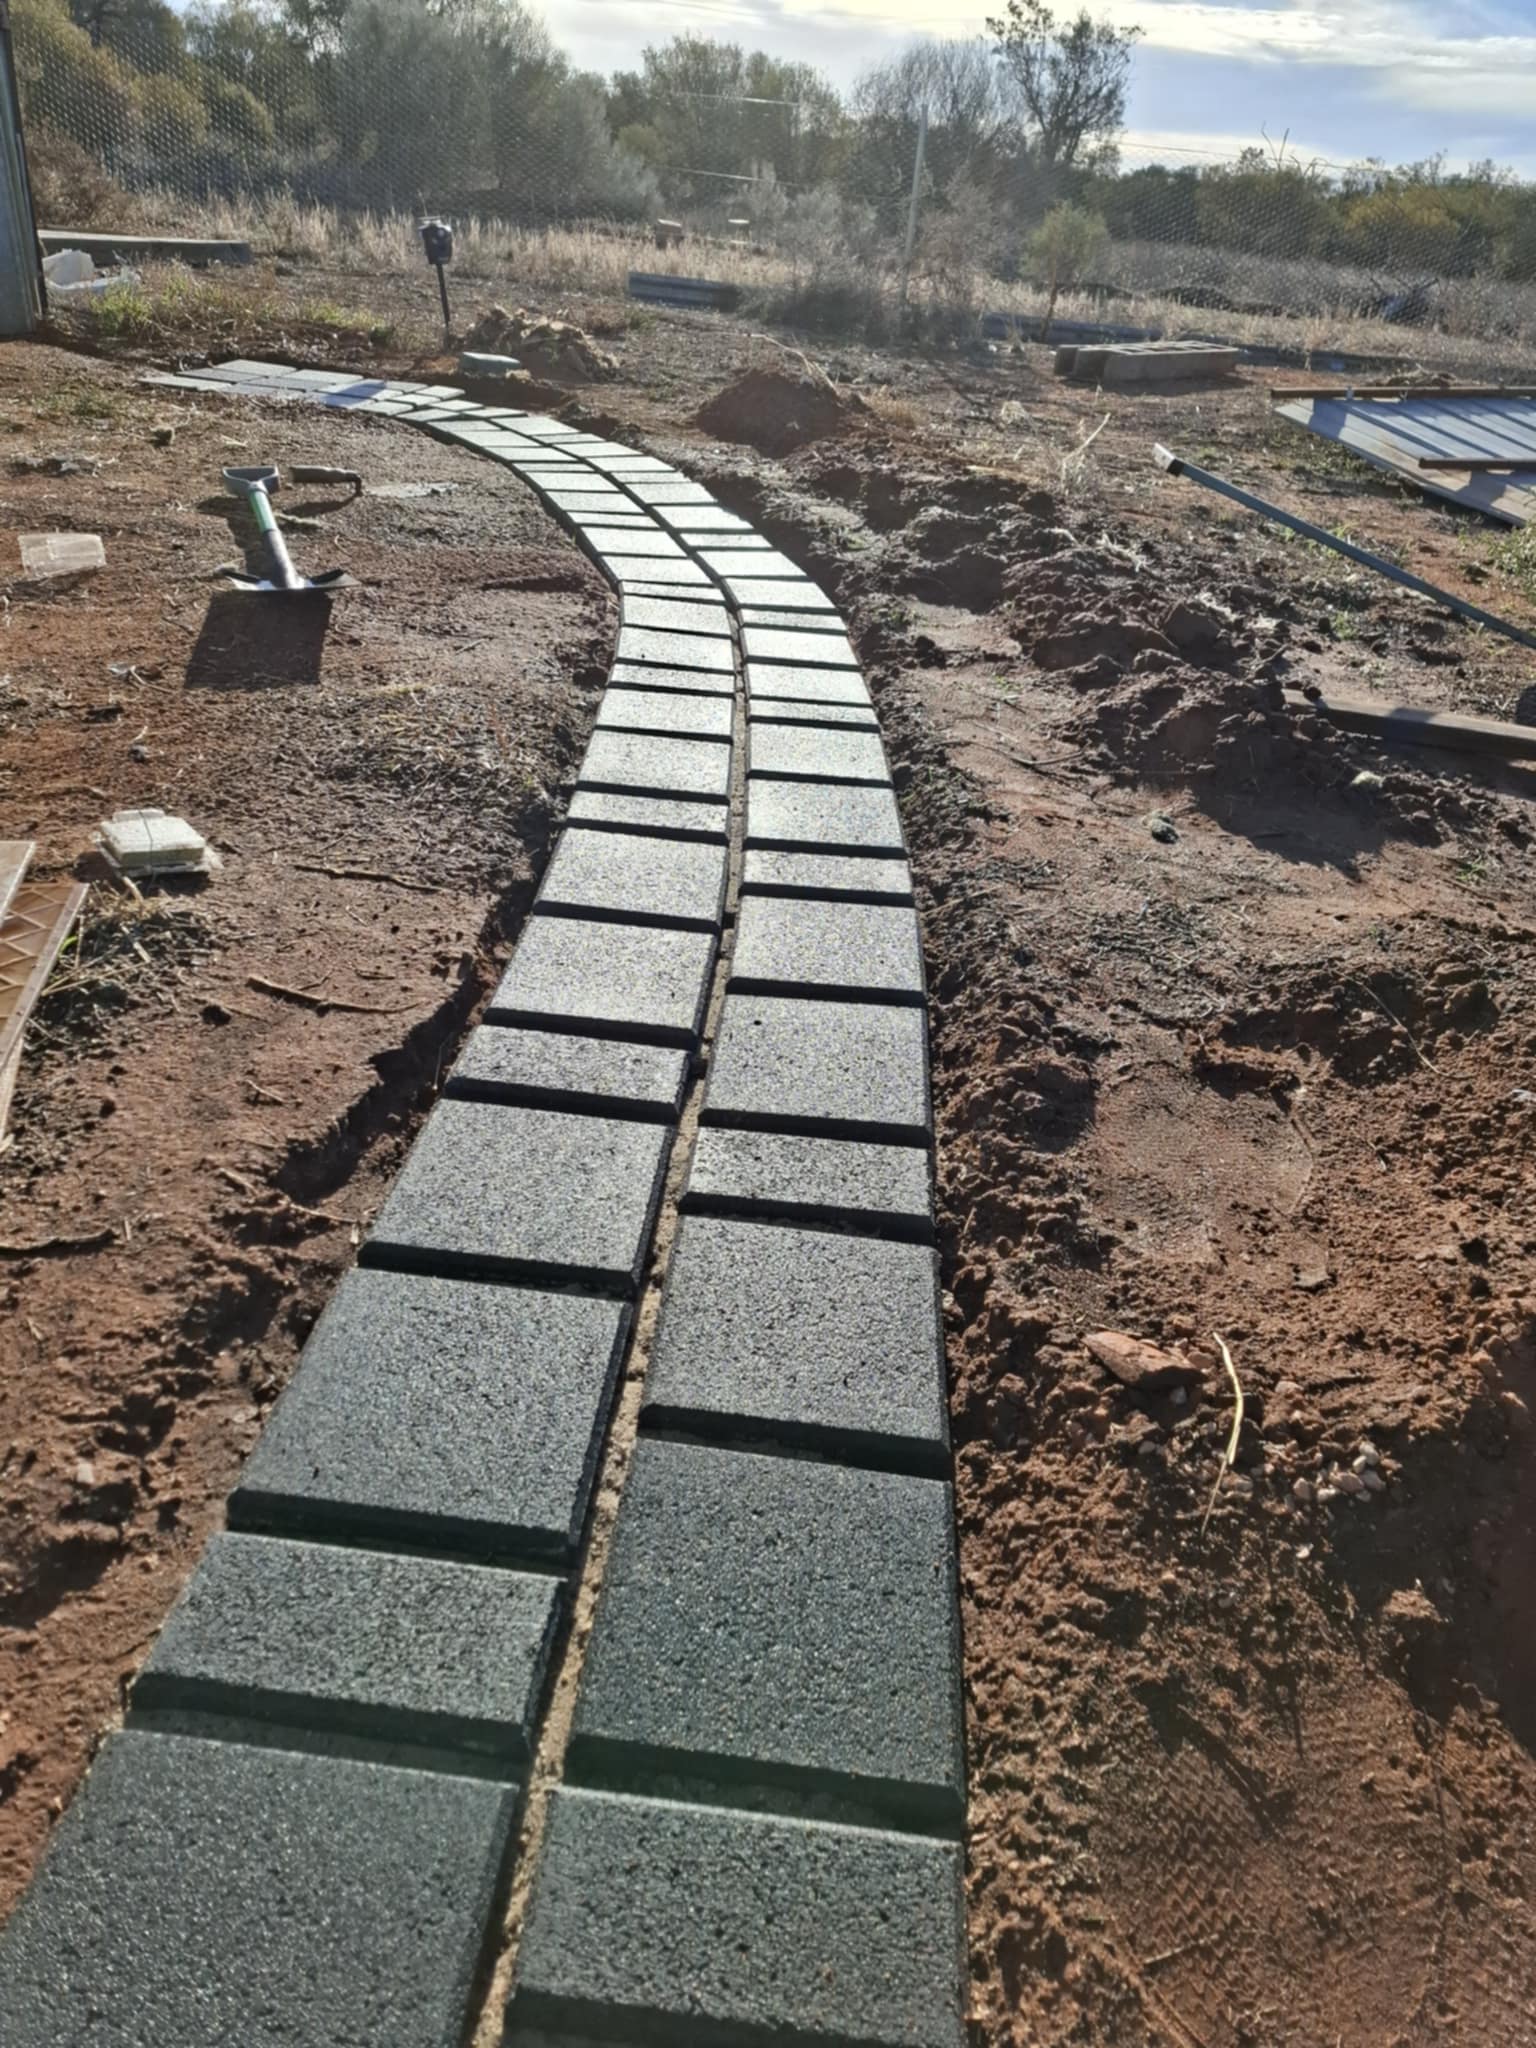
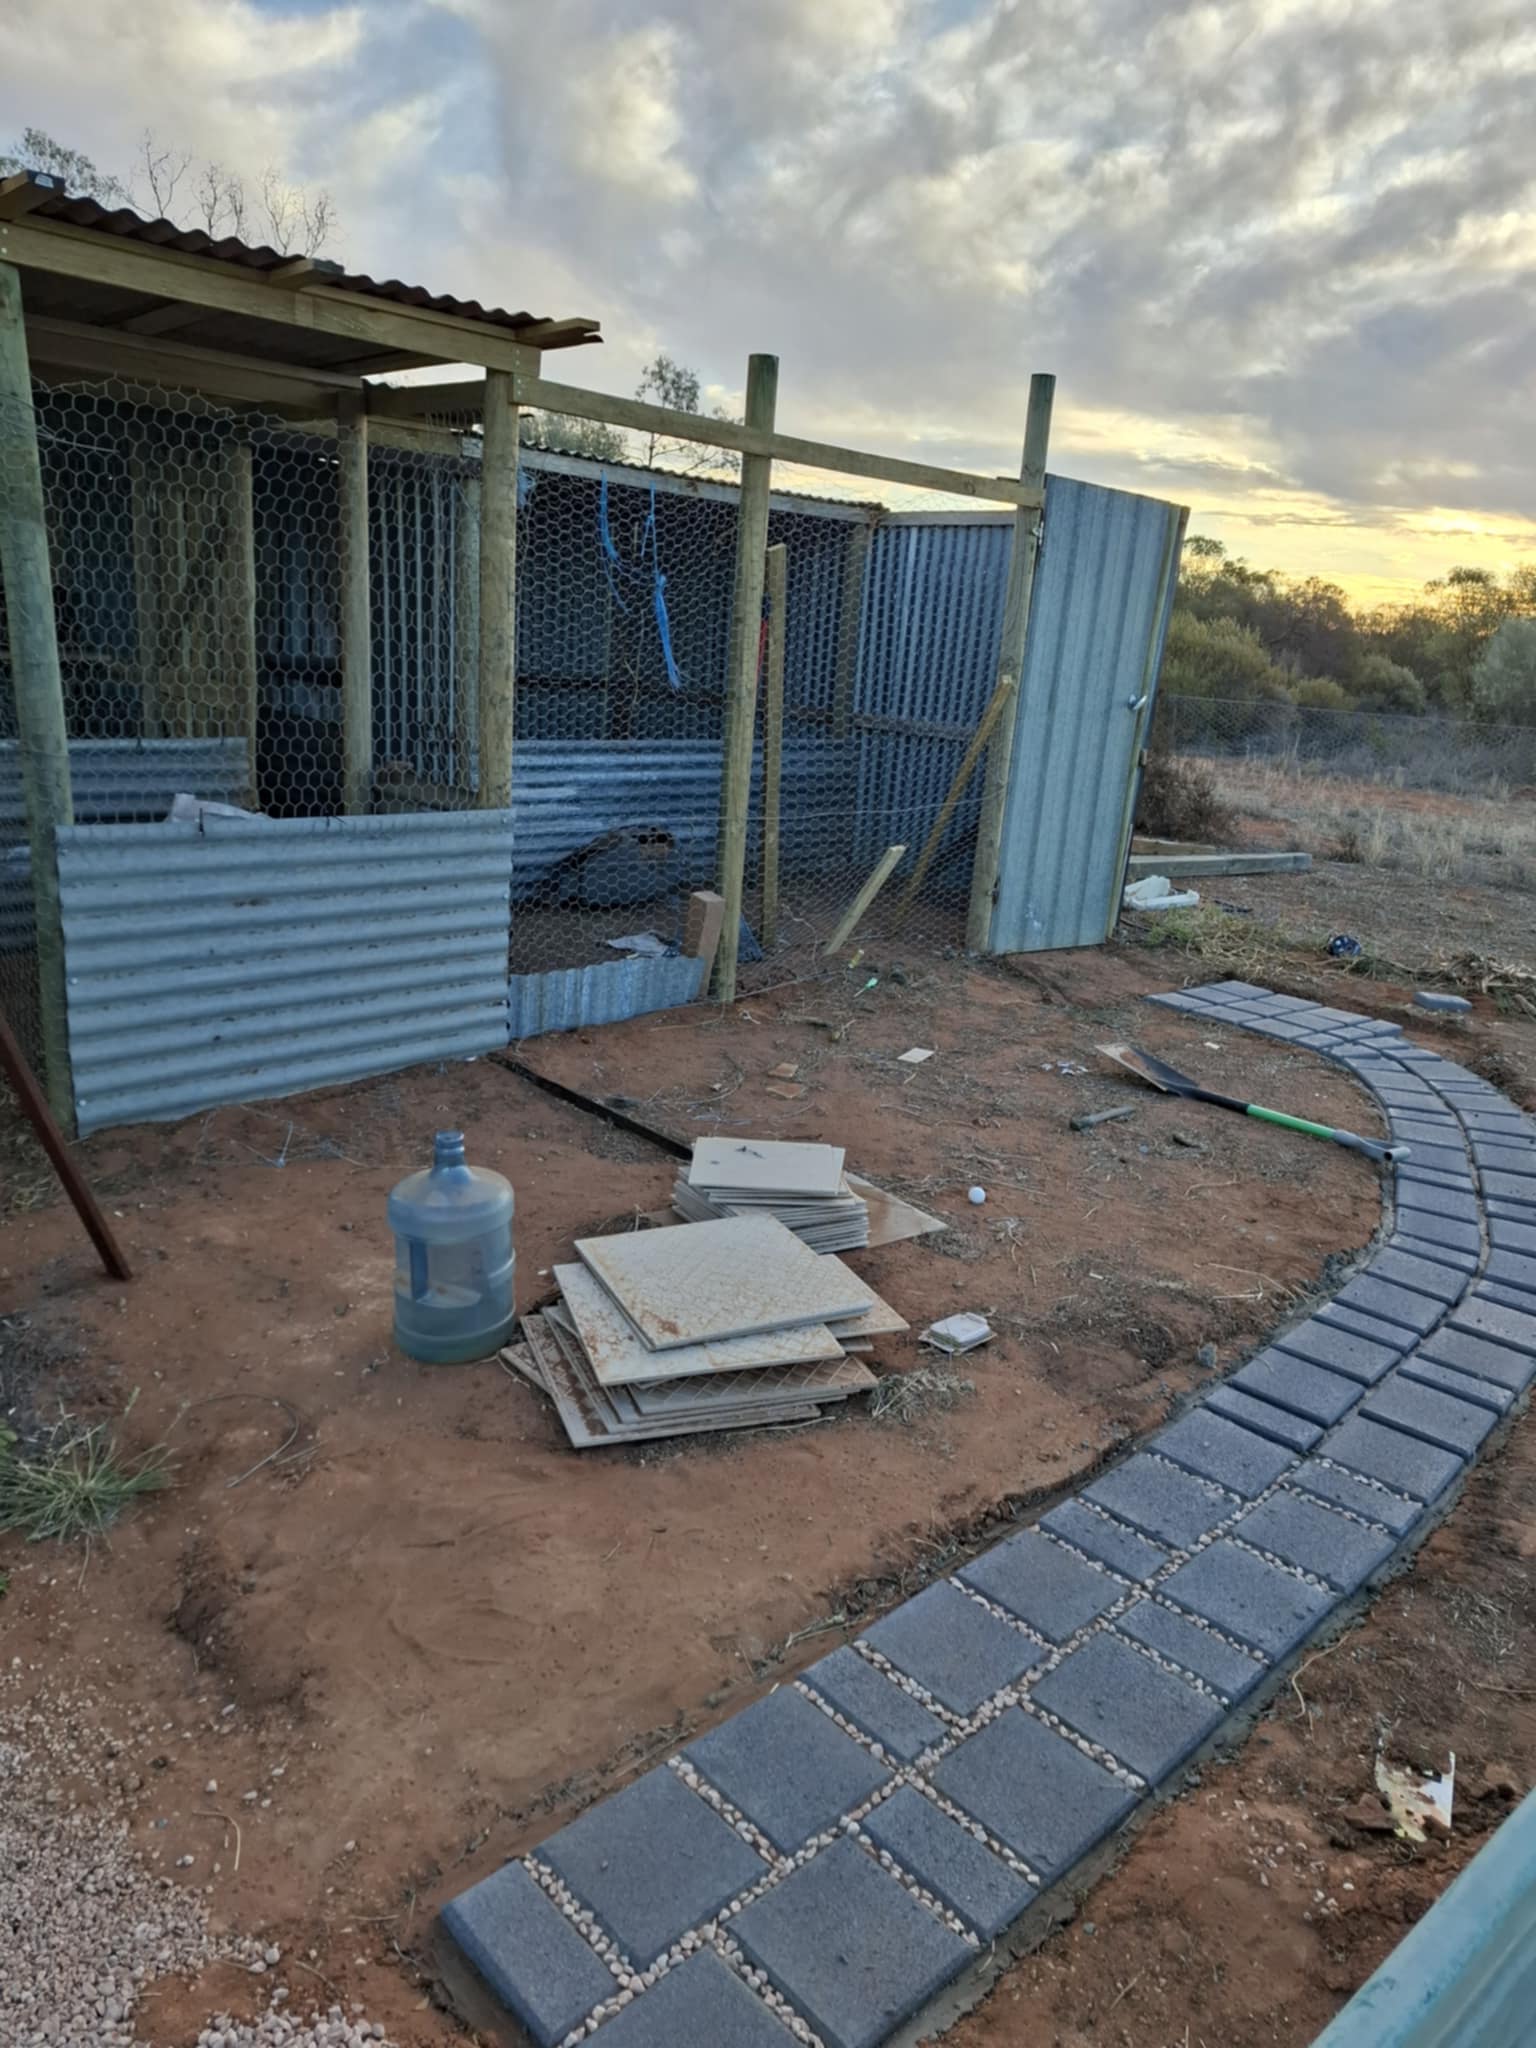
Step 5 - 'Did He Just Go And Build A Path? Yes, He Did!'
I will do another post for this but full of wind, I decided to tackle a new project! YES, I built a path to my Coop! A pathway is a great way to add character and opens up how you will go about building character and the world surrounding your chicken coop! Here's some pictures! In the next update, I will show how I built the path and plan to install plants and an irrigation system to bring colour to the area!

Final Thoughts From Beardsnest Manor
While there is still more to do at the chicken coop, I want to say we have finally reached a place where it is operational with potential for future upgrades! Thank you all for coming on this 3 month journey with me. I am sorry I took so long to post between, but as you know in DIY things take time to learn, fixing mistakes and then constructing! We have since purchased a Rooster and have began incubating chickens too! But for now, we have only just begun to build our lives here! I will have plenty more content coming so please follow me if you love homsteading and gardening and DIY! I love connecting with like minded individuals!
If you would like to catch up on the process from start to finish here are the previous posts for this project!