Beardsnest Manor - Creating A Rustic Garden Walk/Pavement
Our hobby farm continues to come to life down at Beardsnest Manor. We have been incubating chickens, plastering the interior, building irrigation systems and planting fruit trees. Along with a load of other DIY projects! I wanted to focus more on the Chicken Coop some of you may remember I had been documenting a few months ago! We decided every chicken coop needs a rustic pathway for character right? Also to avoid stepping on those darn prickles we call Calthrop or 3 corner jacks!
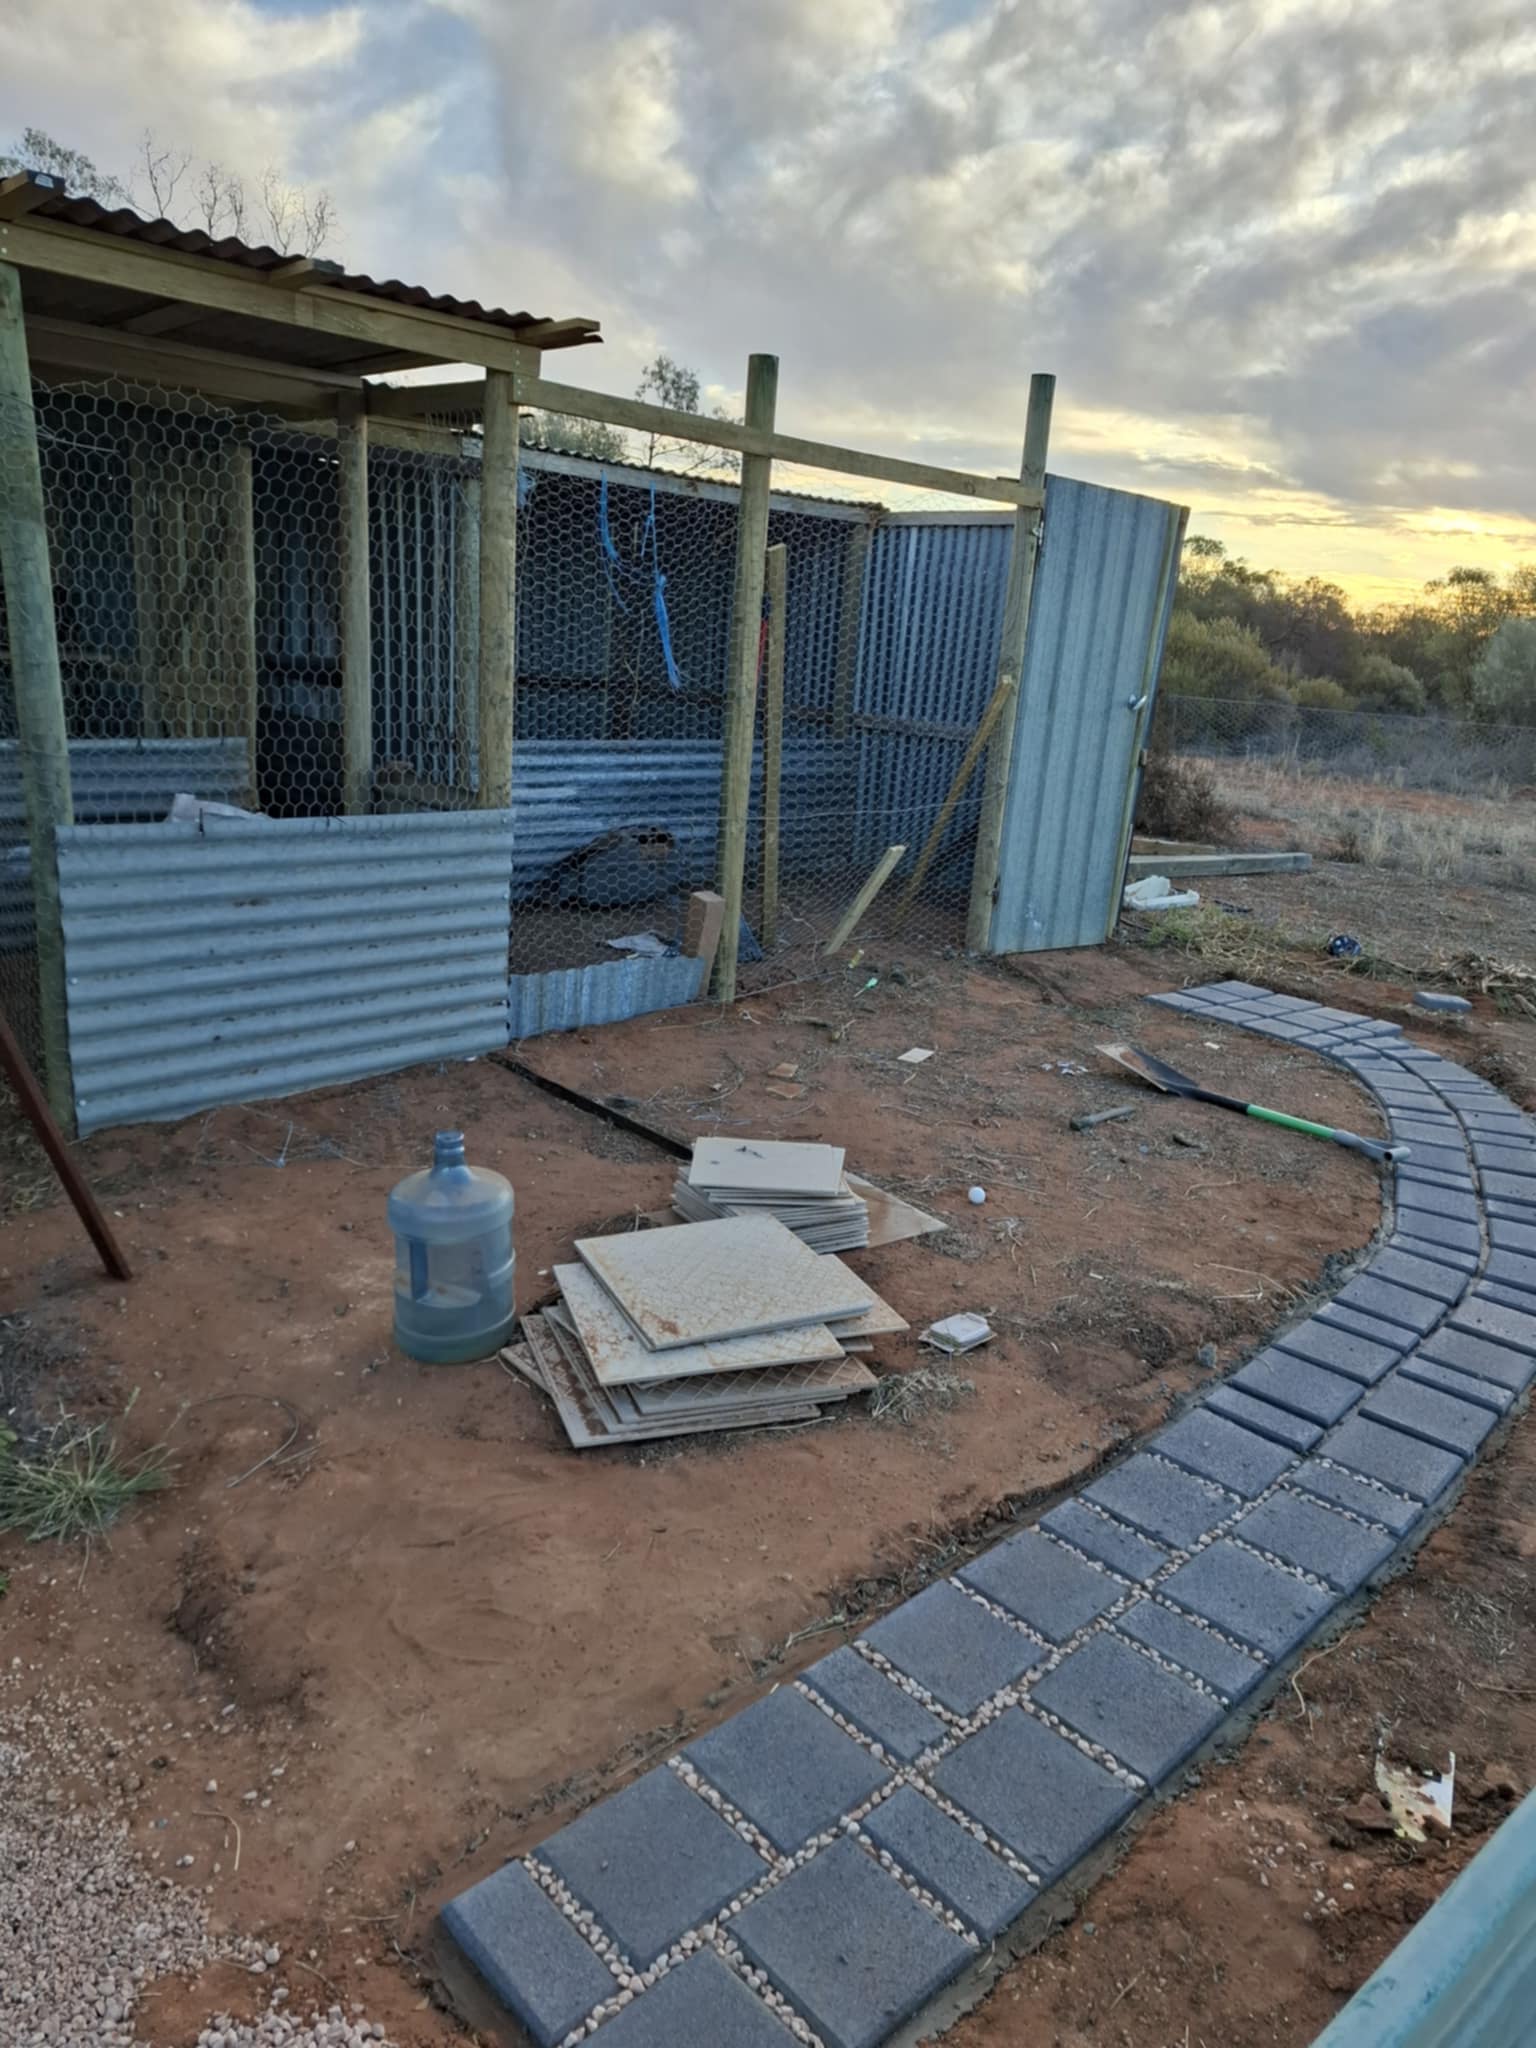
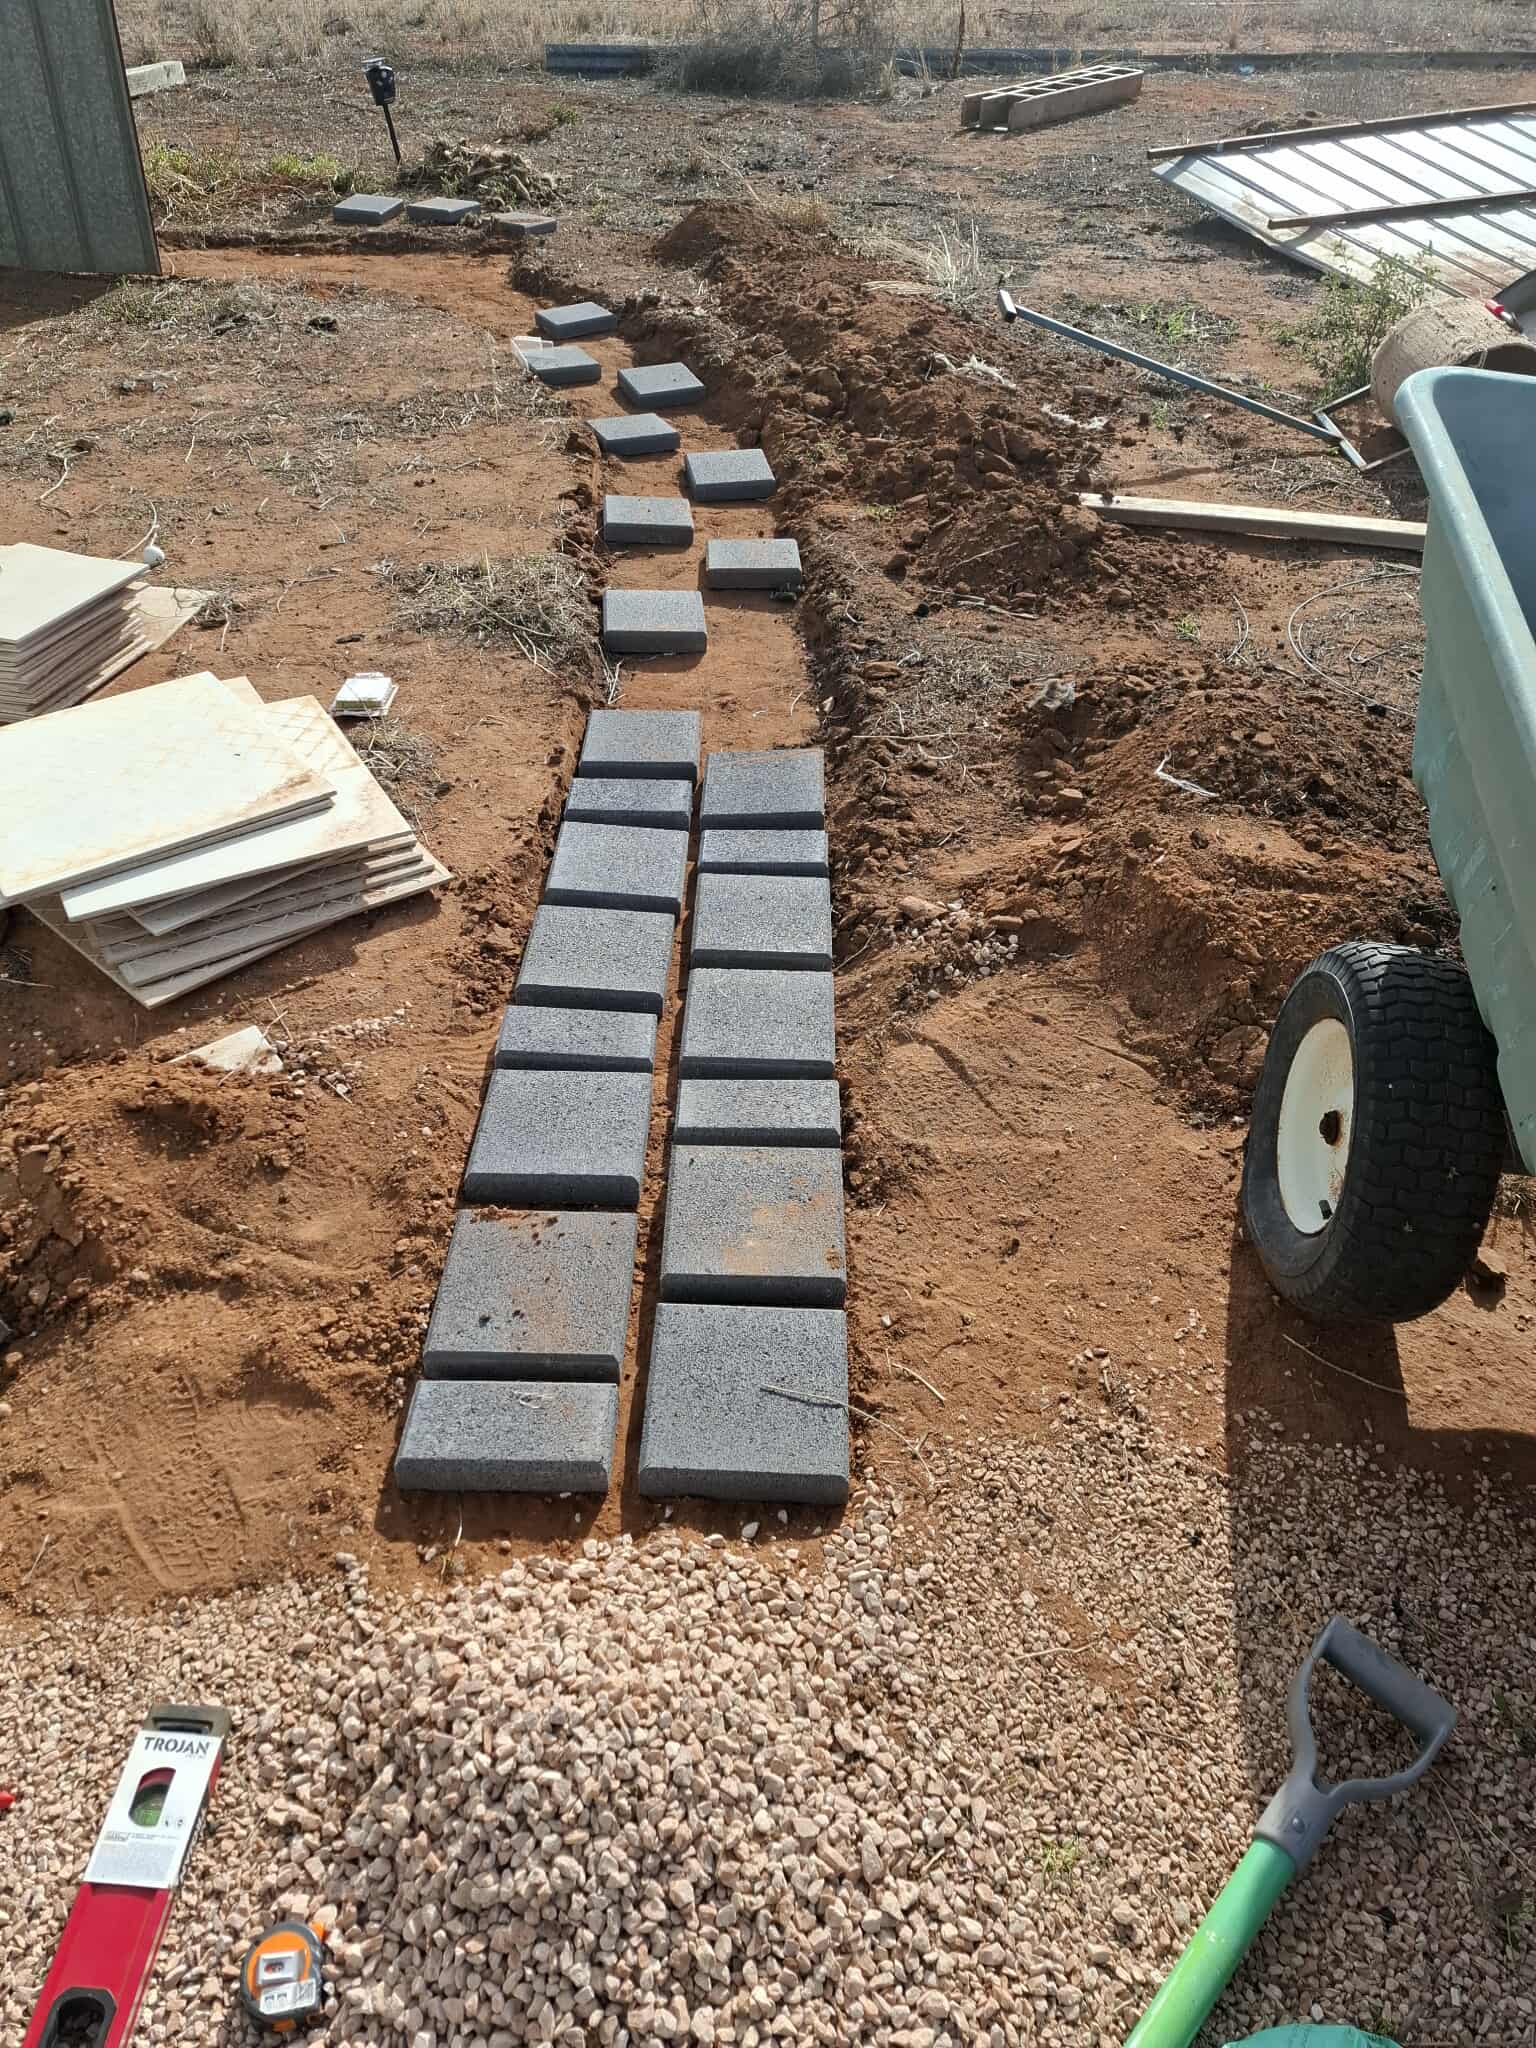
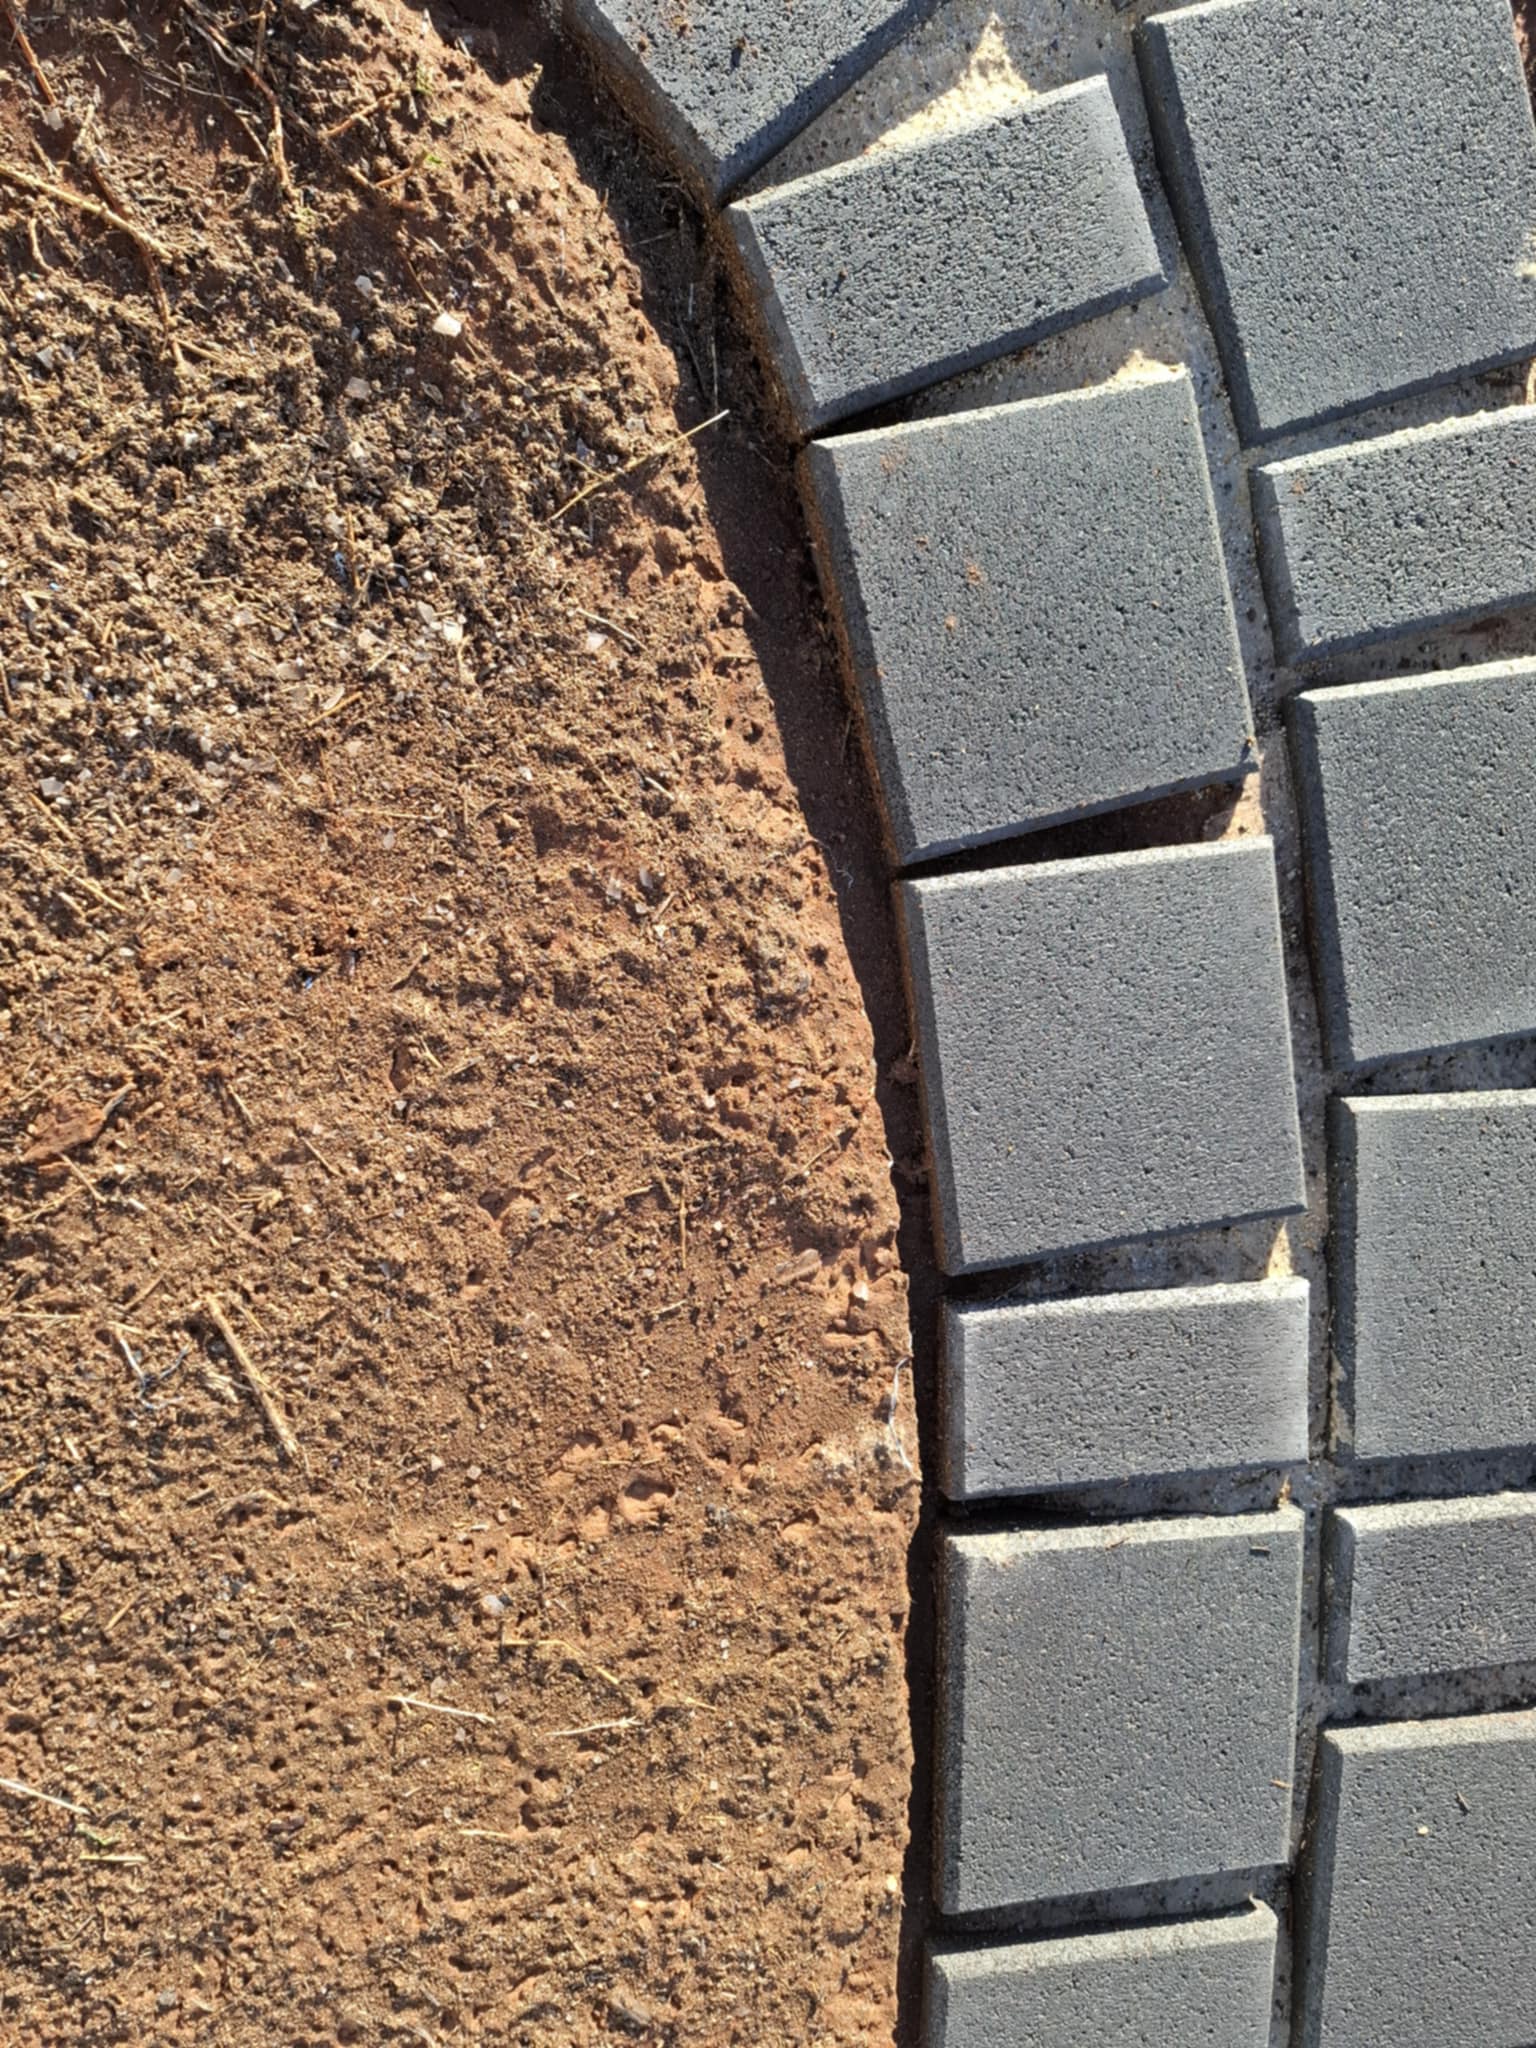
Leveling The Ground, Lay The Stone
The first process is figuring out how you want your path to look. In our case we wanted to have it running from the shed where the stone gravel ends. Materials needed for levelling are a shovel, a level or in this case we just eyeballed it as we didn't want it to be perfect, we went for an off center pathway to give it a more natural/rustic feel. You will of course need your pavers! I decided on this design with our charcoal pavers. It is important to note that you still need to keep some symmetry while laying your paving over slight deviations in the ground.

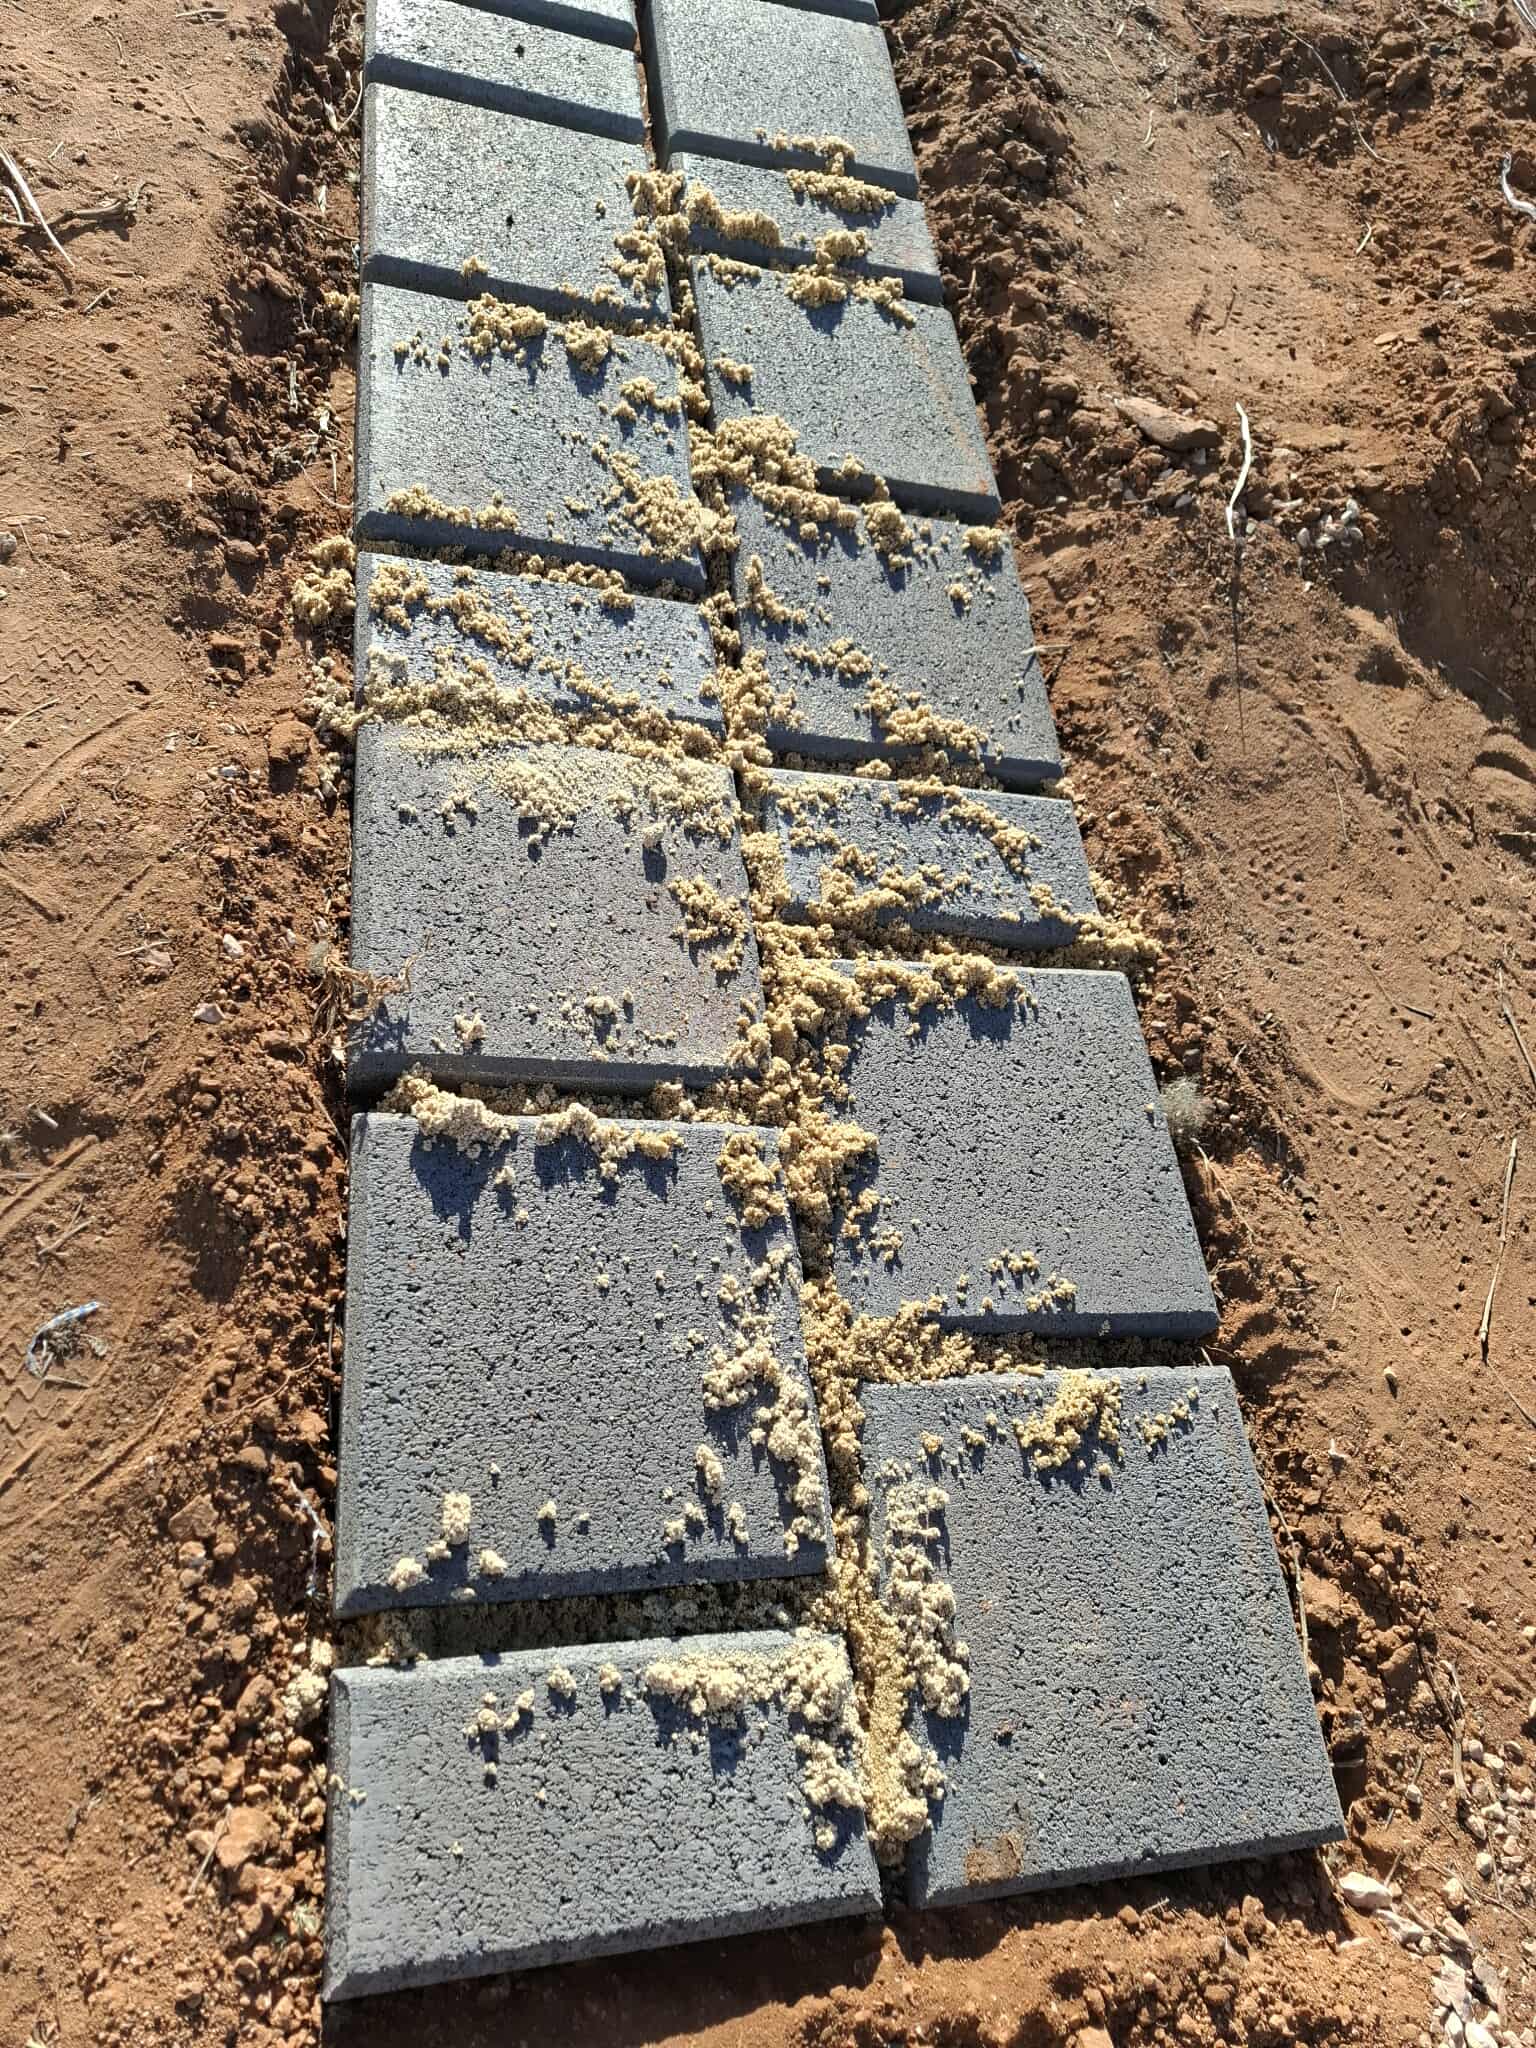
Laying Sand
Most Paving projects generally lay the sand on the ground first. A fine sand layer underneath allows some give for those looking to level out their pavers to perfection, effectively allowing you to 'Seat' your pavers to the position you desire. In this case, I was happy with the outcome so I simply placed sand in the gaps and watered the sand down to provide a soft lock on my design. You will need river sand or paving sand for this step and access to a spray hose to gently wash the sand to fill the base of the bricks.
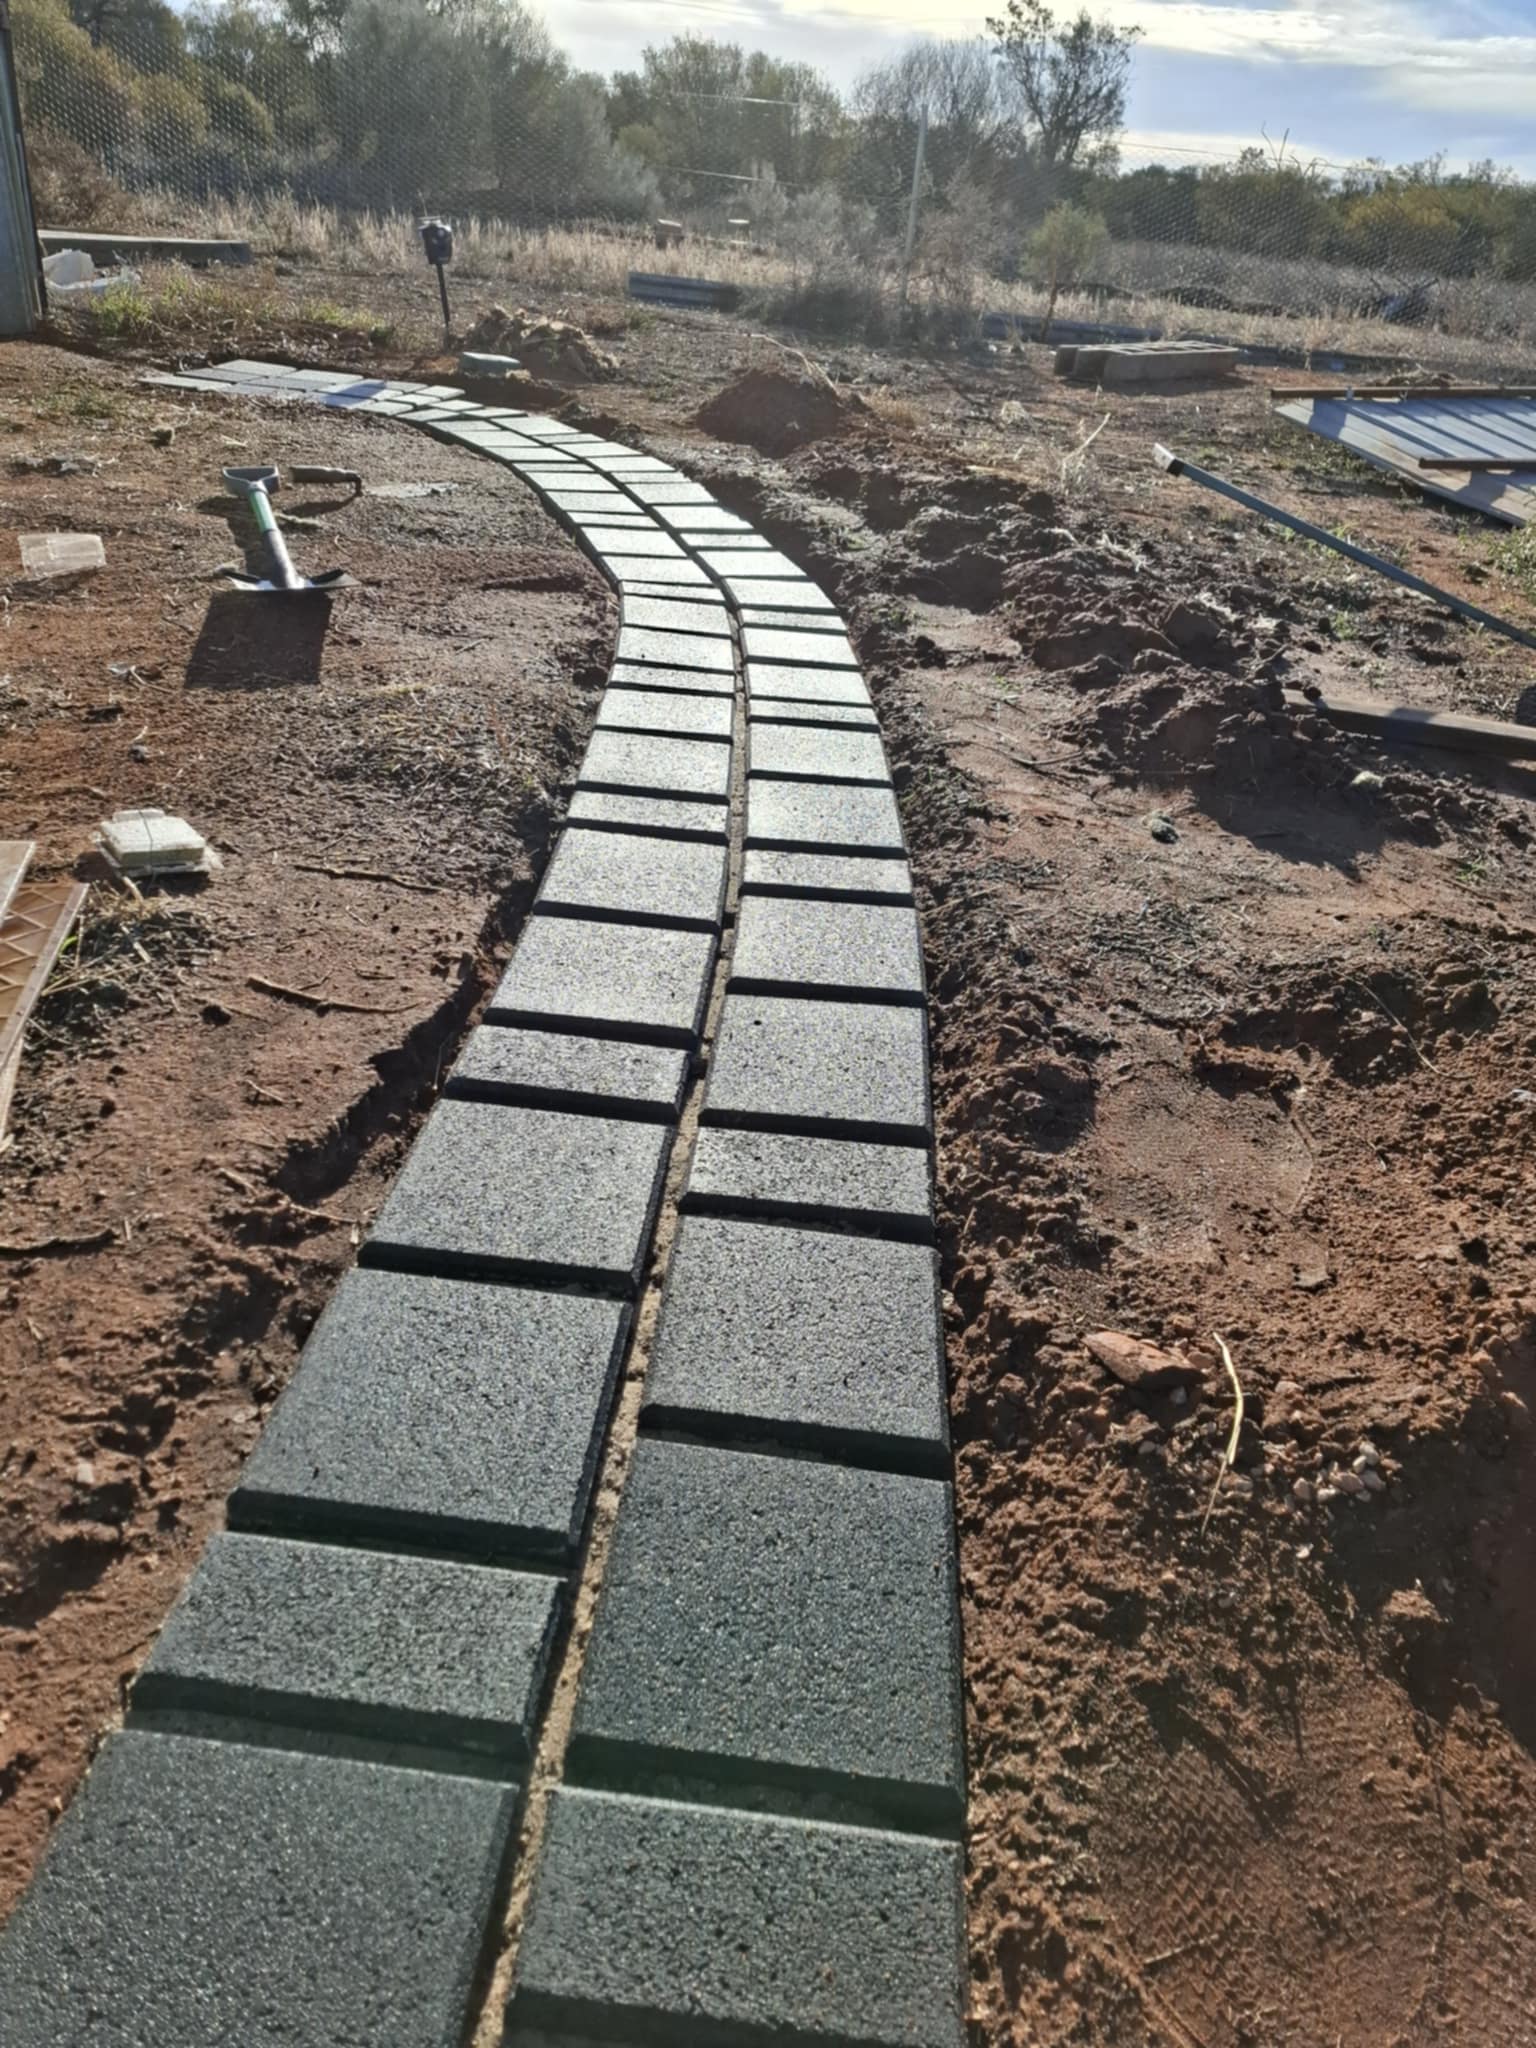
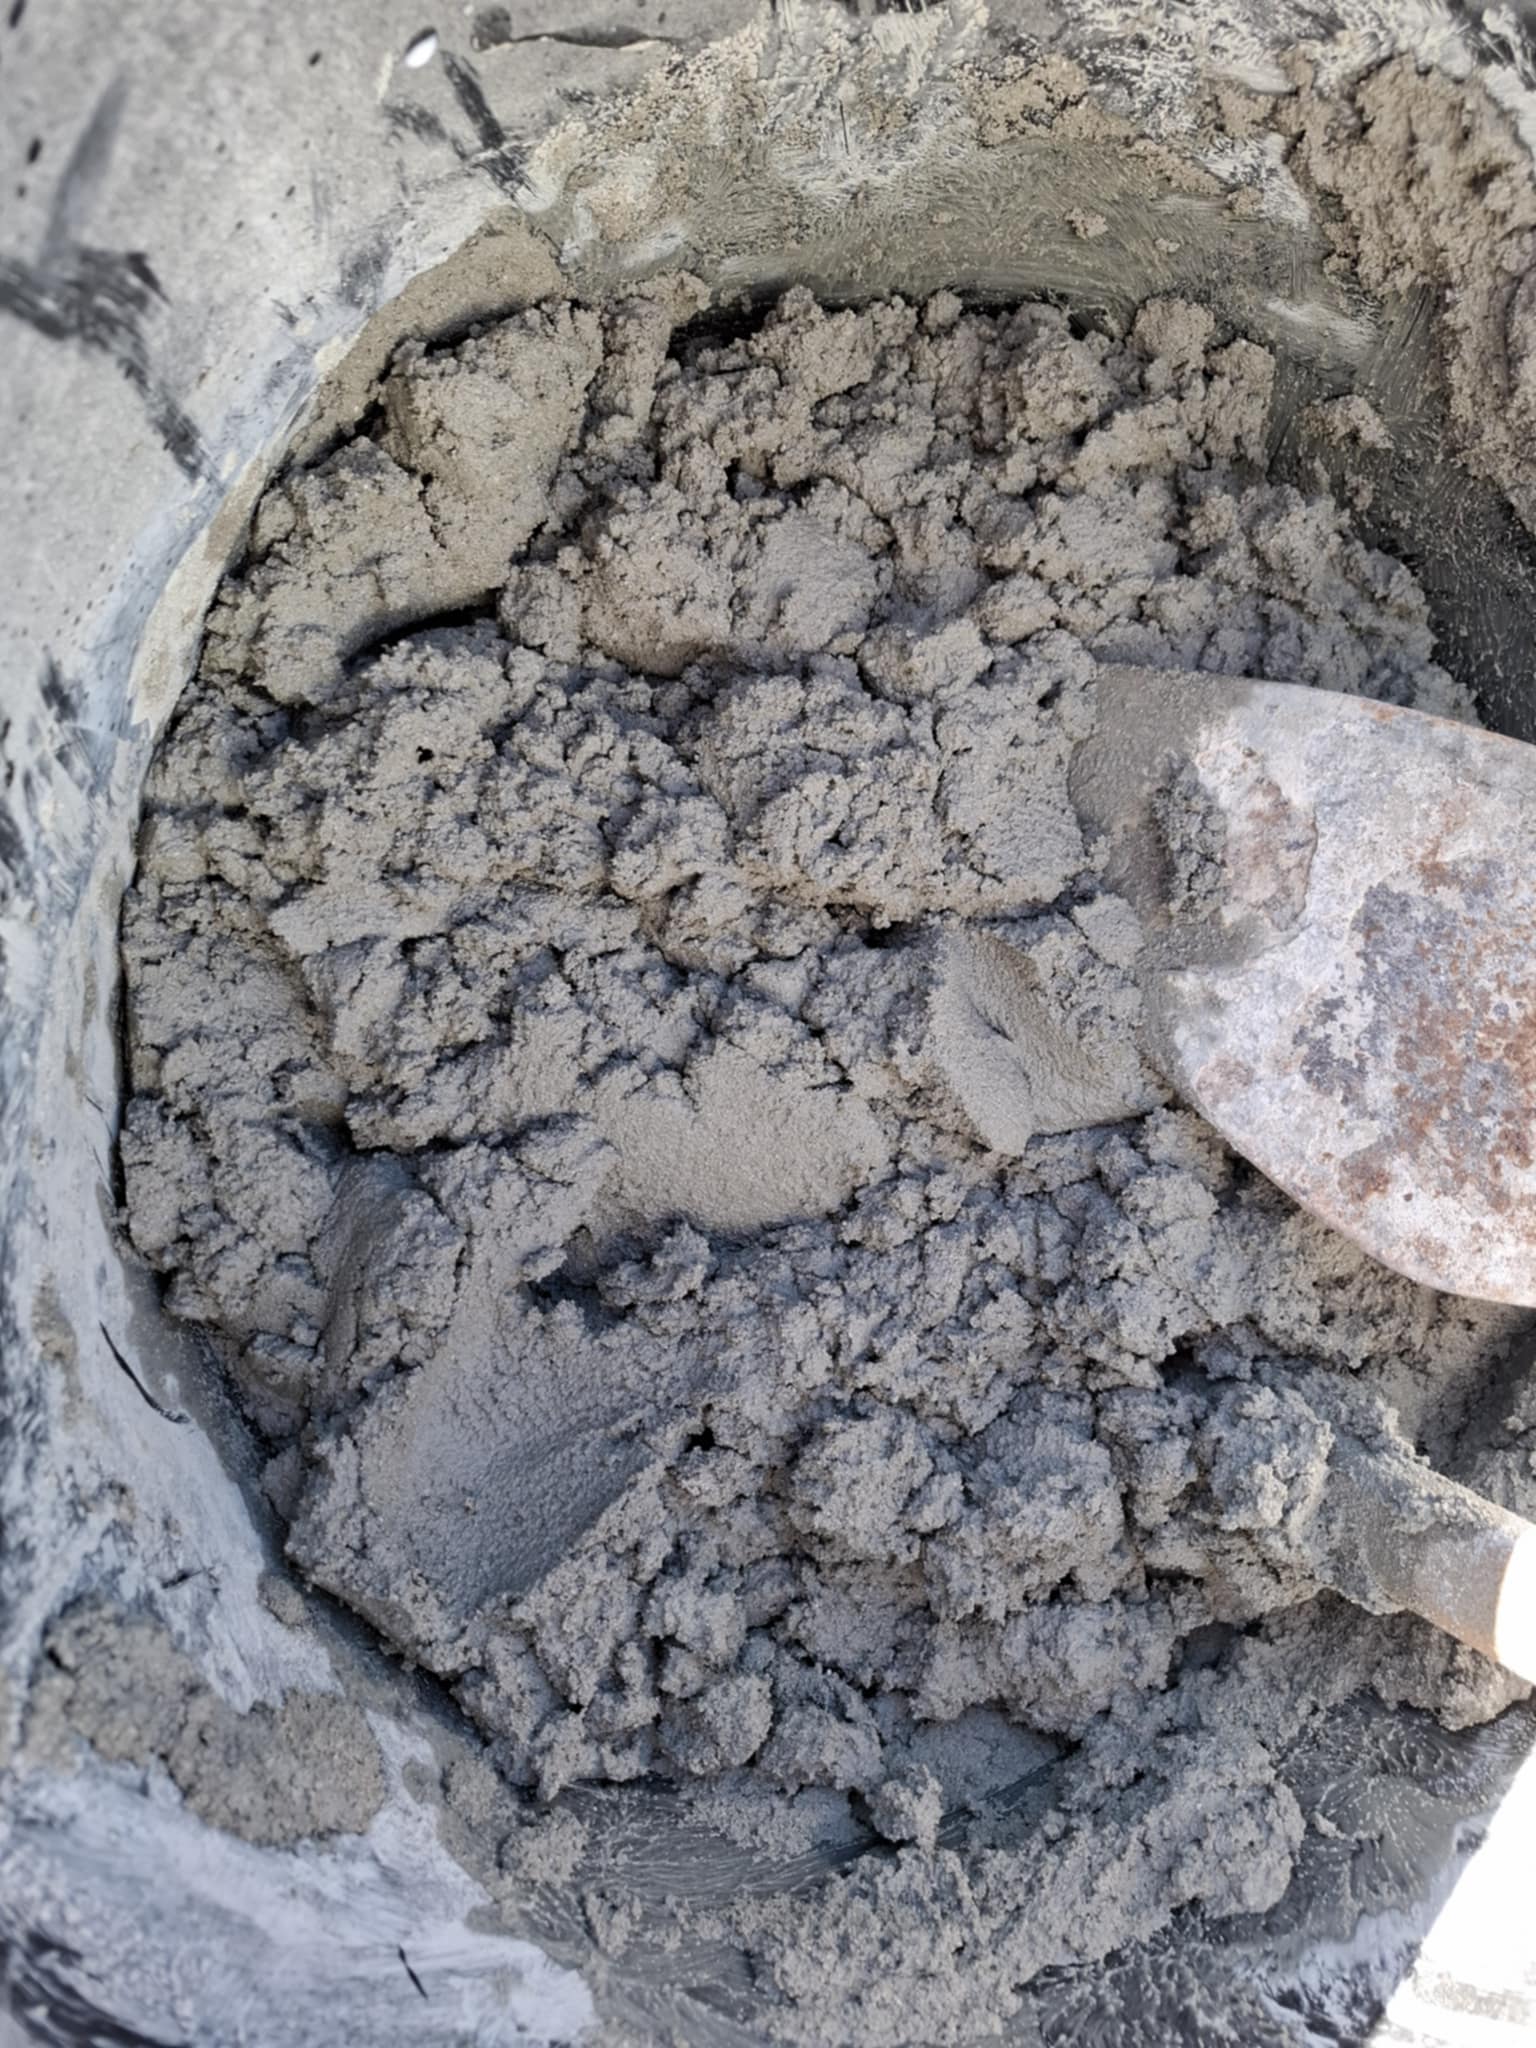
Mortar and Stones.
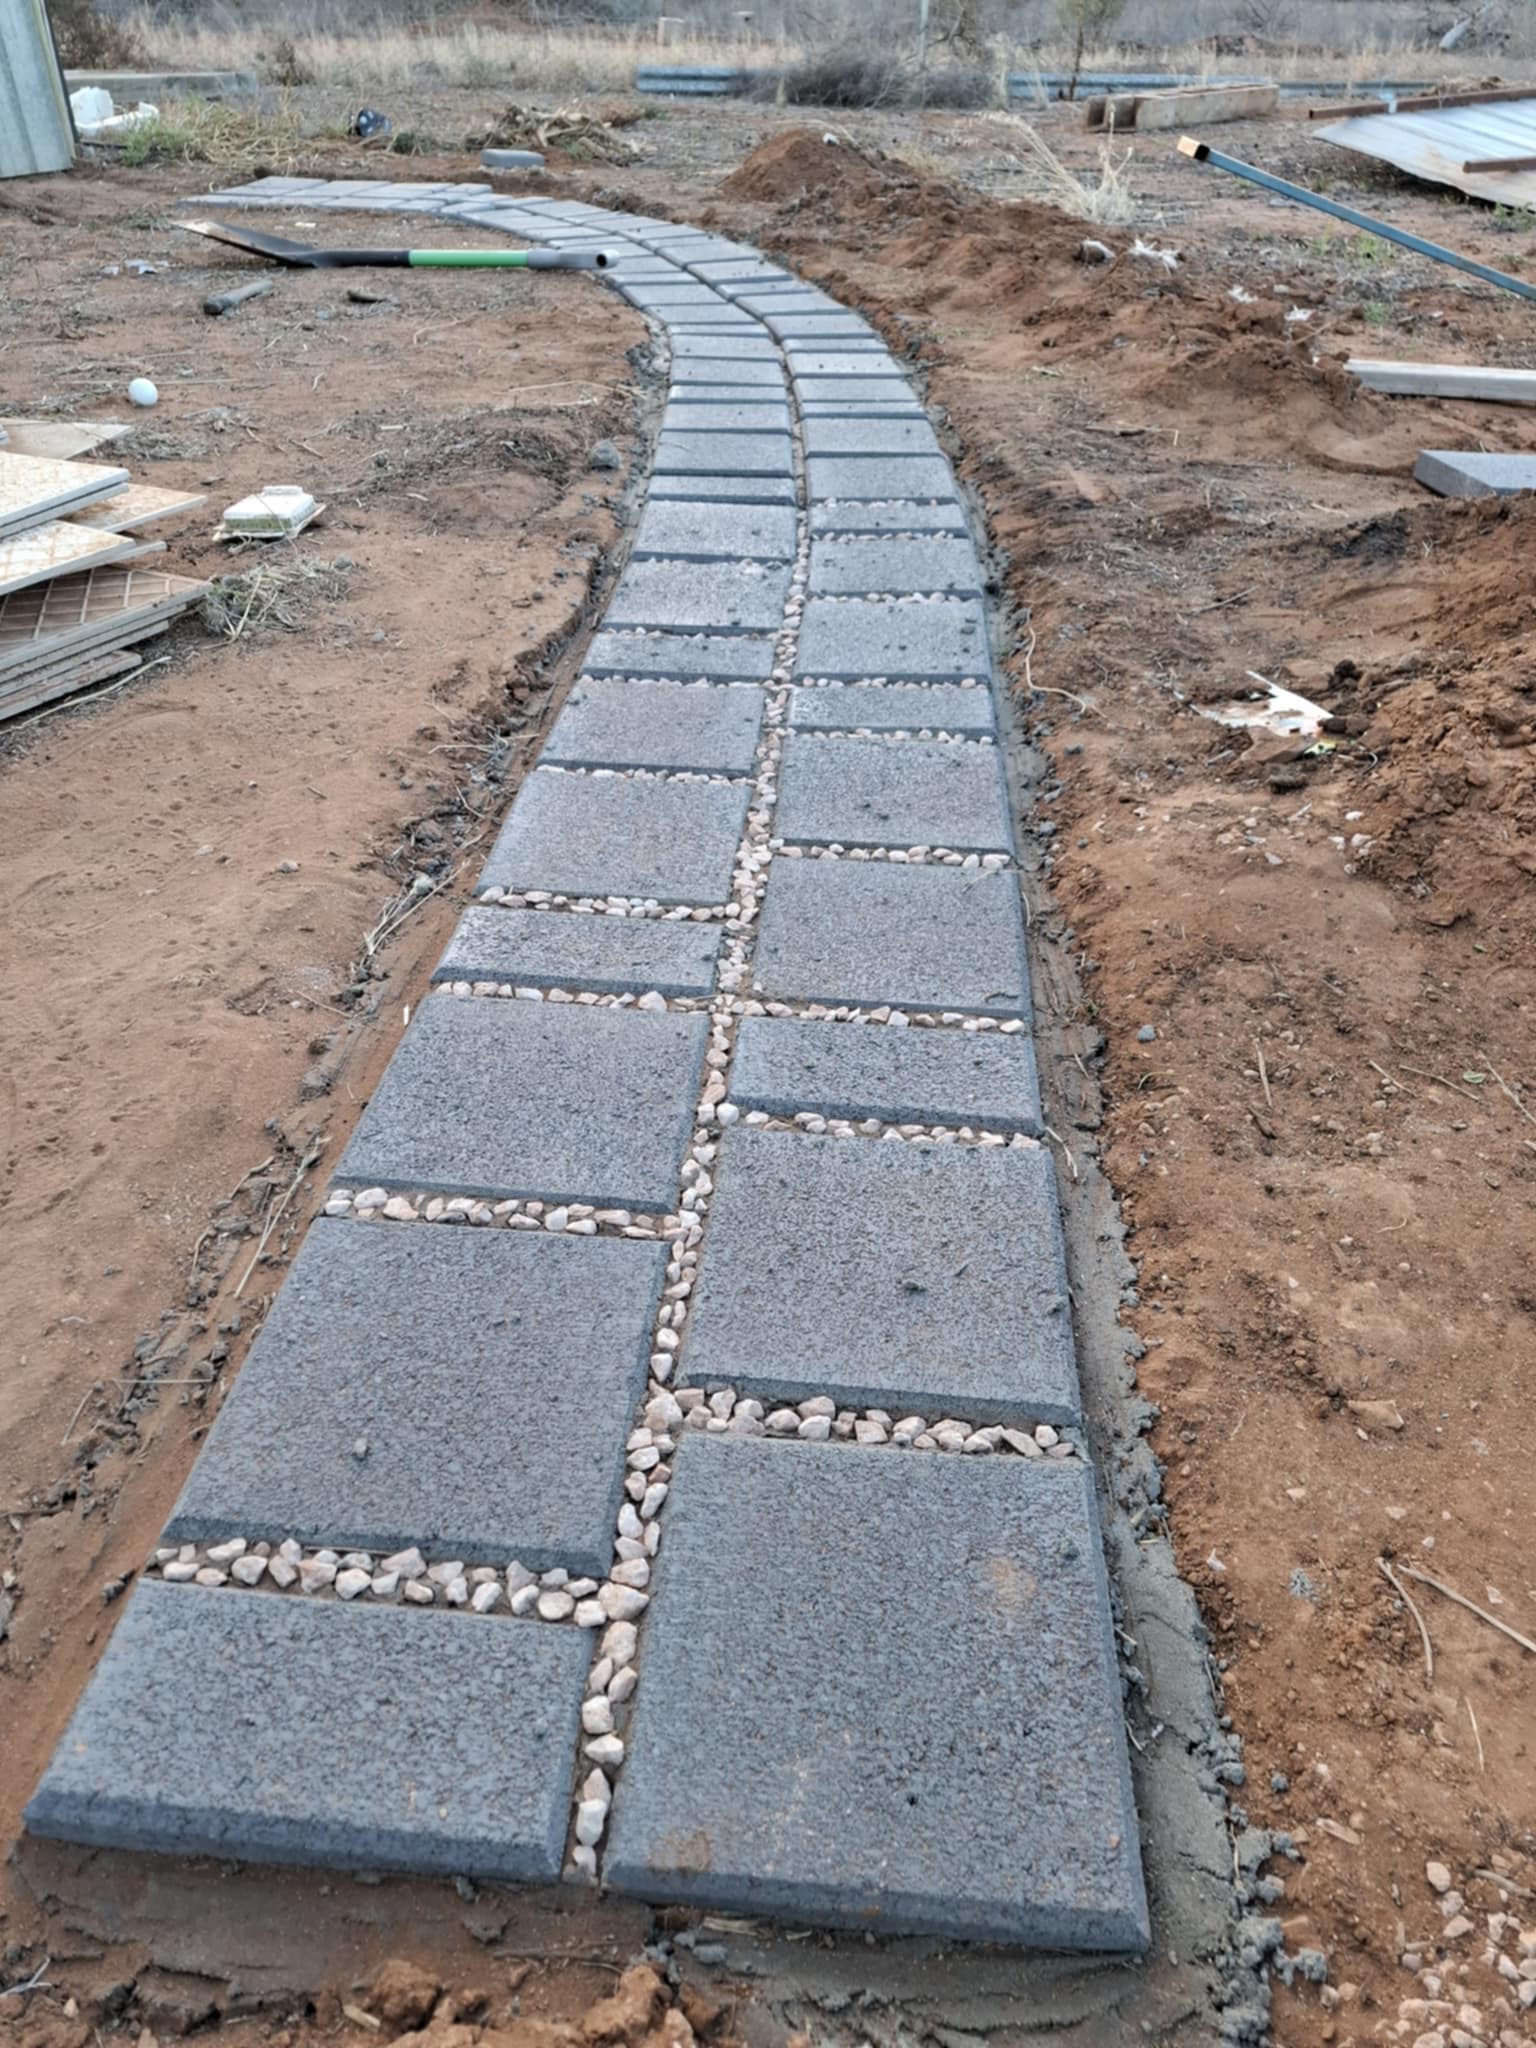
For the final steps, I mixed some paving mortar and used a paving trowel or pointing trowel to smooth down the mortar into the gaps and along the side. An additional step which I took was to add some bondcrete (paving glue) to the mortar to strengthen the bond. After all, you want to walk on your pavement without fear of cracking from ground movement, water damage and stepping on your pavers! Finally I used some crusher gravel and painstaking stuck them into the pavement for effect. If you have any bondcrete left over, pour some mix onto the stones to lock them in and even gloss your pavement for better effects!
Final Thoughts
Make sure you wash away and sweep or wash away any dirt or mortar before application and make sure everything is dry before you do this process of tidying up. I seem to have lost my final result picture but that's ok, you can see the process and the effect in action! This was by far a grueling task and not for the faint hearted. Be ready to do thousands of squats over a couple days!
Thanks for checking in and please follow if you love this kind of content as we continue our journey at Beardsnest Manor!