My pottery skills are improving with every new job and i'm very happy to see this progress.
This is my third work in pottery and I really like the result. It inspires to make more products and experiment with new forms. You are free to do whatever you want without limits and restrictions. Here's what I call art - freedom of imagination!

I want to tell you how I made a candlestick and what you need to make it. So...
I took a small piece of pottery clay and rolled it in a thin layer of 0.5 cm thick. I attached to this a sheet of paper with a pattern of leaves that I painted in advance.
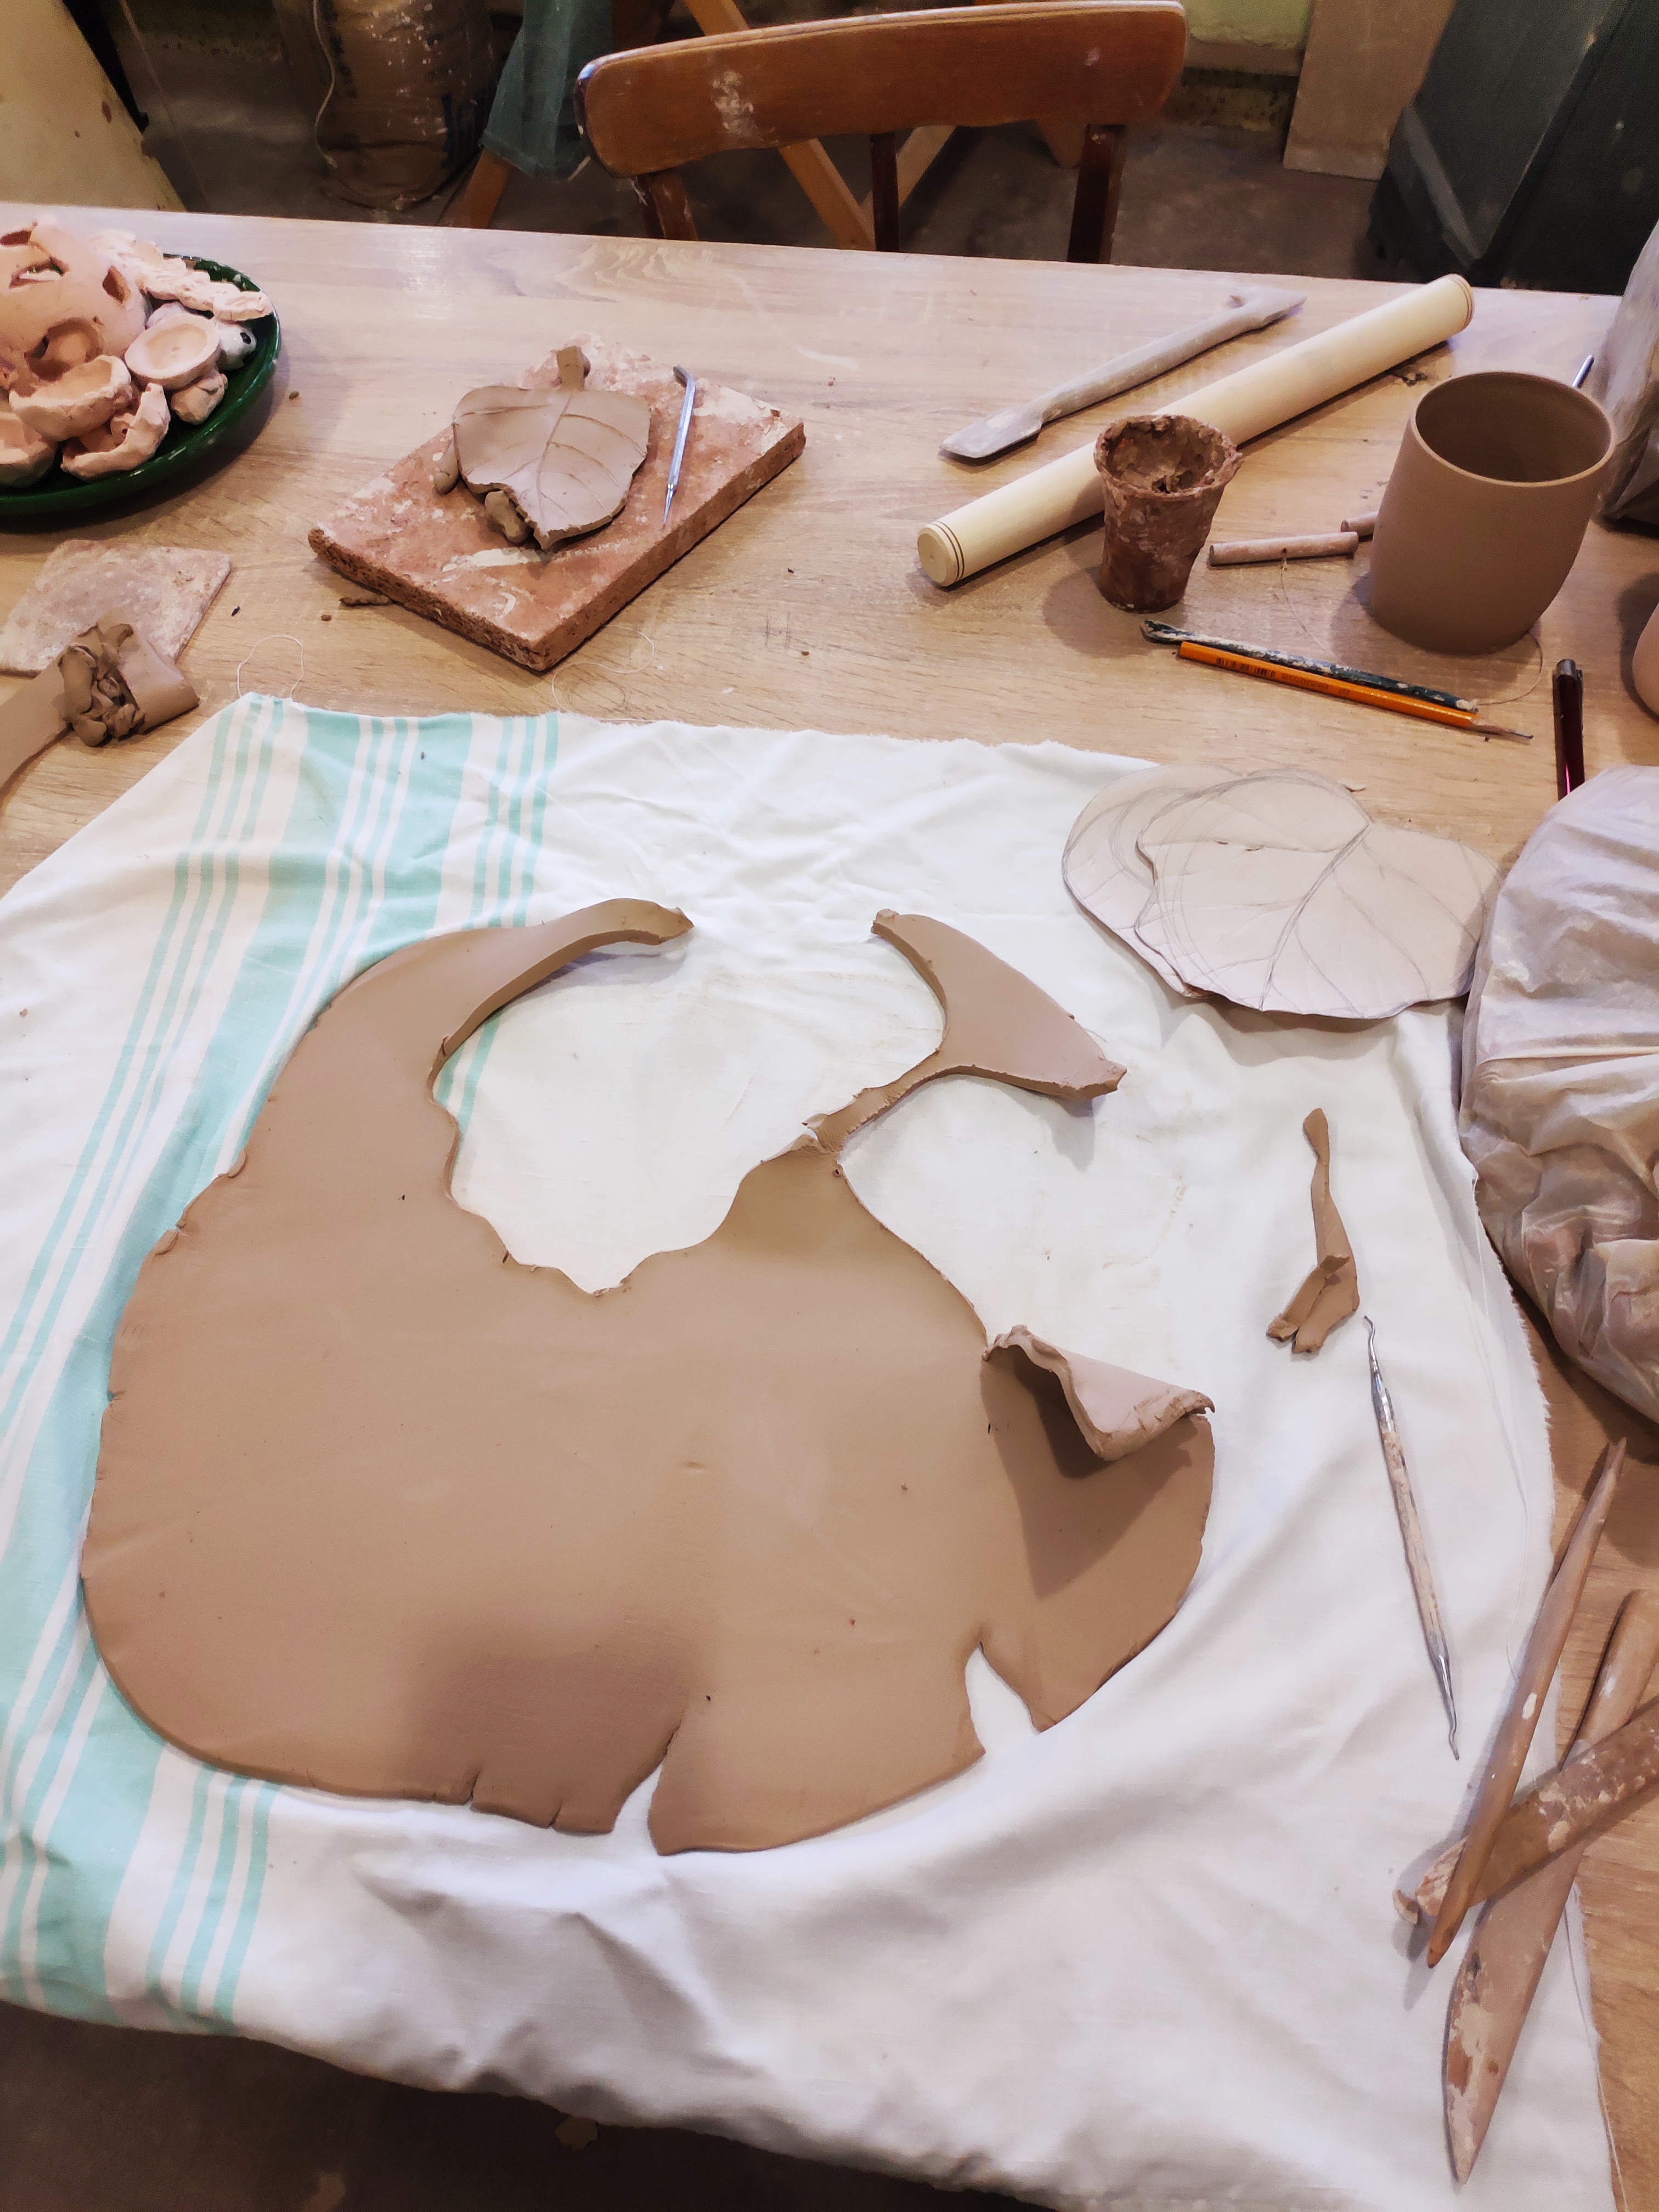
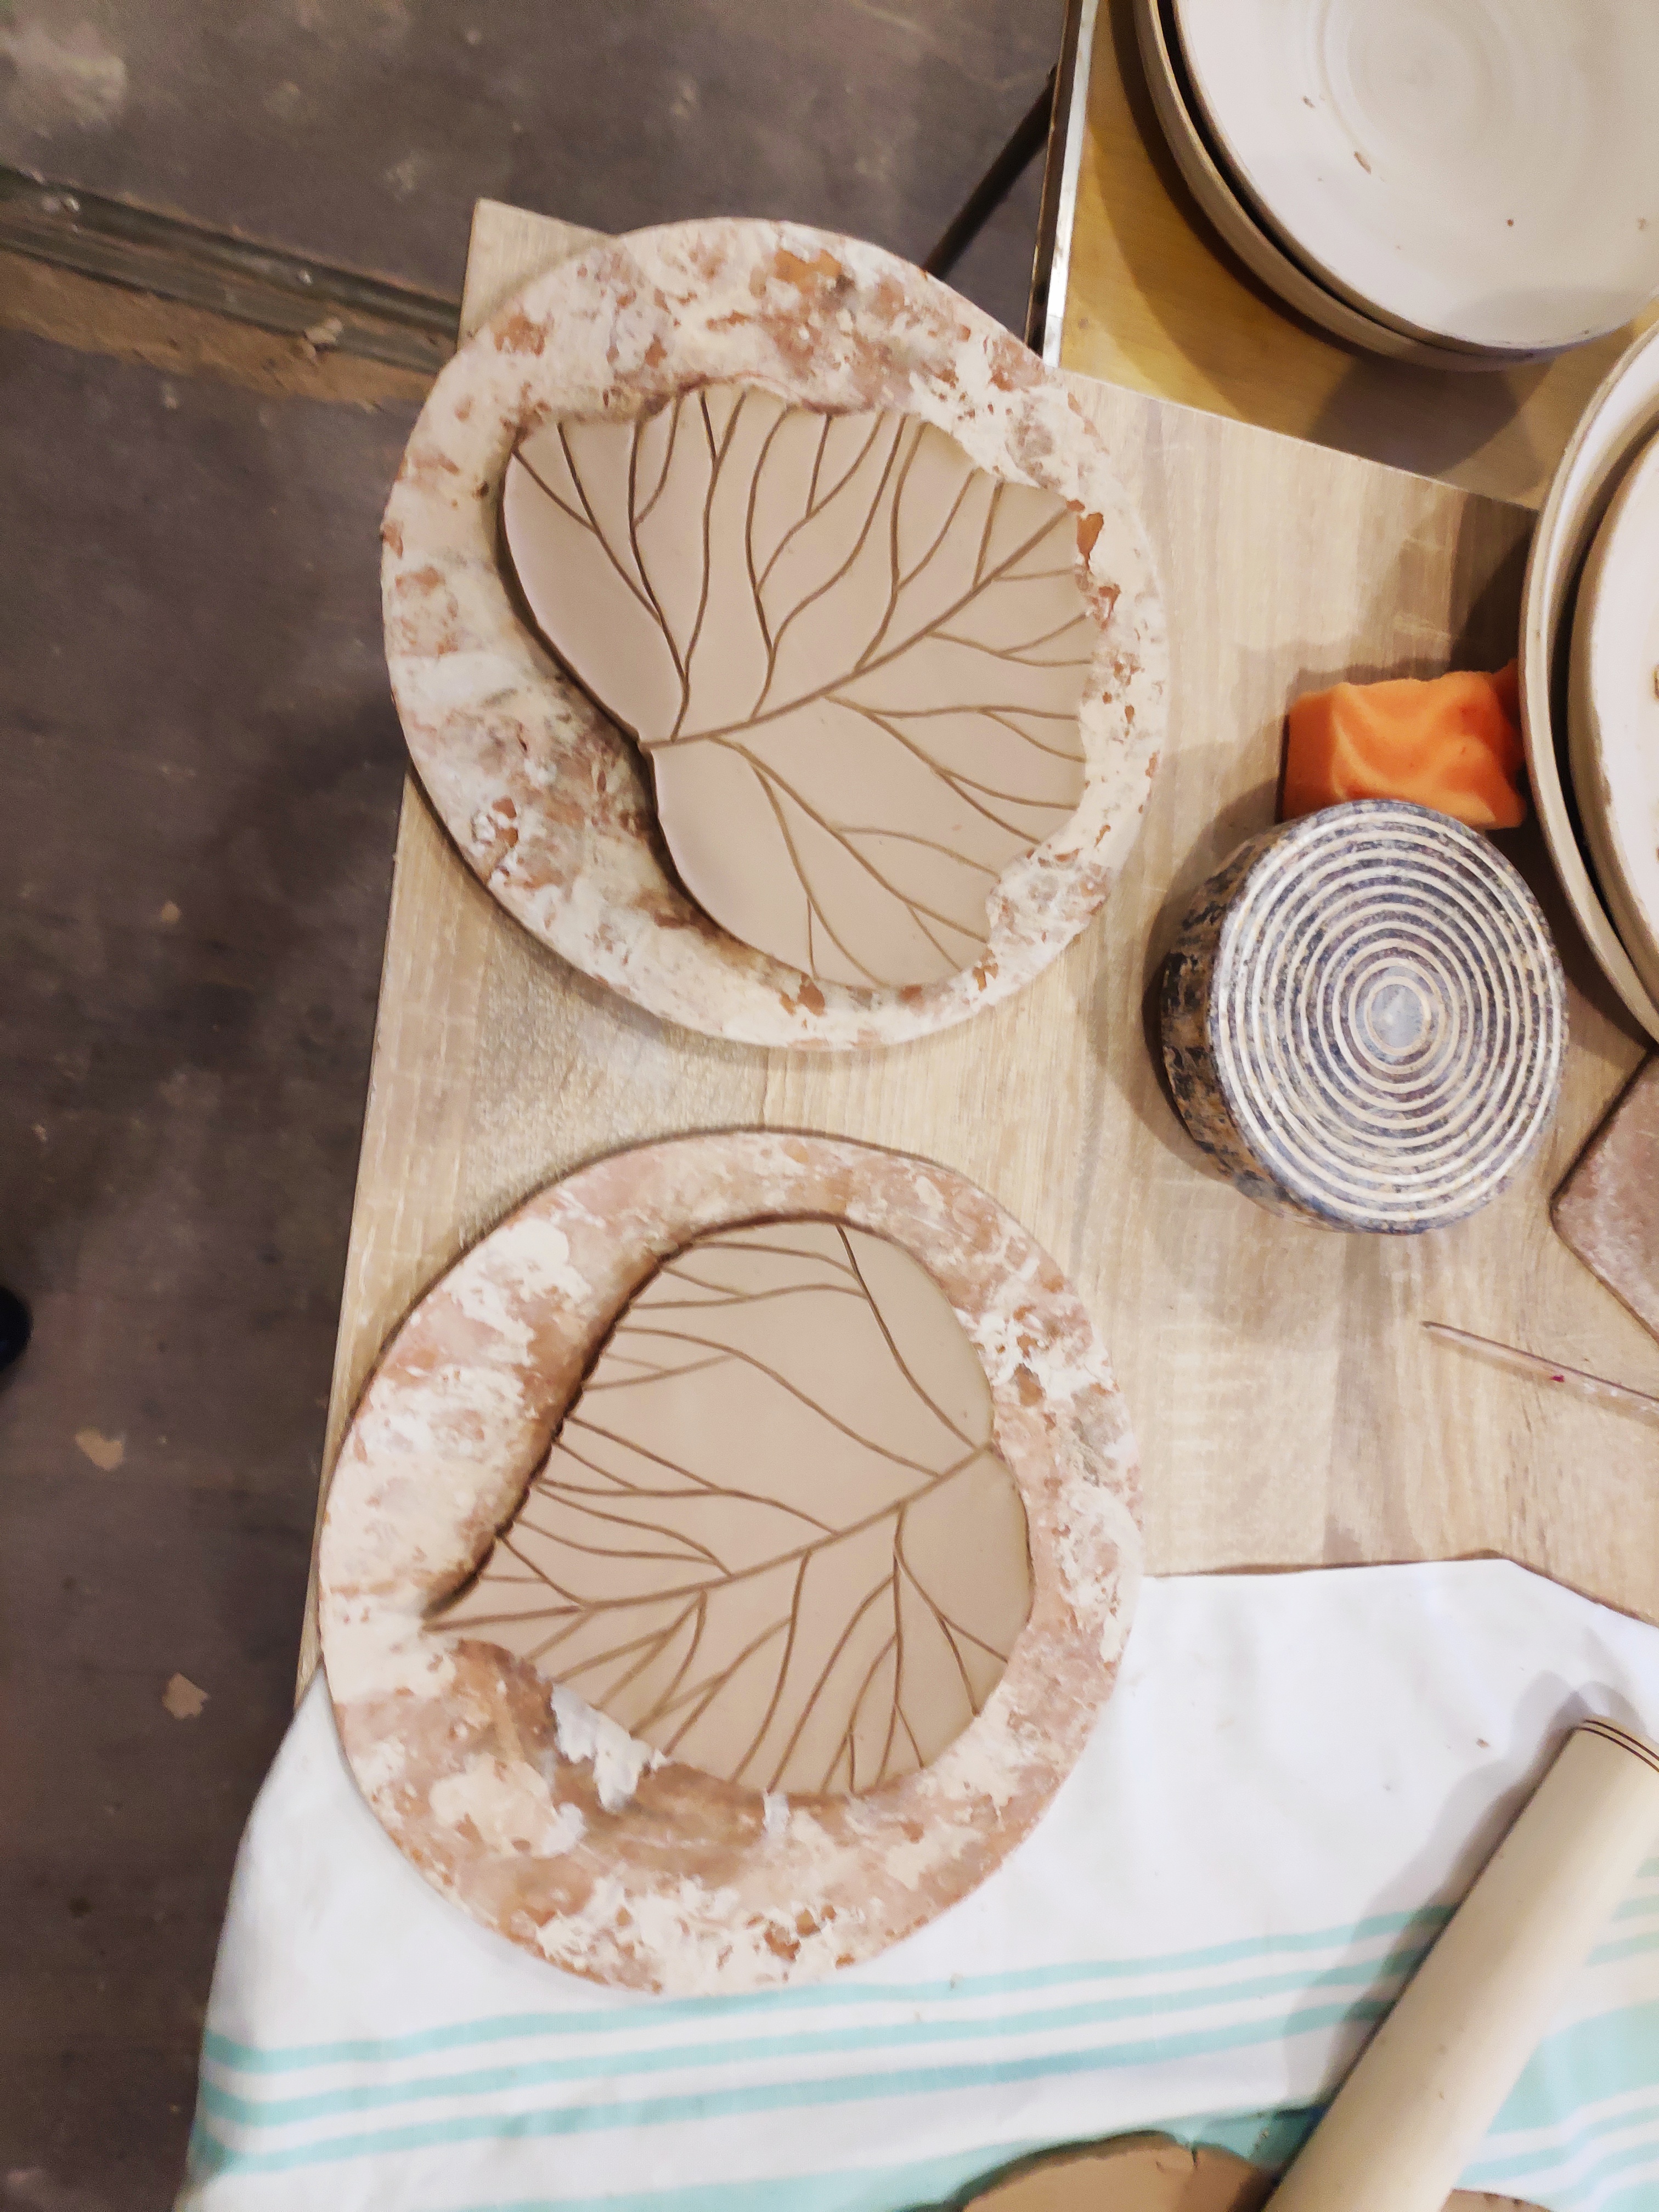
I cut out the leaves and made veins with special tools for clay.
The next step is to make a candle hole. I dug it manually and attached it to the base. Voilà!
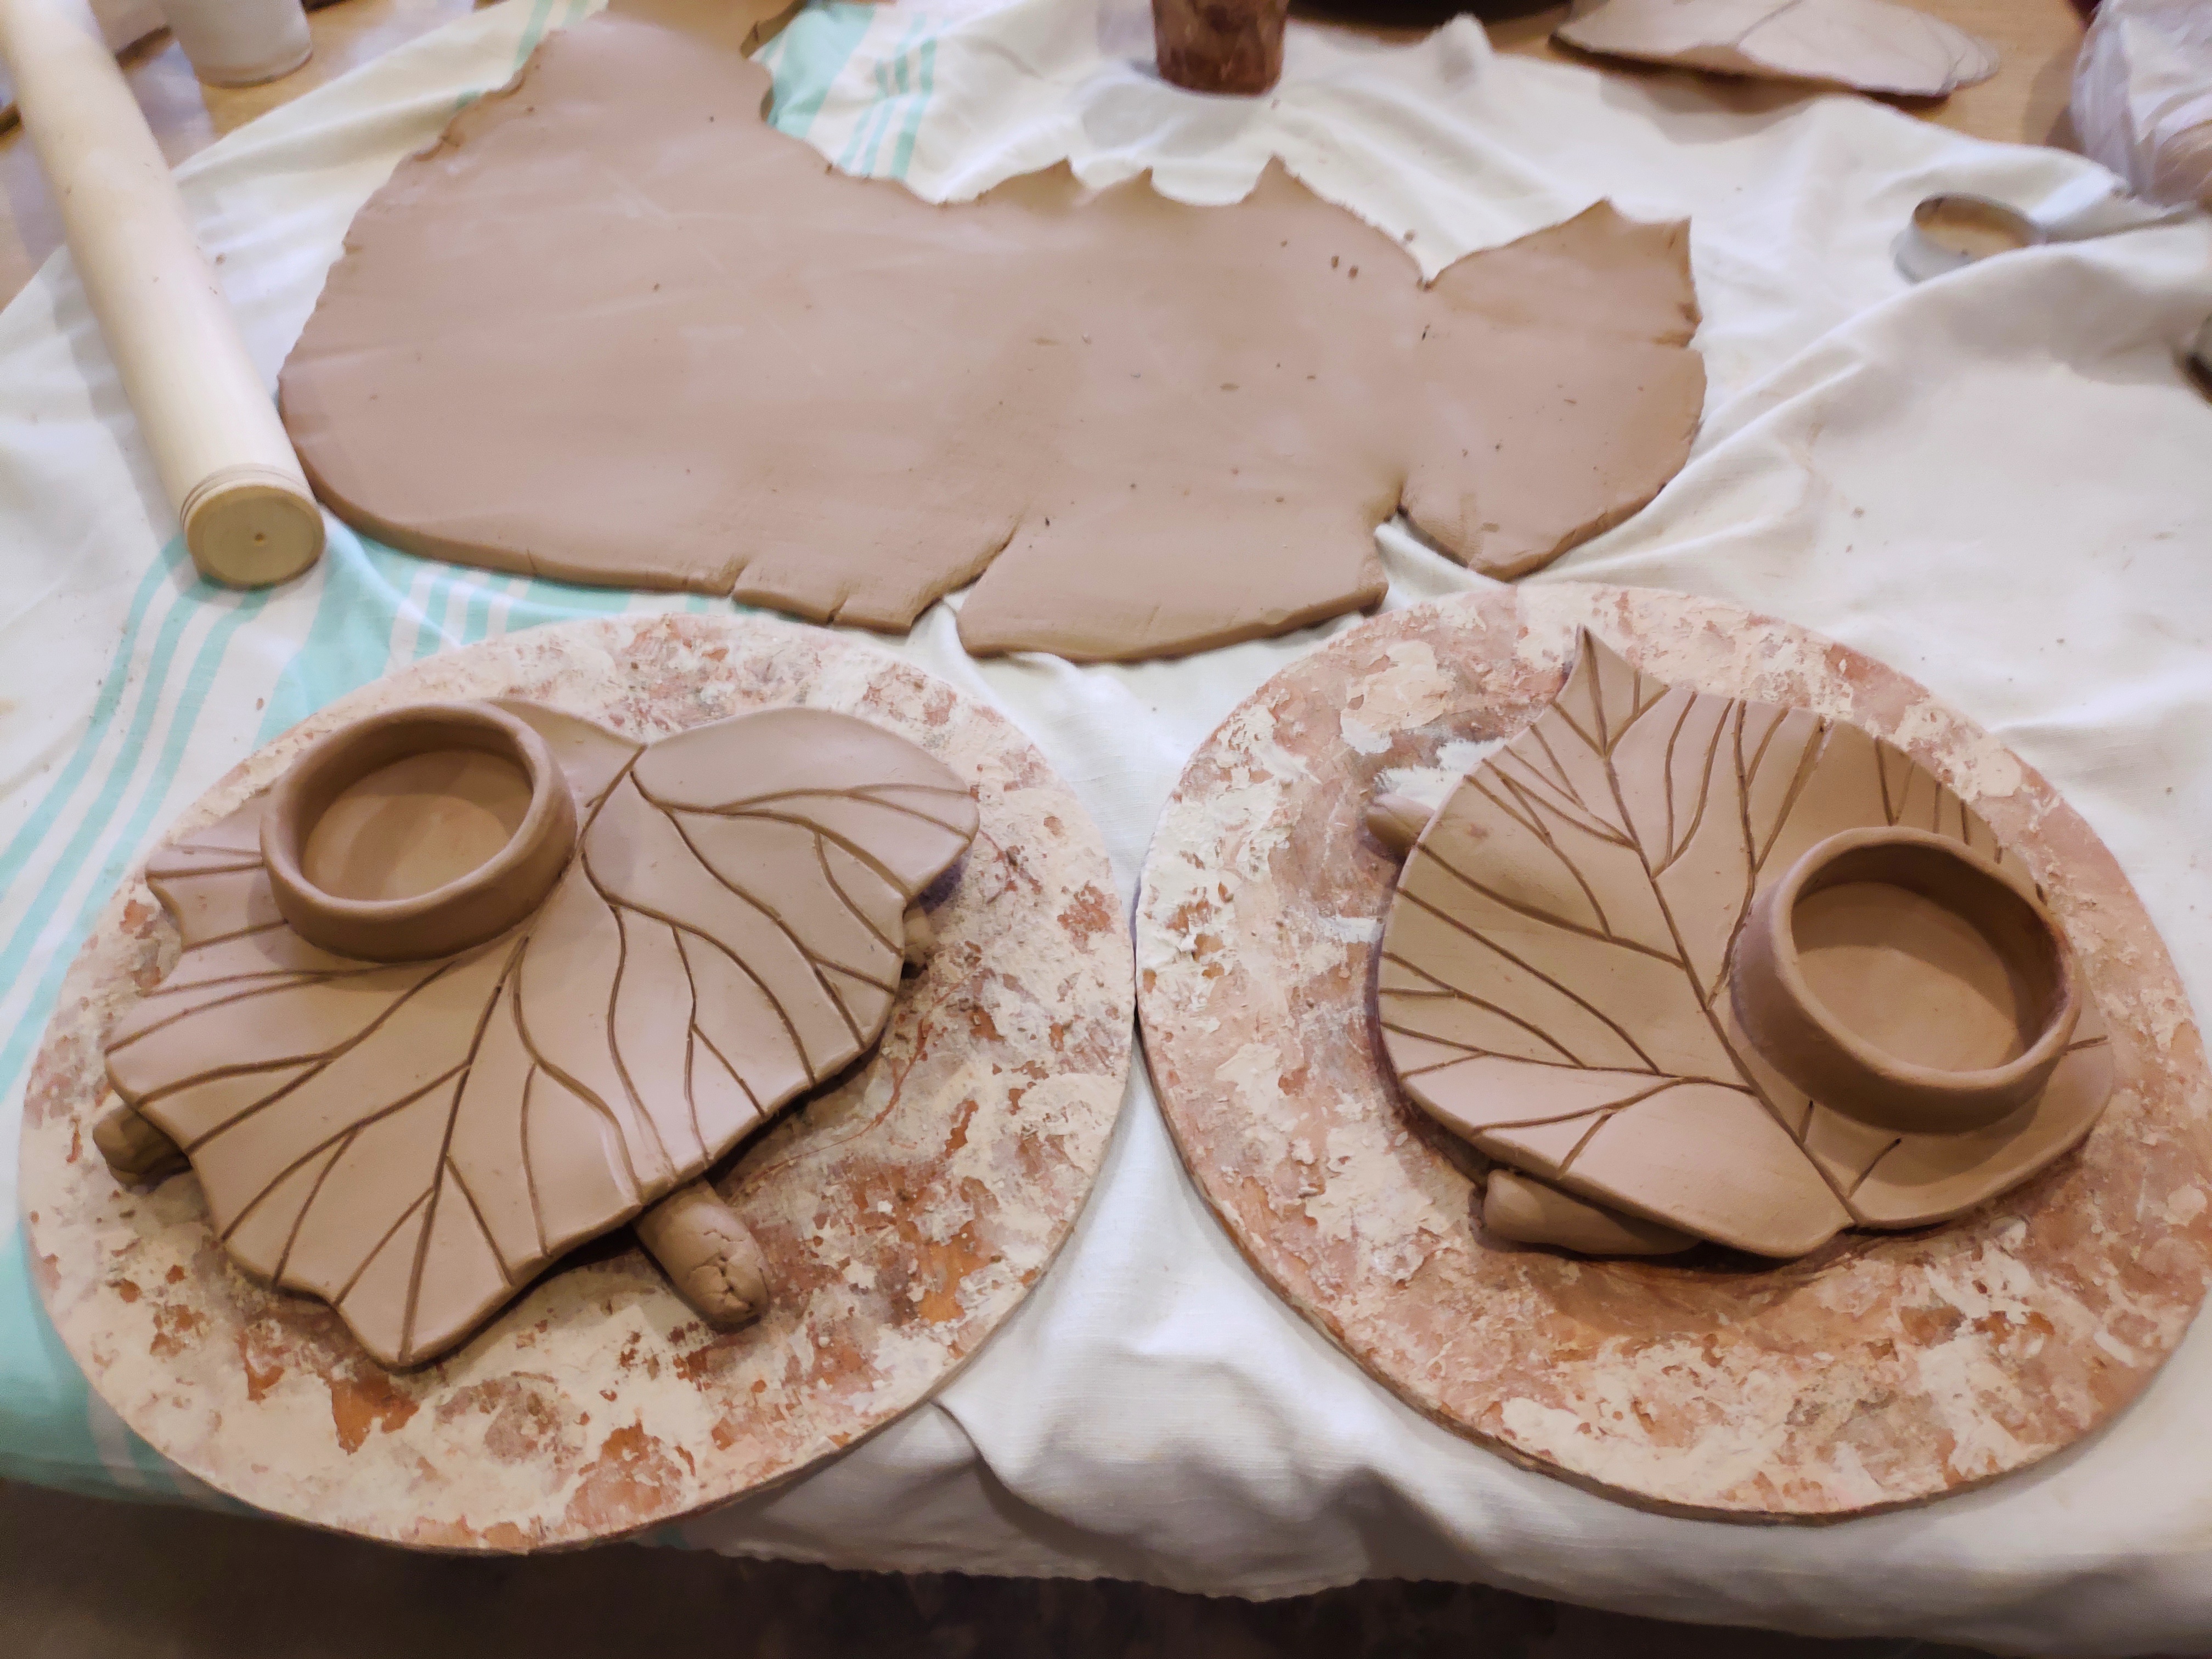
At this stage, it is necessary to wait till the product becomes totally dry.
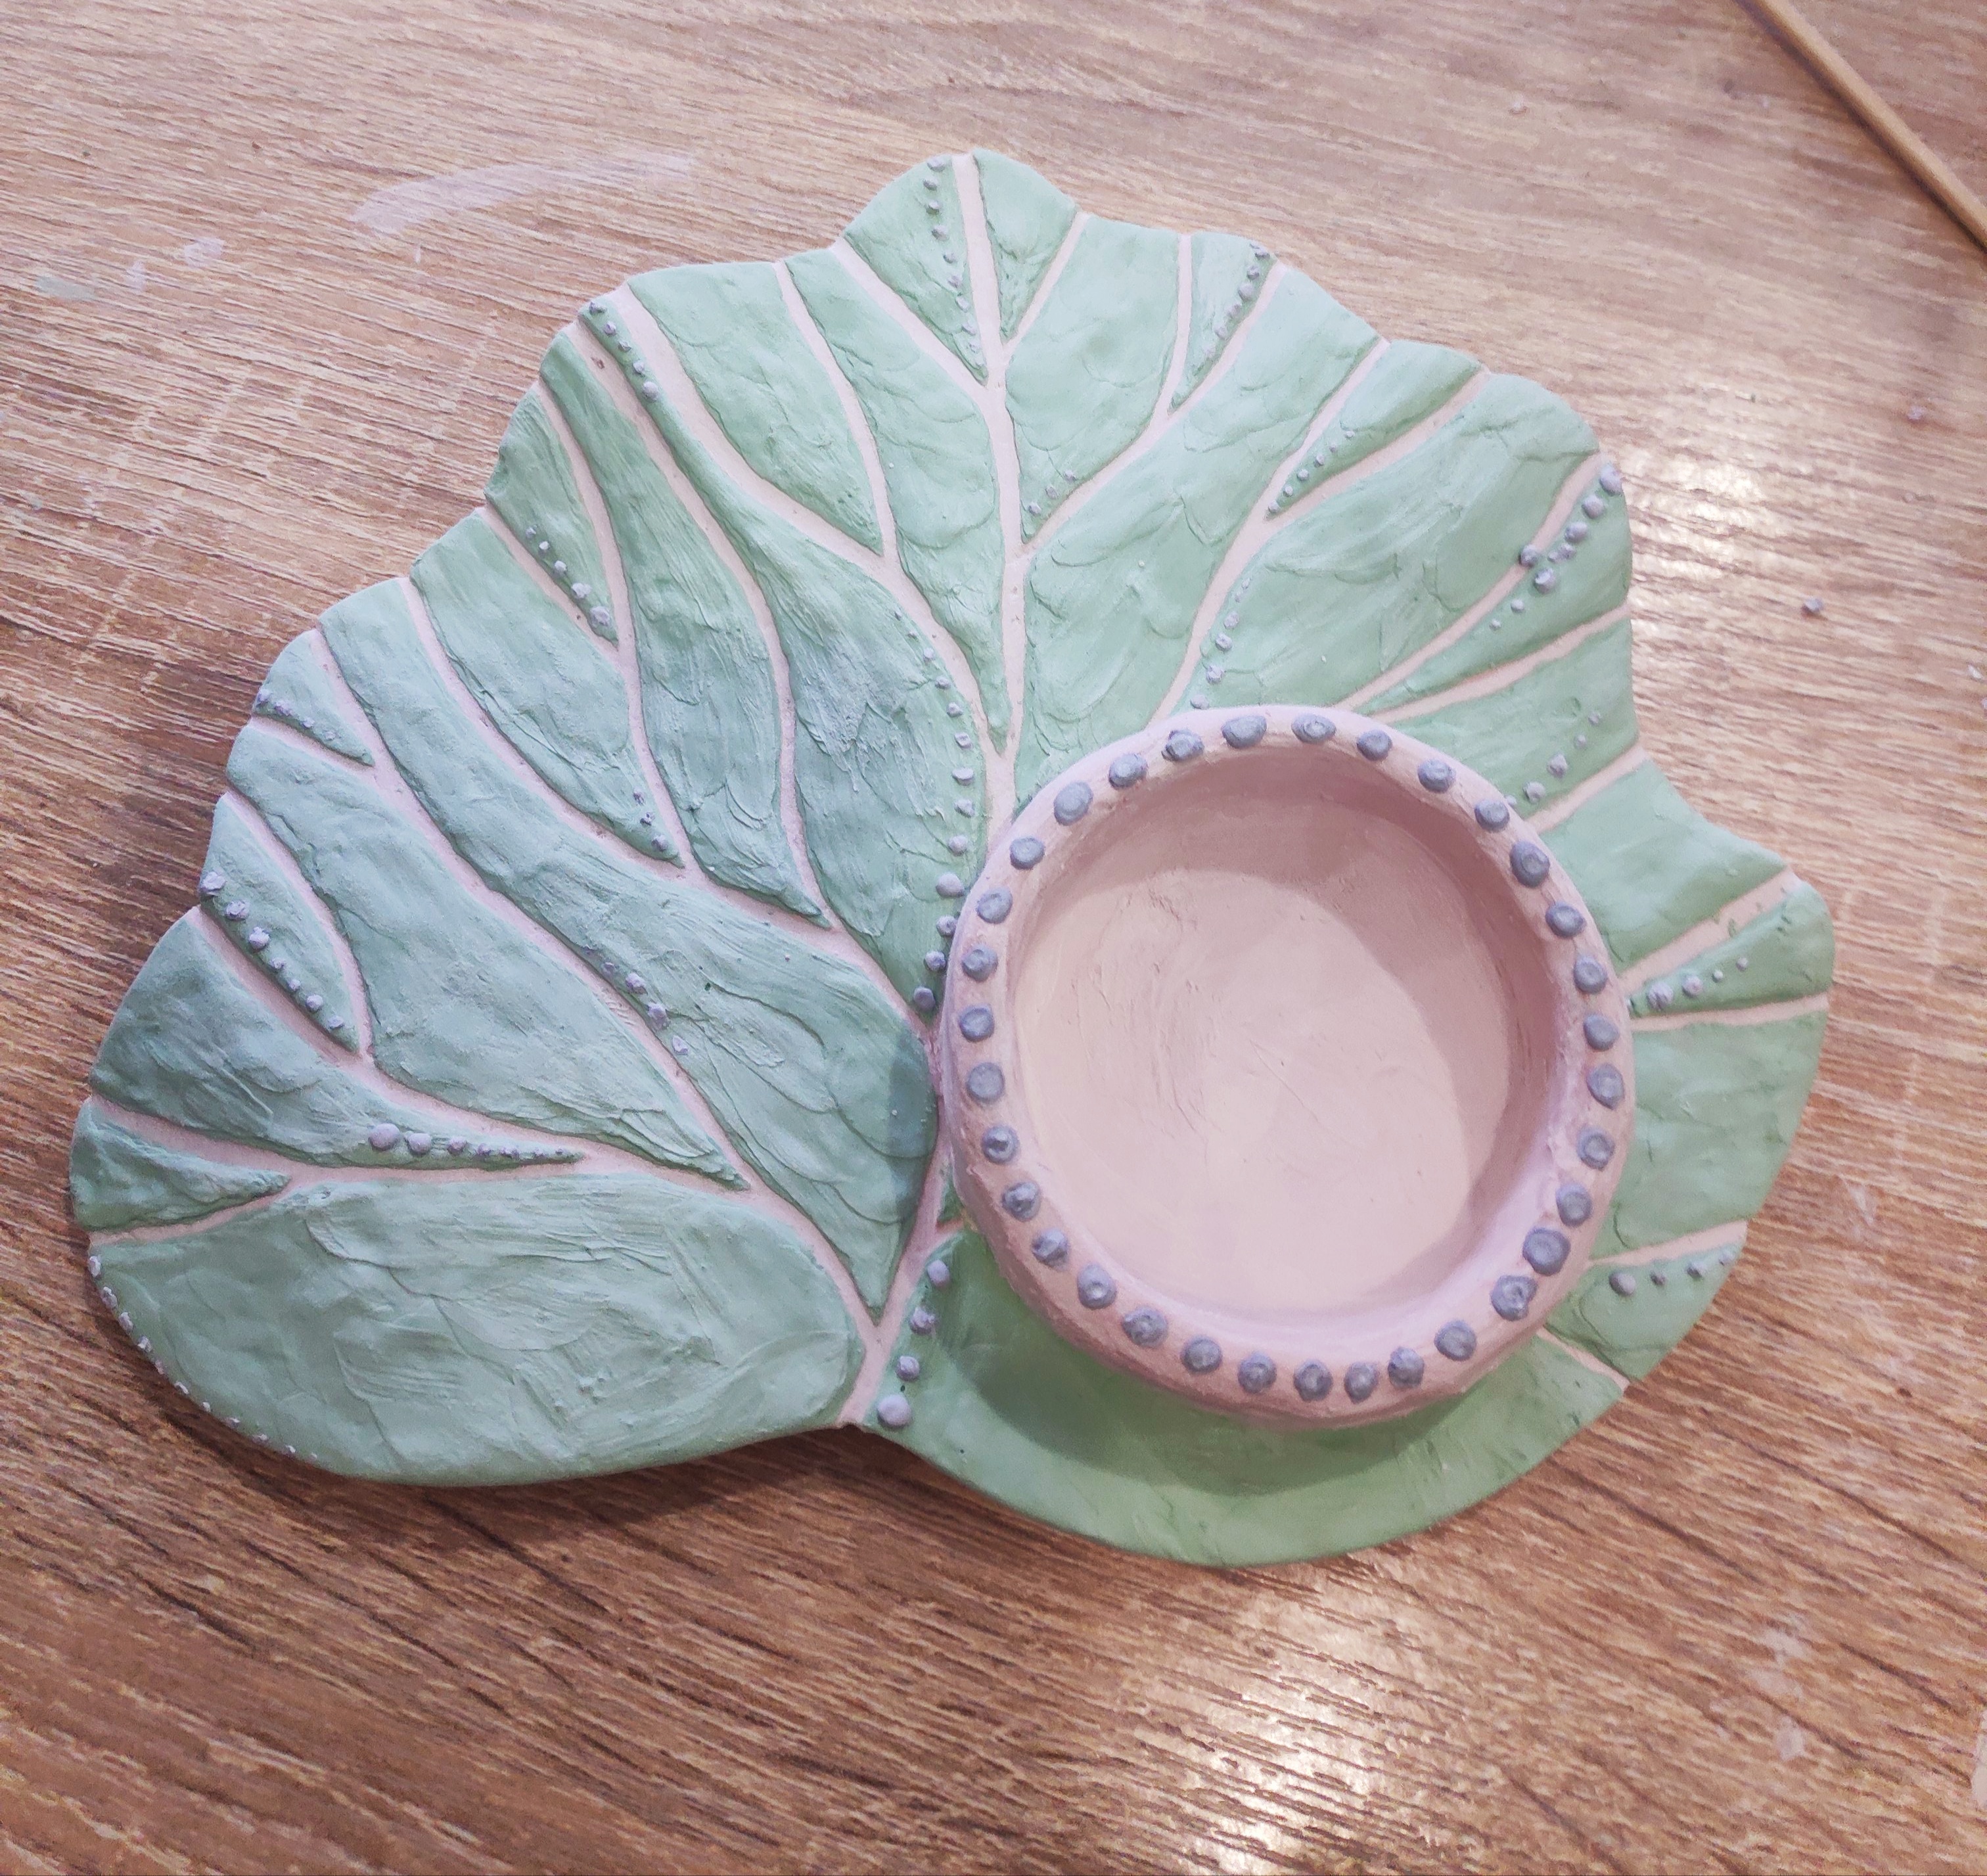
I came to the studio where I study pottery a few days later to paint a product. My teacher has already prepared for me everything that is needed: brushes, special paints that after baking in the oven at a temperature of 950 degrees turn into a glass.
That's how it looks before baking:
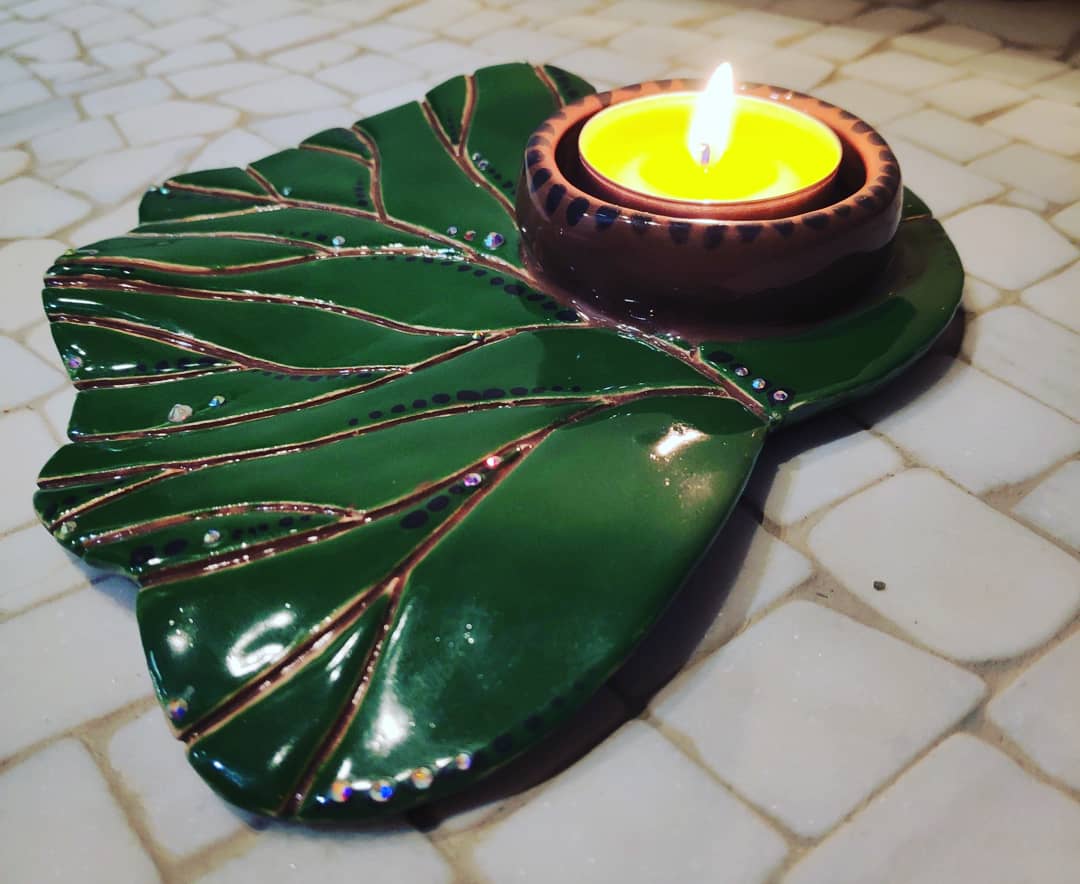
And this is how it looks after baking:
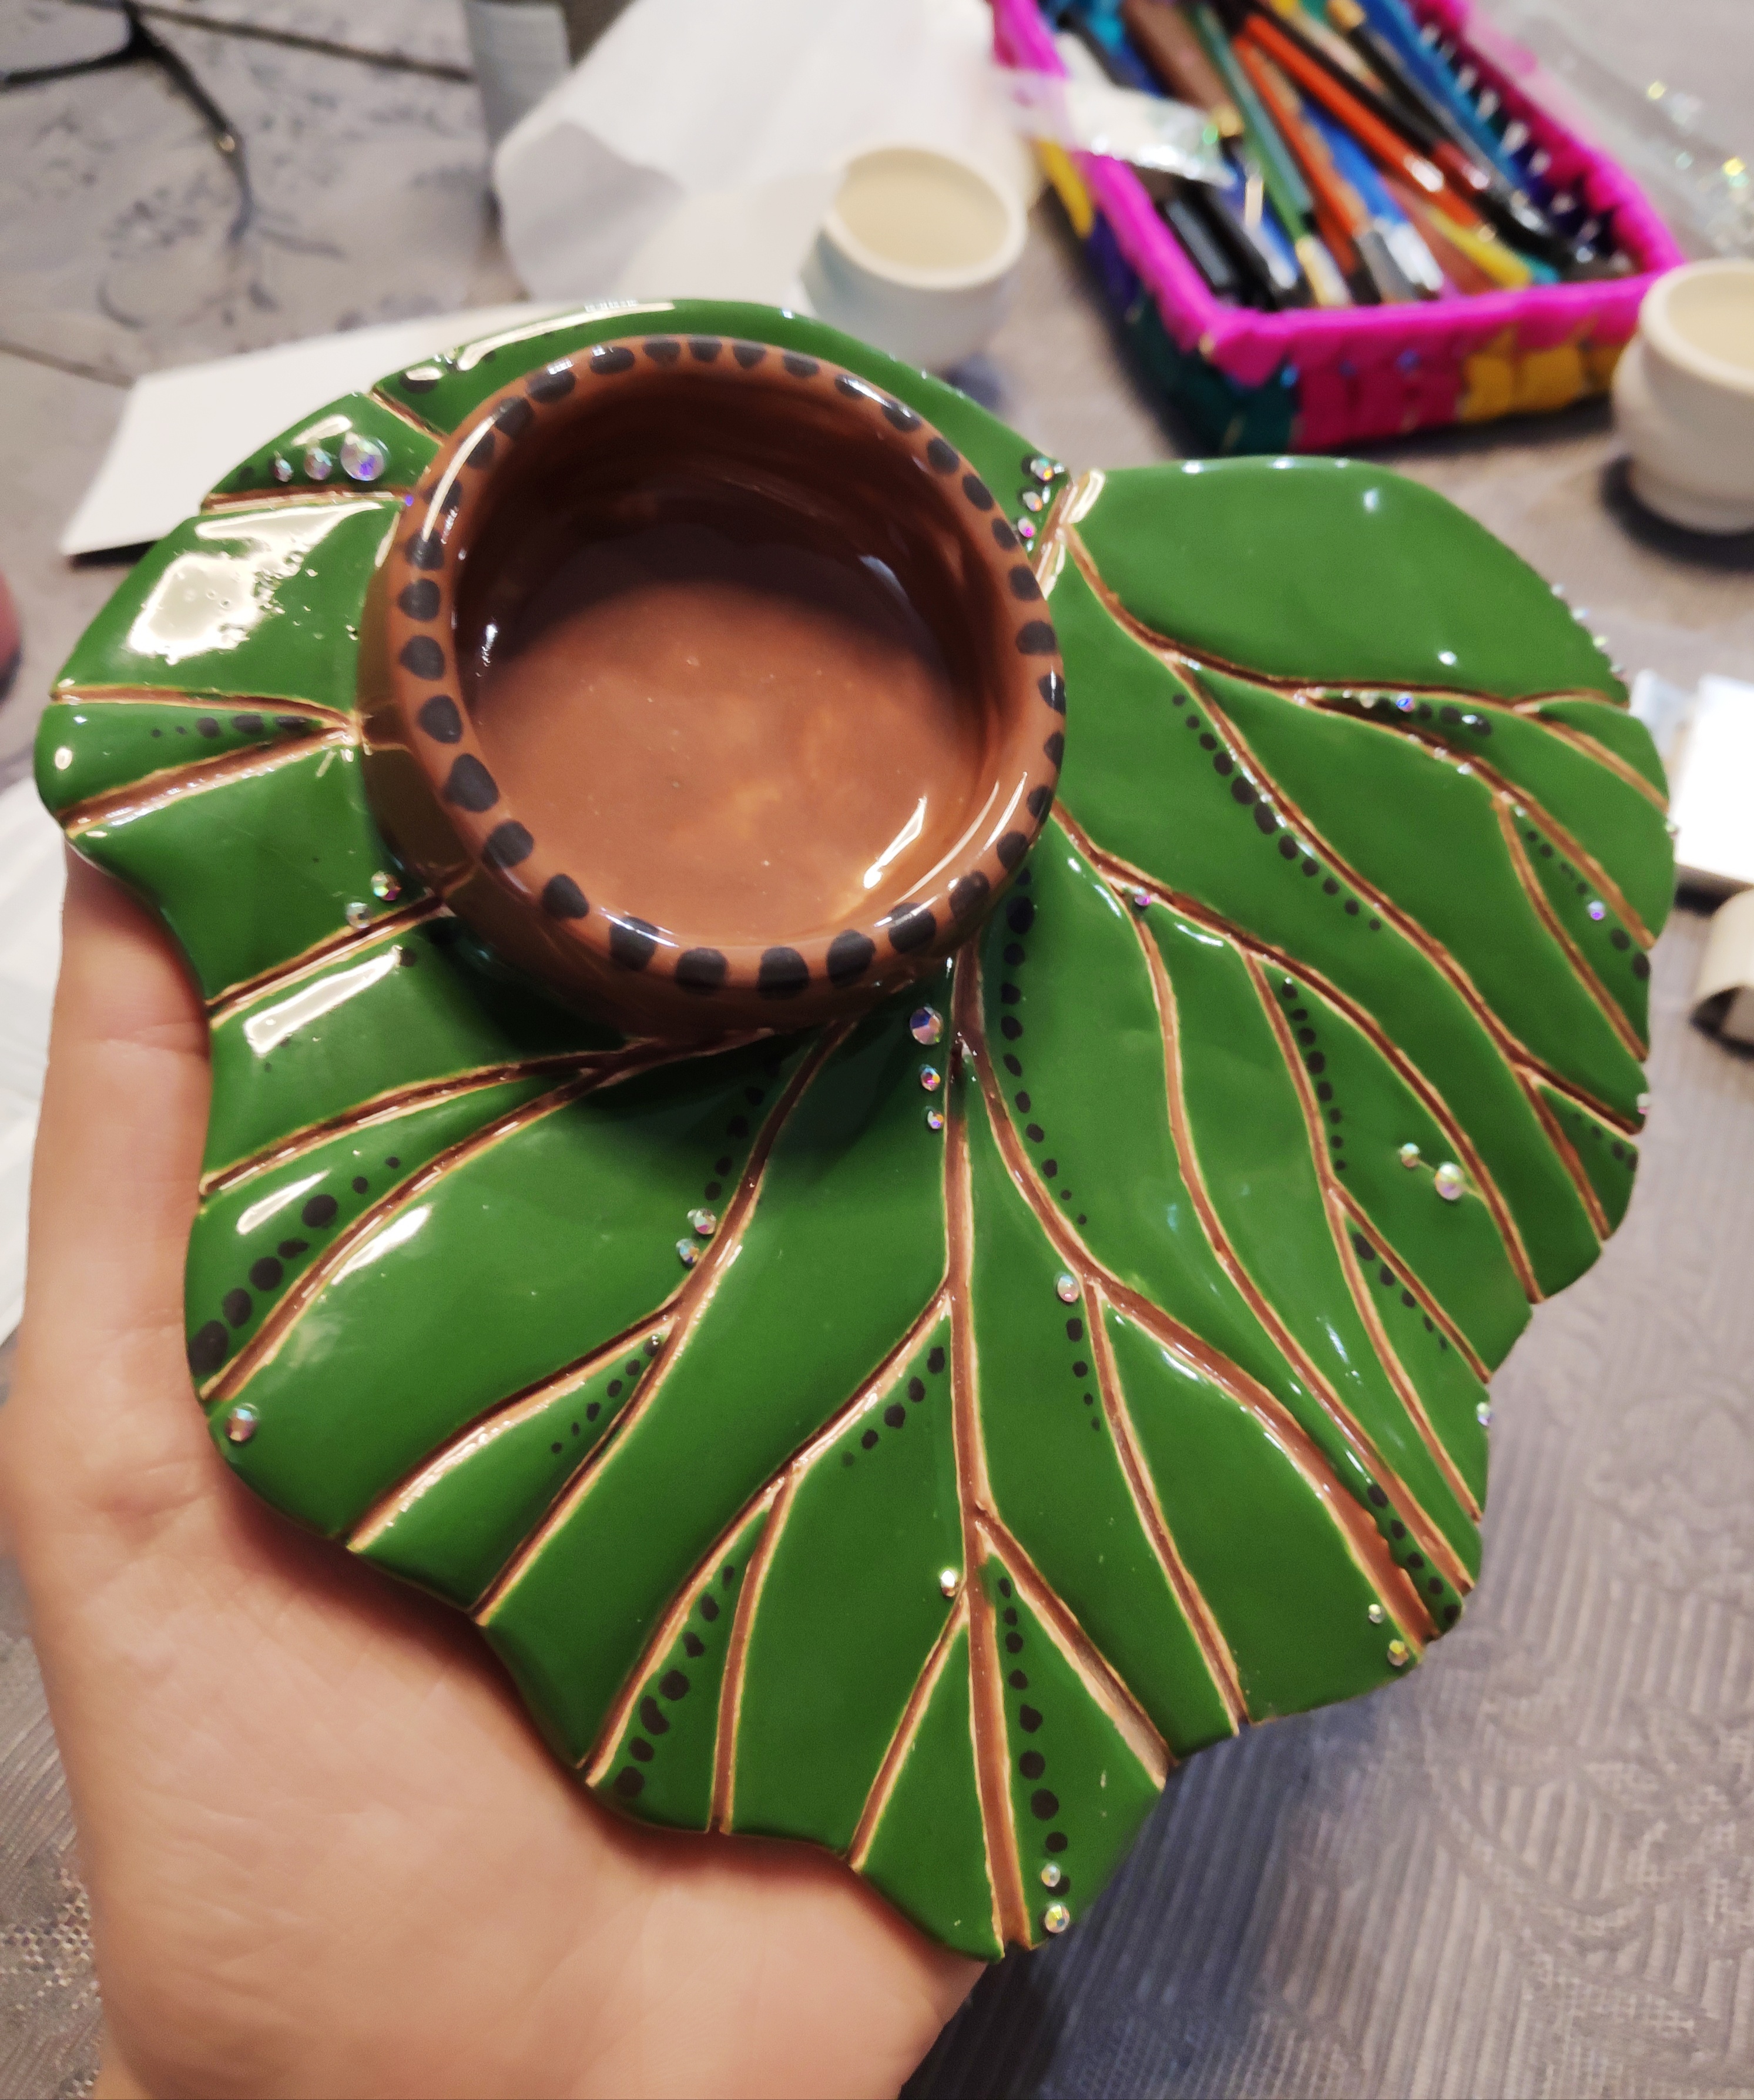
I also stuck the crystals as imitation of dew. Now it's completely ready 😊😊😊
Yesterday I made another clay product and will show you this very soon 😉
Best wishes,
Olga:)