Hello friends, I wish your gardens are beautiful, I TELL YOU two days ago I returned from the farm, after planting the corn, now I am in my apartment, but I confess that agriculture always makes me miss, for this reason when I am in my apartment I also like to grow plants on the balcony, most of them are low-growing, especially aromatic plants that serve as a seasoning for meals, such as chives, basil, mint and cilantro.
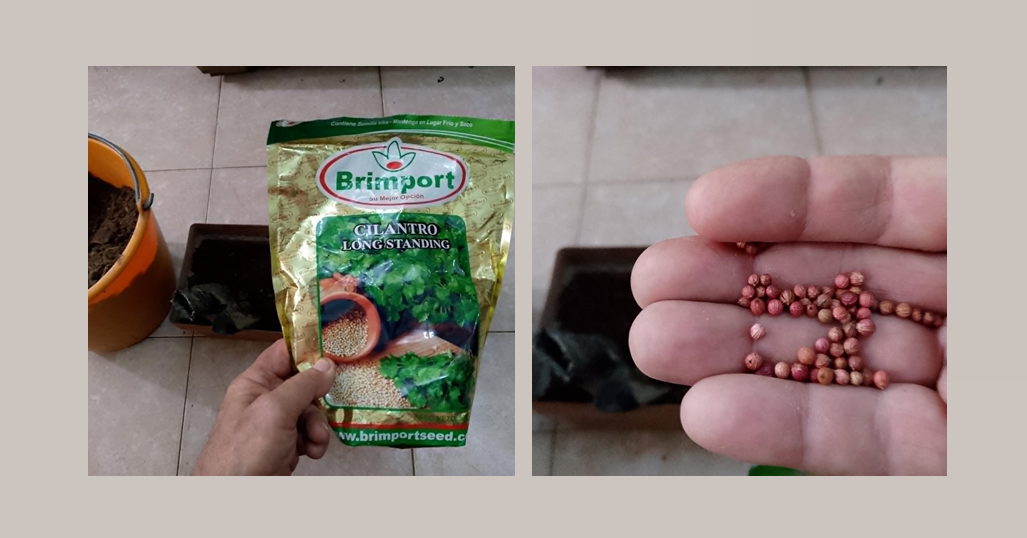
Well friends, this morning I decided to plant some cilantro seeds in a pot, because the cilantro plants we had on the balcony had already wilted, because this type of plant dries up when it completes its vegetative cycle, the truth is that my wife has always liked to have these plants on the balcony, since she uses it a lot in the preparation of meals, fortunately two weeks ago I had bought a package of cilantro seeds to grow them on the farm, so I had to open the package, to grab about 200 seeds to plant them in the pot and thus please my wife.
Sowing Cilantro Seeds in Pots
As I mentioned in the previous paragraph, luckily I had bought a packet of cilantro seeds last week for the farm's crops, so I had to remove about 200 seeds from that packet to plant them in the pot. I can tell you that this crop grows very well both in pots and outdoors. I also want to tell you that I've planted them in pots on several occasions and they've grown very well. That's why my wife likes to have these plants on the apartment balcony.
Look, these are the cilantro seeds:
Process for planting cilantro in pots:
Well, my friends, this process is very simple. We only need the pot and the substrate, and of course, the seeds. Although some people plant cilantro using its stems, I don't recommend this method because the plants grow weak and with few leaves, unlike those grown from seeds, which develop vigorously and with lots of foliage.
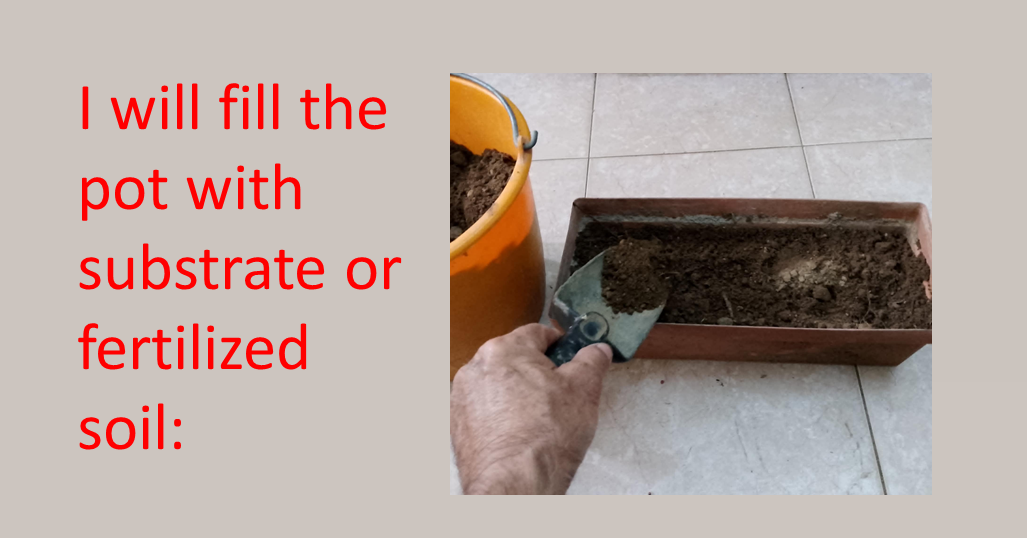
- The first thing we'll do is fill the pot with soil, preferably soil rich in organic matter.
- Once the soil has been placed in the pot, we now proceed to distribute the seeds by weighing them with our hand on the soil, ensuring that the seeds are not too close together, at least with a separation of 5 to 10 millimeters between them:
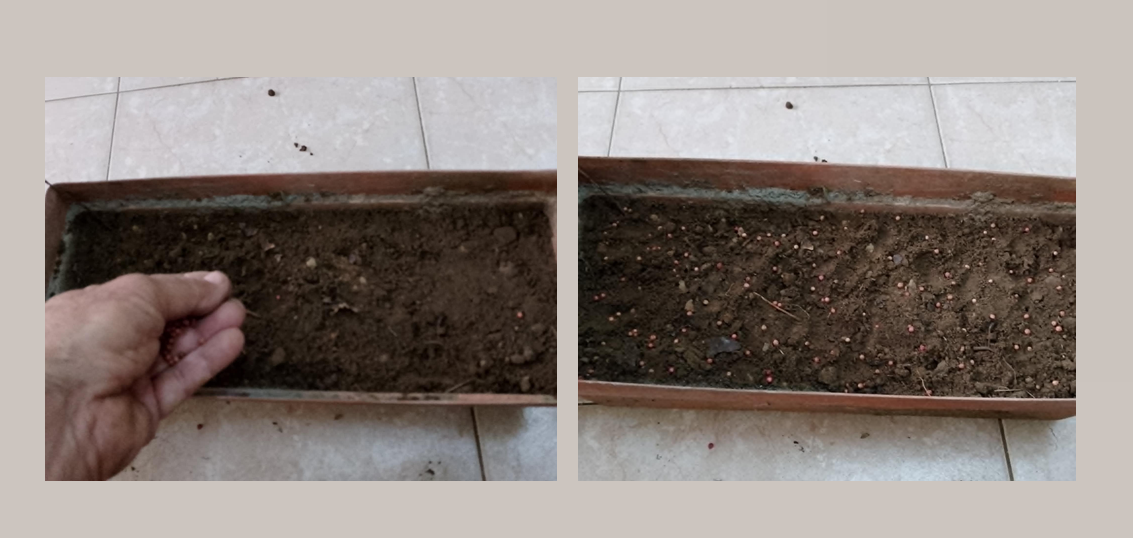
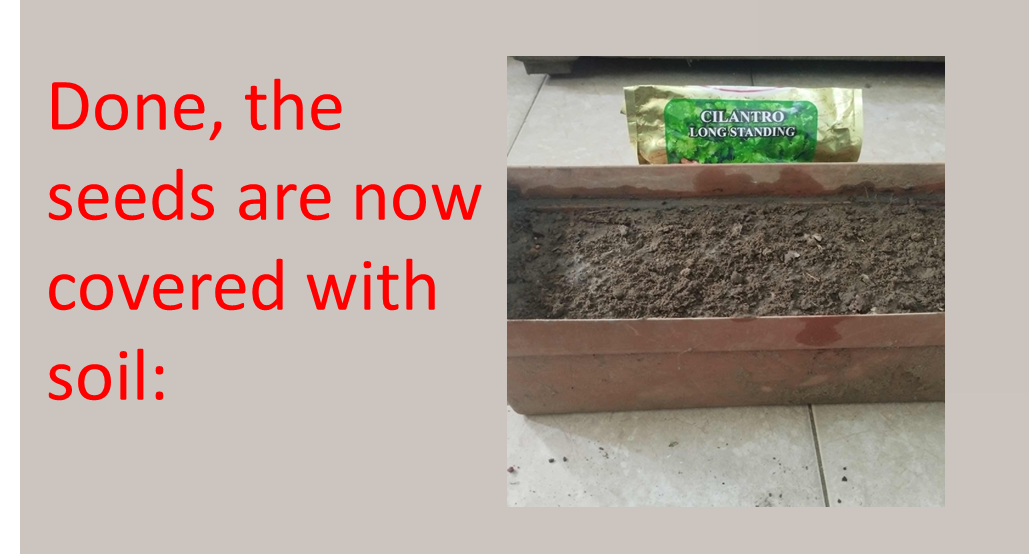
- Well friends, the next step will be to cover the seeds with a layer of soil of one centimeter:

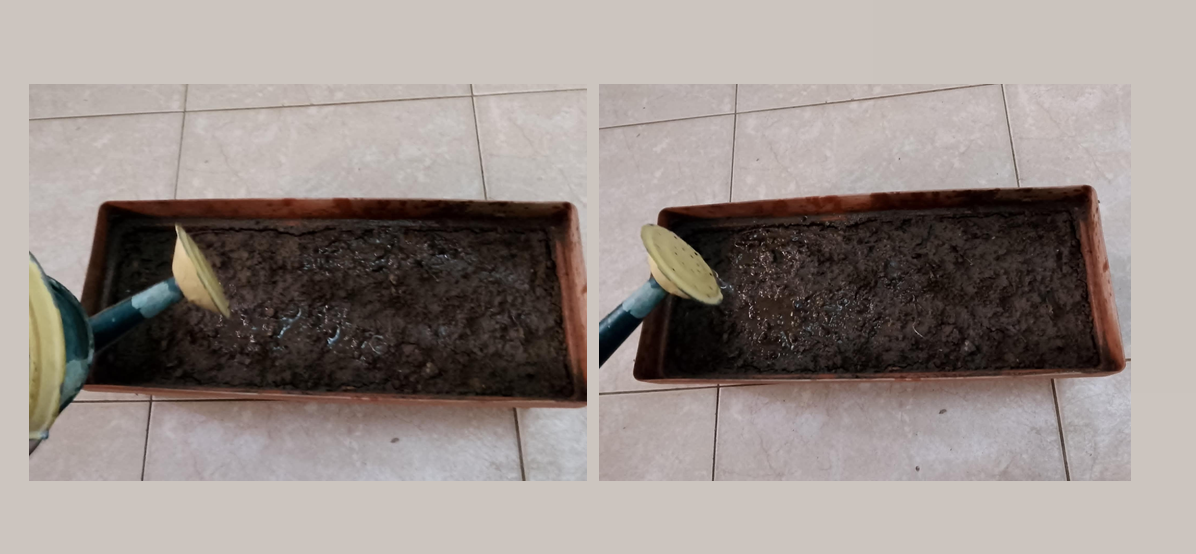
- After covering the seeds with soil, we now proceed to apply a gentle watering, this watering will be done slowly, to prevent the seeds from floating or the water drops from uncovering the seeds, so it is preferable to water the soil slowly with little water, even if the watering is repeated:
- In the next step, we will cover the pot with a plastic bag, preferably black, the idea is to create a warm environment with little light to accelerate the germination of the seeds, after 2 days, we water the seeds again and cover them again, after 5 days we permanently remove the black bag from the pot and continue with the watering, the seed will germinate after 7 days:

- Between 8 and 10 days, you'll be able to see the stem sprout (hypocotyl) and its first leaves (epicotyl). Then, we place the pot in a spot where it receives sunlight. In this case, I'll put the pot on my apartment balcony, as I've done before. All we have to do is wait for the seedlings to develop into plants with lots of foliage. Daily watering is essential.