
[Español]
Los saludo muy cordialmente, para mi es grato compartir mis proyectos a través de este medio.
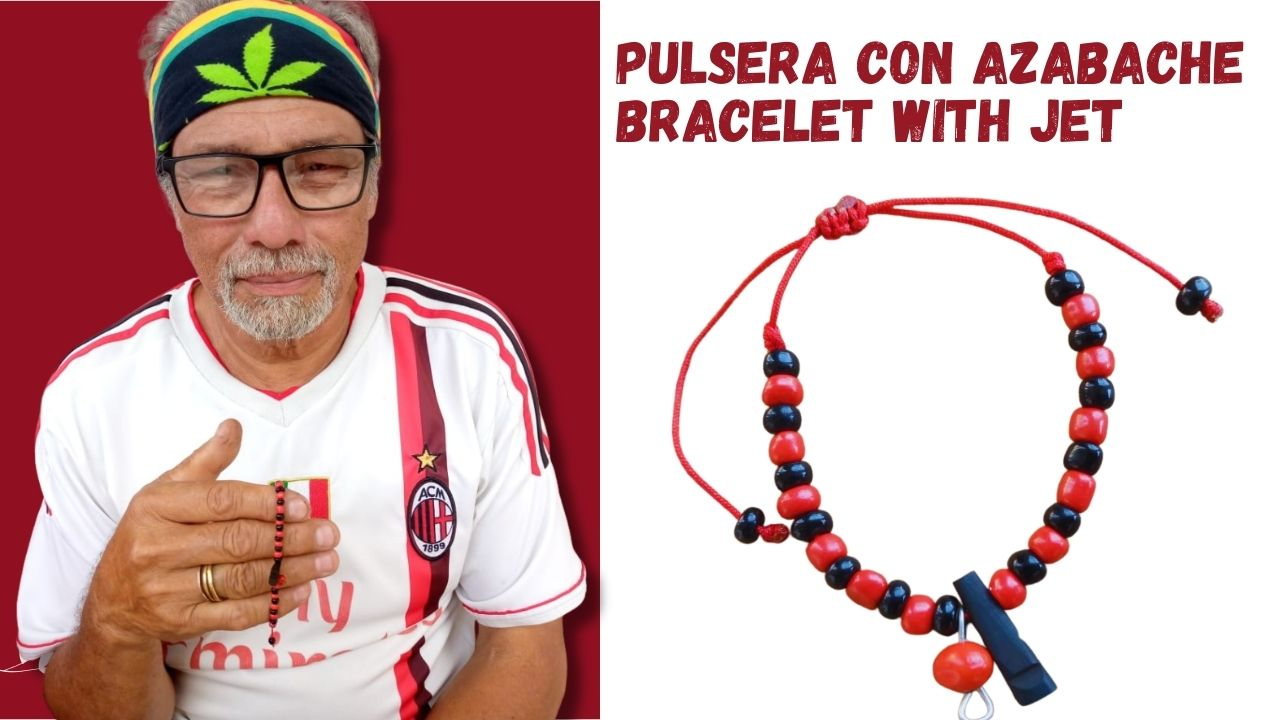
La pulsera que traje hoy está inspirada en mis nietos, el azabache es un material que se extrae del carbón, está asociado entonces con la madera. Muchas veces podemos encontrar imitaciones de este hechos con plástico, si queremos estar seguros de que sea azabache original podemos frotarlo con algo y este debe dejar una coloración oscura, también podemos morderlo en una esquina, debería astillarse un poco.
Cuando es azabache original se talla, dándole cualquier forma a mano o con instrumentos. En este caso, se puede comprar en mercerías.
Los dejo con el paso a paso, es muy sencillo de hacer.
[English version]
> I greet you very cordially, for me it is a pleasure to share my projects through this medium.
> The bracelet I brought today is inspired by my grandchildren, jet is a material extracted from coal, it is associated with wood. Many times we can find imitations of this made with plastic, if we want to be sure that it is original jet we can rub it with something and this should leave a dark coloration, we can also bite it in a corner, it should splinter a little.
> When it is original jet is carved, giving it any shape by hand or with instruments. In this case, it can be bought in haberdasheries.
> I leave you with the step by step, it is very simple to do.
Materiales y Herramientas
Materials and Tools
 |
 |
 |
[Espanish]
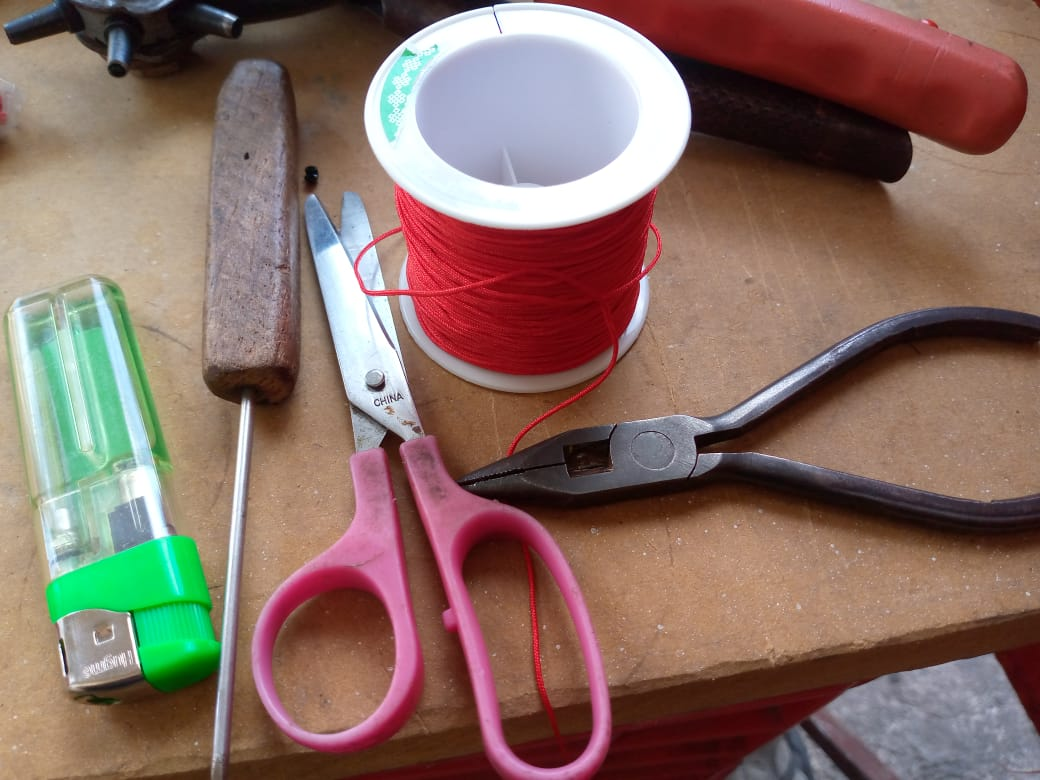
- Pinza de corte.
- Hilo de Nylon.
- Mostacilla negra y roja
- Azabache y peonía.
- Punzón.
- Yesquero.
- Tijera.
[English version] - Cutting pliers. - Nylon thread. - Black and red mustard - Jet and peony. - Awl. - Tinder. - Scissors.
[English version] - Cutting pliers. - Nylon thread. - Black and red mustard - Jet and peony. - Awl. - Tinder. - Scissors.
Paso 1 / Step 1
[Espanish]
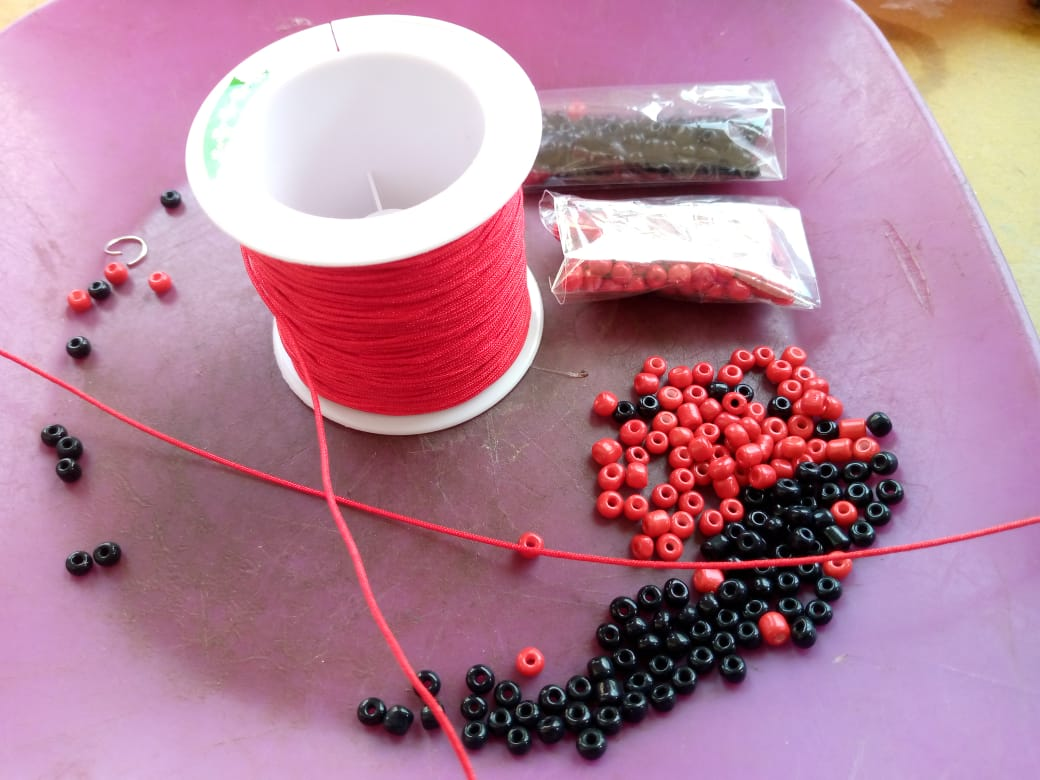
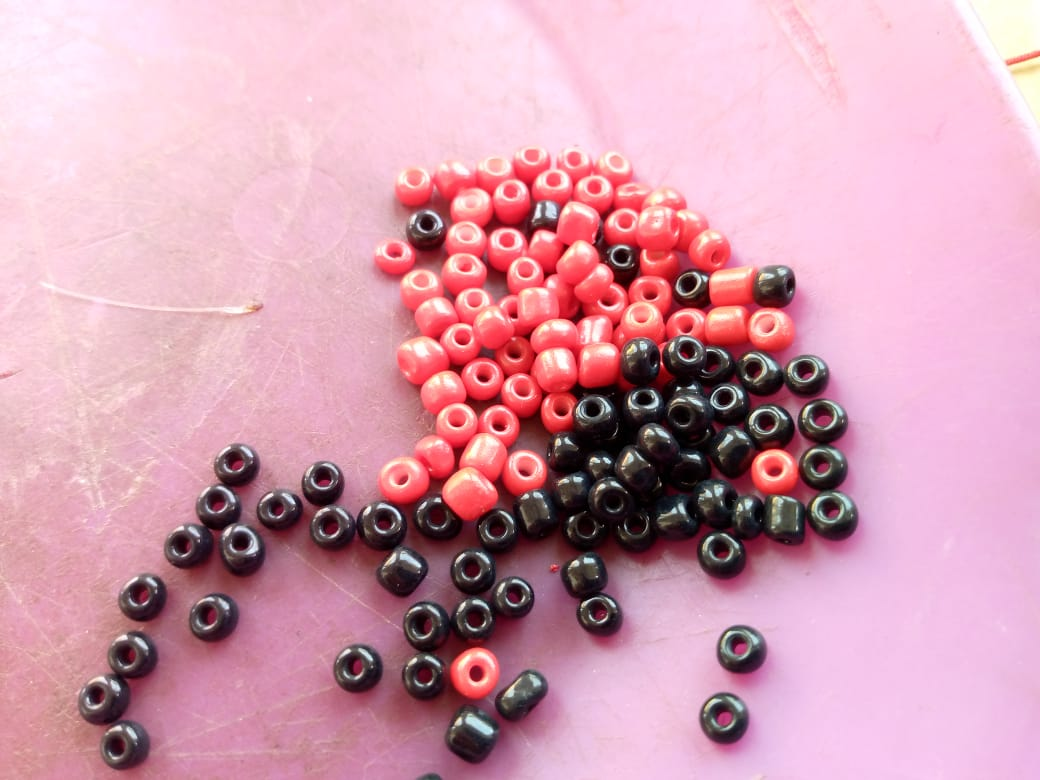
Organizamos las mostacillas, separadas por color.
Cortamos un trozo de hilo de 20 cm aproximadamente.
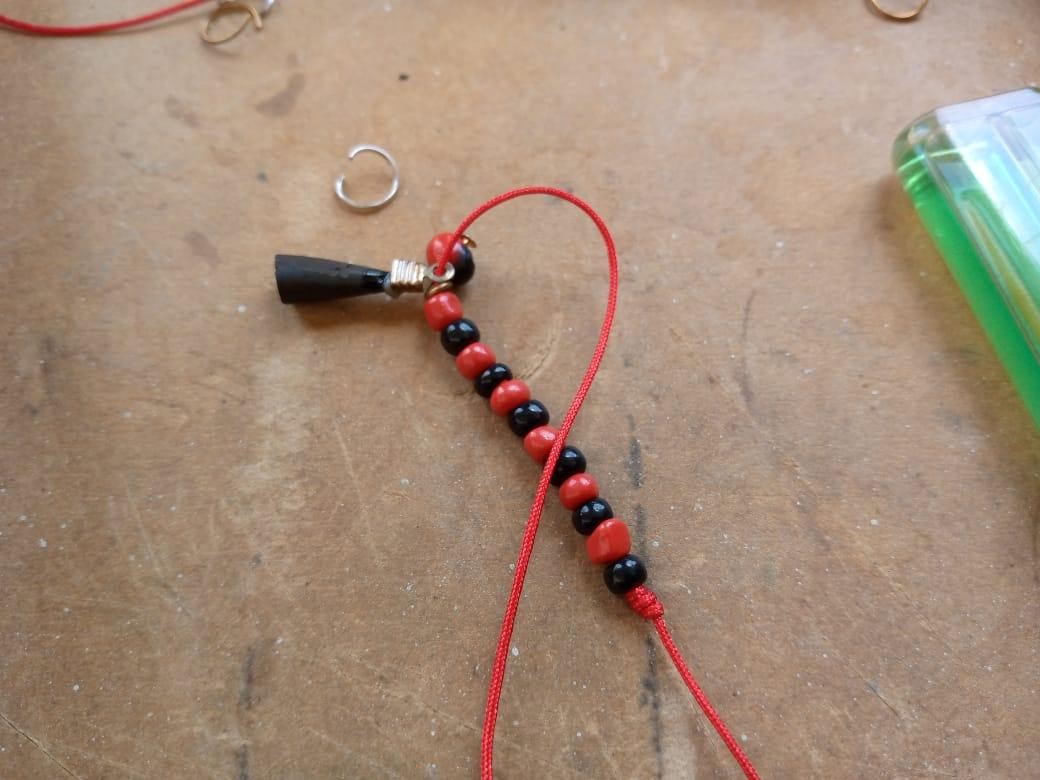
Hacemos el primer nudo plano y colocamos la primera mostacilla negra, luego una roja y sucesivamente hasta hacer una tira de 12 mostacillas.
Coloca el azabache en el hilo y comienza a introducir nuevamente las mostacillas, en el mismo orden.
[English version]
> Arrange the beads, separated by color.
> We cut a piece of thread of approximately 20 cm.
> We make the first flat knot and place the first black bead, then a red one and successively until we make a strip of 12 beads.
> Place the jet on the thread and start inserting the beads again, in the same order.
Paso 2 / Step 2
[Espanish]
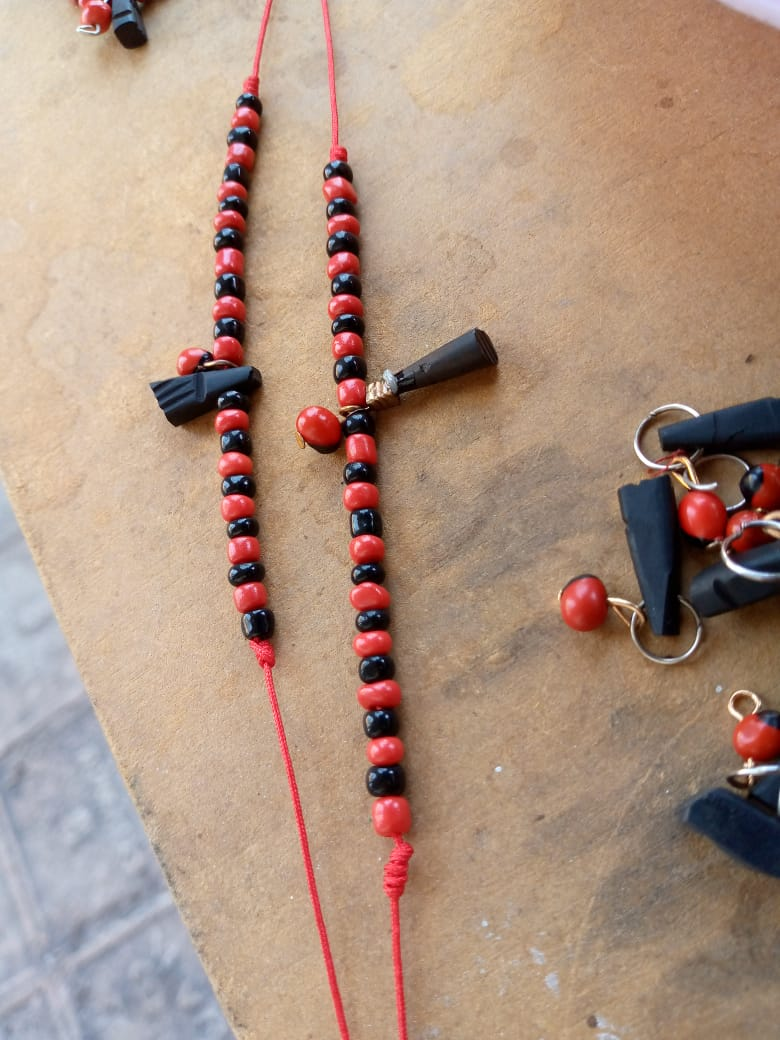
Luego de colocar el azabache colocamos la peonía, estas ya deberían tener un arito, de lo contrario podemos hacerlo nosotros mismos.
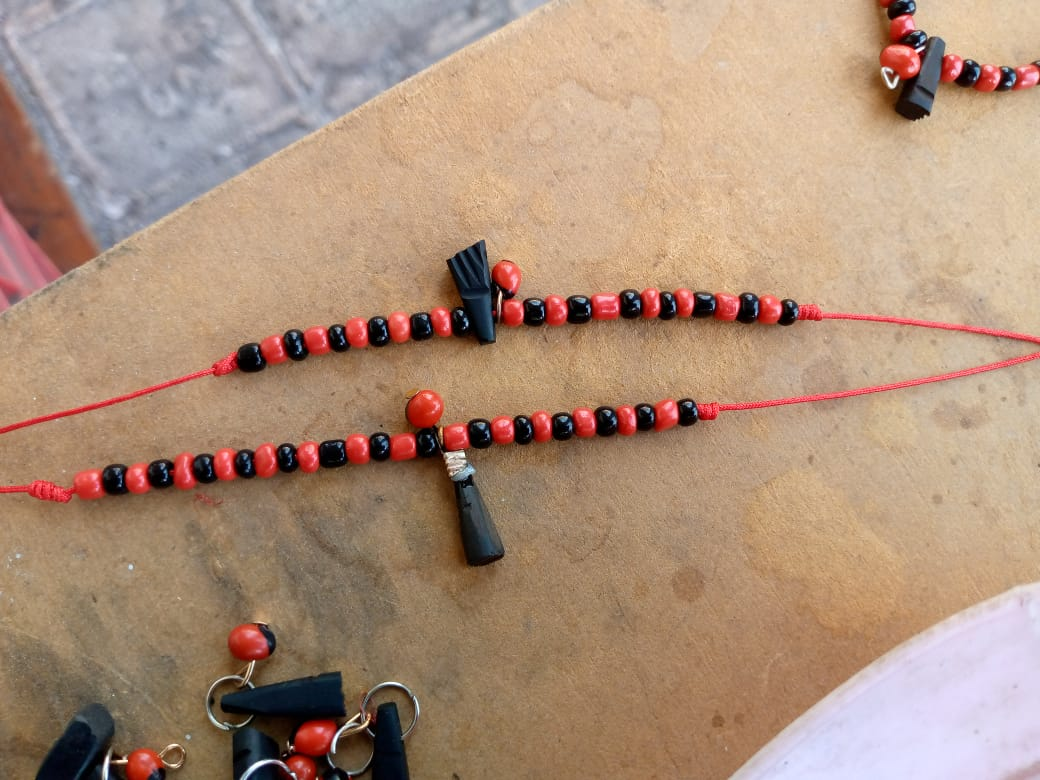
Continua colocando las mostacillas hasta lograr la misma cantidad de ellas en el otro extremo.
Cierra la pulsera con un nudo plano sencillo.
[English version]
> After placing the jet we place the peony, these should already have a ring, otherwise we can do it ourselves.
> Continue placing the beads until you have the same amount of beads at the other end.
> Close the bracelet with a simple flat knot.
Paso 3 / Step 3
[Espanish]
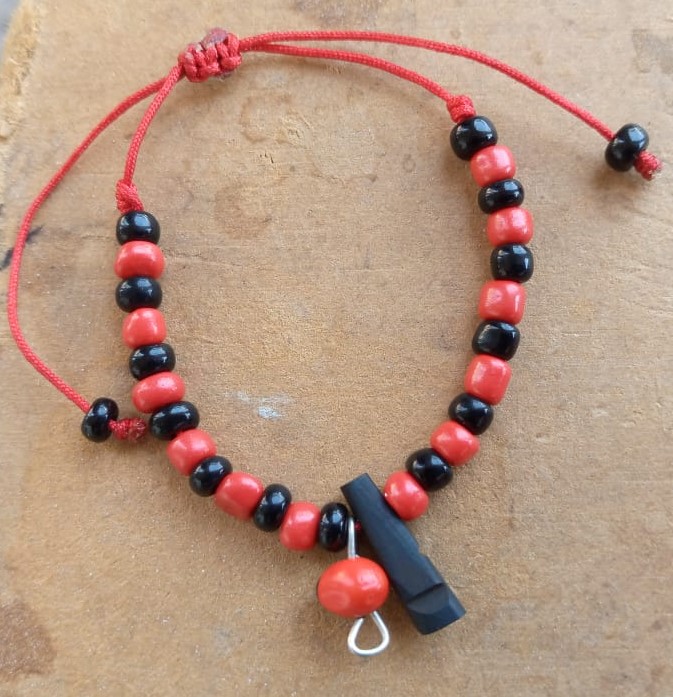
En los extremos de la pulsera realizamos un nudo sencillo y lo quemamos con el yesquero para evitar que se suelte.
Para hacerlo ajustable, hacemos un nudo plano.
Toma un trozo del hilo, une ambas puntas de la pulsera, Pasa el hilo dando una vuelta, ve alternando entre cruzar un hilo sobre el otro en forma de "s" y pasar el otro hilo por debajo y por encima. Realiza este paso 5 veces y luego tira para ajustar el nudo, y quemas las puntas con el yesquero para evitar que se suelte.
Este tipo de pulseras las usan mas que todo los niños y adolescentes, dependiendo del tamaño de la pulsera requerirás más mostacillas.
Espero les guste mi trabajo es muy útil y tiene algo de demanda en el mercado, lo que lo hace una buena idea de emprendimiento.
Nos vemos próximamente, fue un placer.
[English version]
> At the ends of the bracelet we tie a simple knot and burn it with the tinder to prevent it from coming loose.
> To make it adjustable, we make a flat knot.
> Take a piece of thread, join both ends of the bracelet, pass the thread around, alternating between crossing one thread over the other in an "s" shape and passing the other thread under and over. Do this step 5 times and then pull to tighten the knot, and burn the ends with the tinder to prevent it from coming loose.
> This type of bracelets are used mostly by children and teenagers, depending on the size of the bracelet will require more beads.
> I hope you like my work is very useful and has some demand in the market, which makes it a good idea for entrepreneurship.
> See you soon, it was a pleasure.

 Artesano de corazon Artesano de corazon |
