I had no idea what I should do with that fruit called single board computer. I heard about it, yes ... But why should I need one? So I left it at my desk till I would have figured out what I wanted to do with it. My hubby also included a camera for the computer so that I could monitor my 3D printer ... Yeah, right ... I'm always home 😆
On internet you find many projects, but still I had no clue. Why should I build a weather station? If I look outside, I know what the weather is. No point of making a Google agenda to hang on the wall ... Since last year the pandemic started, I have no appointments. Why should I build a media center? I have a smart TV and wifi... And I can continue with this list. For every project I saw I really couldn't find a reason to build it.
And finally, a couple of days ago I knew it: I'm going to build to game console. In the old days I used to be a hard core gamer. Since I don't see any changings in the near future concerning travelling it might be a good idea. After a year I'm getting a bit bored here. I'm still not able to go out and reading and watching movies/series is nice ... for a while.
For those who don't know a Raspberry I will give a quick explanation. The Raspberry Pi is a complete computer, at the size of a package of cigarettes. Off course it's not the latest desktop model, but for small projects it's a cheap solution.
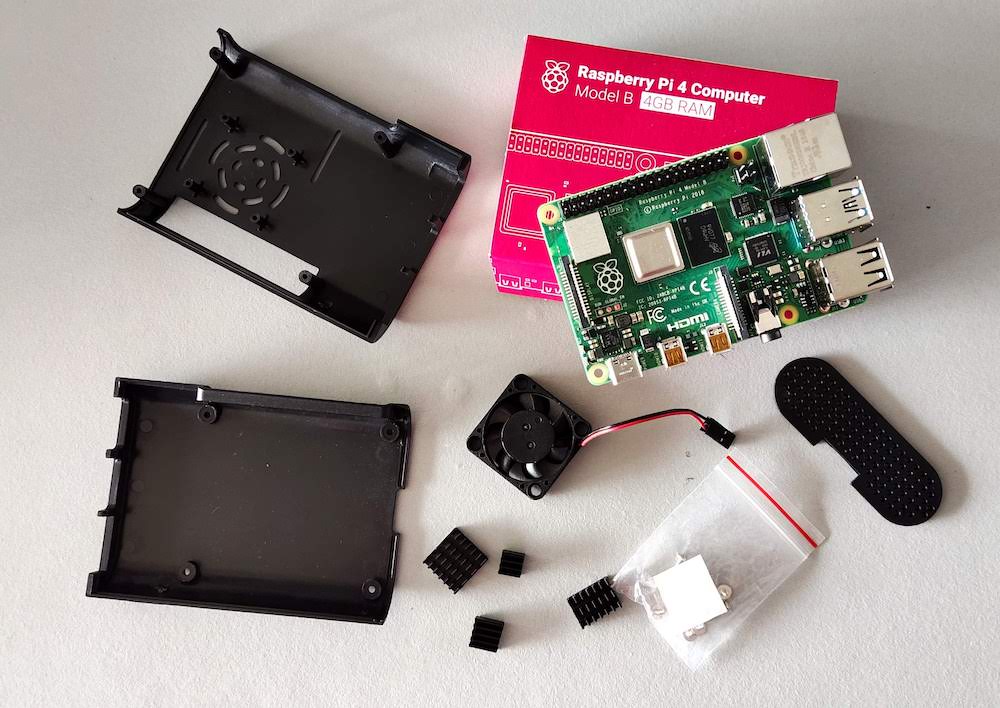
I have the Raspberry Pi 4 - Model B - 4GB Ram model. These are the specifications:
- 64 bit quad-core Cortex A72 processor
- 4GB RAM
- 2 micro HDMI ports
- 2 USB 2.0 ports
- 2 USB 3.0 ports
- 802.11b/g/n/ac wireless
- Bluetooth 5.0
- PoE capable
And this is how it looks like:
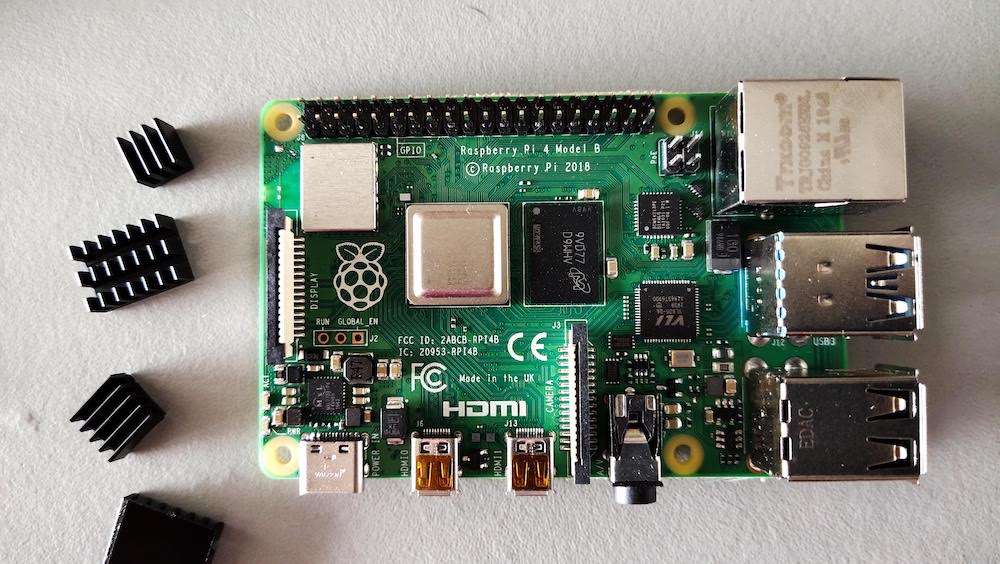
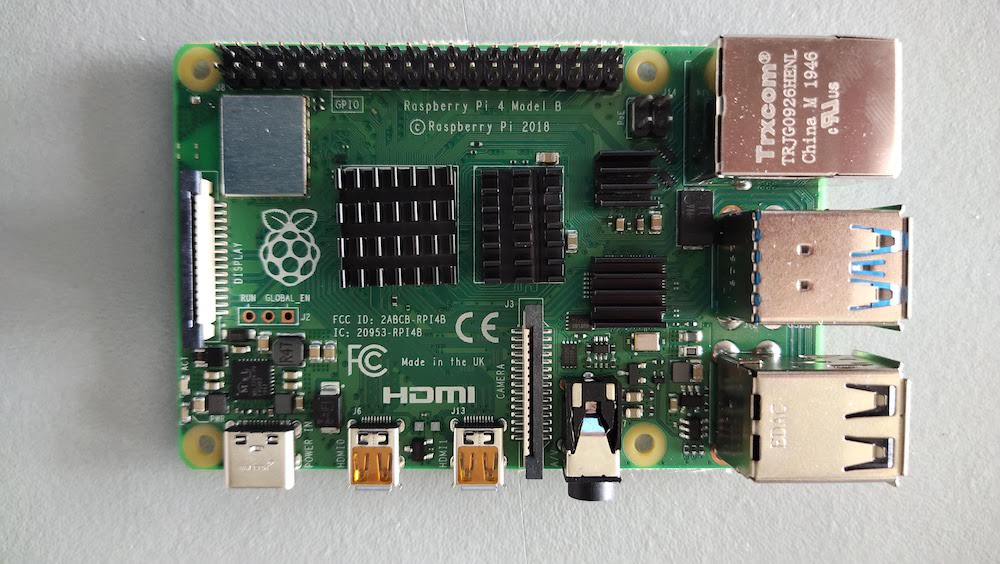
First things first... Such a small computer can generate quite some heat. So I installed 4 heat sinks on the motherboard:
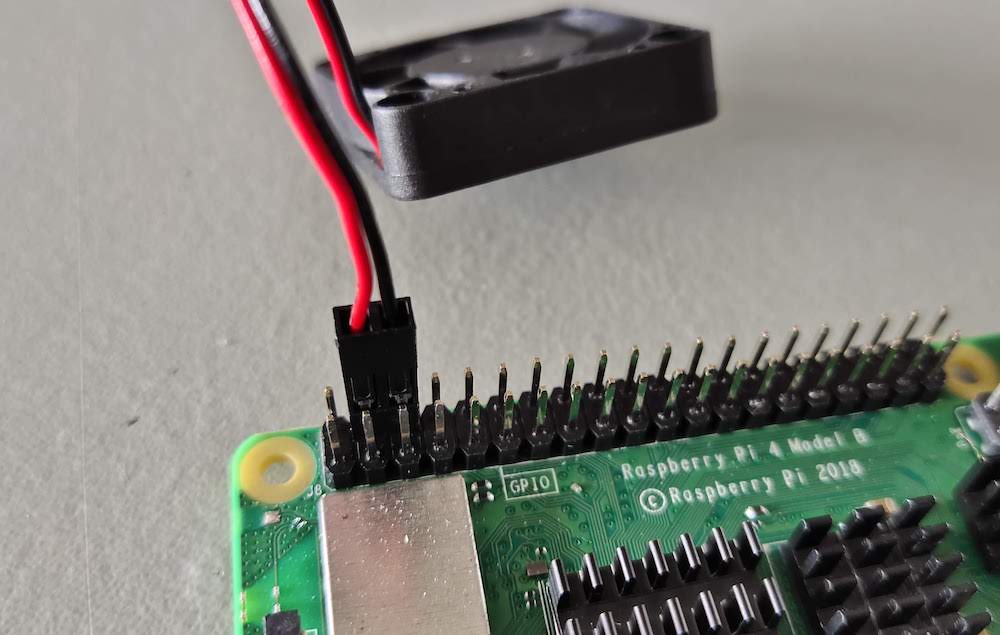
 The next step is mounting the fan in the case:
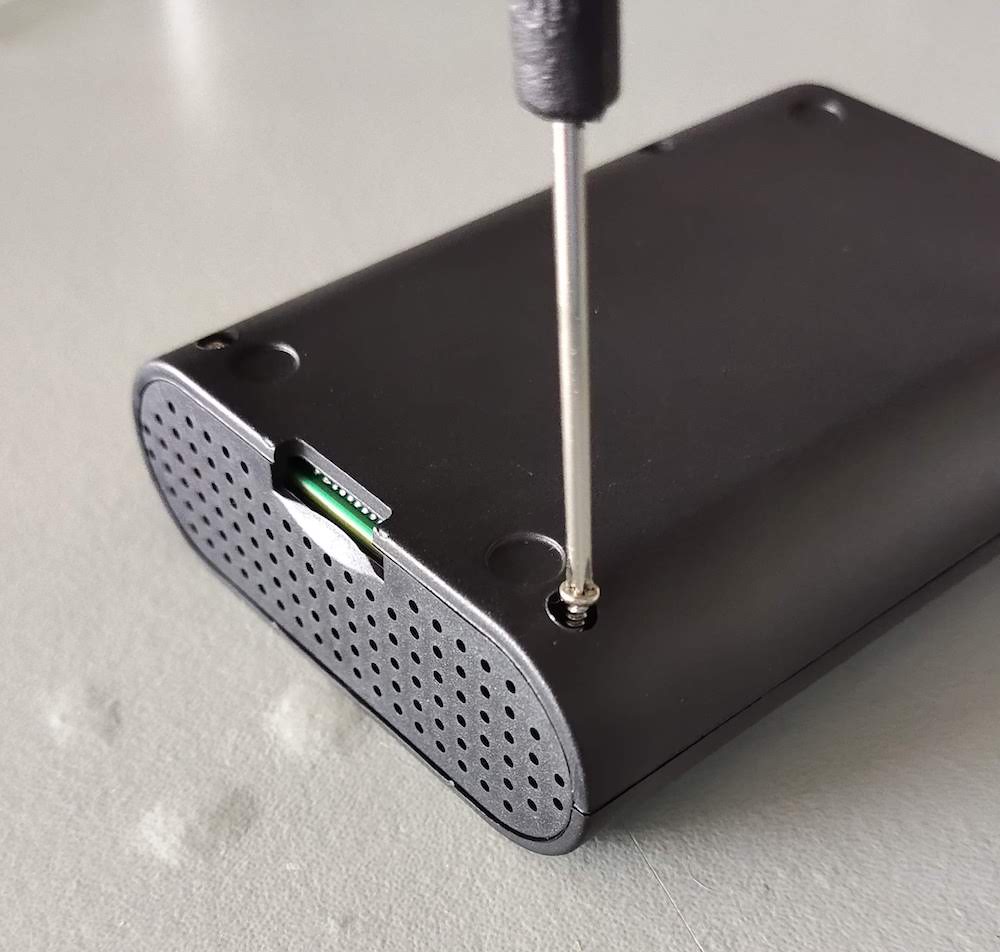
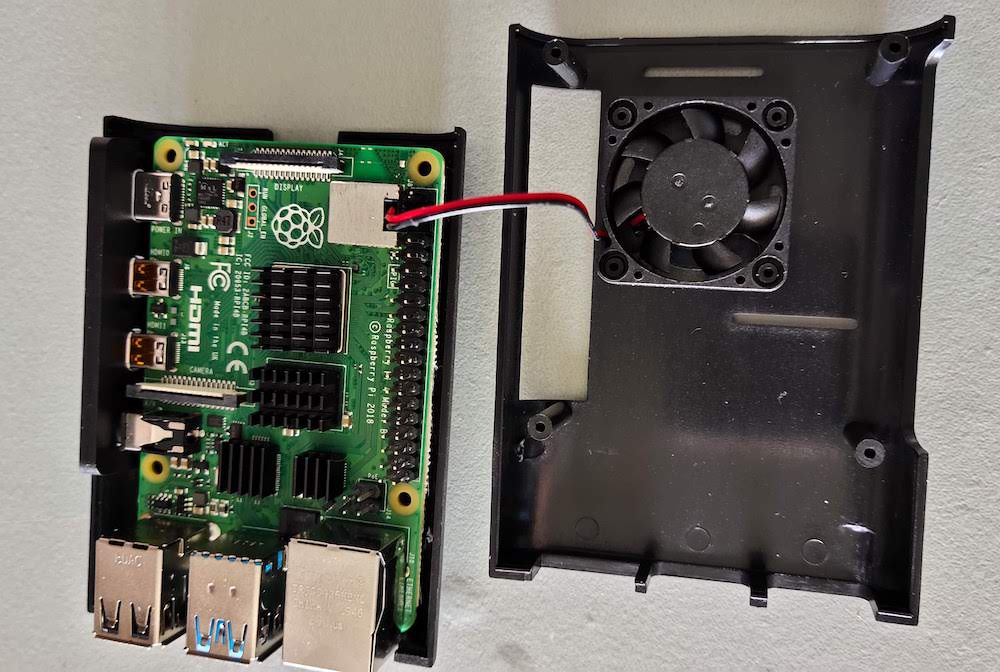 Securing it with the screws and the connecting the fan to the power. Luckily you can find information on internet to know what connectors you need to use.
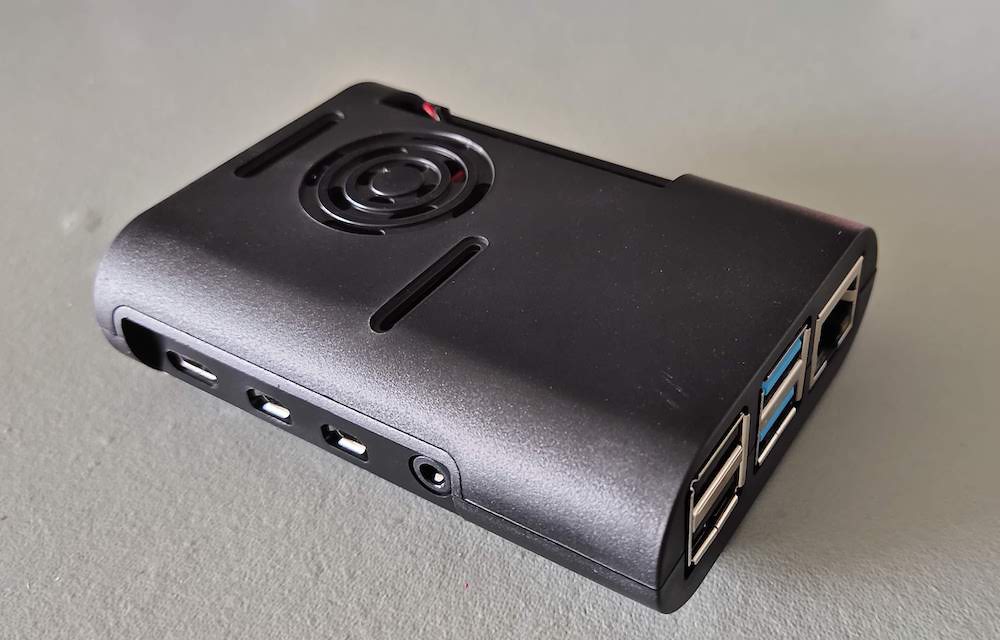
 That's it ... Now I just need to close the case and the Raspberry Pi is ready to use.
 Nice looking computer ... I love it!
Aaaargh!!! I don't have a HDMI to micro HDMI cable to connect it to my TV. Damn ... I have to order it online, because here I could't find the right cable. So I need to wait till the cable and the game controller will be delivered to continue the setup.
Meanwhile I already prepared a micro SD card with the Retropie software. This is the emulator software to play the games. Now I also have time to download all the games roms so I will be ready when the delivery guy shows up.
So the final result of the game console you can read in my next posting.