With the floor finished, it was time to move on to the walls! A deep breath and with rudimentary tools in hand, it was time to start. This stage was surely to transform and uplift the look and feel of my van conversion.
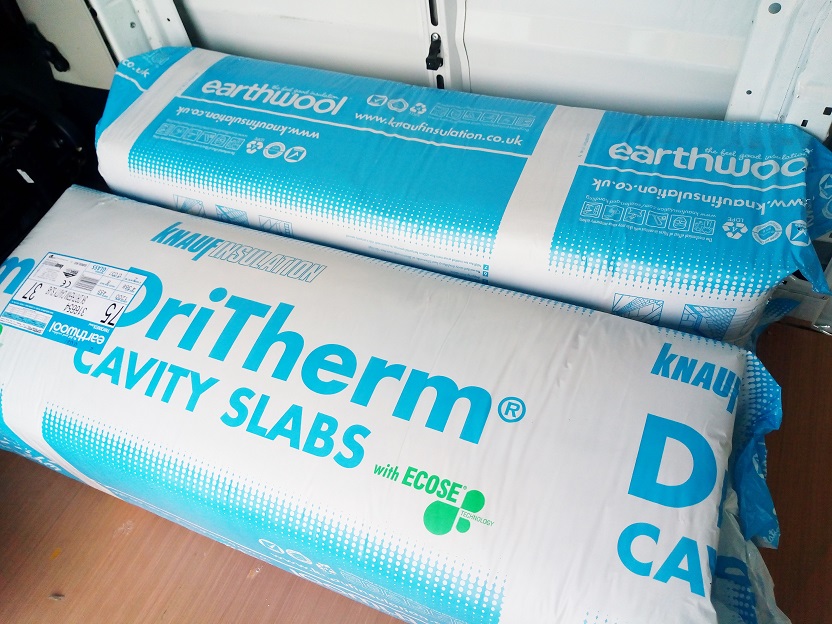
 I used a combination of foil faced insulation board for the flat areas and Earth wool slabs for the irregular surfaces and areas hard to reach.
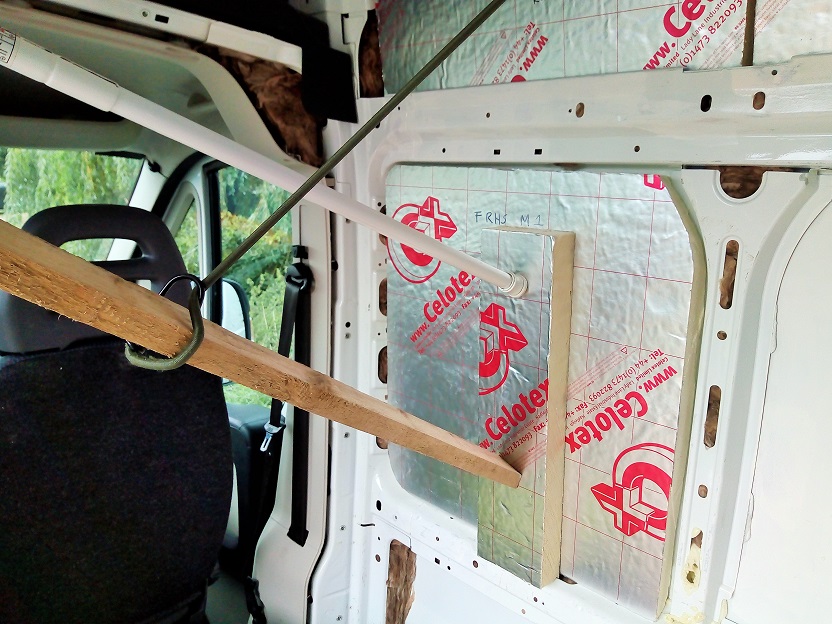
 Each board had to be tailor made for each panel.
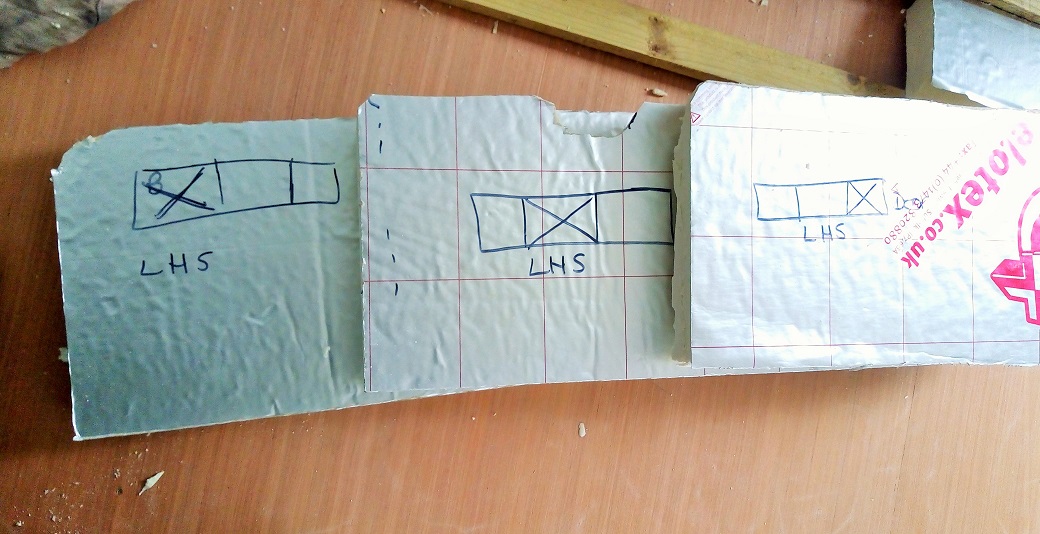 Getting high on glue again, i used a combination of spray adhesive, a strong grab adhesive, foam glue and the odd patch of duct tape just to hold them in place. Bracing around 3 boards at a time per day (it was a long task).
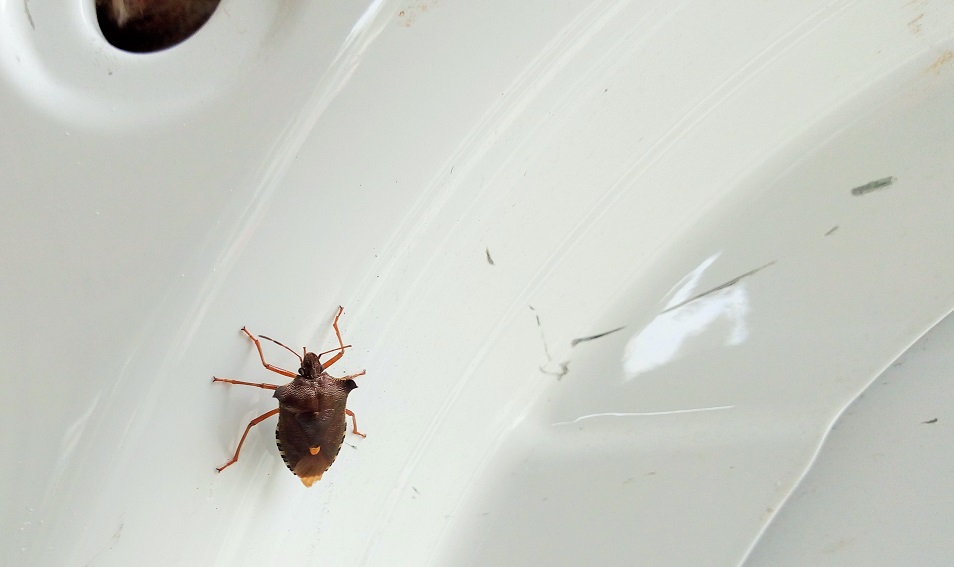
 Meanwhile, 8 boards later, the robotic drone of autonomy was broken with a little visitor coming to see what was going on.
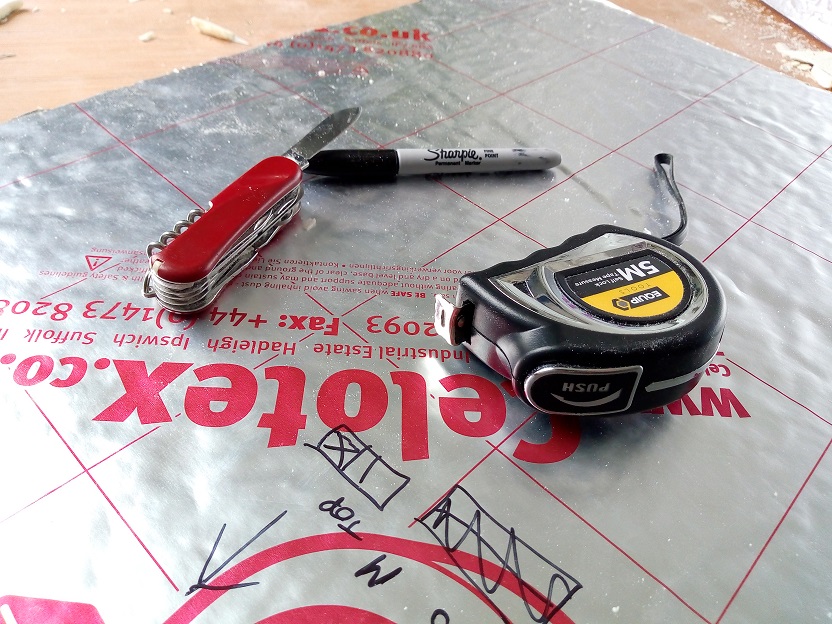
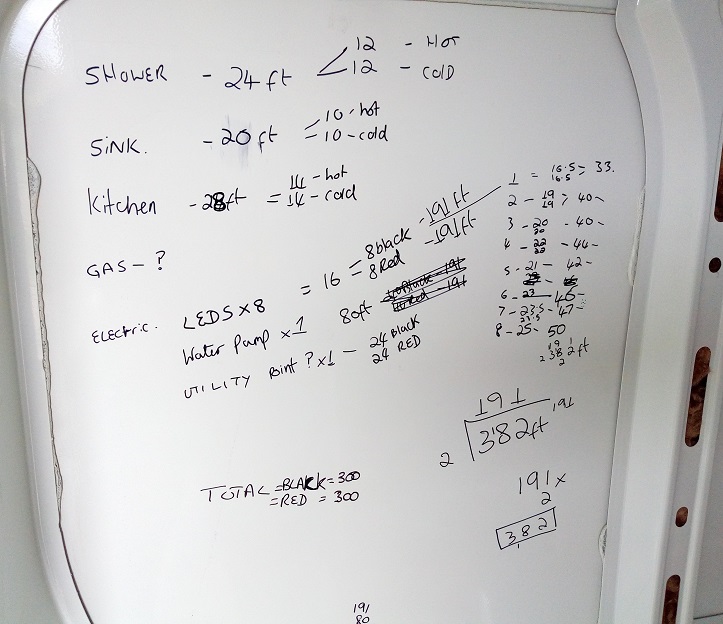
 And in the break, some rudimentary workings out.
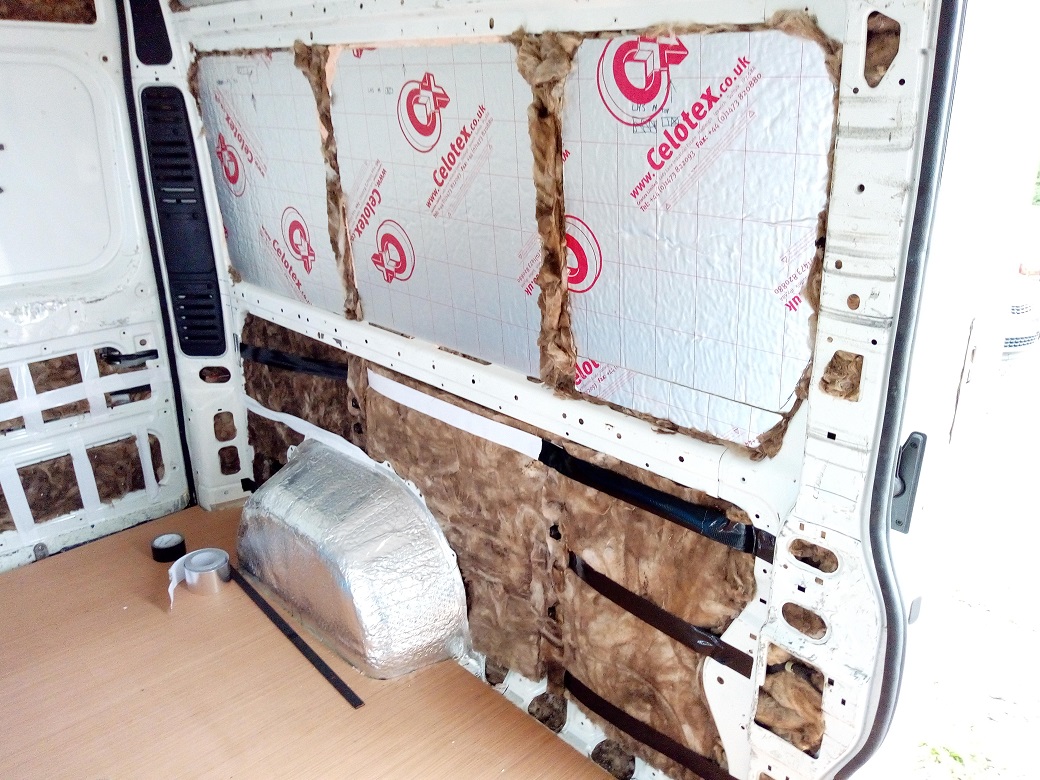
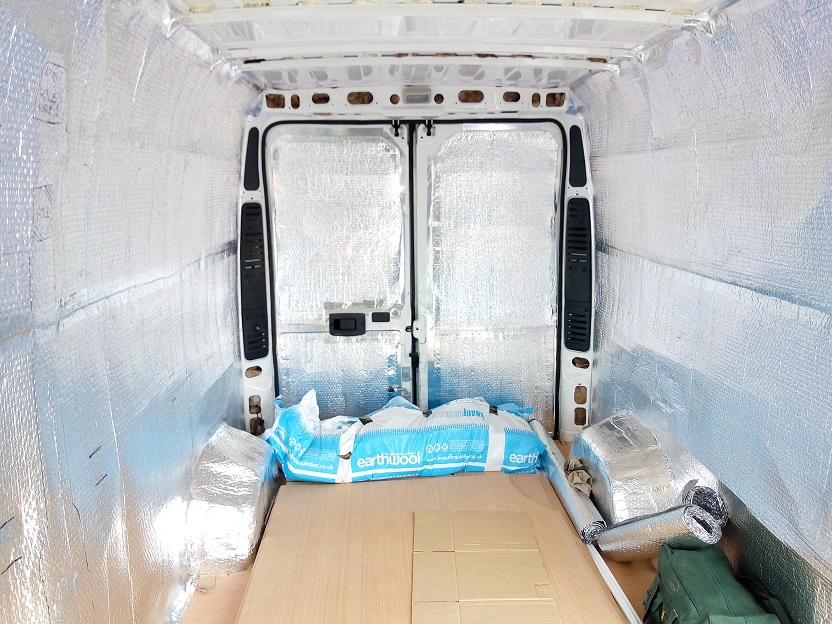
Ugh! Finally! 4 days of cutting n slicing, glueing and sticking!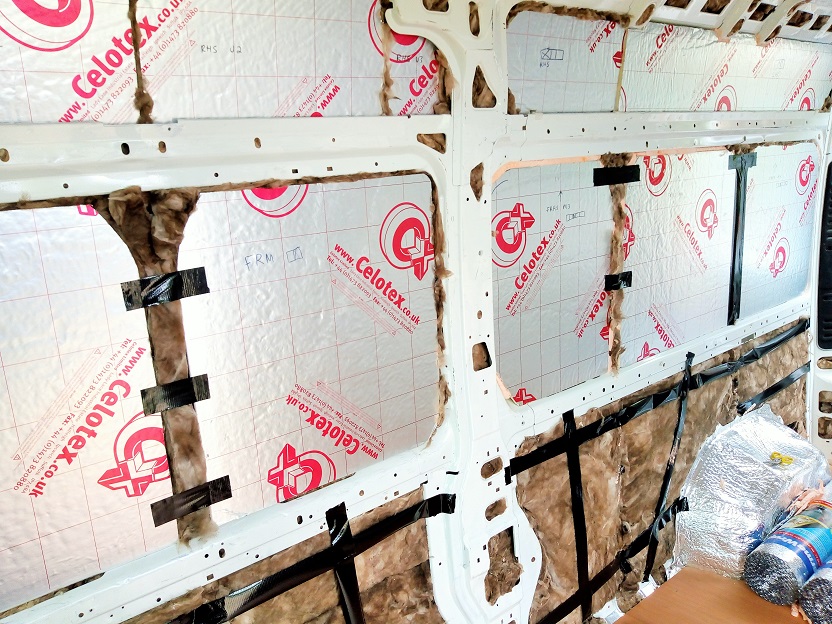 The Earthwool was conveniently situated at the bottom, with the harder, more efficient 50mm board above.
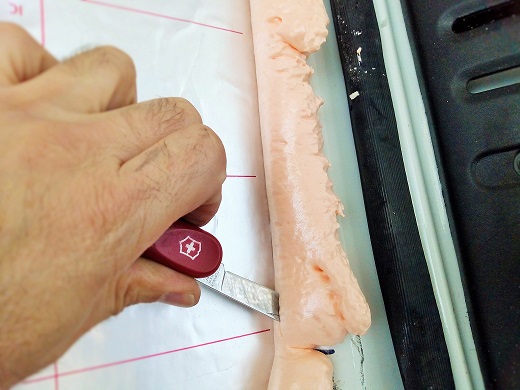
A satisfying task, trimming off the foam glue. Great stuff to play with!
On to the Vapour Barrier! This time, using a foil faced bubble wrap, not only providing a good barrier, but added insulation and sound buffering.
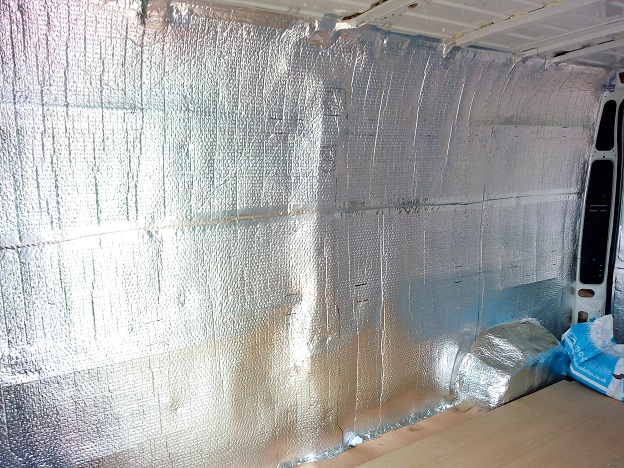
Taking on a new look and a fresher look. The walls were marked up for the locations of the underlying structural supports.
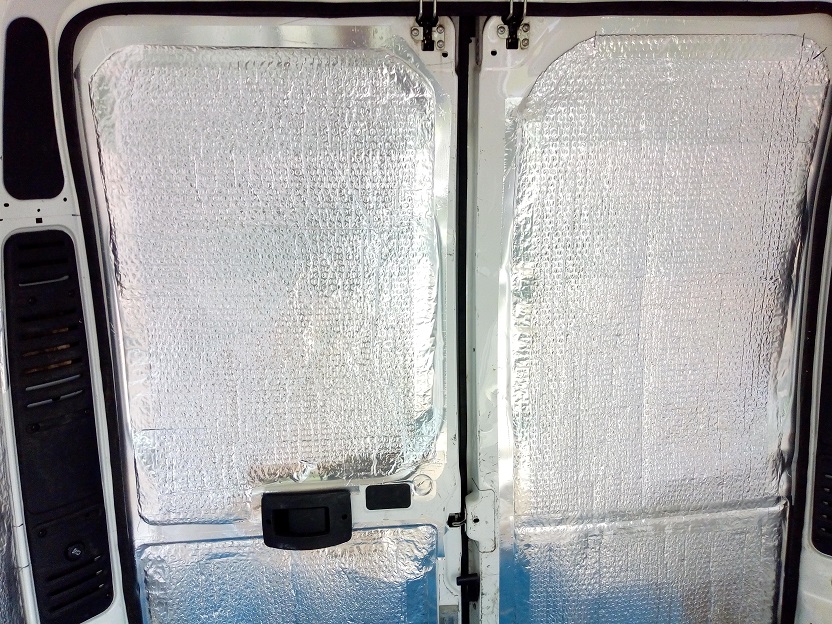 The van now has taken on a new look, it feels like being in some kind of satellite!
 Overall, a relatively simple task, just time consuming! After a quick test drive to ensure its all still in place. I can say that this stage has silenced the van immensely to such an extent that sound suppression was not required, not to mention how warm it now is.
On to the next phase - Lining the walls.
Overall, a relatively simple task, just time consuming! After a quick test drive to ensure its all still in place. I can say that this stage has silenced the van immensely to such an extent that sound suppression was not required, not to mention how warm it now is.
On to the next phase - Lining the walls.
The insulation properties: Board = 0.022 W/mK / EarthWool = 0.037 W/mK
The Complete Project so far: My Latest Brainwave & Project Assessing The Task The Strip Out Floor Preparation & Rust Treatment Hole Plugging & Lock mending Finalising The Floor Foundations The Insulation Begins Insulating The Floor