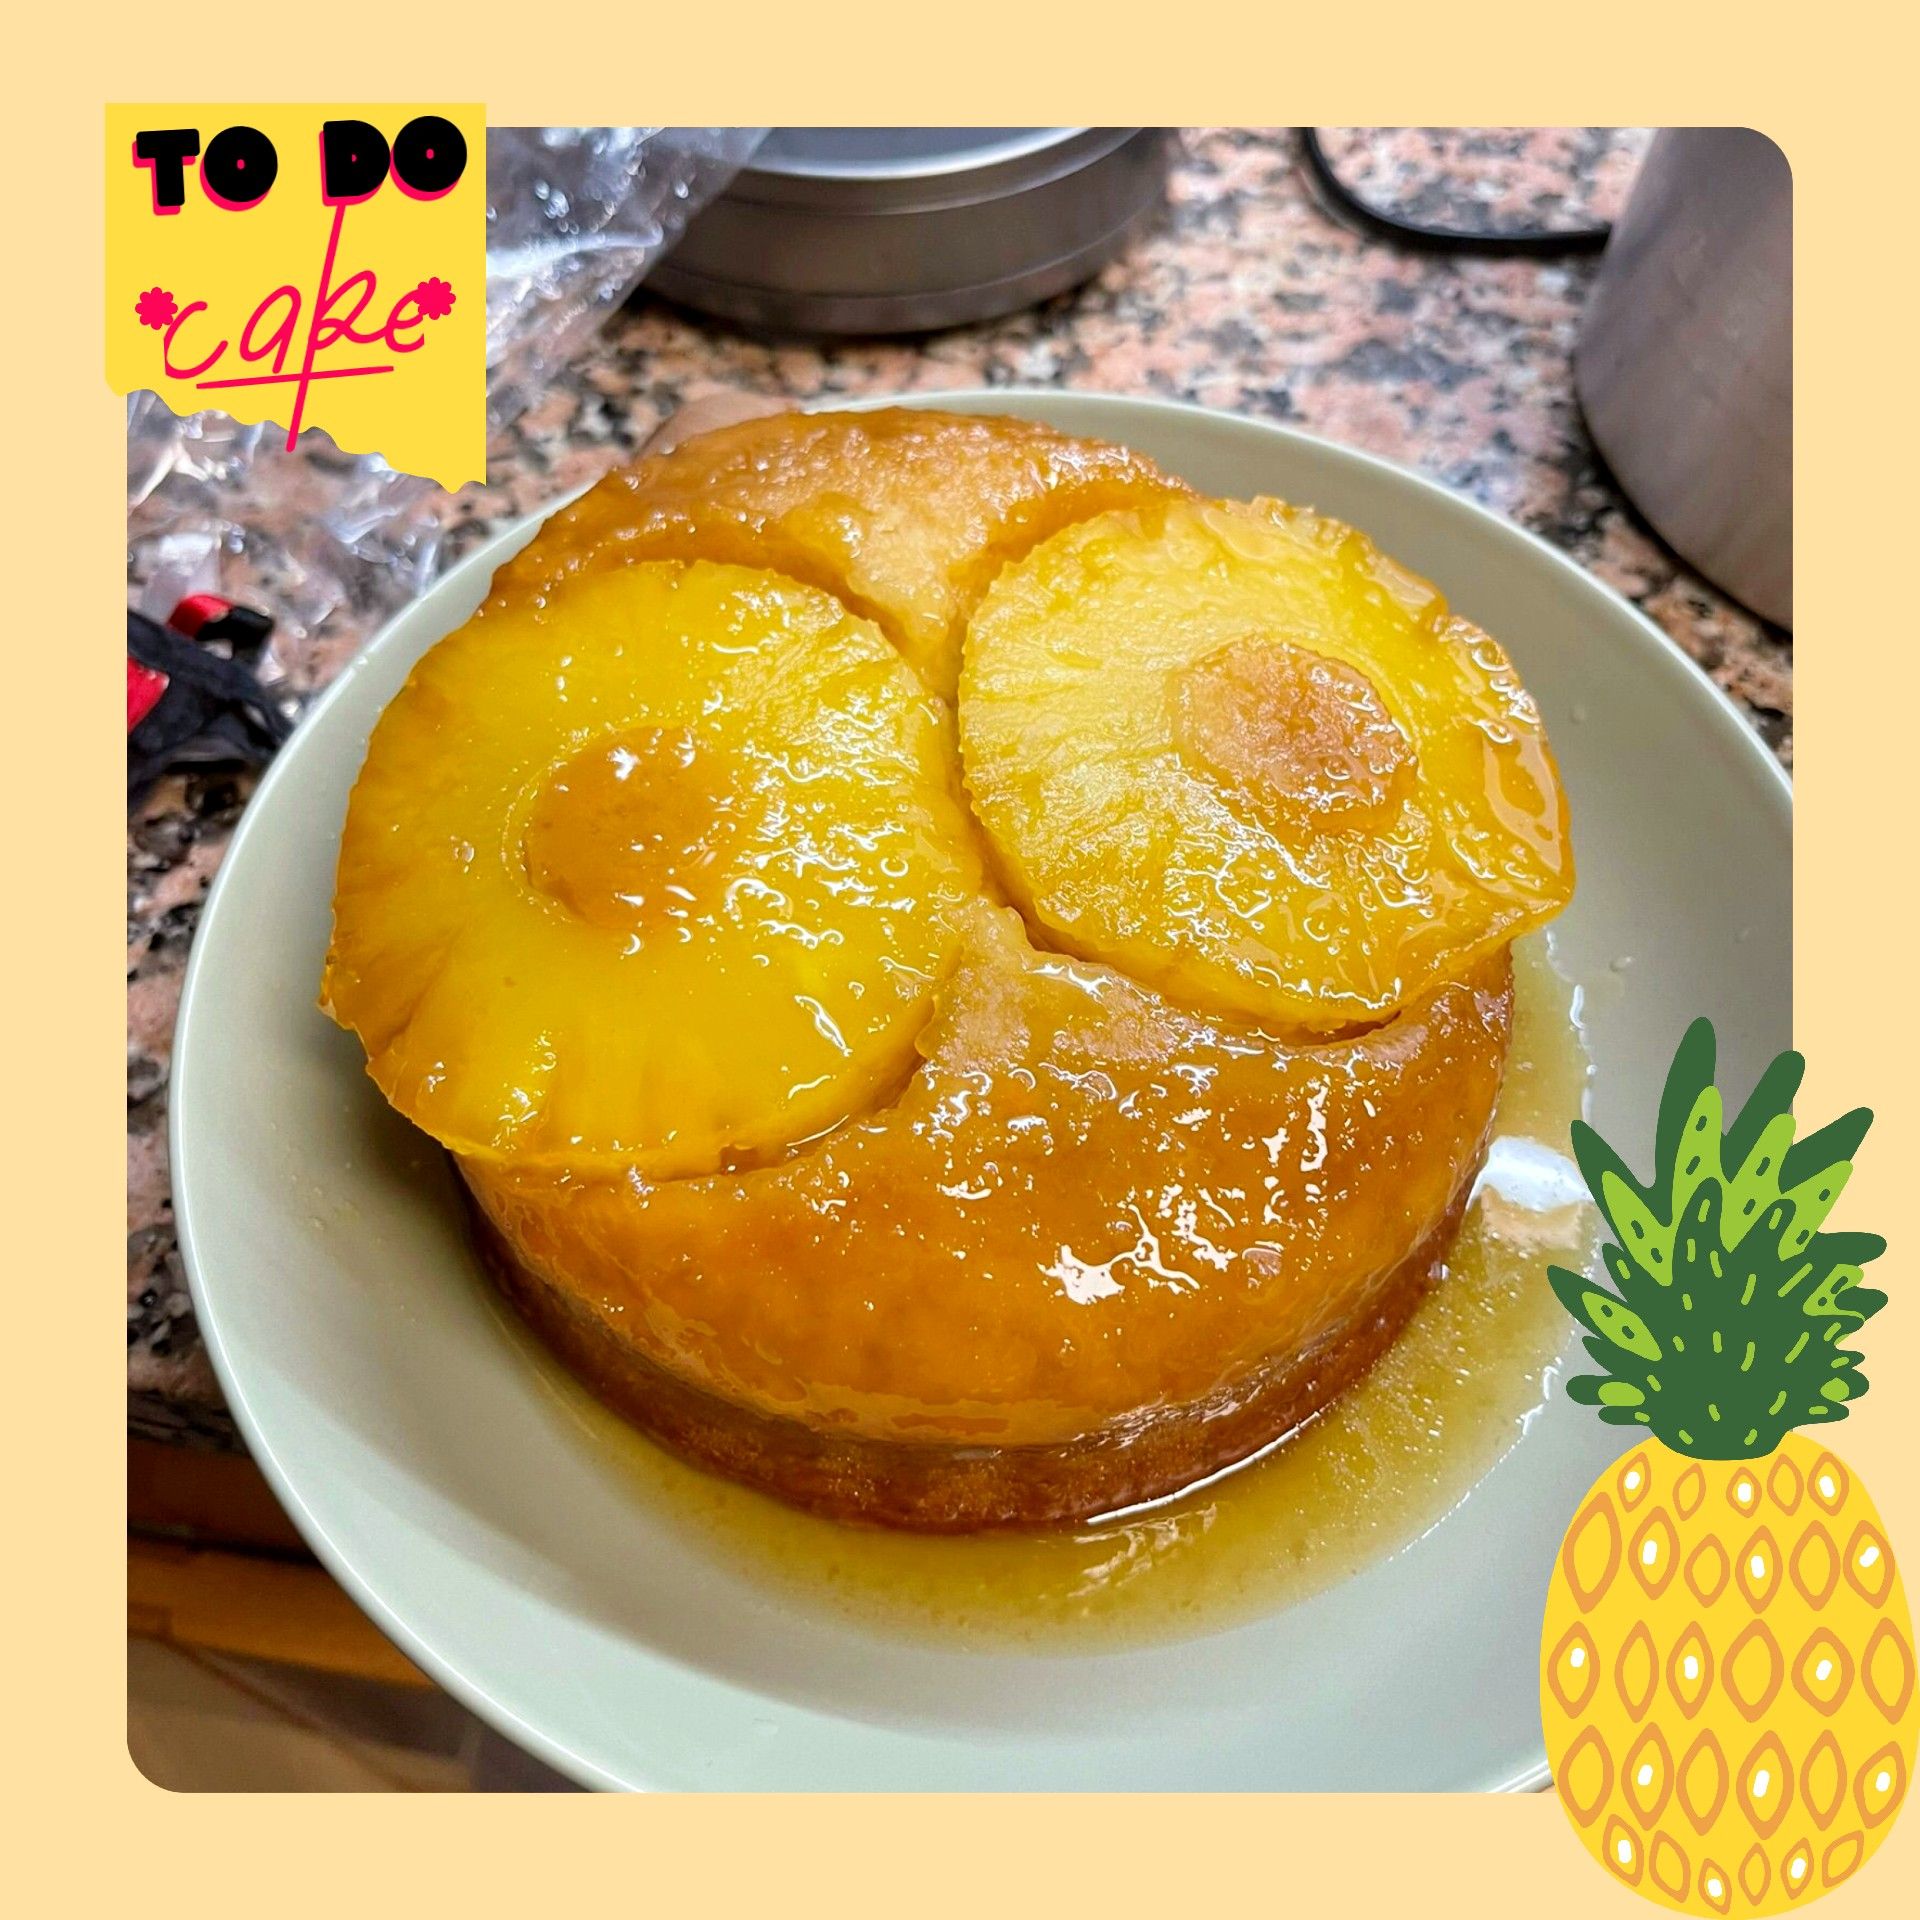
* Today I want to share with you this delicious recipe that is easy to prepare and will sweeten your day. It is a classic Hawaiian cake or pineapple cake, it is known by these two names, depending on your country, and today I will show you how fast and easy you can prepare it.
ESP
- El día de hoy quiero compartirles esta deliciosa receta fácil de preparar y endulzará tu día. Se trata de un clásico pastel hawaiano o pastel de piña, es conocido por estos dos nombres, dependiendo de tu país, y el día de hoy te mostraré que tan rápido y sin complicaciones puedes prepararlo.
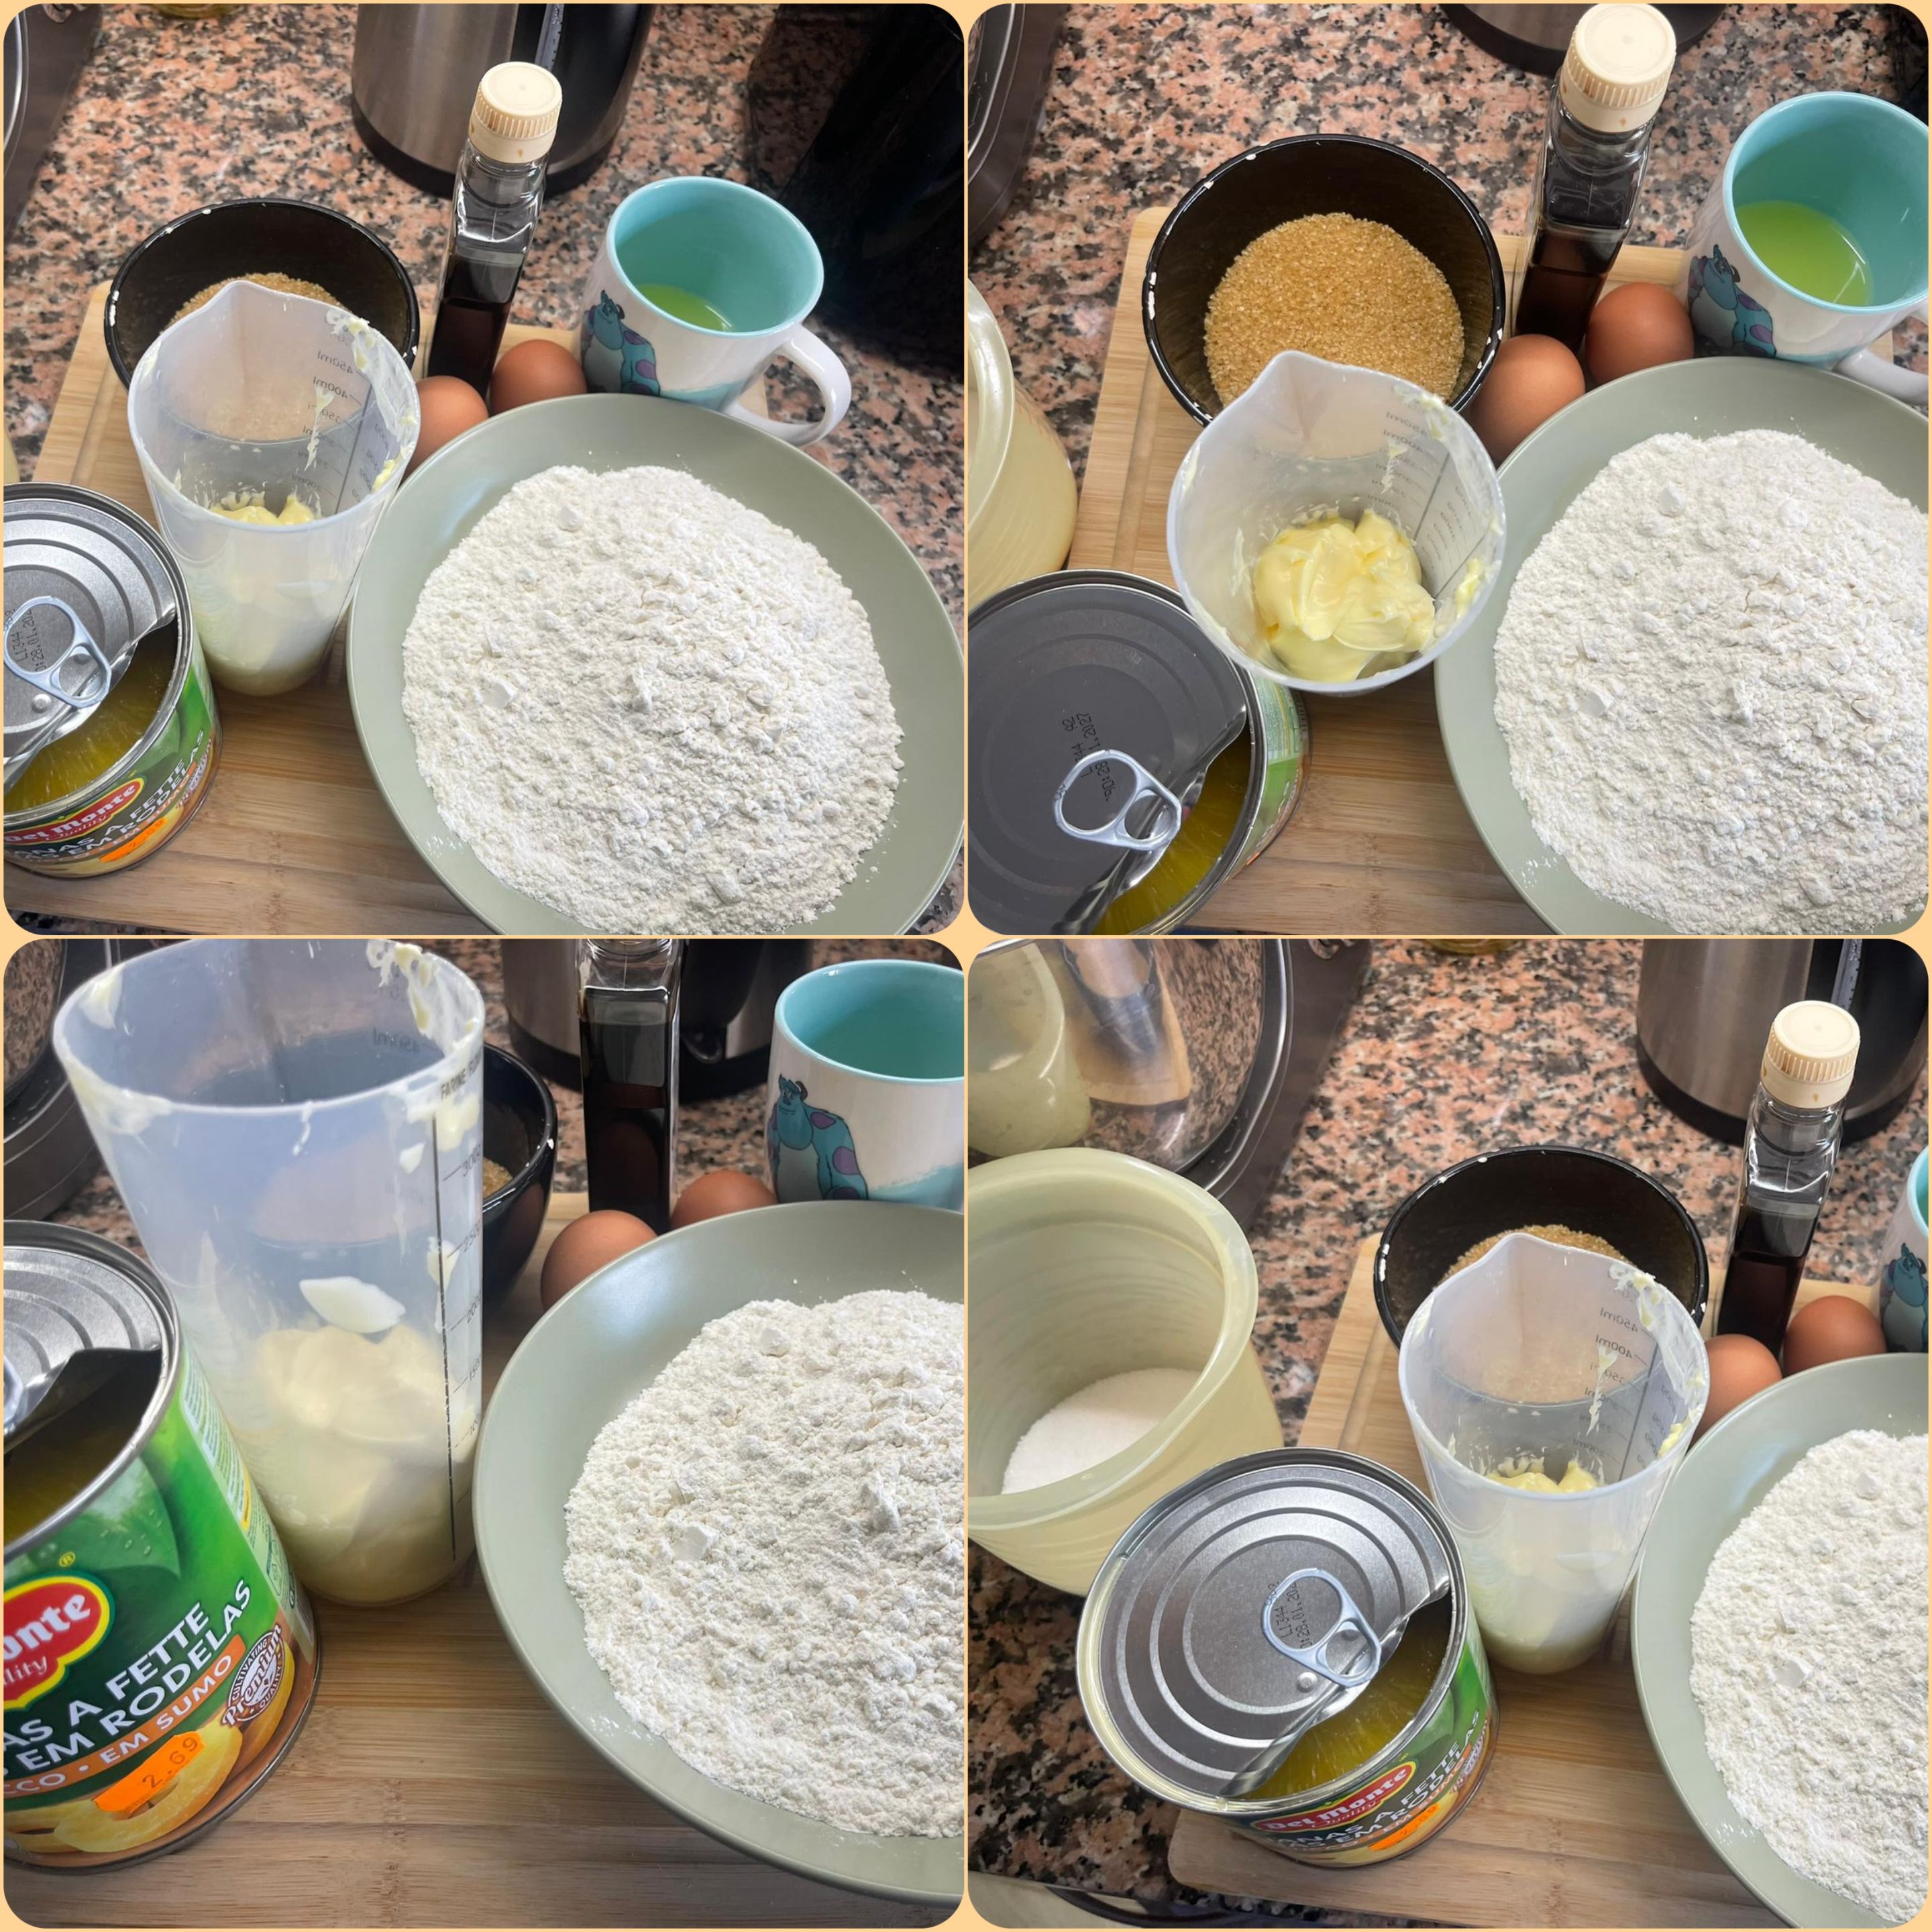
| 250g pastry flour. | 100g butter. |
|---|---|
| 170g brown sugar. | 2 pineapple slices. |
| 75ml pineapple juice. | 2 eggs. |
| Half a cup white sugar. | *1 tsp vanilla. |
ESP
| 250 g harina repostera. | 100 mantequilla. |
|---|---|
| 170 g azúcar mascabado. | 2 rodajas de piña. |
| 75ml zumo de piña. | 2 huevos. |
| Media taza azúcar blanca. | *1 cdta vainilla. |
-
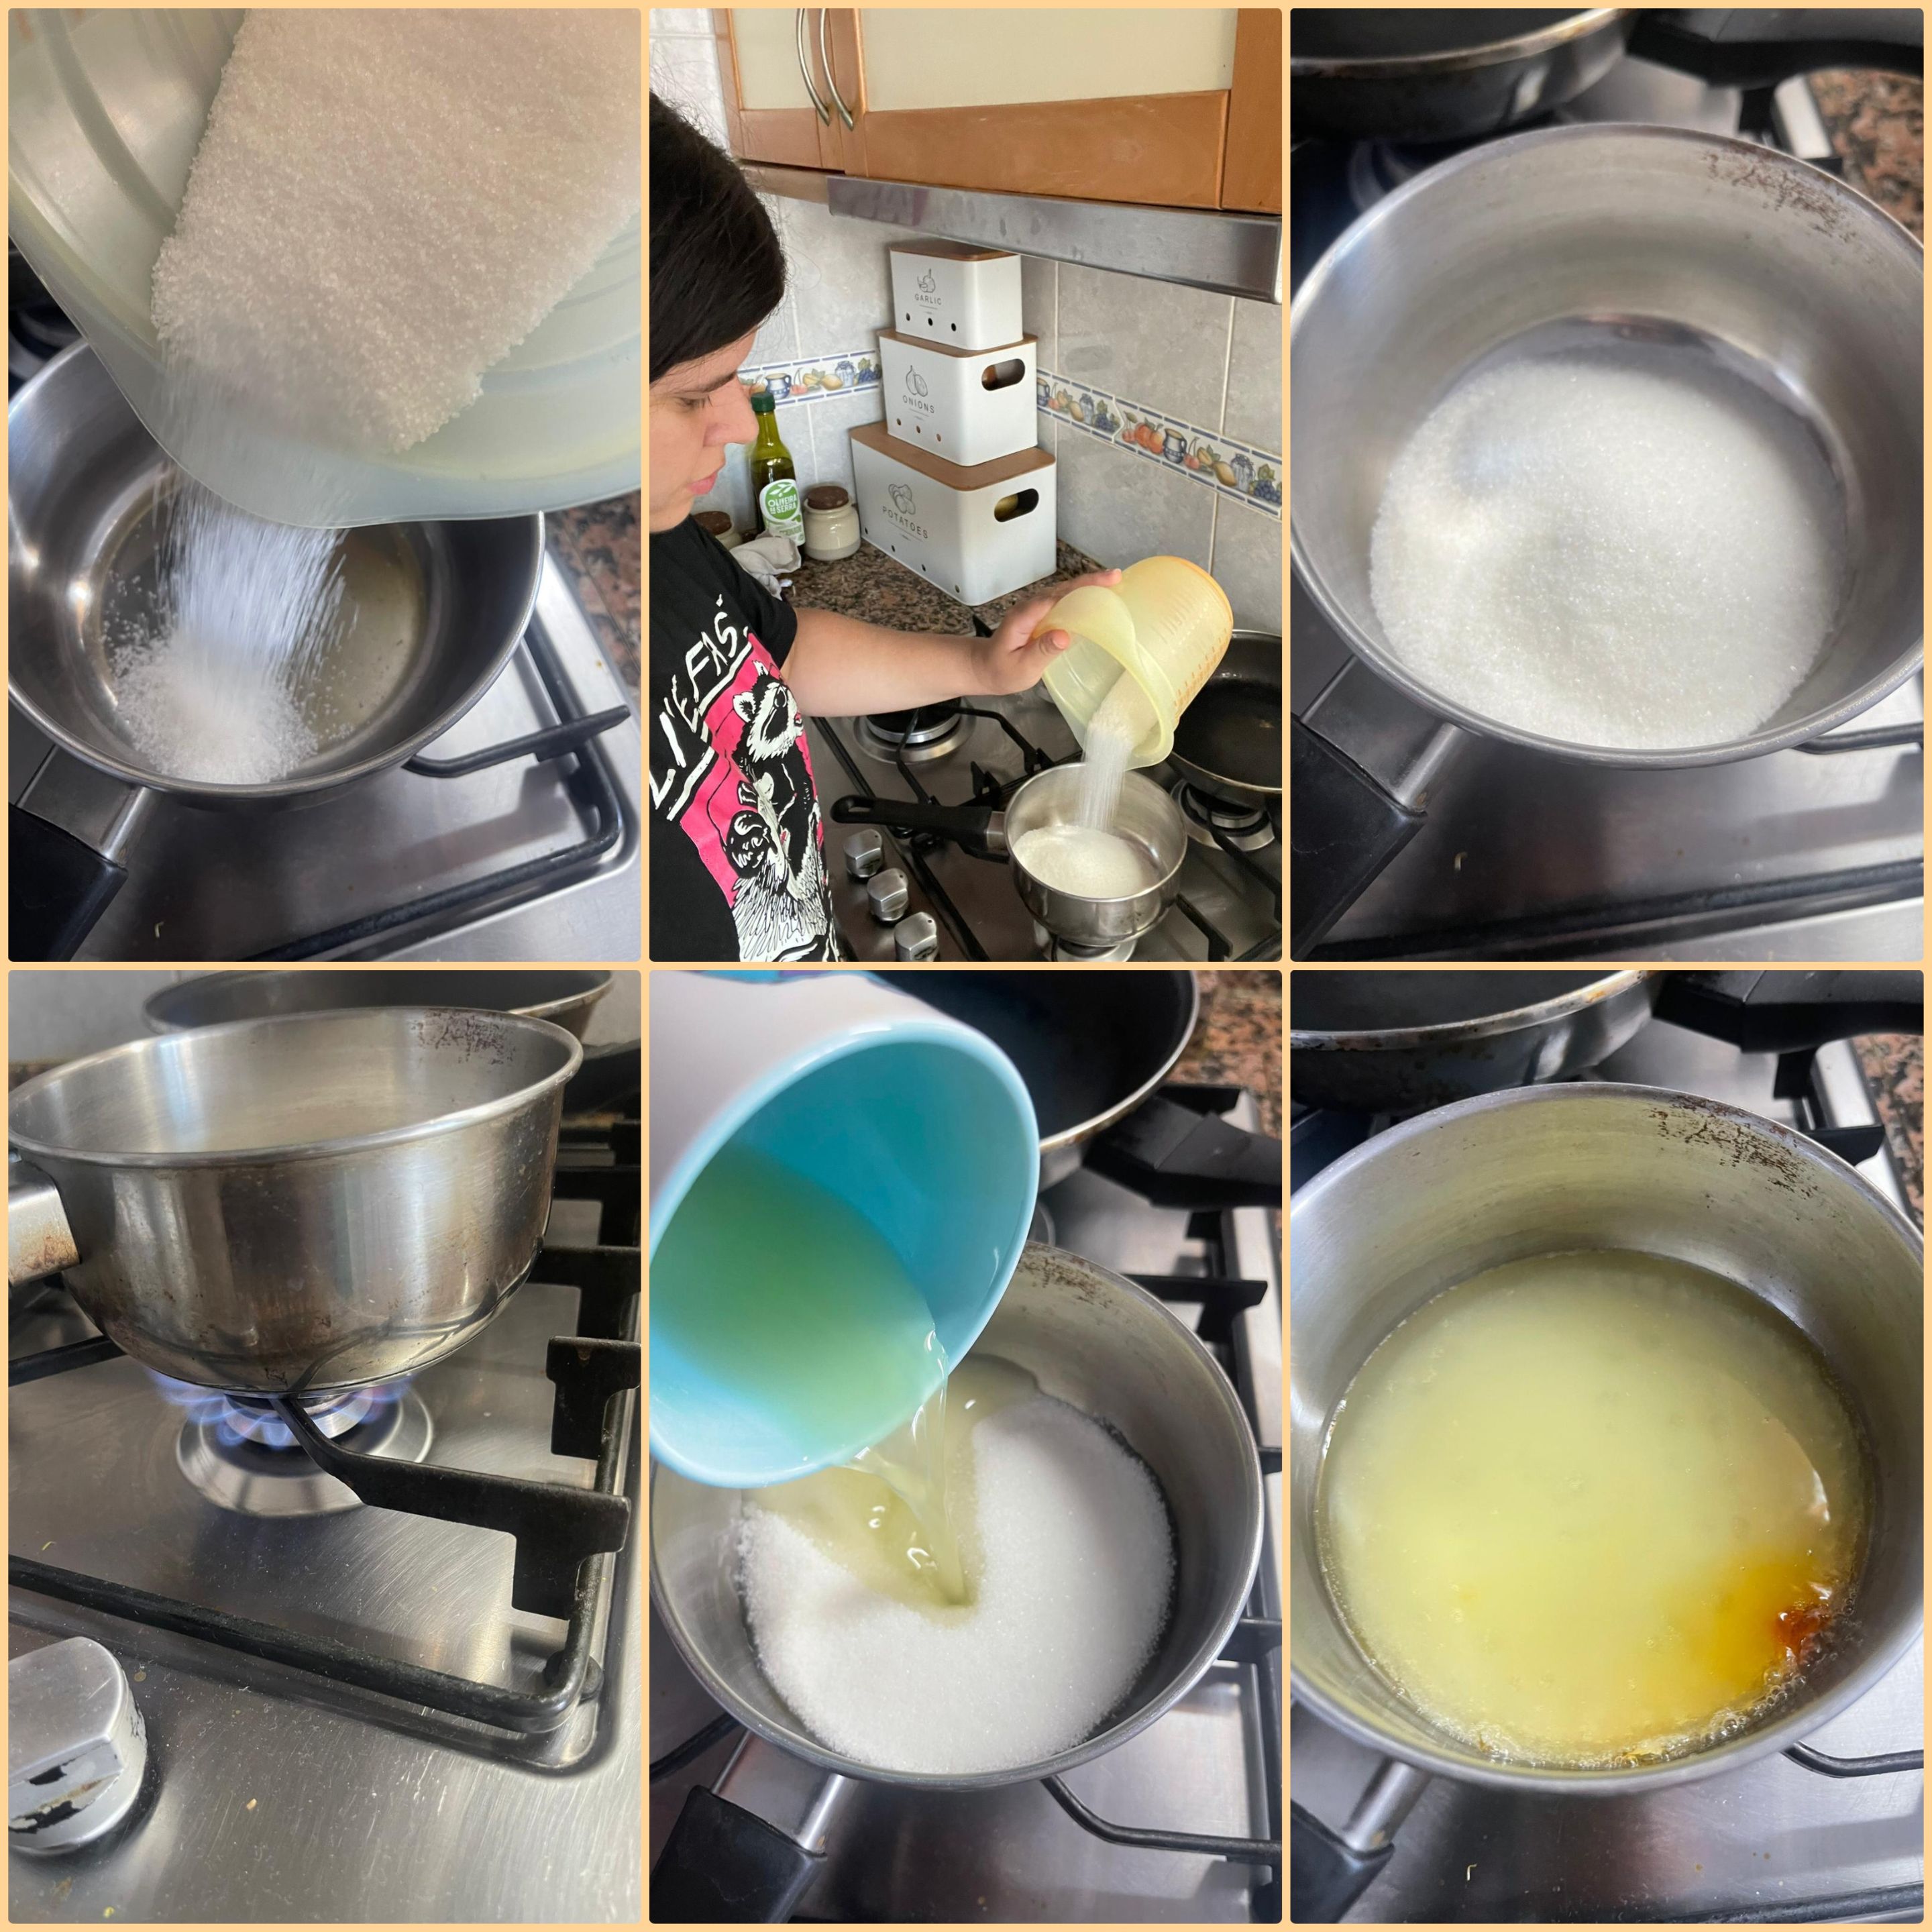
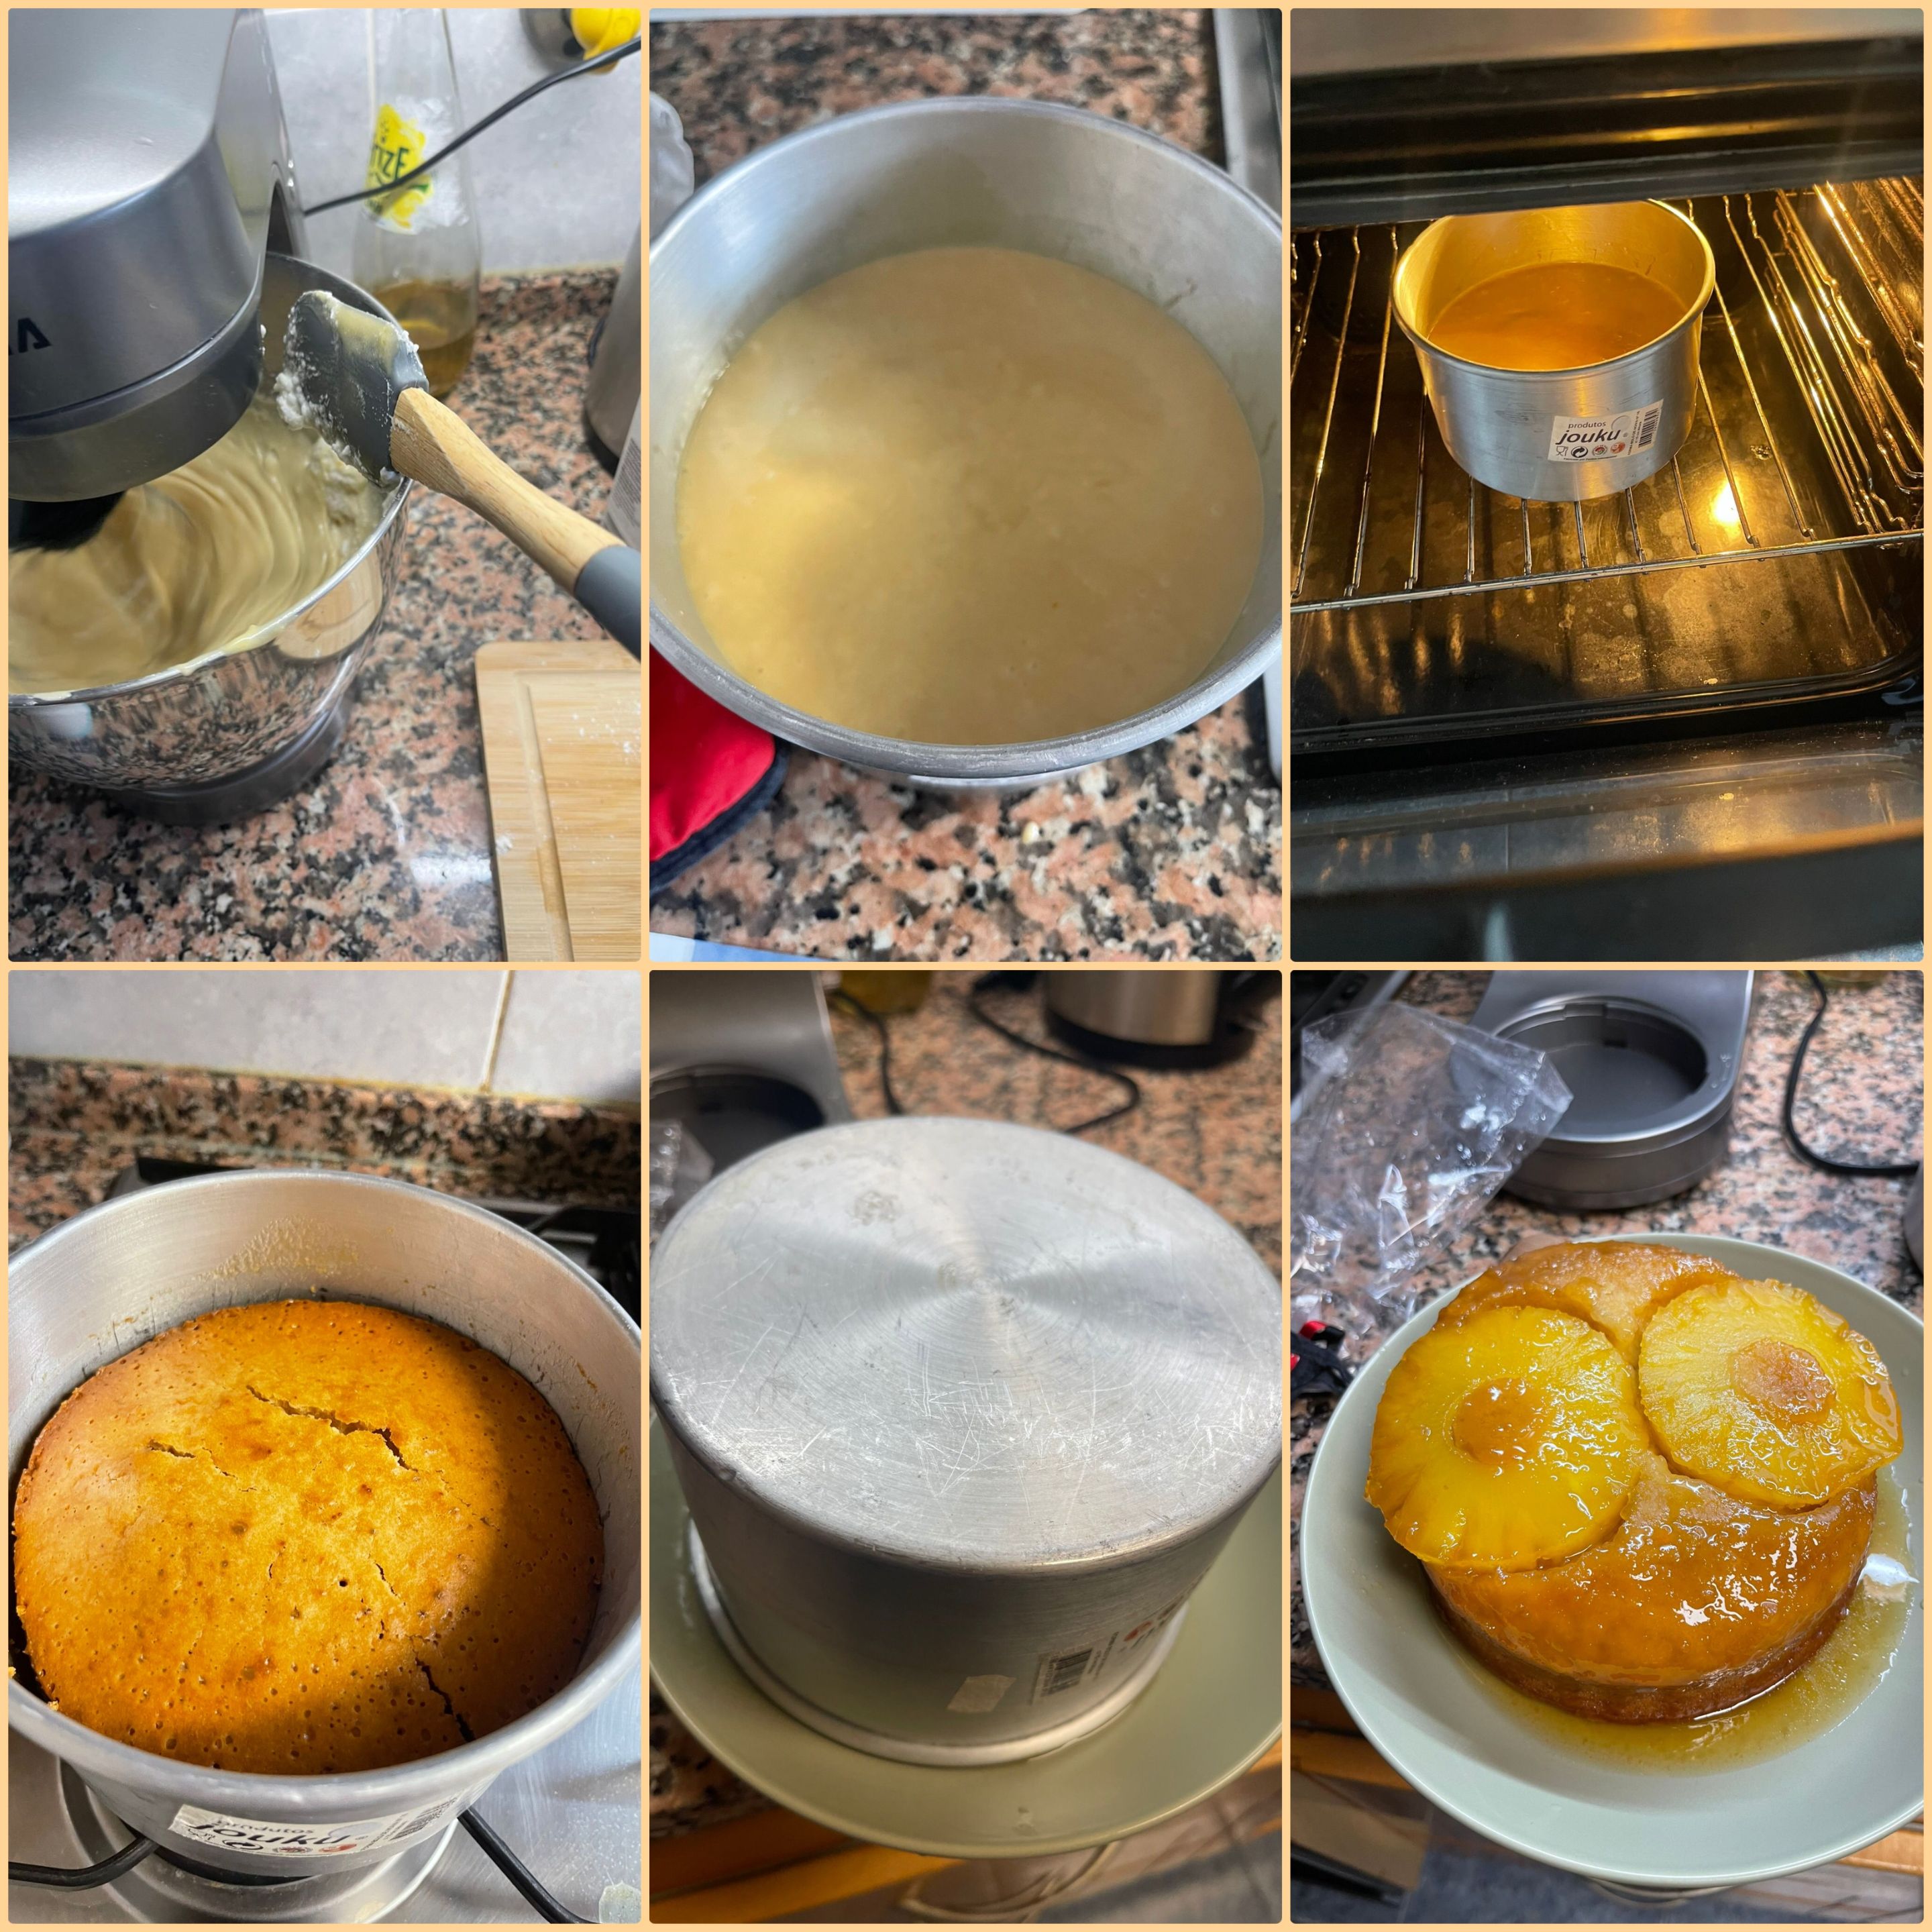
First step: The first thing we need to make is the caramel for the cake that will be the base. For the caramel we will add the white sugar over low heat, and add a little of the pineapple juice, until it covers the sugar and we will mix both ingredients and let it cook until the caramel changes color and its consistency is a little thicker as we can see in the pictures, finally we will add it to the mold where we will bake the cake and spread it all over the spaces.
-
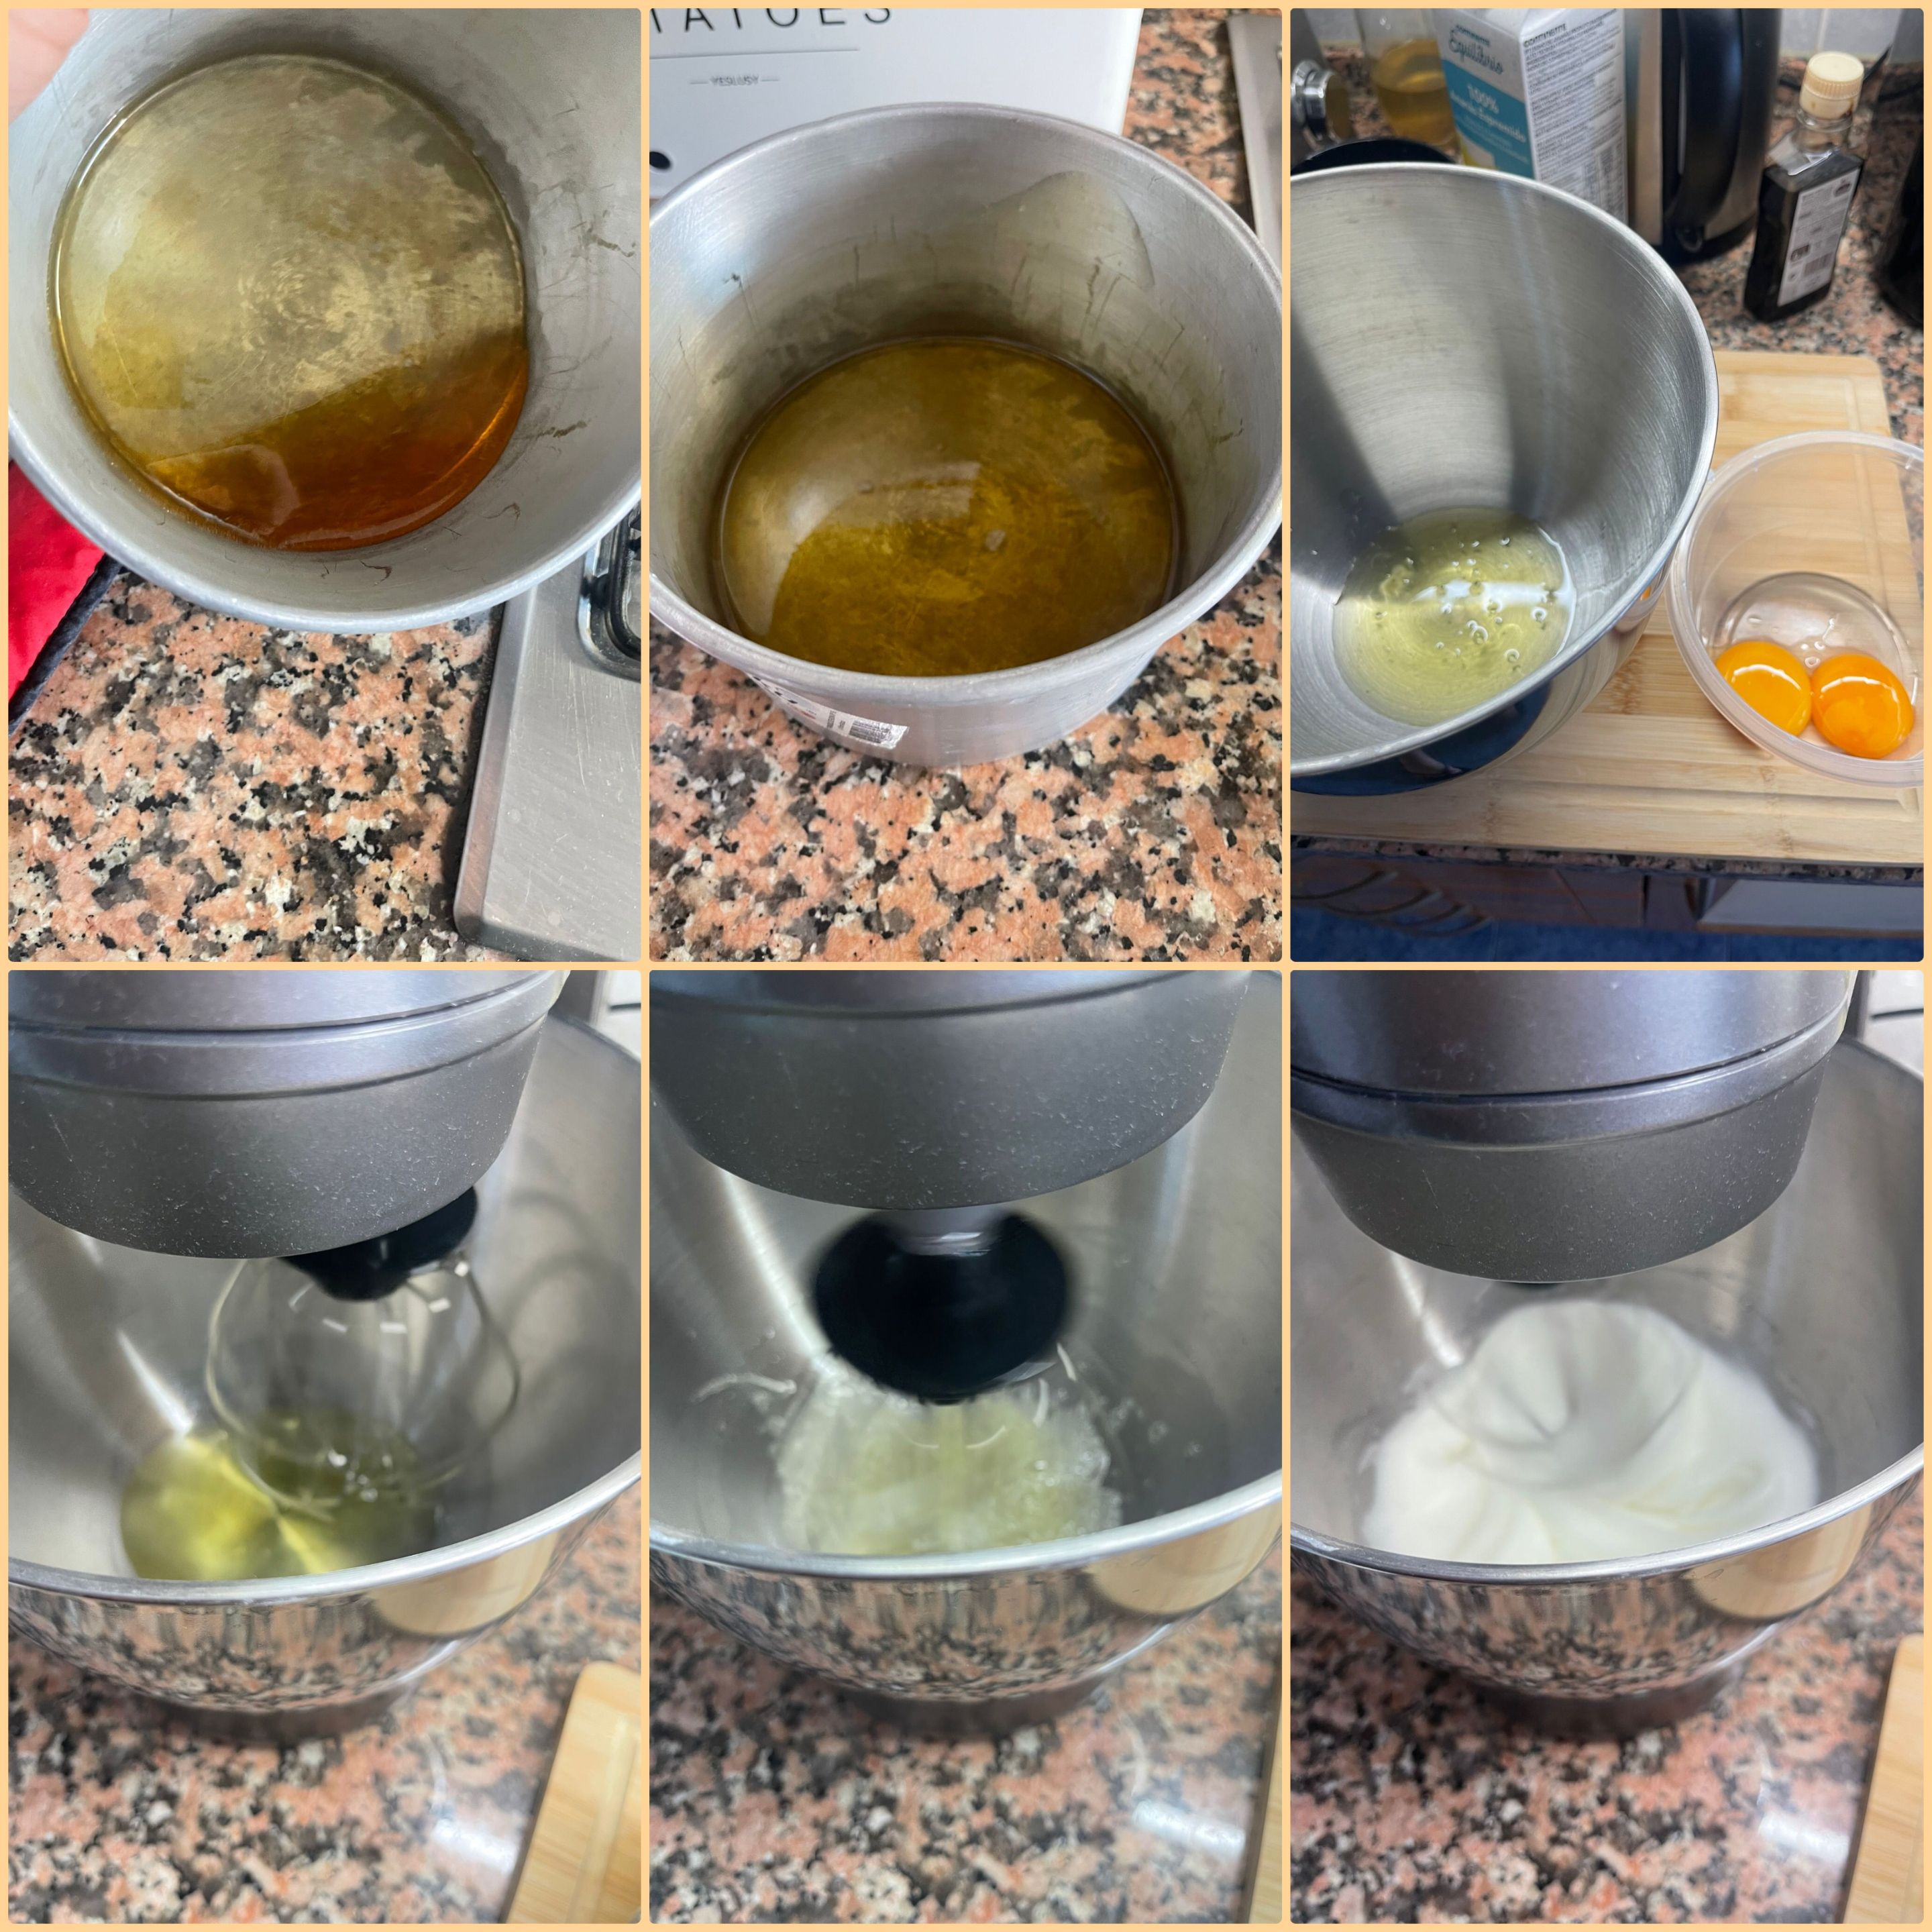
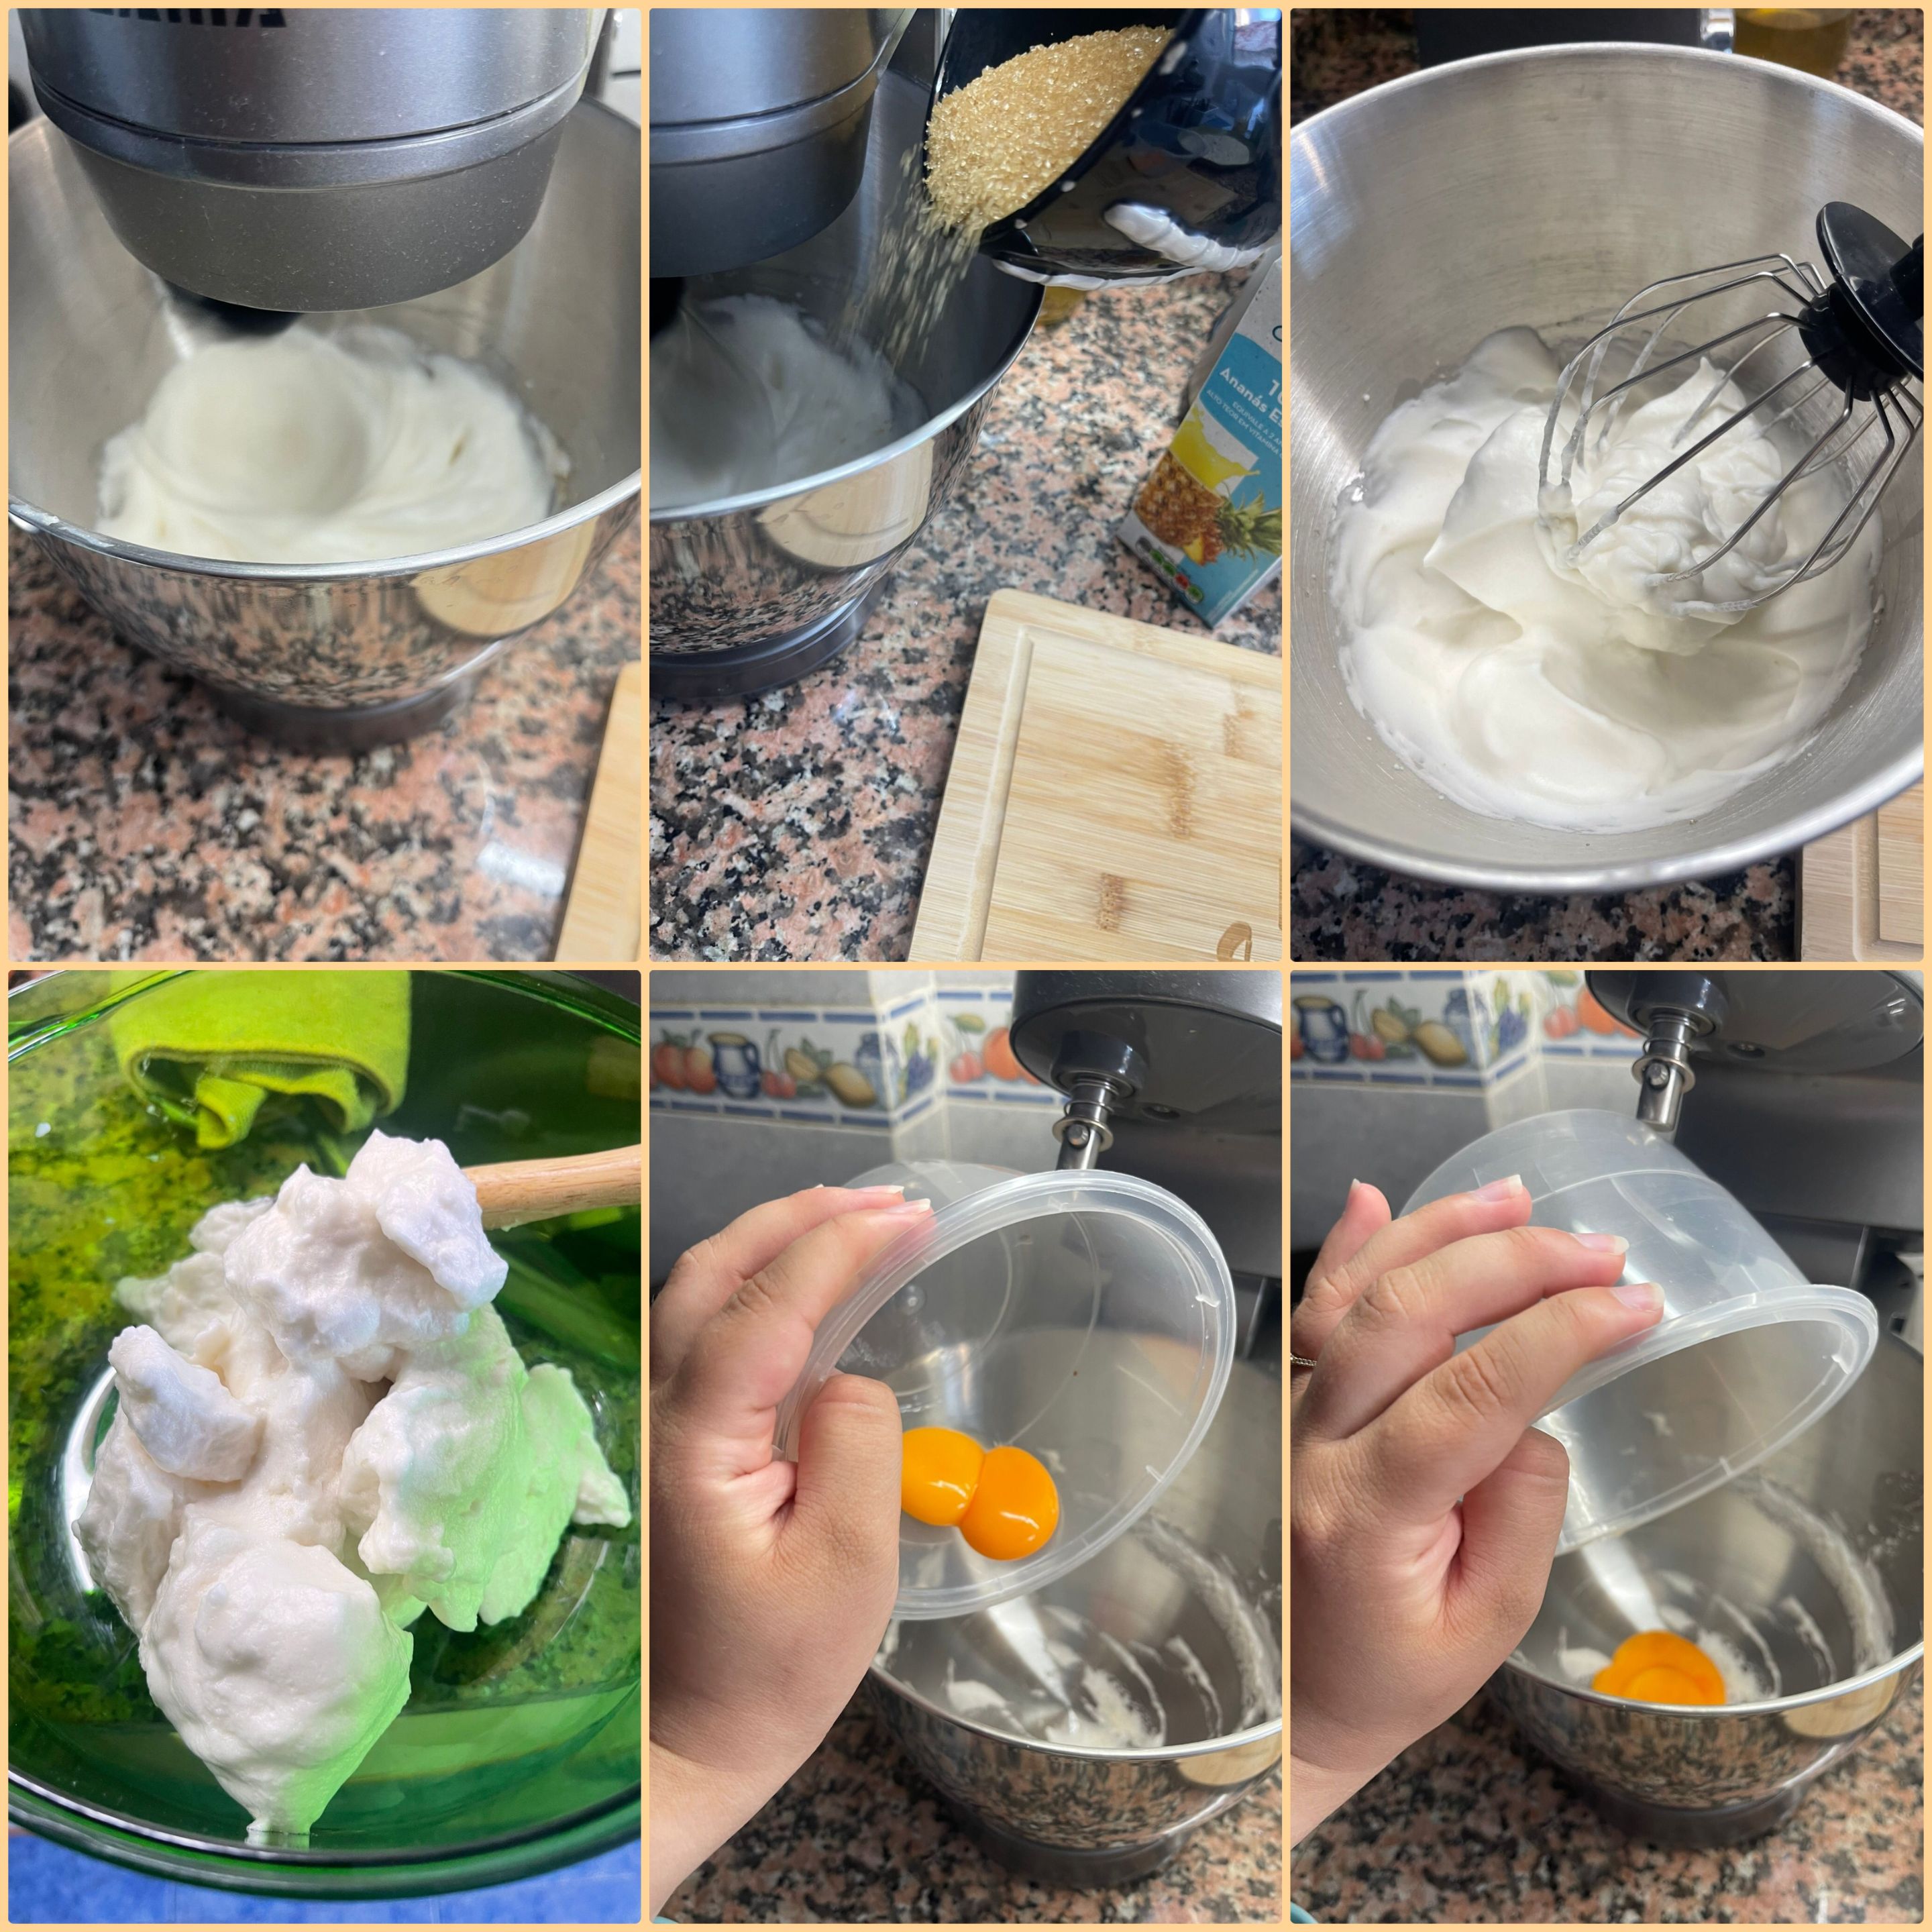
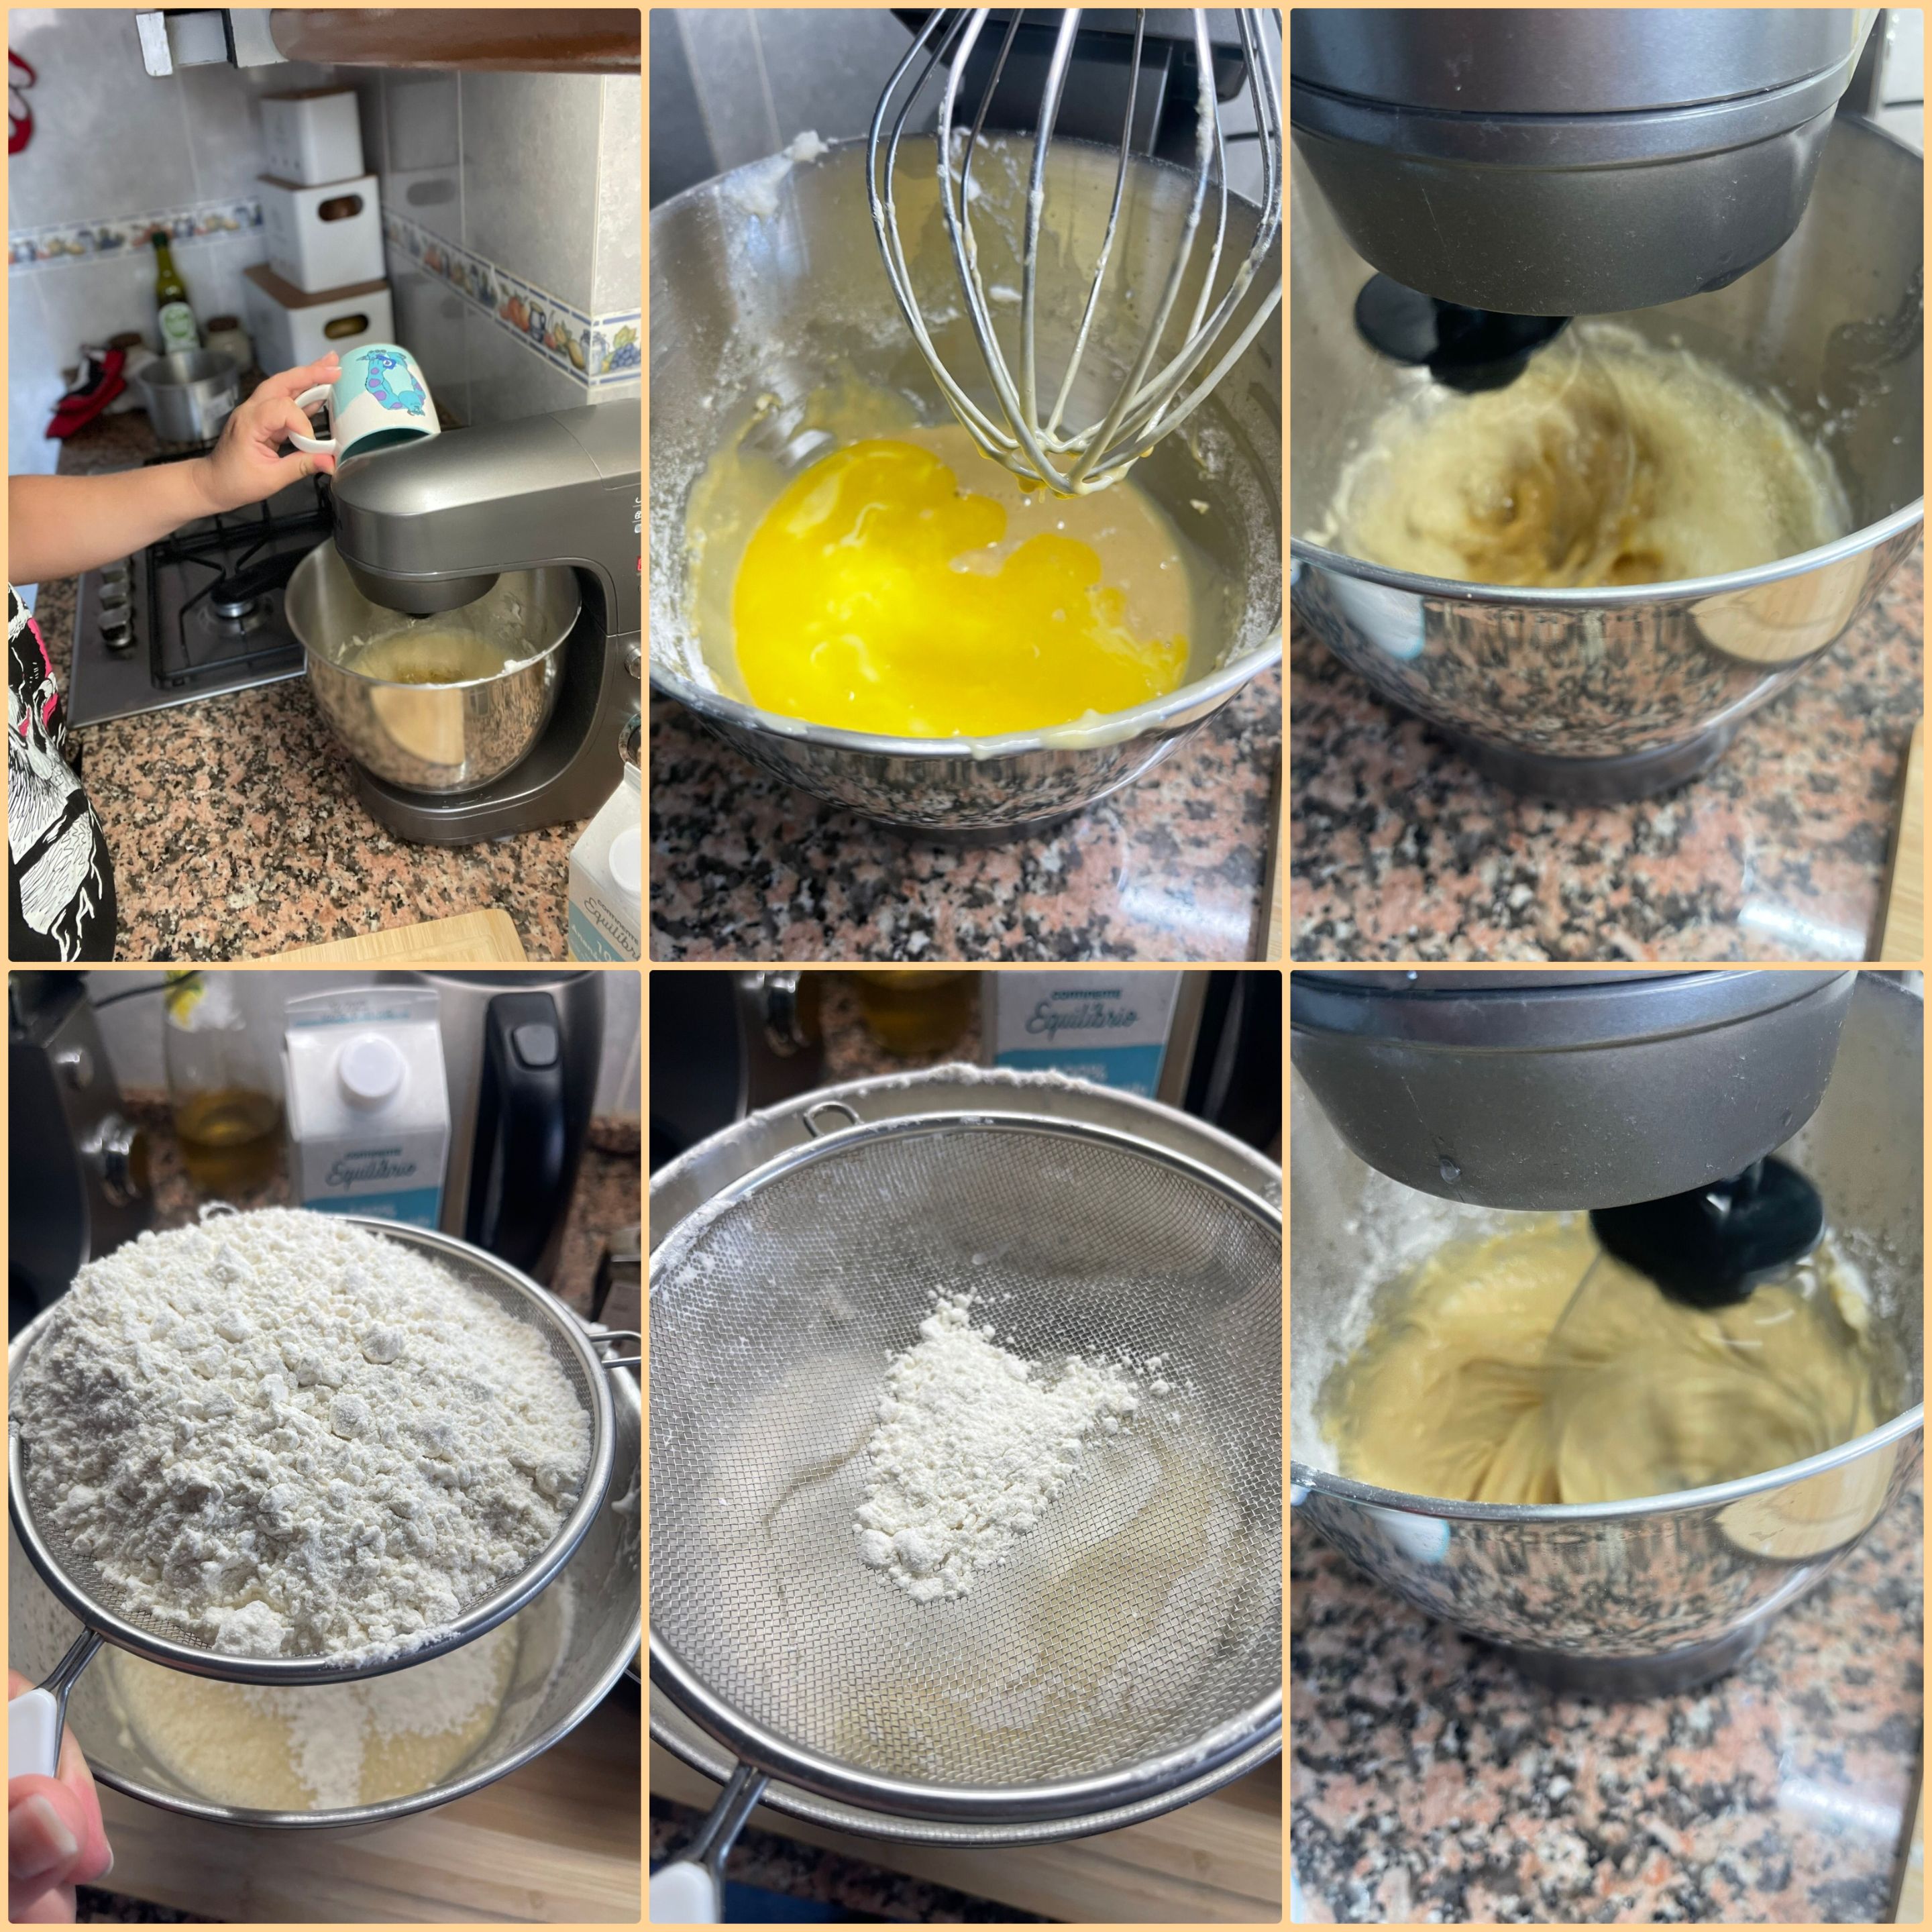
Second step: It is time to prepare the cake, for that we will separate the egg white and the yolk in two different containers. In a mixer we will make the white until it increased its size, while we add half of the sugar to the few, until we have a fluffy consistency.
-
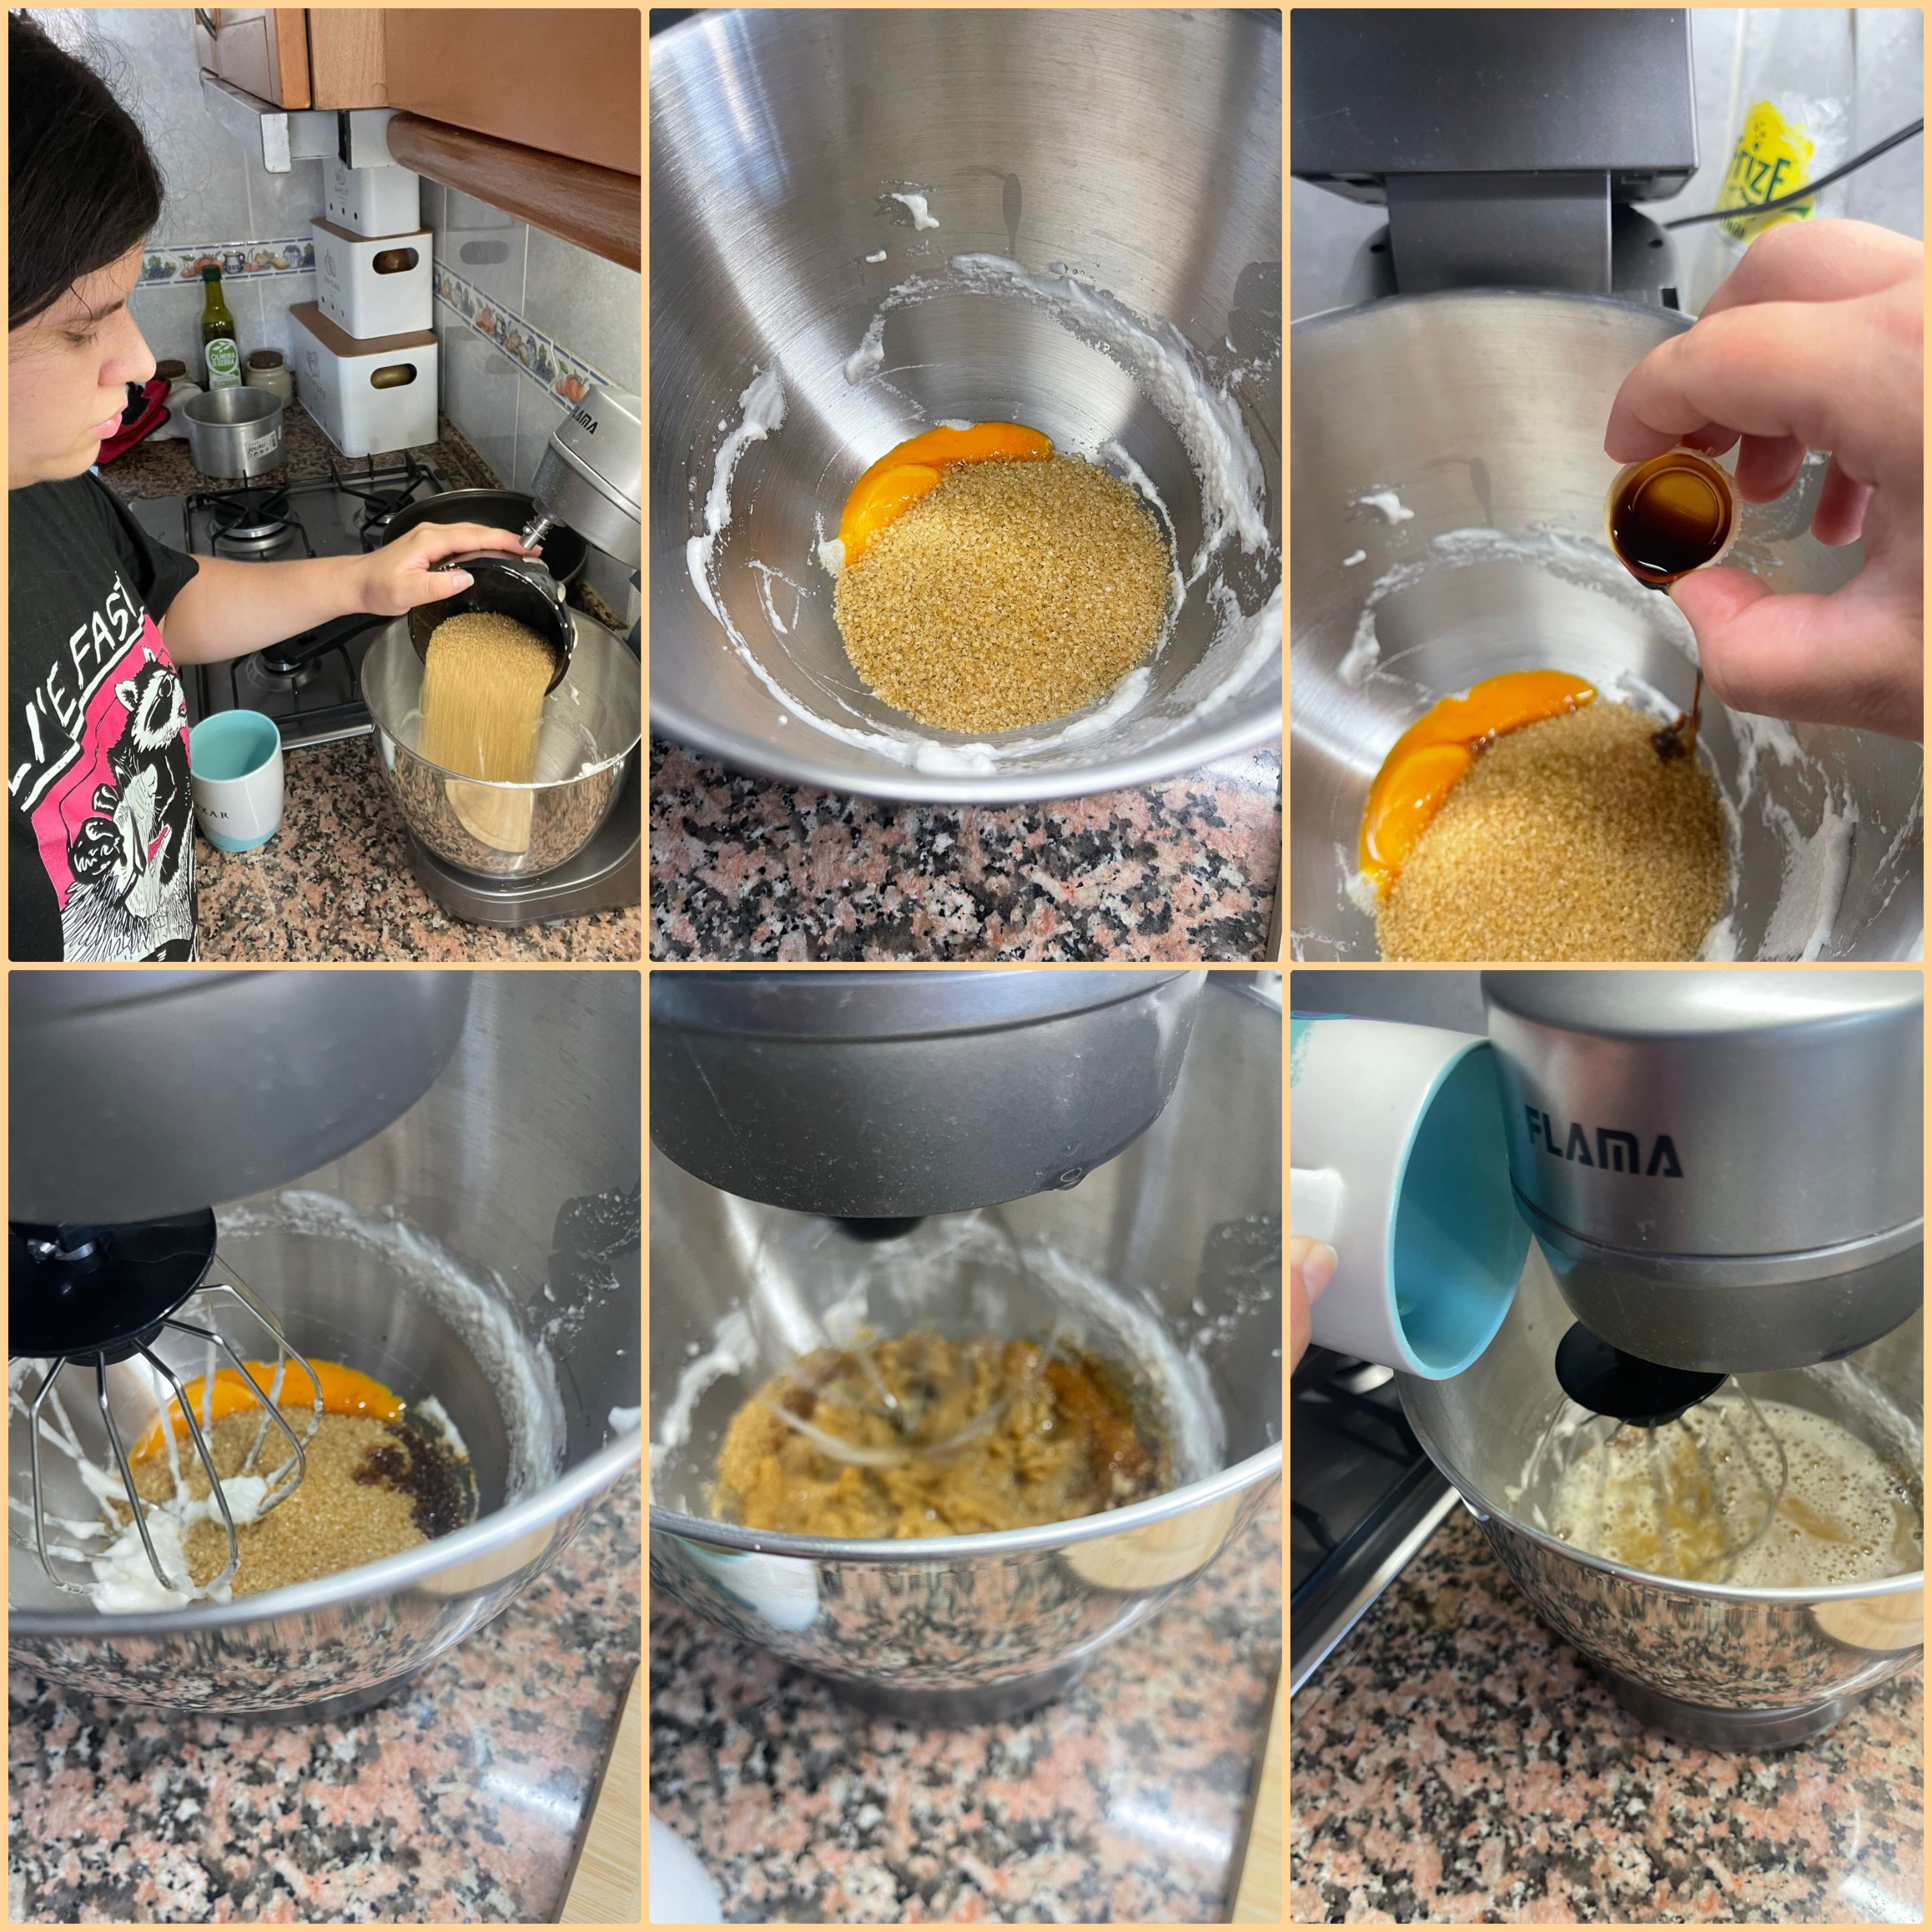
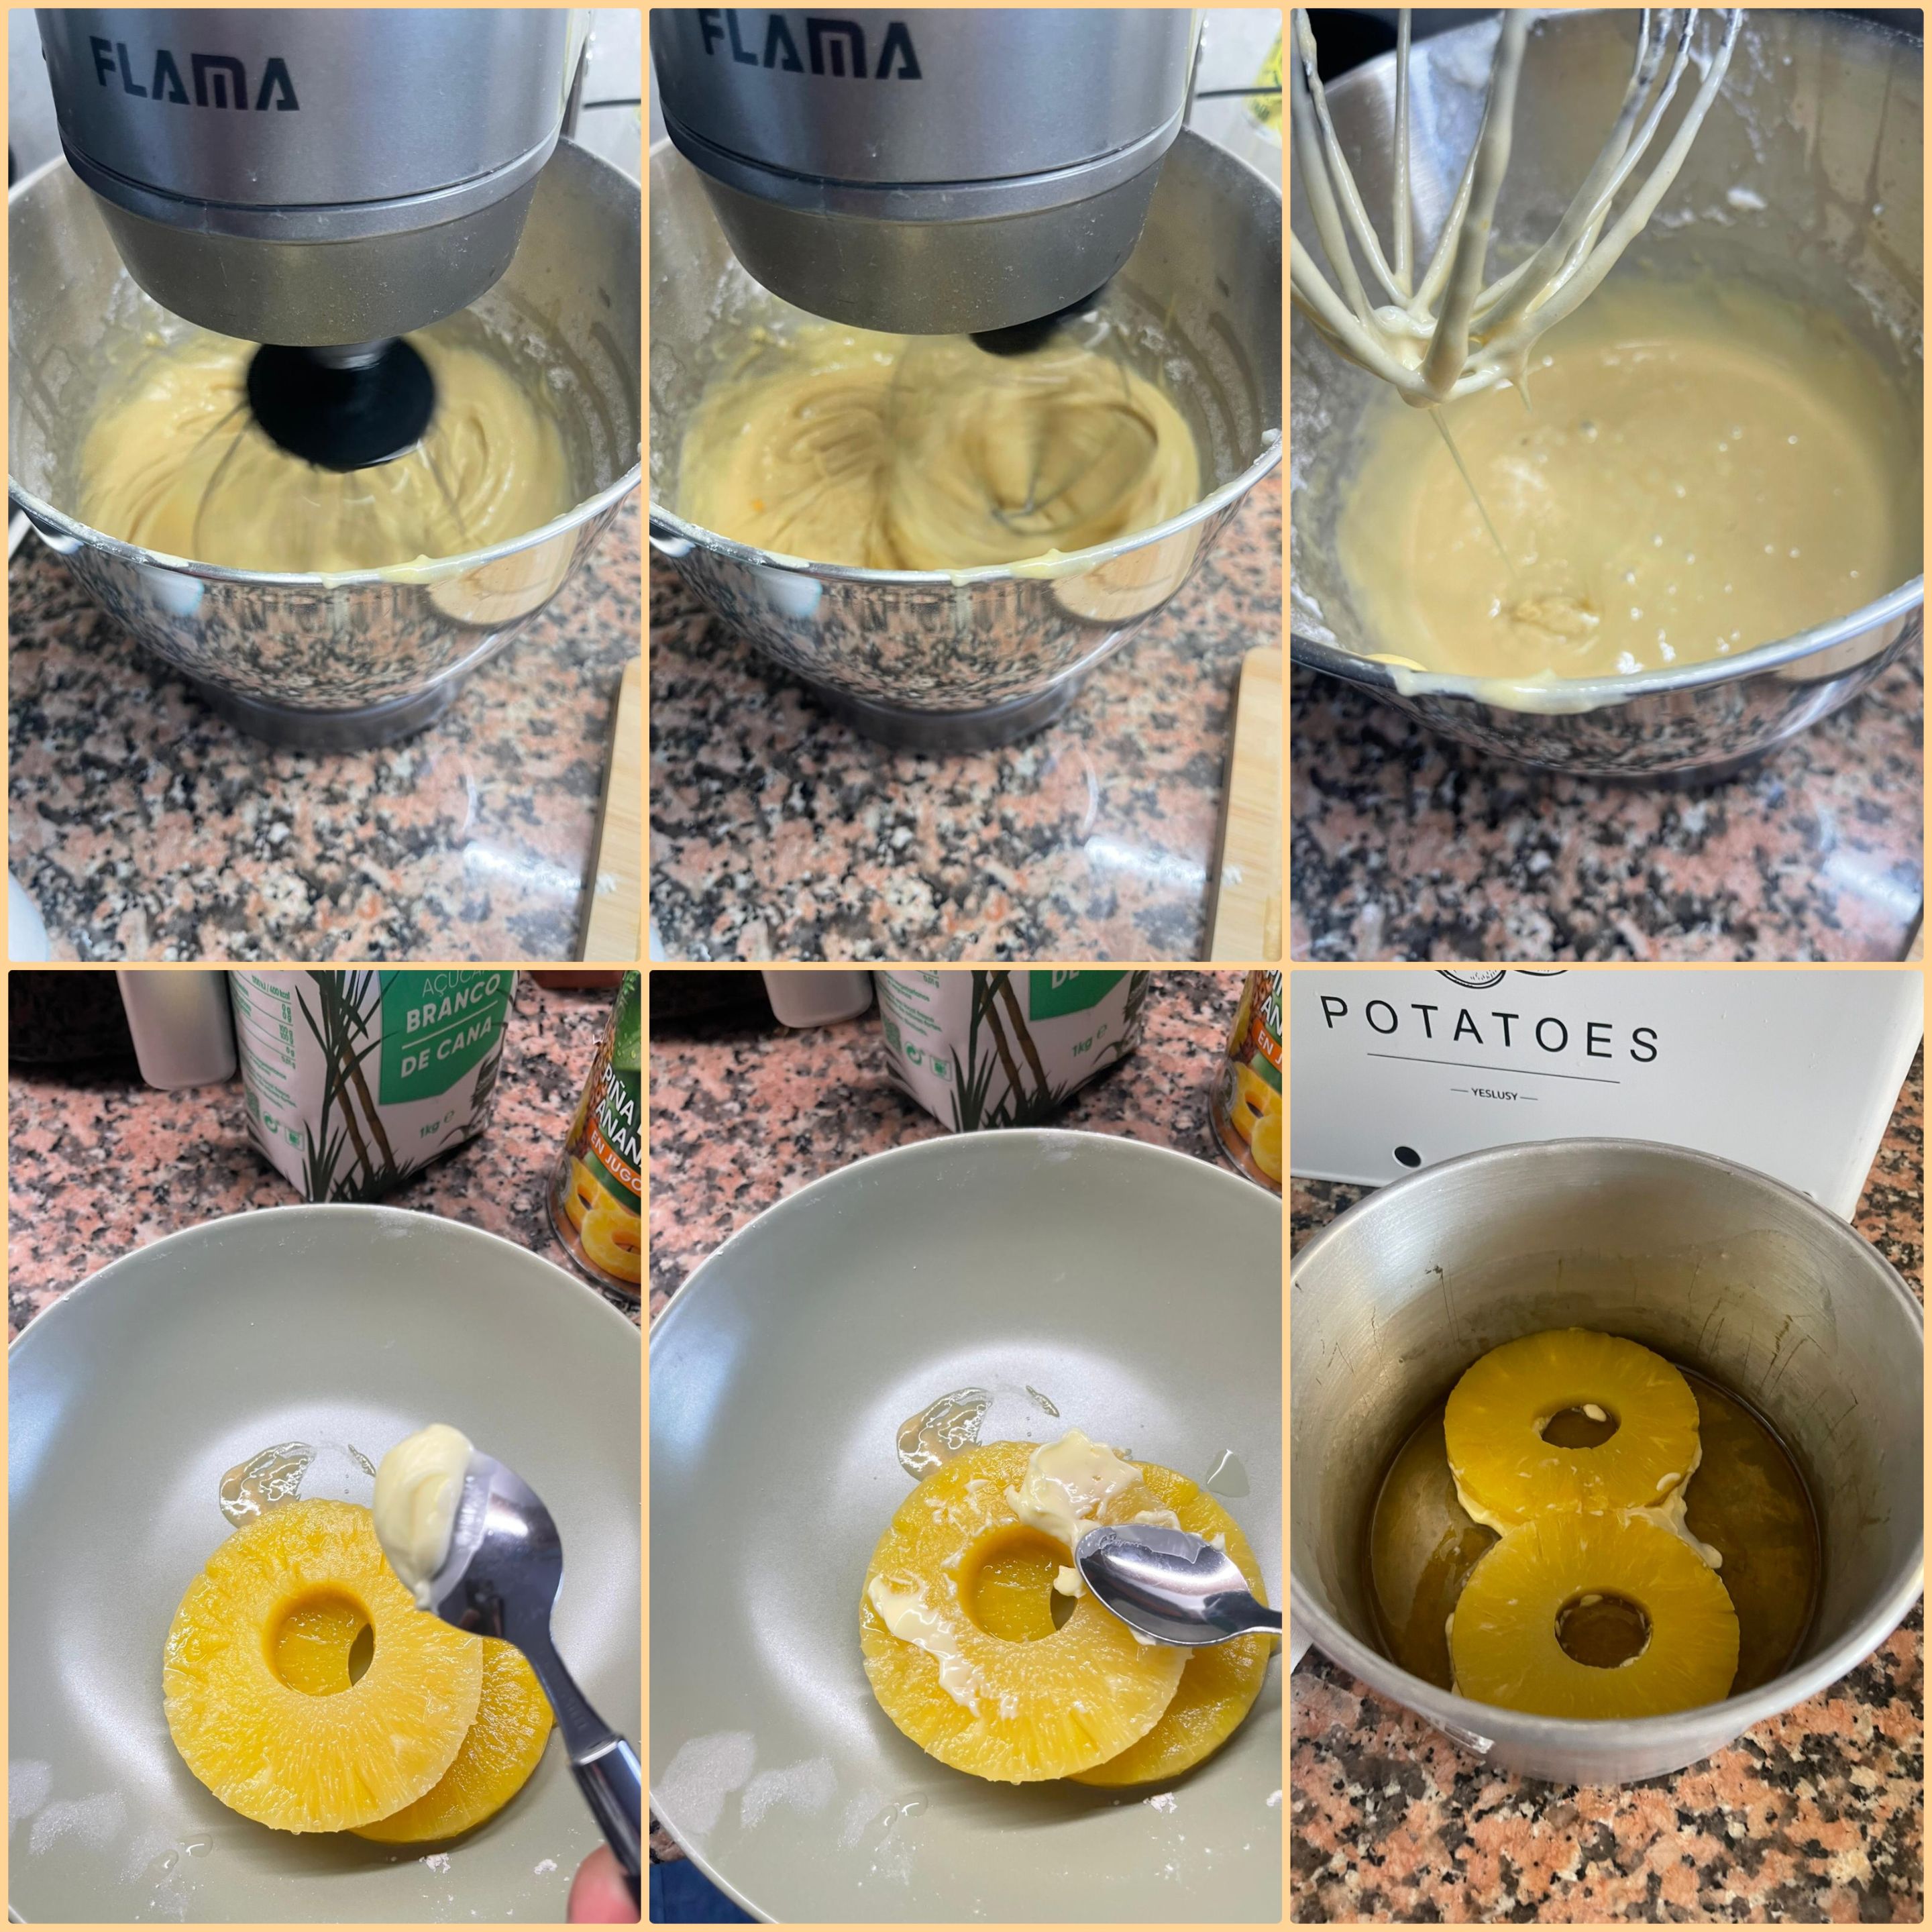
Third step: In a separate bowl we will add the gem with the rest of the sugar and butter and vanilla essence. We will mix all the ingredients in a mixer until they are well integrated. Finally, we will sift the flour, add the egg whites and mix until they are well integrated, and our cake will be ready to put it in the oven.
-
Fourth step: Before adding the mixture, we are going to place the buttered pineapple slices at the bottom of the pan. This will prevent the slices from sticking and burning. Then we will carefully add the mixture, we will let our cake bake for 40 minutes-1 h with heat up and down. After it is baked, let it cool for 15 minutes and proceed to unmold it on a plate and that's it, you can enjoy this delicious dessert.
ESP
-
Primer paso: Lo primero que necesitamos hacer es el caramelo para el pastel que será la base. Para el caramelo agregaremos el azúcar blanco a fuego bajo, y agregaremos un poco del zumo de piña, hasta que cubra el azúcar y mezclaremos ambos ingredientes y dejaremos cocinar hasta que el caramelo cambie de color y su consistencia sea un poco más espesa como podemos apreciar en las fotos, por último lo agregaremos al molde donde hornearemos el pastel y lo esparciremos por todos los espacios.
-
Segundo paso: Es momento de preparar el bizcocho, para eso separaremos la clara del huevo y la yema en dos recipientes diferentes. En una batidora haremos que la clara hasta que aumentó su tamaño, mientras agregamos la mitad del azúcar a los pocos, hasta que tengamos una consistencia esponjosa.
-
Tercer paso: En un recipiente separado agregaremos la gema con el resto del azúcar y mantequilla y esencia de vainilla. Mezclaremos todos los ingredientes en una batidora hasta que estén bien integrados. Por último, tamizaremos la harina, agregaremos las claras y mezclaremos hasta que estén bien integrados, y nuestro bizcocho estará listo para colocarlo en el horno.
-
Cuarto paso: Antes de agregar la mezcla, vamos a colocar las rodajas de piña con mantequilla al fondo del molde. Esto evitará que las rodajas no se peguen y quemen. Después agregaremos con cuidado la mezcla, dejaremos hornear nuestro pastel por 40 minutos-1 h con calor arriba y abajo. Después de que esté horneado, dejaremos enfriar por 15 minutos y procederemos a desmoldarlo en un plato y listo, ya puedes disfrutar de este delicioso postre.