**
ESPAÑOL
**
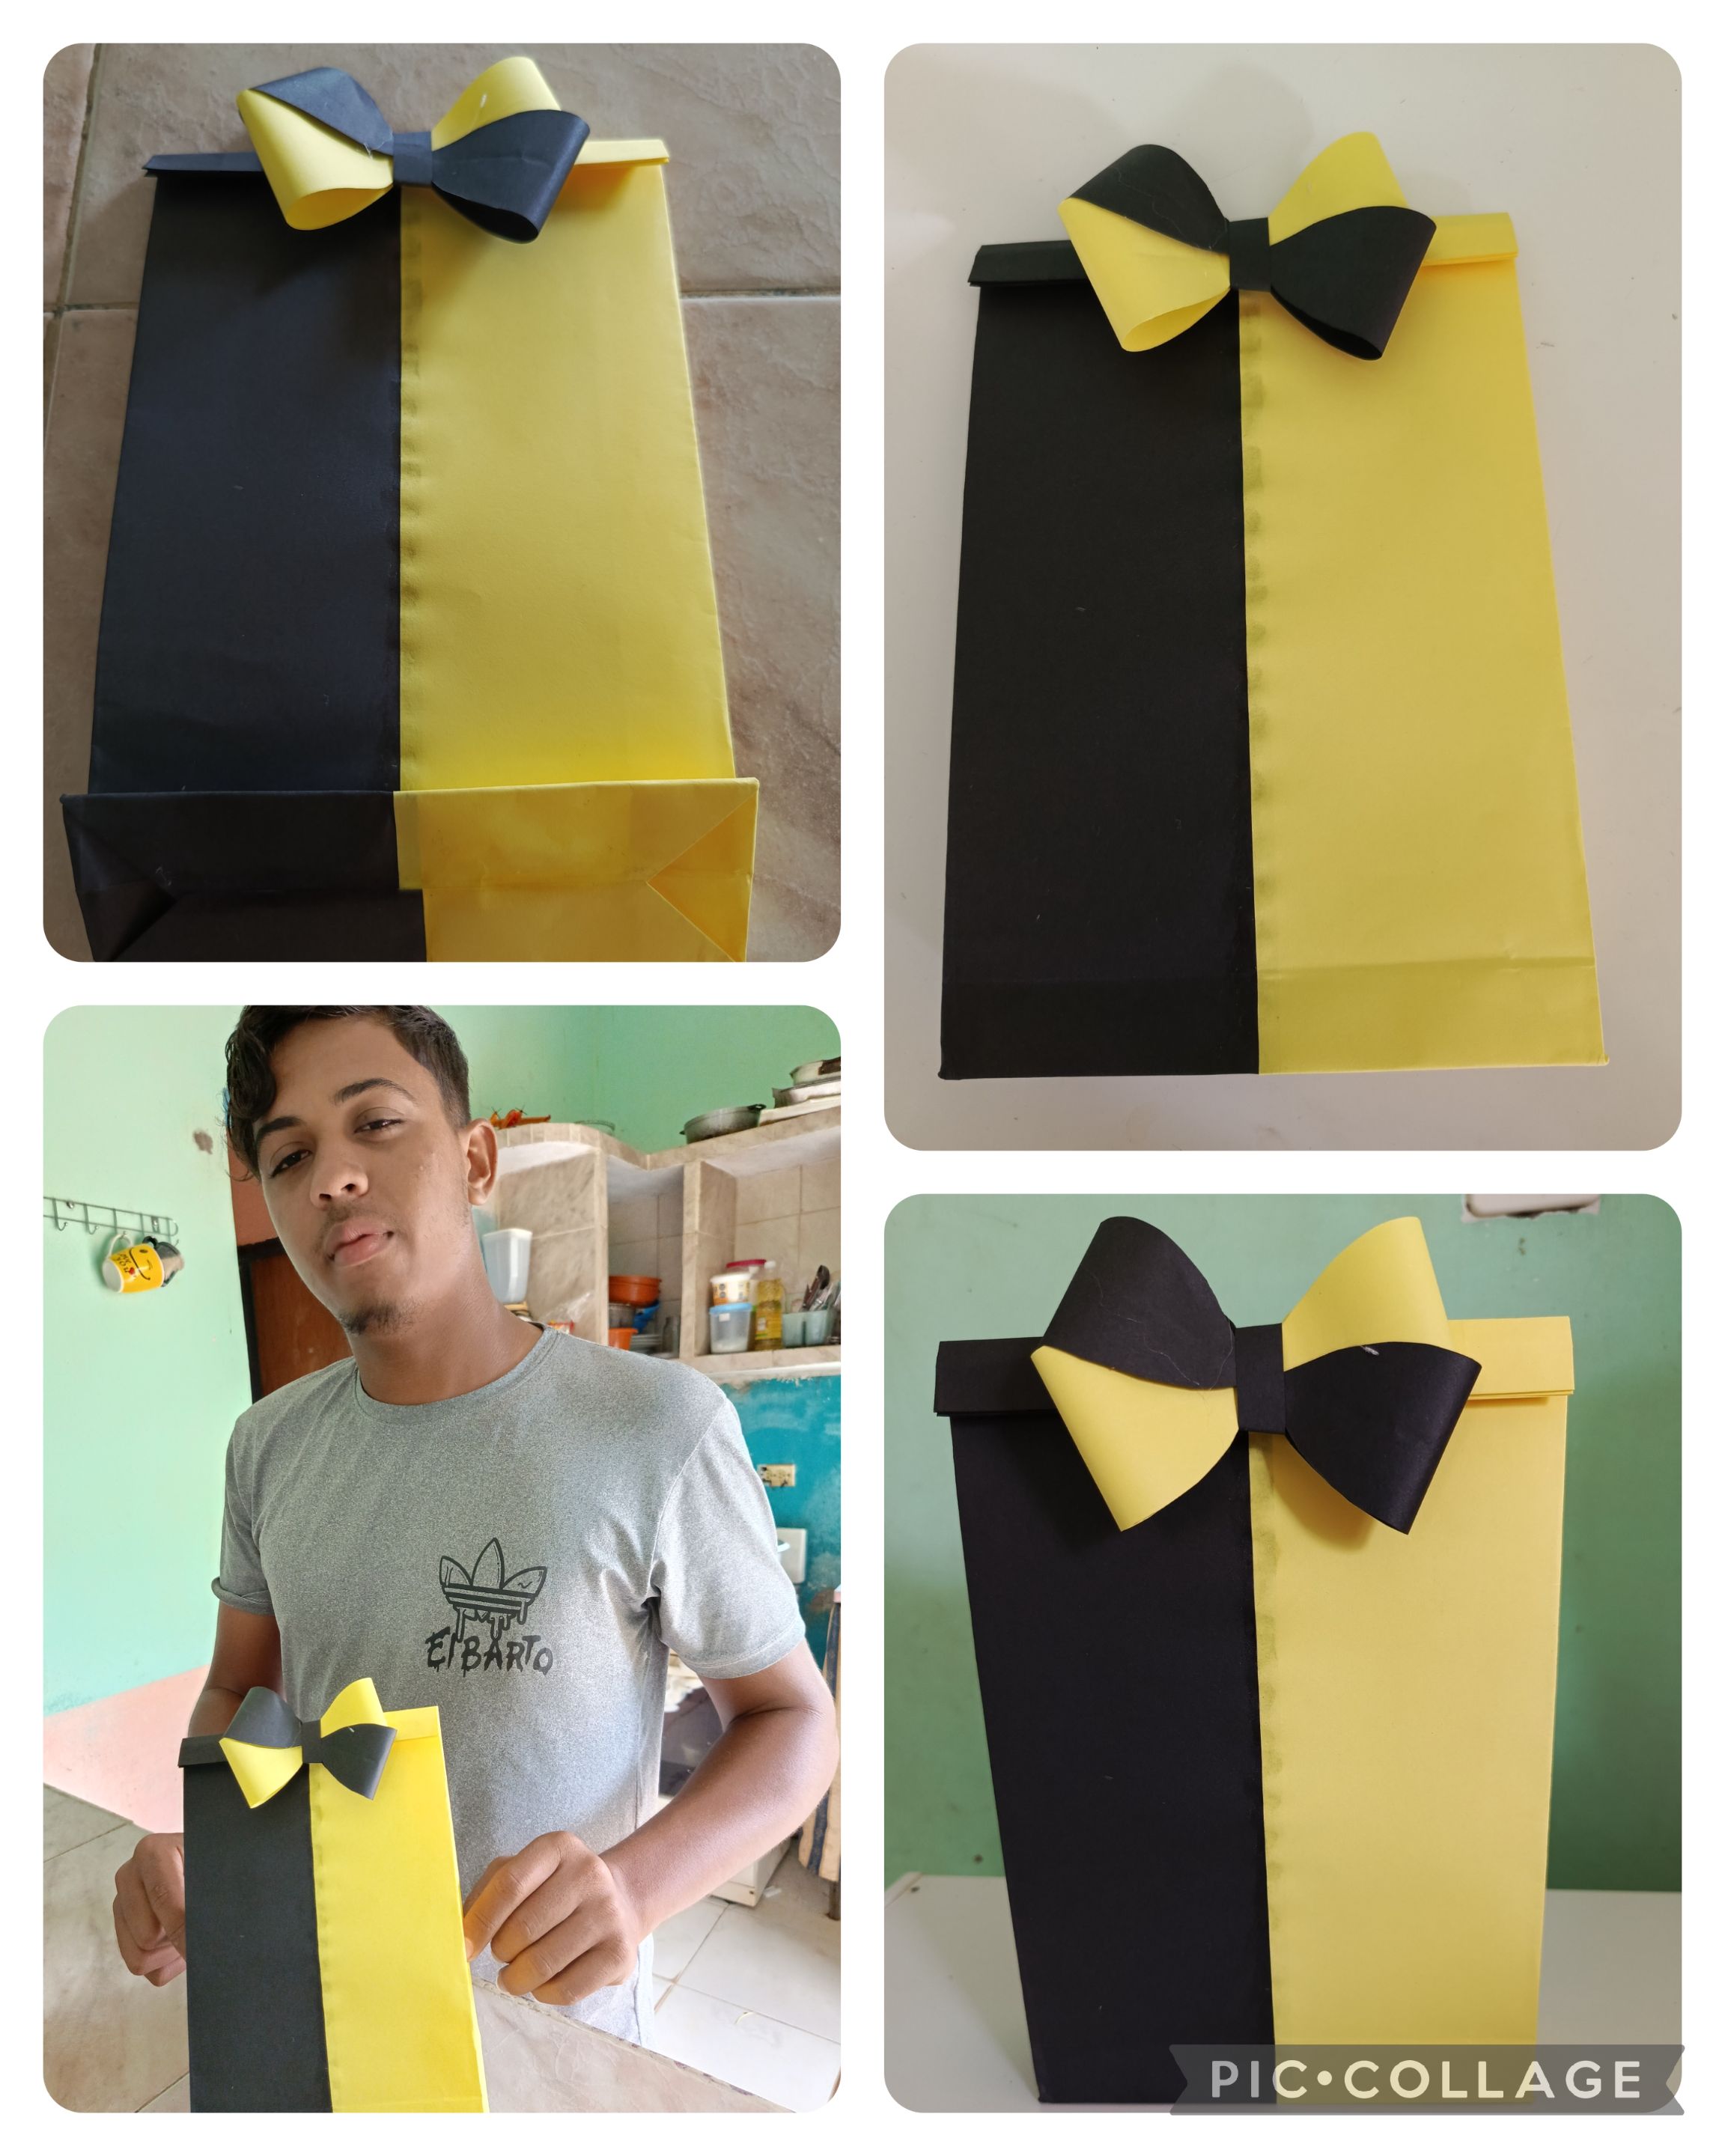
Hola qué tal amigos, espero la estén pasando genial! paso por acá para hacer mi entrada al concurso de este mes en esta comunidad, es la primera vez que participo en un concurso, de verdad la temática me llamó bastante la atención y decidí hacer mi entrada siguiendo la secuencia de las manualidades que he estado realizando últimamente; se tratan de bolsas y cajitas de regalo.
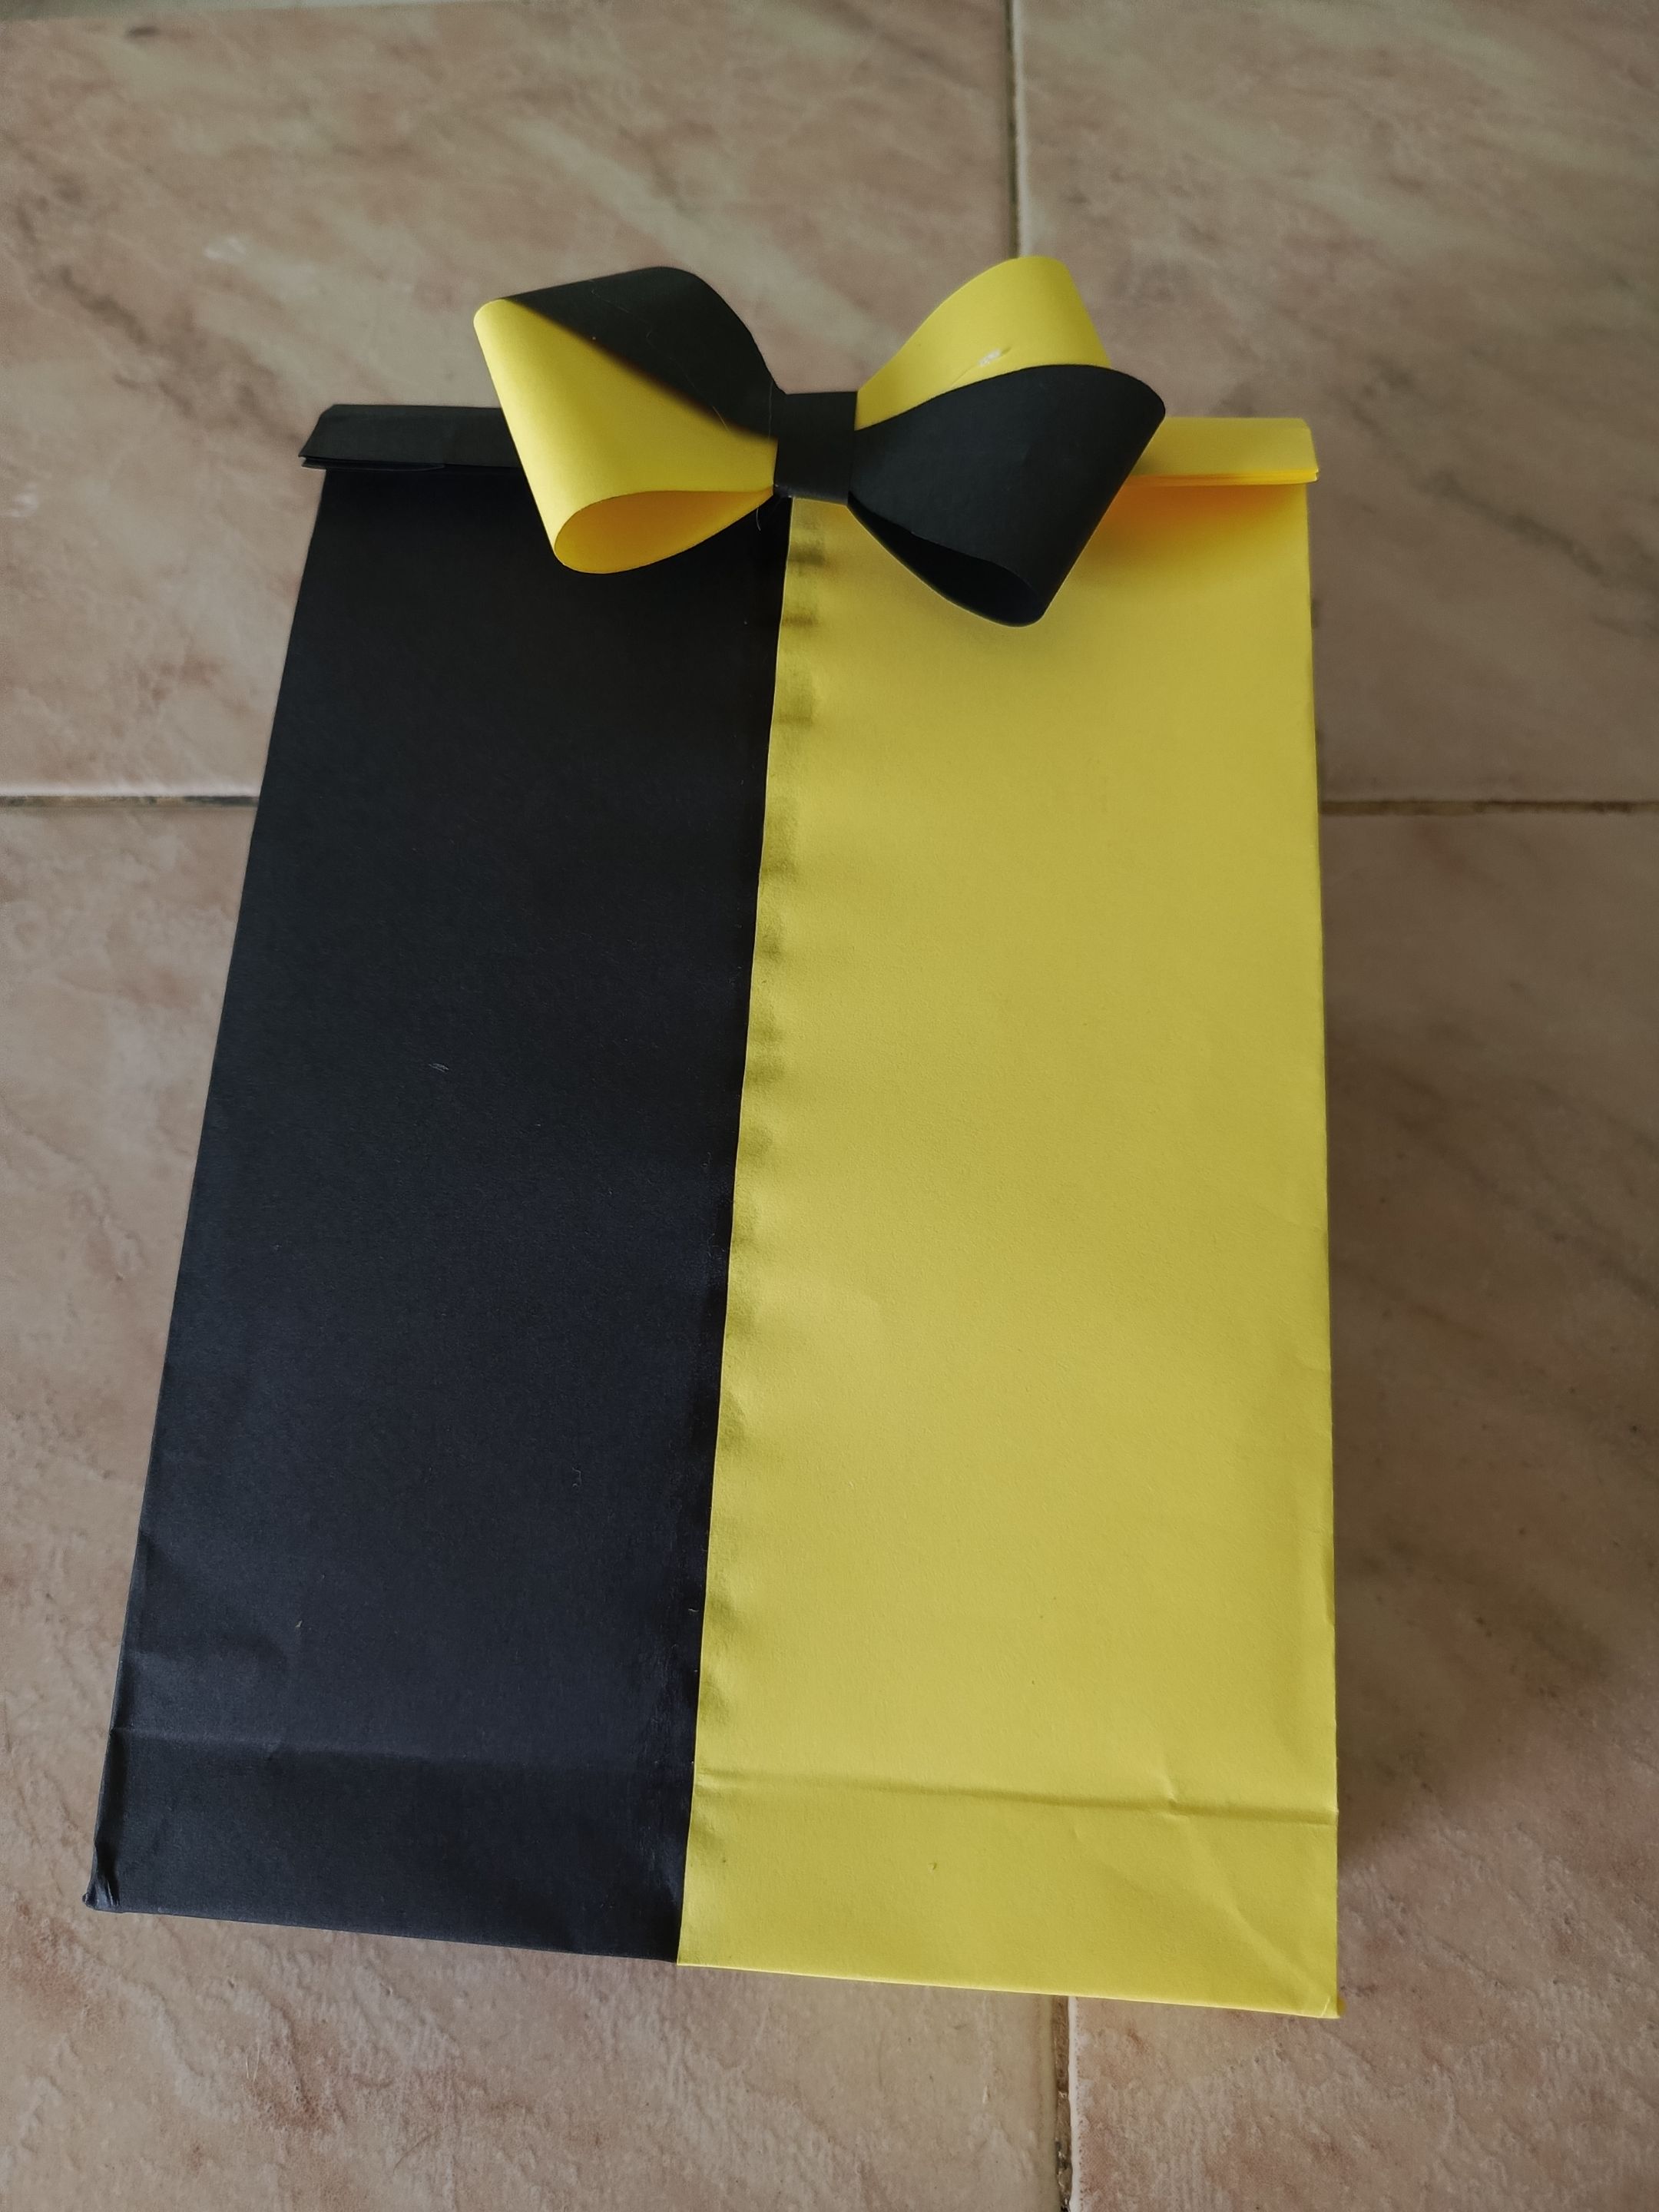
En esta oportunidad inspirado en el color de las abejas decidí realizar una bolsa de regalo bicolor con un lindo lazo como toque decorativo y, esta es mi entrada al concurso de las abejas de @diyhub, les muestro cómo se realiza esta bolsa de forma fácil y rápida
**
ENGLISH
**
Hello friends, I hope you are having a great time! I'm coming by to make my entry to this month's contest in this community, it's the first time I participate in a contest, the theme really caught my attention and I decided to make my entry following the sequence of the crafts I've been doing lately; they are about gift bags and boxes.
This time inspired by the color of the bees I decided to make a bicolor gift bag with a nice bow as a decorative touch and this is my entry to the @diyhub bees contest, I show you how to make this bag easily and quickly.

---
**MATERIALES**
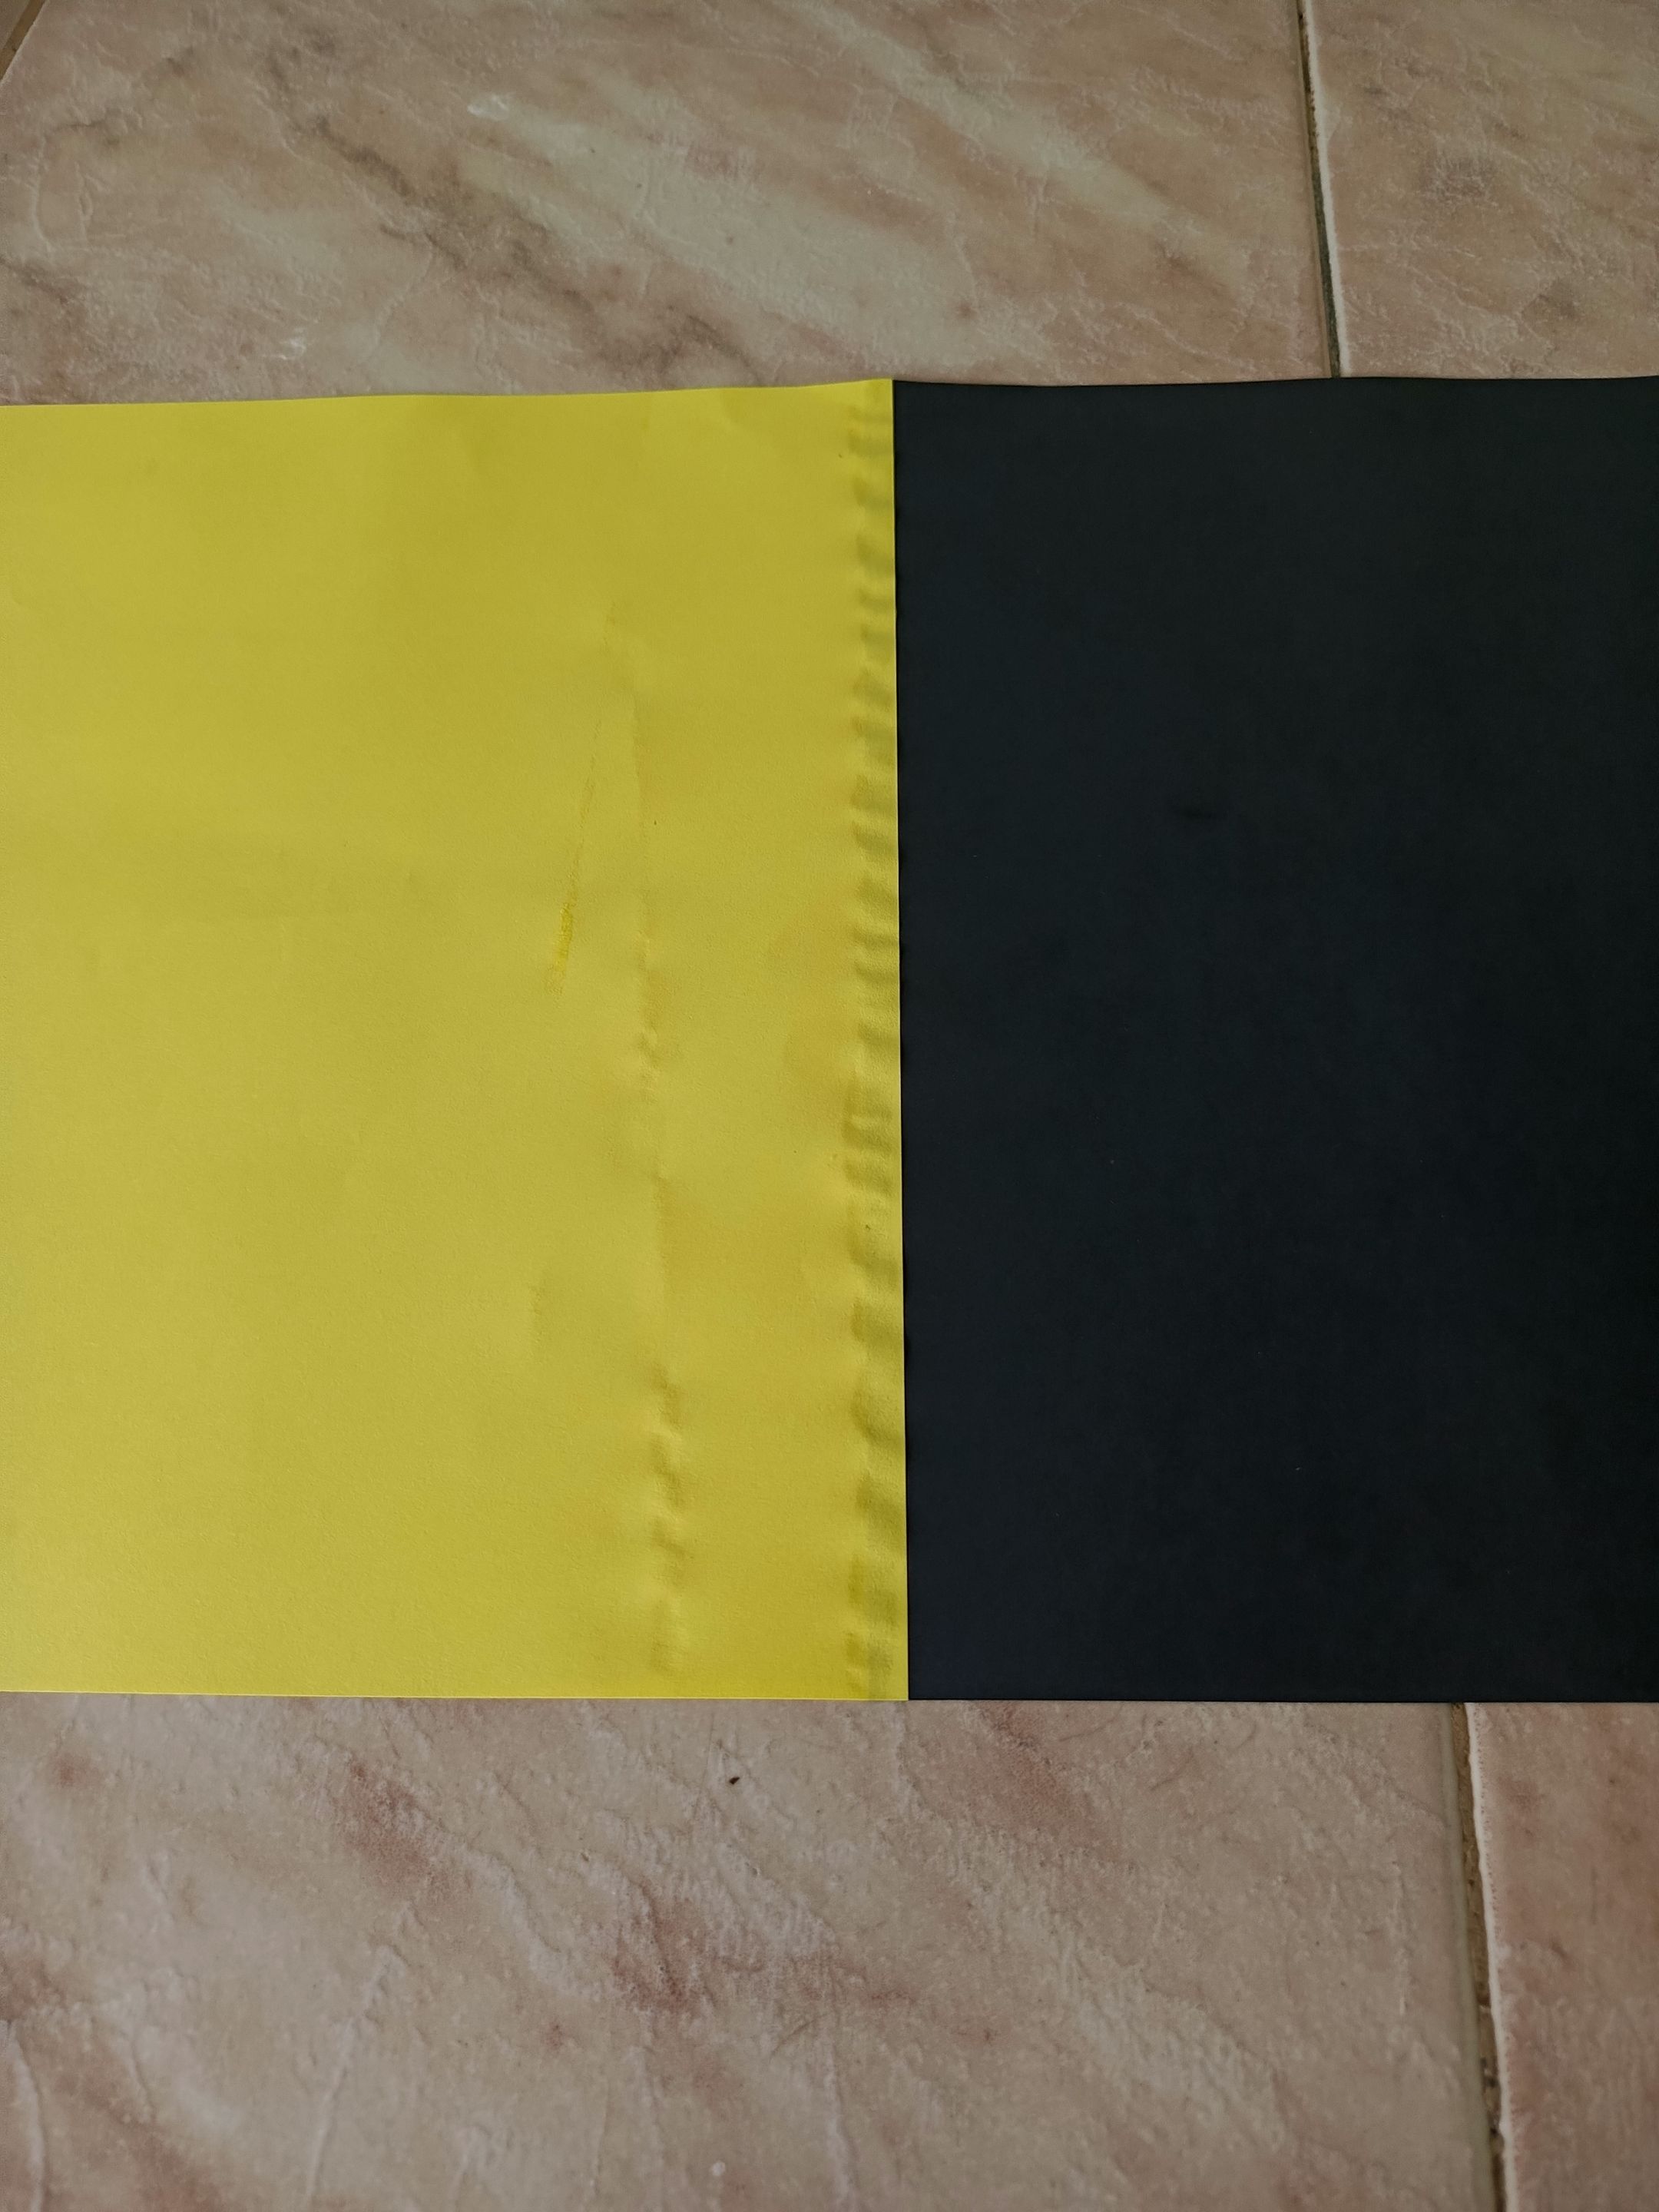
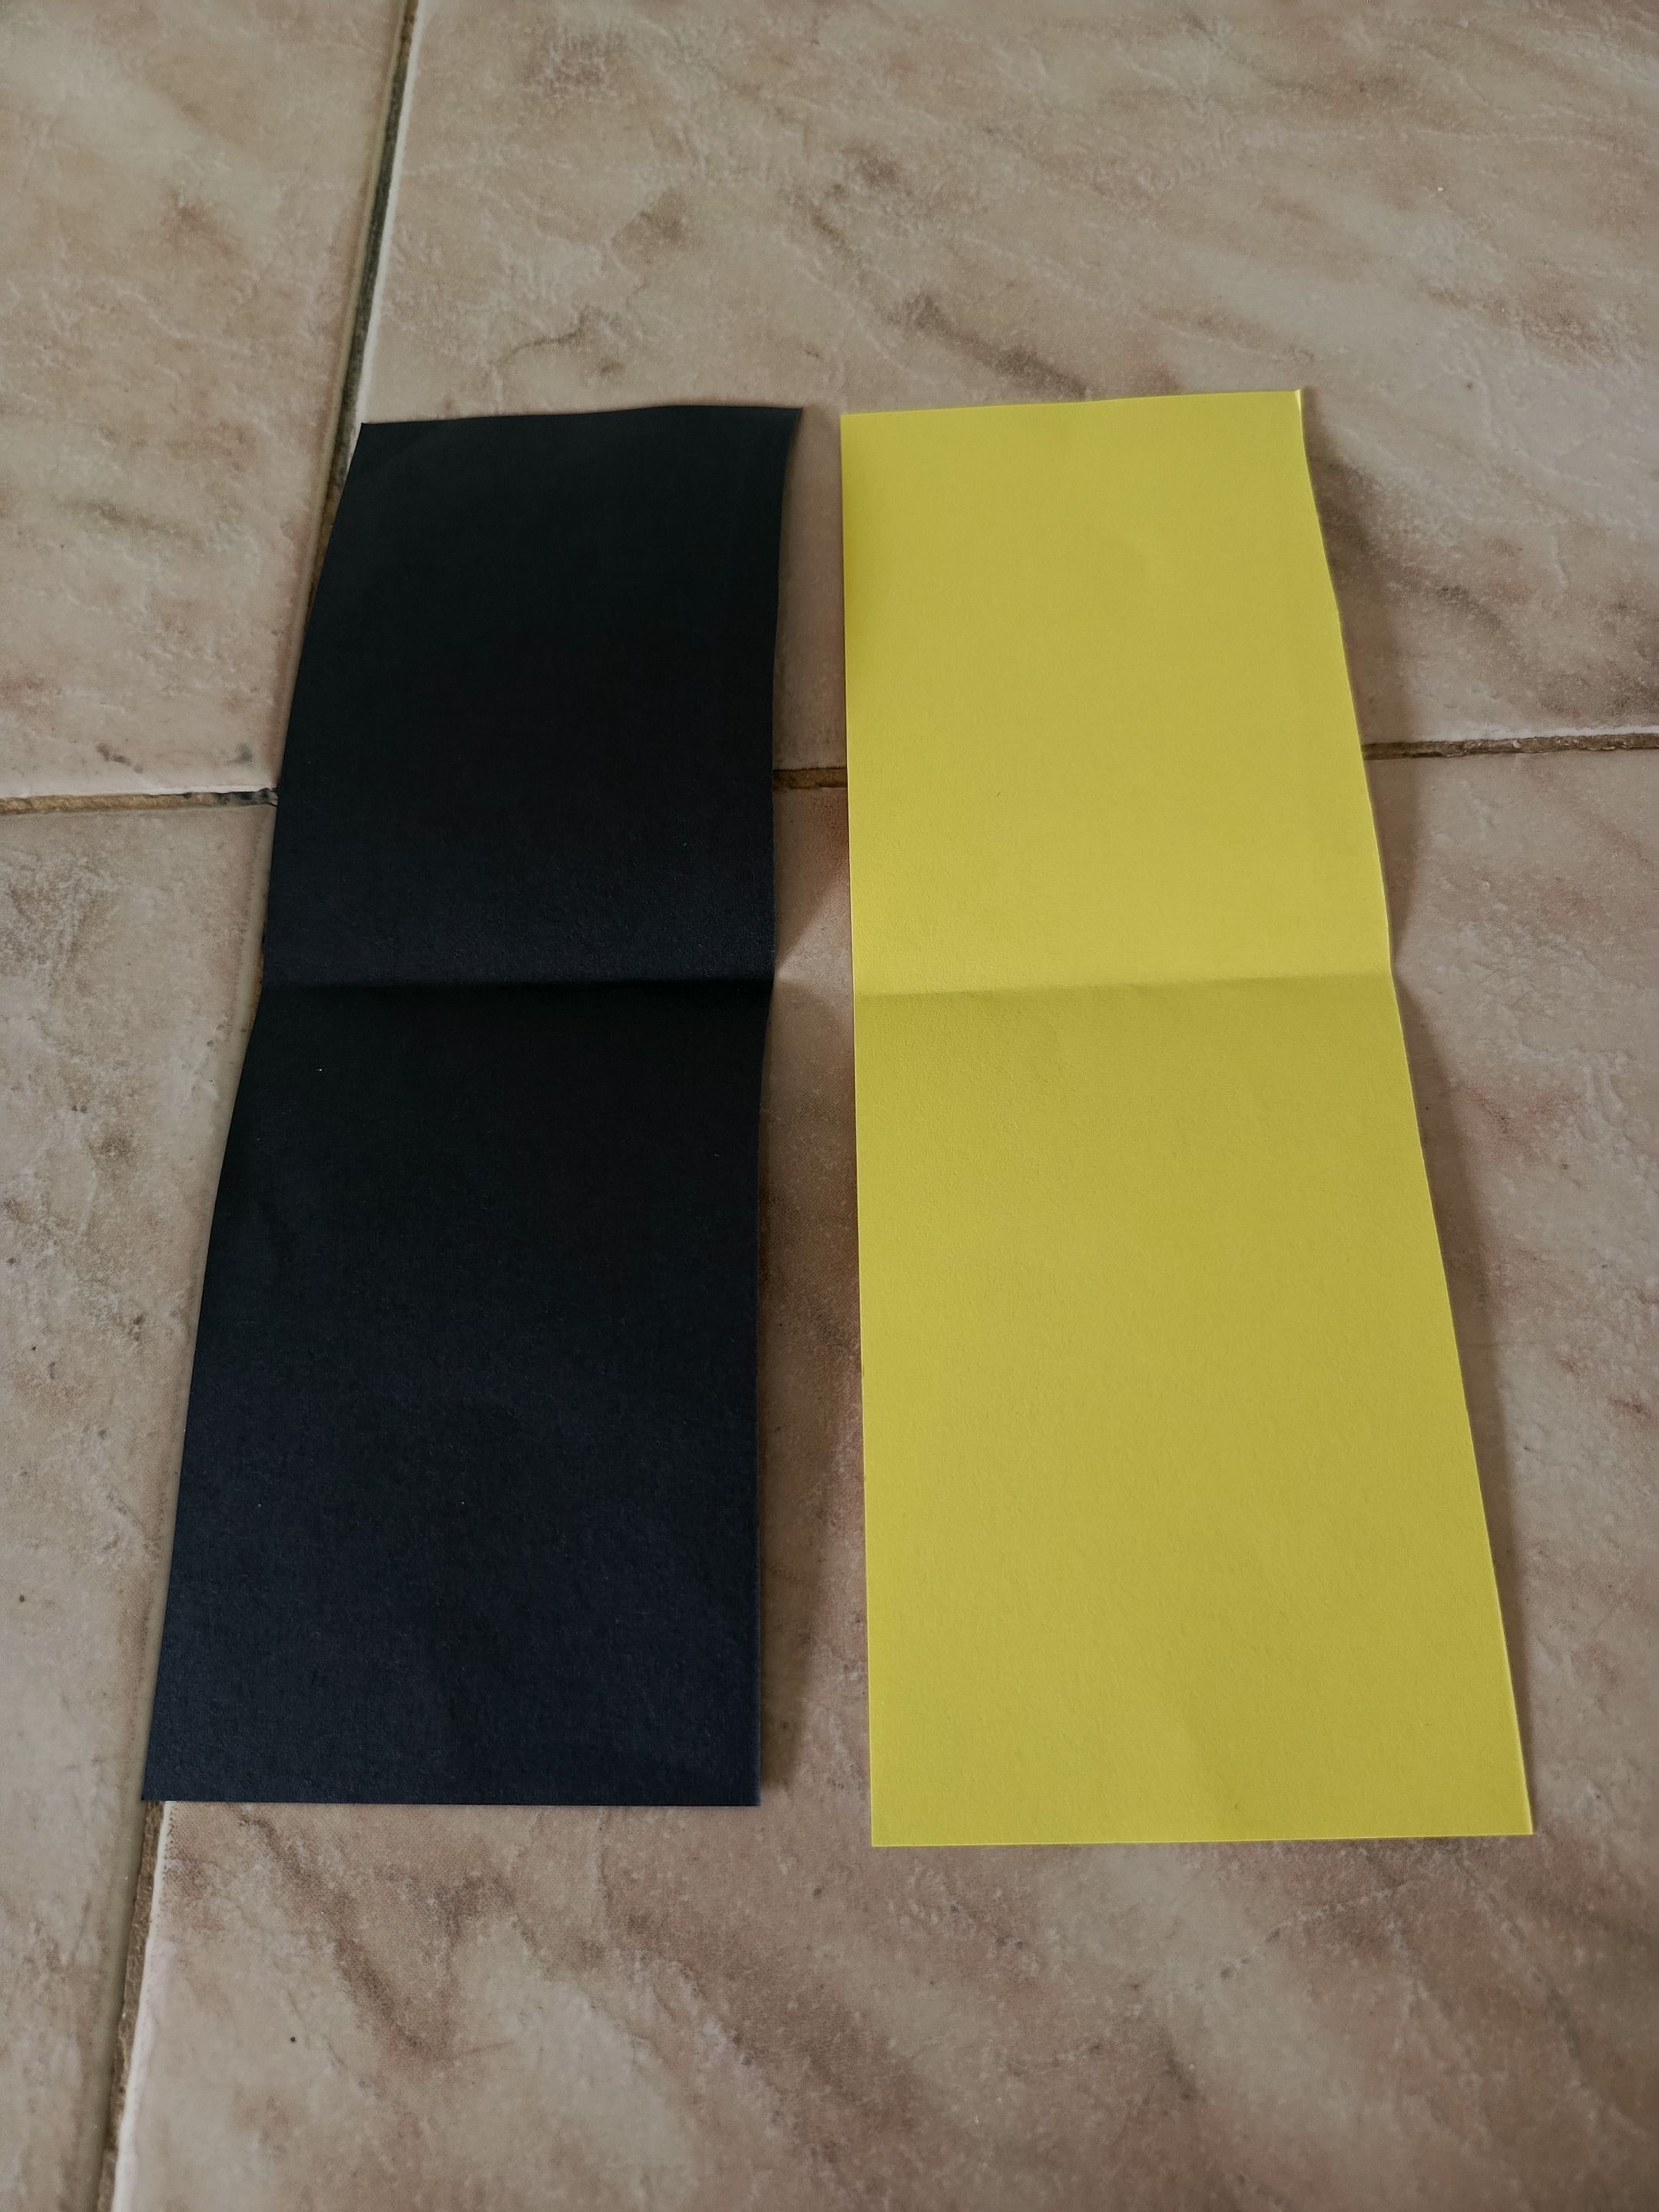
Hojas de papel negro y amarillo
Tijera
Pegamento
**MATERIALS**
Sheets of black and yellow paper
Scissors
Glue

---
**PROCEDIMIENTO**
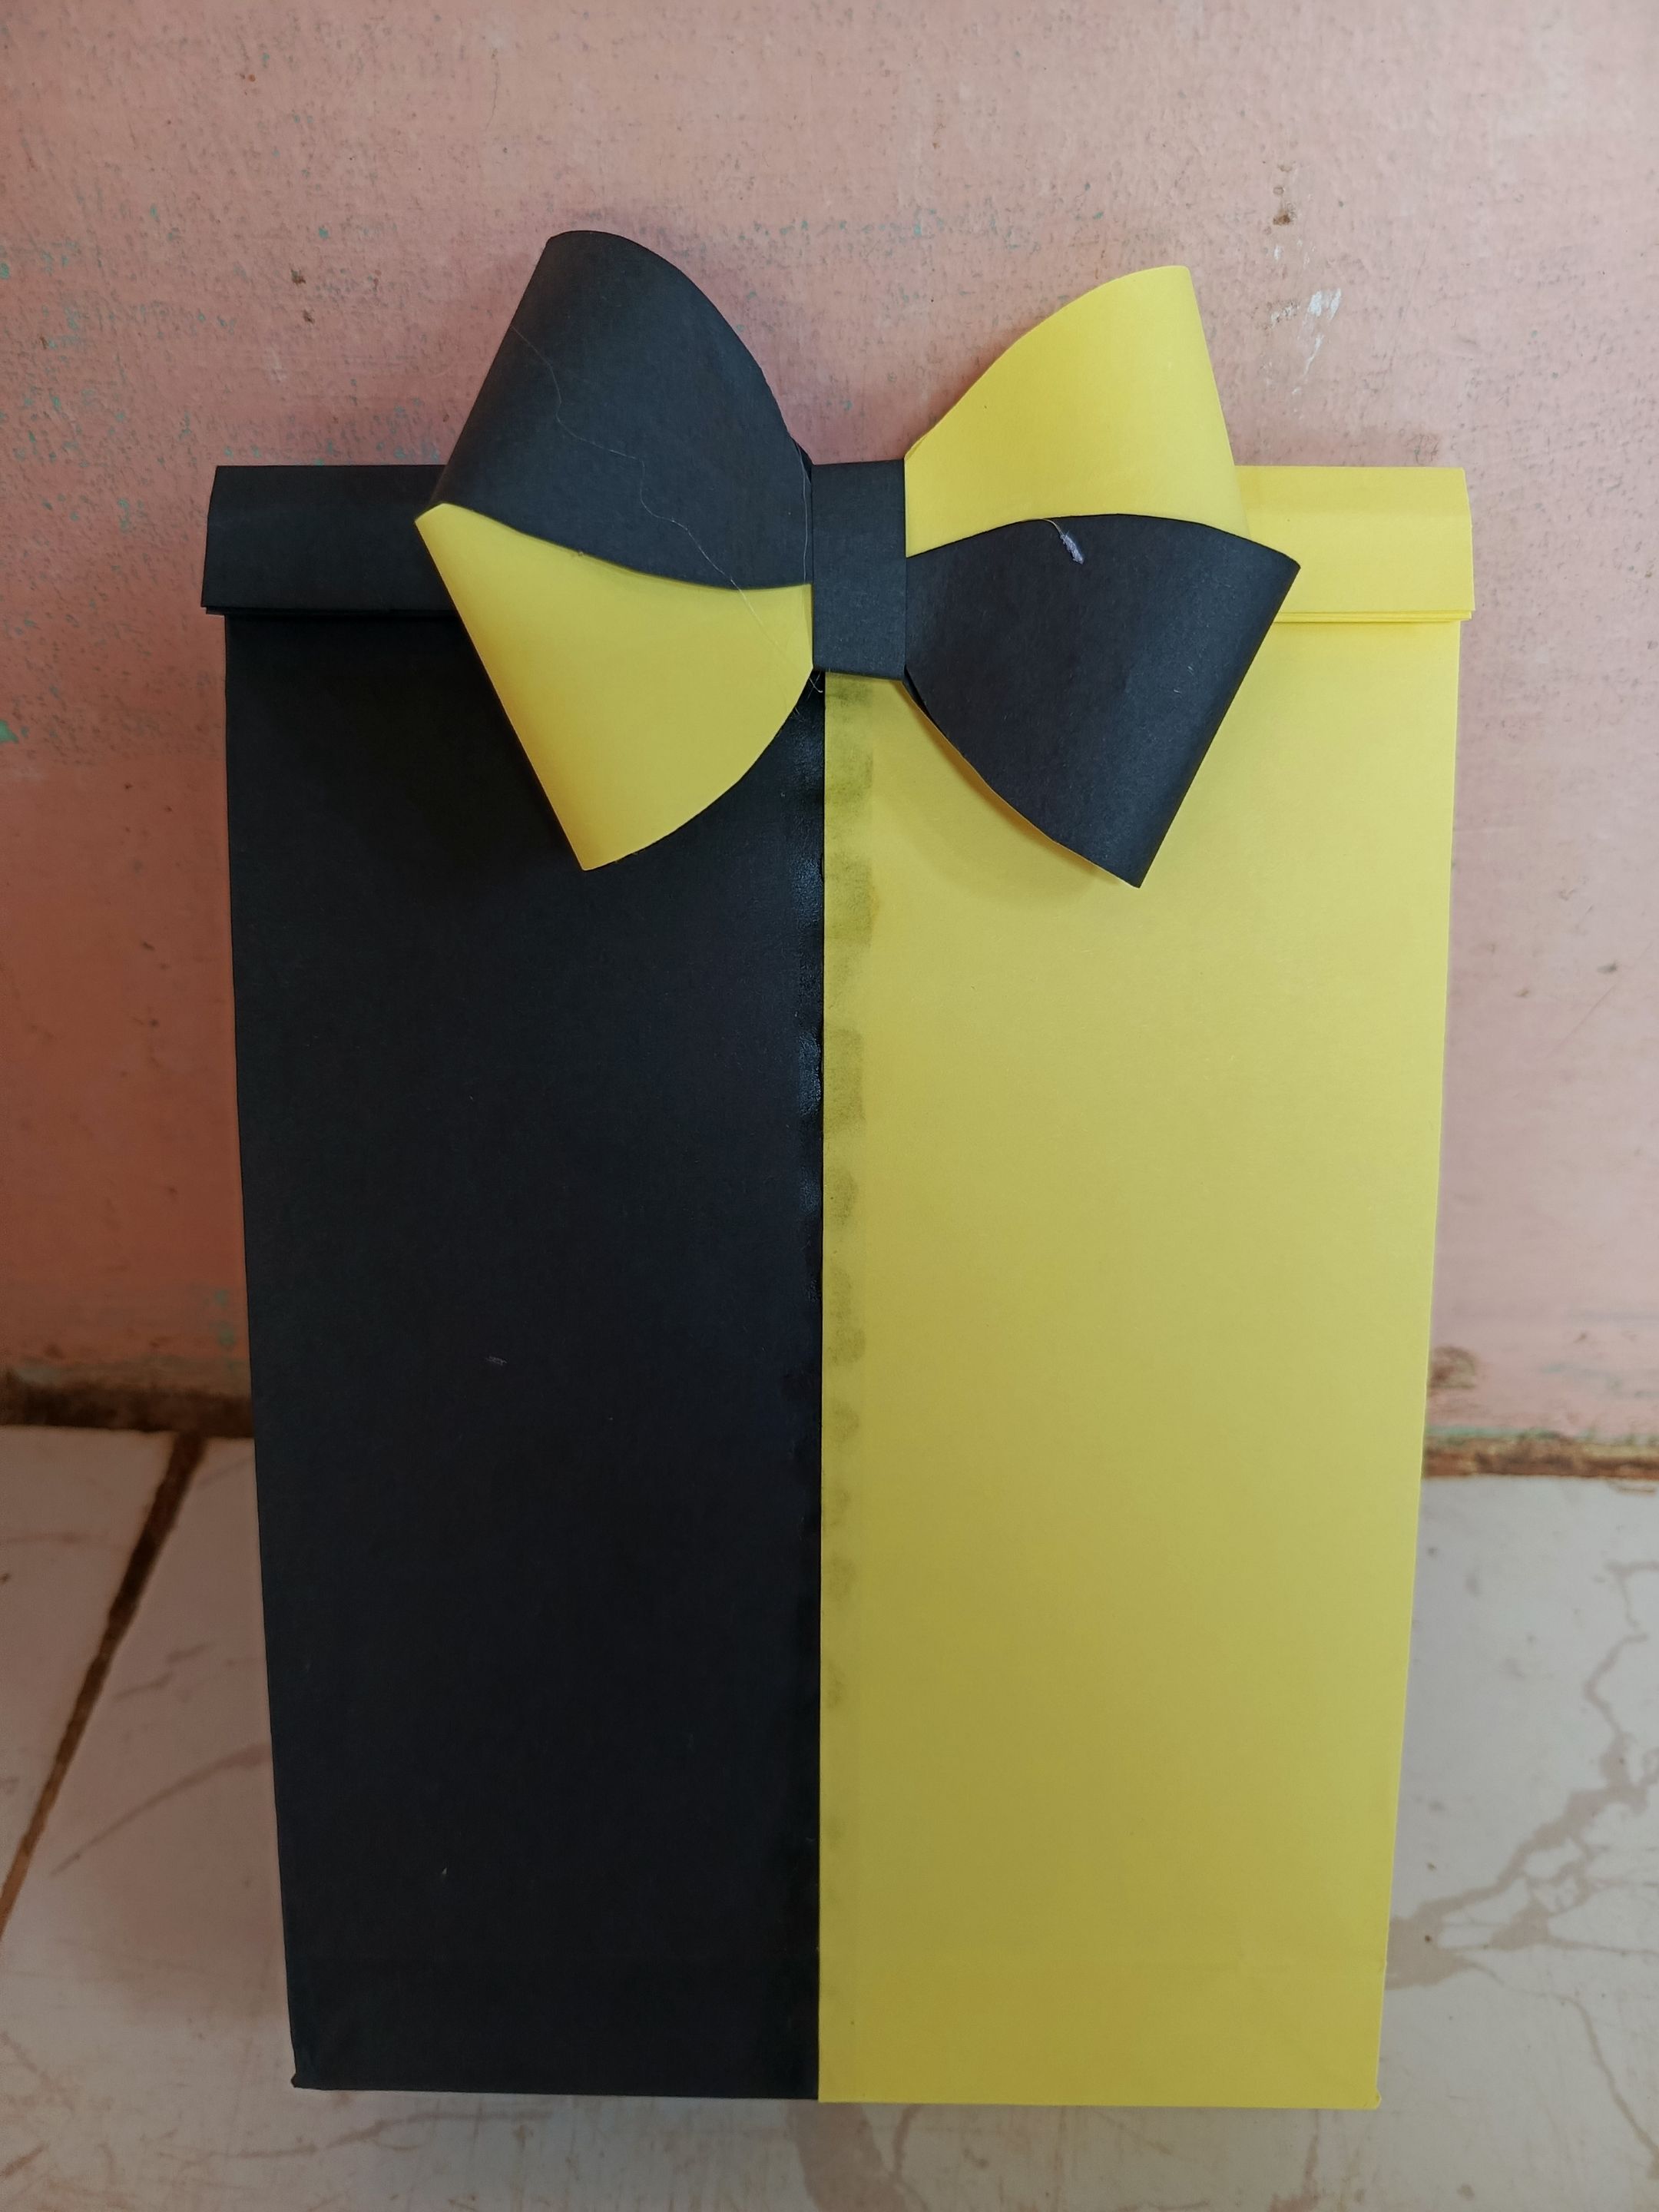
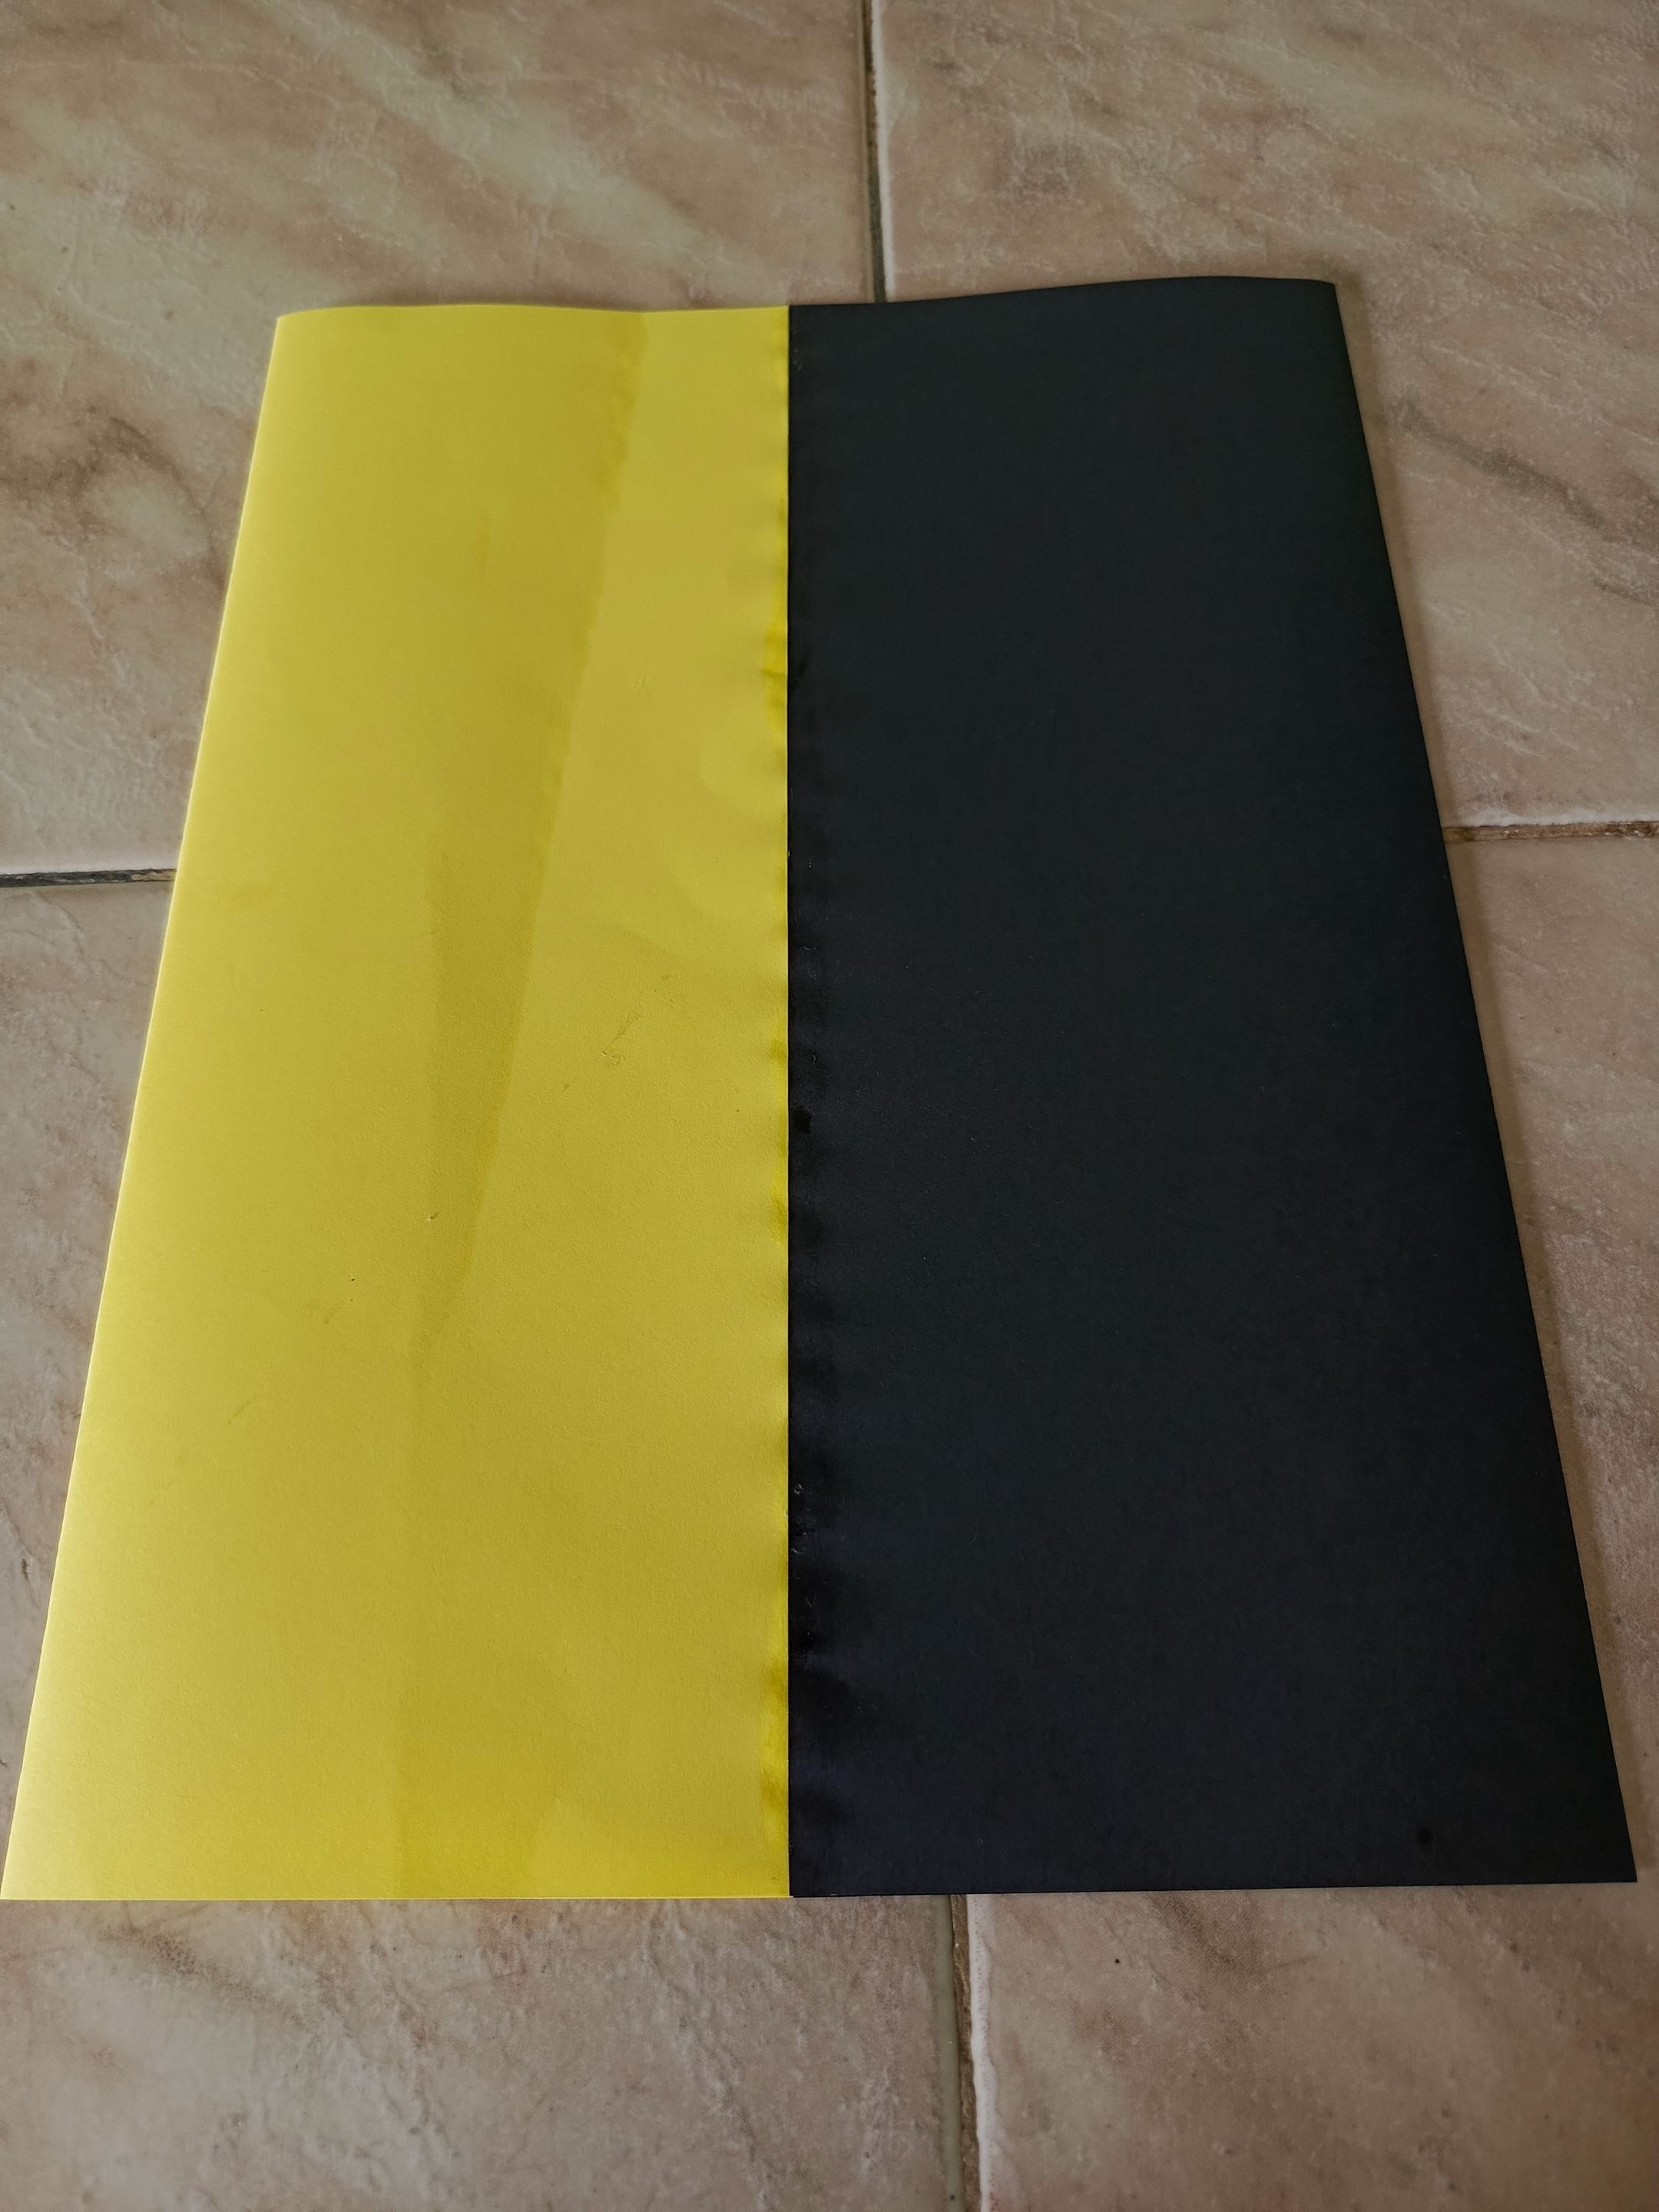
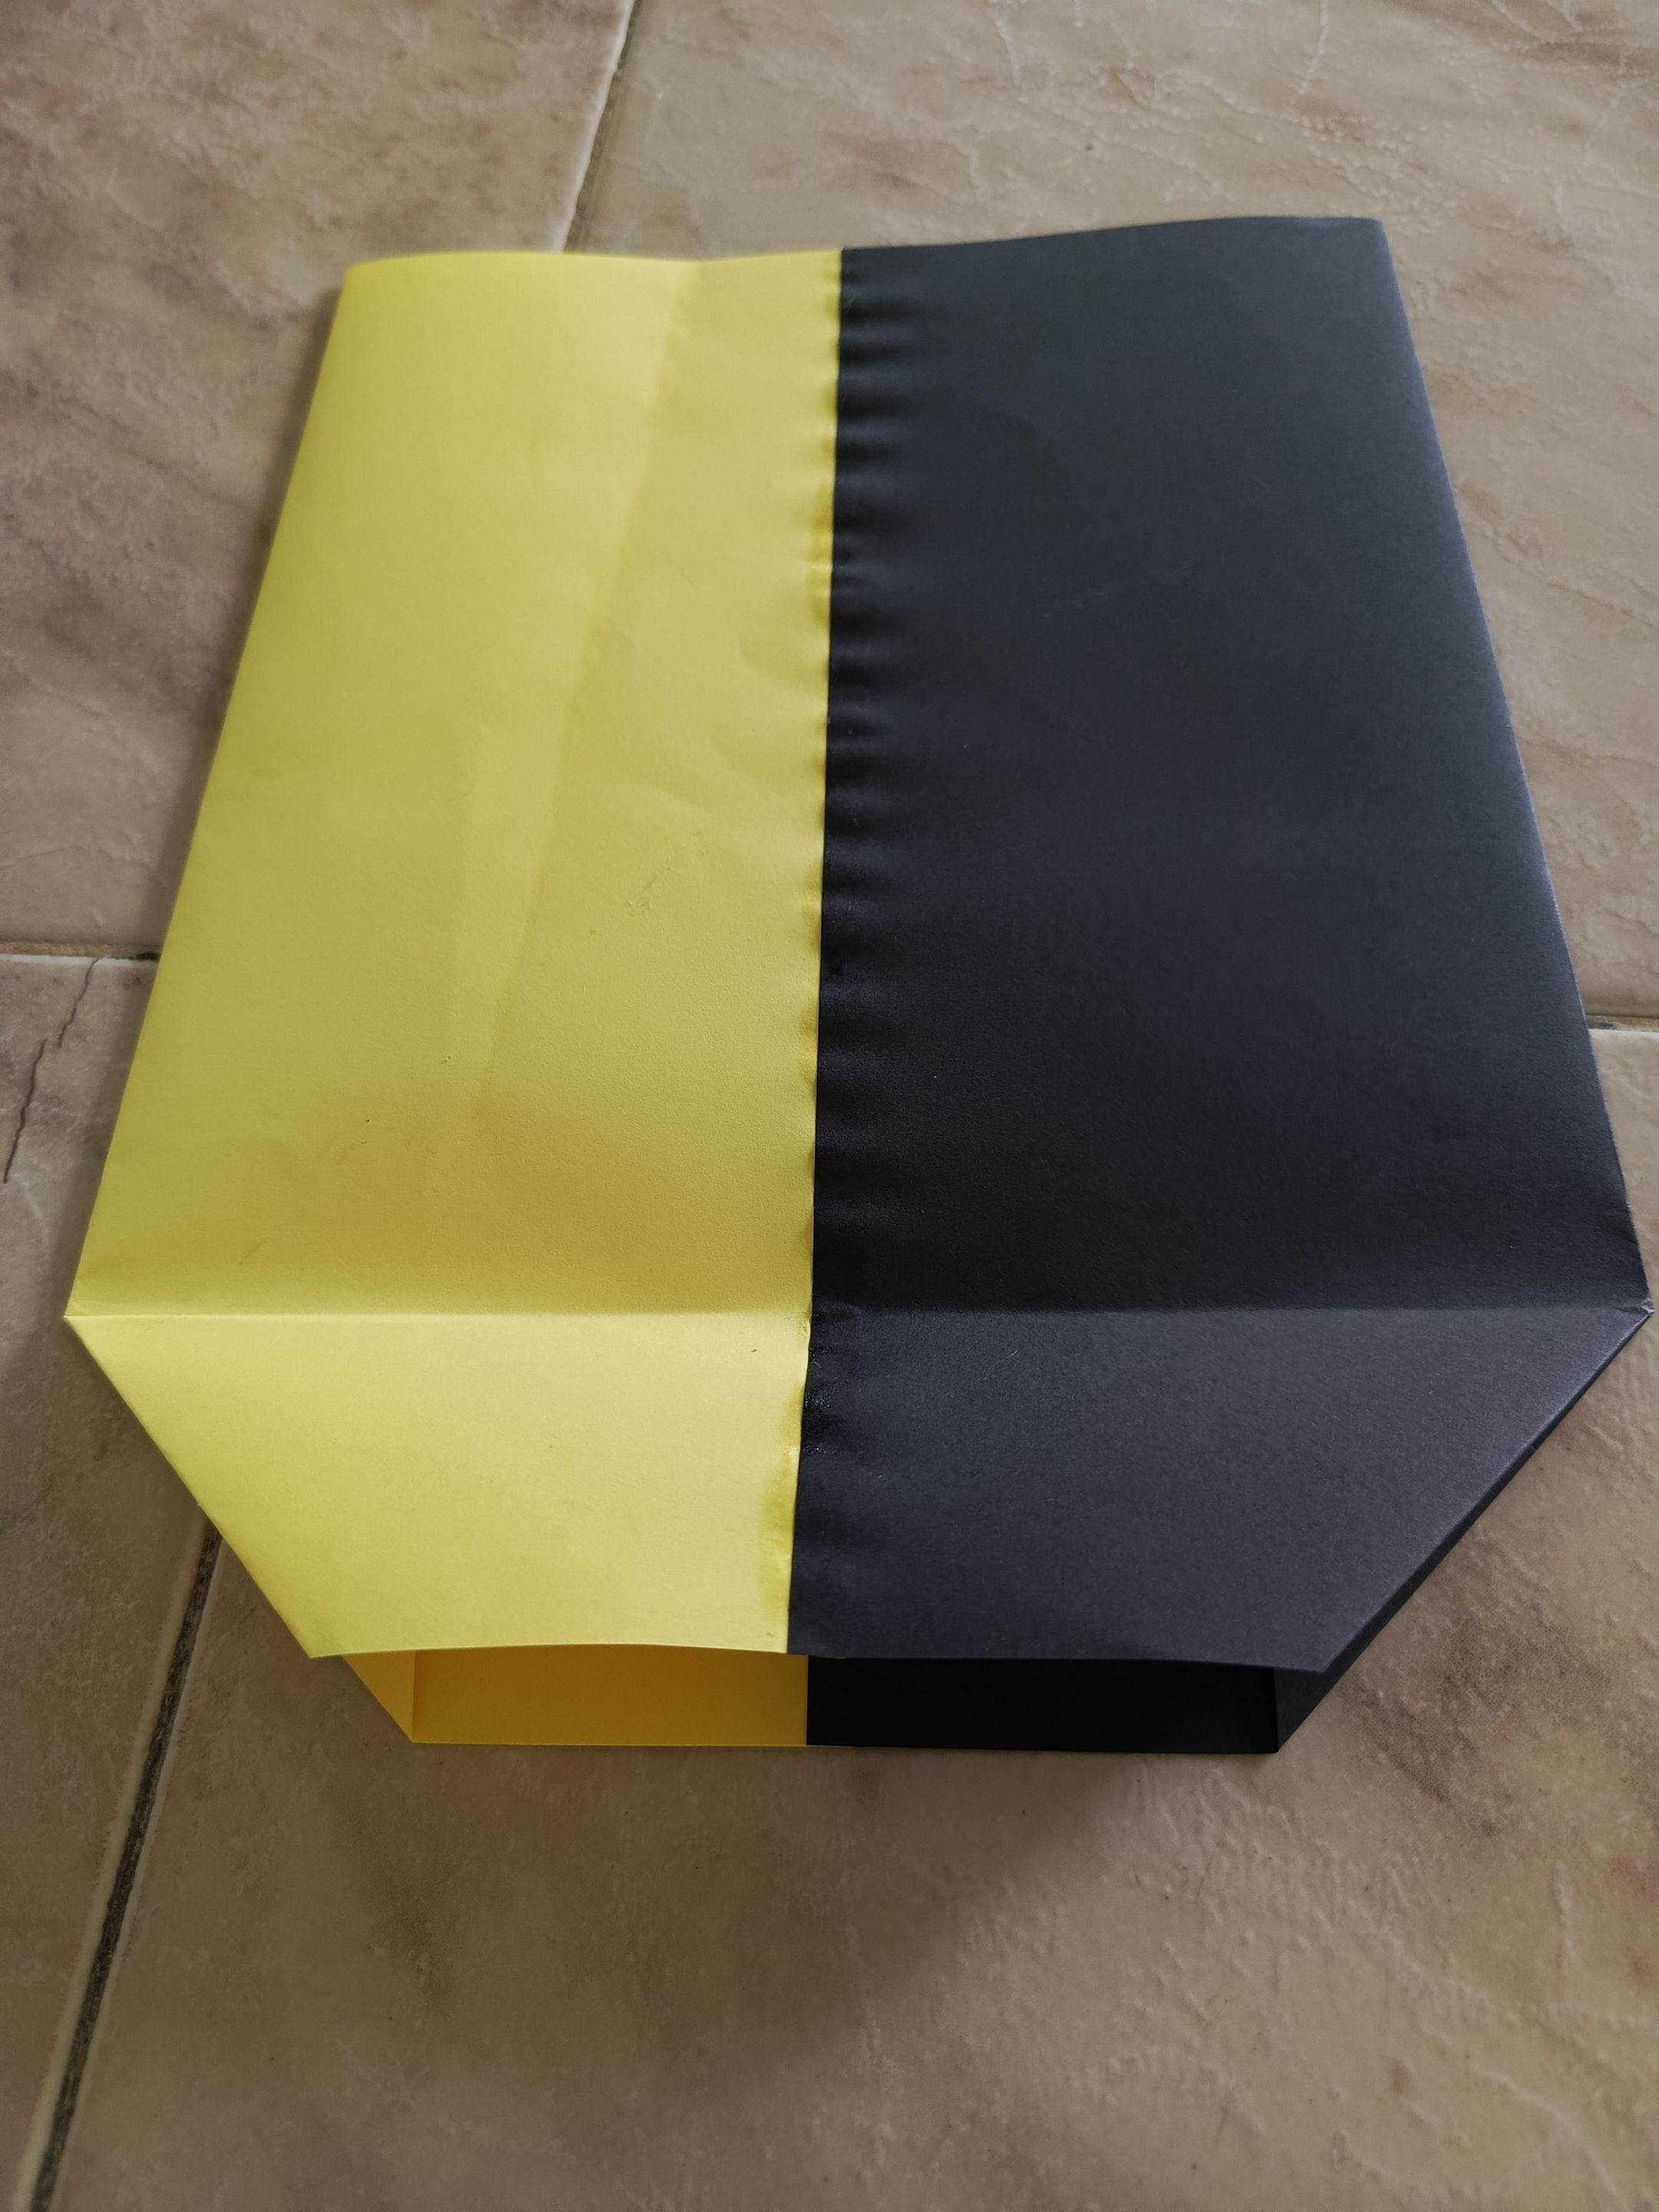
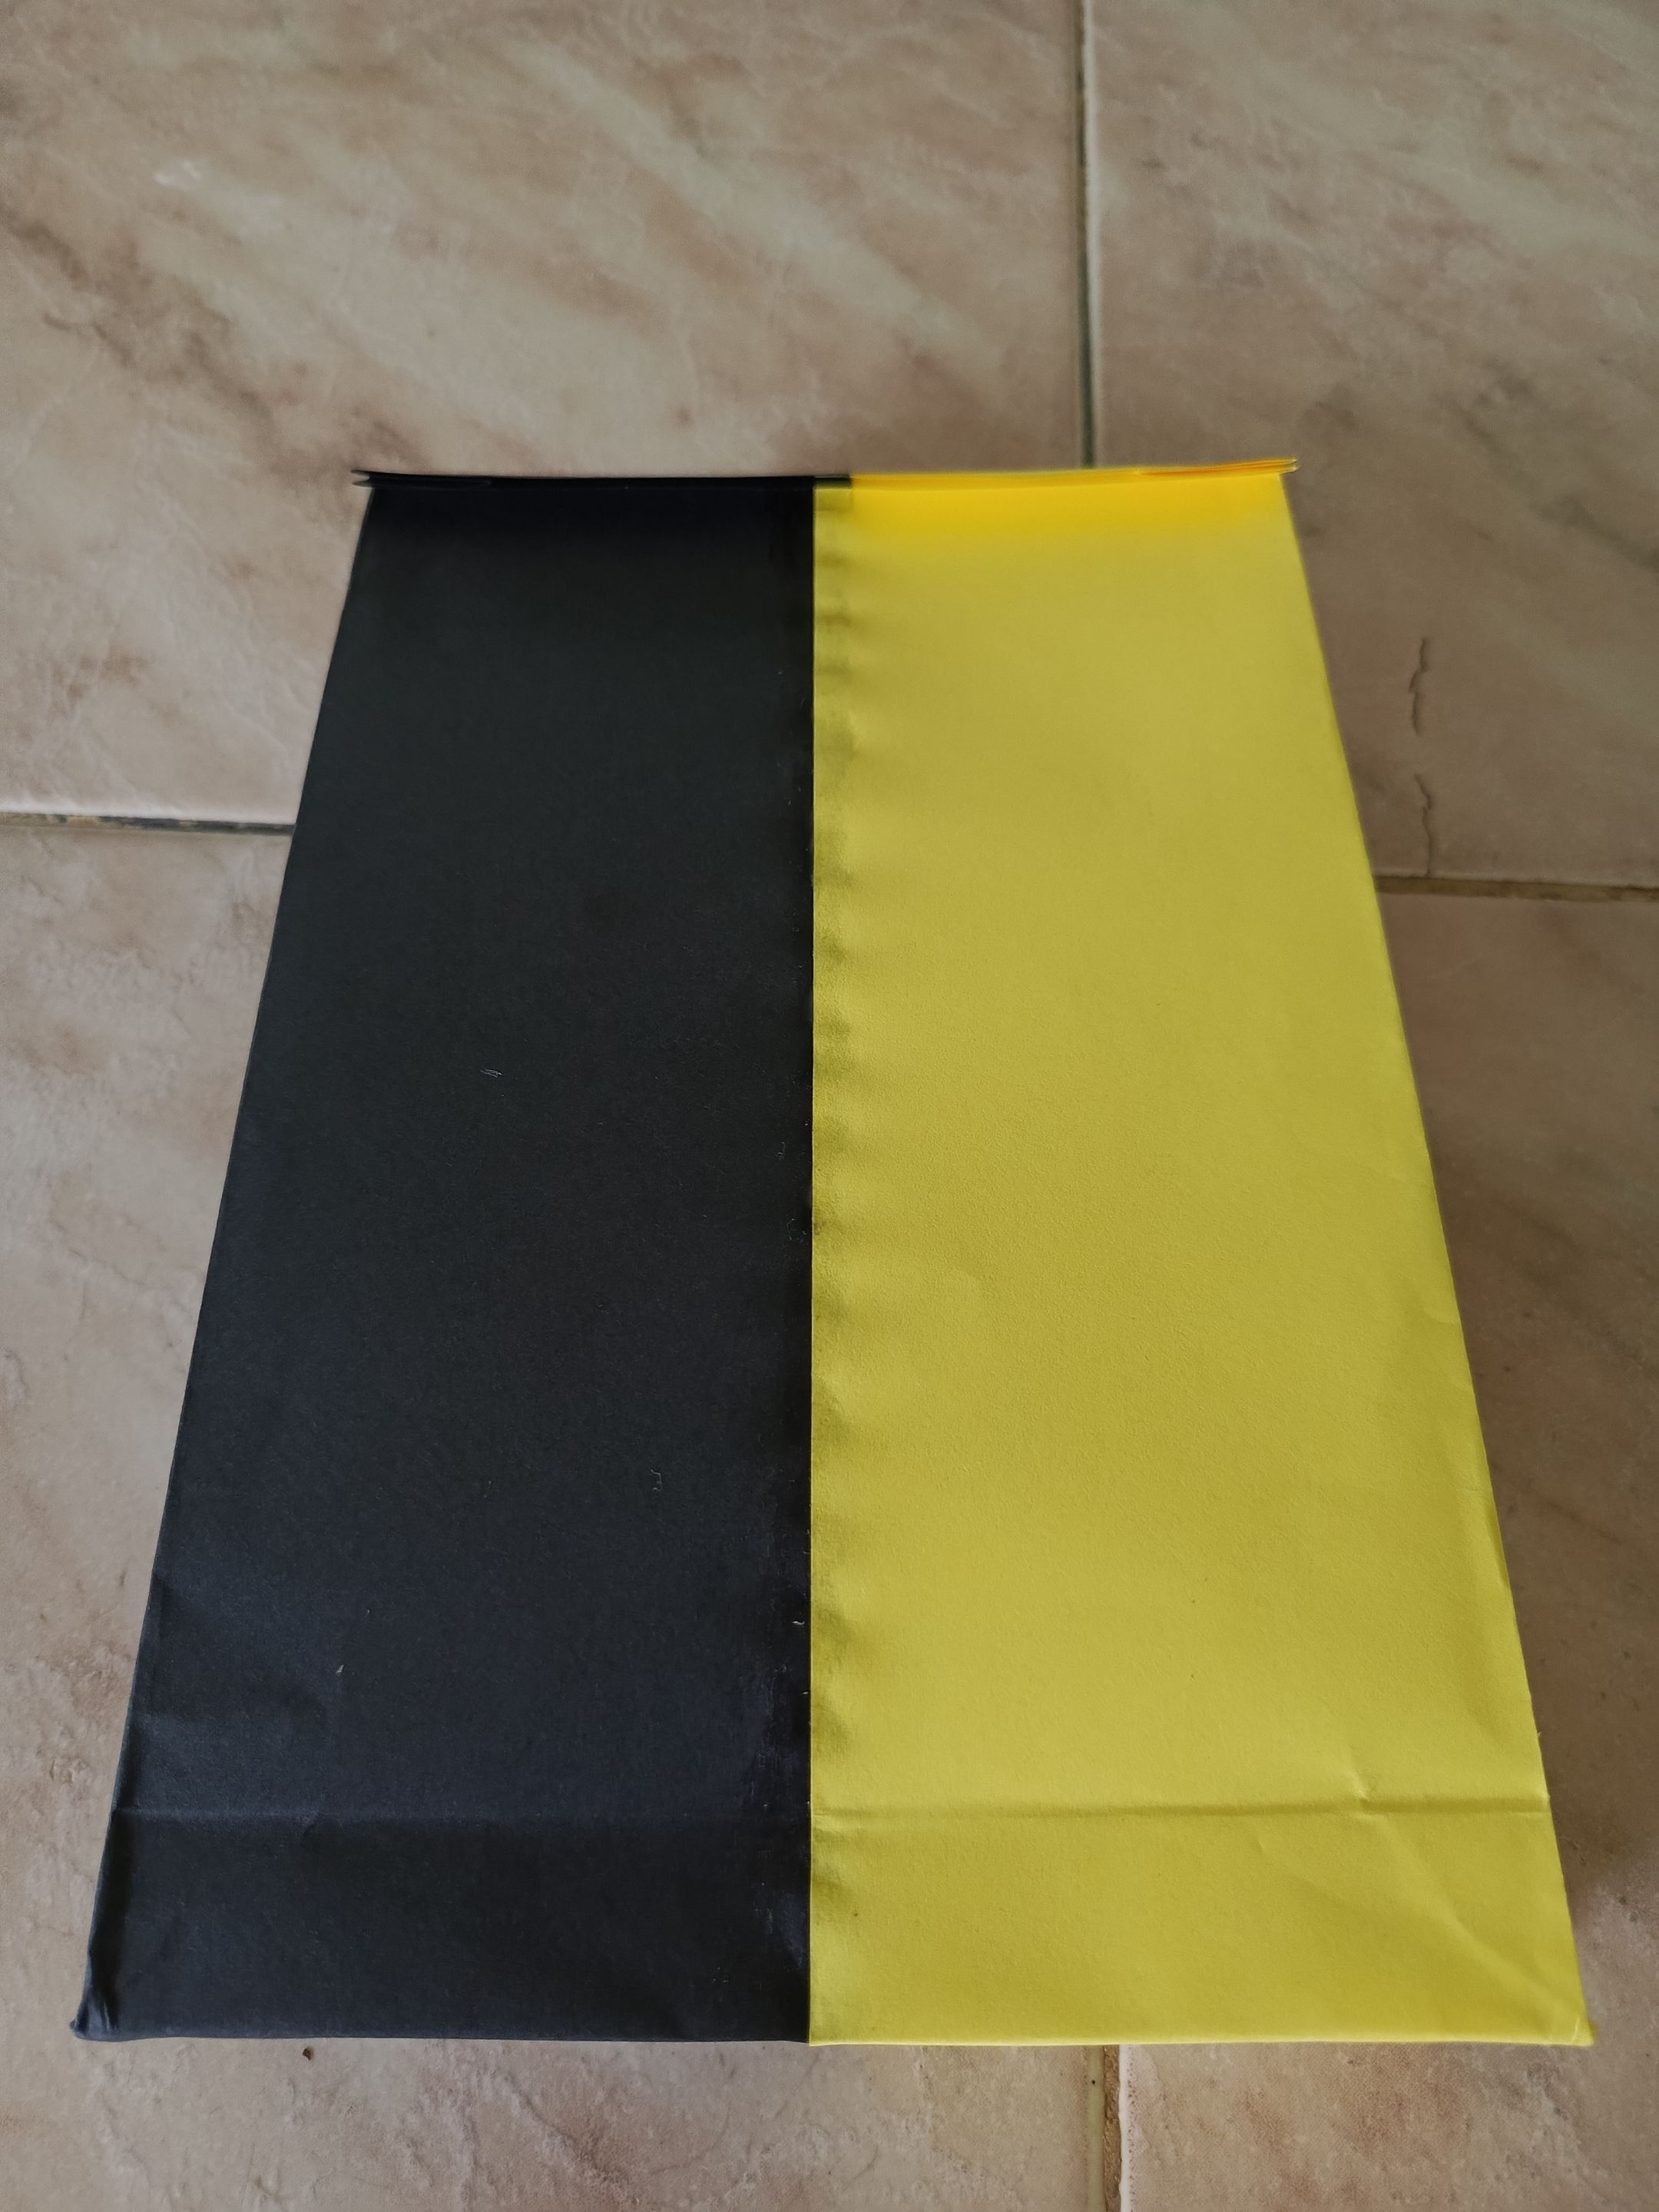
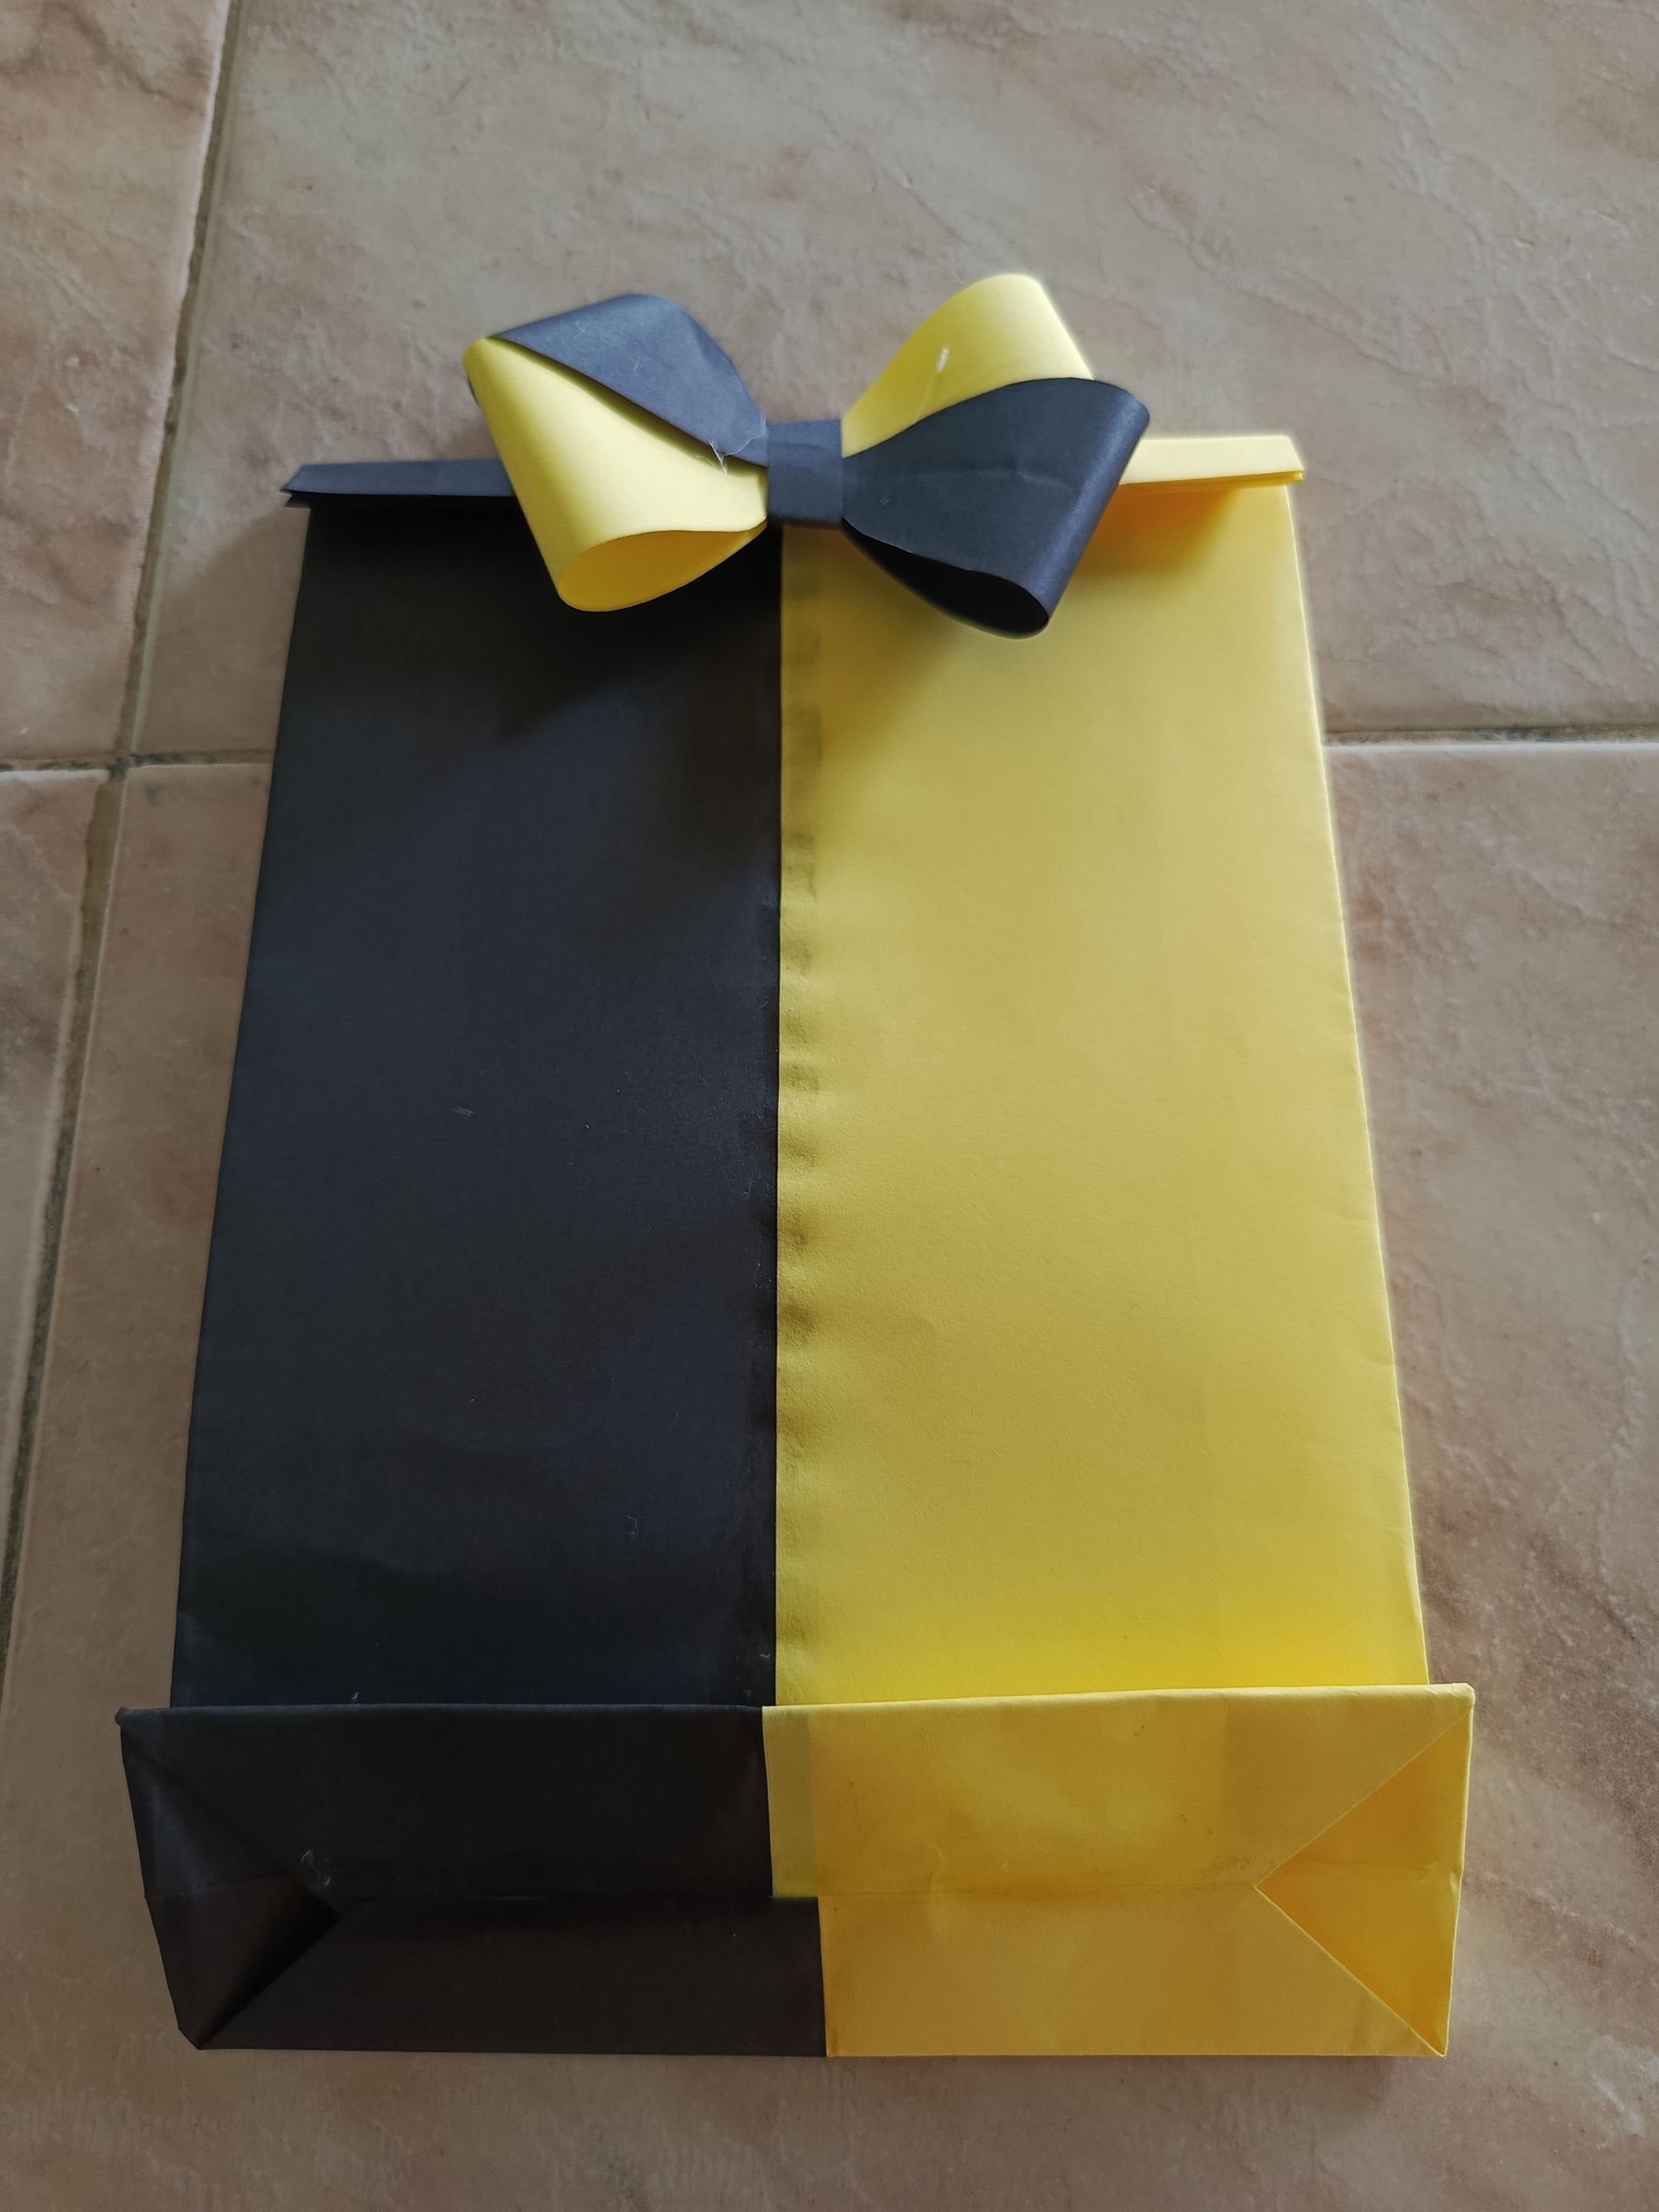
Se toman las dos hojas y se unen con pegamento, luego se hace un doblez de manera que quede un color a cada lado, es decir que las partes que se pegaron van a quedar en el centro.
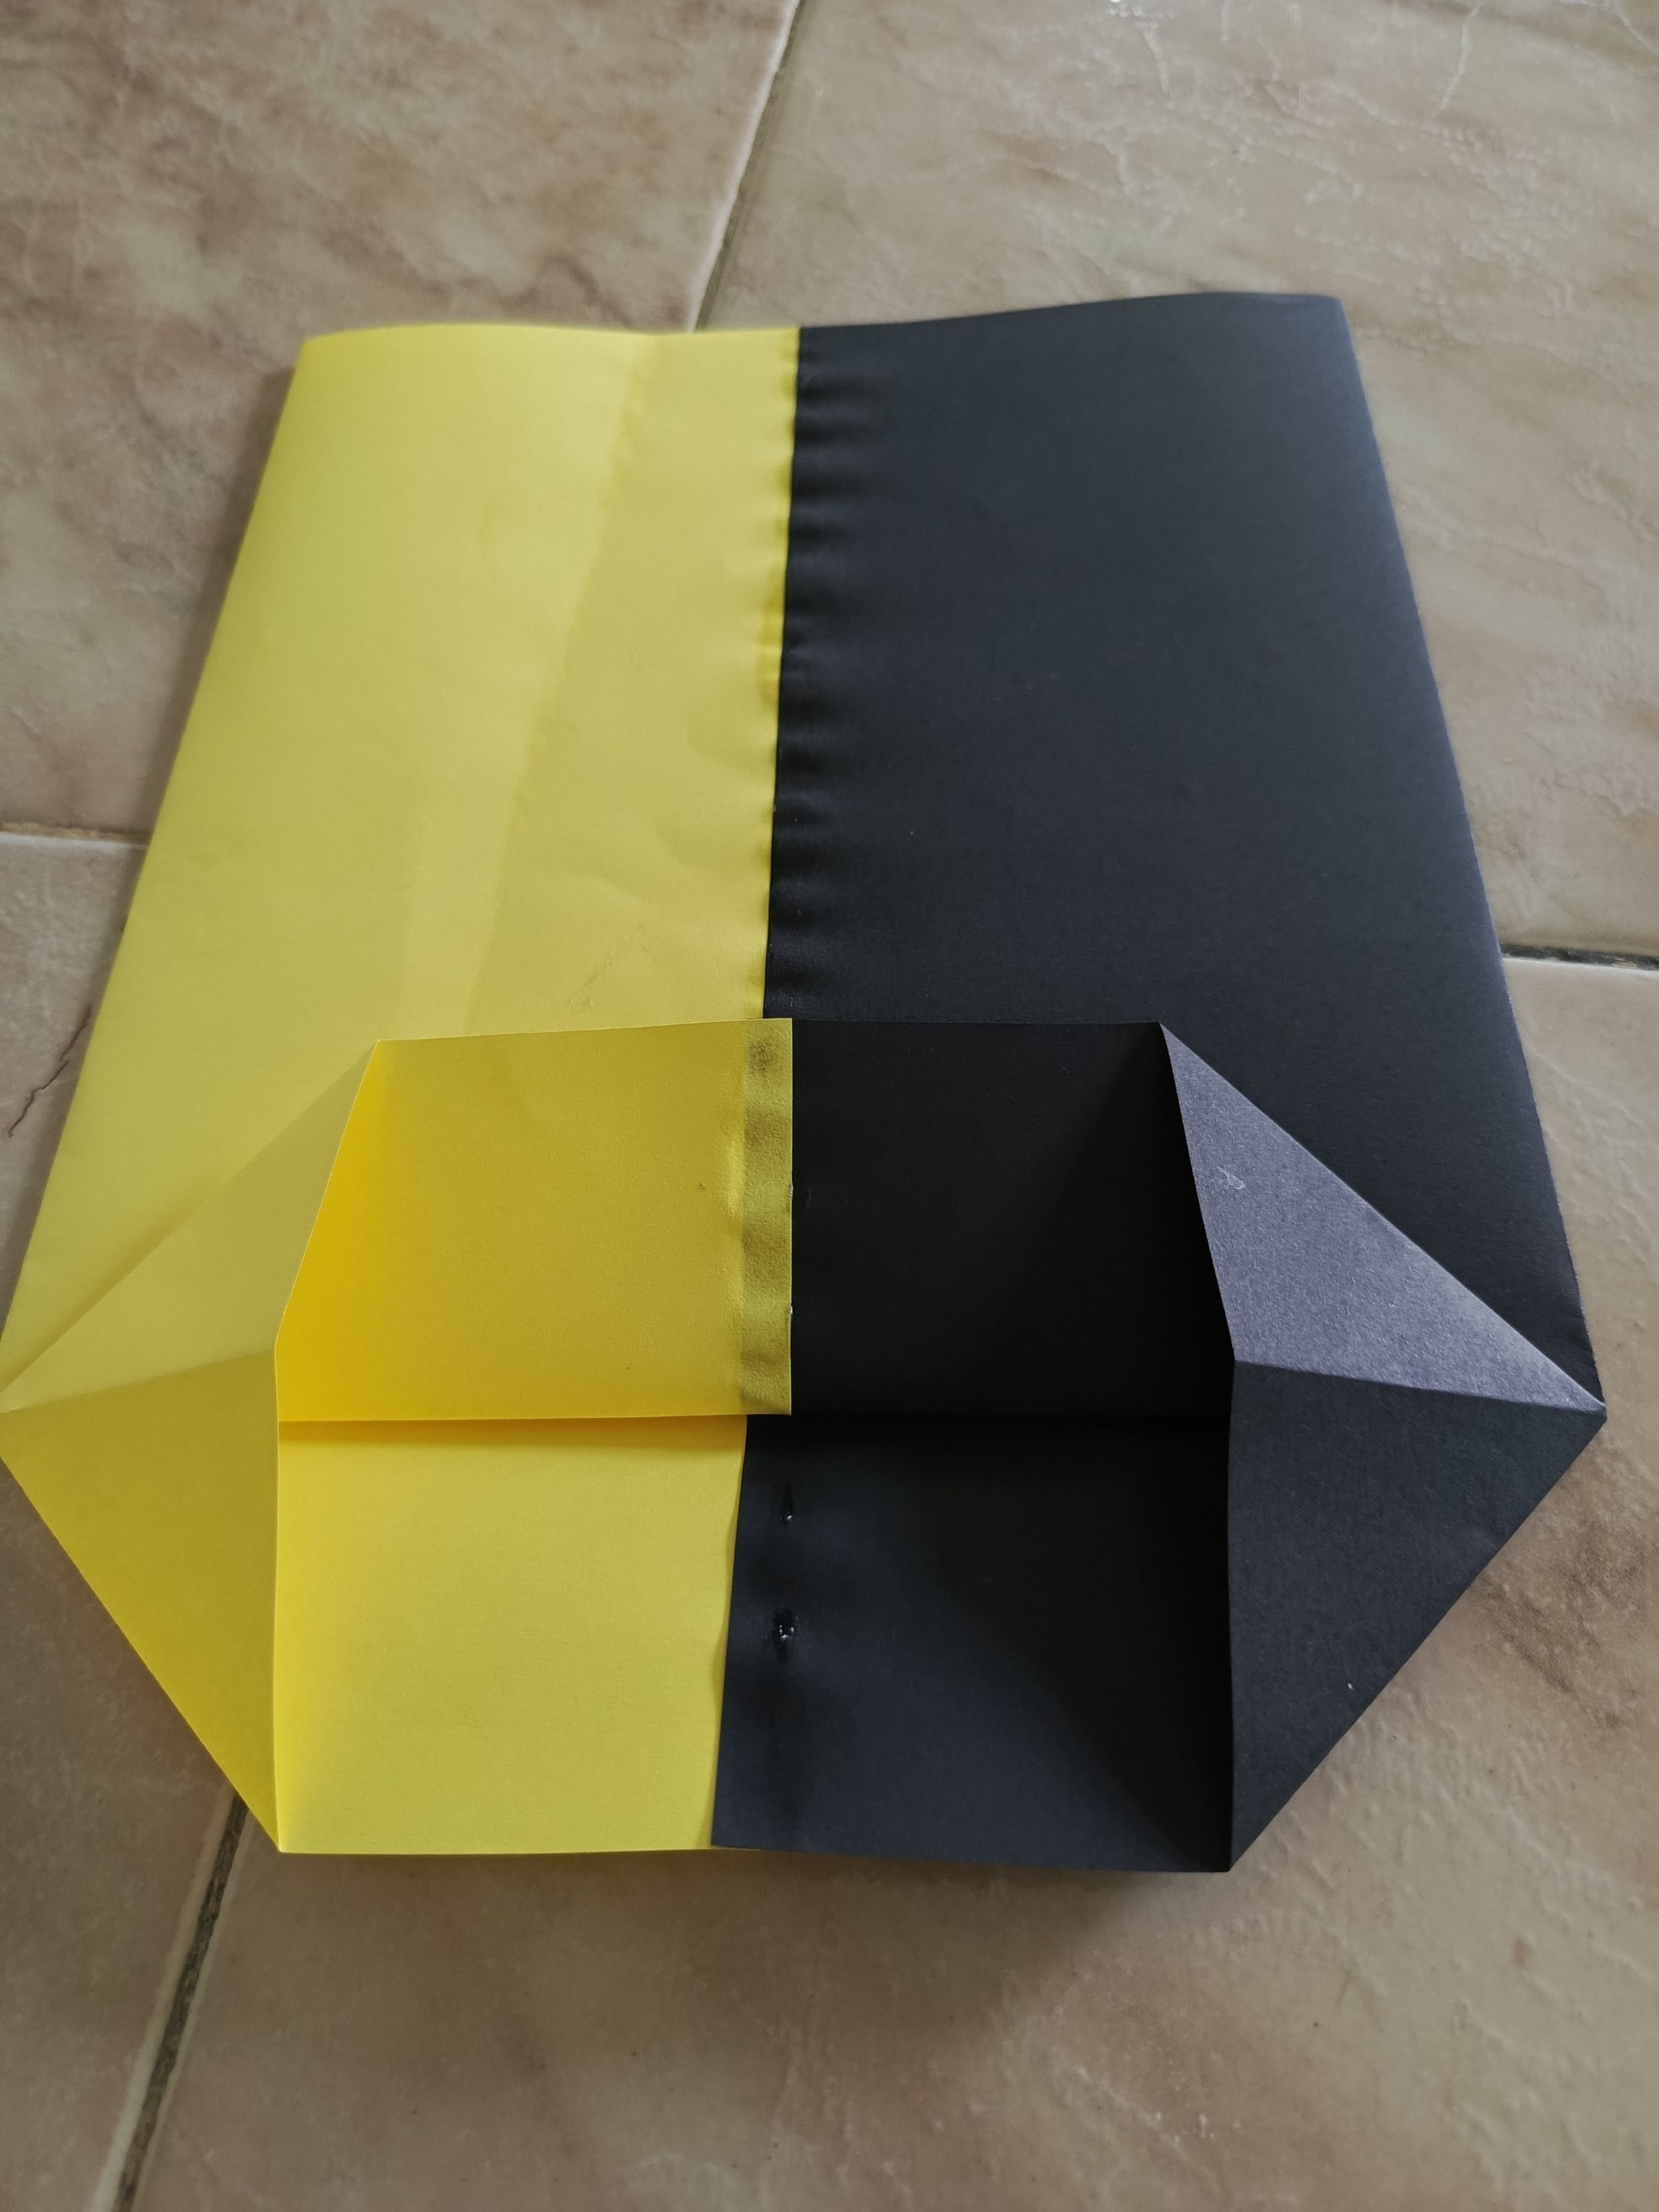
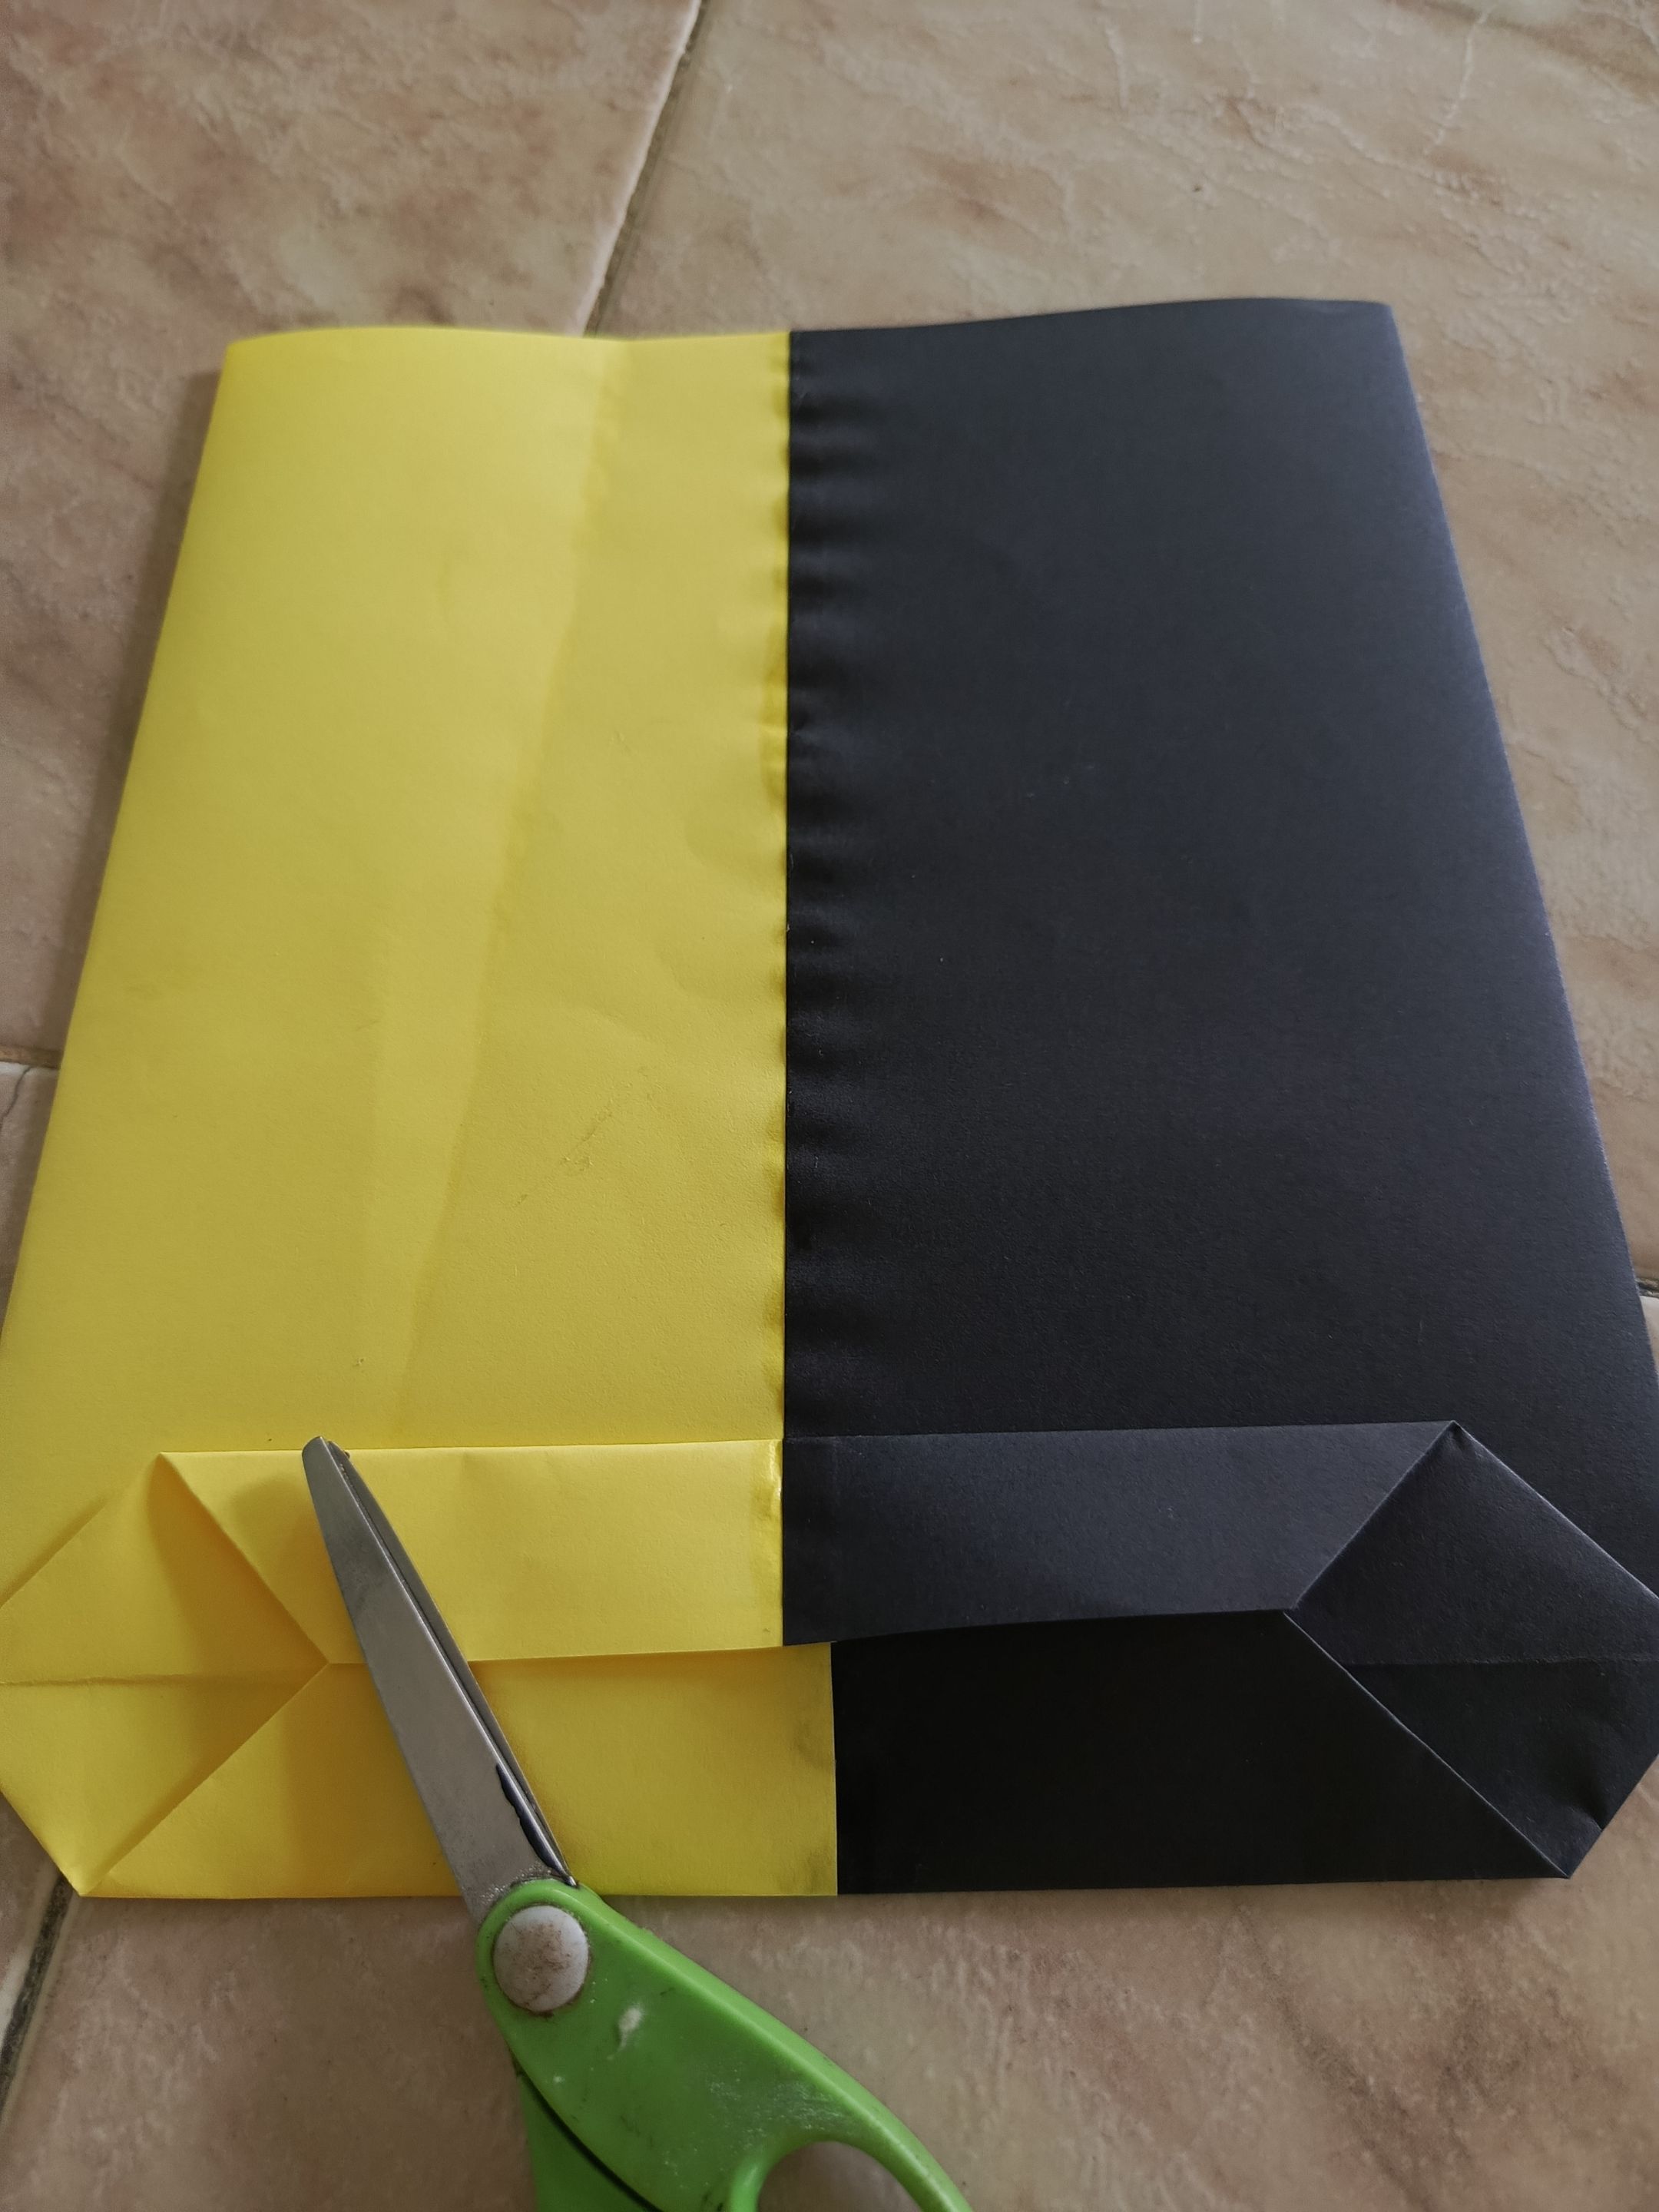
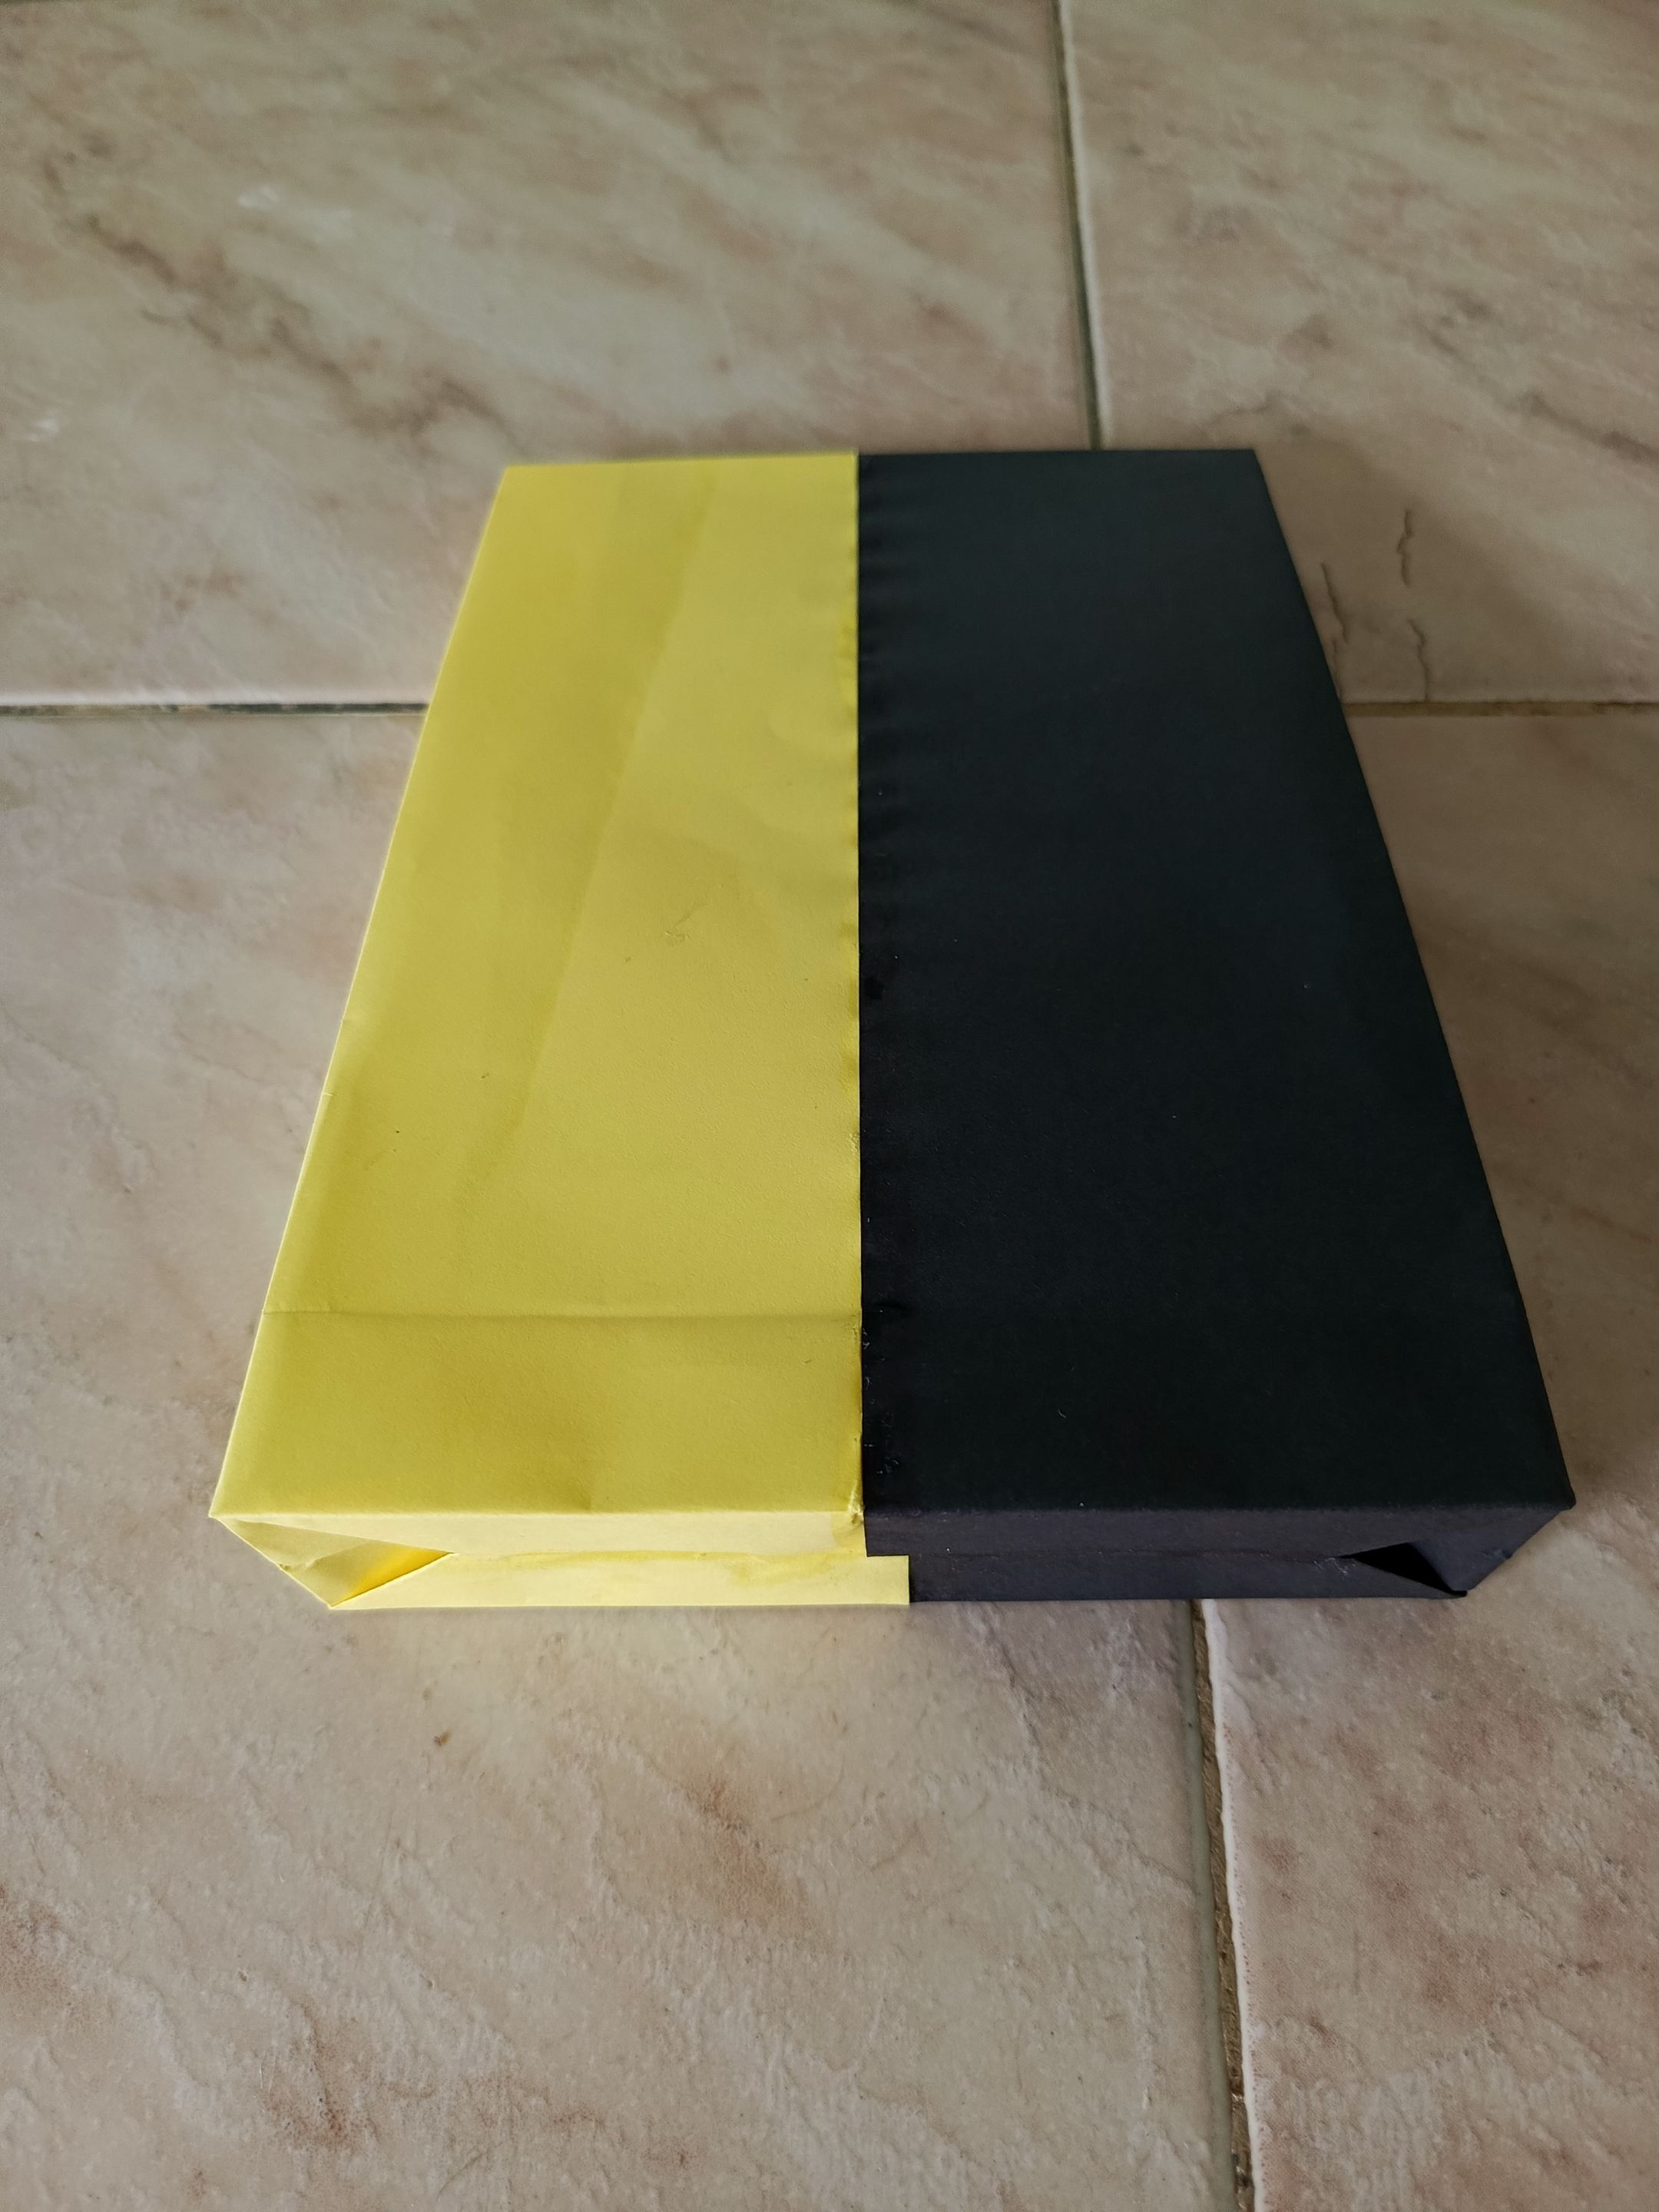
En uno de los extremos se doblan hacia arriba aproximadamente unos 3 cm, se abre y en las esquinas se da una forma como una especie de triángulo así como se ve en la imagen, luego se pega una sobre la otra; esto es para formar la base de la bolsa .
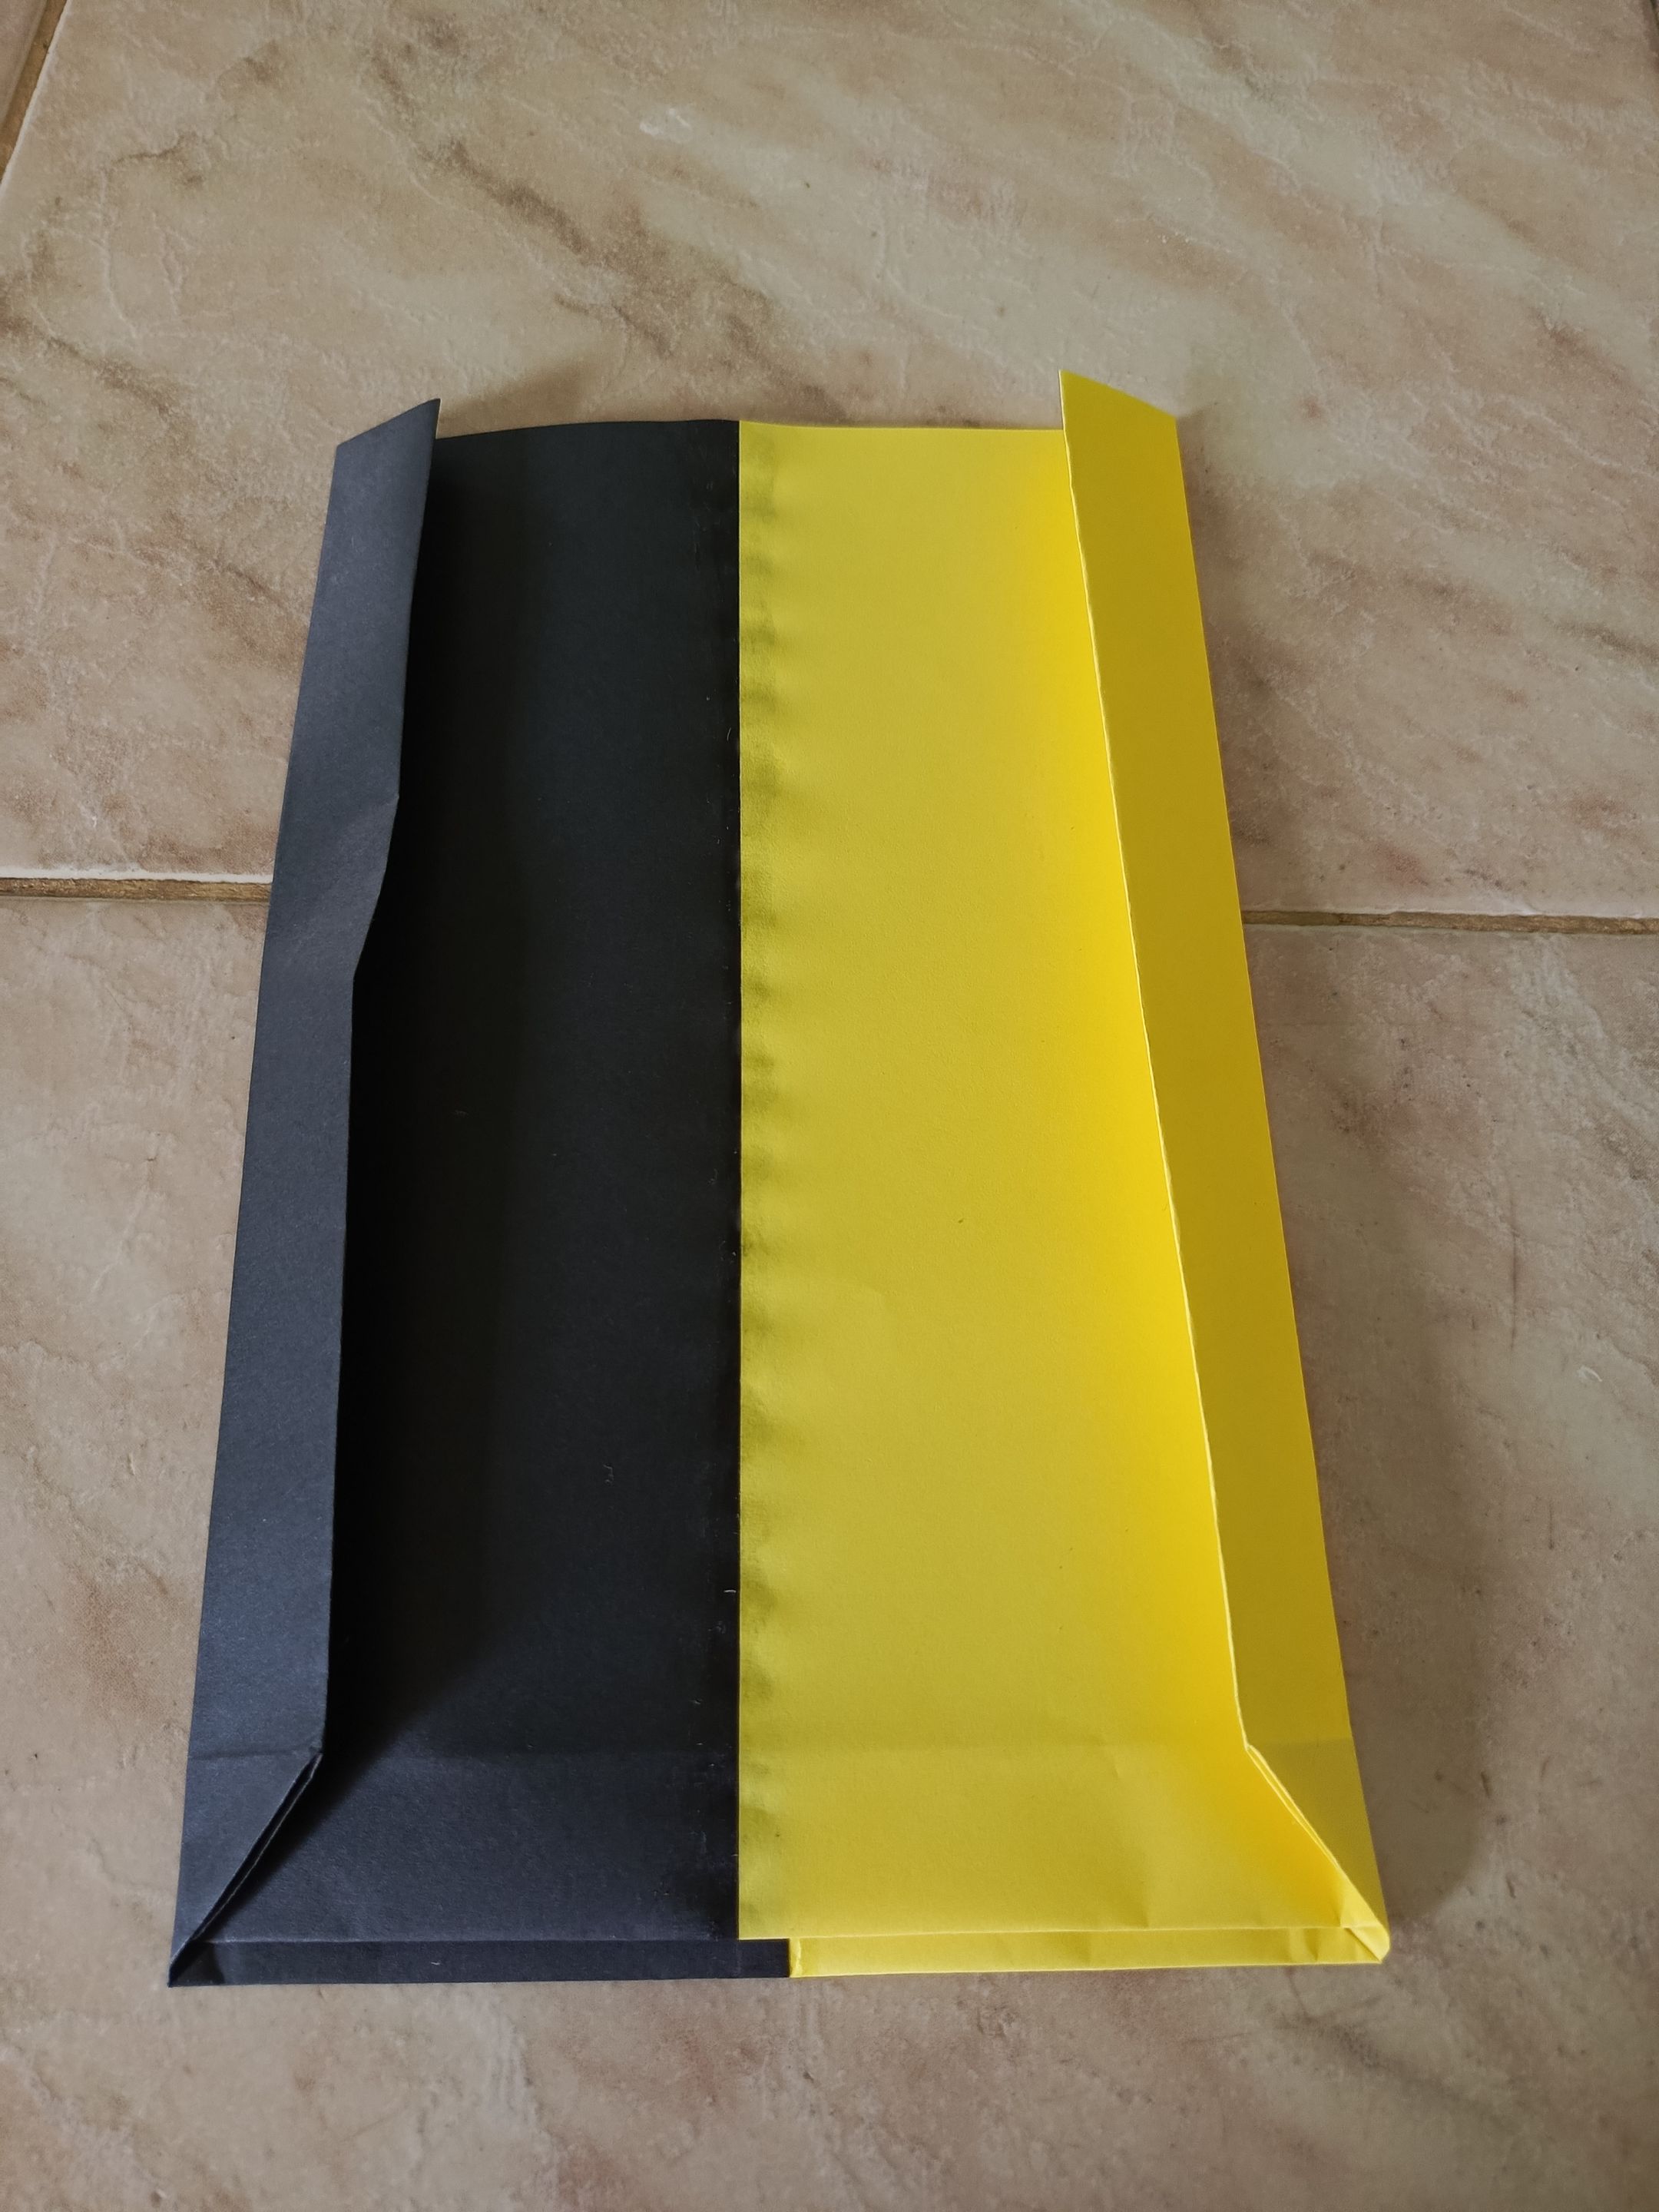
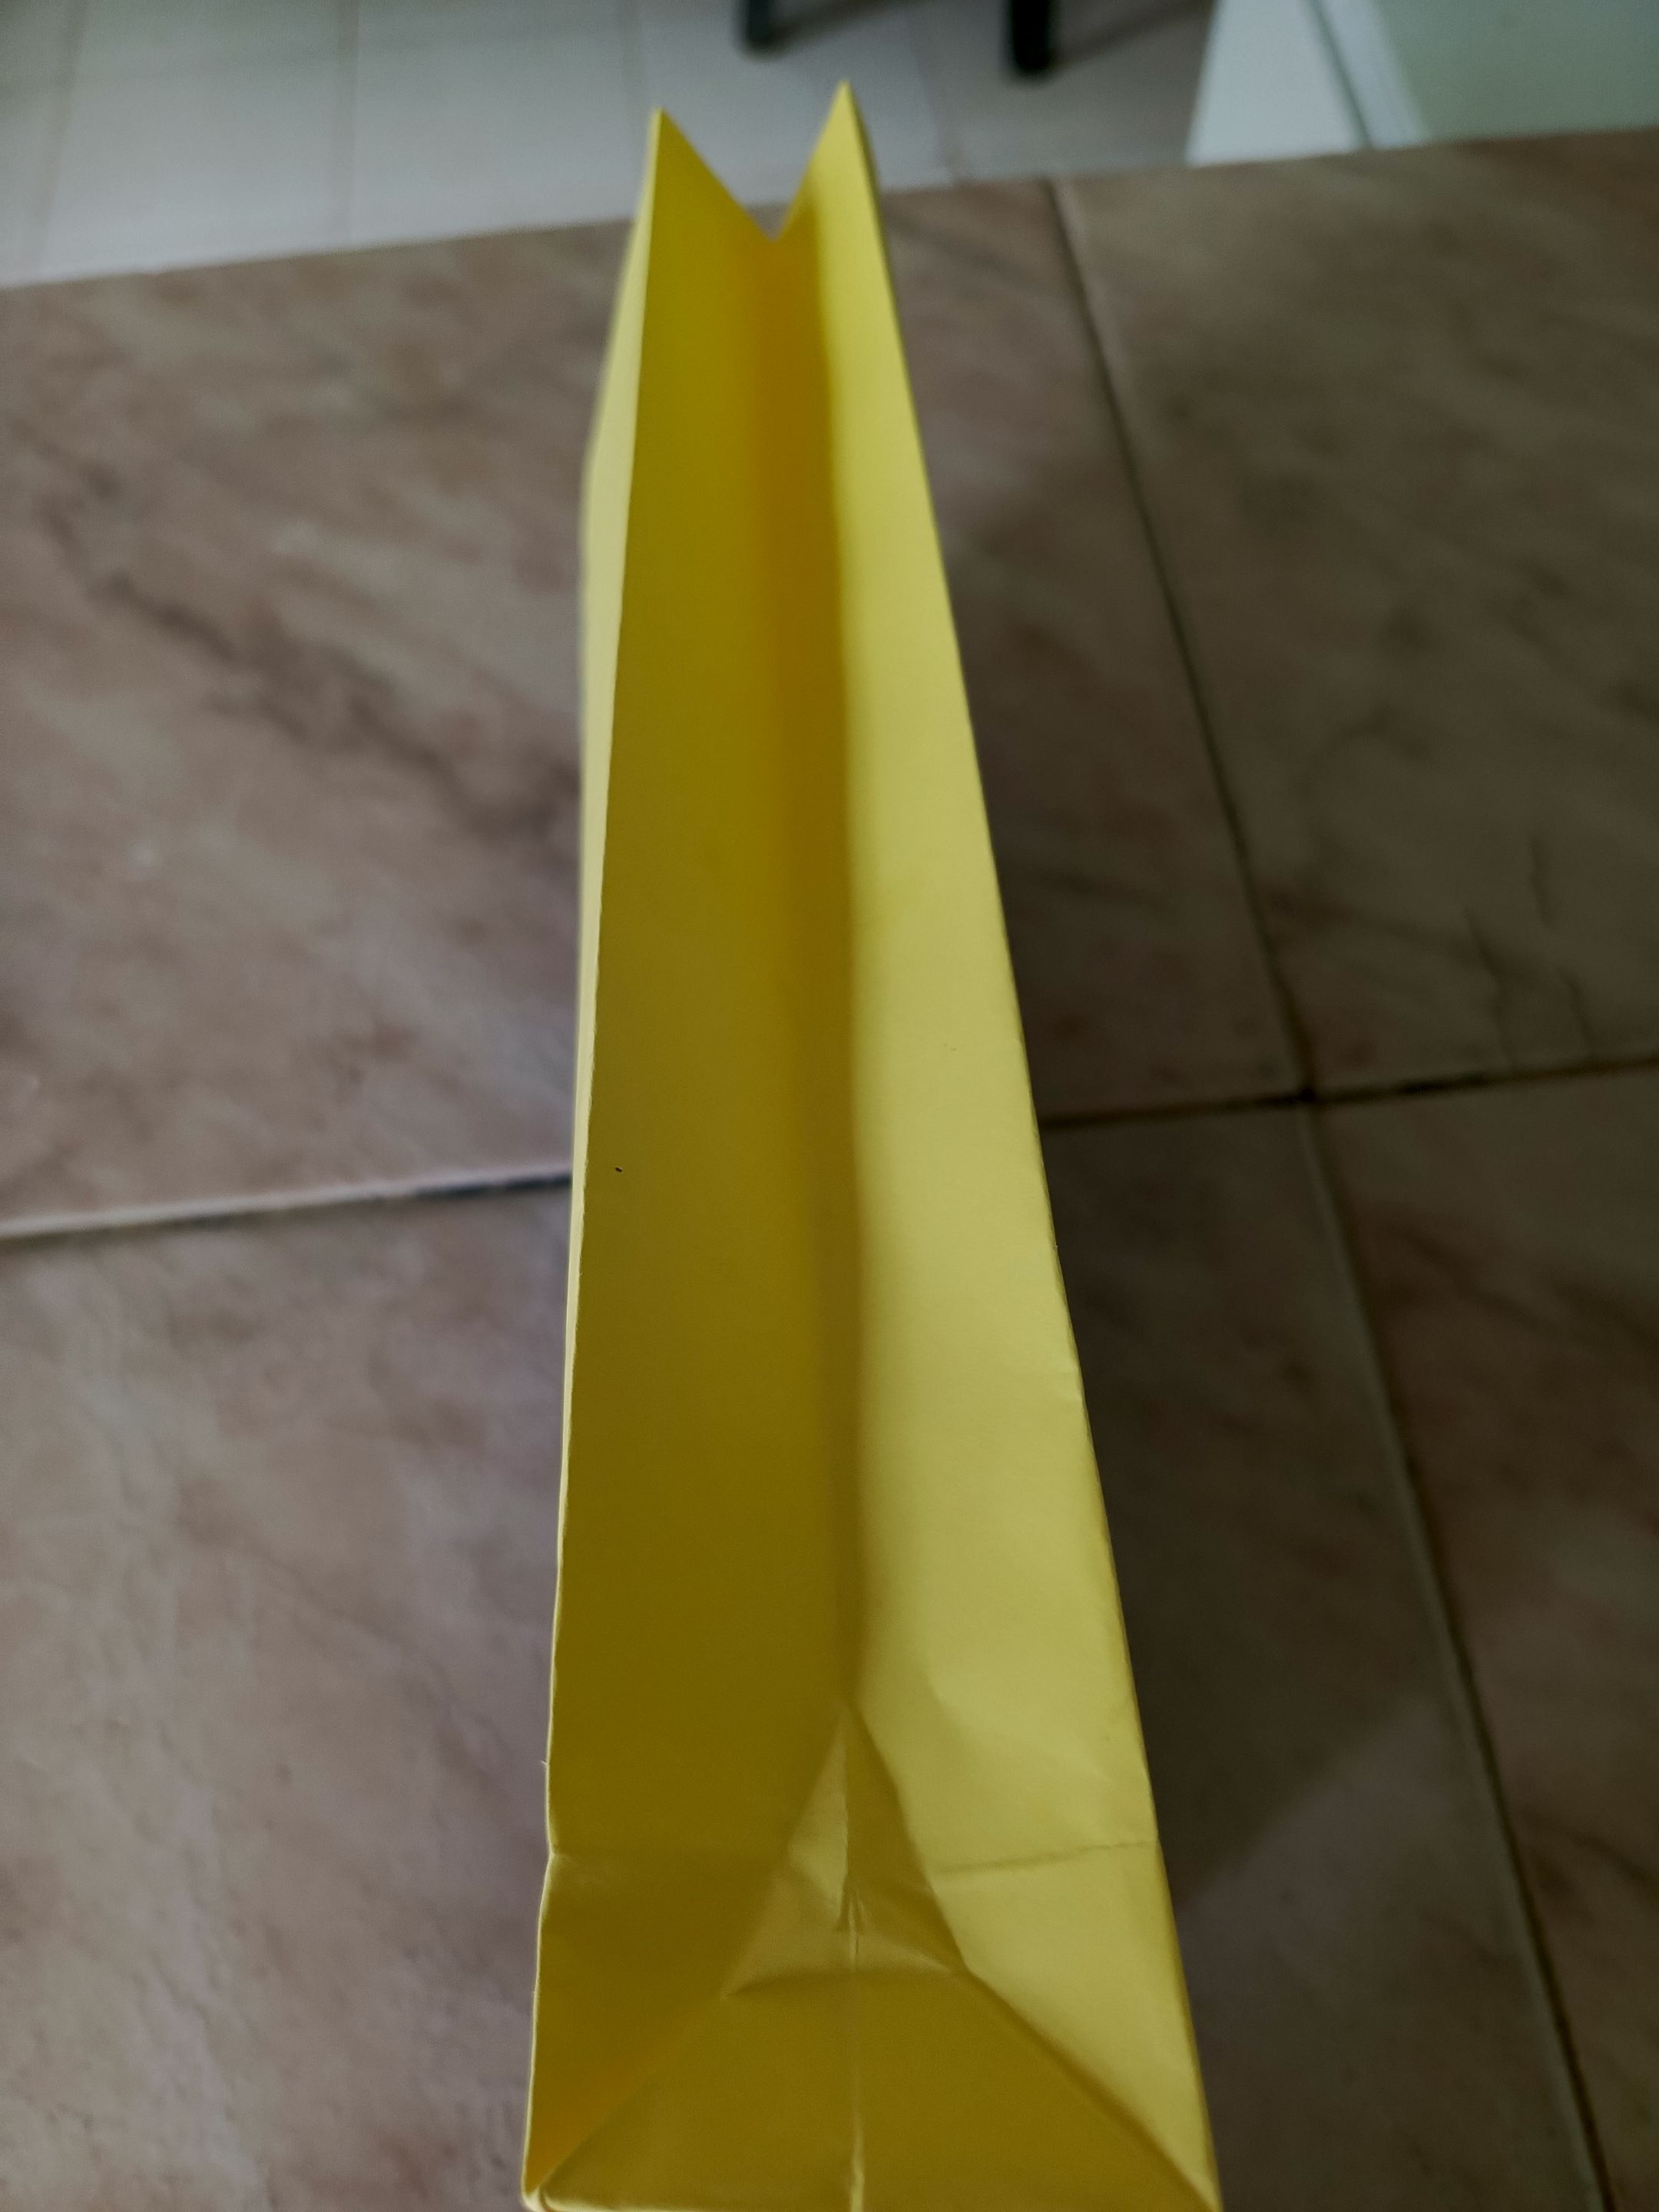
Luego se hace un doblez en los lados para marcar los laterales de la bolsa, y finalmente se hace un pequeño doblez en la parte superior.
**PROCEDURE**
Take the two sheets and join them with glue, then make a fold so that one color is left on each side, that is to say that the parts that were glued will be in the center.
In one of the ends fold upwards about 3 cm, open it and in the corners give a shape like a kind of triangle as shown in the picture, then glue one on top of the other; this is to form the base of the bag.
Then make a fold on the sides to mark the sides of the bag, and finally make a small fold at the top.
---
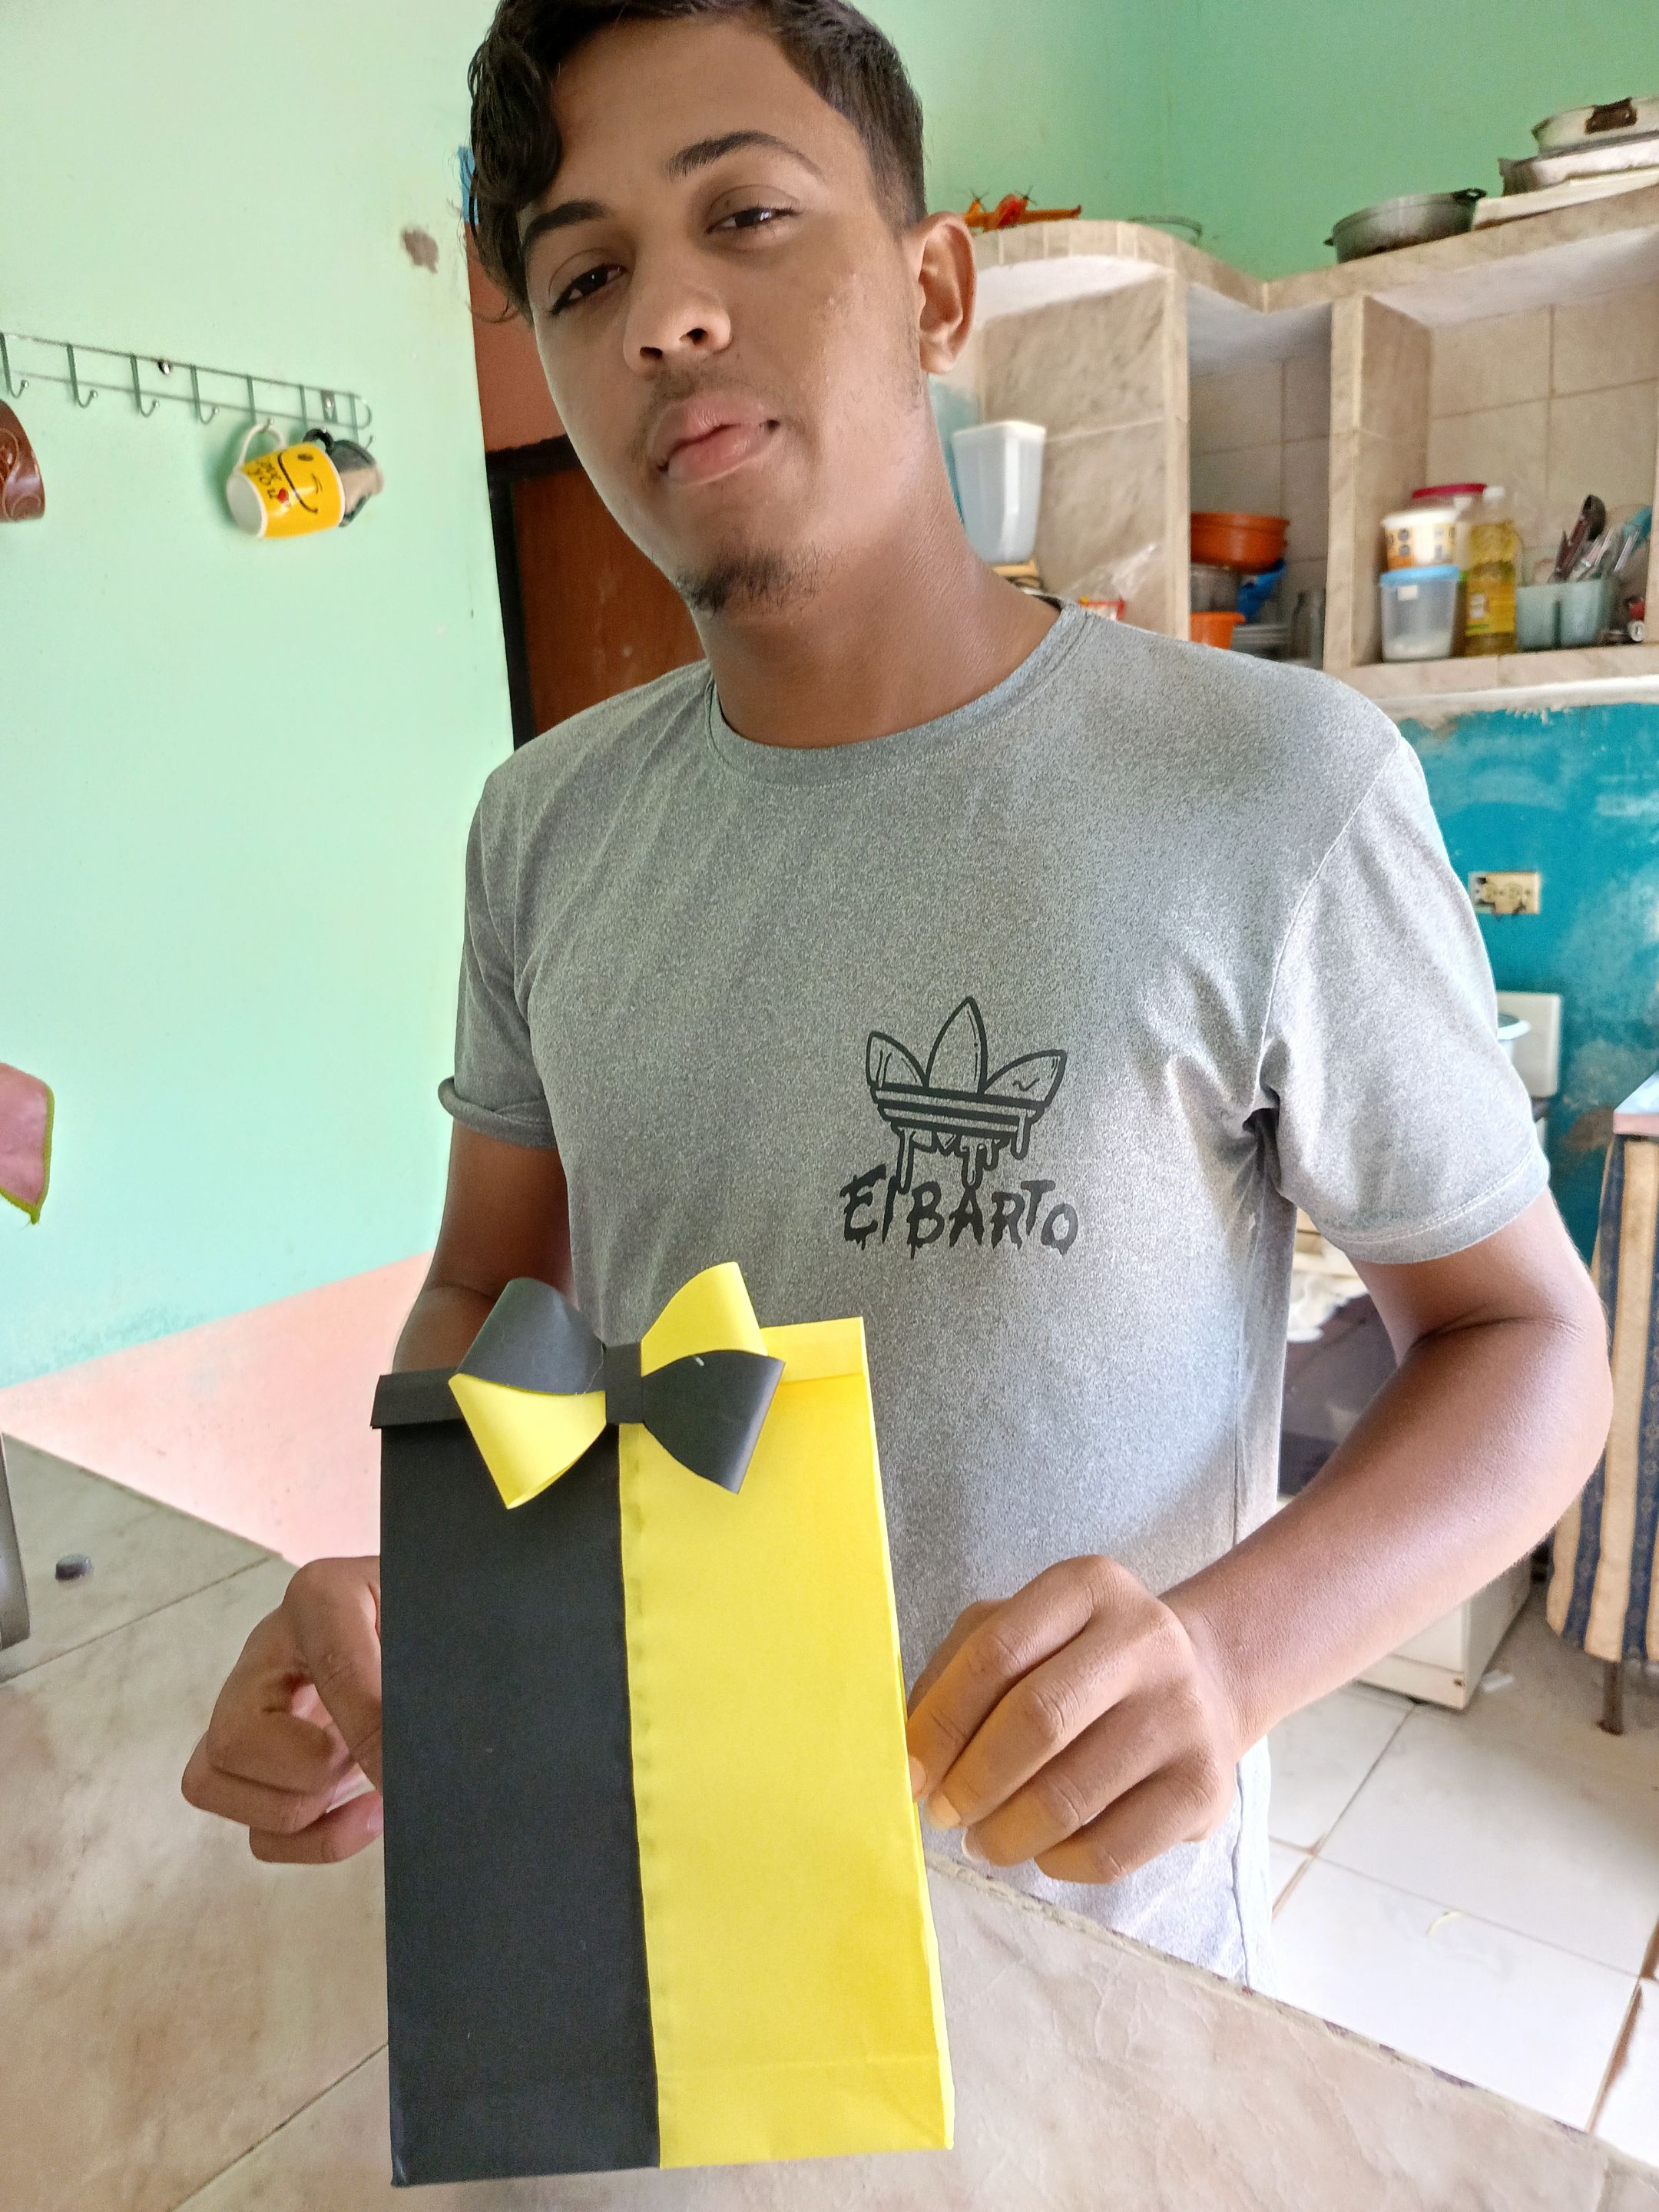
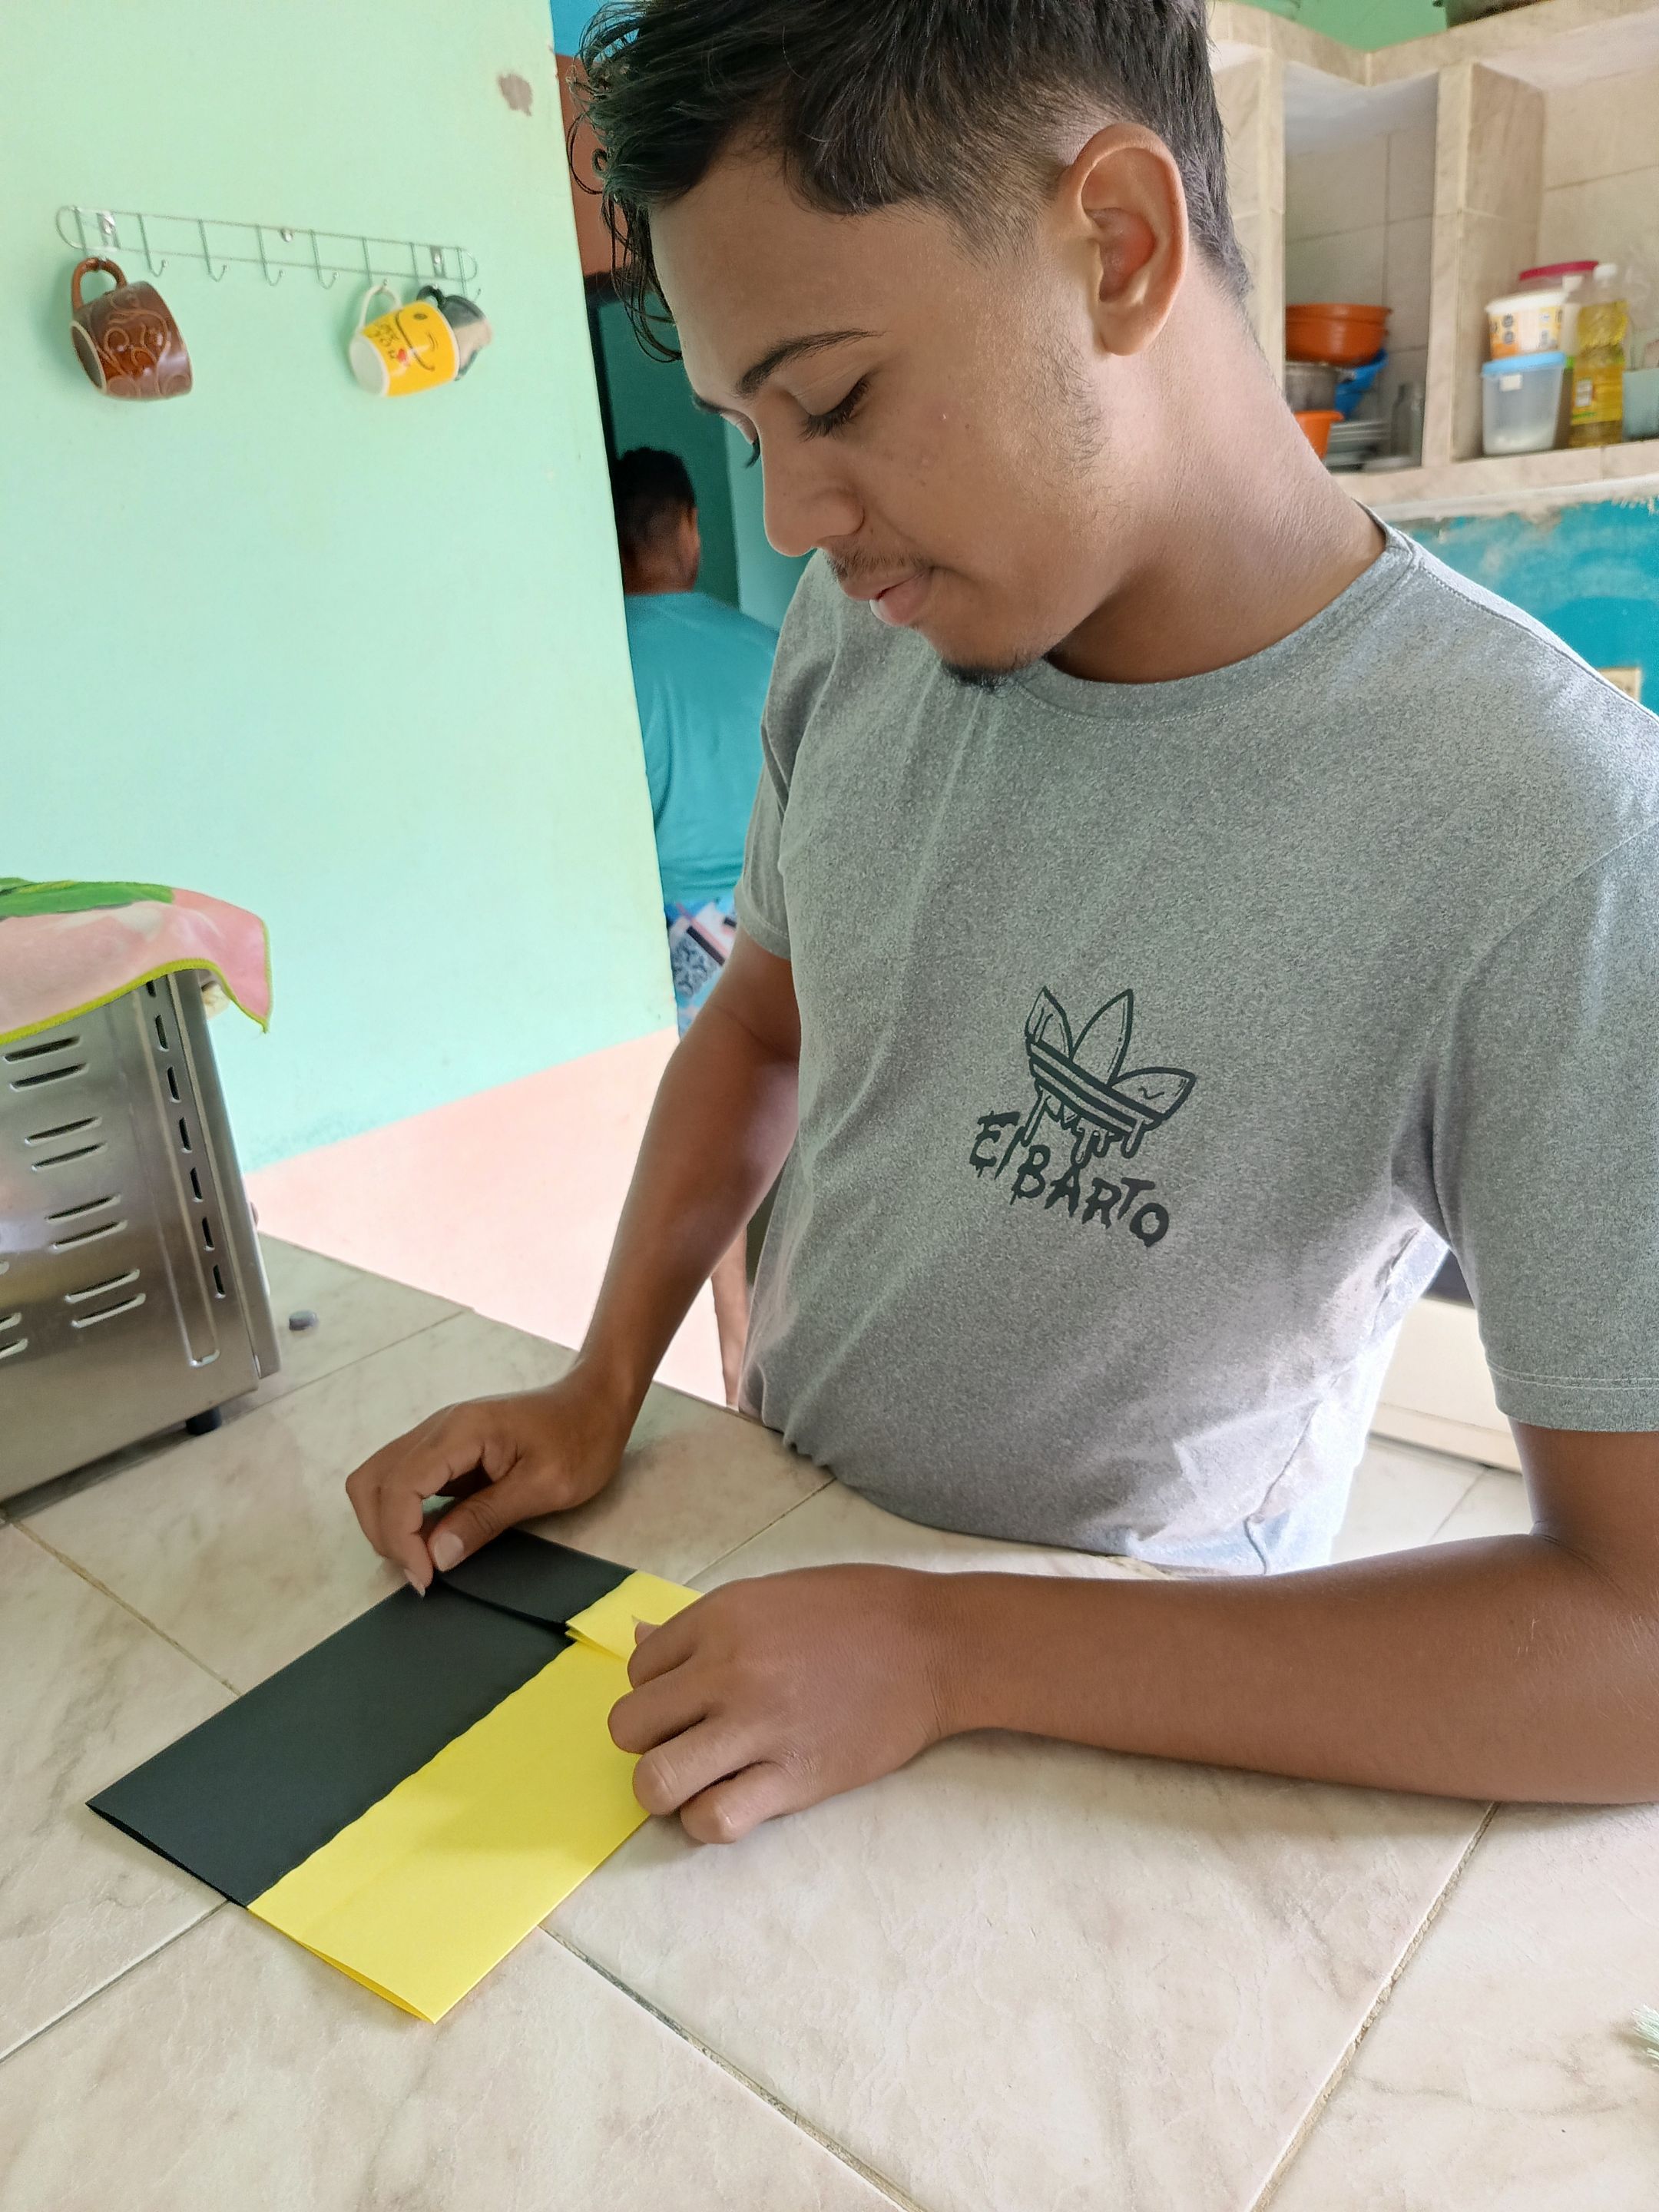
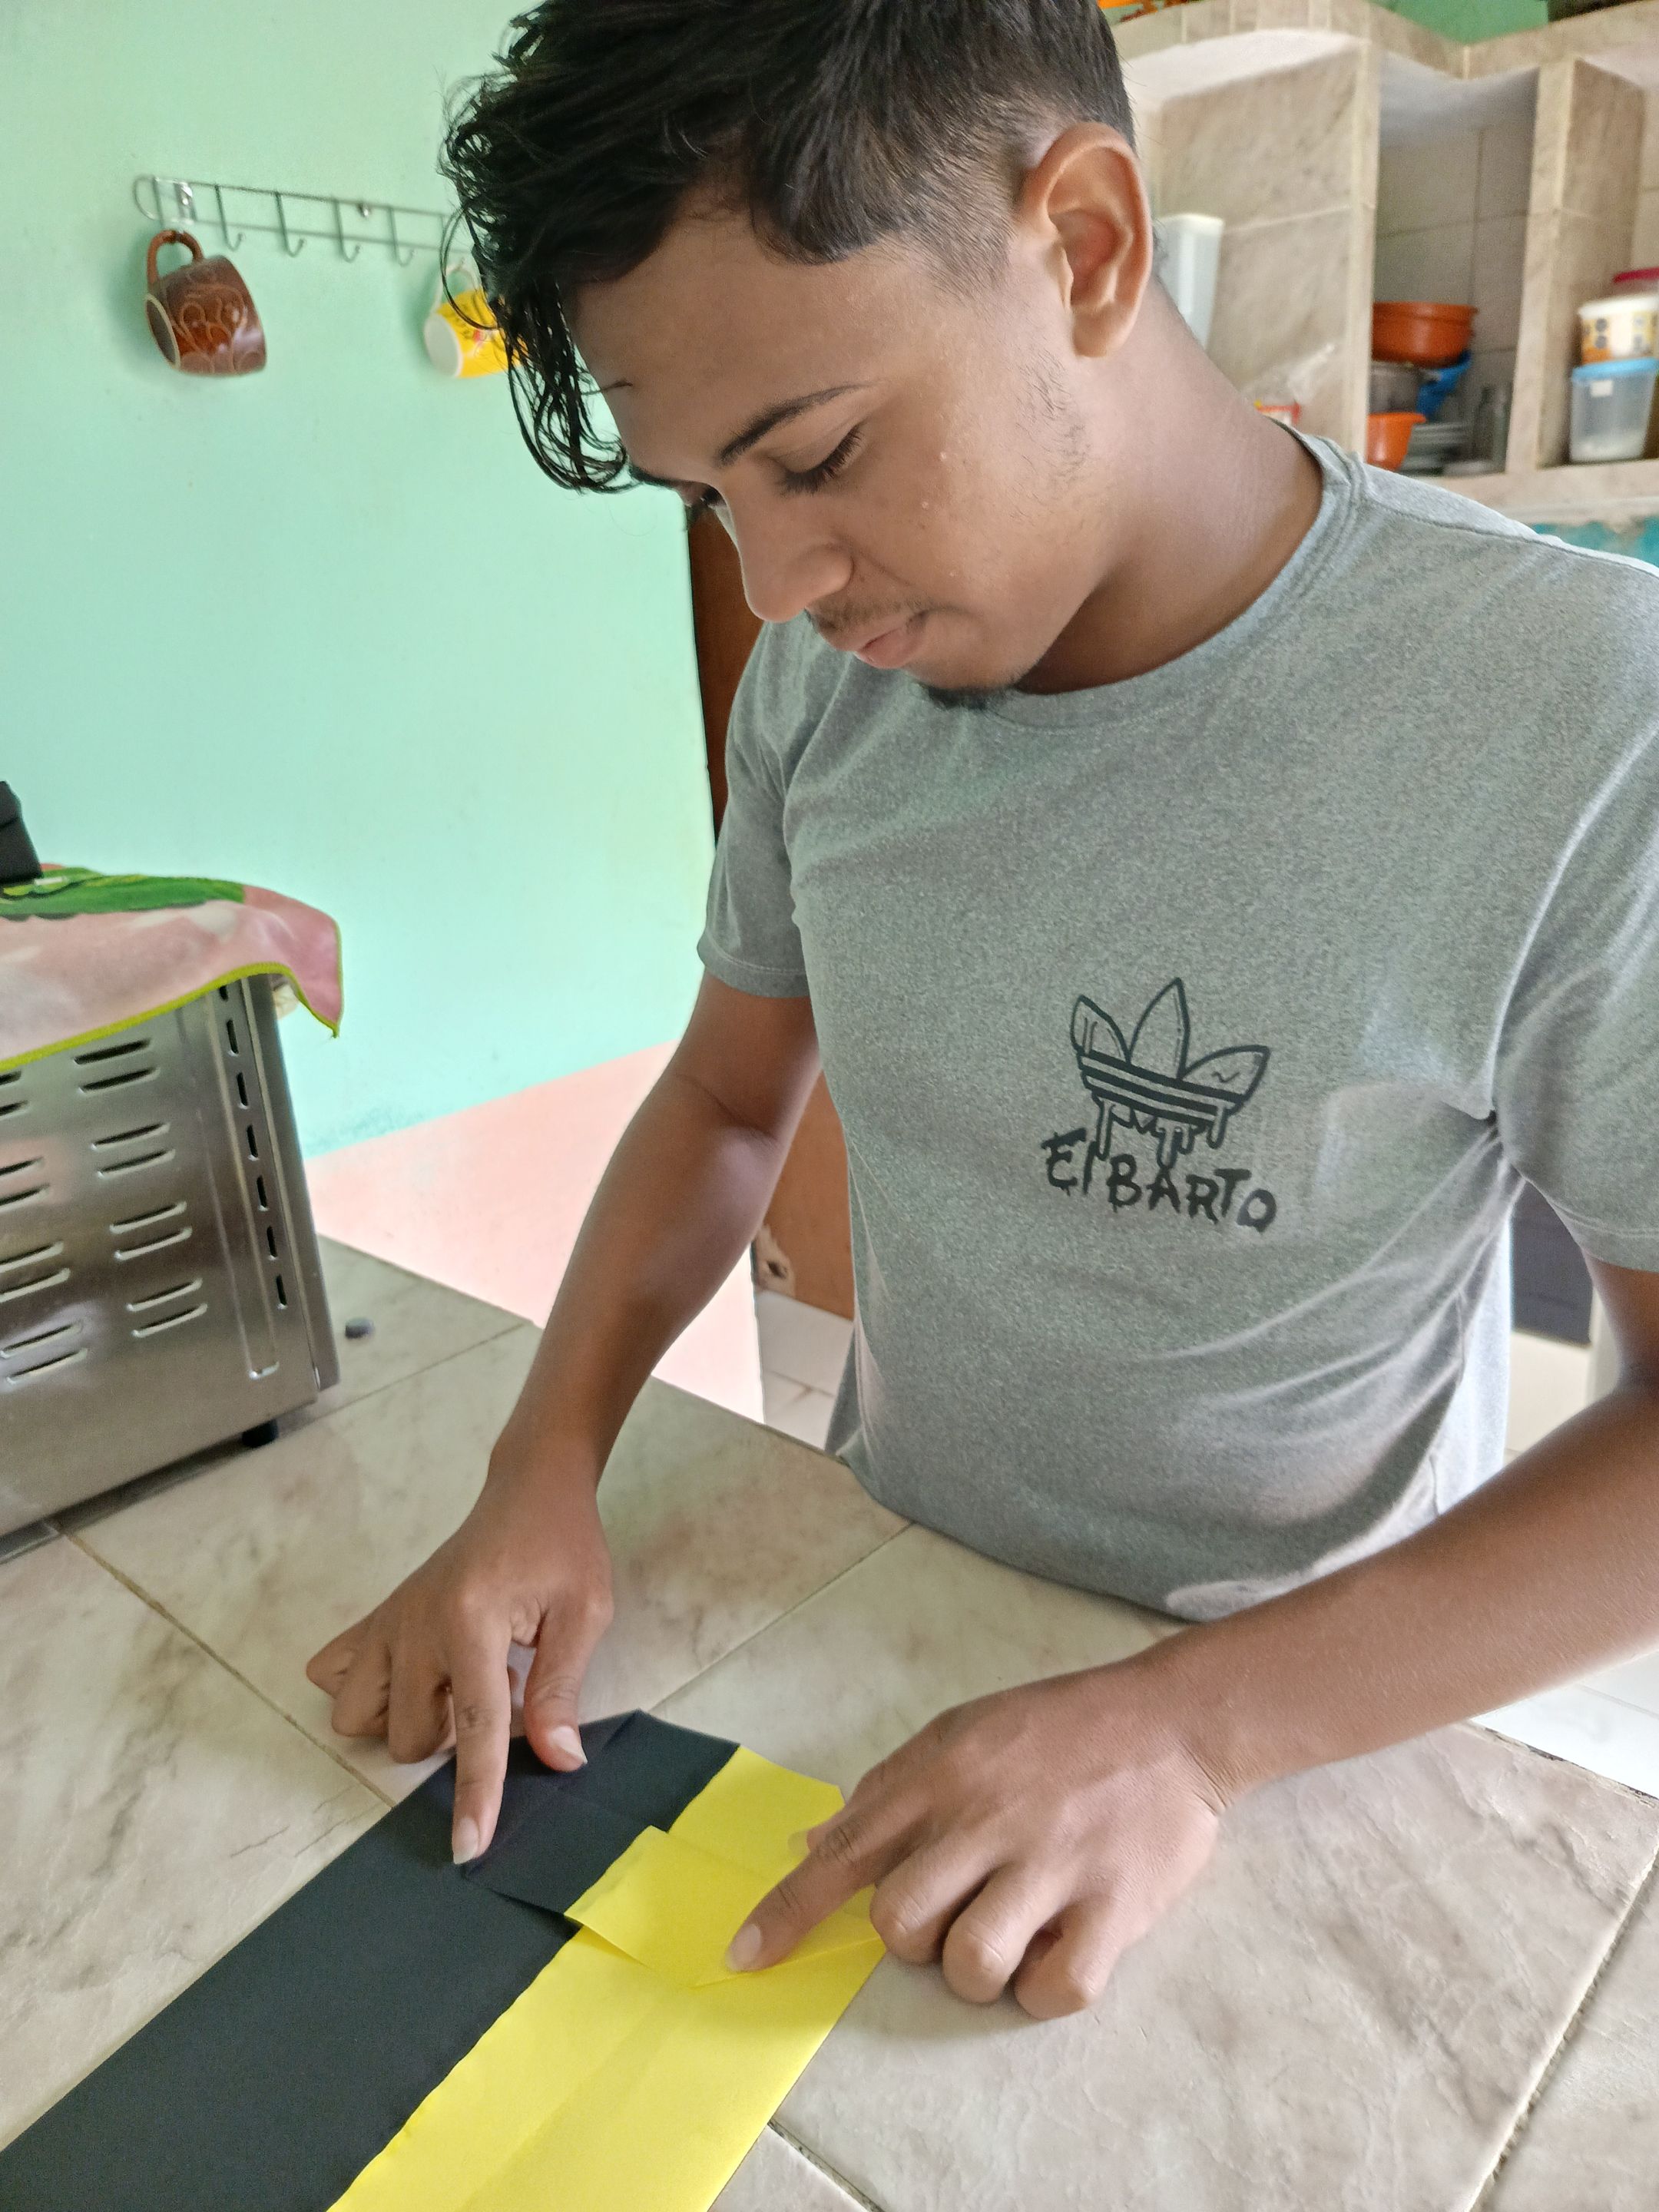
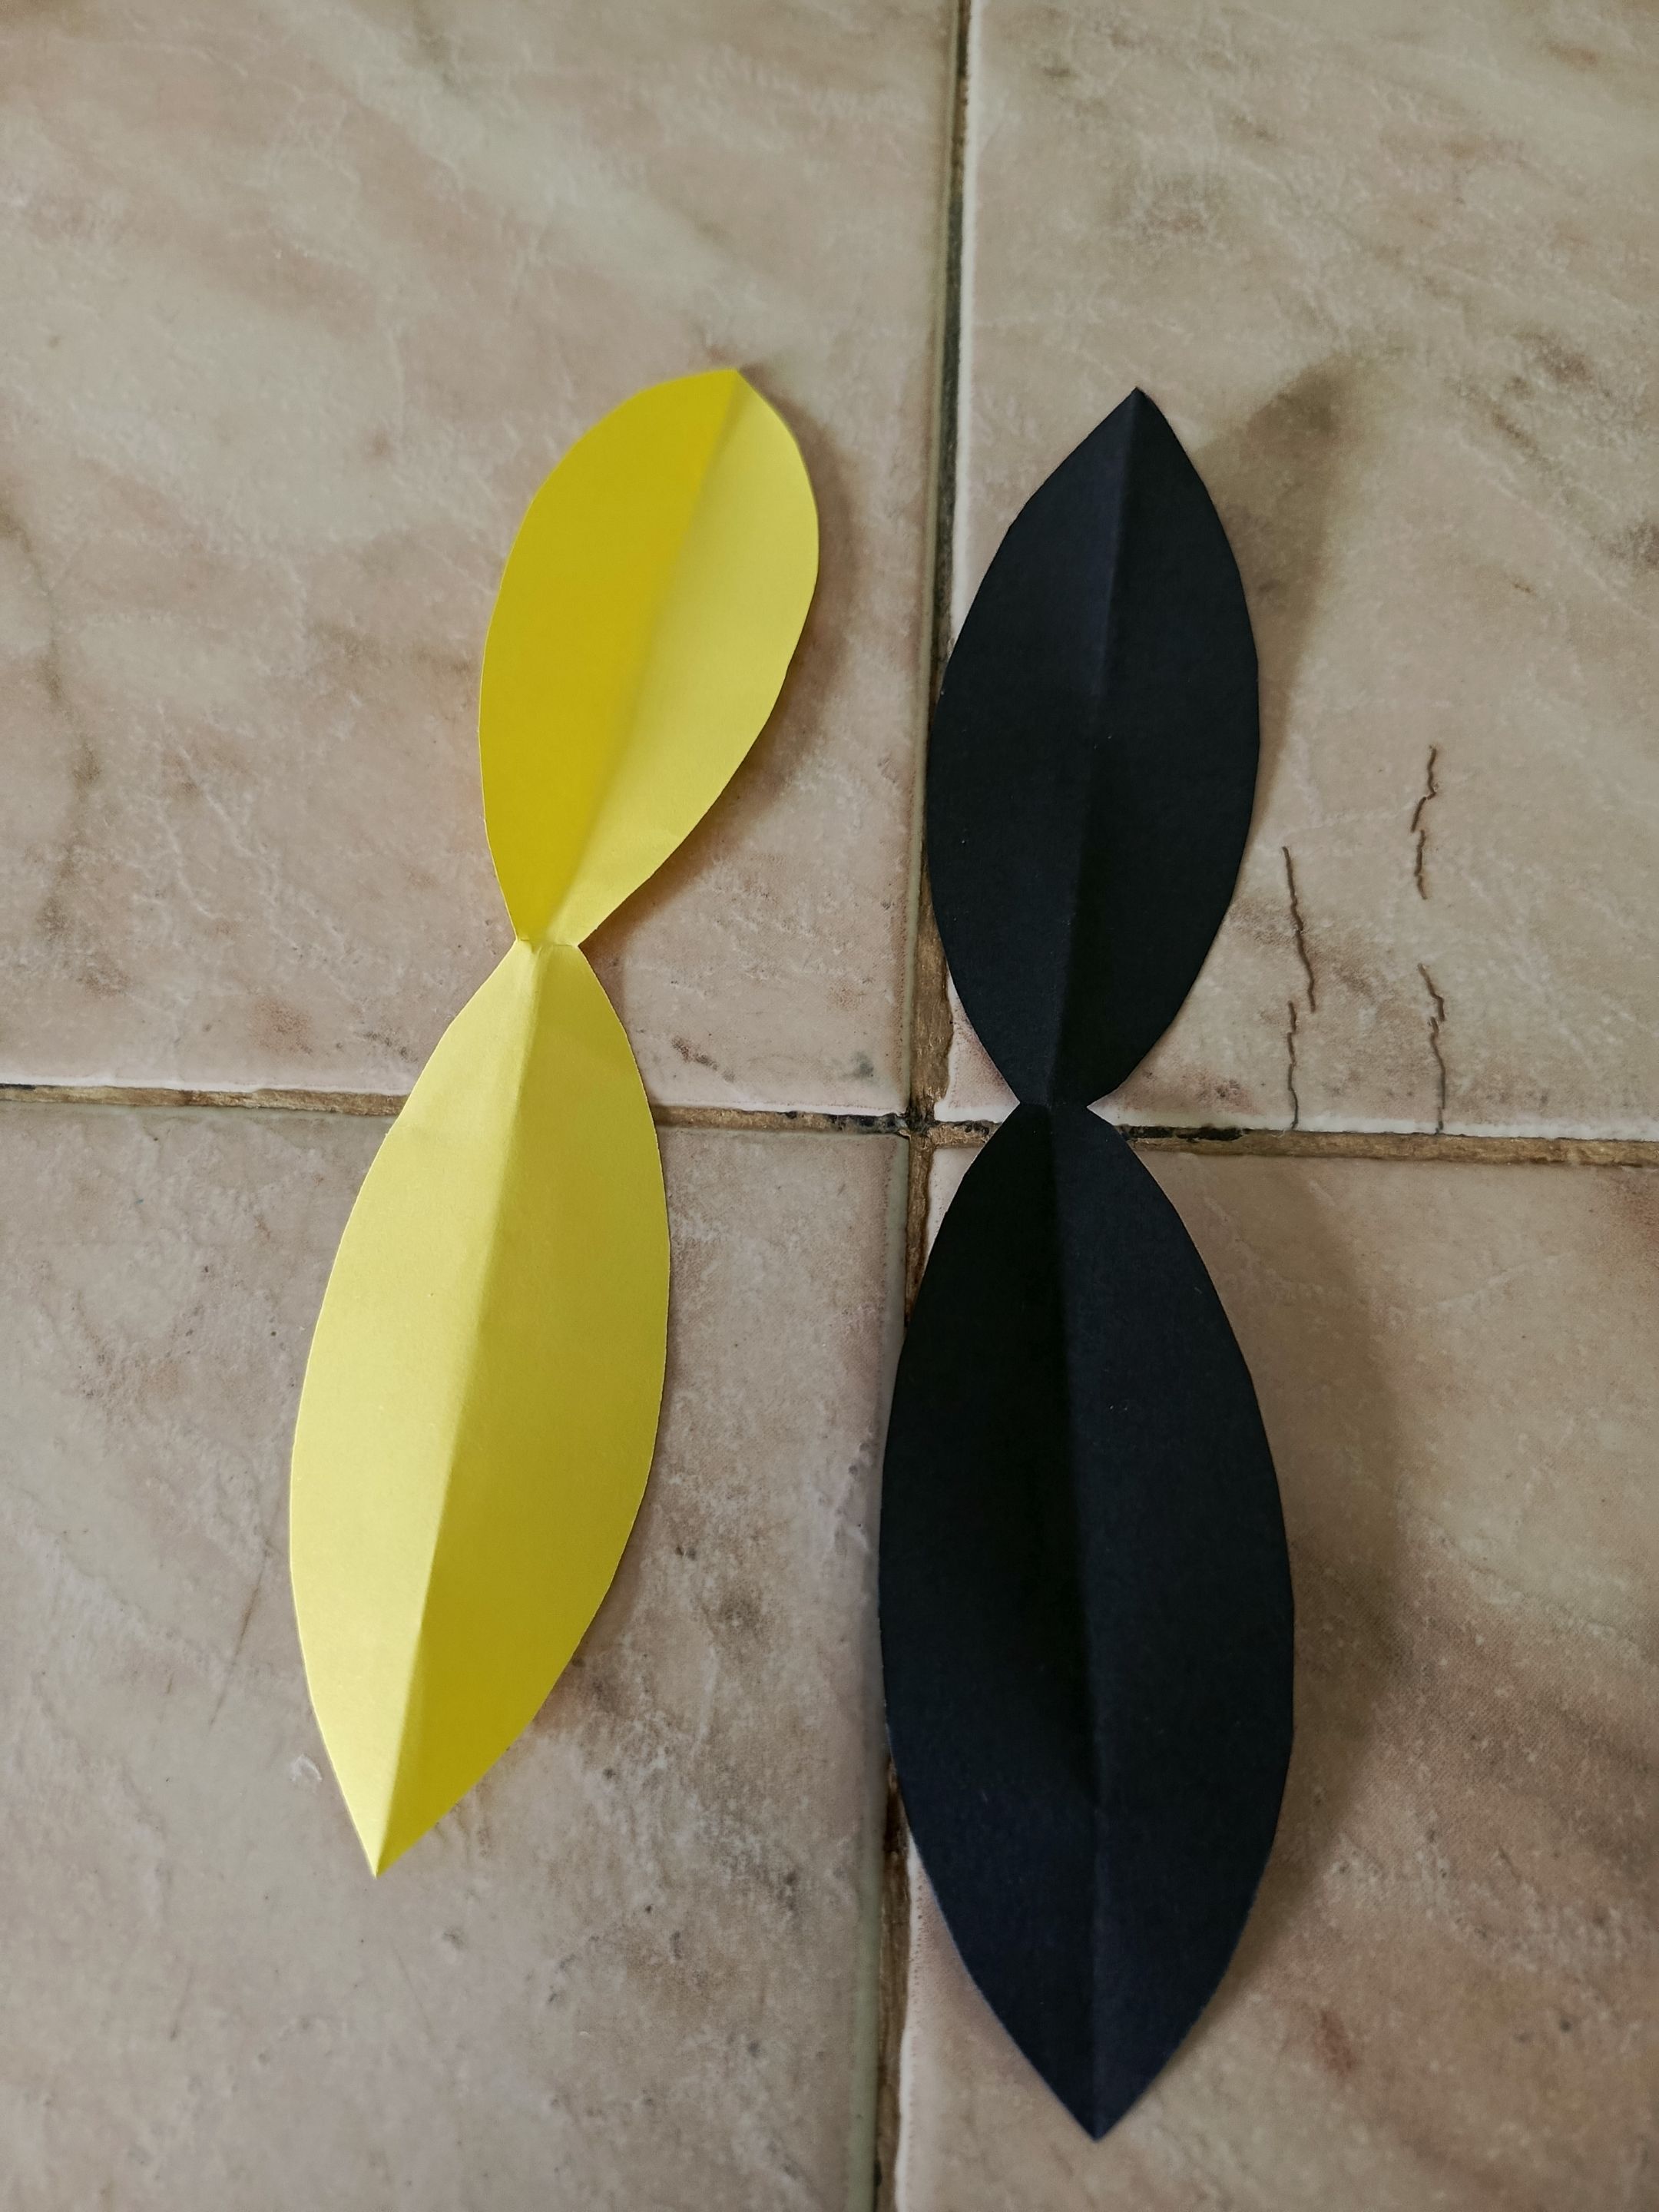
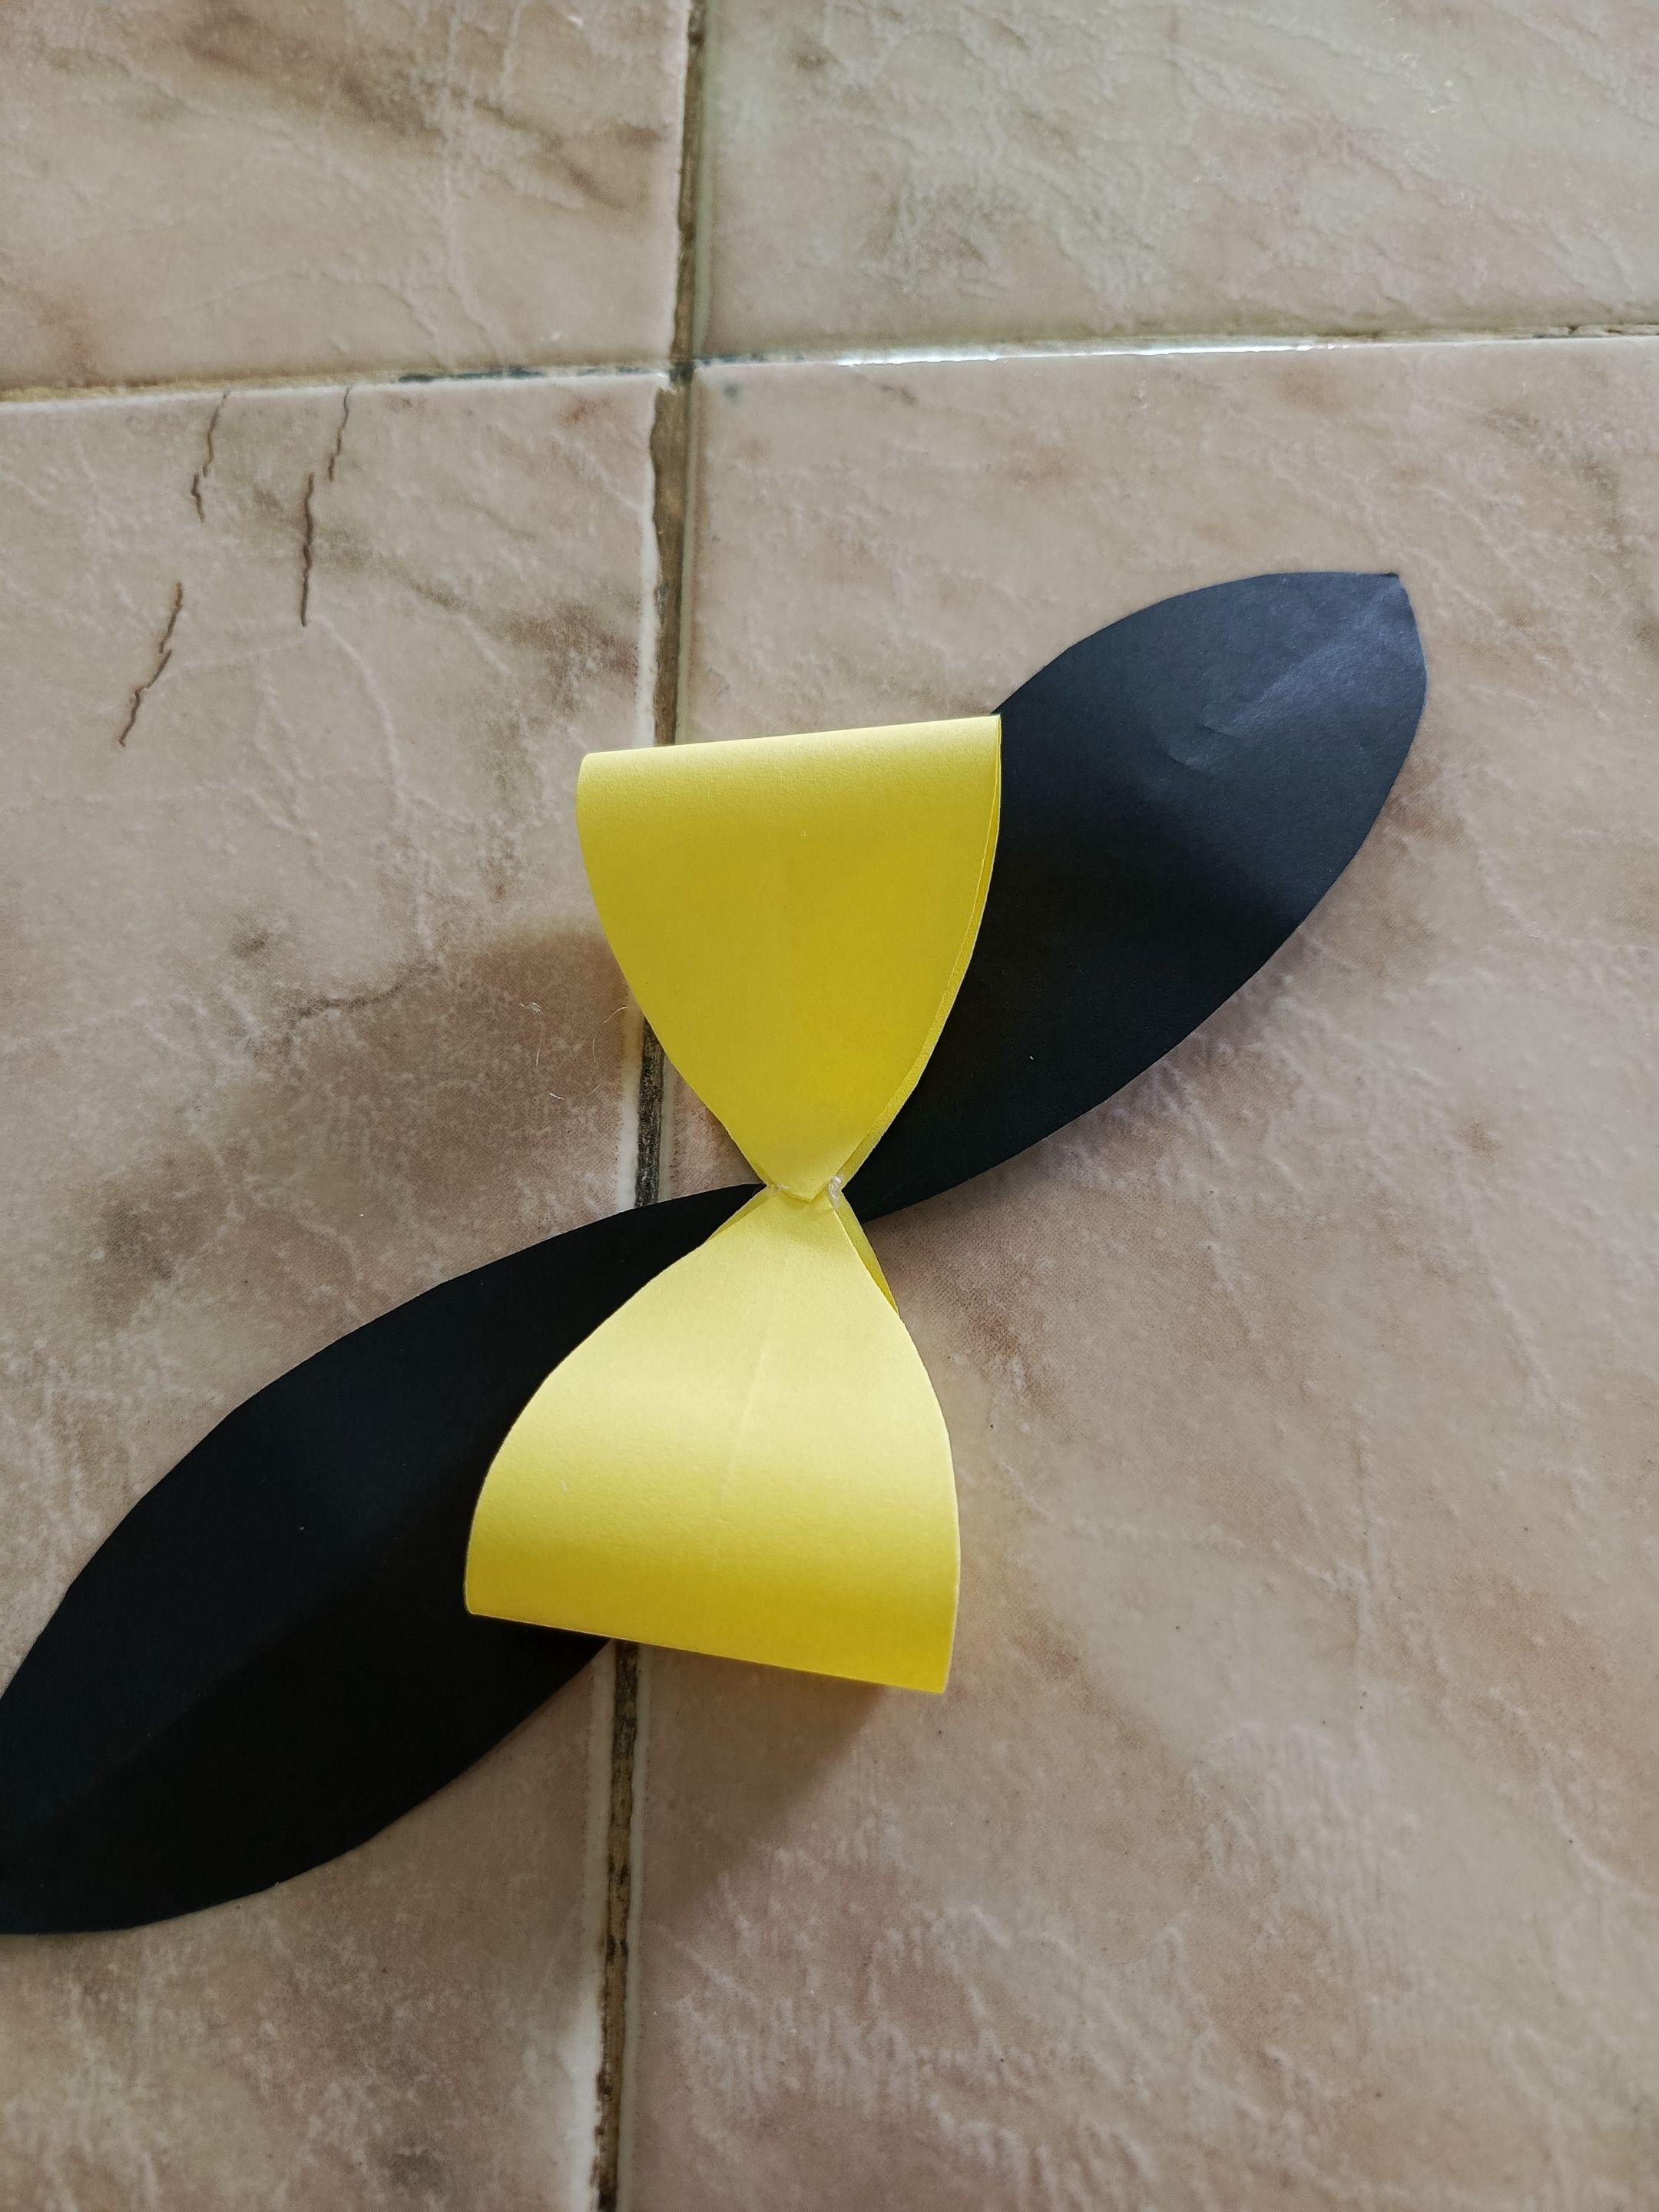
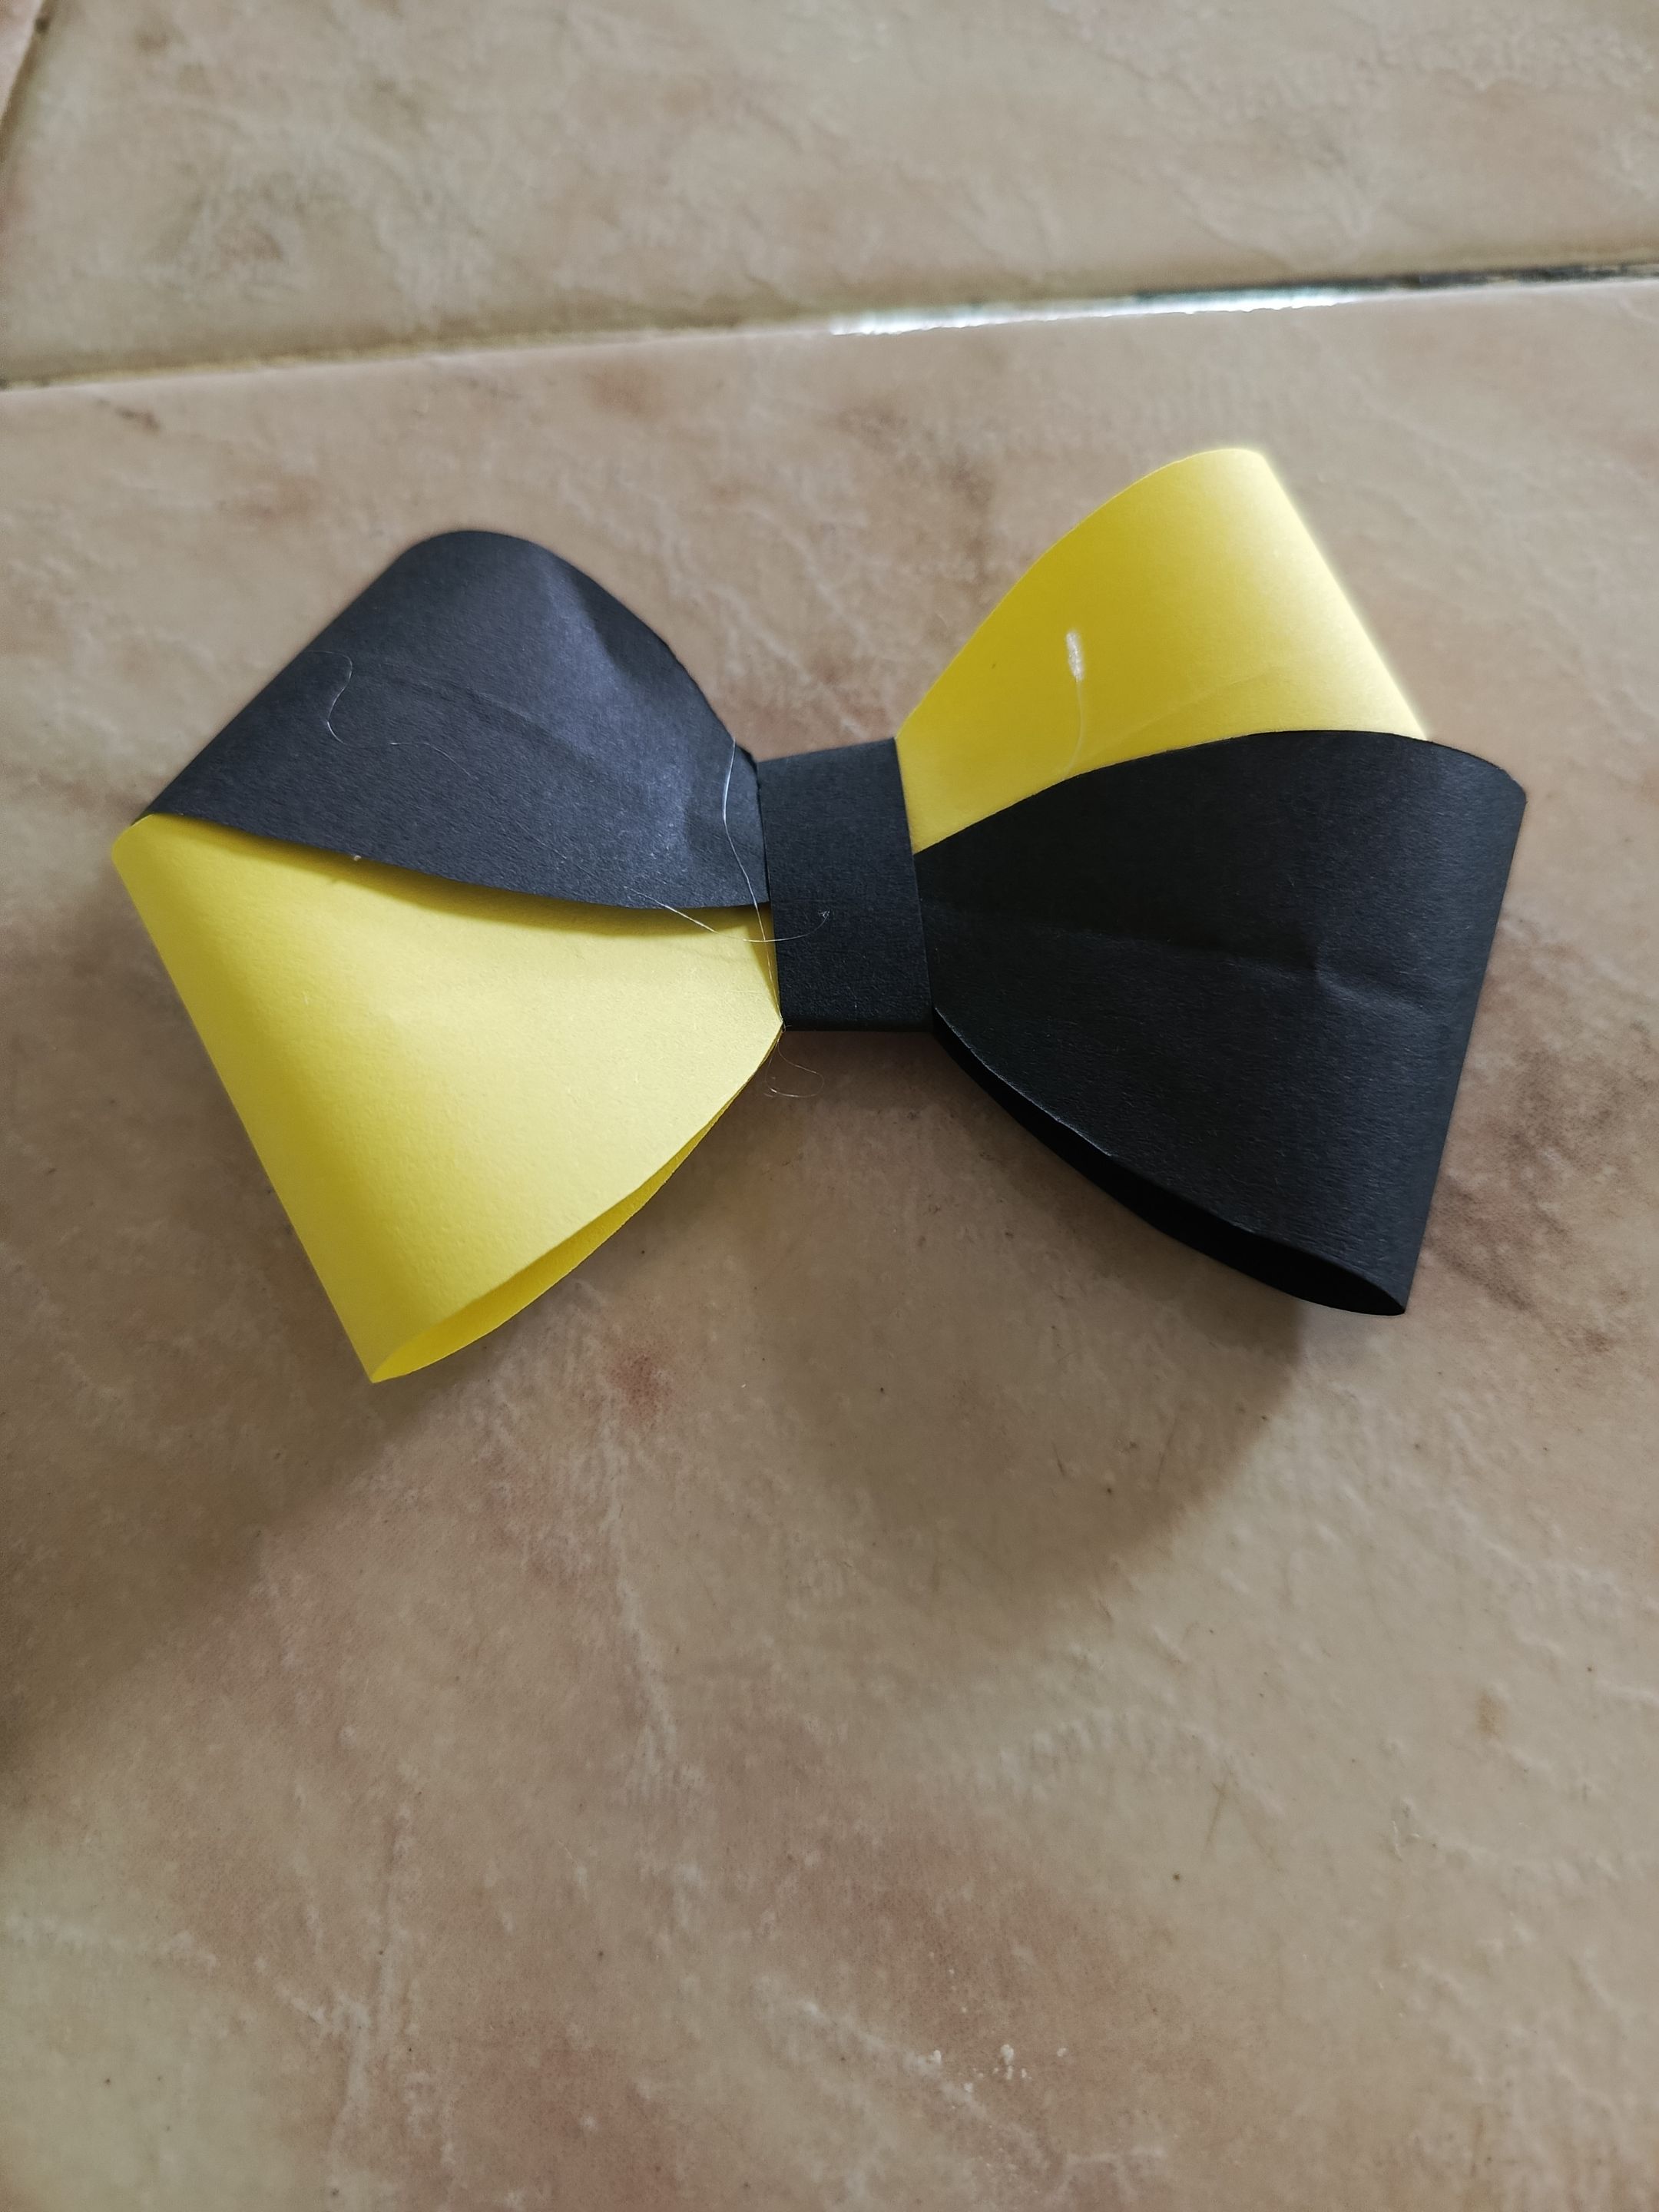
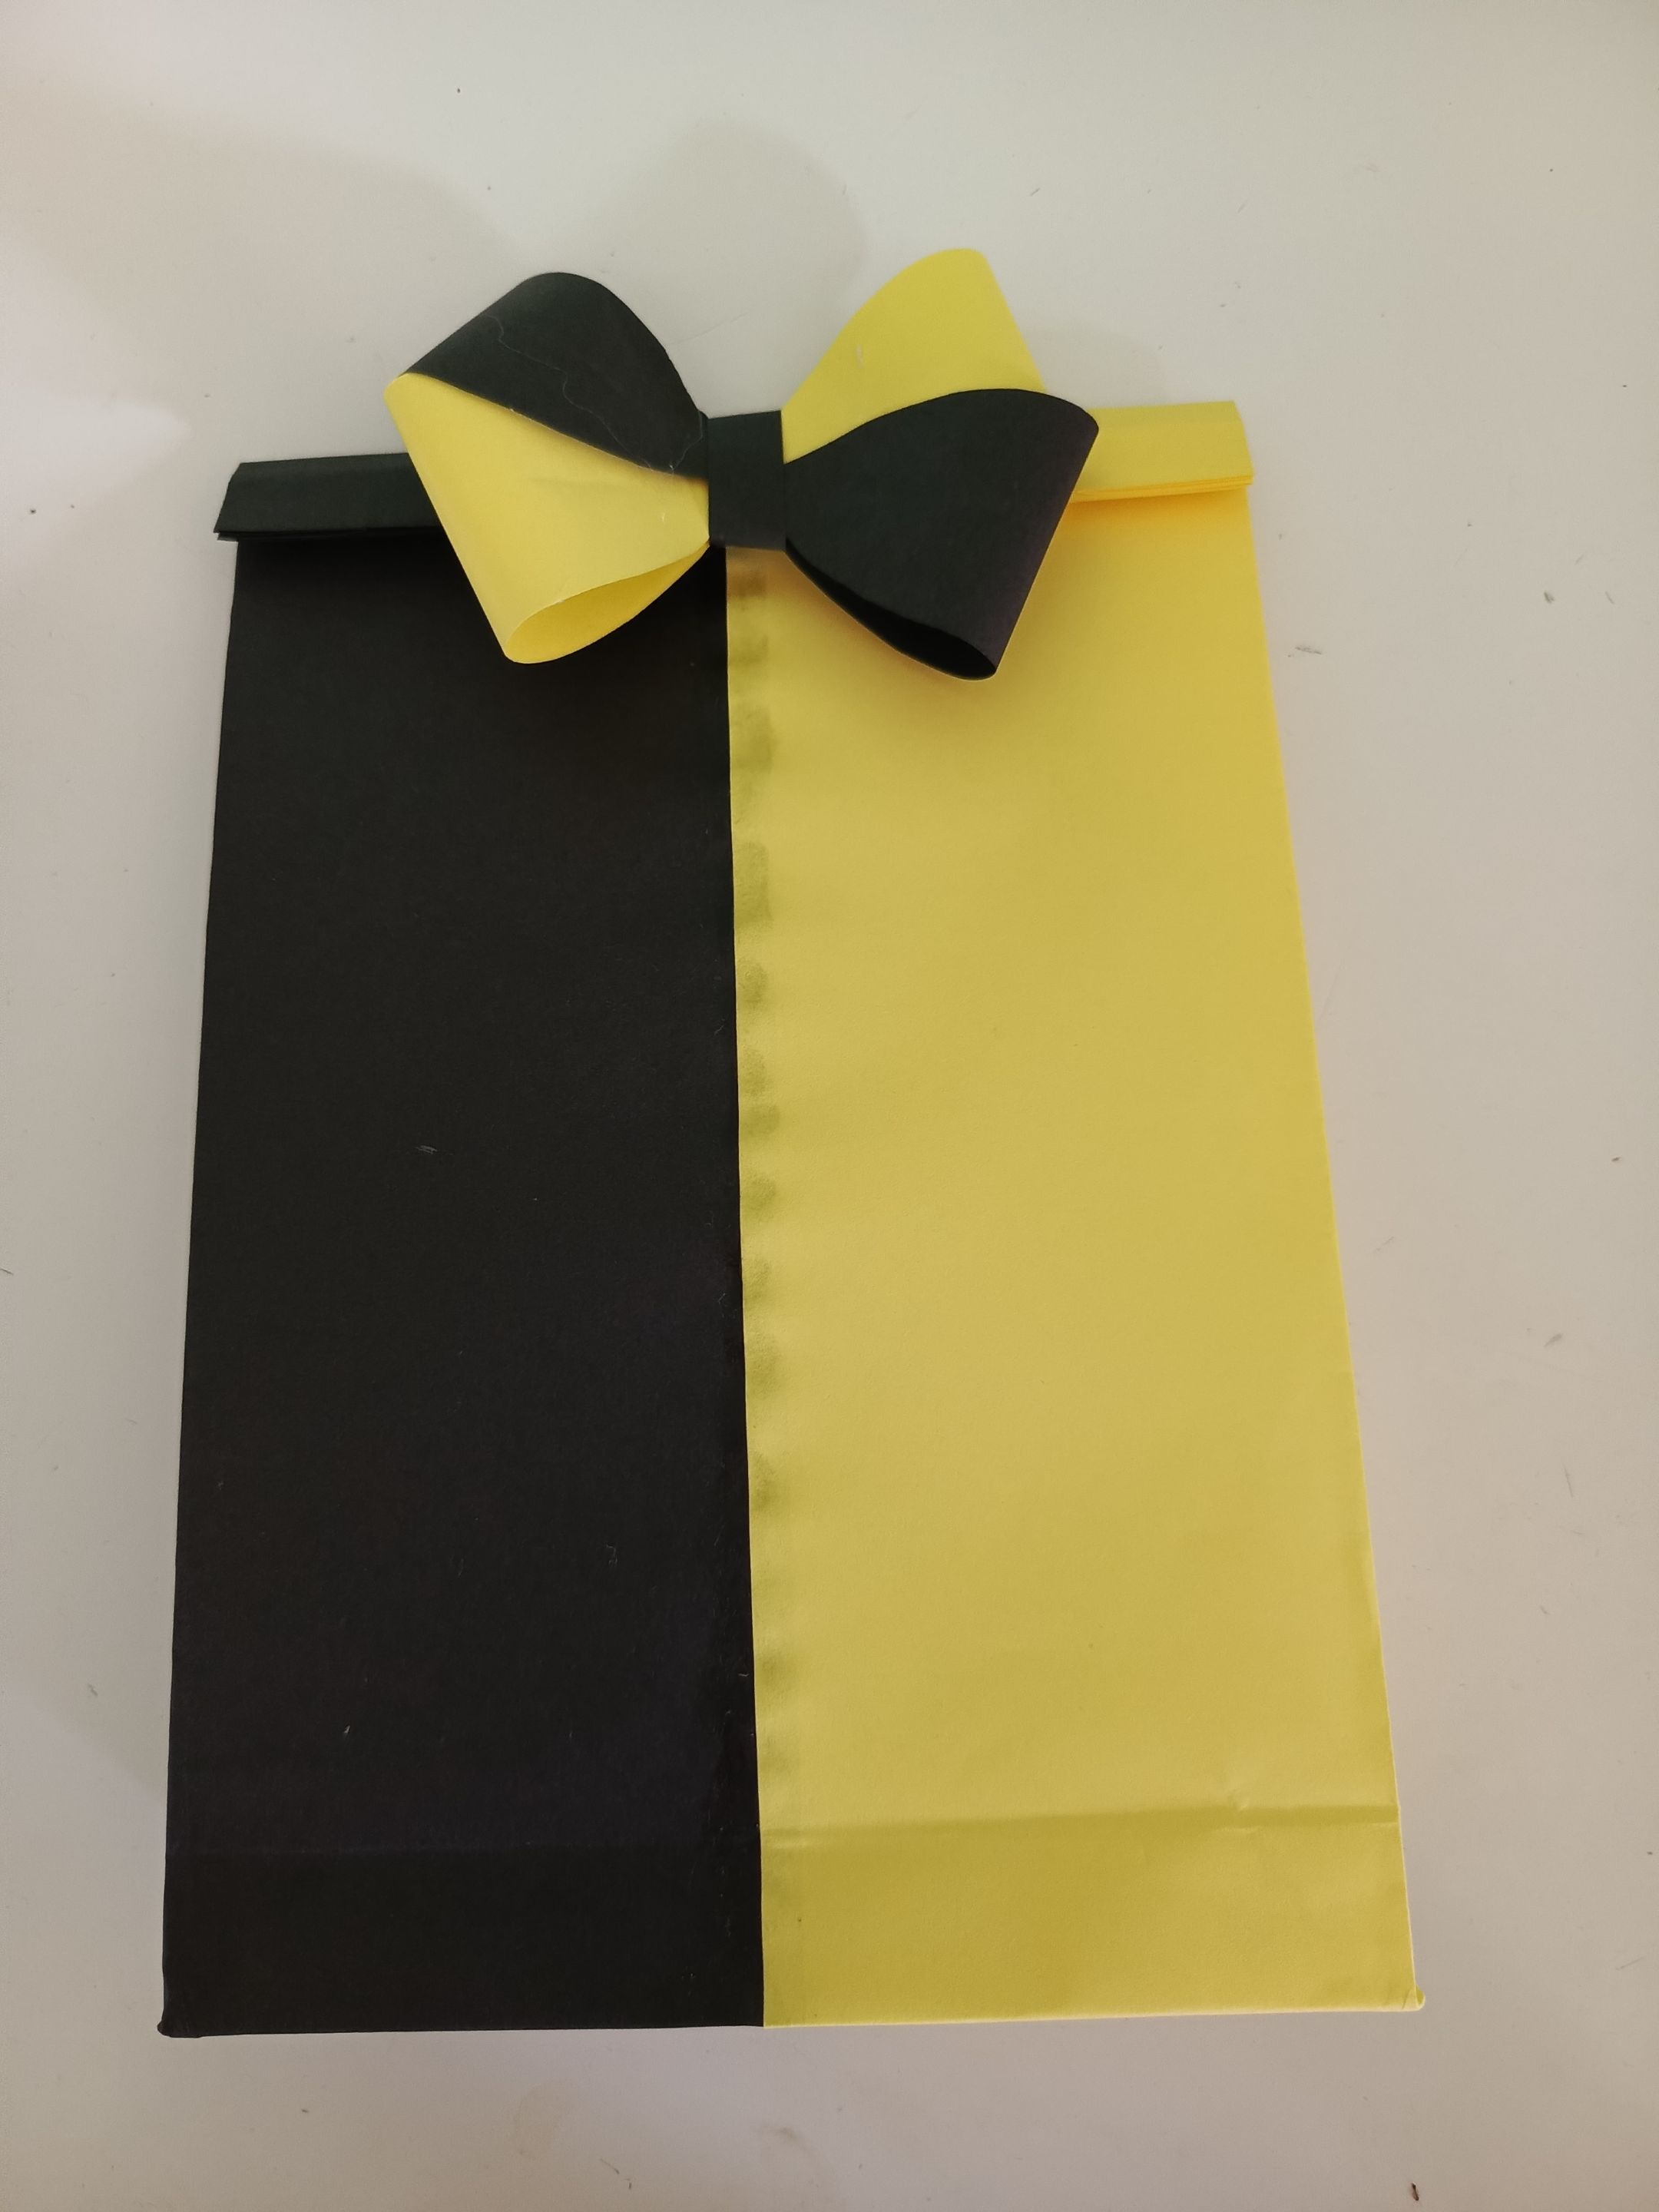
Para darle un toque decorativo a la bolsa se cortan dos tiras del mismo, color una negra y una amarilla, se le da la forma así como se muestra allí en la imagen y se van pegando hacia adentro hasta formar un lazo, que luego se va a pegar en la parte superior de la bolsa de regalo.
To give a decorative touch to the bag, cut two strips of the same color, one black and one yellow, shape them as shown in the image and glue them inside until they form a ribbon, which will then be glued to the top of the gift bag.
---
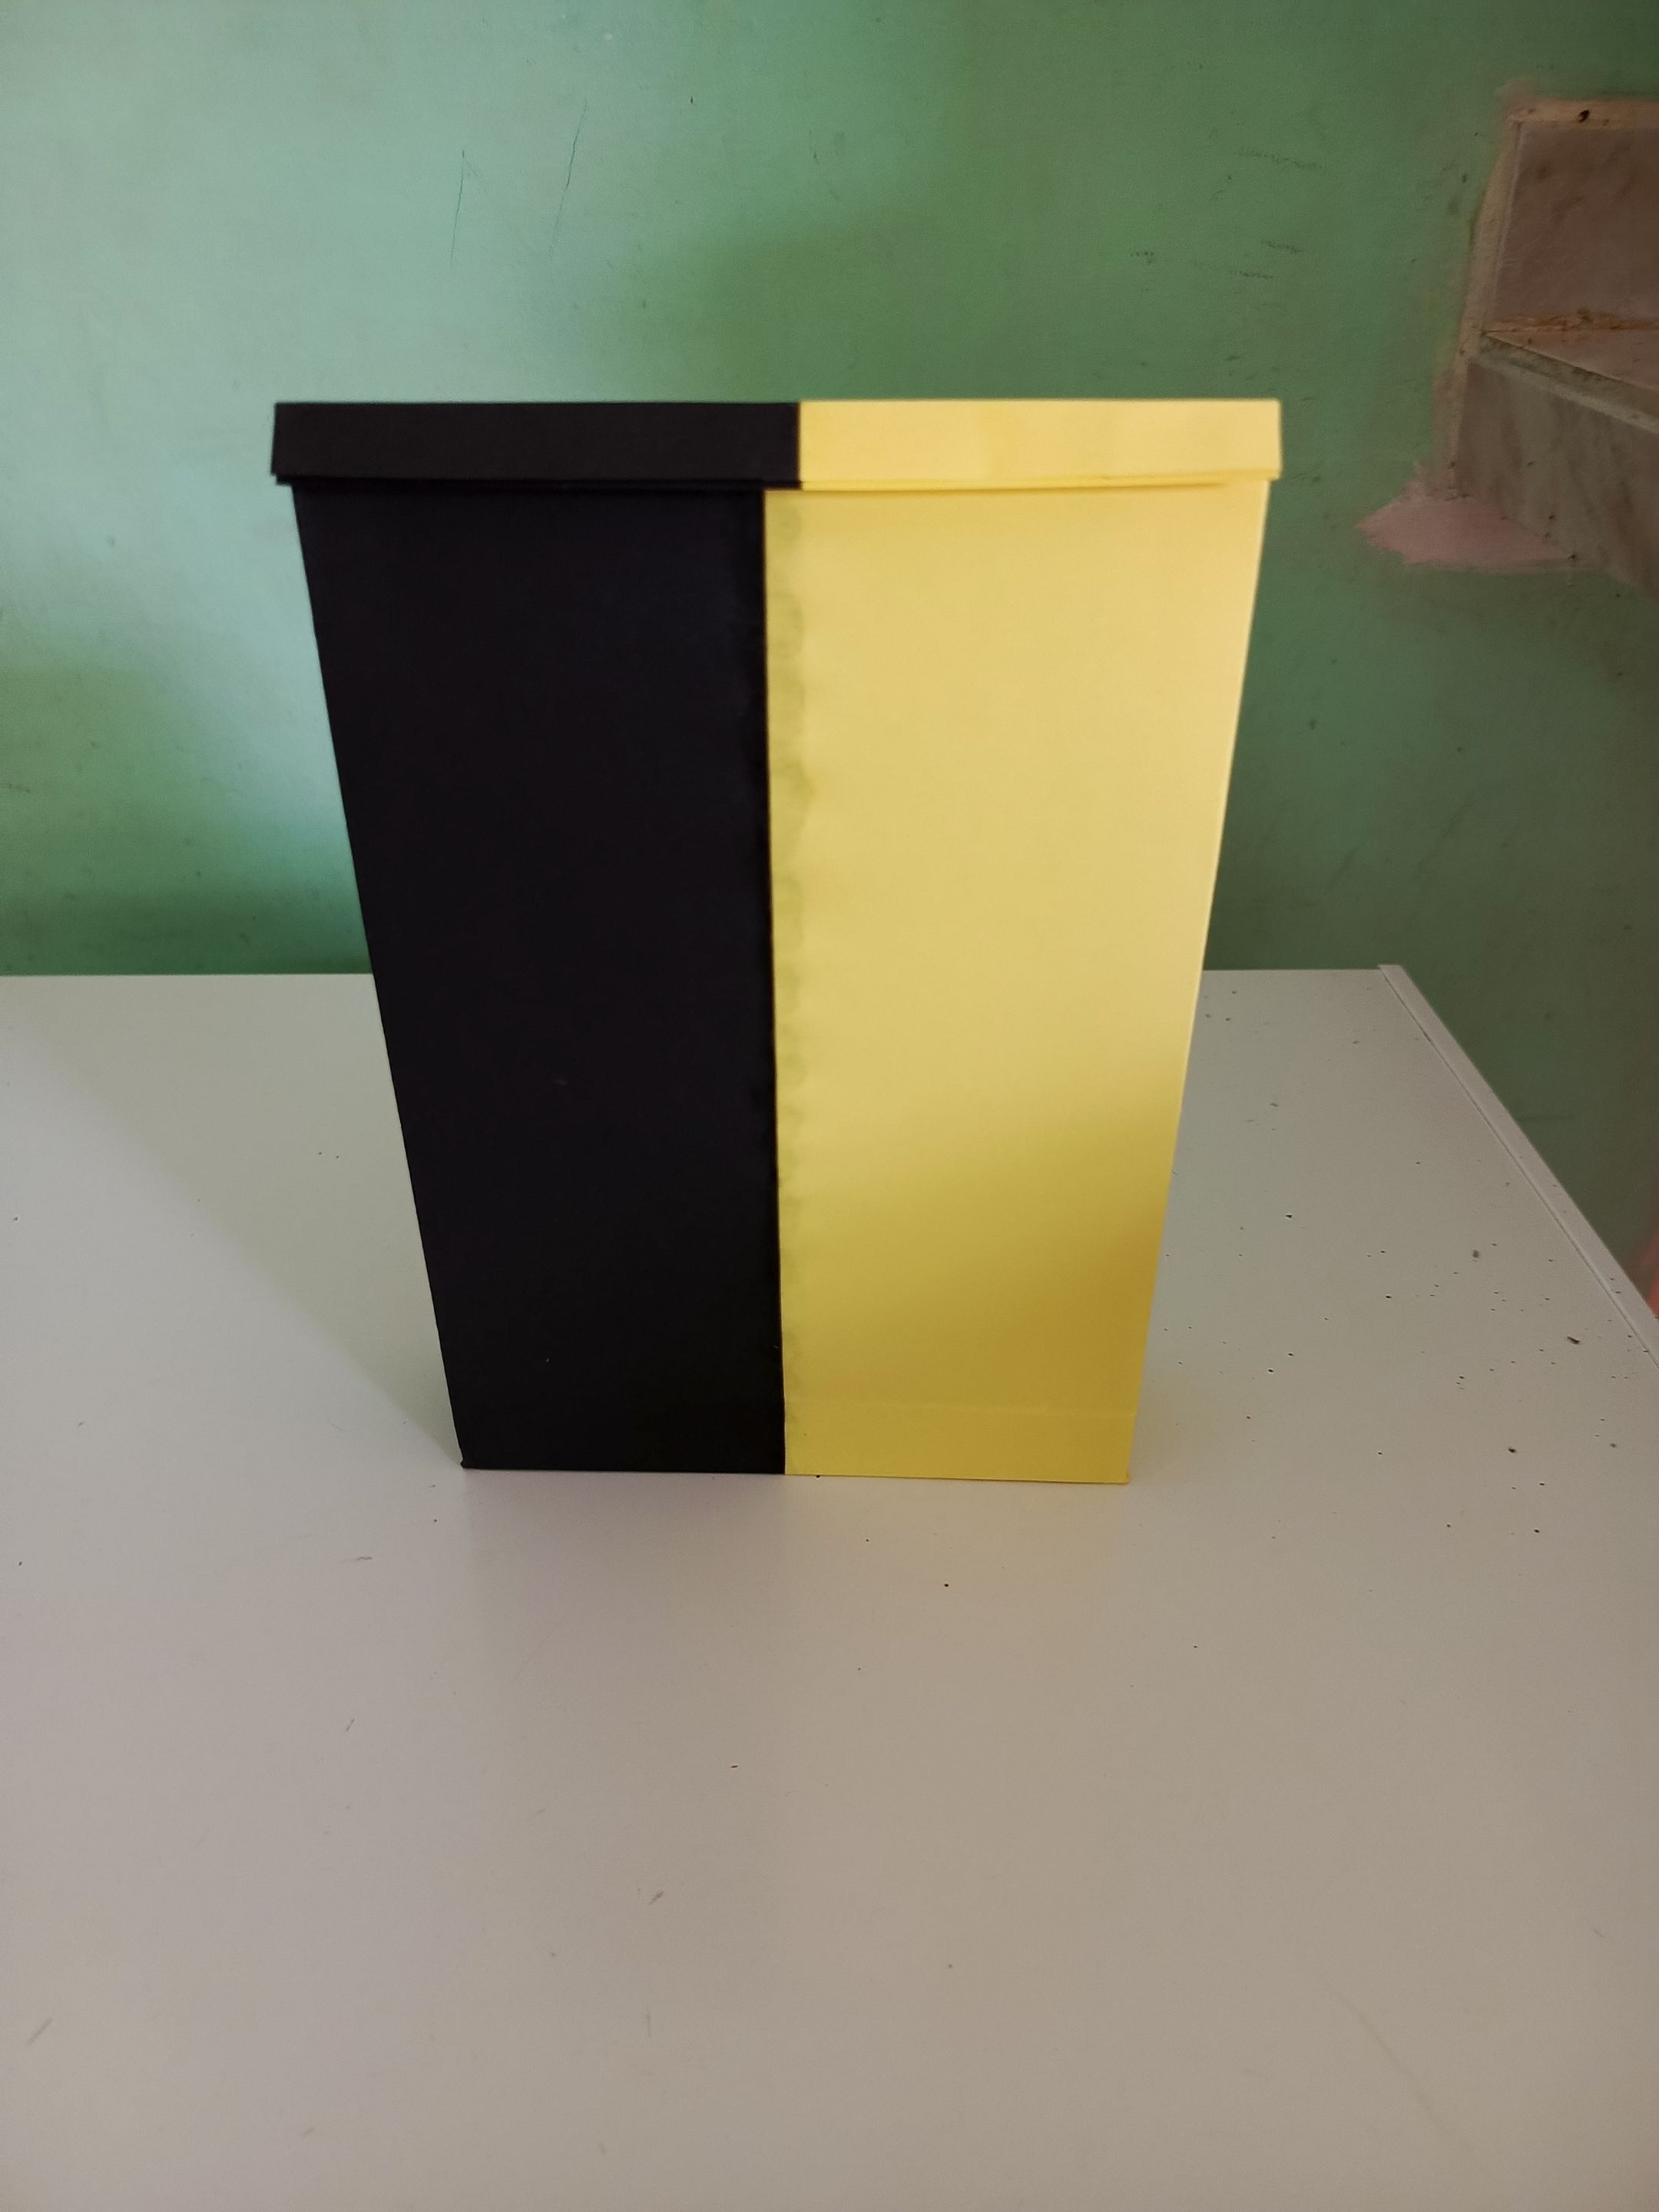
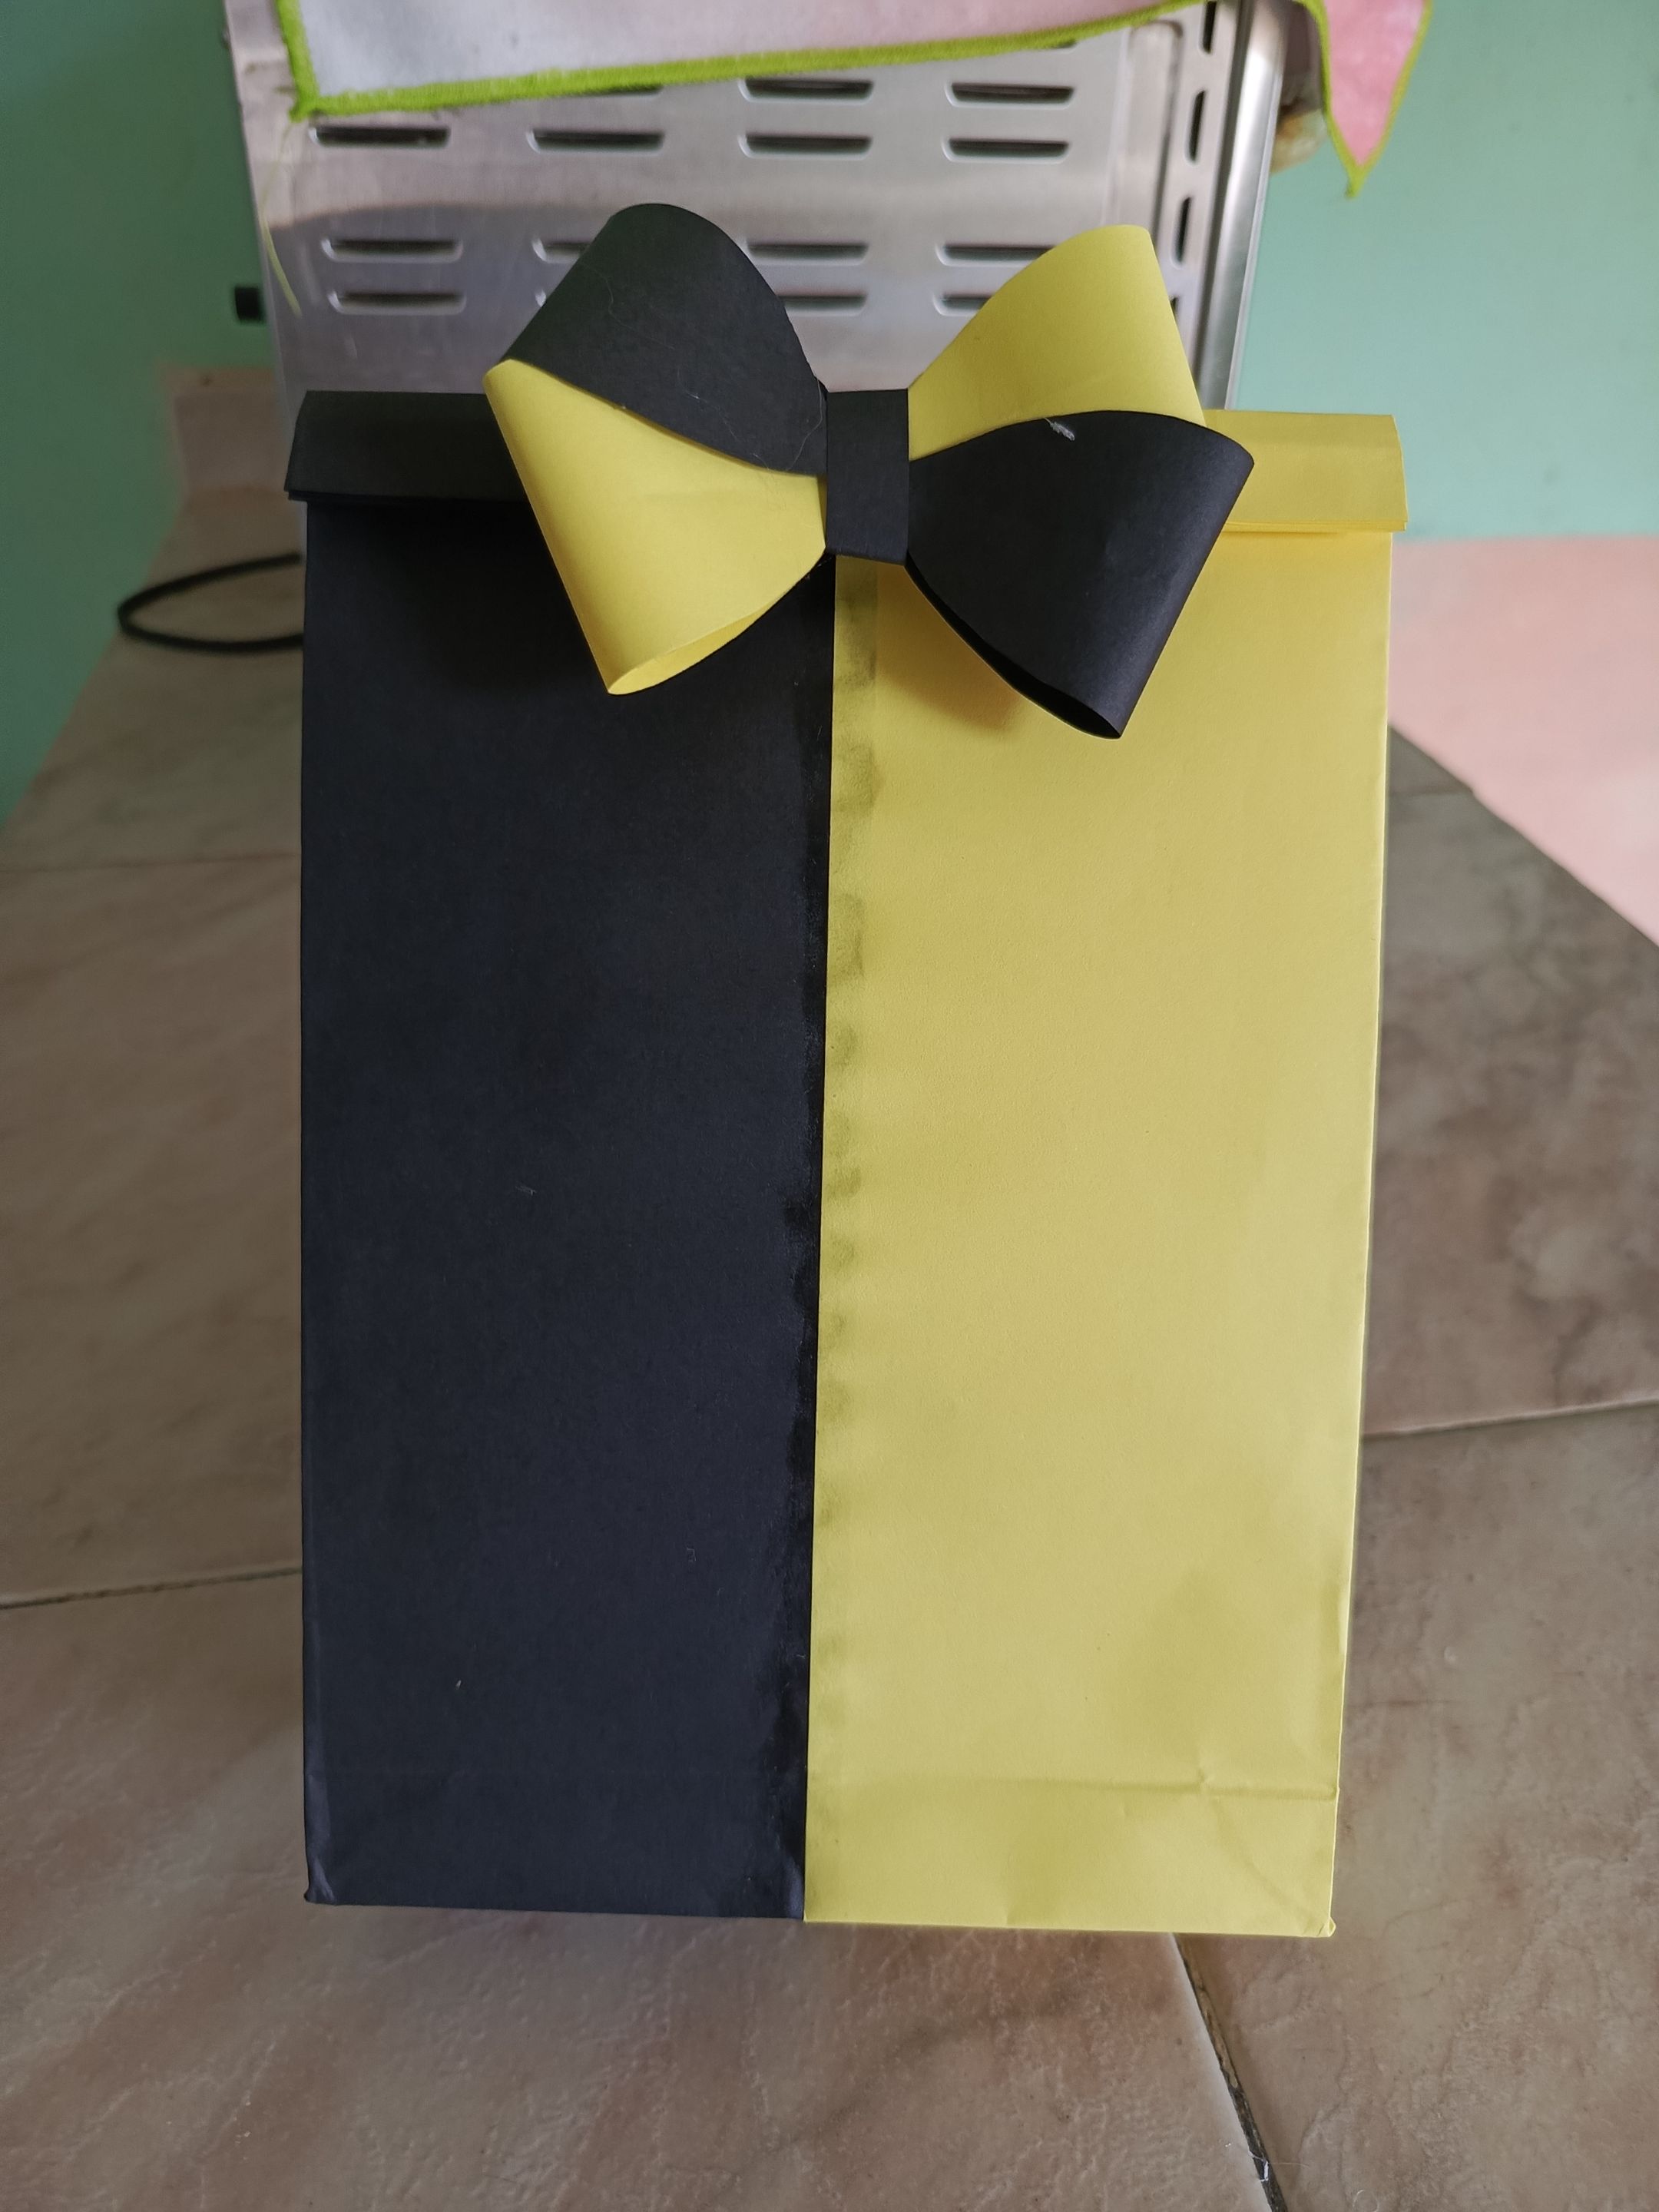
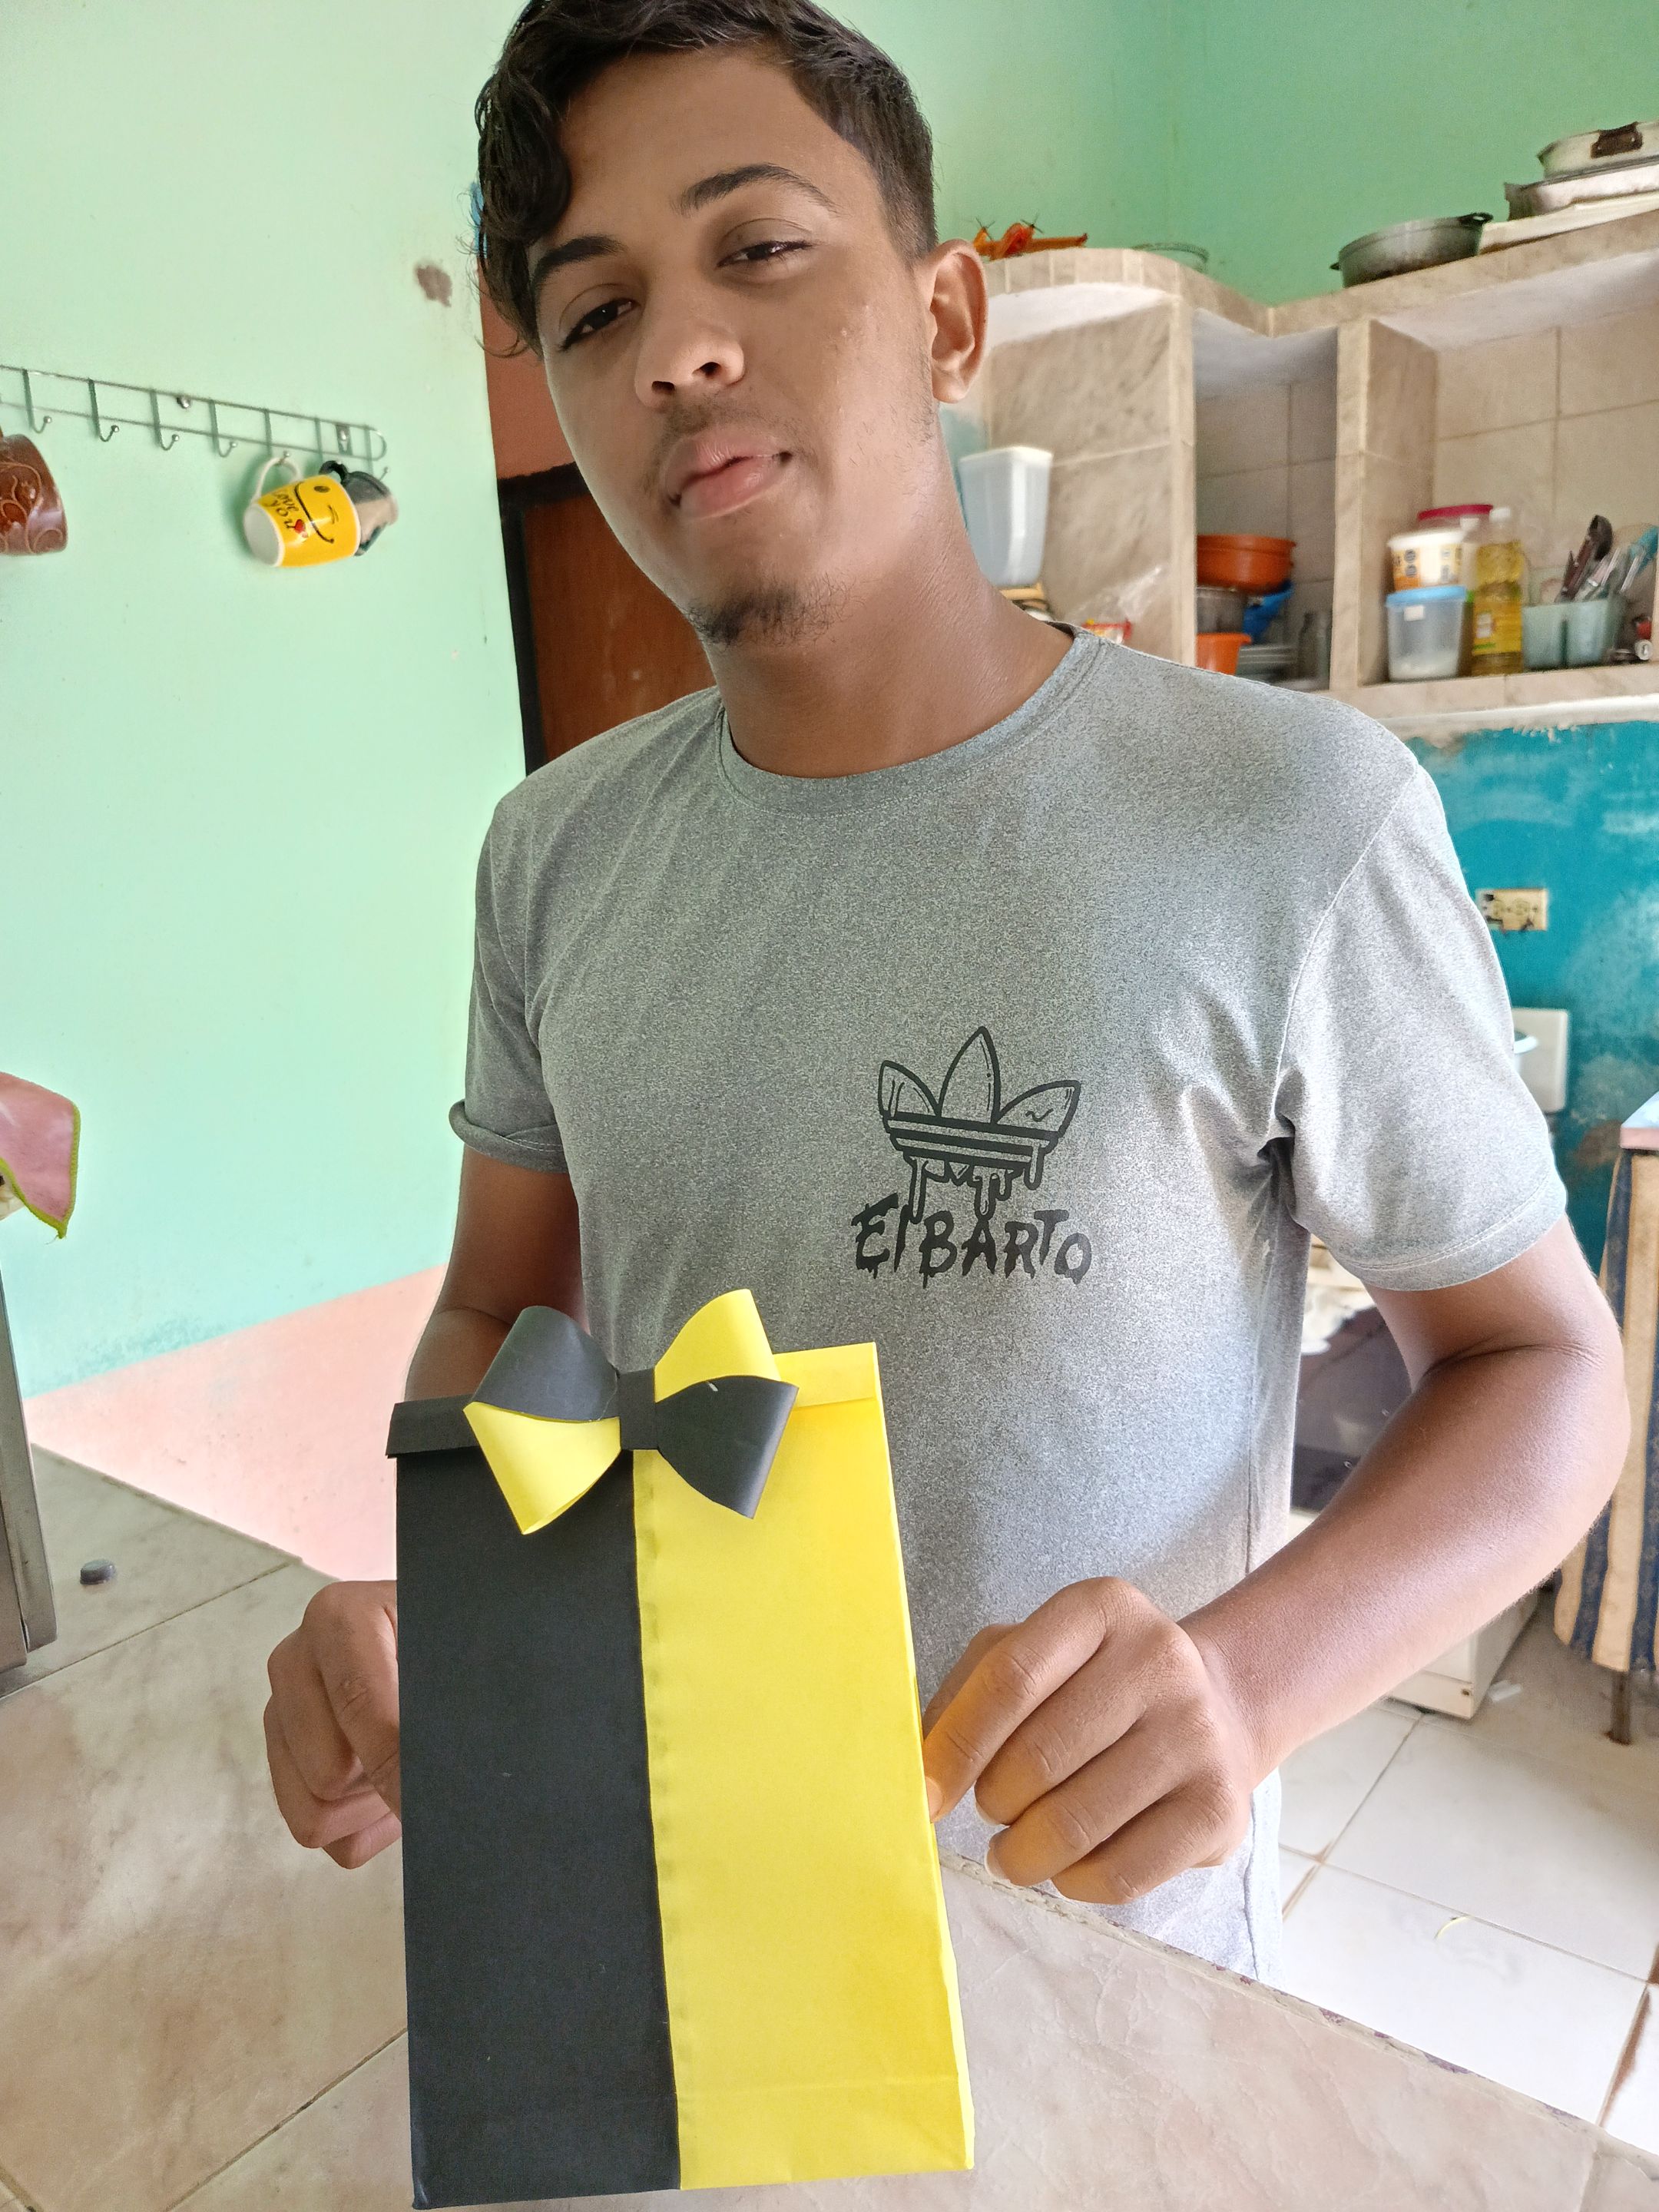
Ahora sí quedó lista la bolsa de regalo, con esto hago mi entrada al concurso de este mes nos vemos en la próxima!
Now the gift bag is ready, this is my entry for this month's contest, see you in the next one!
---
---
Translated with https://www.deepl.com/translator
Todas las imágenes son de mi autoría capturadas con un infinix
All images are my own capture
#beediy
#diy
#handmade
#tutorial
#neoxian
#spanish
Payout: 0.000 HBD
Votes: 259
More interactions (upvote, reblog, reply) coming soon.