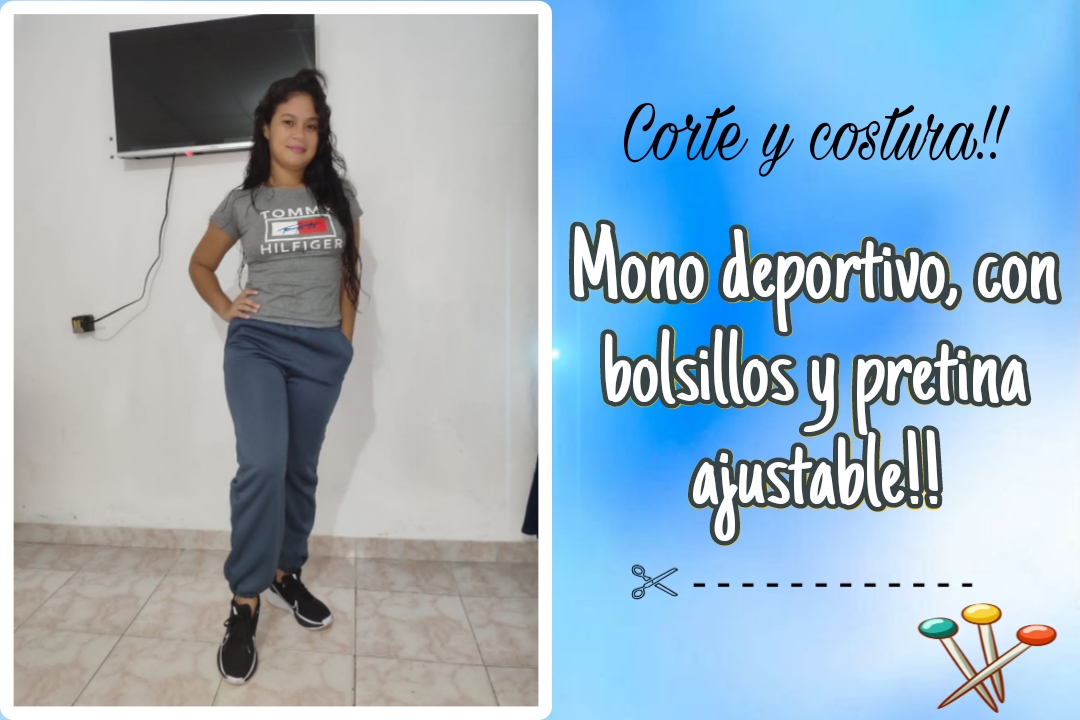
Bonita tarde comunidad artesana, Dios les bendiga de una manera grande y especial!!! Hoy me alegra mucho traerles un nuevo contenido de corte y costura para damas, con toque juvenil, ideal para una dia de deportes.
La prenda que confeccionaremos hoy, se trata de un comodo mono o pantalón deportivo de pretina ajustada con fruncido en el final de cada pierna y bolsillos laterales, un diseño sencillo y que podemos crear en pocos pasos.. En realidad hacer un mono como estos, no requiere de tanto trabajo ni de mucha habilidad o experiencia, o bueno ,eso es lo que pienso al respecto, es más que todo un poco de práctica y paciencia, aunque en este arte, ésto es lo que más se requiere tener, hay prendas que relativamente son sencillas de hacer, debido a sus cortes y costuras. Hay otras que en mi opinión, si necesitan de mucho más tiempo y esmero. Para hacer un mono como éste solo necesitamos un poco de imaginación mas que todo para sus detalles.. Por este motivo, hoy te muestro un tutorial para que aprendas sus cortes y costura y también a crearles algunos detallitos para lucir un prenda muy cómoda al momento de tu rutina deportiva.
Nice afternoon, artisan community! God bless you in a big and special way! Today I'm very happy to bring you new cutting and sewing content for women, with a youthful touch, ideal for a sports day.The garment we'll make today is a comfortable jumpsuit or sweatpants with a fitted waistband, gathered at the end of each leg, and side pockets. It's a simple design that we can create in just a few steps. Actually, making a jumpsuit like these doesn't require much work or much skill or experience, or well, that's what I think about it. It's mostly a little practice and patience. Although in this art, this is what's most required, there are garments that are relatively simple to make, due to their cuts and seams. There are others that, in my opinion, require much more time and effort. To make a jumpsuit like this we only need a little imagination, especially for its details. For this reason, today I show you a tutorial so you can learn how to cut and sew it, and also how to create some details to show off a very comfortable garment during your sports routine.
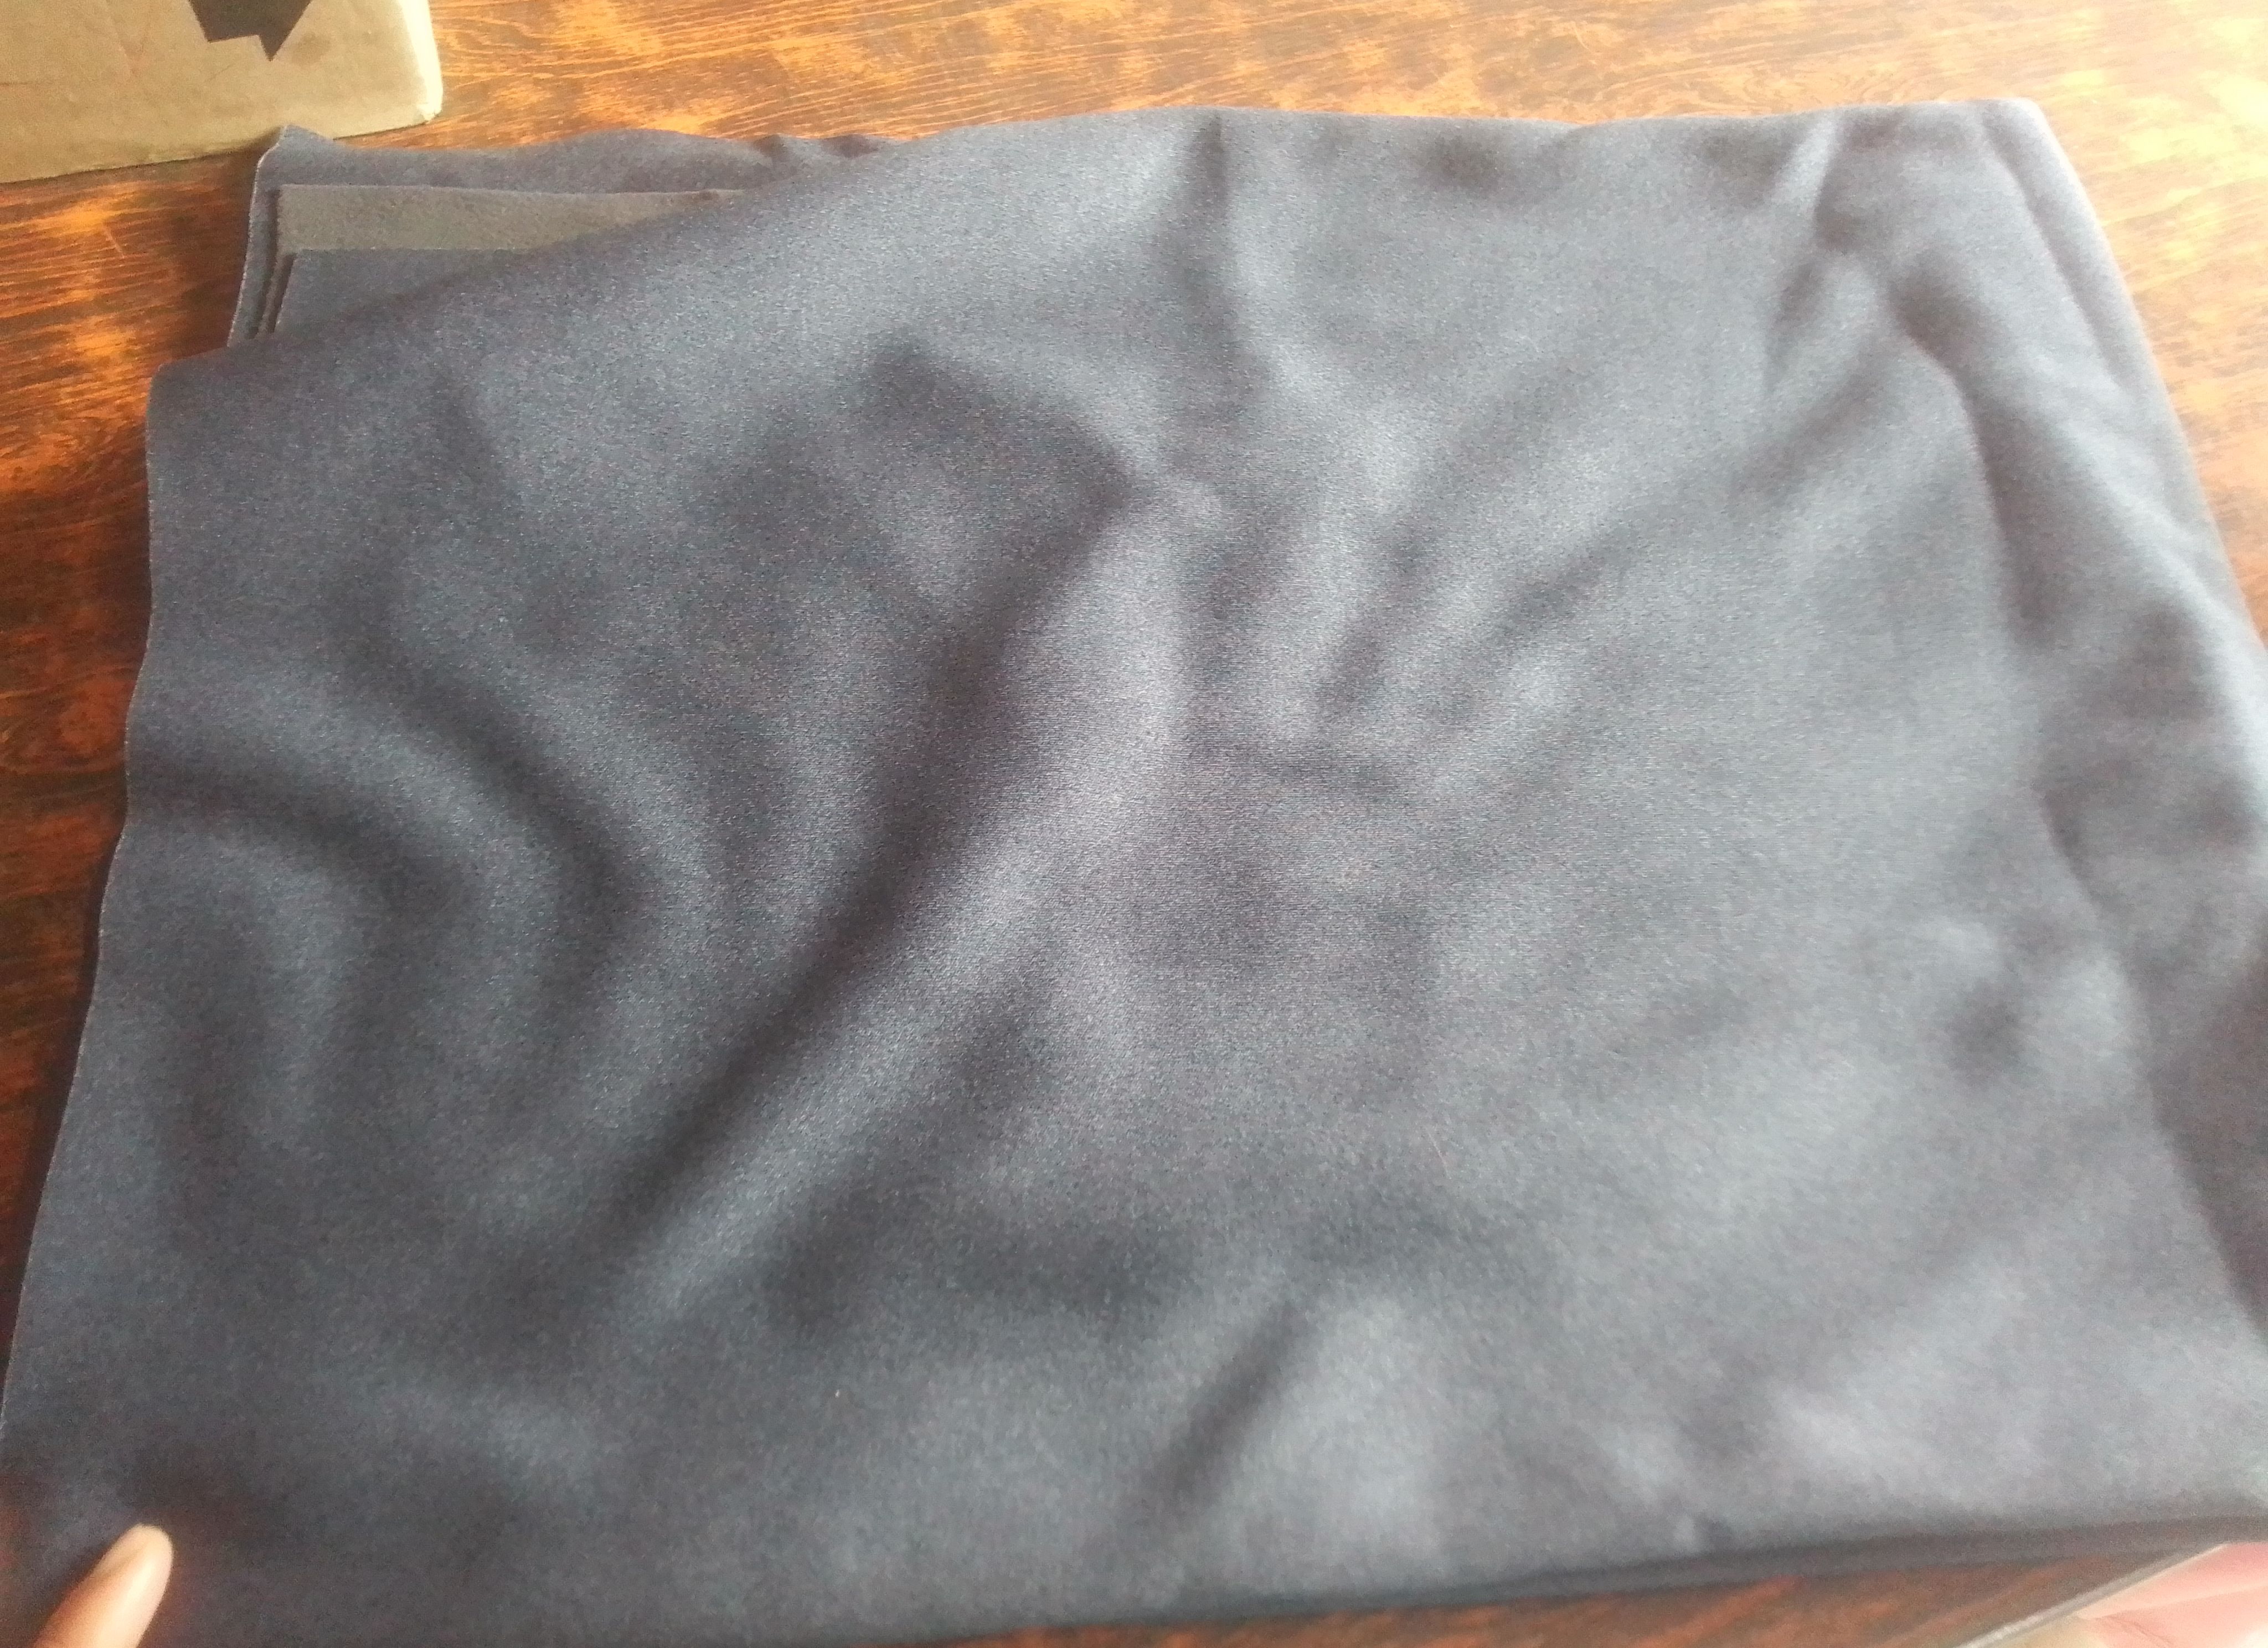
***Materiales que necesitas:***
***Materials you need:***
- Tela de mono.
- Tijeras.
- Hilo y aguja.
- Máquina de coser
- Elástica de 1cm.
- Monkey fabric.
- Scissors.
- Thread and needle.
- Sewing machine.
- 1cm elastic.
***PROCEDIMIENTO***
Procedure
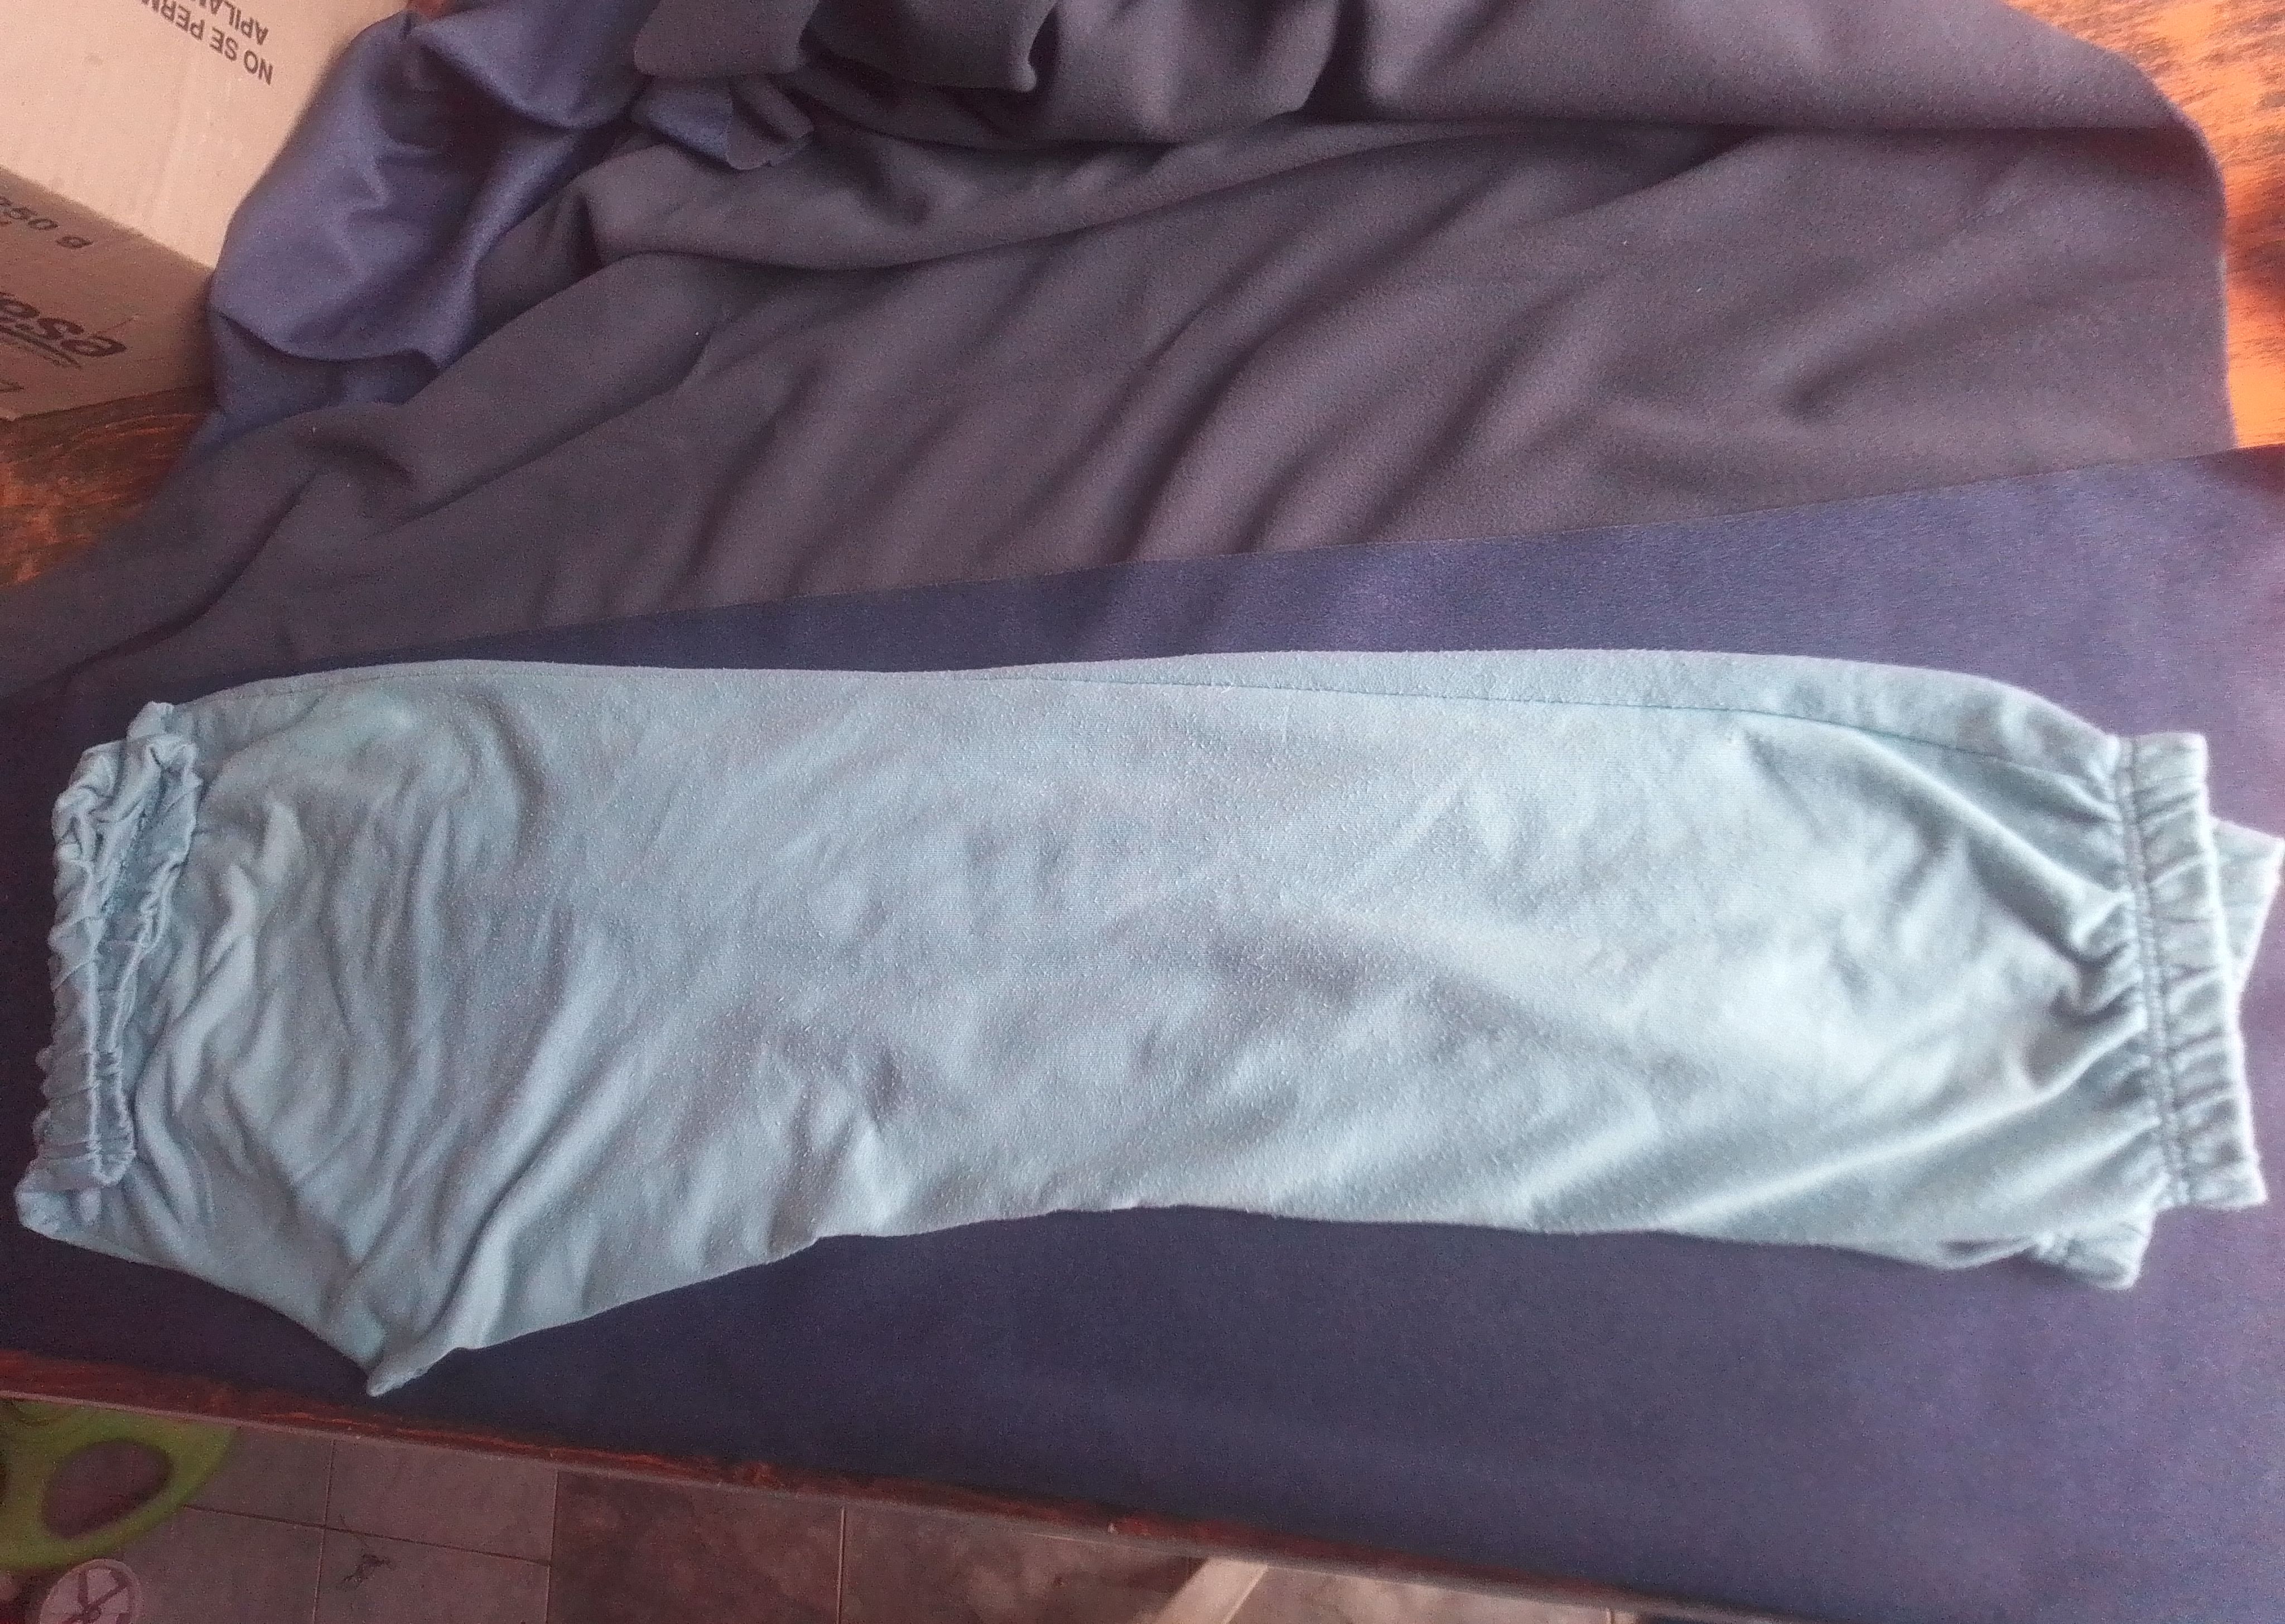
🌟Paso 01
Voy a comenzar utilizando un mono de usos diario como guia, molde o patrón para la creación de esta prenda.. Estiramos muy bien la parte del tiro y las piernas sobre la tela doblada la la mitad, la zona de la pretina la doblamos hacia adentro para quitar un poco el tamaño. Procedo a cortar su forma primero delantera y volteamos para cortar sus partes traseras. También corto dos cuadrados y ubicamos en cada esquina d ella parte del atera, dibujando una semi curva.
🌟Step 01
I'm going to start by using an everyday jumpsuit as a guide, template, or pattern for creating this garment. Stretch the rise and legs well over the fabric folded in half. Fold the waistband inward to trim the sizing. Cut the front first, then flip it over to cut the back. Cut two squares and place them in each corner of the waistband, drawing a semi-curve.
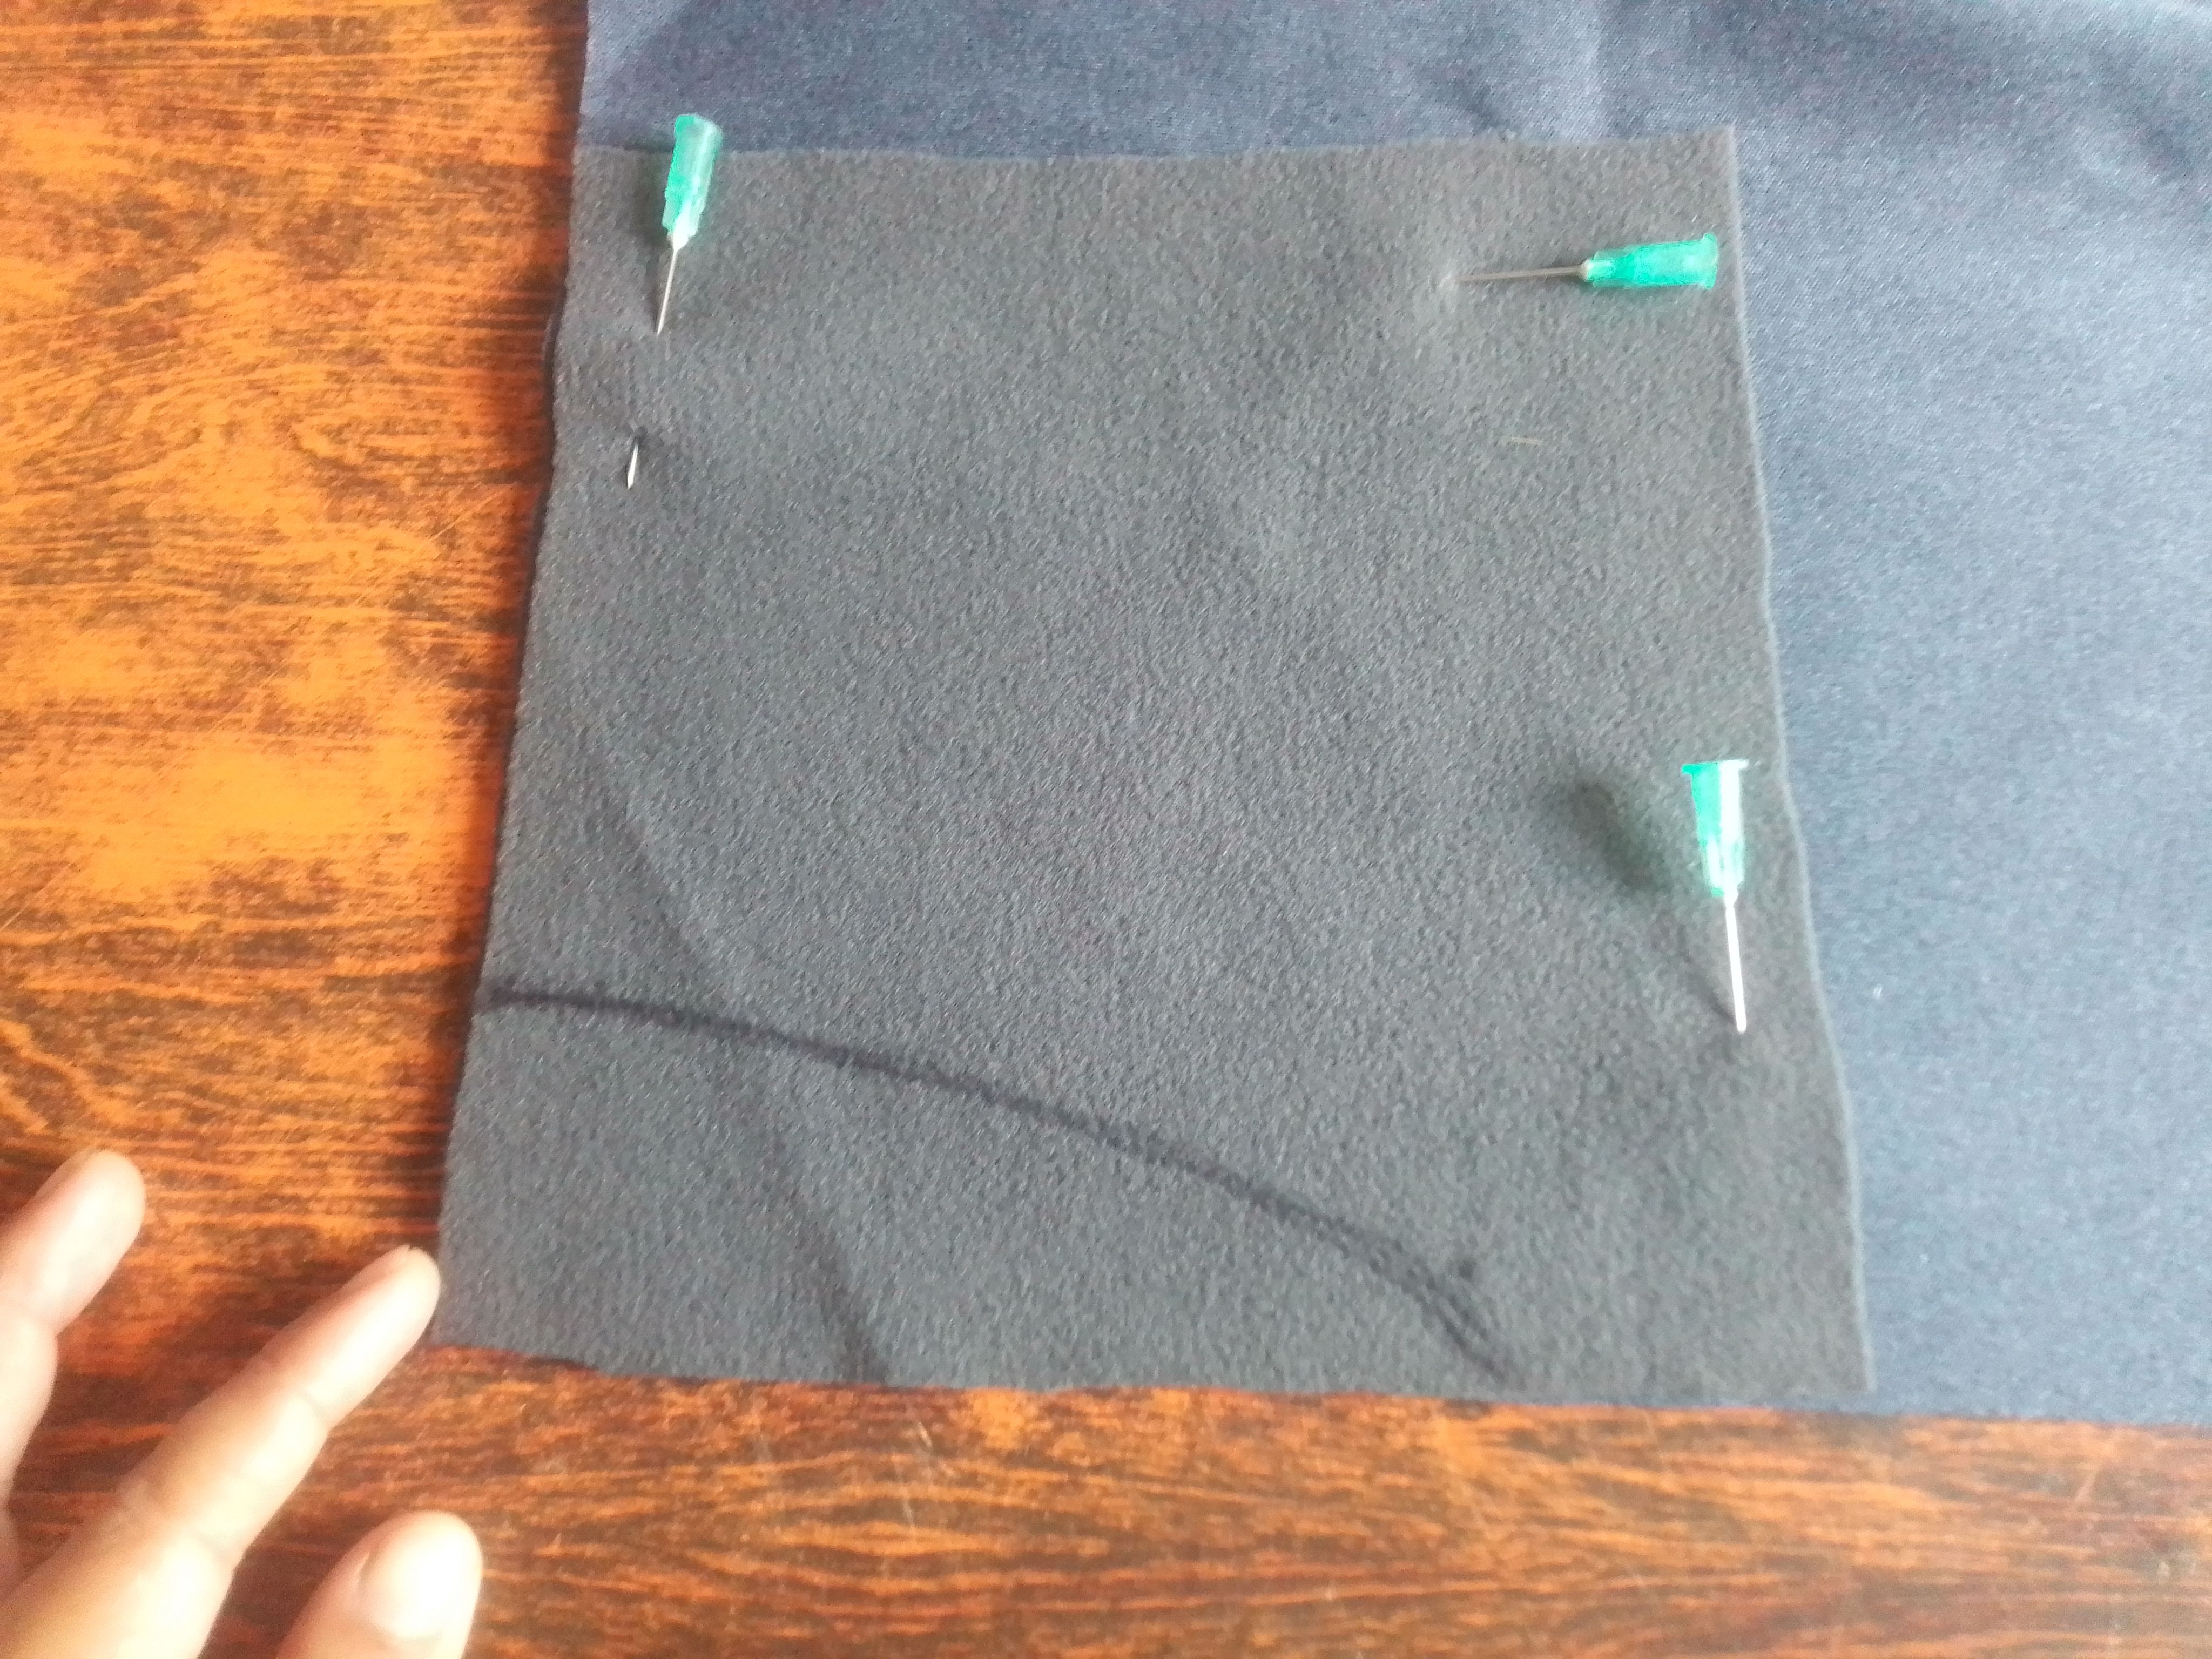
🌟Paso 02
Lista mis piezas, comienzo a coser primero los bolsillos, pasando una costura por la cuerva que dibujamos, cortamos el excedente y volteamos la pieza hacia el lado trasero y hago. Una costura pespunte para luego ubicar la otra pieza del bolsillo encima y hago costura para unirlas. Repito los pasos del otro lado.
🌟Step 02
I have my pieces ready. I start sewing the pockets first, running a seam along the curve we drew. I cut off the excess and turn the piece to the back side and sew. A backstitch seam. Then I place the other pocket piece on top and sew to join them. I repeat the steps on the other side.
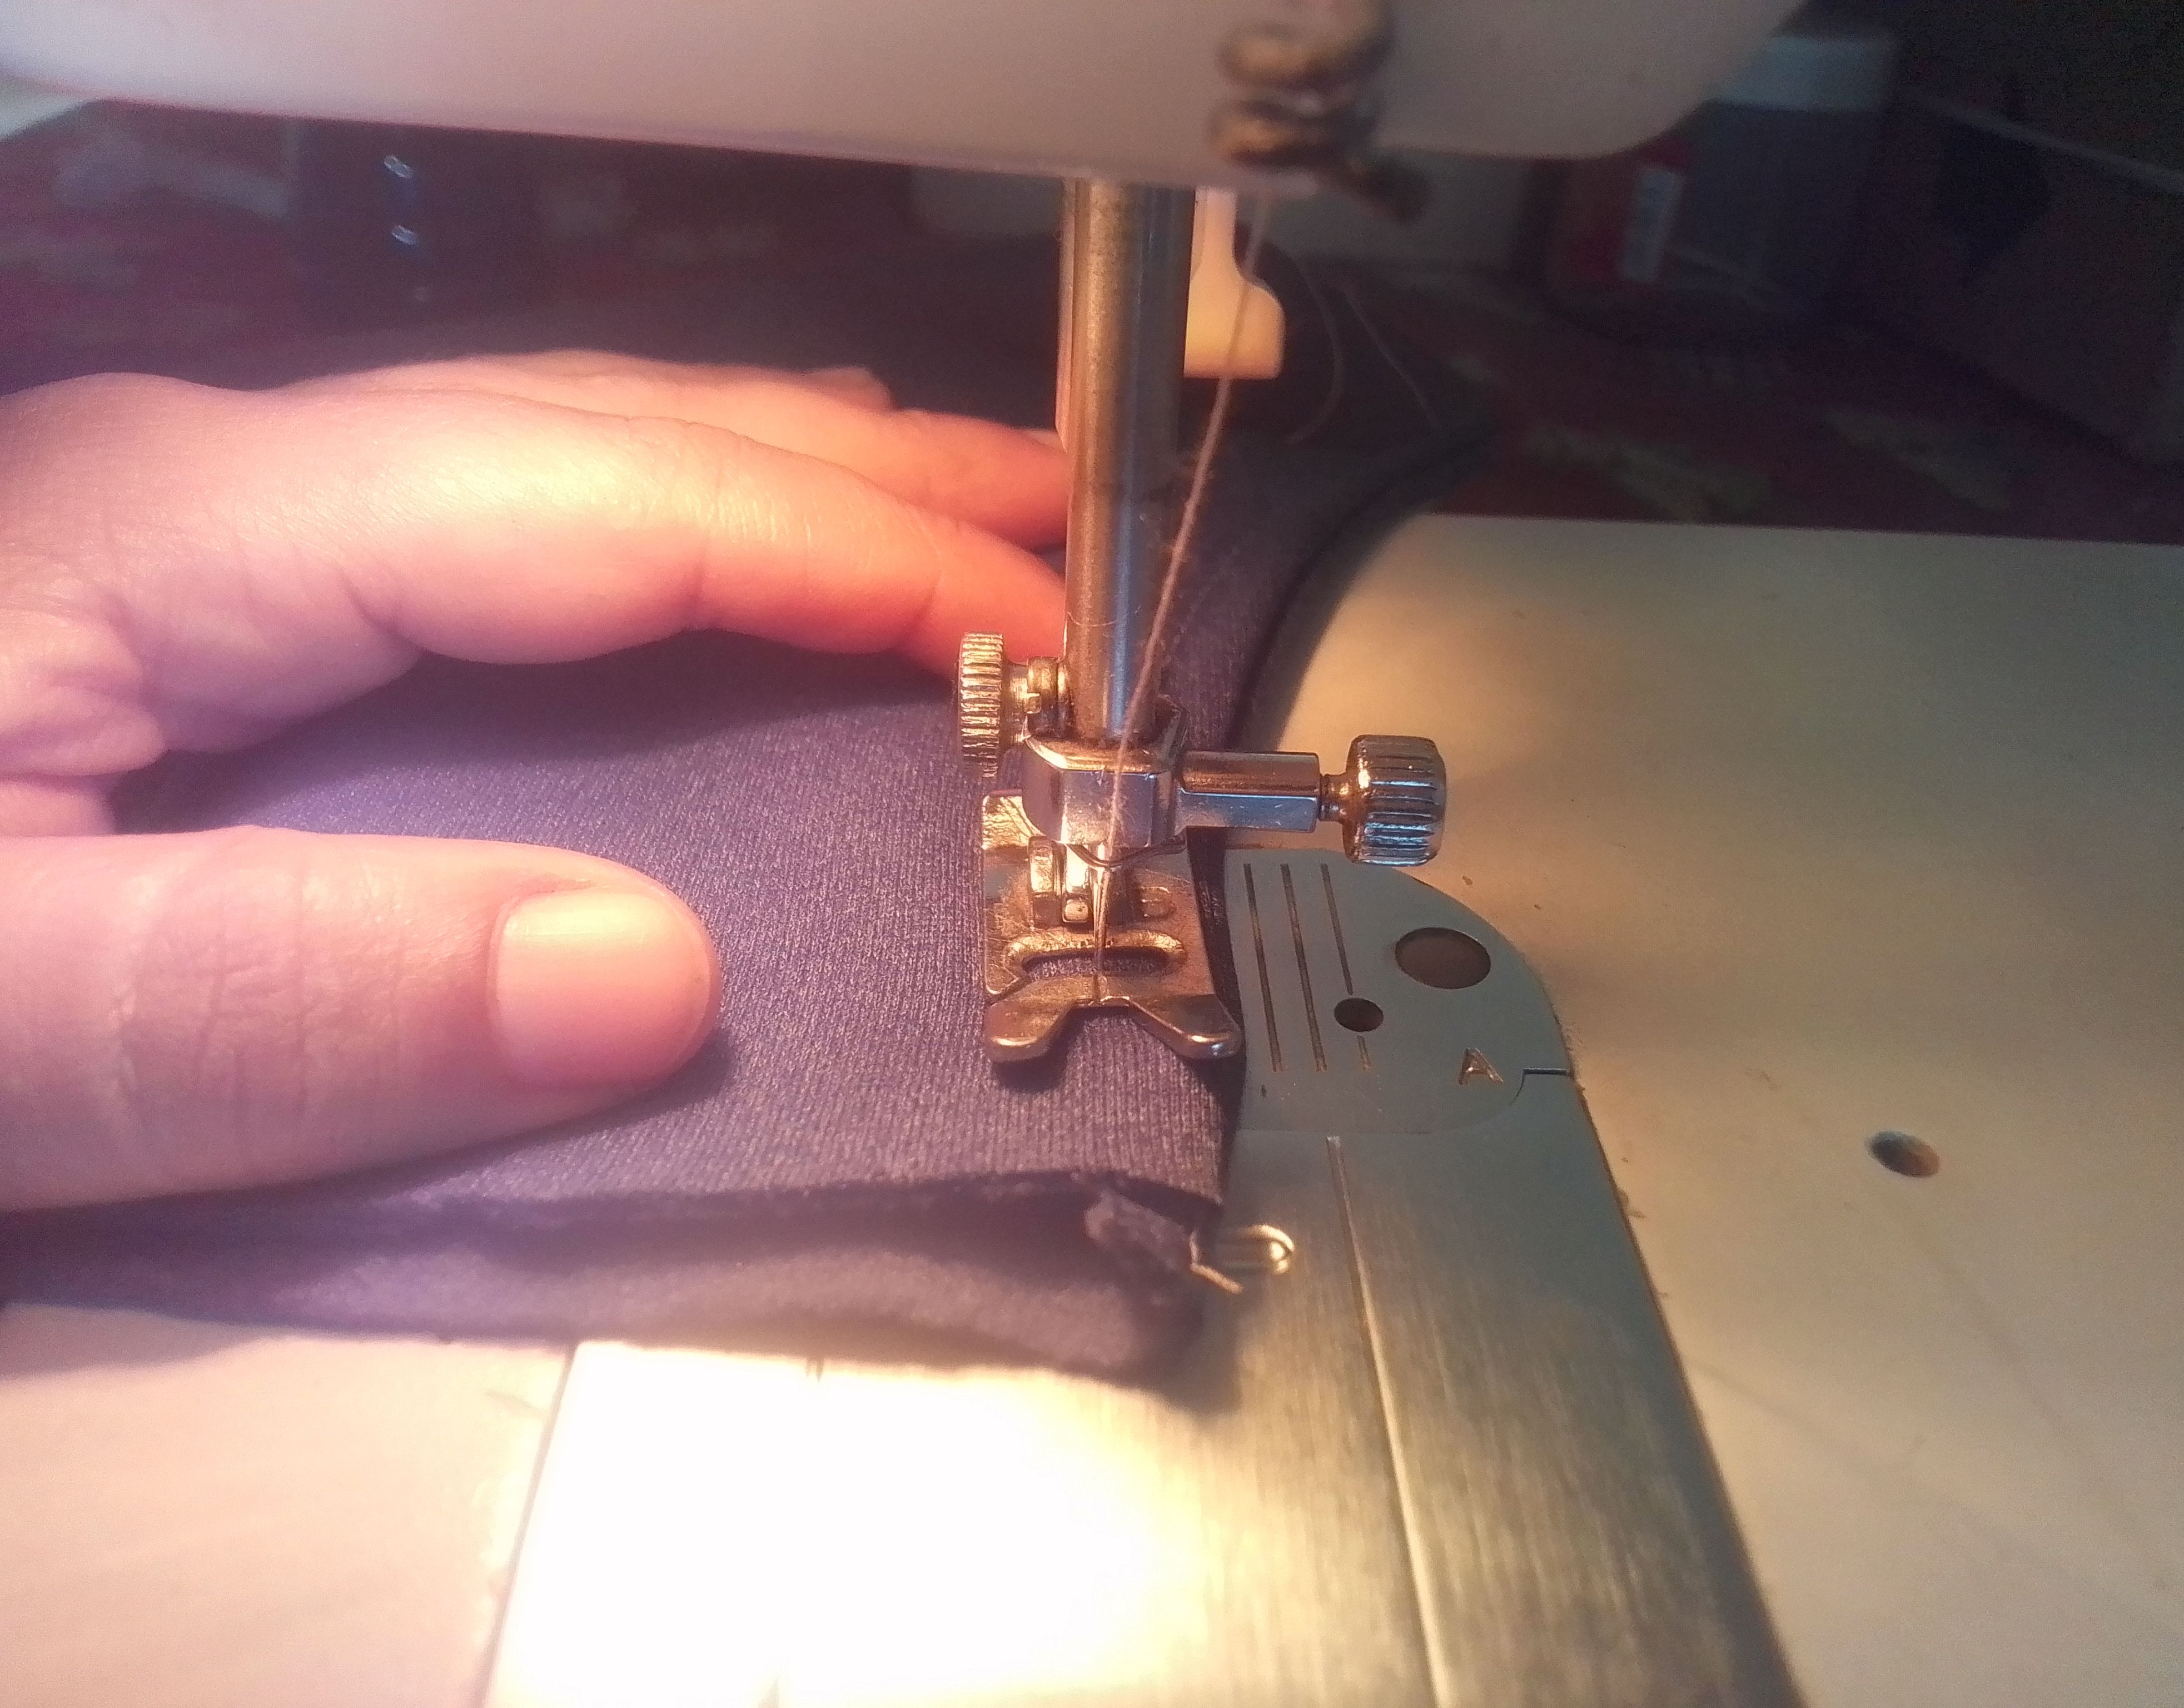
🌟Paso 03
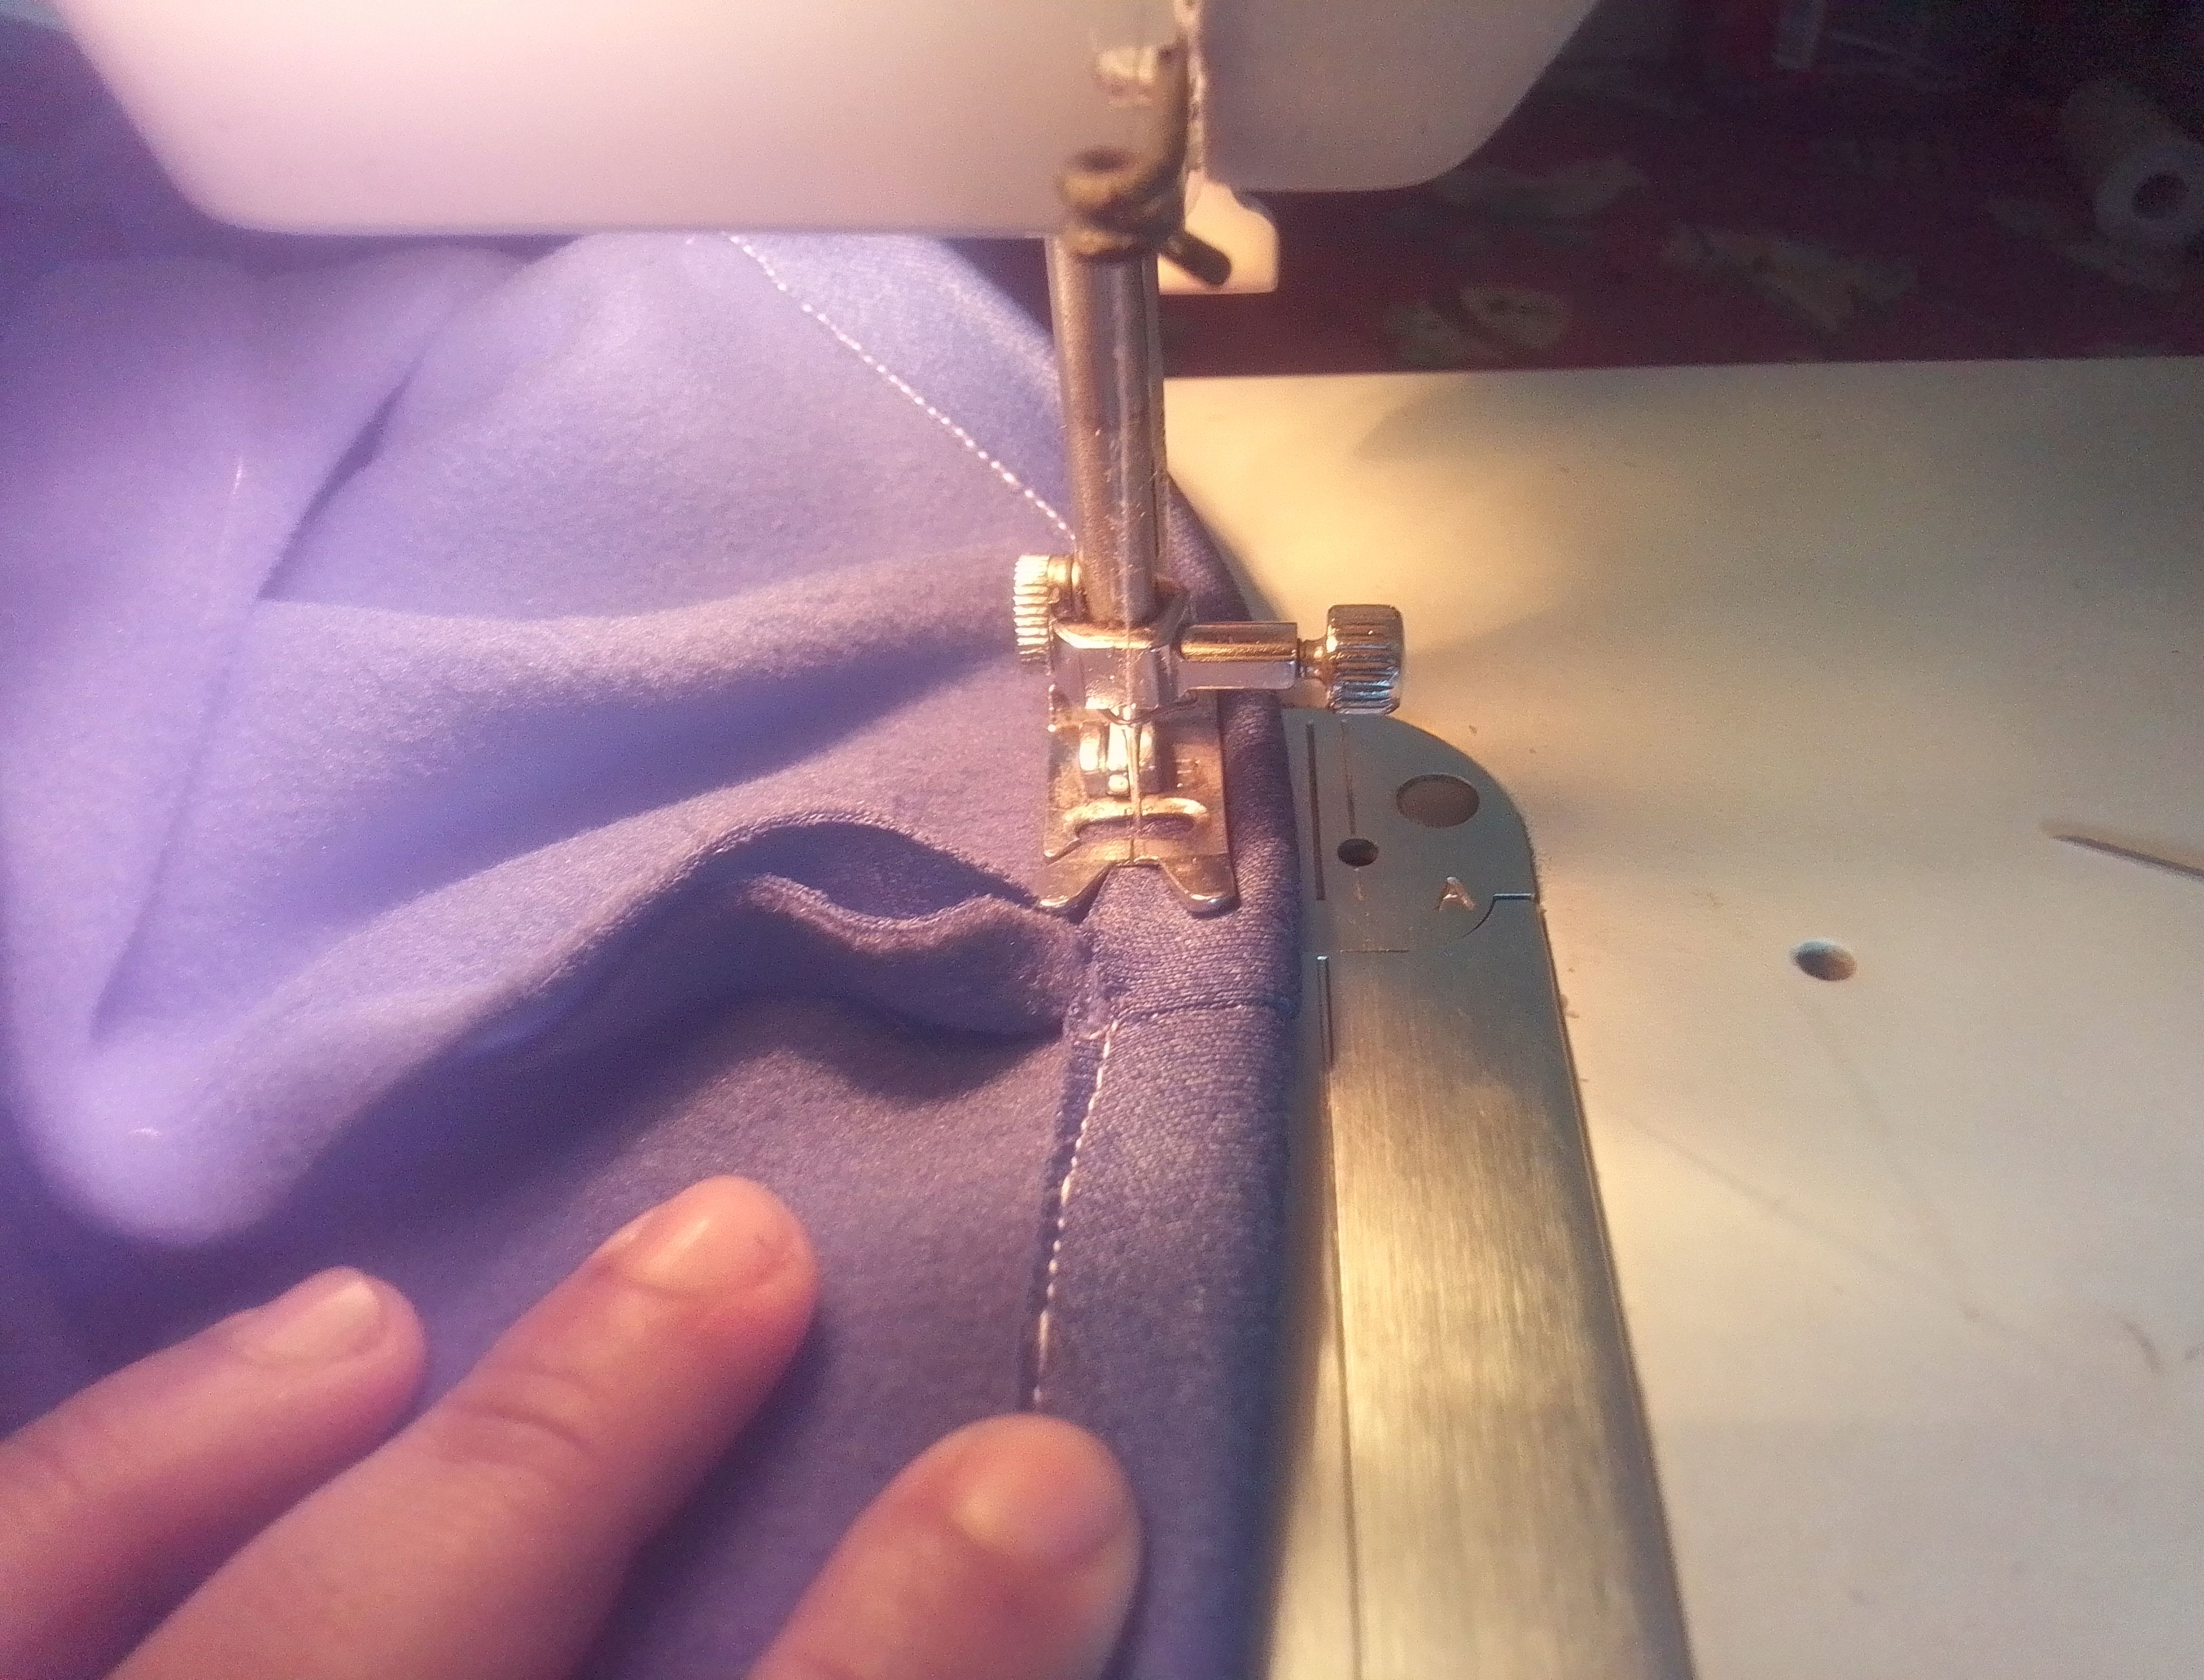
Enfrentando los derechos de las piezas pasamos a unir con costura recta y luego zigzag el tiro, luego los laterales y por último las entrepiernas. Al final de cada pierna voy a hacer un dobladillo dejando un pequeño orificio por dónde voy a introducir una elástica para ajustar esta zona.
🌟Step 3
Facing the right sides of the pieces, we join them with a straight seam and then zigzag stitch the rise, then the sides, and finally the inseams. At the end of each leg, I'm going to make a hem, leaving a small hole where I'm going to insert an elastic to tighten this area.
---
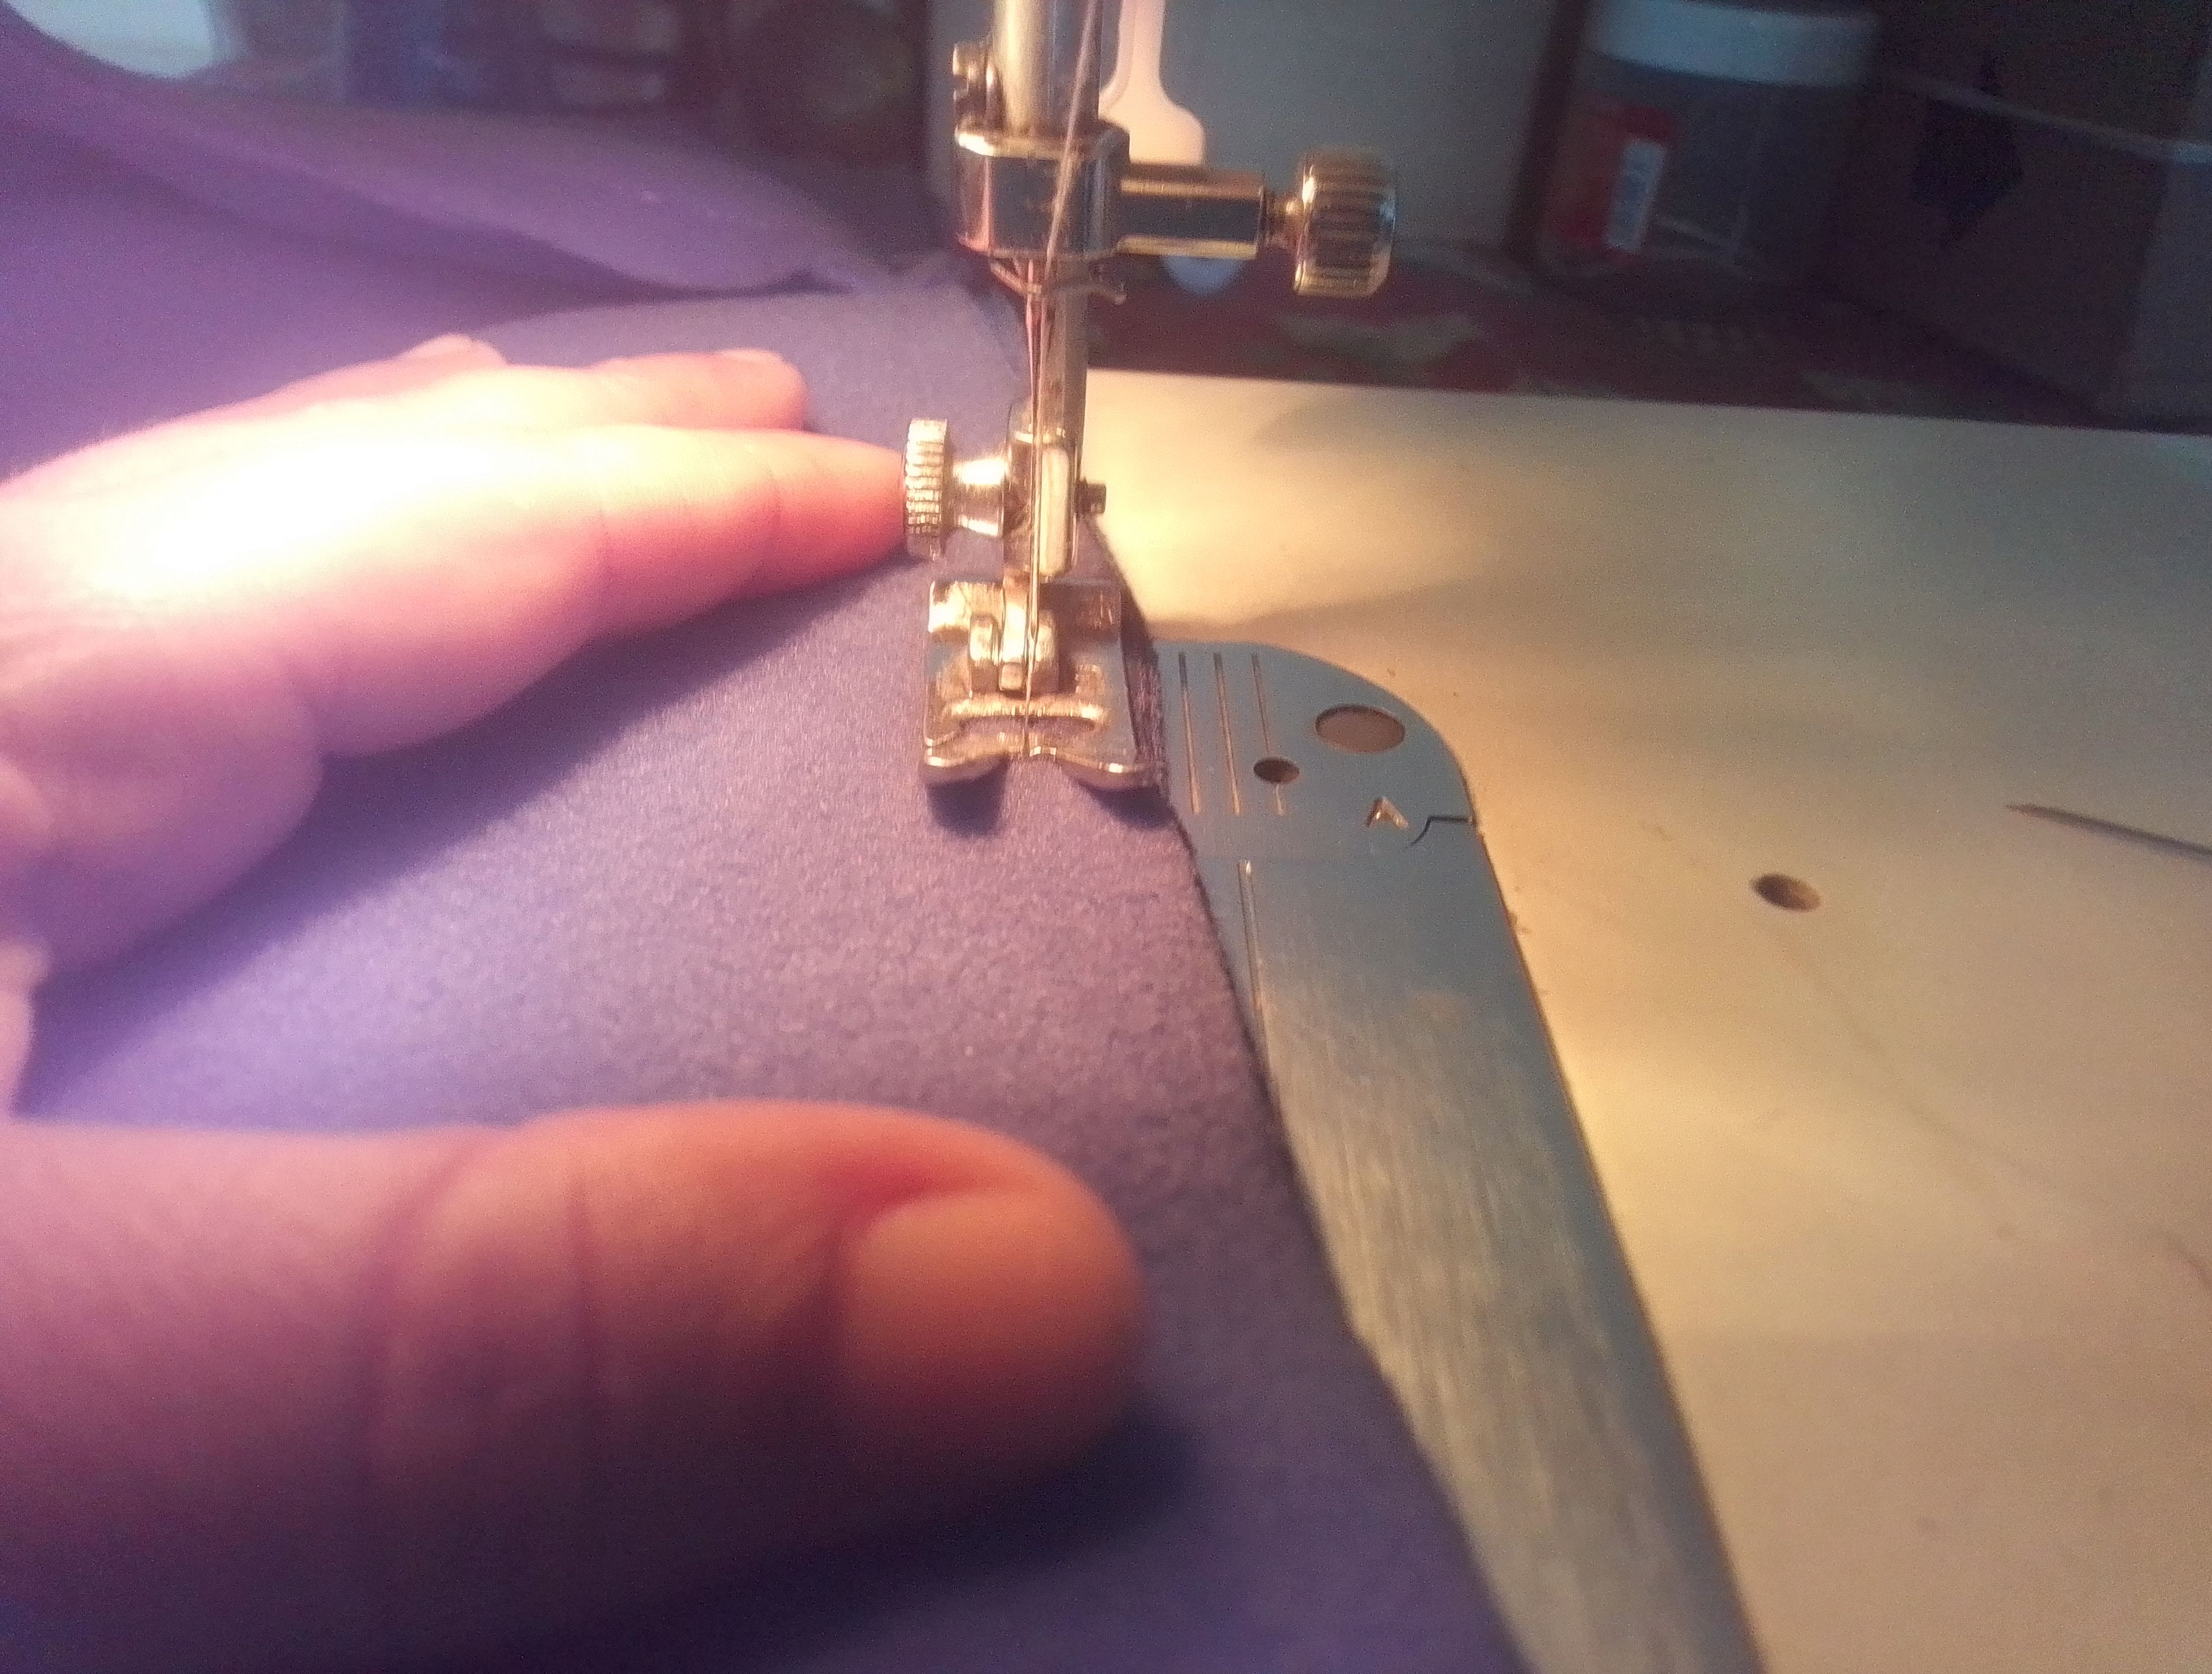
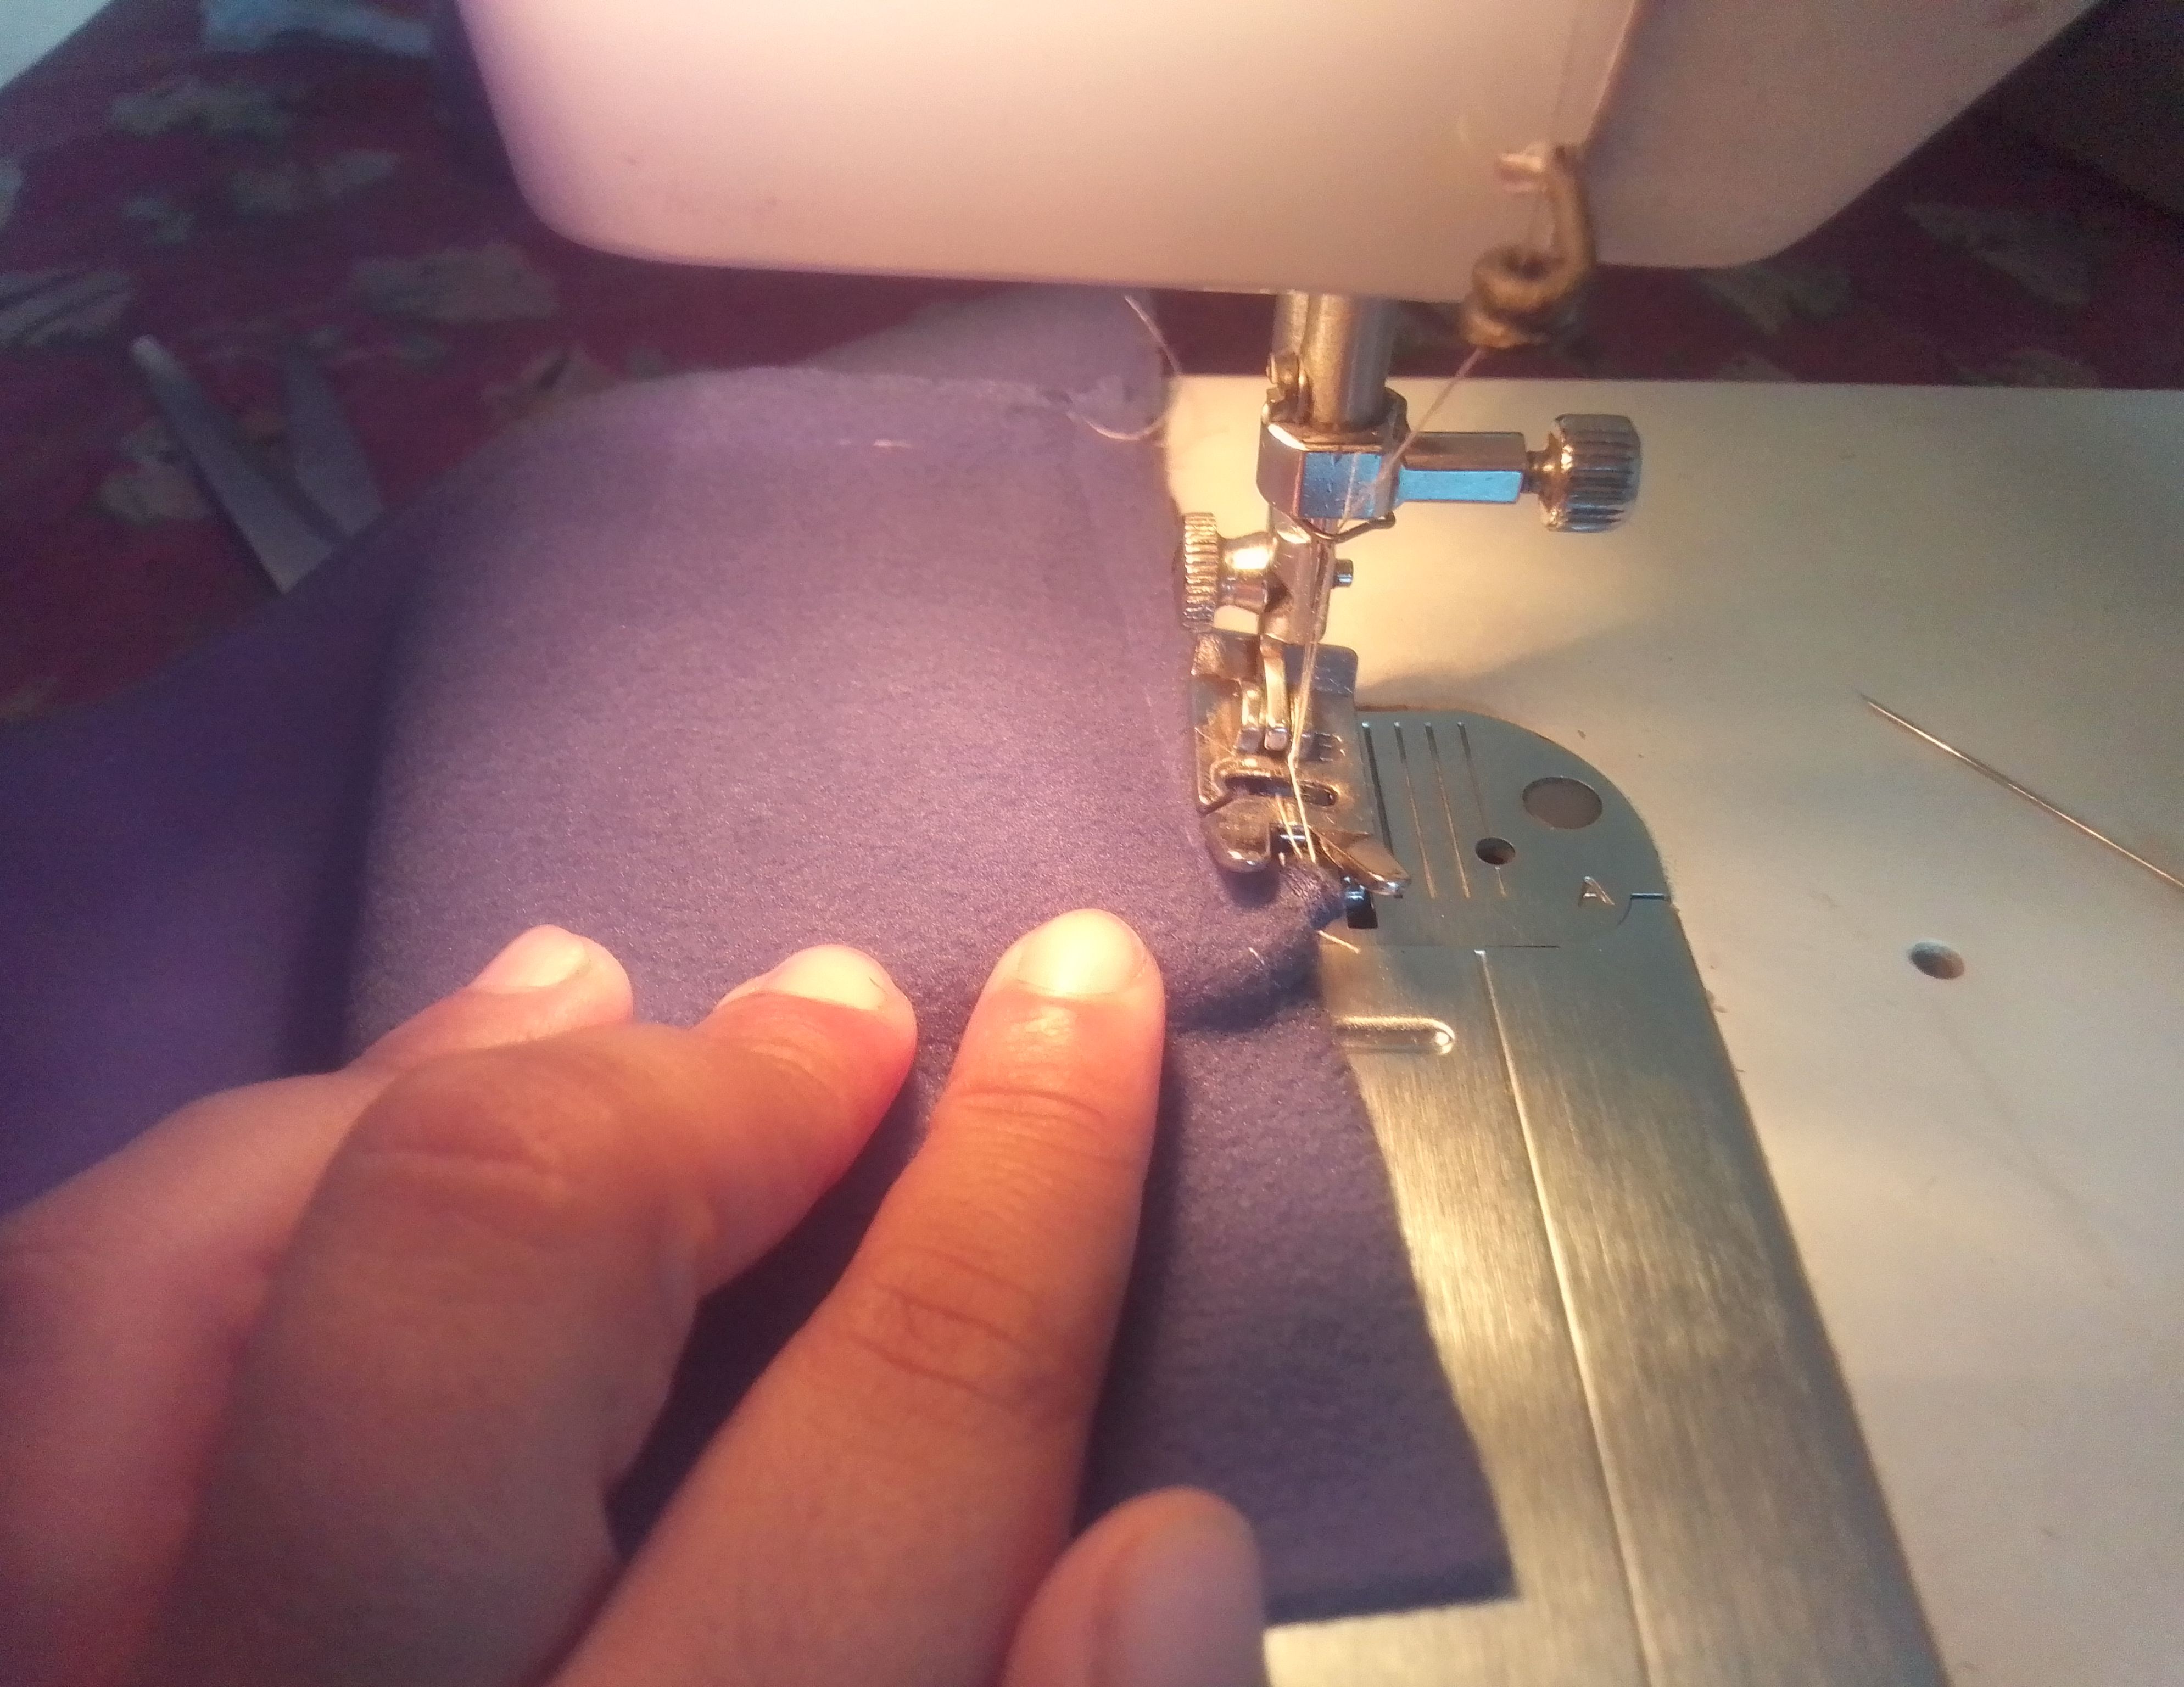
🌟Paso 04
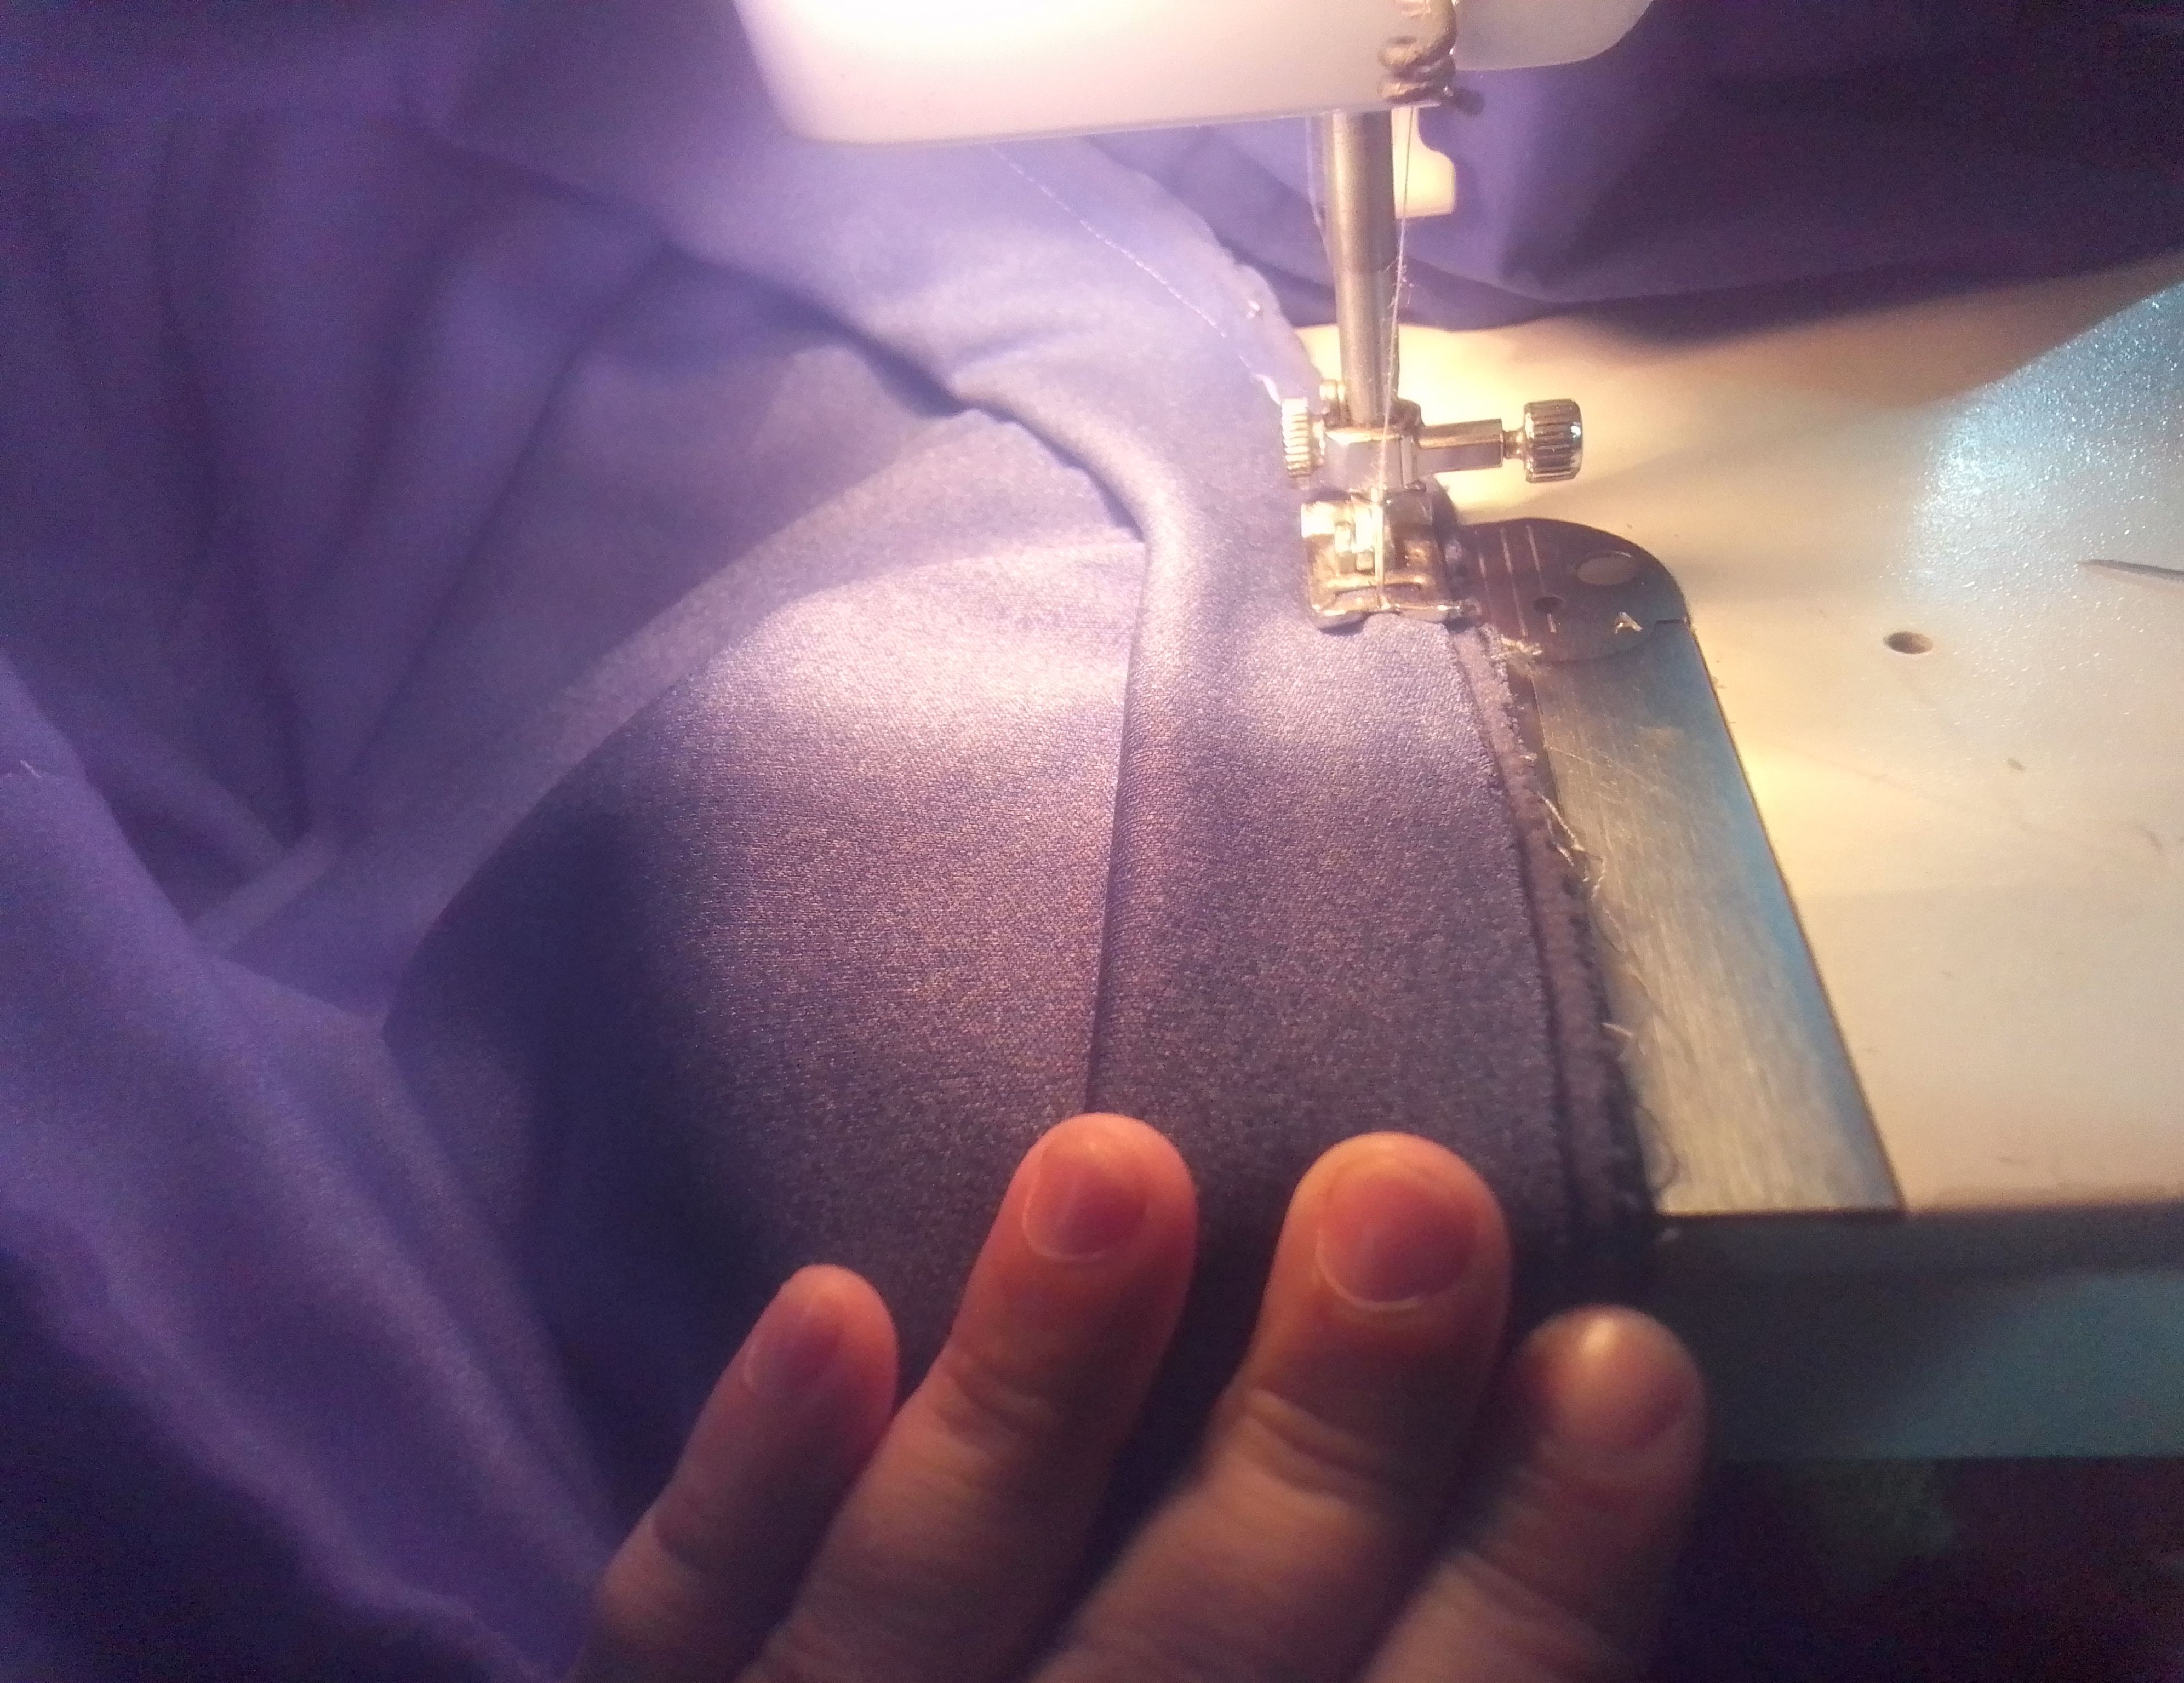
Para culminar voy a cortar un tira de aproximadamente 6 cm de ancho por el tamaño que tiene nuestras cintura o cadera. Proceso a unir los extremos con costura, marcamos las cuatro partes del pantalón( laterales y tiros) y empezaremos a coserla a la parte alta del pantalón, estirandola un poco mientras cosemos, de manera que el pantalón se ajuste al tamaño de la pretina..
🌟Step 04
To finish, I'm going to cut a strip approximately 6 cm wide to the size of our waist or hip. I'll sew the ends together. I'll mark the four parts of the pants (sides and rises) and start sewing them to the top of the pants, stretching them a little while we sew, so that the pants fit the size of the waistband.
***Resultado!***
***Result!***
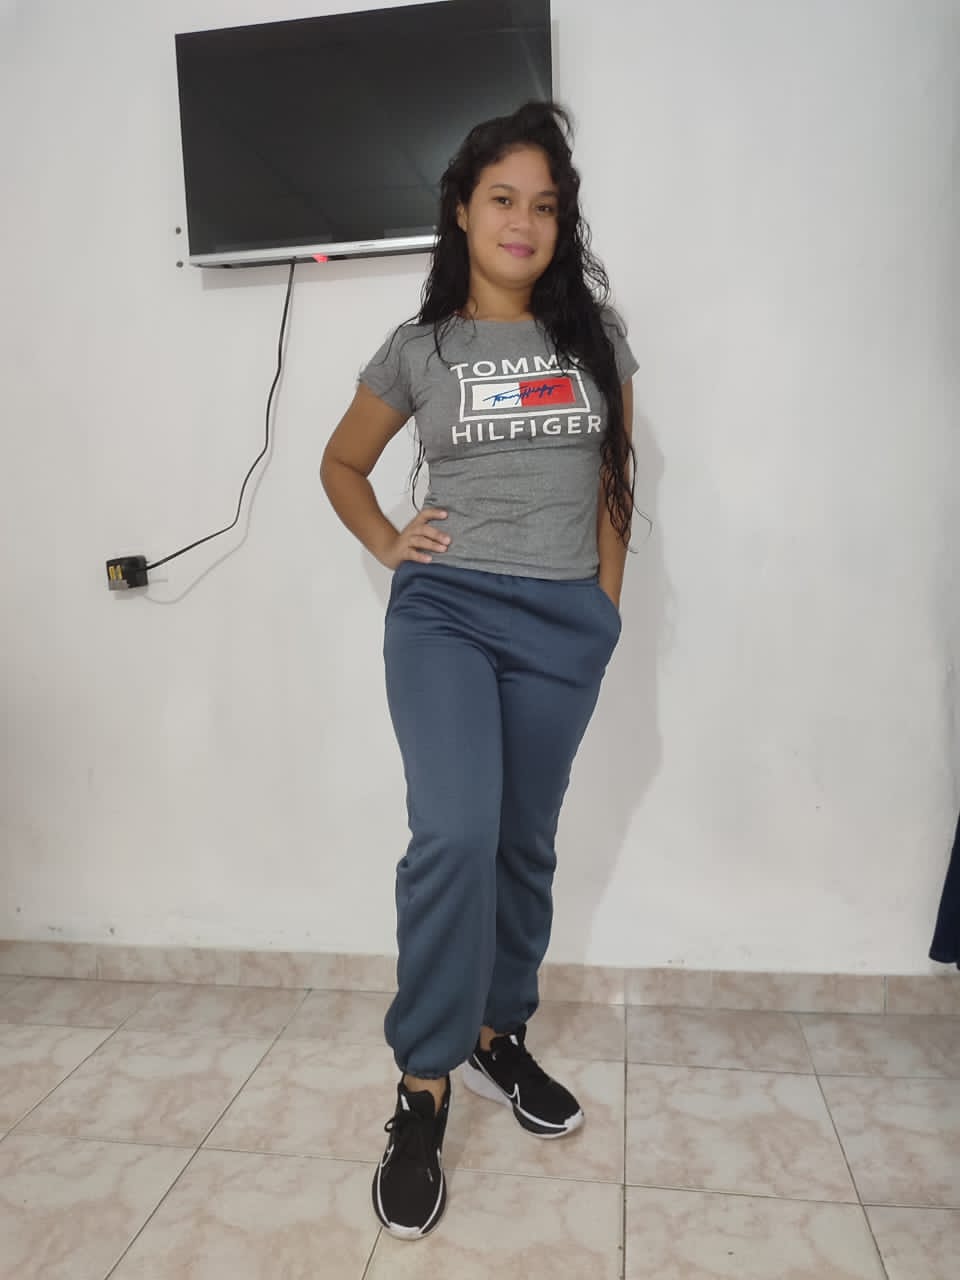
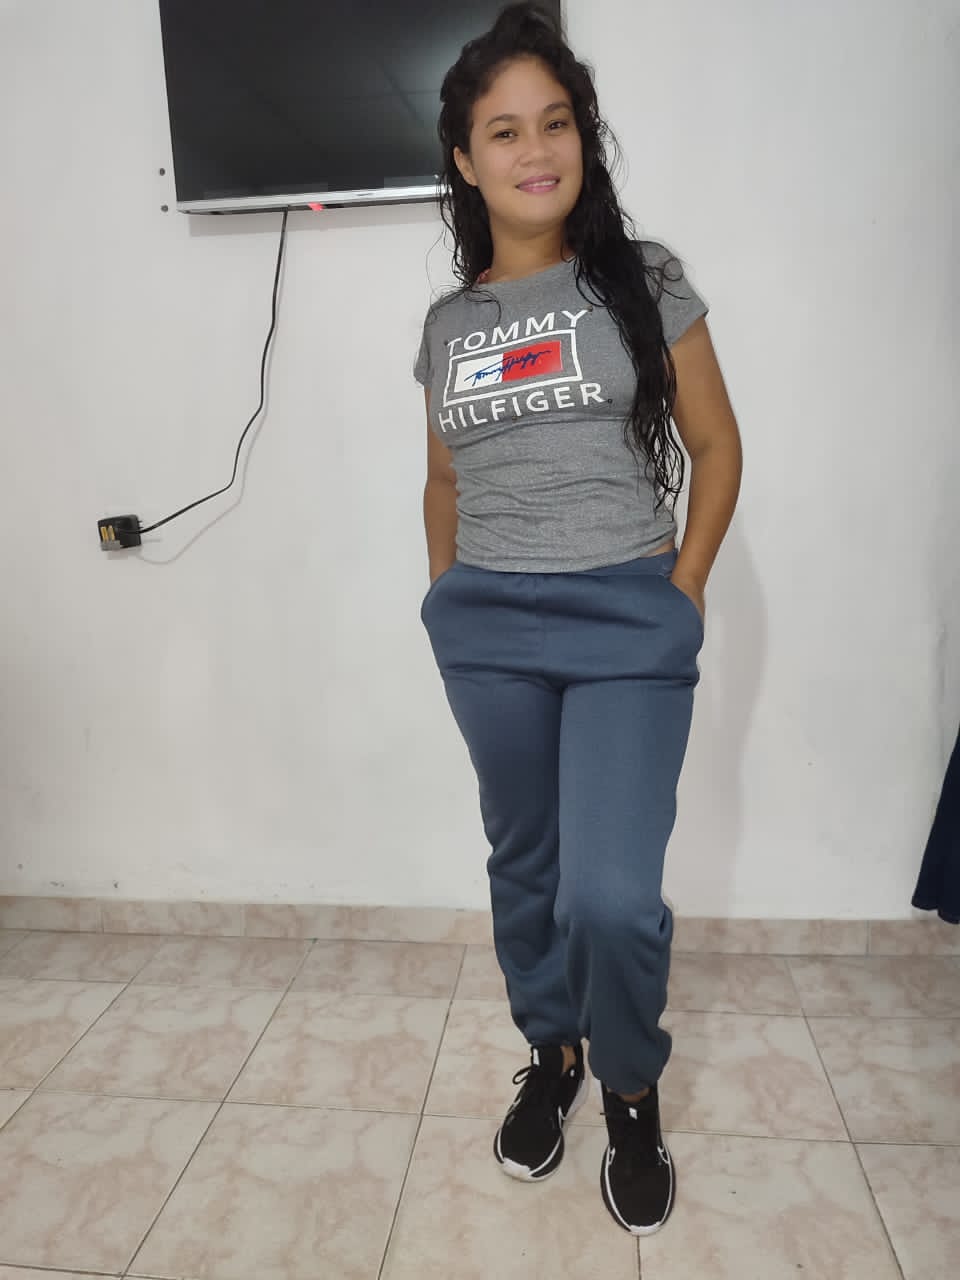
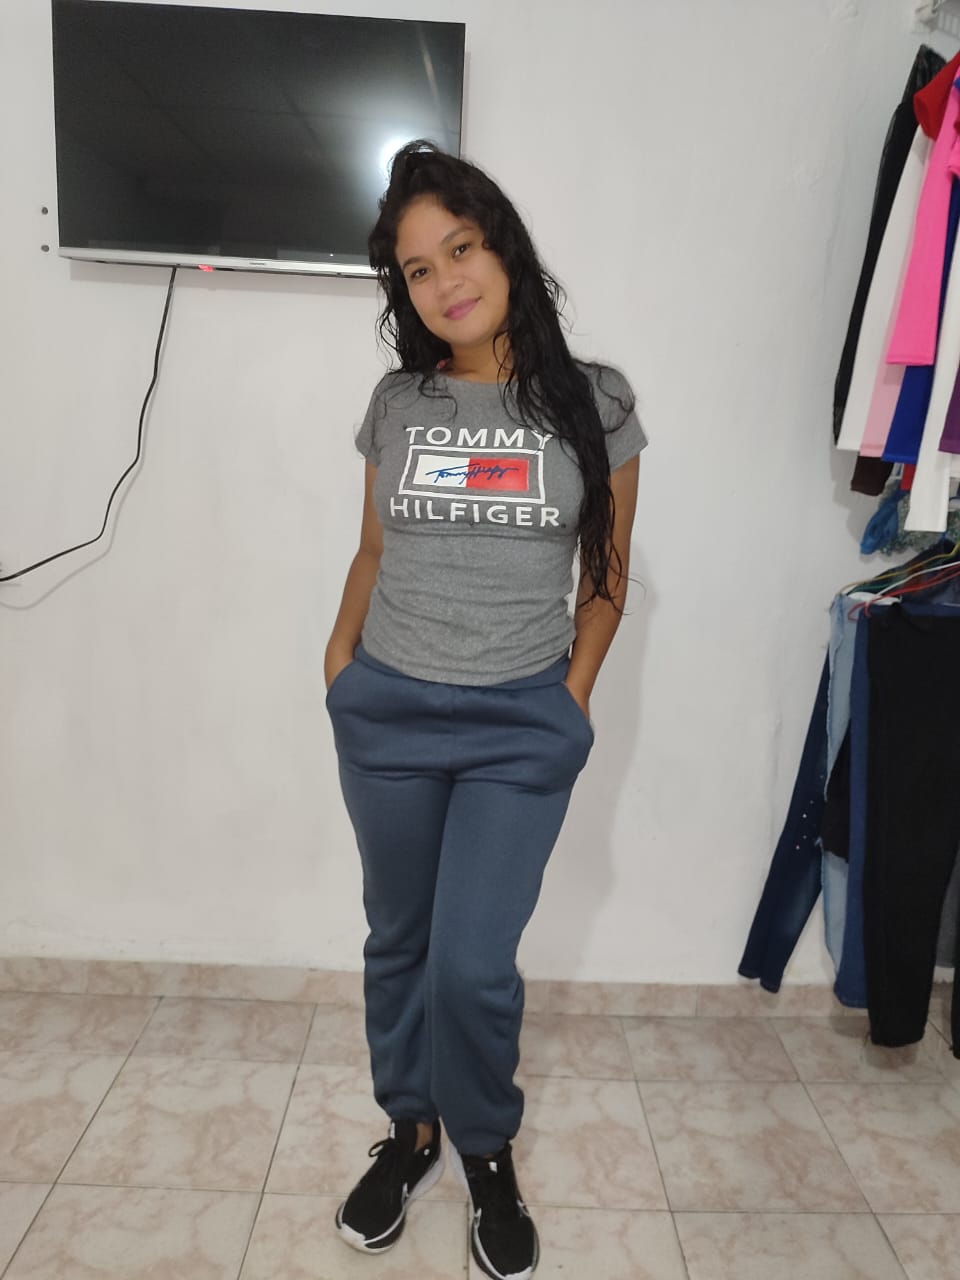
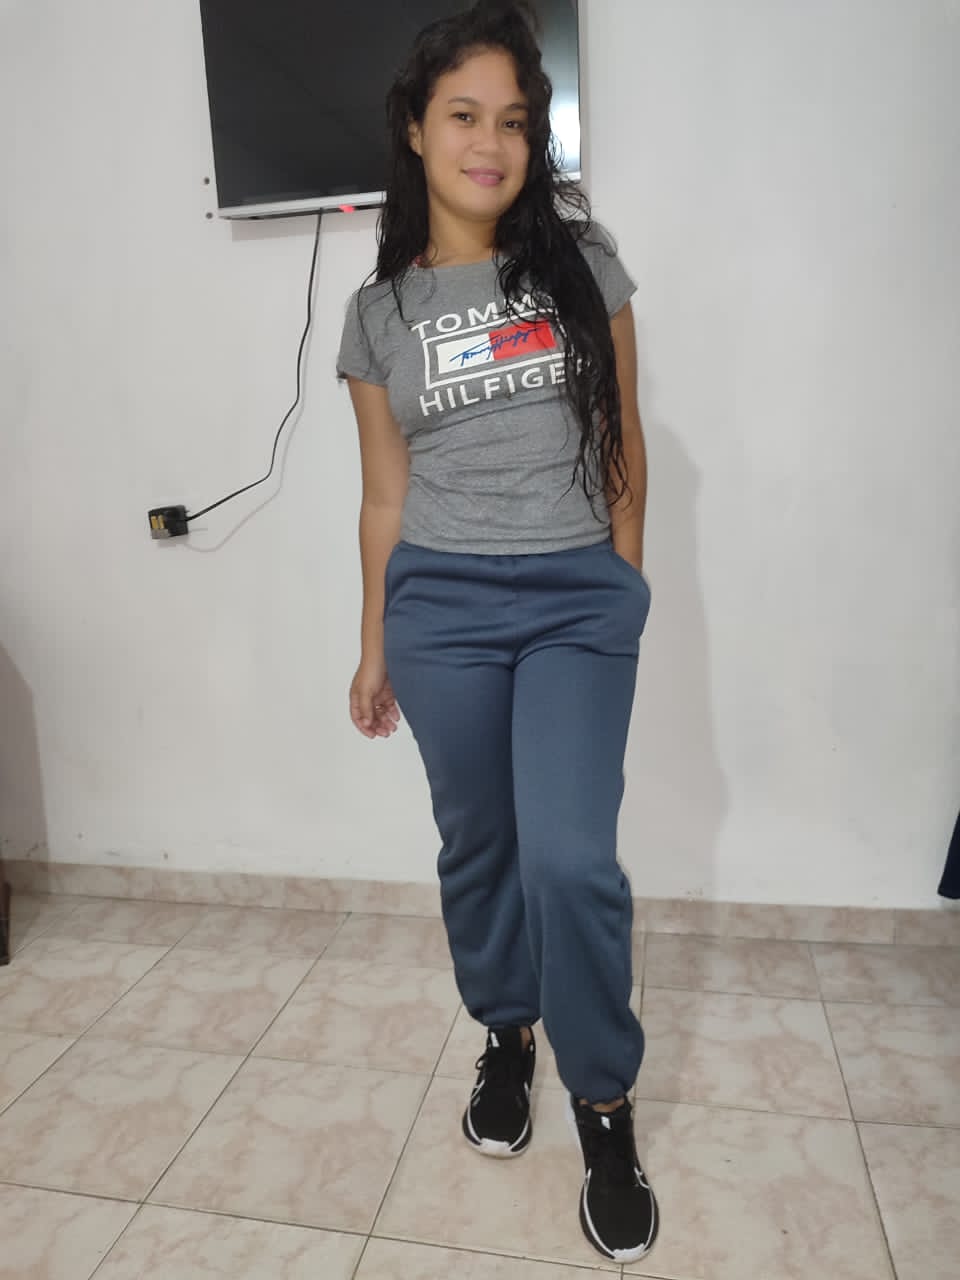
Con mucho cariño les muestro el resultado de estos poco pasos, estoy muy contenta por mi prenda nueva, ya que hace mucho quería hacerla y por estar ocupada en otras cosas no había podido. Espero les guste.
I'm showing you the result of these few steps with much affection. I'm very happy with my new garment, since I've wanted to make it for a long time and haven't been able to because I'm busy with other things. I hope you like it.
Gracias por llegar hasta final, cuéntame que les pareció en los comentarios.. Nos vemos pronto!
Thanks for making it to the end, let me know what you think in the comments. See you soon!
🙋🏻Todas las imágenes de esta publicación son de mi autoria capturadas de mi dispositivo Smooth 6.5, primera imagen editada en PicsArt | Texto original traducido en el traductor de Google.
All images in this post are my own, captured from my Smooth 6.5 device, first image edited in PicsArt | Original text translated in Google translator.
