

Muy bonito día tenga toda la comunidad artesana de Hive, es un gran placer saludarles y darles la bienvenida a mi blog, en especial a este espacio de corte y costura para una hermosa quinceañera.. Pues si lo se, estuve un largo tiempo perdida y sin compartirles nuevos tutoriales, pero tengo buenas razones, y es que los proyectos grandes como el de hoy han sido varios y consumen gran parte de mi tiempo.. Por eso estoy muy muy contenta de haberme desocupado un poco y está mañana tener el tiempo y la oportunidad compartirles un tutorial y la experiencia, de lo que fué hacer por segunda vez, un vestido largo de 15 años.
Pienso que la emoción, la incertidumbre y los nervios de hacer un proyecto tan importante como éste, siempre serán los mismos, y es que ¿como no?, si se trata de lo que hará brillar a la cumpleañera en esa noche tan especial. El hecho de que por segunda vez haya confeccionado un vestido para una quinceañera, no quitaba esa sensación de nervios, querer ver el proyecto ya listo y pensar en la reacción del cliente, toda esas cosas son el impulso para trabajar con mucha dedicación y al final tener el resultado deseado.
Cuando este proyecto llegó a mi puerta, lo acepte con mucha seguridad, porque soy una persona de retos y ya había tenido la oportunidad de hacer otro, pero debo admitir, que en varias ocasiones me invadía el temor y debía parar, descansar y pensar en el próximo paso para no desesperarme y confíar en el proceso. Ver ideas de otras personas, indiscutiblemente es una gran opción y ayuda, eso era lo que normalmente hacia, aunque siempre terminaba haciéndolo a mi comodidad y estilo. Así que entre encajes , hilos y brillantes telas, logré obtener este radiante vestido rojo, decorado en lentejuelas y pedrería que tengo el gusto de enseñarte a crear hoy. Acompañame hasta el final.
A very nice day to the entire Hive craft community. It's a great pleasure to greet you and welcome you to my blog, especially to this space for cutting and sewing for a beautiful quinceañera. Well, yes, I know, I've been lost for a long time without sharing new tutorials, but I have good reason, and that is that large projects like today's have been numerous and they consume a lot of my time. That's why I'm very, very happy to have some time off and this morning have the time and opportunity to share a tutorial and the experience of making a long quinceañera dress for the second time.I think the excitement, uncertainty, and nerves of doing such an important project like this will always be the same, and how could it be otherwise, if it's what will make the birthday girl shine on that special night. The fact that it was the second time I made a quinceañera dress didn't take away that feeling of nerves, wanting to see the project finished and thinking about the client's reaction. All of these things are the motivation to work with great dedication and ultimately have the desired result.When this project arrived at my door, I accepted it with great confidence, because I am a person of challenges and I had already had the opportunity to do another, but I must admit that on several occasions I was overcome by fear and had to stop, rest and think about the next step so as not to despair and trust the process. Seeing other people's ideas is undoubtedly a great option and help, that was what I normally did, although I always ended up doing it to my comfort and style. So between lace, threads and shiny fabrics I managed to obtain this radiant red dress, decorated with sequins and rhinestones that I have the pleasure of teaching you how to create today. Join me until the end.

***Materiales que necesitas:***
***Materials you need:***
- Tela Raso.
- Tela organza.
- Tela de encaje para fiesta.
- Pedrería roja y tornasol.
- Hilo y aguja.
- Cierre largo.
- Barillas
- Tijeras.
- Cautín.
- Pegamento para tela.
- Satin fabric.
- Organza fabric.
- Party lace fabric.
- Red and iridescent rhinestones.
- Needle and thread.
- Long zipper.
- Craft sticks.
- Scissors.
- Soldering iron.
- Fabric glue.
***PROCEDIMIENTO***
Procedure
🌟Paso 01
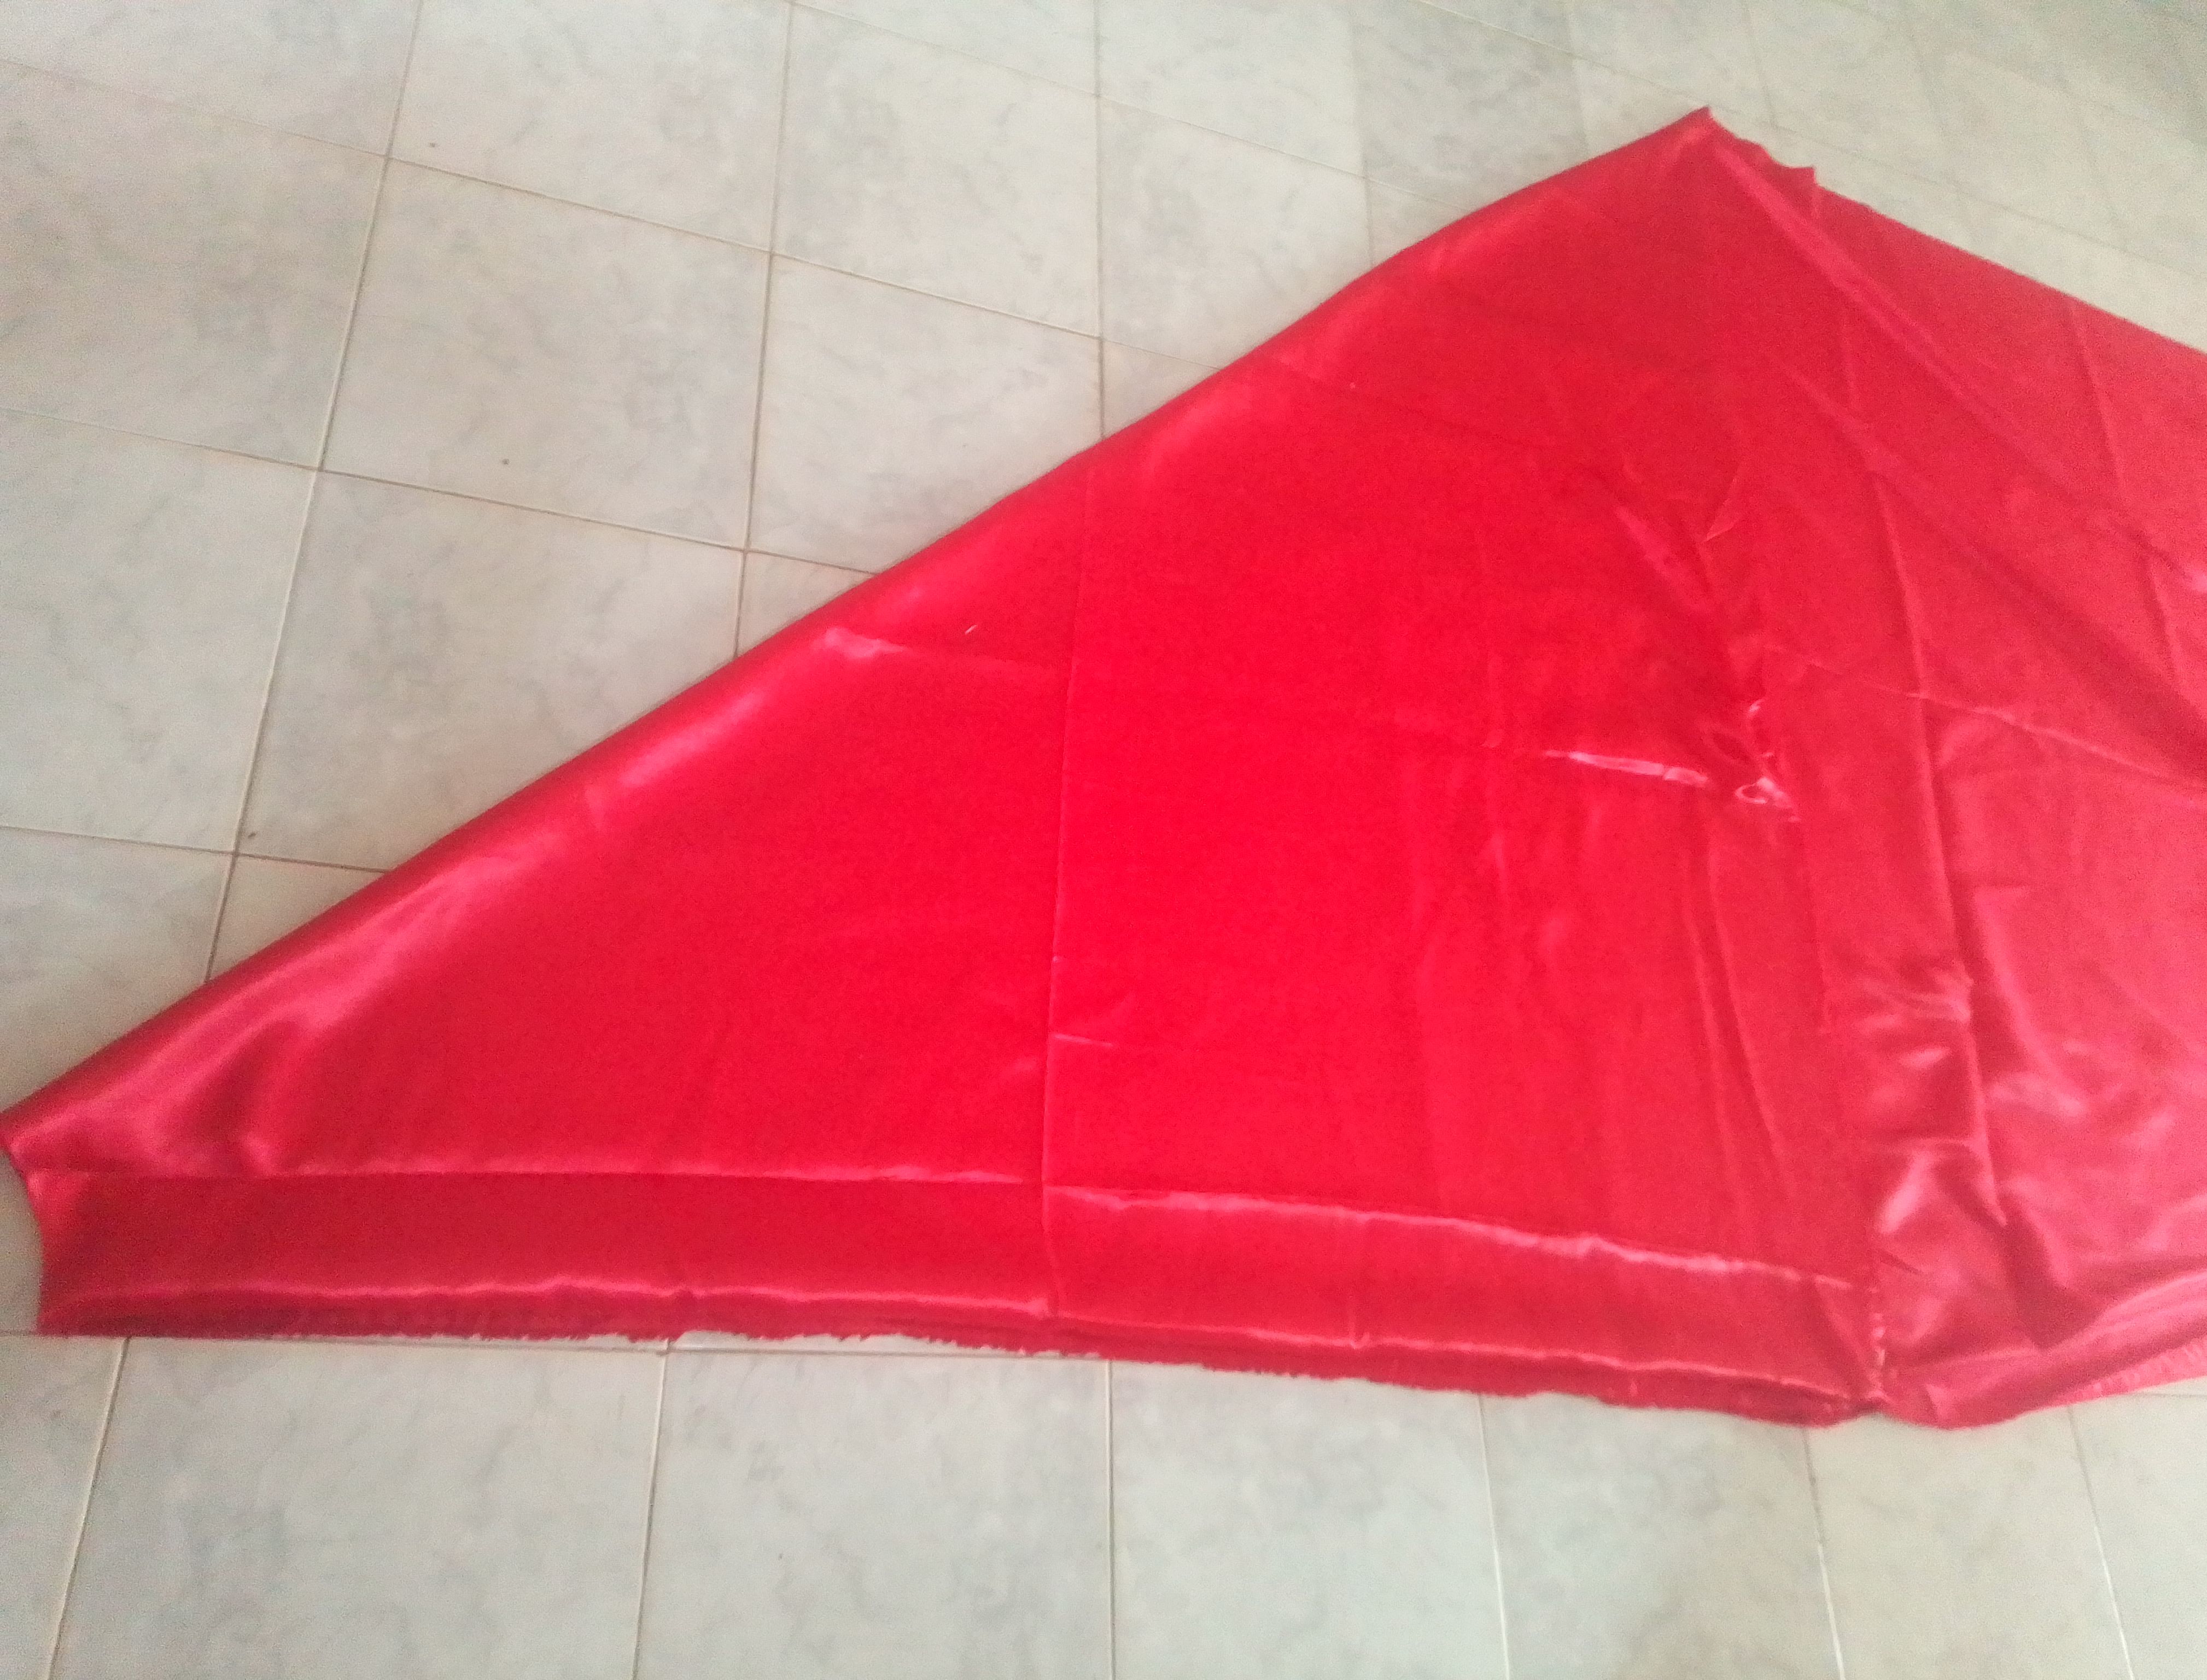
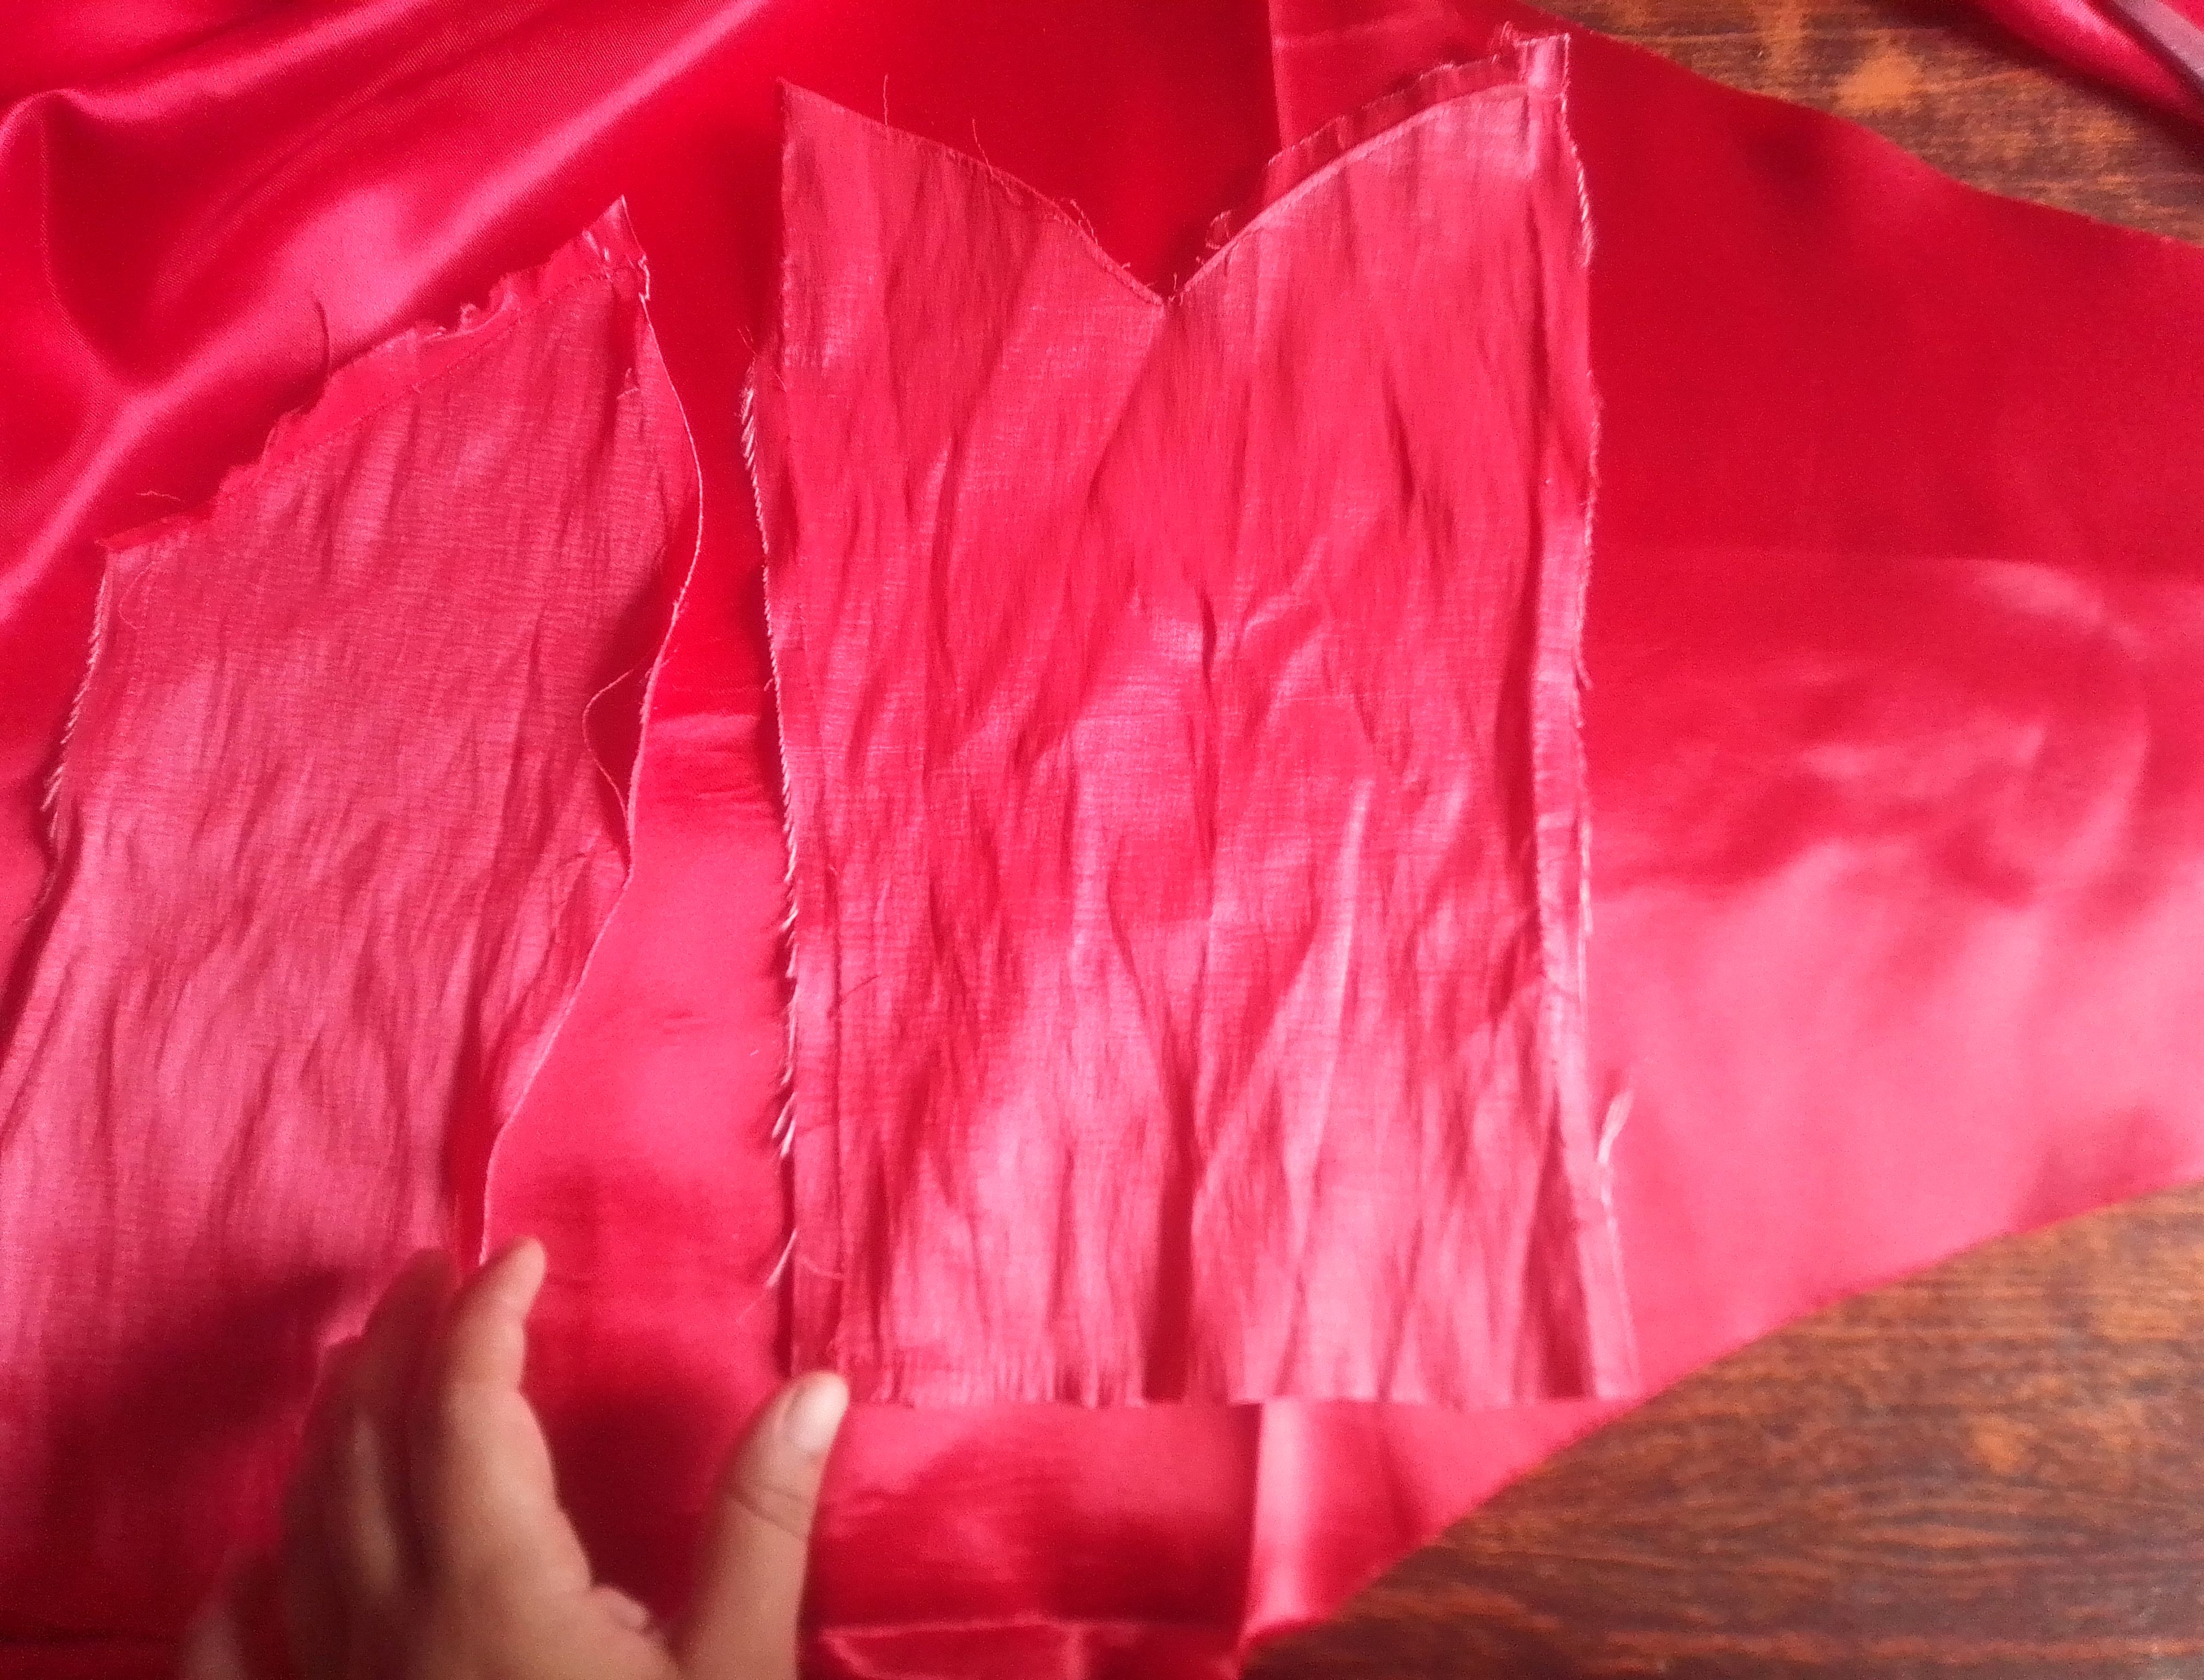
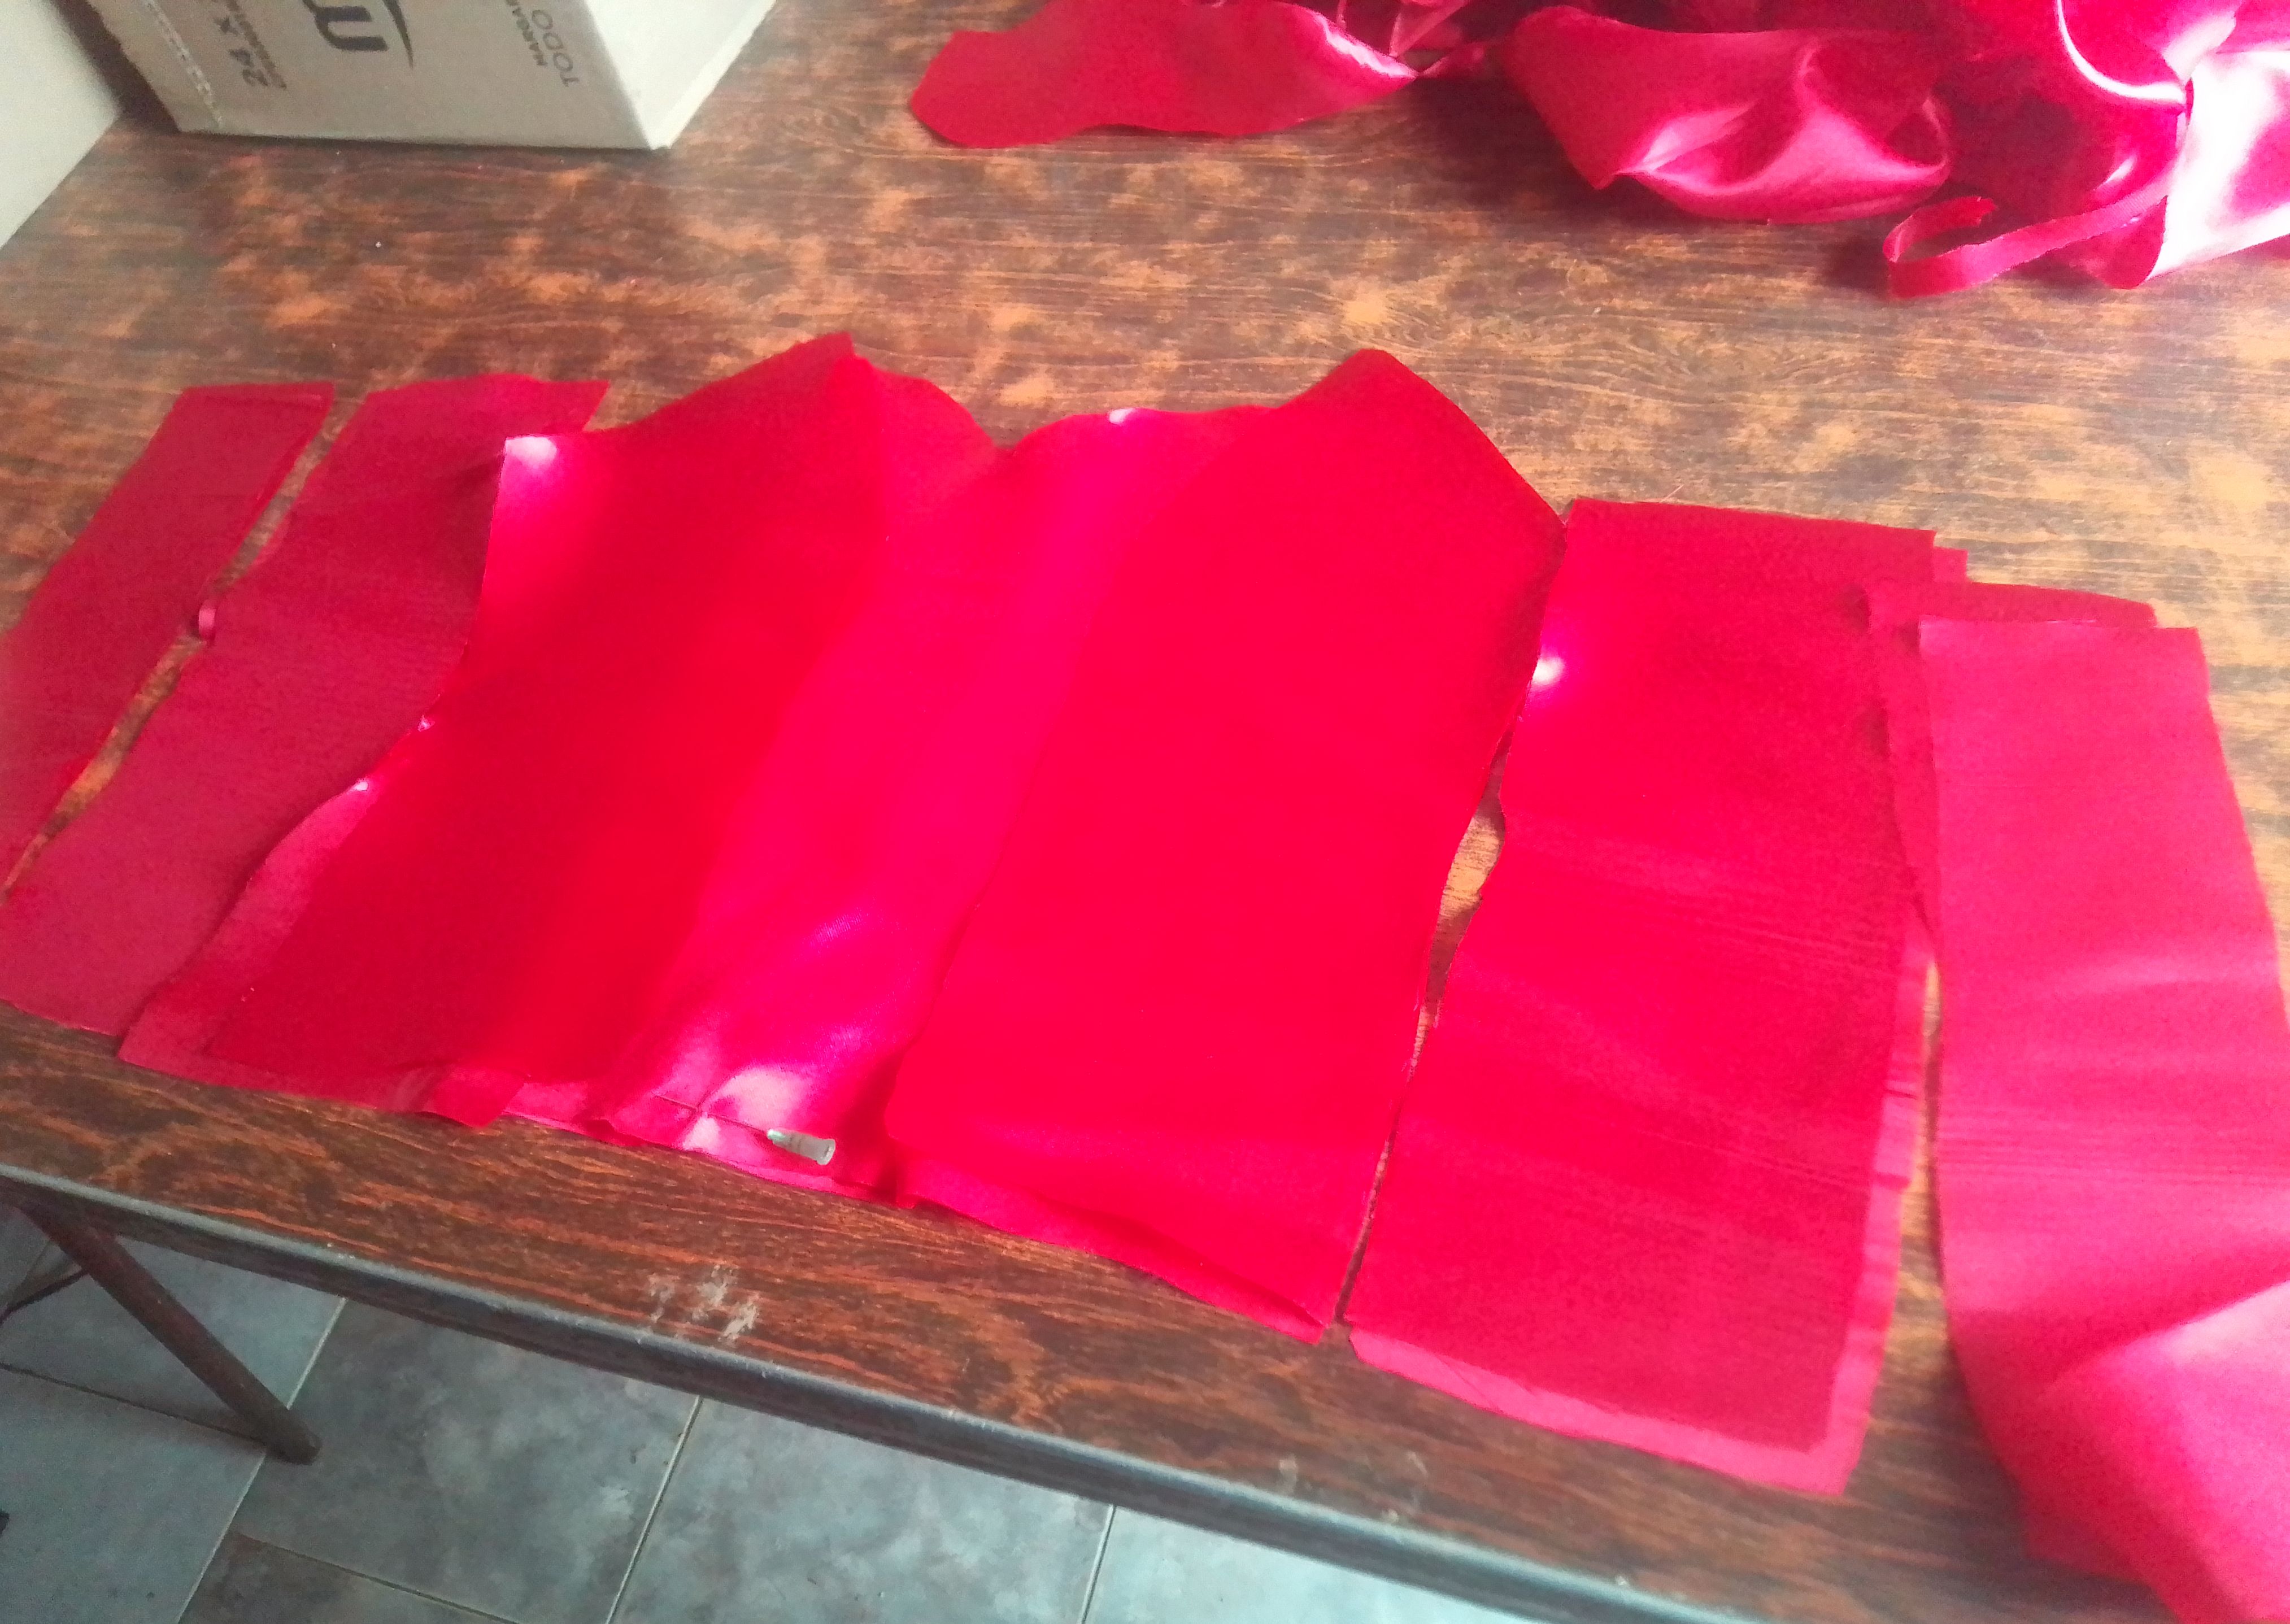
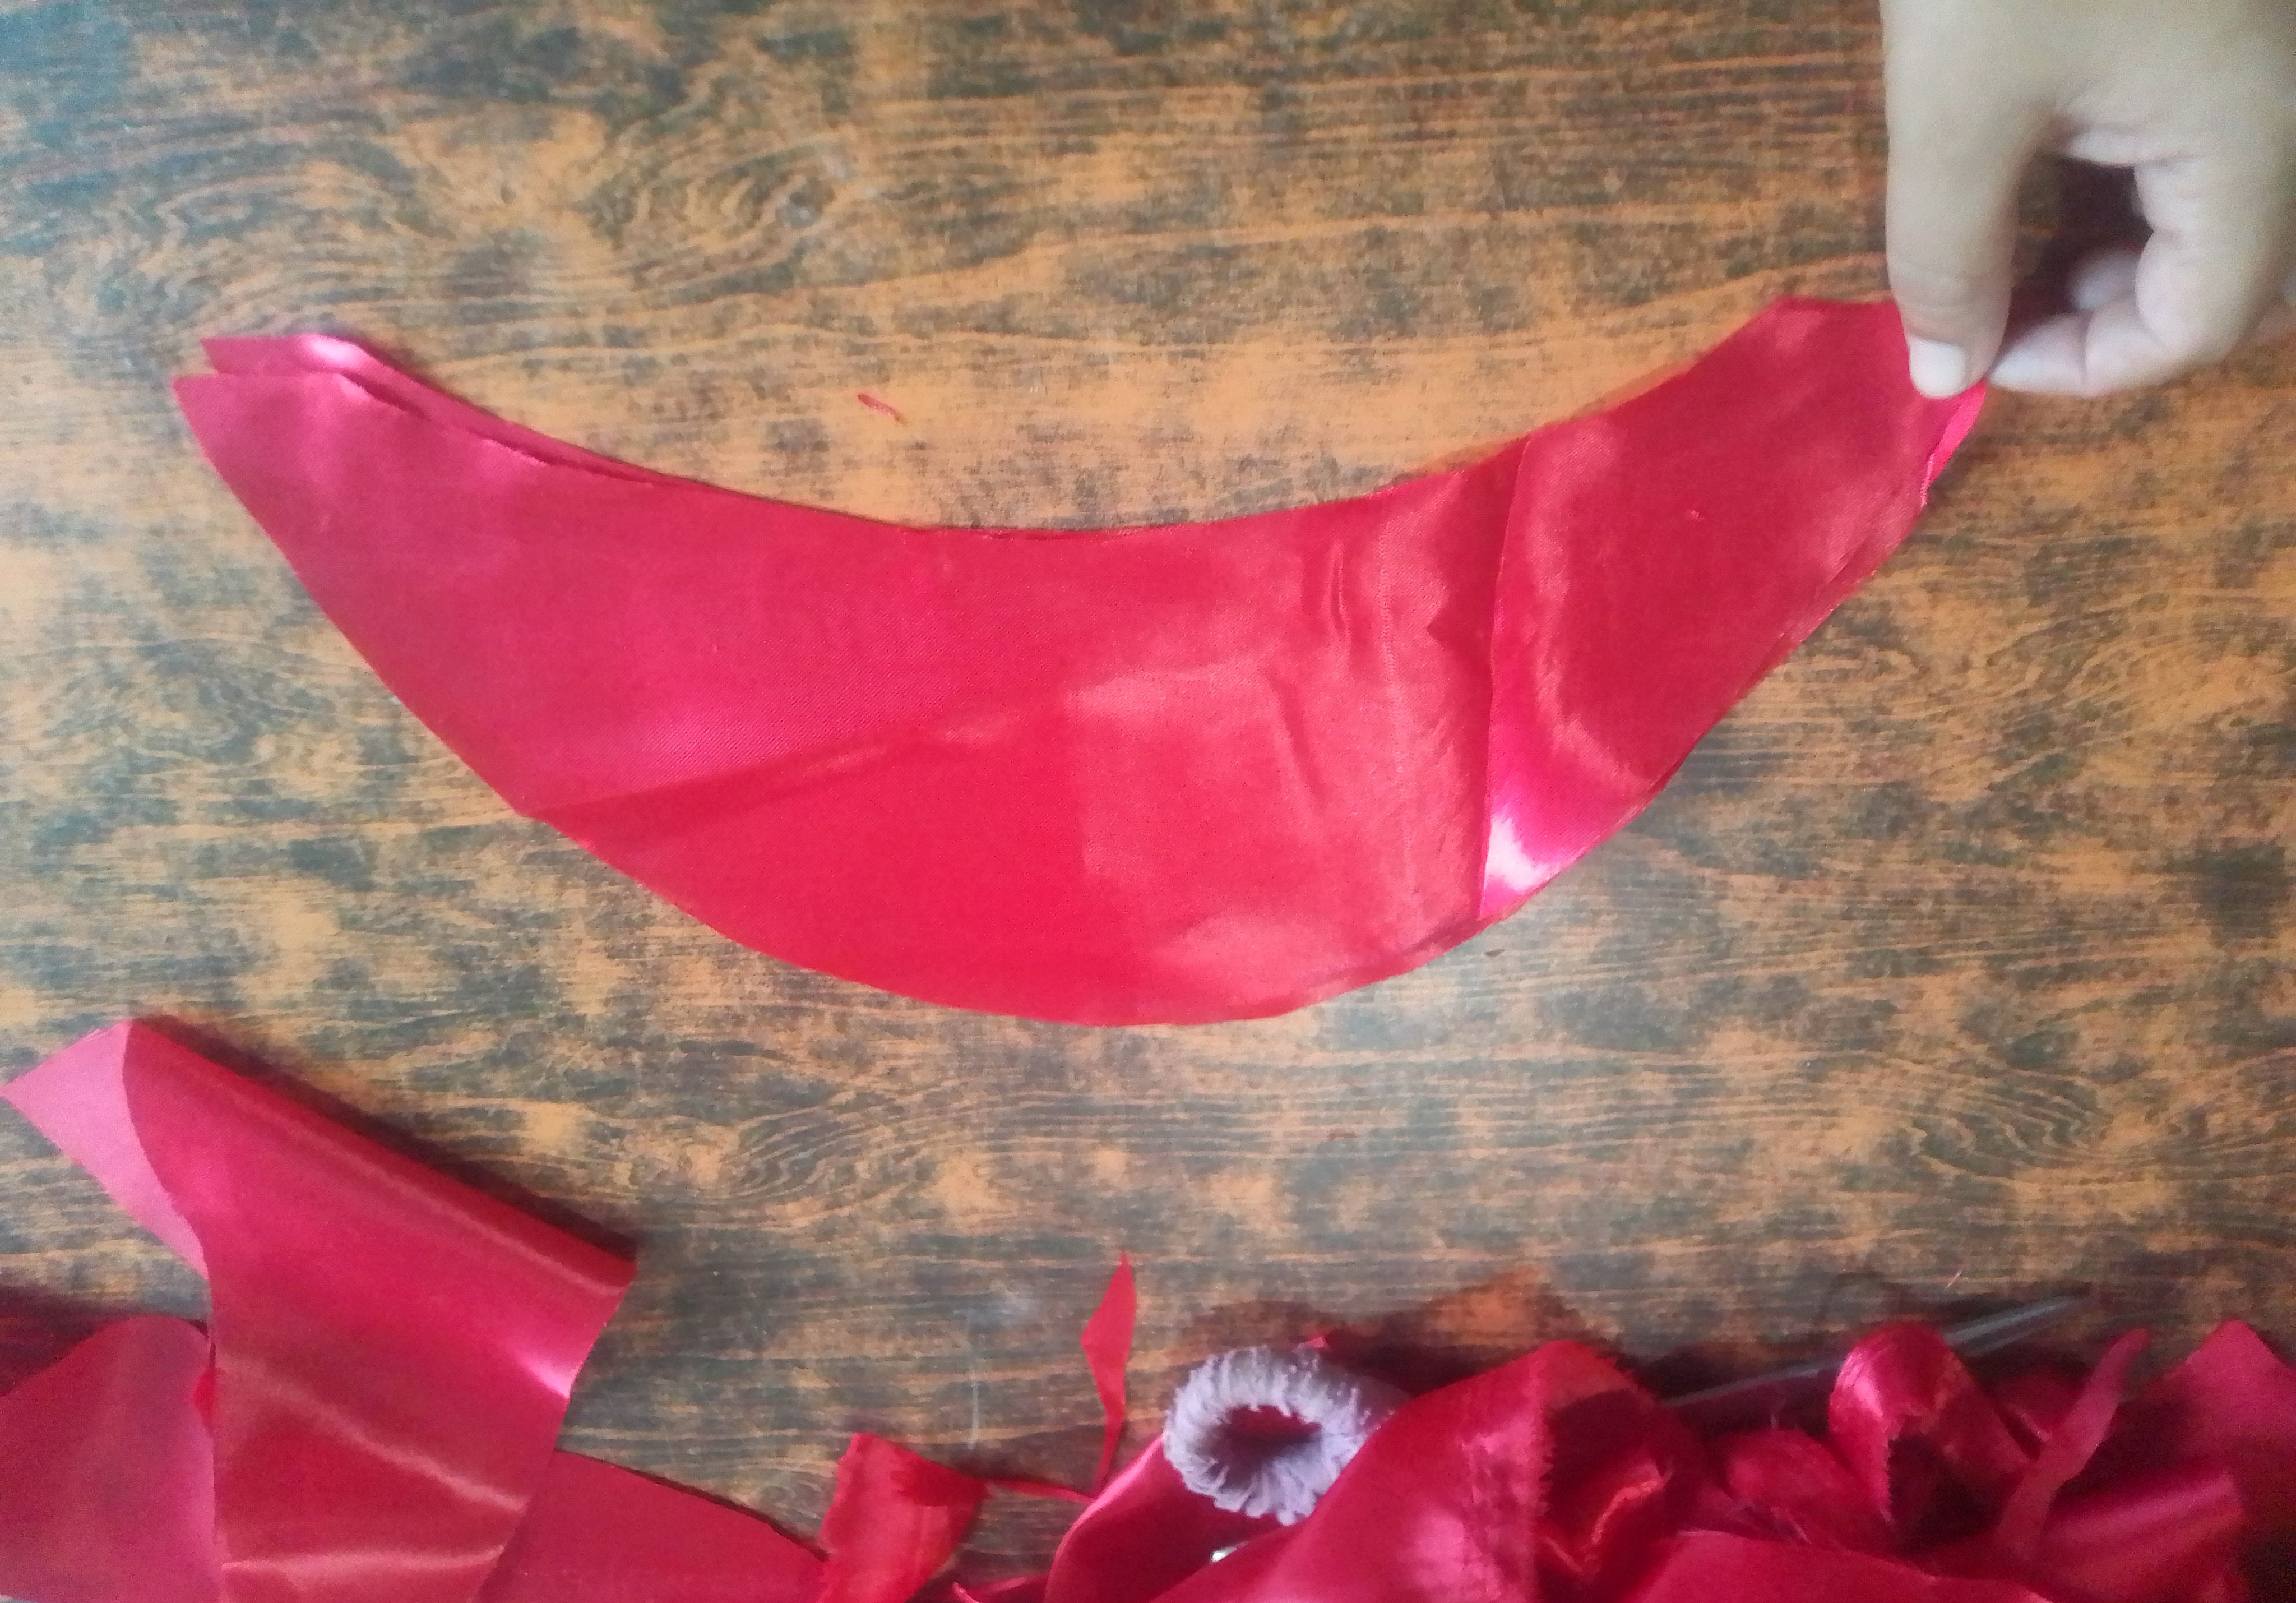
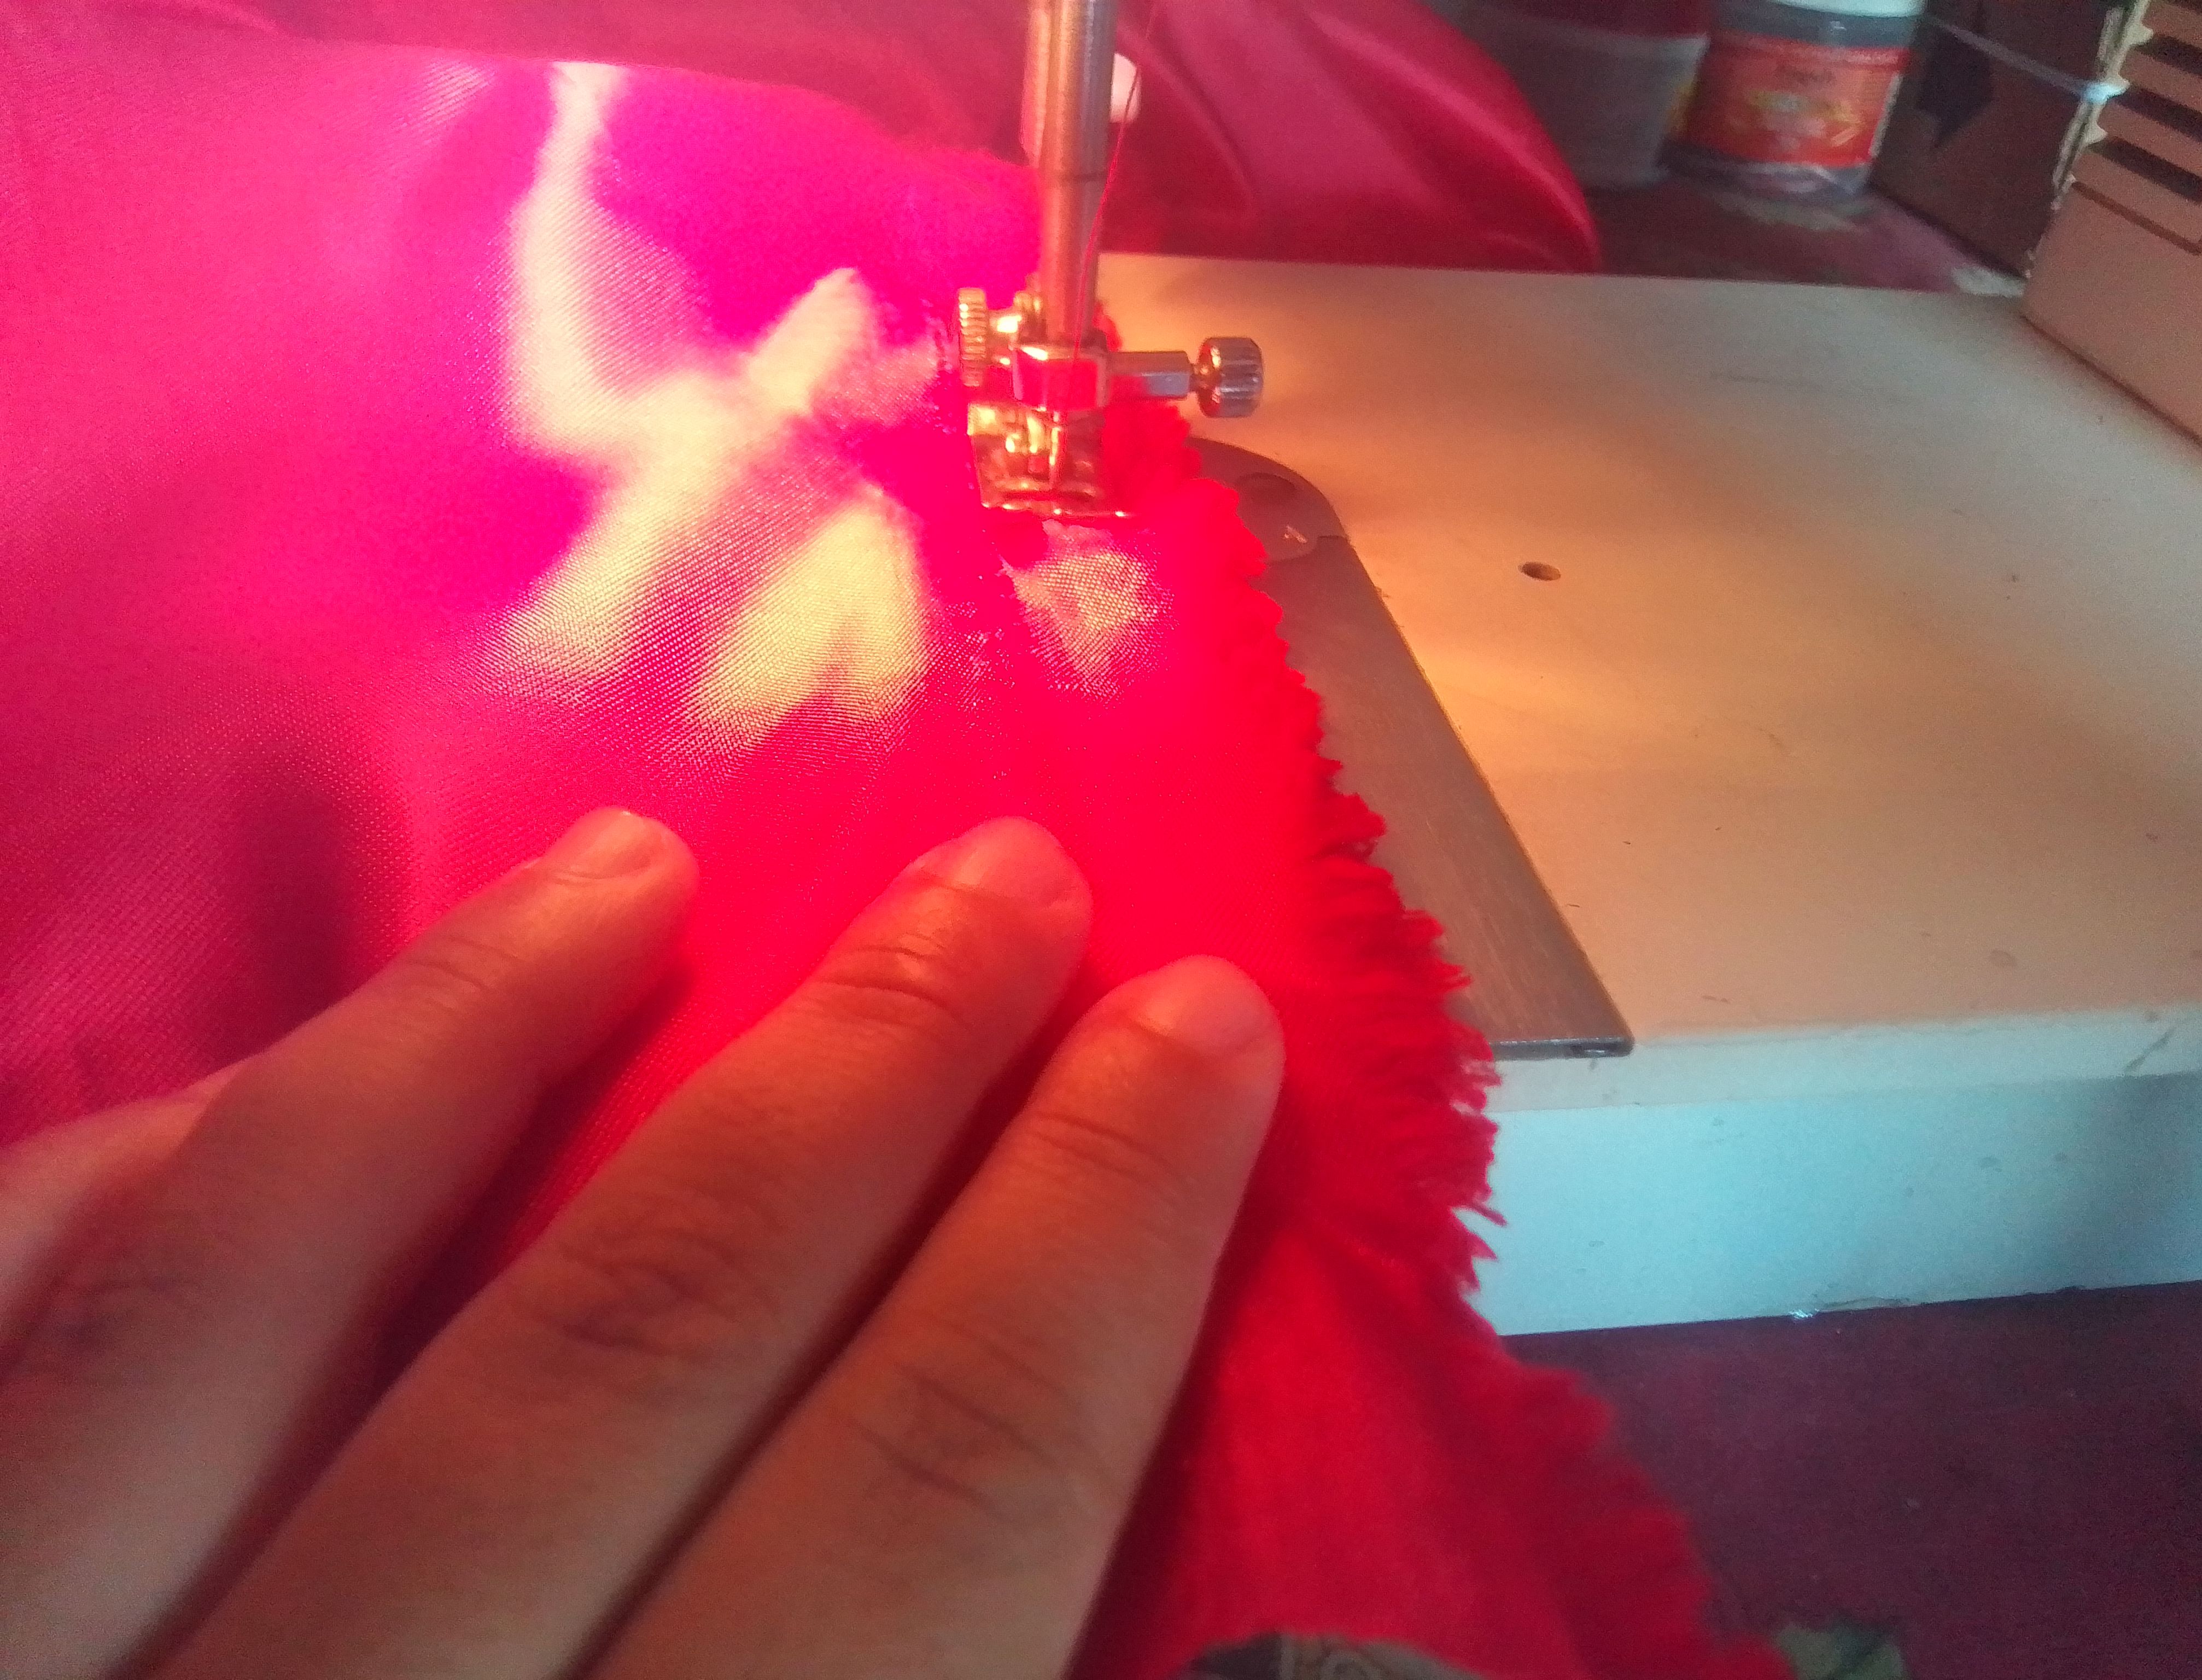
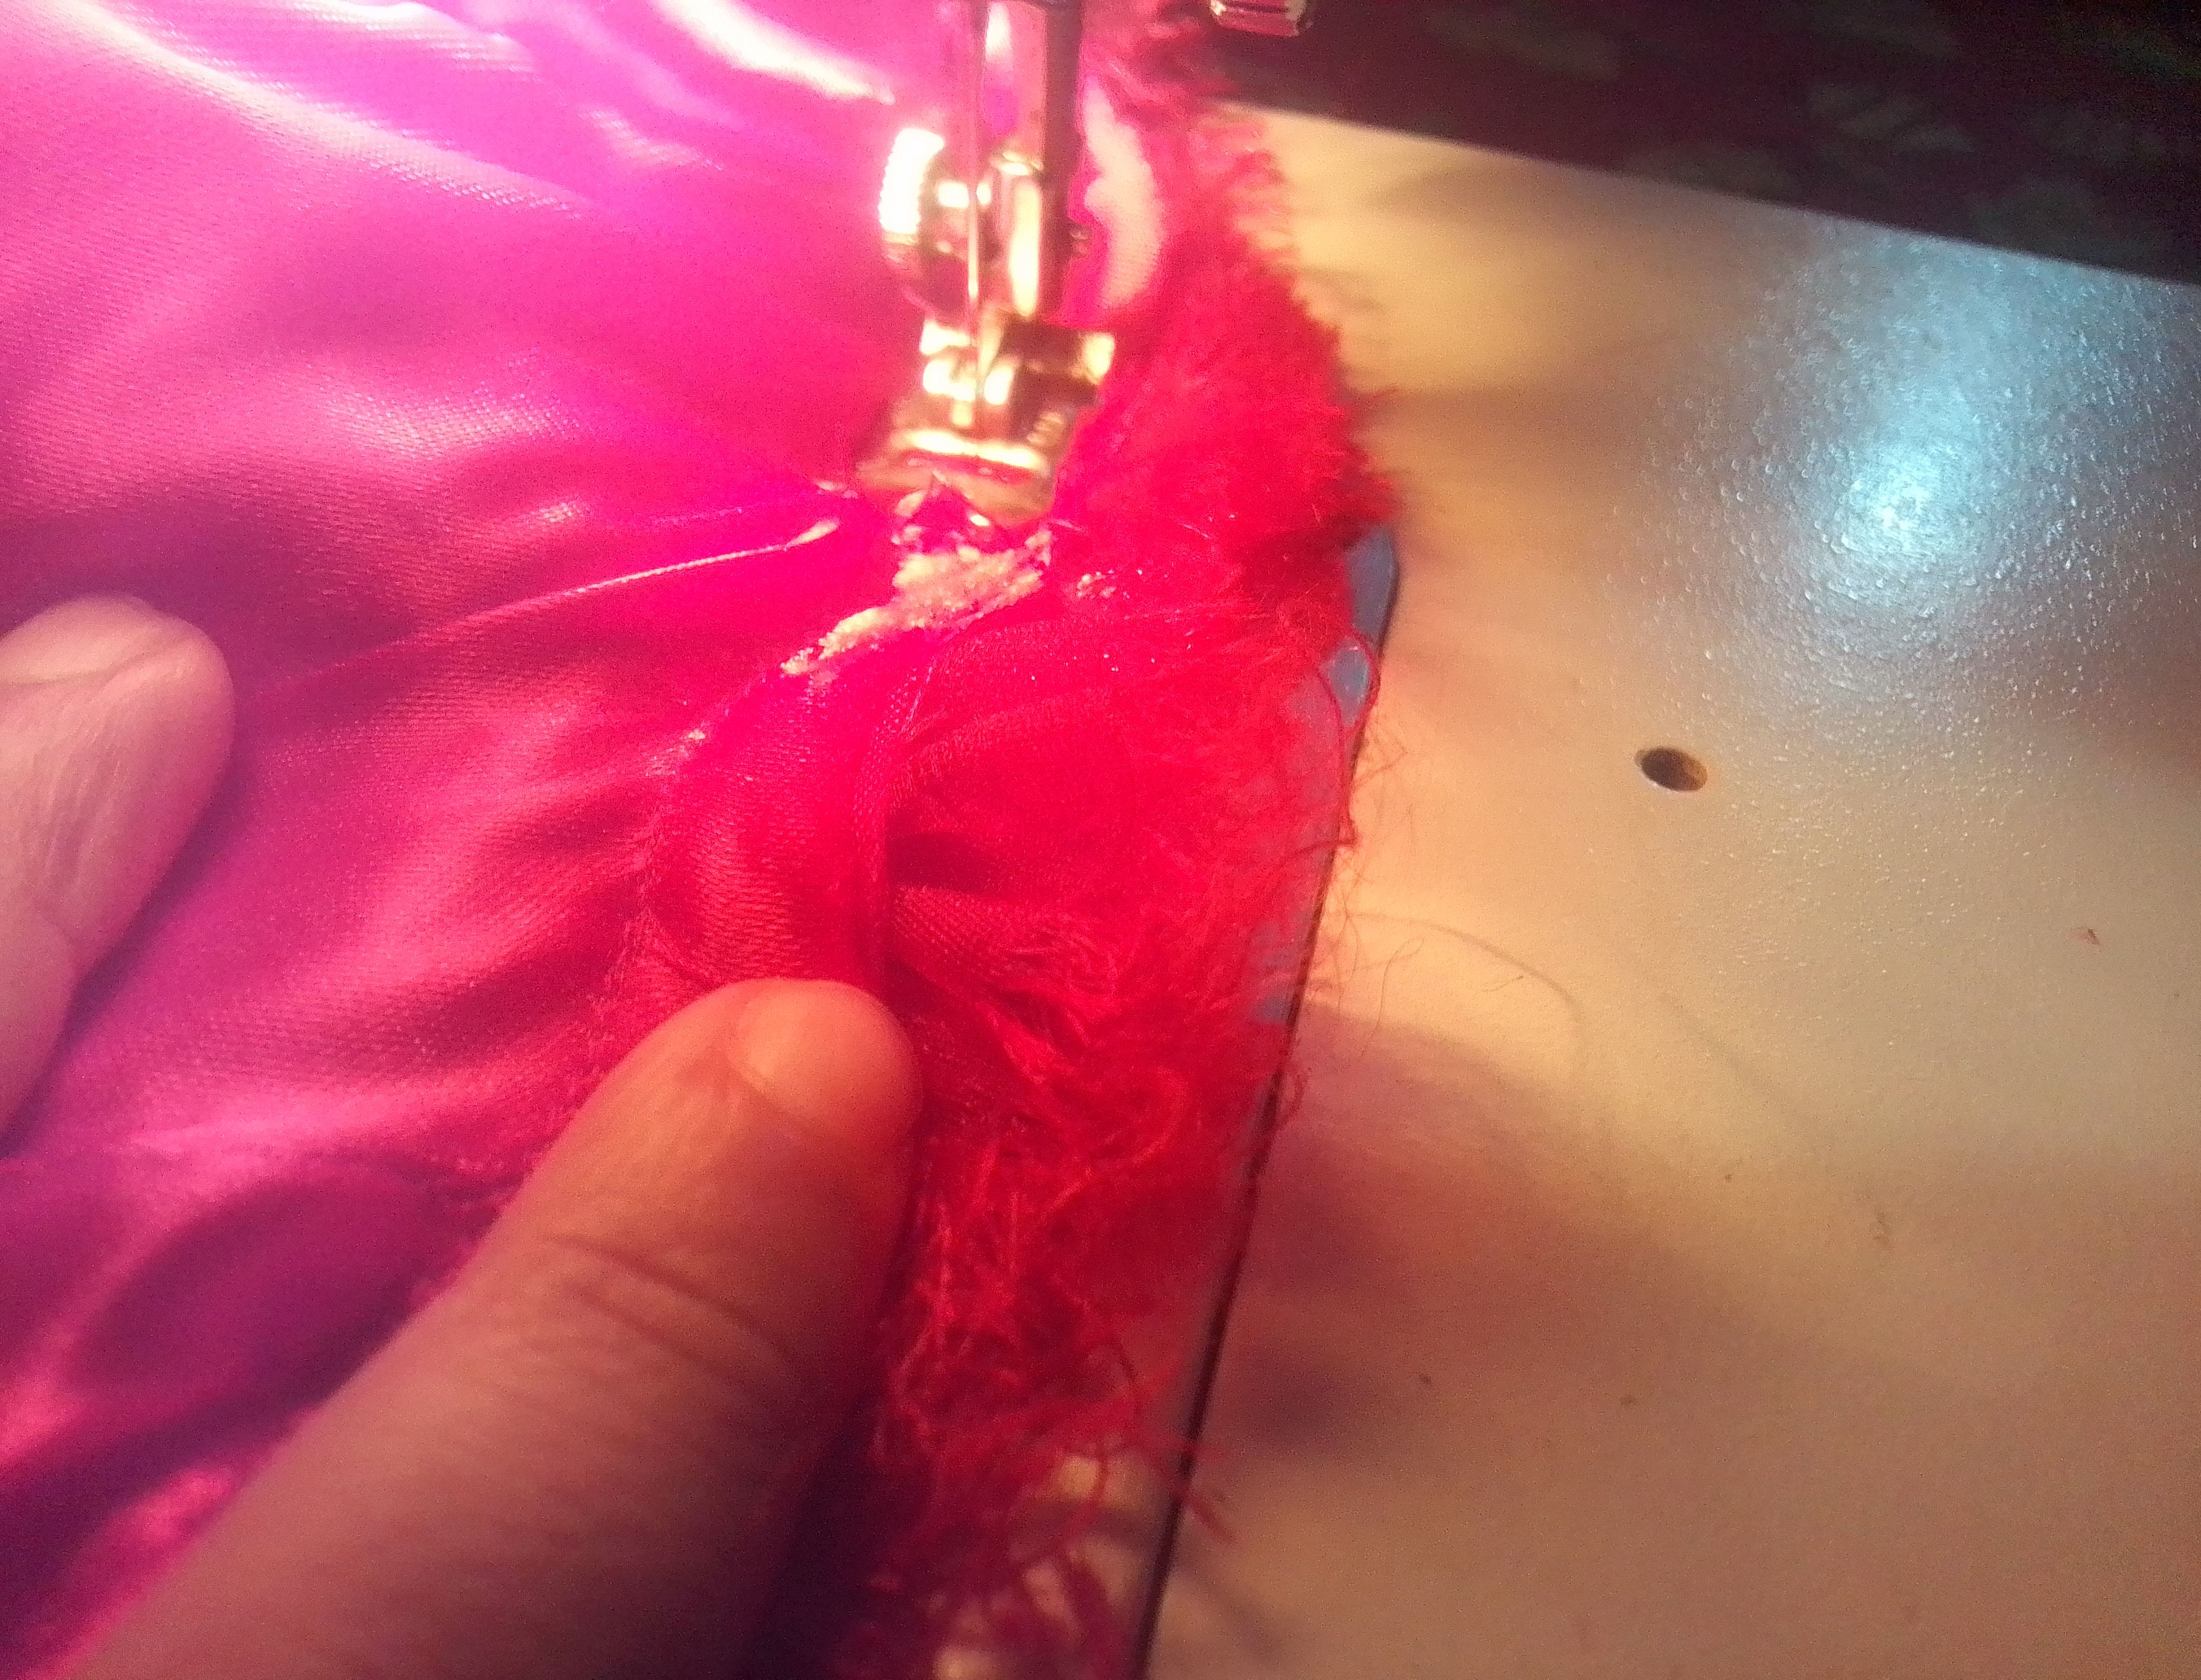
Comencé cortando todas la piezas básicas que ensambla el vestido, primero la falda circular que es lo que lleva gran parte de la tela. Fueron dobladas dos veces aproximadamente 6 metros de tela. De los sobrantes de tela corte todas las piezas que conforman el corset con diseño corte princesa y sus mangas. Cada una con un duplicado para la parte inferior.La tela organza solo fue hilvanada al largo completo de lo 6 metros y ajustada la contorno de cintura que tenía la falda. En el maniki se puede observar el vestido solo con costuras hilvanadas, listo para la primera prueba de la quinceañera. Me disculpo si algunas fotografías no fueron tomadas , pero la emocion del momento hacia que olvidara tomar fotos.
🌟Step 01
I started by cutting all the basic pieces that make up the dress, first the circular skirt, which takes up most of the fabric. Approximately 6 meters of fabric were folded twice. From the leftover fabric, I cut all the pieces that make up the princess-cut corset and its sleeves. Each one with a duplicate for the lower part. The organza fabric was only basted along the full length of the 6 meters and adjusted to the waistline of the skirt. On the mannequin, you can see the dress with only basted seams, ready for the first fitting of the quinceañera. I apologize if some photographs were missed, but the excitement of the moment made me forget to take pictures.
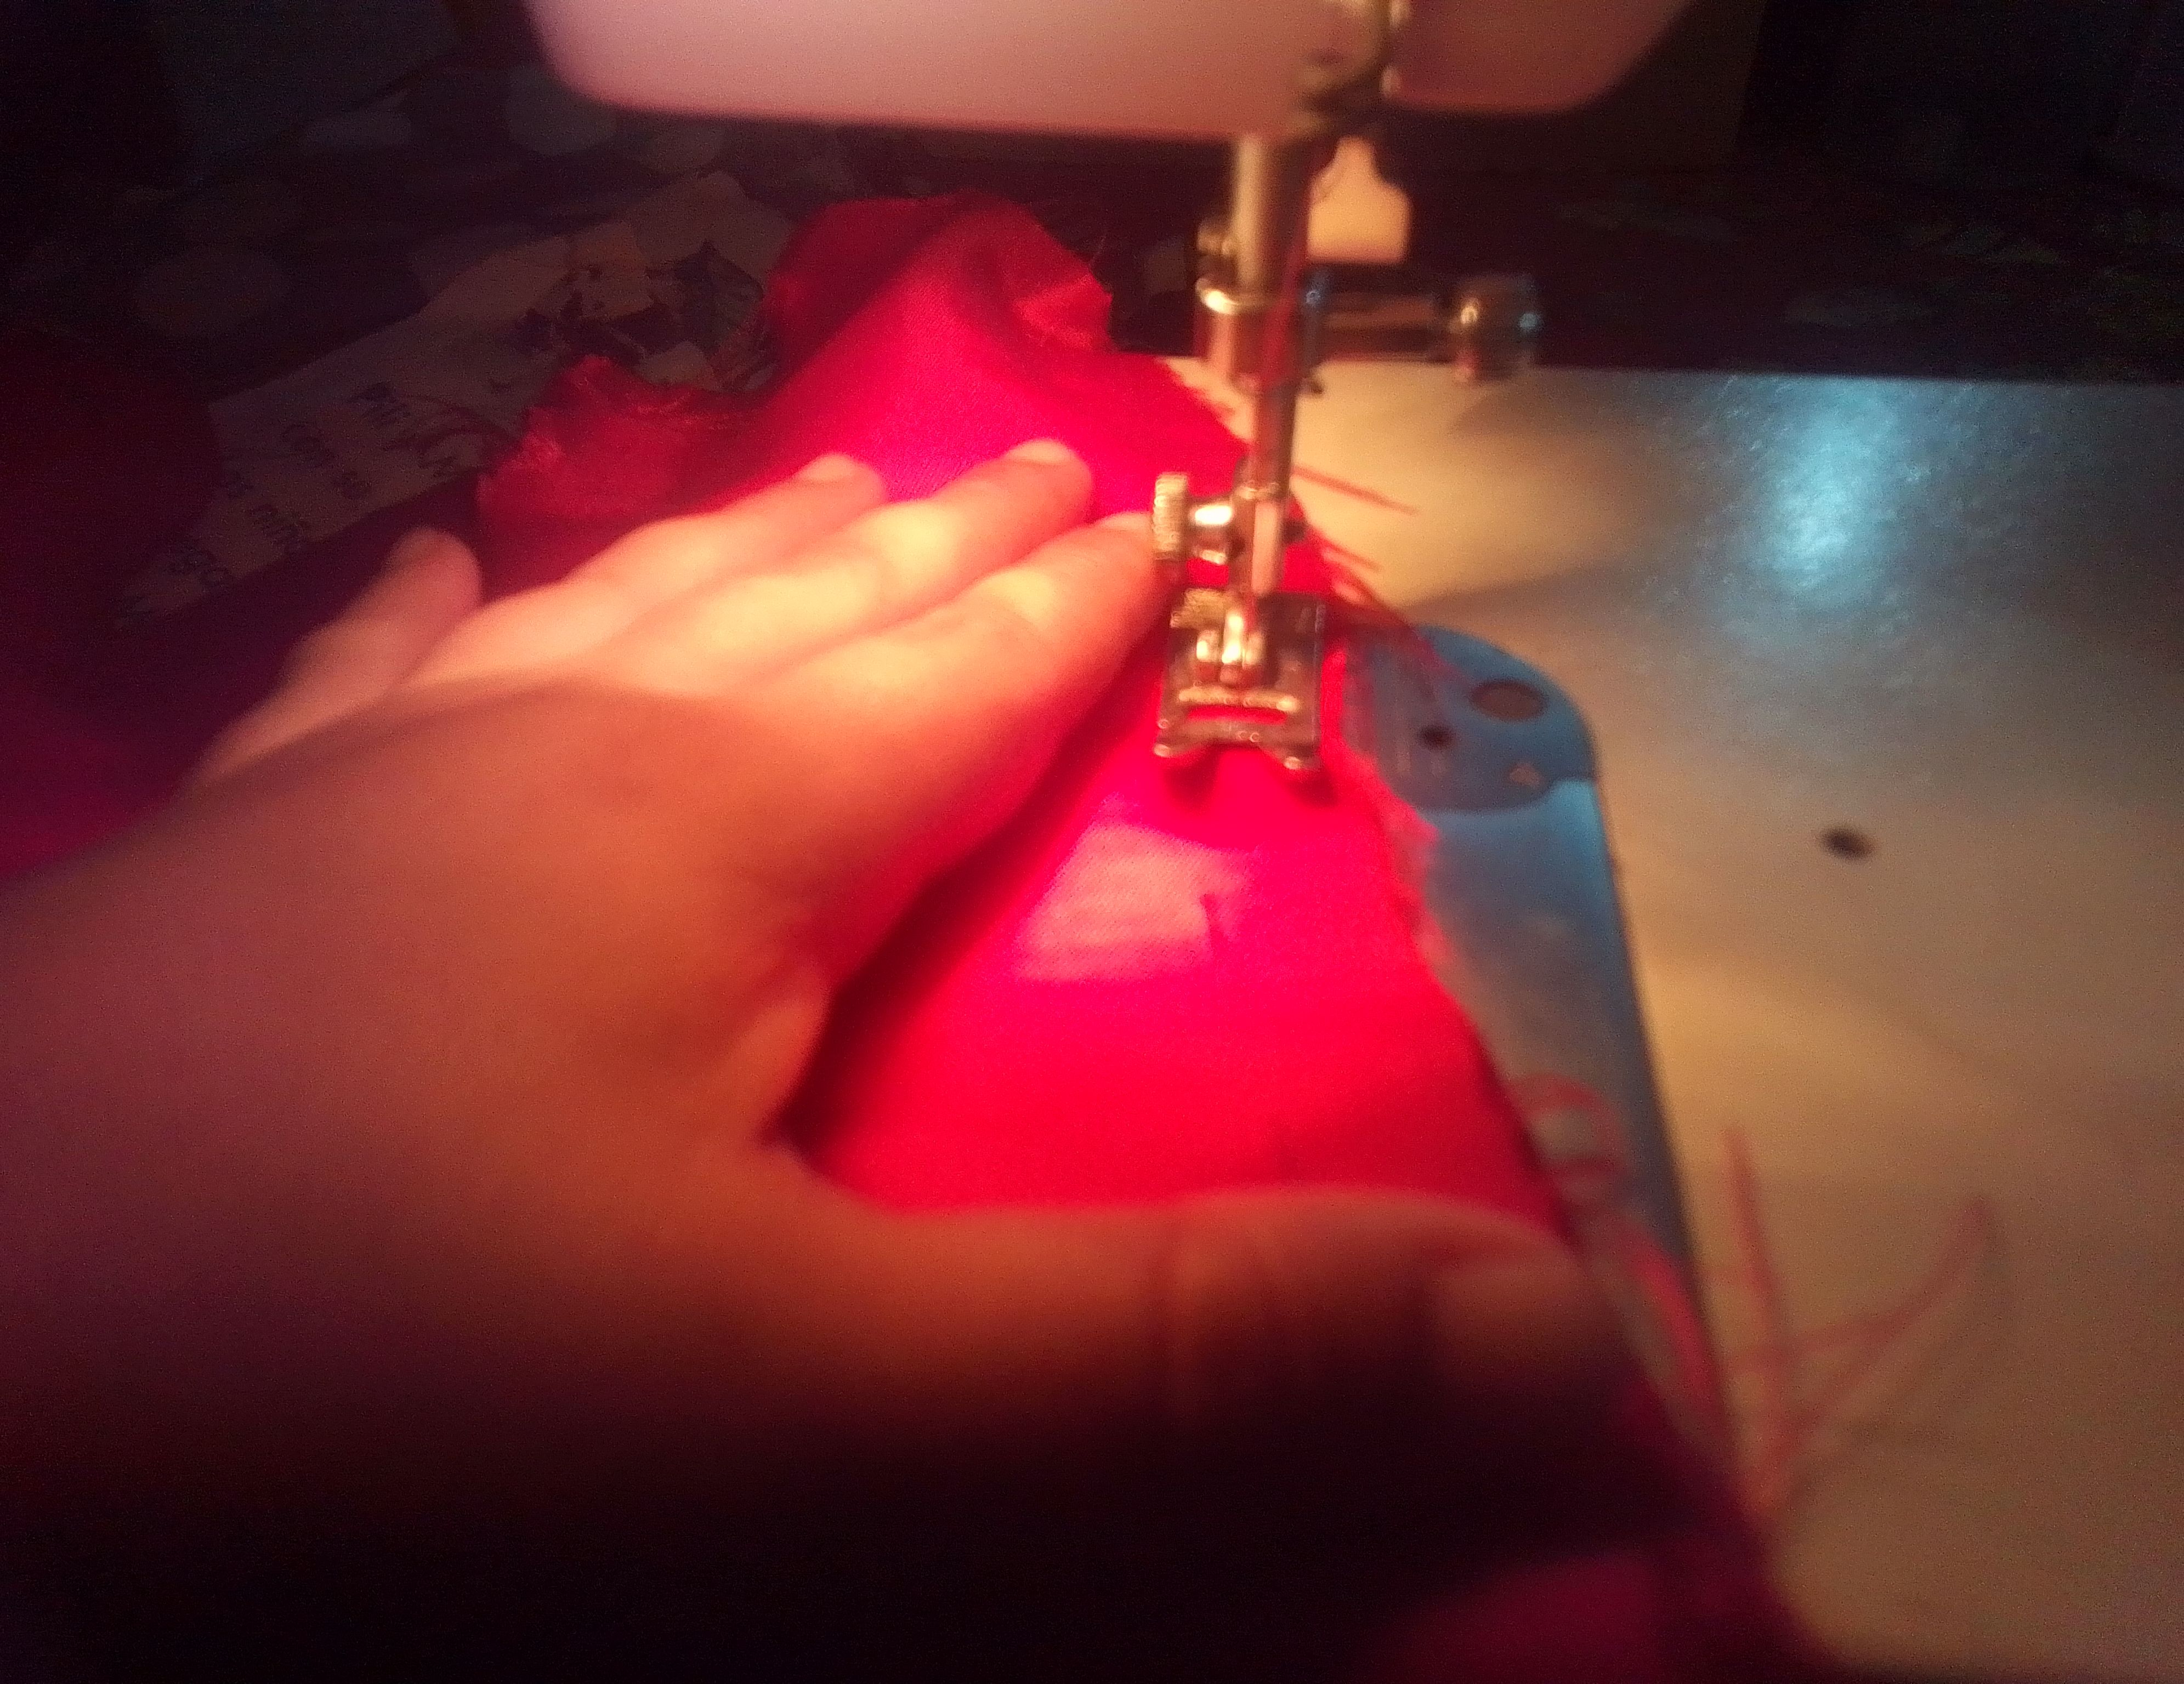
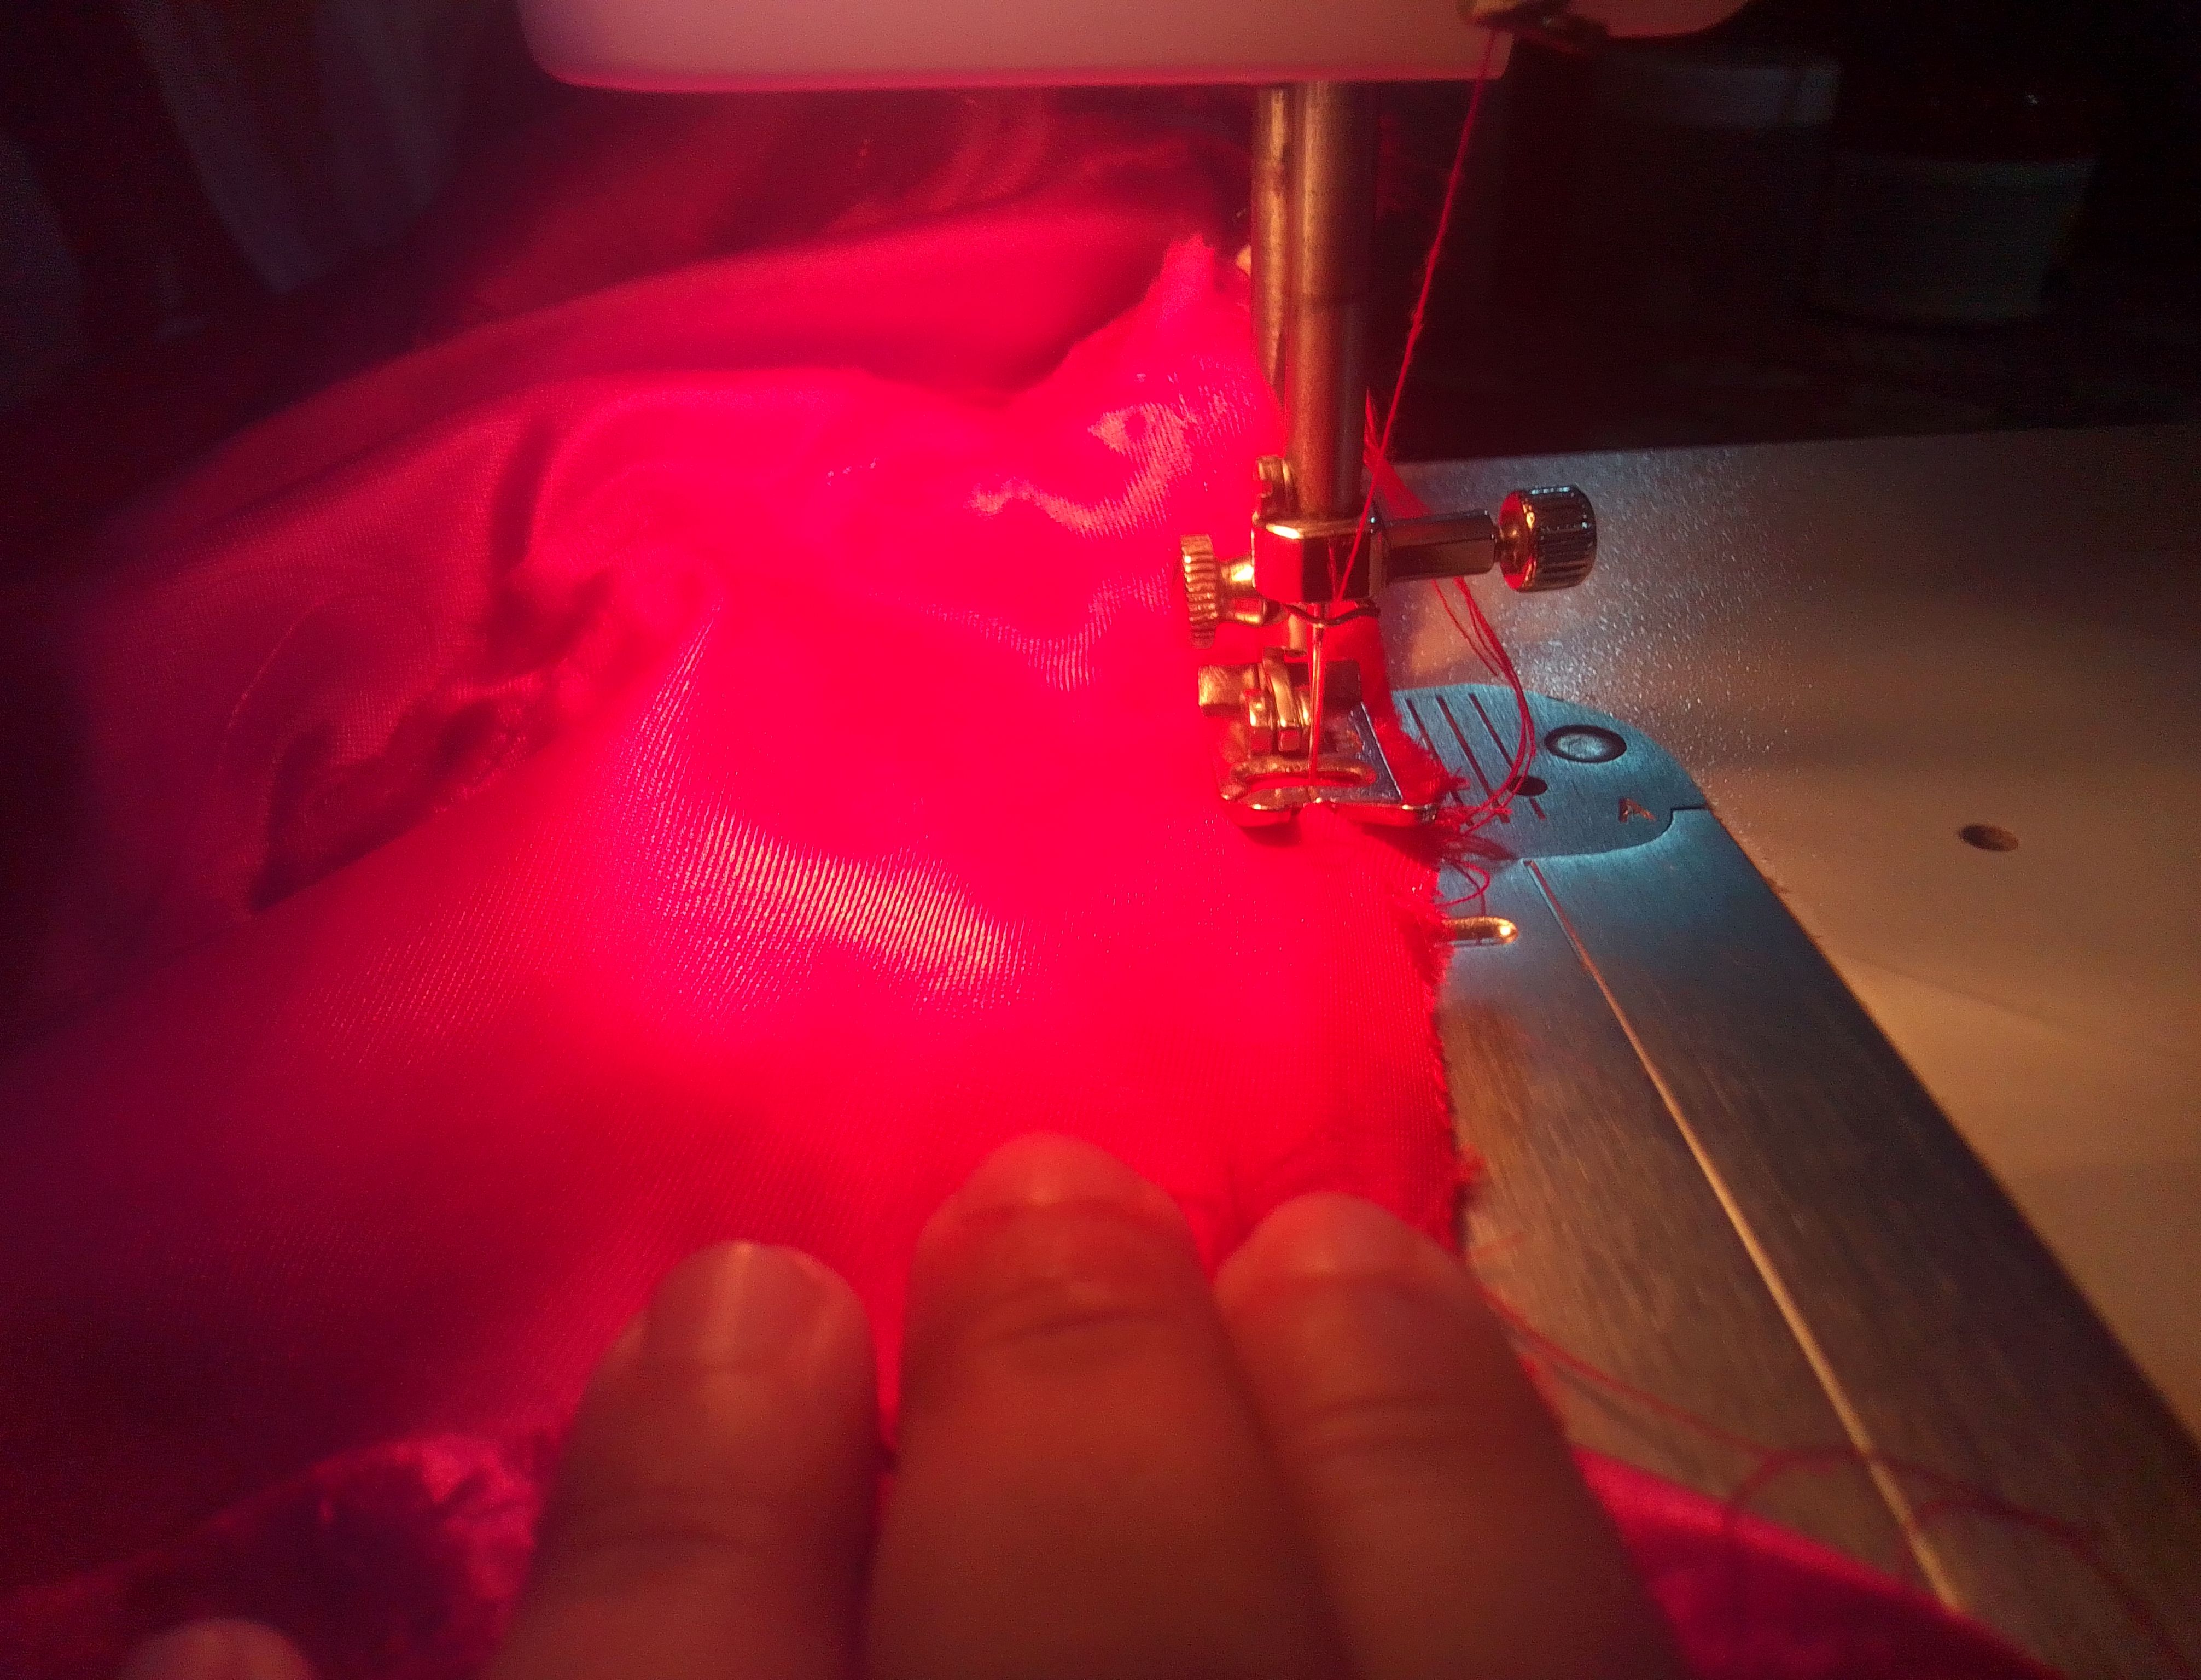
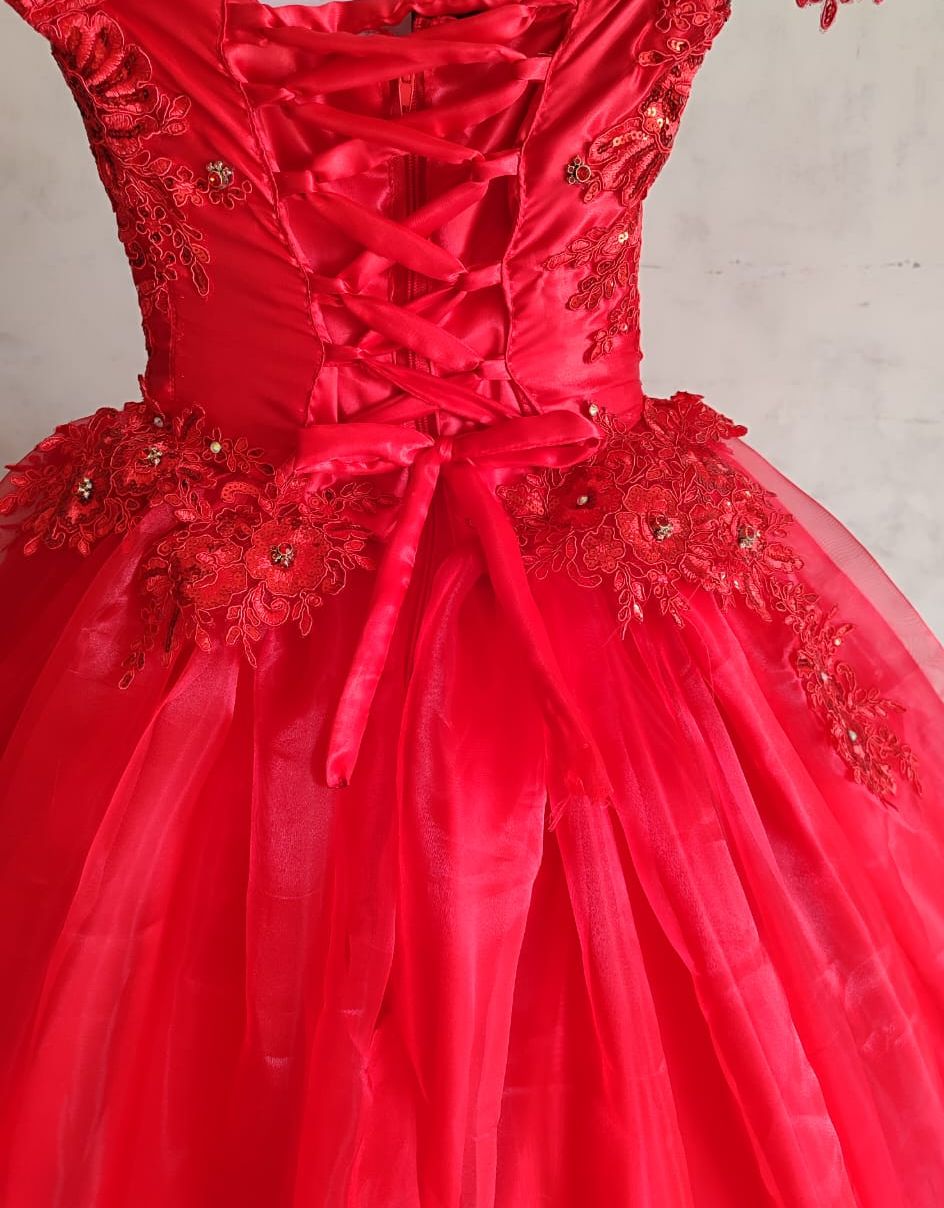
🌟Paso 02
Todo perfecto, comienzo a coser y a unir todas la piezas de lo que es el corset, tenerlo hilvanado ya era una gran ventaja. Hacemos unas trabillas, en la parte trasera para la tira del ajuste y colocamos el cierre. Introduzco la varillas por lo laterales y el zona del busto.
🌟Paso 02
Todo perfecto comienzo a coser y a unir todas la piezas de lo que es corset, tenerlo hilvanado ya era una gran ventaja, hacemos unas trabillas, en la parte trasera para la tira del ajuste y colocamos el cierre. Introduzco la varillas por lo laterales y el zona del busto.
---
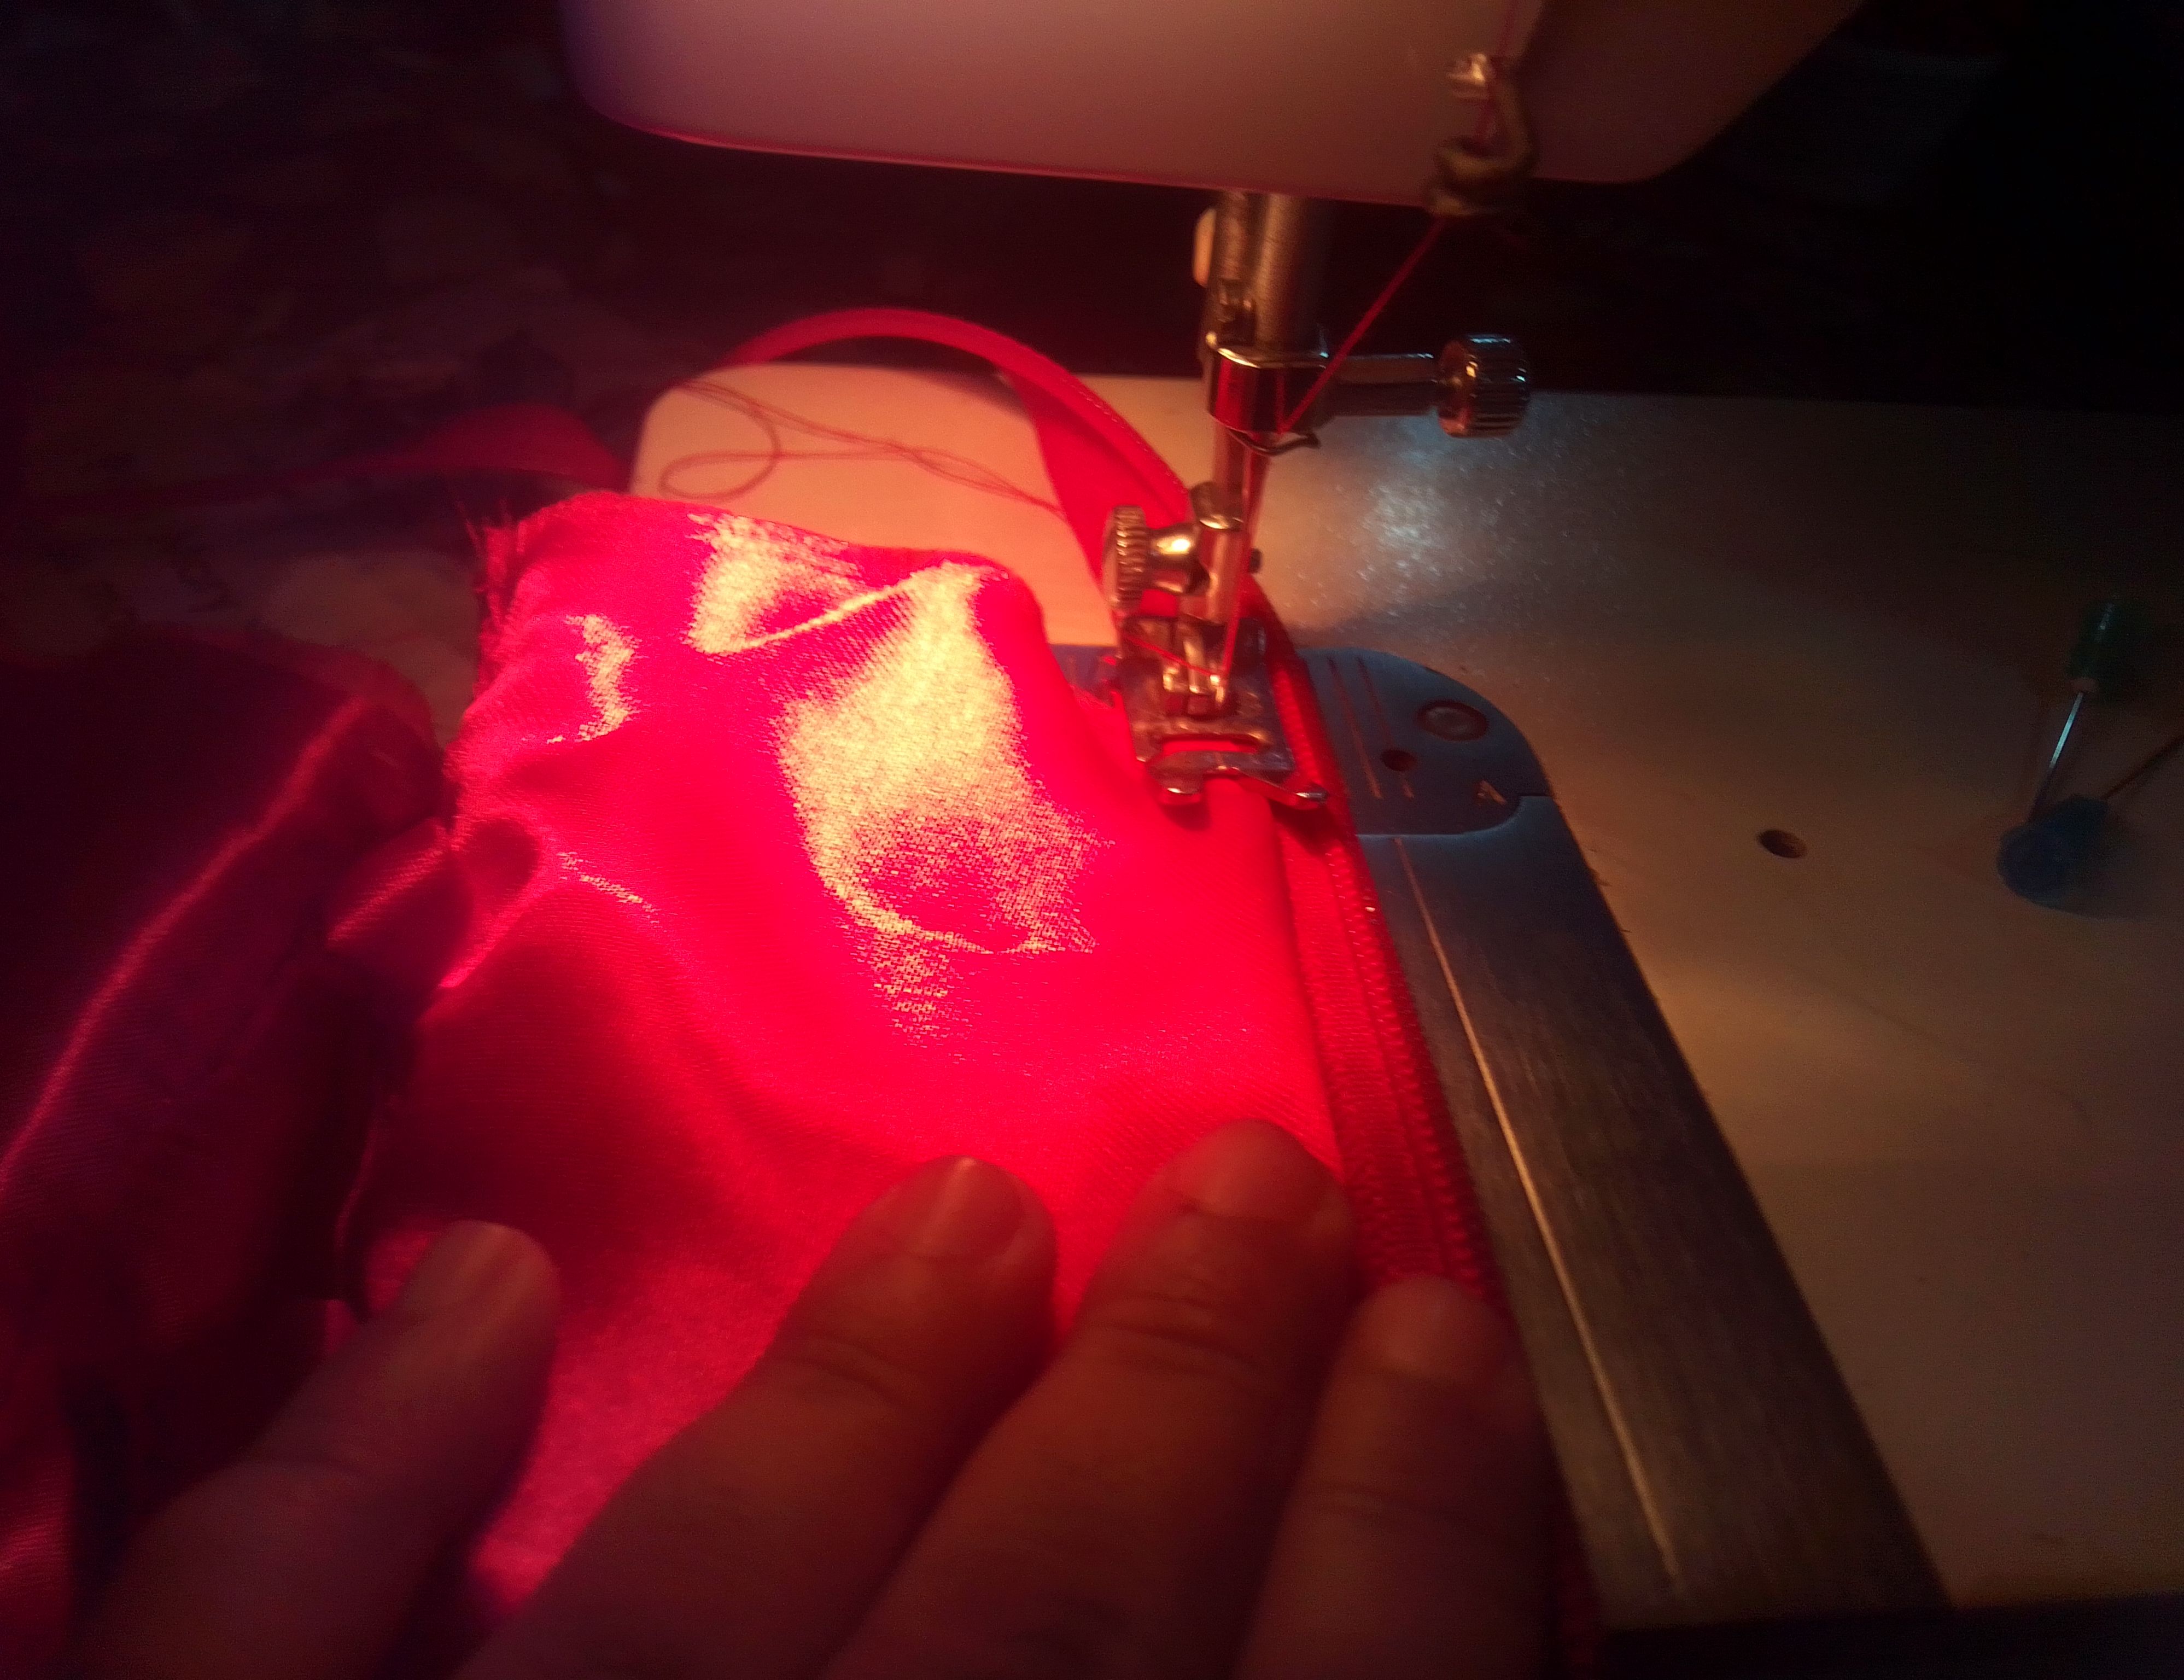
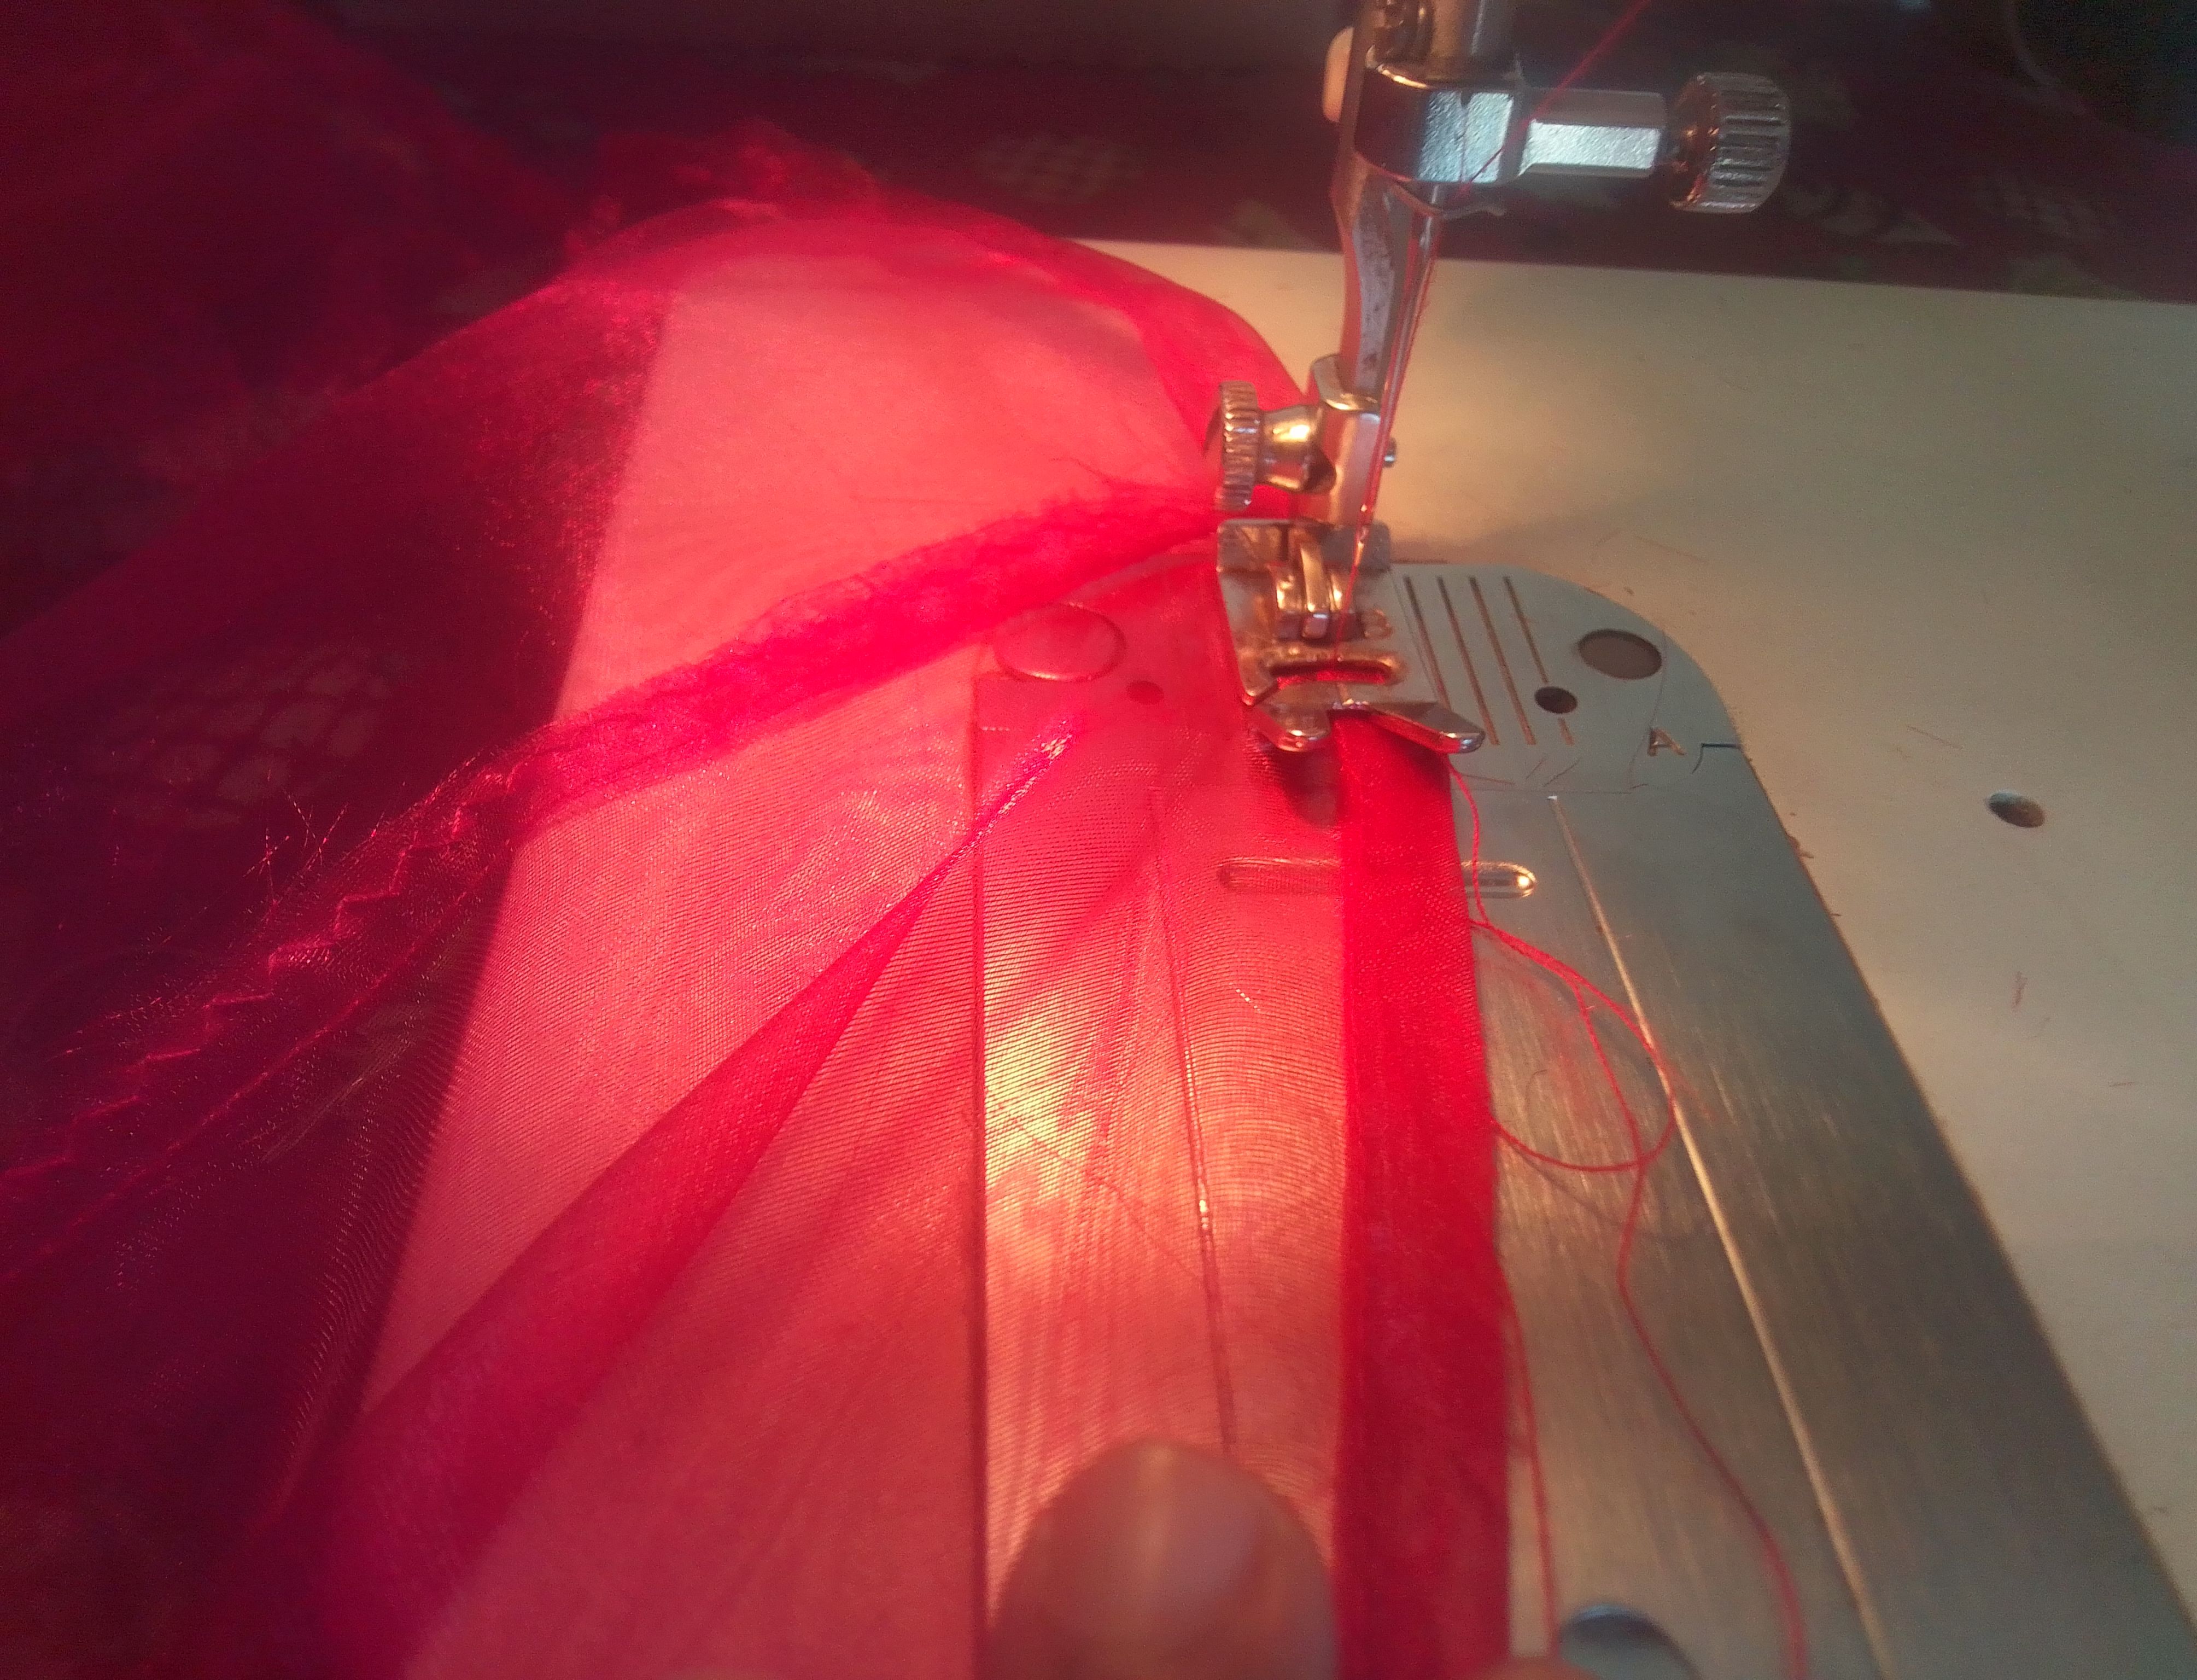
🌟Paso 03
Por otro lado voy a unir los extremos de la falda de la tela raso y encima coloco la tela organza manteniendo el fruncido que había hecho al principio, esta la voy a unir al corset y termino de coser el cierre.
🌟Step 03
On the other hand, I'm going to join the ends of the satin fabric skirt and on top I'm going to place the organza fabric maintaining the gathering that I had made at the beginning. I'm going to join it to the corset and finish sewing the closure.
🌟Paso 04
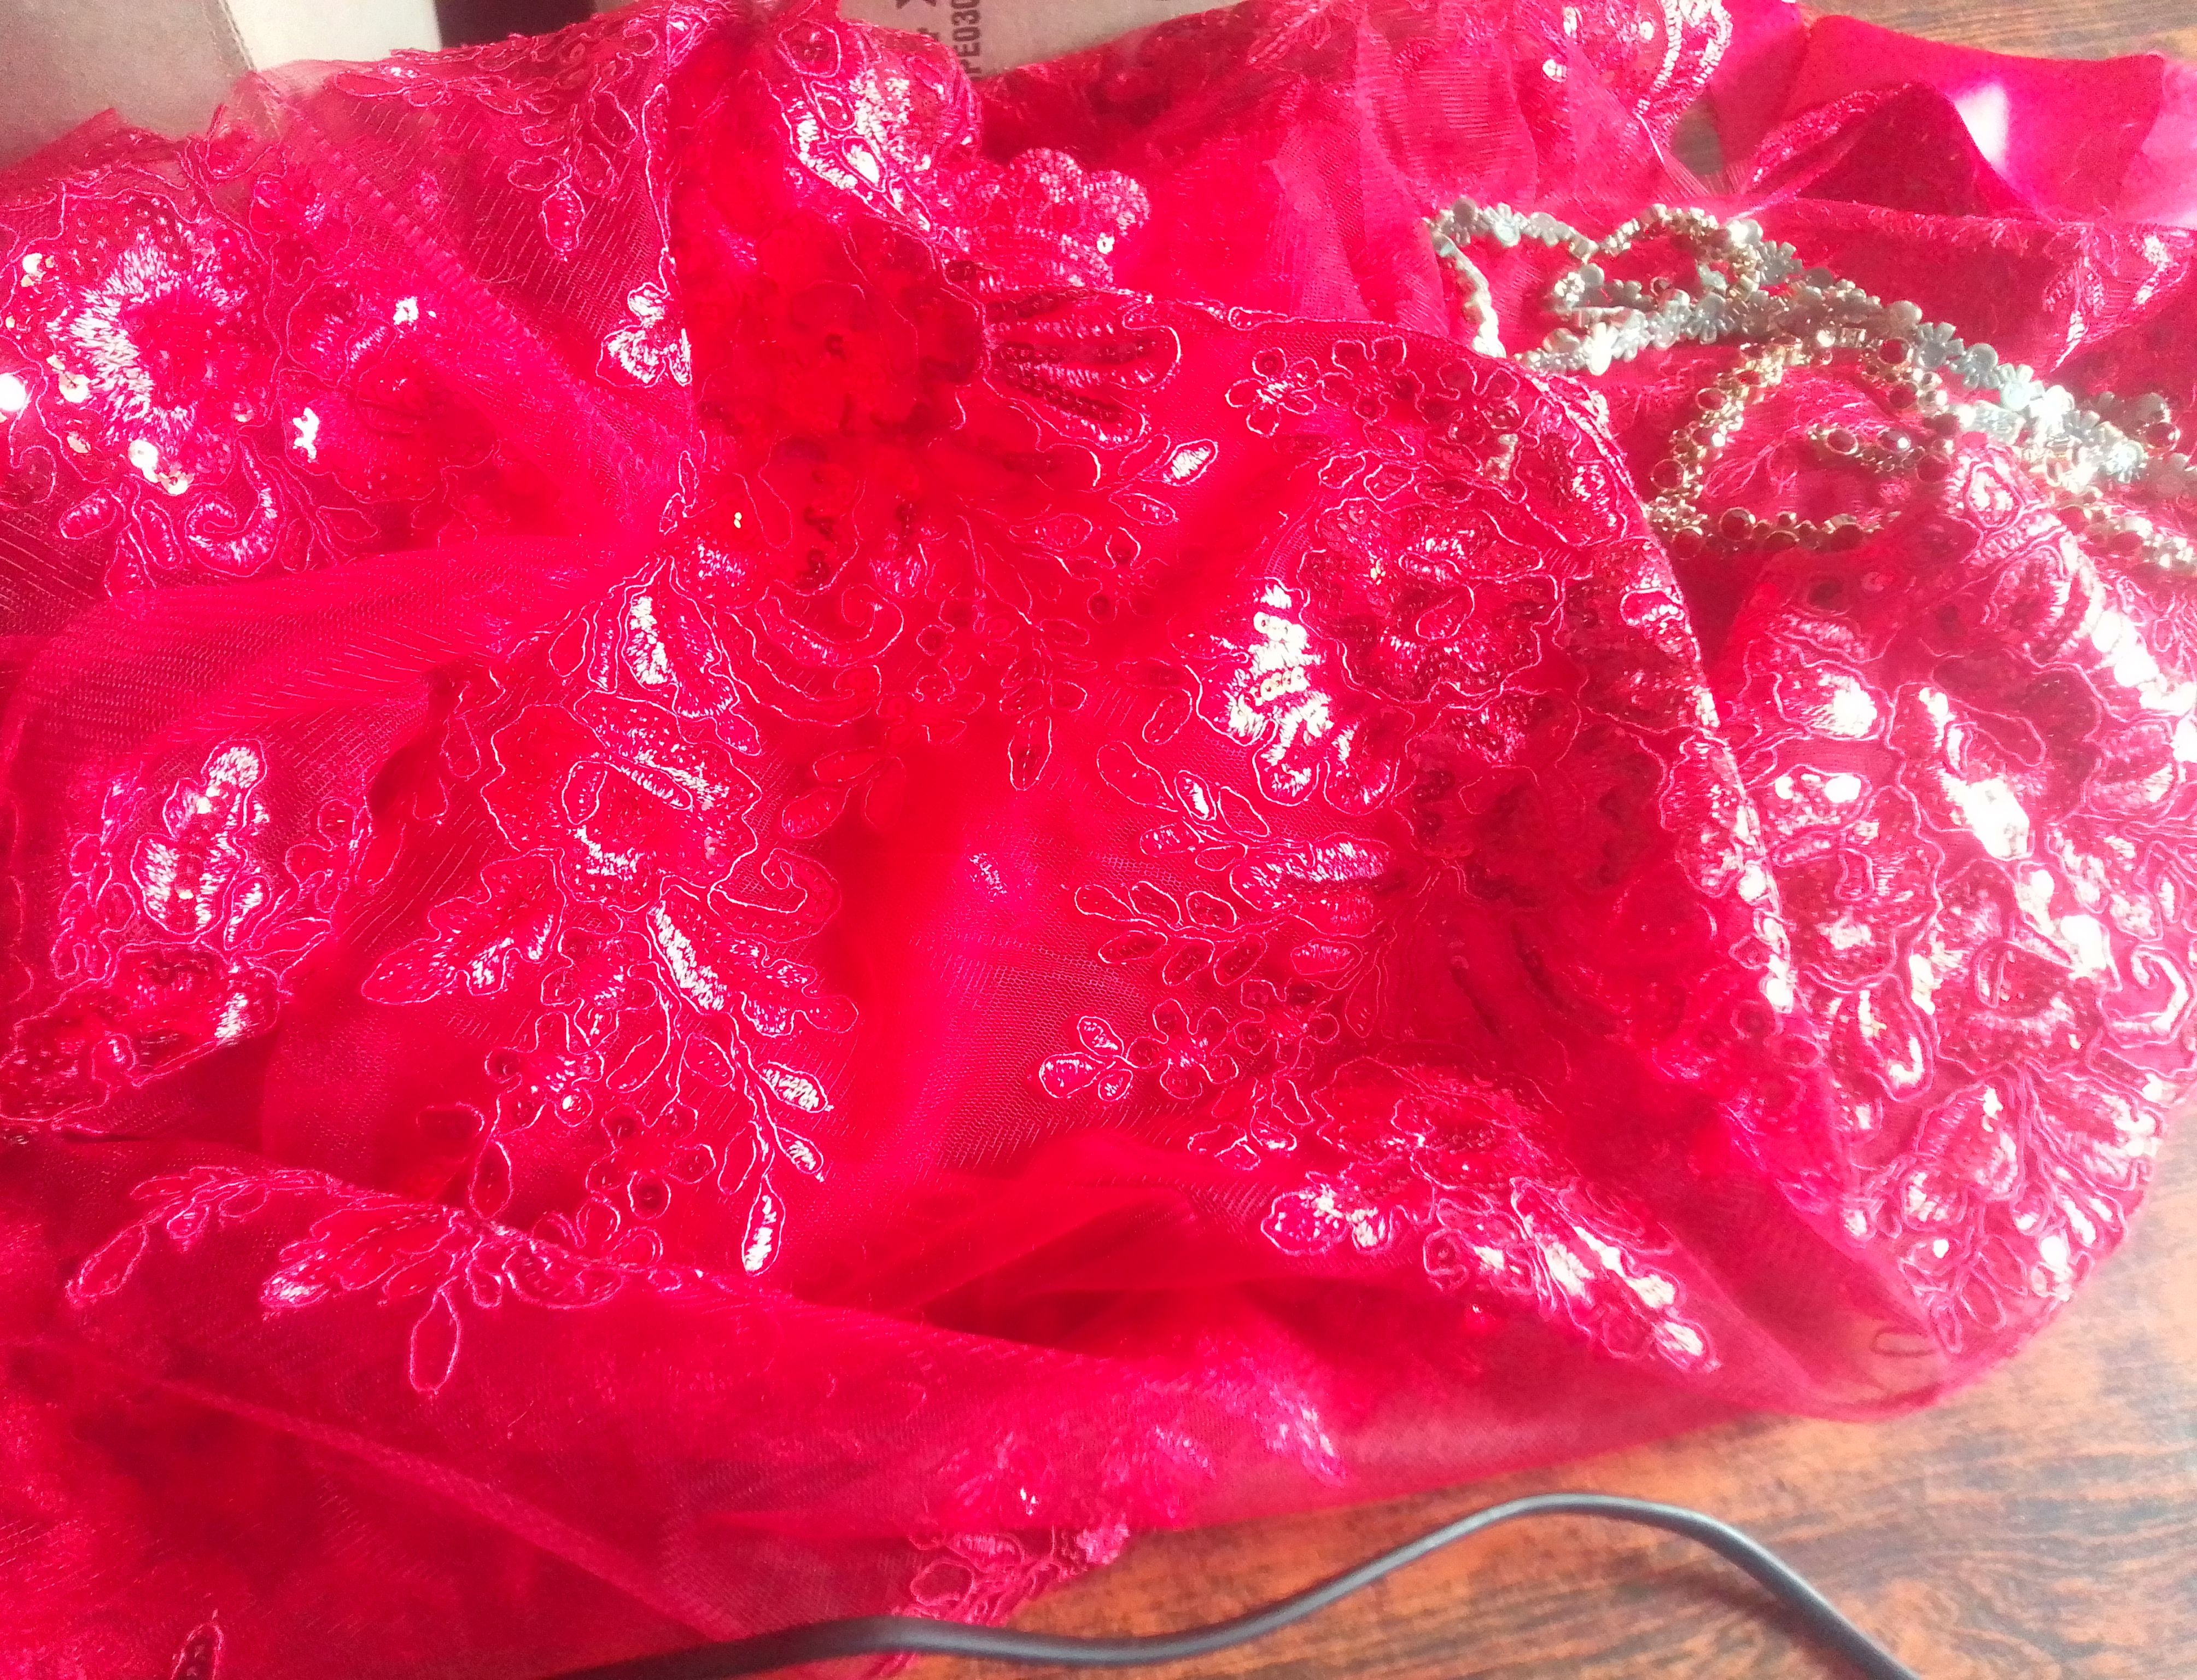
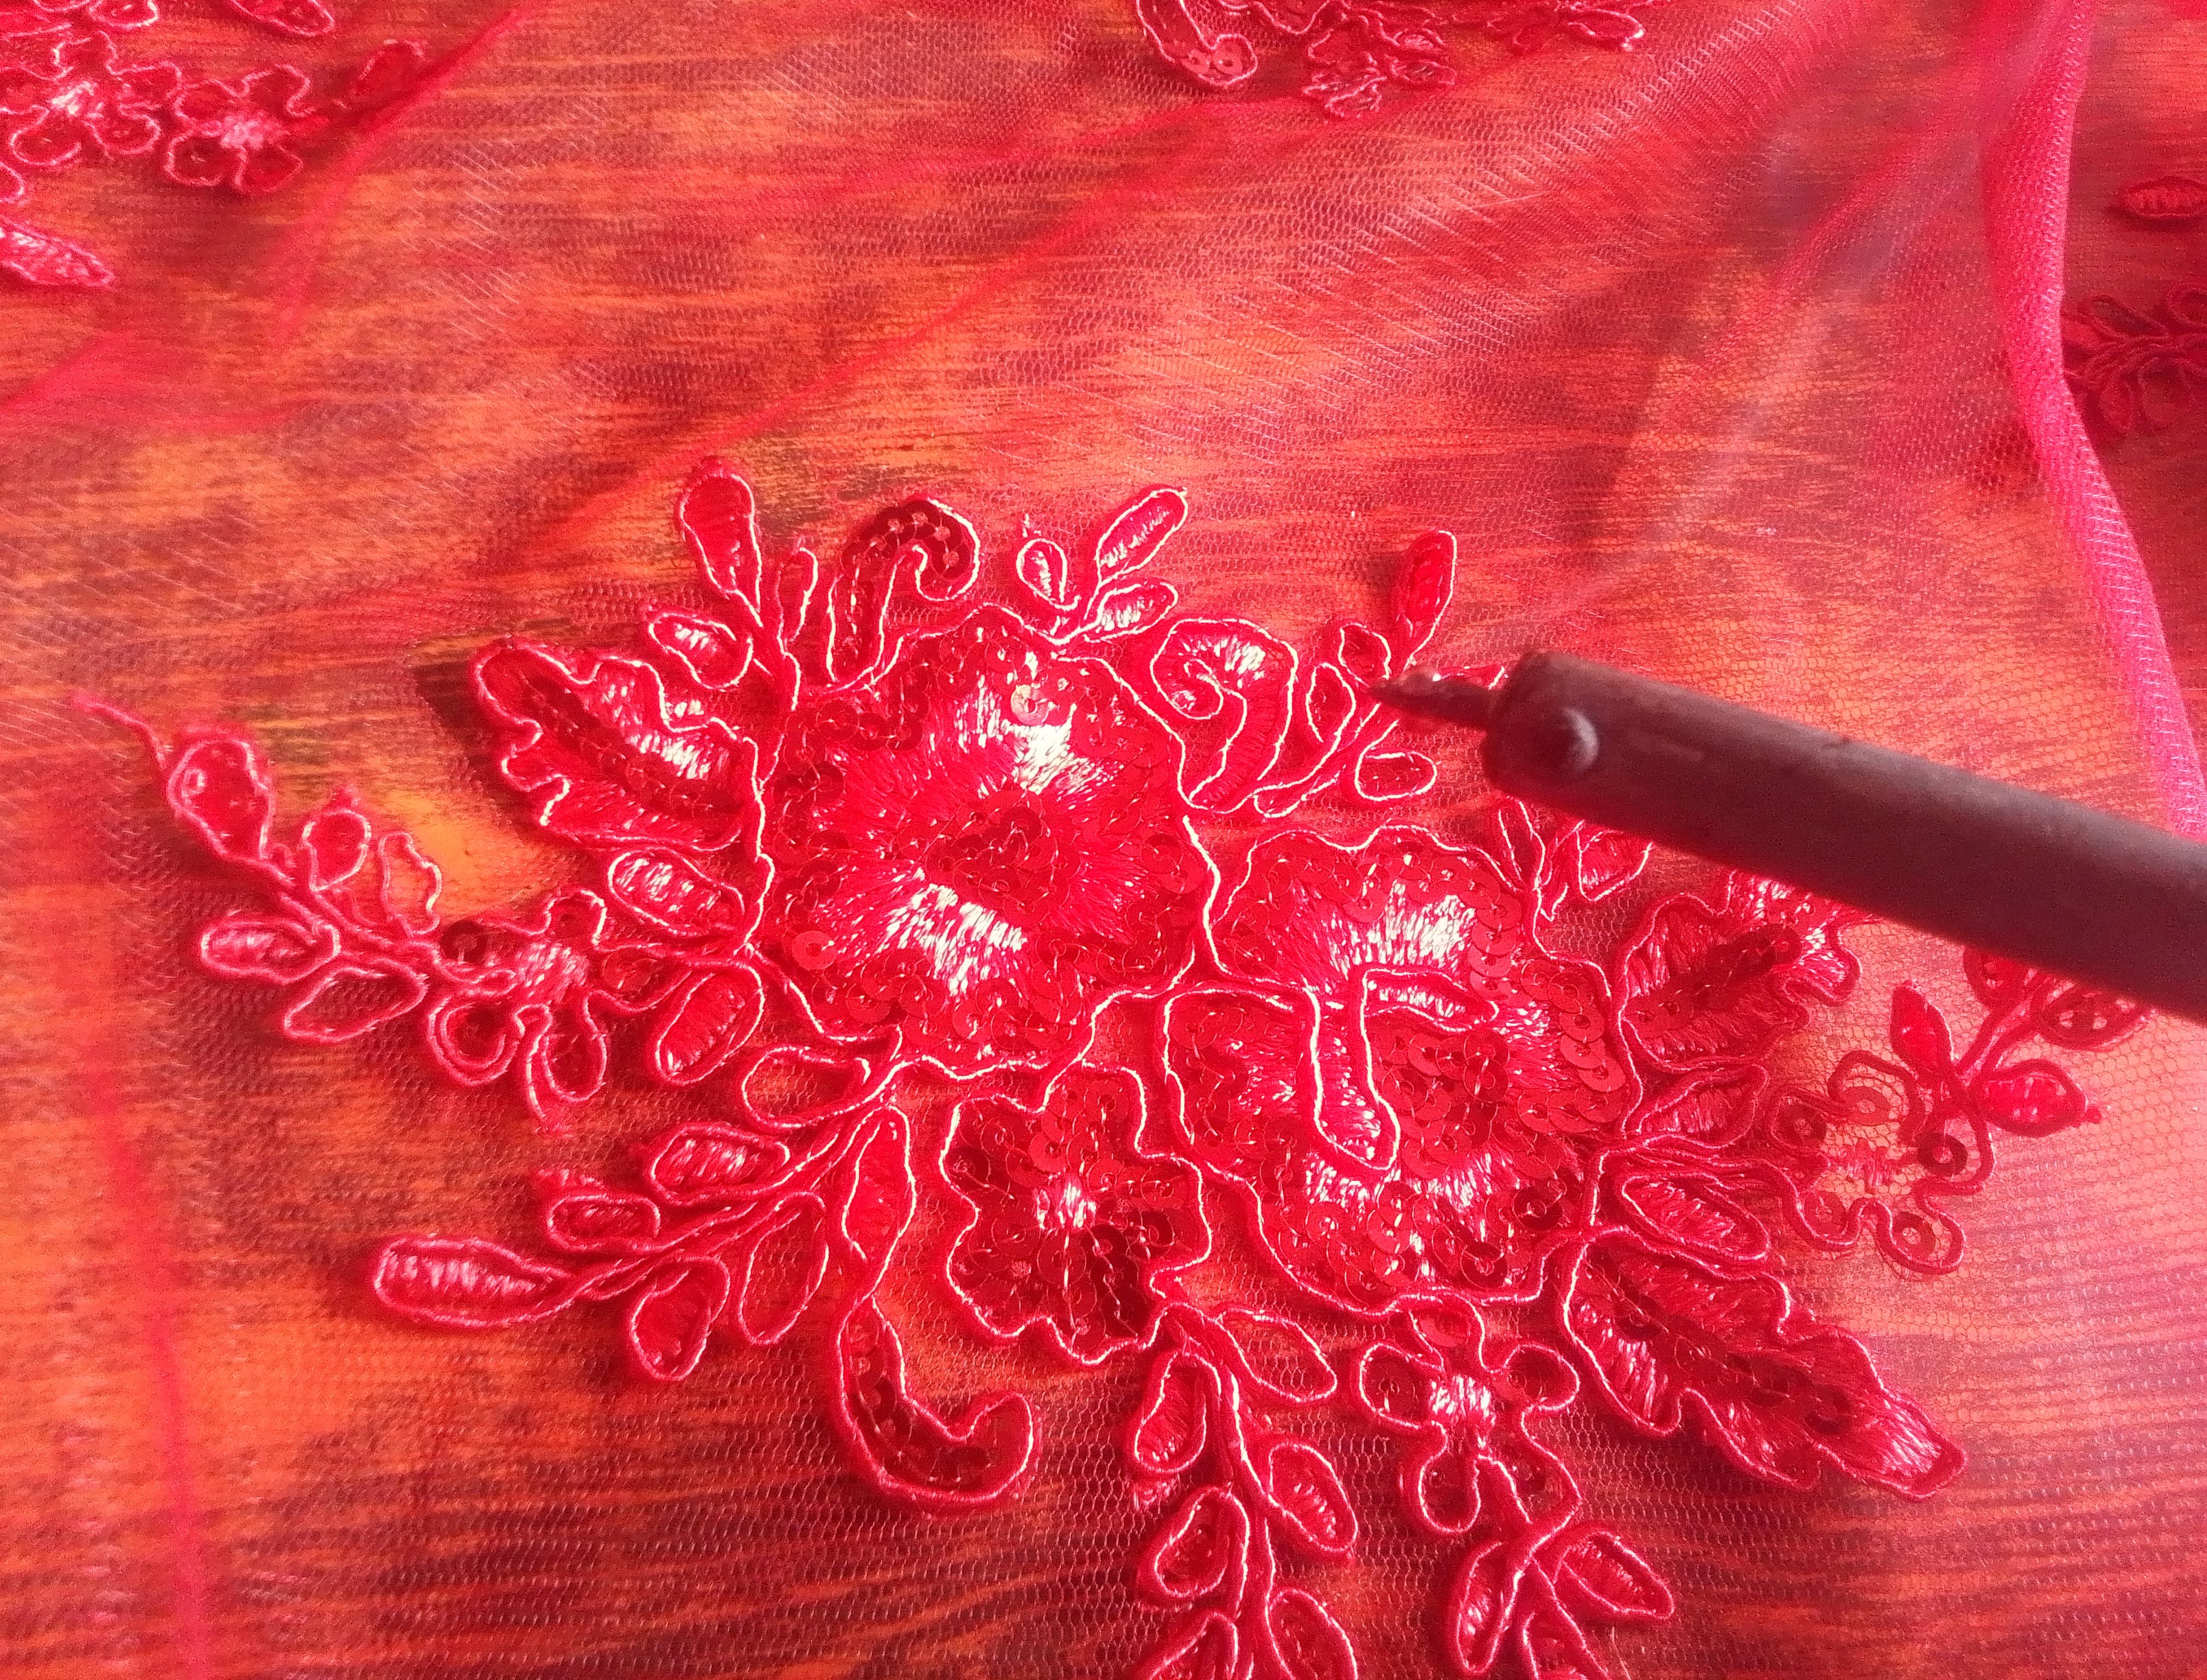
Aca tengo una tela con encajes , para cual utilicé una herramienta llamada cautín, para recortar y a su vez sellar con calor todo el diseño de la flor con sus hojas. Estas las fuí colocando de forma armoniosa sobre el vestido para que se viera una decoración muy hermosa.
🌟Step 4
Here I have some lace fabric, which I used a tool called a soldering iron to cut out and heat-seal the entire flower and leaf design. I placed these harmoniously on the dress to create a beautiful decoration.
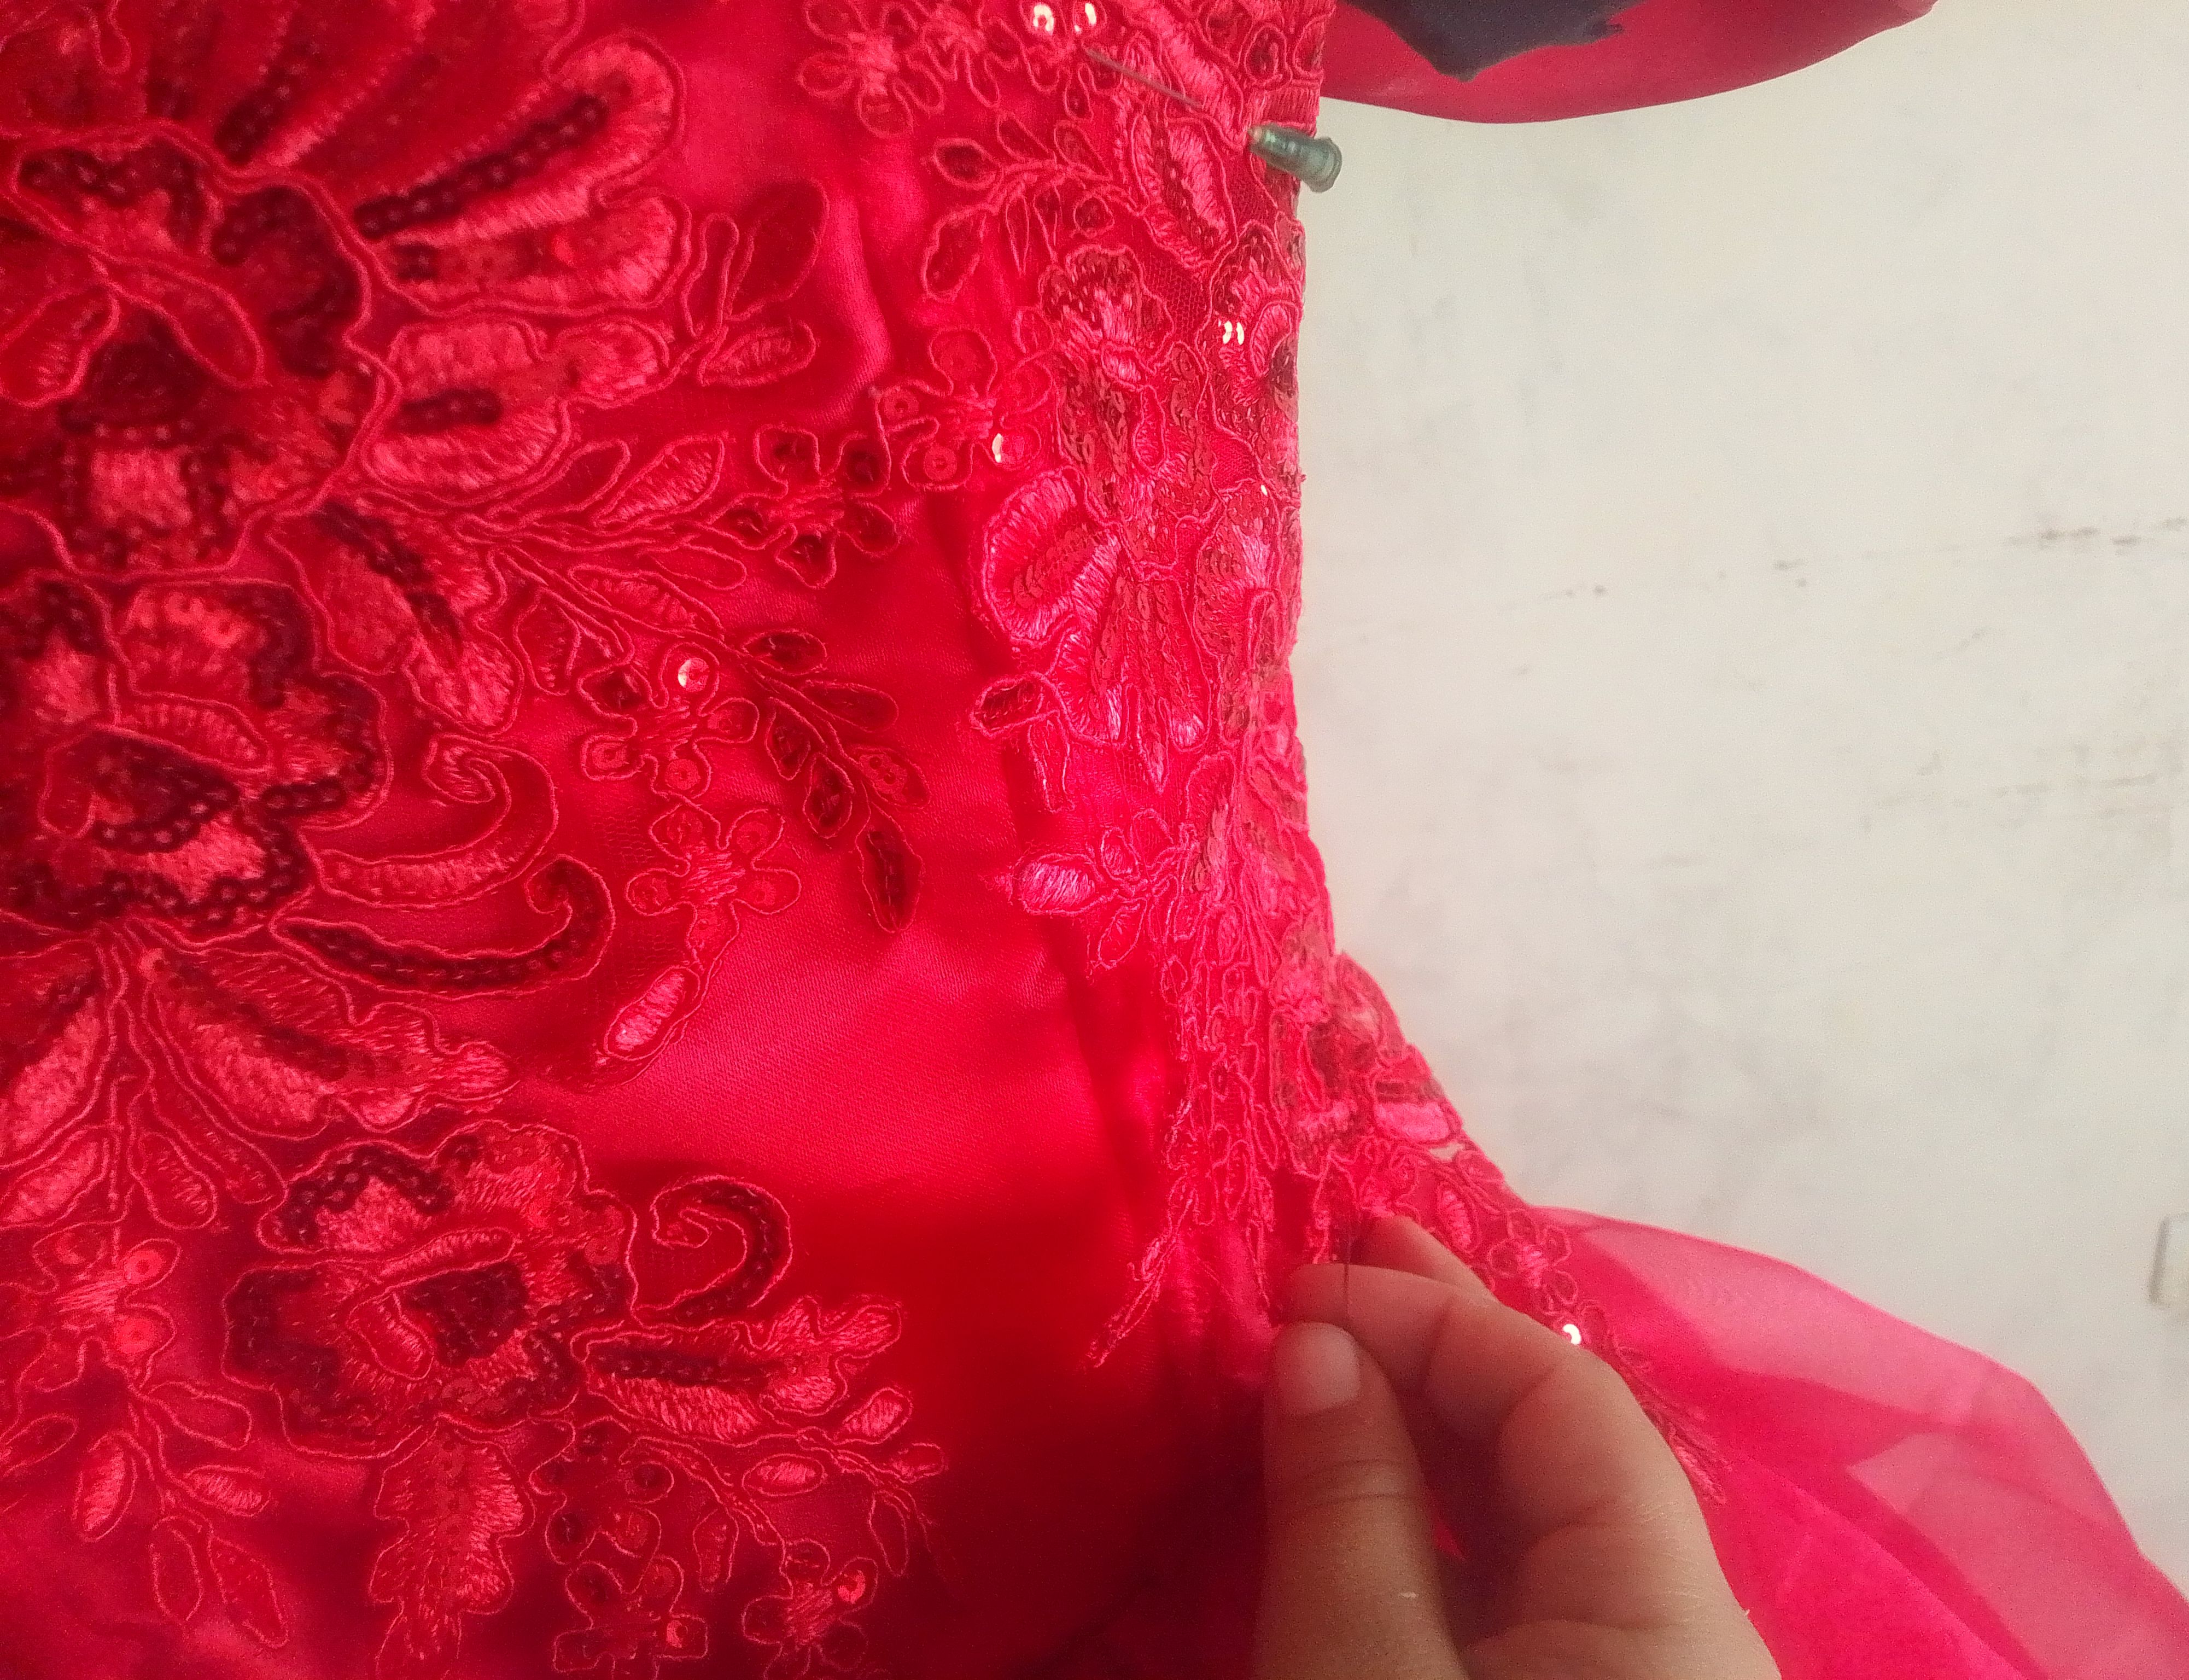
🌟Paso 05
Ya estando a mi gusto, ahora sí comencé a bordar todos estos encajes uno a uno de la forma que lo había colocado, también comencé a pegar la pedrería, cuidando cada detalle que todo quedará muy prolijo. Antes ya había cortado el largo y cosido todo el dobladillo inferior. Bordé este encaje en todo el corset, cintura y parte inferior de la falda.
🌟Step 5
Now that it was to my liking, I began to embroider all this lace, one by one in the way I had placed it and glue the rhinestones, taking care of every detail so that everything would be very neat. I had already cut the length and egg the entire lower hem. I embroidered this lace all over the corset, waist, and bottom of the skirt.
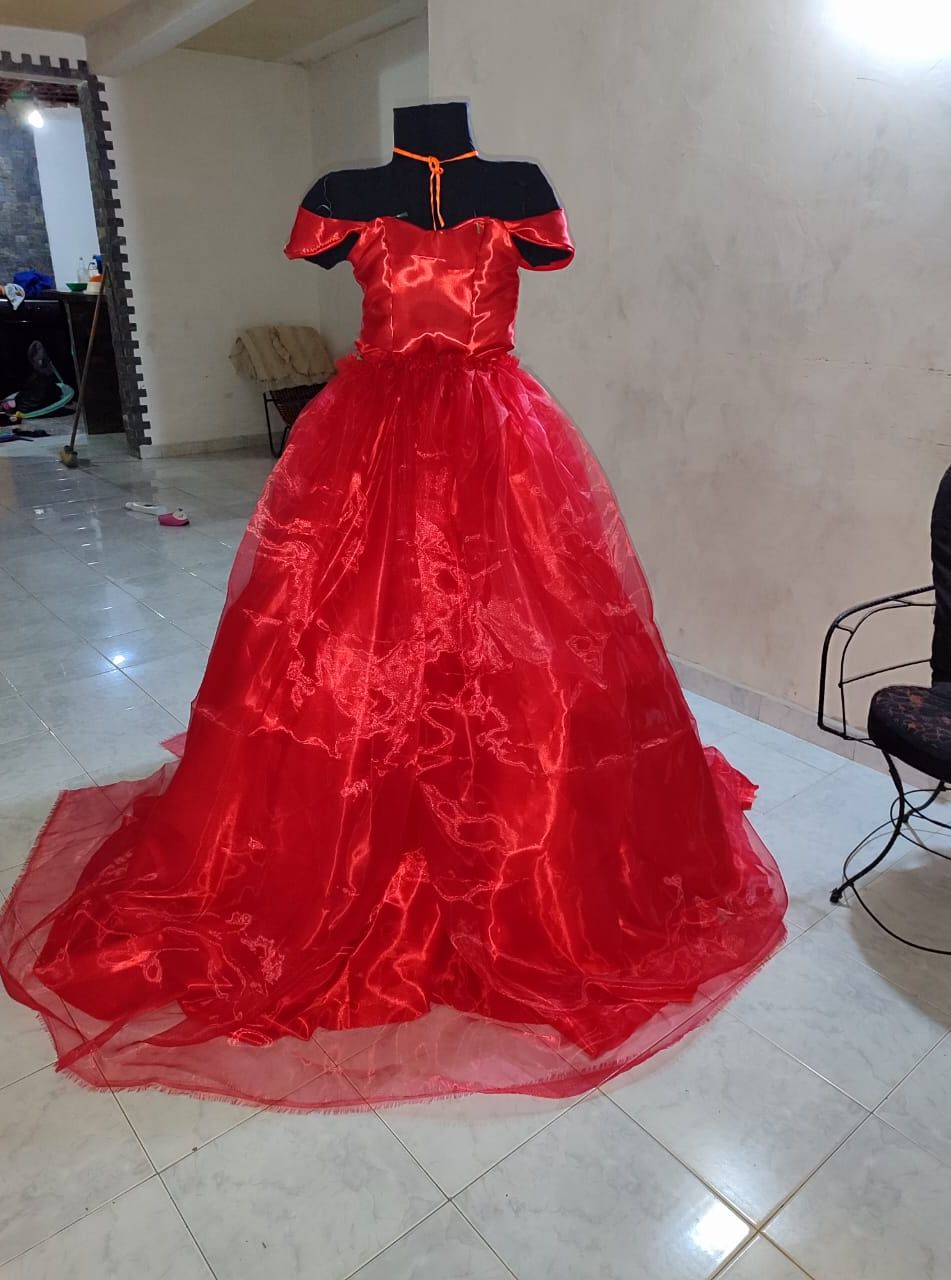
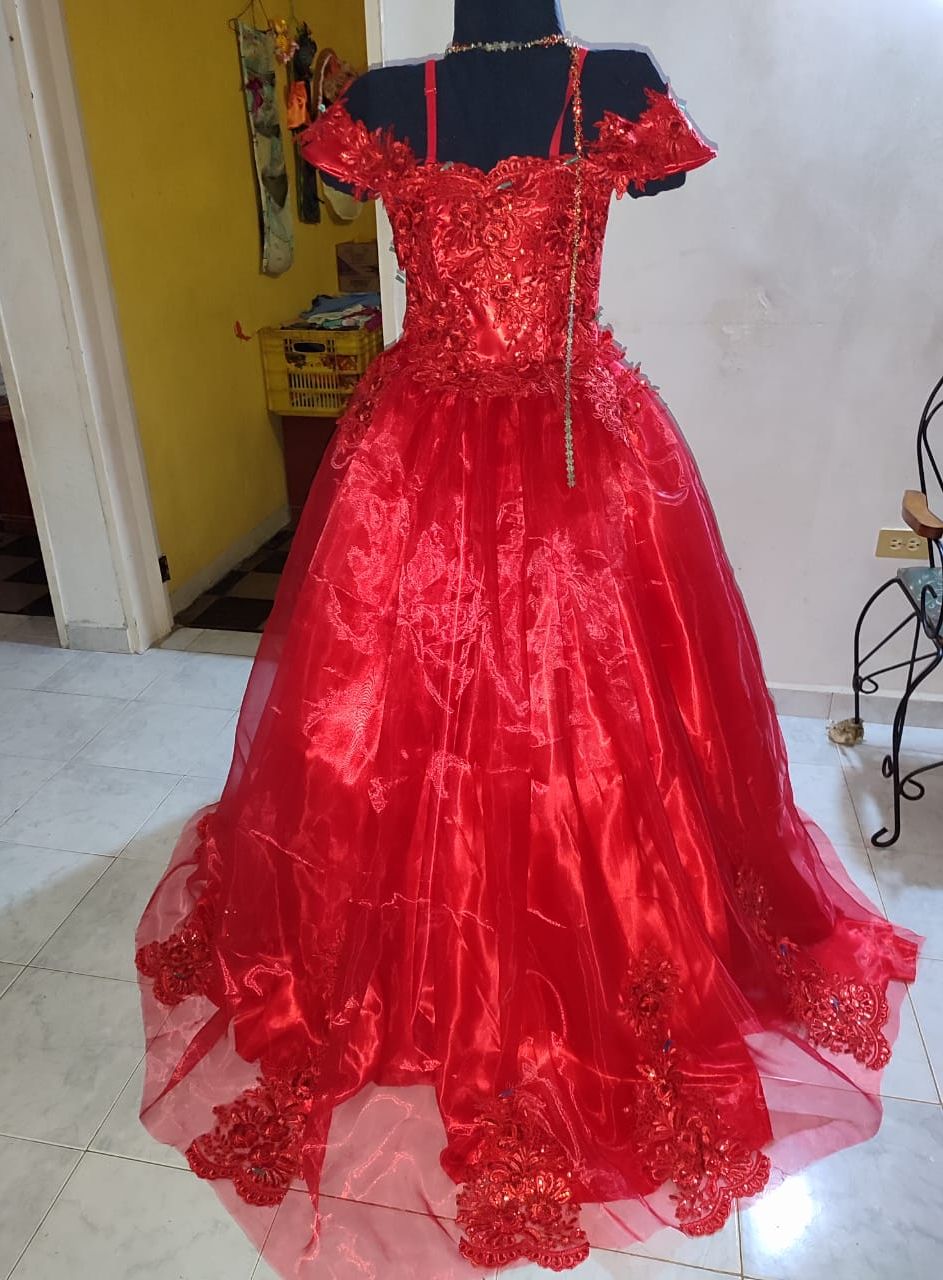
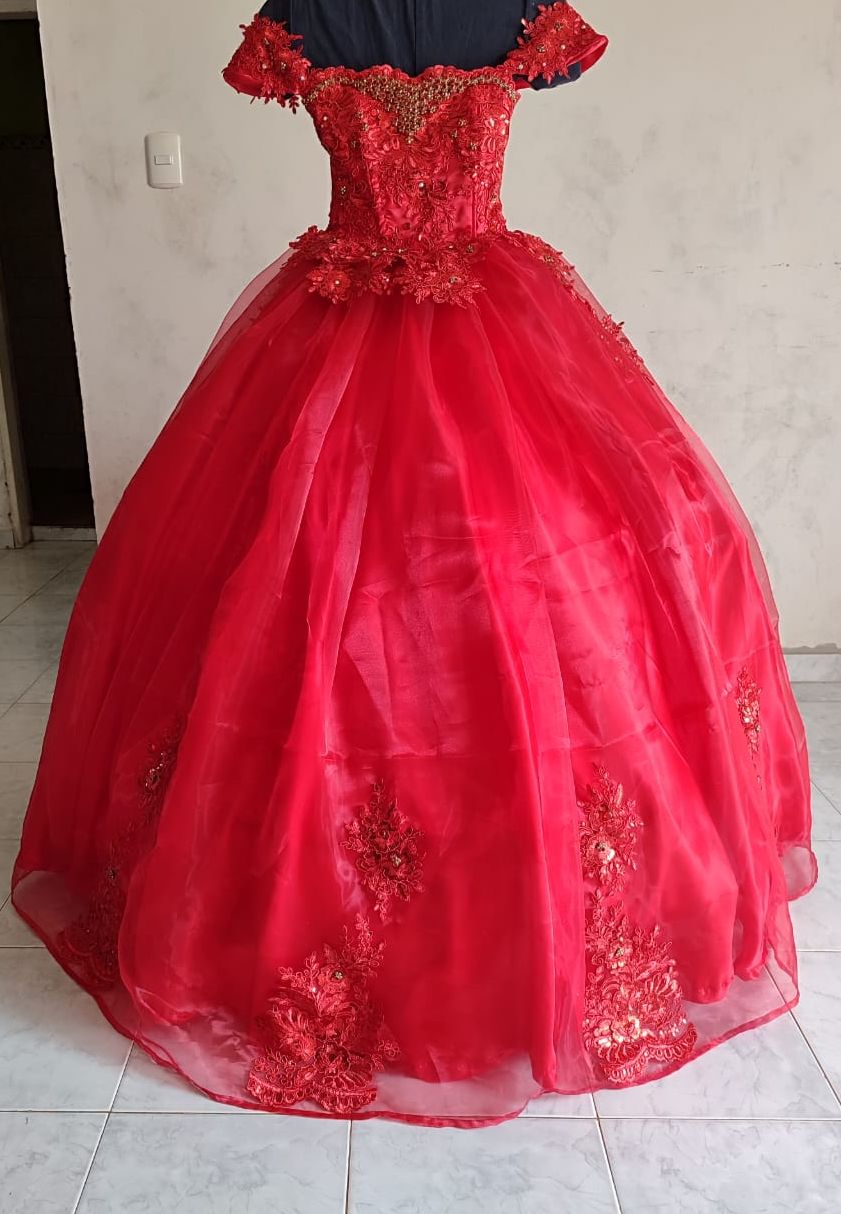
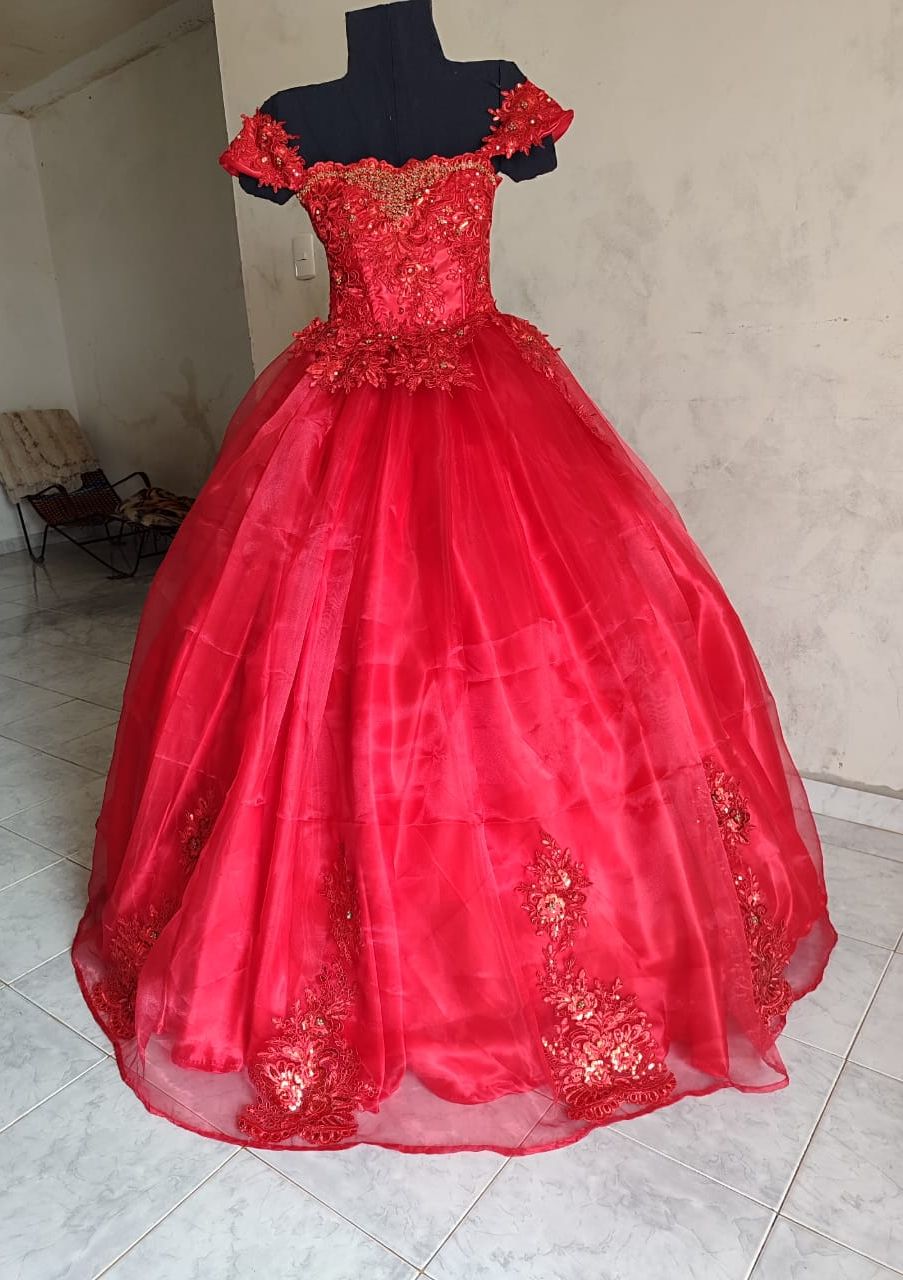
***Resultado!***
***Result!***
Fueron muchos días de trabajo duro, pero gracias a Dios he terminado y resultado es demasiado lindo y radiante. Un trabajo como este, llena de aprendizajes y crecimiento, seguramente vendrán mas proyectos como este. Estoy ansiosa por ver a la linda quinceañera lucirlo, por ahora me llena de emoción mostrarleselo a ustedes.
It took many days of hard work, but thank God I'm done, and the result is so beautiful and radiant. A project like this, full of learning and growth, will surely bring more projects like this. I can't wait to see the pretty quinceañera show it off; for now, I'm thrilled to show it to you.
Así culmina este post de hoy, espero sea de su agrado y me comenten que le pareció. Agradezco todo el apoyo y les deseo un hermoso día. Nos vemos pronto.
That concludes today's post. I hope you like it and let me know what you think. I appreciate all the support and wish you a wonderful day. See you soon.
🙋🏻Todas las imágenes de esta publicación son de mi autoria capturadas de mi dispositivo Smooth 6.5, primera imagen editada en PicsArt | Texto original traducido en el traductor de Google.
All images in this post are my own, captured from my Smooth 6.5 device, first image edited in PicsArt | Original text translated in Google translator.
