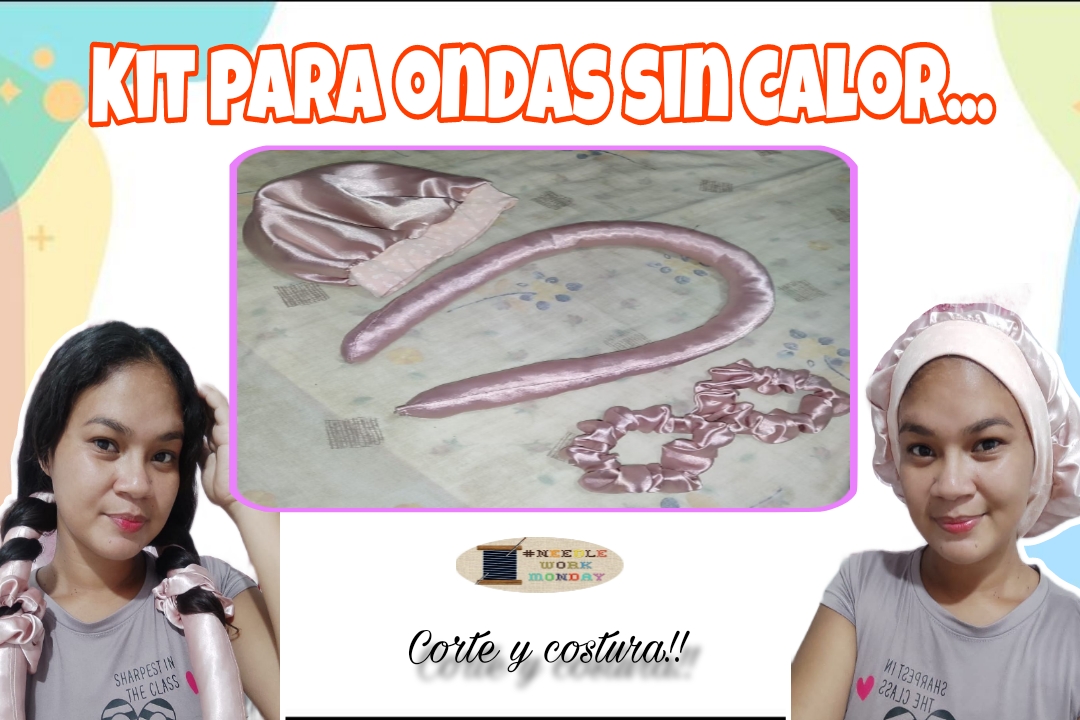
Como está mi querida comunidad amantes de las agujas??...Sean todos bienvenidos a este pequeño espacio de corte y costura para damas y chicas, donde les mostraré un práctico y moderno tutorial para accesorios para hacerte ondas sin calor.
Yo soy de nacimiento de cabello rizado y como muchas nunca me sentí conforme con mi cabello, por este motivo por mucho tiempo hice de todo para tenerlo lacio, ahora mi cabello, ni es rizado, ni es lacio, en pocas palabras no tiene forma 🤭.. Estoy segura que necesito de mucho tratamiento para arreglarlo y dejar de plancharlo por un tiempo, es una opción.. Así que me elaboré este lindo kit en tela de seda para hacerme ondas, mantenerlo peinado y darle por lo menos un poco de forma mientras el proceso.. Tener implementos como este aunque no le creas tiene varios beneficios, primero duermes muy cómoda o pasas el día cómoda, segundo te brinda un peinado rápido y bonito, y lo más importante cuida tu cabello, pues no te expones al calor de la plancha. Si te gusta la idea, acompáñame te enseño como hacerlo.
How are you, my dear community of needle lovers? Welcome to this little space for cutting and sewing for ladies and girls, where I will show you a practical and modern accessory tutorial to create waves without heat.I was born with curly hair, and like many, I was never happy with my hair. For this reason, for a long time I did everything I could to keep it straight. Now, my hair is neither curly nor straight; in short, it has no shape 🤭. I'm sure I need a lot of treatment to fix it, and stopping straightening it for a while is an option. So, I made this cute silk kit to create waves, keep it styled, and give it at least a little shape while the process goes on. Having tools like this, even if you don't believe it, has several benefits: first, you sleep very comfortably or spend the day comfortably; second, it gives you a quick and beautiful hairstyle; and most importantly, it takes care of your hair since you're not exposed to heat. from the iron. If you like the idea, join me and I'll show you how to do it.
***Materiales que necesitas:***
***Materials you need:***
- Tela de satén.
- Relleno.
- Elástica.
- Hilo y aguja.
- Tijeras.
- Máquina de coser.
- Satin fabric.
- Stuffing.
- Elastic.
- Thread and needle.
- Scissors.
- Sewing machine.
***PROCEDIMIENTO***
Procedure
🌟Paso 01
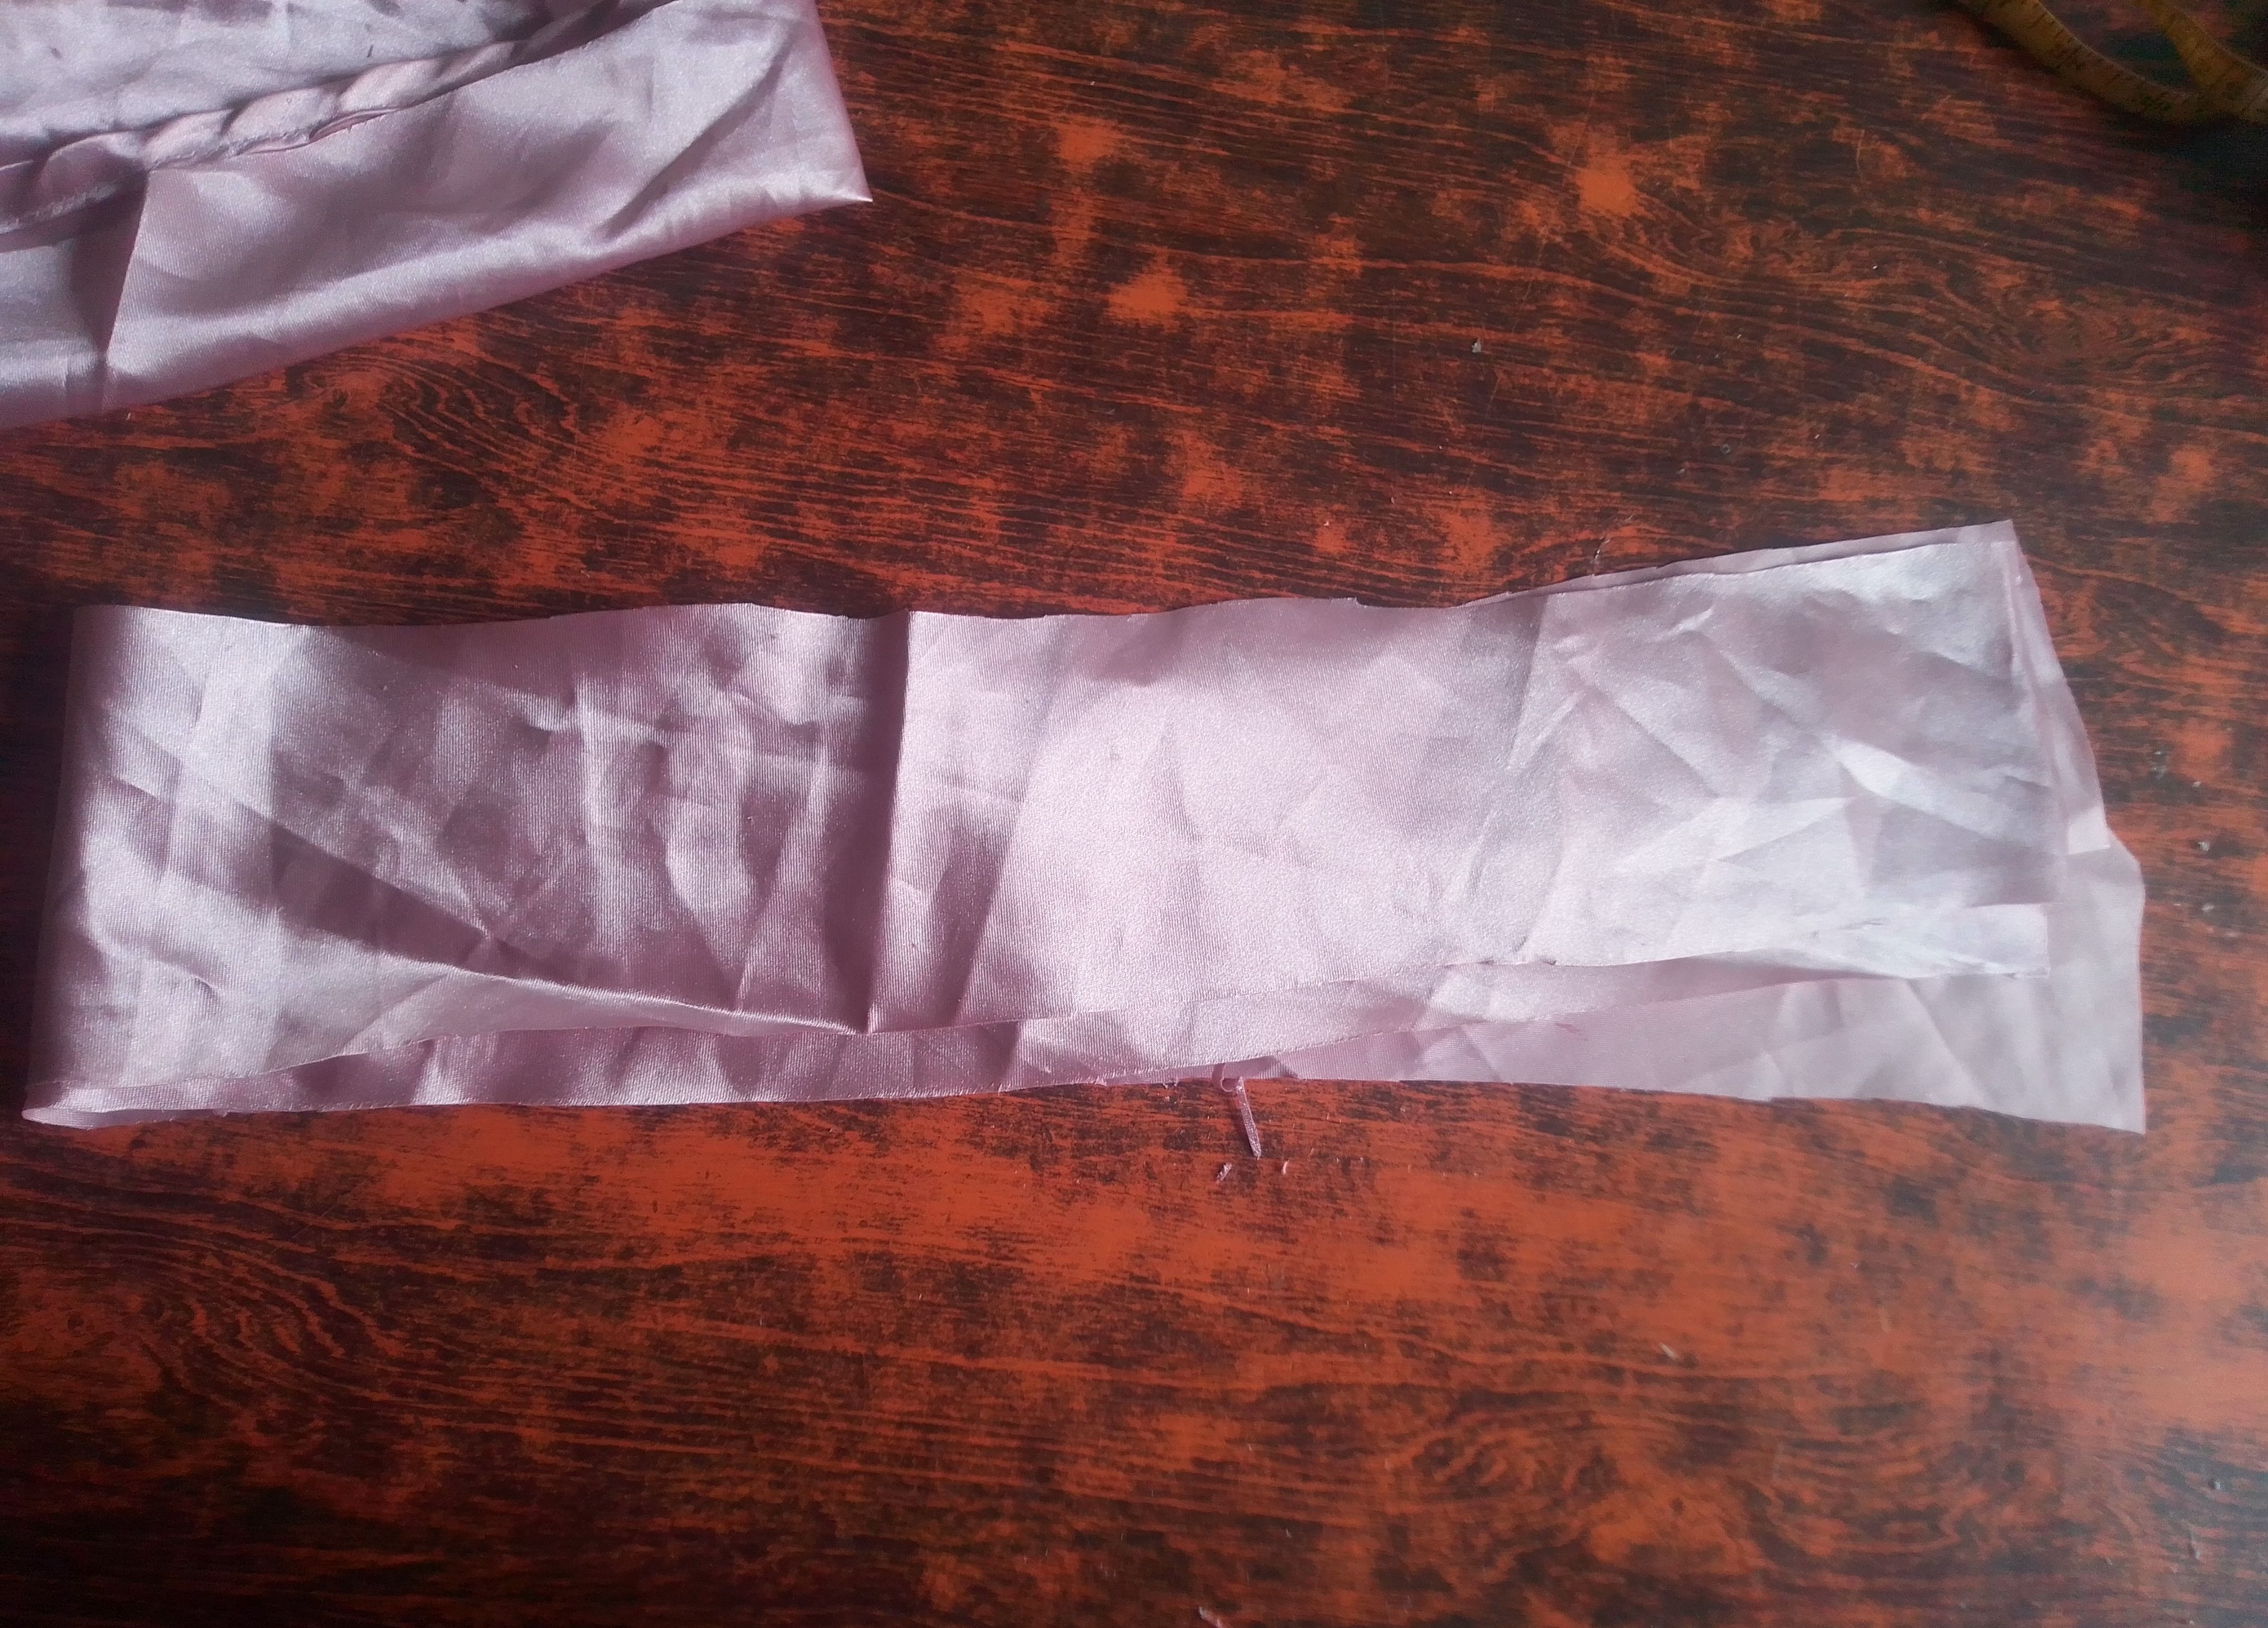
Primero voy acortar todas mis piezas, que son un tira larga de 1 metro de largo por 10cm de ancho para hacer el tubito donde enrosacaremos el cabello. Otras dos tiras de 50 cm de largo por 6cm de ancho para los scrunchies y un círculo dependiendo el tamaño y circunferencia de tu cabeza.
🌟Step 01
First, I'm going to shorten all my pieces, which are a long strip 1 meter long by 10 cm wide to make the tube where we'll twist the hair. Two other strips 50 cm long by 6 cm wide for the scrunchies and a circle depending on the size and circumference of your head.
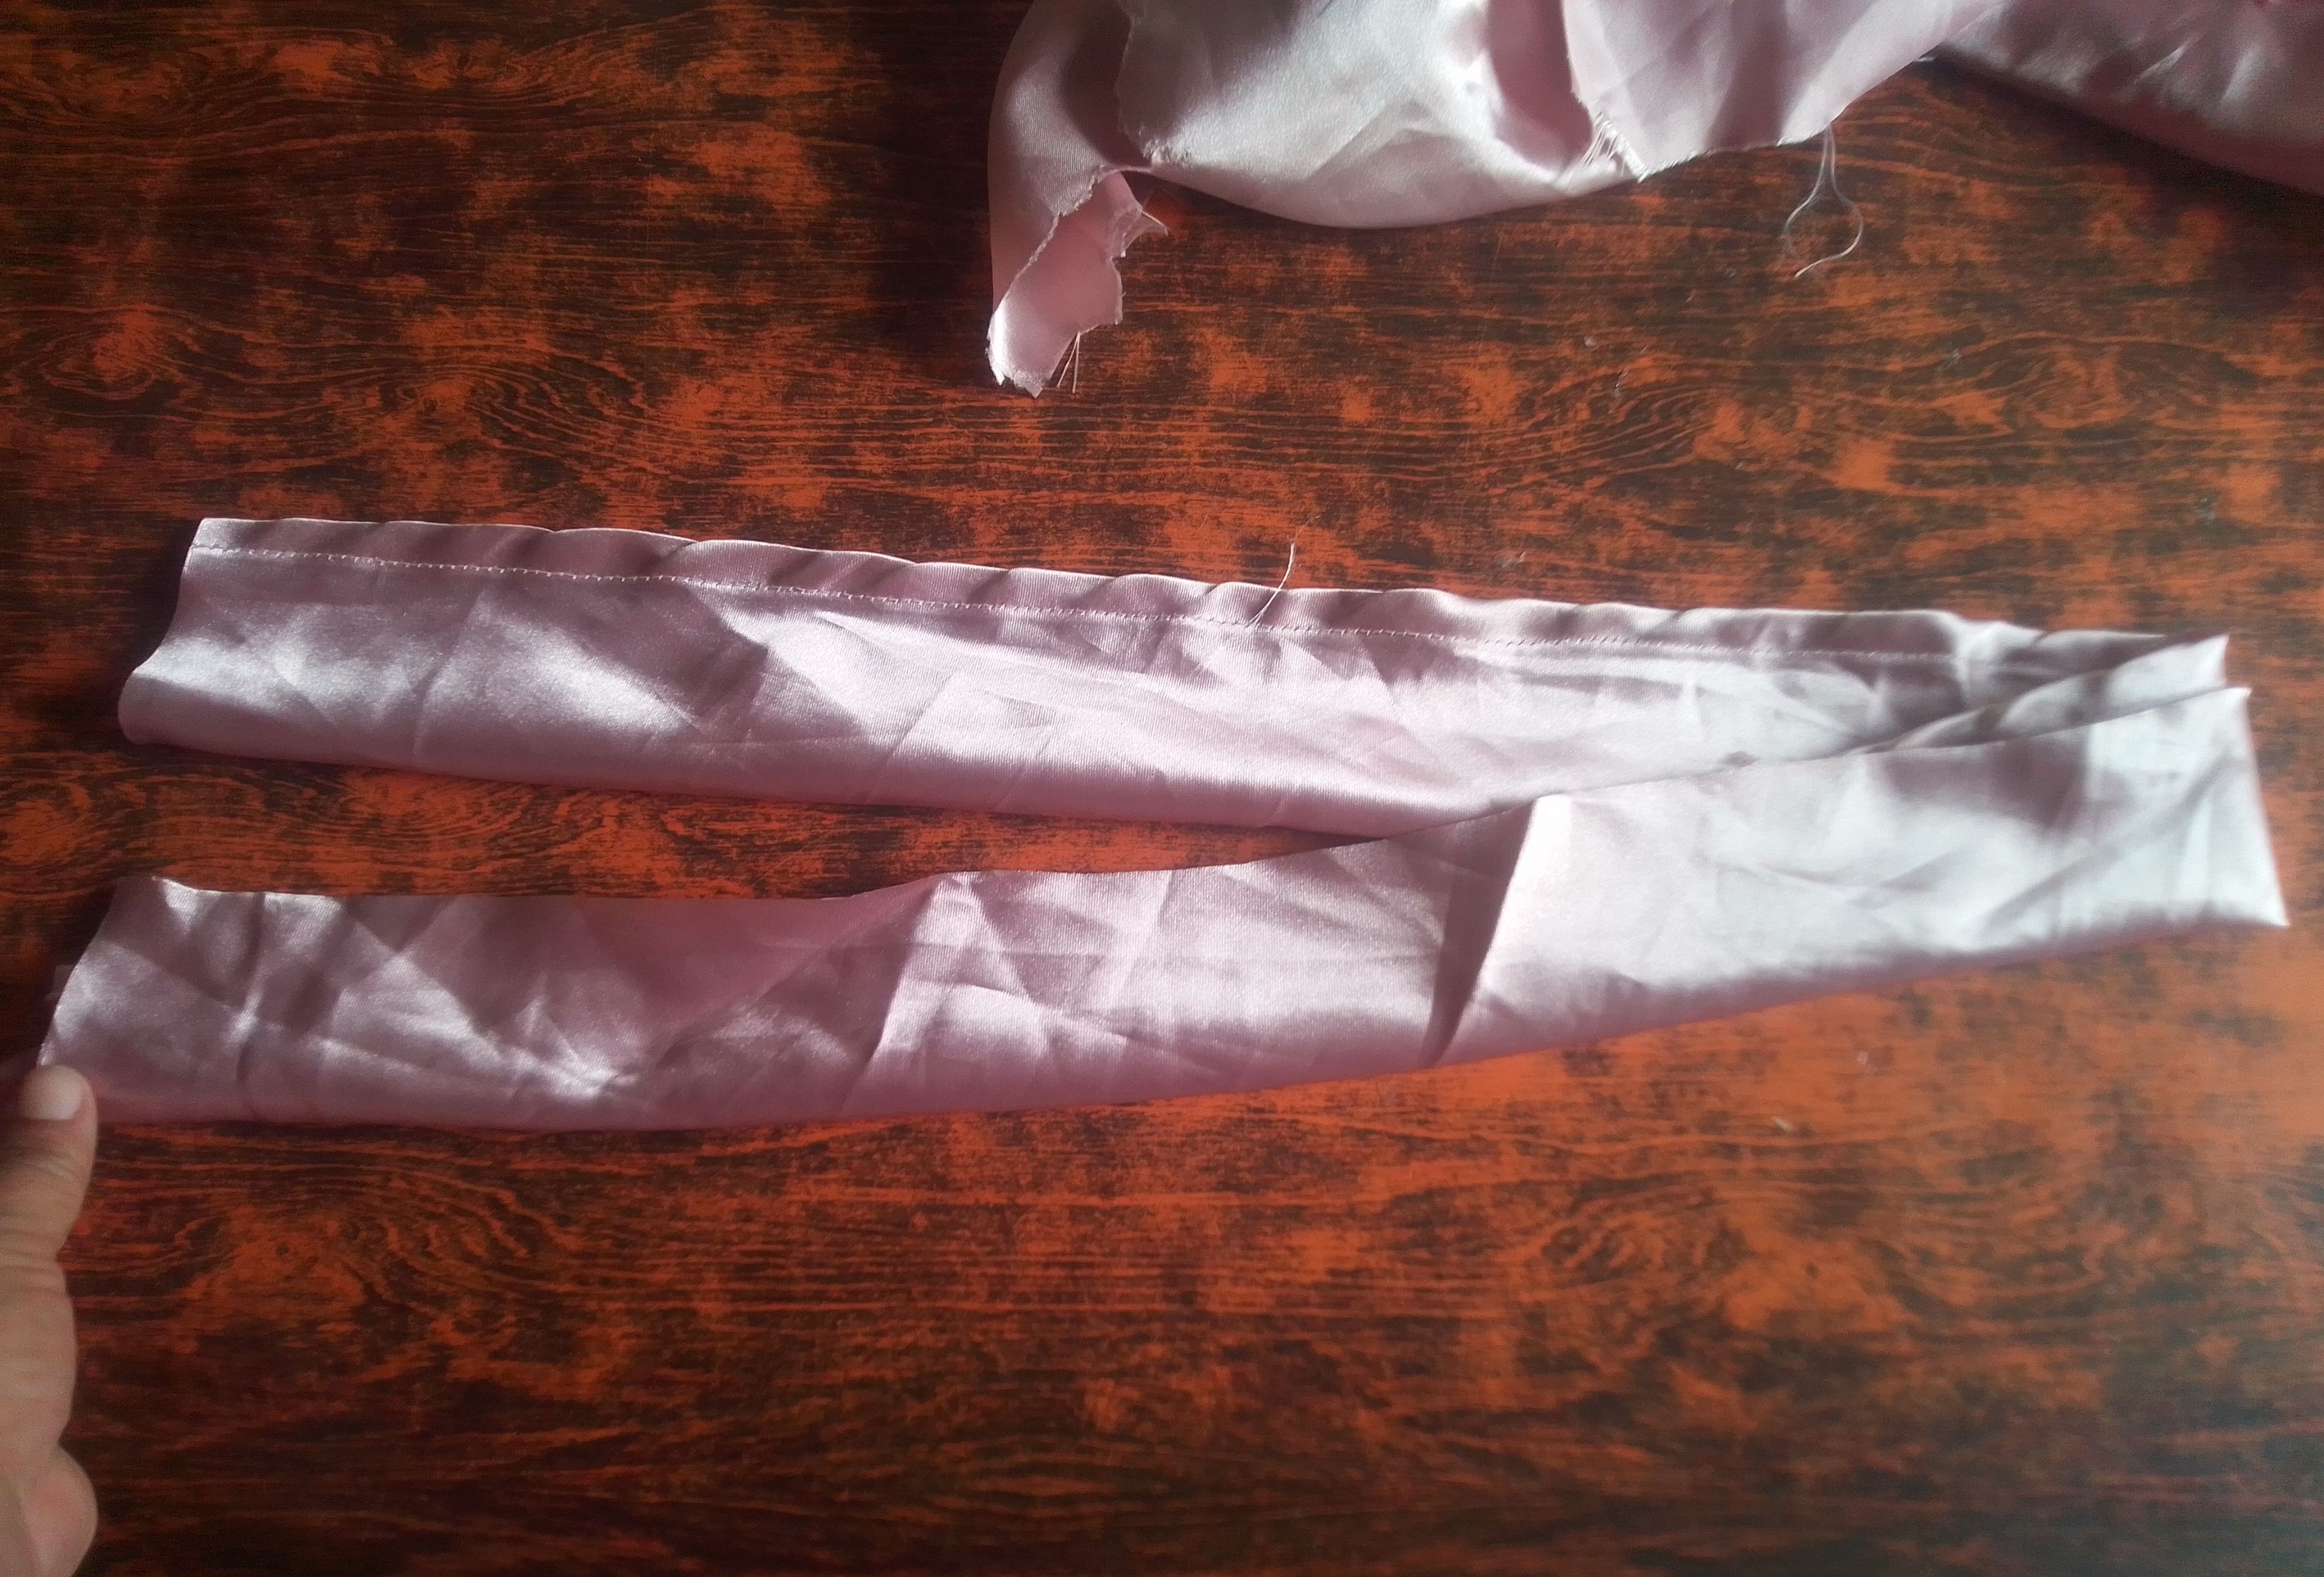
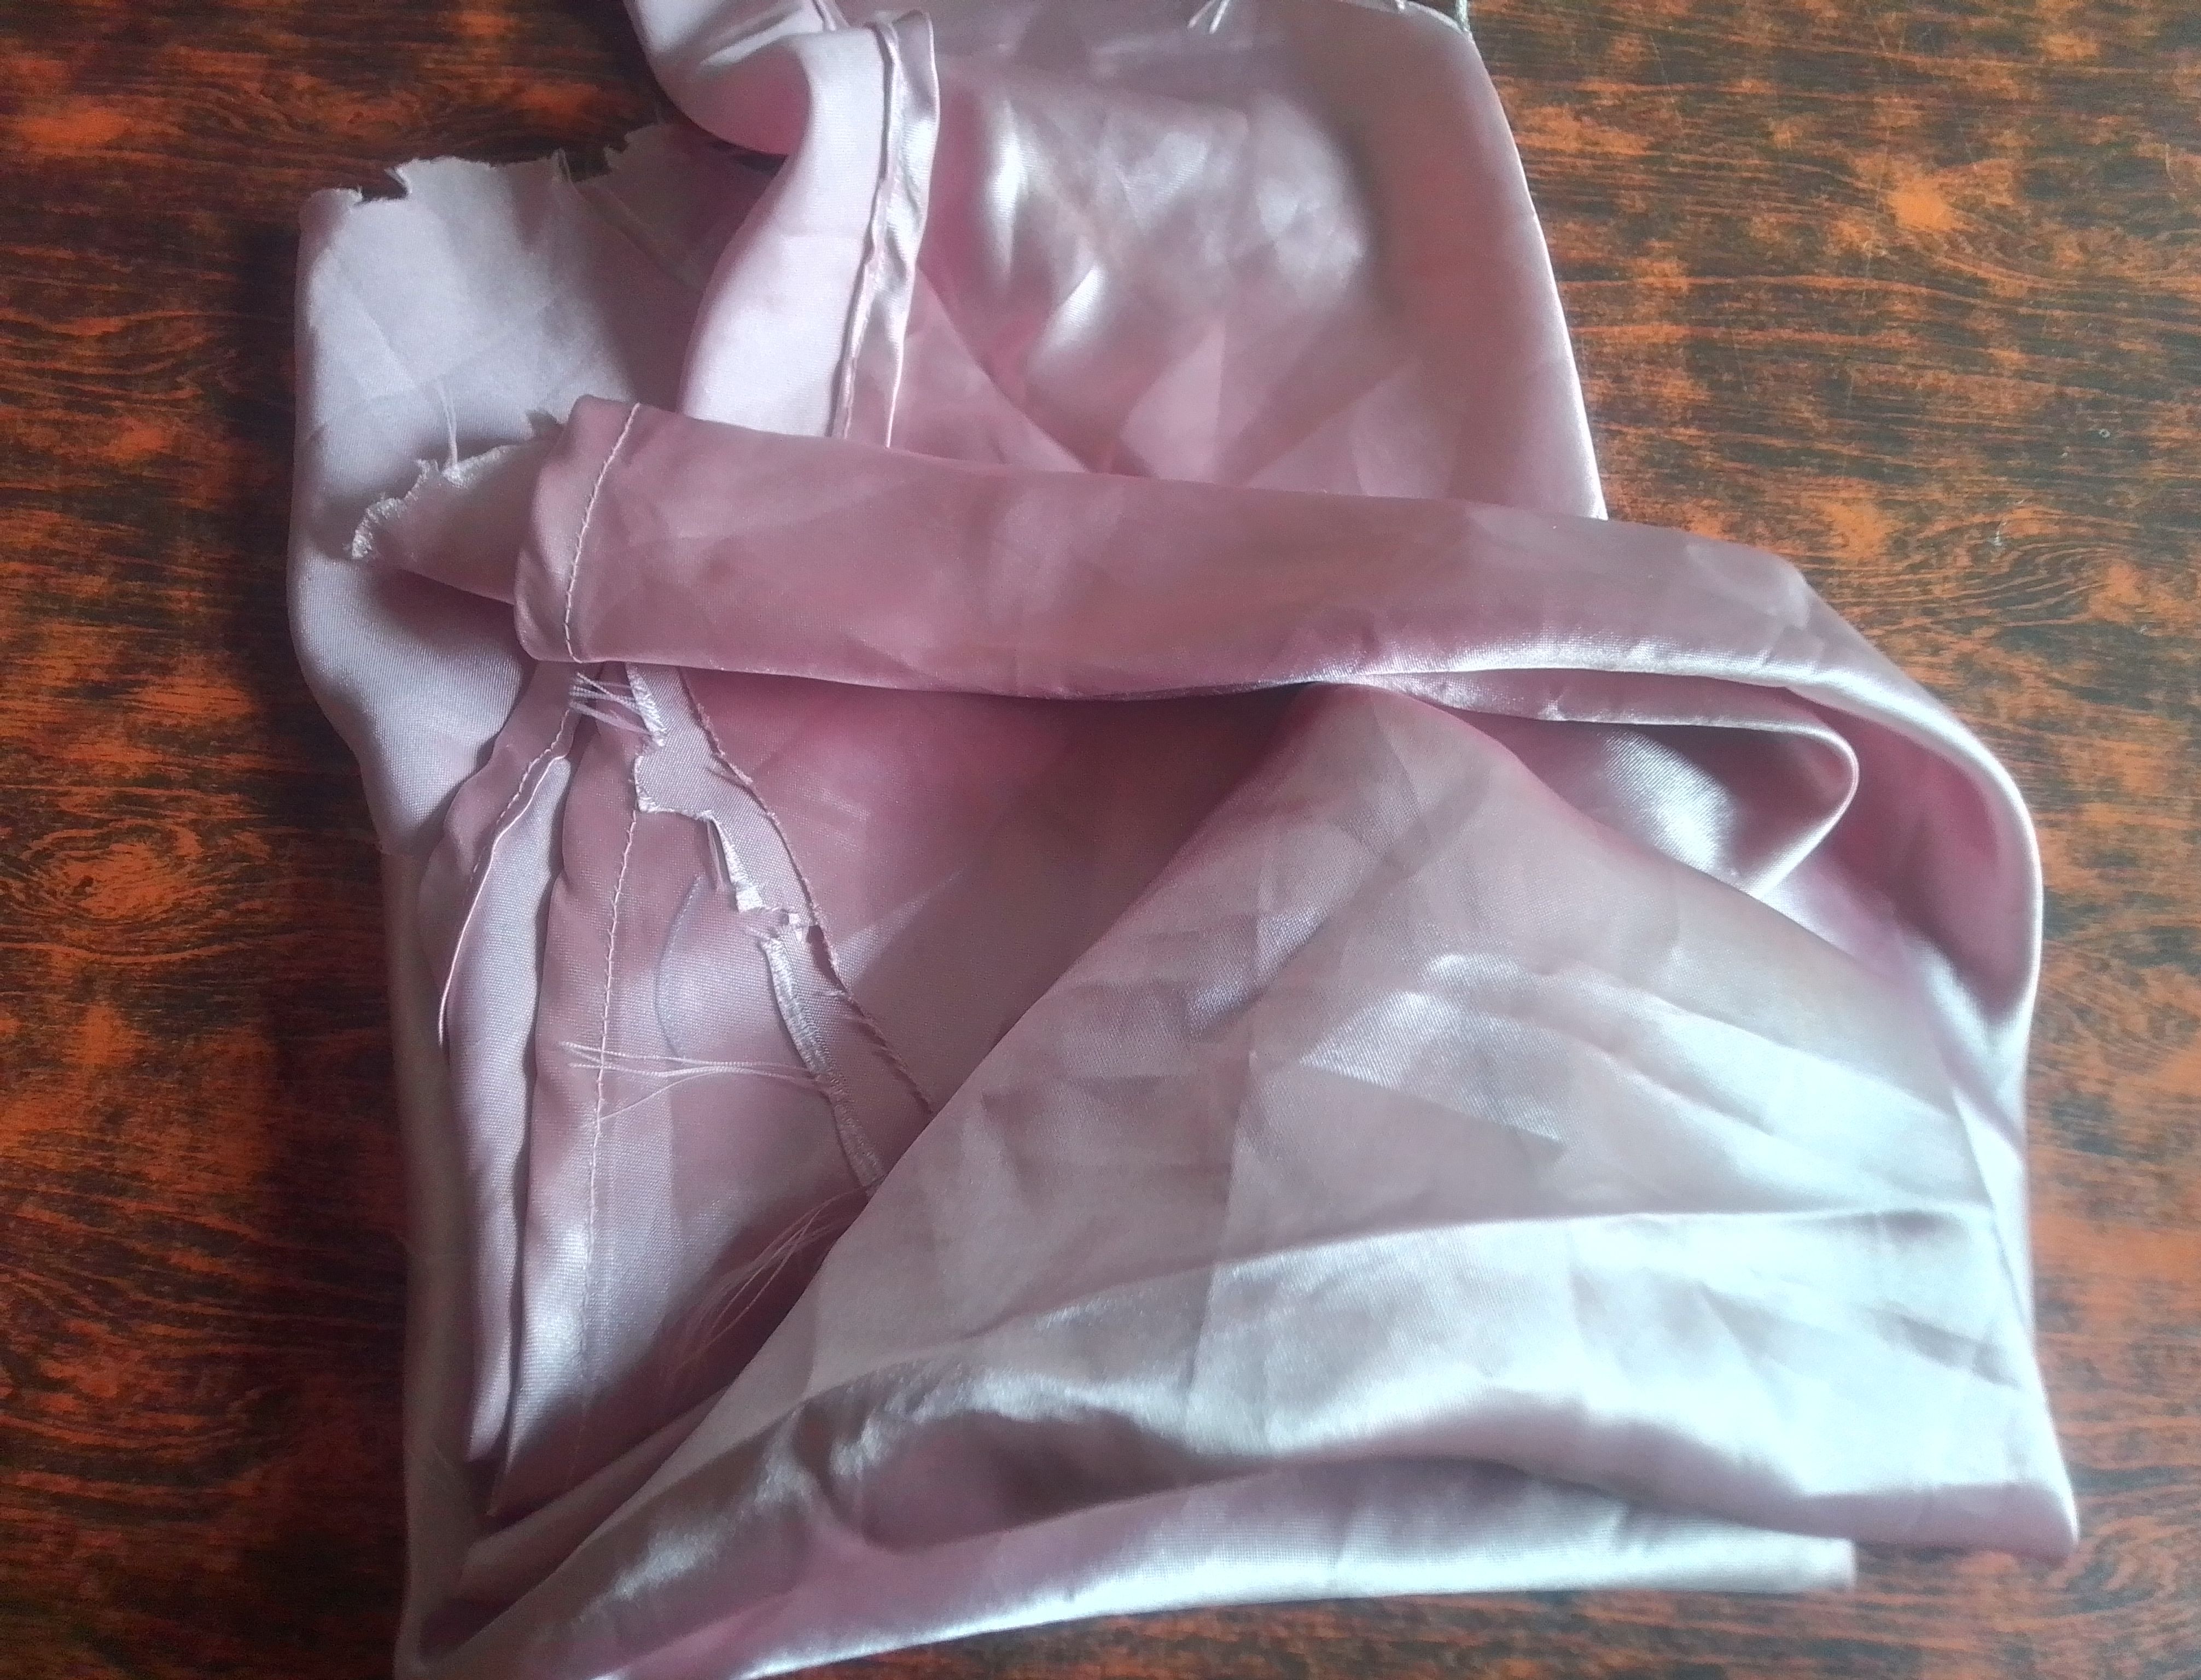
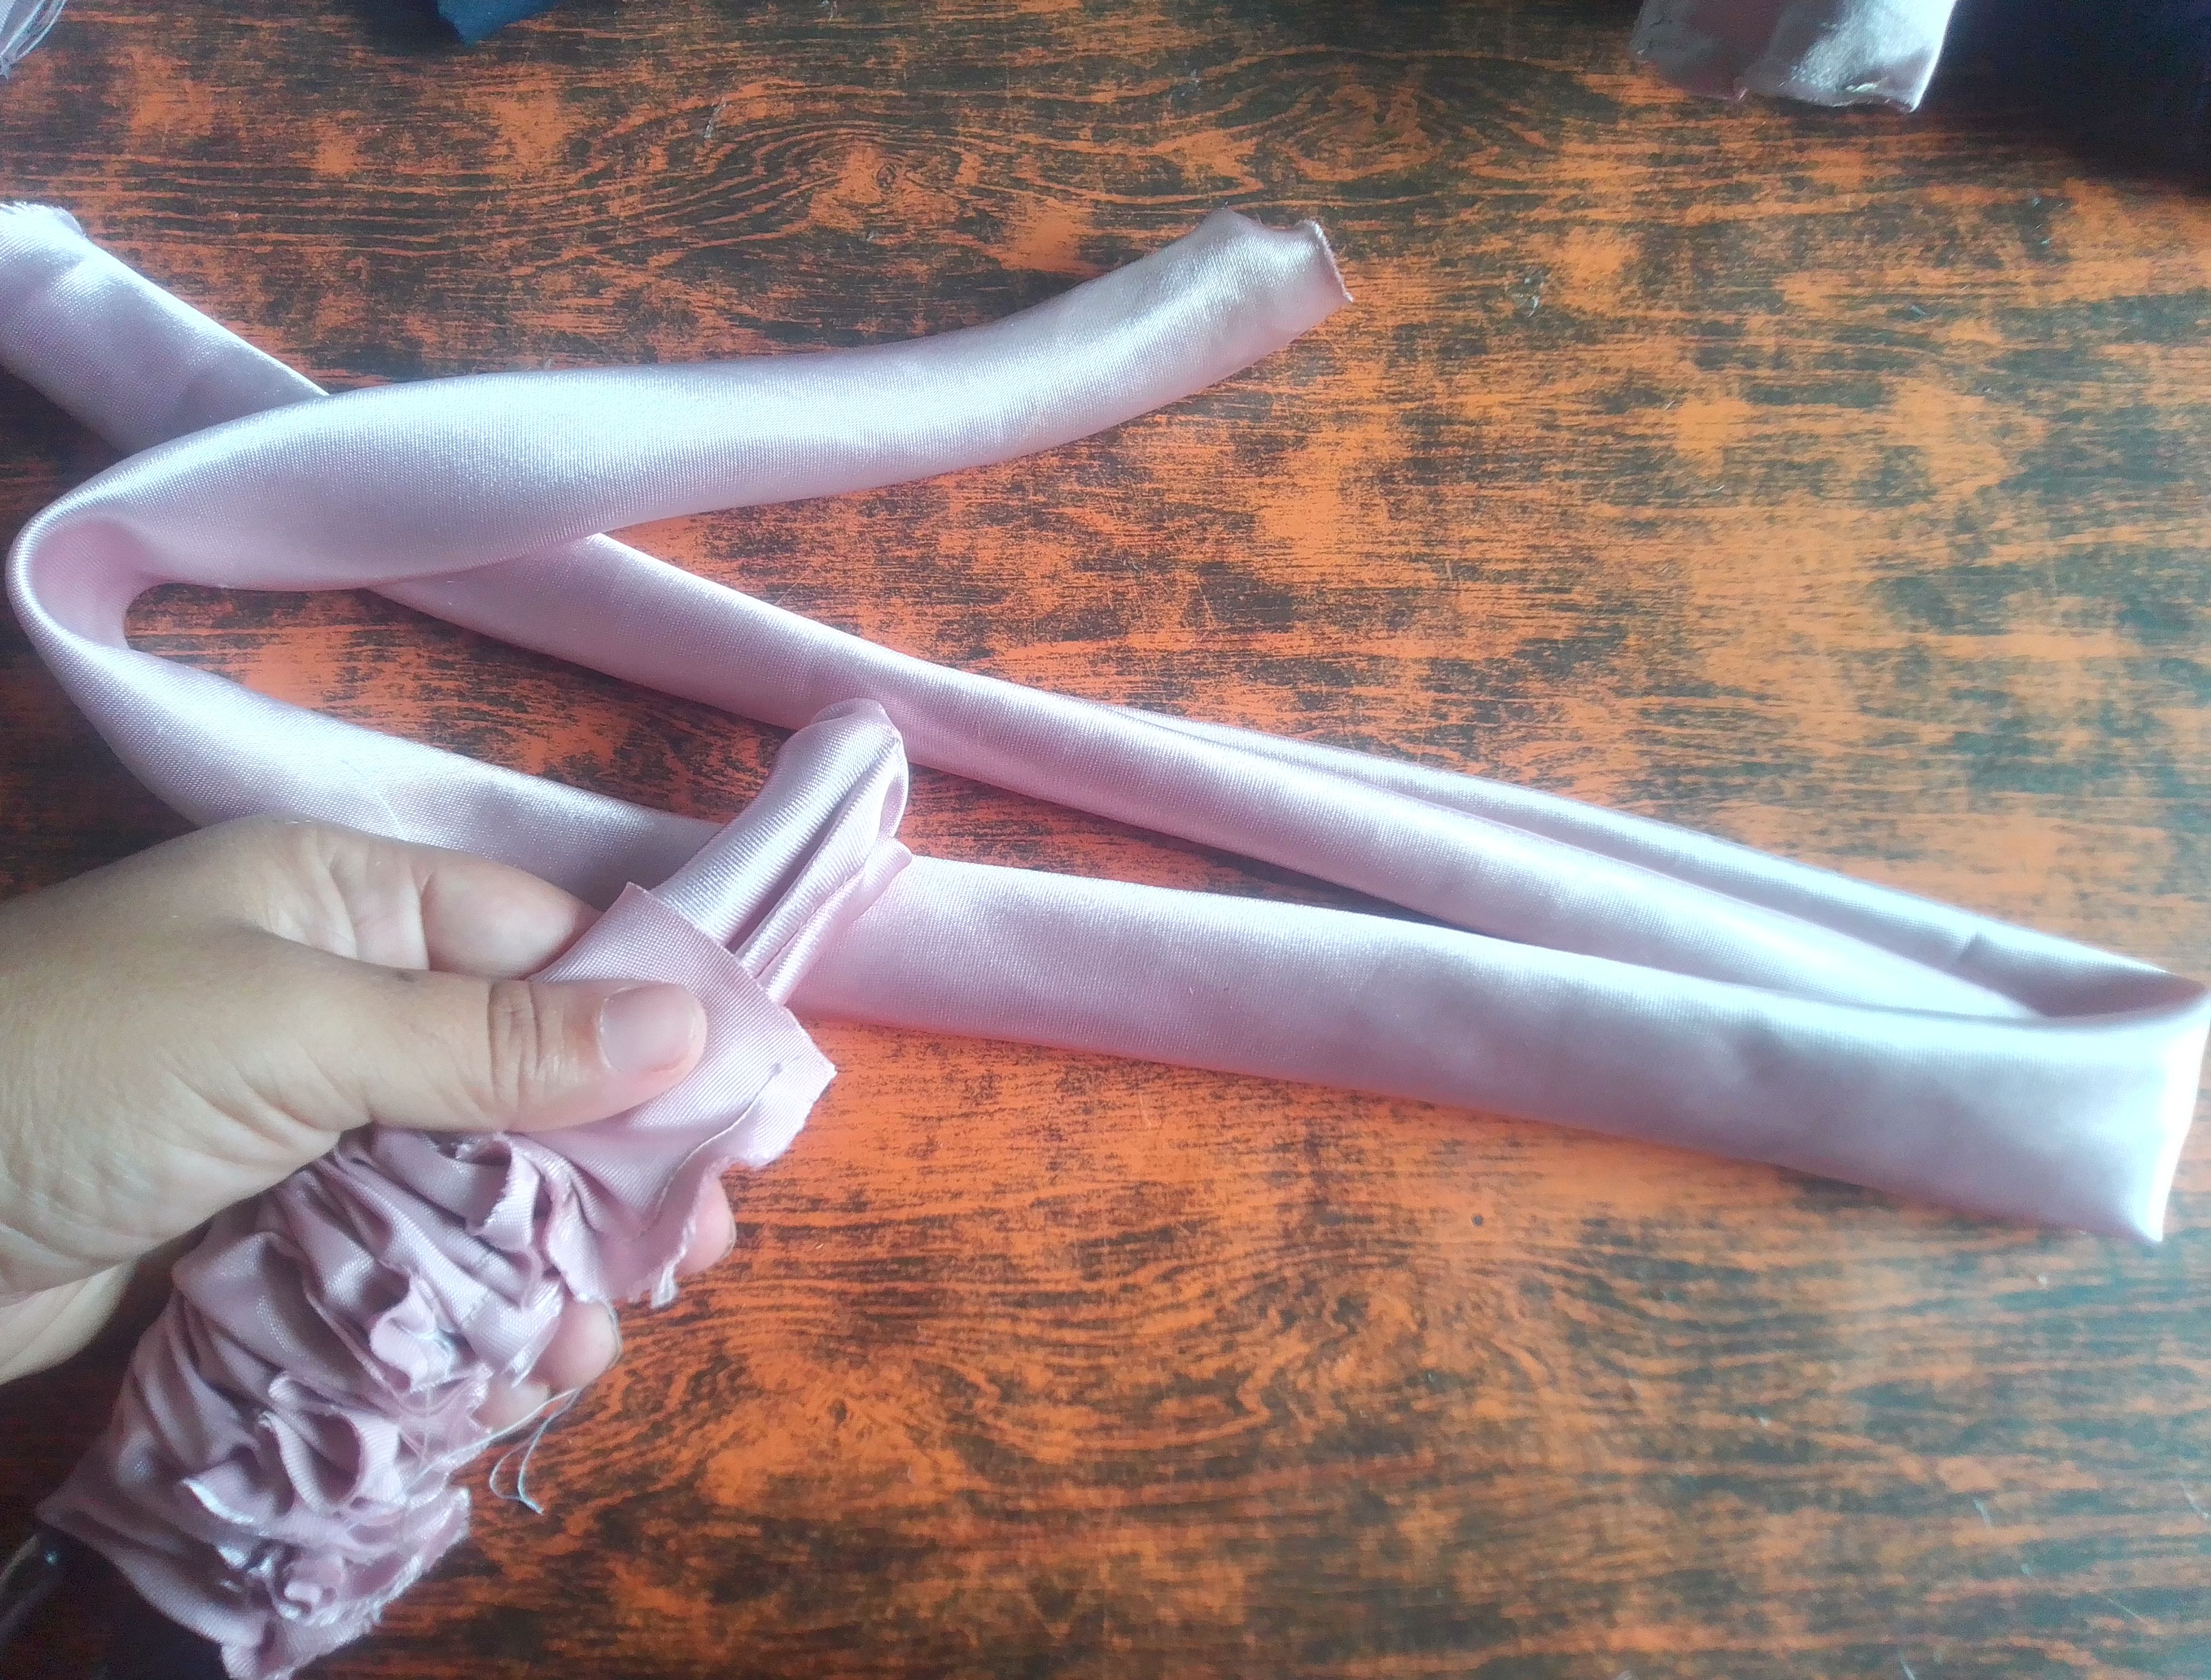
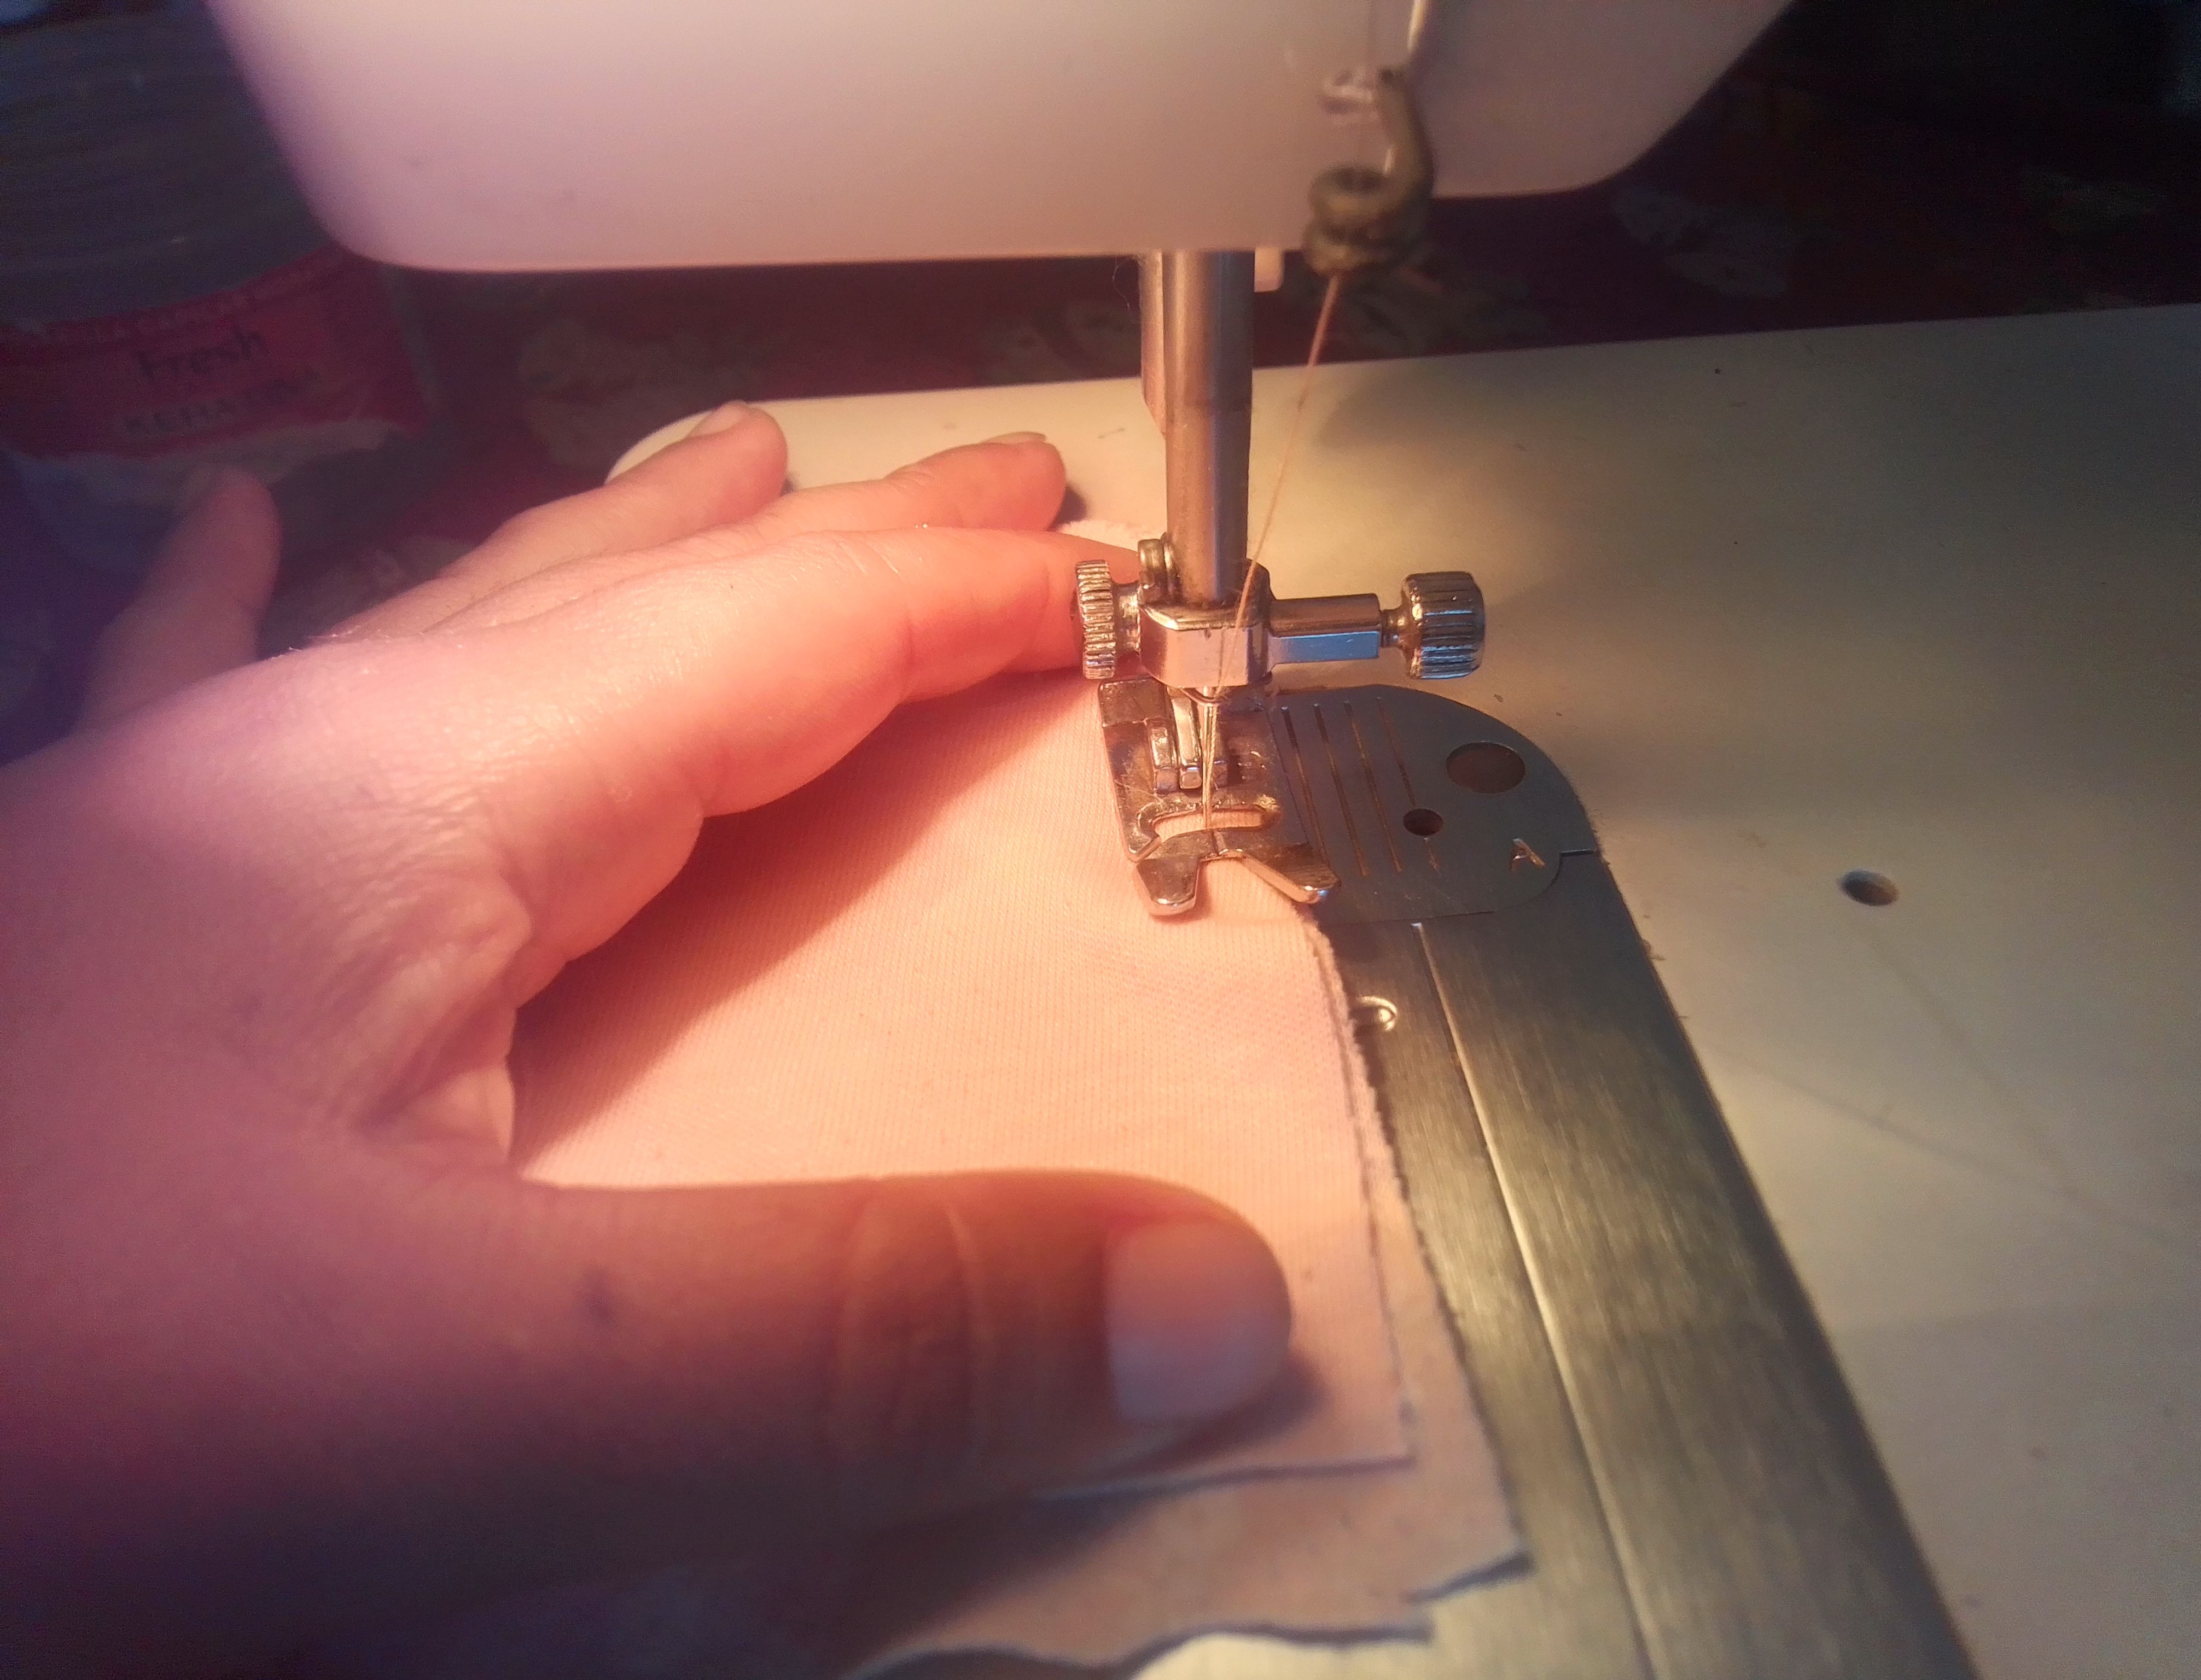
🌟Paso 02
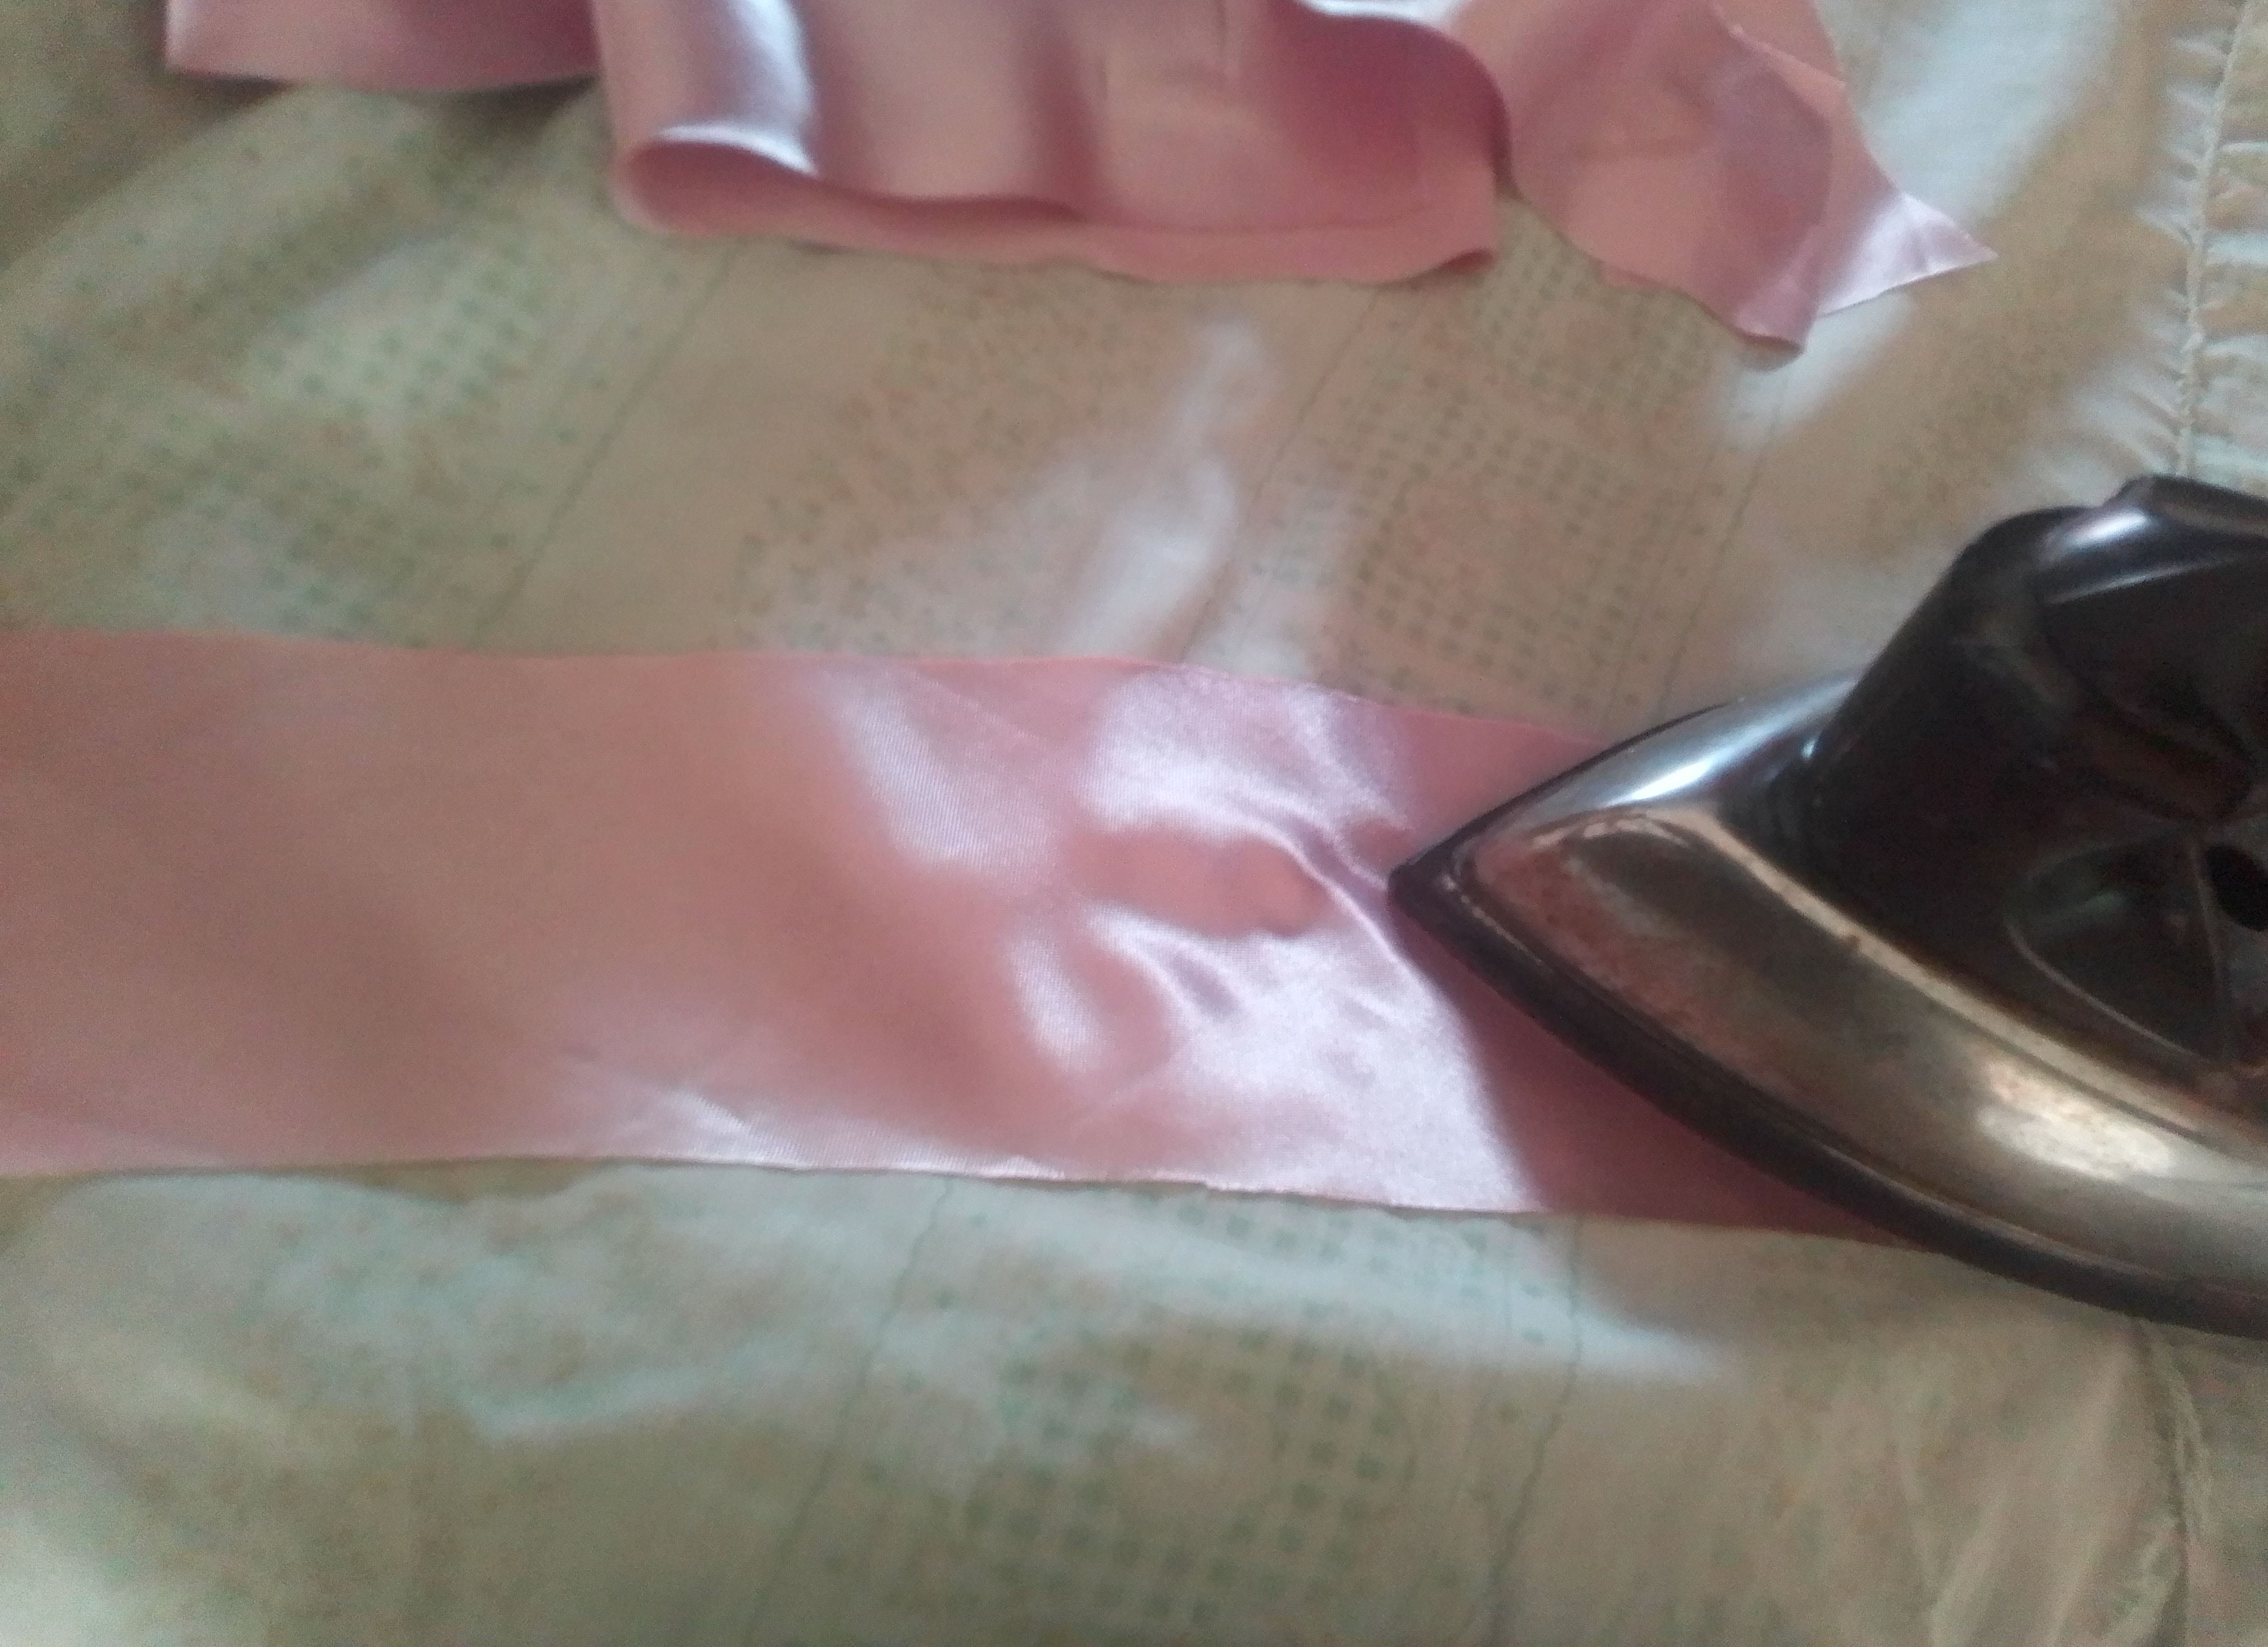
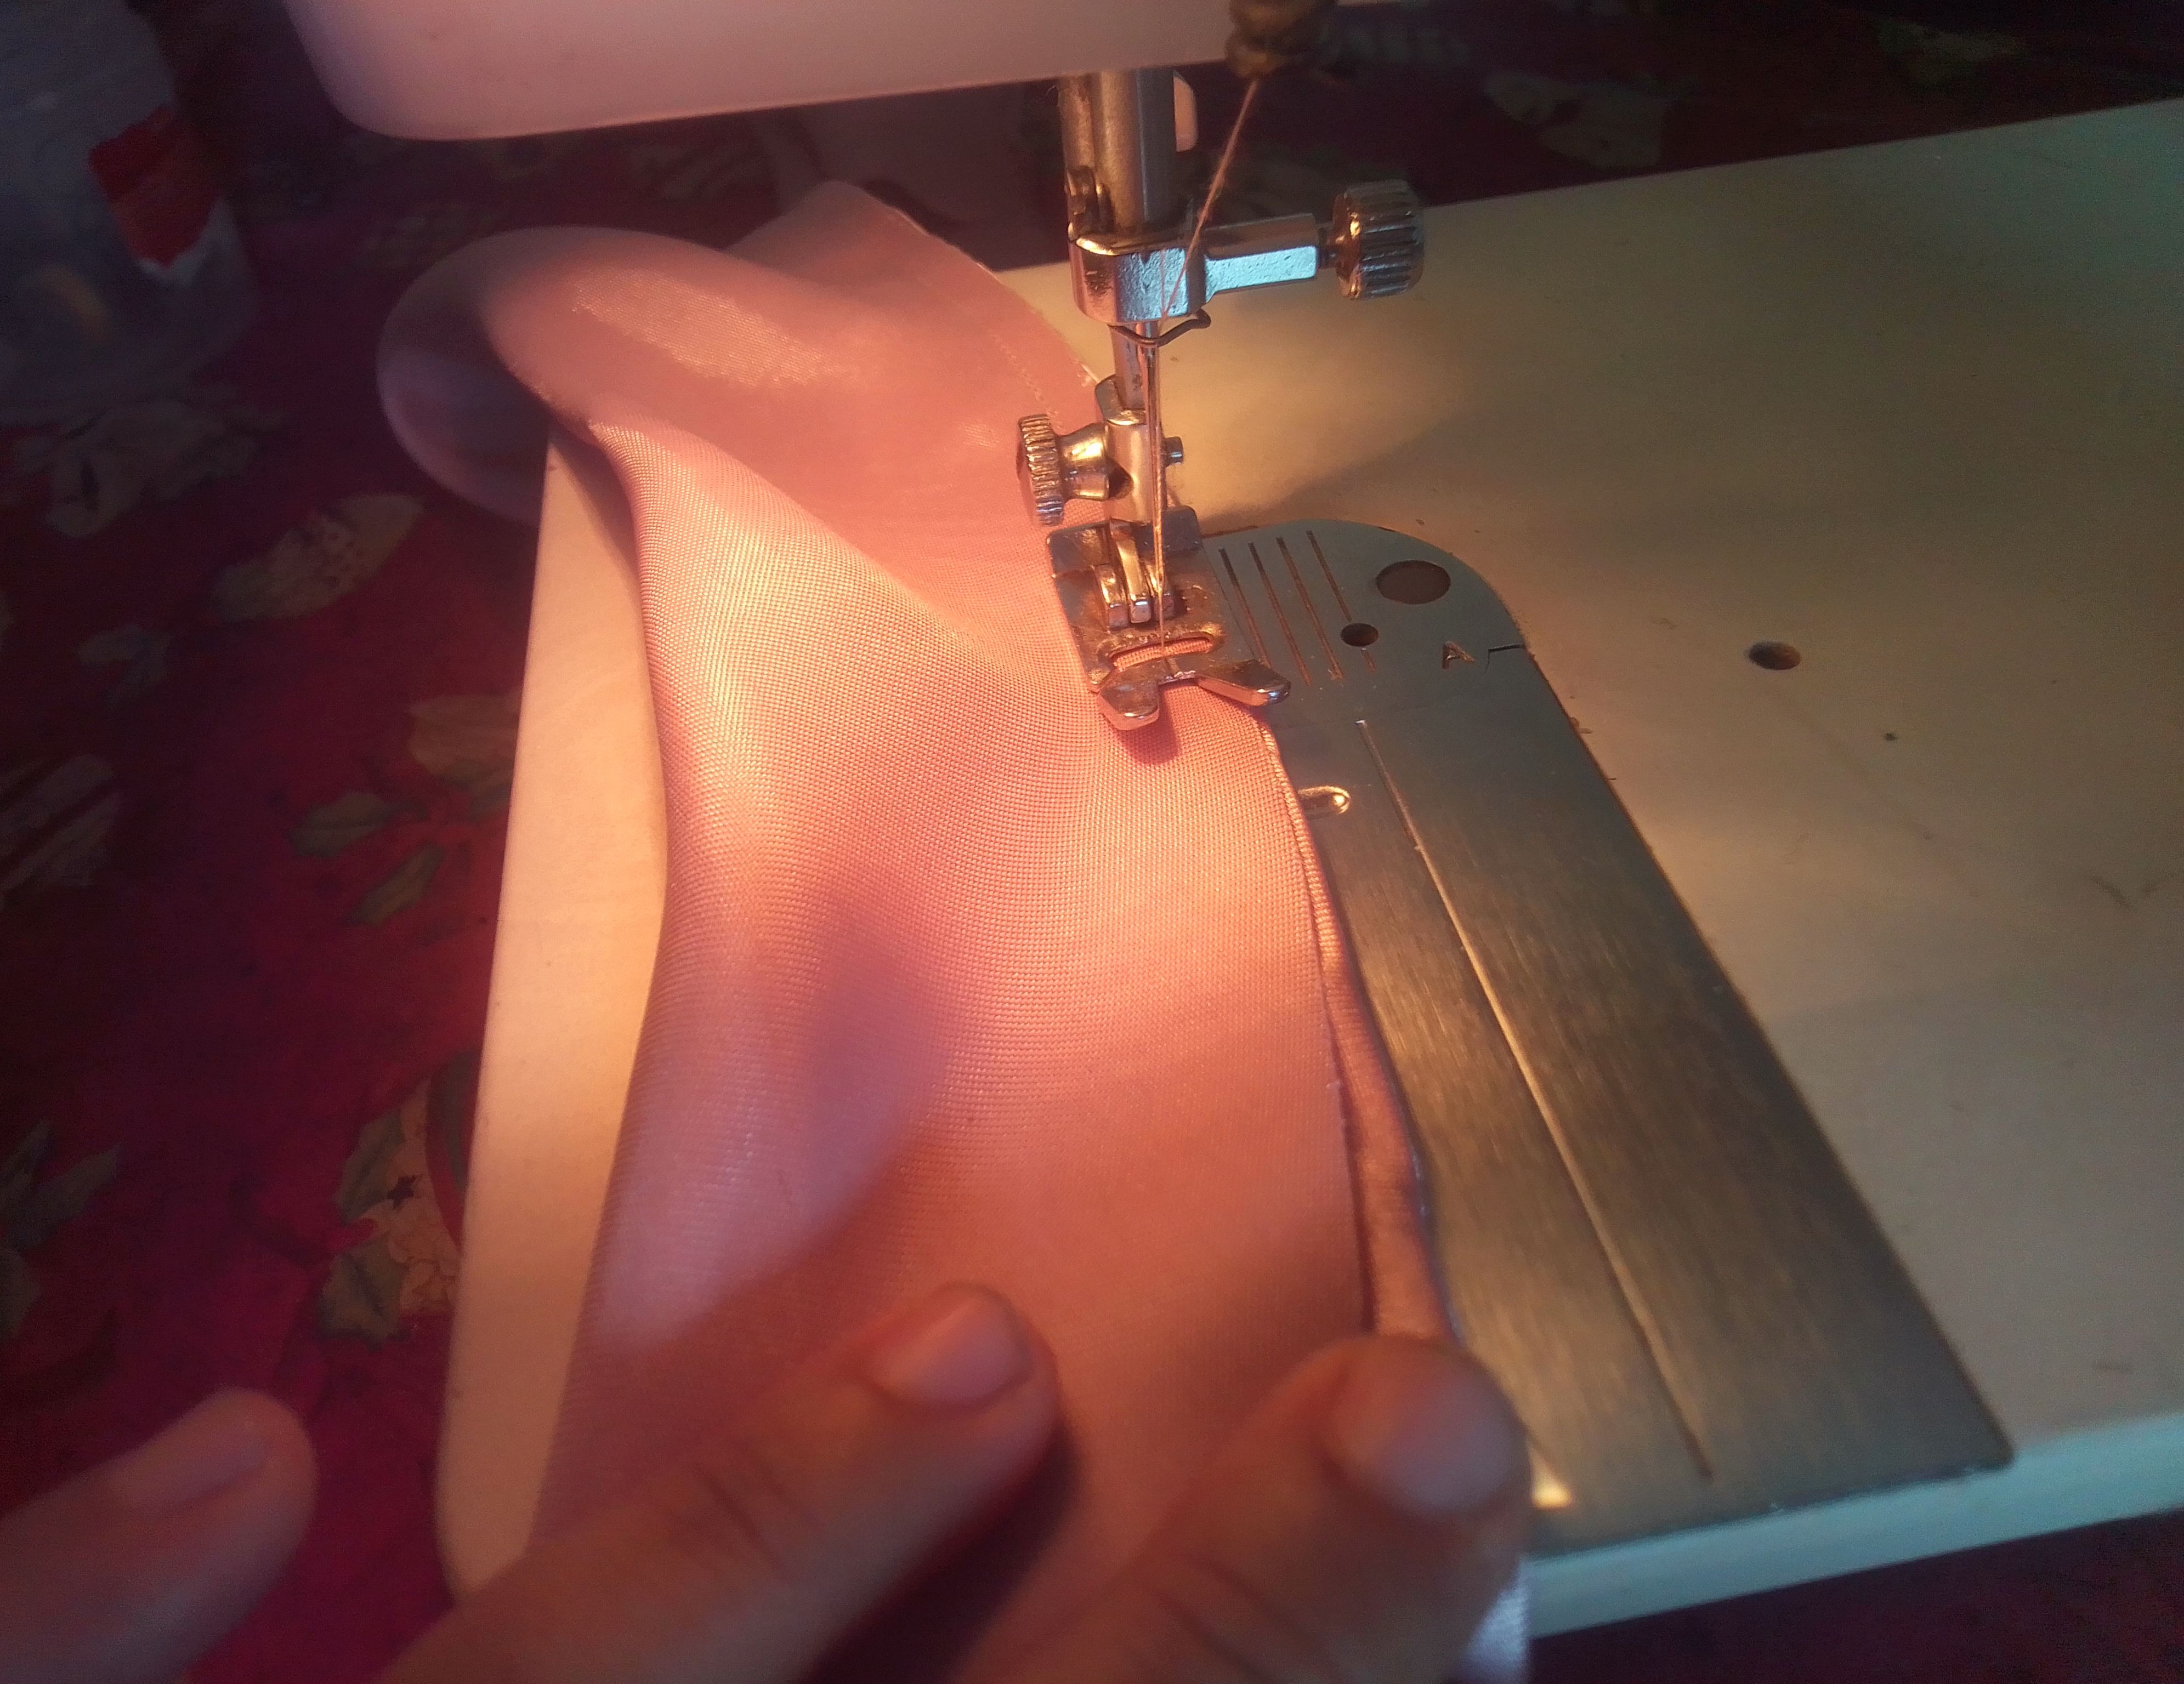
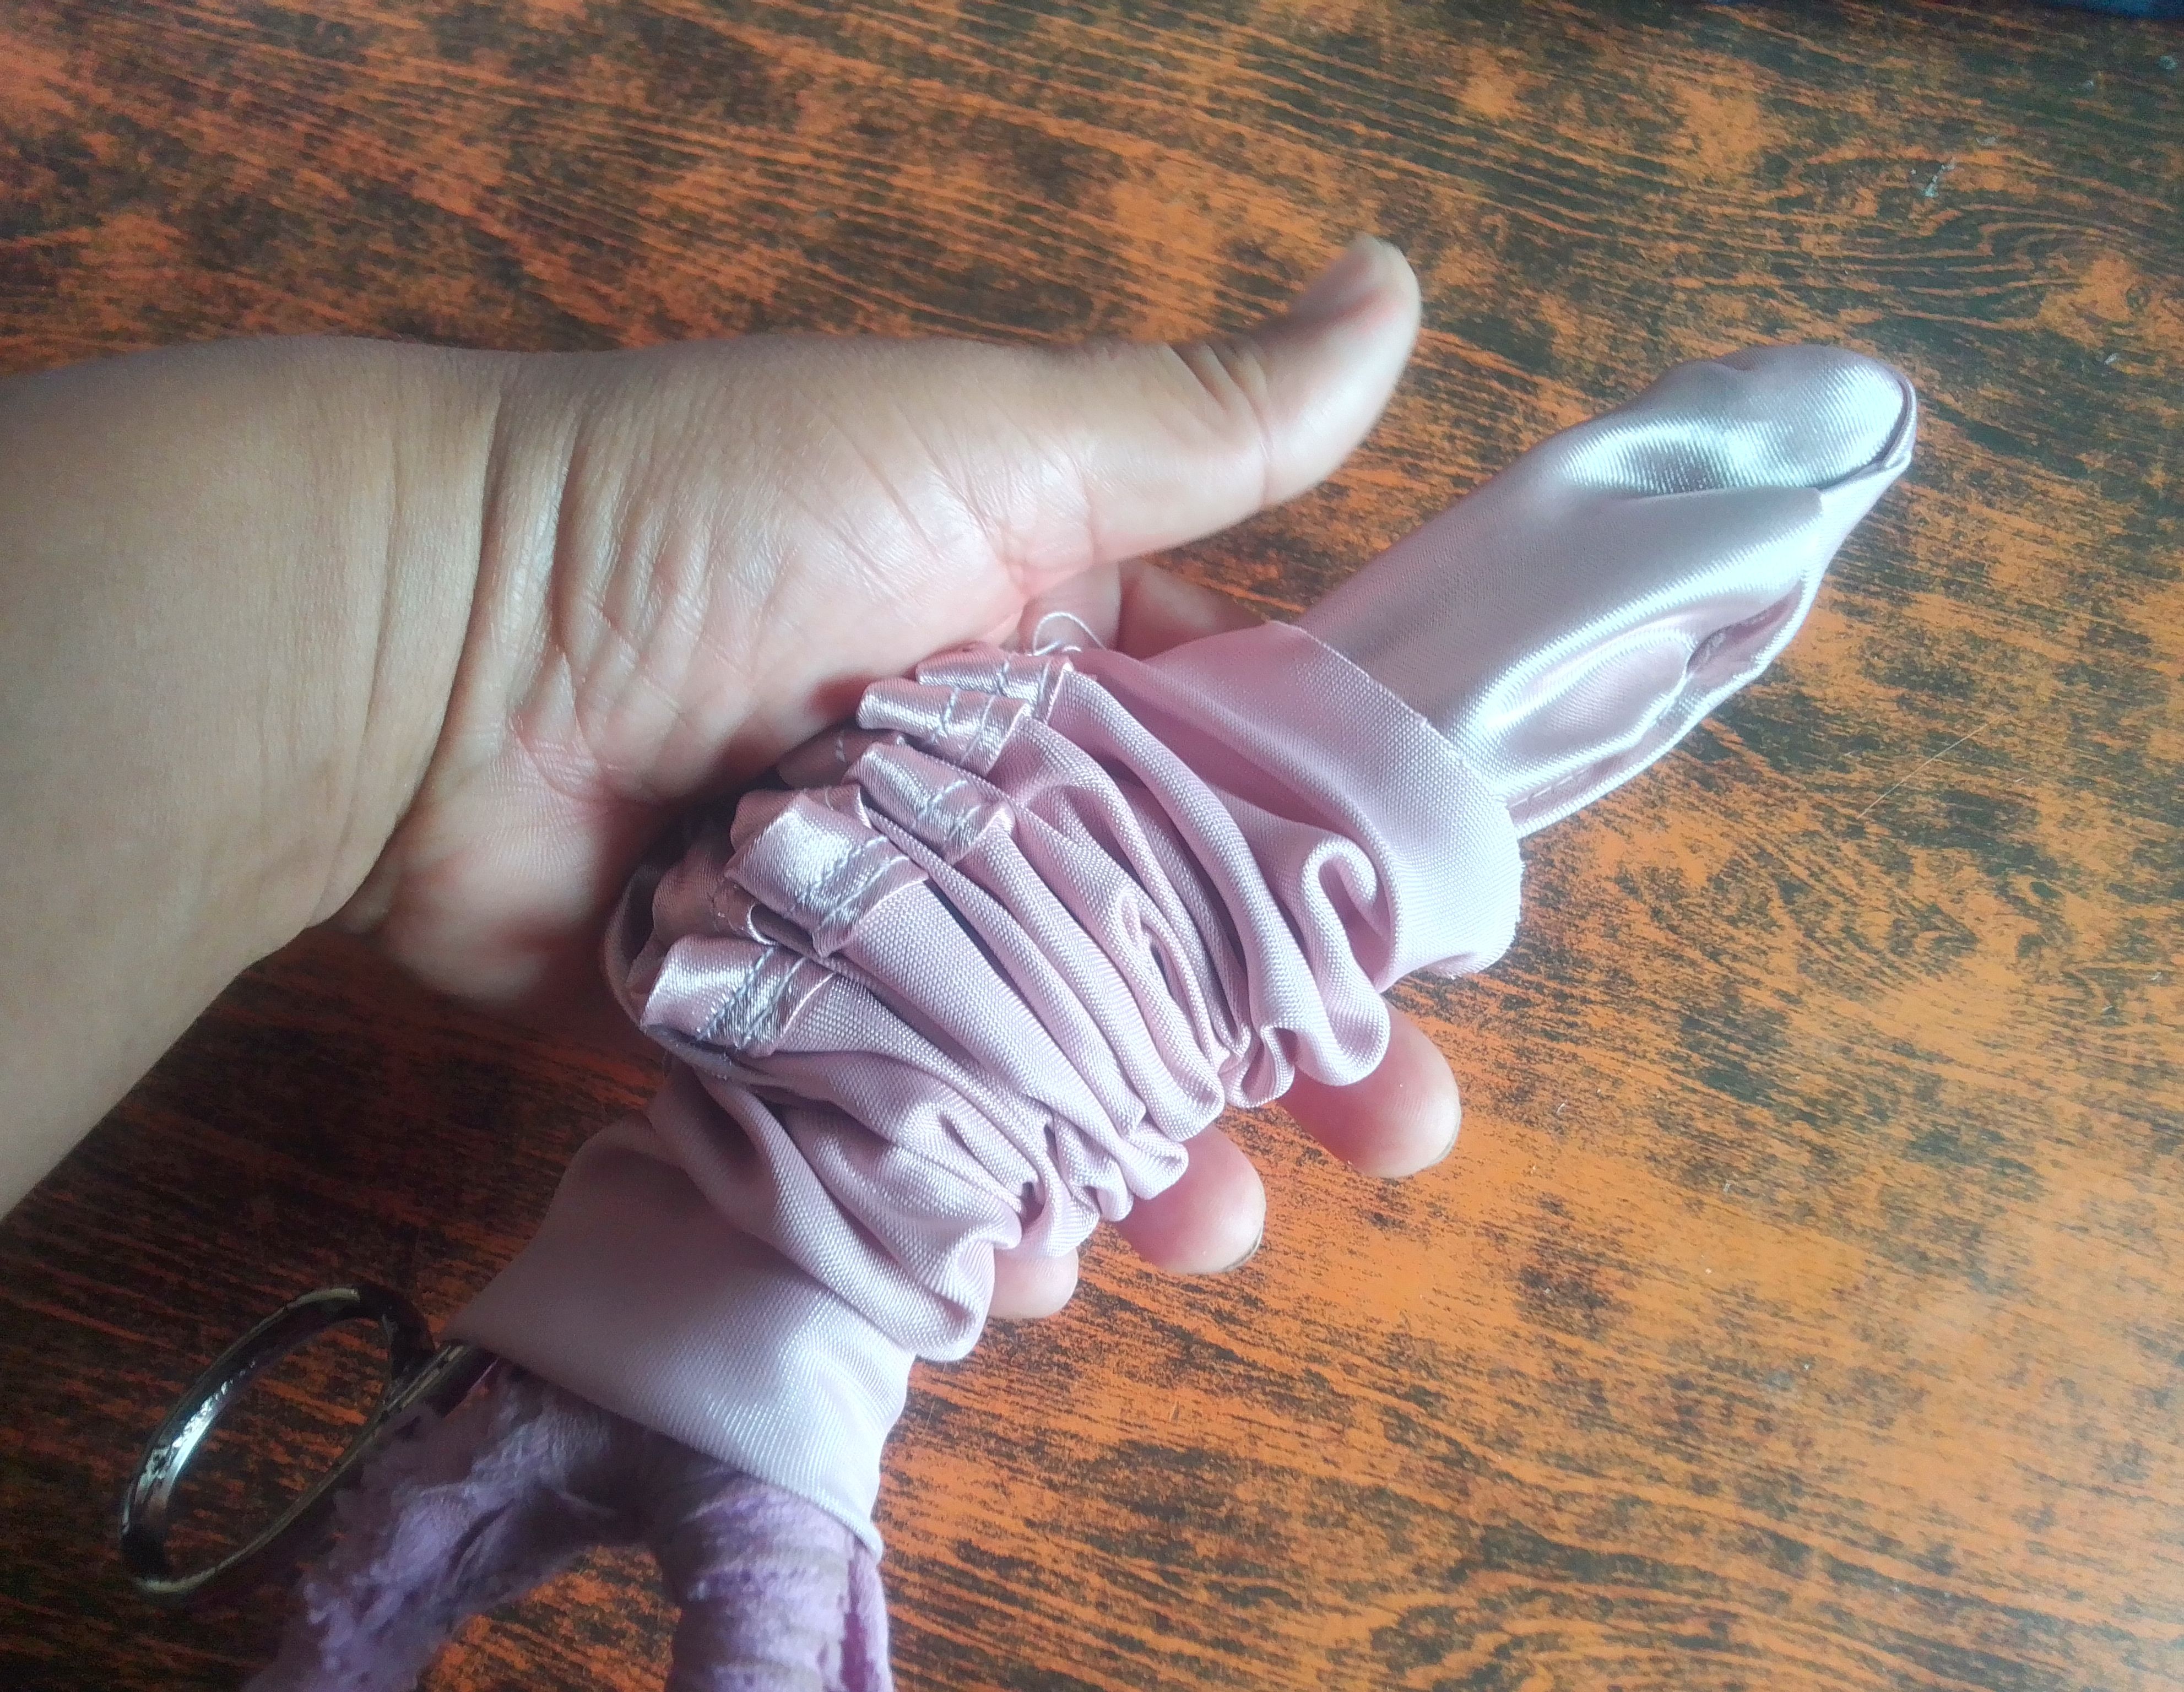
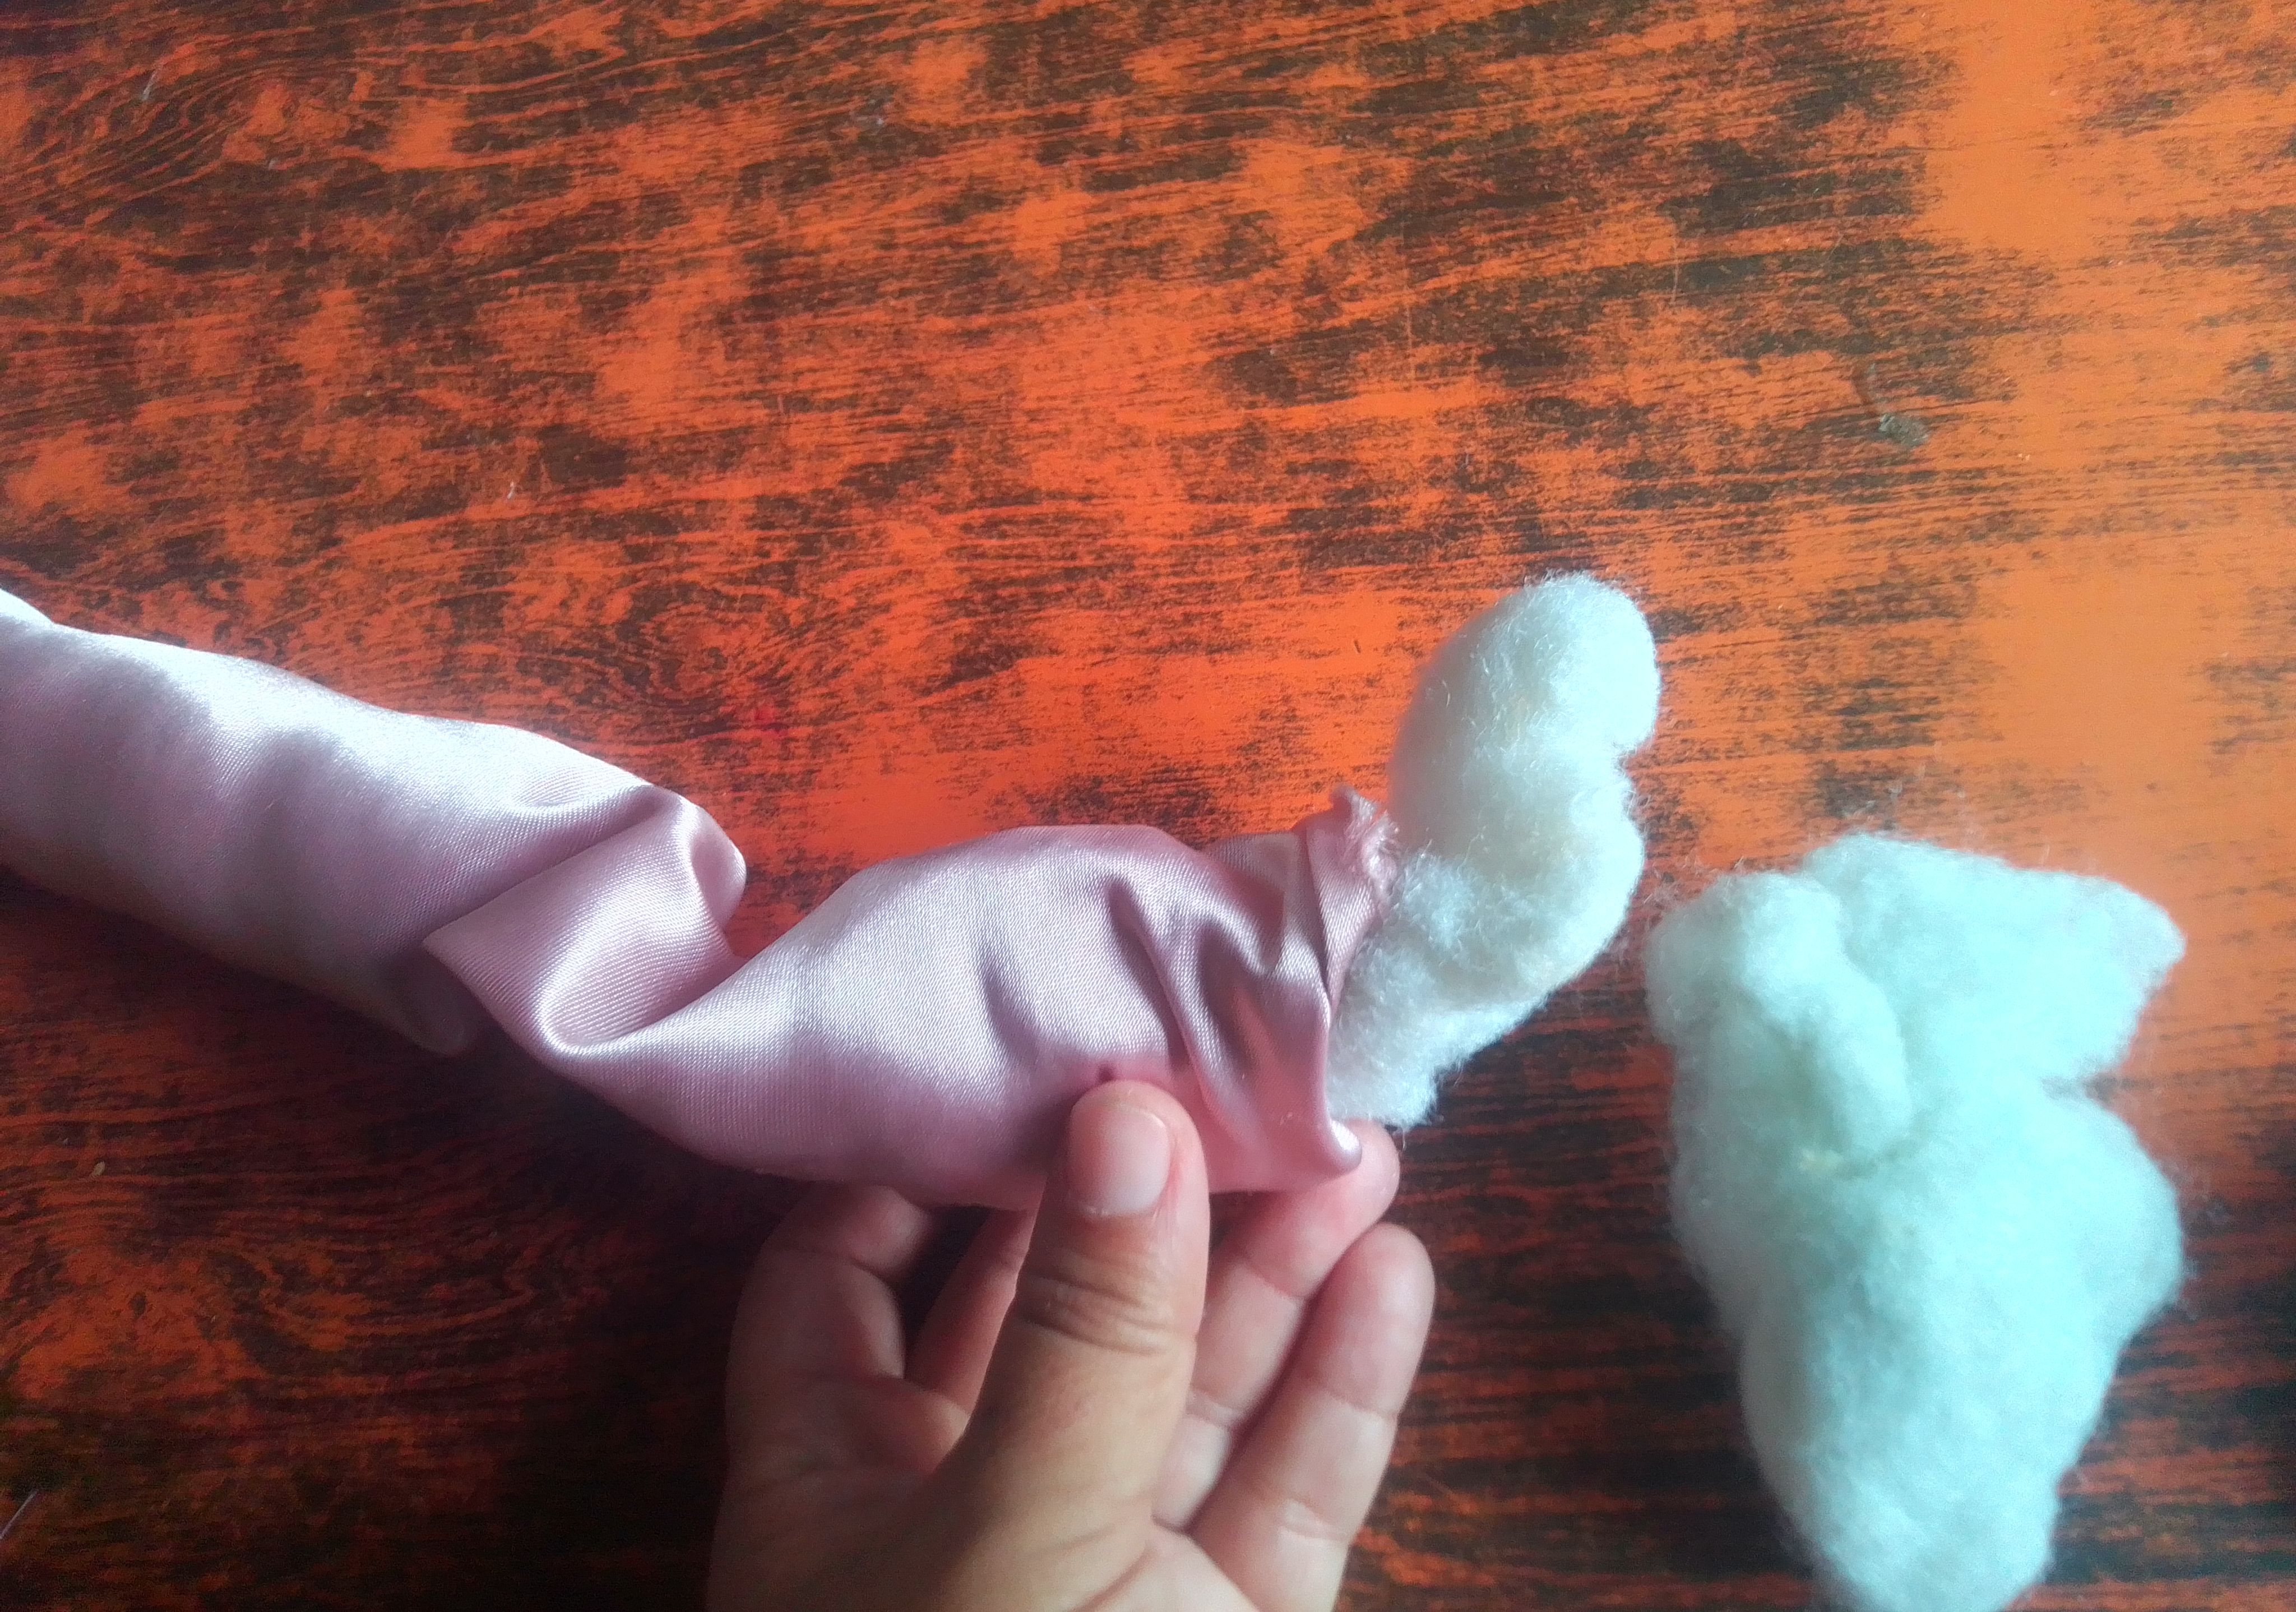
Tocó pasarle la plancha pues mi tela estaba un poquito arrugada. Ahora voy a doblar a la mitad la tira más larga y pasamos una costura recta bien cerrada para evitar que está se abra cuando insertemos el relleno. Con ayuda de las tijeras la volteamos e introducimos el relleno bien apretadito para cerrar con costura el extremo abierto.
🌟Step 02
I had to iron it because my fabric was a little wrinkled. Now I'm going to fold the longer strip in half and sew a tight, straight seam to prevent it from opening when we insert the filling. Using scissors, we turn it over and insert the filling tightly, sewing the open end shut.
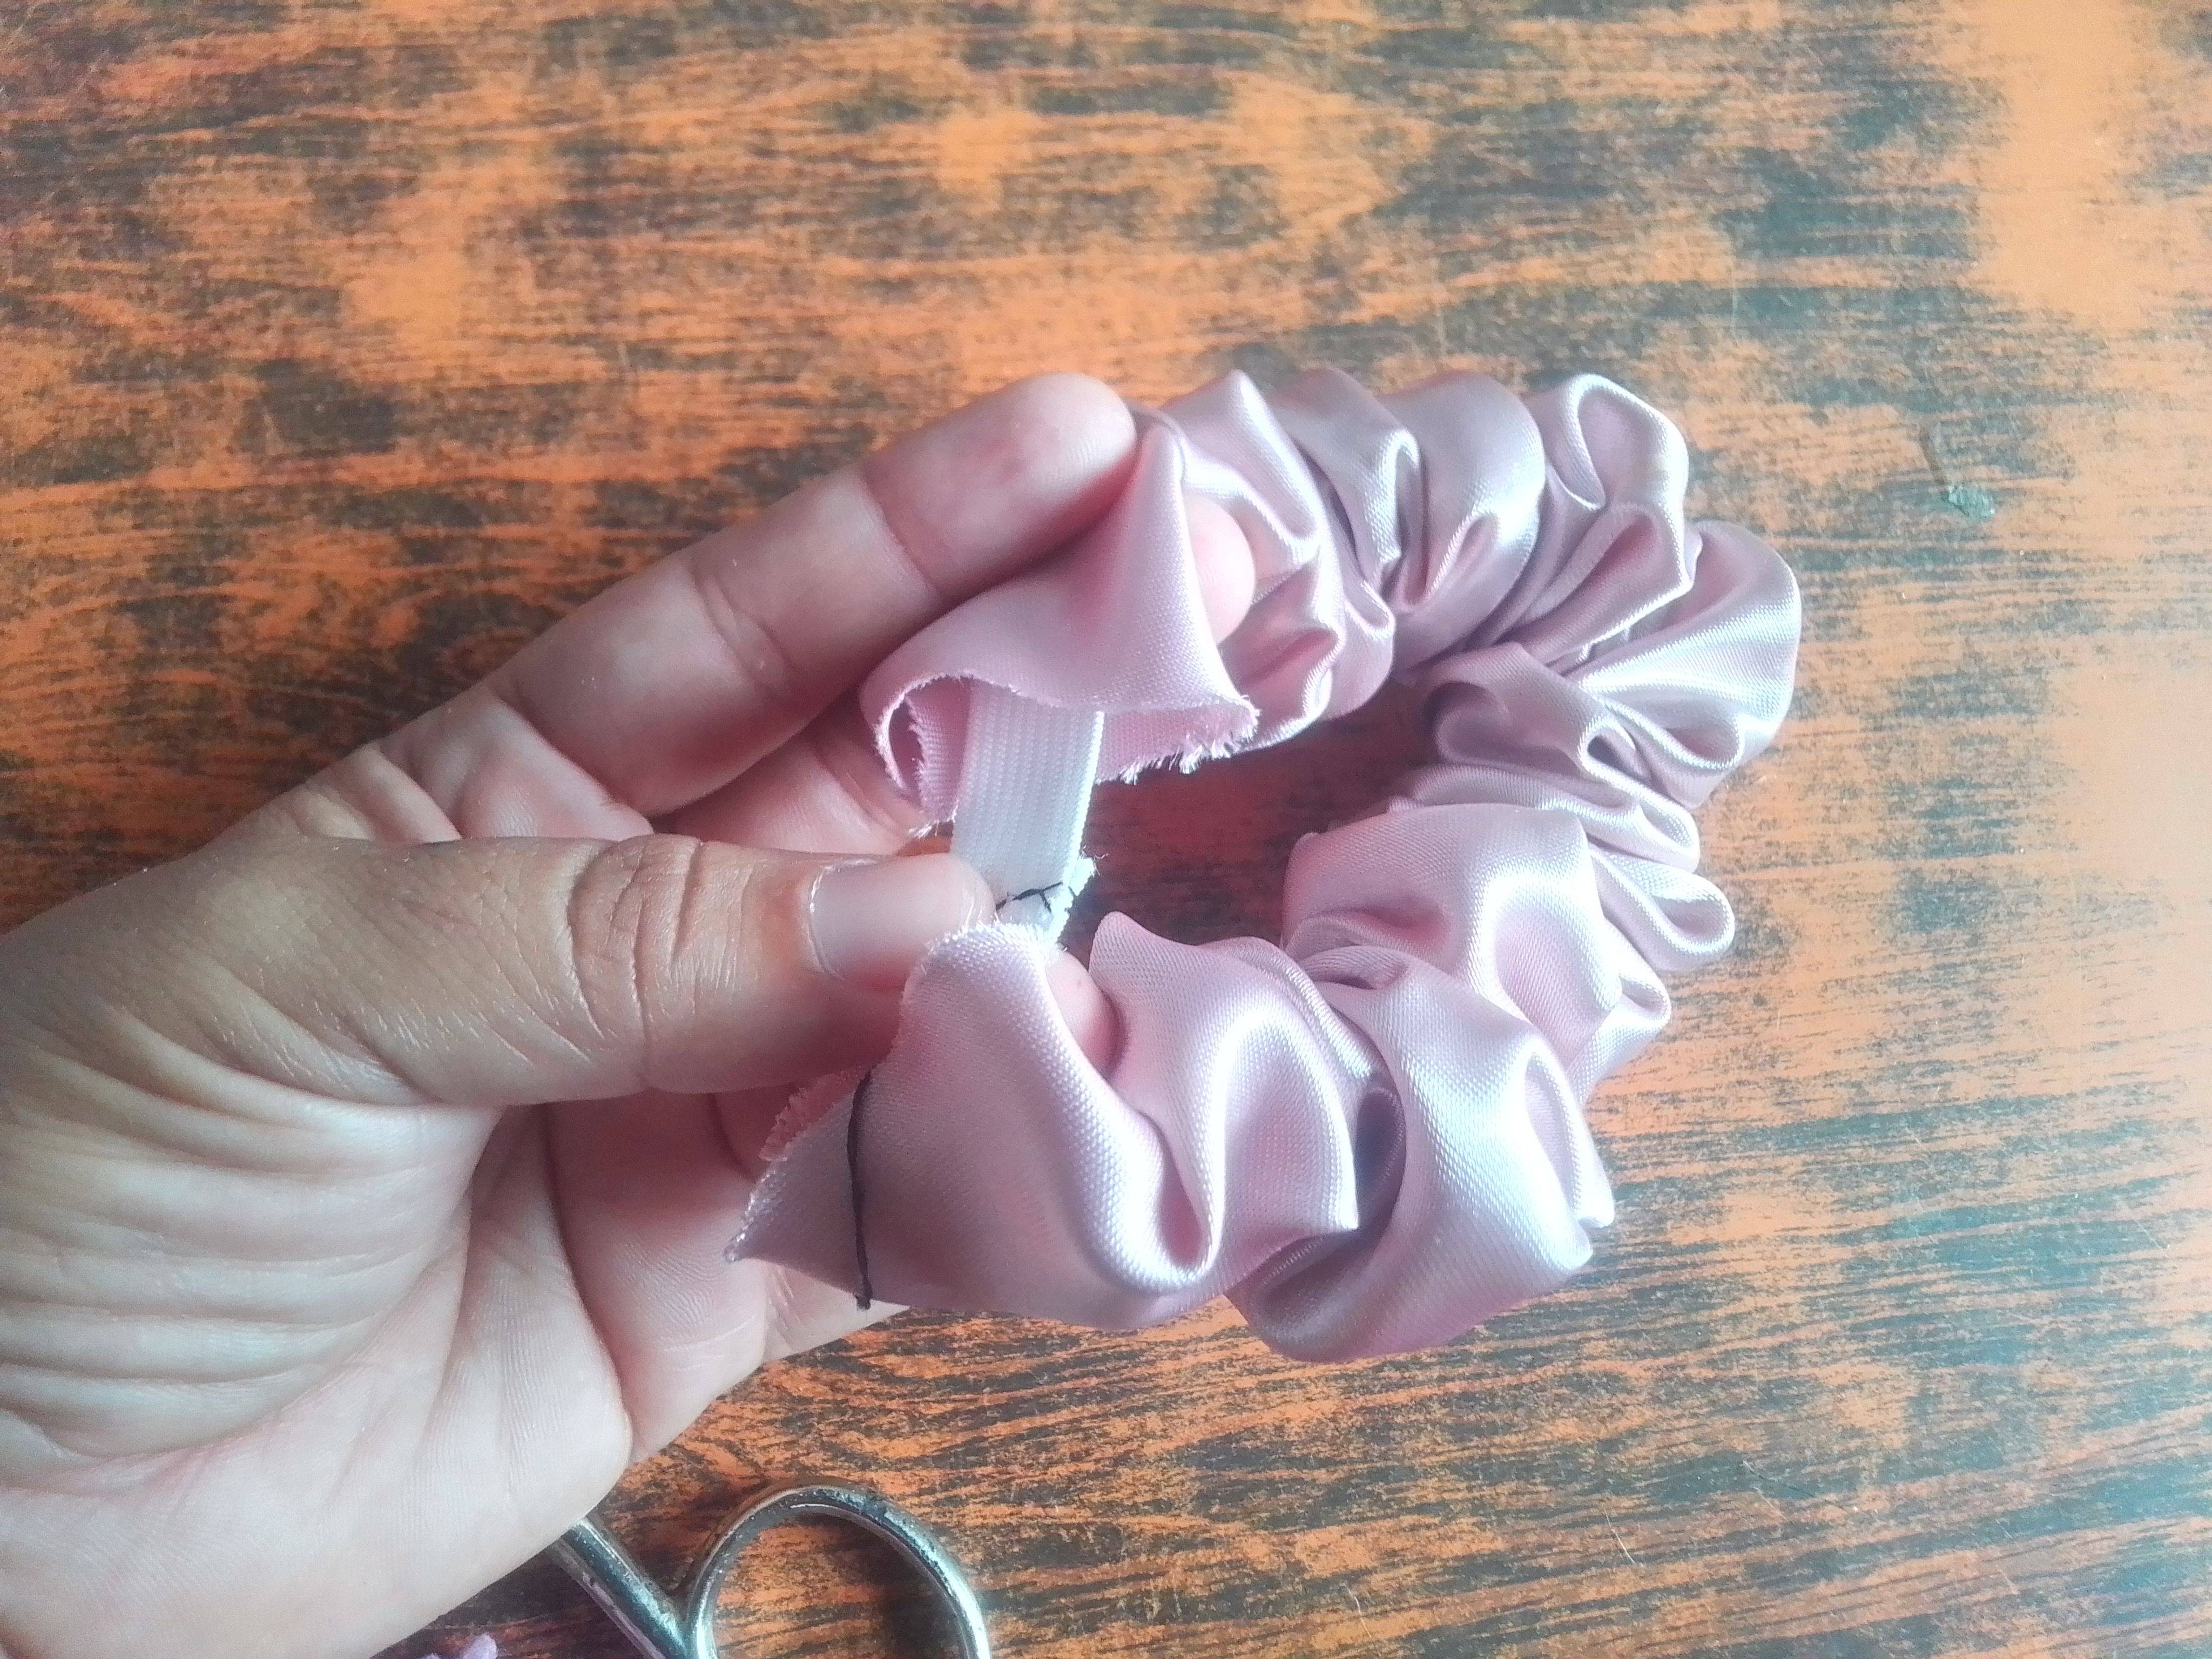
🌟Paso 03
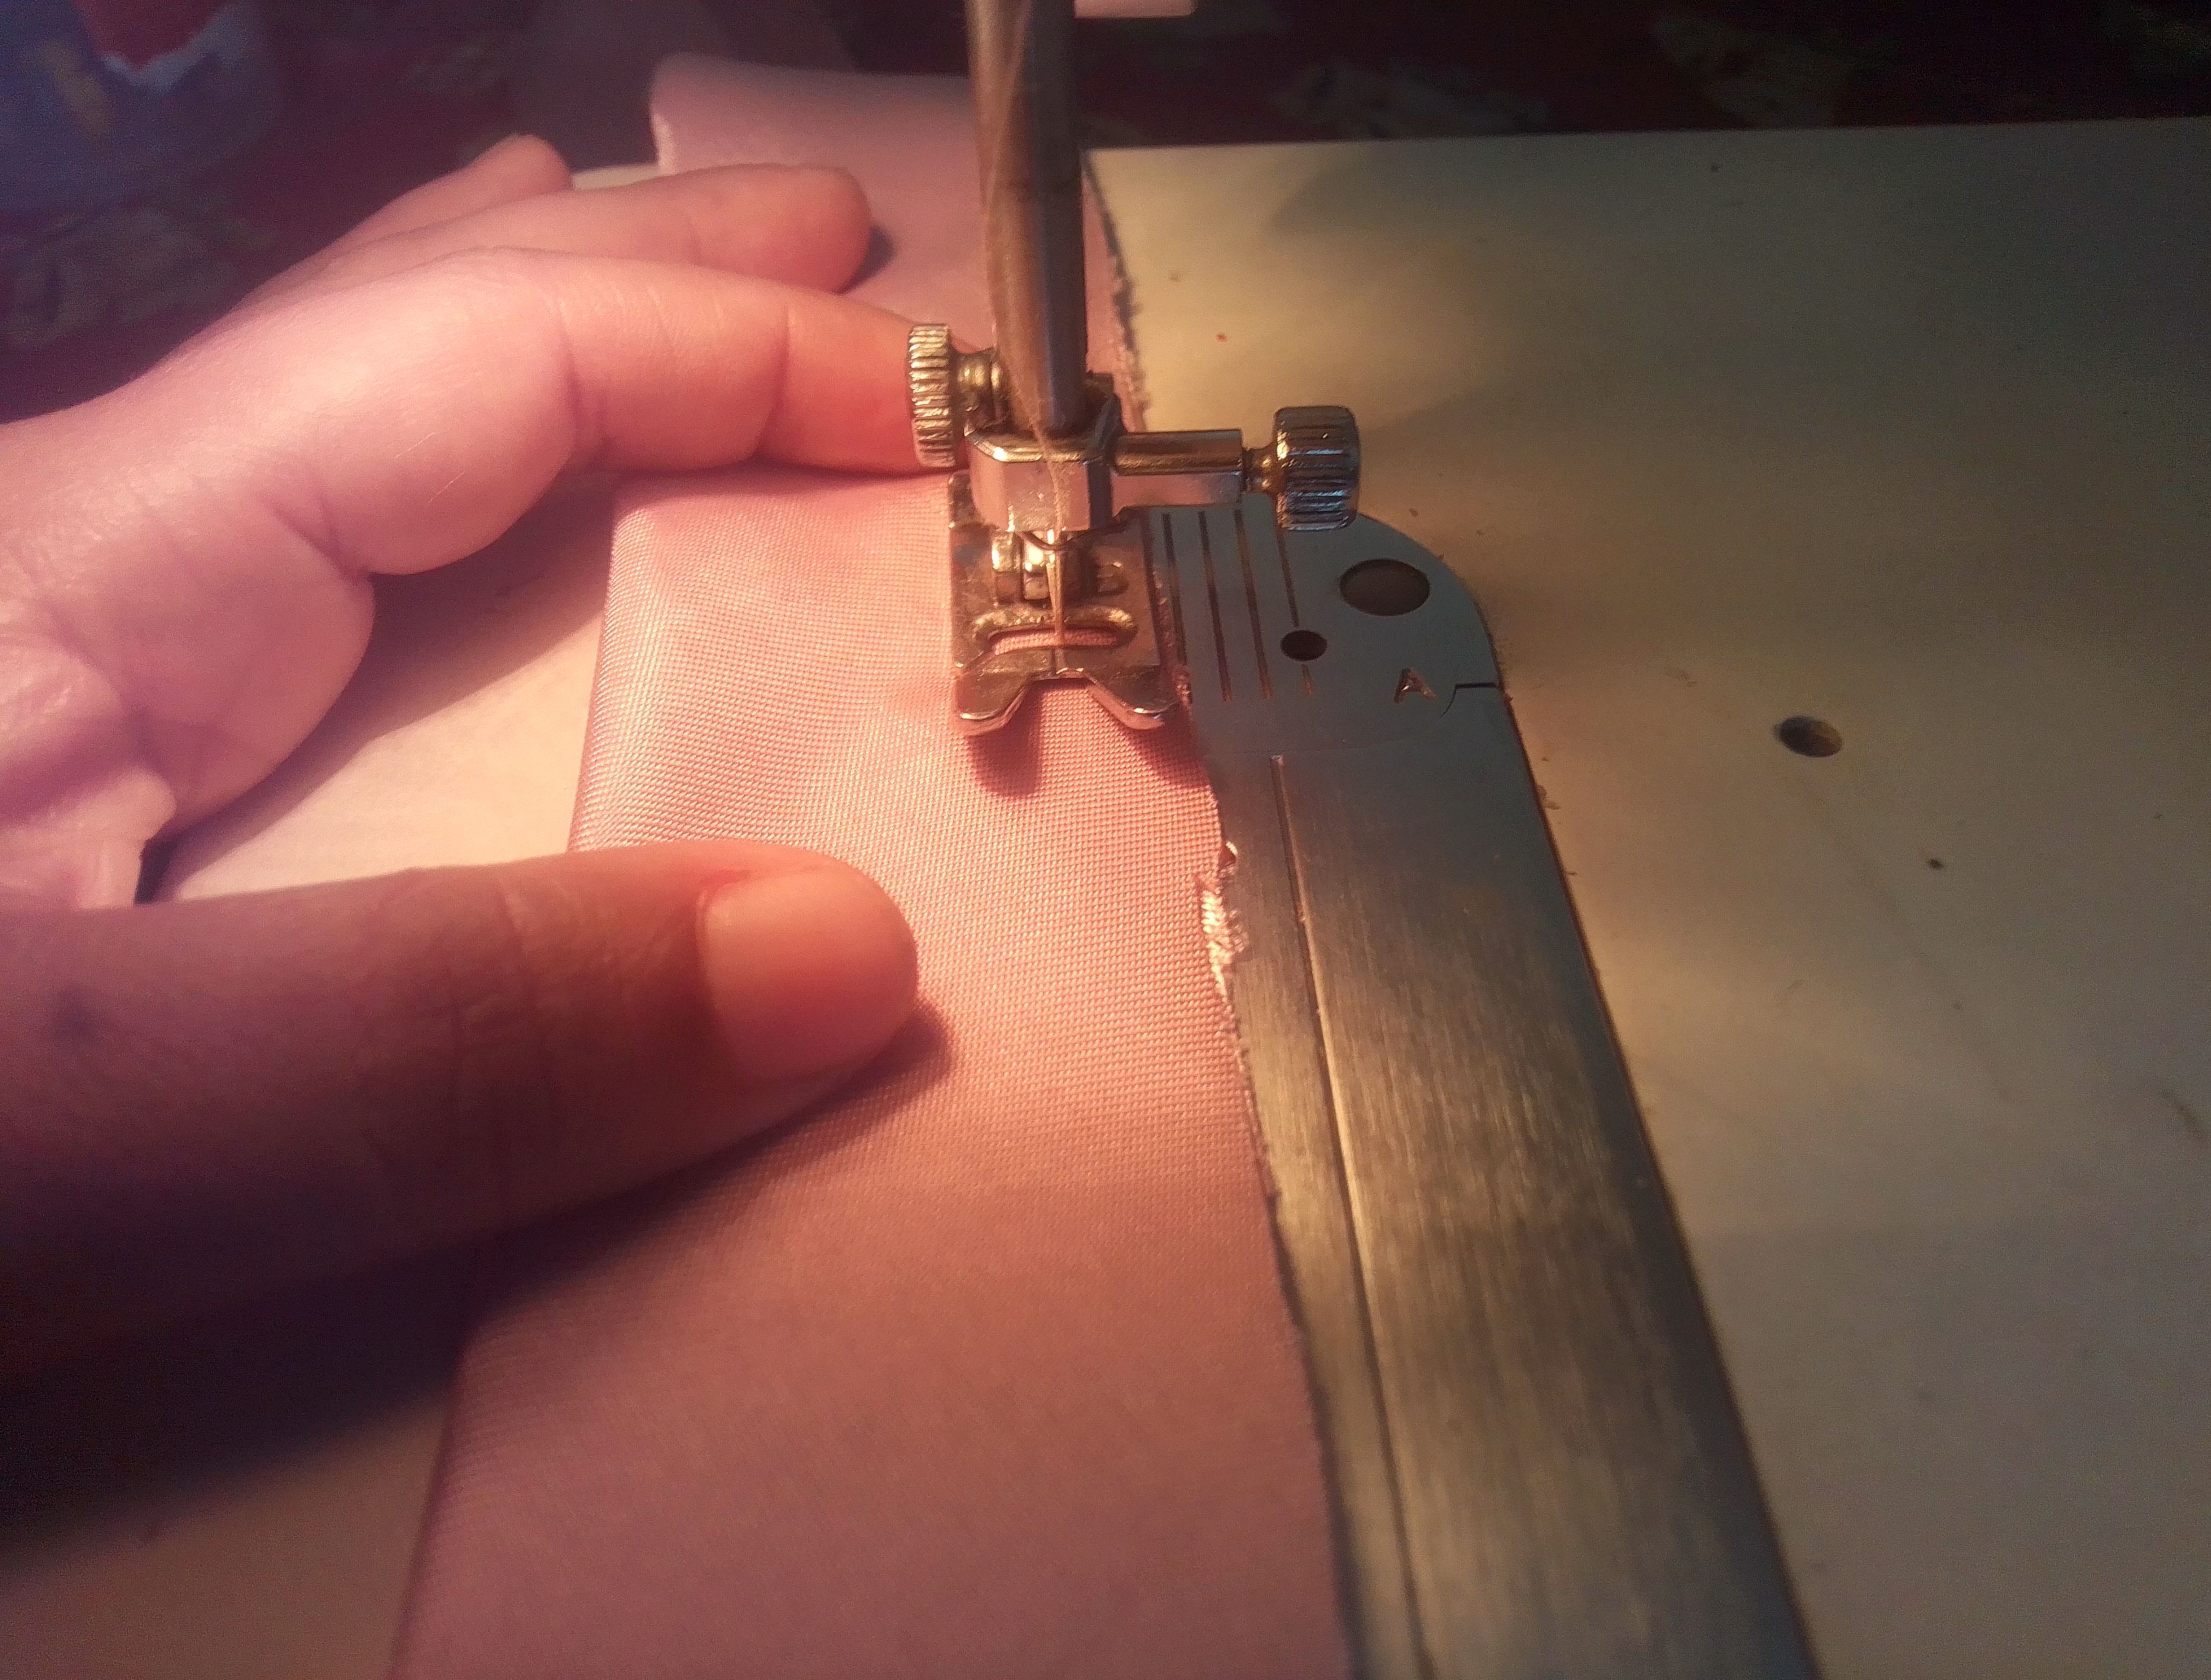
Hecho el primer accesorios, pasamos las costuras de los scrunchies, estos son muy sencillos de crear pues lo que hacemos es doblar también las tiras y coser las orillas. Volteamos e introducimos una elástica de 15cm para arrucharla. Cosemos primero los extremos de la goma y luego escondemos los extremos de la tela y paso costura.
🌟Step 03
Once the first accessory is made, sew the scrunchies together. These are very easy to make, as all you have to do is fold the straps and sew the edges. Turn them over and insert a 15cm elastic band to gather them. Sew the ends of the elastic first, then tuck the ends of the fabric in, then sew them together.
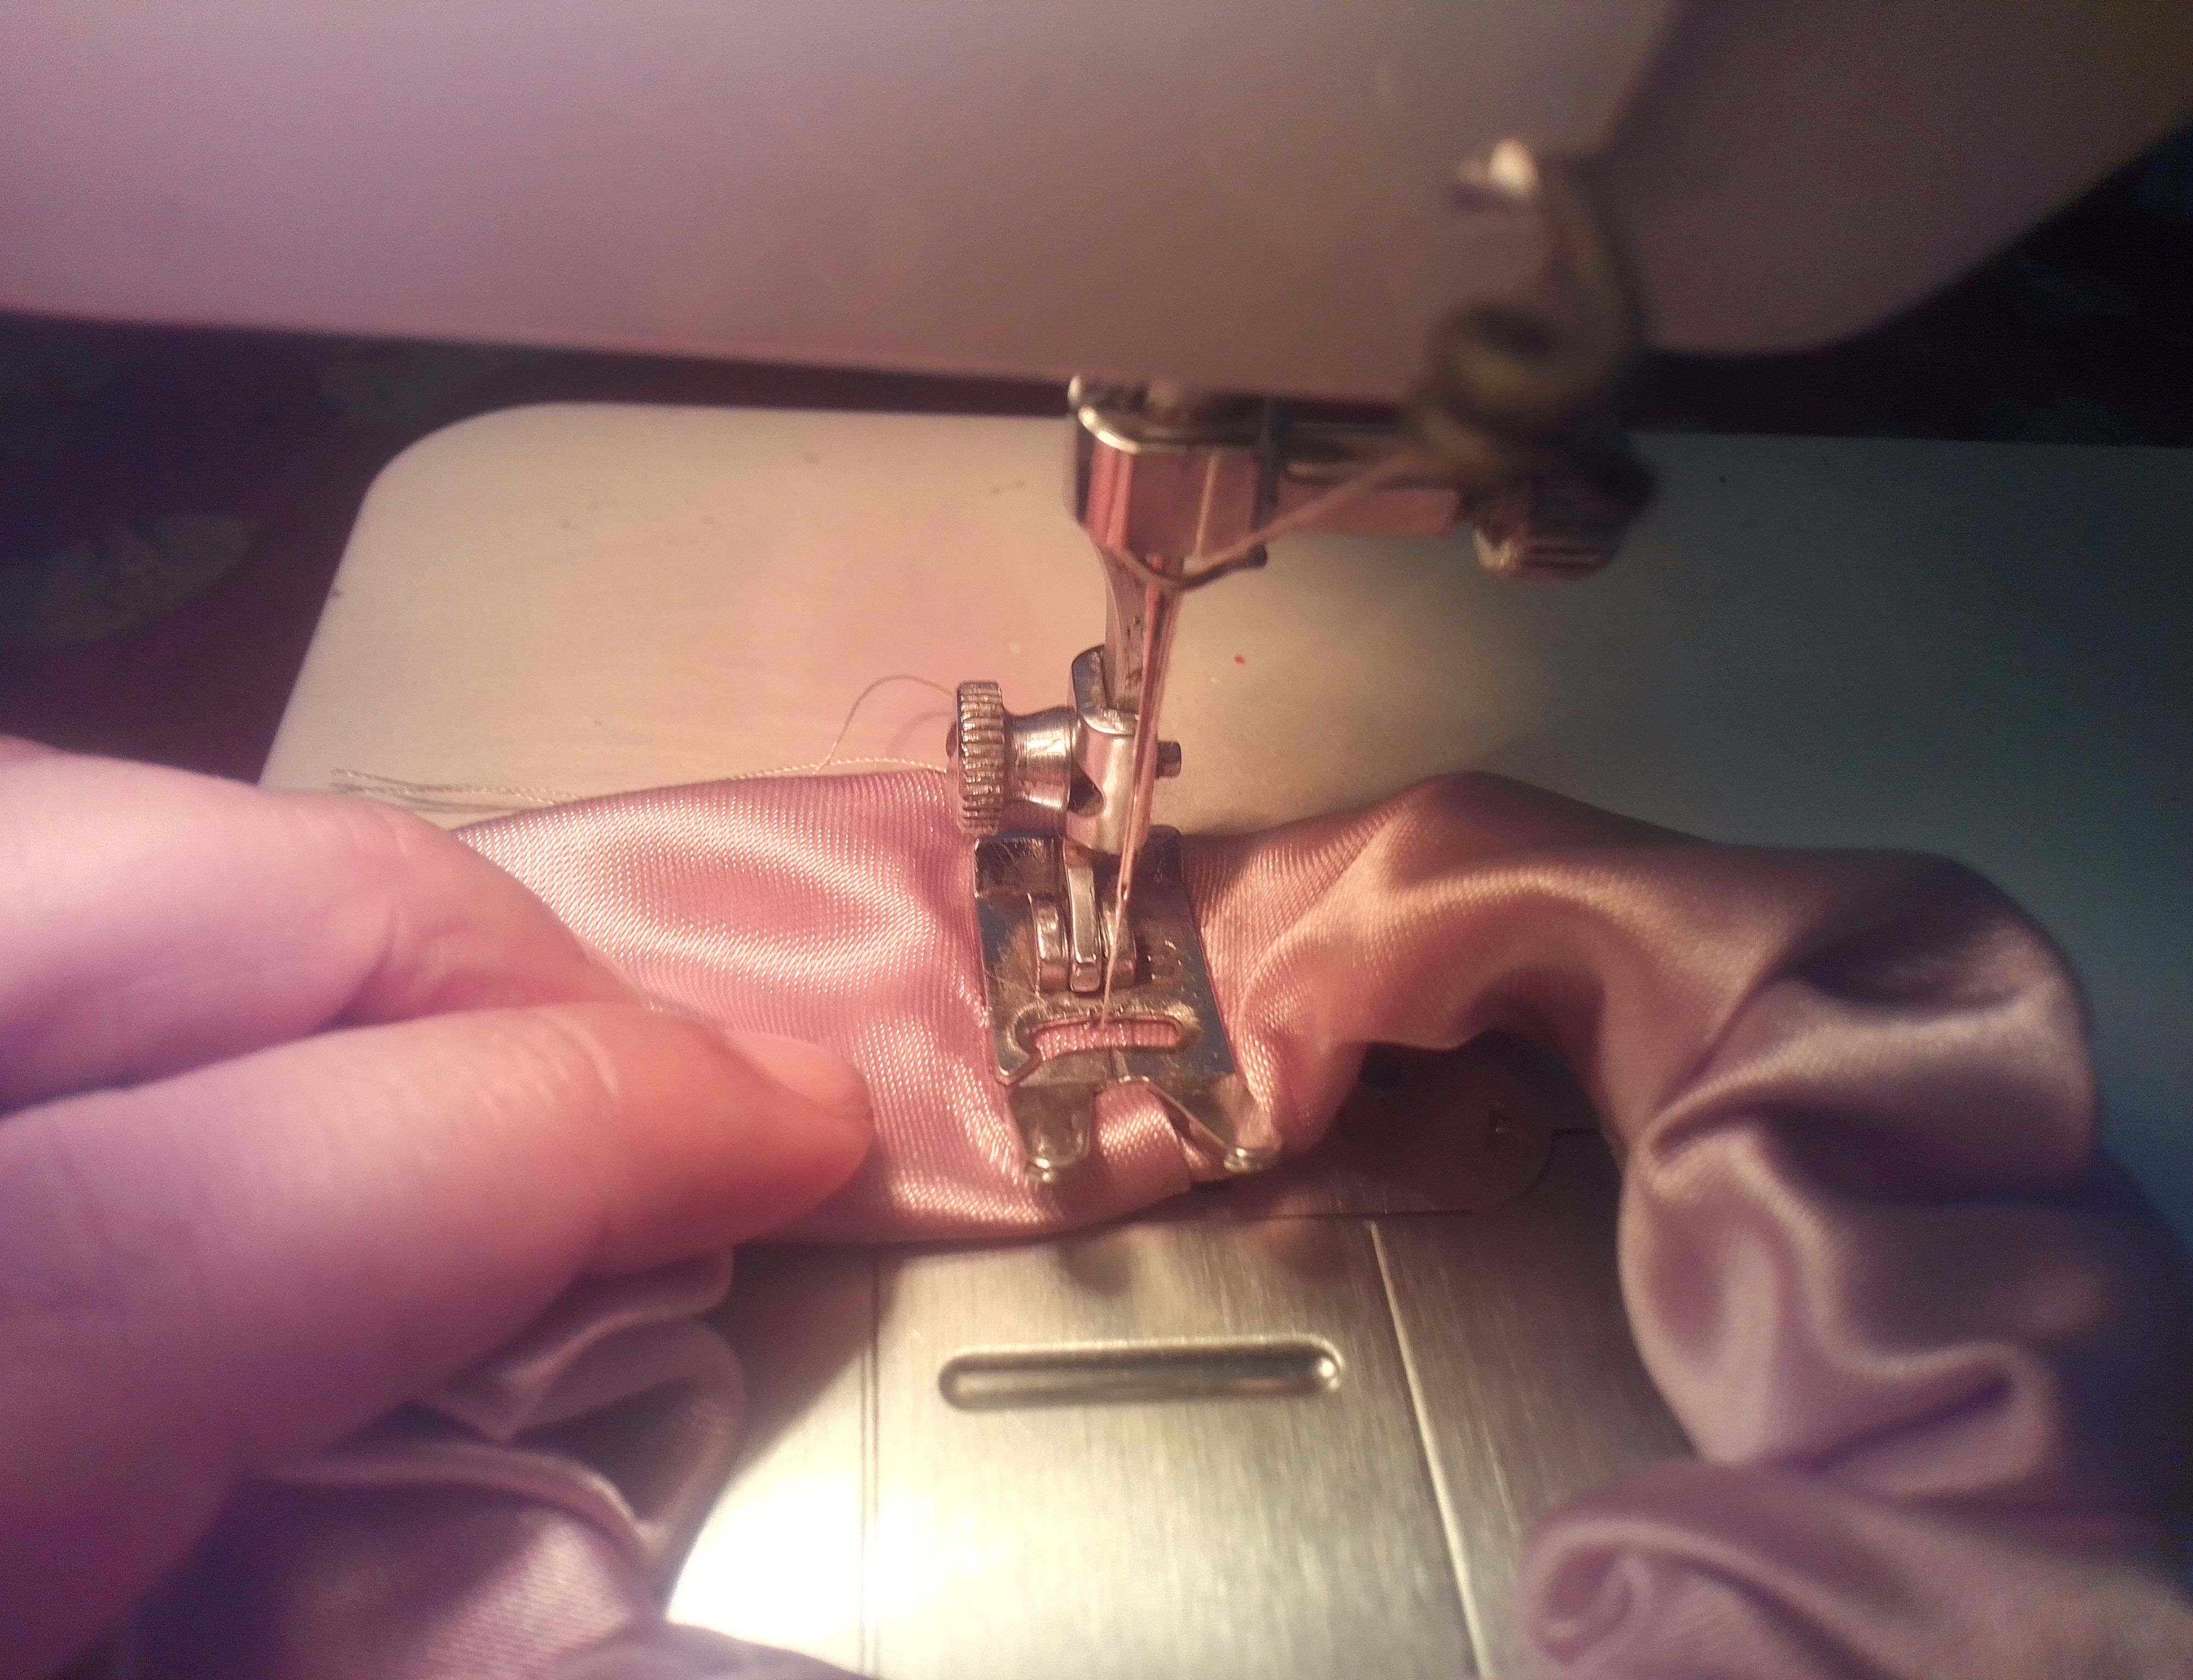
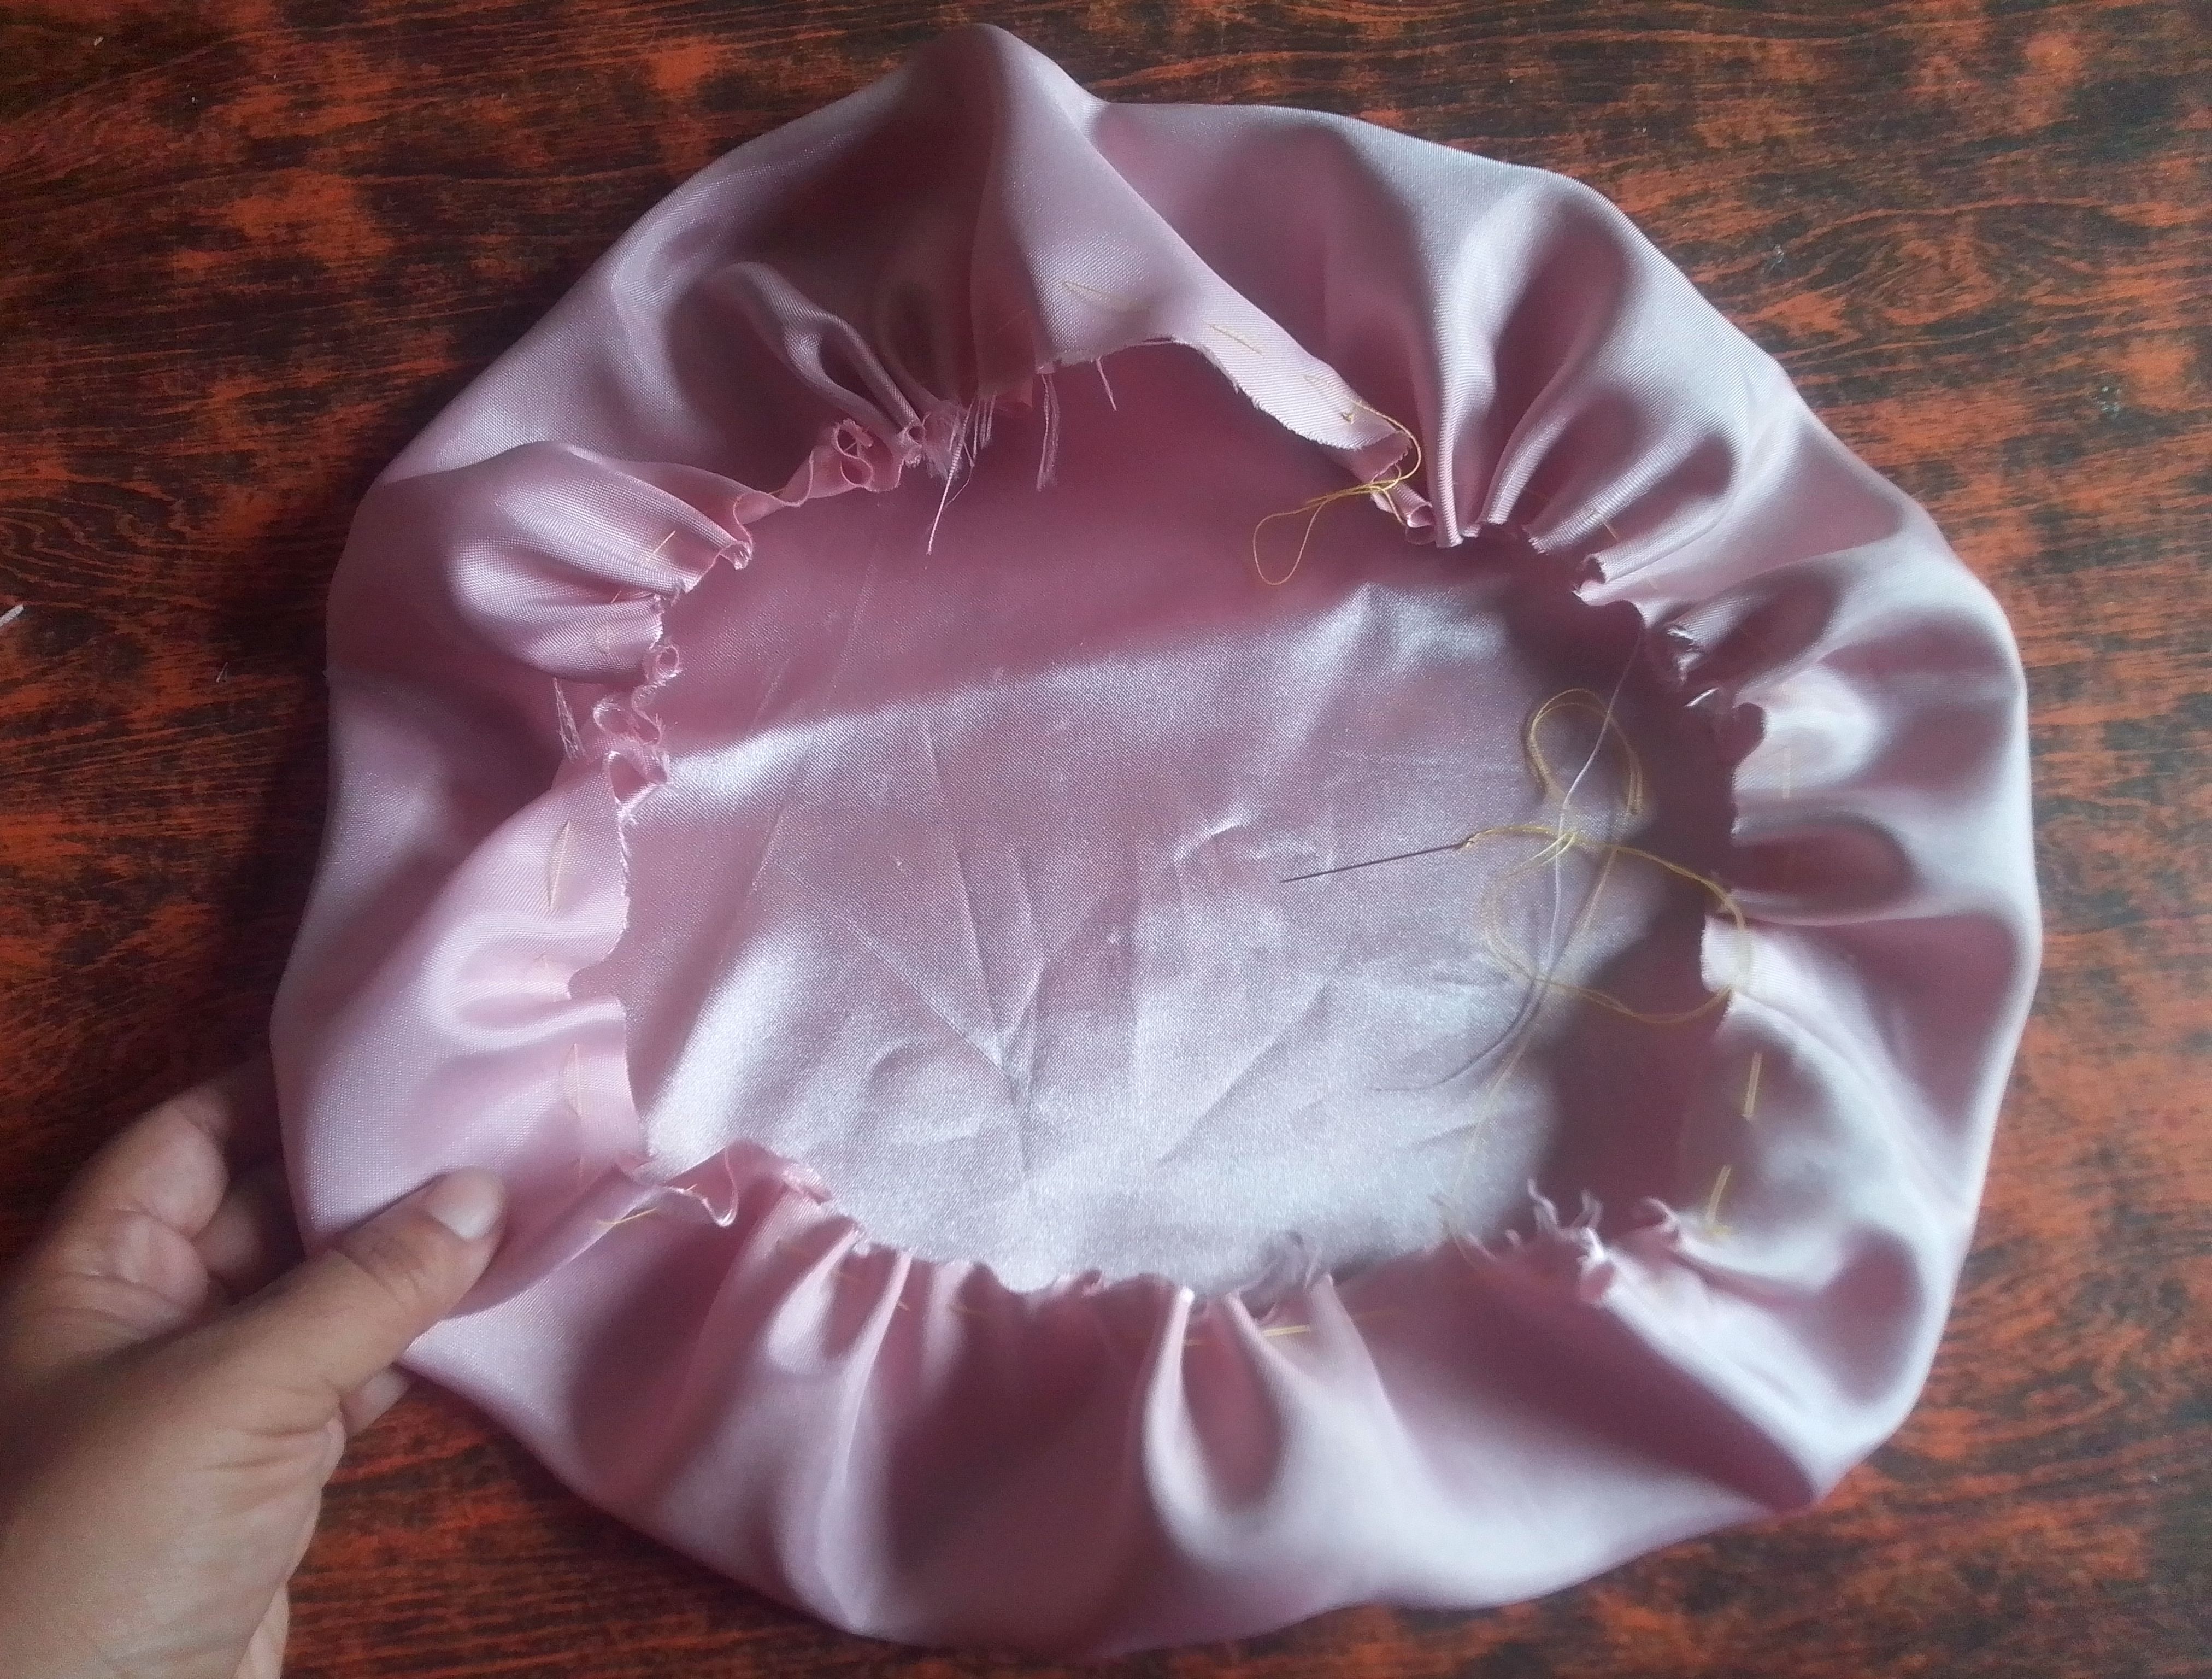
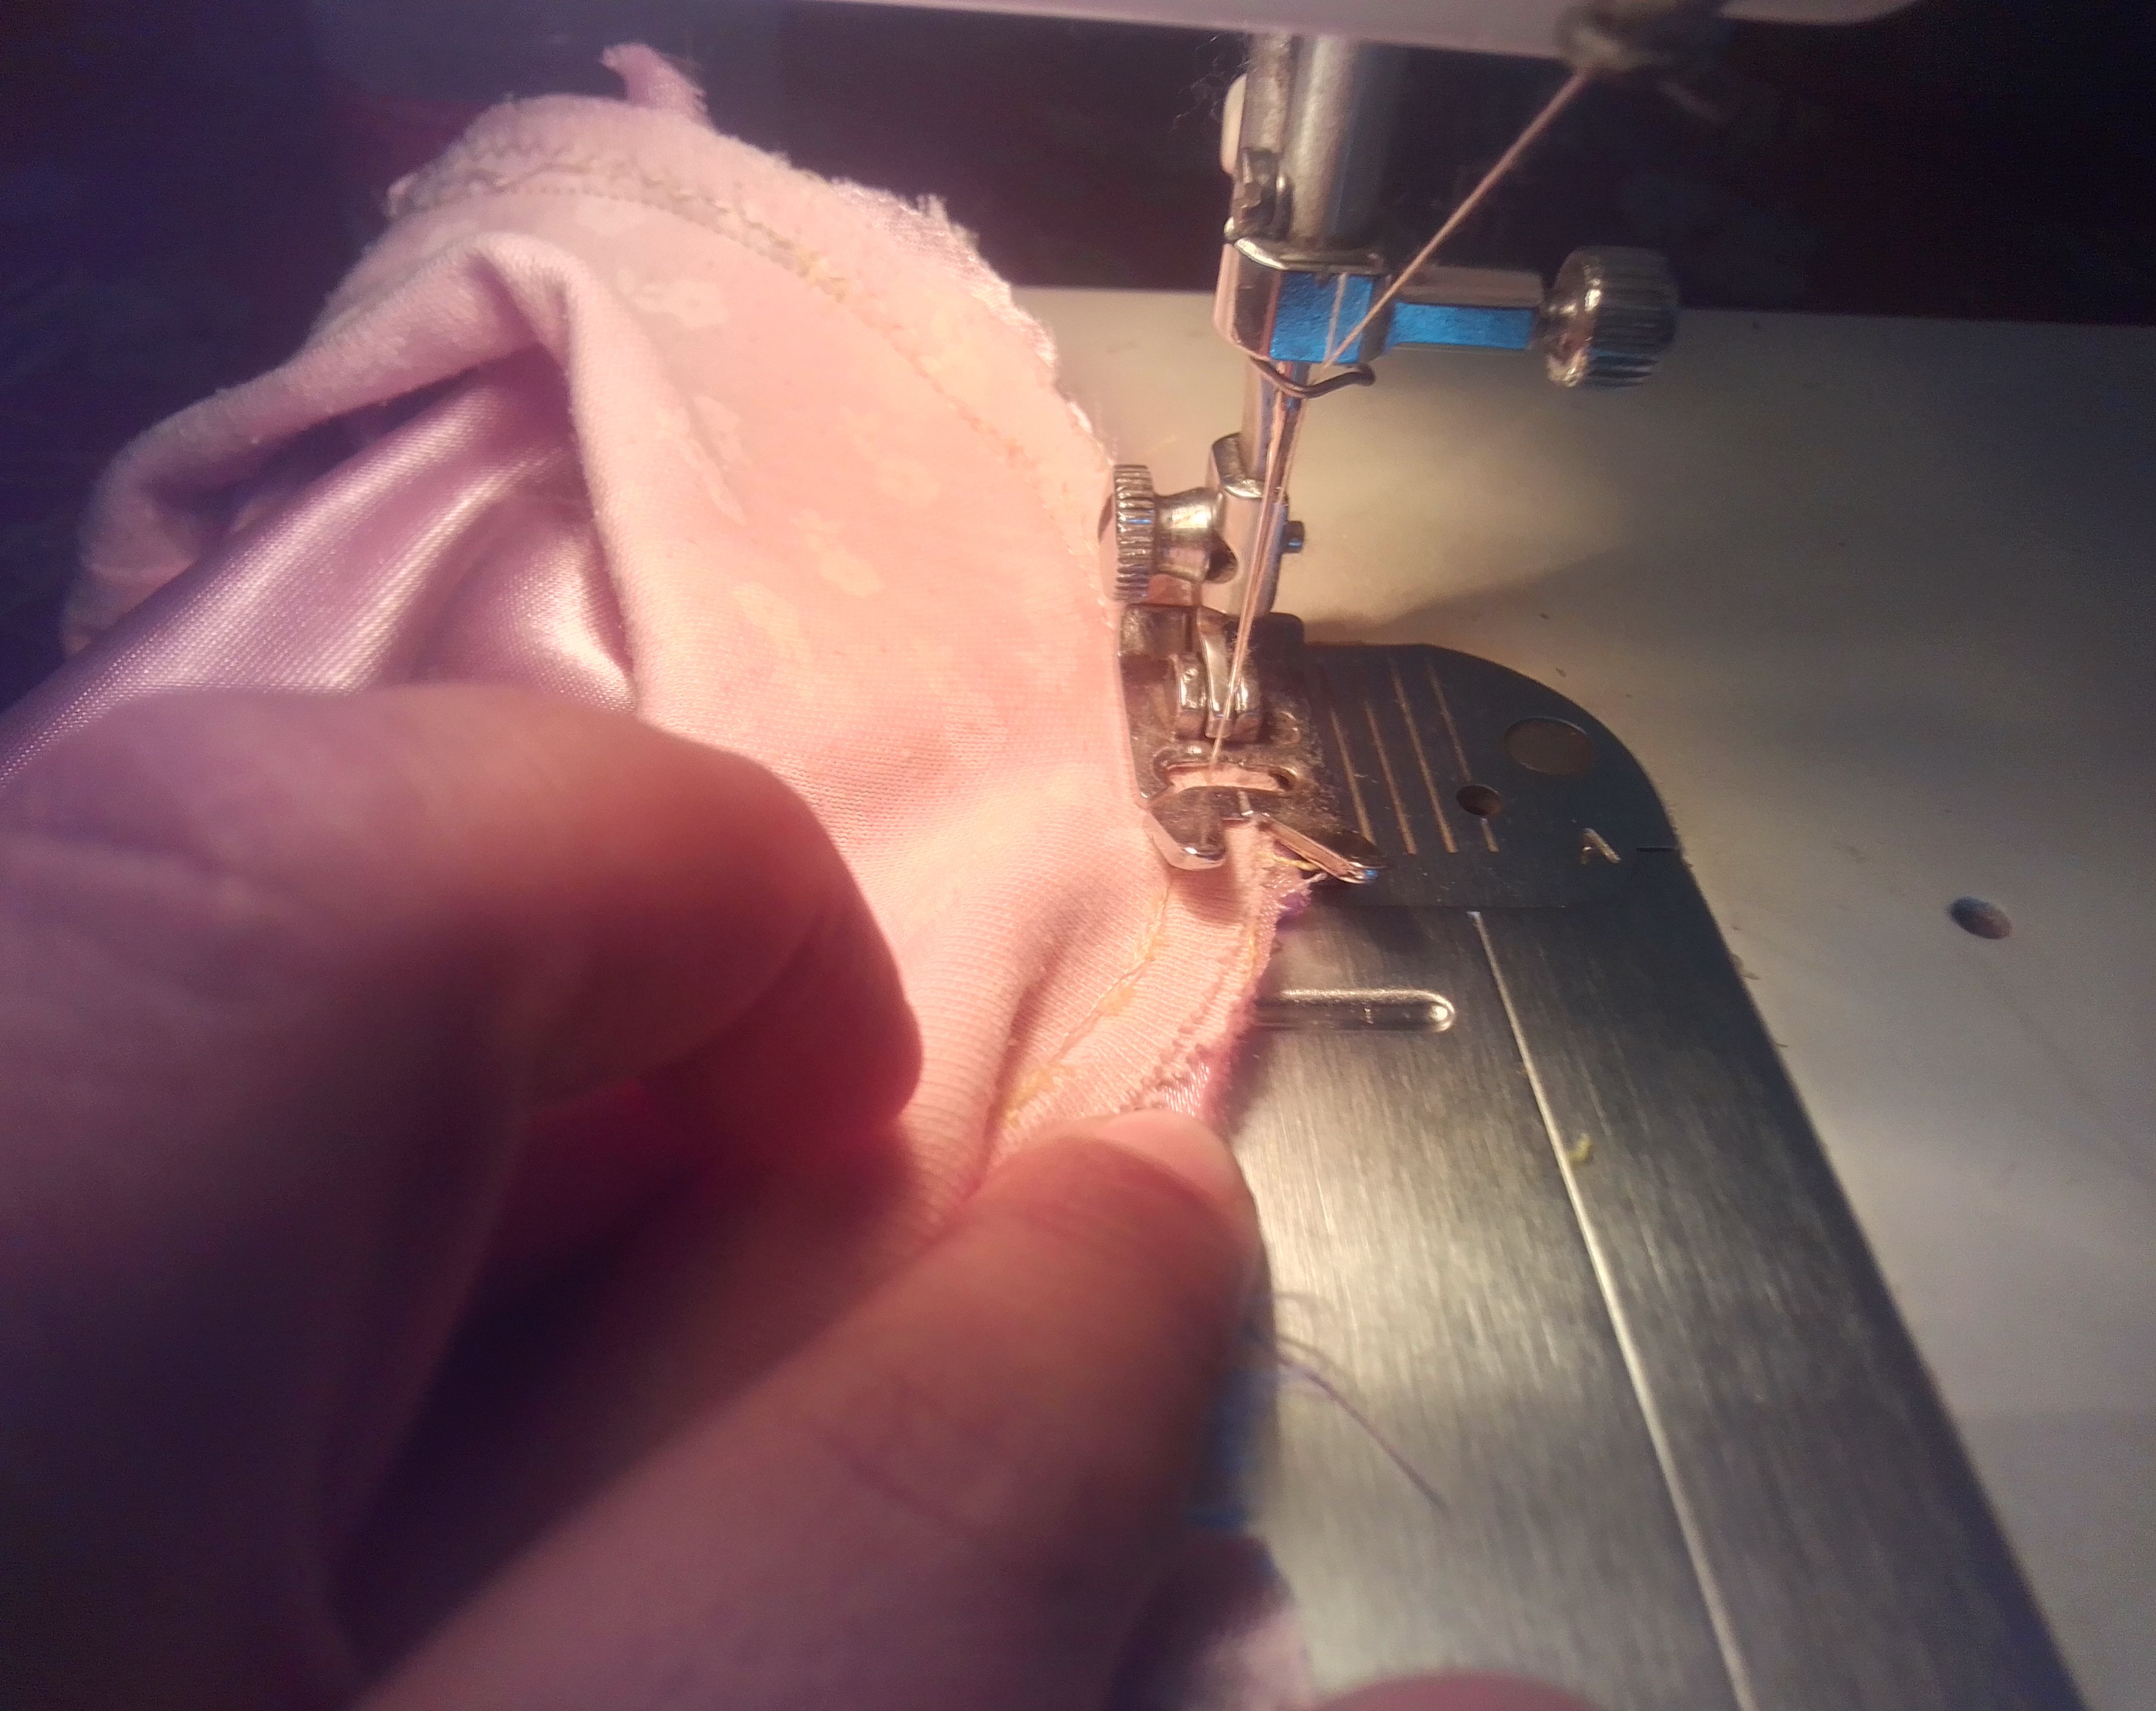
🌟Paso 04
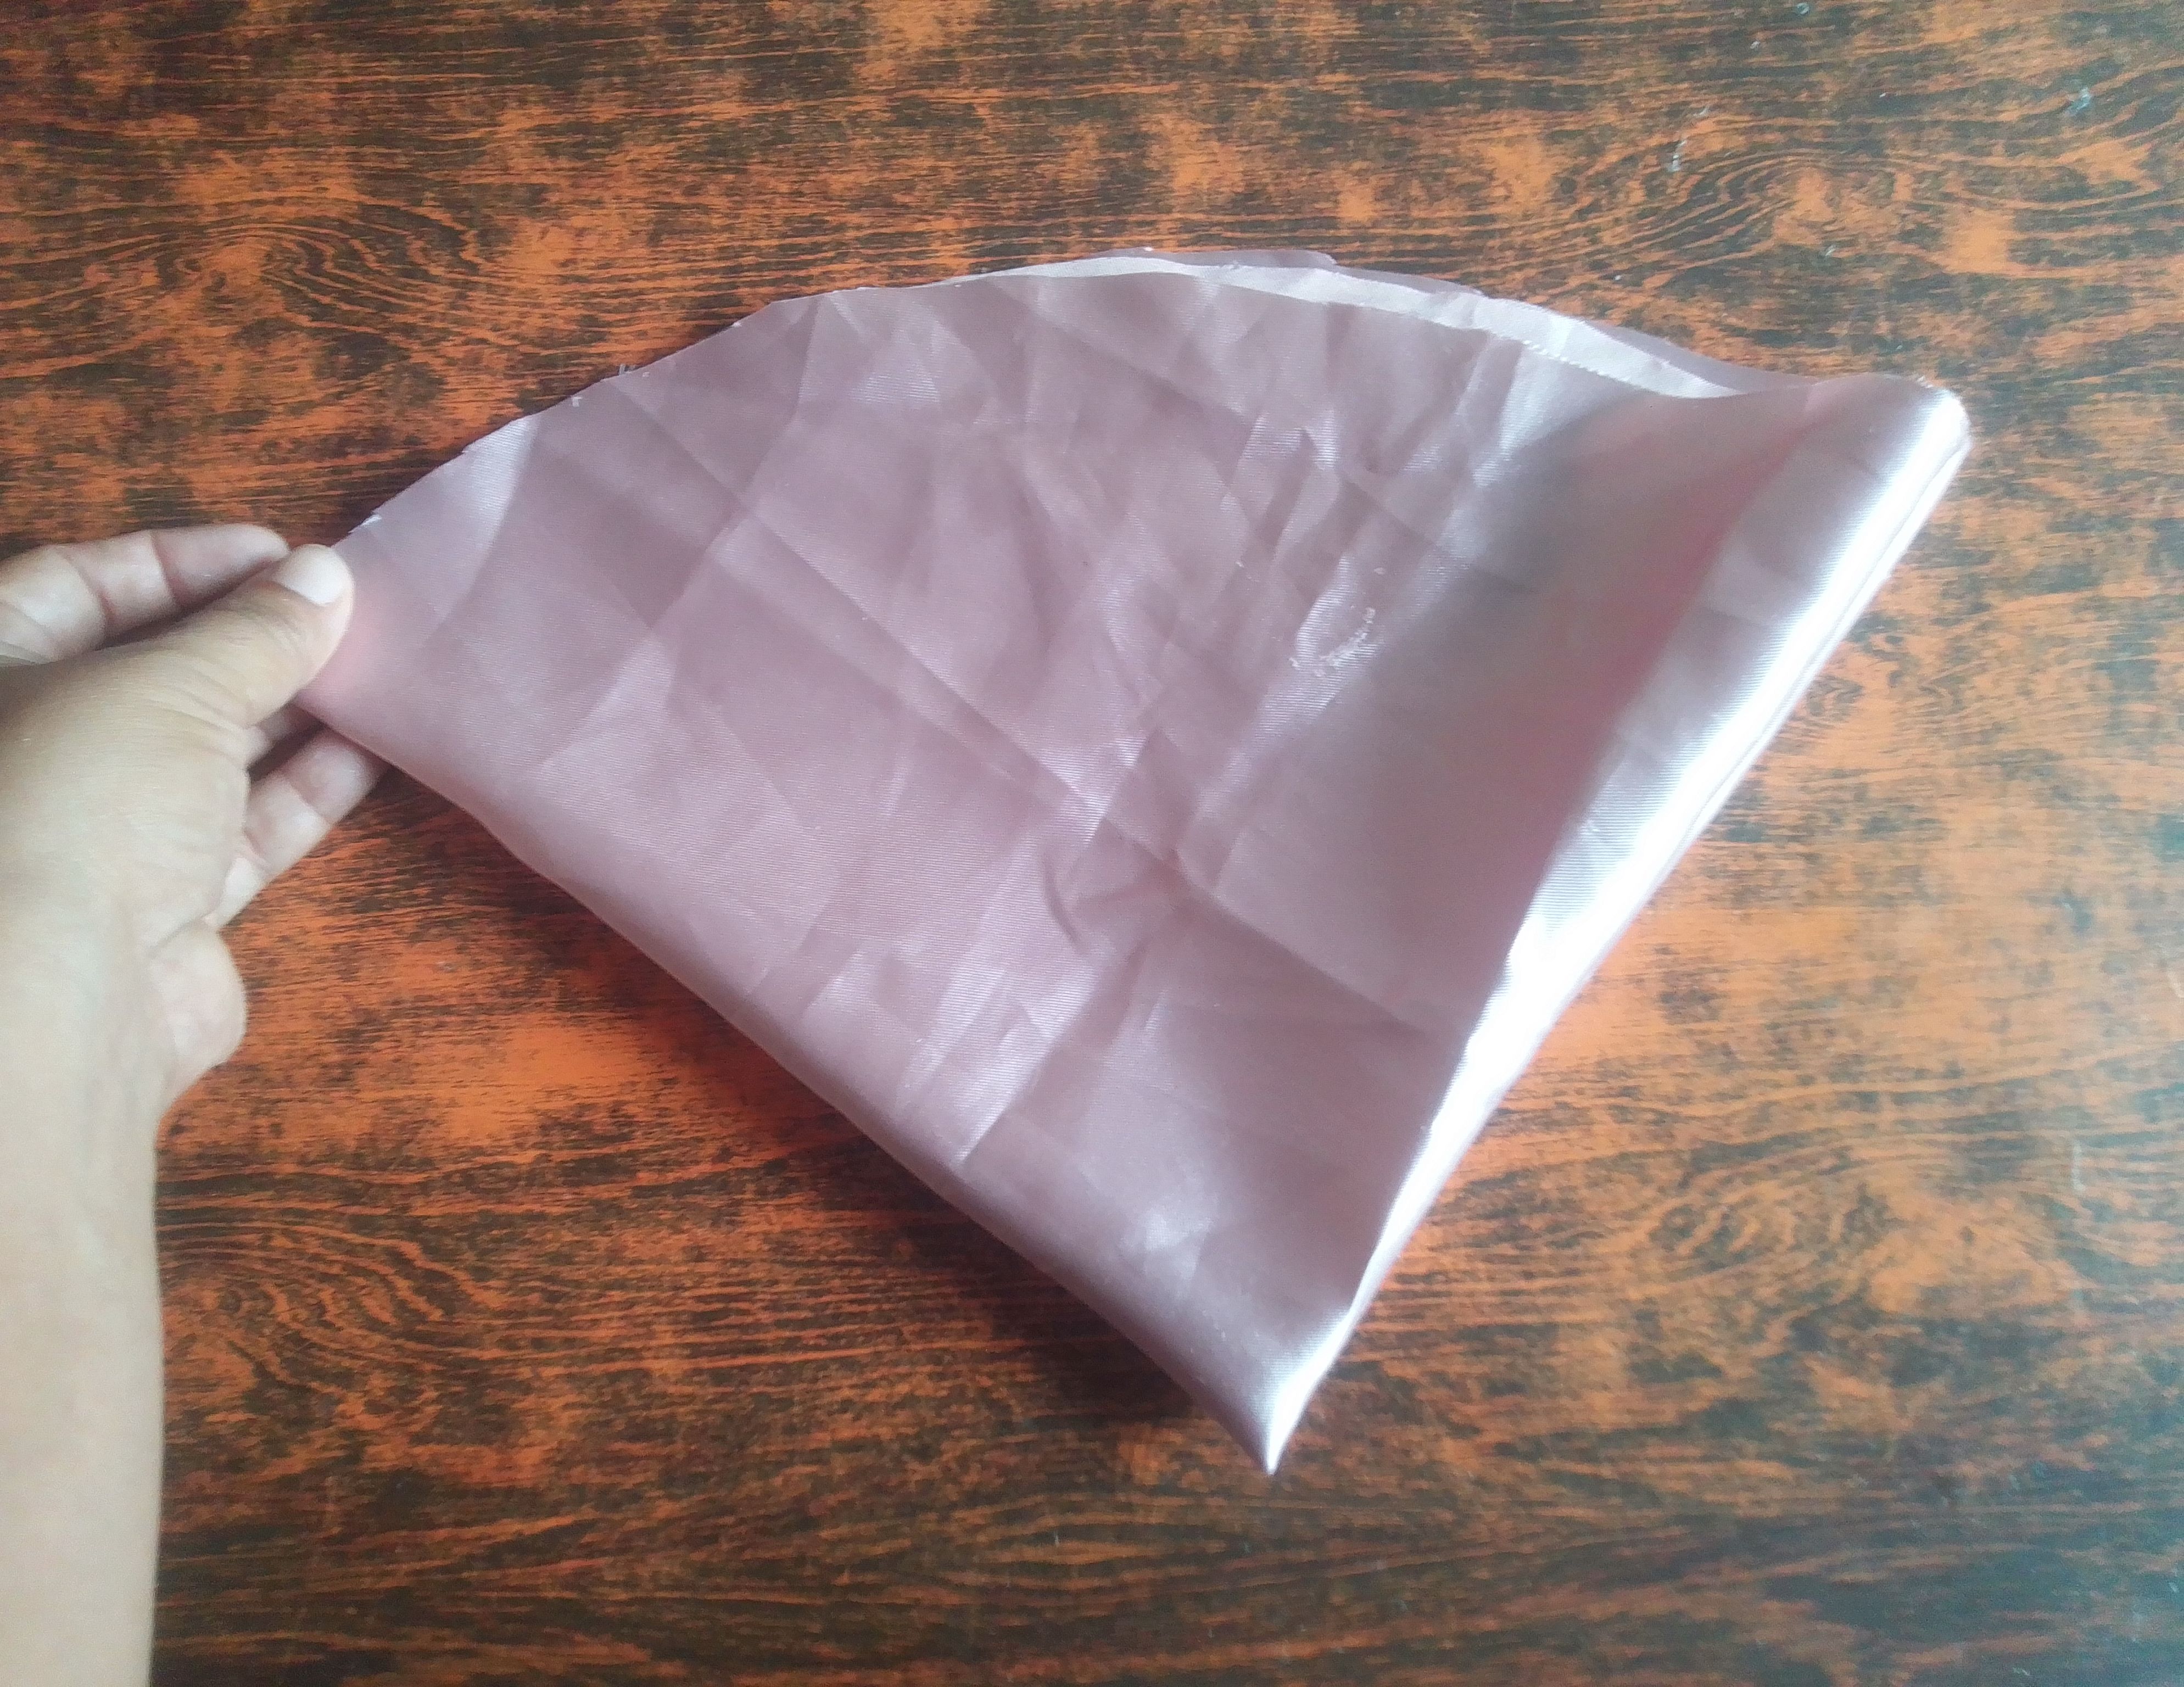
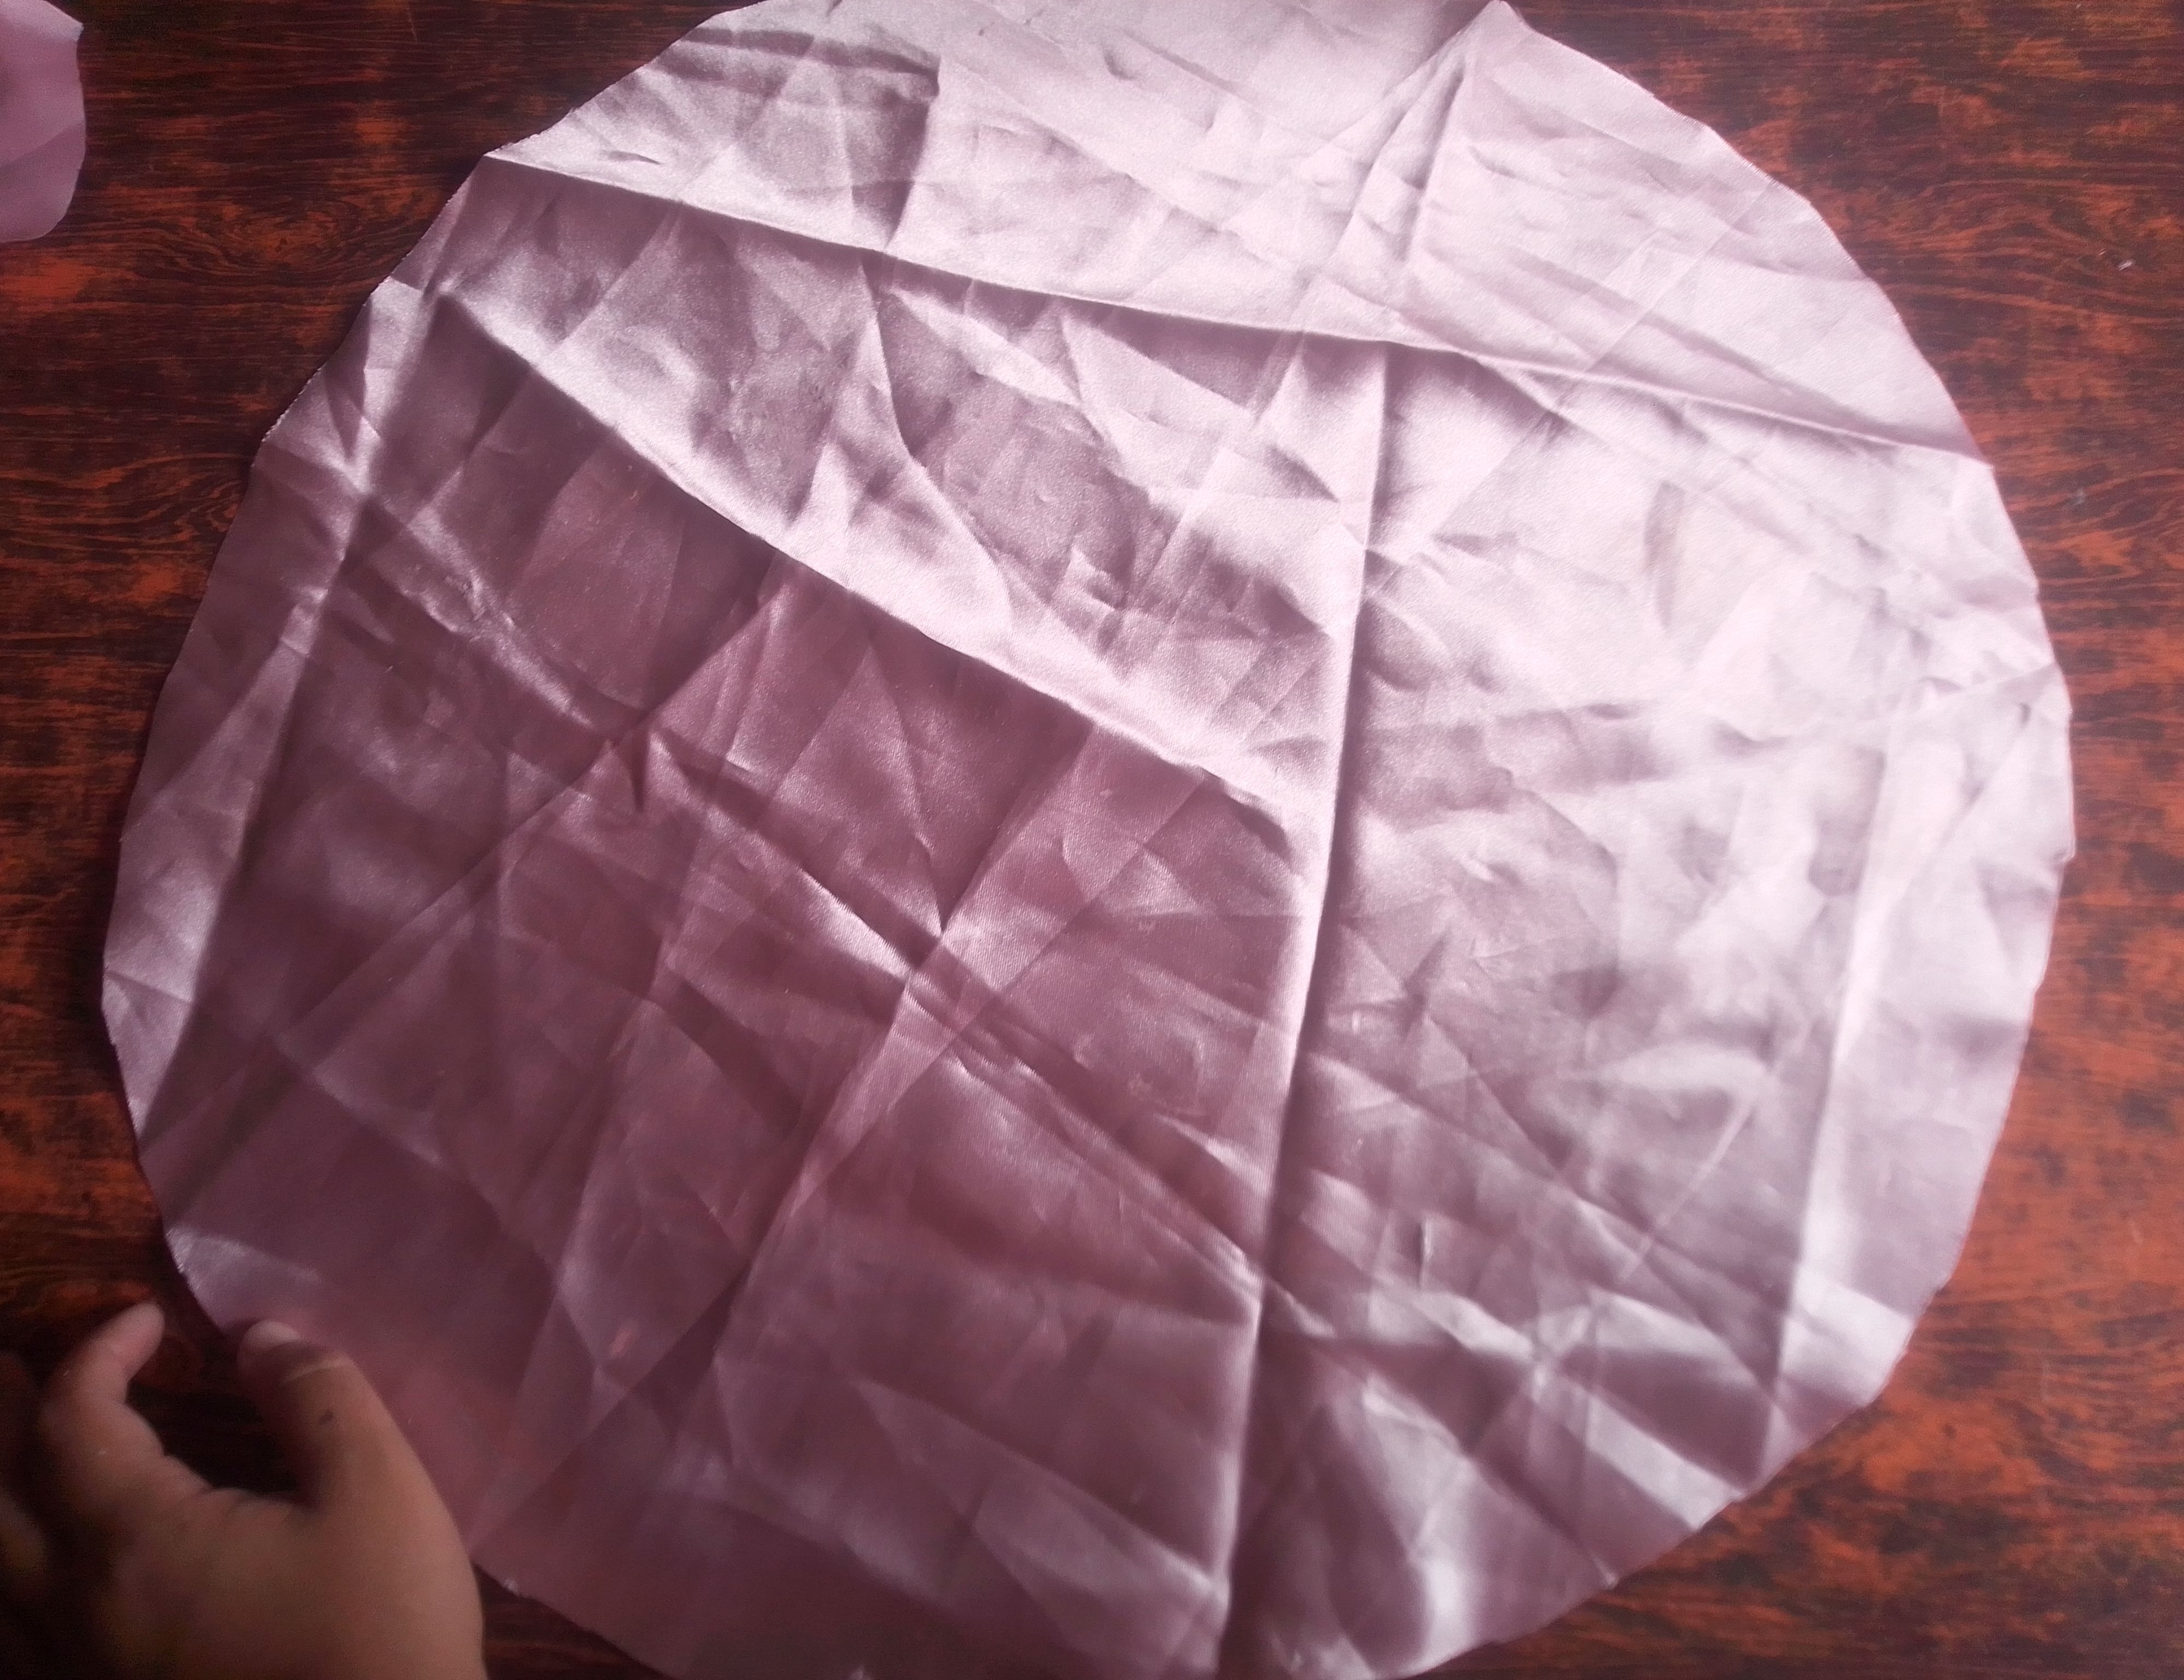
Seguimos con la confección del gorro y lo primero que haré será hilvana toda la orilla del circulo y hablamos la costura para fruncir un poquito. A parte voy a unir con costura los extremos de un tira de tela flexible y está la voy a coser por toda la orilla del gorro manteniendo los pliegues que hicimos, paso zigzag para asegurar y terminamos.
🌟Step 04
We continue with the making of the hat and the first thing I'll do is baste the entire edge of the circle and talk about the seam to gather it a little. Separately, I'm going to sew the ends of a strip of flexible fabric together and I'm going to sew it along the entire edge of the hat, maintaining the folds we made. I zigzag to secure it and we're done.
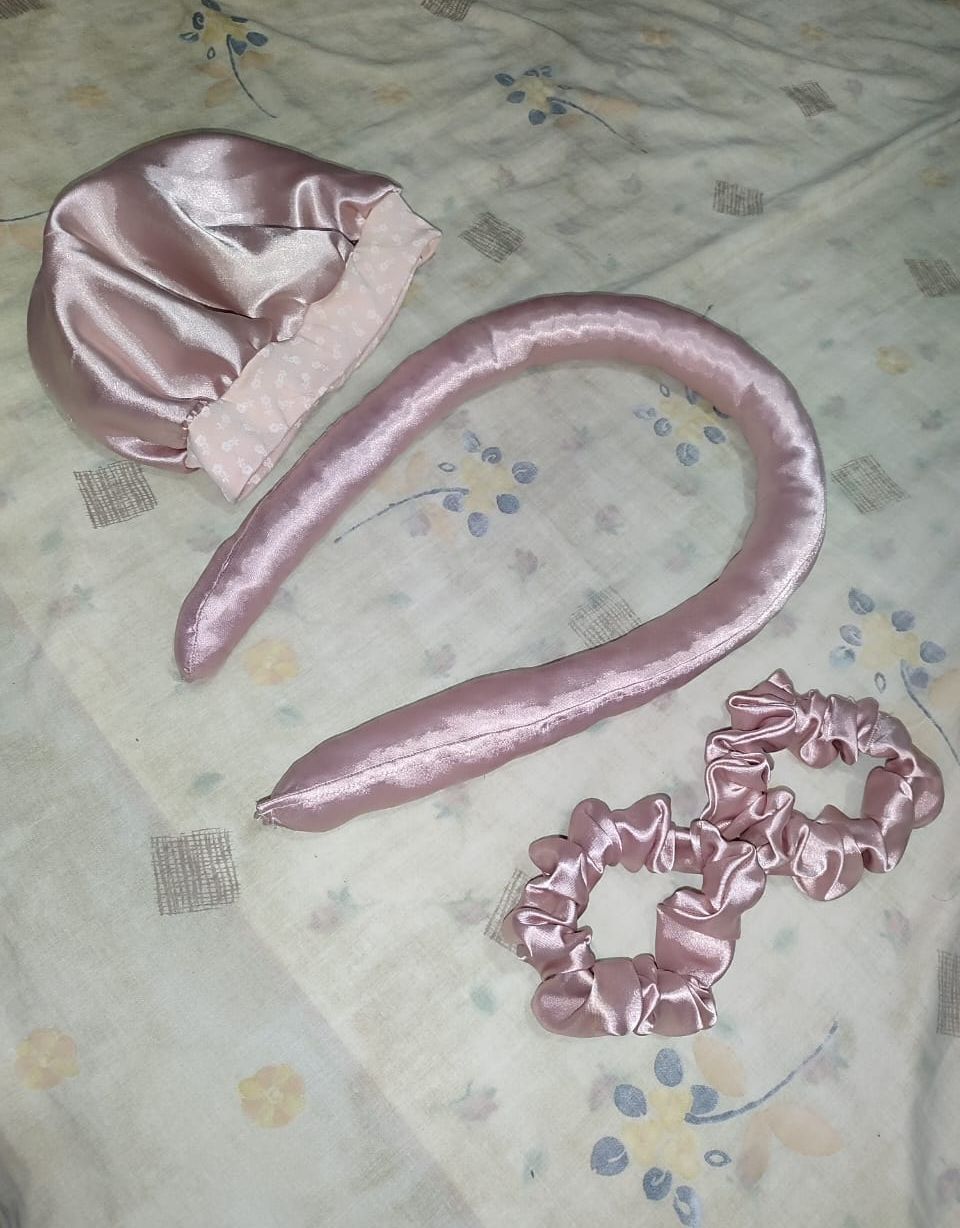
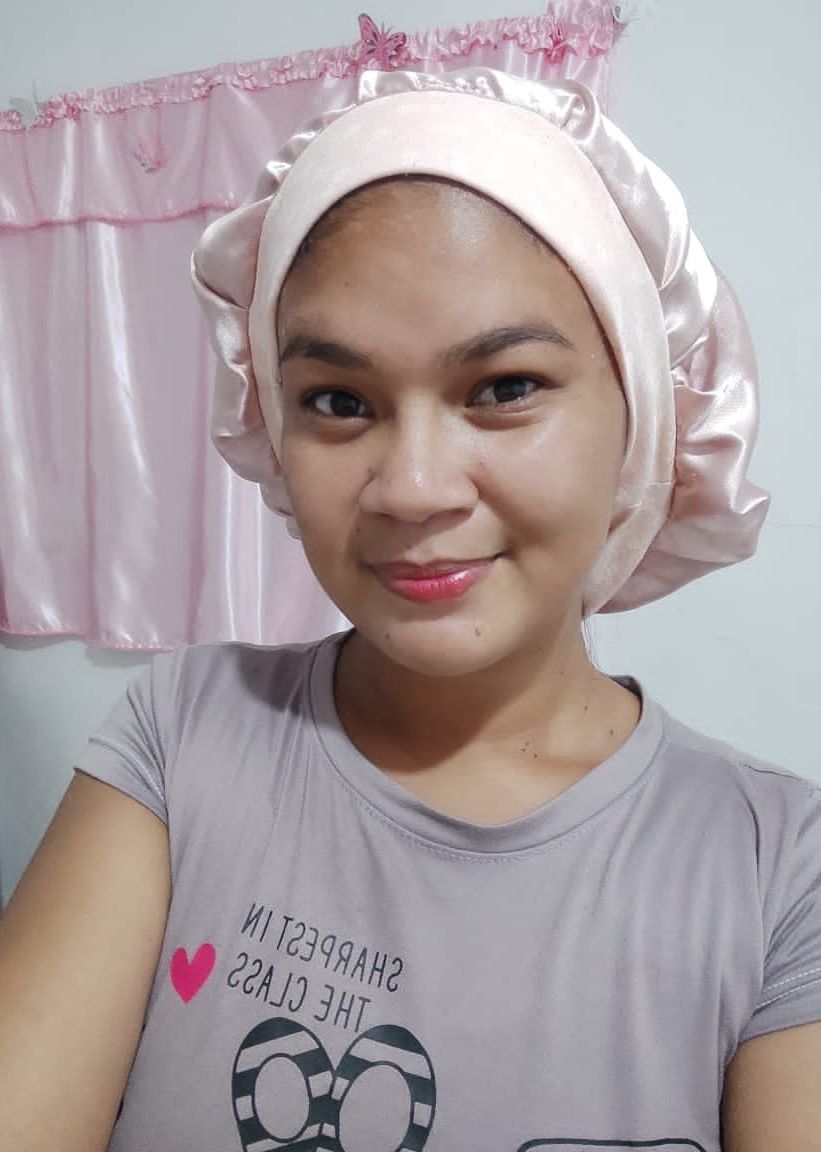
***Resultado!***
***Result!***
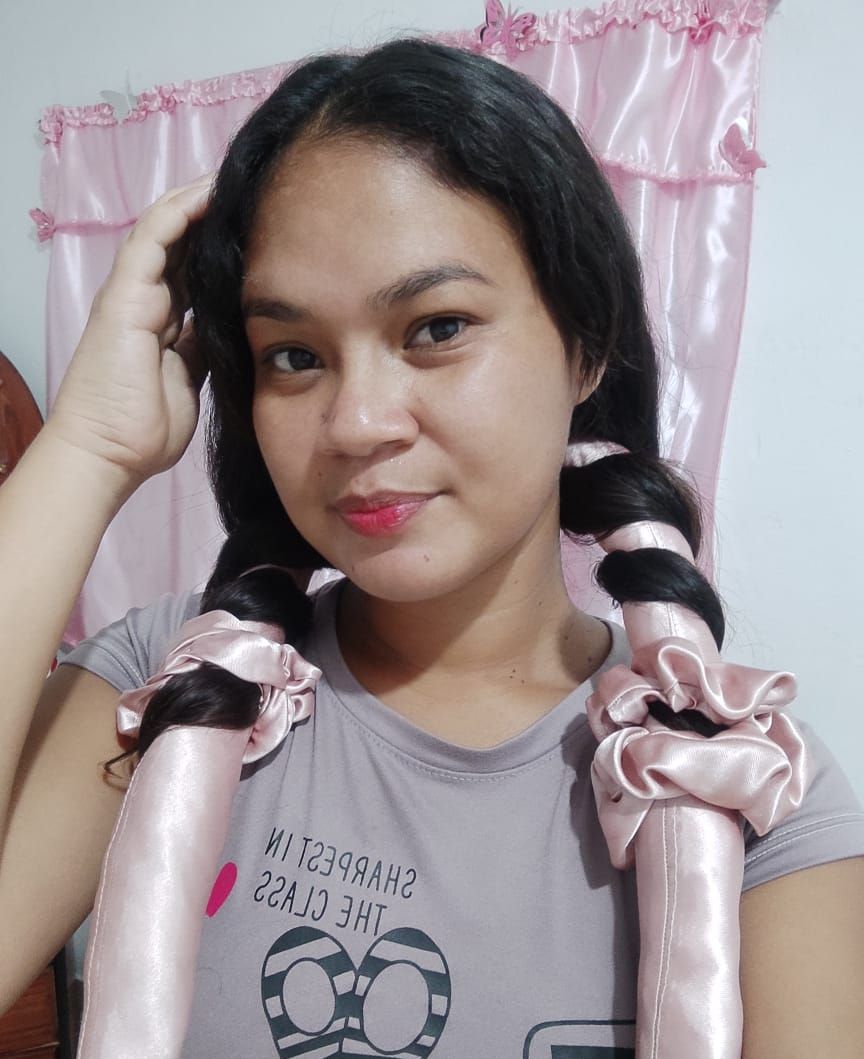
Así nos queda este lindo kit, es verdaderamente muy sencillo de crear y nos dará un grandioso resultado. Yo me lo coloqué por encimita, para ver que tal se veía y poder mostrarle a ustedes.
This cute kit doesn't look like this. It's really easy to create and will give us a great result. I put it on myself to see how it looked and to be able to show it to you.
Hasta aquí a llegado la publicación de hoy, cuénteme que le pareció en los comentarios. Aprecio de todo corazón todo el cariño y apoyo, nos vemos pronto!
That's it for today's post. Let me know what you think in the comments. I wholeheartedly appreciate all the love and support. See you soon!
🙋🏻Todas las imágenes de esta publicación son de mi autoria capturadas de mi dispositivo Smooth 6.5, primera imagen editada en PicsArt | Texto original traducido en el traductor de Google.
All images in this post are my own, captured from my Smooth 6.5 device, first image edited in PicsArt | Original text translated in Google translator.
