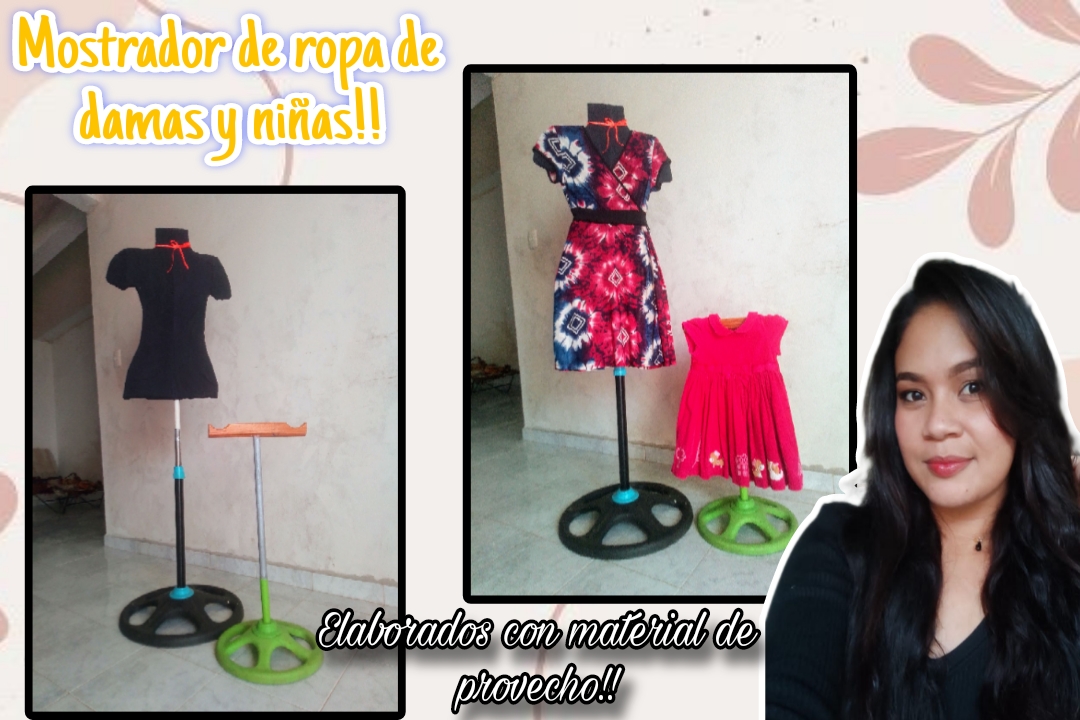

Muy bonita tarde tenga toda la comunidad creativa de #Diyhub, me da mucho gusto saludarles y darles una grata bienvenida a mi post de hoy, dónde les enseñaré un tutorial muy práctico para elaborar mostradores de ropa para damas y niñas hechos totalmente con materiales de provecho o reciclaje, una idea muy útil para aquellas que amamos hacer ropa o emprender.
Yo como costurera, necesitaba mucho tener un mostrador de ropa o maniki como normalmente le llamamos, pero en estos momentos sus precios no están muy accesibles, aún asi no pierdo la esperanza de un día adquirir uno..!! Por los momentos me siento muy satisfecha con el que resultado tan genial que he obtenido reutilizando materiales en desuso, como cartón, madera y unas bases de ventiladores o abanicos... Últimamente han llegado varios trabajos que por algunas razones no encontraba como mostrarles una buena imagen de un resultado final, para los próximos ya tengo unos buenos mostradores para que puedan apreciar el trabajo de una mejor manera. Si te gusta la idea, acompáñame hasta el final, te sorprenderá los sencillos que son de realizar.
A very nice afternoon to the entire #Diyhub creative community. I am very pleased to greet you and give you a warm welcome to my post today, where I will show you a very practical tutorial to make clothing counters for women and girls made entirely from recycled or salvaged materials, a very useful idea for those of us who love making clothes or starting a business.As a seamstress, I really needed to have a clothing counter, or maniki as we usually call them, but right now their prices are not very affordable, even so I have not lost hope of one day acquiring one..!! For the moment, I feel very satisfied with the great results I have obtained by reusing unused materials, such as cardboard, wood, and some fan bases... Lately, several projects have arrived and for some reason I couldn't find a good way to show you a good image of the final result. For the next ones, I already have some good counters so you can appreciate the work better. If you like the idea, join me until the end; you'll be surprised at how easy it is to make.
***Materiales que necesitas:***
***Materials you need:***
- Cartón.
- Madera.
- Palo de escoba.
- Bases de abanico o ventiladores.
- Silicón.
- Pintura.
- Pincel.
- Tela o botas de jean.
- Cardboard.
- Wood.
- Broom handle.
- Fan bases.
- Silicone.
- Paint.
- Paintbrush.
- Fabric or denim boots.
***PROCEDIMIENTO***
Procedure
🌟Paso 01
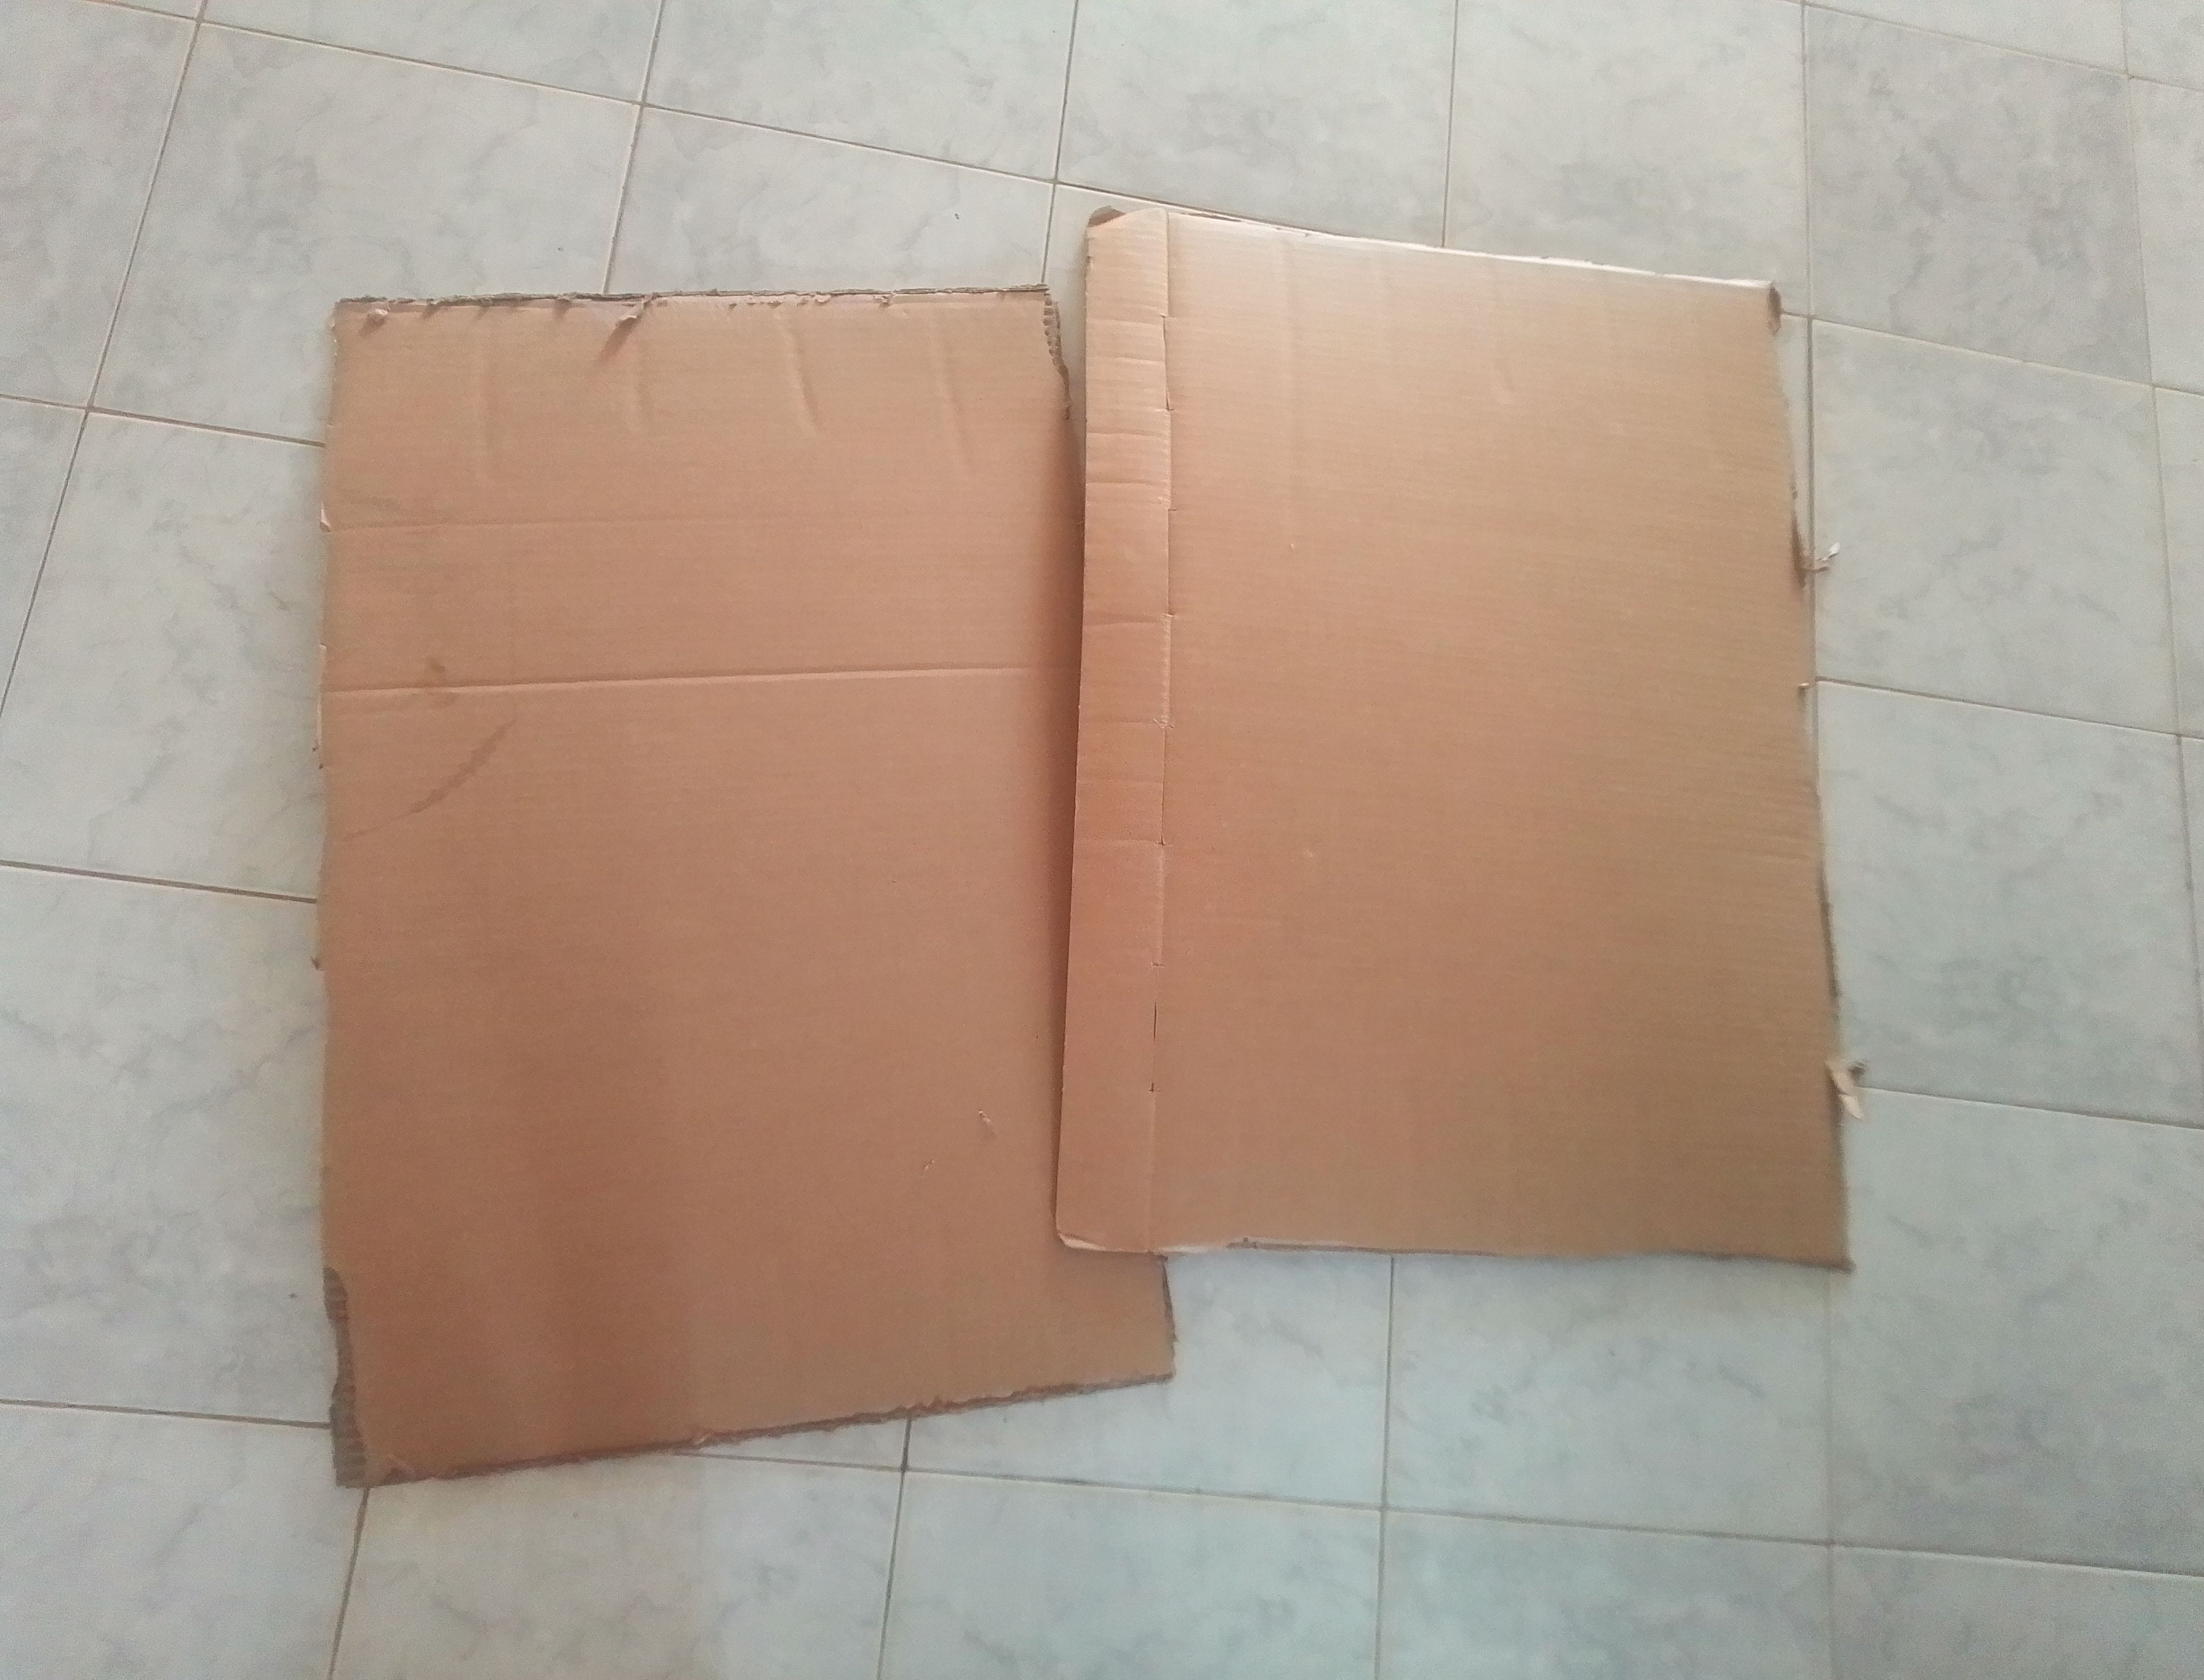
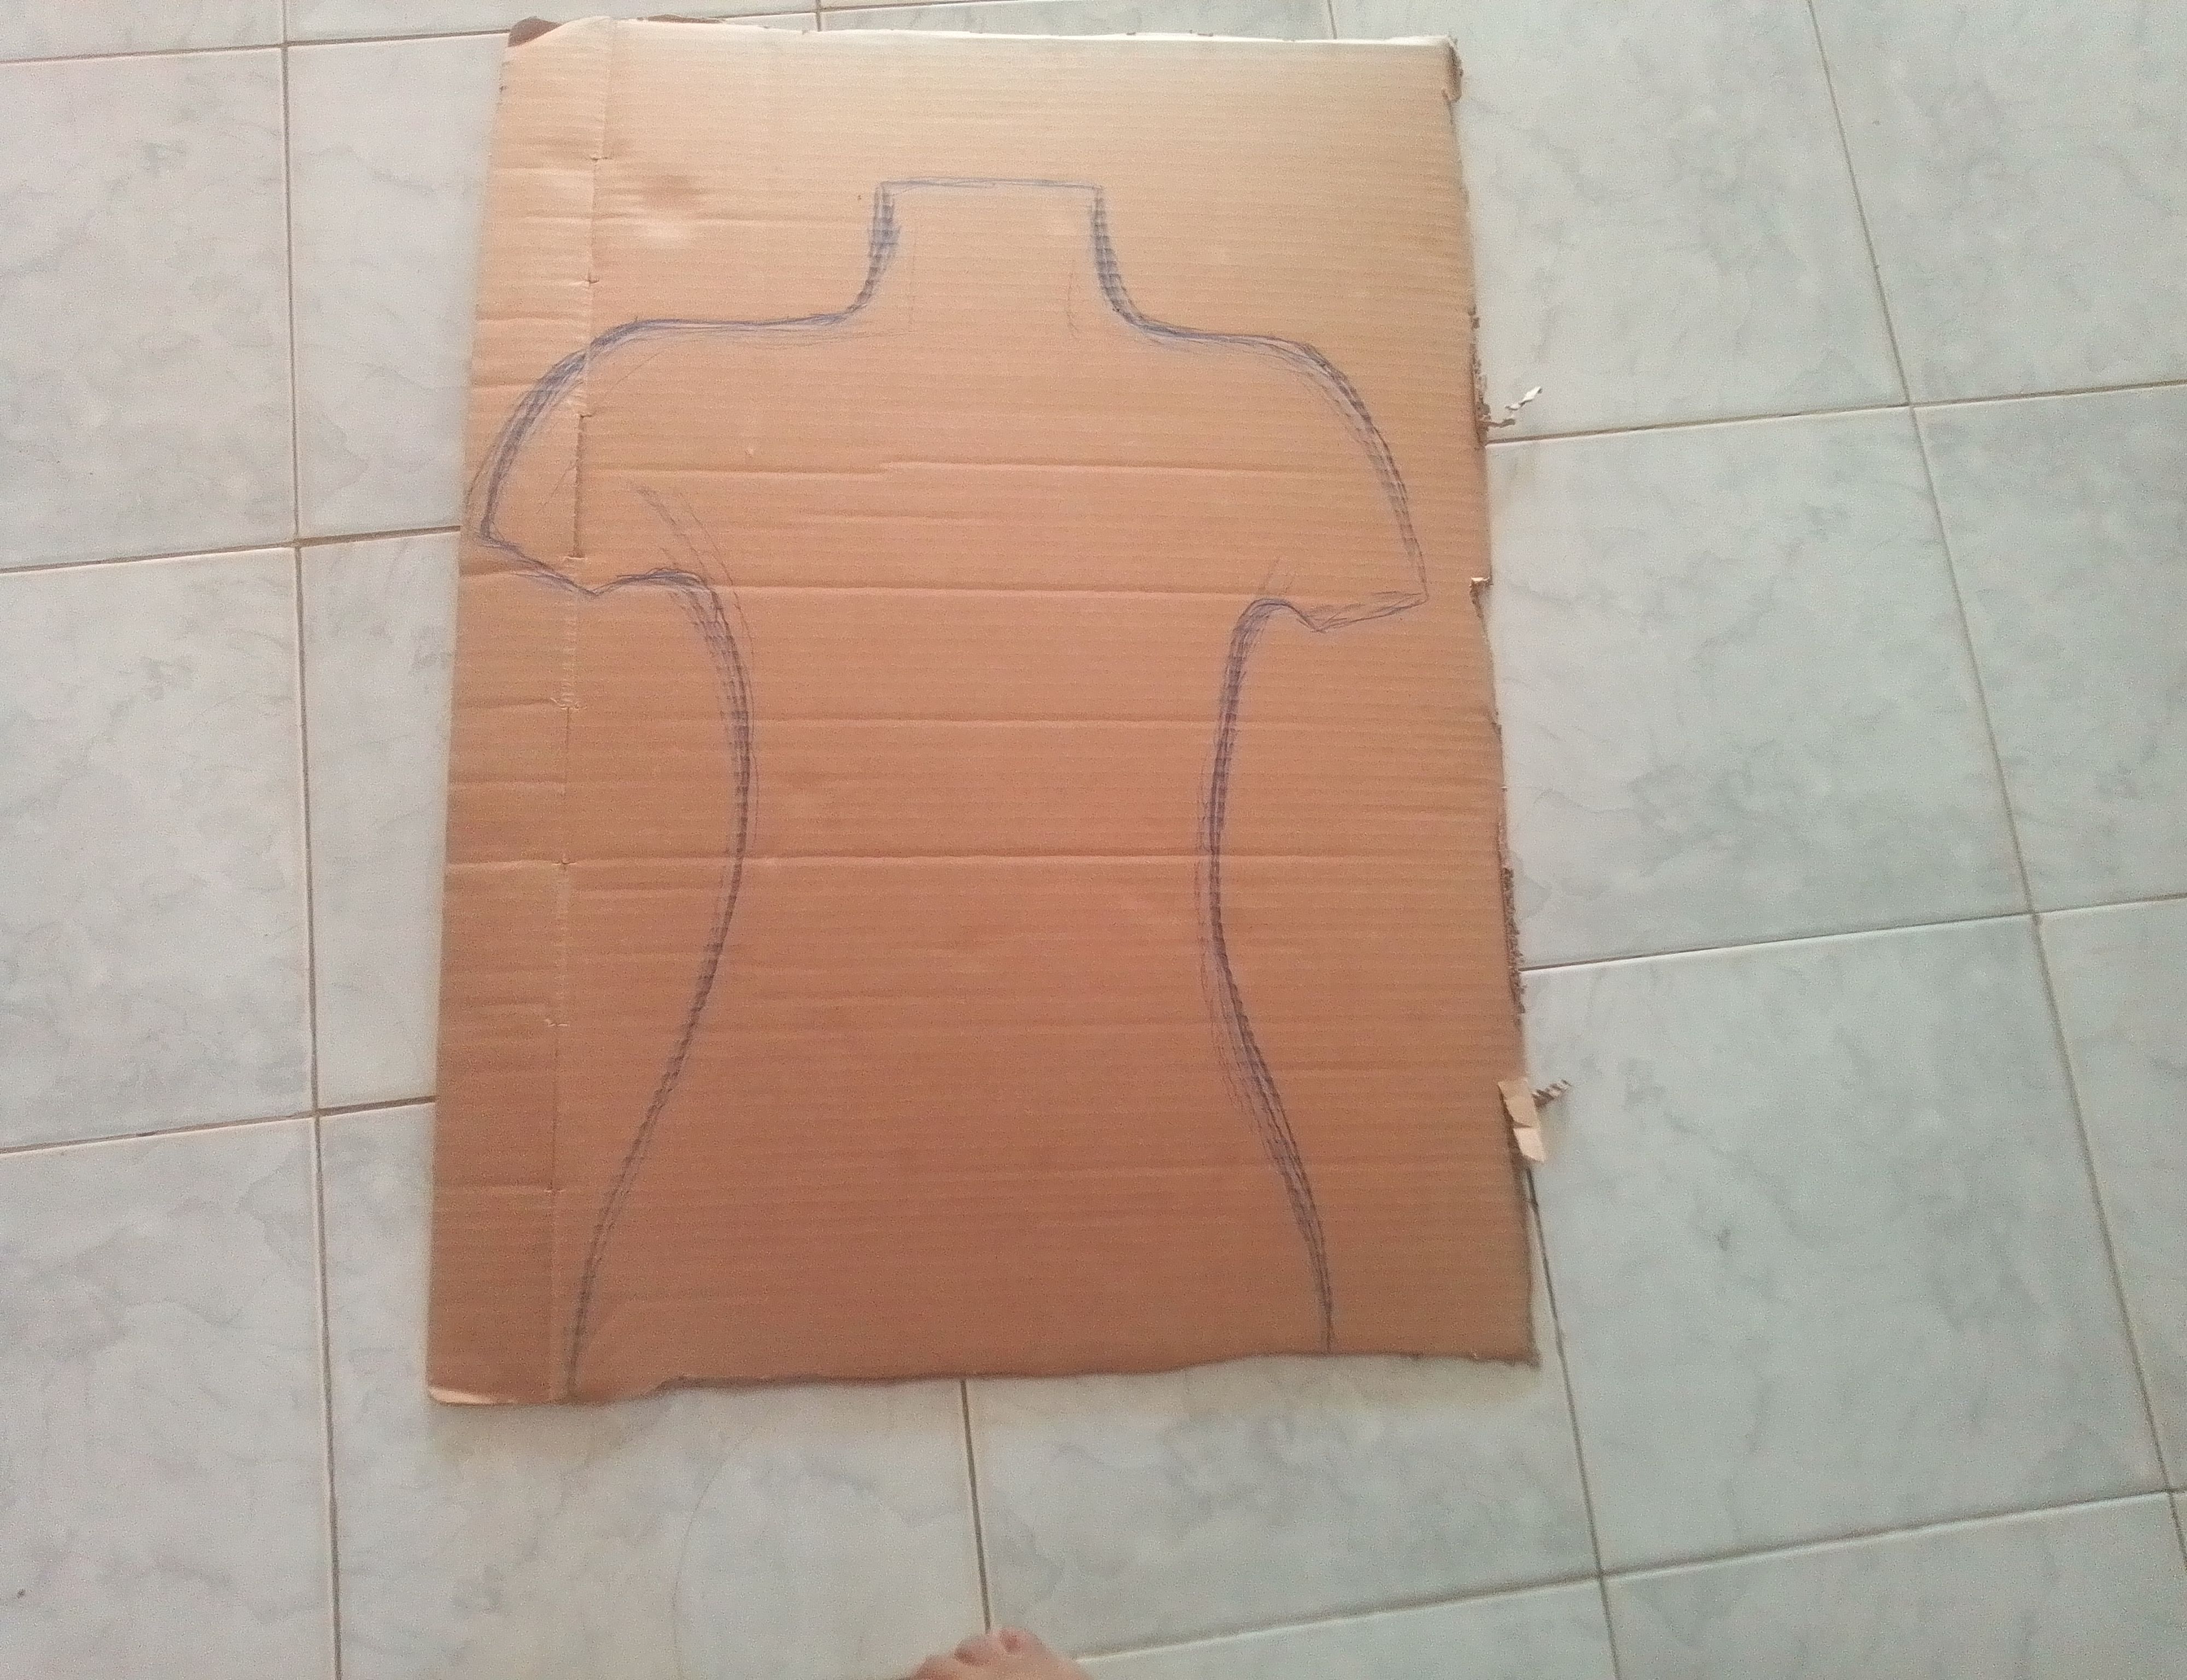
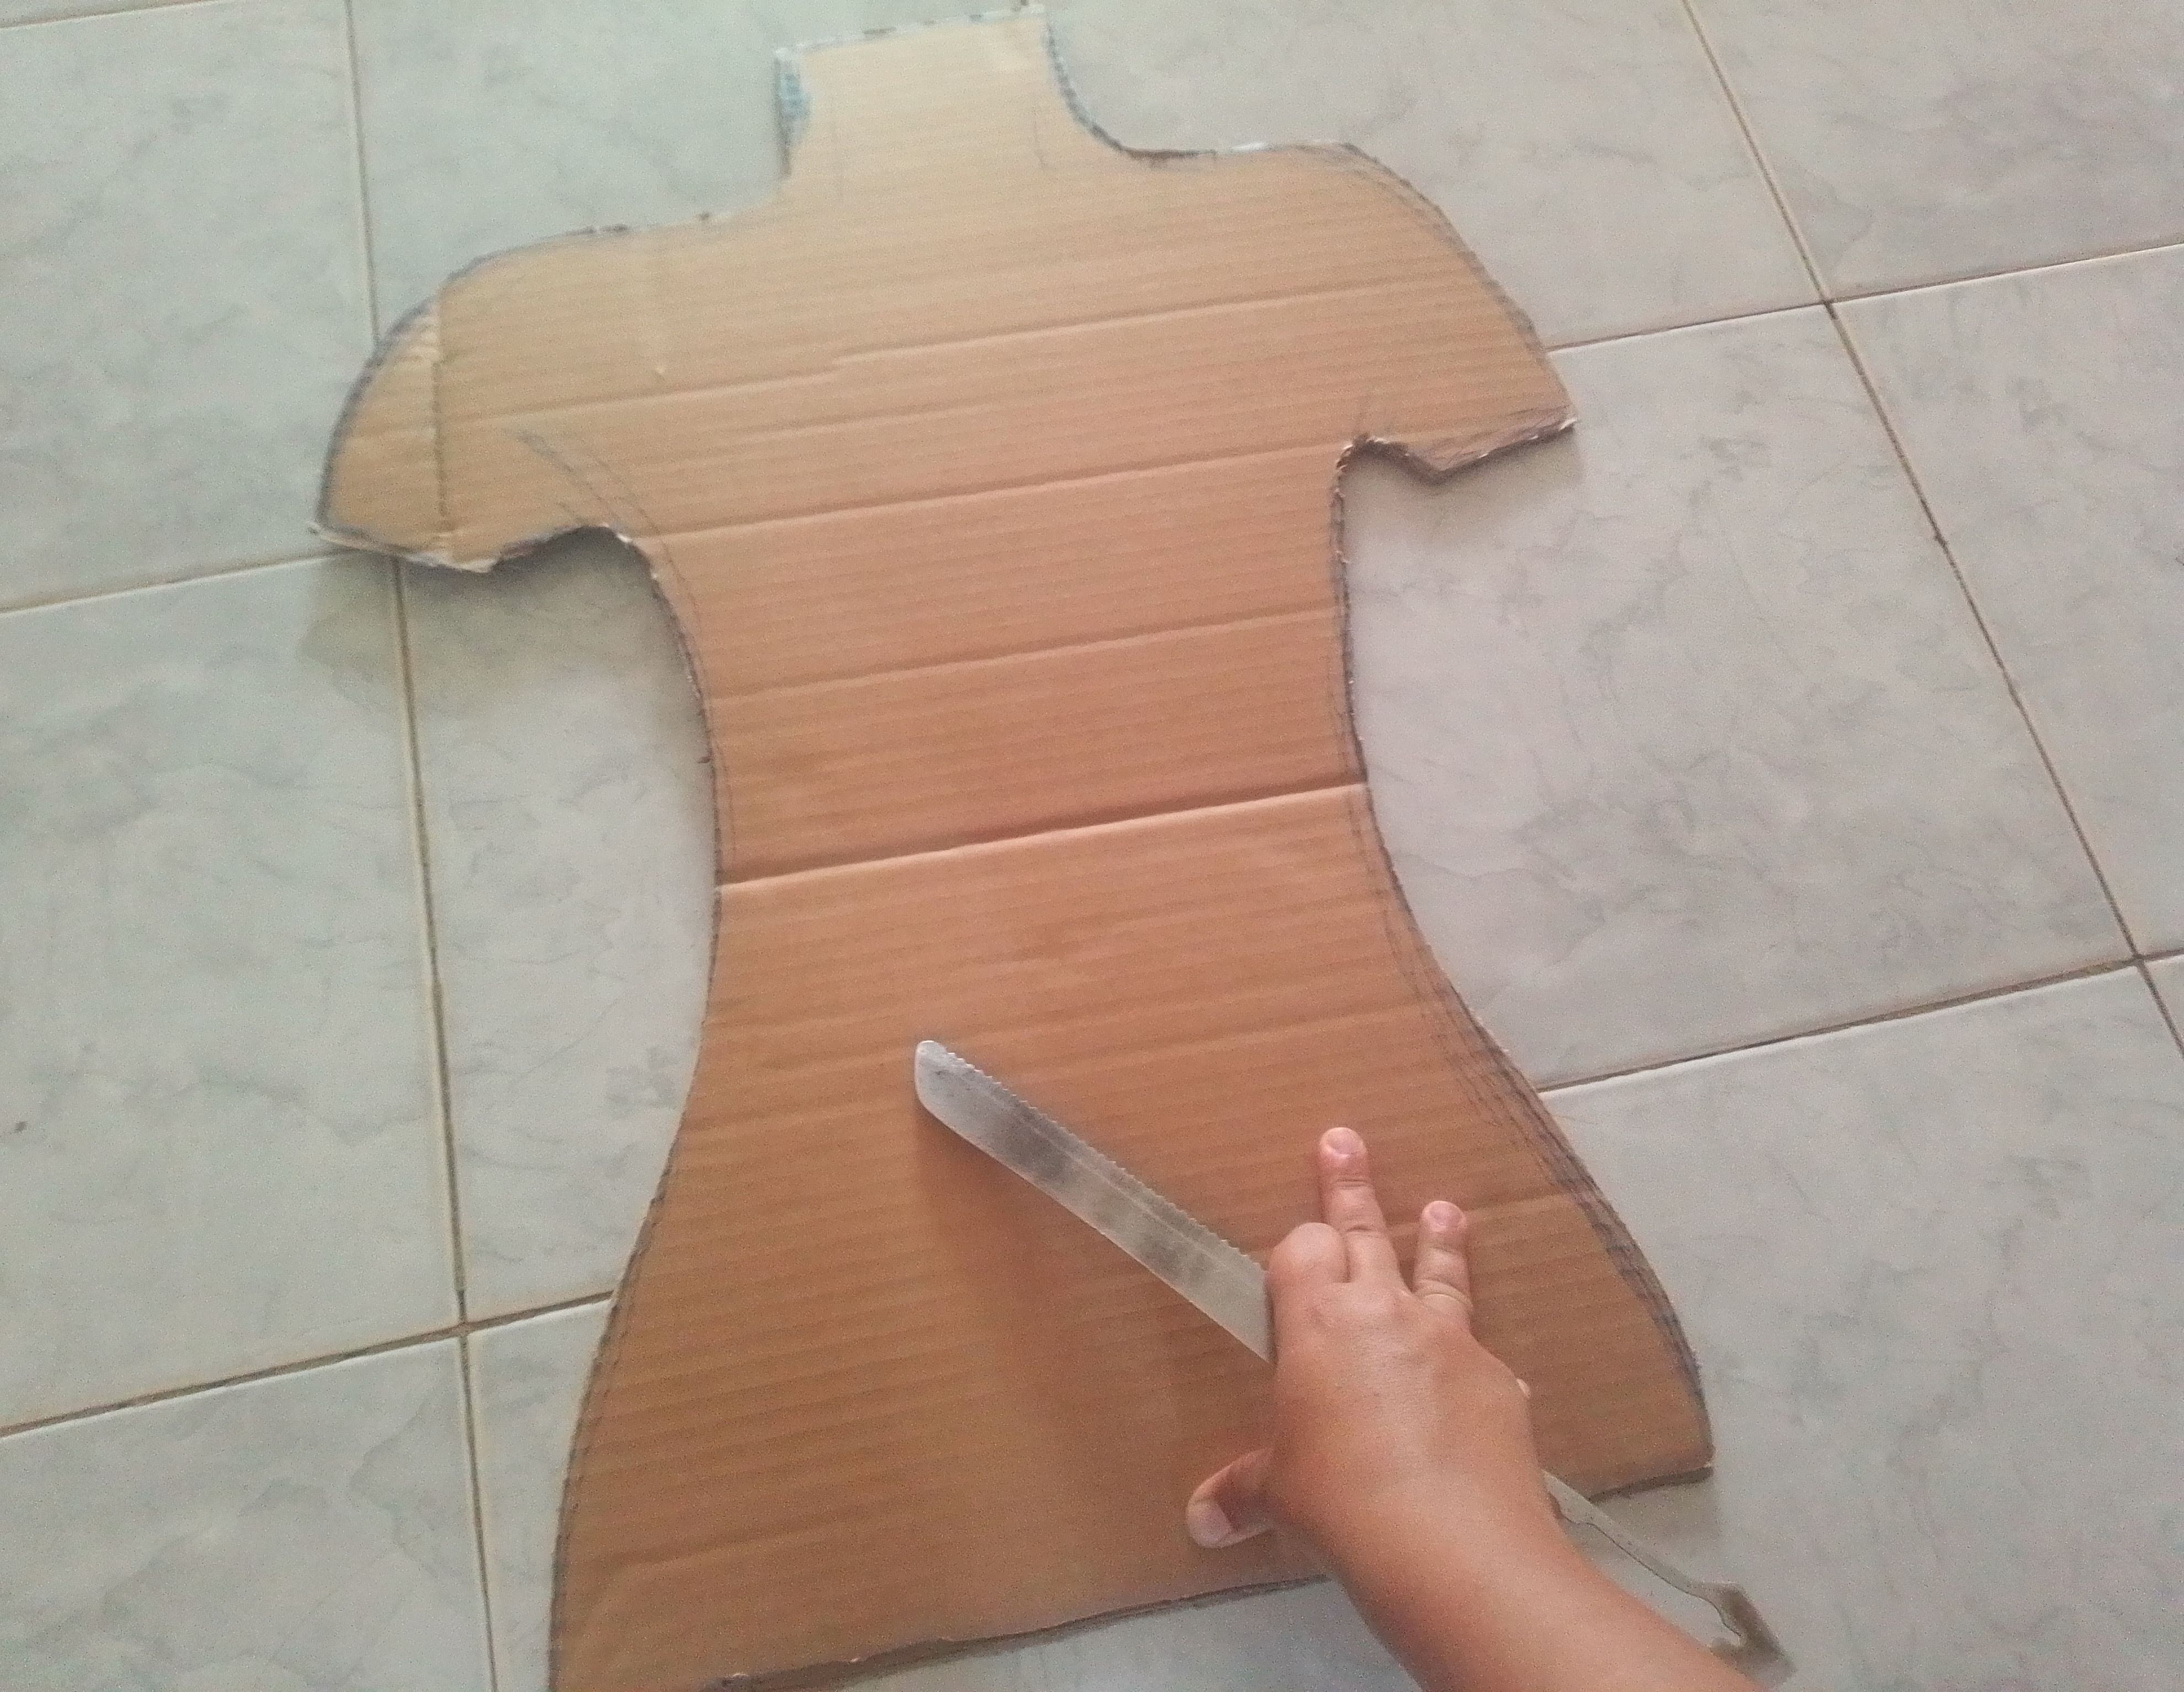
Antes de iniciar este trabajo, debo decirle que el cartón que utilicemos debe ser el más grueso y resistente posible, como el de las cajas donde vienen nuestros electrodomésticos. Esto hará este trabajo más duradero y resistente. Para obtener la silueta vamos a utilizar nuestro propio cuerpo, así que nos acostamos sobre el cartón y dibujamos toda la forma desde el cuello hasta la cadera incluyendo la mitad de los brazos.
🌟Step 01
Before starting this project, I must tell you that the cardboard we use should be as thick and sturdy as possible, like the one our appliances come in. This will make this project more durable and resistant. To create the silhouette, we're going to use our own body, so we'll lie down on the cardboard and draw the entire shape from the neck to the hips, including half of the arms.

🌟Paso 02
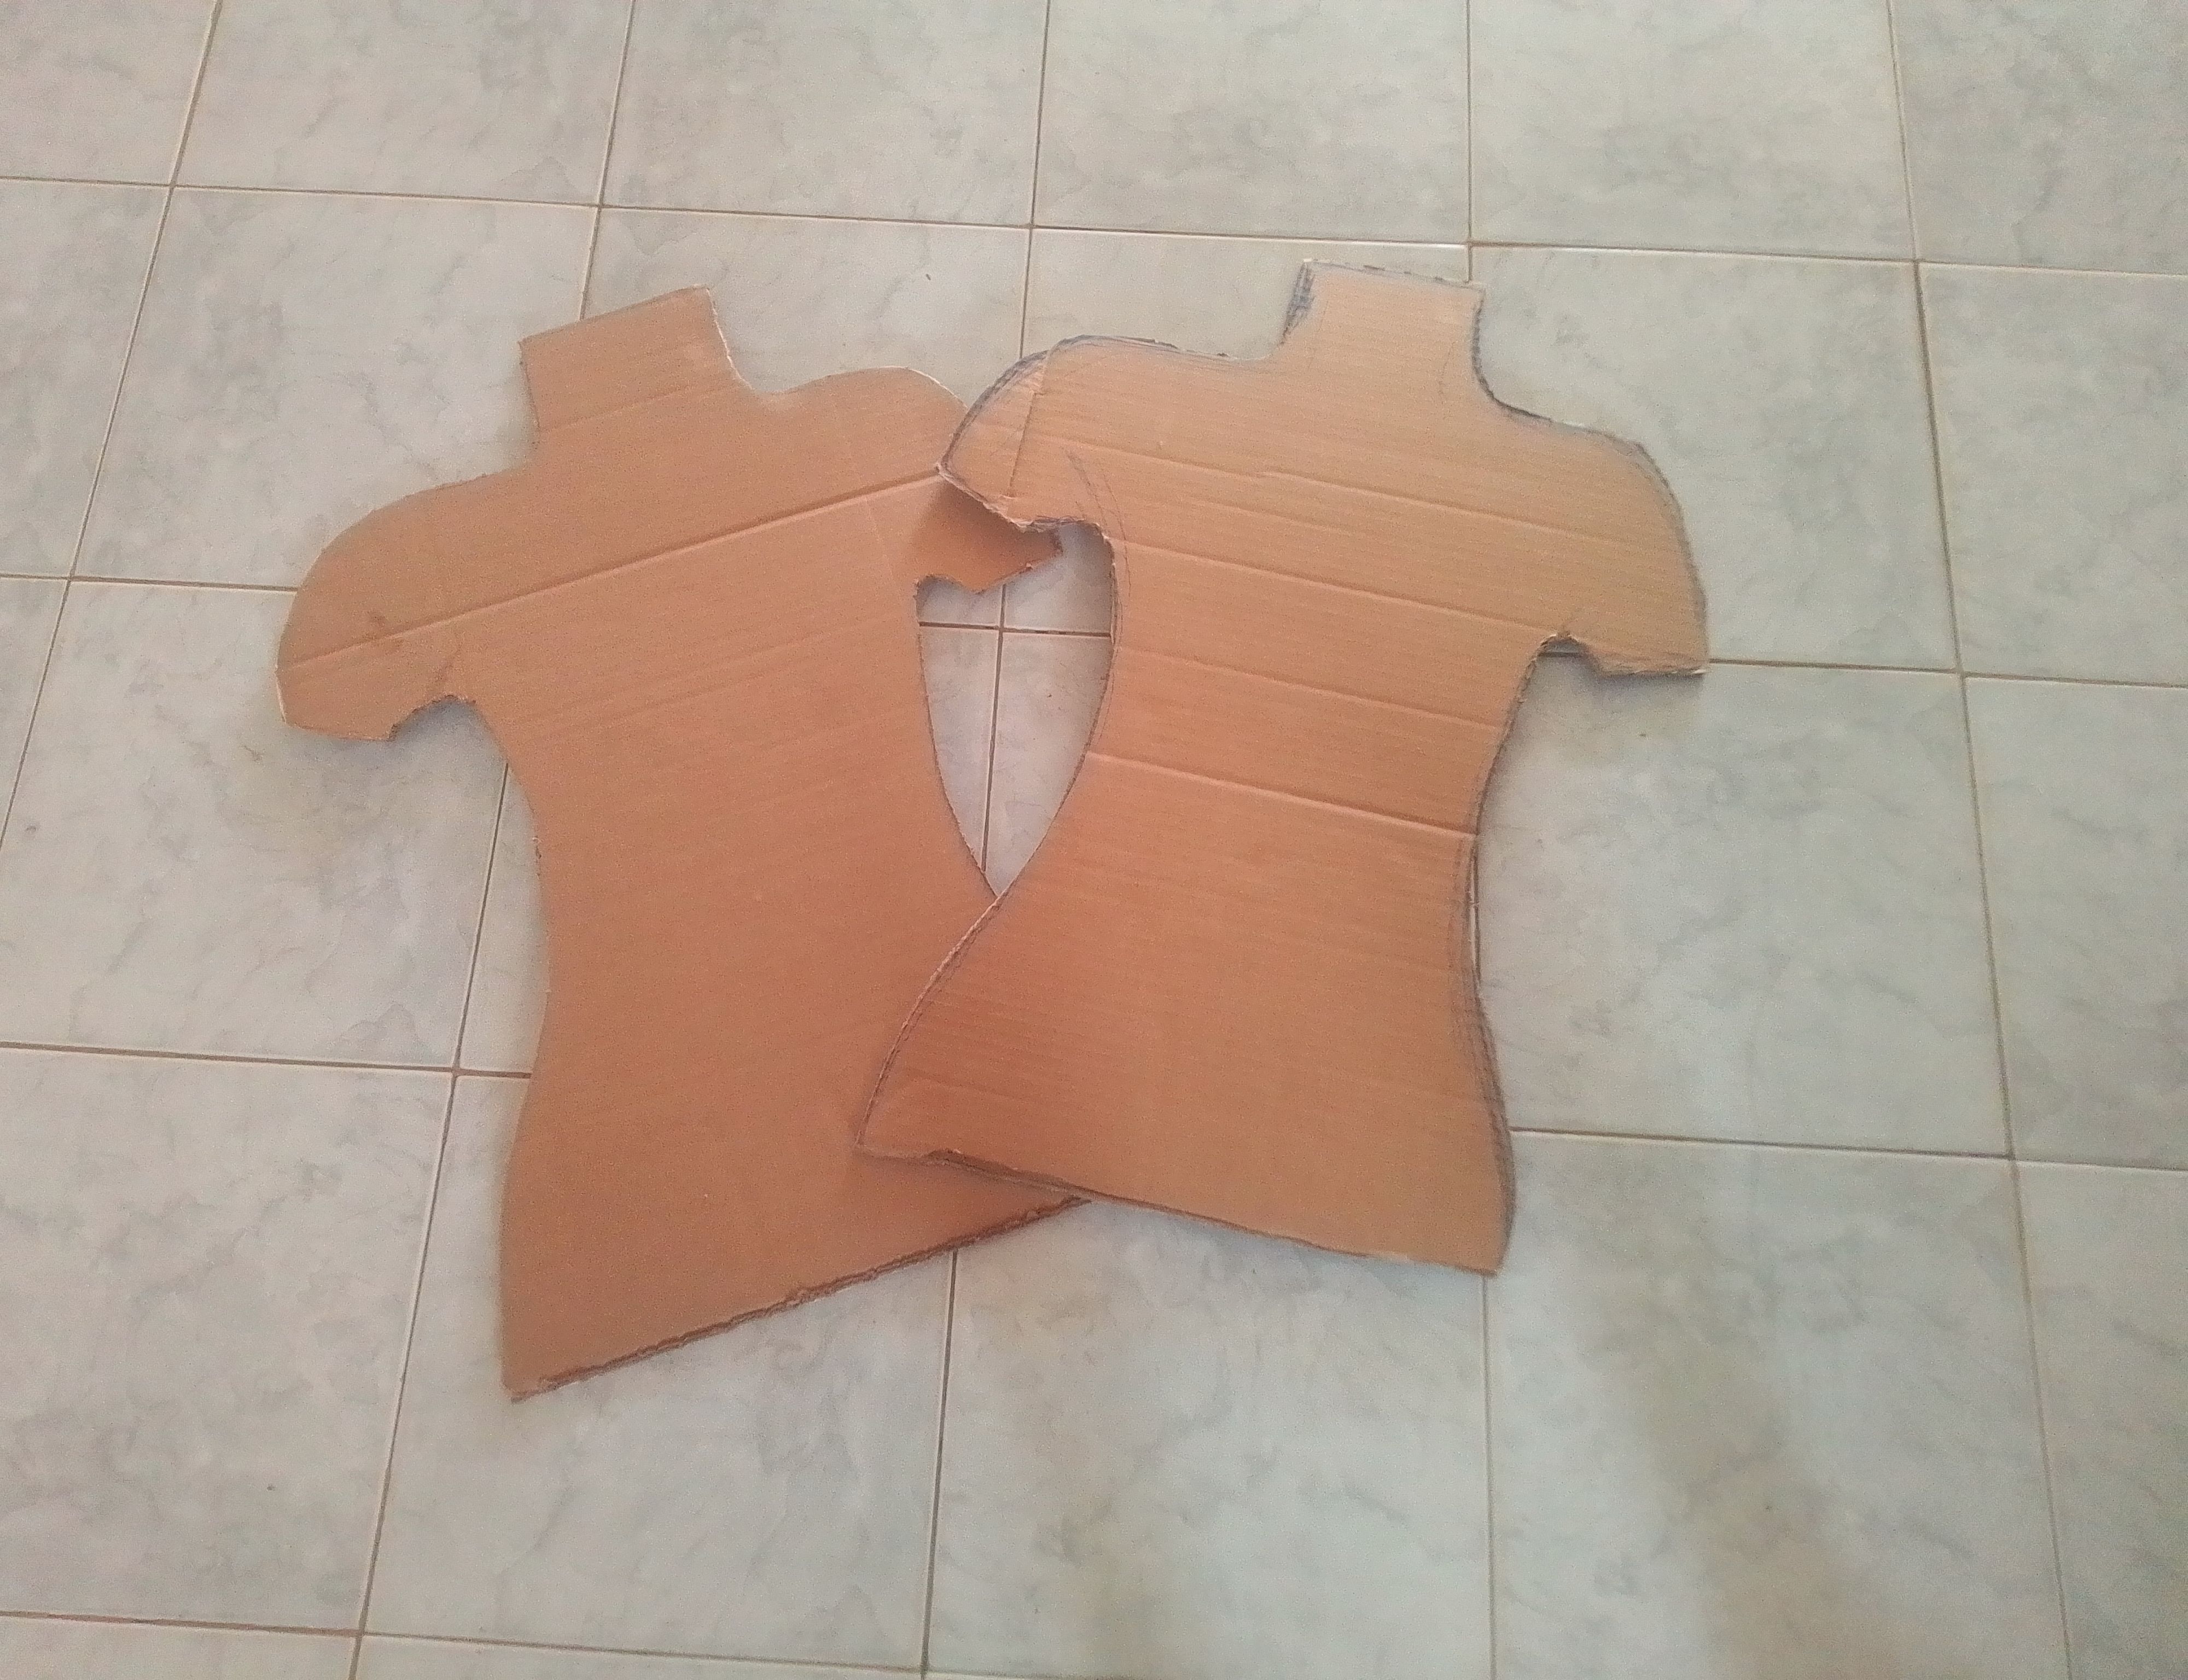
Perfeccionamos un poco los detalles y luego procedo a cortar toda está forma y utilizo este molde para cortar otro igual.
🌟Step 02
I refine the details a bit, then proceed to cut out this entire shape and use this template to cut another one just like it.
🌟Paso 03
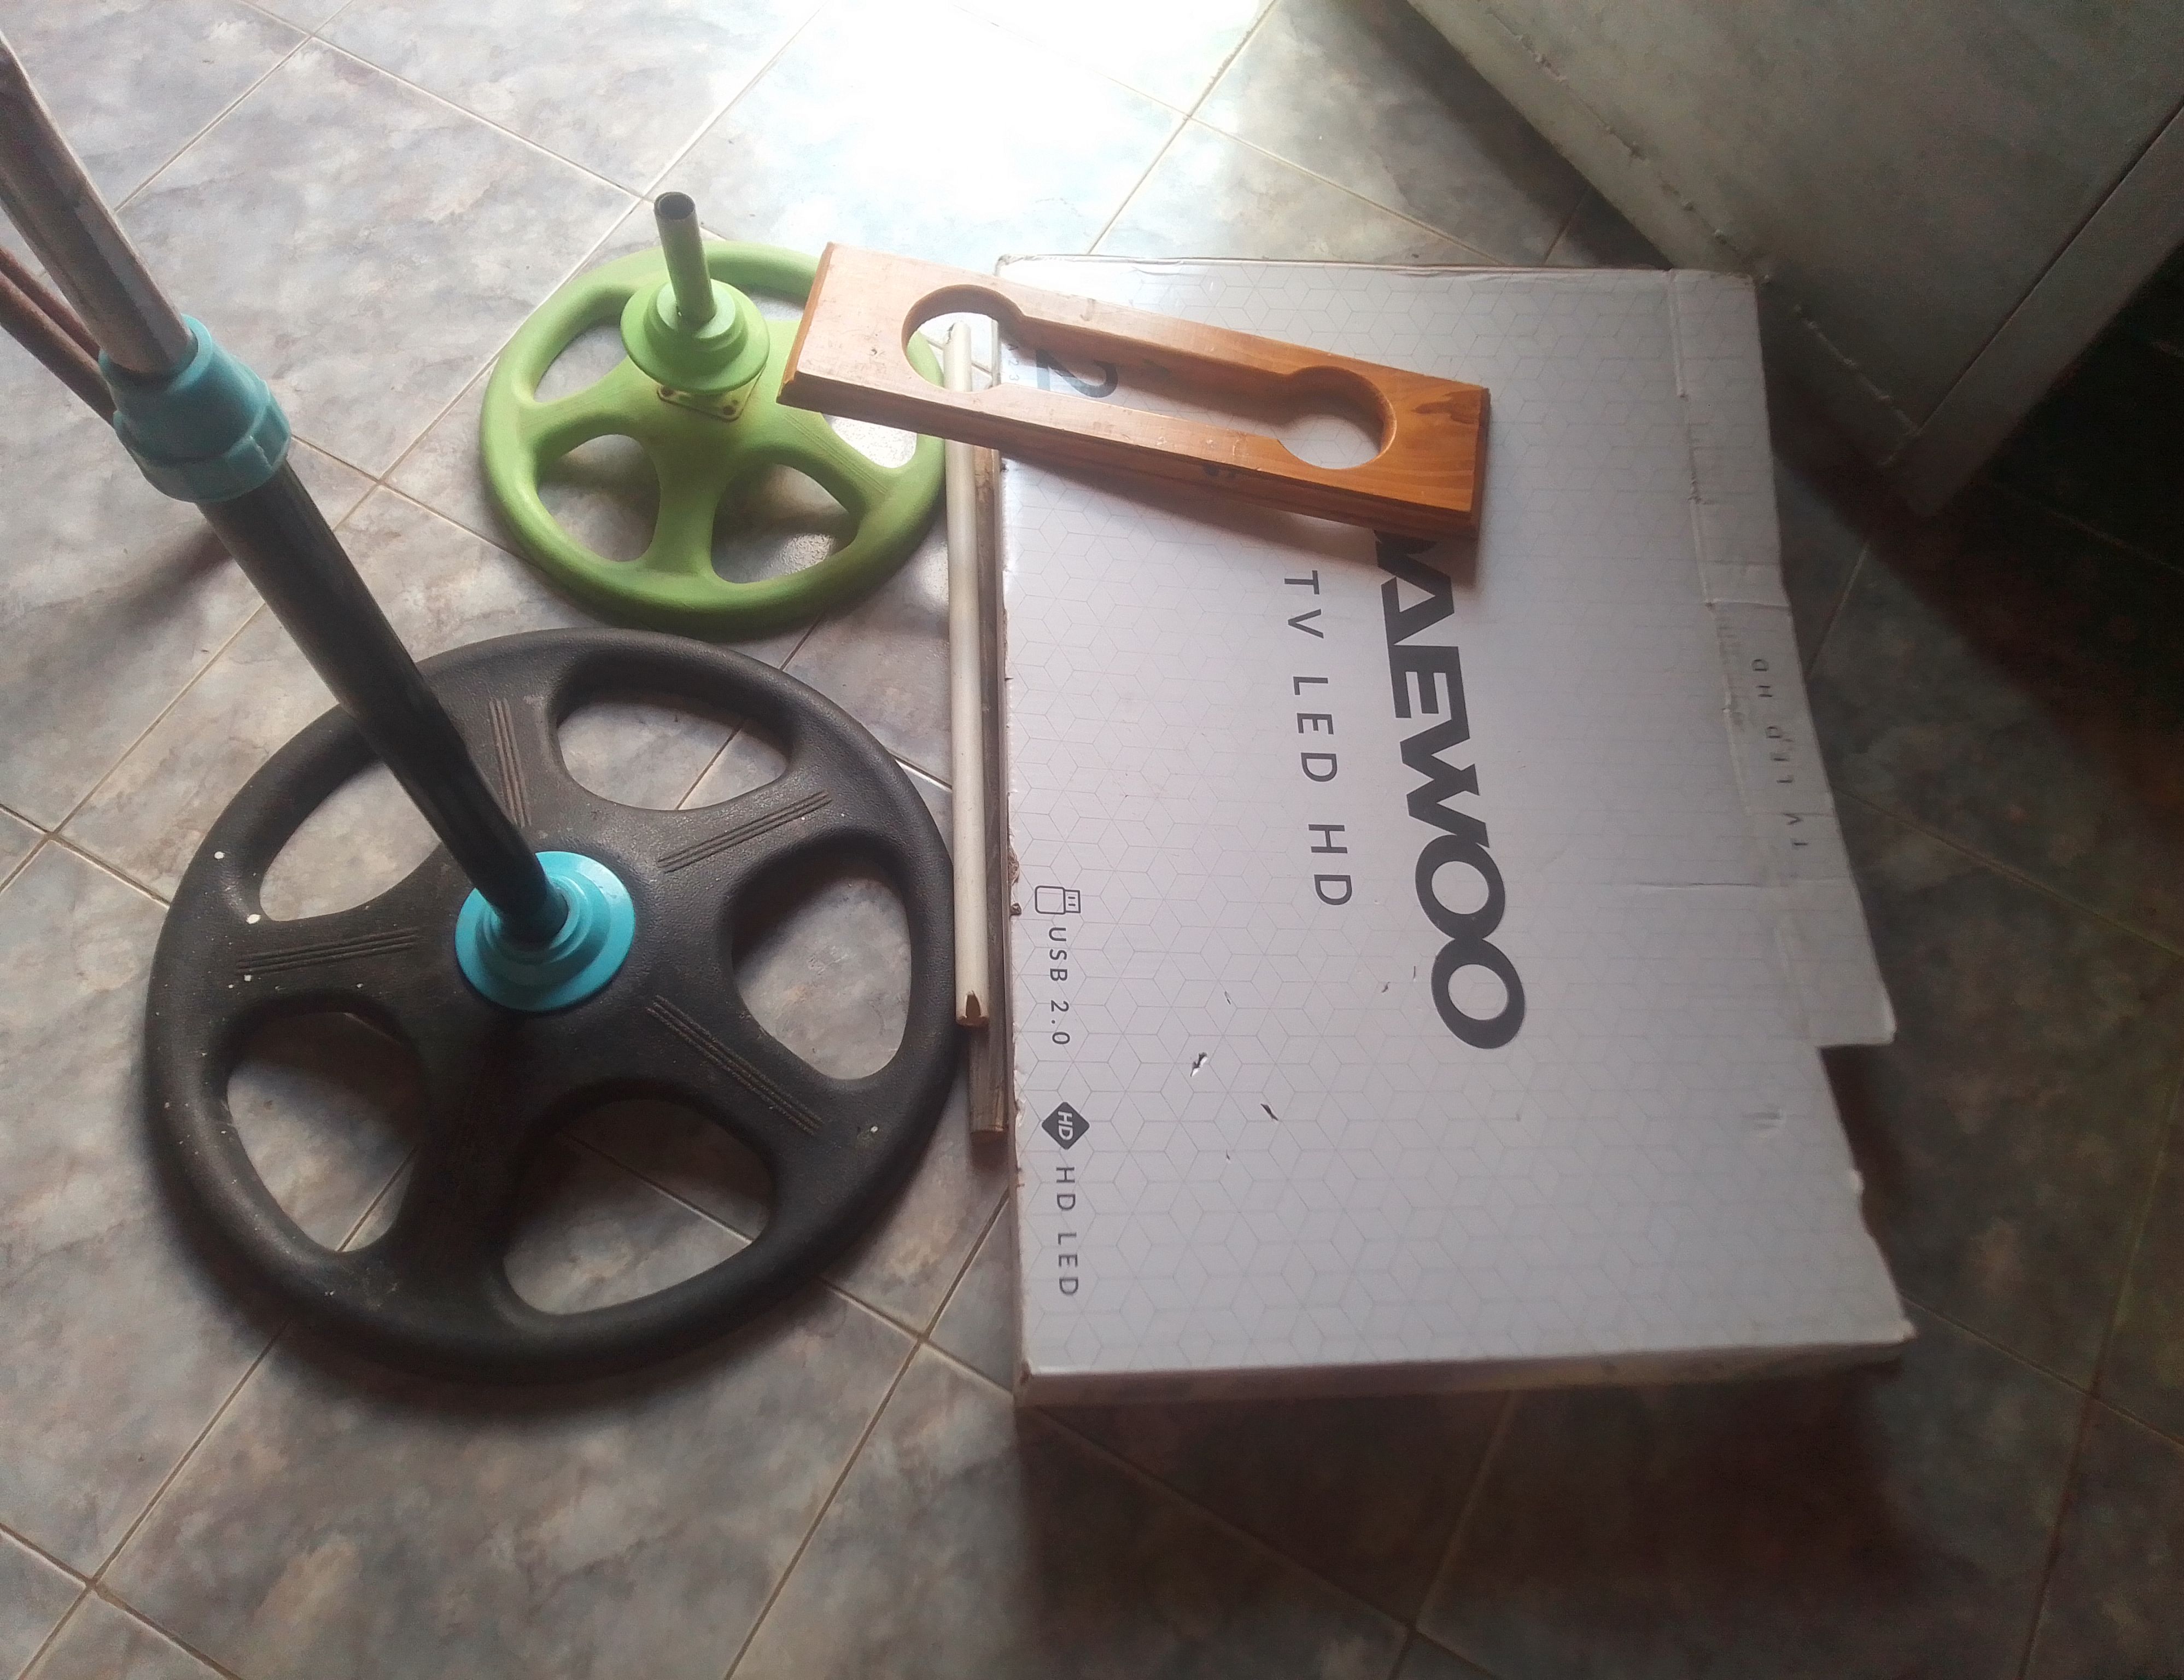
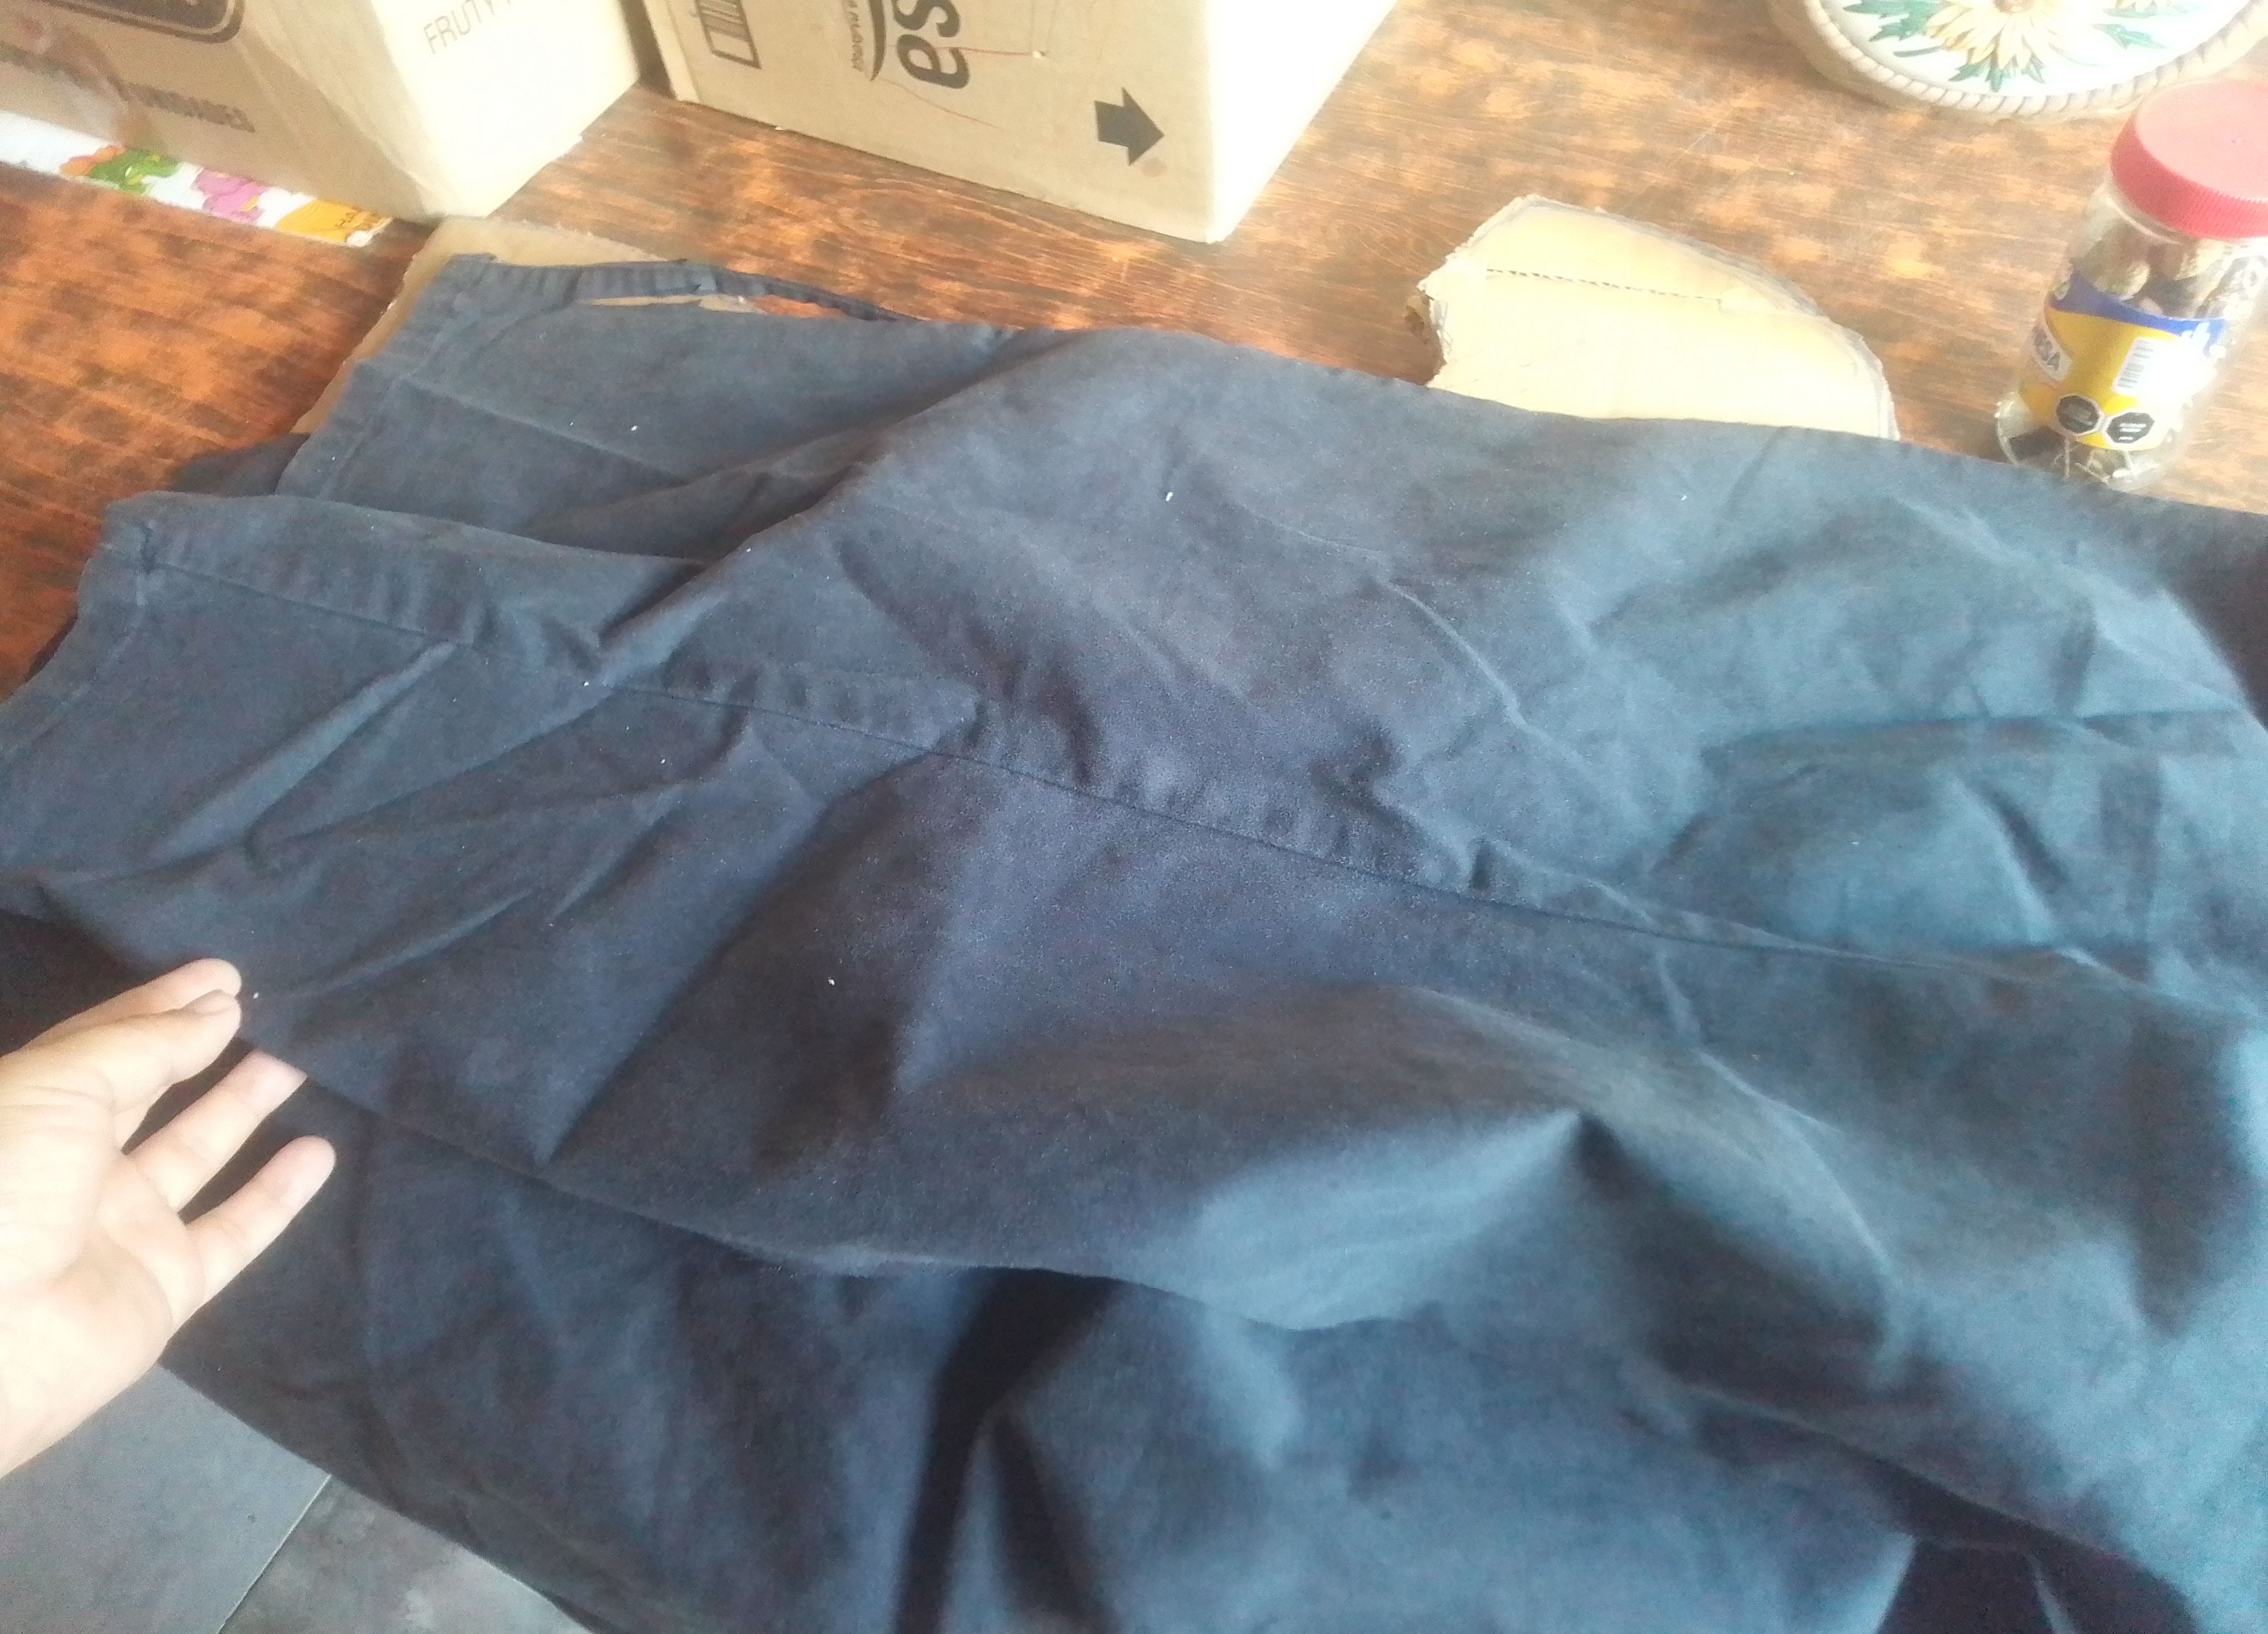
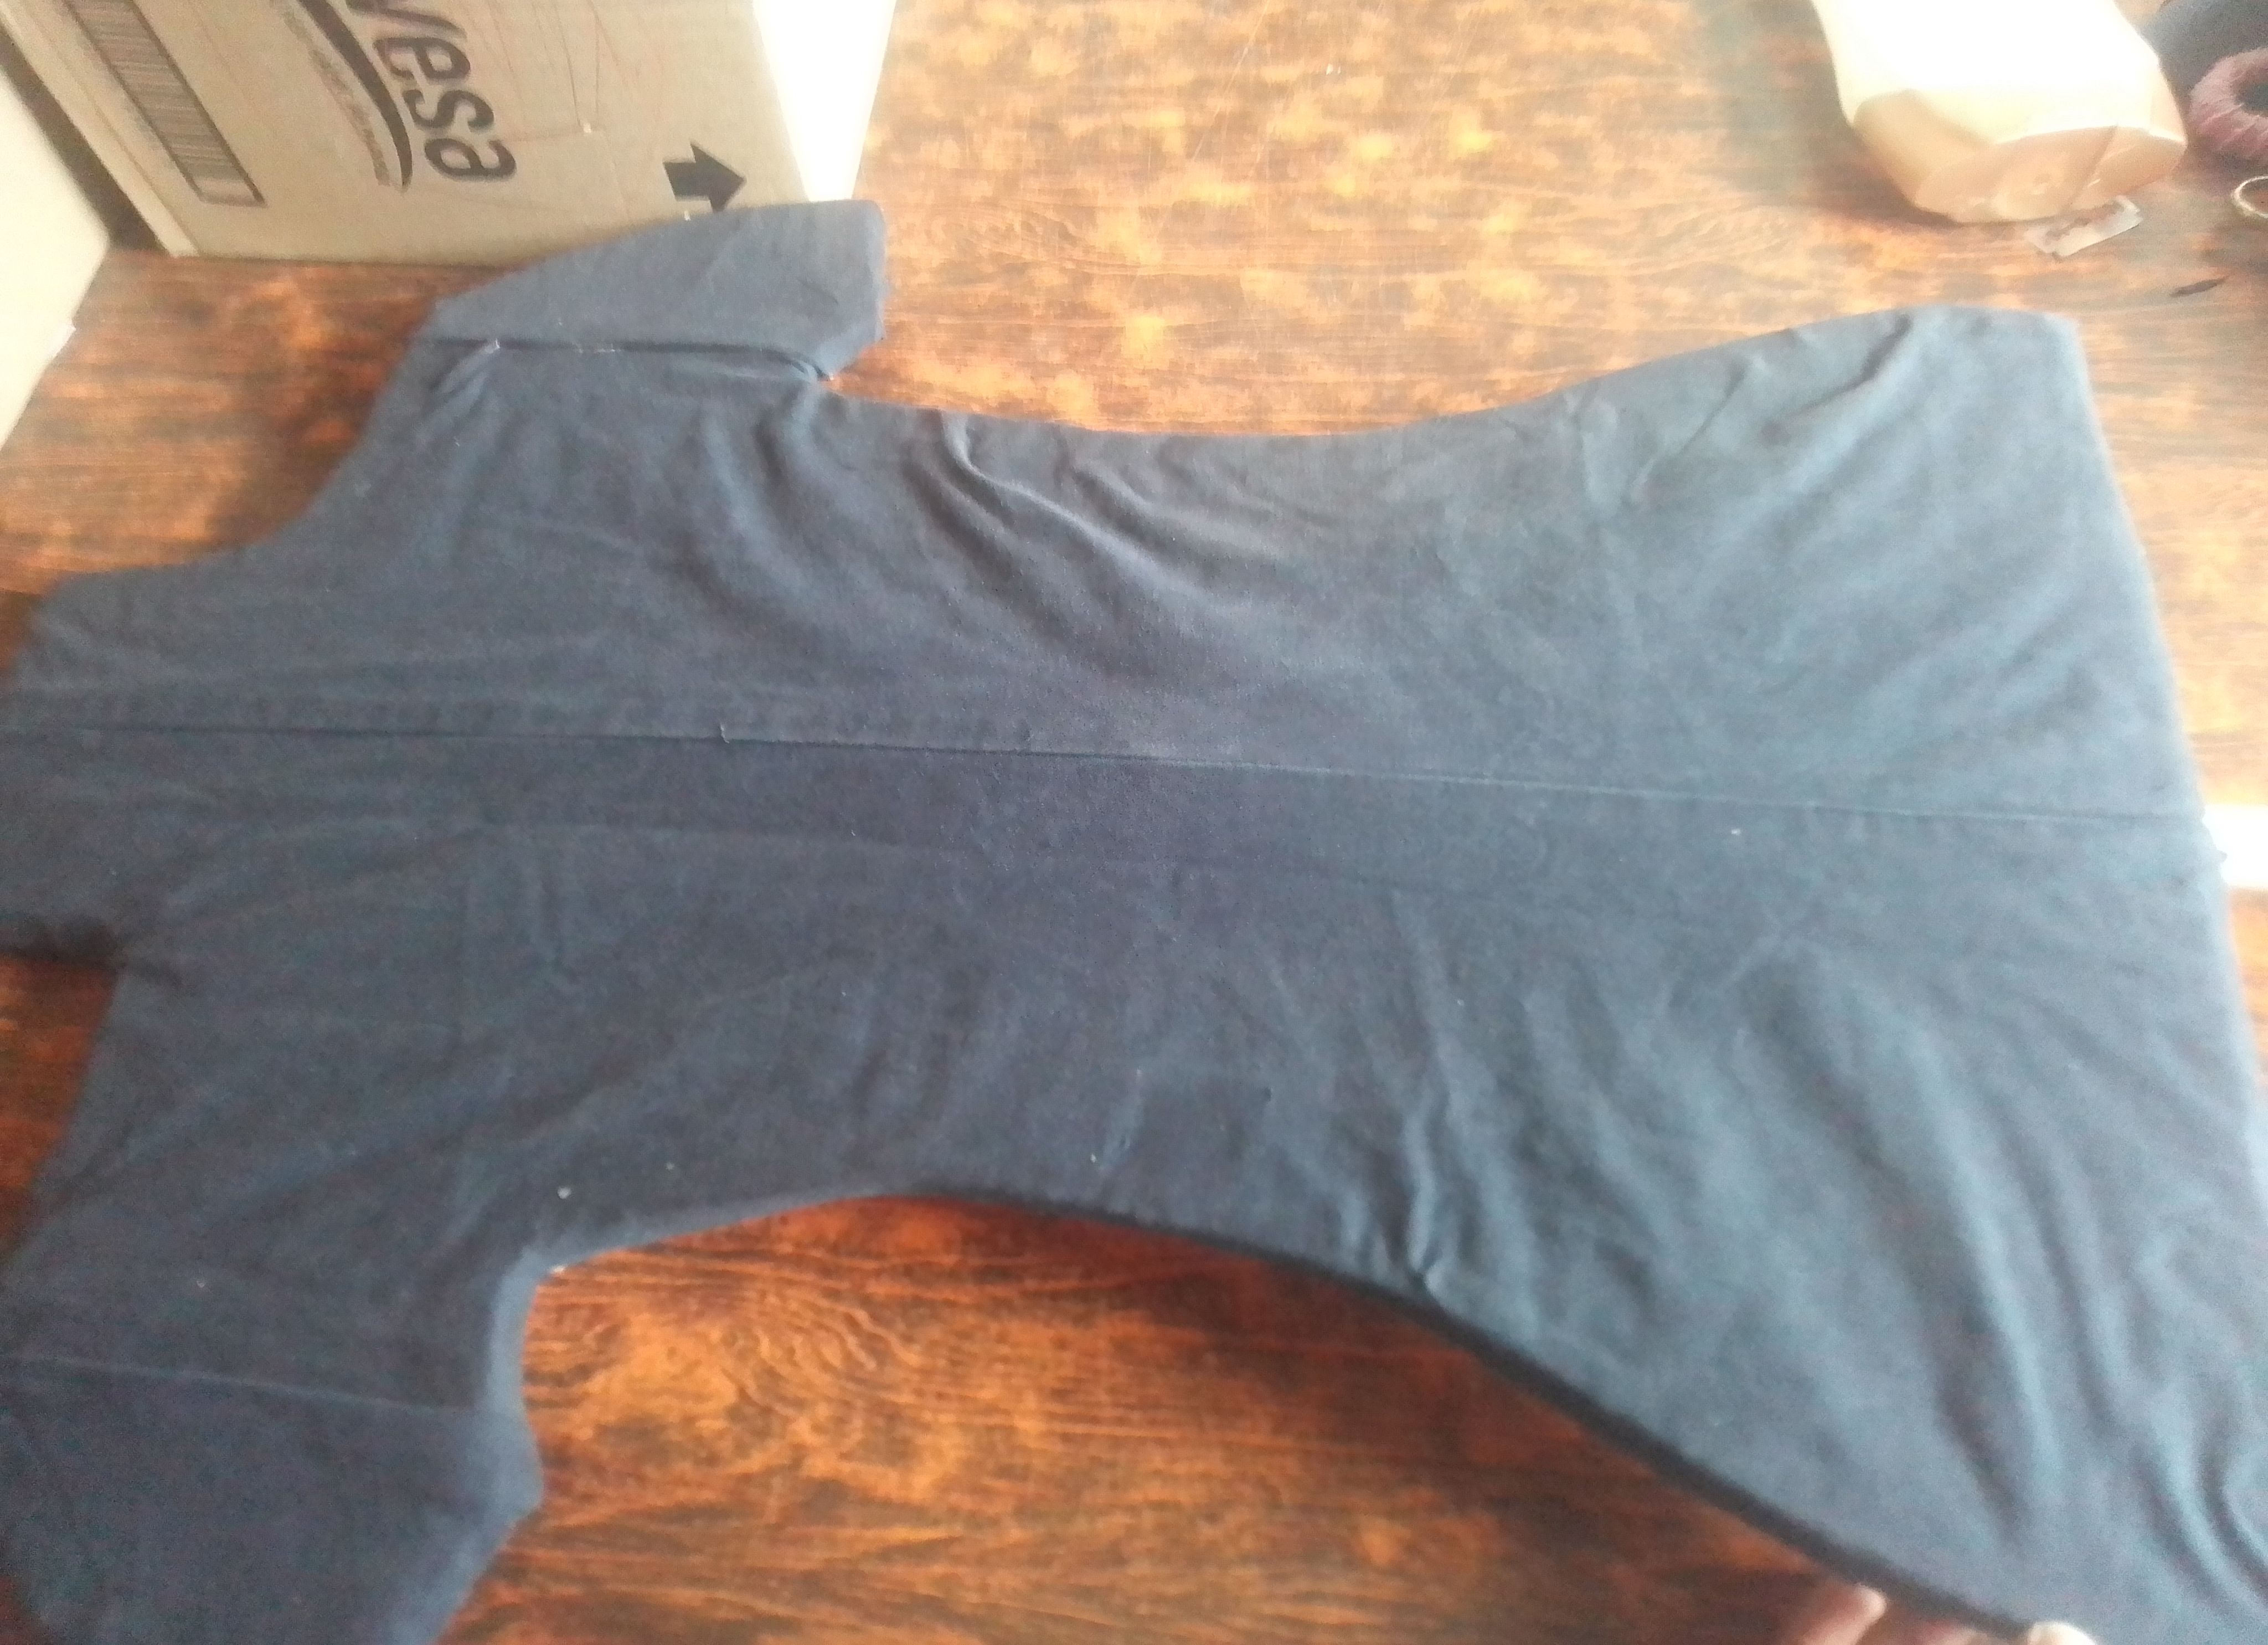
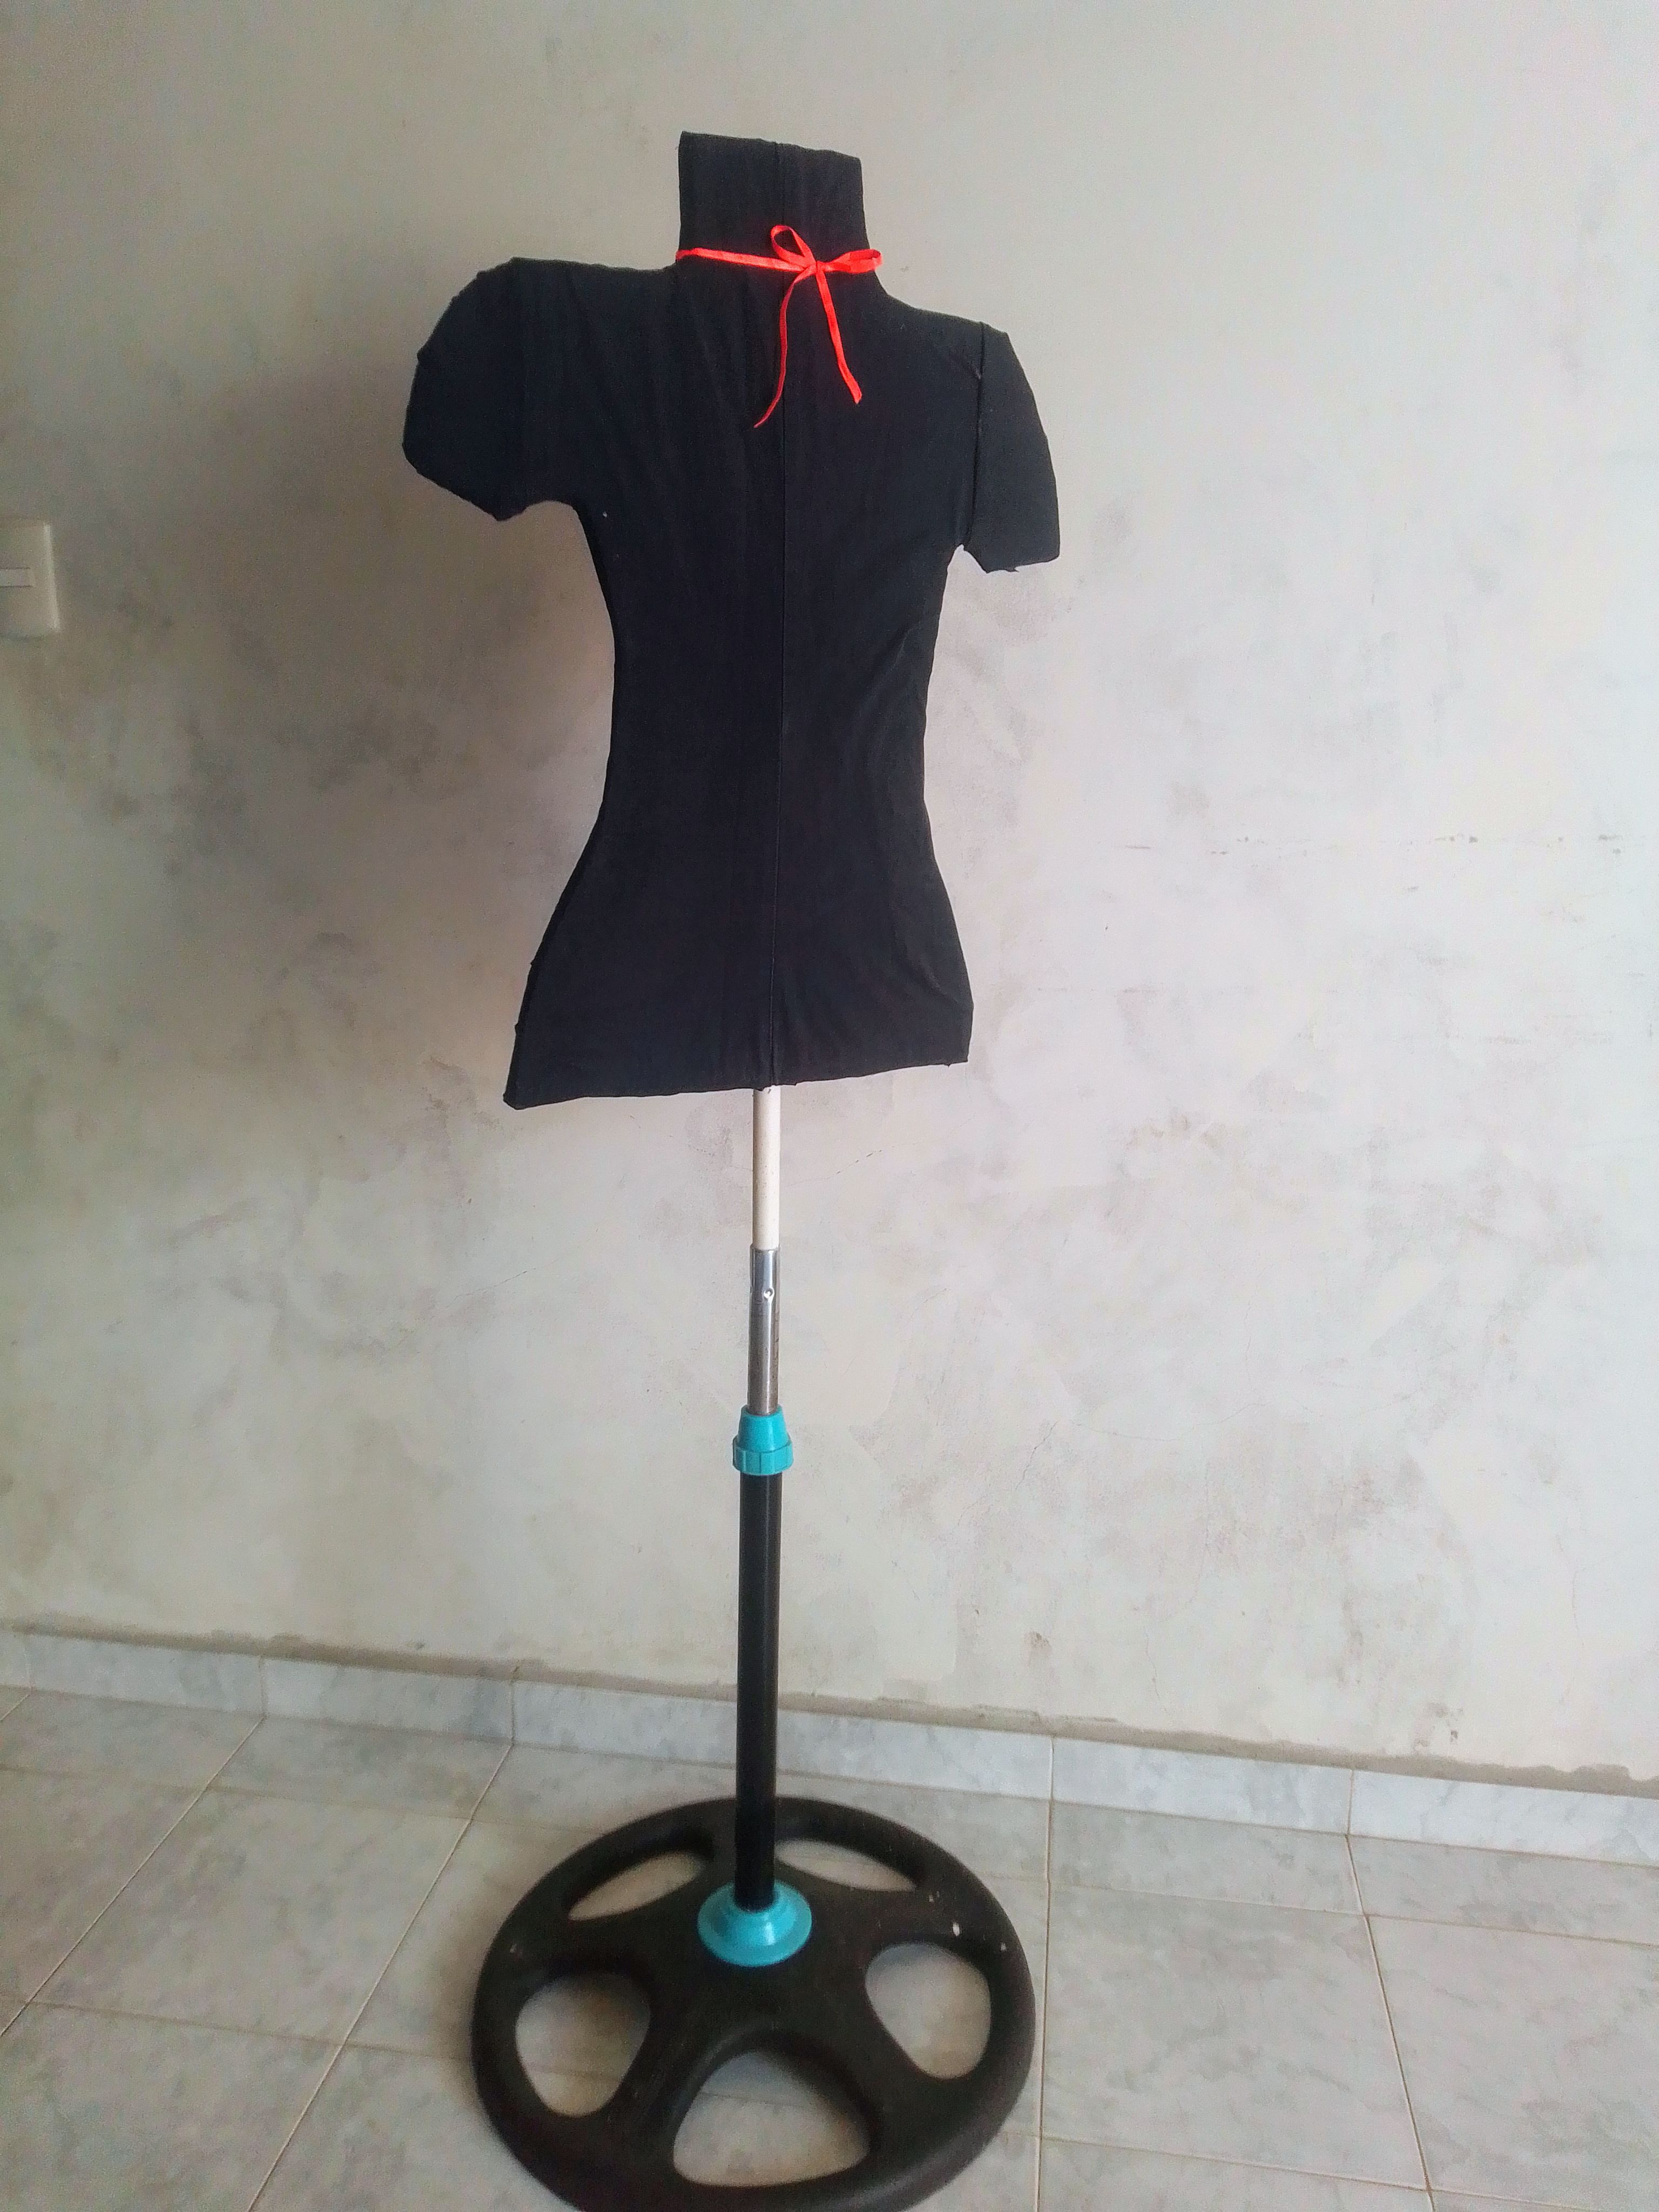
Al tener estás bases la voy a pegar con silicón caliente.. Luego tomo un trozo de tela y la forramos por ambos lados. En mi caso utiliza dos piernas de un jean que corte hace poco; las abrí y luego las pegué. En la parte de tras también pagamos el palo de escoba y lo introducimos en el orificios que traen nuestras base de abanicos.
🌟Step 03
Now that I have these bases, I'm going to glue them together with hot silicone. Then, I'll take a piece of fabric and line it on both sides. In my case, I used two legs from a pair of jeans I recently cut; I opened them and then glued them together. On the back, I also put the broom handle and insert it into the holes in our fan bases.
---
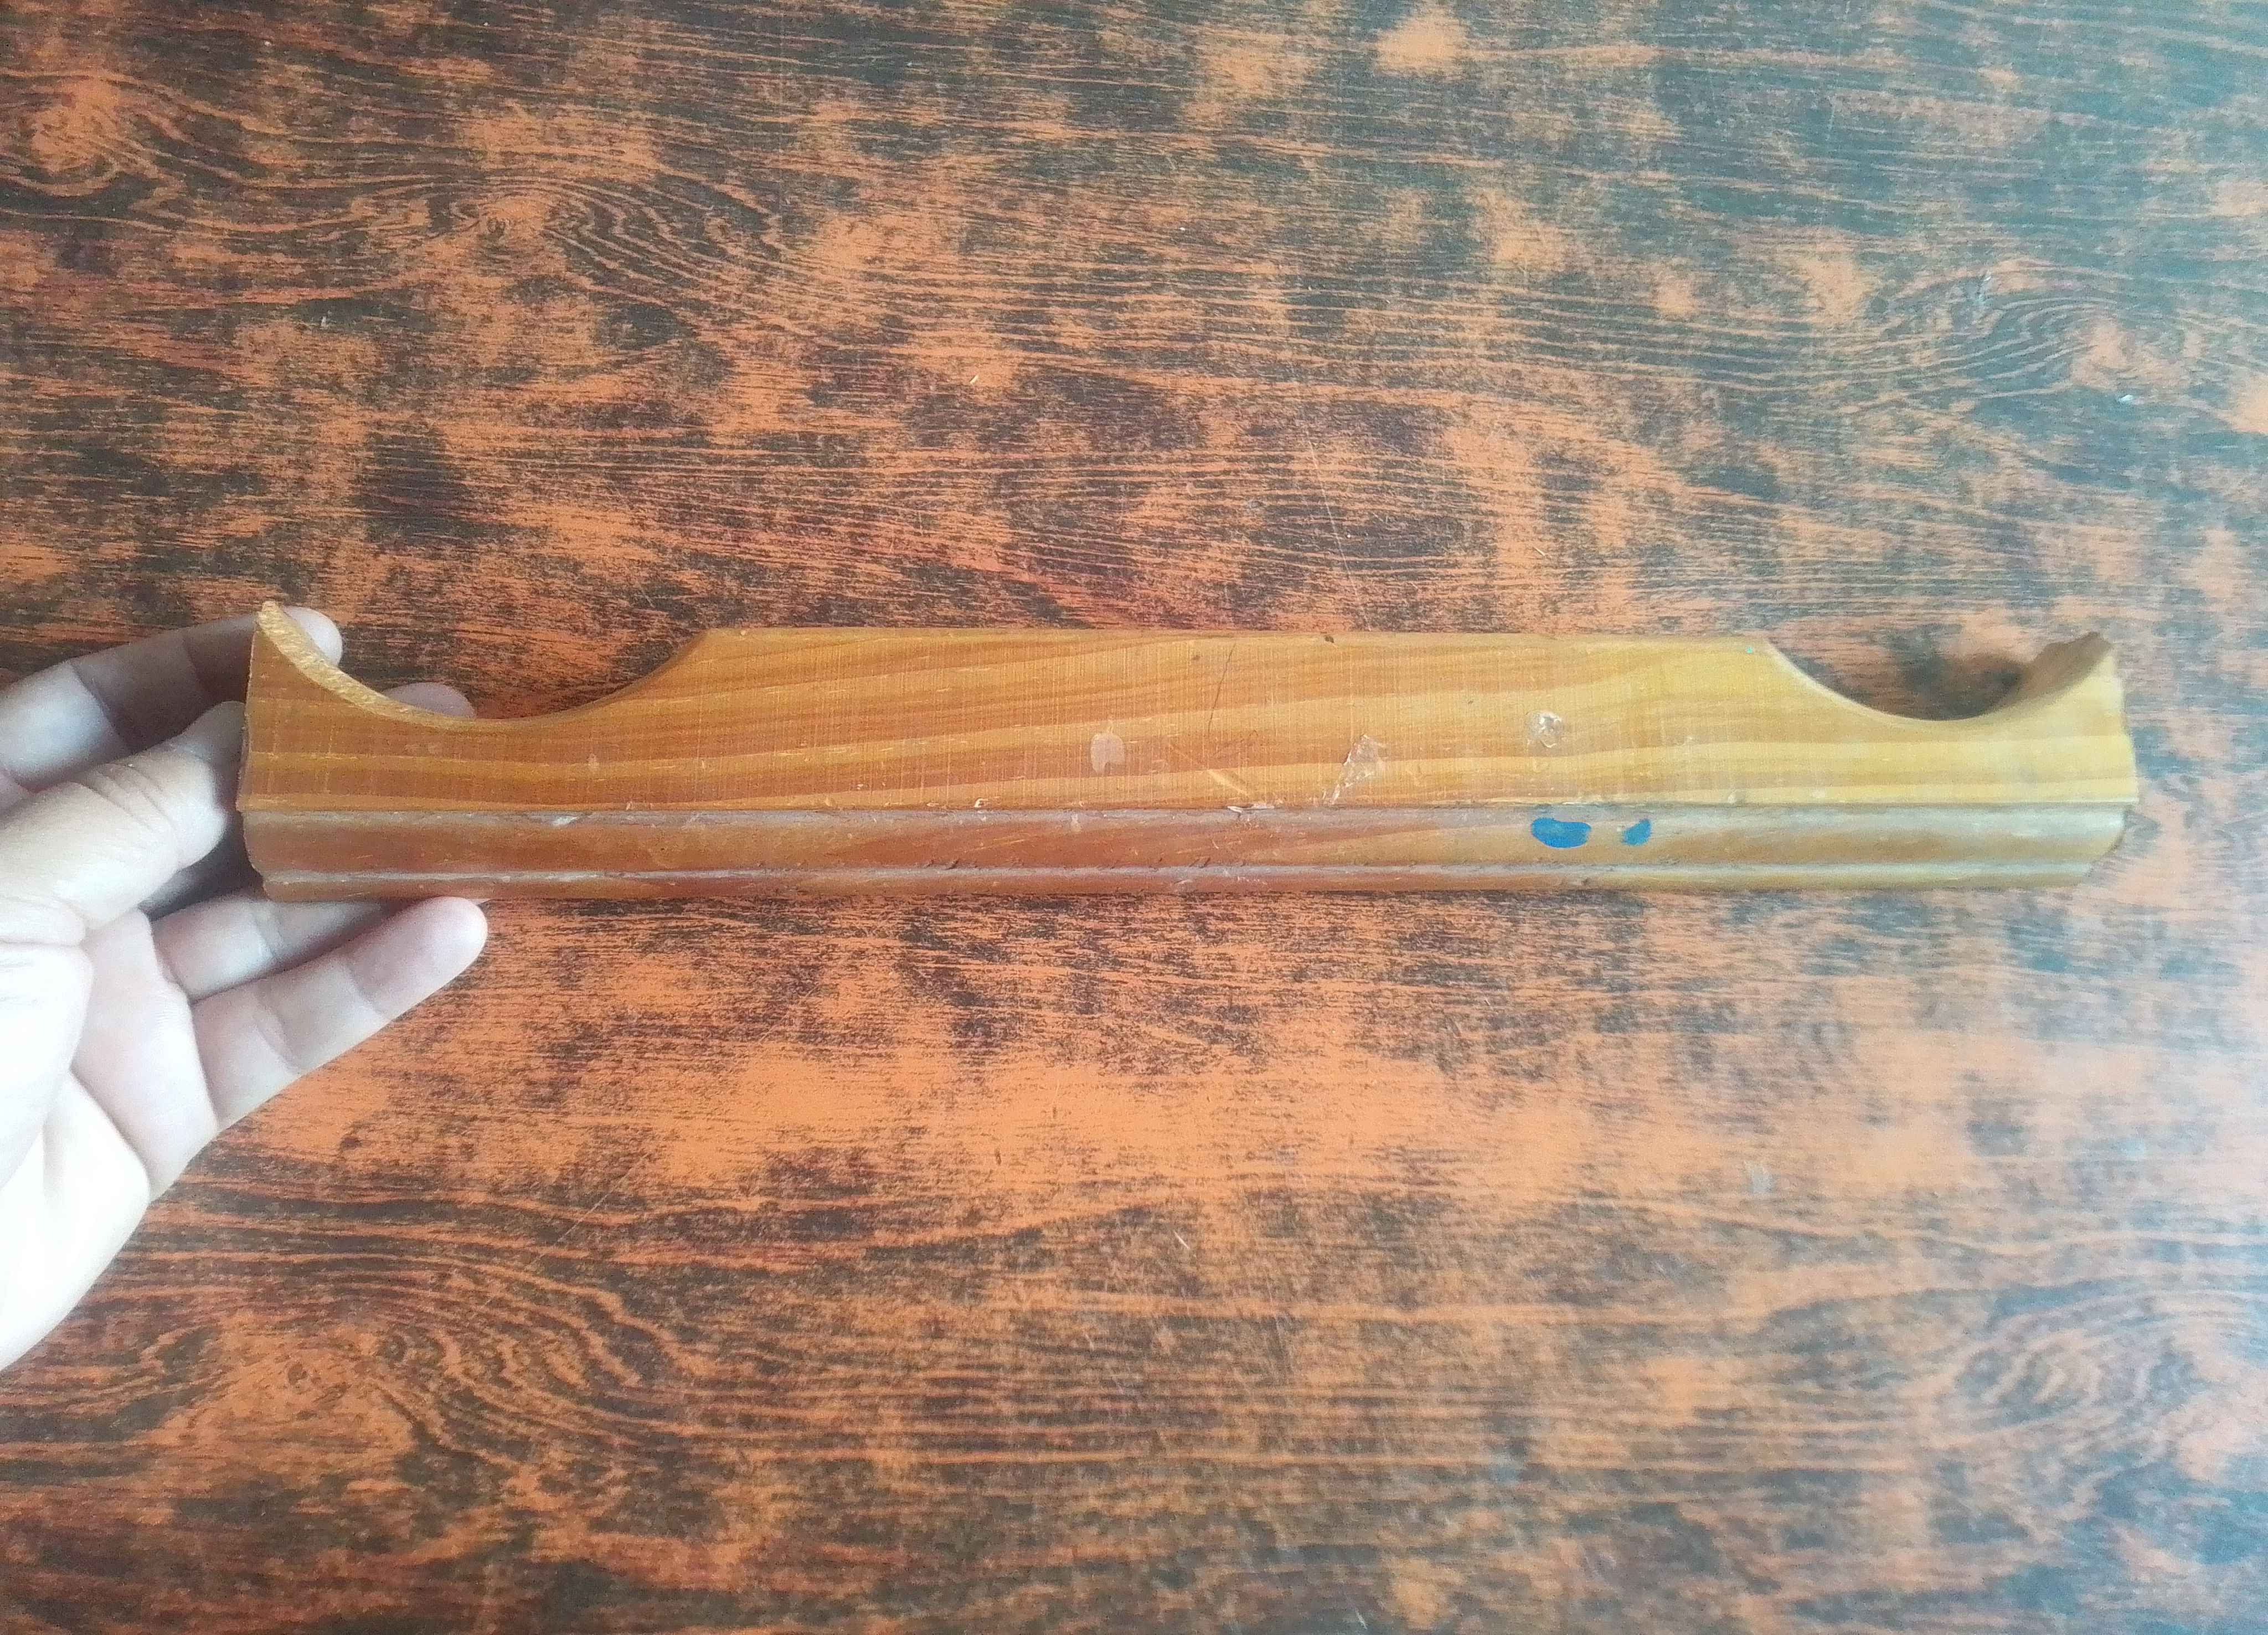
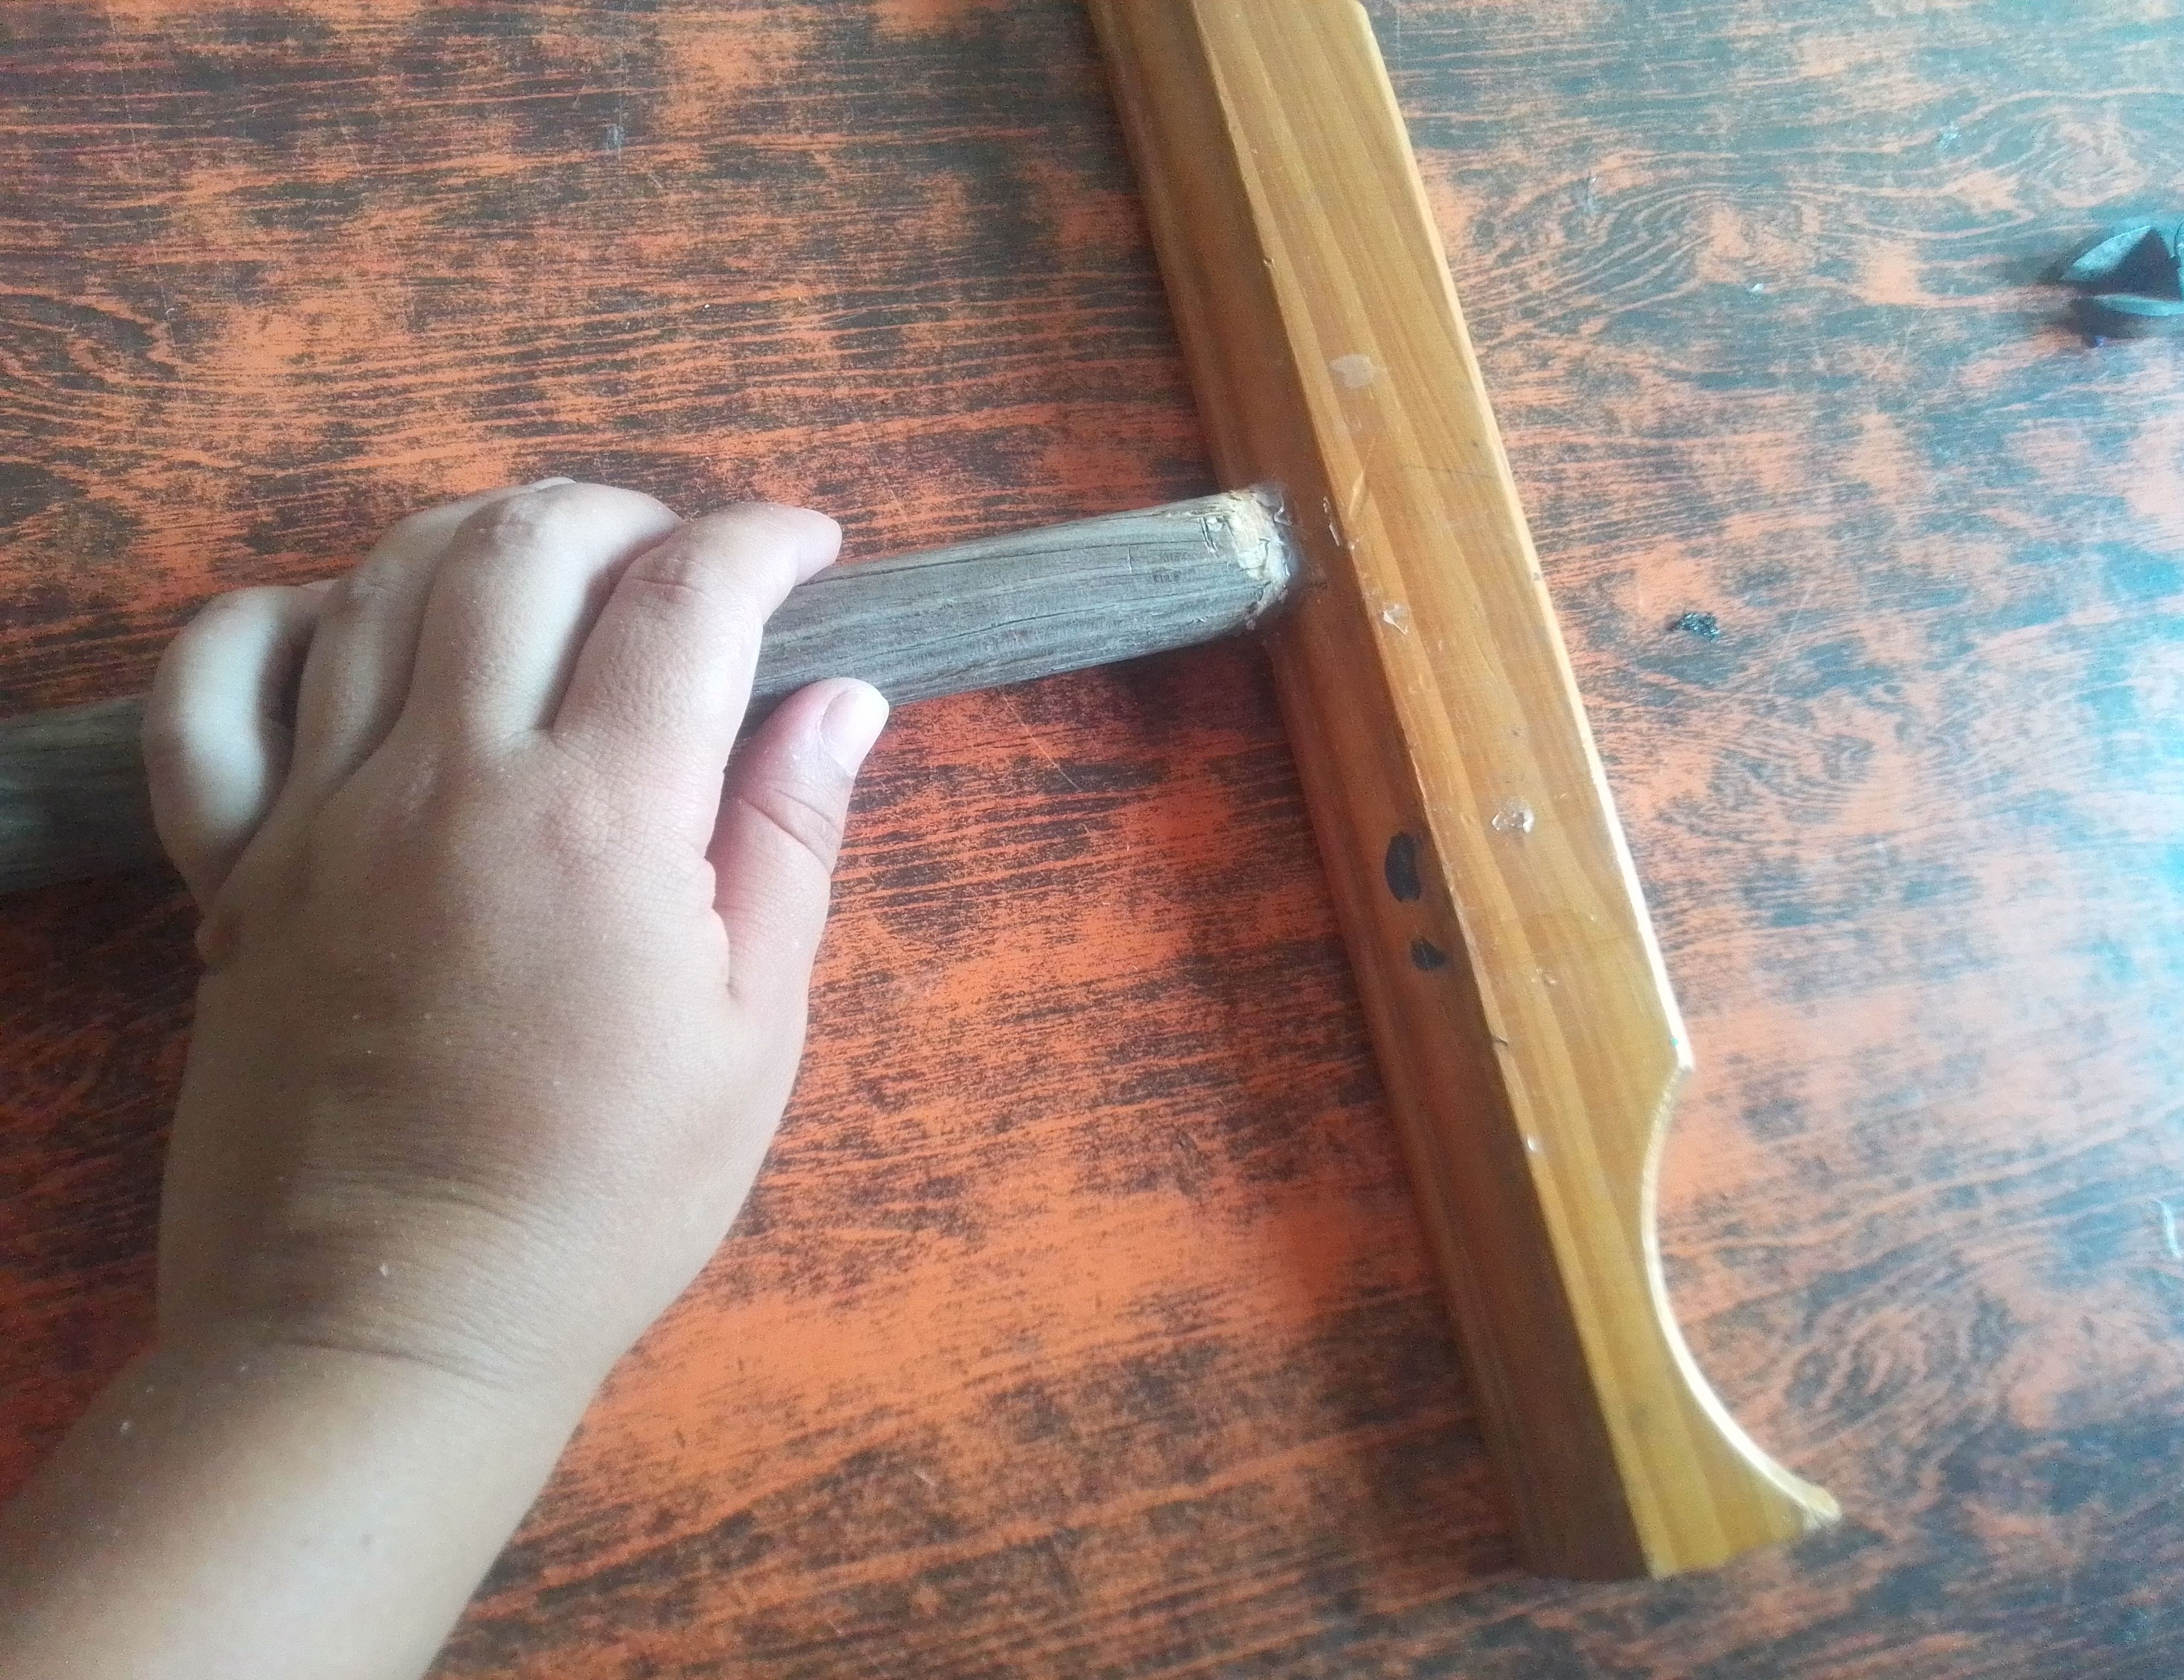
🌟Paso 04
El siguiente mostrador, es más que todo para mostrar vestidos de niñas y es mucho más sencillo, pues a una madera preferiblemente lisa, le hacemos unos cortes semicirculares en los lados y en centro le hacemos un hueco para meter el palo de escoba y reforzar el con silicón. Luego lo metemos en una base o soporte más pequeño de un abanico, podemos pintar a nuestro gusto el palo de escoba y listo.!
🌟Step 04
The next counter is mainly for displaying girls' dresses and is much simpler. We make semicircular cuts on the sides of a preferably smooth piece of wood, and in the center we make a hole to insert the broom handle and reinforce it with silicone. Then we put it in a smaller base or fan support. We can paint the broom handle to our liking and that's it!
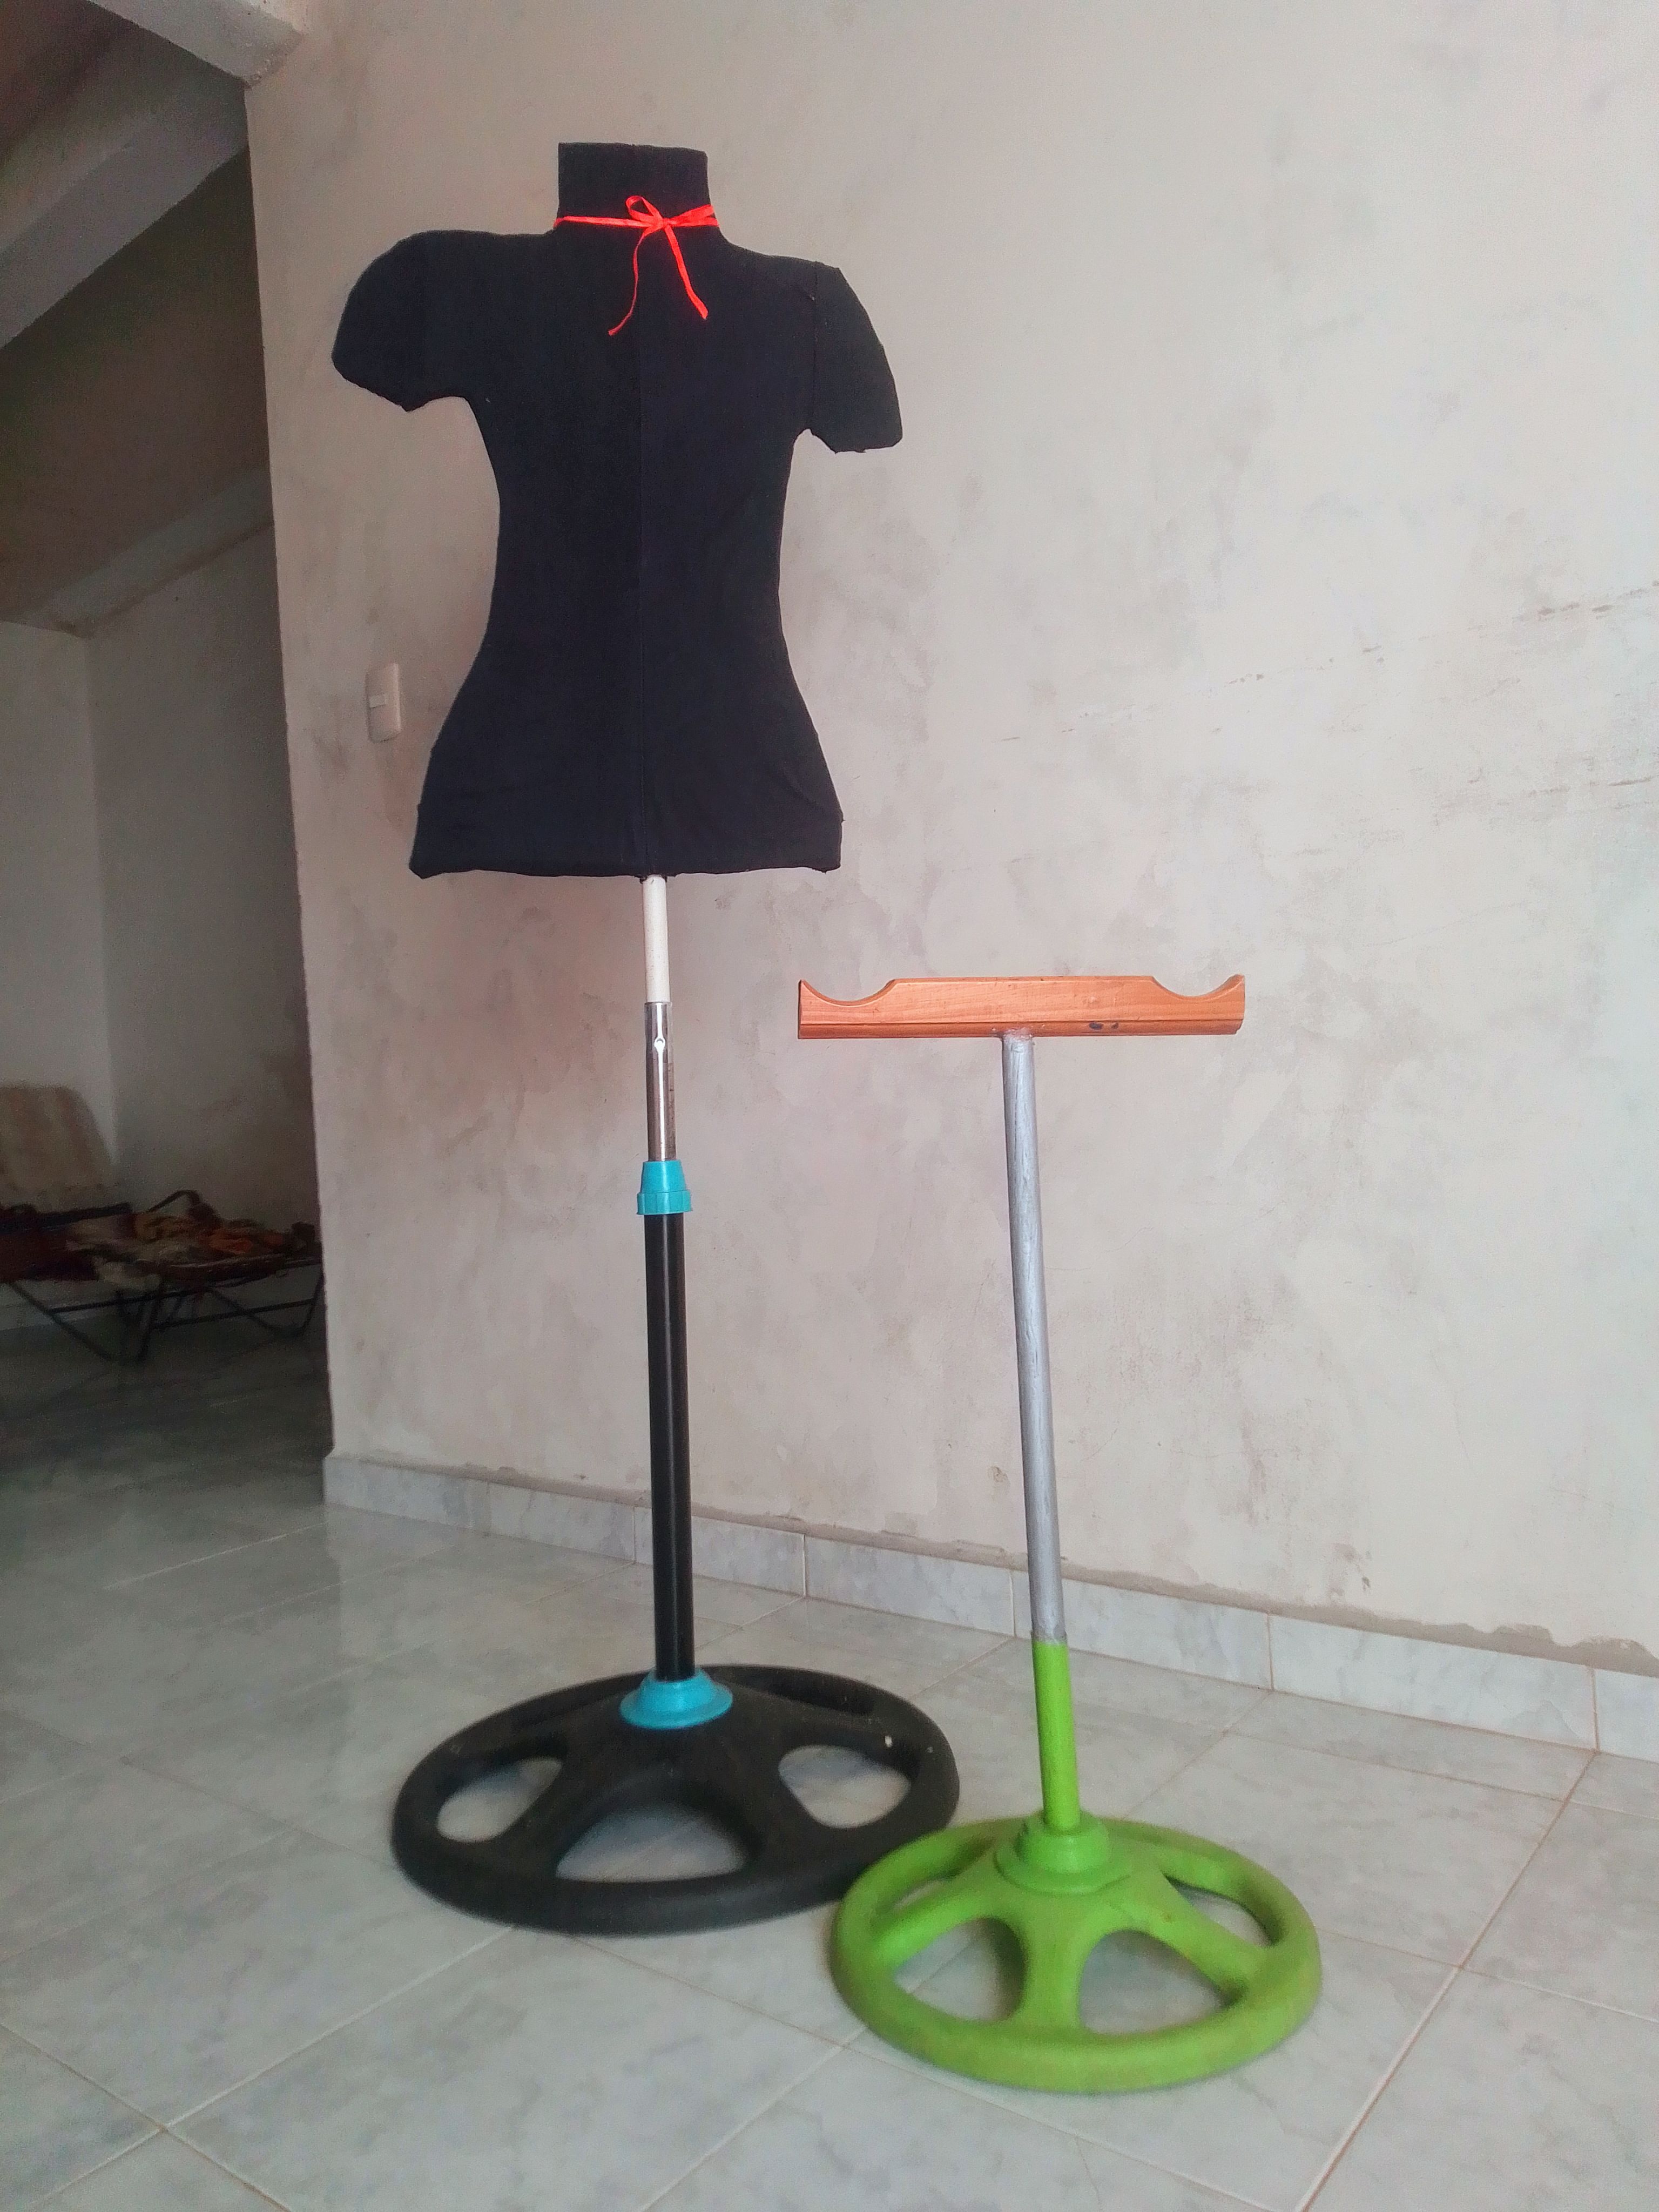
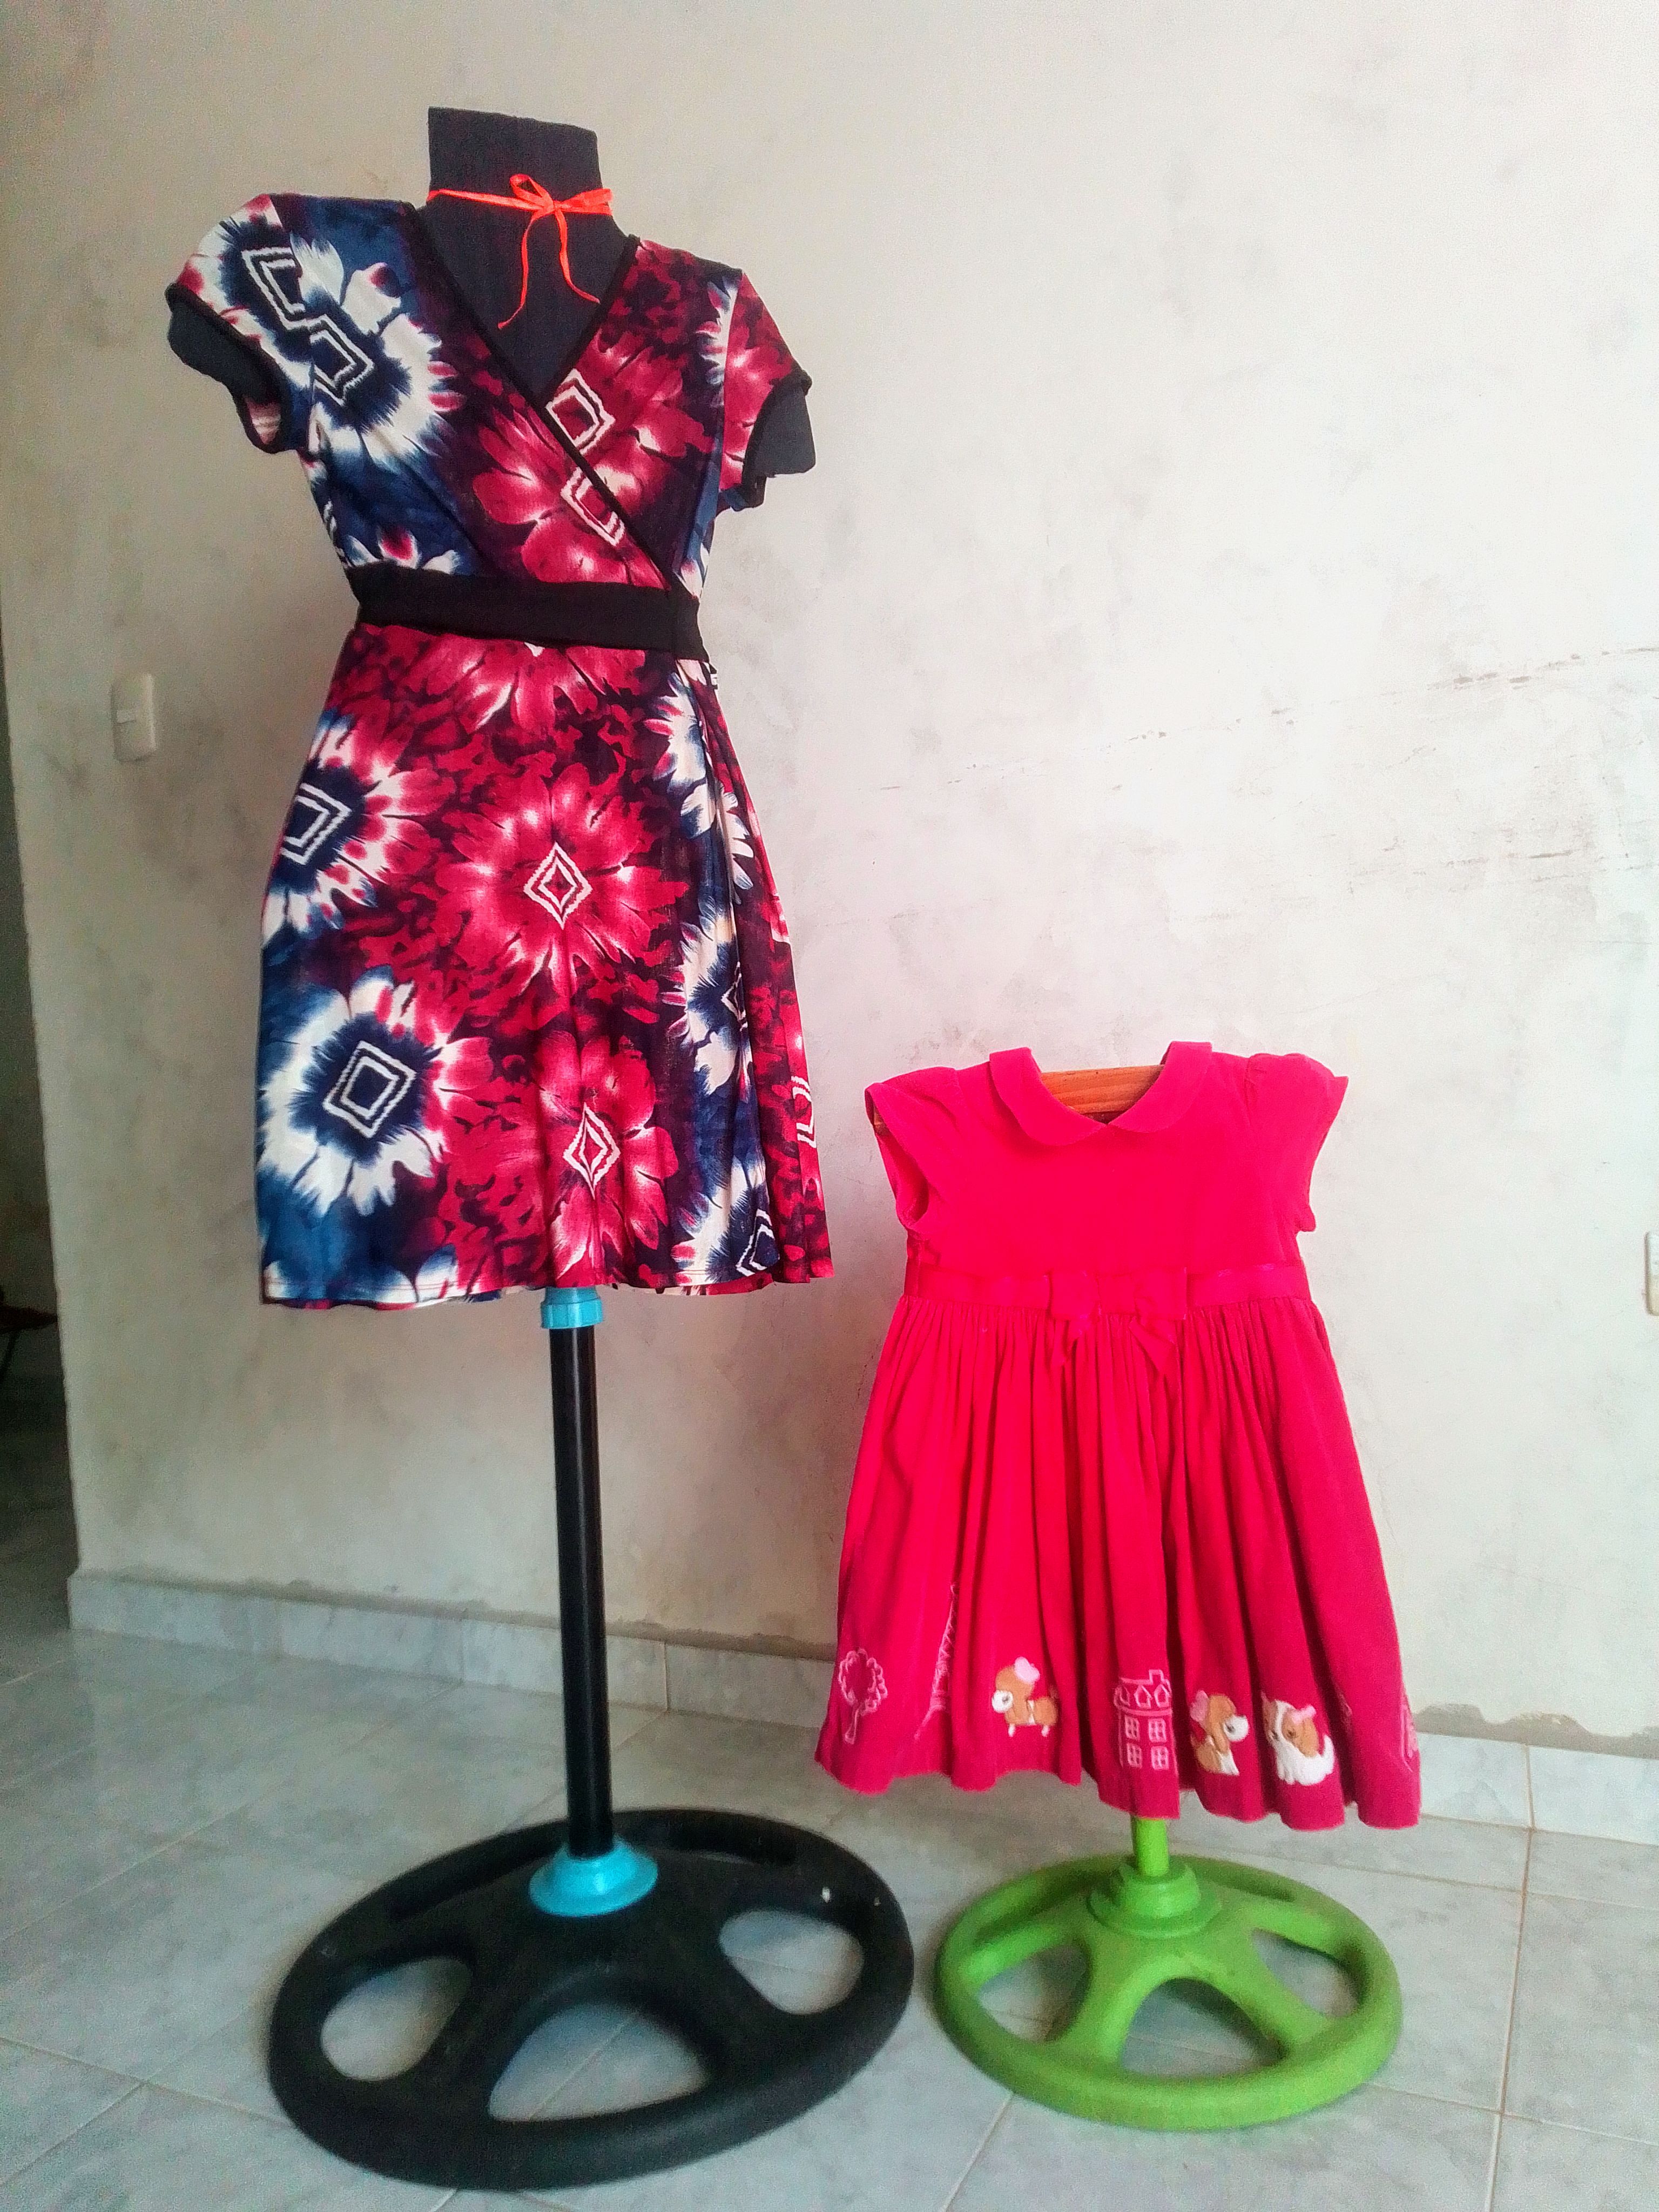
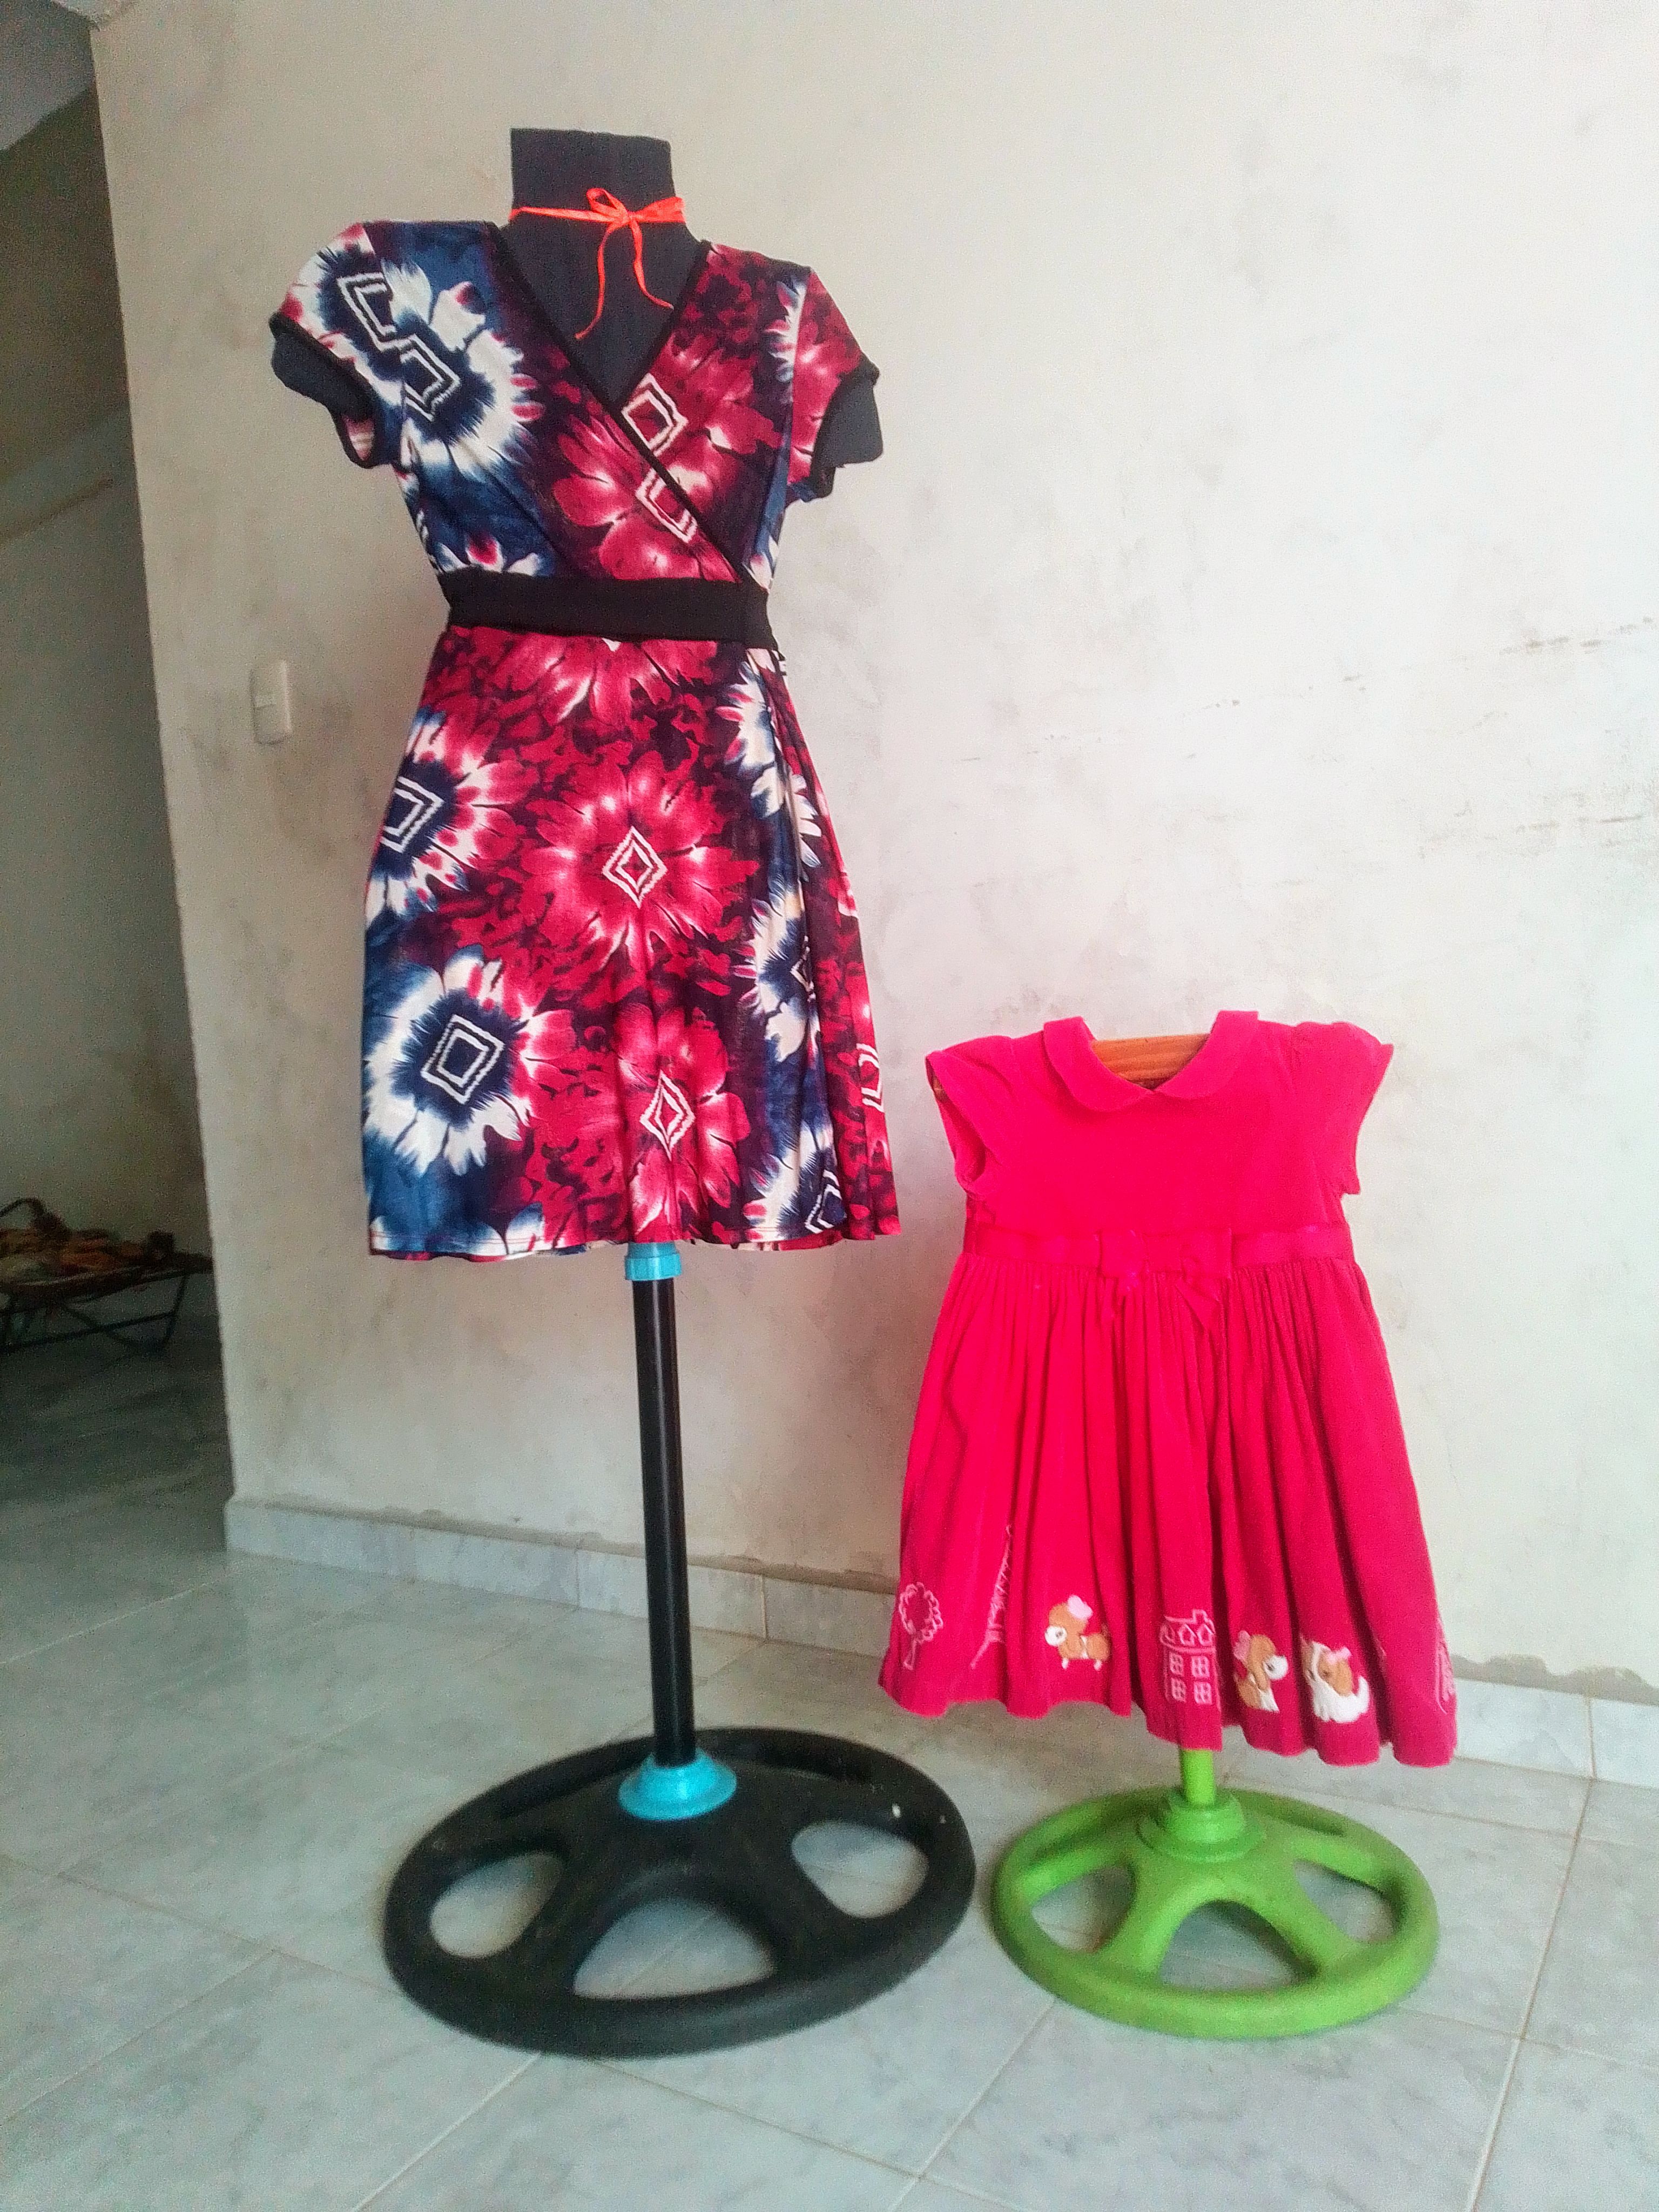
***Resultado!***
***Result!***
Nos quedan estos magníficos mostradores, muy útiles y necesarios para las costureras o emprendedores en ropa, 100% de reciclaje.
We are left with these magnificent counters, very useful and necessary for seamstresses or clothing entrepreneurs, 100% recycled.
Espero está idea le haya gustado y le sea de beneficio, agradezco tu visita , apoyo y todo el cariño que puedas brindarme en un comentario. Nos vemos pronto!
I hope you enjoyed this idea and found it helpful. I appreciate your visit, support, and any kindness you can offer in a comment. See you soon!
🙋🏻Todas las imágenes de esta publicación son de mi autoria capturadas de mi dispositivo Smooth 6.5, primera imagen editada en PicsArt | Texto original traducido en el traductor de Google.
All images in this post are my own, captured from my Smooth 6.5 device, first image edited in PicsArt | Original text translated in Google translator.
