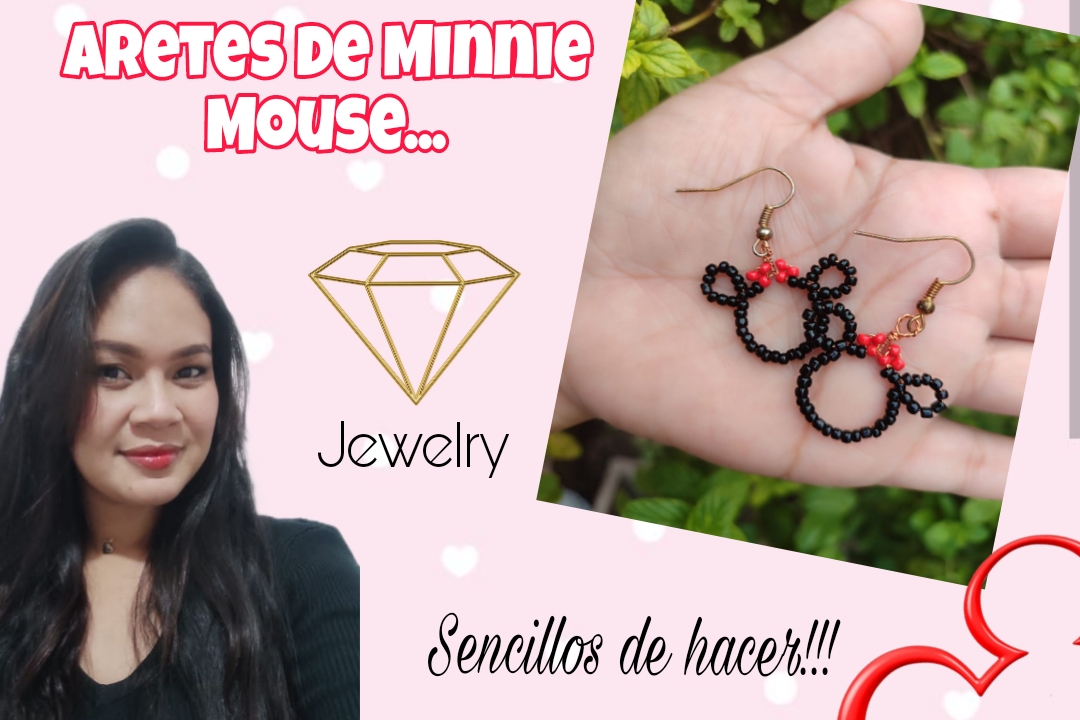
Hola, hola mi gente linda de #jewelry, linda noche tengan todos, les doy la bienvenida a este post de hoy, dónde en un sencillo tutorial les mostraré como hacer unos lindos y llamativos aretes infantiles del icónico personaje de Minnie Mouse utilizando alambre y mostacillas... En mi opinión pienso que es una idea muy bonita, práctica y facil para aquellos que gustan iniciar en este arte o que deseamos enseñar a nuestras niñas en casa..
Si hablamos del personaje, yo creo que este nunca pasa de moda y siempre será una figura muy divertida y adorable para llevarla en nuestra ropa y mucho más en nuestros accesorios, pues no cabe duda que marco nuestra infancia y ahora hace lo mismo con nuestros niños... Estos aretes seran de mucha diversión crearlos y si te gustan te invito a ver el paso a paso para que tú también puedas hacerlos, acompáñame hasta el final.
Hello, hello my beautiful #jewelry people, have a lovely evening everyone! Welcome to today's post, where in a simple tutorial I'll show you how to make some cute and eye-catching children's earrings featuring the iconic Minnie Mouse character using wire and beads. In my opinion, I think it's a very nice, practical, and easy idea for those who would like to get started in this art or who want to teach our little girls at home.If we talk about the character, I think she never goes out of style and will always be a very fun and adorable figure to wear on our clothes and even more so on our accessories. There's no doubt that she defined our childhood and now she does the same for our children. These earrings will be a lot of fun to create, and if you like them, I invite you to see the step-by-step instructions so you can make them too. Join me until the end.
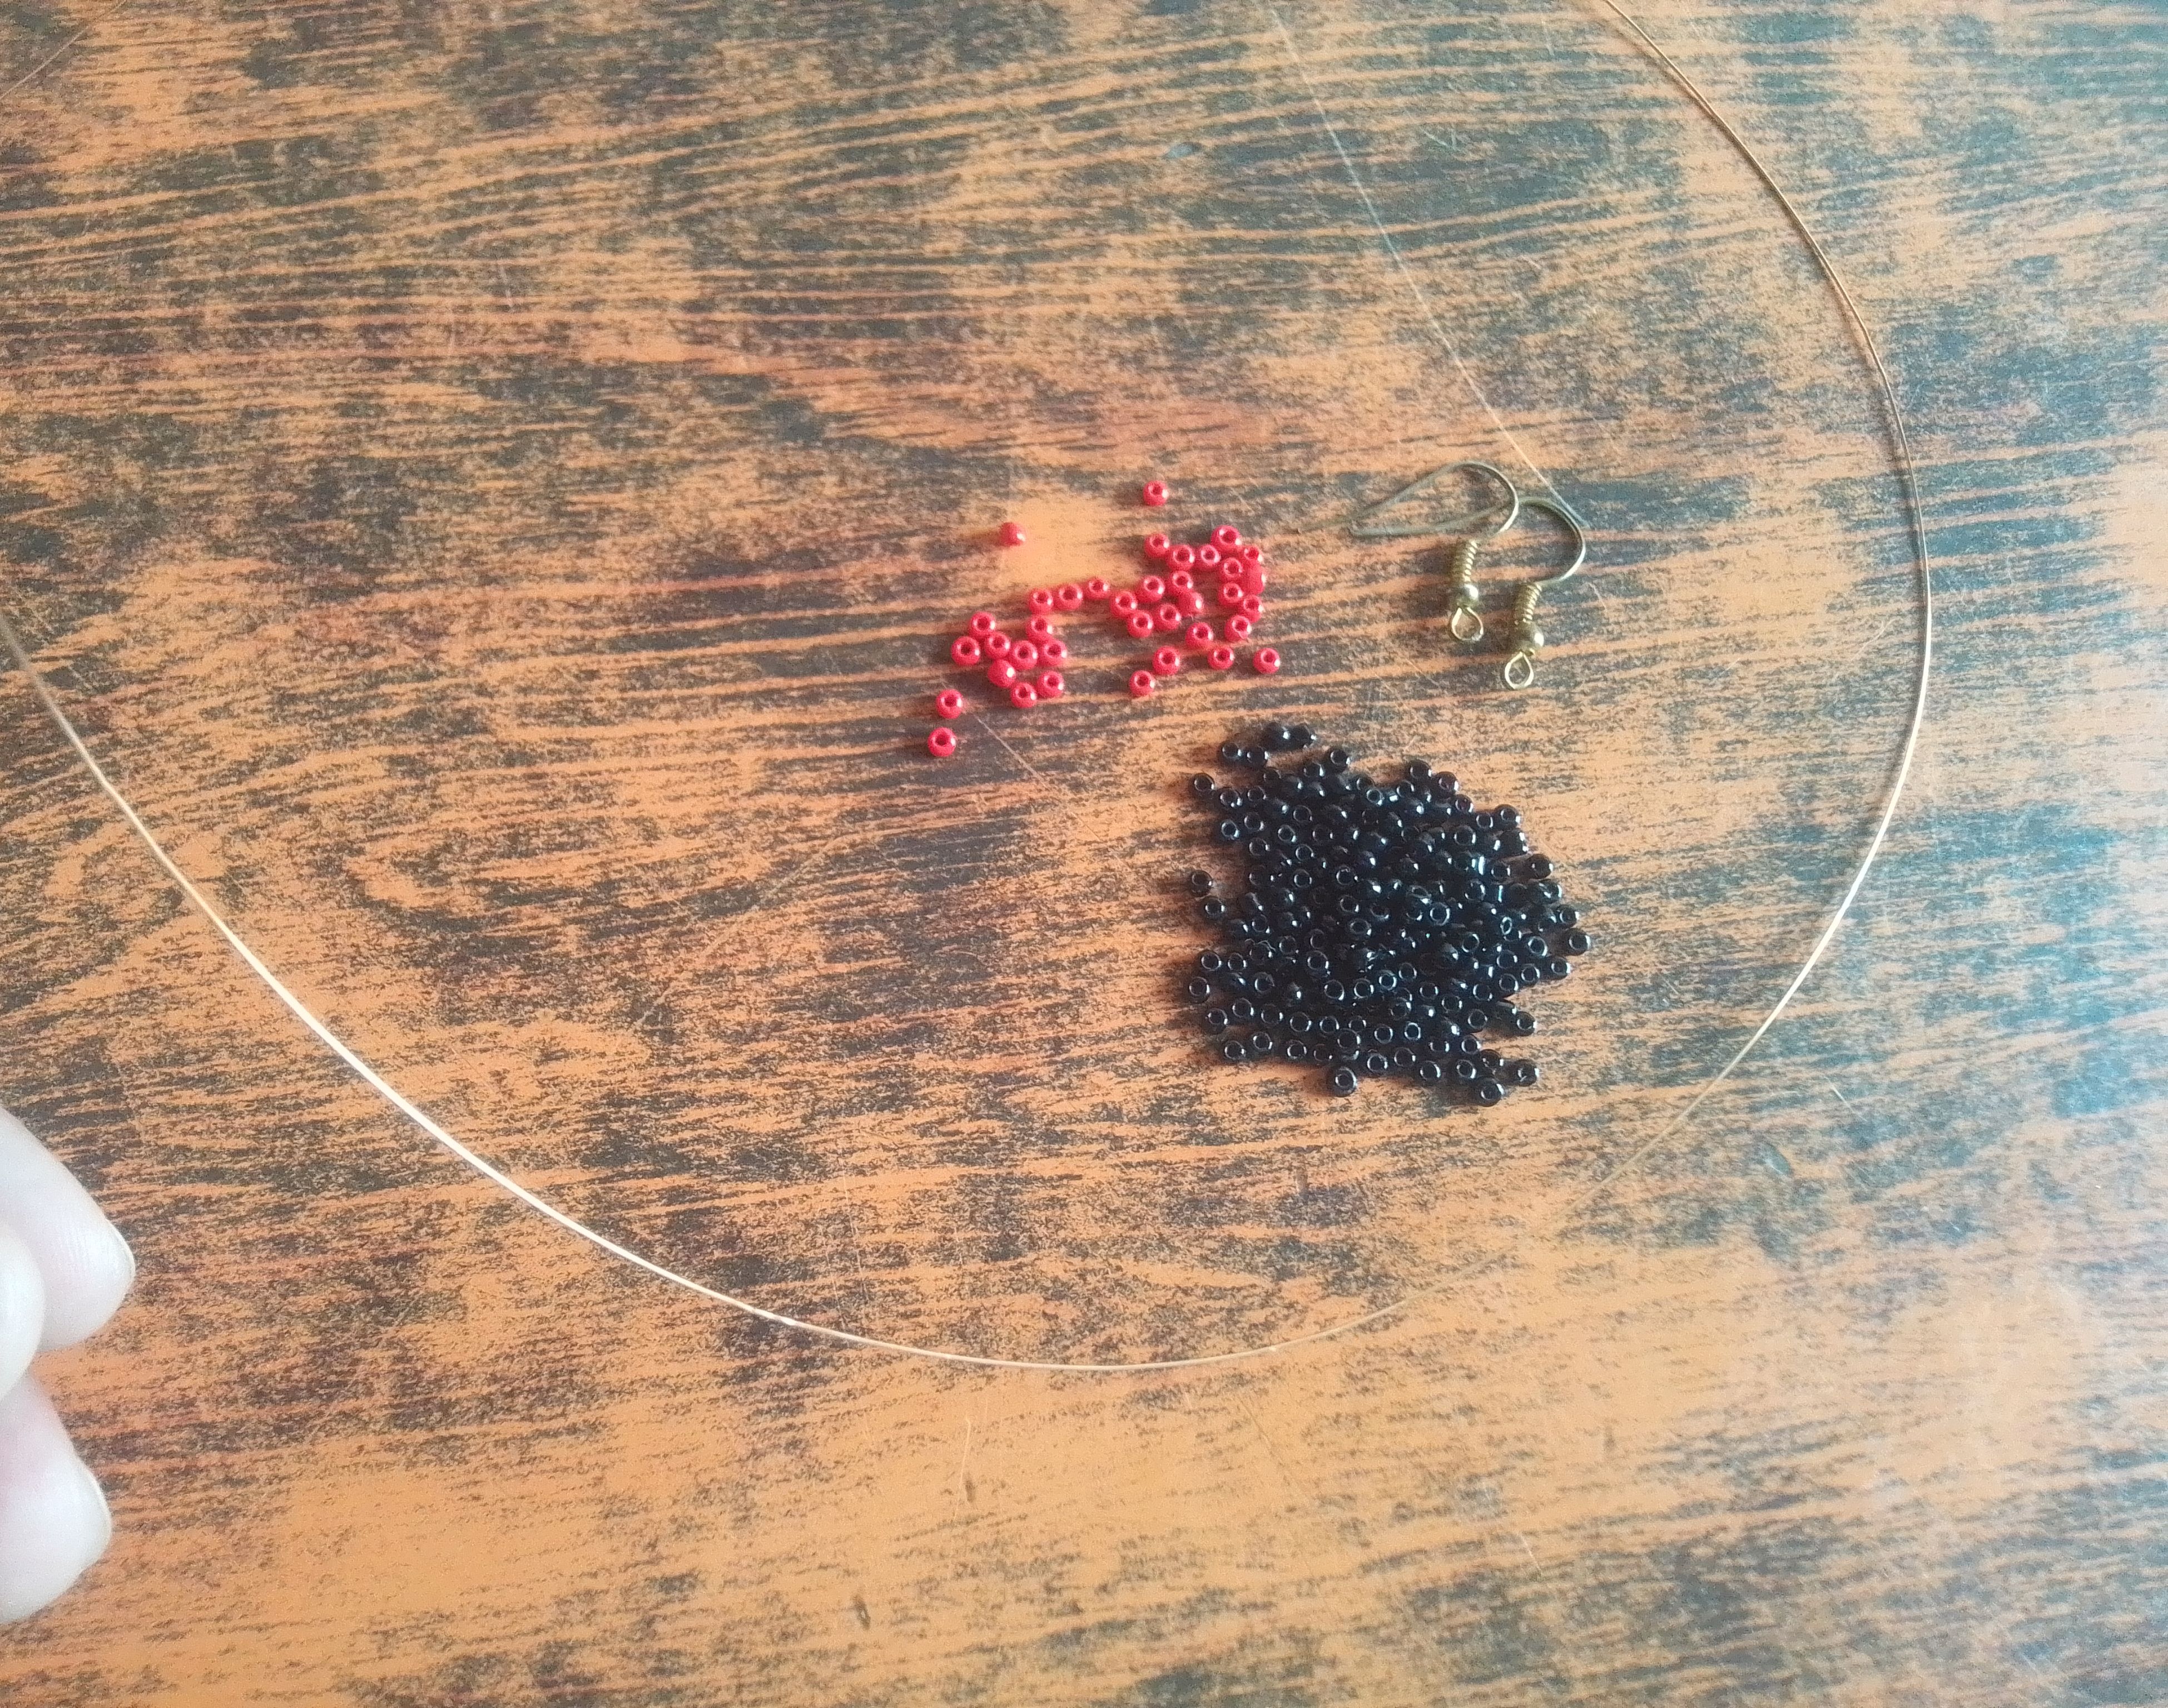
***Materiales que necesitas:***
***Materials you need:***
- Mostacillas negras.
- Mostacillas rojas.
- Alambre de bisutería fino.
- Ganchos o sujetadores.
- Pinza.
- Black seed beads.
- Red seed beads.
- Fine jewelry wire.
- Hooks or fasteners.
- Tweezers.
***PROCEDIMIENTO***
Procedure
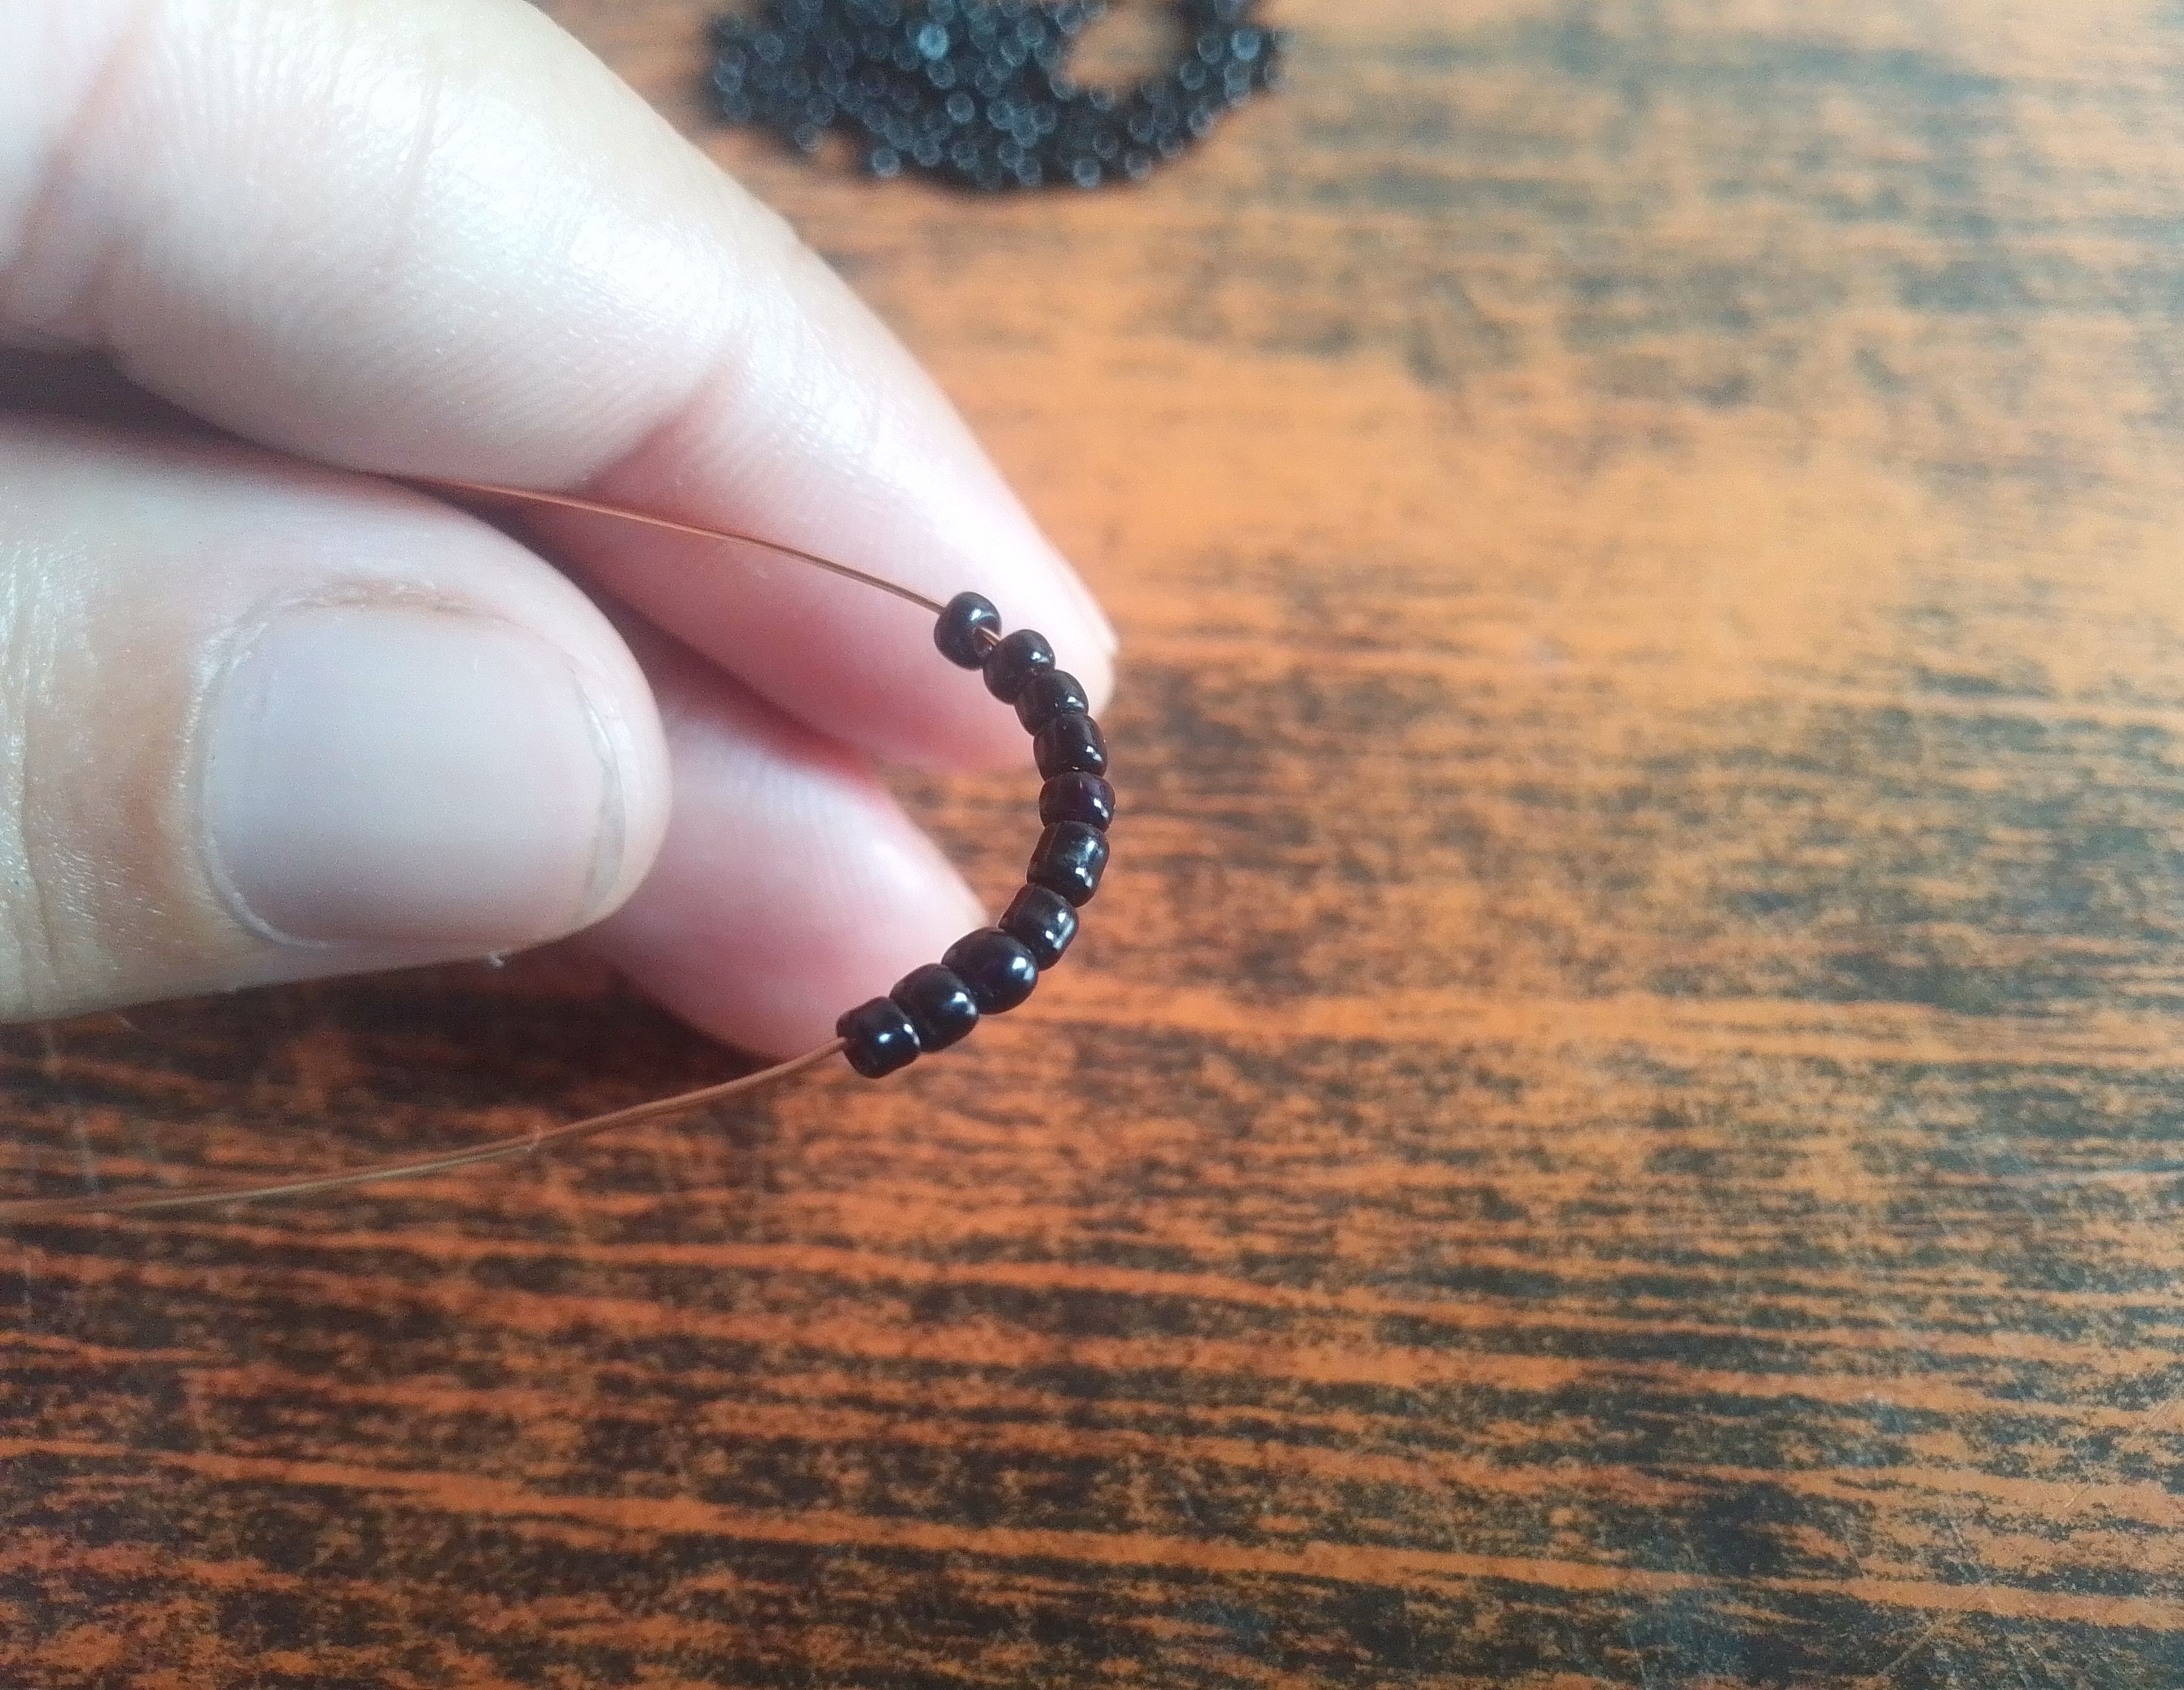
🌟Paso 01
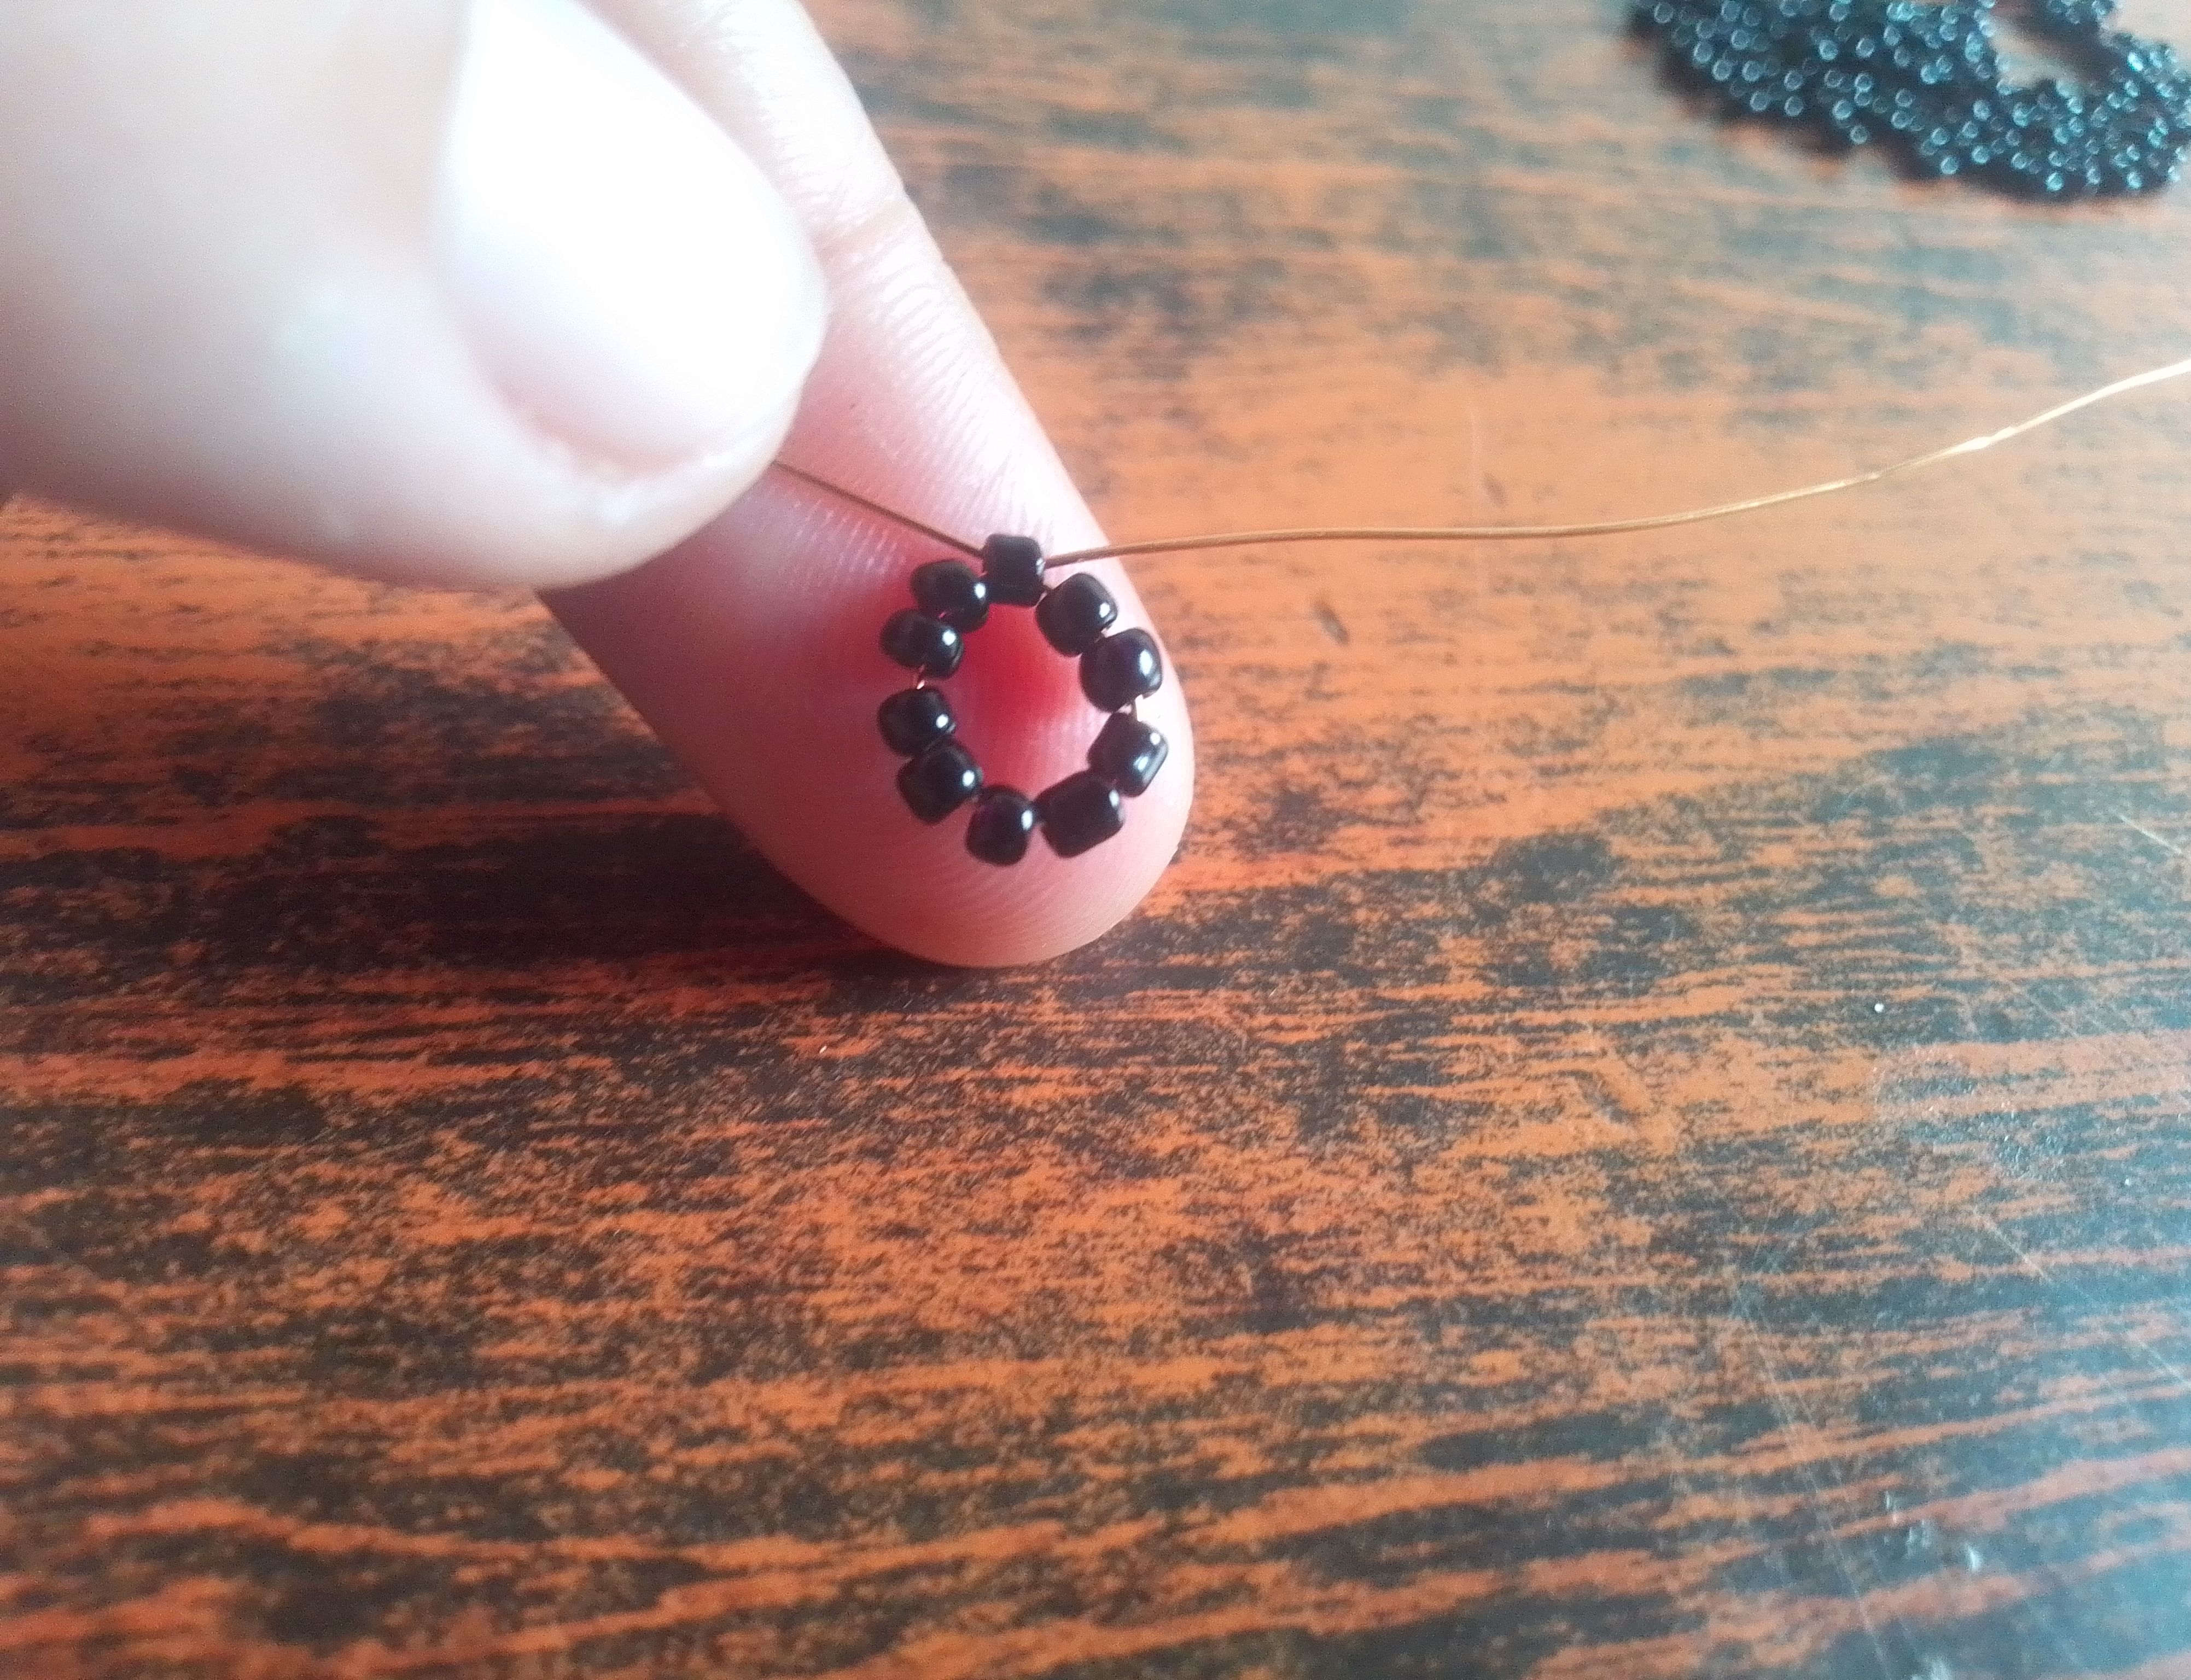
Bien amigos para comenzar vamos a cortar 50cm de alambre y dividimos a la mitad; con 25cm serán suficiente para crear un arete. Luego voy a introducir 11 mostacilla negras y voy a cruzar por la primera el alambre formando un circulo que será la primera orejita de la ratoncita.
🌟Step 01
Okay, friends, to start, we're going to cut 50cm of wire and divide it in half; 25cm will be enough to create an earring. Then, I'm going to insert 11 black beads and cross the wire through the first one, forming a circle that will be the mouse's first ear.
🌟Paso 02
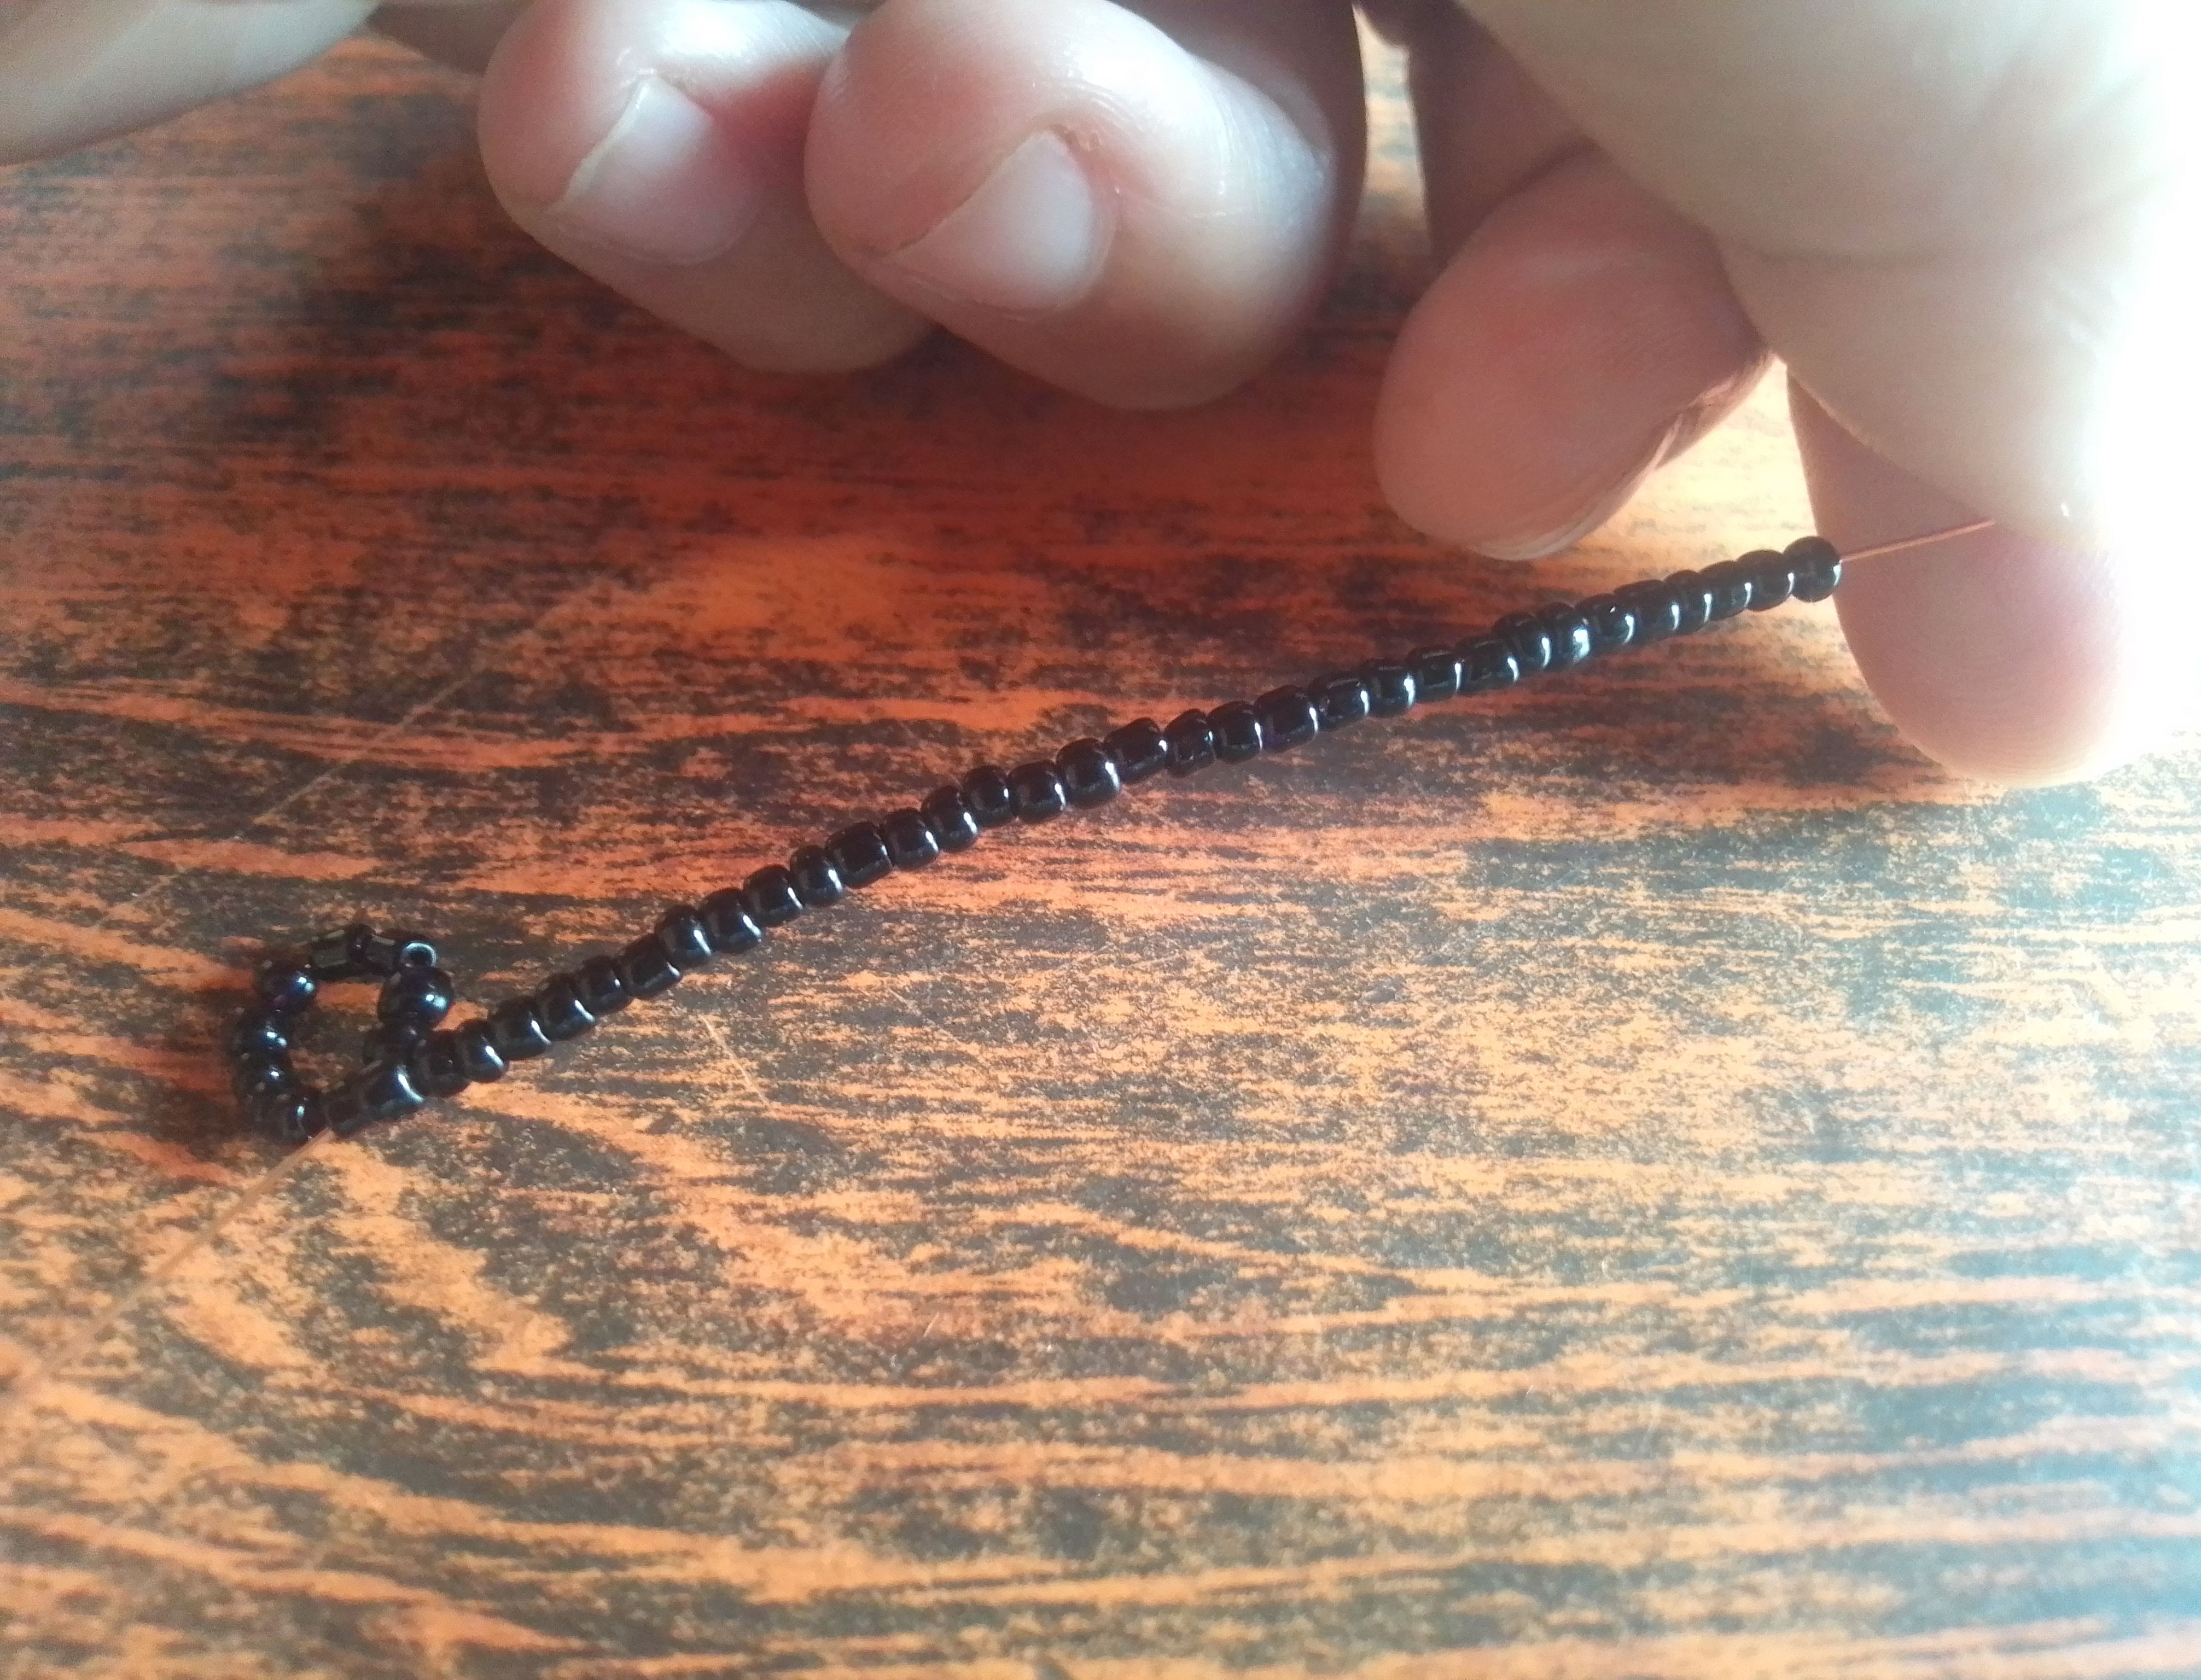
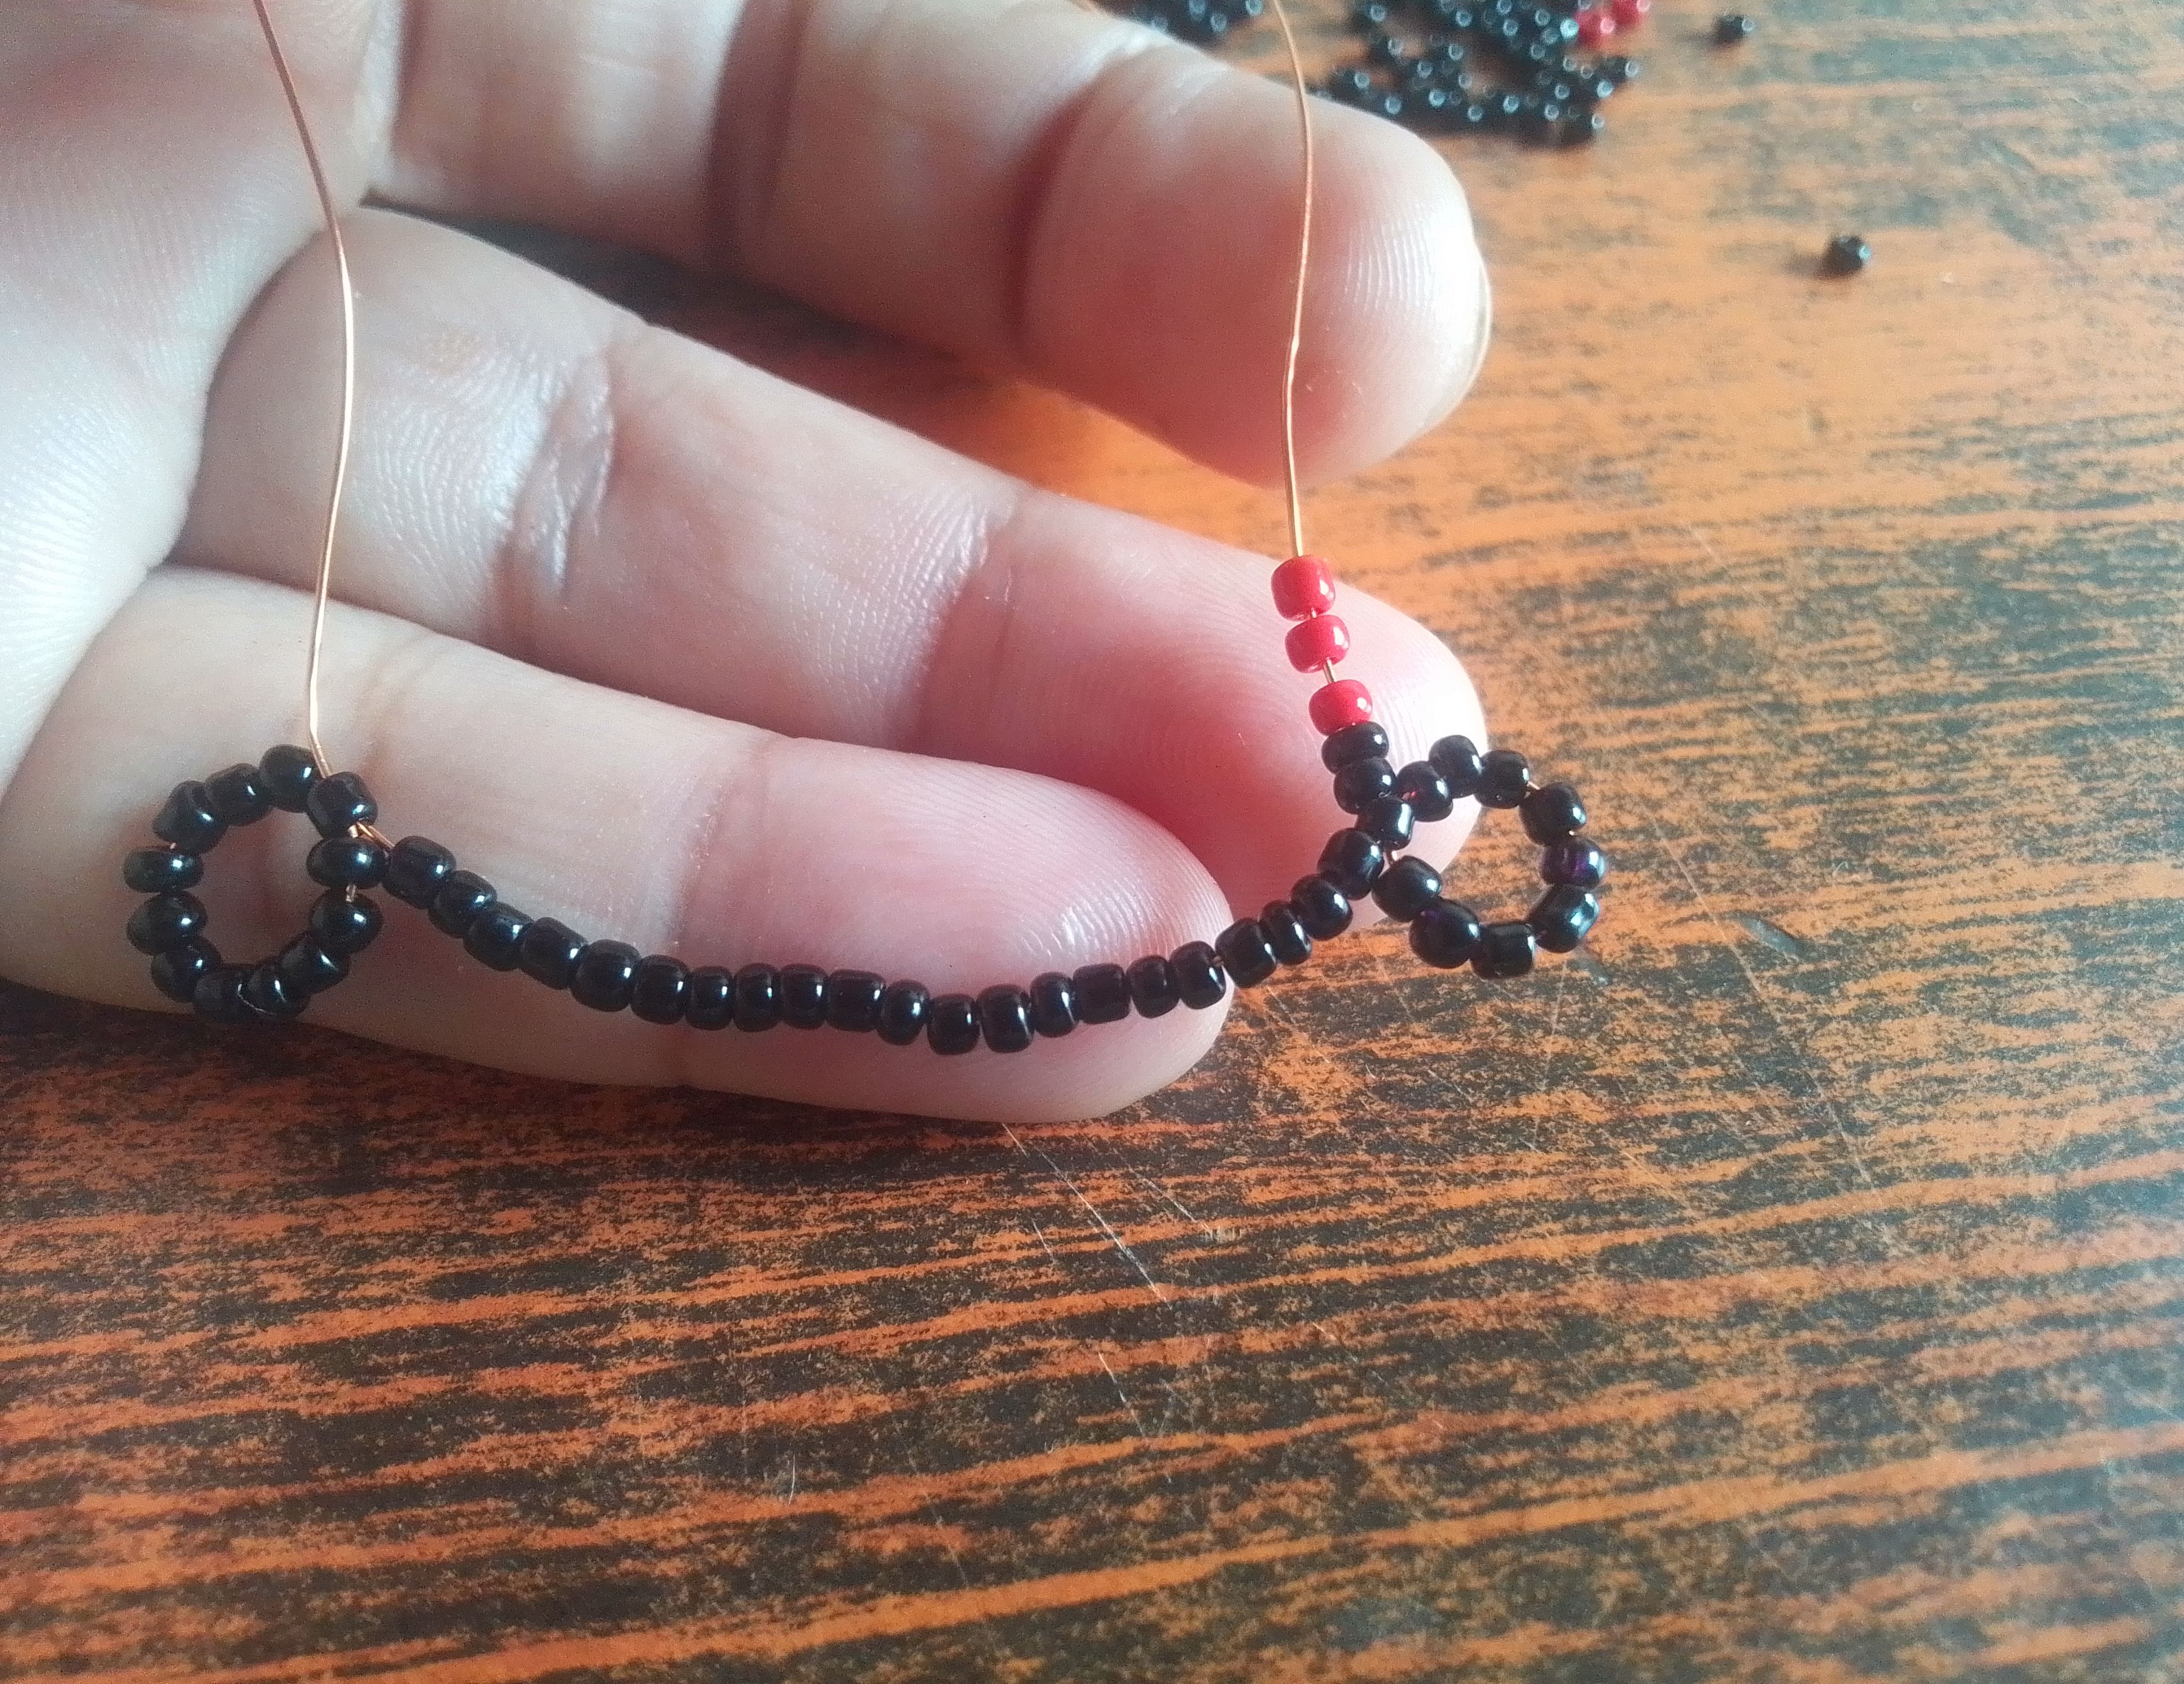
Ruedo un poco las mostacillas , dejando un extremo de el alambre más largo. Continuo insertando por este lado 31 mostacillas negras más y contamos once hacia atras para cruzar nuevamente el alambre por ésta, formando nuestra segunda oreja. Luego de ambos lados del alambre, introduzco dos mostacillas negras y tres rojas.
🌟Step 02
I roll the beads a little, leaving one end of the wire longer. I continue inserting 31 more black beads on this side and count back eleven to cross the wire through it again, forming our second ear. Then, on both sides of the wire, I insert two black beads and three red beads.
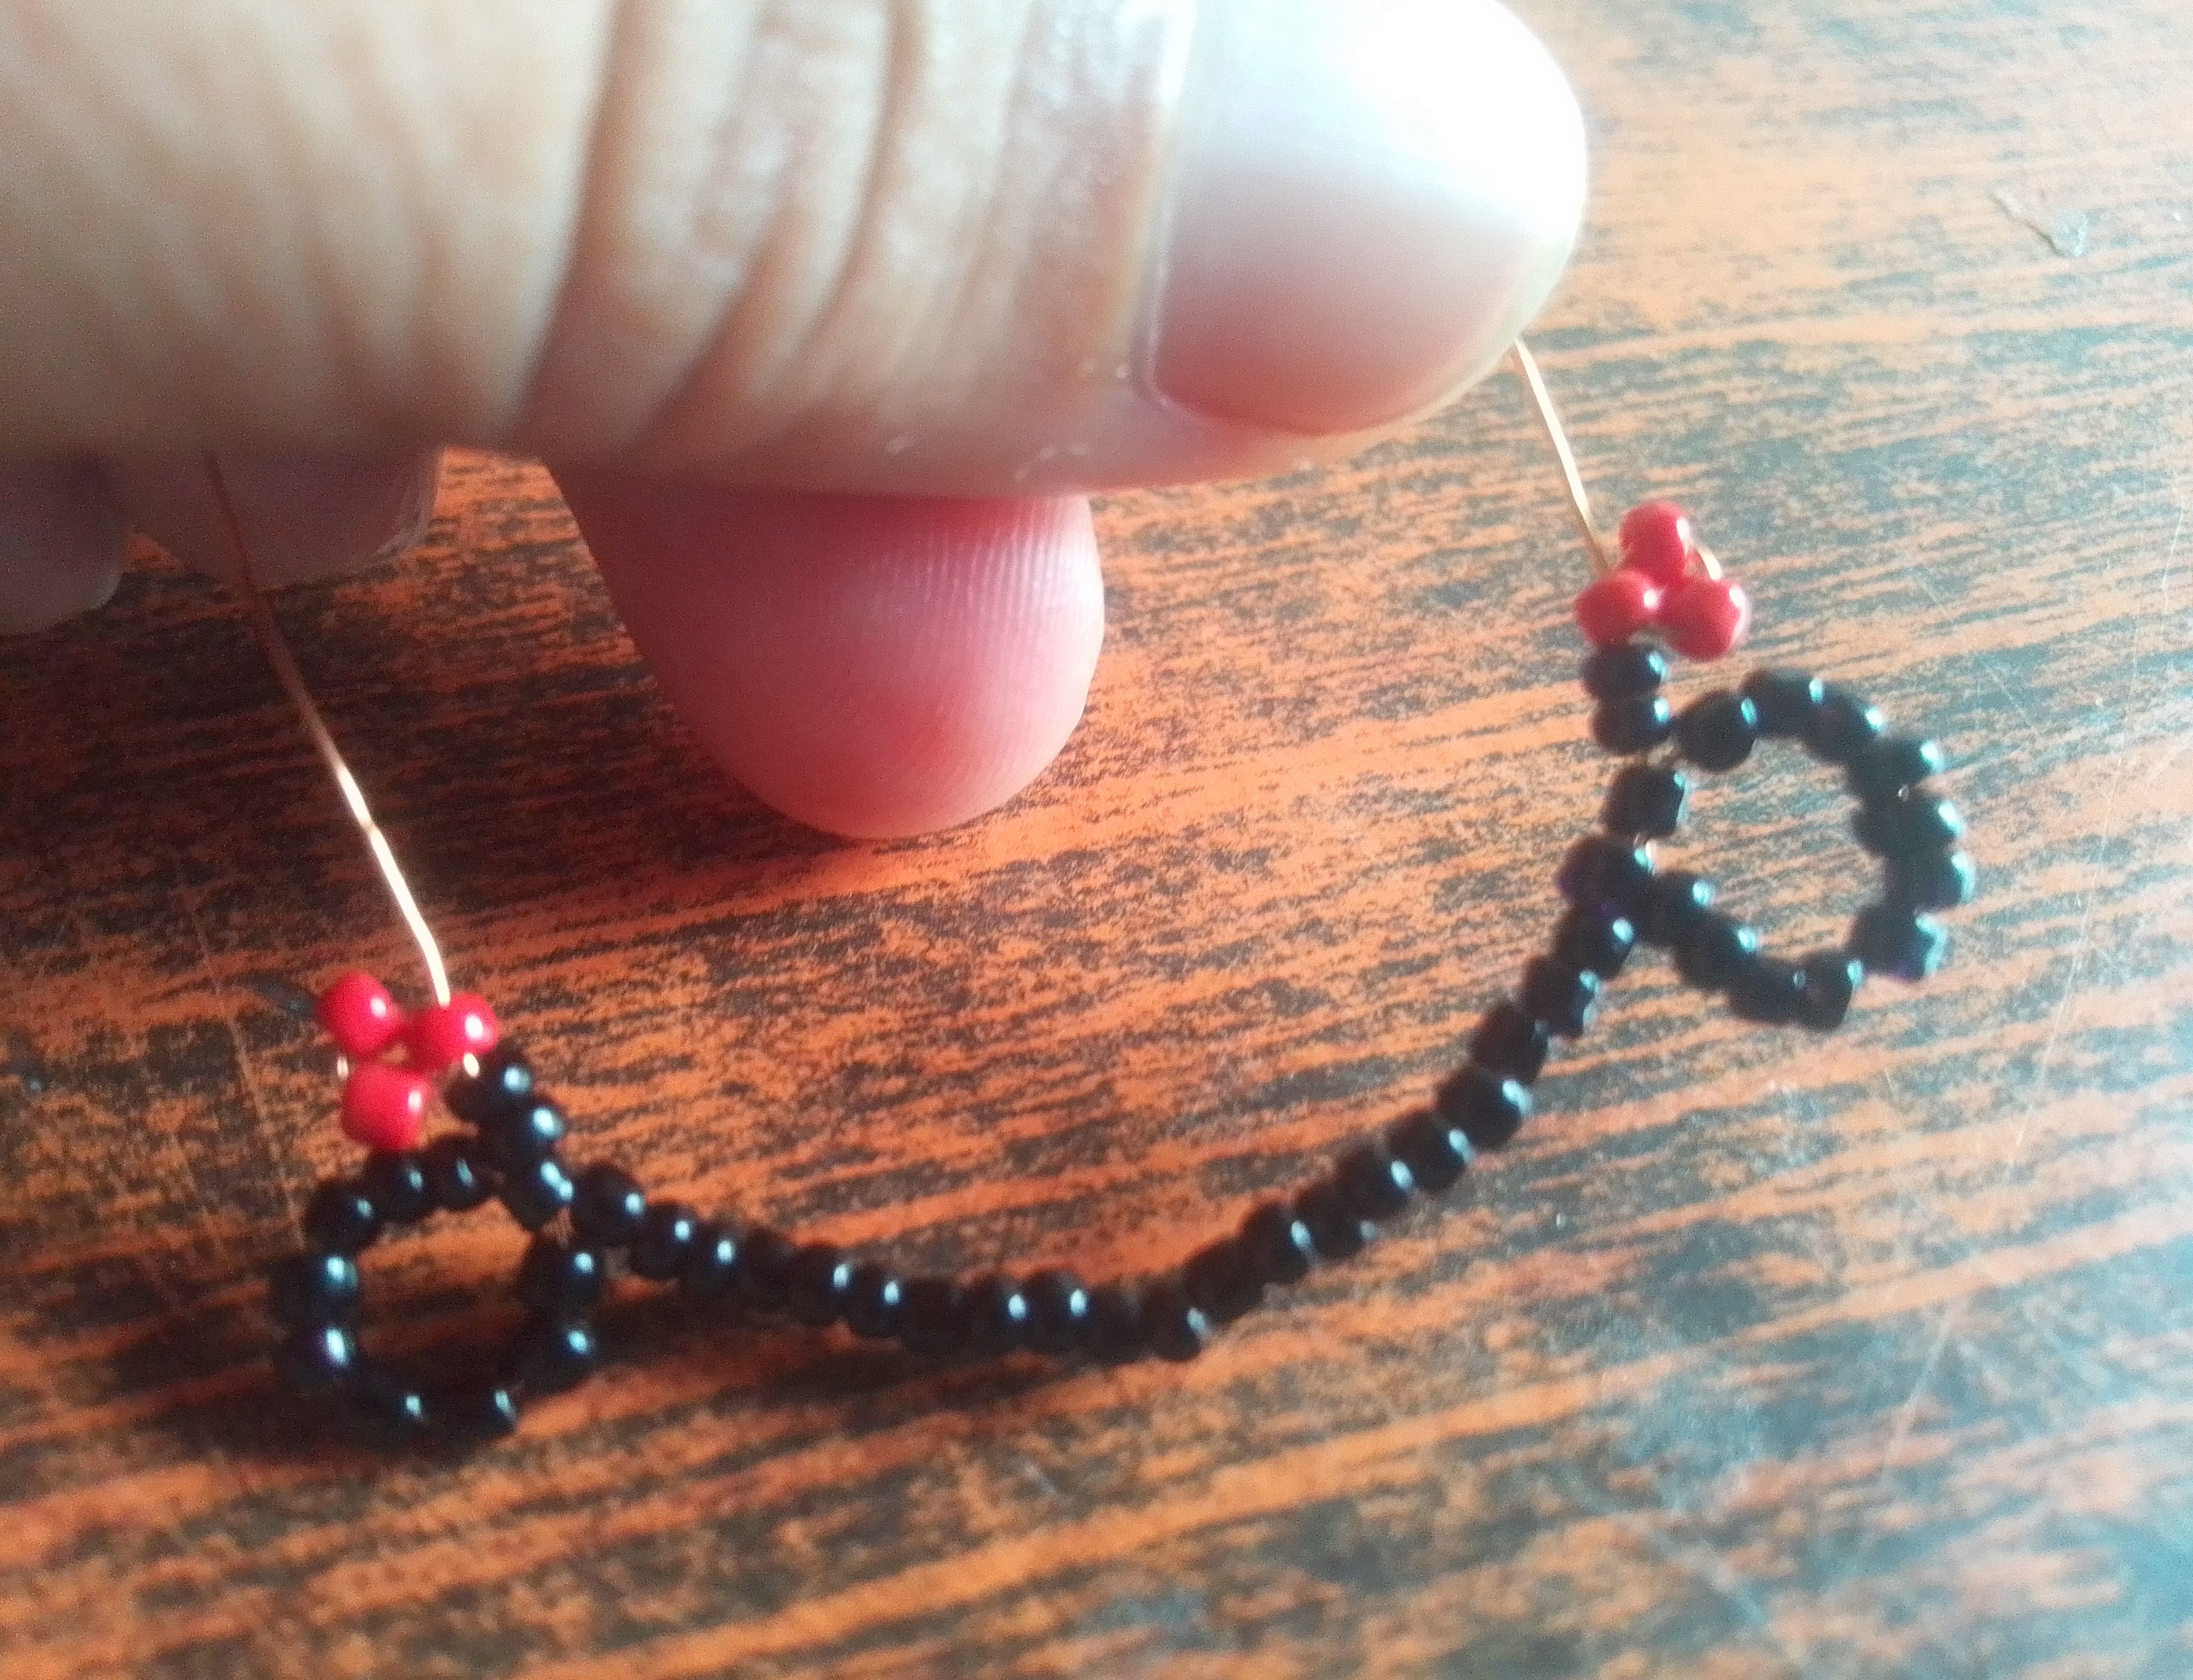
🌟Paso 03
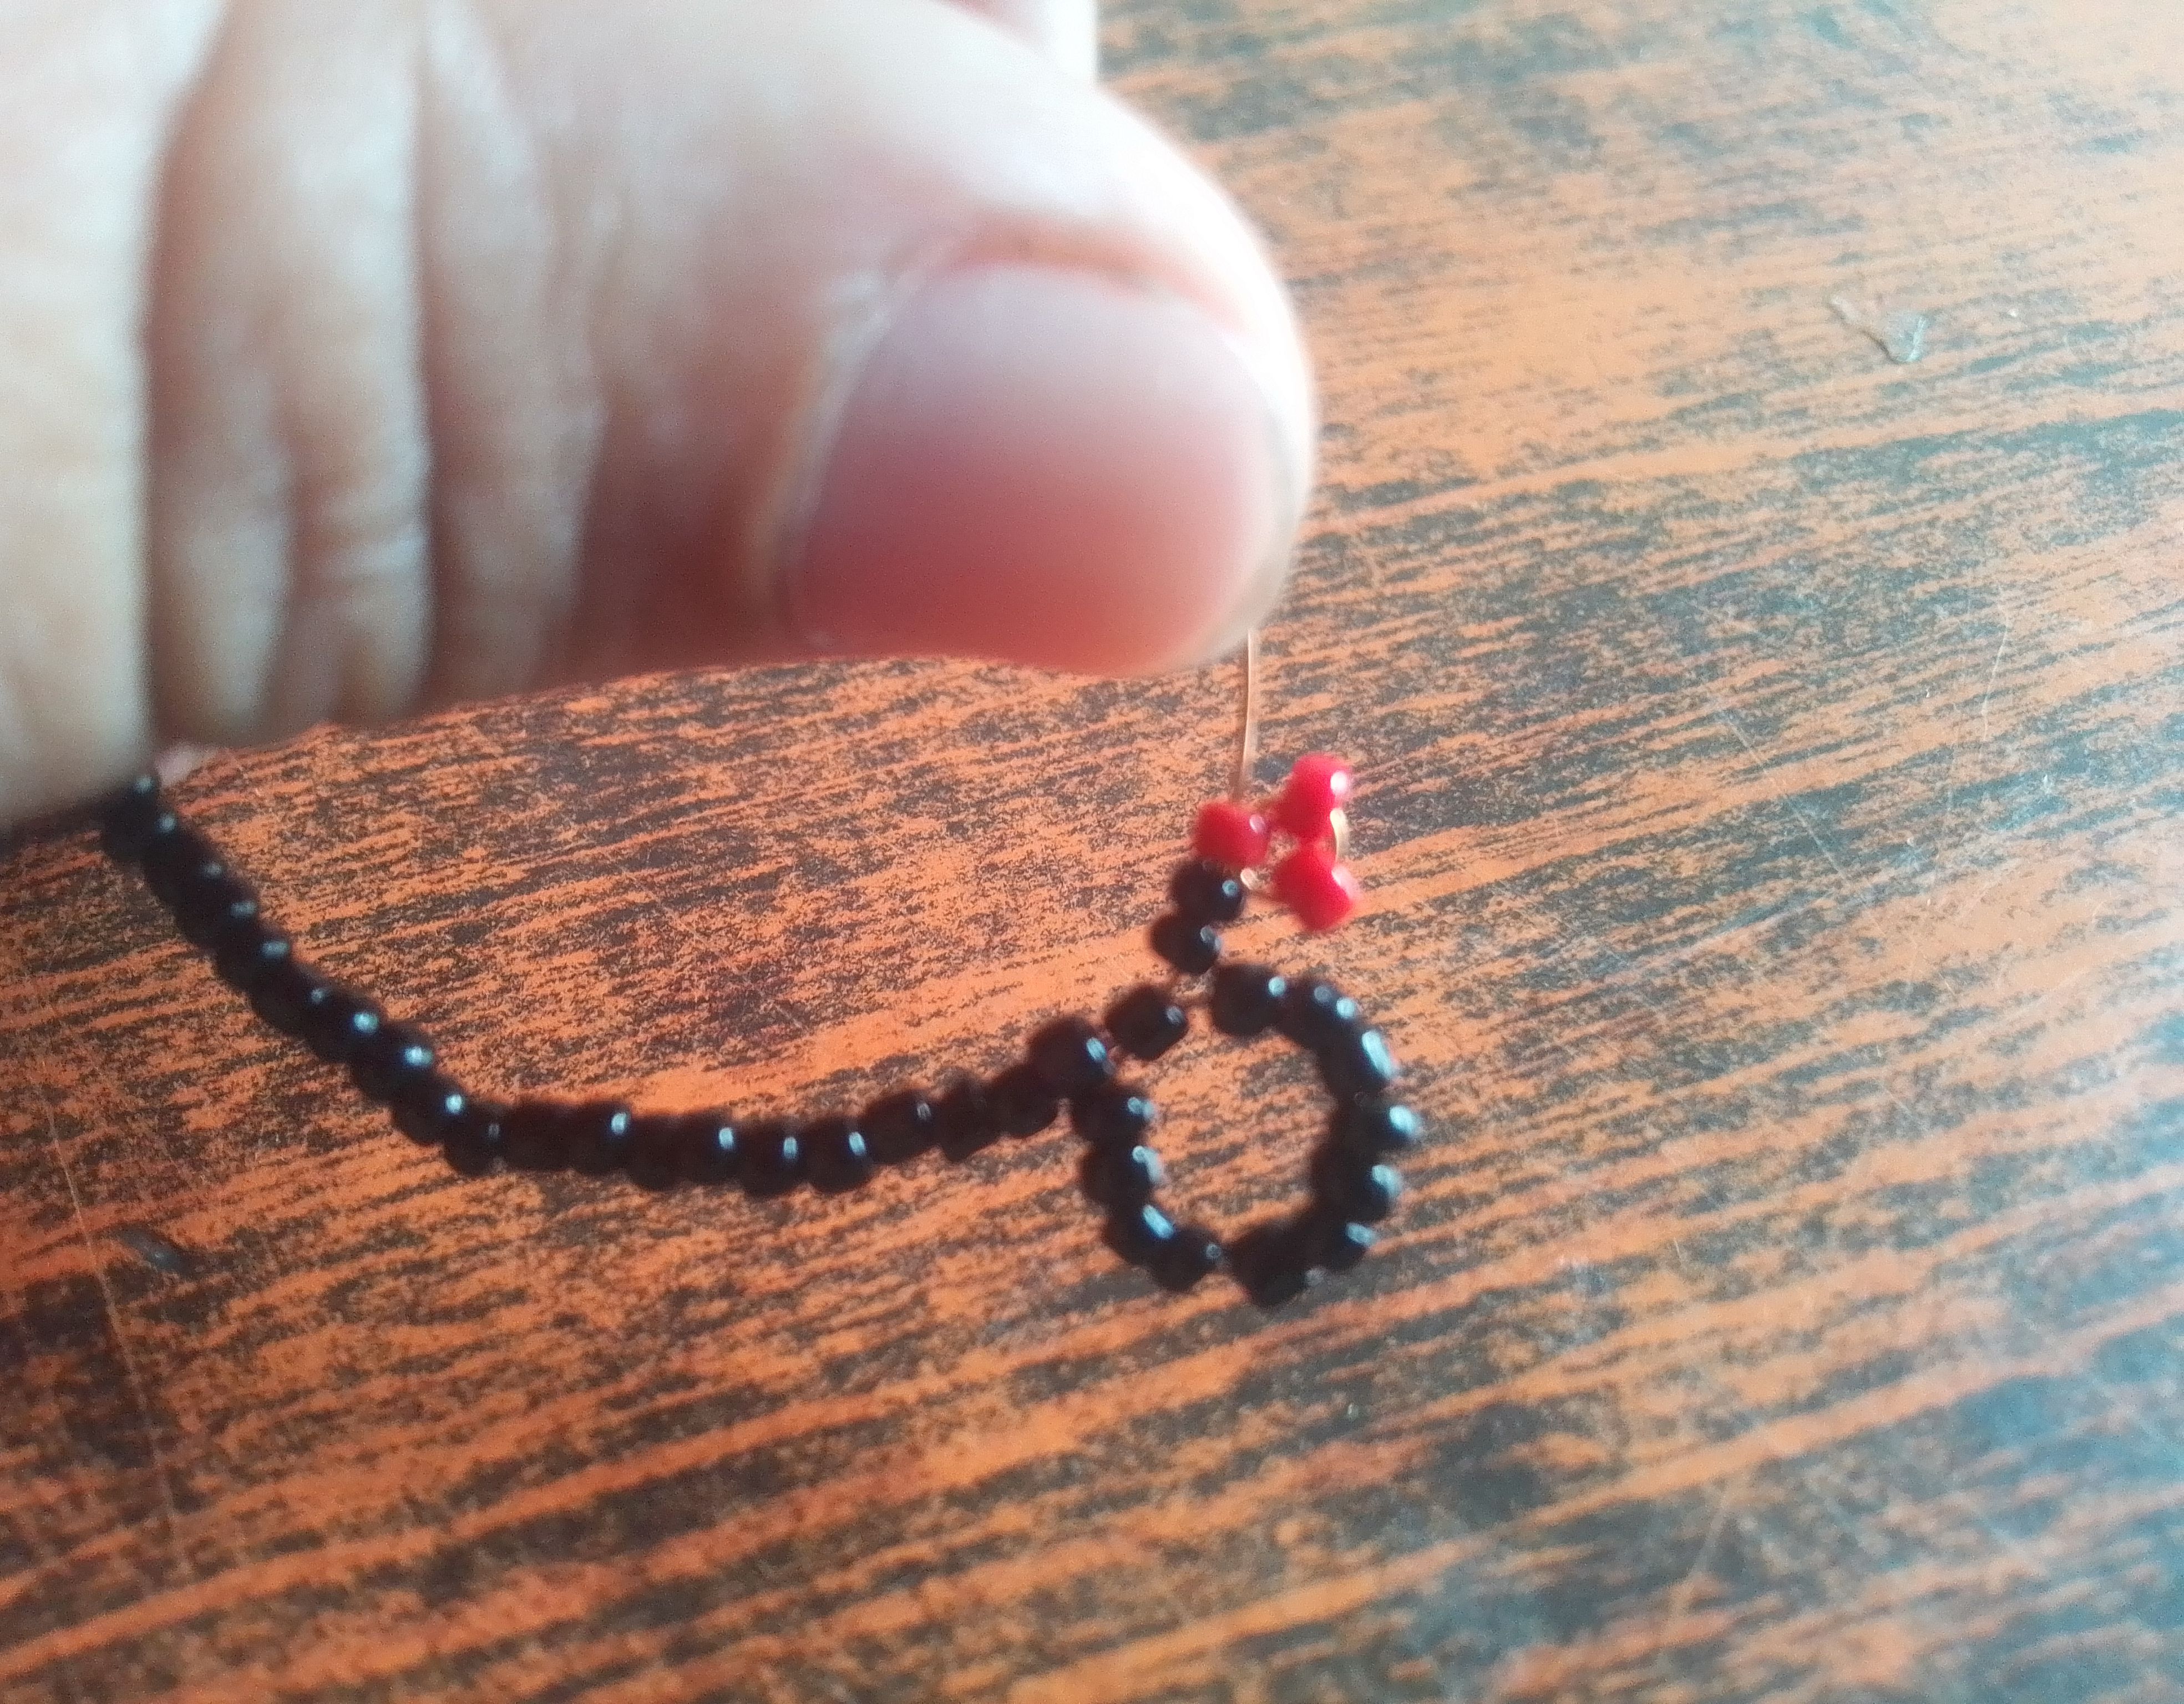
Ahora voy a cruzar el alambre por la primera mostacilla roja que metimos y repito el paso del otro lado.
🌟Step 03
Now I'm going to cross the wire through the first red bead we inserted and repeat the step on the other side.
---
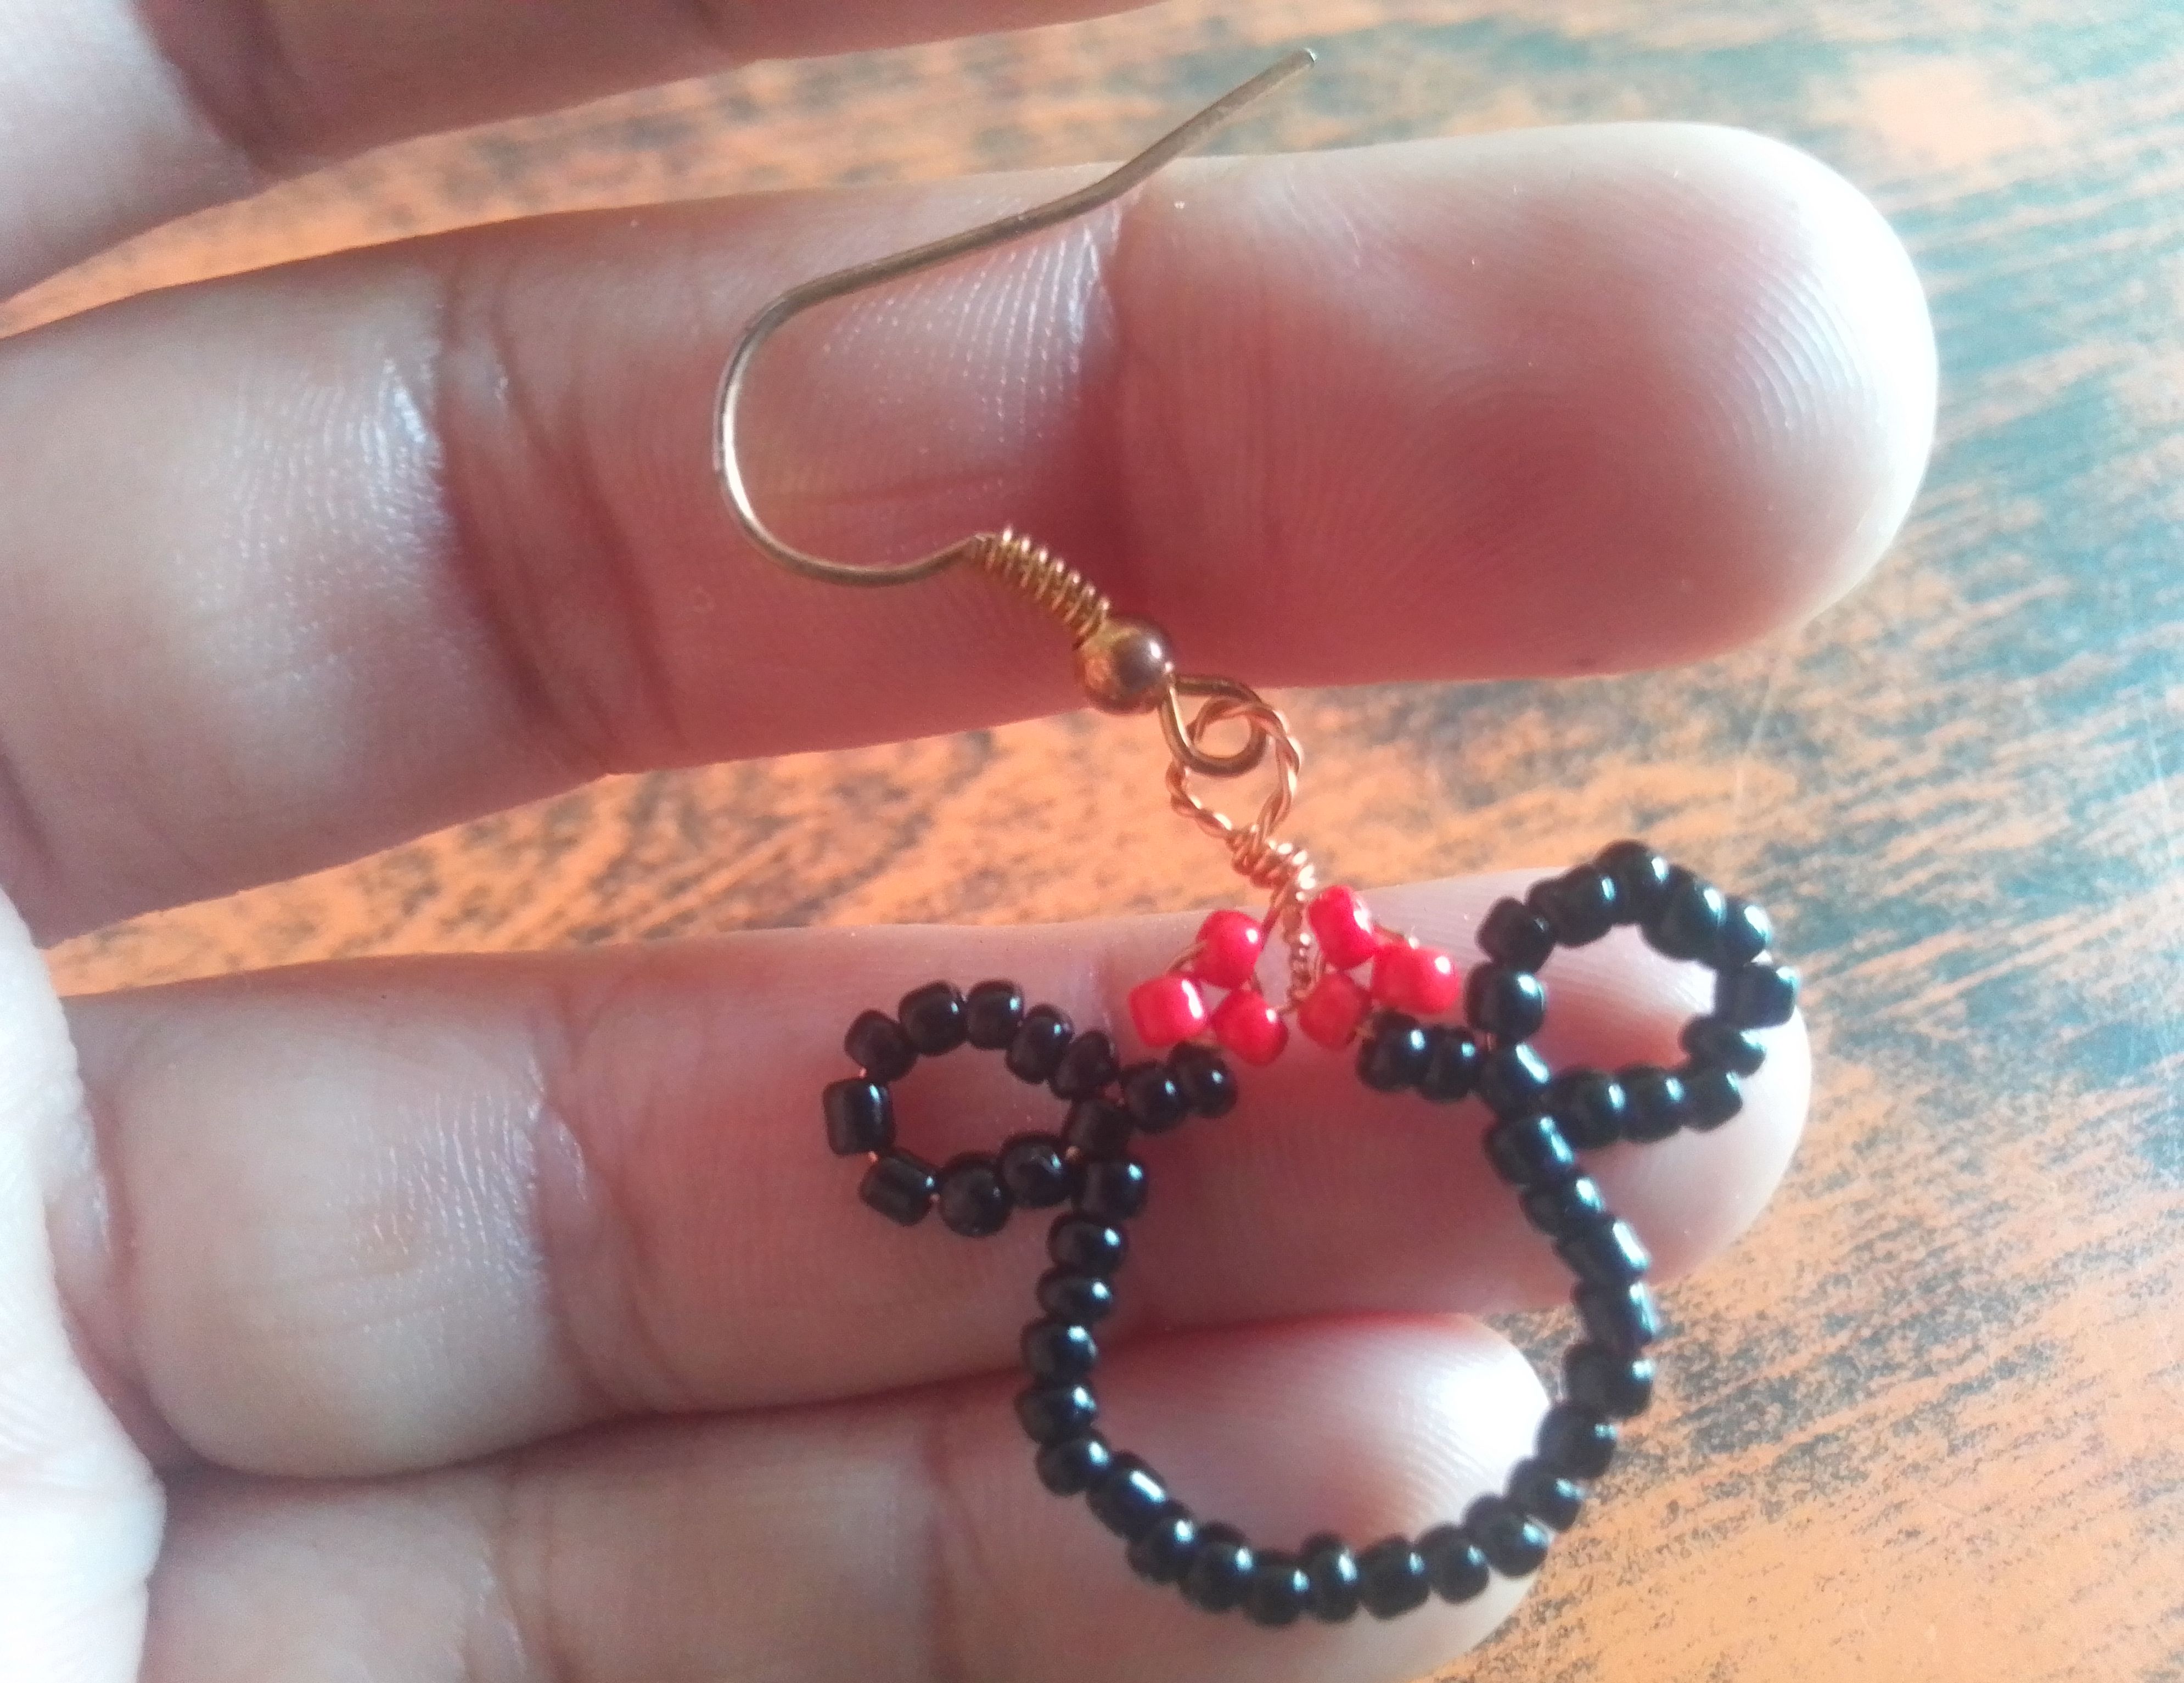
🌟Paso 04
Ahora juntamos los extremos y damos unas vueltas al alambre y con la pinza formamos una argolla en la punta para luego introducir el gancho. Con los mismo pasos formamos el segundo arete y listo!!
🌟Step 04
Now we join the ends and wrap the wire around them a few times. Using the pliers, we form a ring at the end and then insert the hook. With the same steps, we form the second earring and that's it!

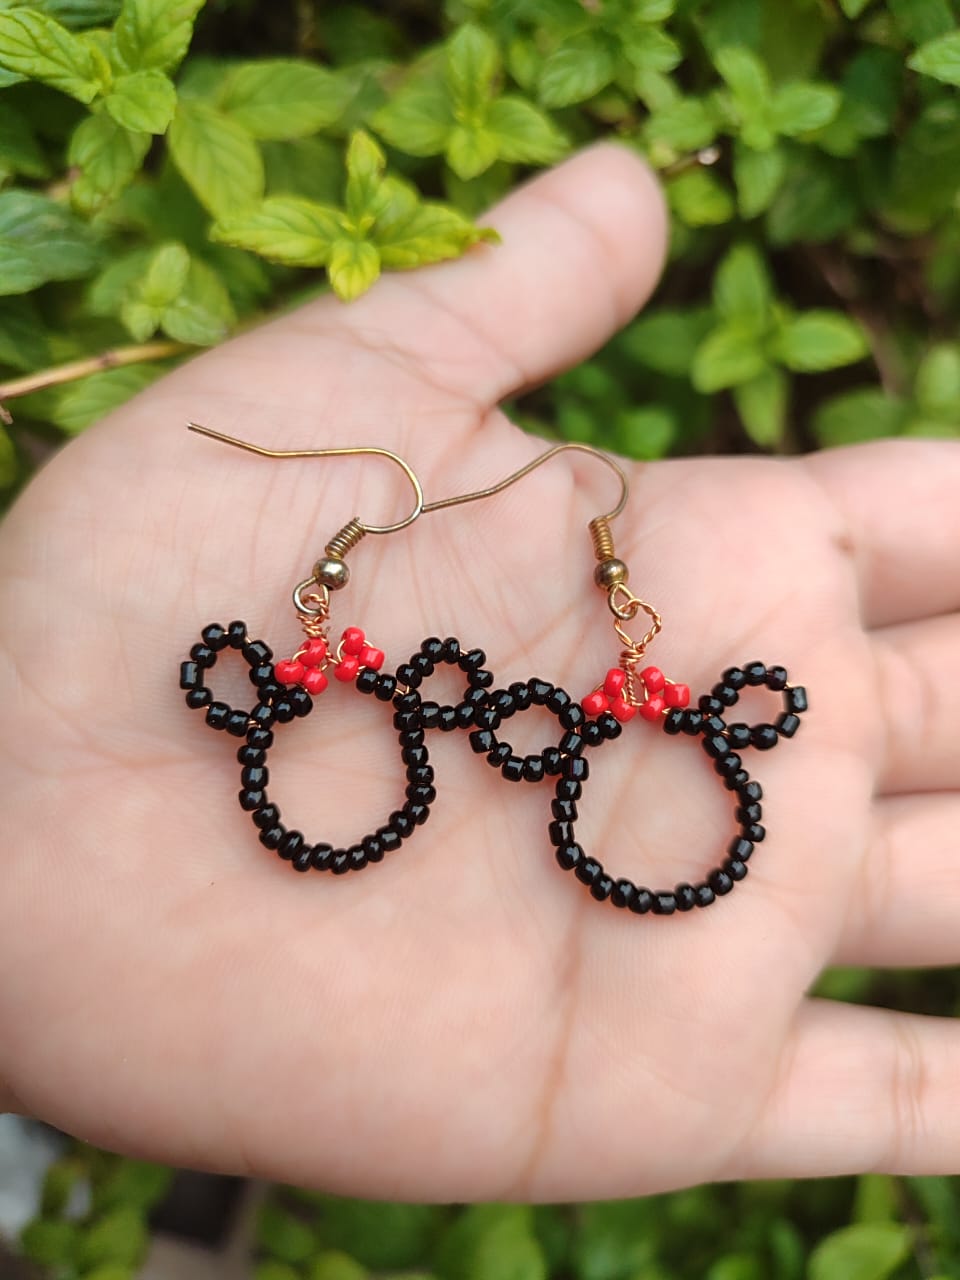
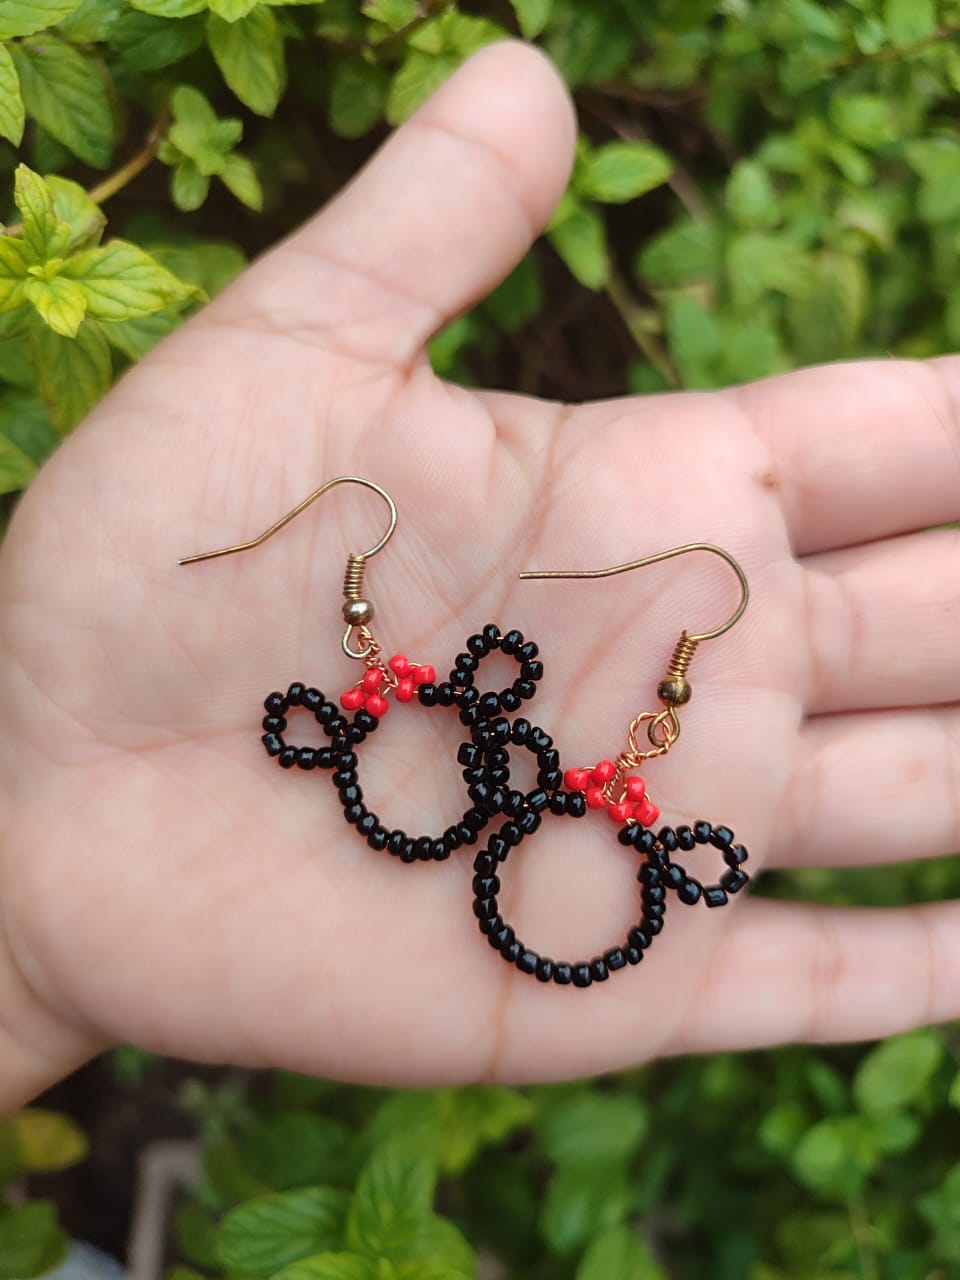
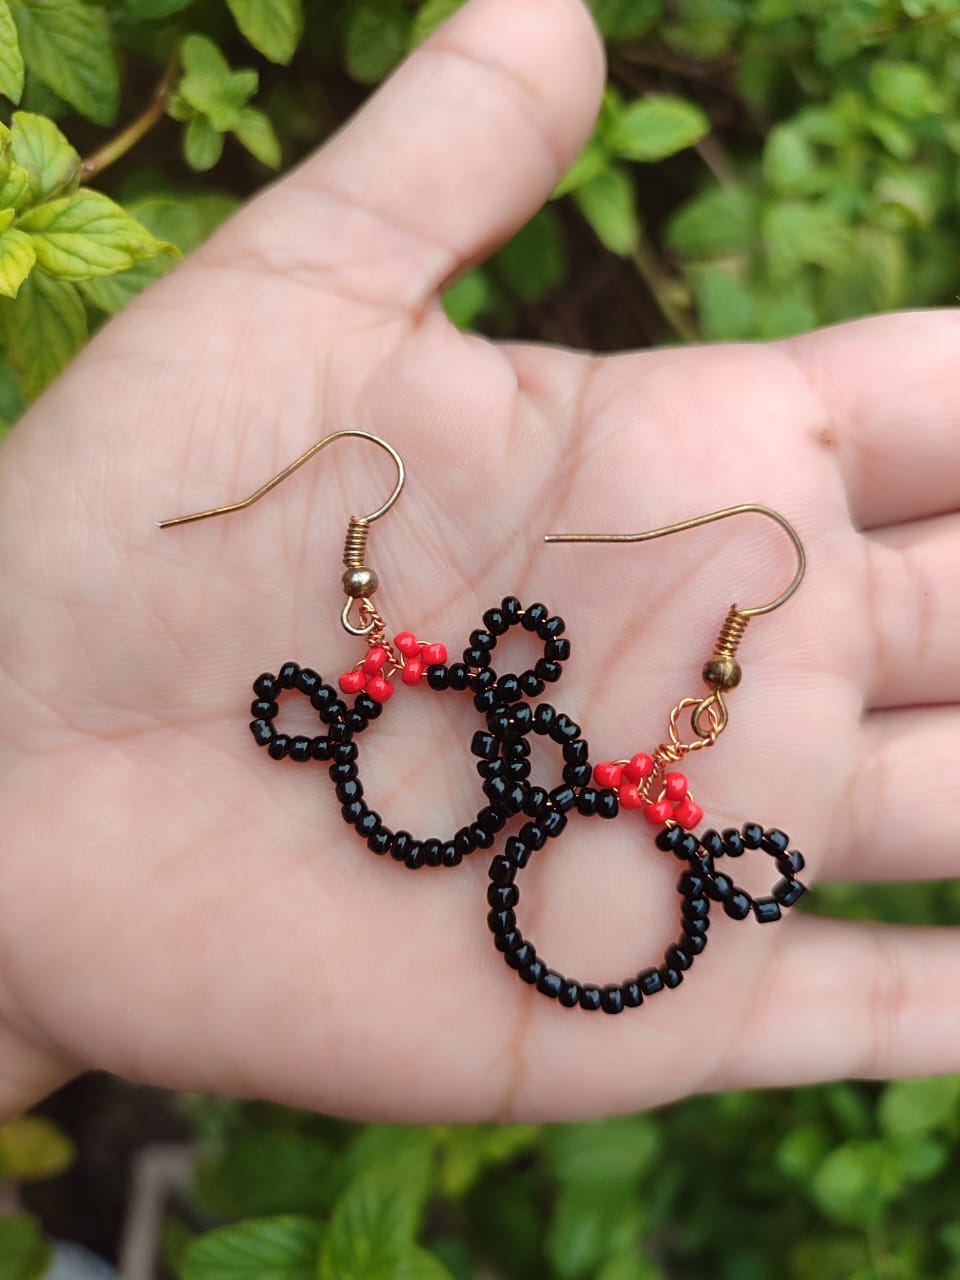
***Resultado!***
***Result!***
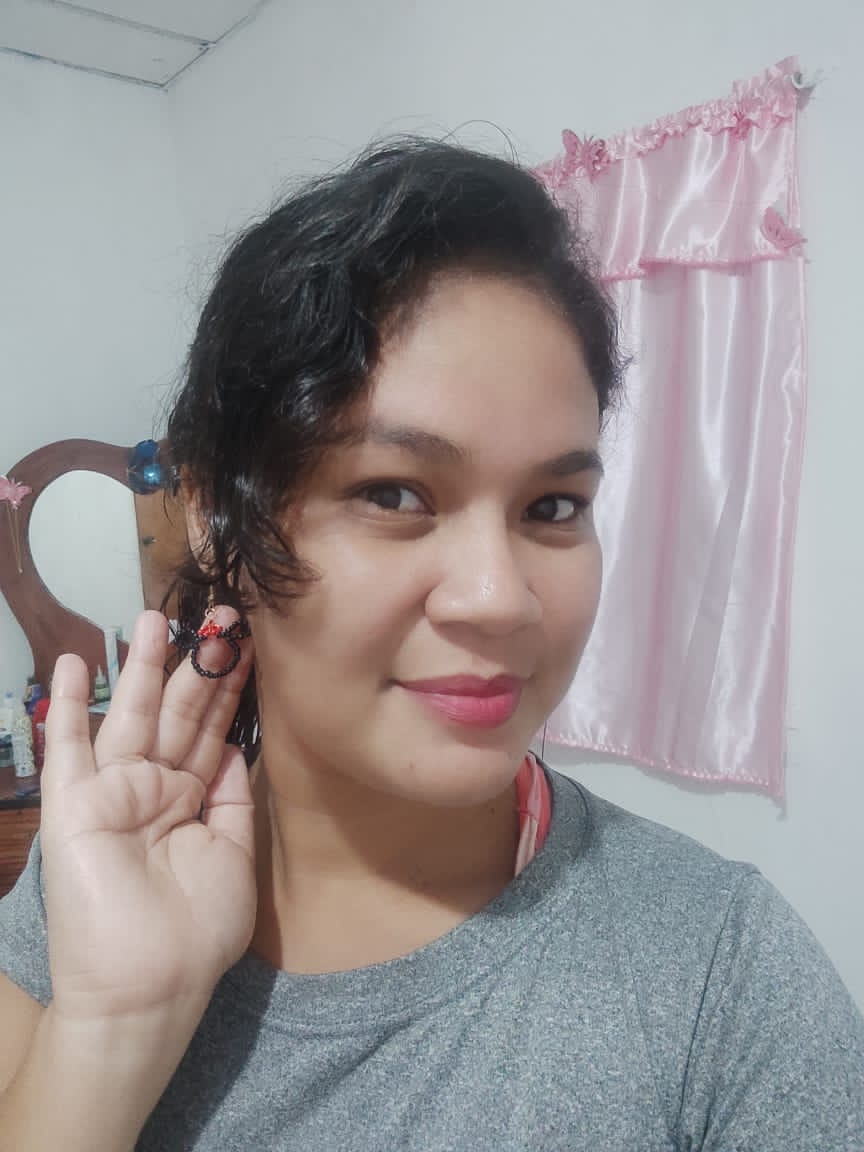
De esta manera se ven estos lindos aretes, me encantaron. Son muy tiernos y delicados. Espero les gusten.
This is how these cute earrings look, I loved them. They are so cute and delicate. I hope you like them.
Hasta aquí ha llegado el post de hoy, gracias por llegar hasta el final de esta idea, déjame saber que te pareció! Feliz noche, nos vemos pronto!
That's it for today's post. Thanks for making it to the end. Let me know what you think! Have a good night, see you soon!
🙋🏻Todas las imágenes de esta publicación son de mi autoria capturadas de mi dispositivo Smooth 6.5, primera imagen editada en PicsArt | Texto original traducido en el traductor de Google.
All images in this post are my own, captured from my Smooth 6.5 device, first image edited in PicsArt | Original text translated in Google translator.
